Adrieke
-
Posts
1,625 -
Joined
-
Last visited
Content Type
Profiles
Forums
Gallery
Events
Everything posted by Adrieke
-
 that would be an idea Mark. maybe not a full second ship but partially so that you can try out certain things haven started painting the brass railing yet but am working on the railings on the first deck and the lower part on the second deck not happy with how the 3rd deck stateroom sits. there is too much gap between it and the deck. I am trying to figure a way to make something that makes it click on to the deck but not found a good solution yet.
-
thanks Mick yeah I am hoping that some paint on the joints will make them pretty invisible. I had a look at your stairs and I see the difference but still looks good to me this one was pretty obvious Carl . seems like I am constantly redoing things lol
-
haha yeah I have read and reread it so many times
-
hi Carl thanks for the tip scale is 1/60 with 6 metre planks that would mean 100 mm a nice round number hello Ed thanks for the compliment but I am still a newbie. if you need help with posting or anything computer wise me and lots of others can assist have a good weekend too
-
correct Wayne you got it
-
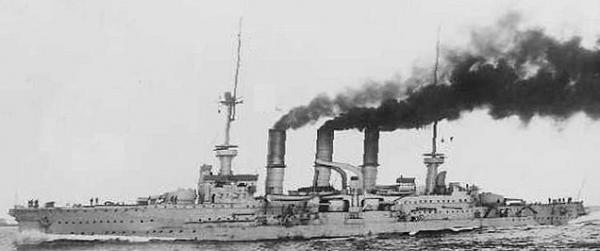
not the Scharnhorst Jan
-
thanks Wim. it was too obvious to me i had to change it. also had to redo the base as the one that has the wiring go through had come lose. was getting a bit messy. i decided to use some small nails on each side of the hole and tought i had them straight but it showed through. redid it all and am letting it set now overnight. i wish i could have waited to fit the base but now that i start workign on the third deck i wont be able to turn her on her back to fit it comfartably.
-
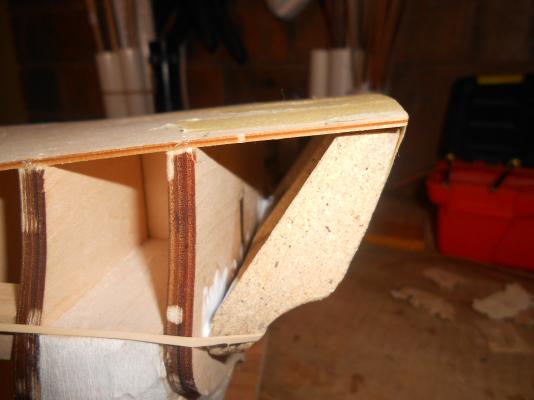
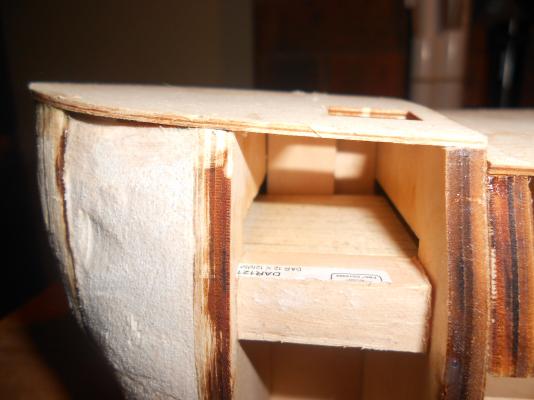
ok not far in and already made my second stupid mistake i totaly forgot the masts reinforcements . i drilled the holes in the deck so i could see where they fit and then glued them underneath the decks the foremast one was a bit dificult but i could just slide it in between the bit of lower deck and the false keel also glued the transom (or whatever its called) in place next i need to determenin the lenght of the deck planks on this ship so i can cut them to size. ther is nothing in the manual about this or cauliking or trenails so i am on my own

-
not the Brooklyn Anja
-
next one :
-
well after thinking about it alot the table saw is what i will go for first as i think it wil have the most use for me while i am stil building kits. the Byrnes saw would be my favorite but with some of the option and the freight cost it might be a bit expensive for me Proxxon has a very cheap one and a very expensive one but i can get those localy (inporter is less then 2 hours drive from me but freight costs are cheap) so stil need to decide what i am going to do
-
Haha only working on 2 unless you mean the paper one which i havent touched for awhile (bad memeories as i had a very bad alergic reaction to the CA i used then) ofcourse i also have the connie the golden hind and the pedro nunes but they are patiently waiting till i am in the mood for them again ooh yeah and the stage coach is also still around darn i sound bad :mellow:
-
walnut 3 and 1 in that order 2 is too dark and 4 woudlnt look right
-
haha Sjors i can only start after i finish the kom and when i have planked the endeavour and am ready to rig her. But i am making some progress on both i must say that the rigging plans from OcCre look pretty good and understandable (no words needed there )
-
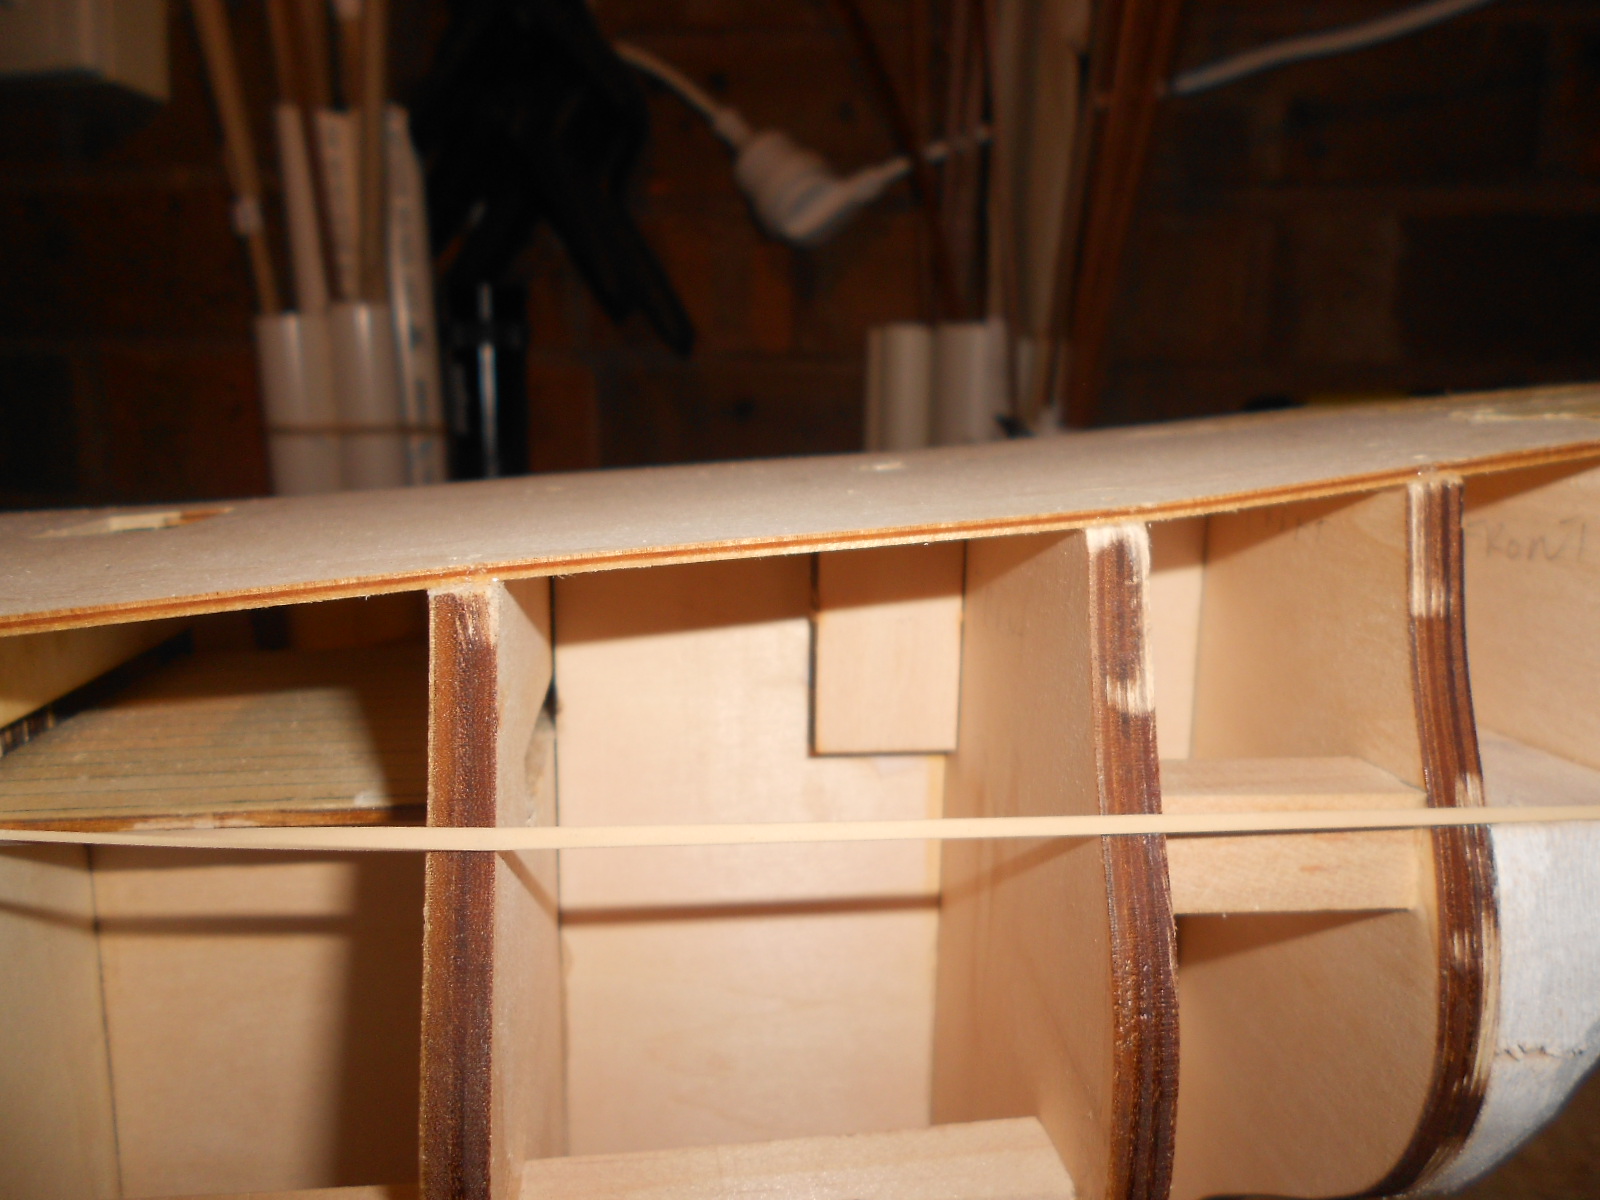
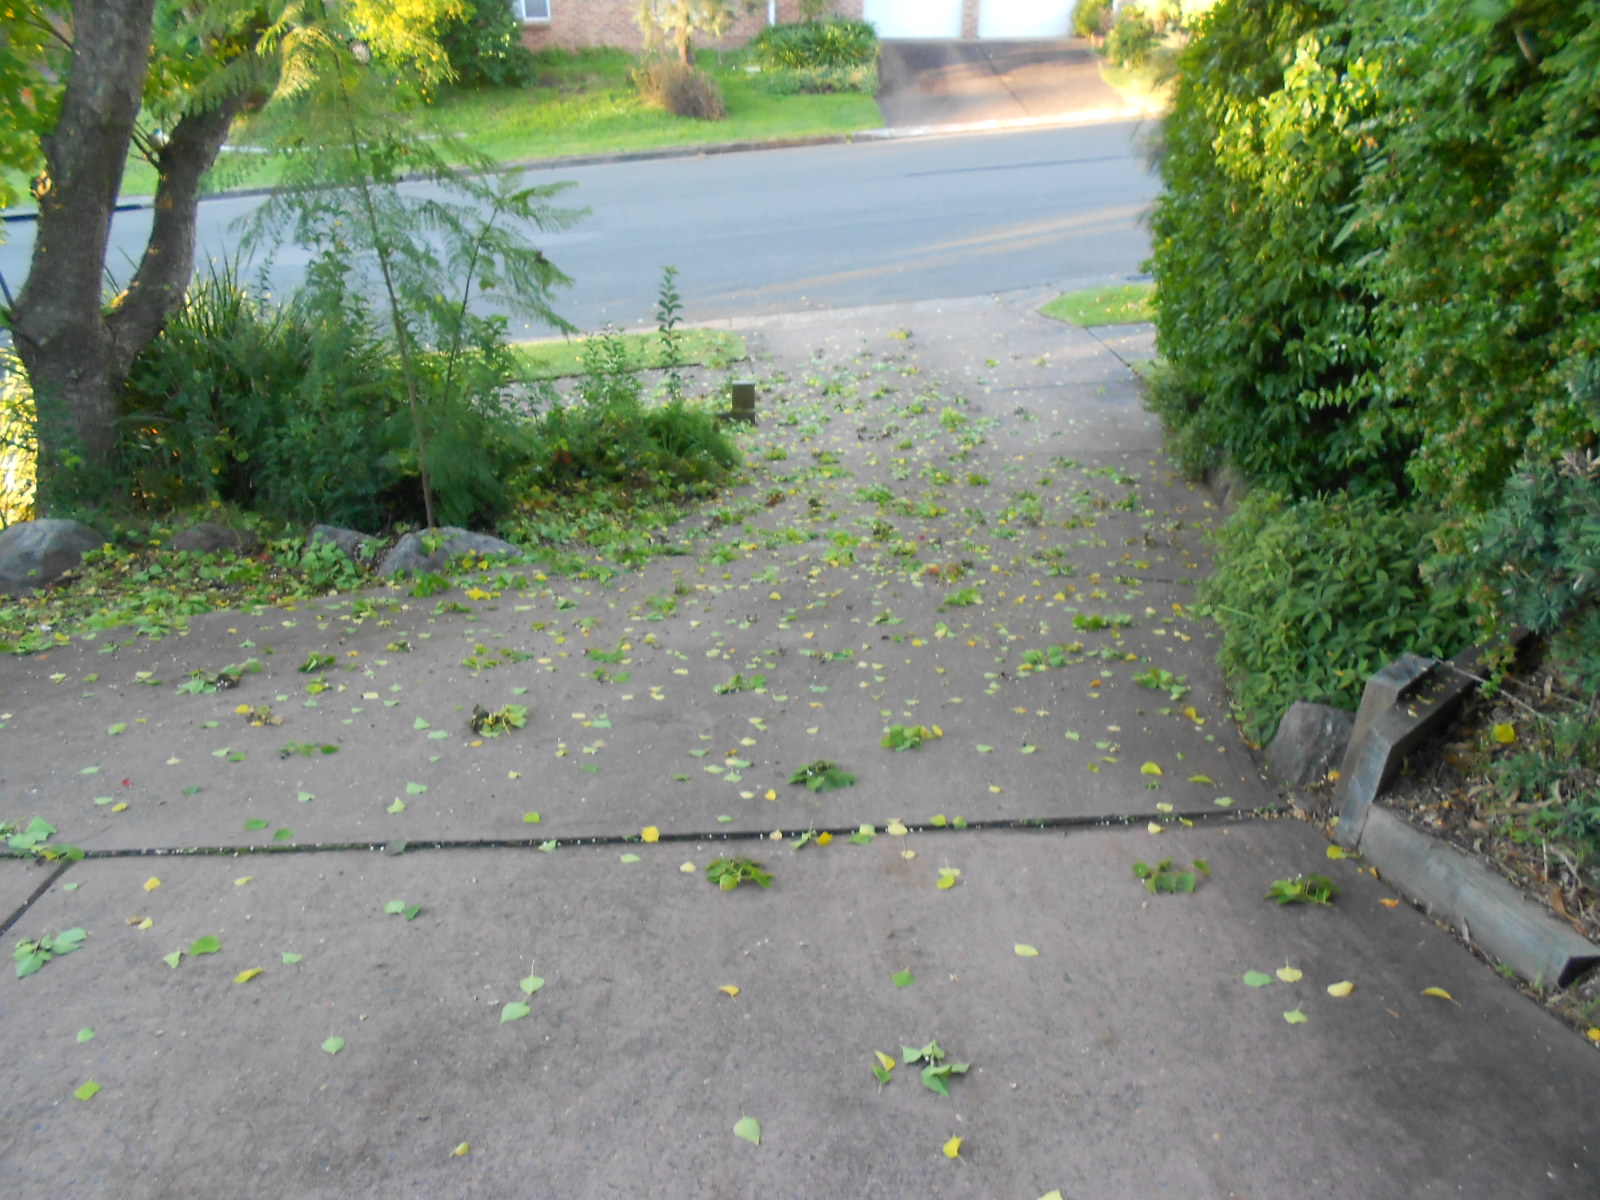
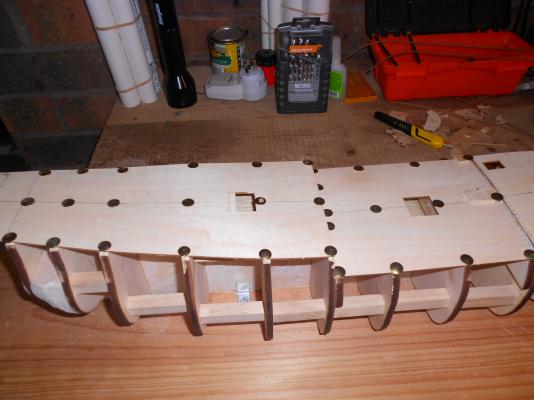
finally sanded down the top of the bulkheads and keel so i can fix the decks on to it coudl have done more but had to do some gardening too including cleaning up this mess again : thats after only half a day and this is one of the culprits :

-
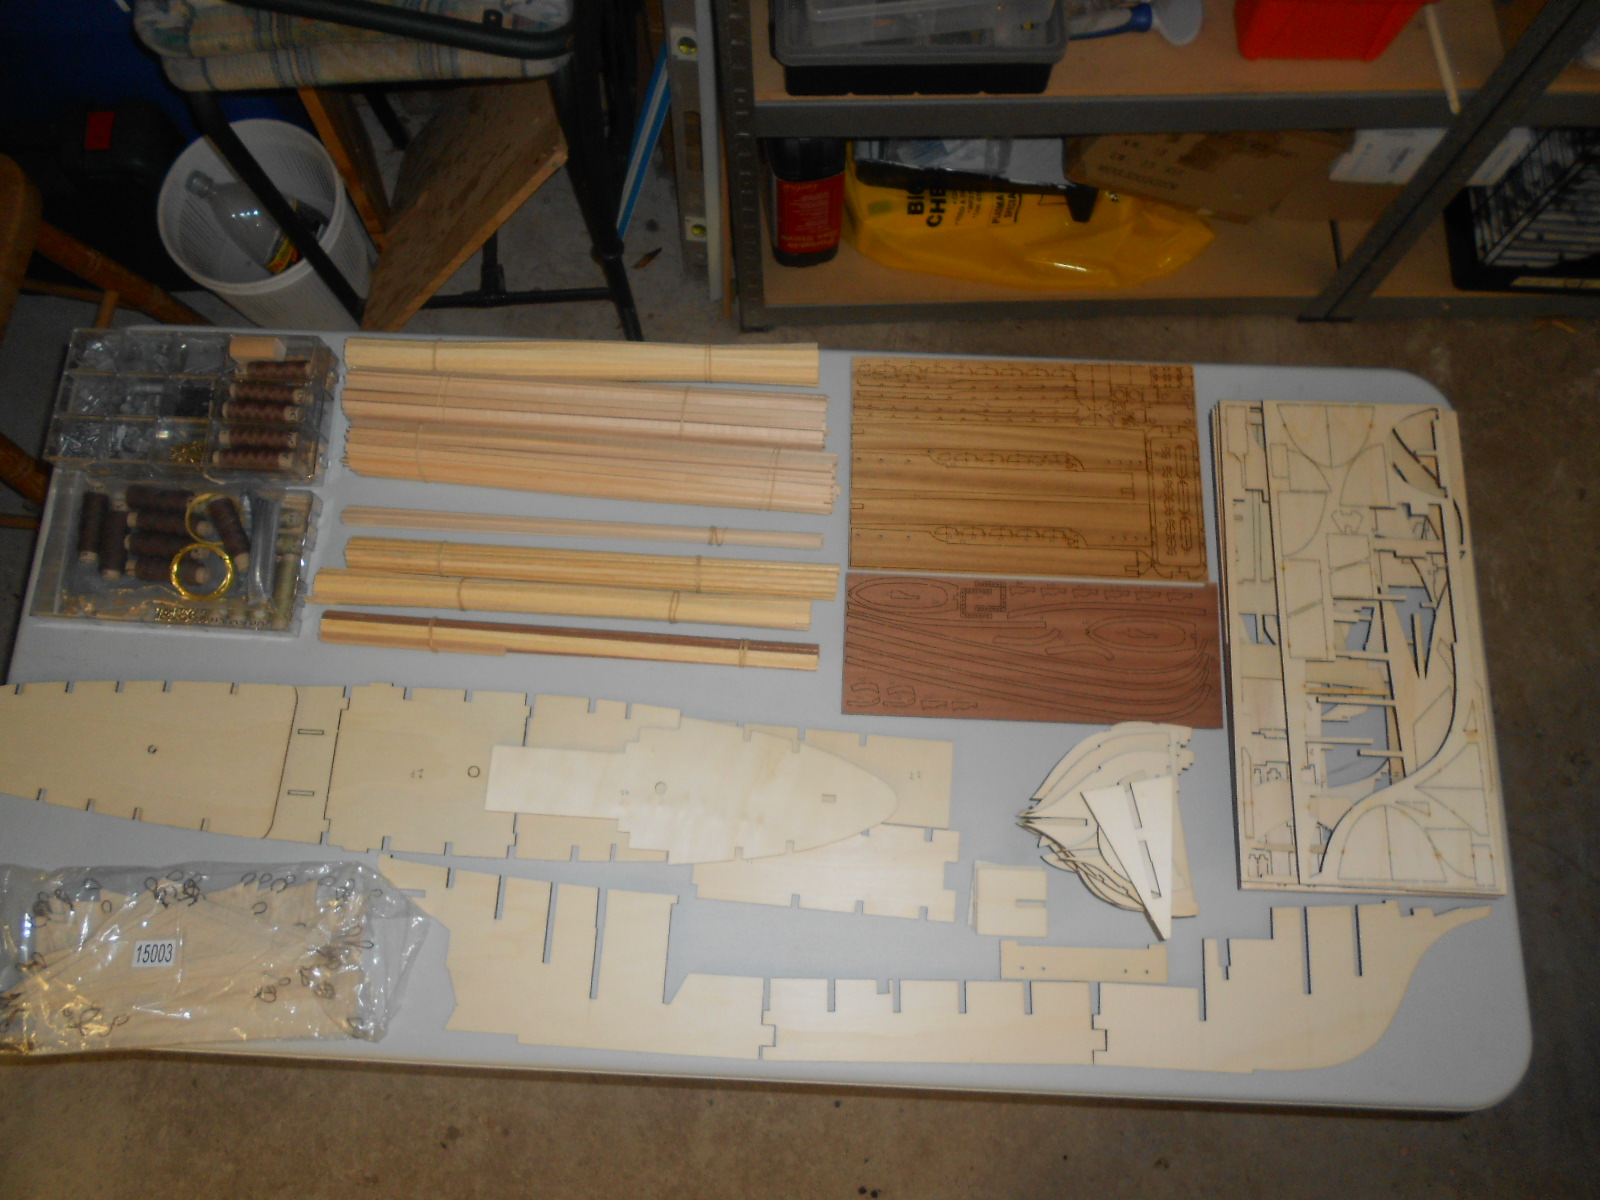
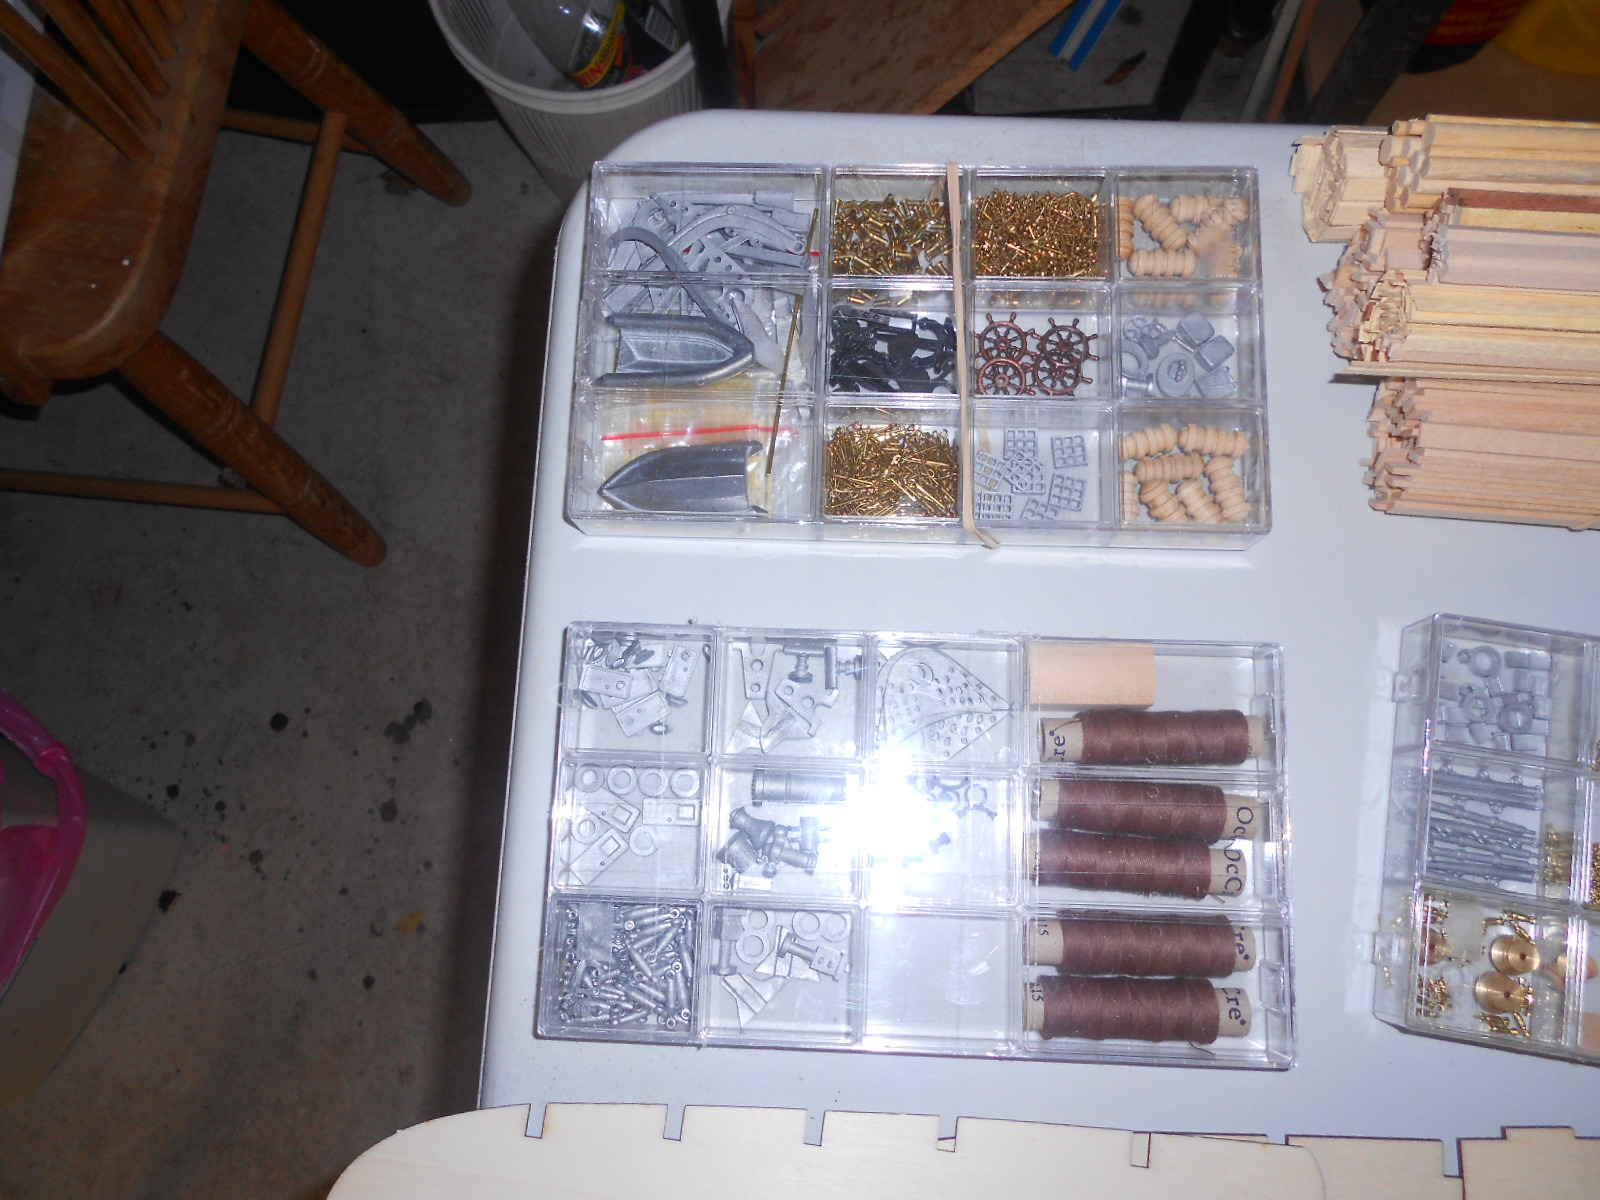
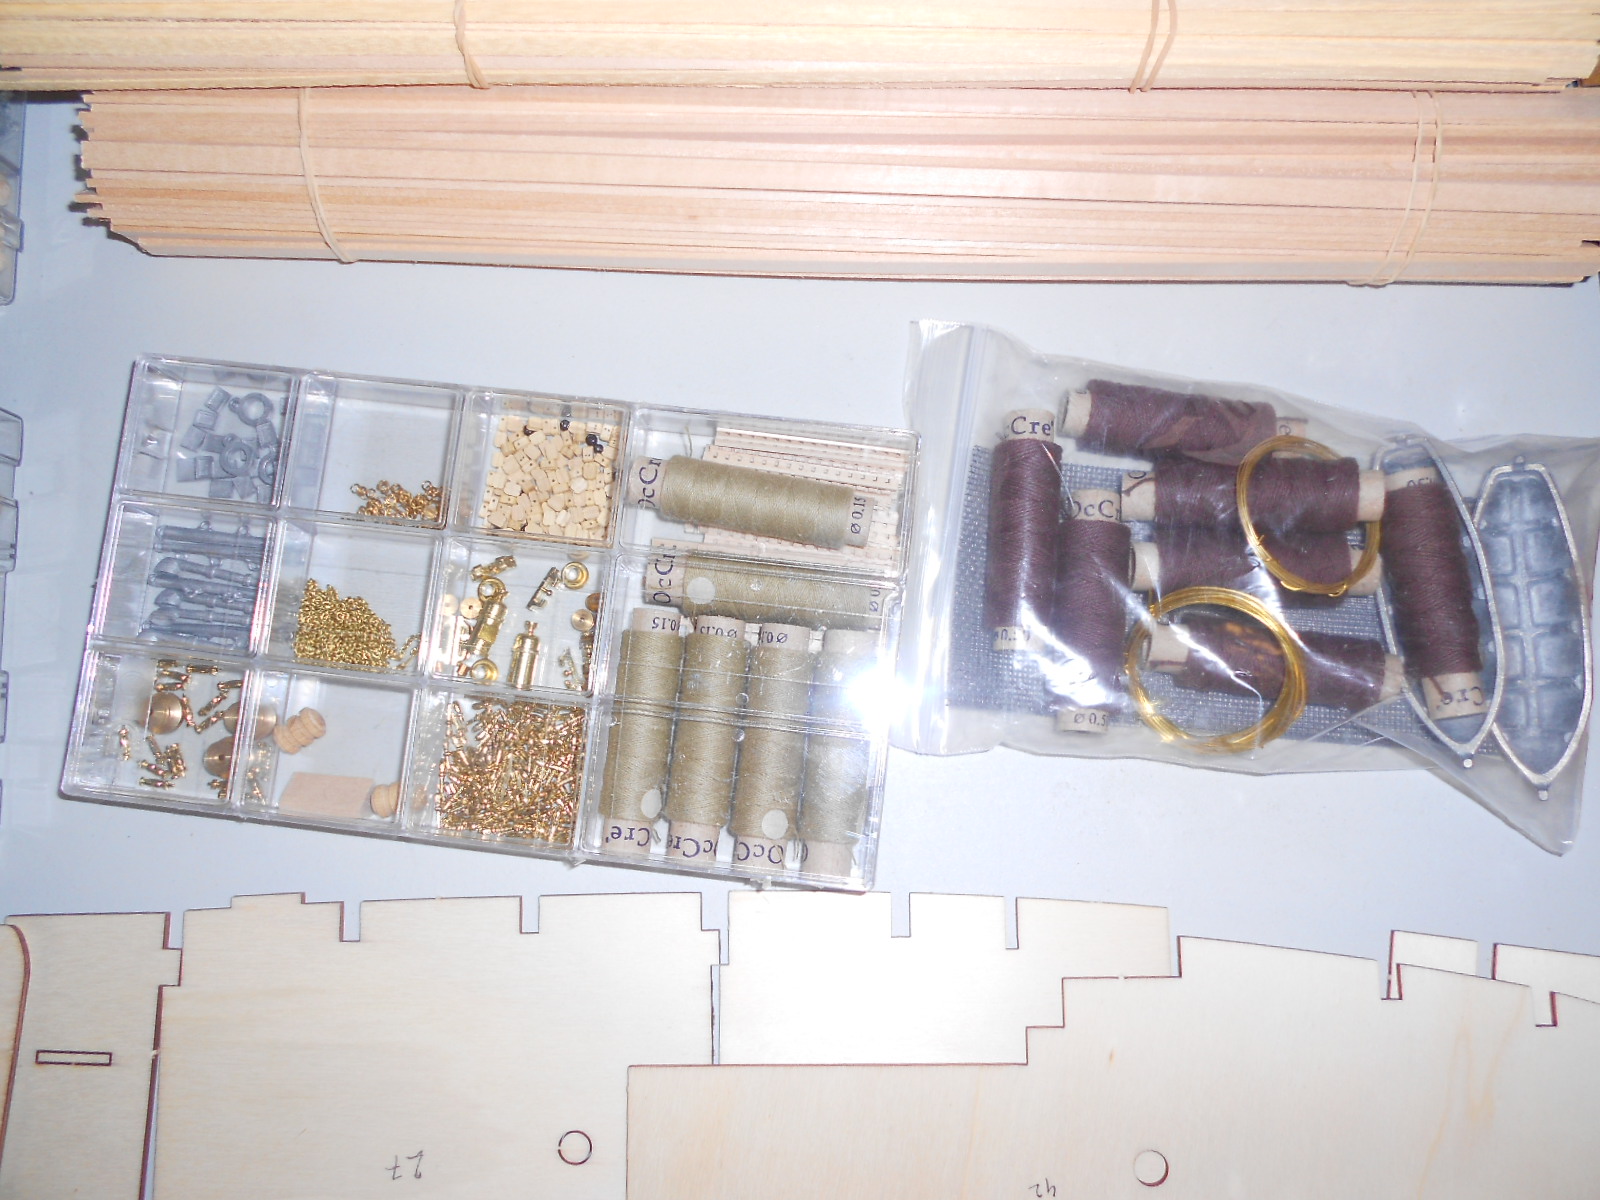
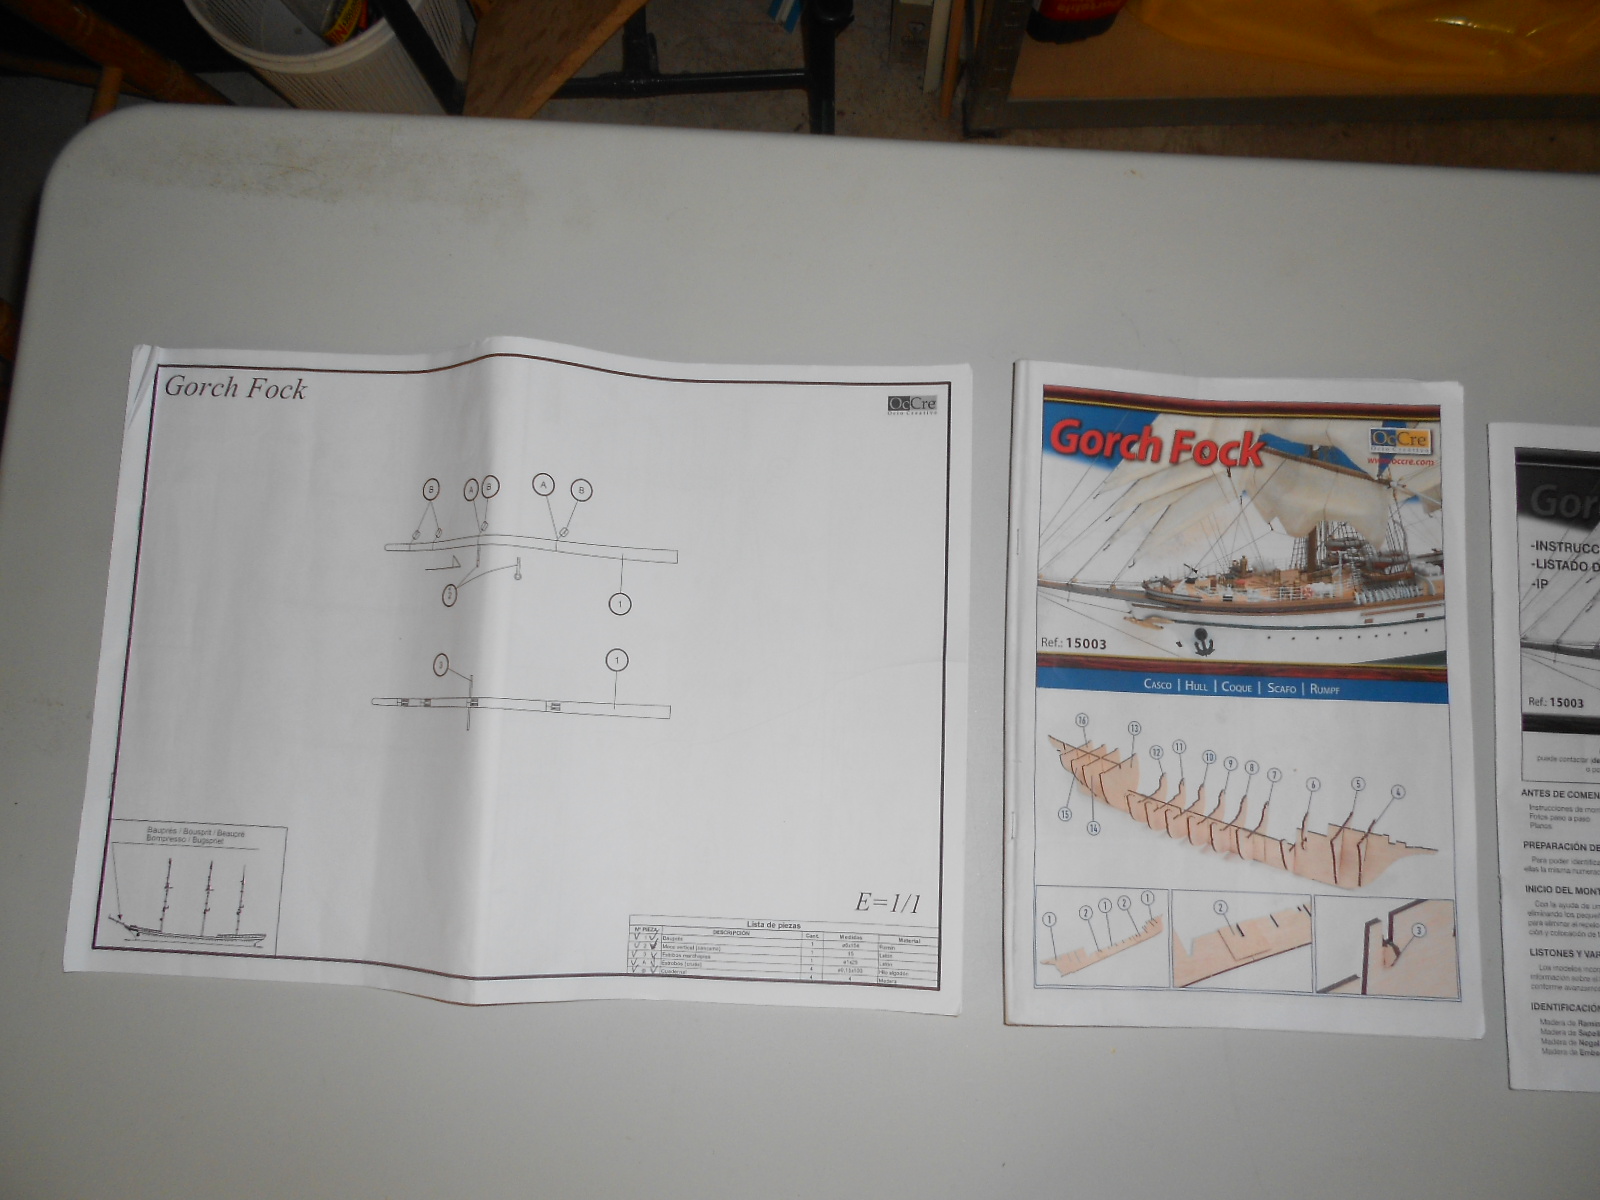
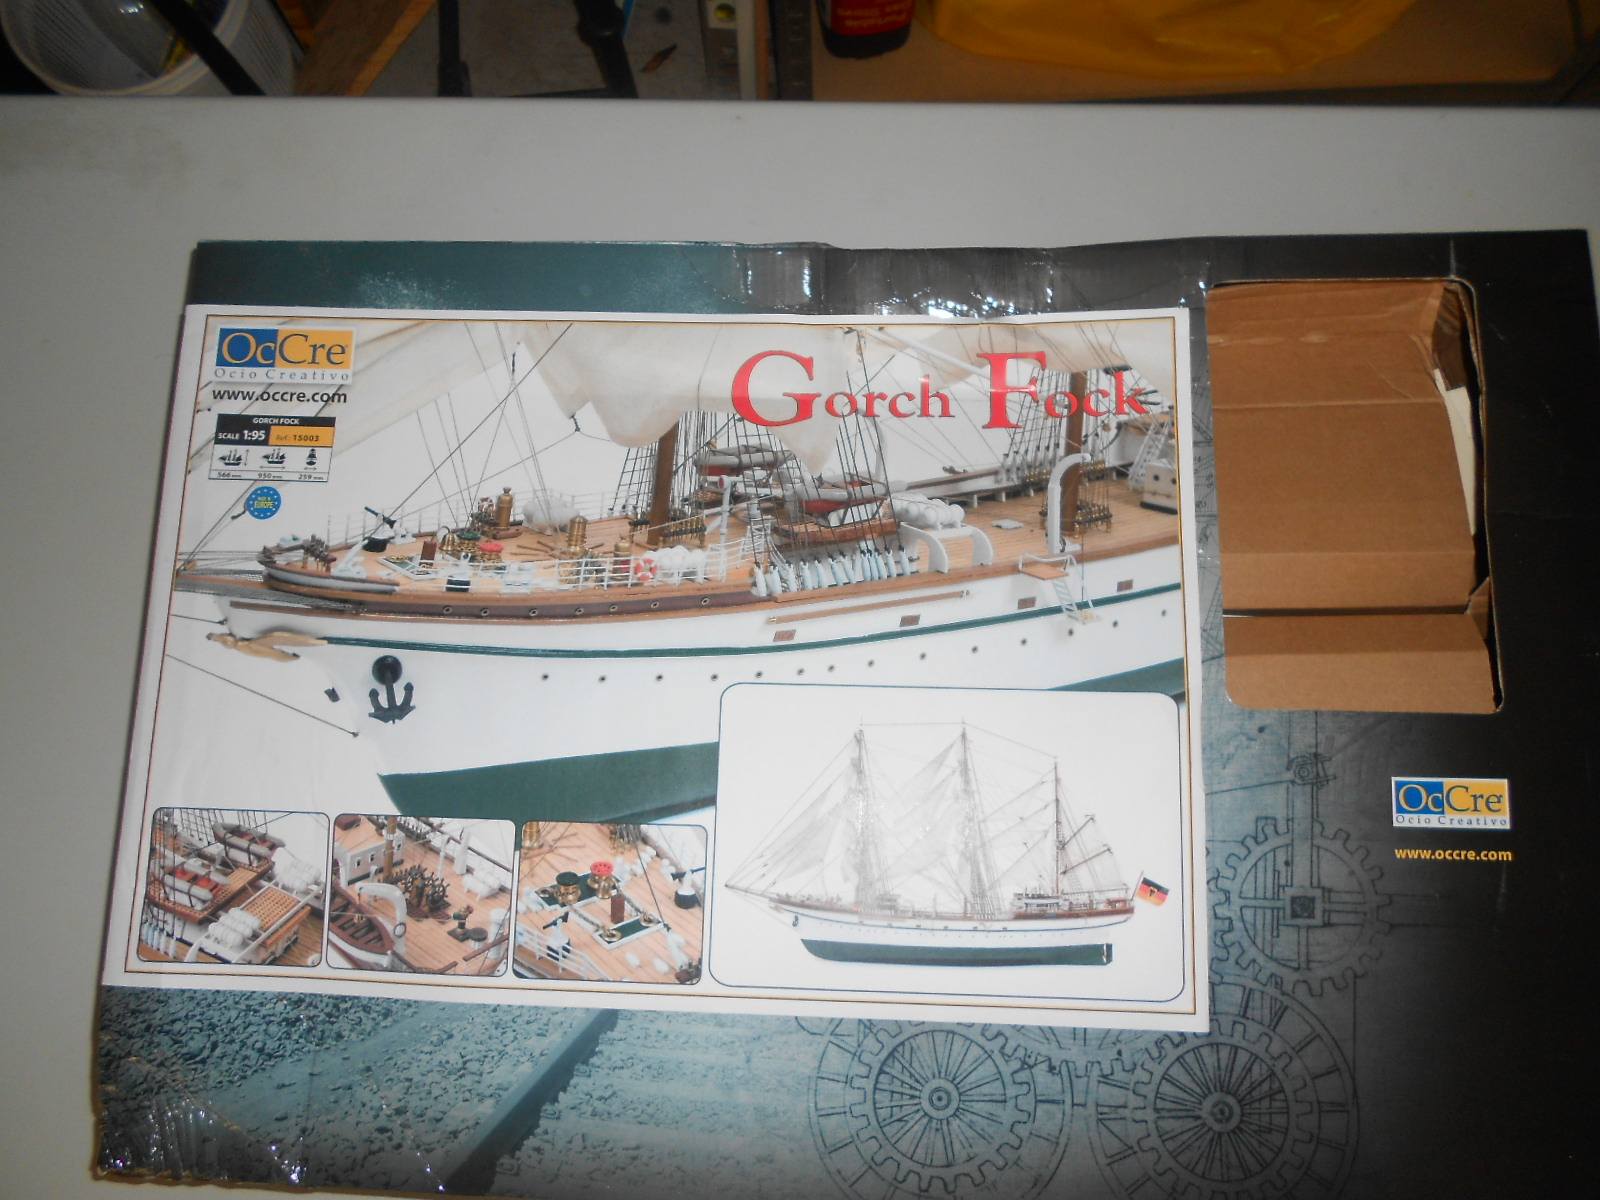
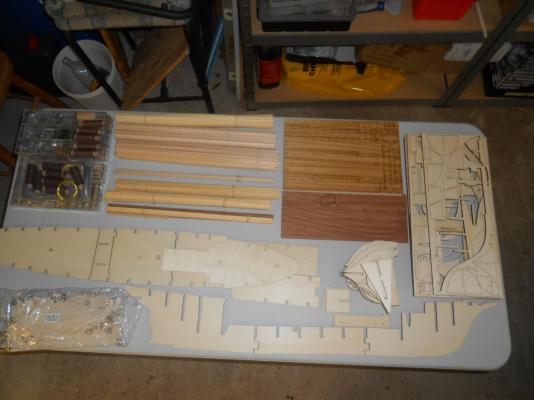
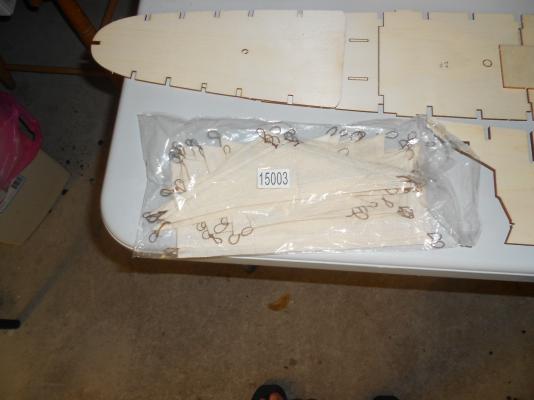
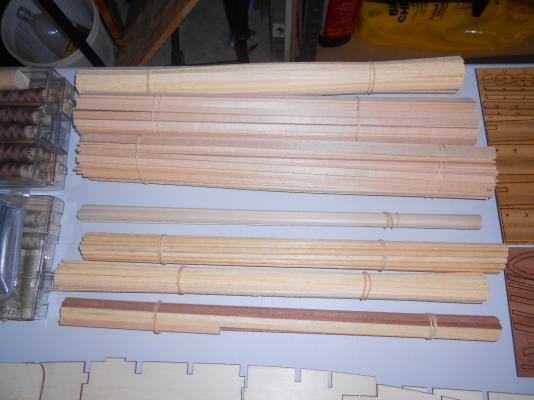
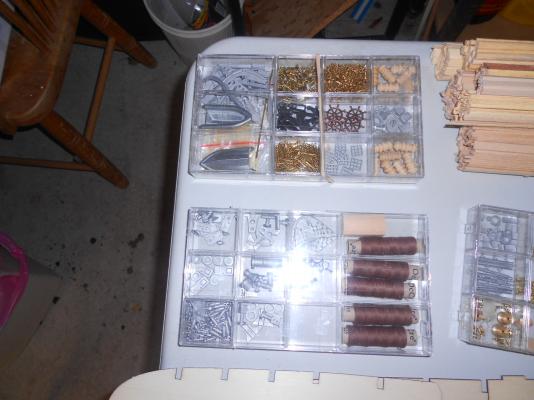
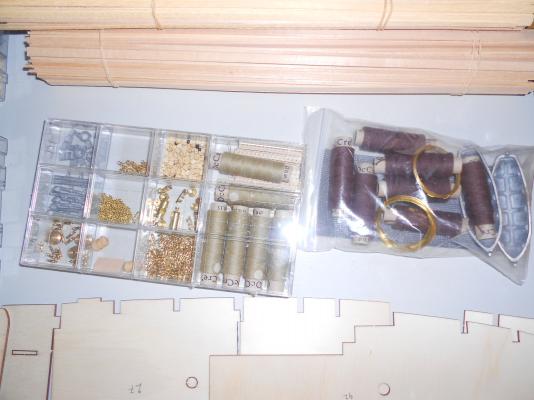
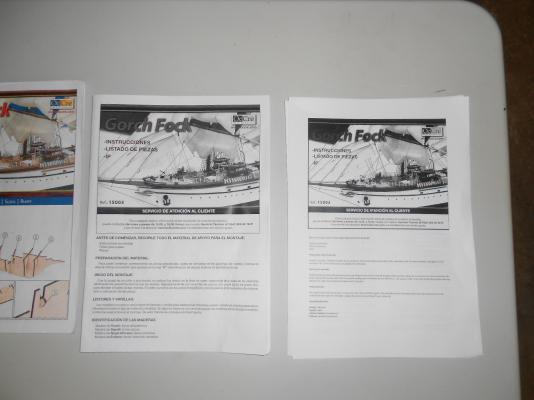
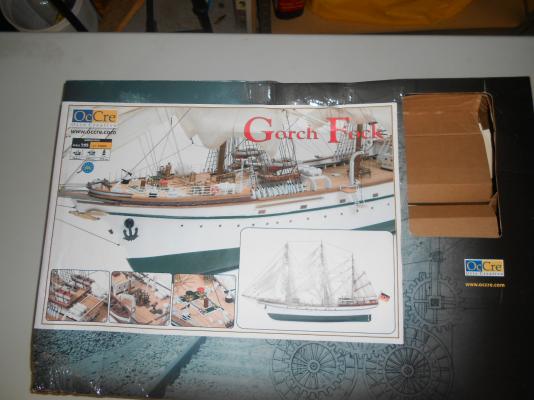
as promised more pictures. there is lots of rigging thread in this kit which means a lot of fun but no deadeyes though the instructions. the rigging are 11 double sided A3 drawings scale 1/1 which have a seperate numbering for all the parts used which cause me a bit of confusion next to each other the spanish instructions and my english translation the kit came in 2 big boxes but i have been able to pack it all in one. No complaint though as this prevented the parts from being damaged and as i have shown before the boxes where banged up a bit

-
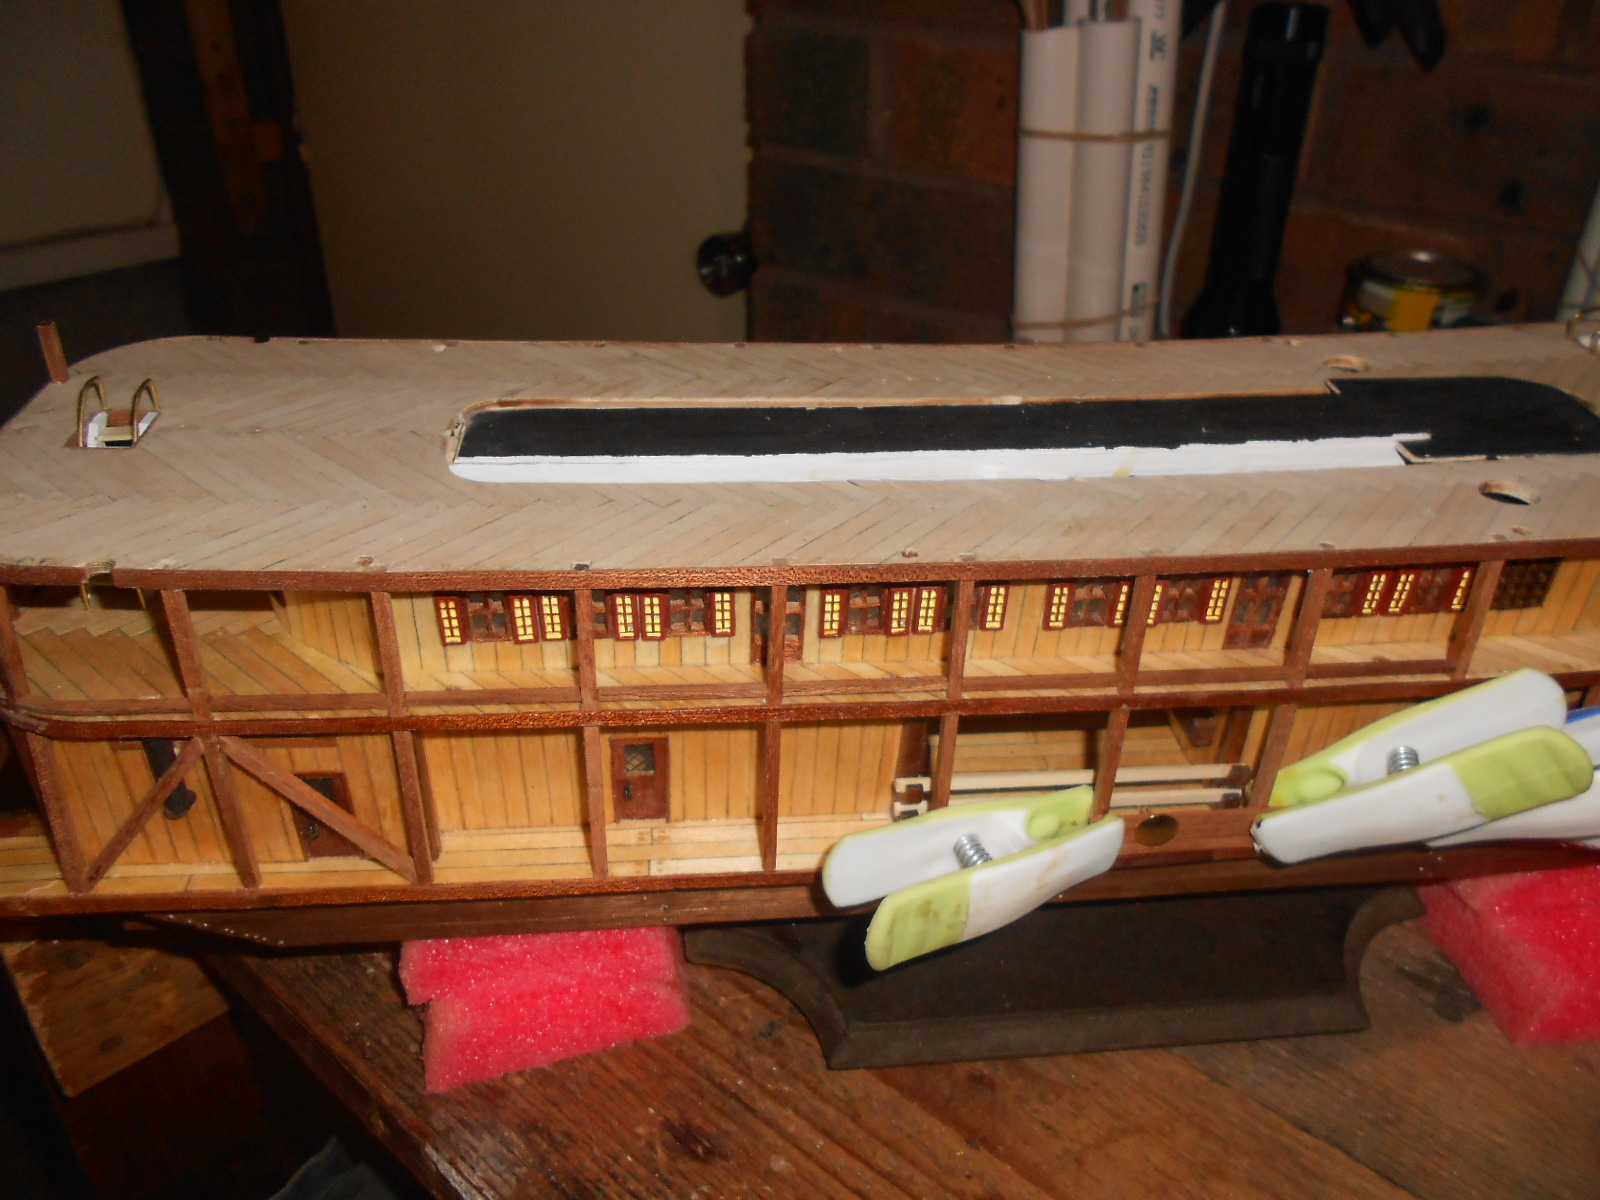
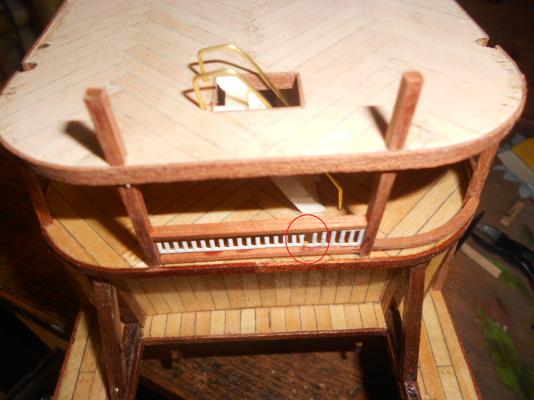
haha MIck its hard to resist a box full of parts here is a better picture of the gap i am talking about (red circle): they should have included some larger railings as there are about 7 or 8 places where a single railign is not long enough i have removed the railign and reduced the wooden parts by .5 mm and glued the botomed one back with the headpost pressed against it. i have now taken all the brass railigns out of the sheet so i can file them neat and touch up with white paint
-
the plastiki ? made of plastic waterbottles?
-
wel done Danny
-
some hints she is build in 1996. changed names twice and she is under 3000gt and no crackers she is still sailing around and looking a lot better then she is in the pic
-
sorry Sjors i totaly forgot about them . i promise i will do them tomorrow finally some news from the hobby store. because of the many parts missing in a sealed kit they have requested them from the manufacturer . from what i have heard OcCre is pretty good in replacing parts so its just a question of waiting .and depending on when they requested them 5 weeks ago or when i send them the last email. the good first impression of this store is tarnished a bit by the poor communication.
-
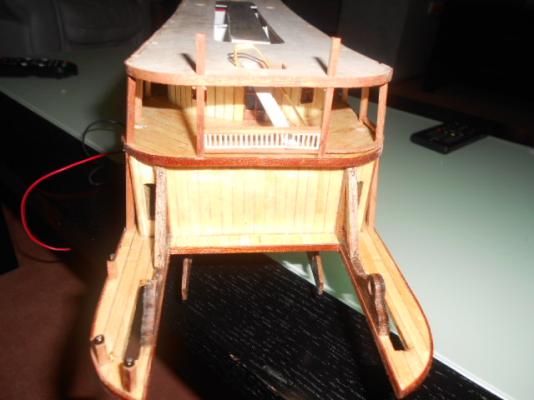
put the back central railing in on the second deck but not happy wiht it. AL provided the brass railing all of the same size so for this long railing you need to add 2 parts together which as you can see leaves a bit bigger gap (well in this photo the stairs are sort of masking it but its very noticable). need to see if i cna move the left headpost about .5 mm to the right. that woudl do it on that level but the same issue will be on the 3rd deck
-
nope
-
thanks Piet unfortunately no big selection but i have some chimay ,hoegaarden and stella artois so help yourself
-
yup thats the same beautiful tread they put in the virginia box