Adrieke
-
Posts
1,625 -
Joined
-
Last visited
Content Type
Profiles
Forums
Gallery
Events
Everything posted by Adrieke
-
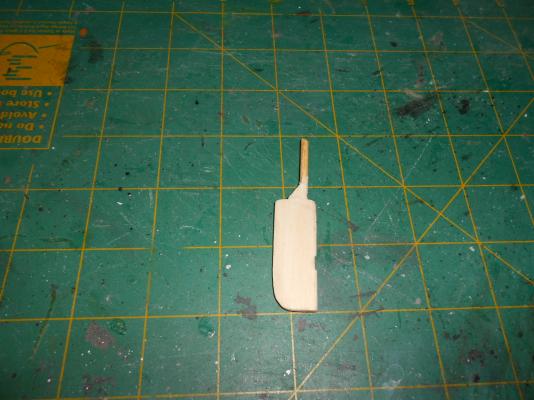
 thanks Wayne thanks for the tips Popeye, I will think of them when I get to using the airbrush how long do you wait between coats and I assume you clean the airbrush in between ? most of this weekends time was spend on Phase 2 of re organising the garage. using the extra shelf I bought I cleared the other 2 shelves, removed them from the wall and cleaned all the dust, leaves and whatever else was behind it. One of the shelves was used to create two 90cm high workbenches (90cmx40cm). next weekend I ll finish off by tidying up the big workbench and getting some light for the new benches. I did finish assembling the radar platform for the foremast and shaped the rudder. the top part of the rudder broke so I used a left over round dowel to fix it.
-
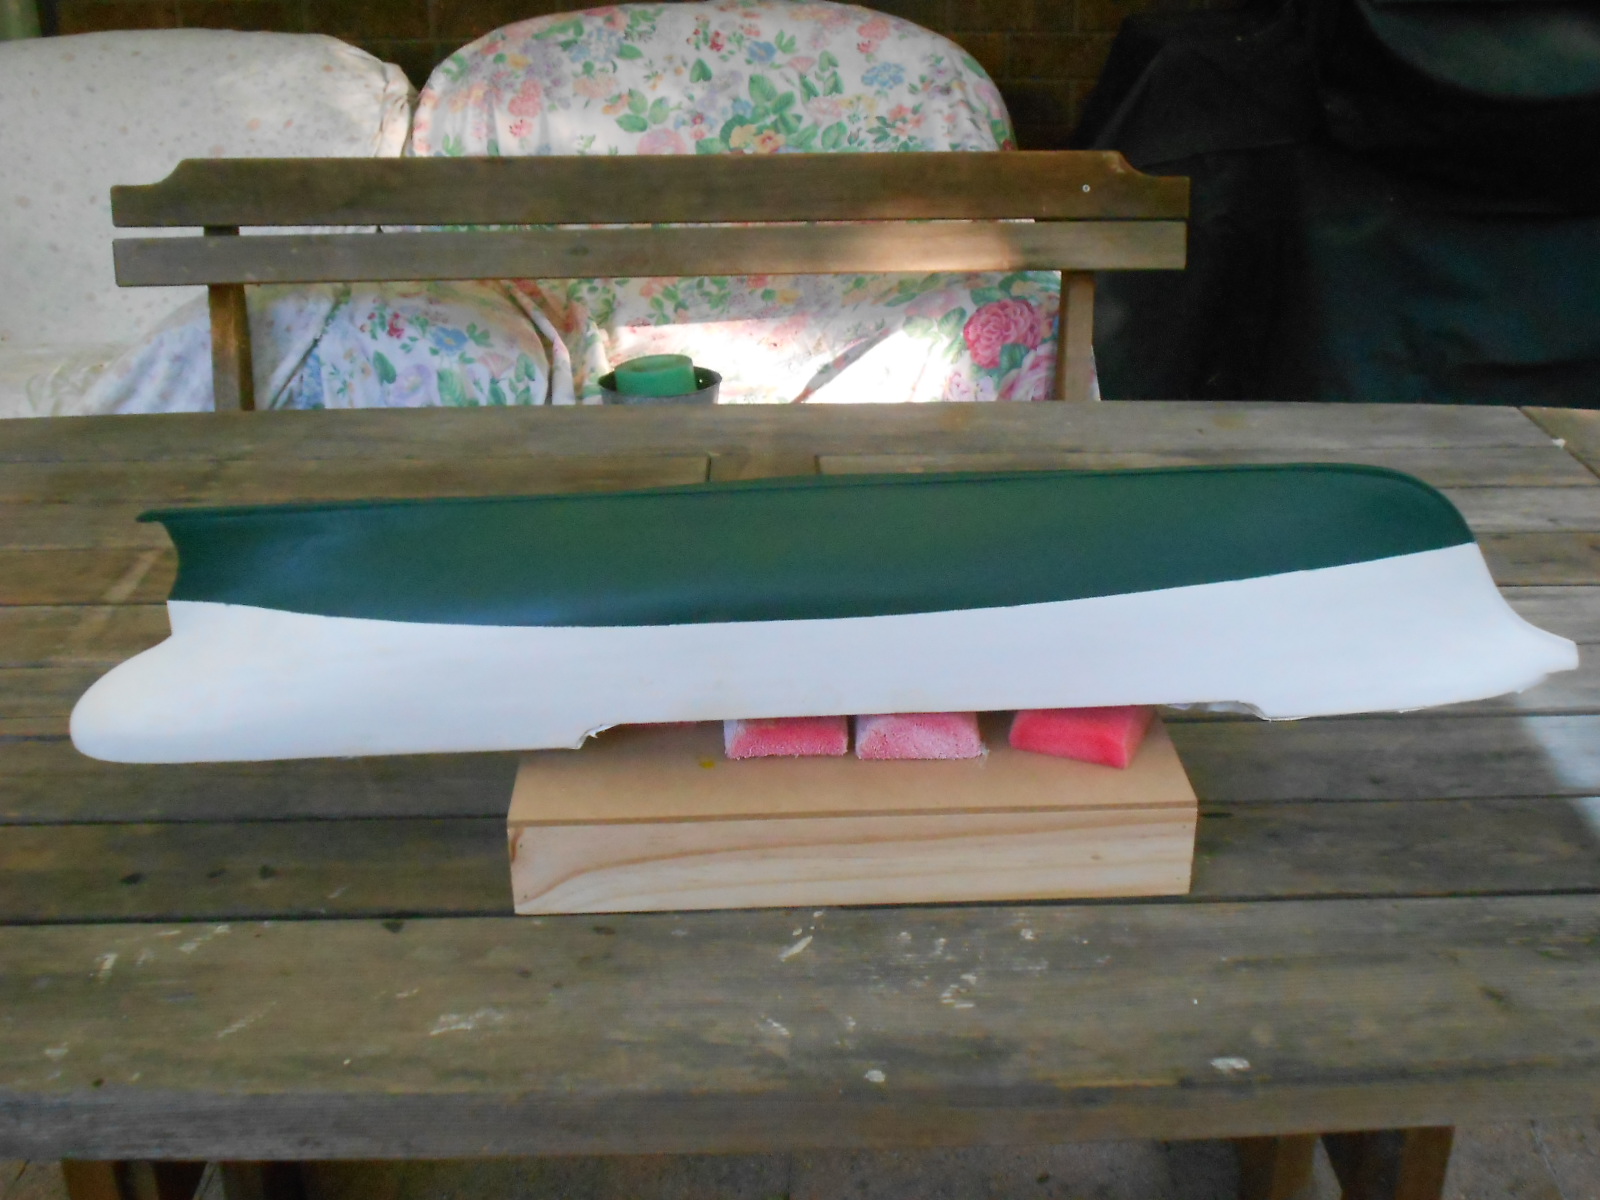
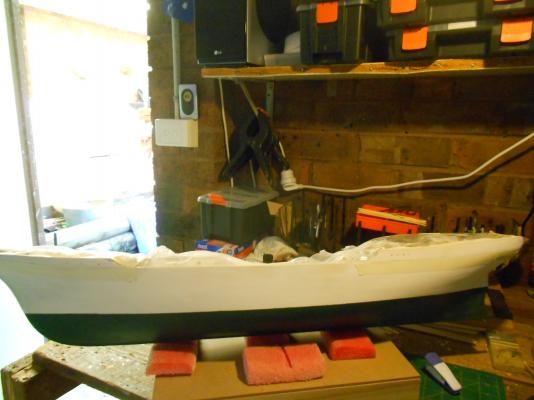
hi Carl, thanks for the suggestion. I got myself a good masking tape and resprayed the botched waterline with the green paint and whoa I got a perfect line this time. tomorrow night I ll do the same for the white side
-
yup very fiddly and had to redo two of the blocks , but i do like the rigging part of the build thanks Sjors, they look exactly like the AL ones too thanks Edwin, unfortunately i am still working on the waterline, i botched the cleanup, probably because of the cheap maskign tape i used, which led to a lot of bleed through. I am going to try to get most of that scraped off and then hopefuly a last bif of painting both of the green and white colors
-
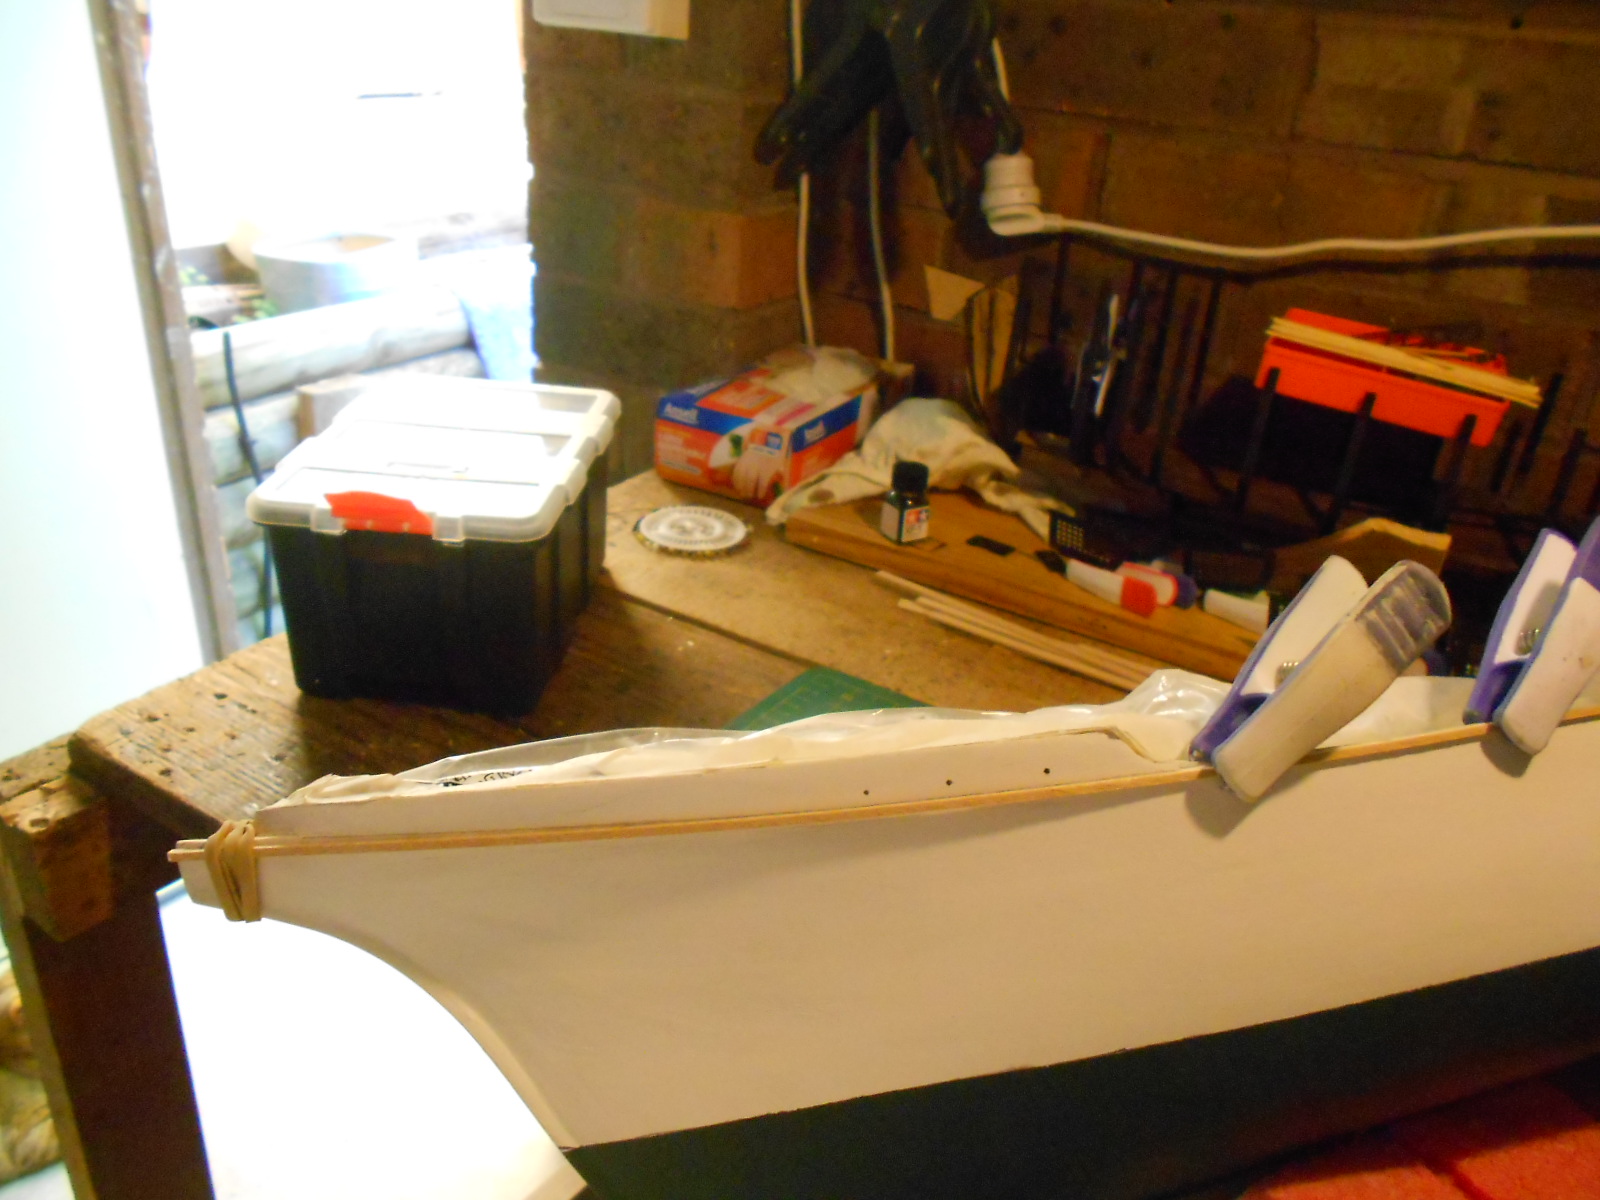
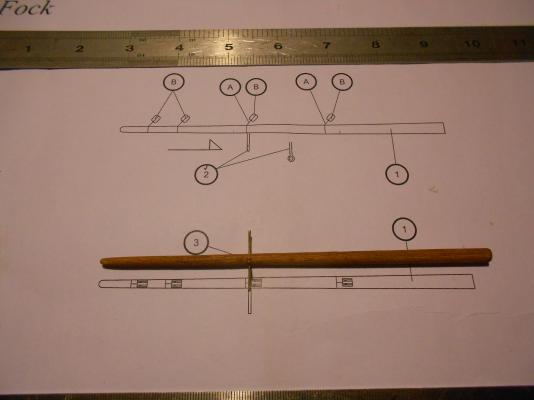
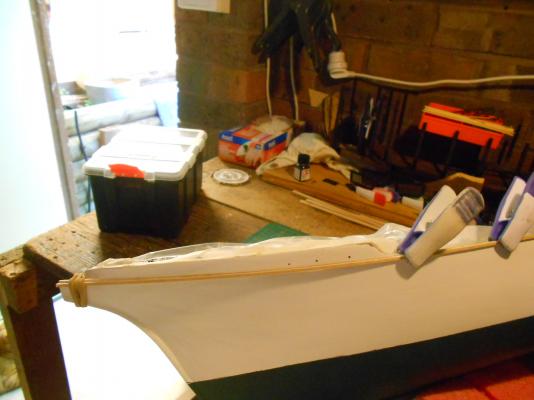
thanks Augie I have tied the 4 blocks on the bowsprit which is now ready to be installed when the time comes I have added a few eyebolts to the foremast and finished spraying the undercoat on the rest of the parts
-
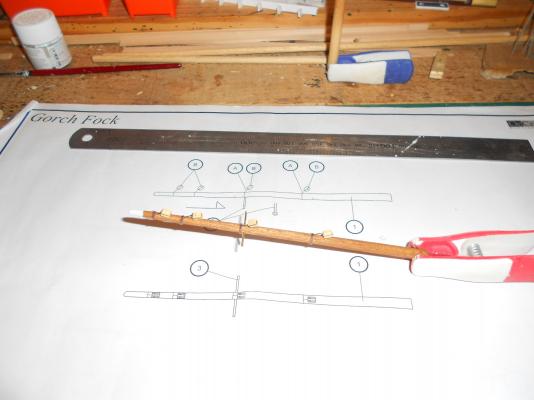
yesterday i put one last coat of white over the hull and thats how its going to stay. I just need to clean up the little waterline errors and then i can finally,finally start glueing the strakes on. i also started on the lower part of the foremast, its tapered and stained and all holes drilled. also gatehrd all the metal,brass and wood parts for it and sprayed on the primer on one side. tonight the other side wil be done and then i ll assemble them and wil use my new airbrush to finish them off in white hoping my first go with the airbrush wil turn out ok.
-
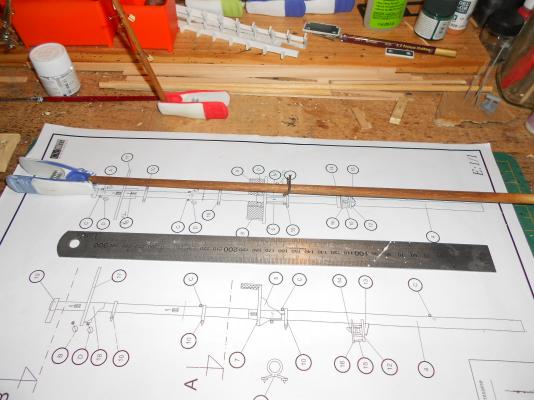
from my first few attempts , I think I ll need lots of practice and patience taking a break from all the painting I have been doing I started working on the bowsprit so far I have tapered it, stained it, drilled the holes for the brass rod and eyebolt and glued those in place
-
looking great SJors, and when you find more lost hours cna you send some over, as i seem to not have many hours these days for building
-
puts a case of belgian beer next to the popcorn machine and sits down to watch the show
- 255 replies
-
- 1
-

-
- granado
- bomb ketch
- (and 2 more)
-
not much happening , due to the fact that i have been working on the GF and my workbench is so cluttered again i dont have room i have planned a cleaning and reorganising off the garage shelving where i use one shelf to make two little work benches (900mm W x 400mm D). these can be used to work and store painted and glued parts of both ships and still leave me room to work on other projects (of which i have too many )
-
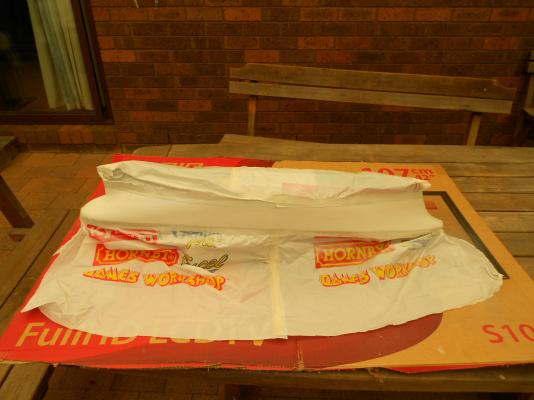
still working on finishing the hull. But i am making good progress. Also i have most of the strakes painted and bend already and have more deck 'furniture' painted also. so once i am through this , things should speed up. hopefuly i l lbe able to show some pictures of the finished hull by next weekend also on the weekend i have purchased an airbrush kit and have been experimenting with its use.
-
thanks Carl and Randy well after a bit of sanding it doesn't look too bad. if I can put on a few even coats of paint it should be acceptable
-
thanks Kevin and Mobsie i have been pondering about the painted hull. the green part is decently done but the white part looks horrible.not sure if its because its a light color that i tend to overspray , or the type of spraycan i used. Well to rule out the can i am going to the store and buy the proper cans ( more expensive) Sjors mentioned airbrush, so i went and got myself informed on what i should buy if i go that way. Depending on what they have in the store i ll either end up with the cans or an airbrush. then its on to another session of sanding to get the hull prepared for the next session of painting. with this model all i seem to do is paint
-
Thanks Augie, it was what made me decide to buy her, but only realised afterwards that thtere was a lot of painting on this build Thanks Sjors. I am using spraycans. when i started with spraypainting , i didnt want to invest in all the equipment so i gave it a go with cans.
-
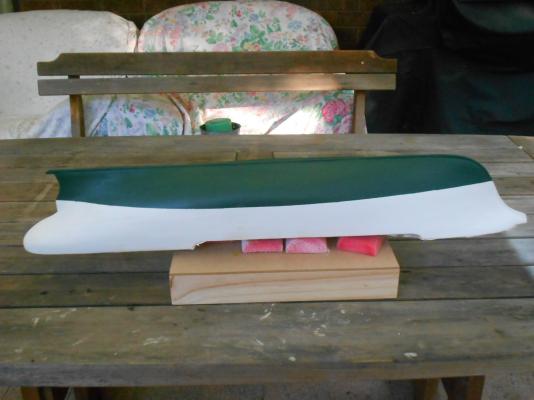
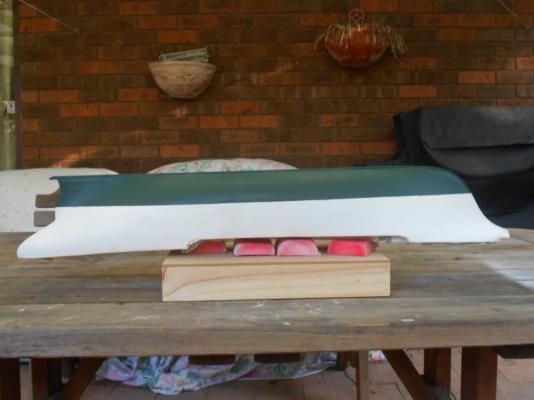
this weekend I painted the top part of the hull dark brown. according to the instructions the distance between the top 2 strakes should be 10 mm front and aft, however the aft needs be 12 mm. I used part of the strakes to mark the lines. then masked below it and painted it 2 coats. During this process I accidentally scraped the lower green part so I ll need to do some fix up painting there. I also started on spray panting the white part. I must have over sprayed as one side had paint running marks, so I ll have to wait till its all dry to sand these off before I continue
-
thanks Edwin
-
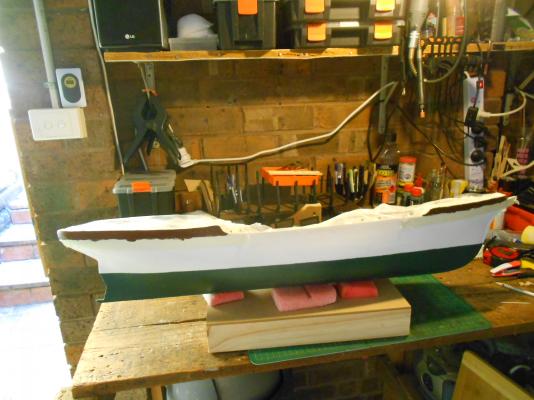
thanks Nils . I had a look at your scratch build of the GF and its a beautiful work of art. thanks Popeye, Carl and Sjors. feels good to finaly finishing of the hull
-
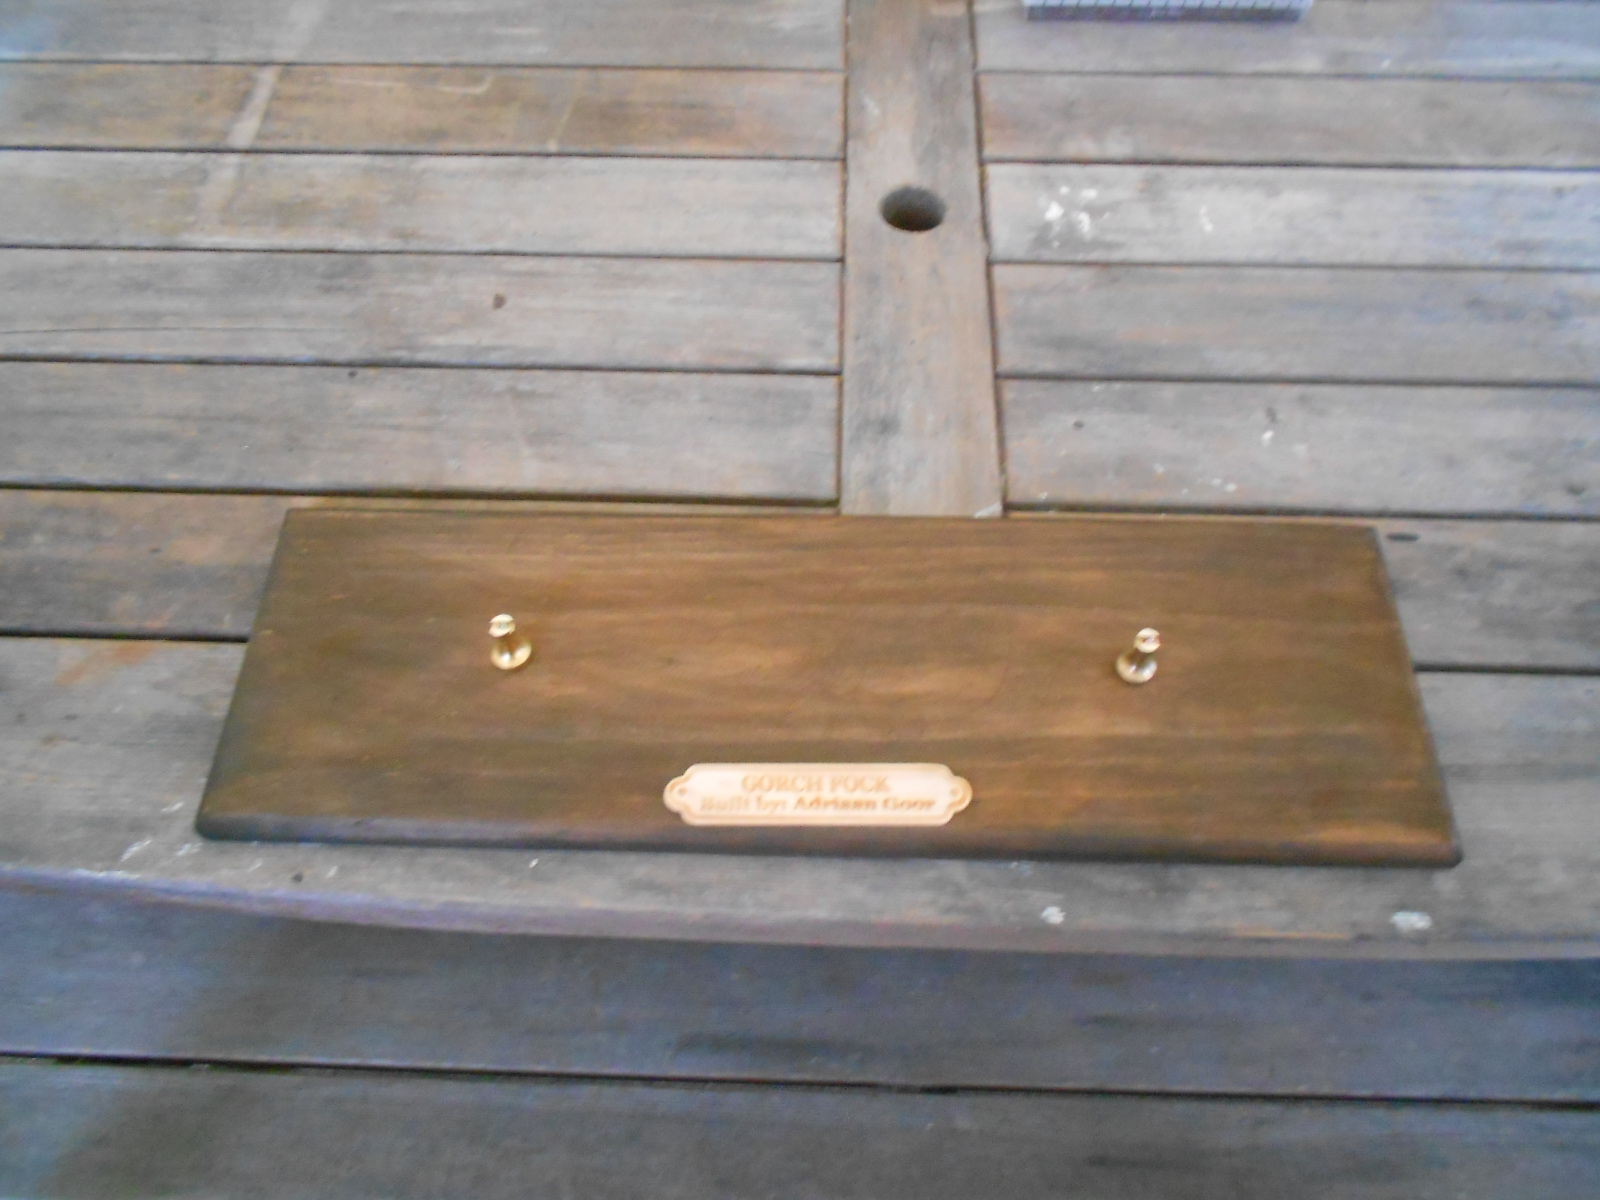
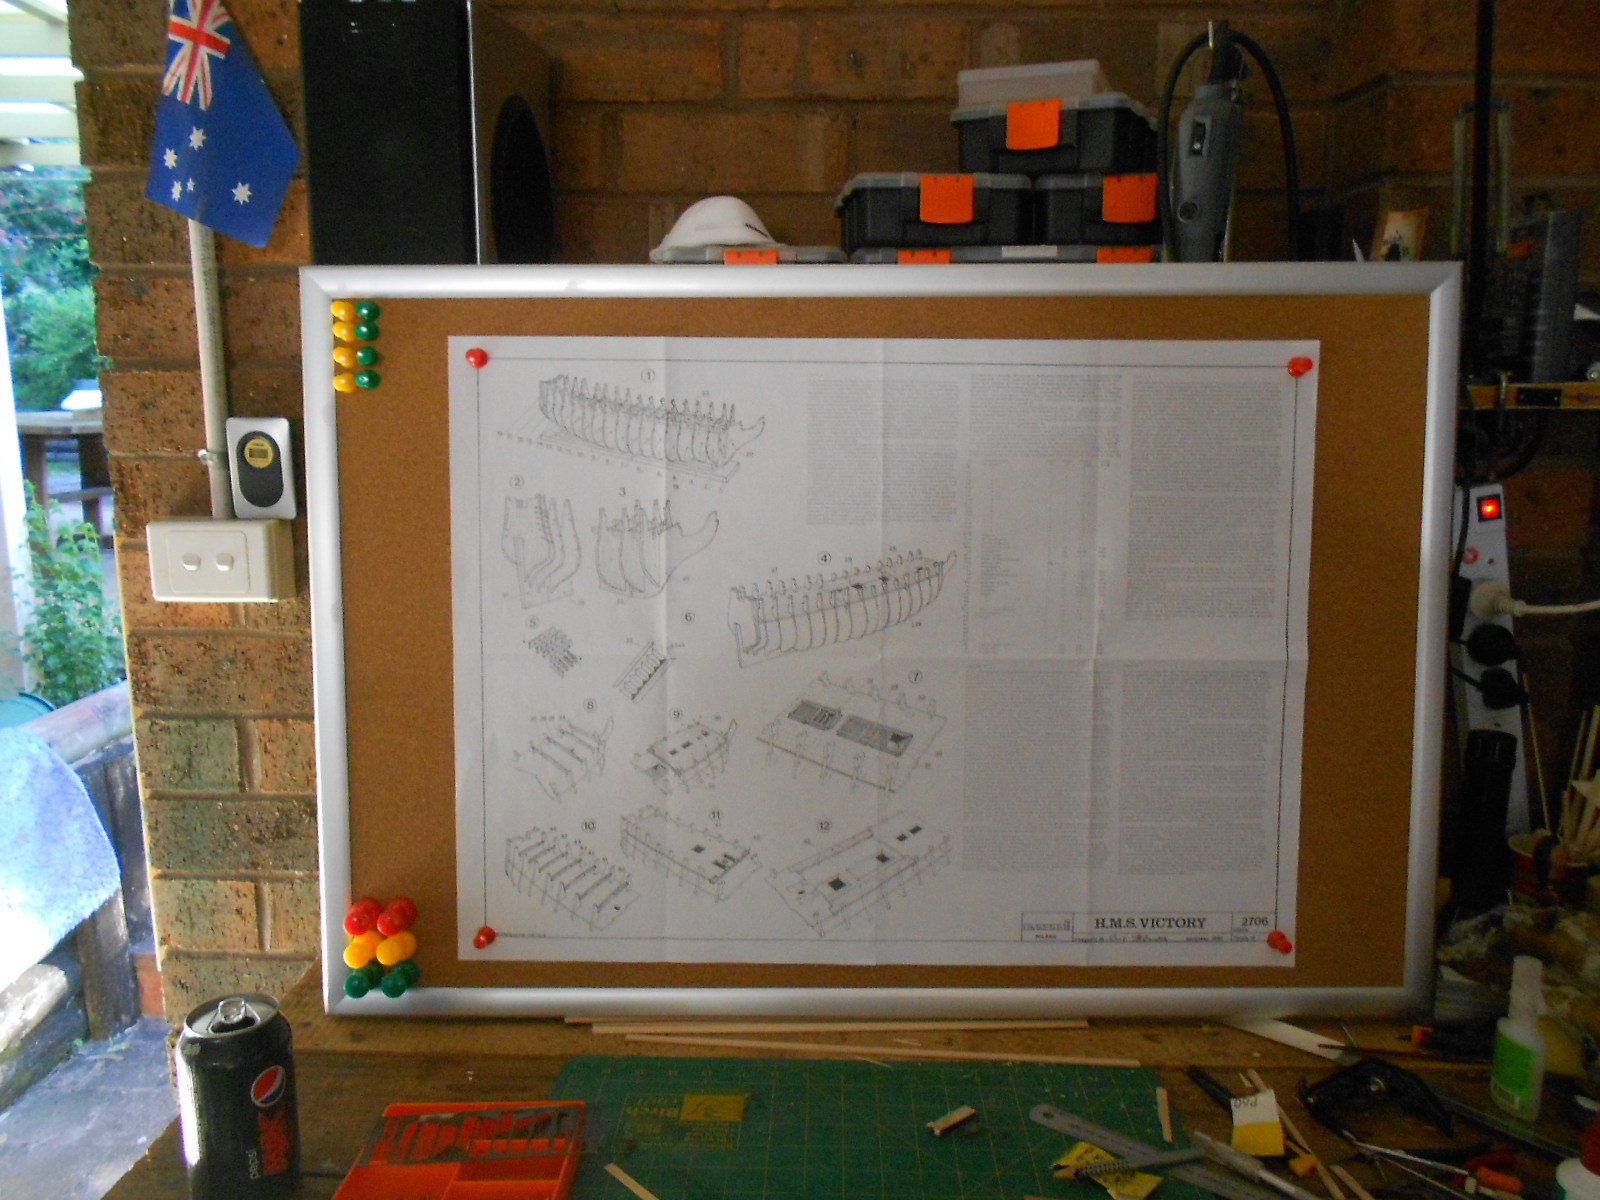
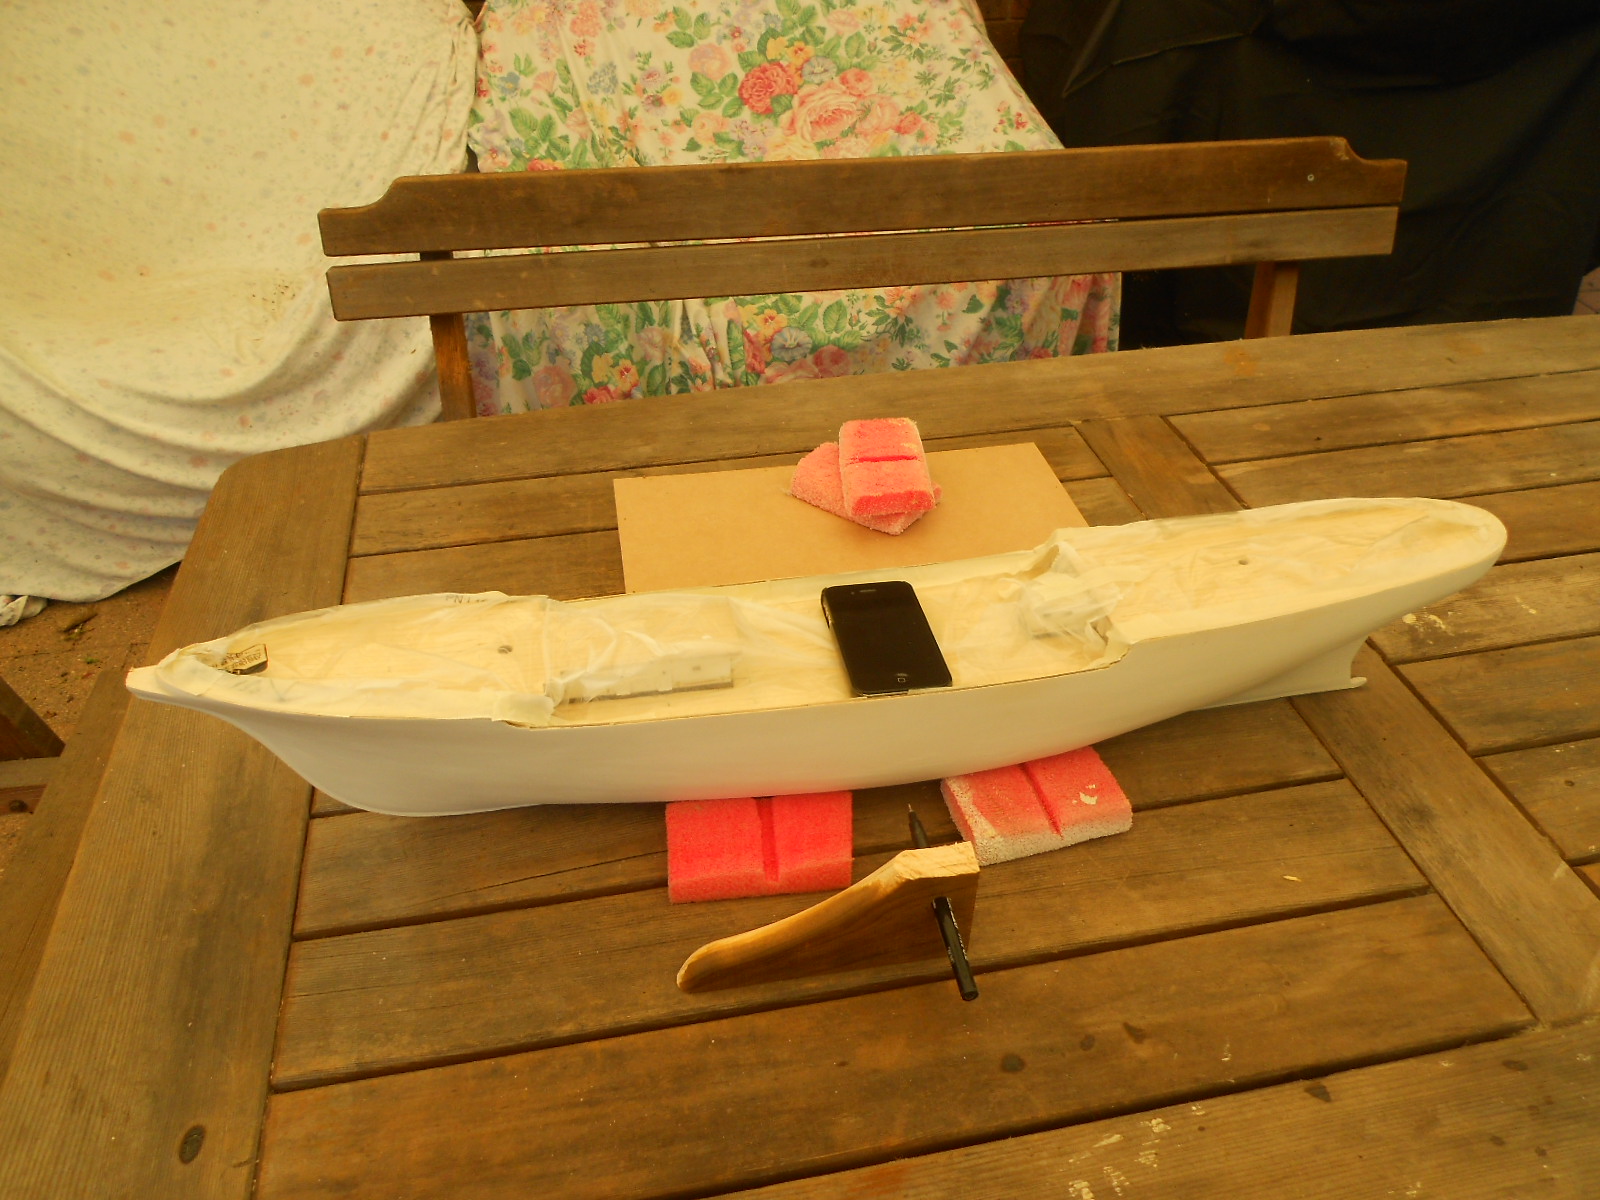
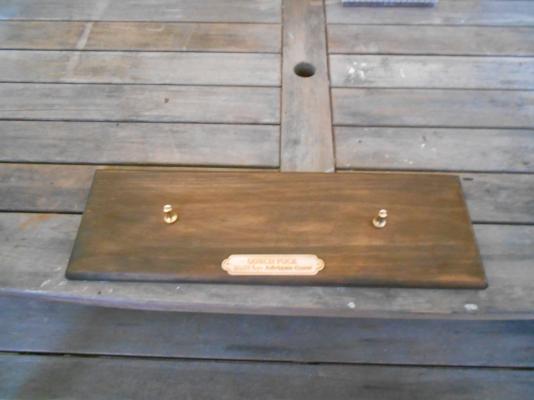
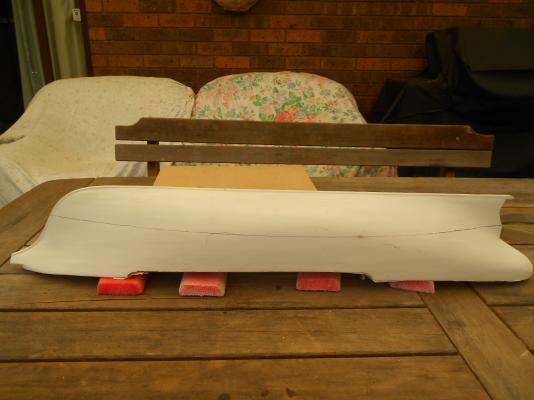
not perfect , but looking side on it looks straight. I ll leave it for a day before spray painting the white. I have also finished the stand. also went and got a corkboard so I can pin the plans for some future builds

-
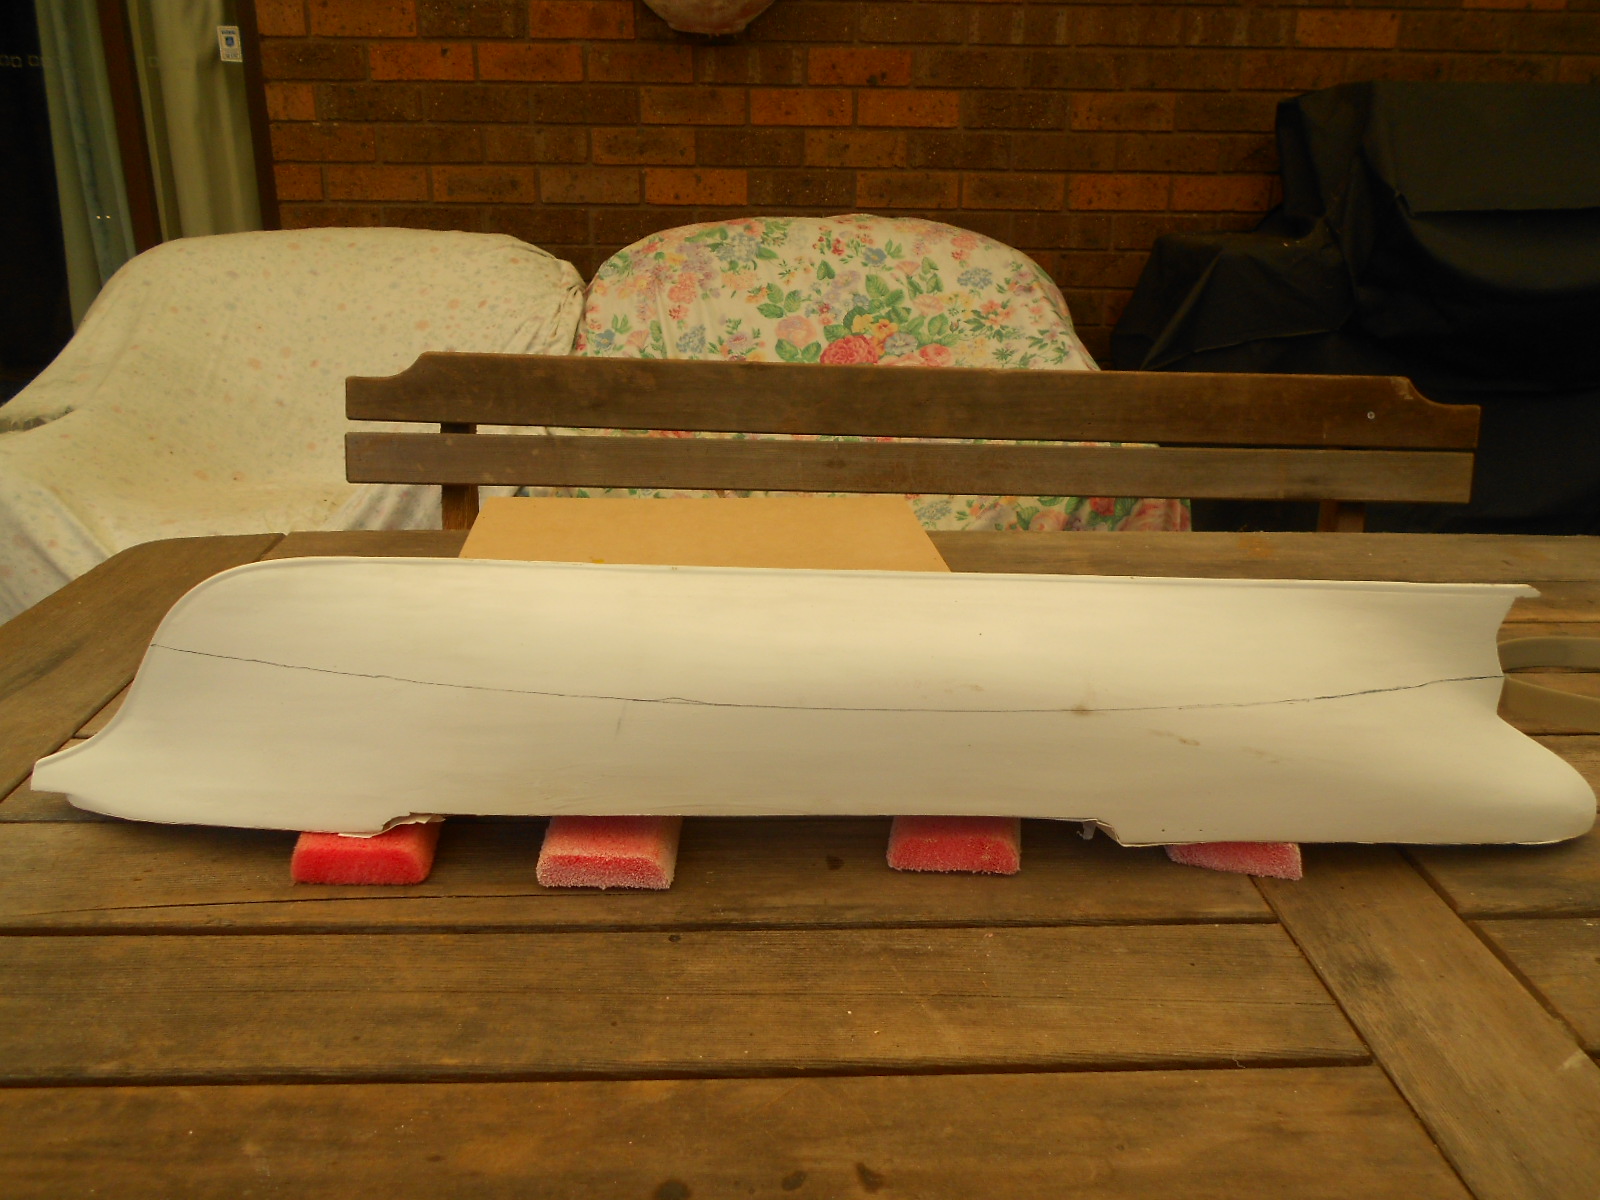
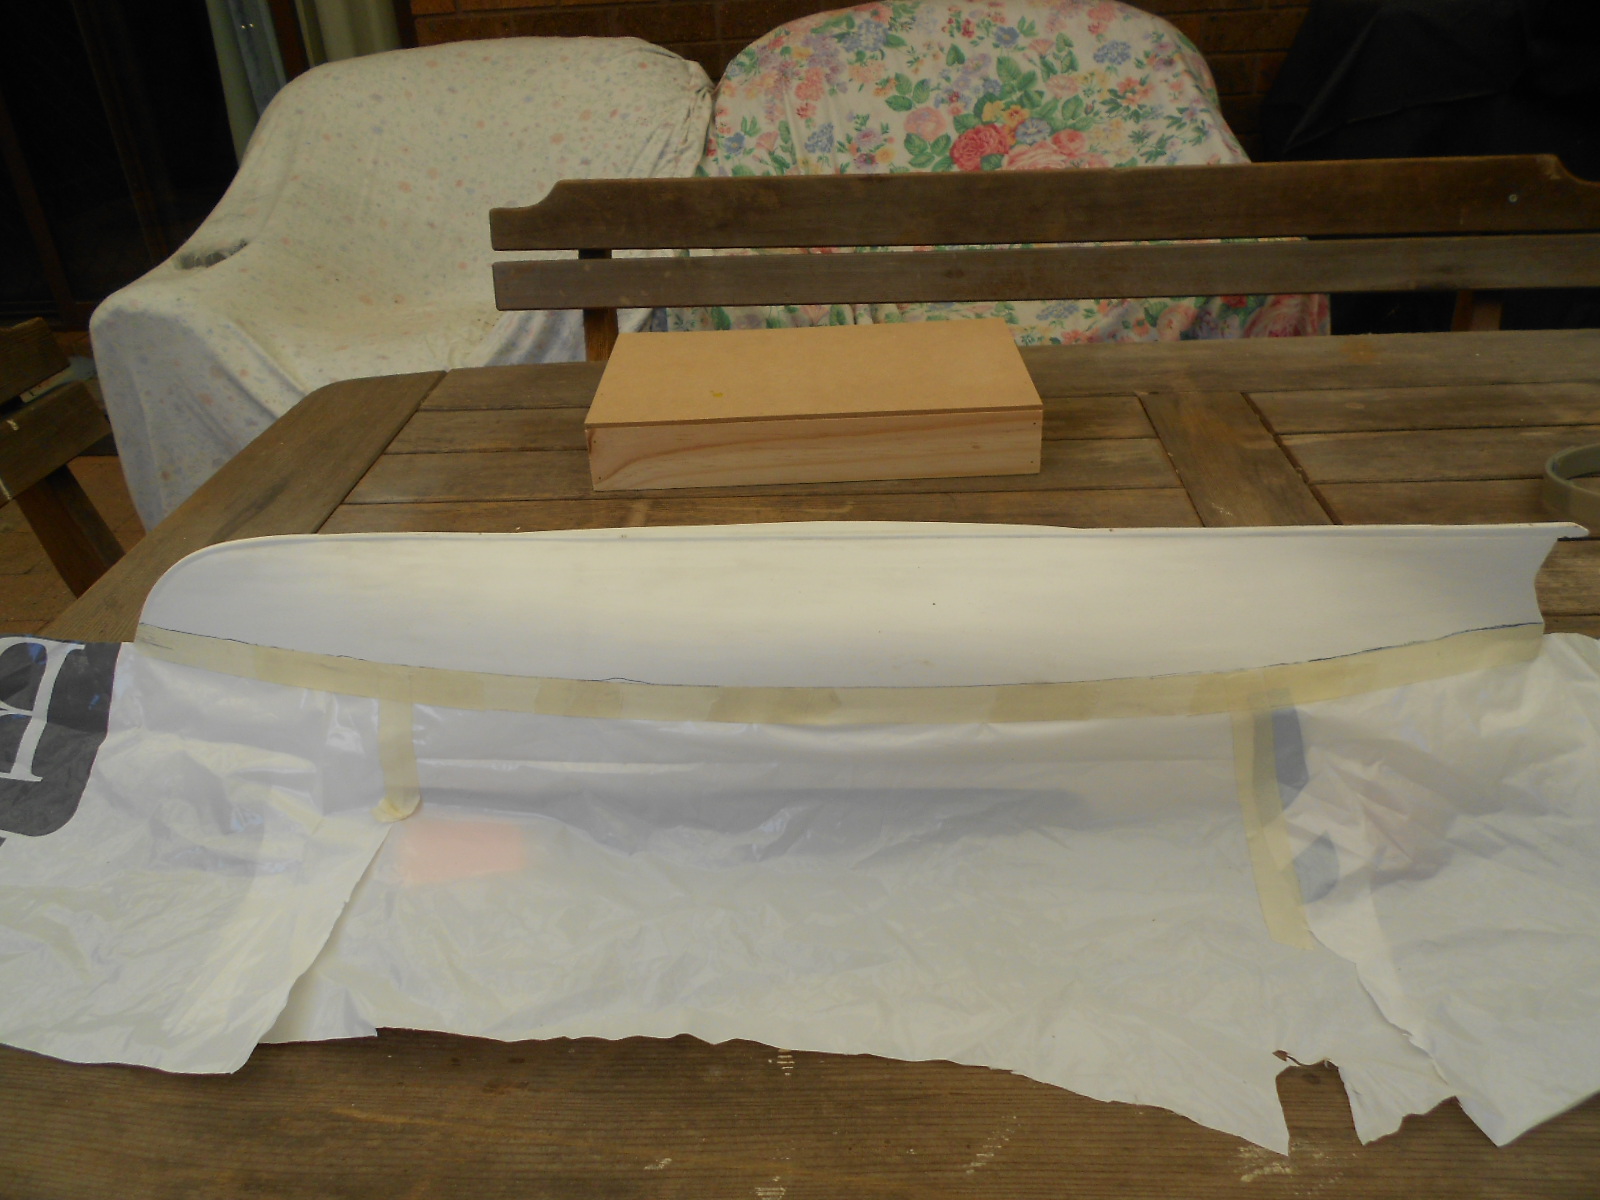
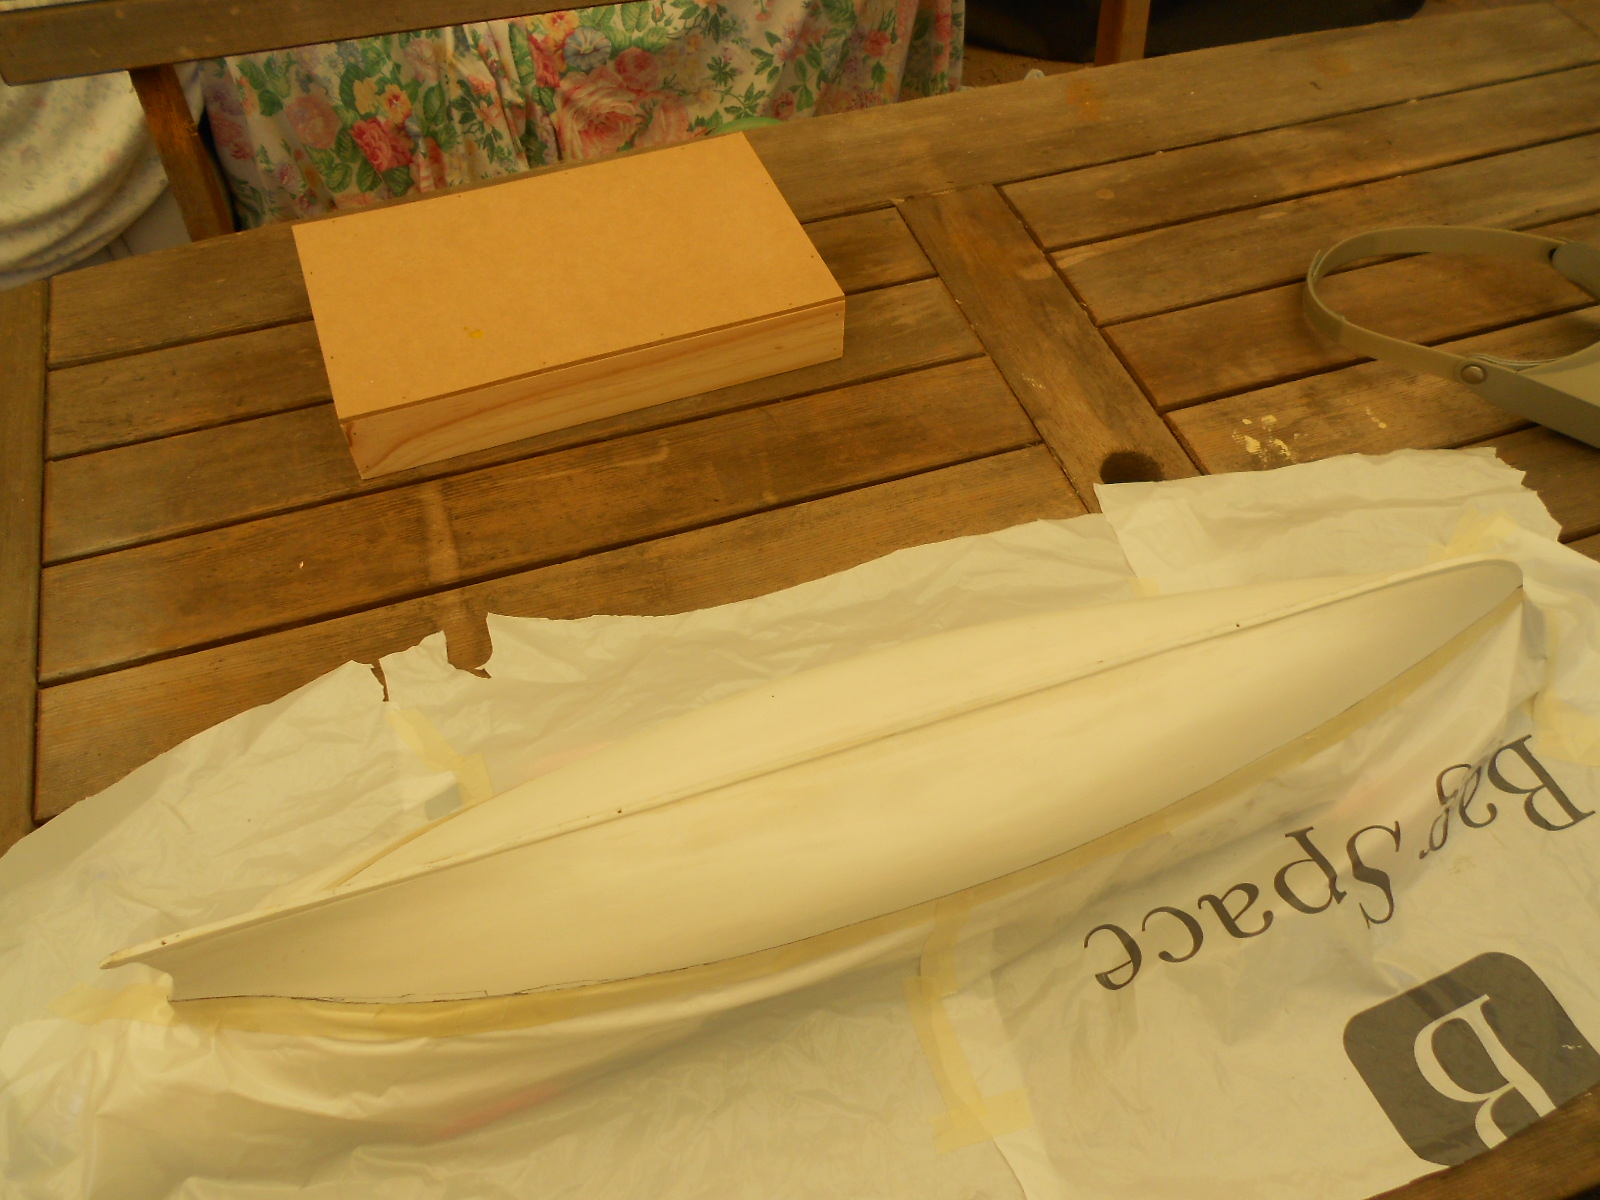
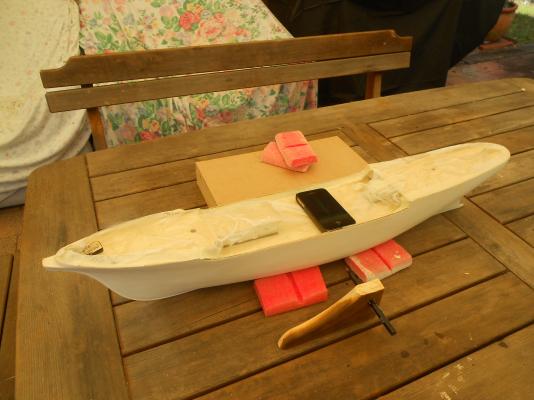
thanks mobsie, its good to be back, was so frustrating seeing it all sit there and not being bale to work on it. yup Carl. OS installation is usually quick but all the other programs :S. That's why these days after I reinstalled most things, I take an image, so It will be a lot less work to do it again. well I finally started again I am still not happy on how the hull turned out , but after several tries , I have resigned to the fact that I am not going to improve it much. so I made the little jig to mark the waterline, and drew the line. as you can see even that didn't go smoothly. I used the level app on my works iPhone to get the hull straight. but it was enough to be able to use masking tape to get a nice straight line. after covering the upper hull with plastic I spray painted it with dark green. I am waiting now for it to dry , so I can find out how well I did on creating the waterline


-
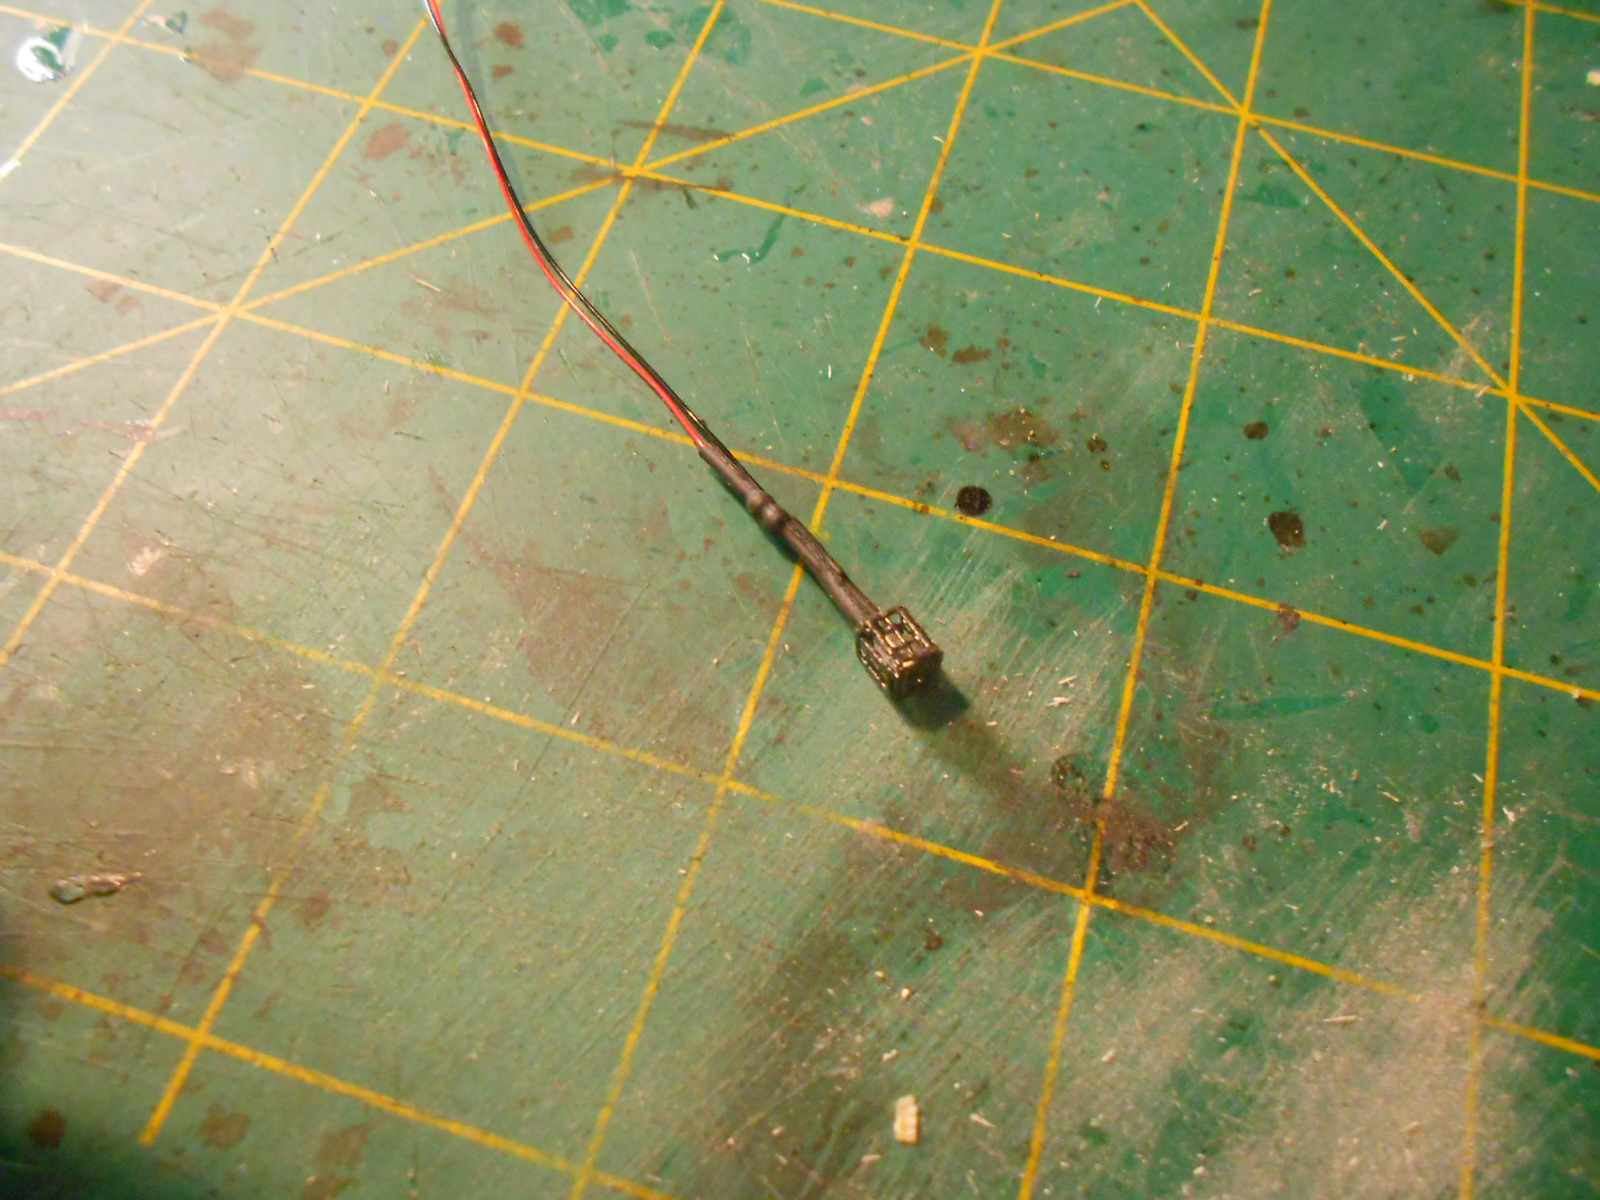
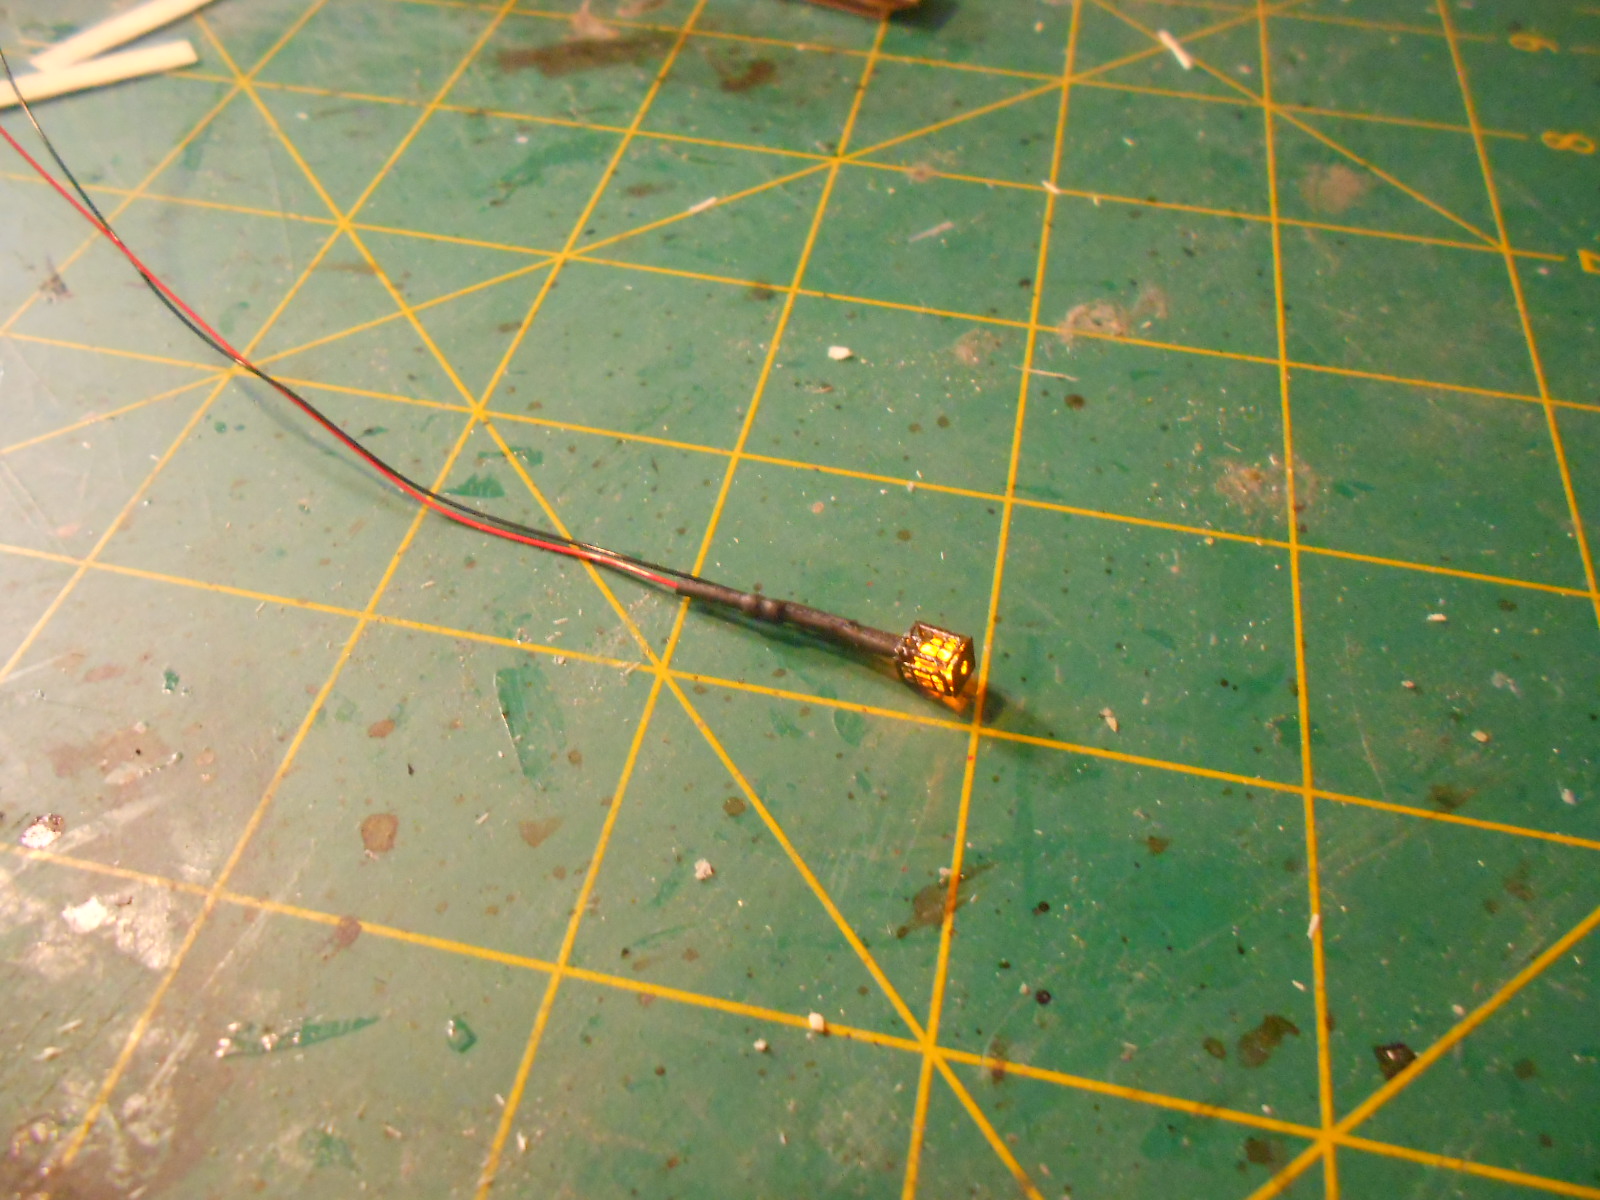
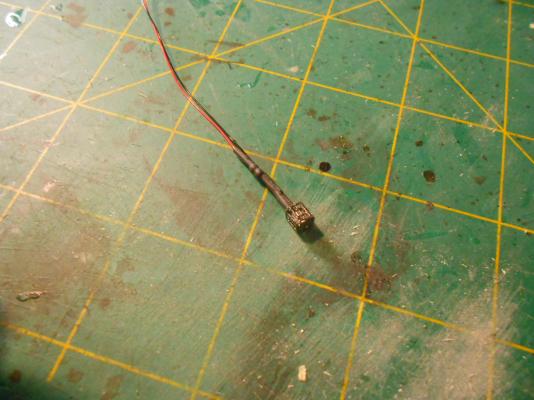
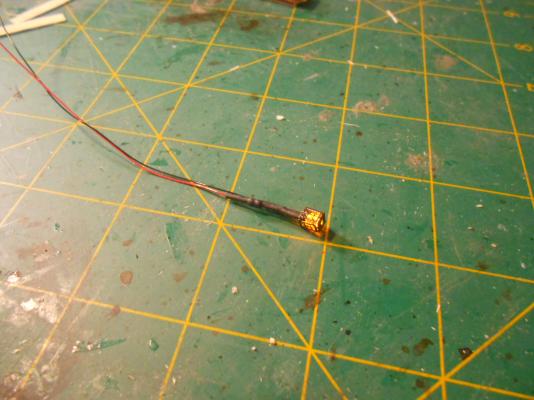
thanks Jeff and Edwin the leds come from the US already prepared with resistor to hook up to a 9v battery or adapter
-
it is , as long as you keep up with it , if you just keep collecting them , then it is wasting money. thanks for looking in Lecsandro busy week at work , so I am still working on weeks 13 and 14 about 2 weeks ago I ordered some test led lights. 3 chip leds in 3 sizes and a flickering led to simulate a candle flame this to test out which would fit best in the little lanterns they have arrived and I thought the flickering one would be too big but I got it fitted in. once I get the issues where it shows how they ll fit in the ship to make sure I can make the wiring invisible, I ll order the rest.
-
hey Carl yeah but I ll only have that one and the GF that I l work on yes I might try another browser, still have to get all my files from the old computer and install some software