Adrieke
-
Posts
1,625 -
Joined
-
Last visited
Content Type
Profiles
Forums
Gallery
Events
Everything posted by Adrieke
-
 WEEK 13 and 14 continued the lanterns consist of 4 very small brass parts . the body needs to be bended and glued together. next step will be adding the top and bottom part but because I am going to try to add lights inside I am leaving them open for the moment for the lighting I have ordered some very small test led's and also one that is supposed to simulate a flickering flame. this last one will most likely not fit inside the lantern, but I will experiment a bit. once I know how I will continue I will order the rest of the led's in the right size finally I started fitting the doors window bars (some wooden strips where here also needed to fit it properly) 2 hinges and a handle will also be fitted to finish it off
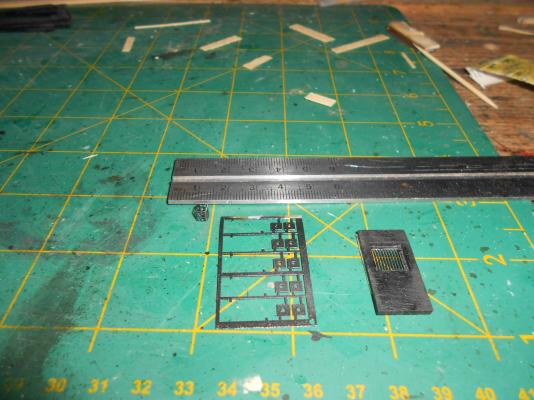
-
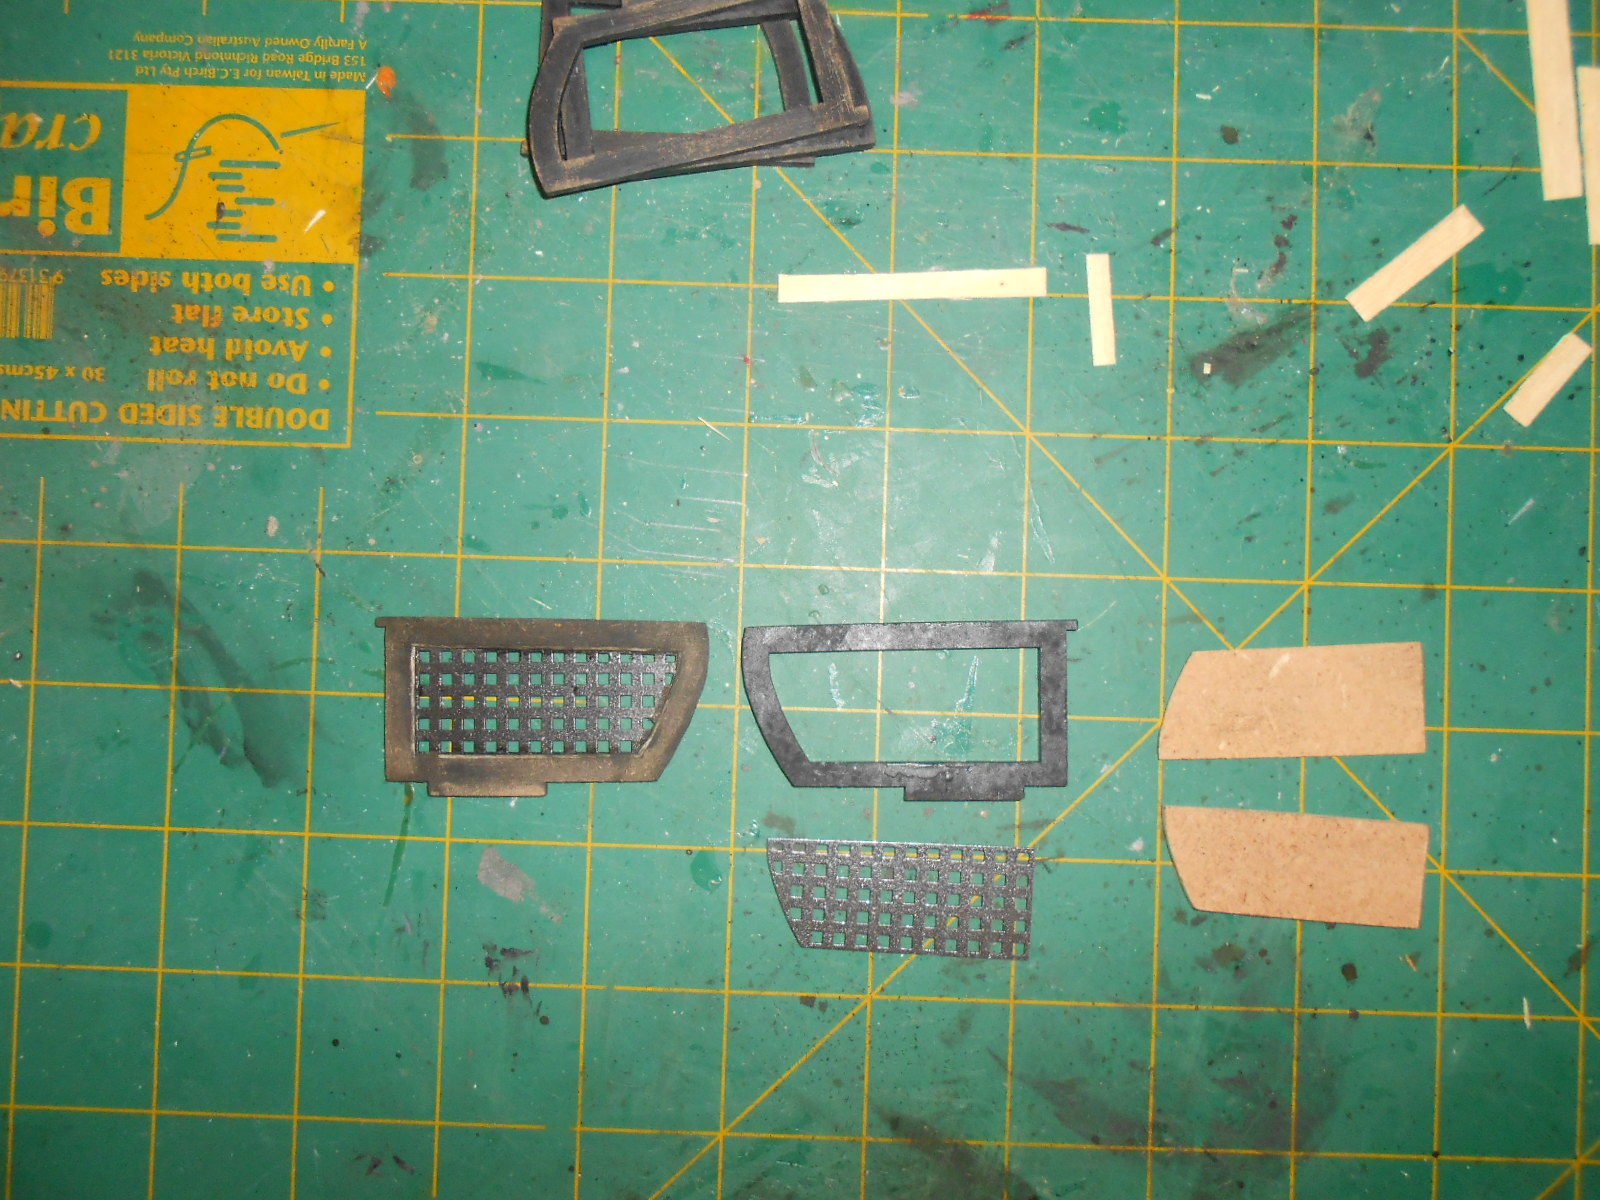
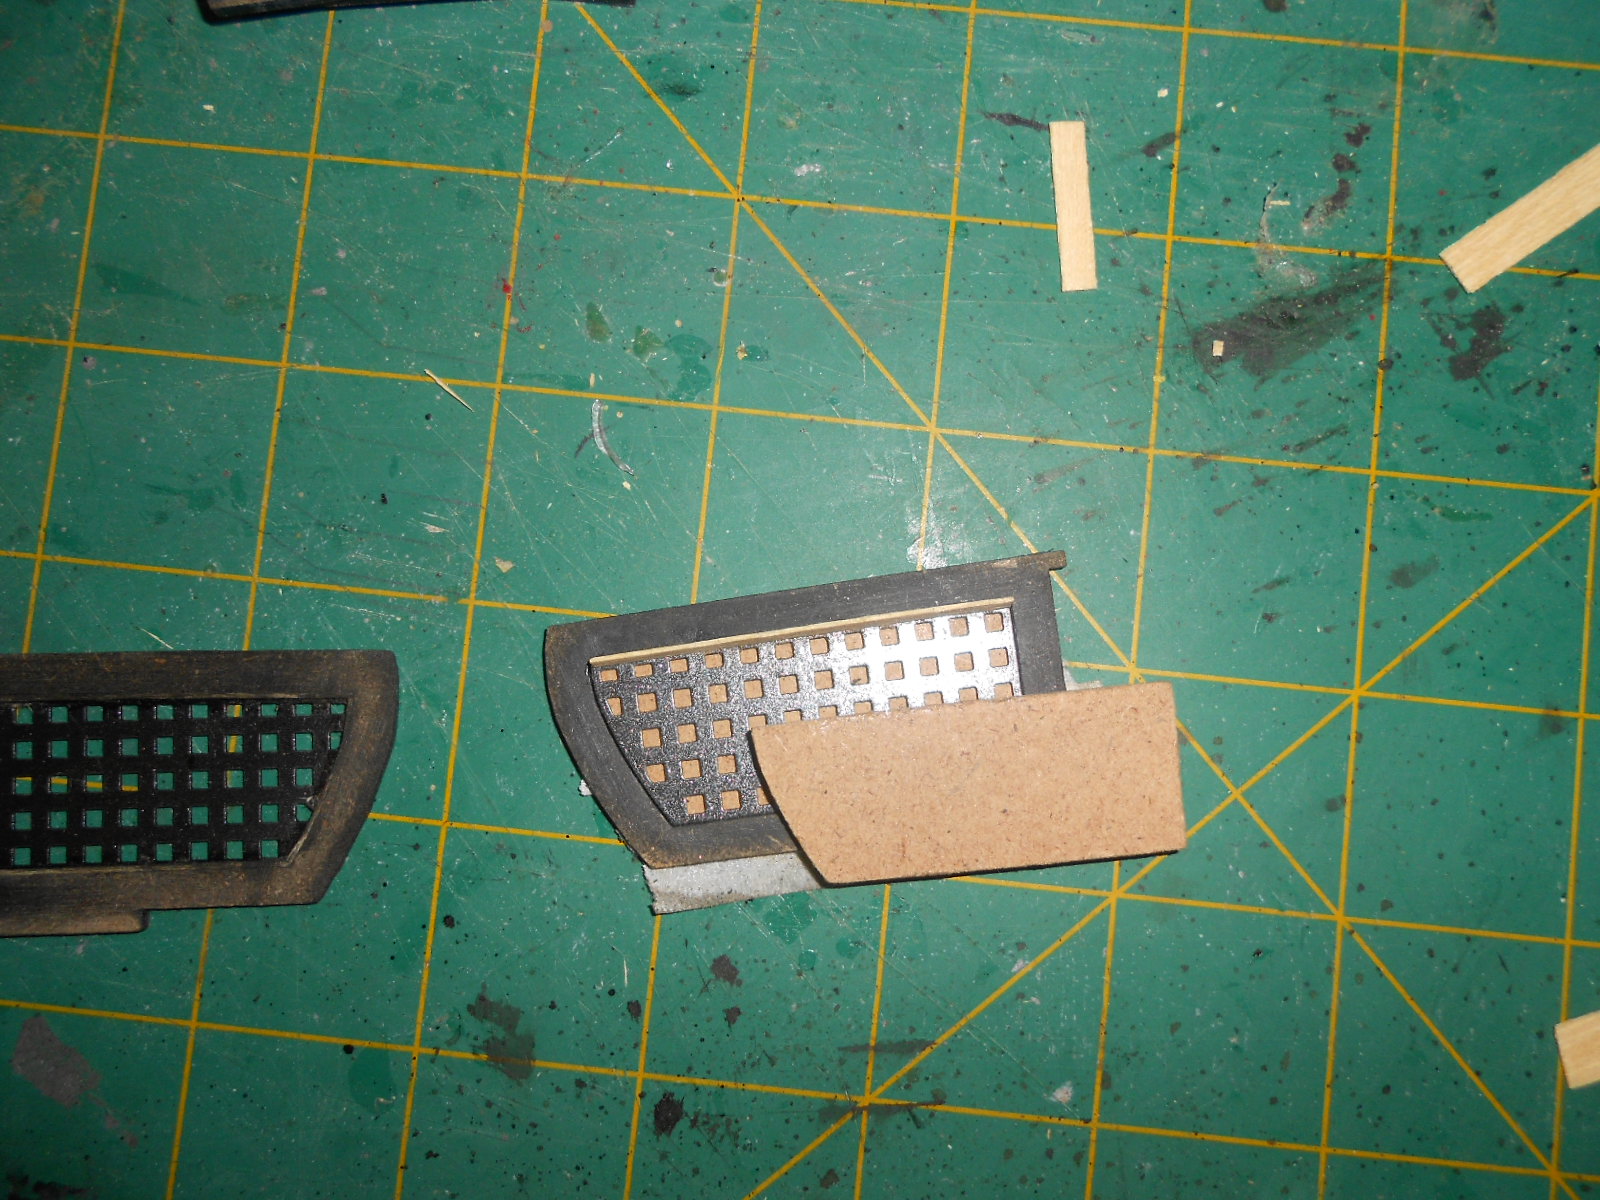
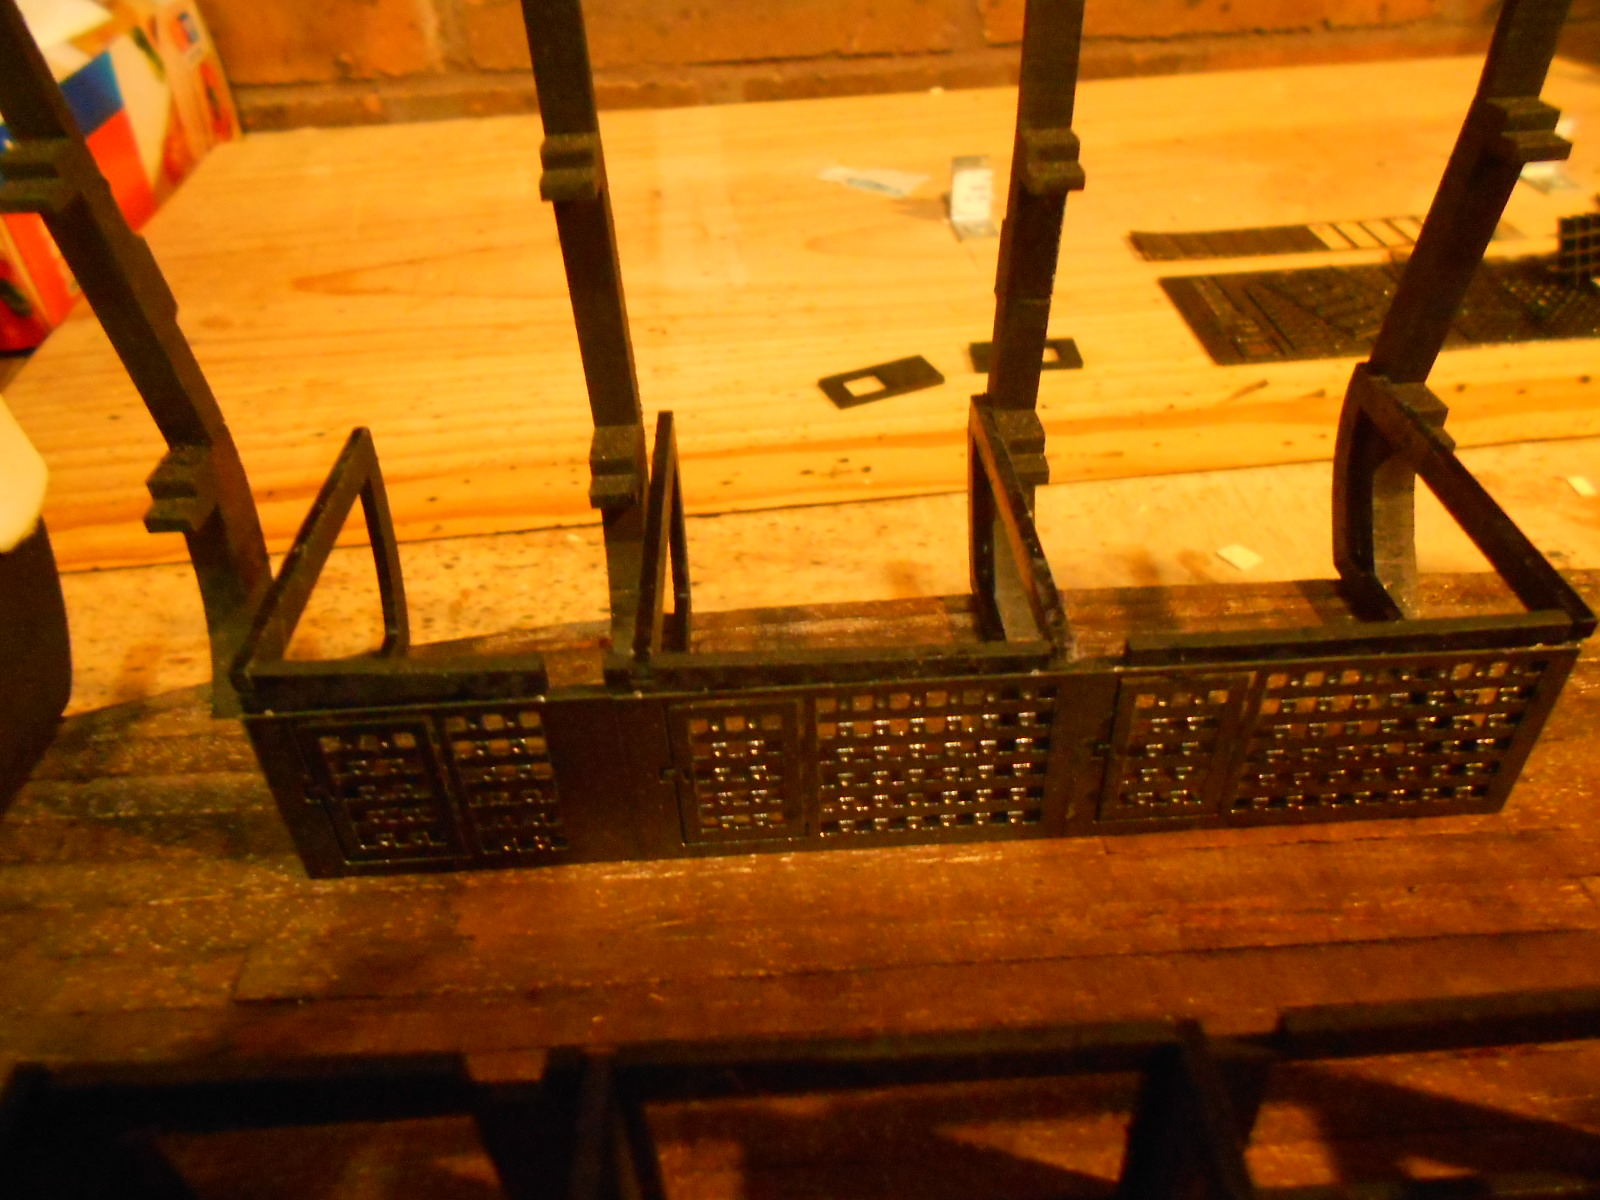
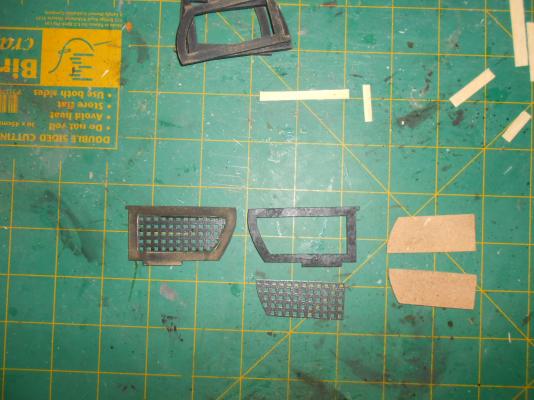
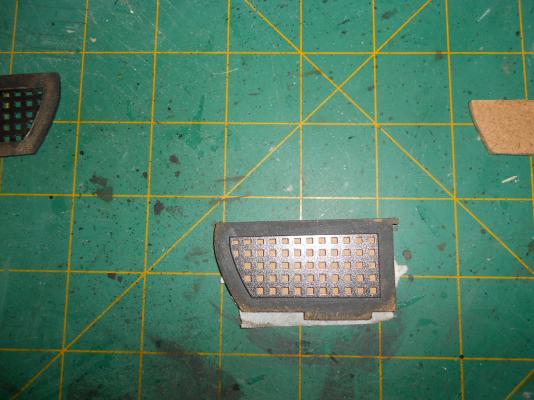
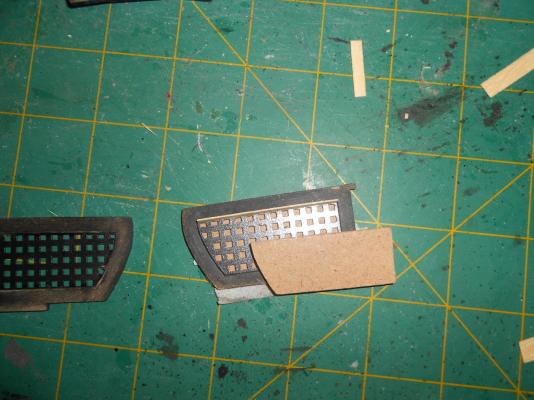
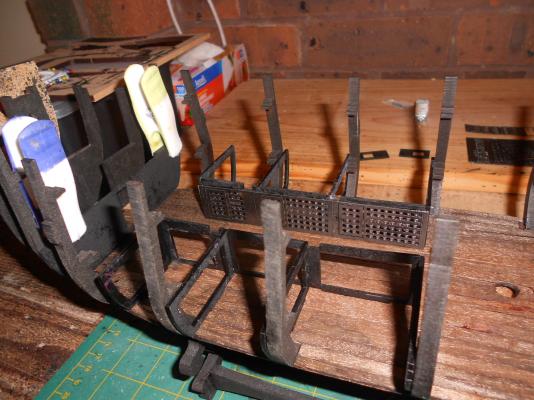
WEEK 13 and 14 (no I haven't forgotten 12 but the brass parts where damaged, so I have to wait on replacements) both issues have the same contents :brass parts for the side prison walls, lanterns and doors as expected the brass parts don't fit snugly in the wood parts so I decided to use some small wood strips to make them fit better First picture shows one finished part on the left, the wooden and brass part in the middle and the cut outs of the wooden part one of the cut outs I reduce in thickness to about .8 mm which I fix inside the wooden part using masking tape. then I put the brass part on top (see picture 2) measuring each inside then cut some wooden strips 2 mm wide. apply some white glue and push against the inside using the other cut out which I sanded the sides down so they are .6 mm less on each side (picture 3) once the glue is dry sand them gently down to the level of the part afterwards remove the masking tape and cut out and turn the part over. apply some superglue on the sides of the brass part and then put 4 more wooden strips on the inside sand afterwards and then all is left is to paint the wooden parts fat black
-
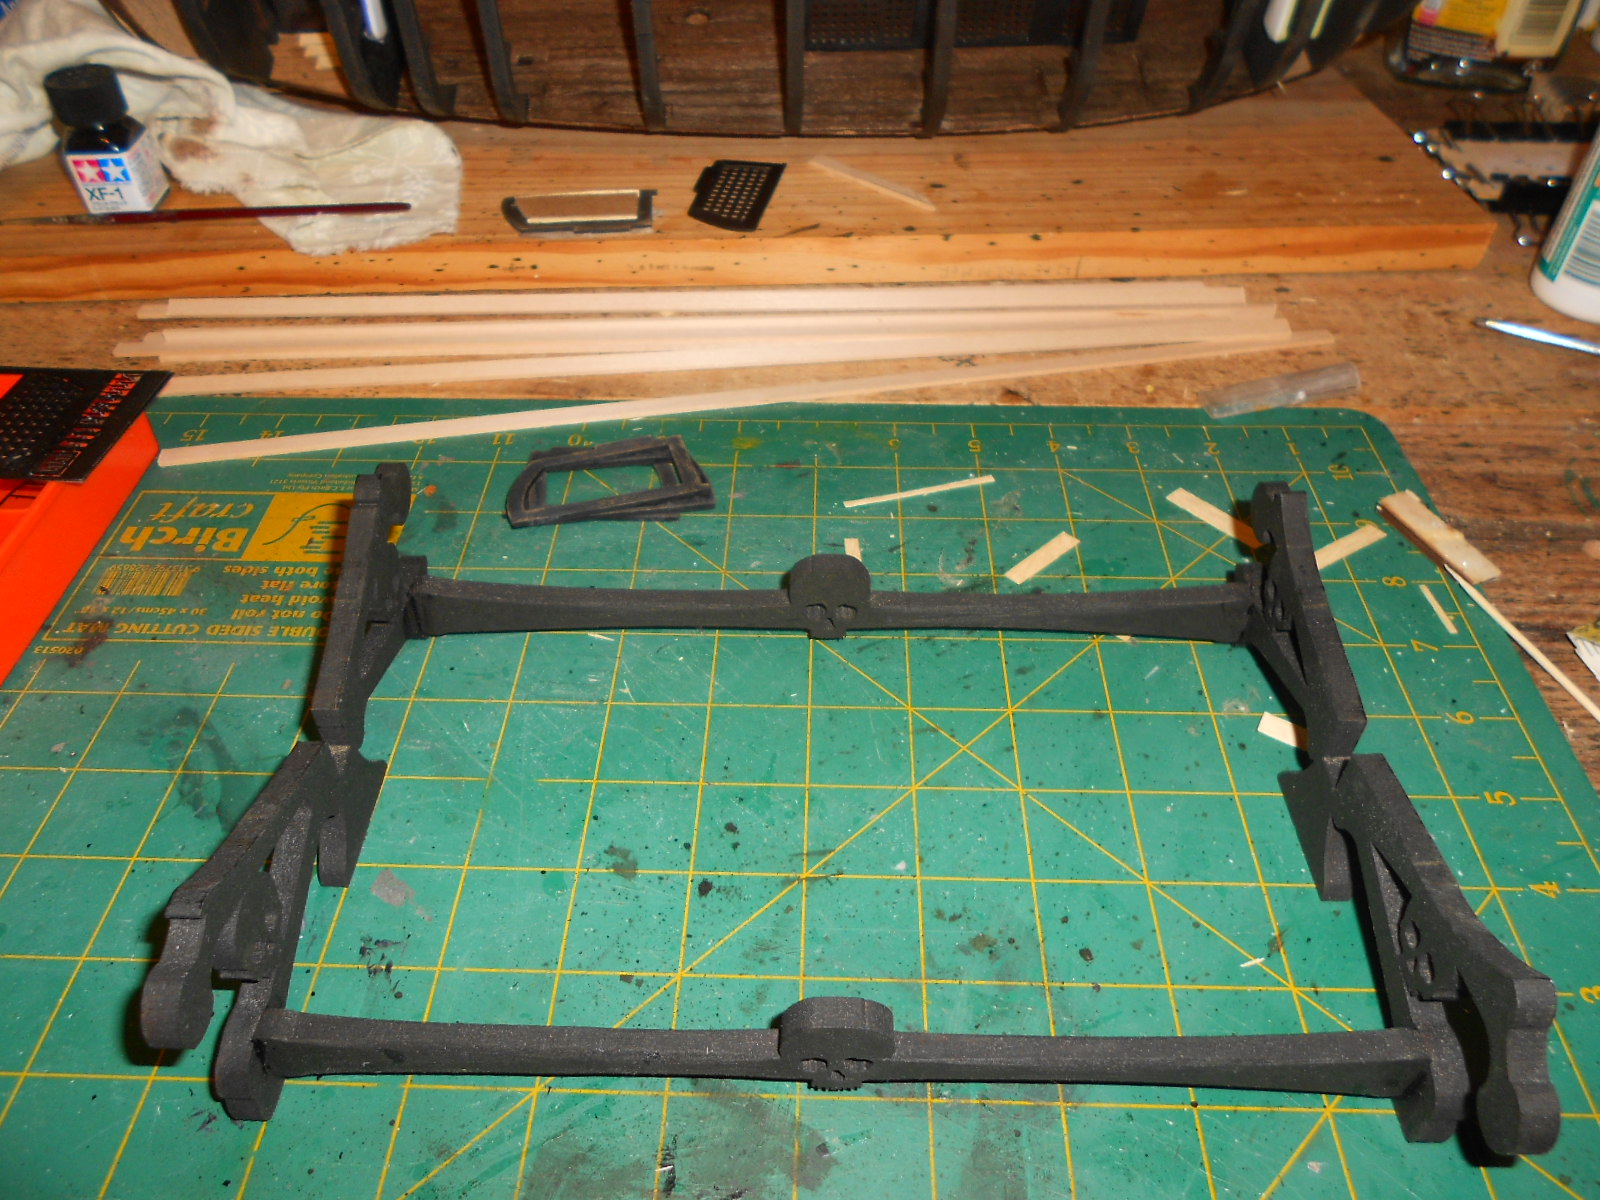
WEEK 11 wooden and brass parts for the prison cell walls the brass parts are spray painted with metallic charcoal for the mdf parts after some experimenting with stains and so, I settled for plain flat black paint

-
thank you Popeye I have now started a build log for the Black Pearl I would put the link in but I am not able to add one as my new computer with IE 11 seems to have some issues with this site . don't worry I ll figure it out when I have the time
-
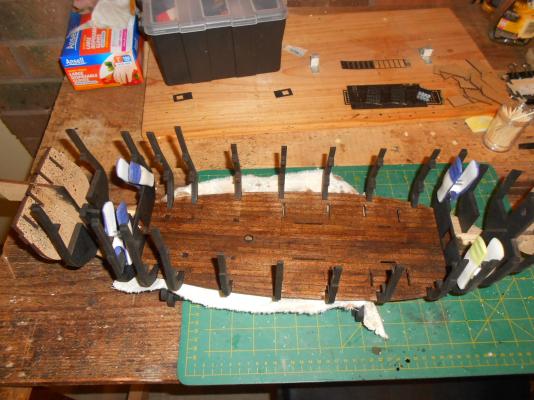
WEEK 8, 9 and 10 each week brings 2 parts for the lower deck no strips of wood for the planking but 2 pieces of cardboard. main reason I didn't use them was that it is in 2 parts with a seam visible through the open hull so I used left over 7 mm strips (way to big but they ll do) from the GF and used oak stain to darken them the bulkheads are treated with a black japan stain

-
WEEK 4 2 more bulkheads and 2 parts to connect the false keel parts together there are also some more parts that will be used later on

-
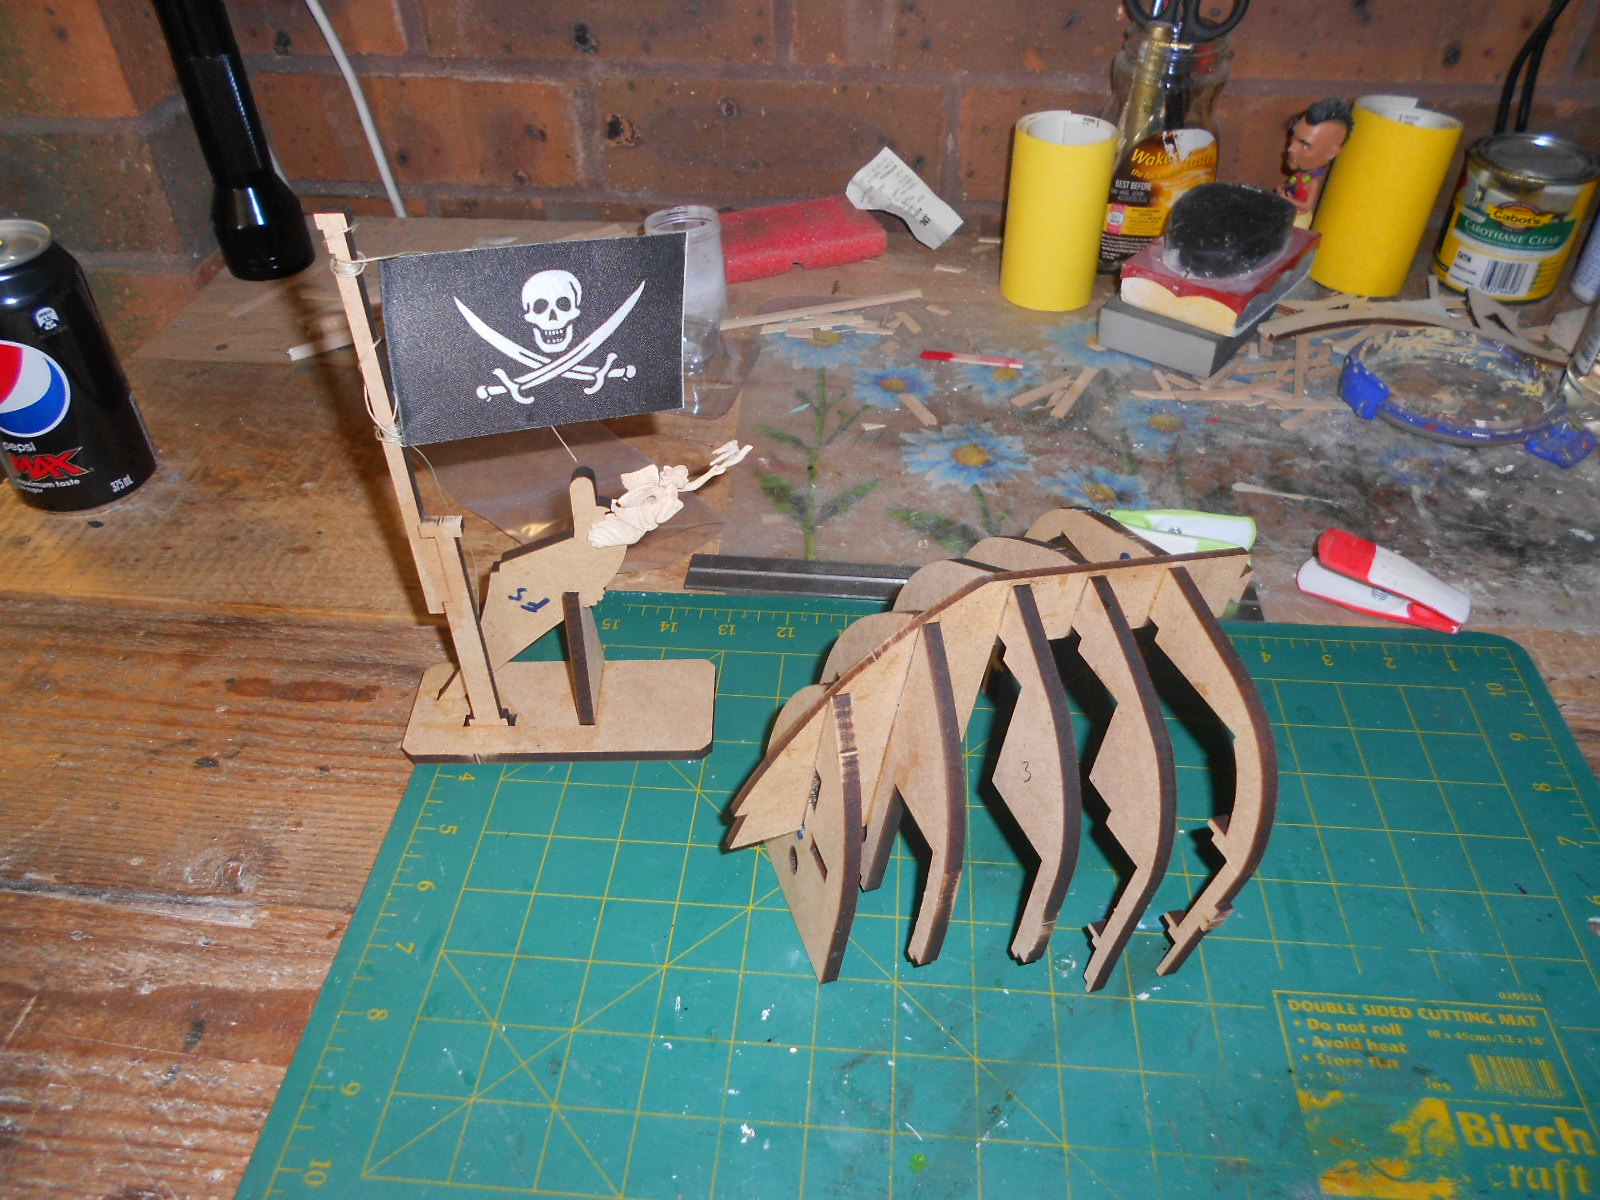
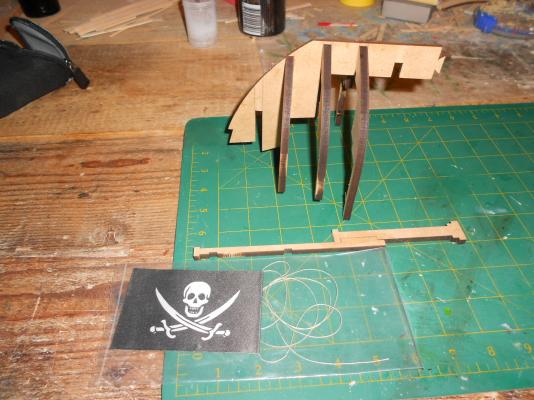
WEEK 1 fairly easy start with the front part of the false keel and 3 of the bulkhead to install also a temporary stand for the pirate flag
-
about 2 months I subscribed to the Build the black Pearl from Hachette as it was just released in Australia. it was my attempt to get back into building after a long time of no activity, as I figured there wouldn't be much work to do each week. each delivery contains 4 issues , but I will stick to doing one a week. for about a month I was working on another project (a bf gift for my wife) but now I am catching up again. I ll be doing a post with some pictures every week )
-
I think life never settles down , just a case of facing the waves head on instead of letting them sweep you away did a bit more work on the Black Pearl : i promise i ll get the build log up this weekend (and figure out why i can't add the pictures in the post itself)
-
Hello Piet i might start a buildlog but it will most likely be just weekly update pictures
-
yes i am back in the shipyard , and i will have some update pictures soon
- 1,279 replies
-
- 3
-

-
- agamemnon
- caldercraft
- (and 1 more)
-
thank you all its good to be back
-
Mine is in the dry dock too. sometime in the next months I am going to visit the replica and take plenty of pictures so I have enough photo material to adapt this kit to look like the replica.
-
soon I ll be starting on finishing painting the hull for now I am first catching up on another build. a few months ago I signed up for the build the black pearl magazine, as an incentive for me to slowly get back in to model building. the idea was to do one magazine each week but some other activities (I got too many things on again) got in the way. I should be back on track this weekend and then I can put my main focus back on the GF here a picture of the Black Pearl so far
-
I am catching up with all the builds and they are all looking so fantastic
- 1,279 replies
-
- 1
-
-
- agamemnon
- caldercraft
- (and 1 more)
-
absolutely fantastic
-
looking great, the stand and the ship
-
I see you progressed a lot on her David looking very neat
-
thanks Sjors and Augie