


kscadman
-
Posts
257 -
Joined
-
Last visited
Content Type
Profiles
Forums
Gallery
Events
Posts posted by kscadman
-
-
Thank you all for your likes and comments - they are really appreciated!
Mike, I'm sure you'll do better than me, Your Badger turned out fantastic and I'm jealous of your gun rigging. Nice tight coils.
Gahm, many thanks as always and I'm not very envious of myself with the number of hammocks I have in front of me. But I guess its the little things that will make the entire ship look better. I'm thinking about stealing your rudder skirt design if you don't mind.
Nils, thanks for dropping by and also for the compliments.
Currently I'm getting my lifts glued on my long boat and working on hammocks.
Does anybody know if the head had a seat of ease? After seeing Dubz's Syren it has me wondering?
Richard
-
Thank you all for your comments and likes!!
Keith - yes this really is my first wooden ship. I'm going on 2 years 4months on this build and I think I've spent more time pouring thru books and build logs than I have actual work on her.
Augie - I'll let you know where to place that order as soon as I finish another 119 of them. I'm not sure how many officers had their own berths so I'm going with 1 hammock per total ships compliment.
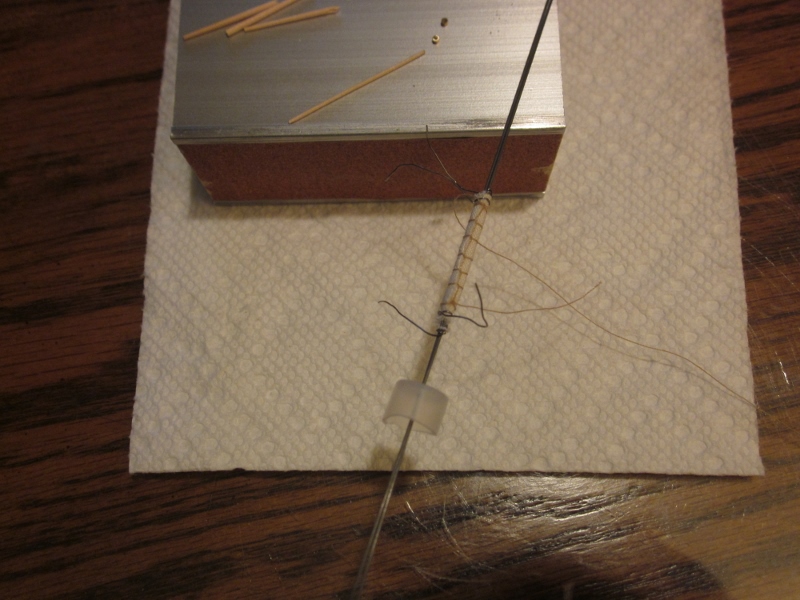
Floyd - If you enlarge the first pic you'll see how I looped the hammock. I didn't do a the (martinstrike knot?) I started with a standard knot then I looped it around the hammock, pulled it under then repeated 7 more times. (hopefully I made sense). I haven't sealed the edges yet, but the fabric is a very tight woven linen I picked up at a fabric store. I bought some fabric glue but haven't tried it yet.
Richard
-
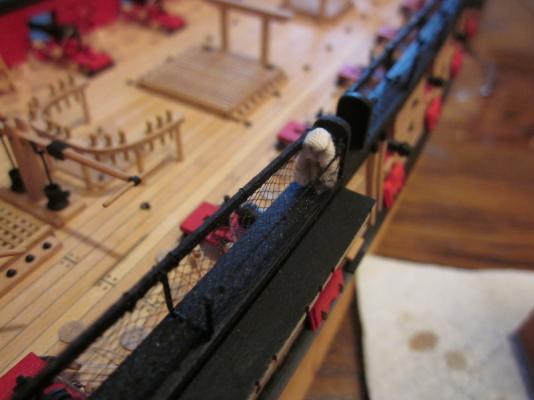
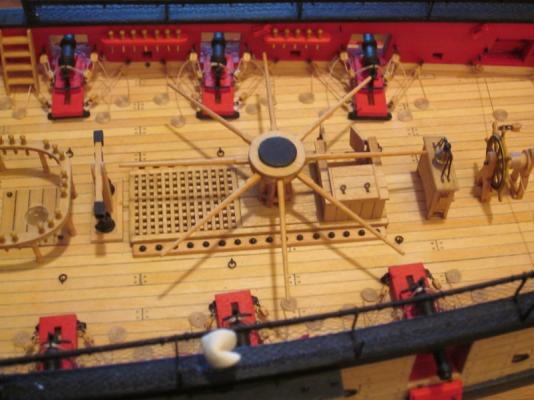
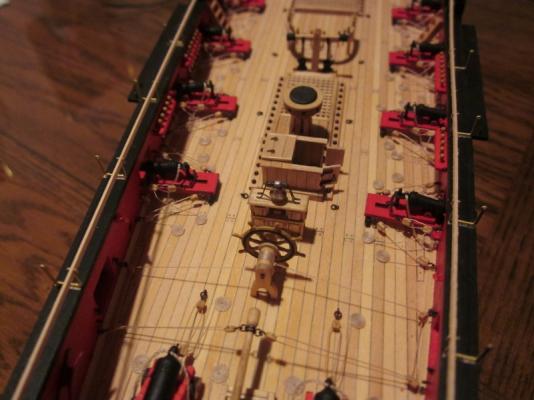
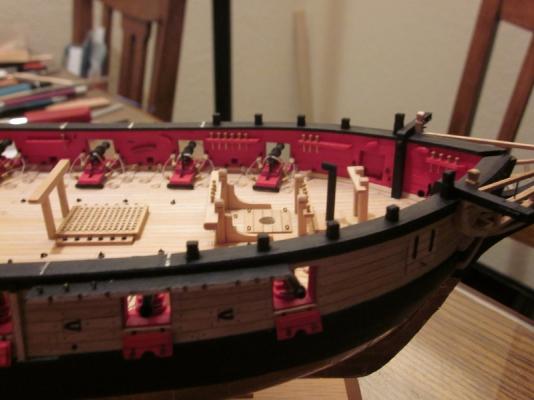
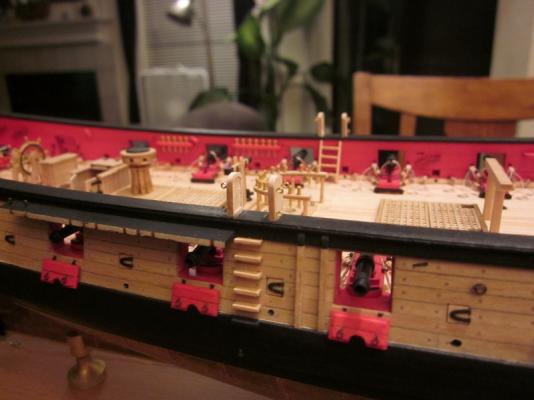
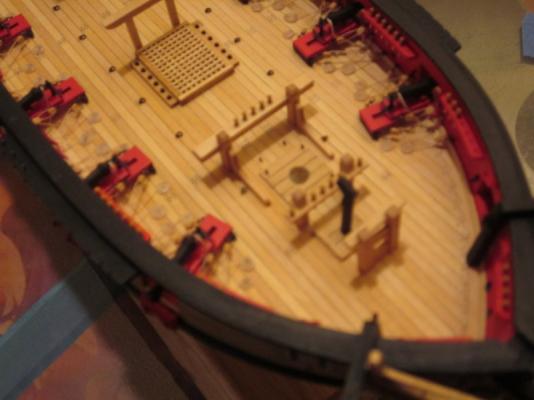
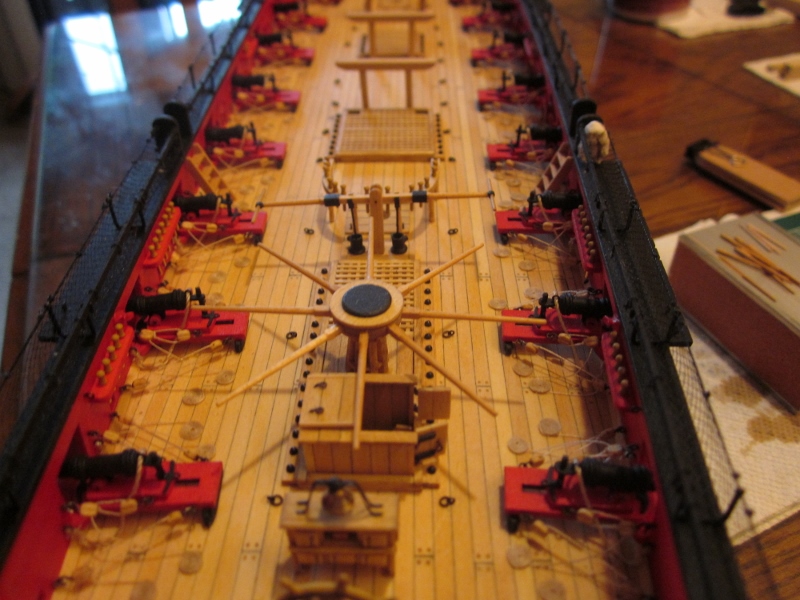
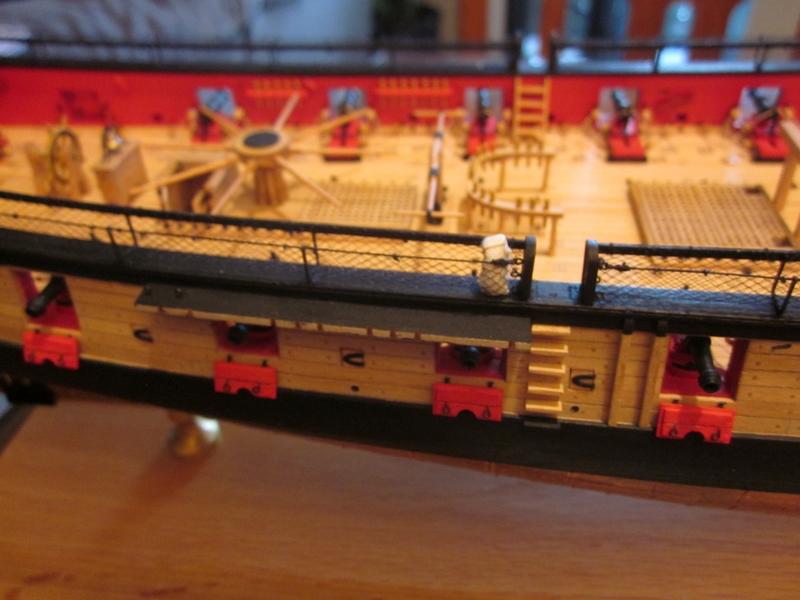
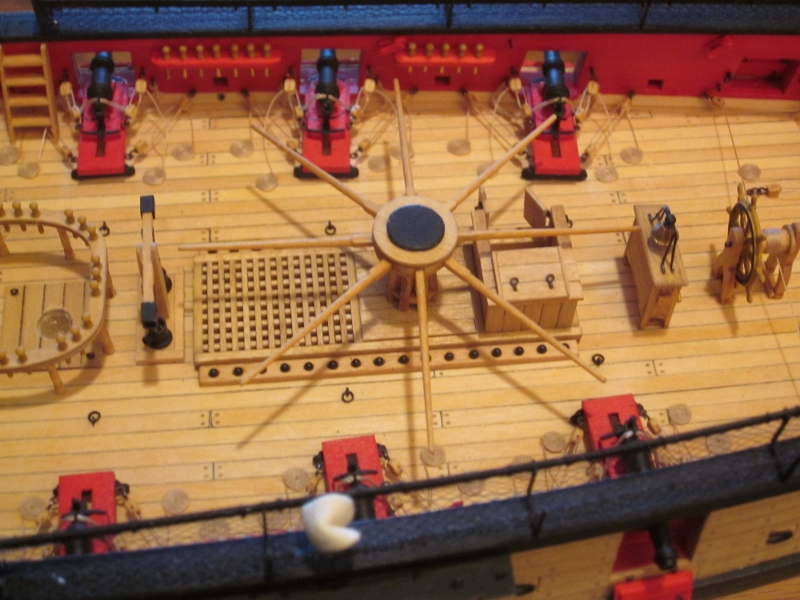
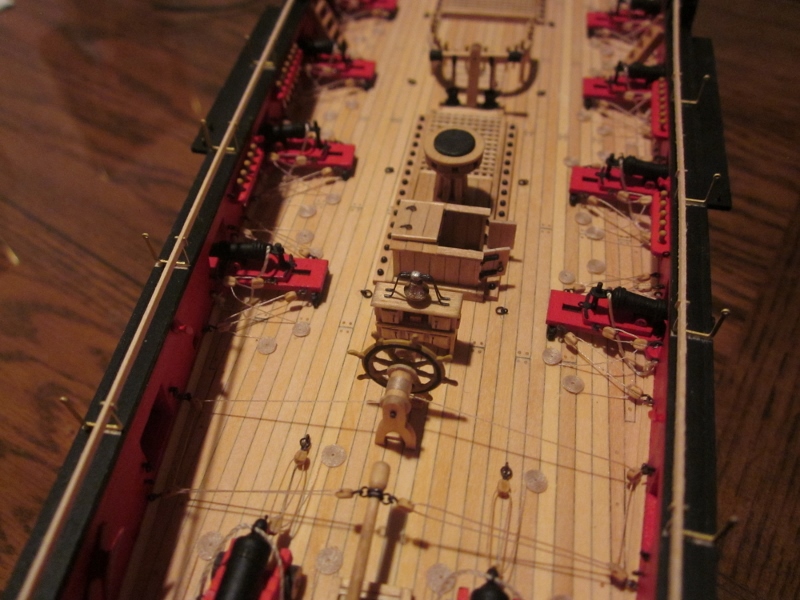
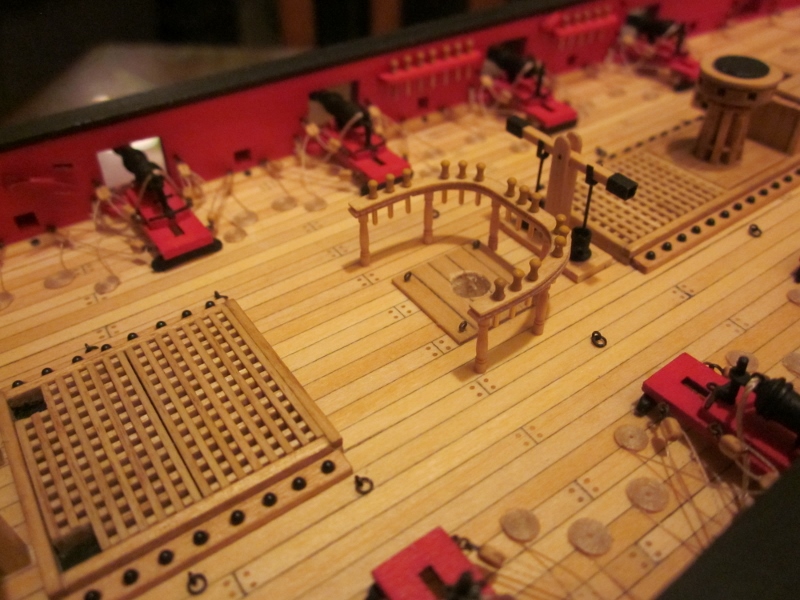
Ok, 2nd attempts seem to work better. I shortened the capstan bars by a foot, now they're 6'-0" and with the new info I made another hammock and dry fitted it into the hammock cranes.
Then I added the pump handles, I like the outcome but I think I may need to shorten them just a little.
Richard


- augie, Mirabell61, Aussie048 and 8 others
-
 12
12
-
-
-
Augie - I noticed in another build log where the builder made a pair of calipers to judge thickness so I think I'll make a pair myself. I'm also working on making a set of pump handles to go with my capstan bars.
Would you be able to get around the rigging to install capstan bars?
Bindy - thank you and yes it is my first one. Its been a little over 2 years and I'm still surprising myself. When I get stuck or unsure about a step I dig into the build logs and the books I'm starting to accumulate which really helps. The best advice I've received is to read thru the entire build and understand how a previous step will effect a later step and never be afraid to ask questions.
Richard
-
Jud, Dave, and Tony, thank you for the great advice. I believe I have a perfect spot to put my wood after I do the prep work.
Thank you again
Richard
-
Sometimes I'm a little slow, but I have time, hopefully I'll get more information. I think for now I'll work on my longboat while making rolled hammocks. From what I remember from your log there's lots of sanding involved with the longboat.
Richard
-
Does anyone have experience with drying wood. I'm having some tree trimming done to a Bradford Pear and a holly tree. I would like to use the wood for future projects. Any suggestions/comments?
Richard
-
I think for now I'll leave them dry fitted until I receive more input. I may be traveling down a dead end, If I keep them installed then I'll need to find a reason for it and model that scenario.
Thanks for the link to the HMS Rose, it looks like the capstan bars in the picture are roughly 6' so I could shorten mine by a foot. That way nobody will be tripping over a carronade.
Richard
-
Floyd, thank you, I'll look forward to those pics. Most of what I've been finding says they were tied with 6 loops (I'll have to look up a marlinspike hitch).
Augie, I agree with you on the (still...)
I did come across a PDF that's called "Berth-Deck-Area-Activity" from the USS Constitution Museum, at least that's whats written in the footer. I tried to download it but the file is too large. Its from a website called asailorslifeforme.org.
-
Augie, I agree, they look entirely too long even at 7'-0". I found the information in a book called
Seamanship: Comp. from Various Authorities for the U.S. Naval Academy 1863By Stephen Bleecker Luce Here's the link if you want to check it out.
-
Augie and Thomas, many thanks for your compliments and to all that hit the like button.
Thomas, yes it is amazing how the details add up.
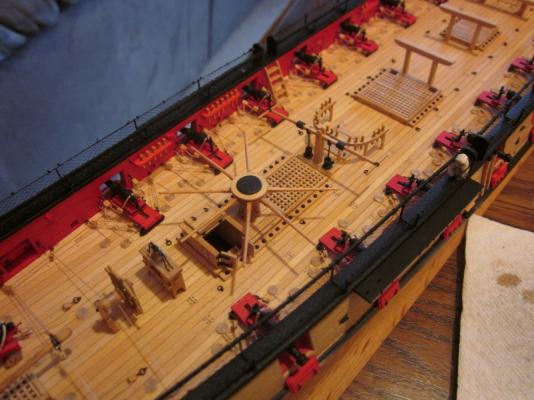
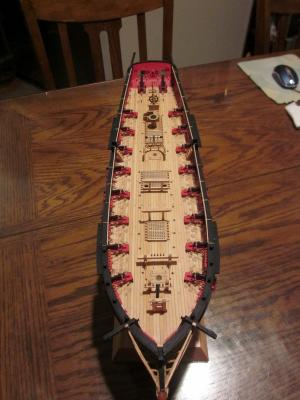
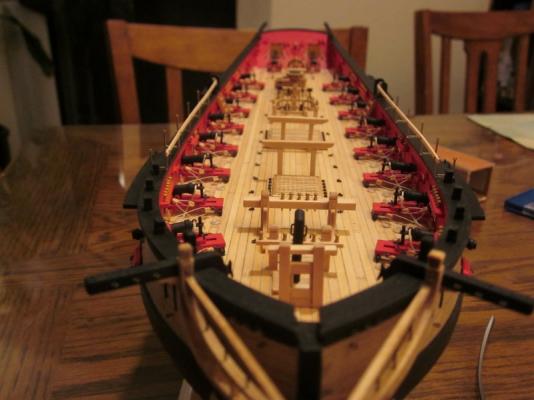
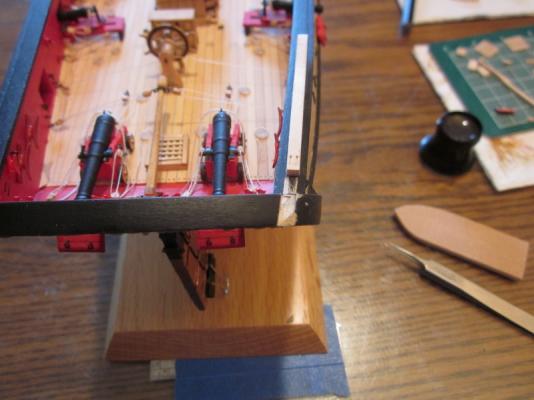
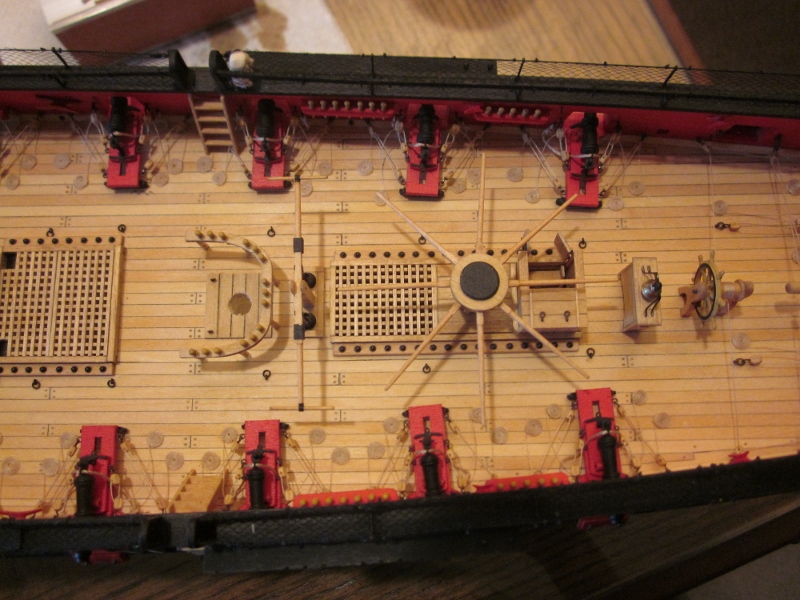
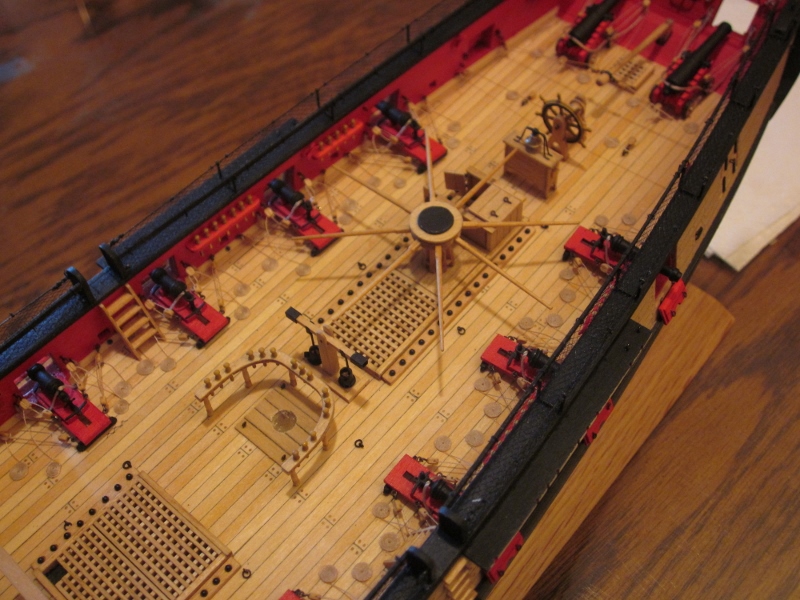
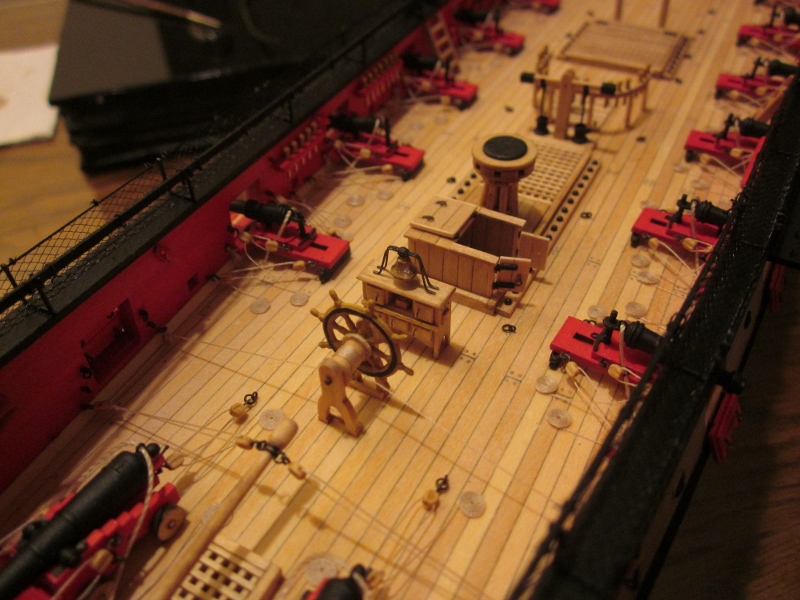
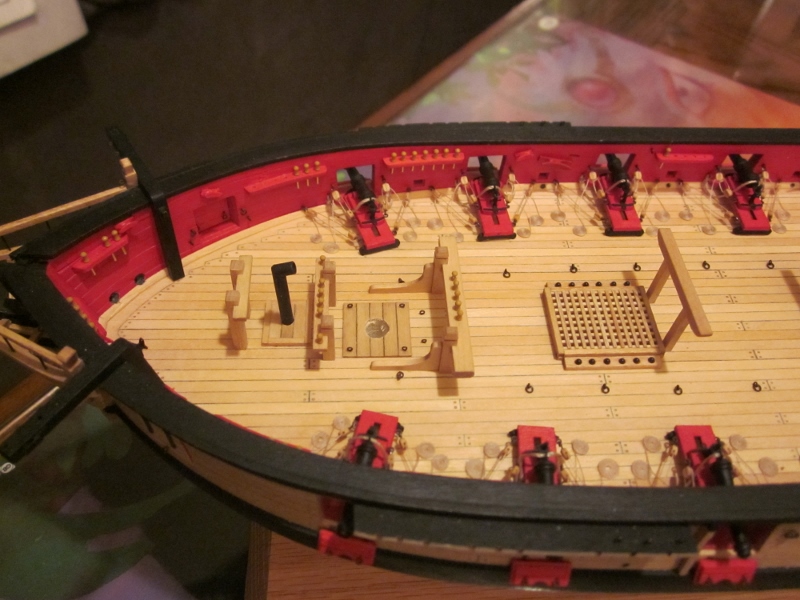
For grins and giggles, actually curiosity I thought about adding the capstan bars. From what I've been able to find out the length for a ship with 16 to 18 guns should be 9'-0". But the maximum length I can have is 7'0" or it would interfere with the pump. As shown in the pics. Would this be correct?
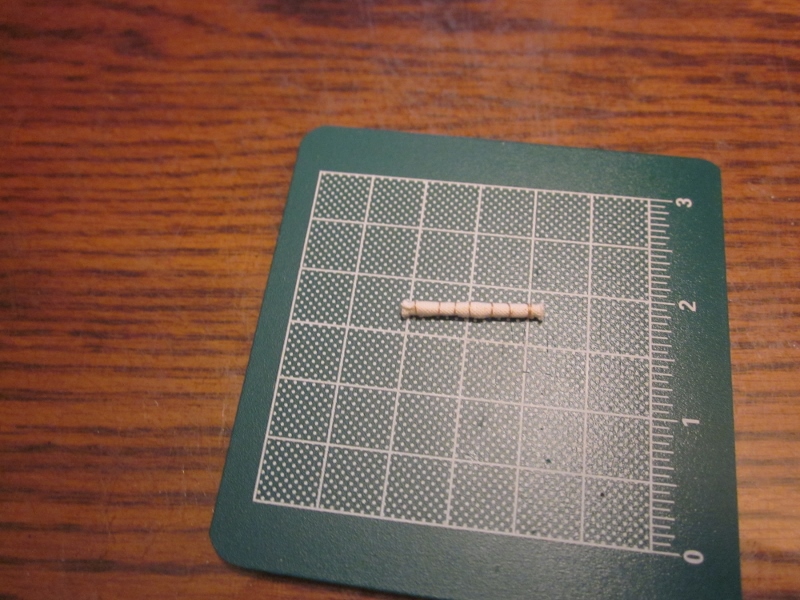
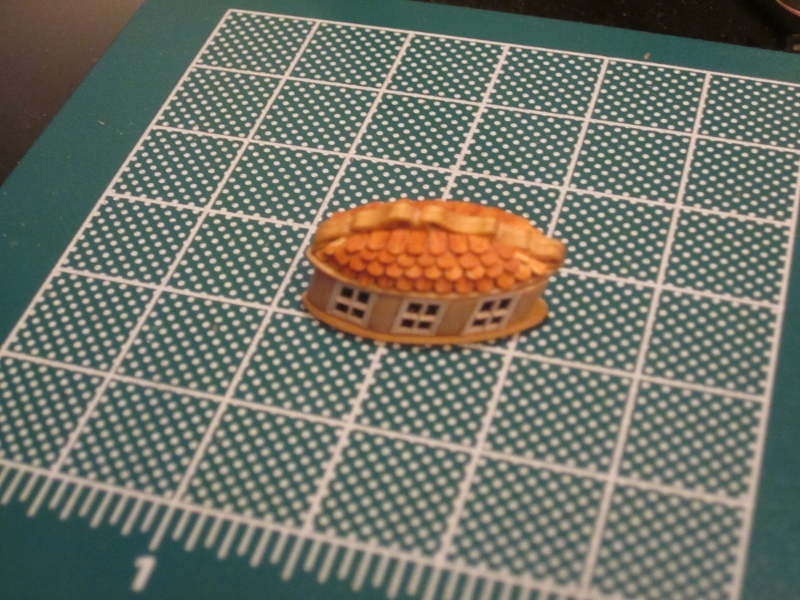
Also I found out that a standard hammock size was 3'-9 1/2" x 6'-0". I may try my hand at filling some of my hammock cranes. I've seen others do this and like the the overall look. Just need to find out how to fold them properly. My first attempt didn't turn out too well.
Richard

-
-
-
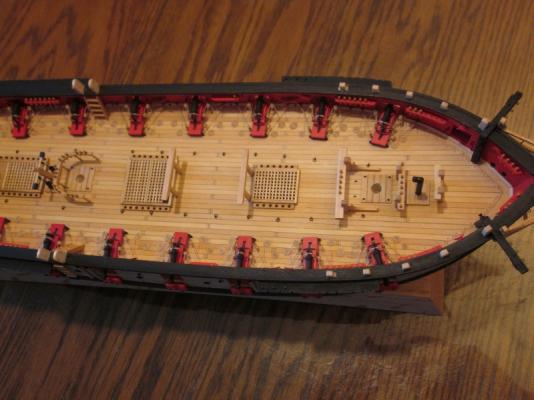
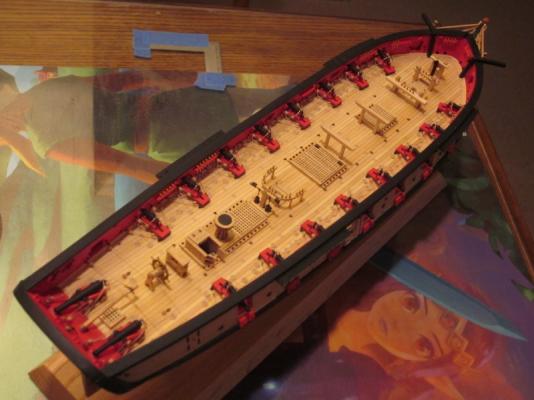
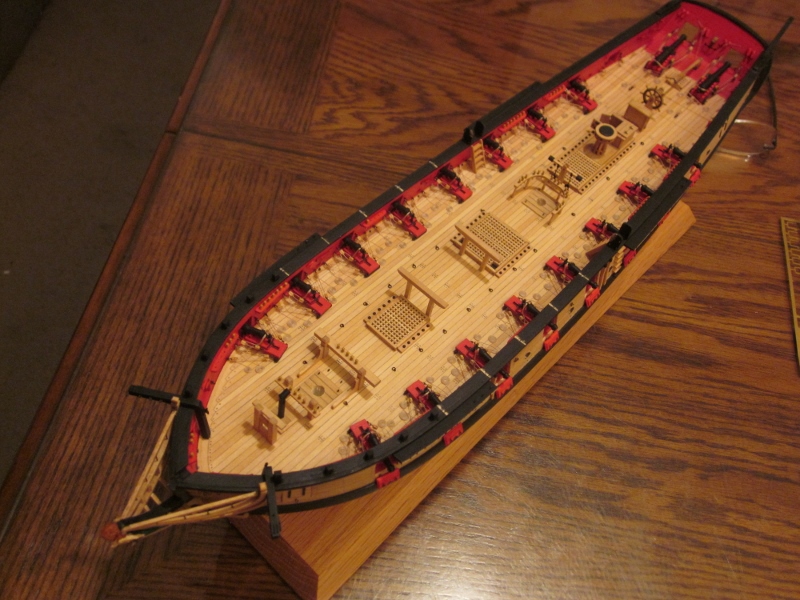
Attached are more pics. (I'm still trying to figure out how to load the pics in chronological order)

-
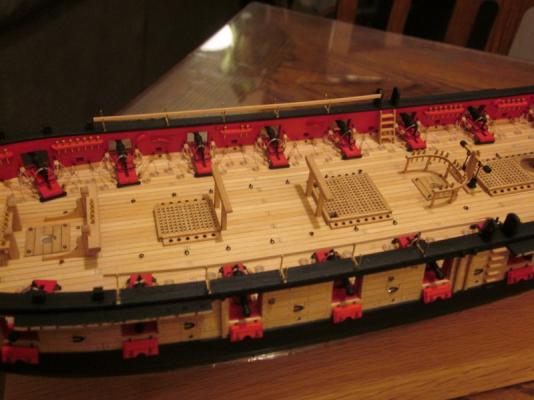
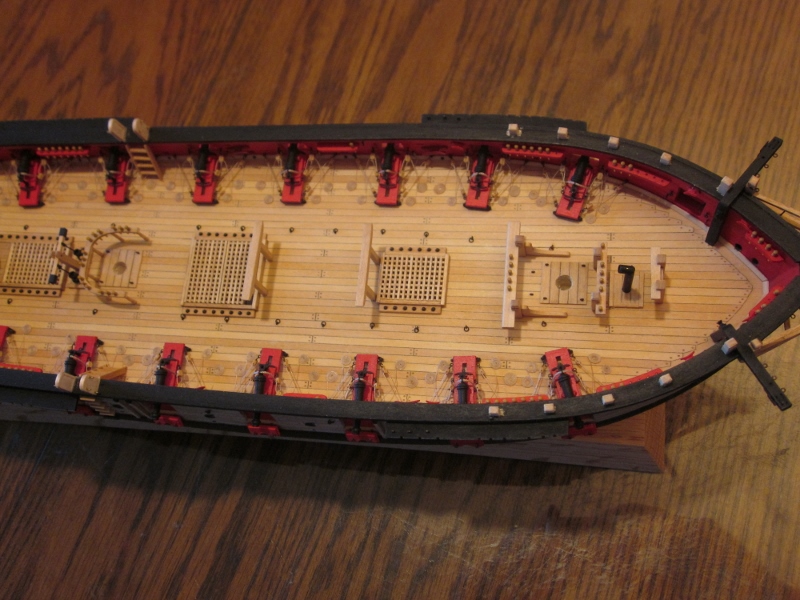
Hello all,slowly but surely progress is being made and I've completed chapter 14. I'm looking forward to starting the longboat then on to the masting and rigging. The timberheads were pretty straight forward and I didn't have any troubles with those. Same with the hammock cranes. But as I was measuring out the distances for the aft hammock cranes I realized that I installed my davits too far aft. I installed the notch in the davits on the aft side of the cap rail instead of the fore side. OOPS!
The hammock netting was a little tricky. Cutting and placing went fine as well as the knot tying. But I ended up buying a pair of shear style scissors to trim the netting. I've been thinking about adding folded hammocks and I've been doing some research about them on MSW, online and with my limited amount of books and I can find how their rigged, materials used even how they are folded for storage but I have yet to find out what dimensions a typical hammock is.
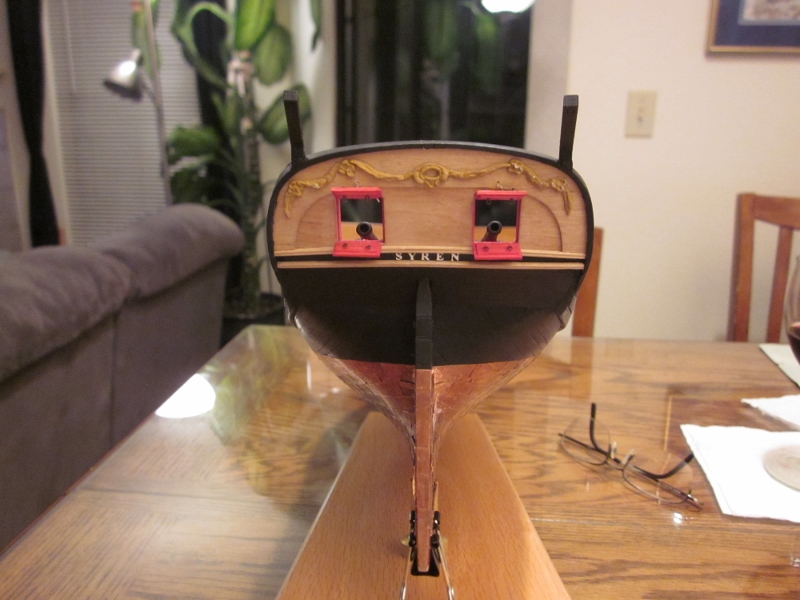
Then I went back thru the chapters and completed the steps I missed. I added the ships bell, lanyards to the bridle and stern gun ports. Now all that's left is the bumpkins (which I'll install when I start the bowsprit) and the quarter galleries.
Attached are some pictures


-
Floyd and Thomas, Thank you!
I believe the secret is using the Humbrol matte sand paint and being too busy. All I did was prime the castings with testors primer then I gave it a light coat of matte sand. Then I wasn't able to get back to it for a couple of days then I added a second thin coat. On my final coat I just "hit the high points" which made them brighter than the recessed areas. But I did wait a day between coats. Hope this helps.
Richard
-
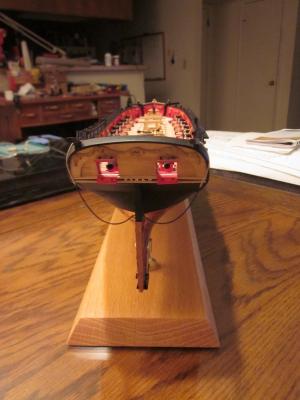
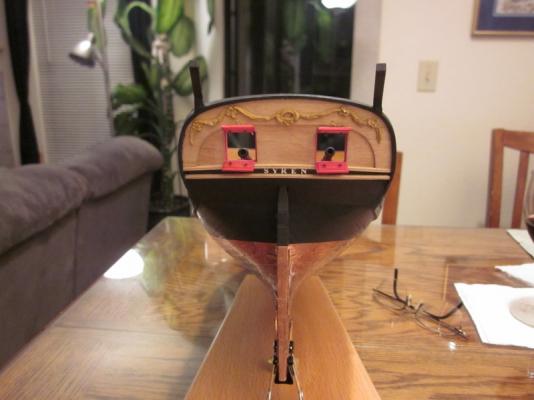
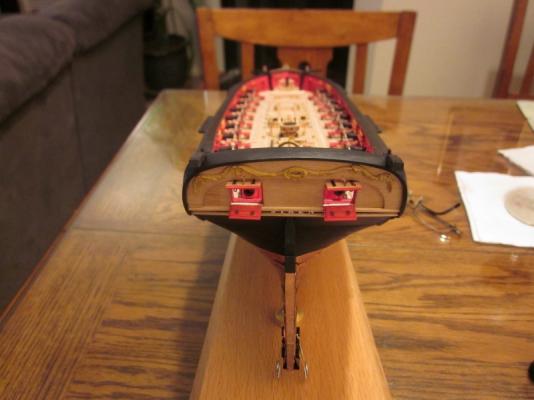
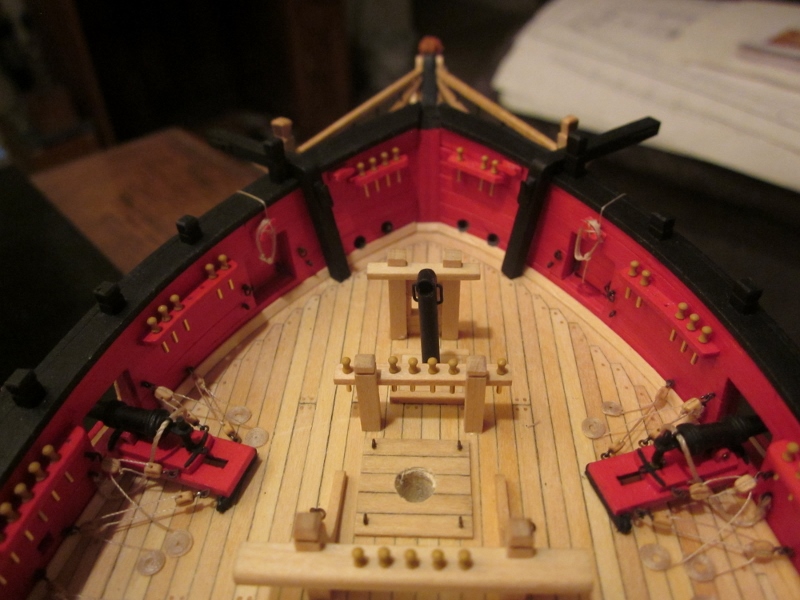
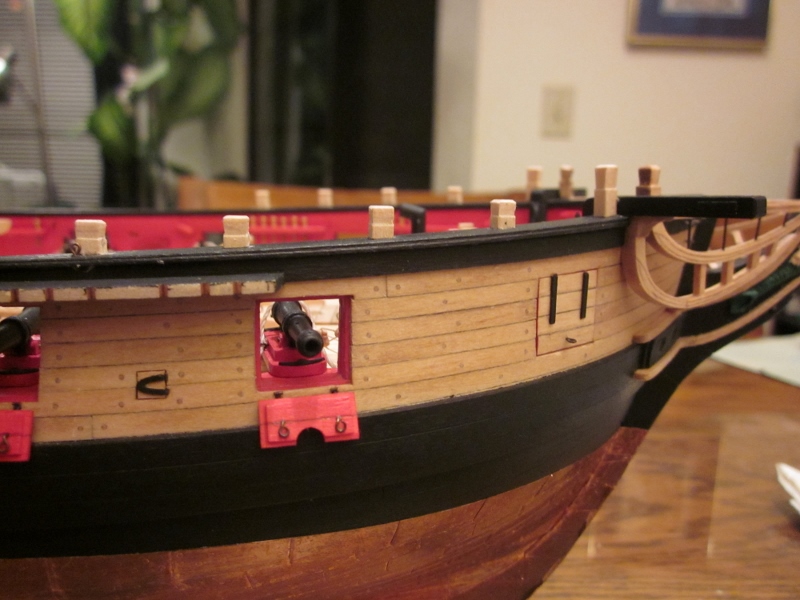
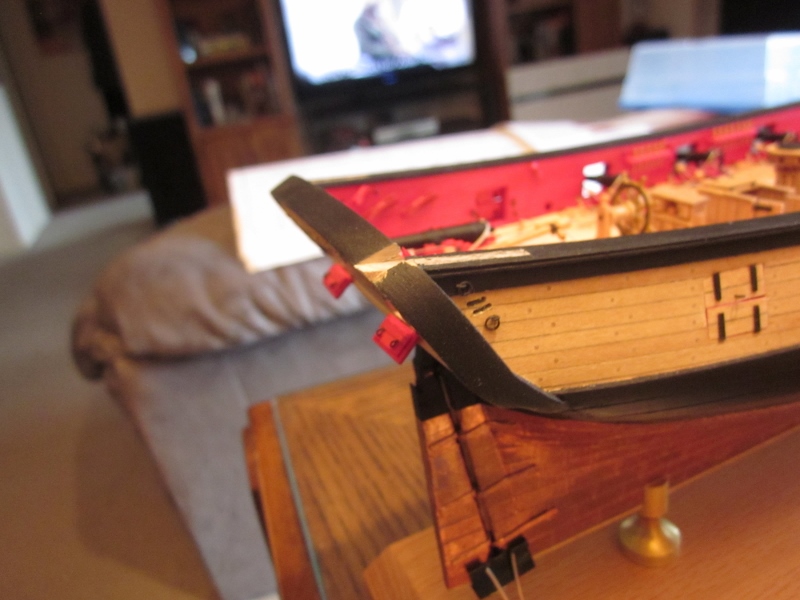
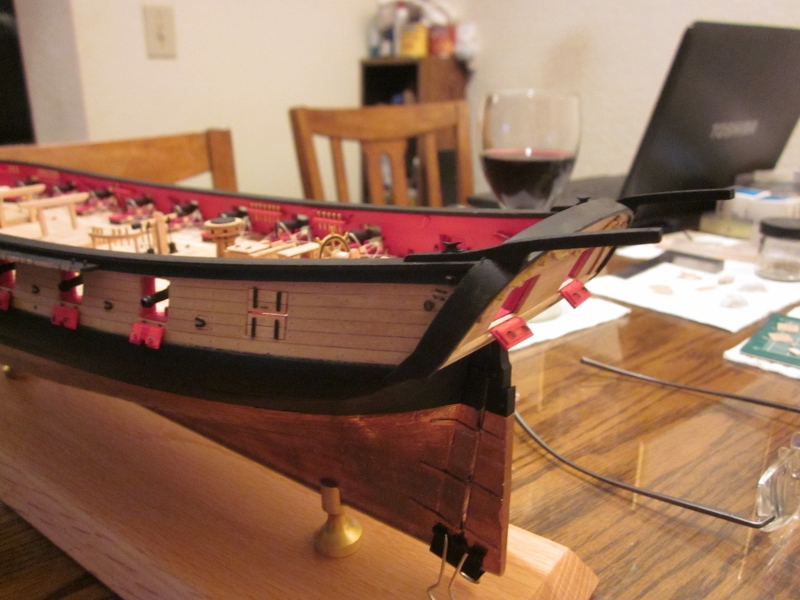
Progress is being made on the stern. Davits are done. Gun port lids are done. Stern ornamentation is done. Finally got a set of castings that were close enough to work.
The davits sat high on the cap rail so I added a piece of wood as filler to blend it in with the cap rail. I'm understanding how any slip ups early comes back to haunt a person in a latter step. But hey, it gives my Syren its own character.
Made some progress on my quarter galleries and will continue the painfully slow process as I work on the ladders, and the rest of the cap rail details.
Richard


- rtropp, Ryland Craze, fatih79 and 5 others
-
8
-
Beautiful work as always Thomas! I just installed my davits this weekend. After seeing your work I feel I should of thought out of the box as you did. Yours is the better result.
-
-
HI Augie, and thanks. I'm happy with how the ol' girl is fitting out. Can't wait to see how she is with her hammock cranes installed.
Thomas, I thought about using the birch wood to make the belaying pins but there wouldn't be any way to make them all equal with the tools at hand. So I painted the brass ones with the same Humbrol matte sand that I used on the wheel.
Richard
-
Charley, Augie, Mike, Thomas & Dirk thank you for the comments.
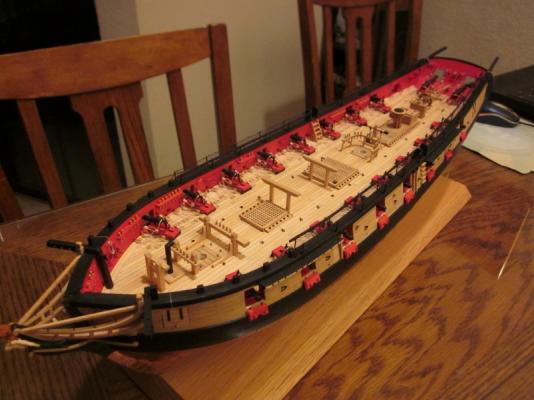
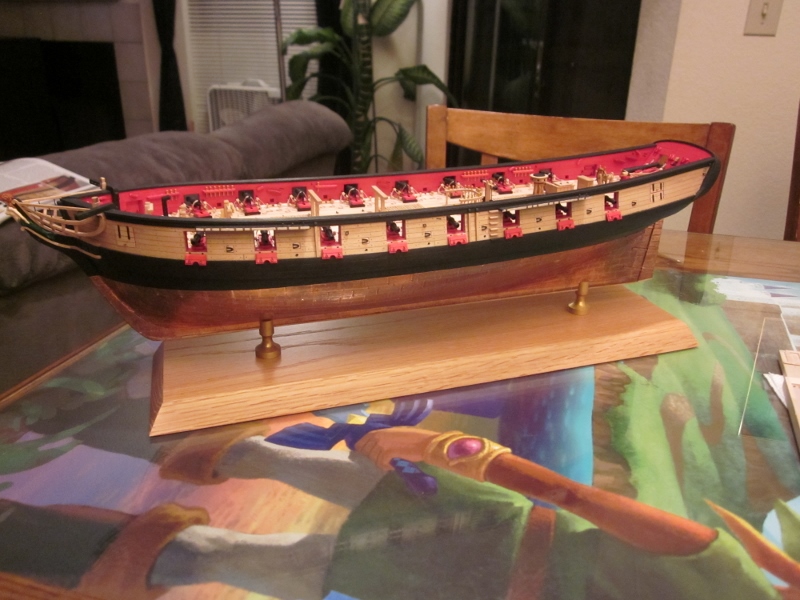
I've finished chapter 13 and now its on to chapter 14. As I was re-reading the chapter I realized I'd better think about building my base before I get to a point where I'd be breaking off pieces installing her in her permanent stand. So I bought a piece of solid oak at Home Depot and cut a 30 degree miter on all 4 sides then I sanded it smooth and added several coats of matte polyurethane
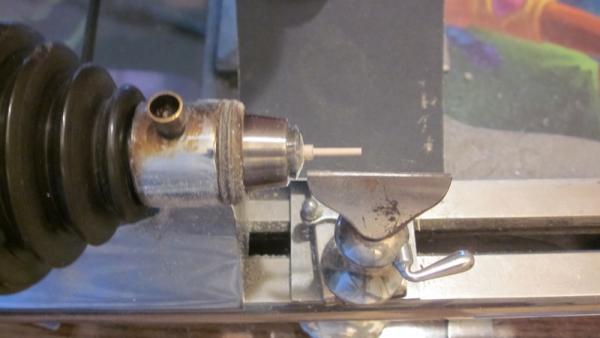
The bitts went well but I had alot of trouble when it came to making the fife rail. Even though the railing is in 2 pieces and cut cross grain I still had trouble drilling the holes wide enough for the belaying pins. It kept wanting to crack and break. I spent alot of time re-gluing tiny pieces back together that the drill broke off. The basswood dowel supplied for the legs was a disaster. So I ended up buying a dowel made from birch and that worked well. I turned the legs on my watchmakers lathe which made the cutting go smoothly.
I've mad li ttle progress on my quarter galleries but eventually I'll get them done. I worked on the stern ornamentation but the casting sizes were so different that I ordered new ones from Model Expo. Hopefully I'll get replacements.
Anyway enough with the dialog and on to the pictures.
Richard


-
Beautiful work Thomas. The curvature you put on your head rail timbers is fantastic. Three cheers to you!
Richard


US Brig Syren by Gahm - Model Shipways
in - Kit build logs for subjects built from 1801 - 1850
Posted
Gahm, I sit here with jaw dropped. It's amazing how "real" your carronade looks. From the elevation screw to the wheels - masterful job. Have you ever thought to do a video - I would love to see how you achieved such detail.
Richard