JesseLee
-
Posts
1,694 -
Joined
-
Last visited
Content Type
Profiles
Forums
Gallery
Events
Everything posted by JesseLee
-
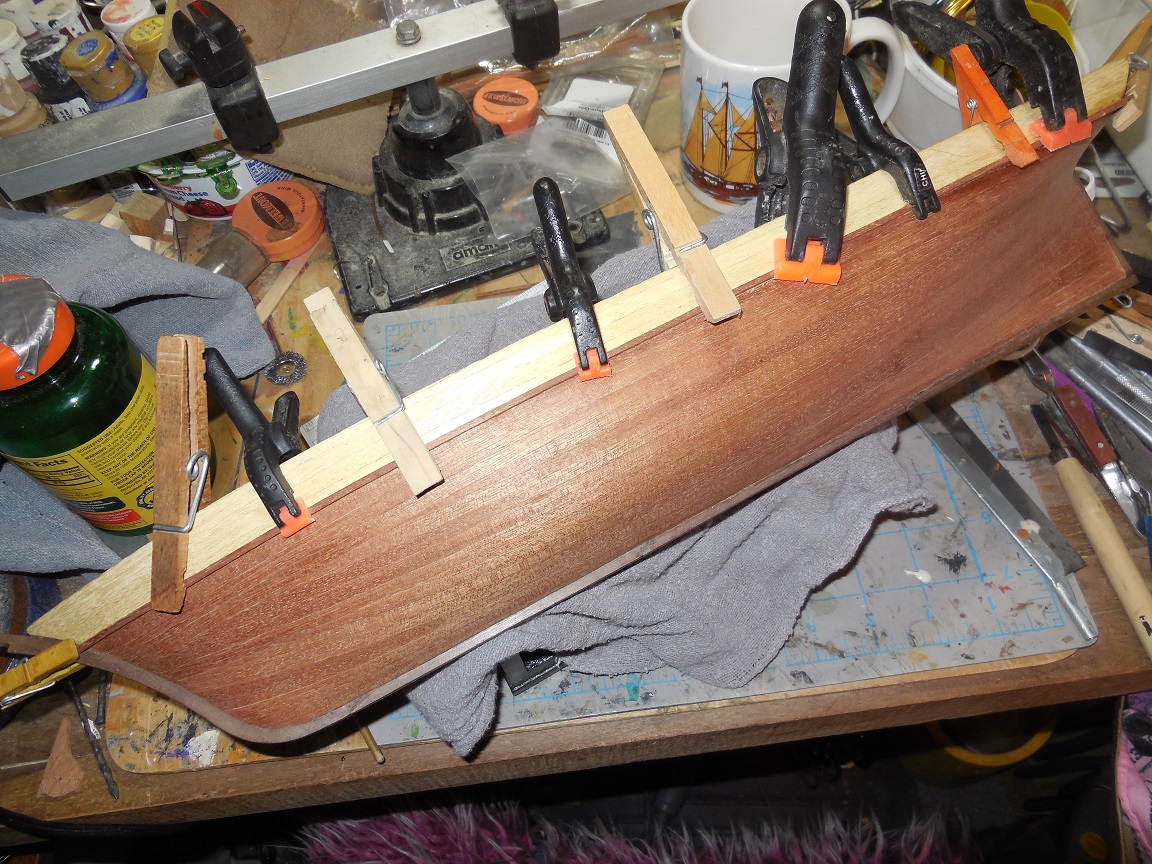
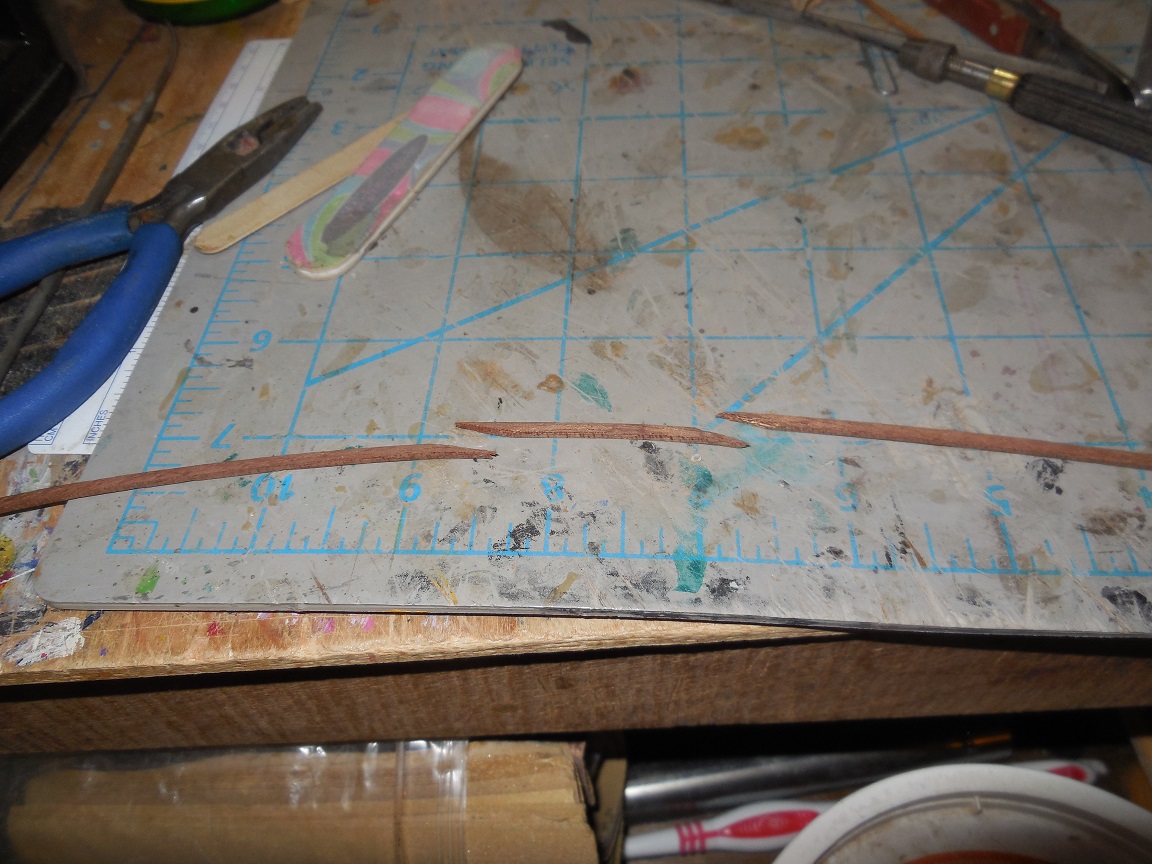
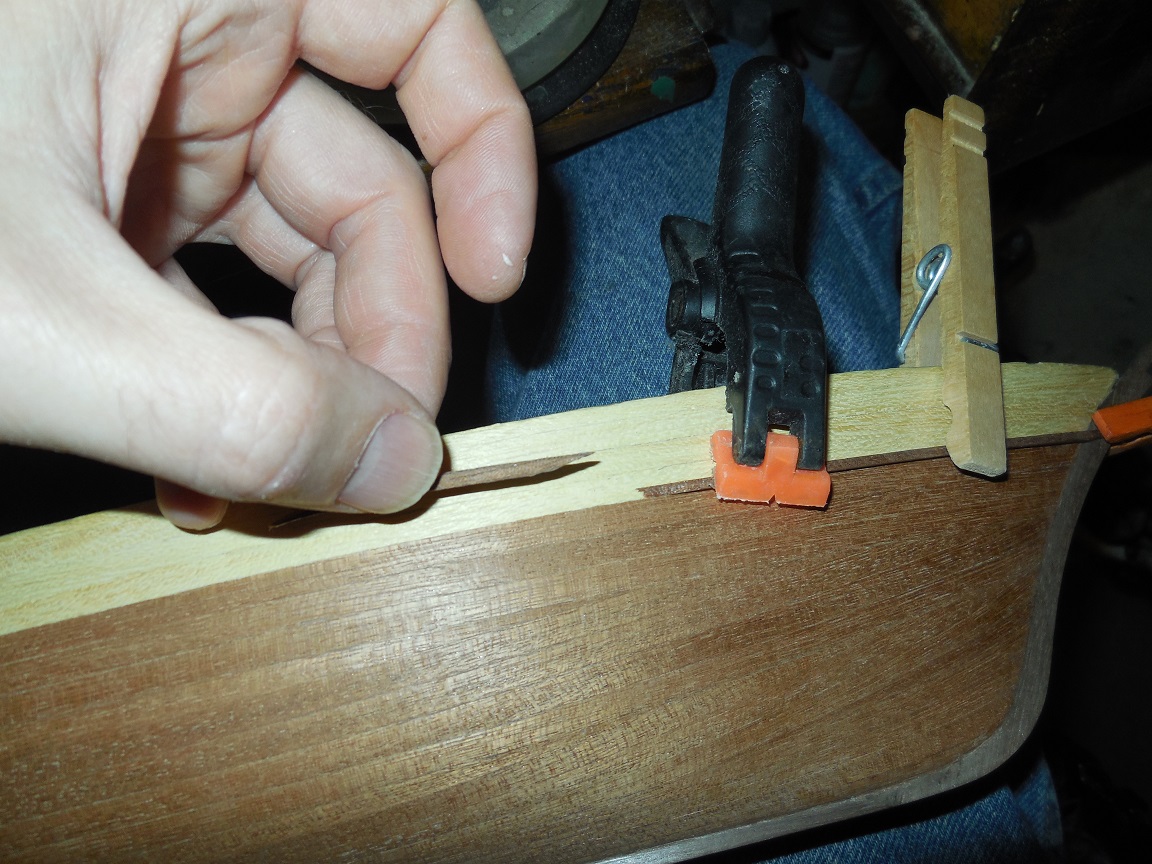
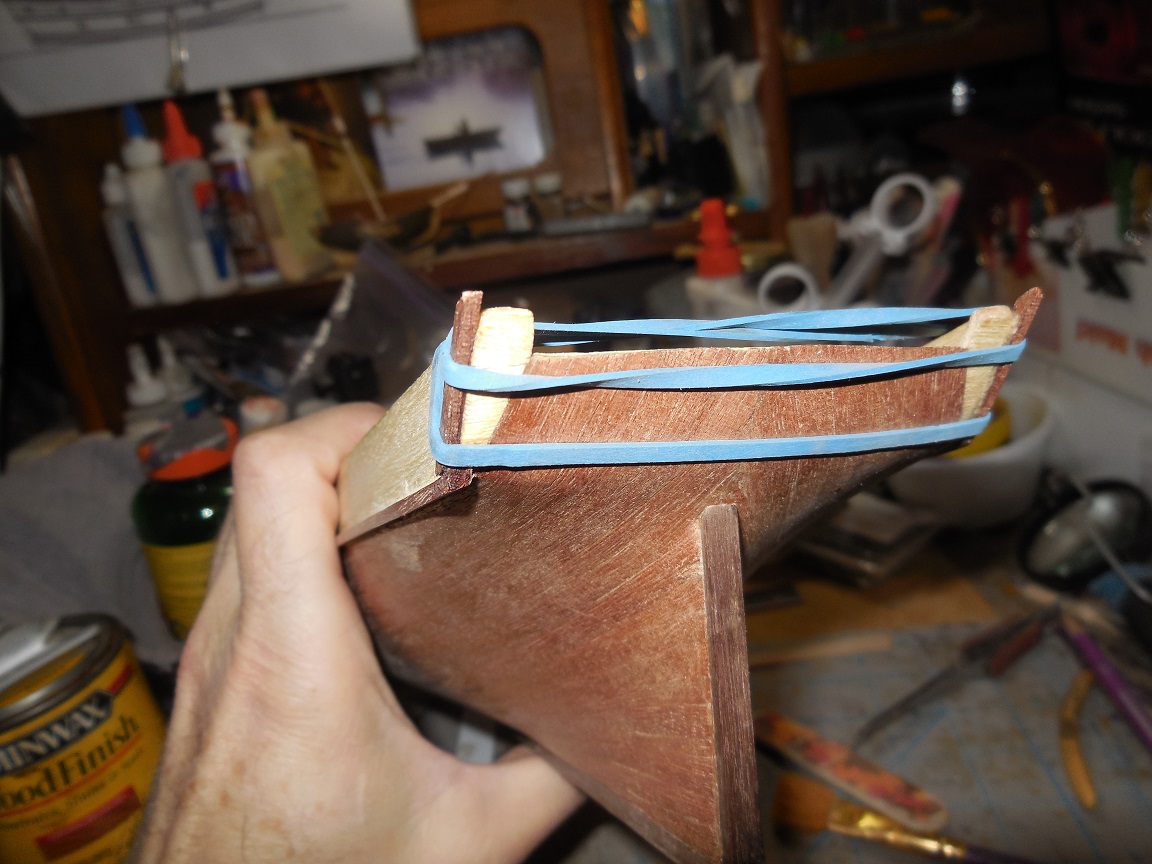
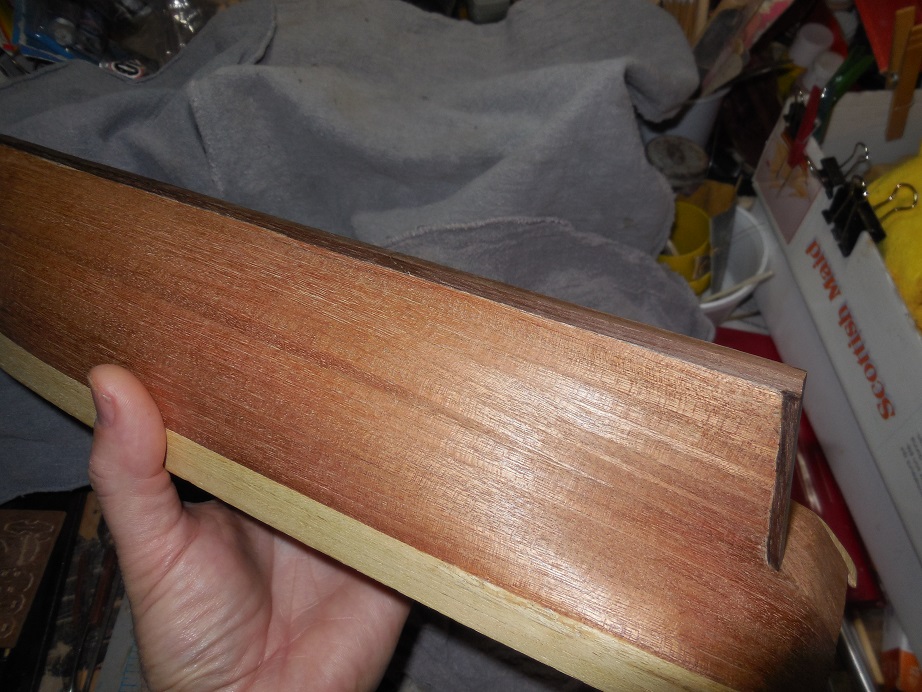
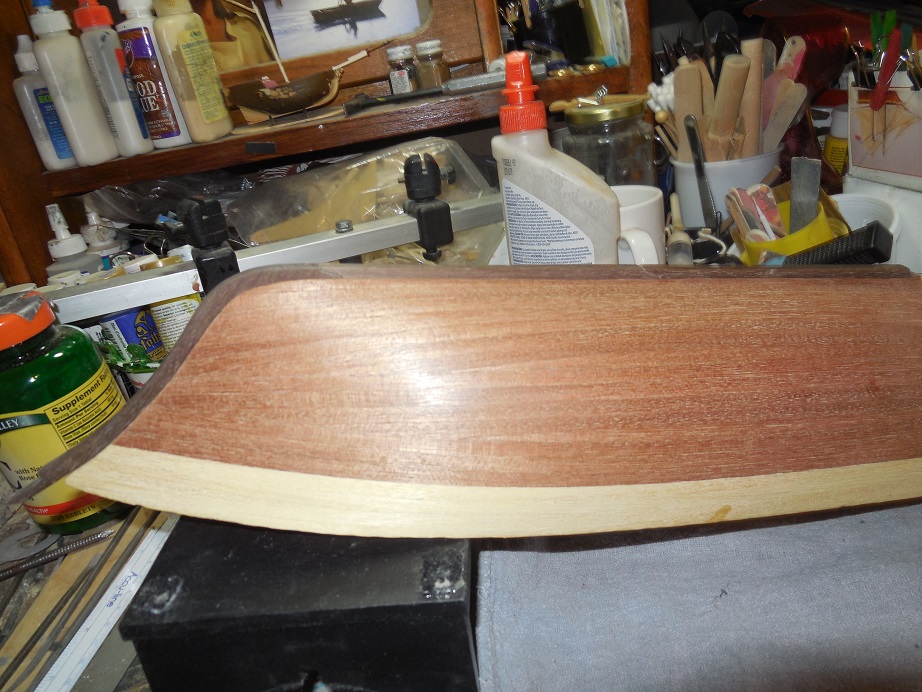
 Glued on rubbing strake on one side. Got to the other side & even though I had already steamed & shaped it the other one broke in 2 places. Got mad at first but noticed it broke at angles along the grain which should be easy to hide when glued & it was. Then added on the stern rubbing strake reinforcements & the fenders.


- 607 replies
-
- 5
-

-
- scottish maid
- artesania latina
- (and 1 more)
-
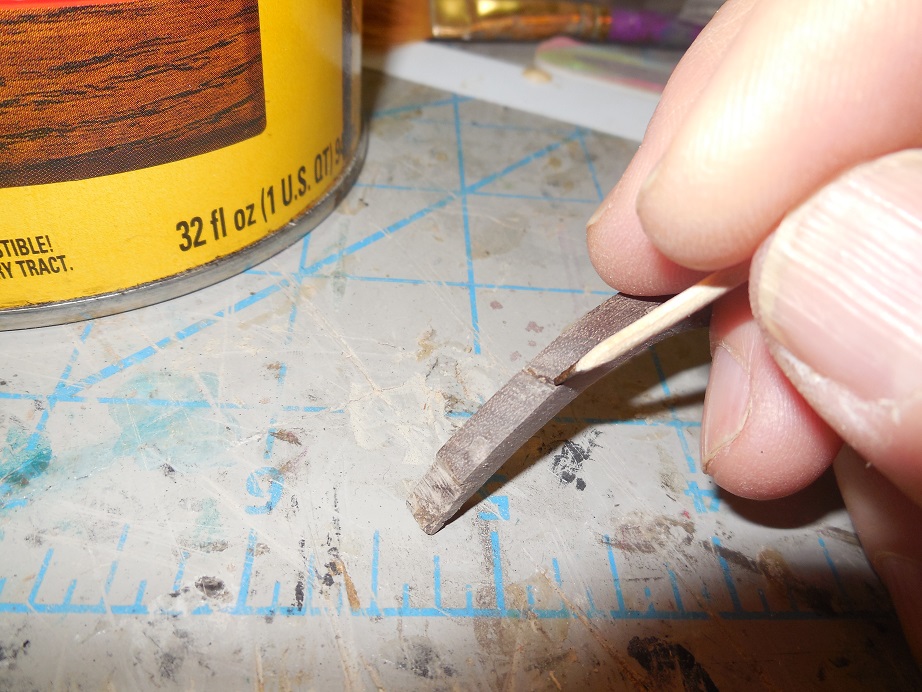
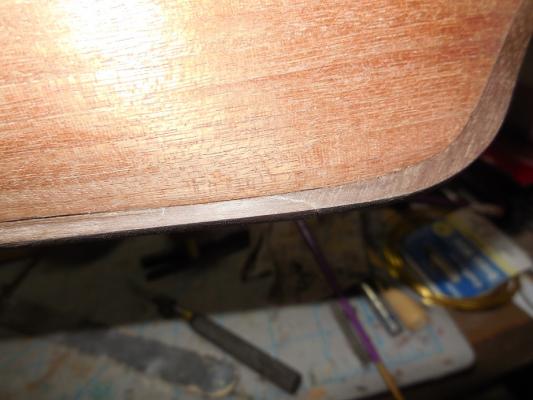
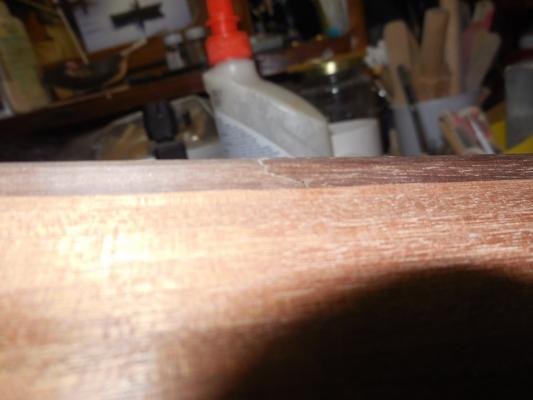
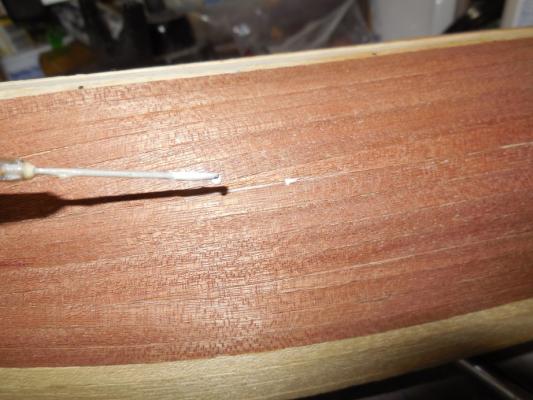
Scarf joints were still a lighter color after sanding sawdust down on them so I added a little stain along the joint with a toothpick & lightly sanded & they look much better now.
- 607 replies
-
- 3
-
-
- scottish maid
- artesania latina
- (and 1 more)
-
Scarf joints weren't as tight as I thought they were but I was prepared for this. I had some sawdust from these pieces ready. Packed it around the joints while the glue was still wet. Cleaned them off after the glue set & lightly sanded them.


- 607 replies
-
- 5
-
-
- scottish maid
- artesania latina
- (and 1 more)
-
Steve, yes, I want to blend them in better when I glue them. They are not as snug fitting as it looks in the pics. Keith is probably right that they will most likely disappear when glued.
-
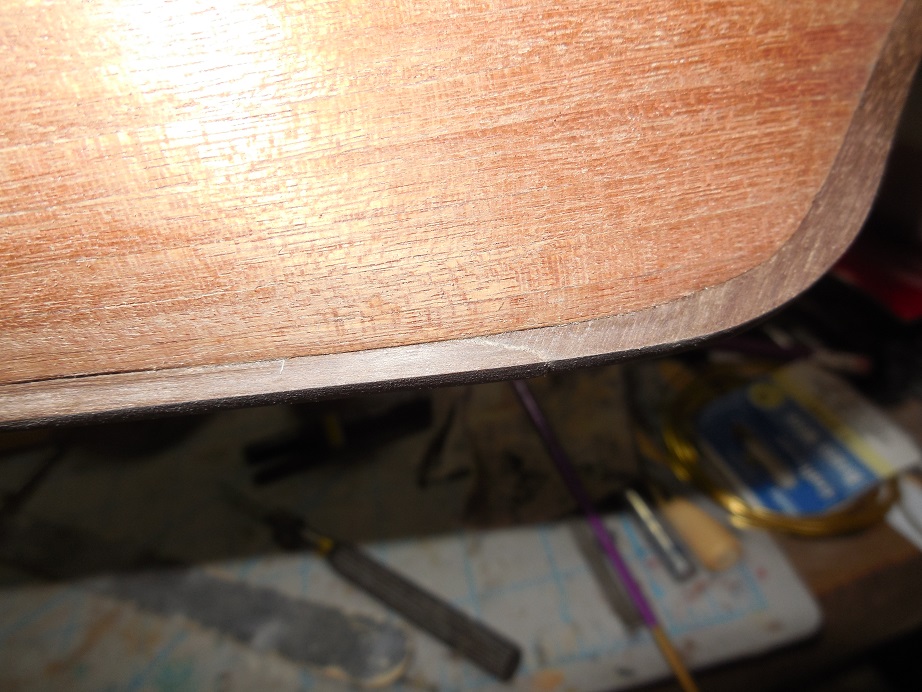
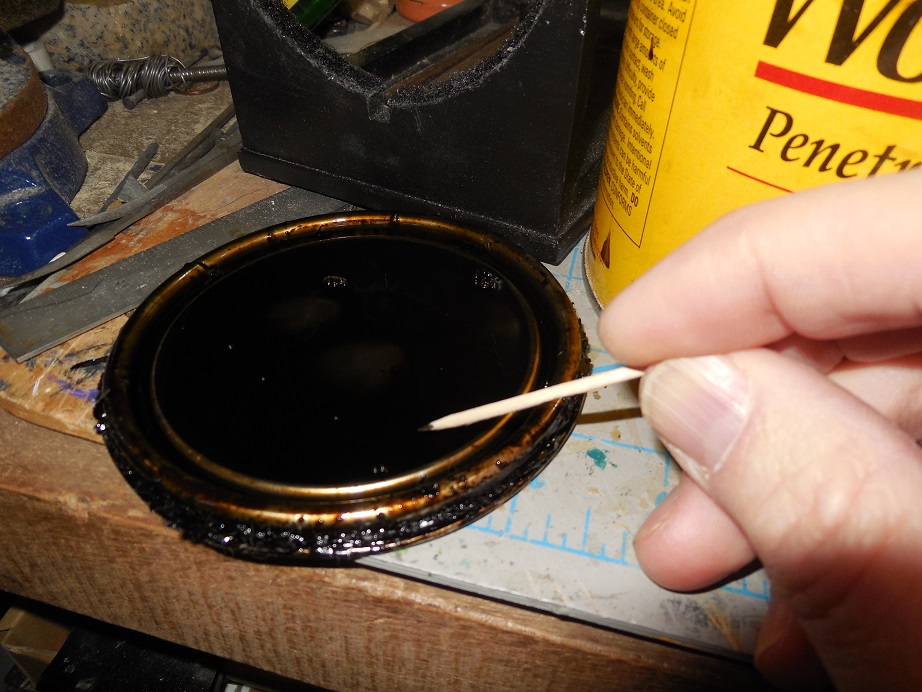
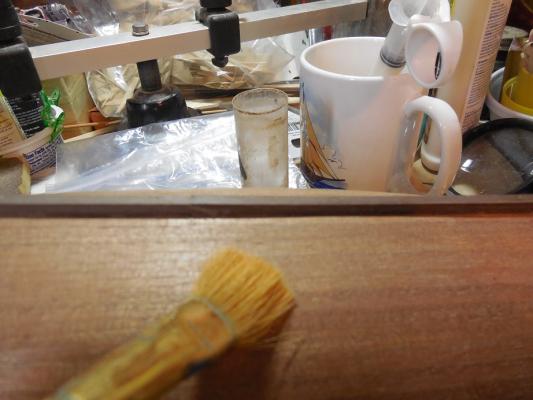
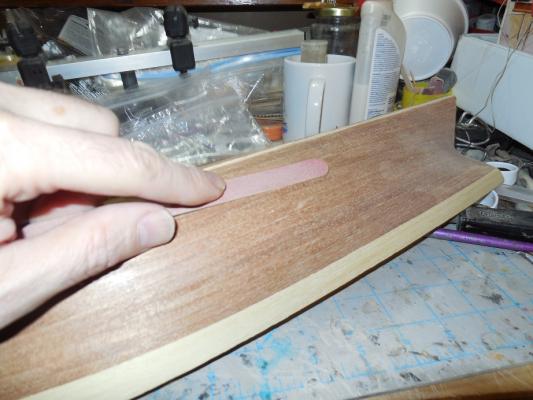
I noticed that anywhere that had been glued looked lighter at the glue spots or lines. Thought I'd try to blend these areas in better. Got out some stain & a toothpick. Carefully added stain only on the lighter glue areas with the sharp end of the toothpick. Let dry good & very lightly hit with a sanding stick & it looks much better. This is how I will probably hide those seams too.


- 607 replies
-
- 4
-
-
- scottish maid
- artesania latina
- (and 1 more)
-
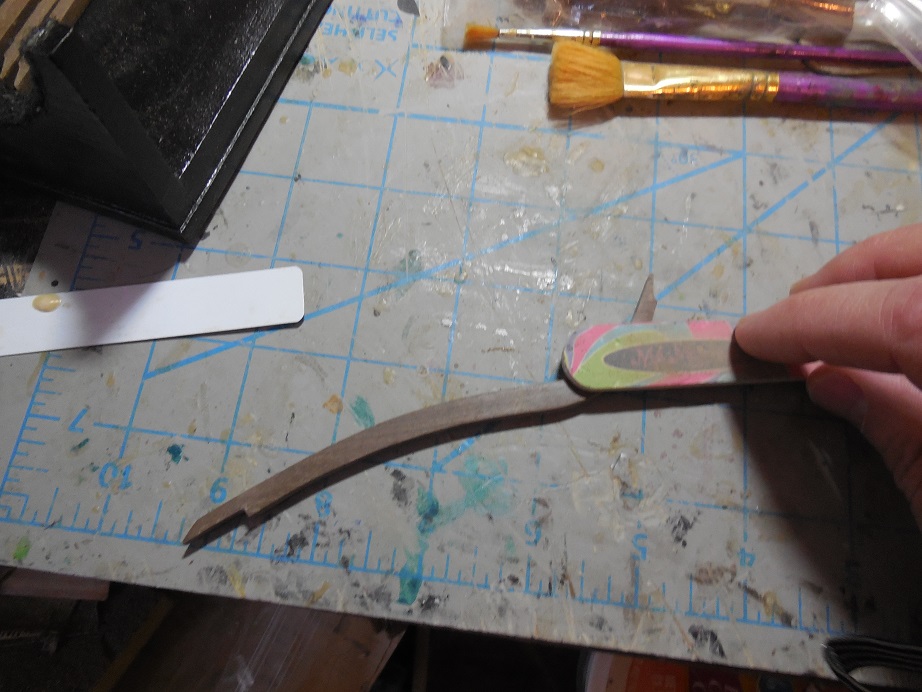
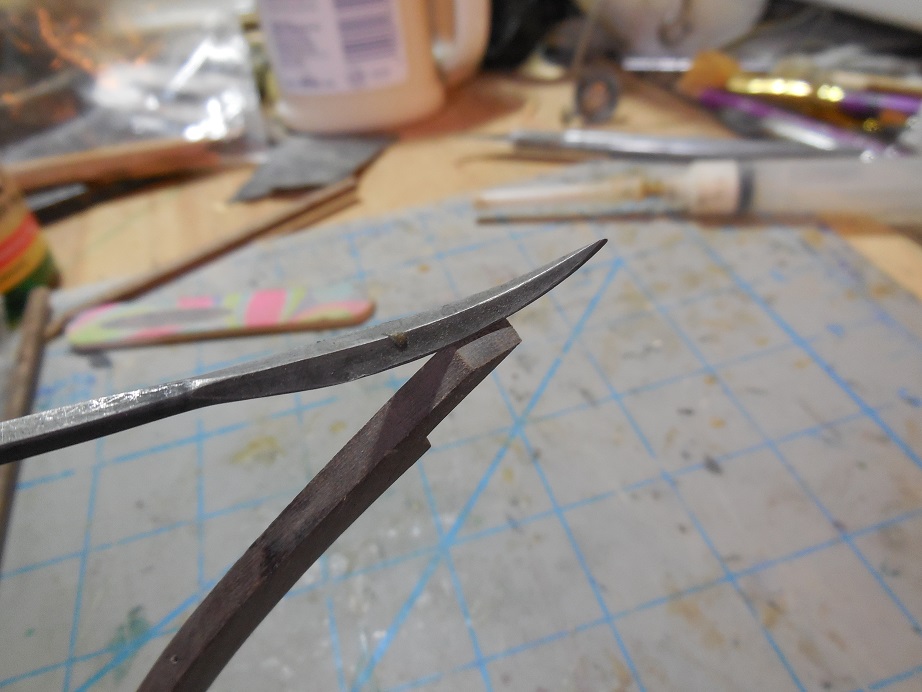
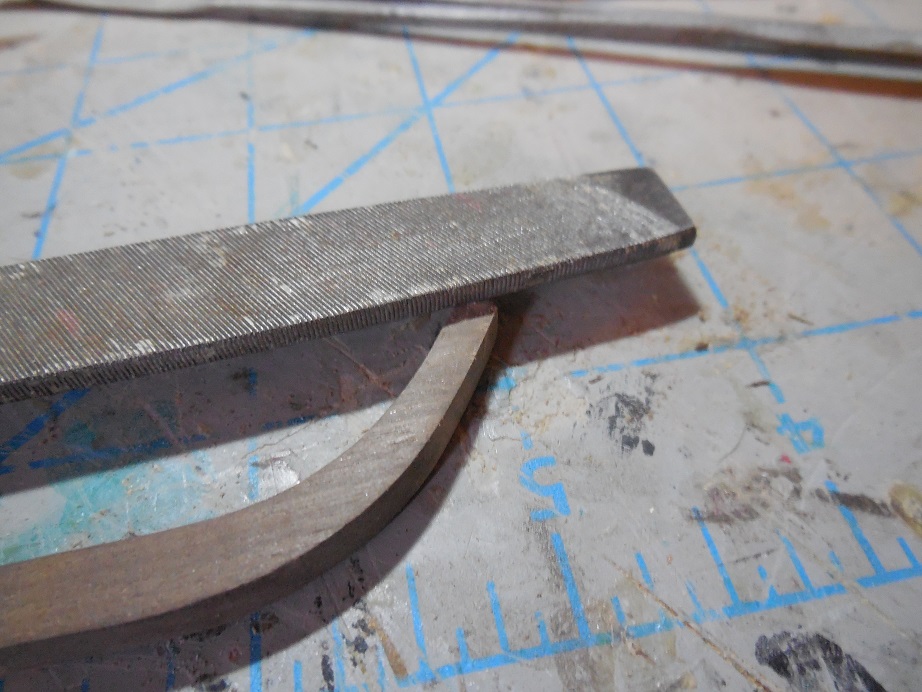
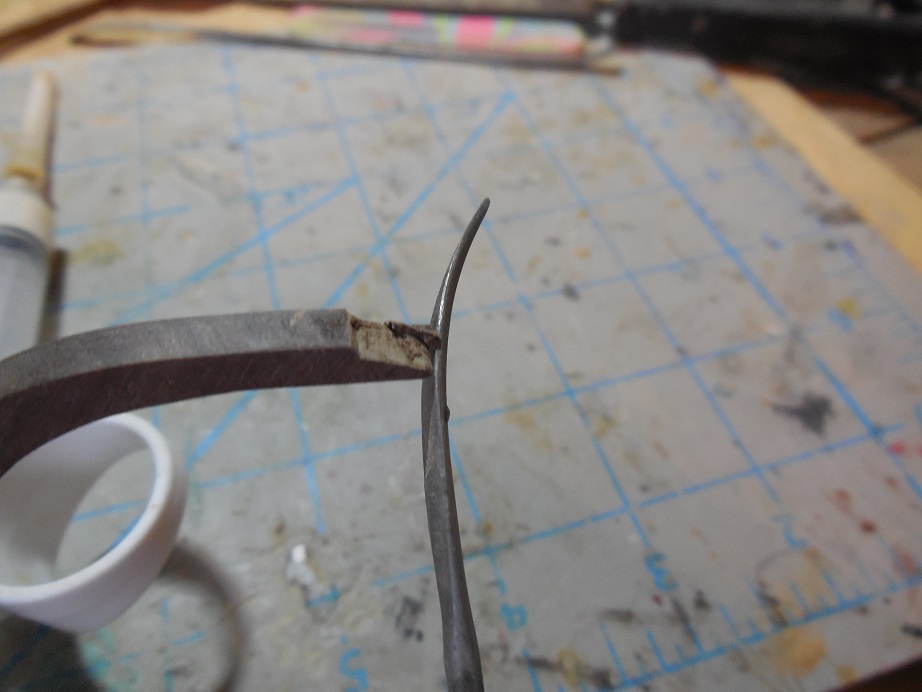
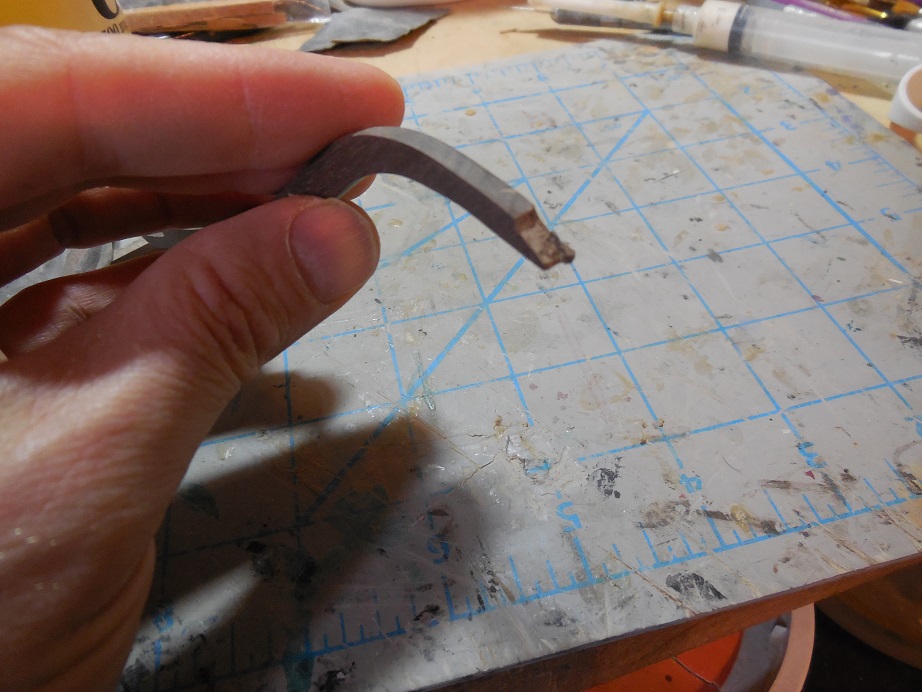
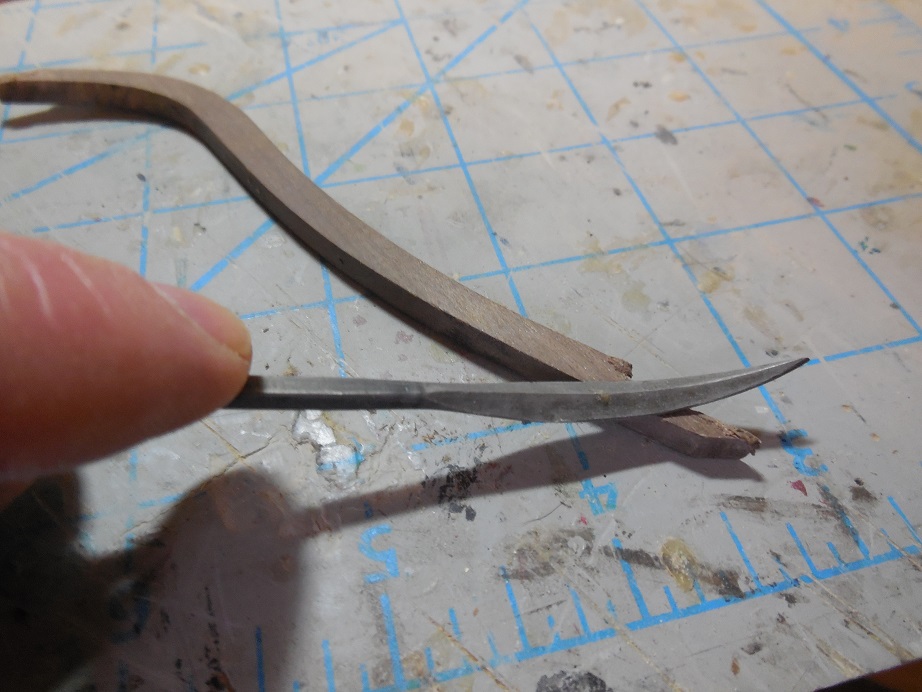
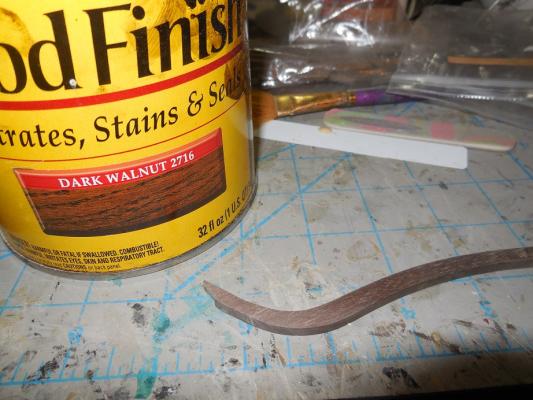
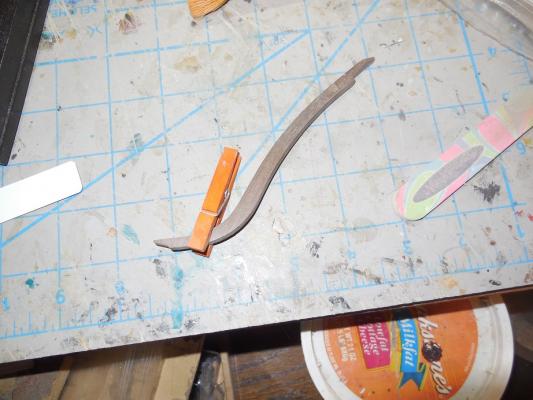
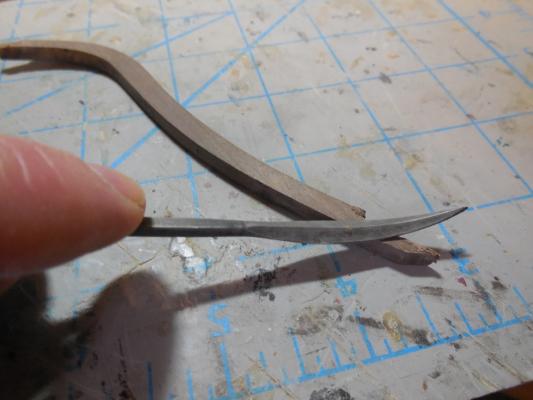
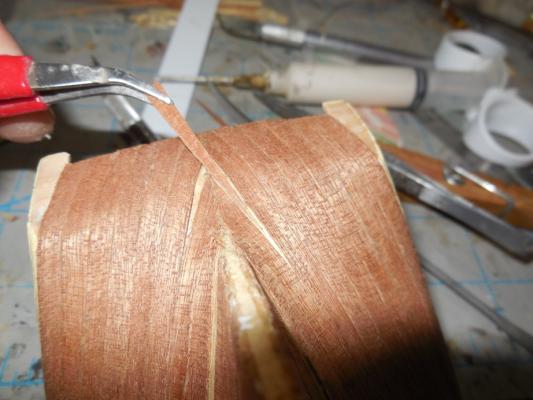
Last night while dry fitting the stem broke along the grain. Glued it back overnight & smoothed the glued edge down

- 607 replies
-
- 3
-
-
- scottish maid
- artesania latina
- (and 1 more)
-
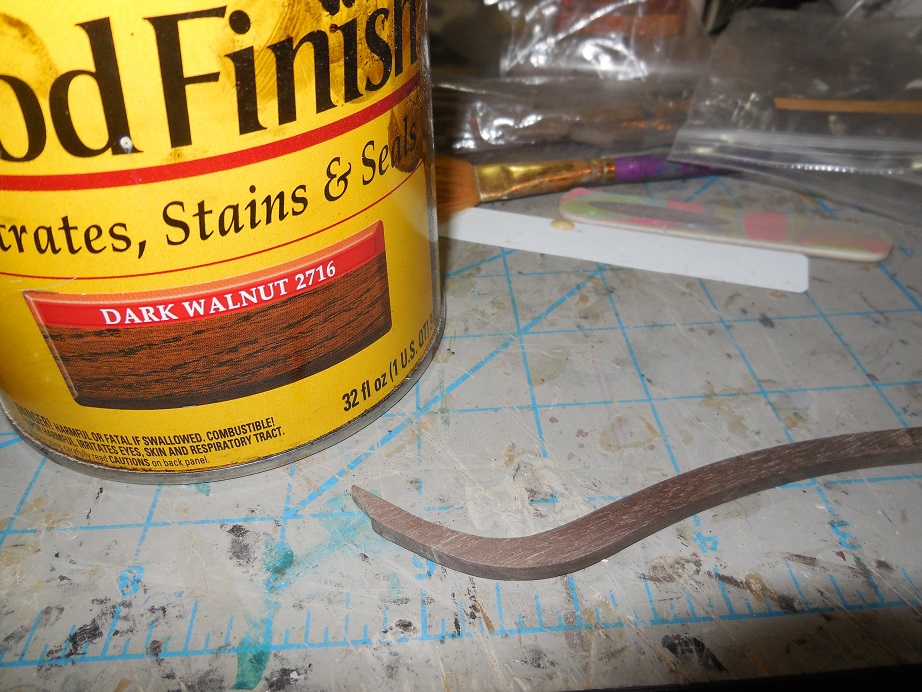
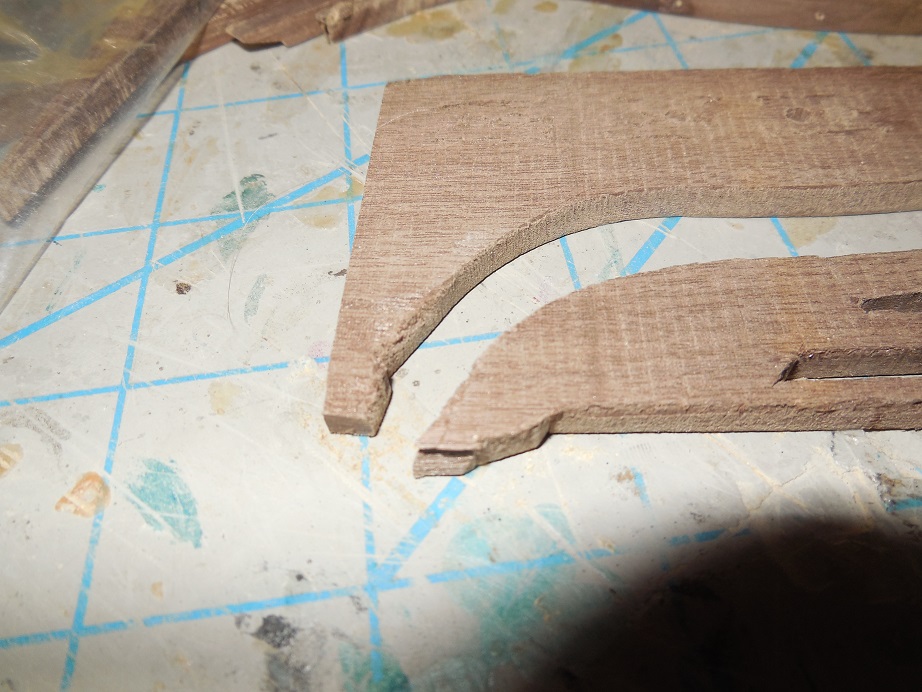
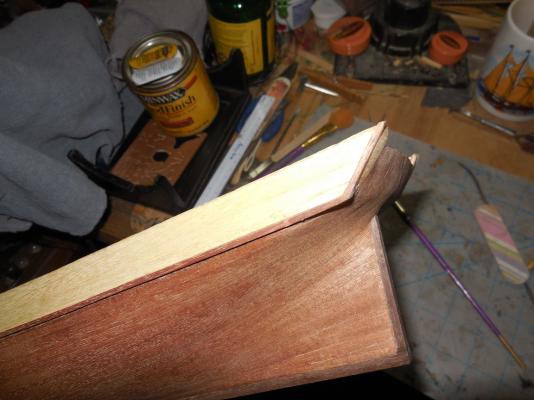
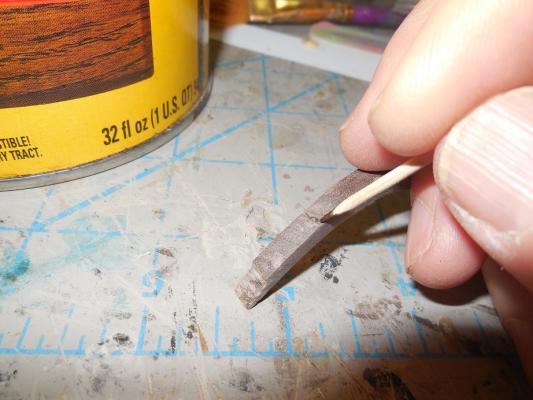
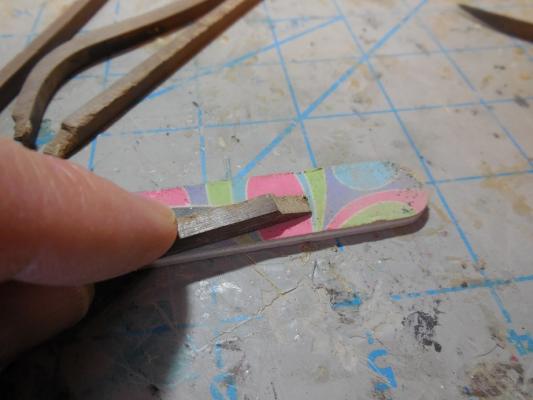
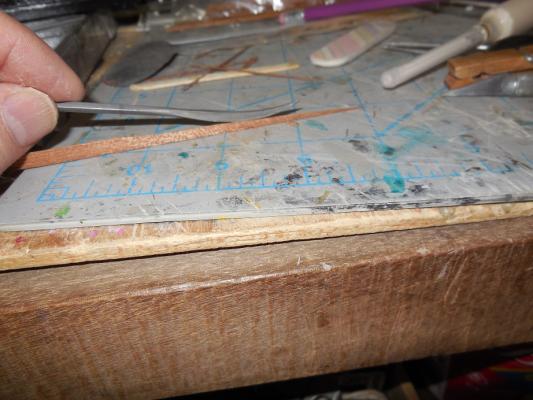
Dry fitting the stem & keel pieces. Wondering how I can hide theses seams when I glue them on.


- 607 replies
-
- 3
-
-
- scottish maid
- artesania latina
- (and 1 more)
-
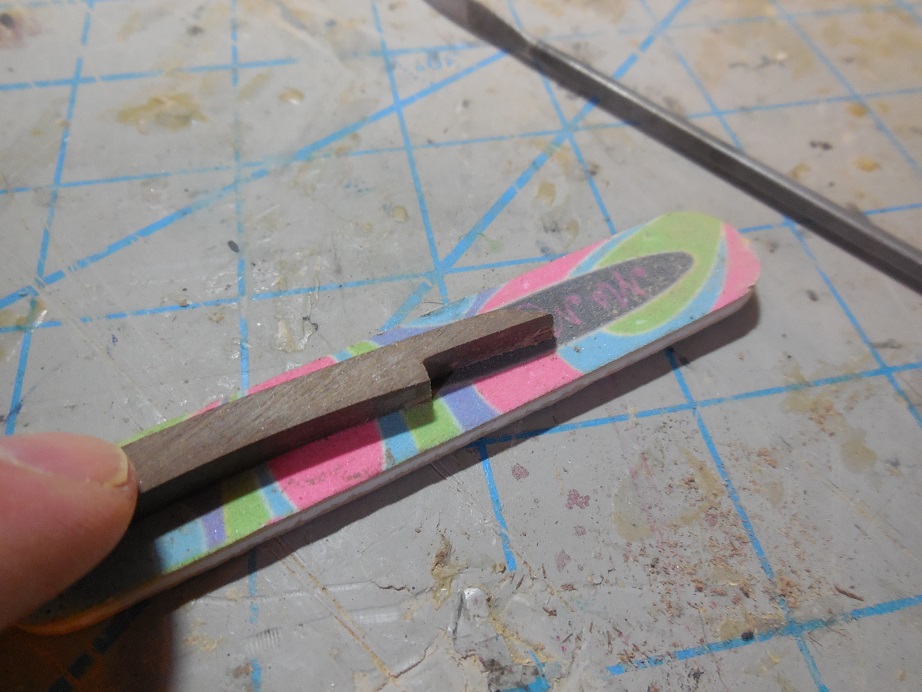
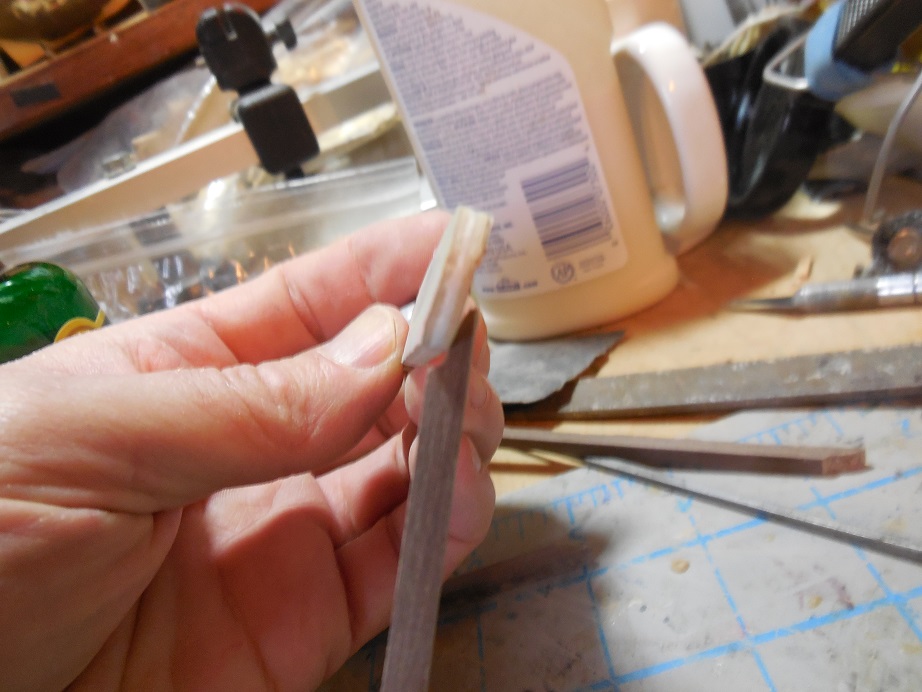
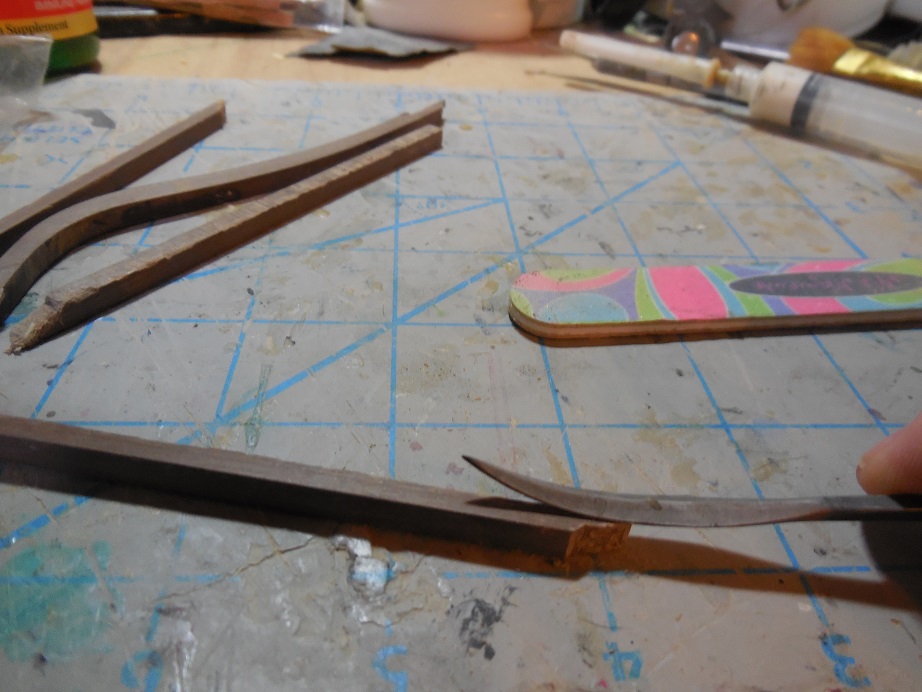
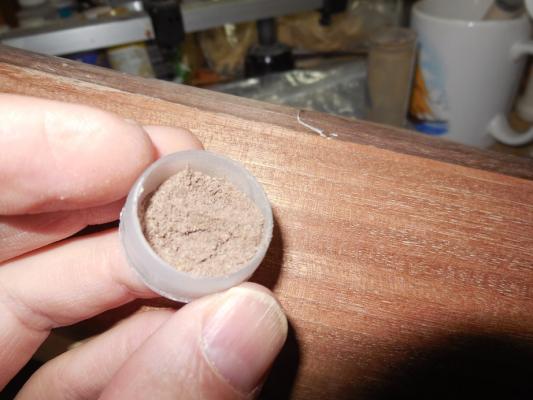
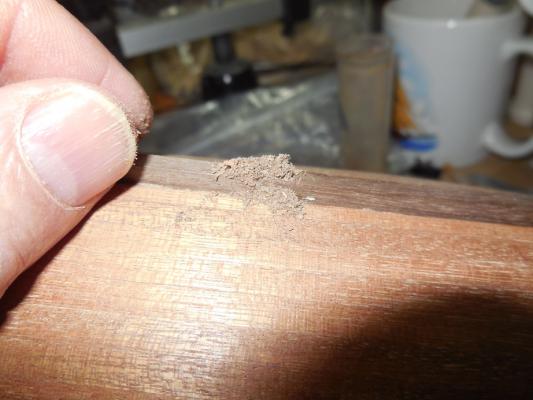
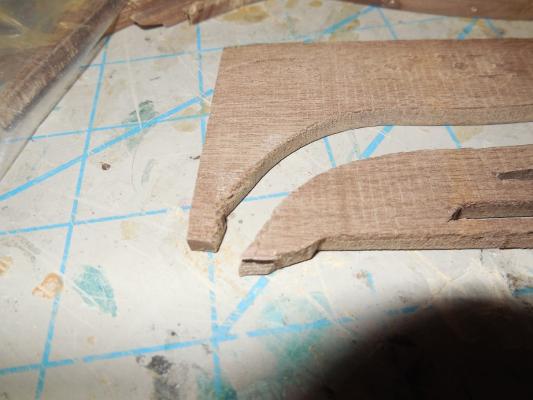
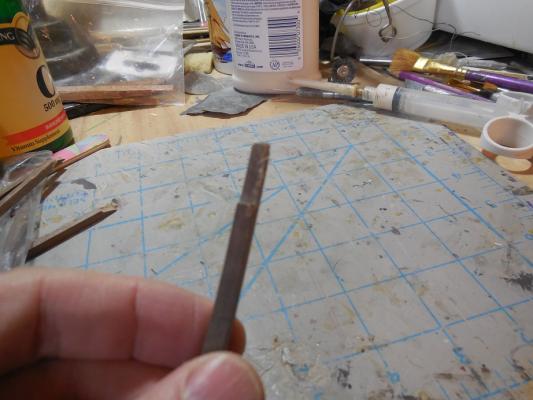
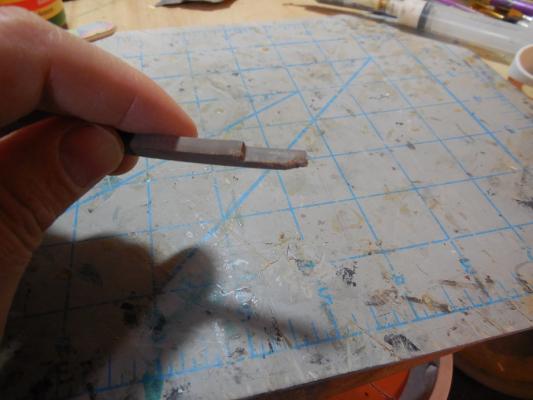
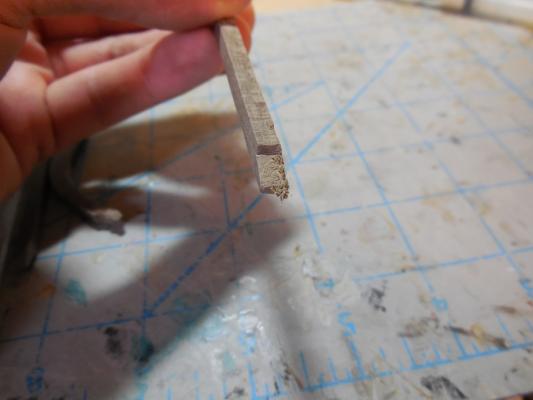
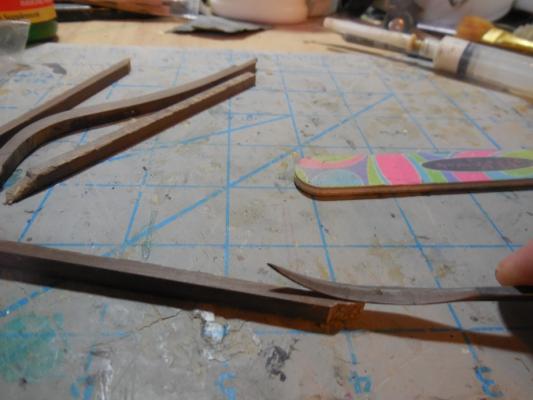
The laser cutting on the stem & keel parts was not good. No matter how I tried to cut the parts out it was impossible to get them out without ends & edges with chunks wood out in places. I glued small wedges of wood in the broken out places & packed sawdust mixed with glue around it. When dry filed & sanded each one into shape. Hoping that there wont be any big color difference in these spots when finished.

- 607 replies
-
- 1
-
-
- scottish maid
- artesania latina
- (and 1 more)
-
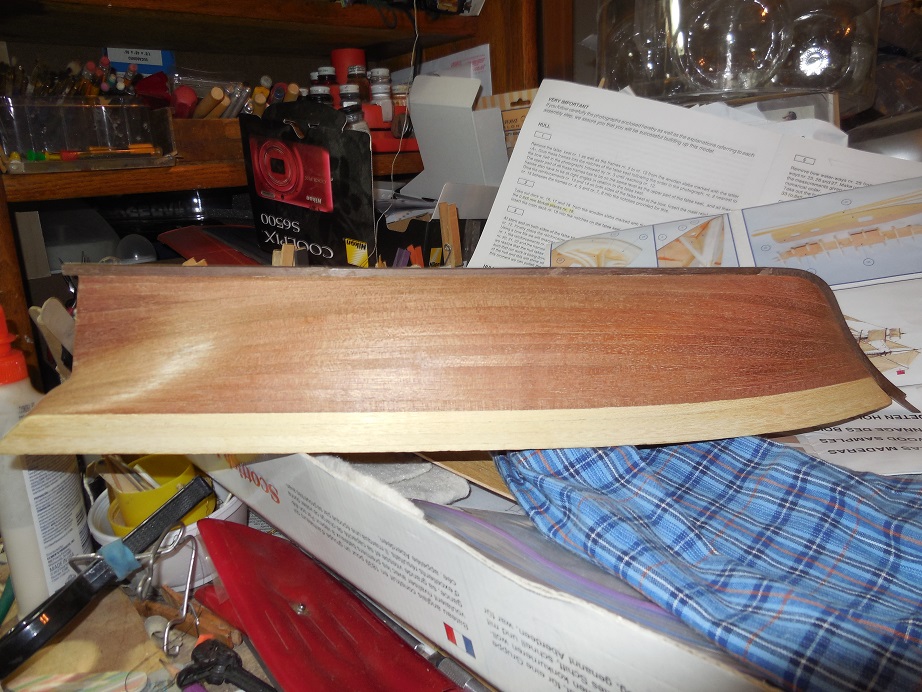
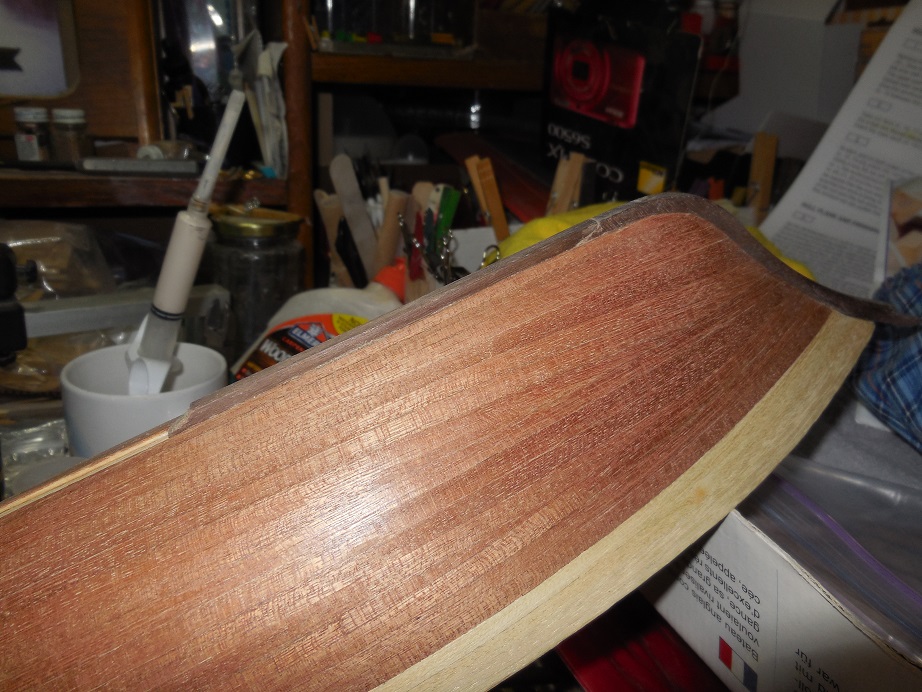
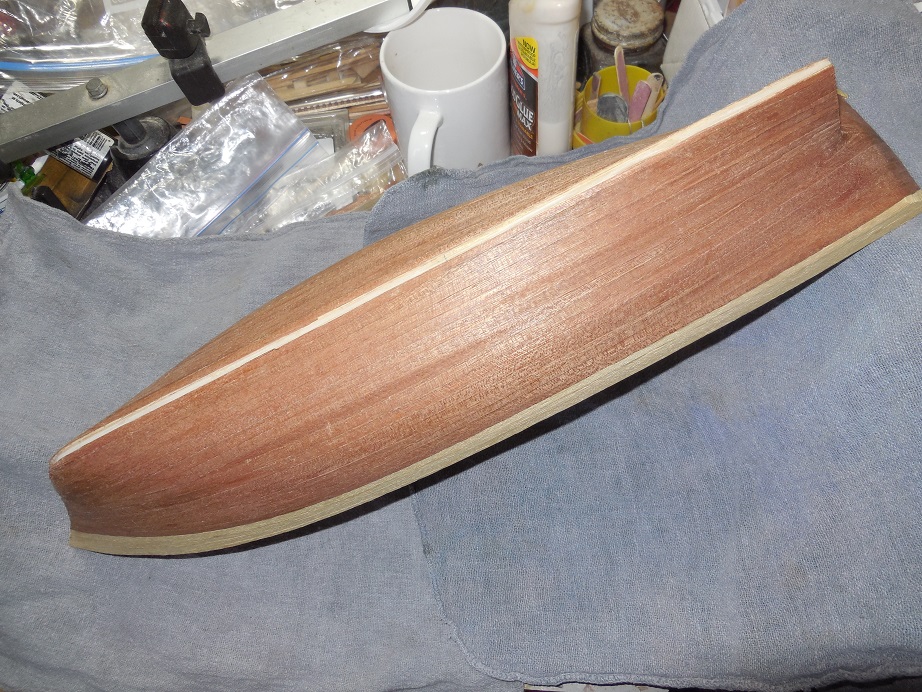
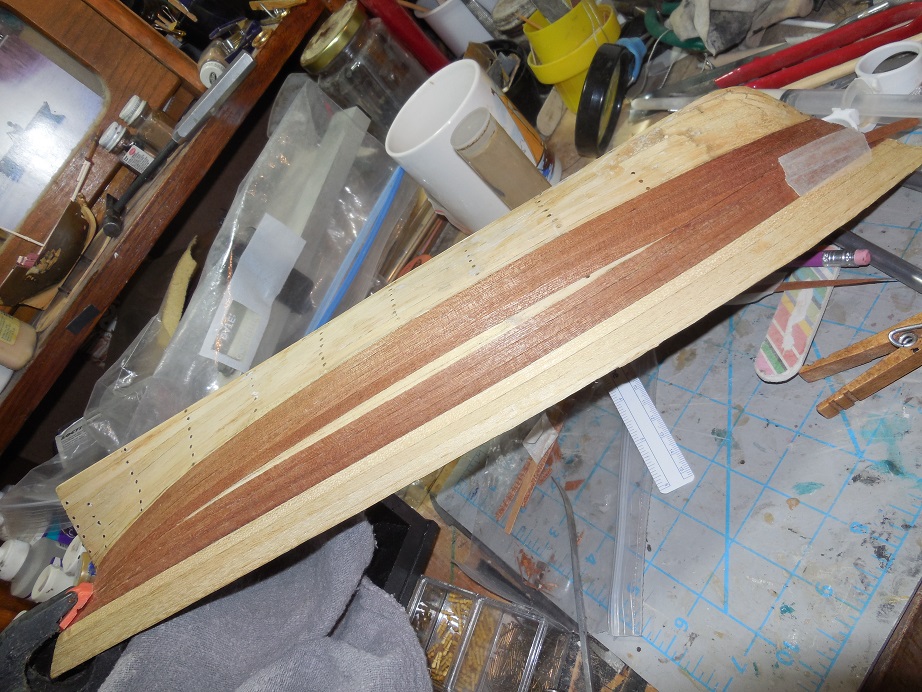
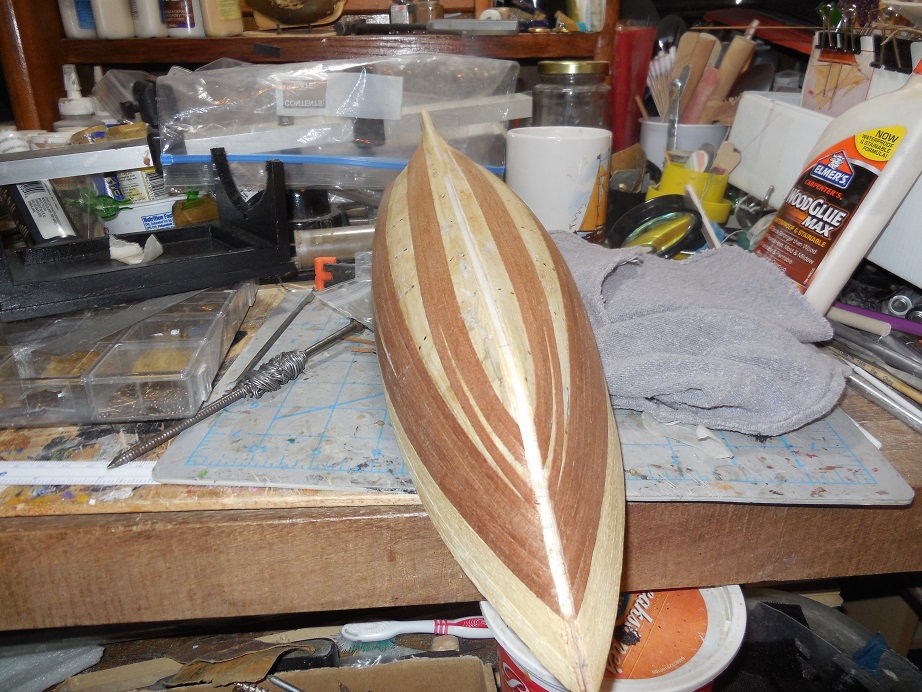
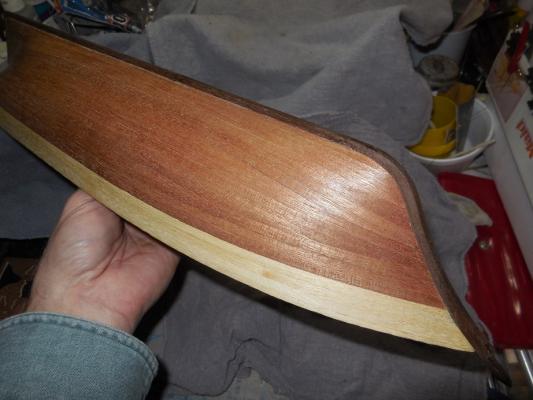
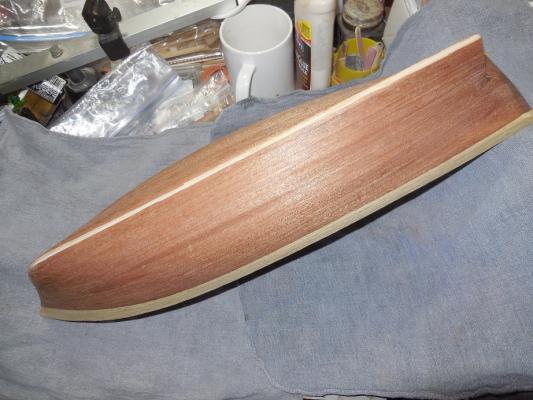
Final touches & the hull planking is about done

- 607 replies
-
- 5
-
-
- scottish maid
- artesania latina
- (and 1 more)
-
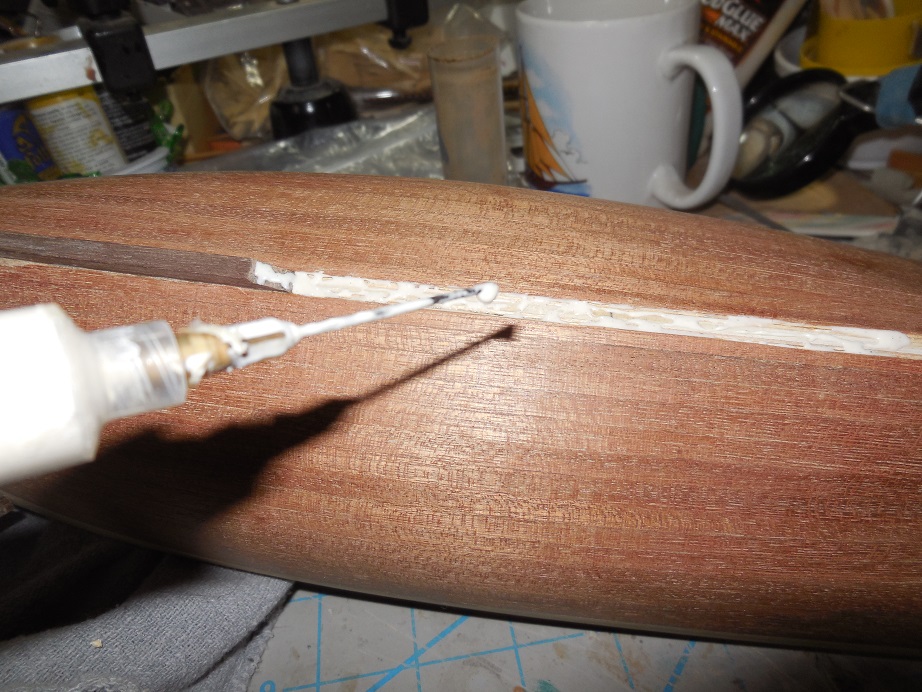
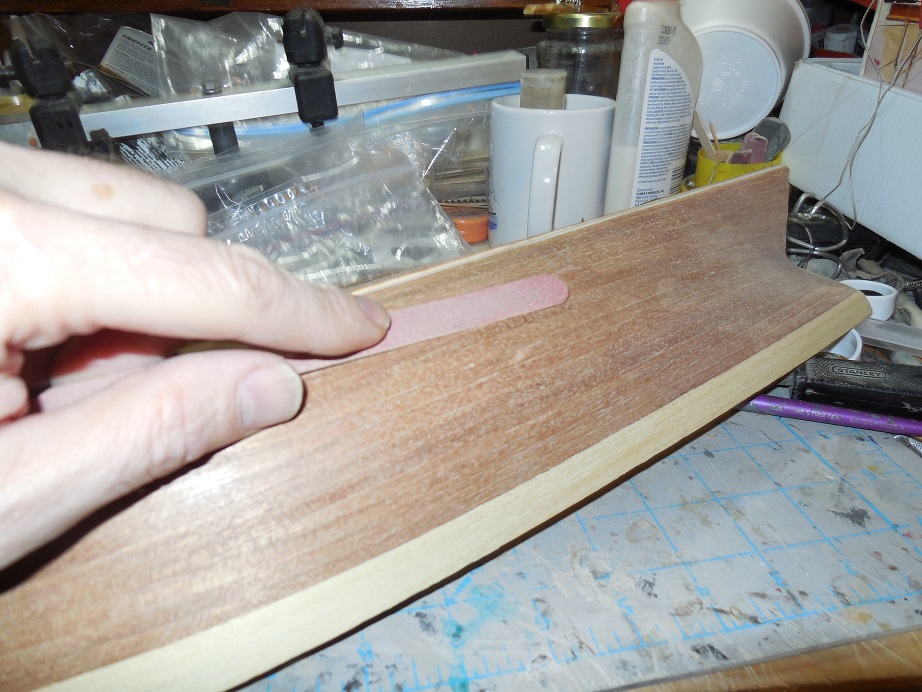
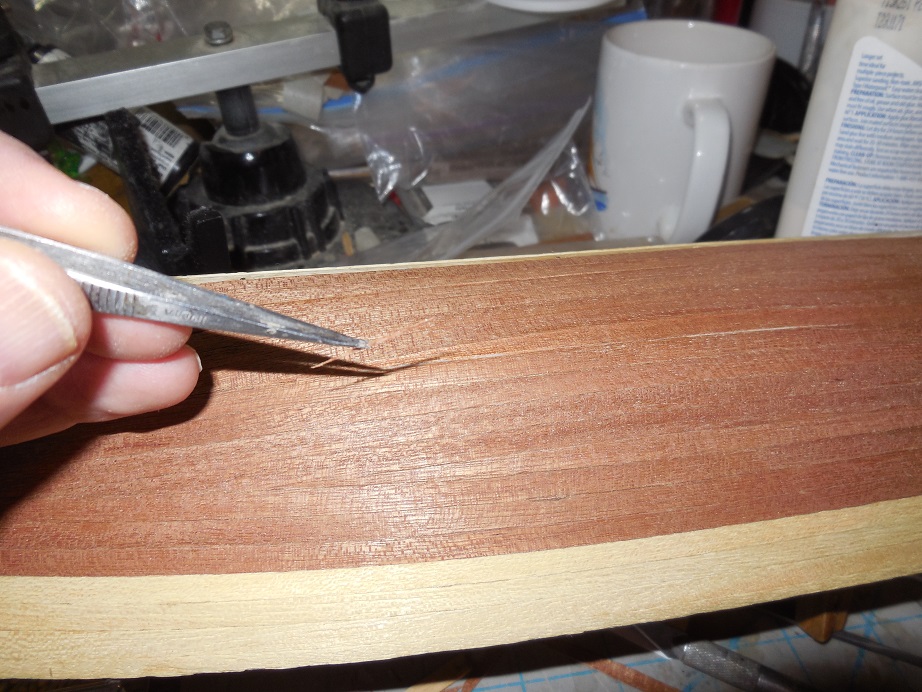
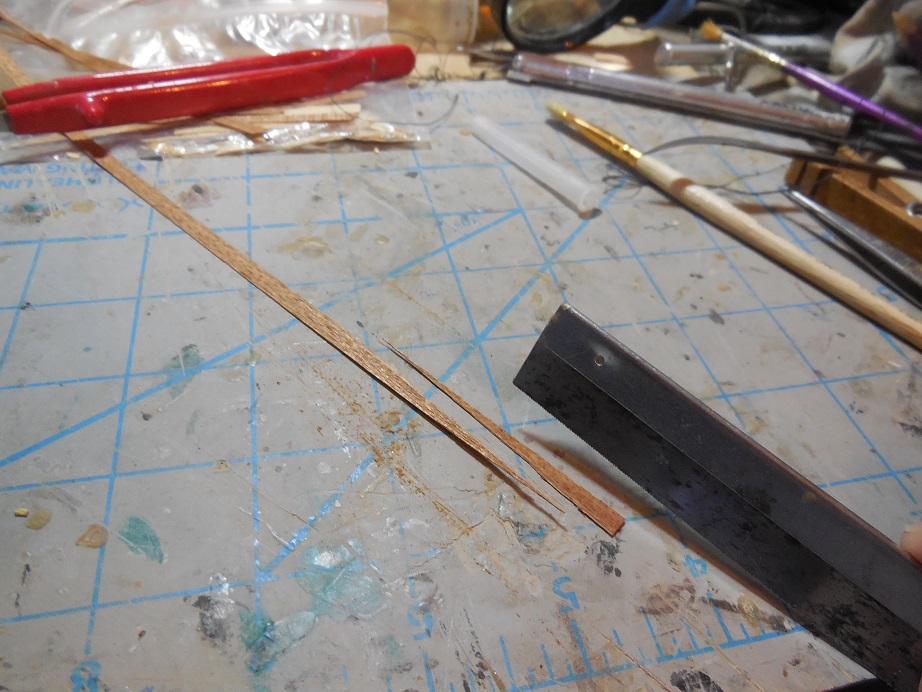
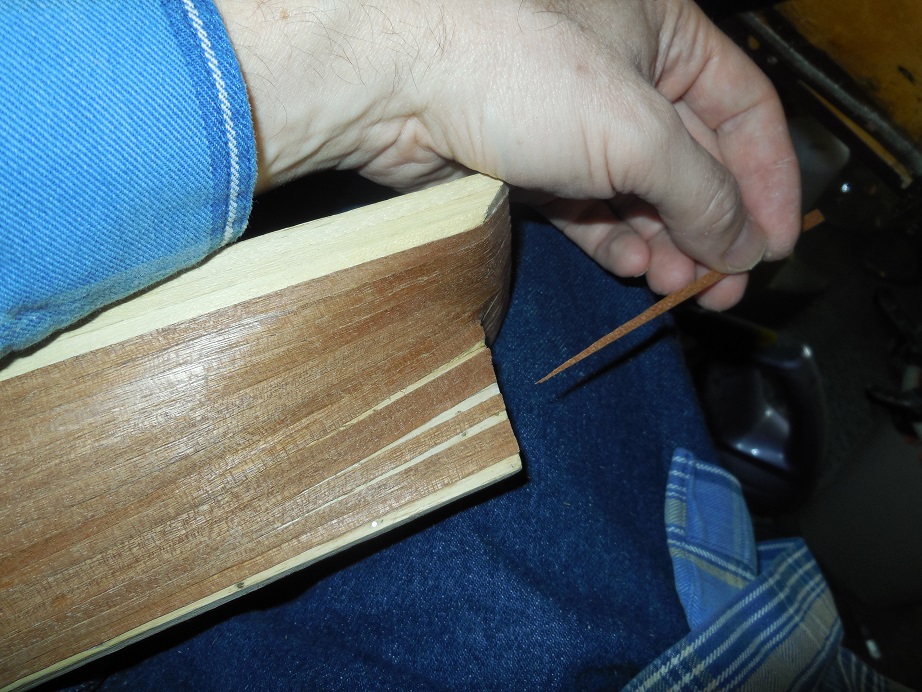
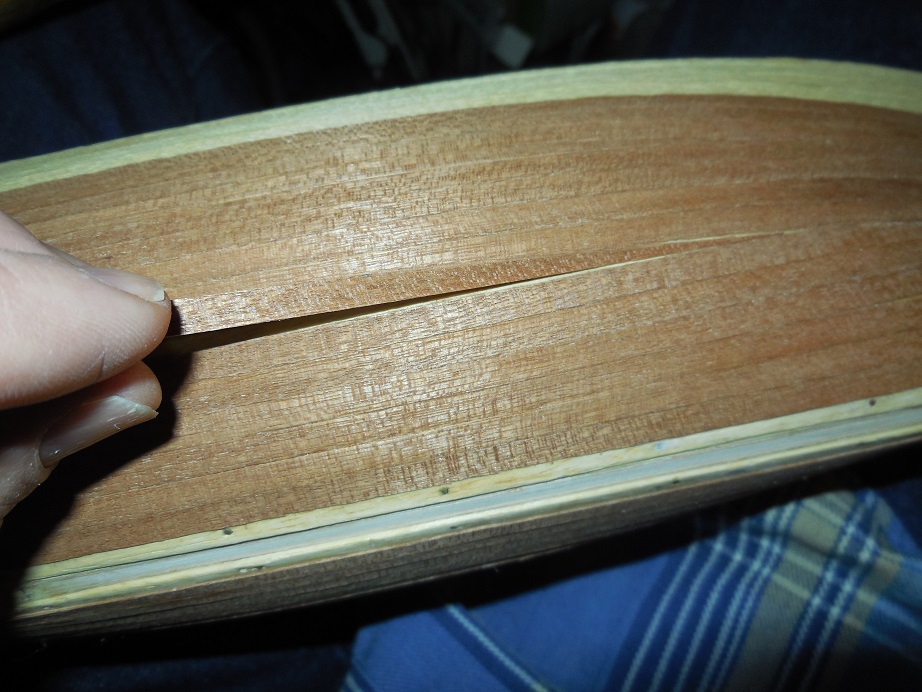
Because of the bad edges of the wood planks in the kit there were quite a few very thin gaps between the planks. I fixed this by cutting thin slivers from the scraps from the planking & gluing them in the gaps.

- 607 replies
-
- 4
-
-
- scottish maid
- artesania latina
- (and 1 more)
-
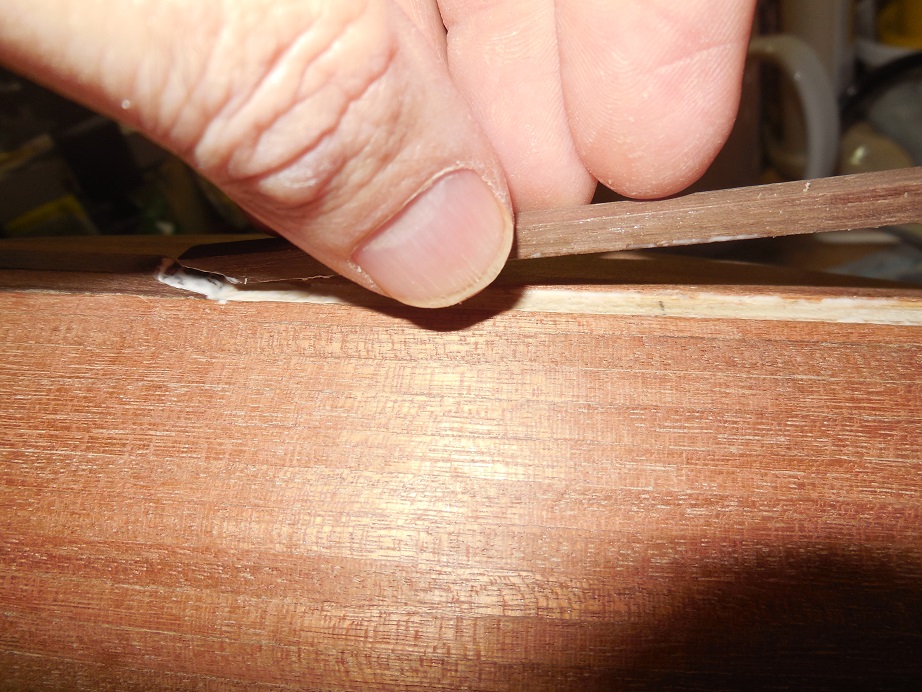
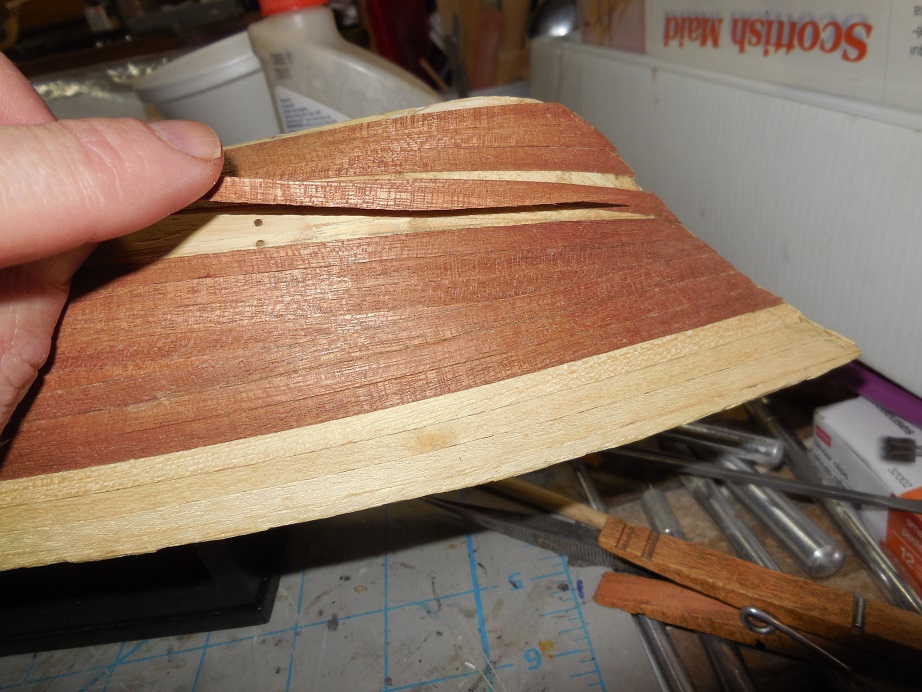
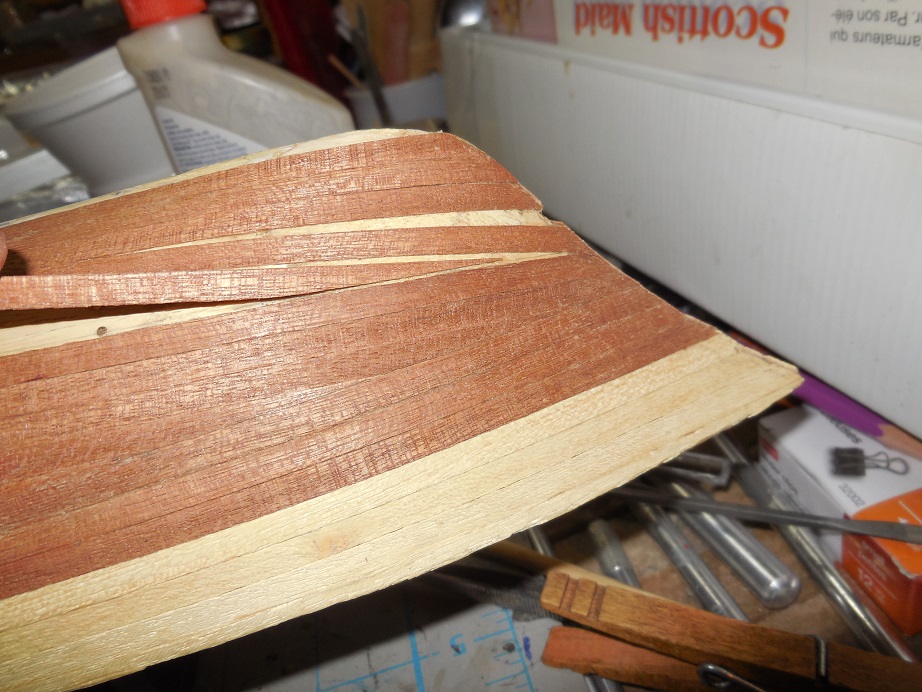
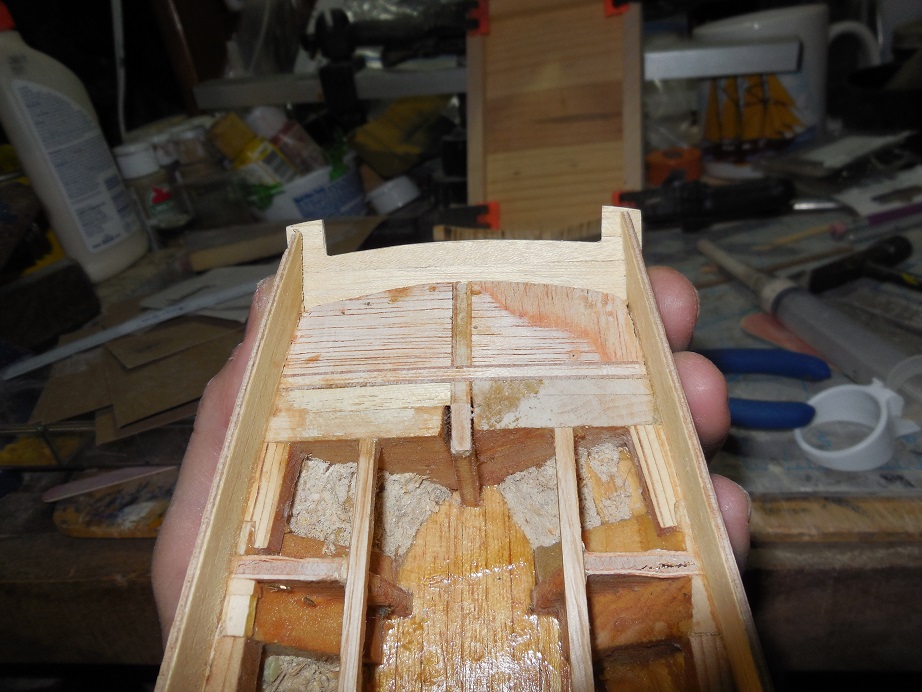
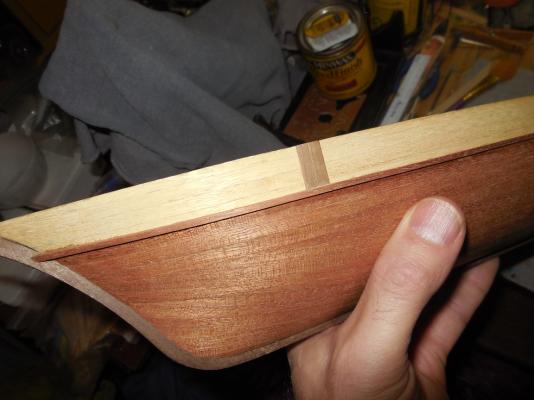
Filling in the shorter planks that wedge in on each end.....


- 607 replies
-
- 3
-
-
- scottish maid
- artesania latina
- (and 1 more)
-
Beautiful!
-
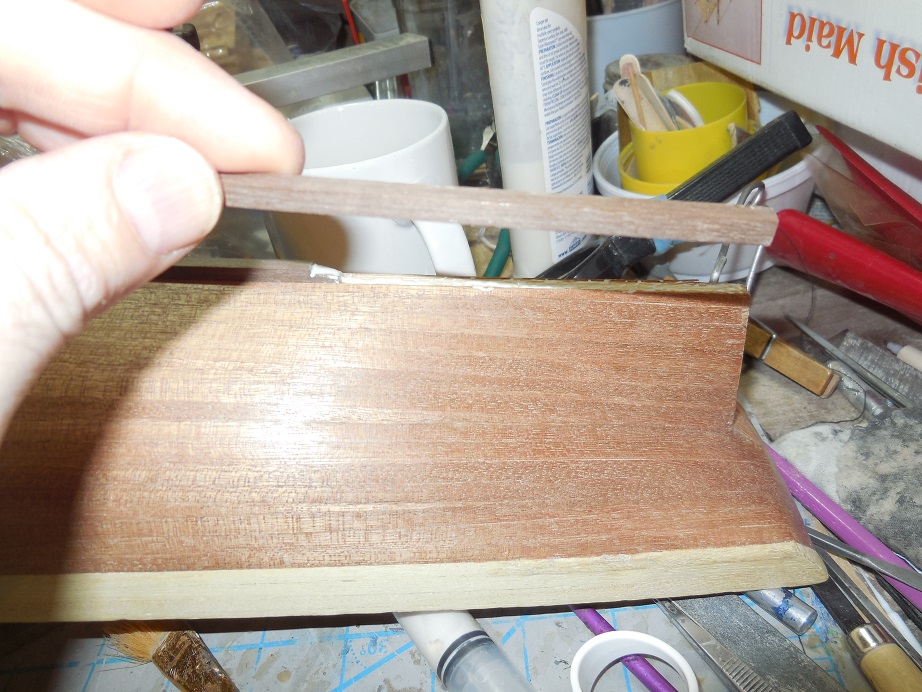
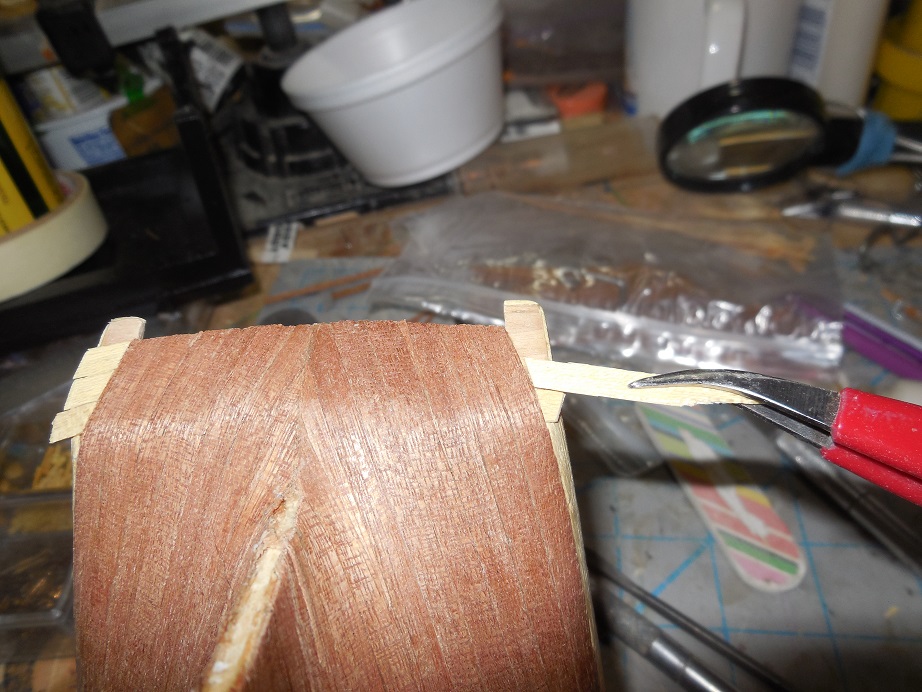
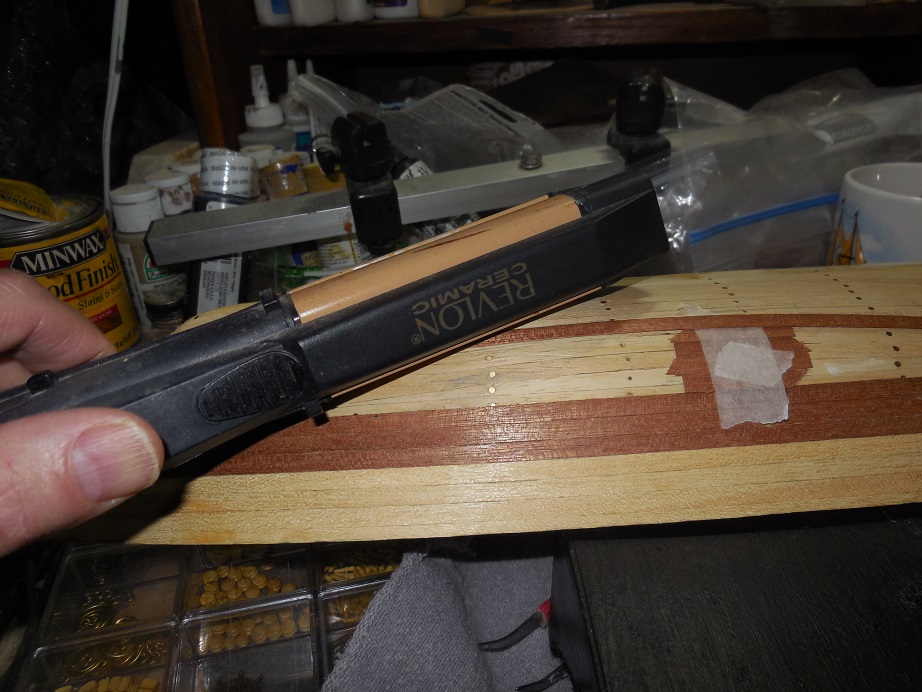
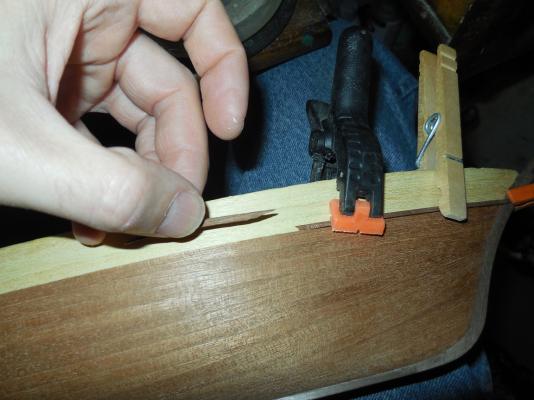
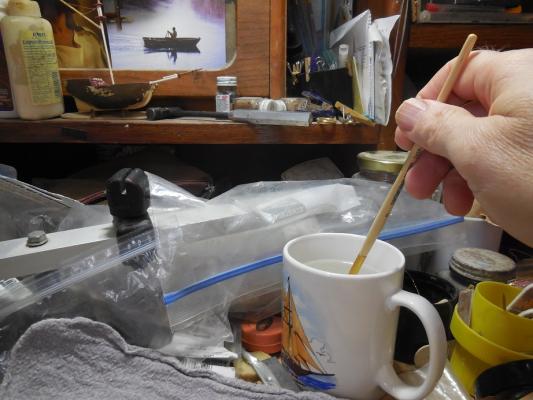
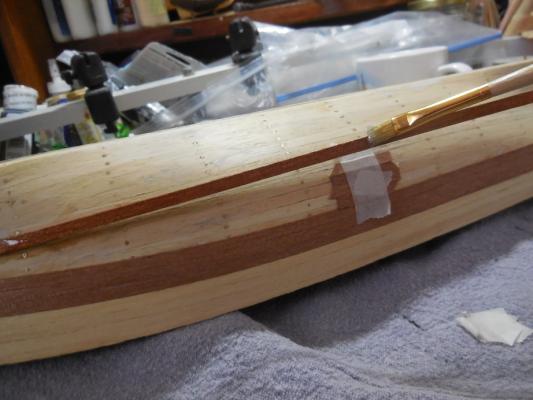
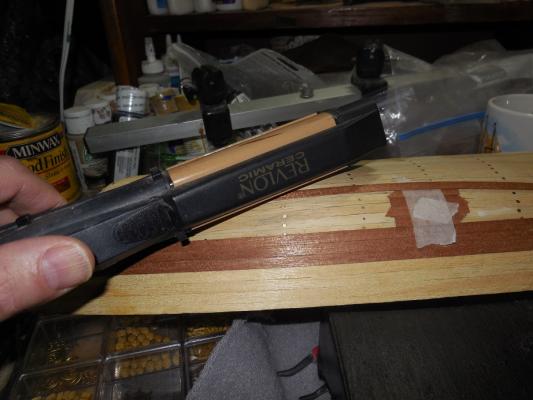
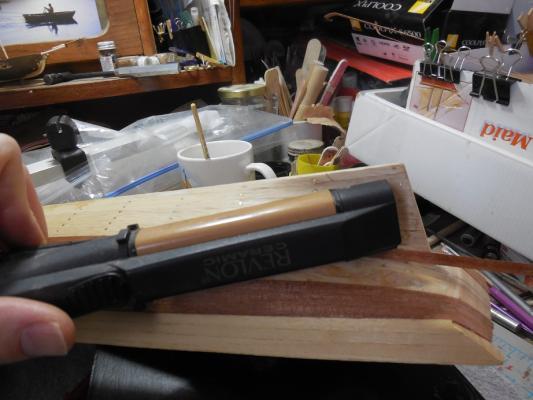
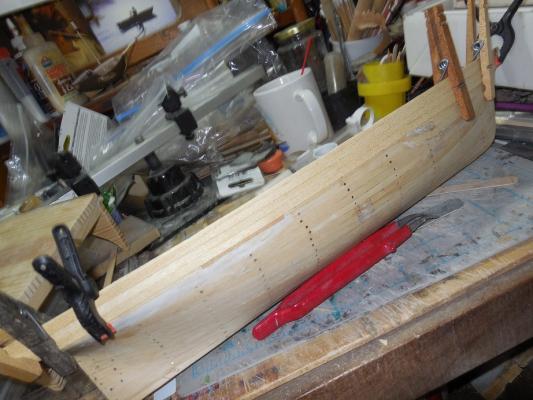
Thought I would try Keith's tip. I used scrap pieces of planking to space where the other planks will fit. Pre-drew lines where the plank will lay. Glued plank at the stem. When it was dry I wet the plank on both sides then used an old hair straighteners outside edge to steam & dry the plank into shape. It works very well. Thanks for the tip Keith!


- 607 replies
-
- 2
-
-
- scottish maid
- artesania latina
- (and 1 more)
-
Thanks for the tip Keith, I'll have to try that
-
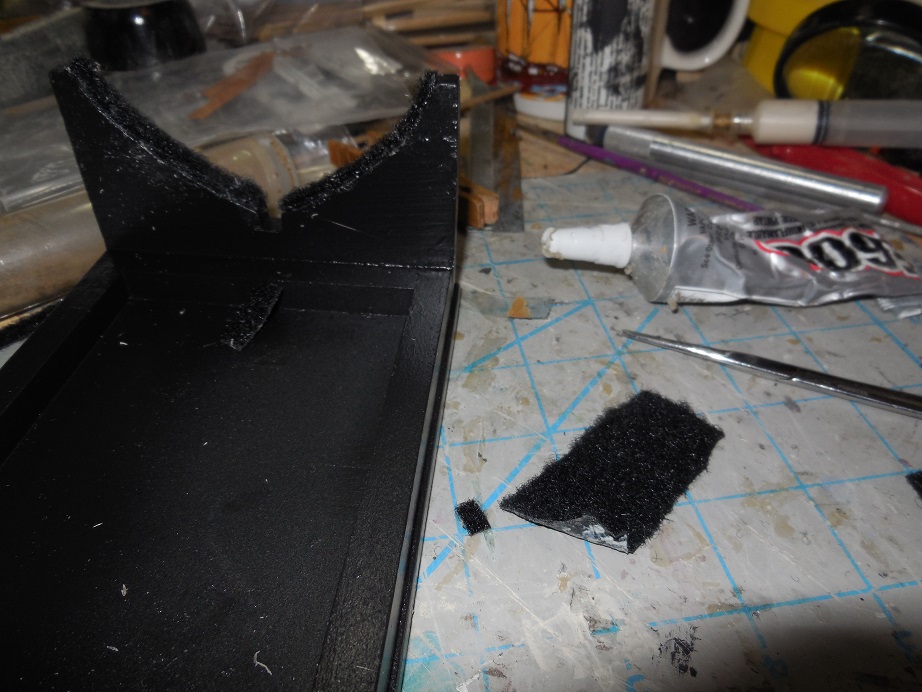
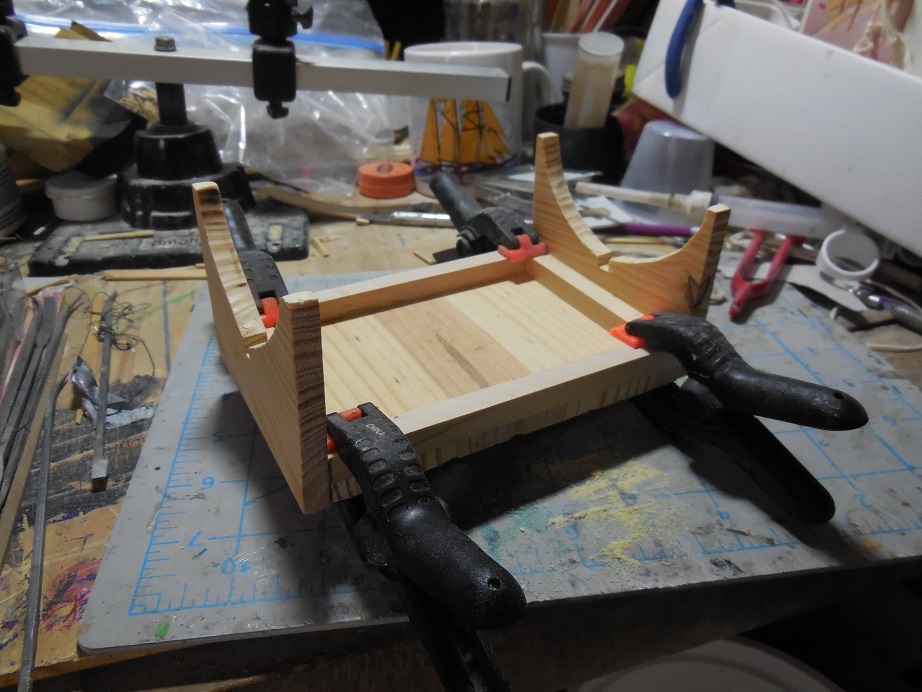
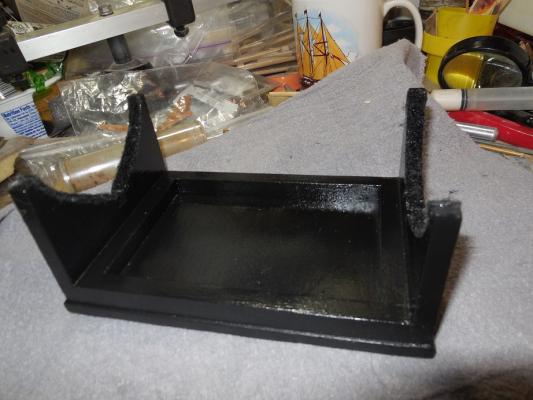
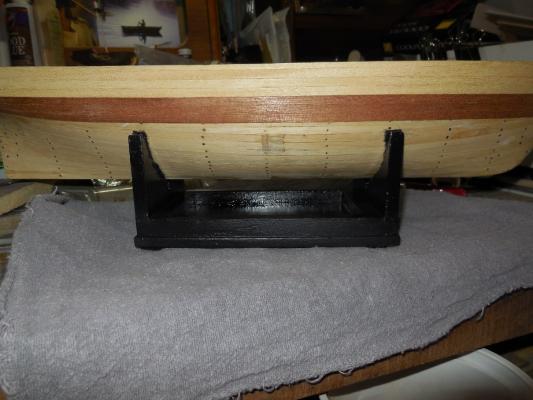
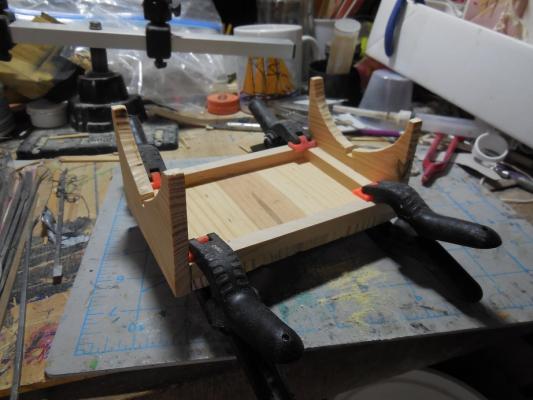
Finished making my stand. Painted it black & sealed it. Used a trick I figured out a long time ago. To prevent wood rubbing on wood I cut strips of the soft fuzzy side of Velcro strips. Glue them on where the hull will rest on the stand & add a few pieces under the stand. This helps with any unevenness with the bottom of the stand & also prevents rubbing or scratching between the stand & whatever you have it sitting on.

-
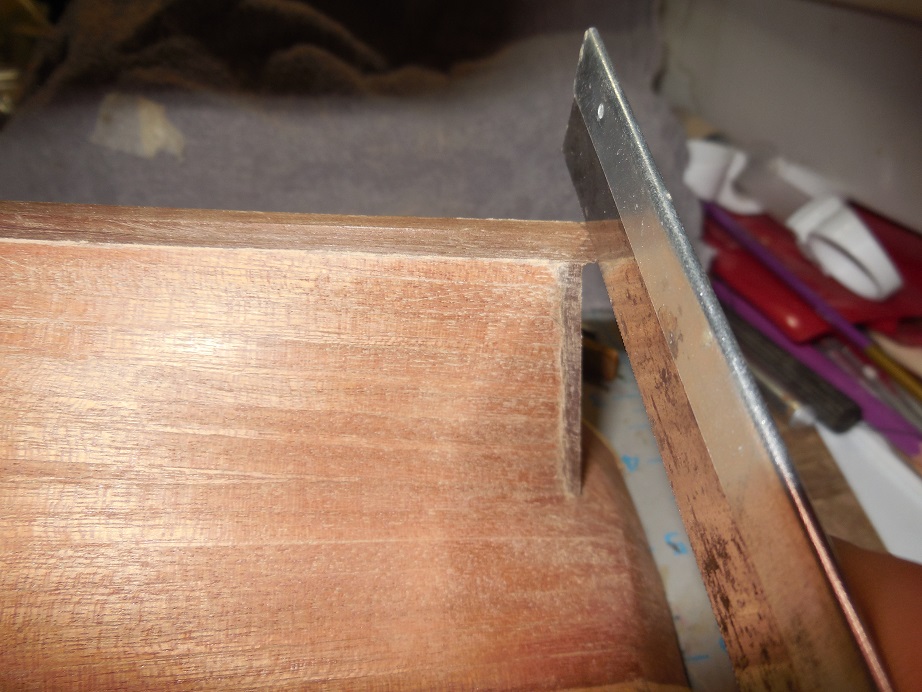
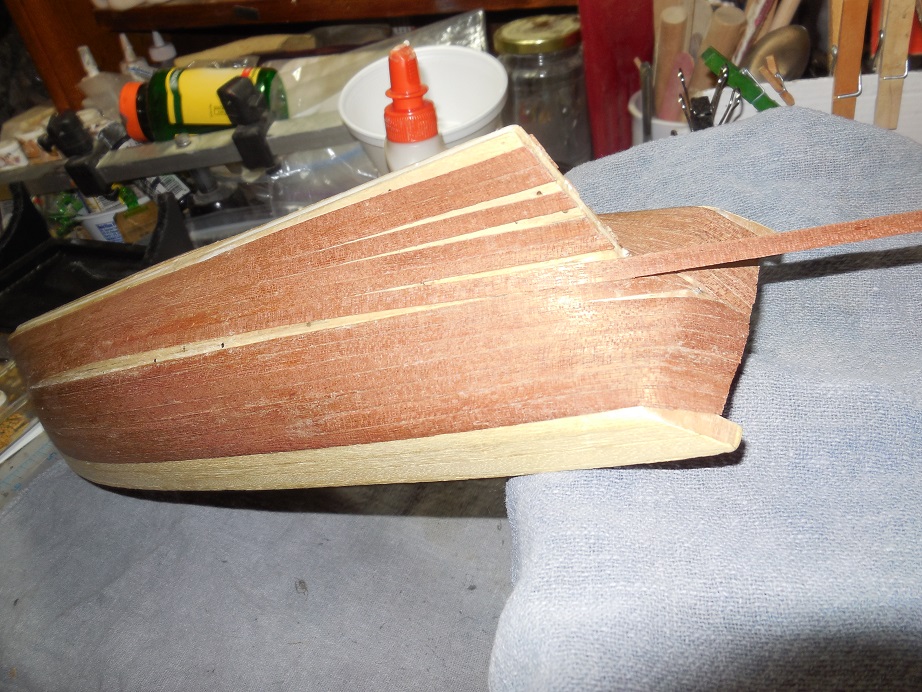
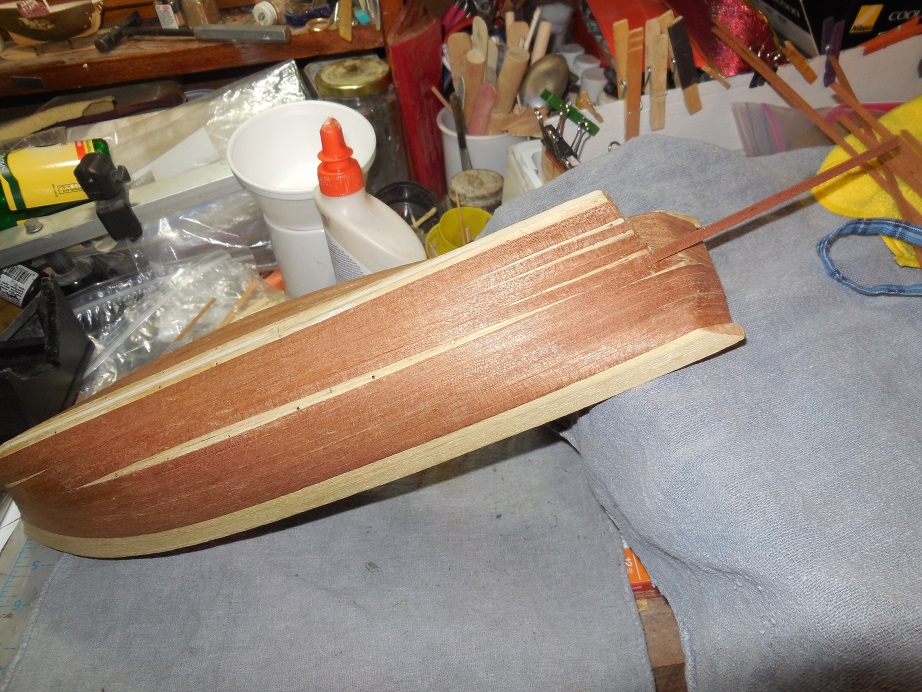
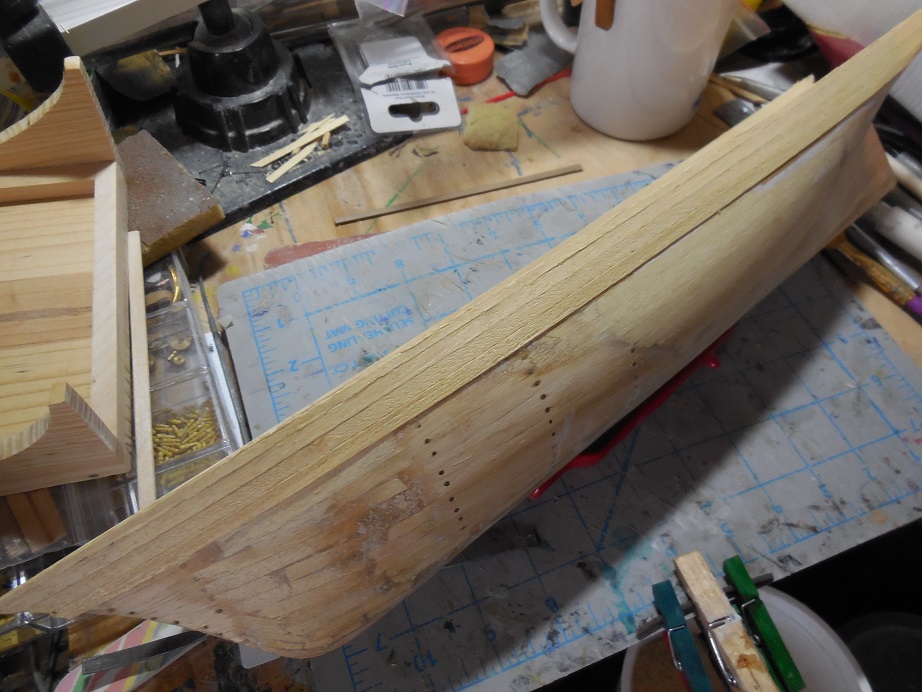
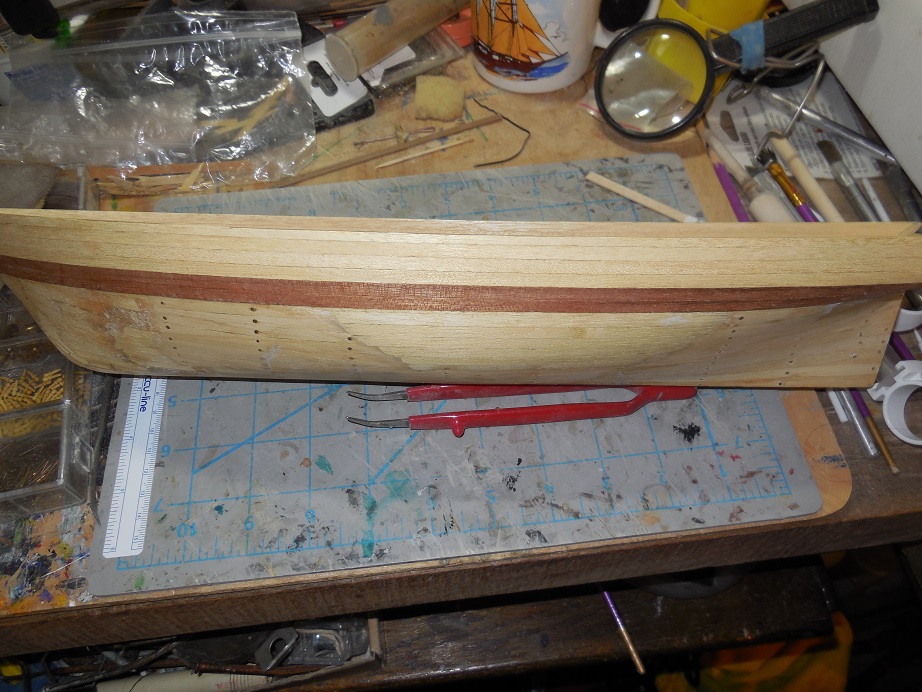
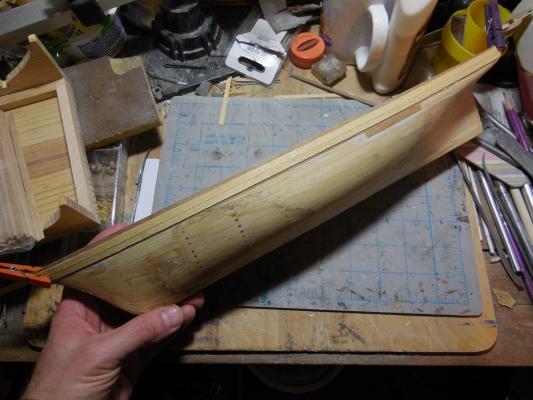
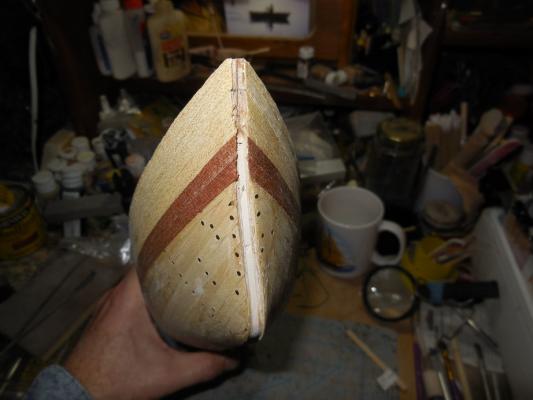
Began the outer planking. Started with the outer planking on the transoms then on to the hull. A little frustrated that the outer planking strips supplied in this kit have a lot of rough & uneven edges. Very difficult to line up without showing small gaps. I tried to see if I could sand straighter edges but the strips are too thin & I just break them when I attempted this, so making the beat of it & shoving them as tight as I can beside each other as I glue them.


- 607 replies
-
- 3
-
-
- scottish maid
- artesania latina
- (and 1 more)
-
Thanks Steve!
-
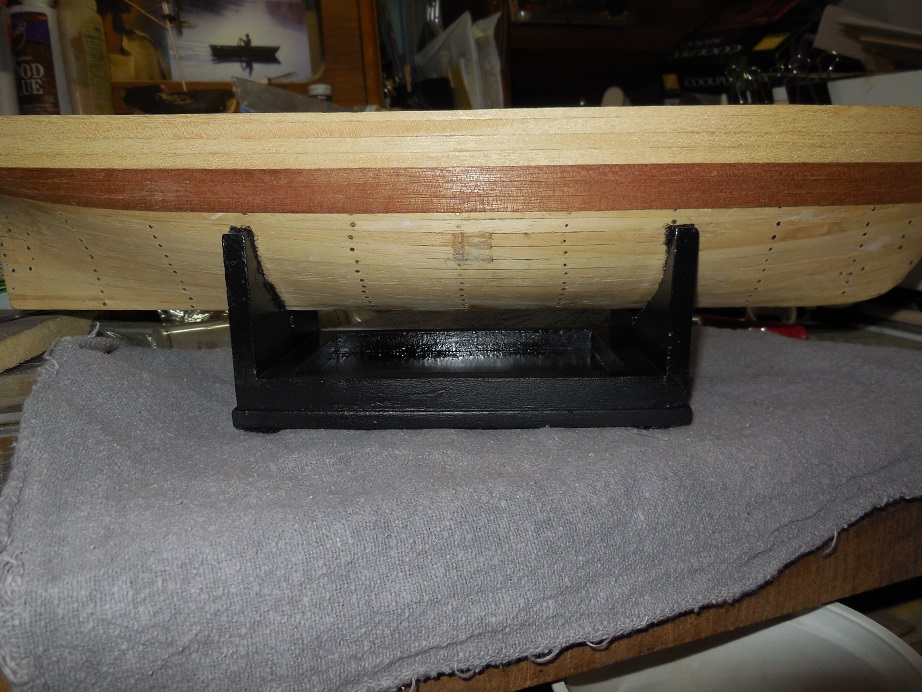
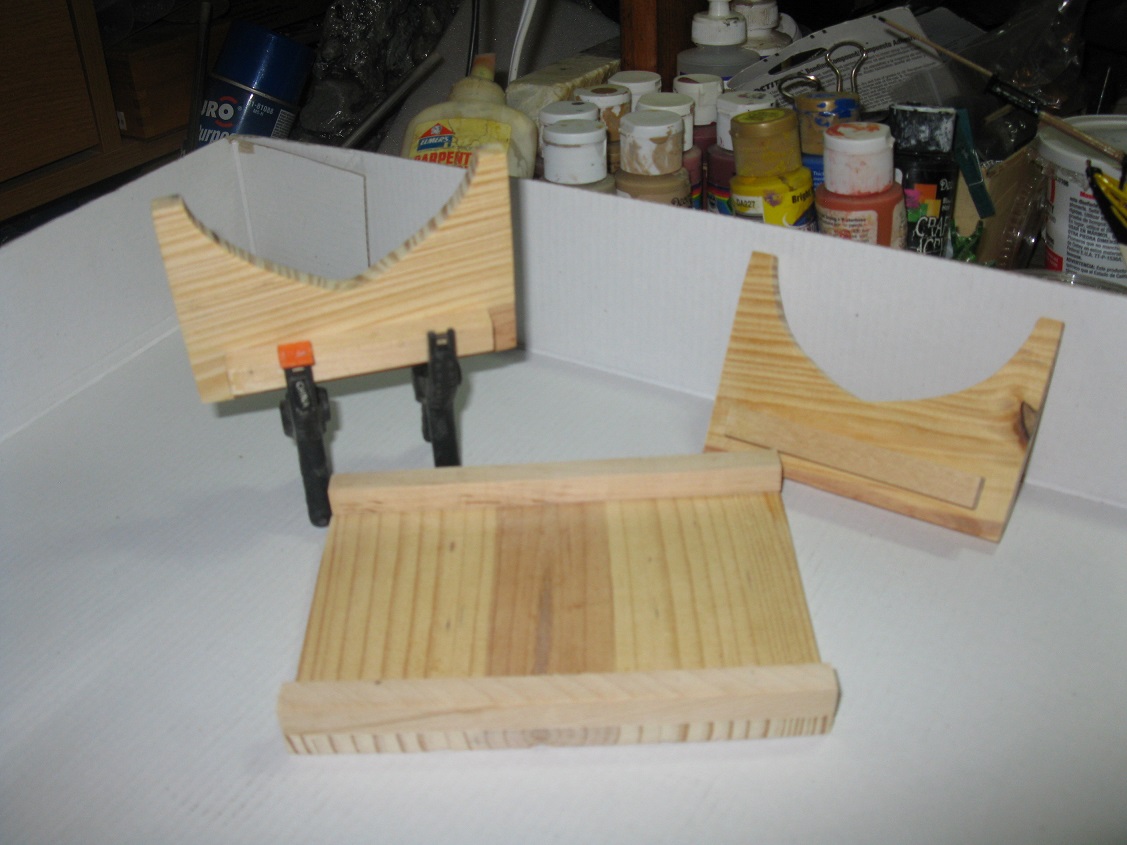
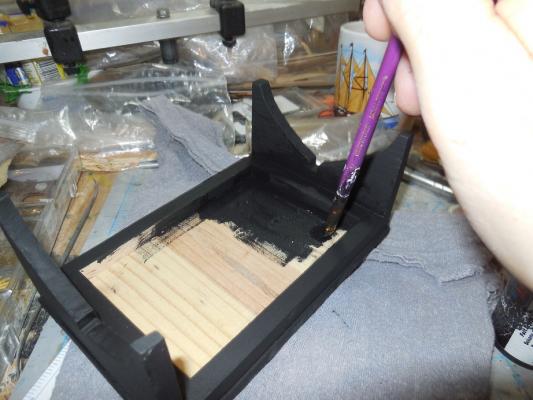
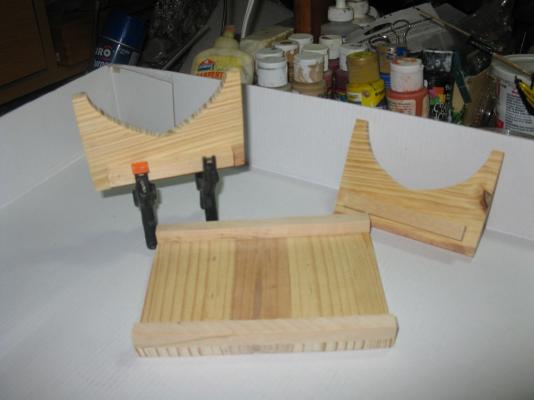
Started working on a stand for the model. Decided to make a cradle type holder instead of the pedestal type stand.
- 607 replies
-
- 1
-
-
- scottish maid
- artesania latina
- (and 1 more)