JesseLee
-
Posts
1,694 -
Joined
-
Last visited
Content Type
Profiles
Forums
Gallery
Events
Everything posted by JesseLee
-
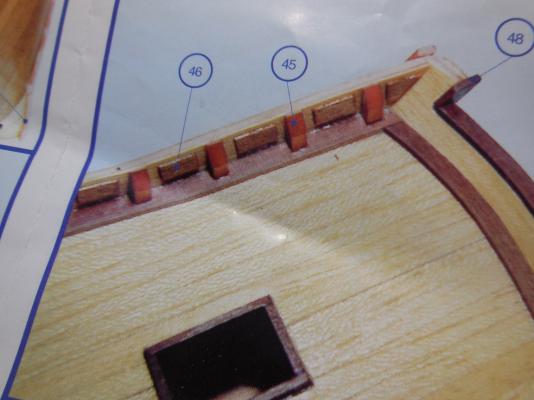
 Here is the complete instructions for the deadeyes & chain plates. Want feedback on this. Looks a little odd to me. Thinking of using wire instead of thread. The brass plates look like clipped pieces just glued on right next to the nail above it that the thread is tied to. ( I plan on shaping the plates better & having a nail through top & bottom like it should be ). My main question is they show are leaning up onto the rubbing strake. Is this right? Also the smaller deadeye is shown on a wire that goes down to no plate. Is this right?
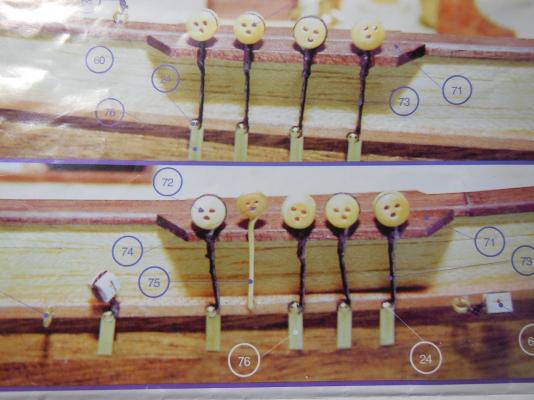
-
Ok, thanks. I did see one model with a figure standing to the side of the wheel. Never sailed so don't know all these things! I love how I can learn from others here on MSW. So much better than back in the days before home computers & I was doing this all on my own with no one else to talk to & learn from.
- 607 replies
-
- 2
-

-
- scottish maid
- artesania latina
- (and 1 more)
-
Your chain plate work has got me thinking too. I will soon be at that stage of my build & I'm not so sure I want to do it the way my kit shows to do it.
-
Very nice!
-
When I looked at that I wondered the same thing. It looked backwards to me. Did they do this wrong too? I'm not above changing it to make it right. I've checked out others model of Scottish Maid & theirs is this way too. I'm a little confused.
-
Thanks, Vivian! Working on the channels. Looking over how the photos show the chain plates. Don't like the way they look with the kit parts. Think I will come up with something different
-
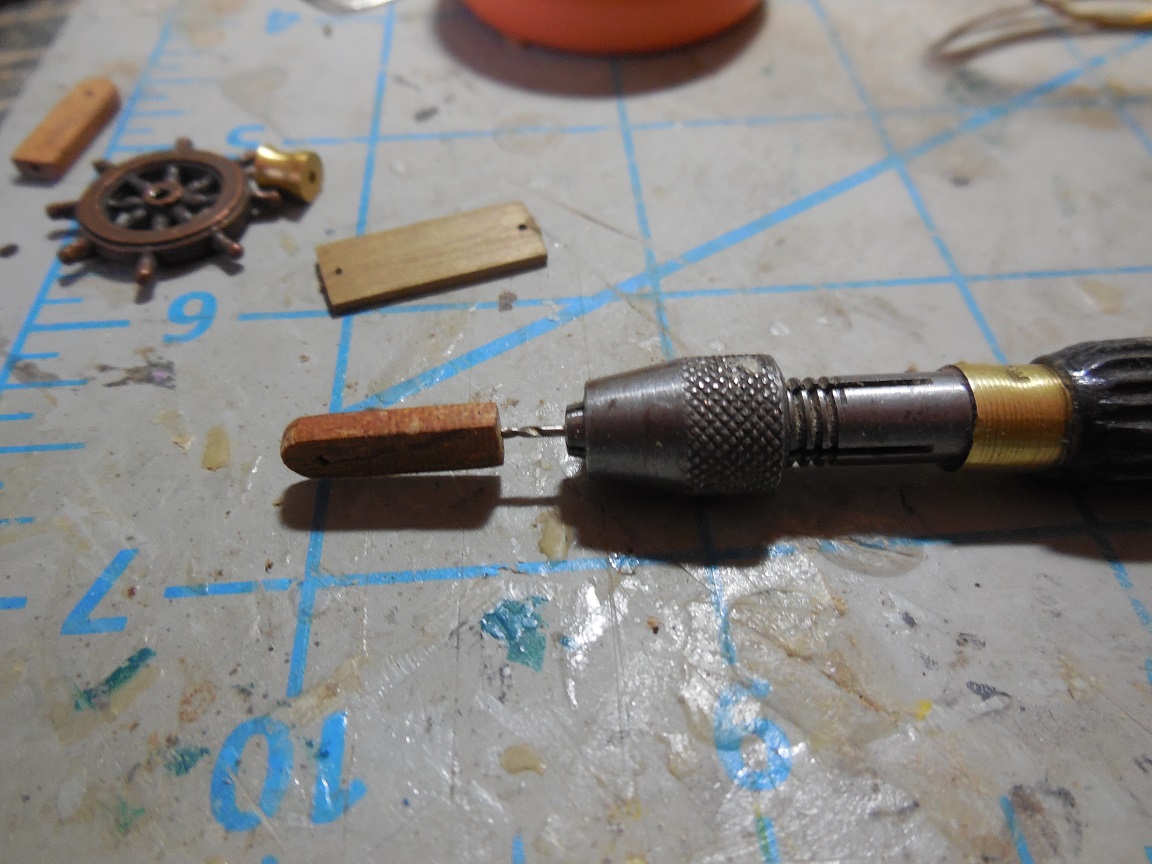
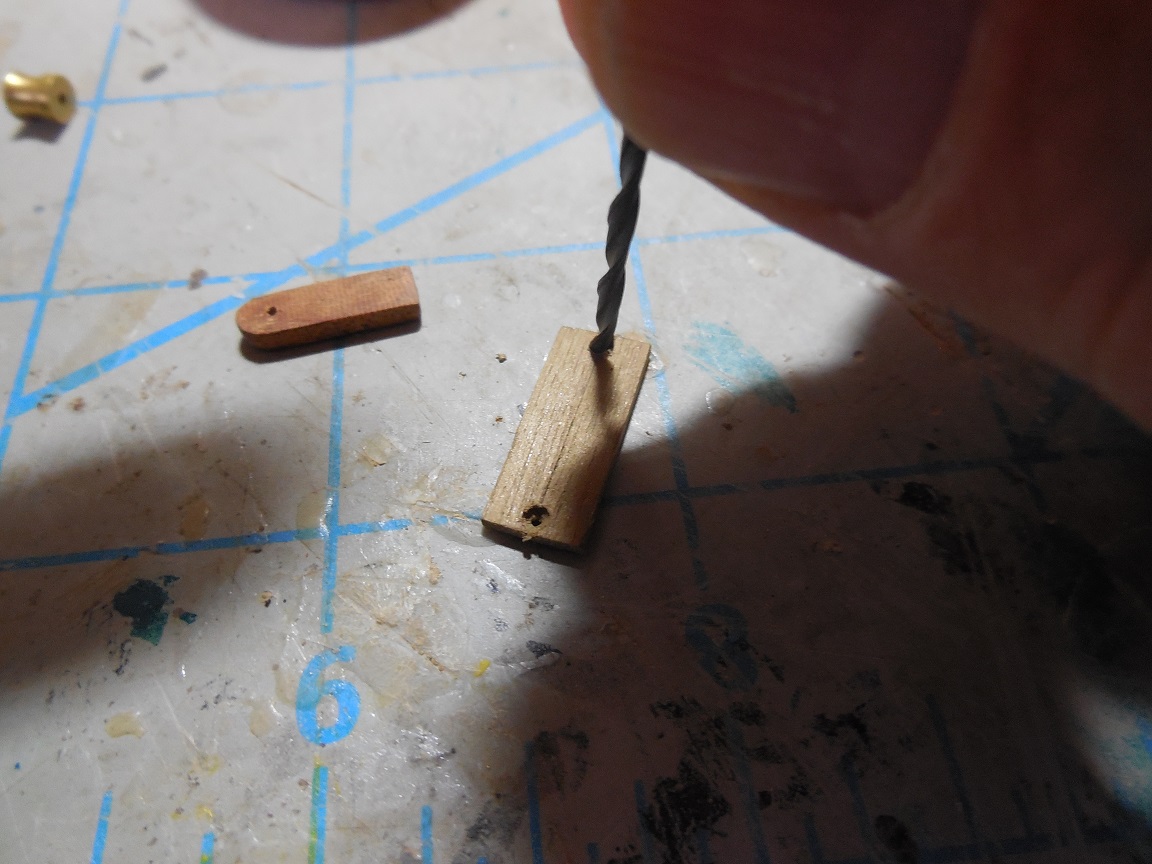
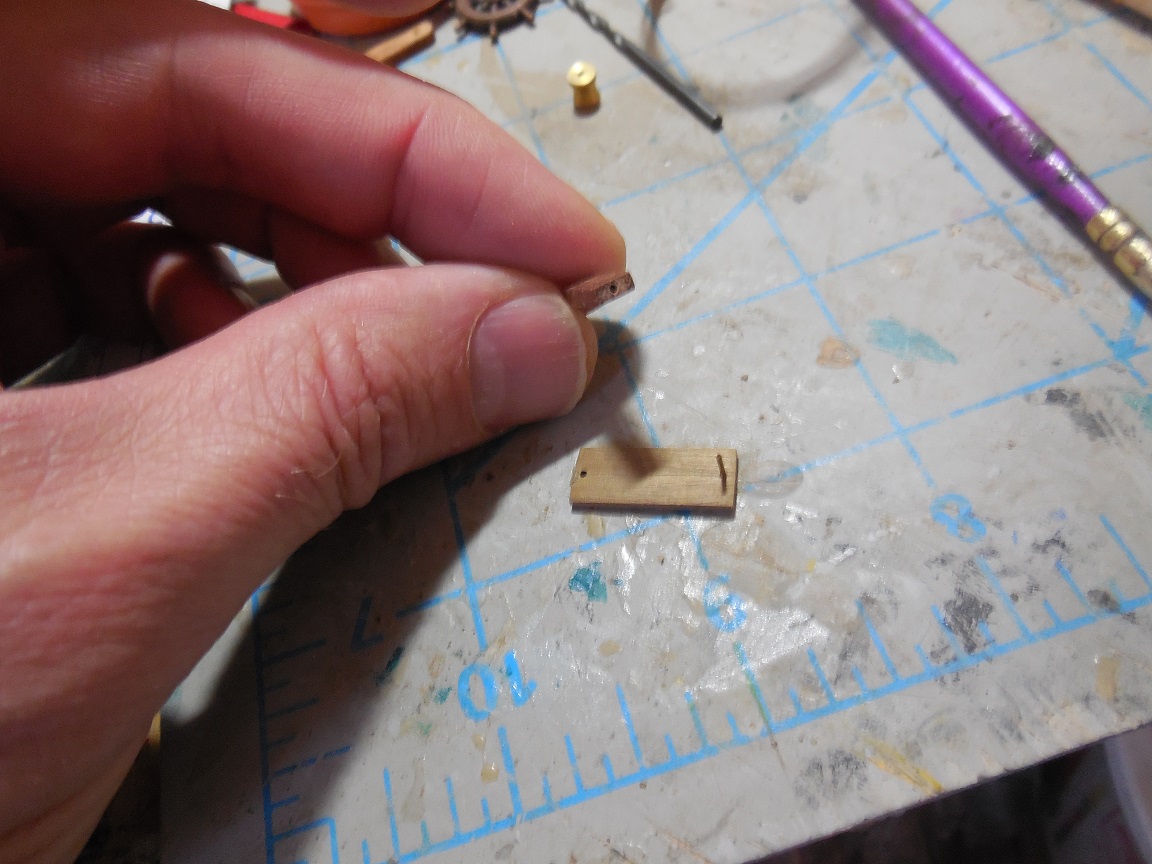
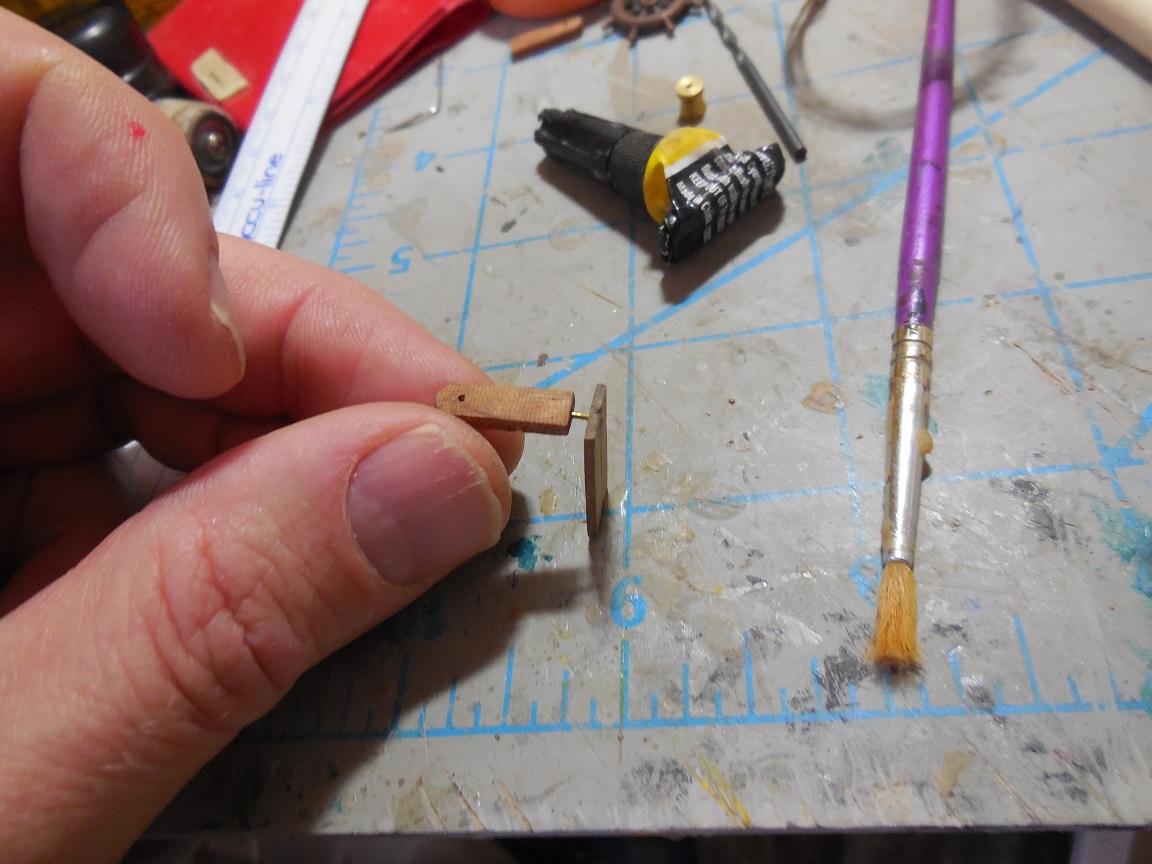
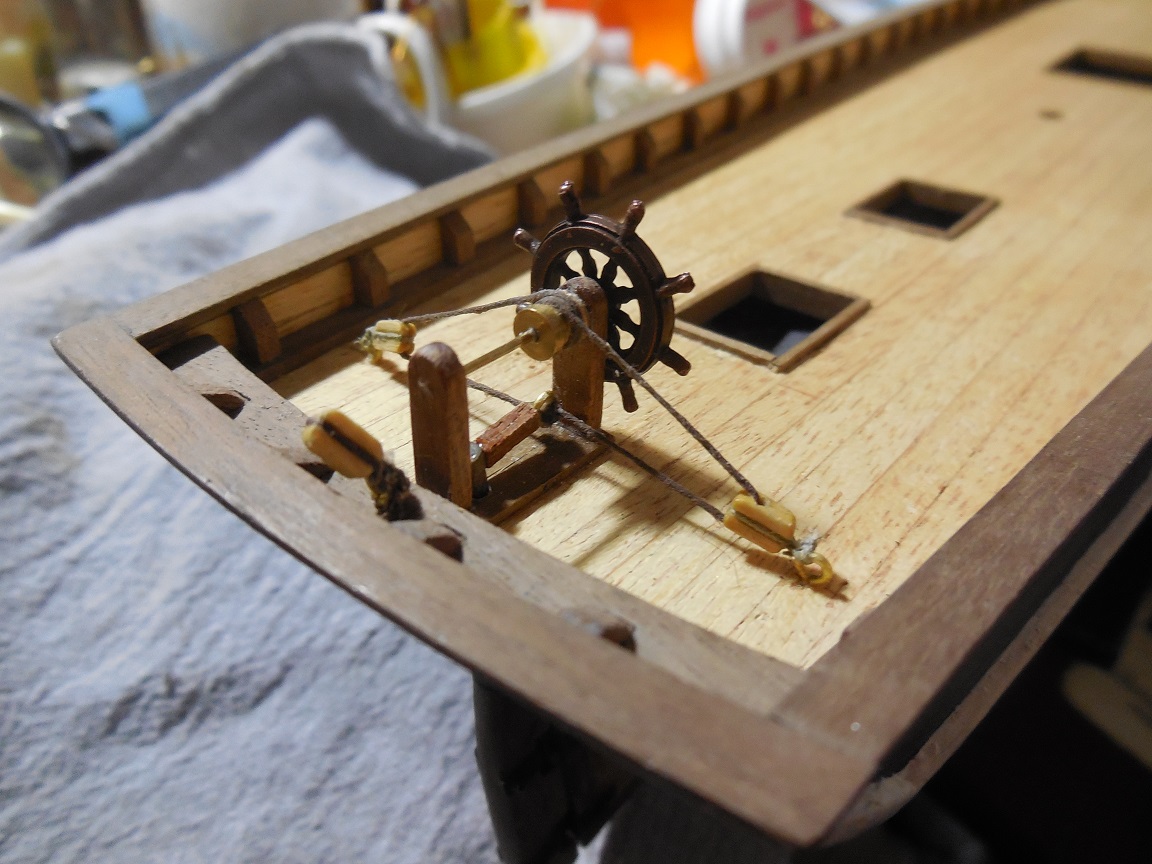
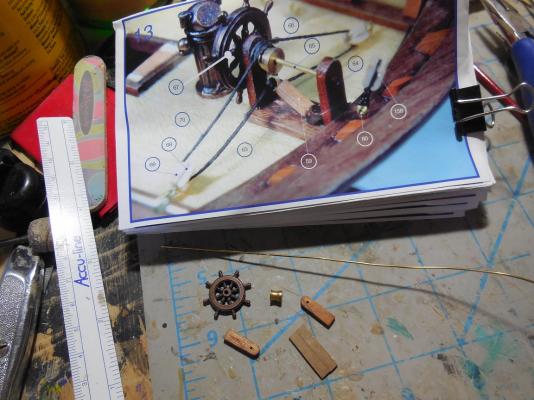
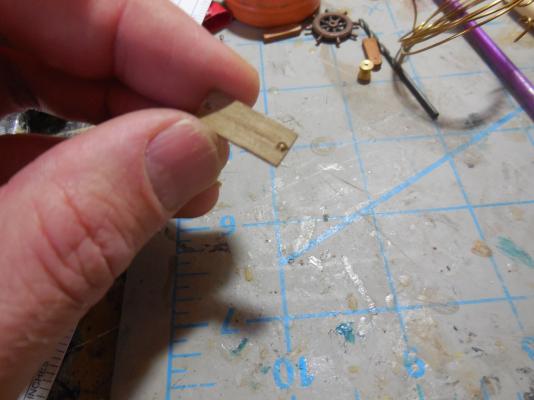
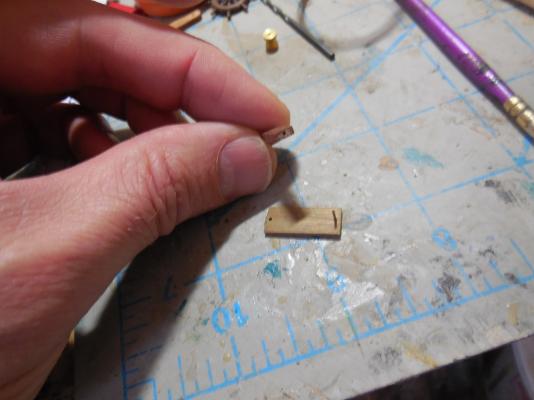
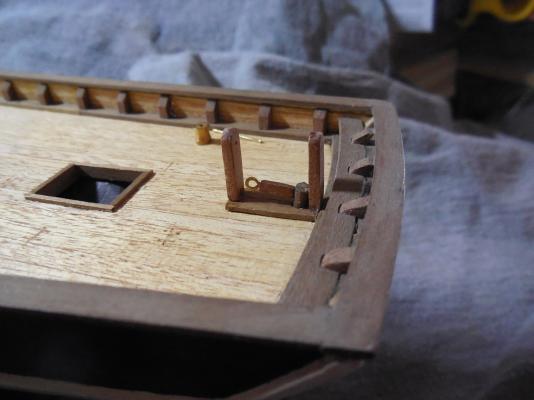
Next the rudder wheel assembly. Drilled holes for pinning together. Saw that there wasn't much surface area to join so it would be easy for the stanchions to break off. Thought I would try countersinking the holes underneath so I could use small brass nails for added strength. This worked fine & it all held together much stronger. Glued down to deck & attached tiller, drum & wheel. Completed assembly with blocks & line.


- 607 replies
-
- 6
-
-
- scottish maid
- artesania latina
- (and 1 more)
-
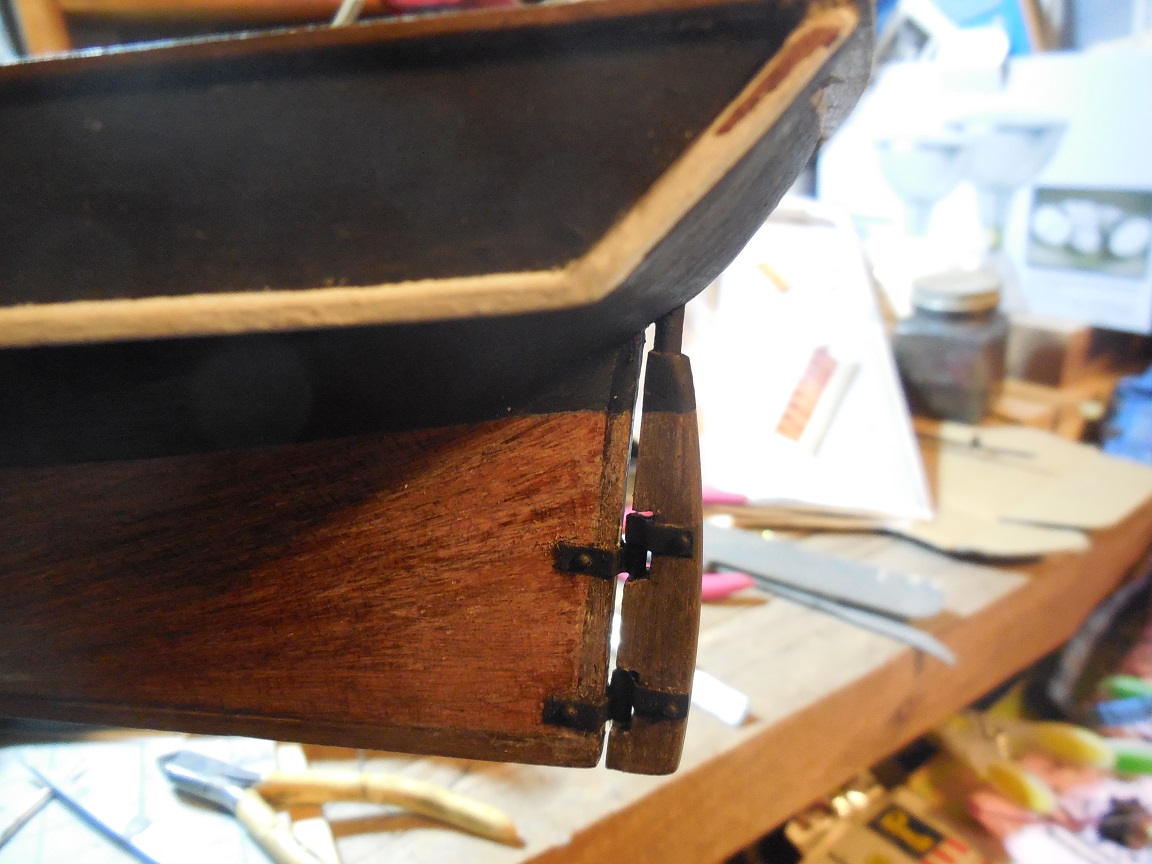
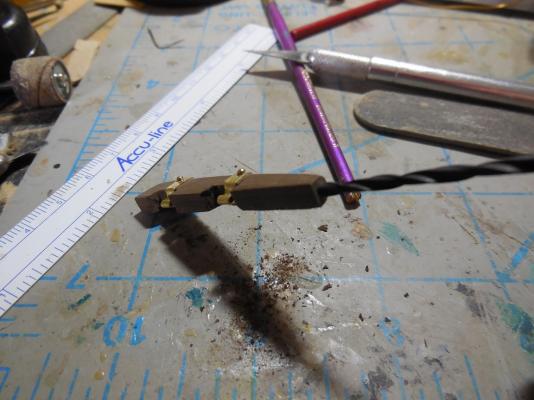
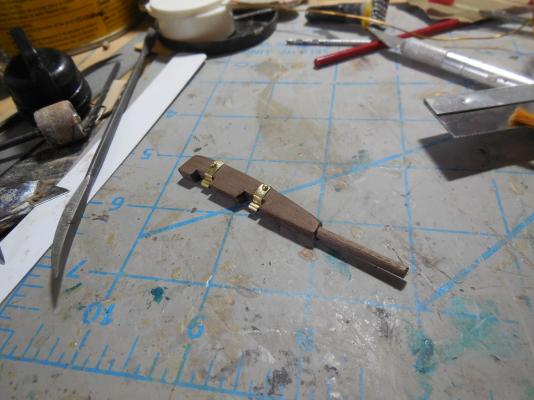
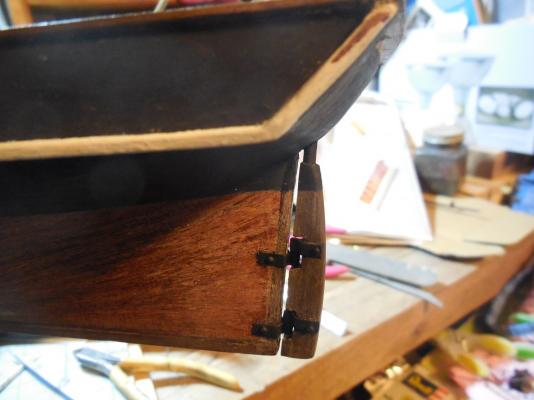
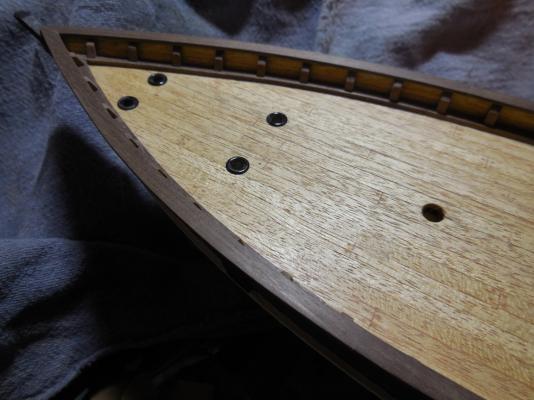
Stated adding the hinges to the rudder. Dilled hole in rudder to join spigot. (The instructions showed it pined with a brass wire but that was too weak of a joint). Drilled hole through deck for the rudder spigot & completed hinges. Glued in the rudder & added paint above waterline. Hinges got a little scarred up during assembly so I decided to blacken them. Realized I don't have anything to darken the metal I went with flat black paint. Not what I wanted but the paint does help fill in & hide the scars & scratches.

- 607 replies
-
- 2
-
-
- scottish maid
- artesania latina
- (and 1 more)
-
Getting a little anxious. Dr. is going to schedule carpal tunnel surgery for me soon. Will try to get as much done before the surgery as possible. They will do one hand & 2 weeks later do the other. That will be at least a whole month I cant work on my ship! I will go crazy!
-
Thanks Matti. I have been reading through your log & have learned a lot. Will start practicing with this myself. Keep up the great work!
-
The pictorial instruction page shows bulwark inner panels. I have done a lot of searching & it seems only AL kits have this. I am assuming she didn't really have these & have decided not to add these (although it looks really cool)

-
All I've ever heard was she was very fast but never read just how fast "very" was. Thanks for the tip, I'll try that
-
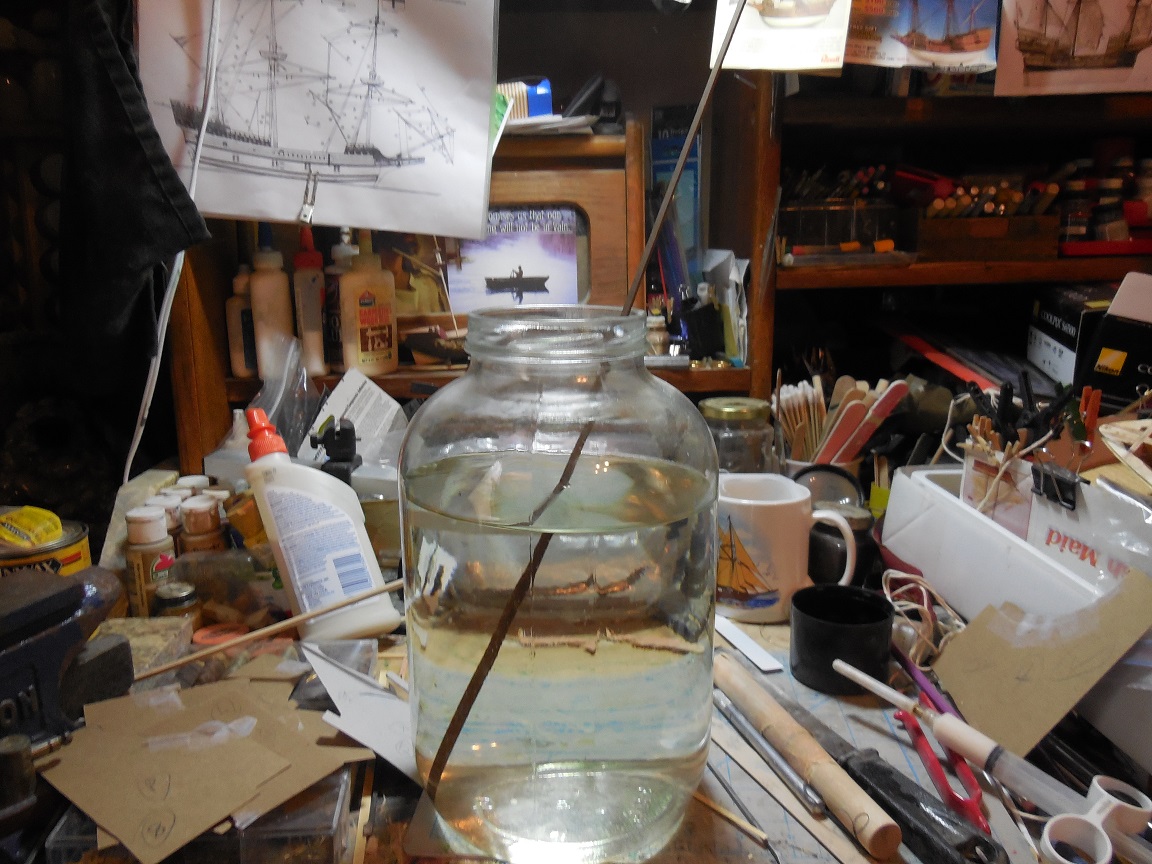
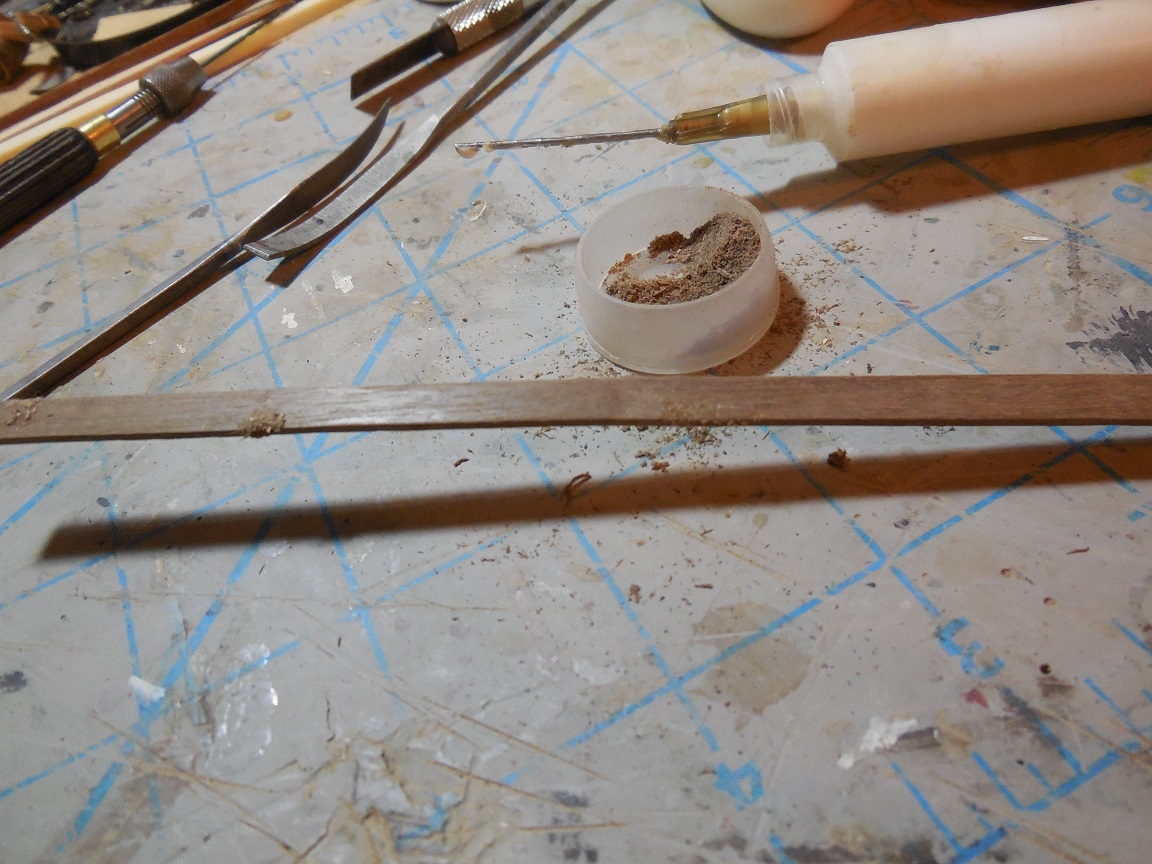
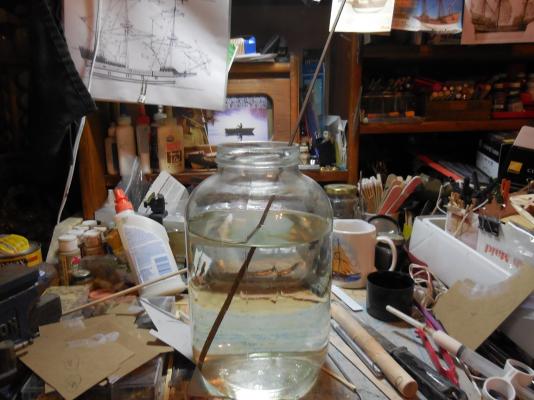
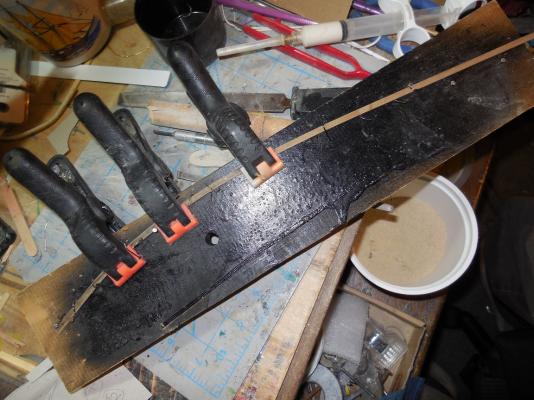
It has rained for 24 hrs. straight here. Good day to work on my ship. Got some hot tea & ready to get started. Will probably be getting sawdust in my tea as I work. Soaked African walnut strips to bend for the gunwales. Used pins & small nails on a board to bend & hold the planks into shape till dry. The pins made small indentions at the points where they pressed against the strip during bending. Need to make one with wood pegs next time. Had to glue some sawdust in a few spots that were too deep to sand out. Got the gunwales finished. Hopefully I will be getting the rudder installed next.


- 607 replies
-
- 5
-
-
- scottish maid
- artesania latina
- (and 1 more)
-
Thanks everyone!
-
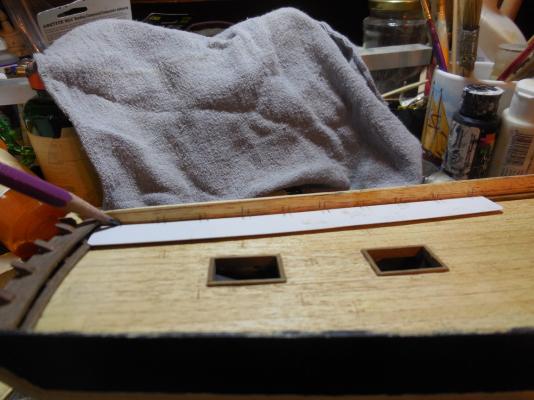
Yes it does! Been looking for pictures of this type of ship but the only ones showing scuppers are modern built ones. They have oval shaped holes one near the wheelhouse & one around the lifeboat area. Another one had three large rectangular scuppers right in the center, I knew that probably didn't fit this time period. How far forward did you make these?
-
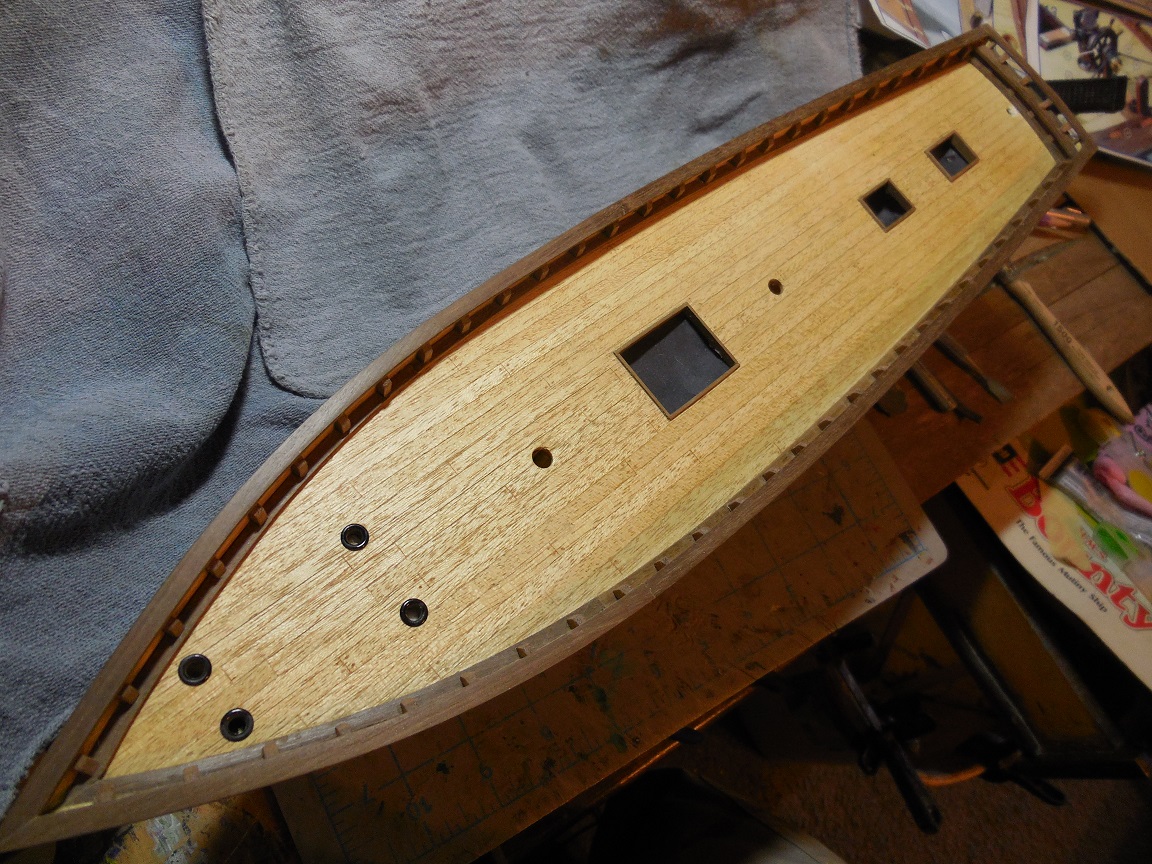
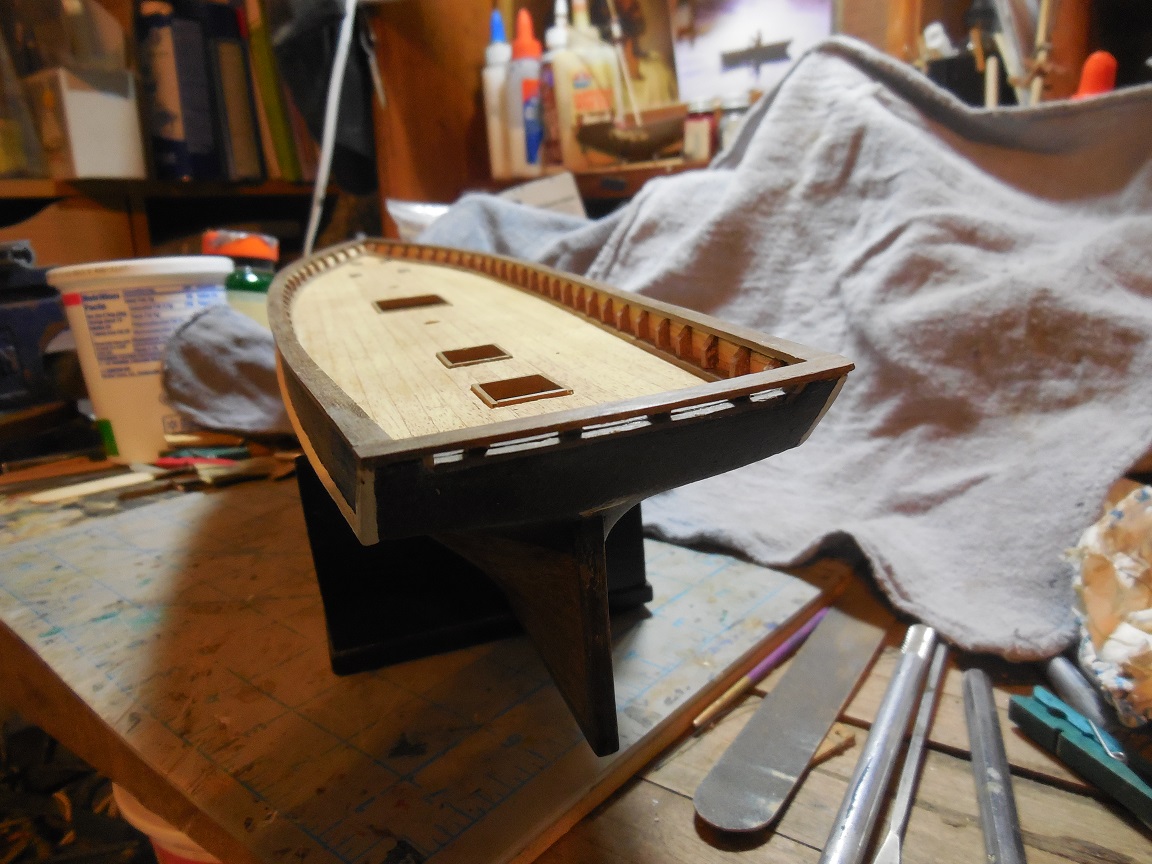
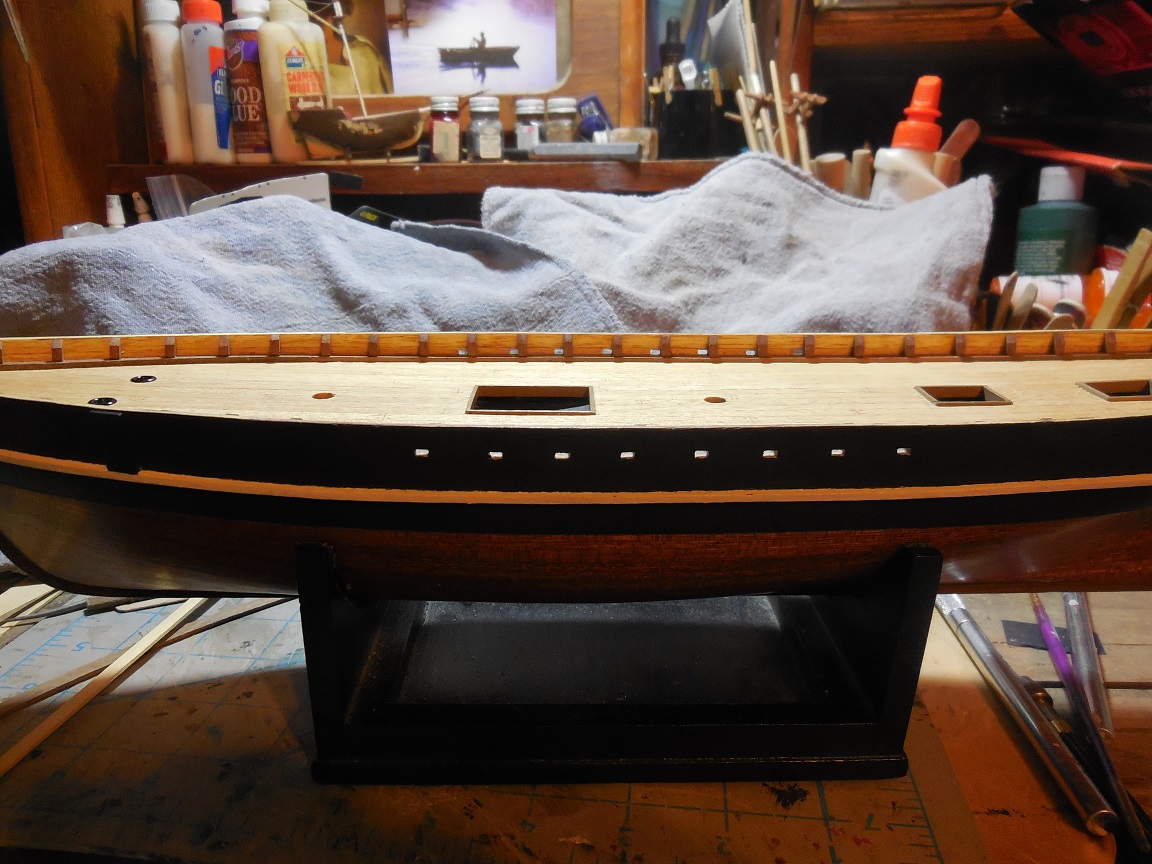
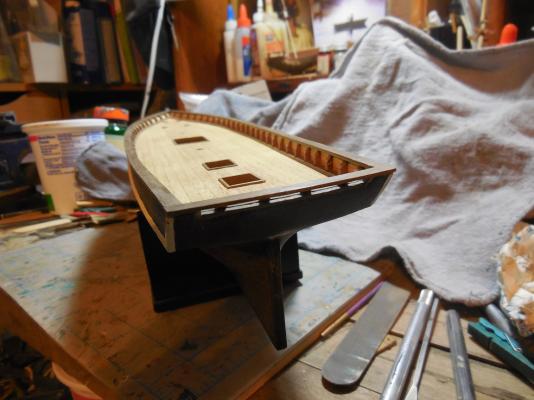
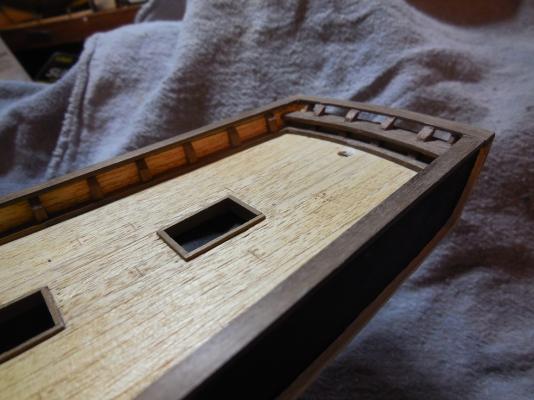
Keith, The back is open but it is a raised opening. There would still need to be some way to drain water. The timberheads are just the stock wood the kit provided - Sapelia - no stain or finish at all. It has sort of a dark reddish brown color. Tha deck has a few light coats of minwax pecan stain. I used this because it was all I had at the time. I didn't want to stain, just seal & this color was so light I thought it would work ok. Turned out to look even better than what I had intended. The steel wool is 00 (again- all I had on hand to use) The deck is slightly domed up in the center tapering down each side. The bow & stern are also angled up slightly higher than the center of the deck. It looks like the front, back & center are the high areas & the sides in the center (over half the length) are the low areas. I may not have this right but that is how it all was shaped from the parts supplied in the kit.
- 607 replies
-
- 1
-
-
- scottish maid
- artesania latina
- (and 1 more)
-
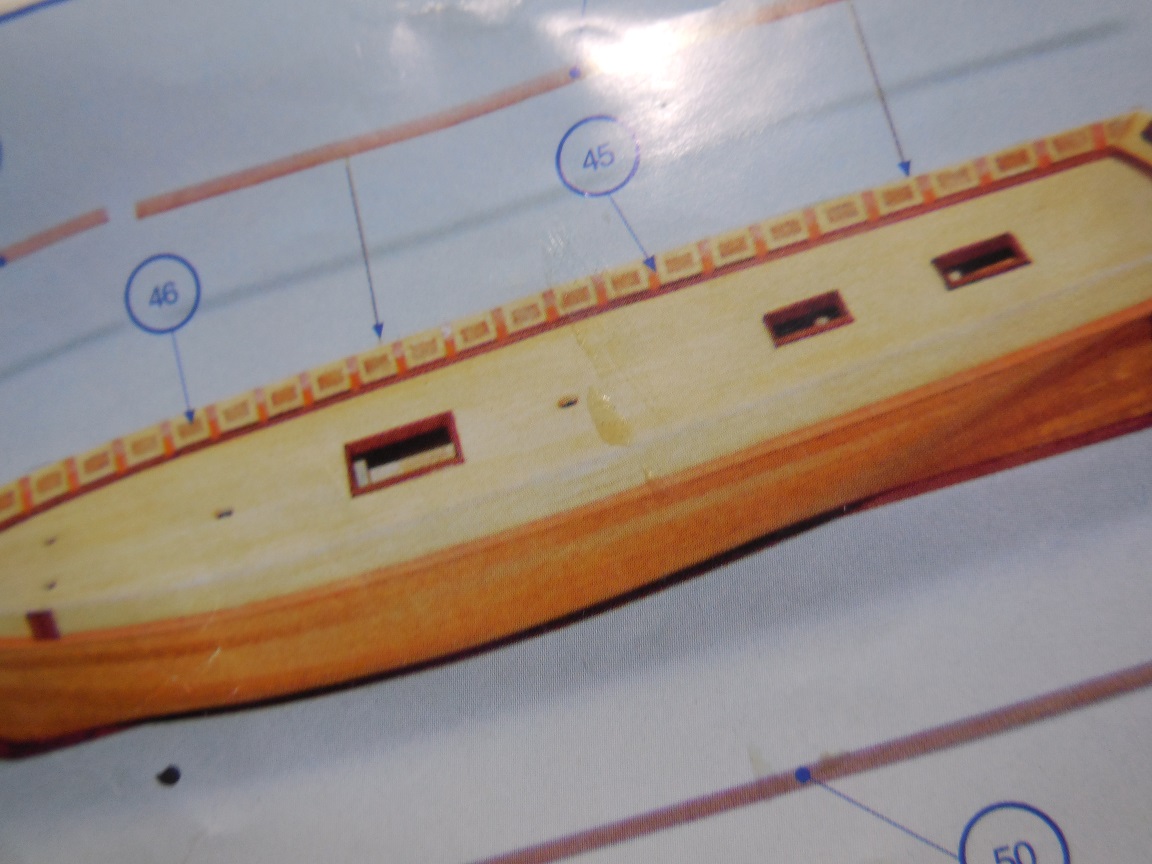
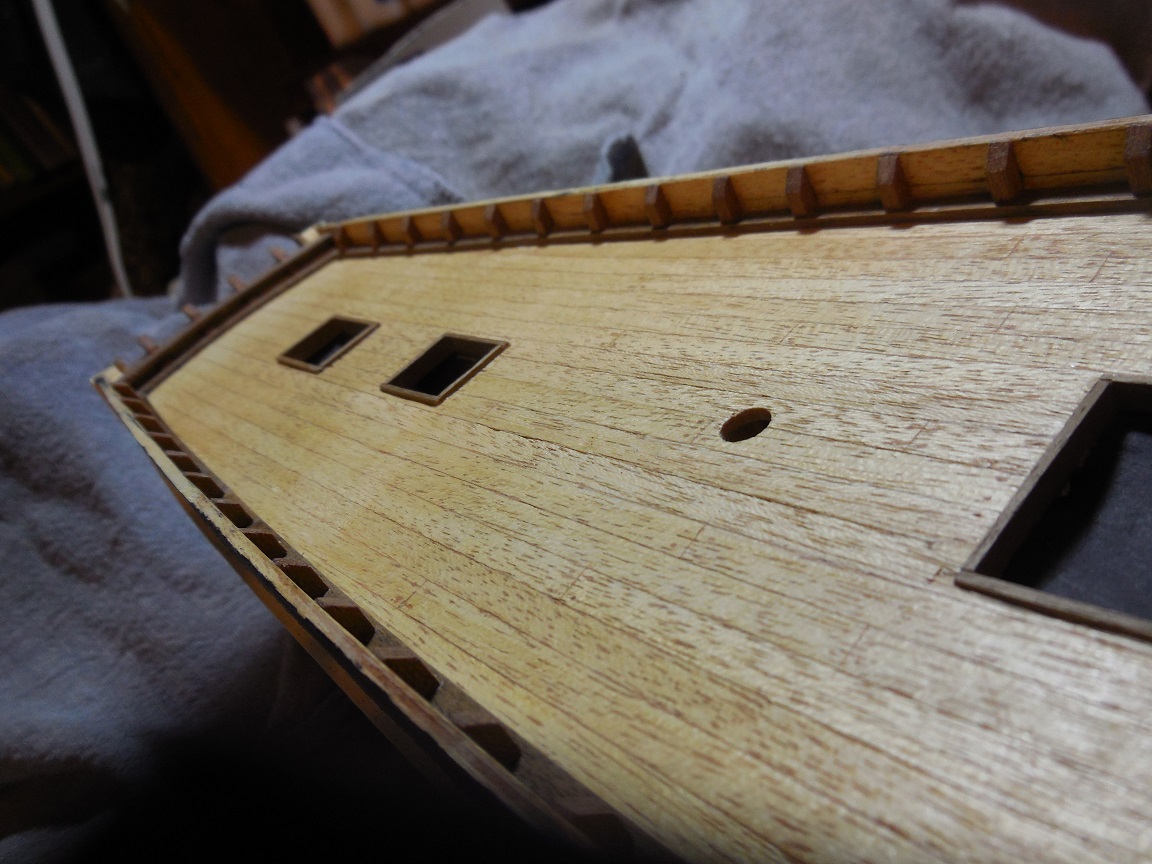
My kit shows no scupper holes for the top deck. Anyone know where & what size they would have been on this kind of ship? There is so little information left on this ship.
-
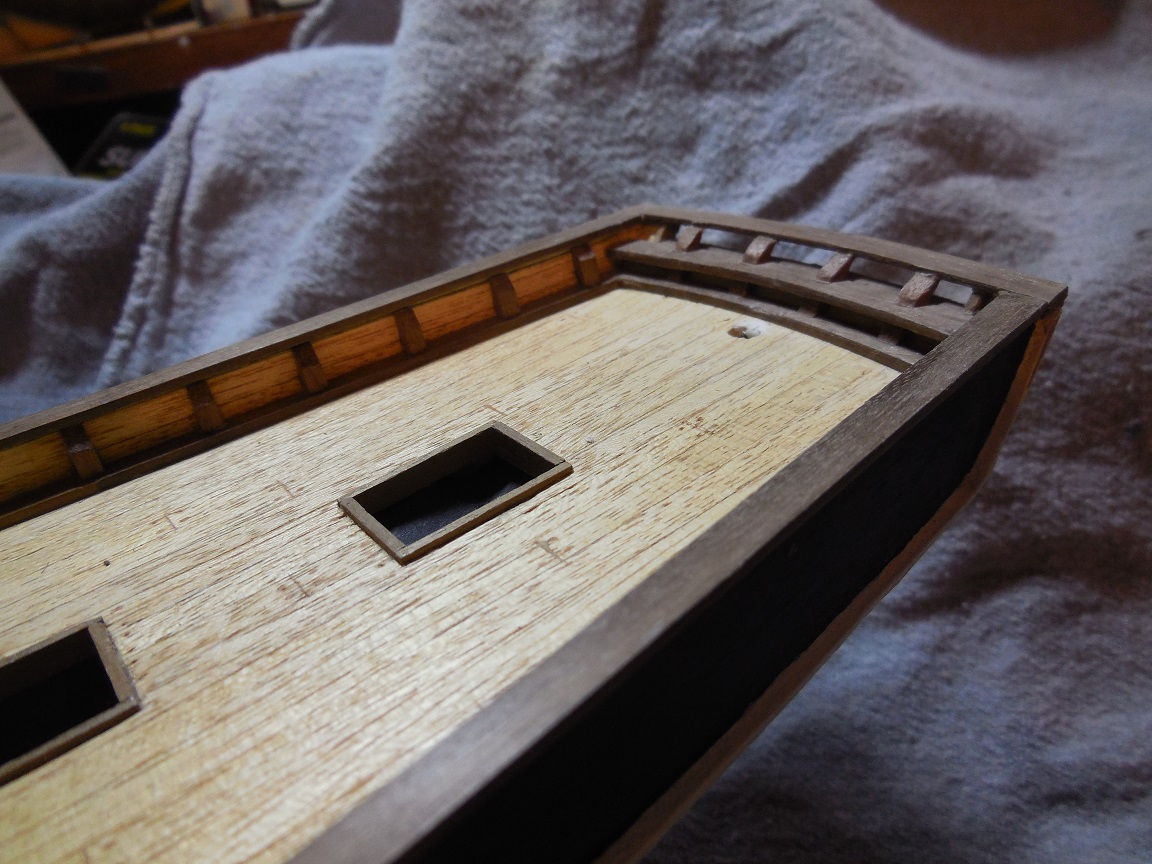
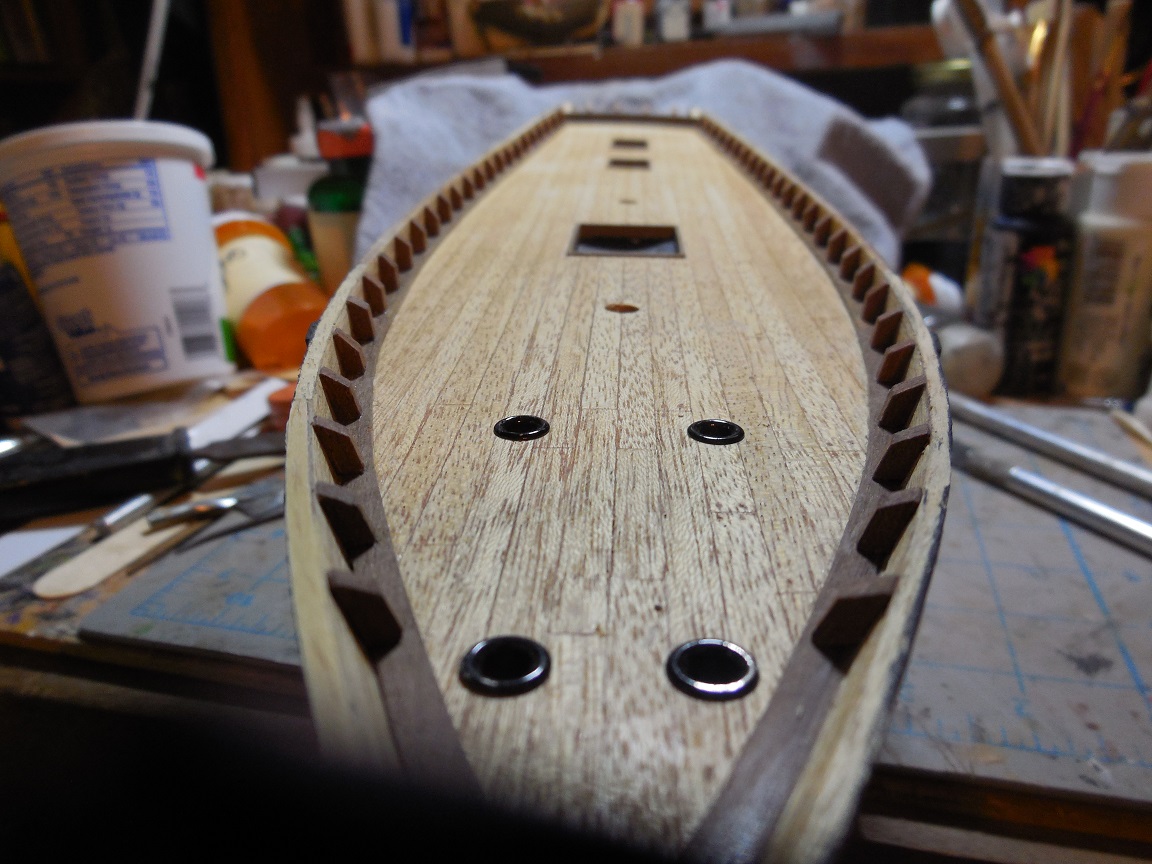
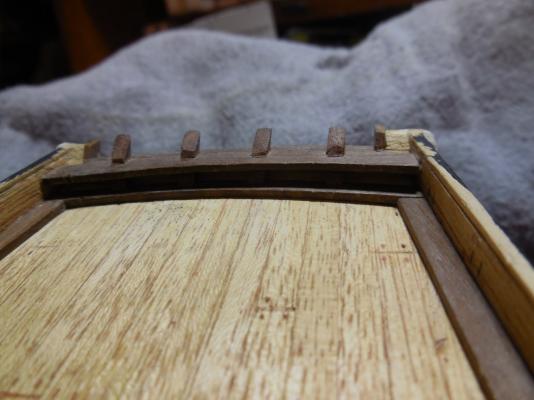
Got the timber heads & the stern thwart done today


- 607 replies
-
- 4
-
-
- scottish maid
- artesania latina
- (and 1 more)
-
Thanks for these instructions Dee Dee! Love learning something new!
-
Sawdust isn't as simple as it seems. I have found that if you sand the sawdust is lighter than if you saw or file/rasp from the same piece of wood!
- 607 replies
-
- 1
-
-
- scottish maid
- artesania latina
- (and 1 more)