JesseLee
-
Posts
1,694 -
Joined
-
Last visited
Content Type
Profiles
Forums
Gallery
Events
Everything posted by JesseLee
-
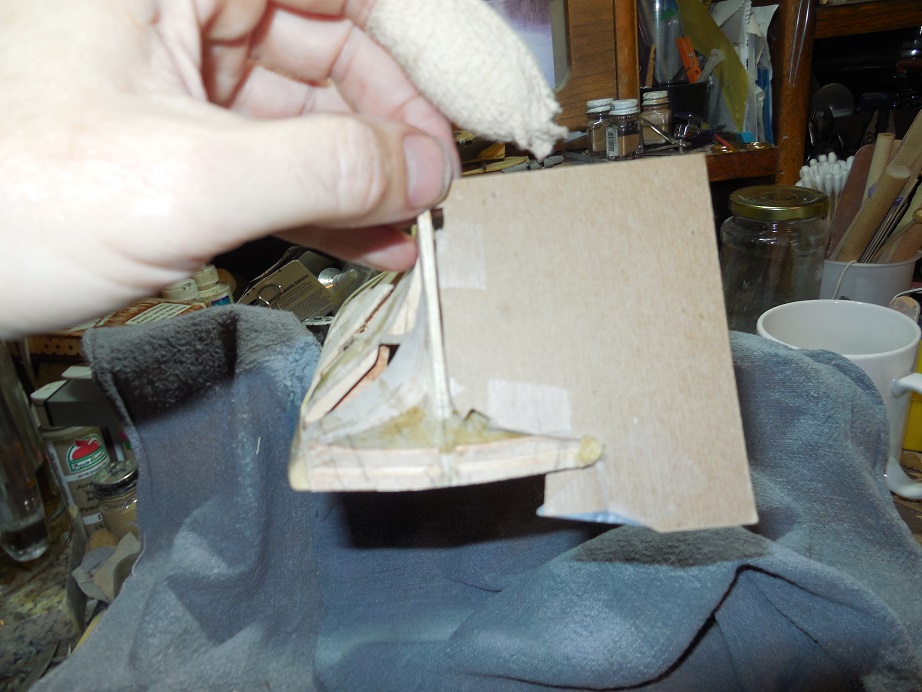
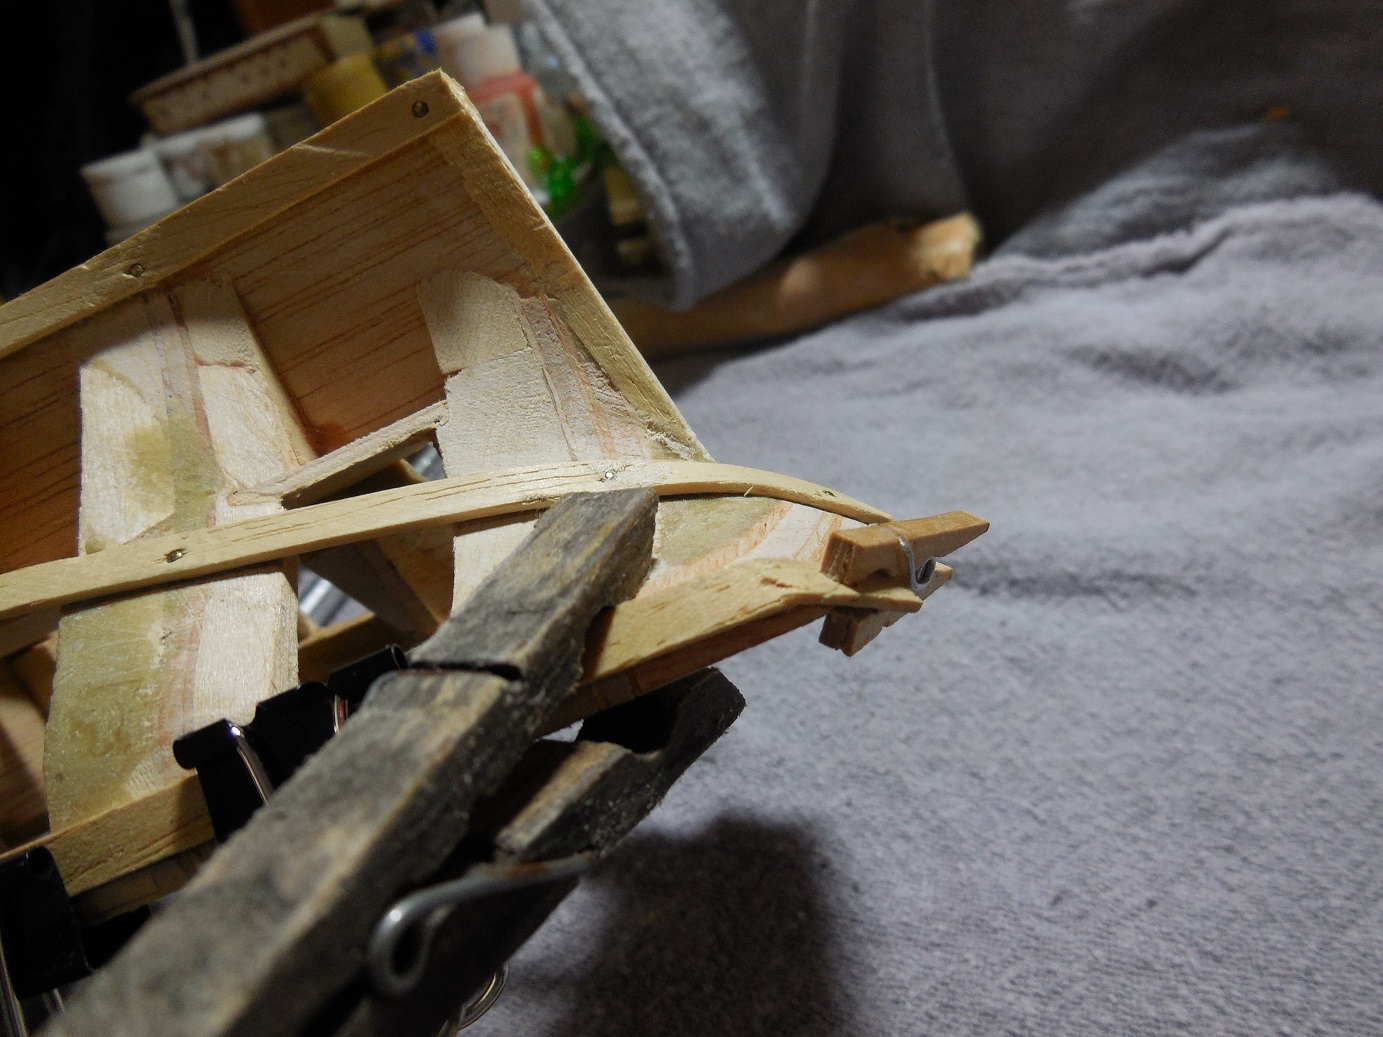
 Keeping the ends filed as I go to making sure the stem will fit snug later on.

- 607 replies
-
- 1
-

-
- scottish maid
- artesania latina
- (and 1 more)
-
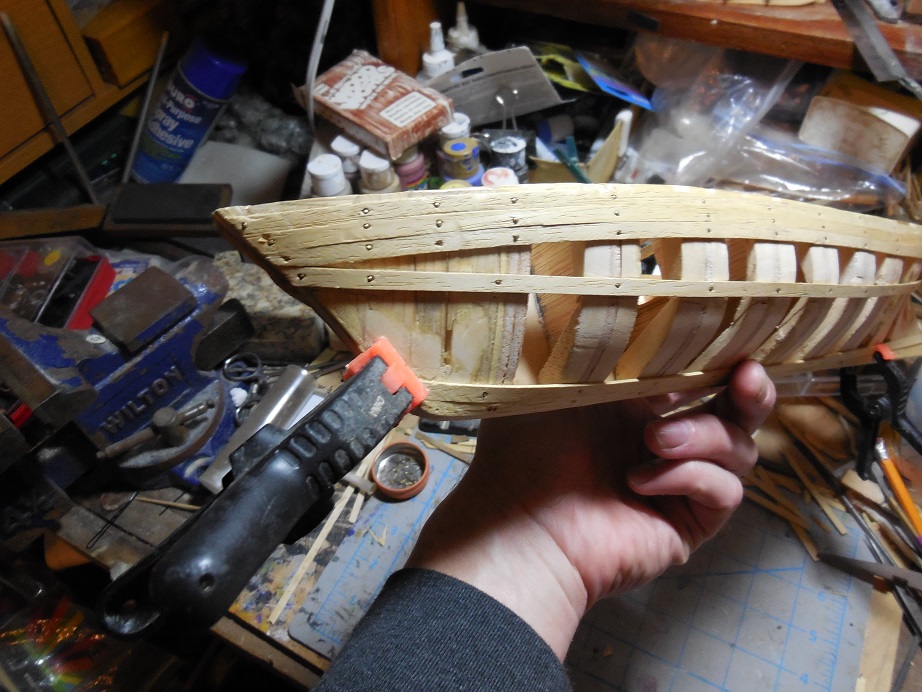
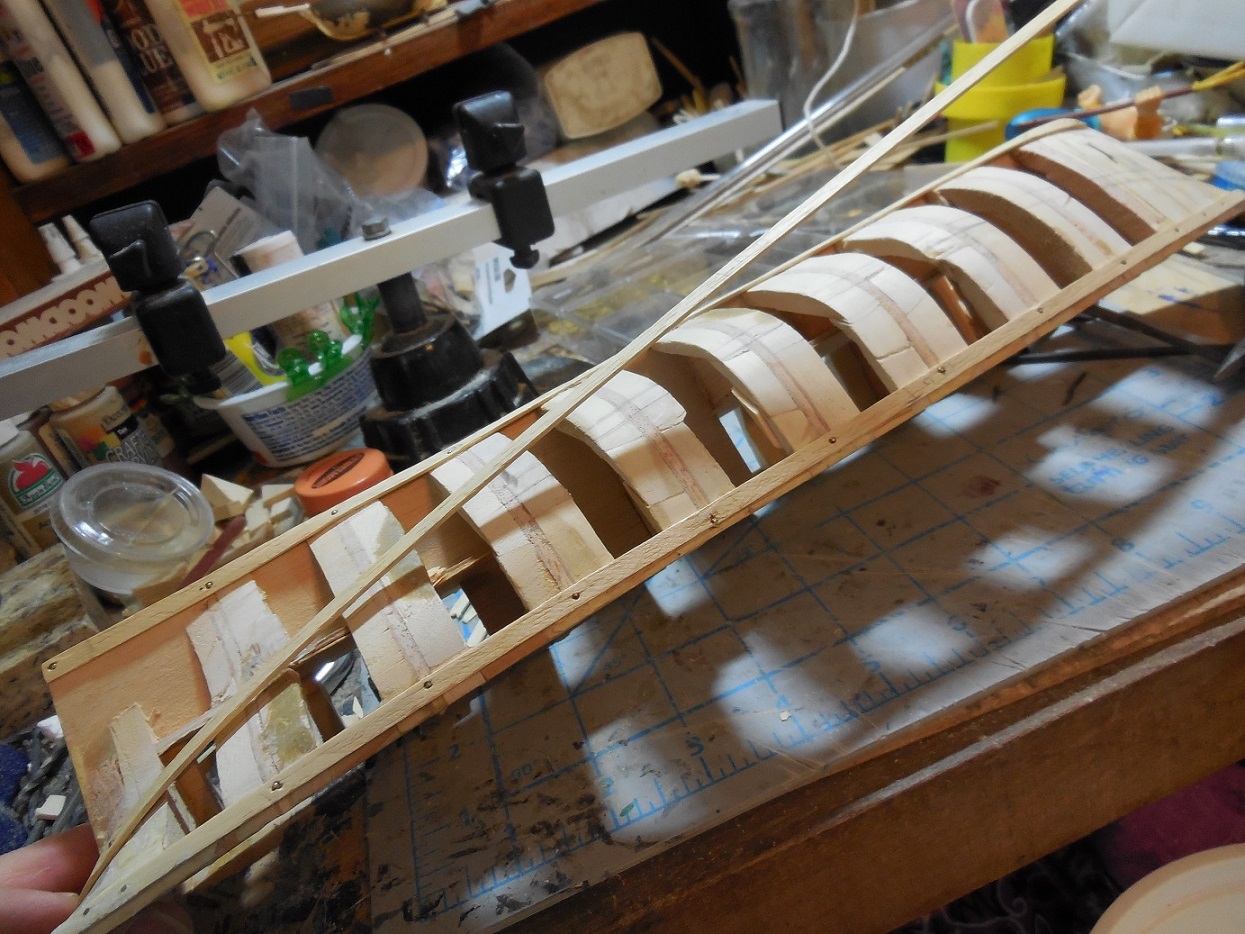
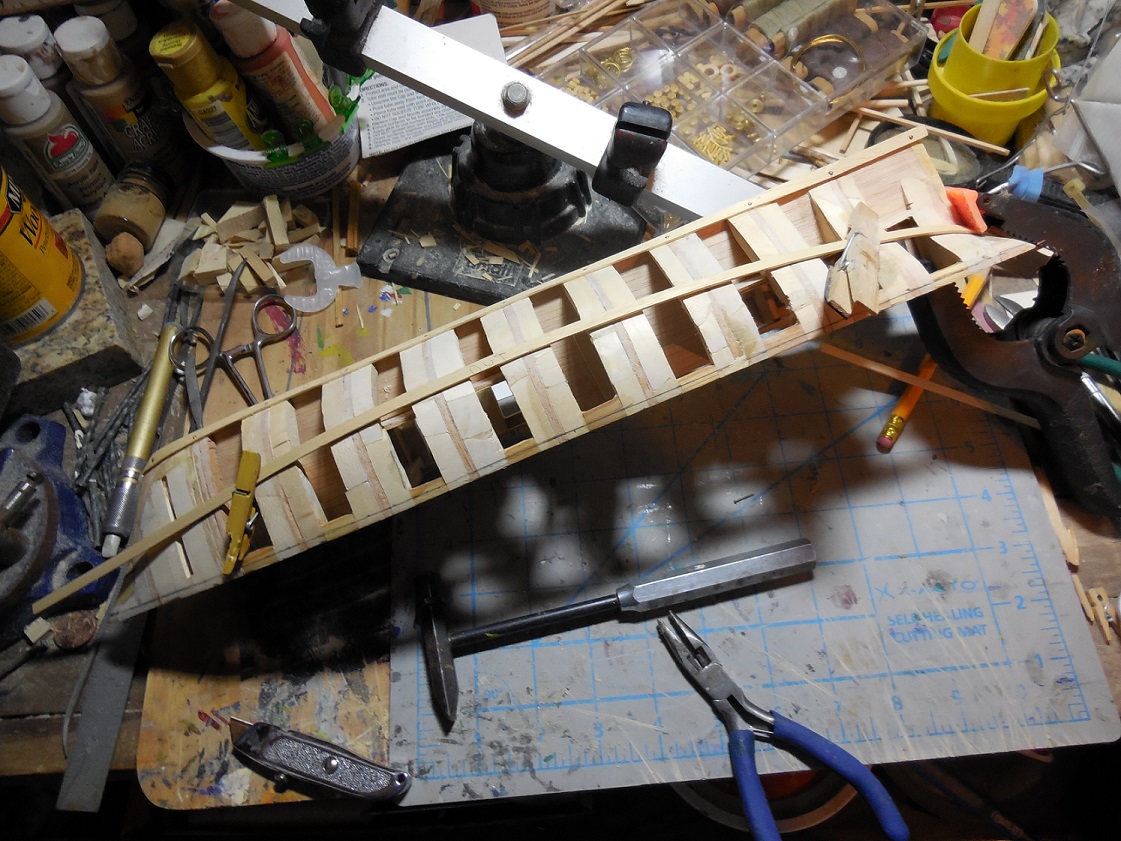
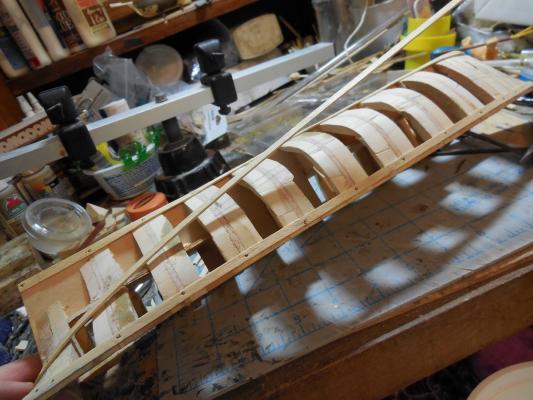
Continuing the first planking layer. A lot more wedges to fill on this hull than I've one in the past. Not sure if I will get all of these planks exactly right. The instructions are small 3 1/2 x 5 1/2 in. pics on a fold-out page. The whole first planking layer is covered in 2 or 3 of these pics.


-
Finally back to the planking. Making good progress in spite of Murphy showing up & reminding me he his still brutally enforcing his law!


- 607 replies
-
- 1
-
-
- scottish maid
- artesania latina
- (and 1 more)
-
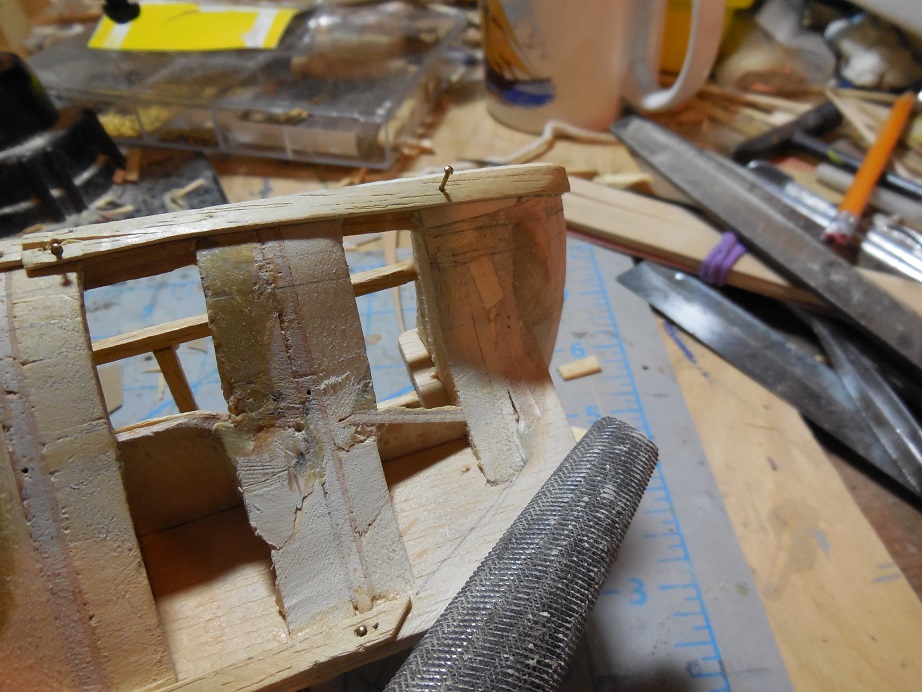
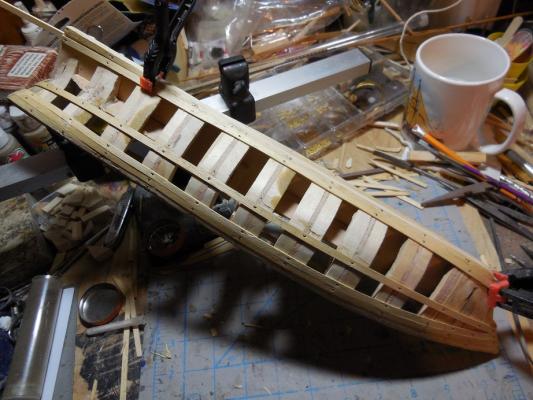
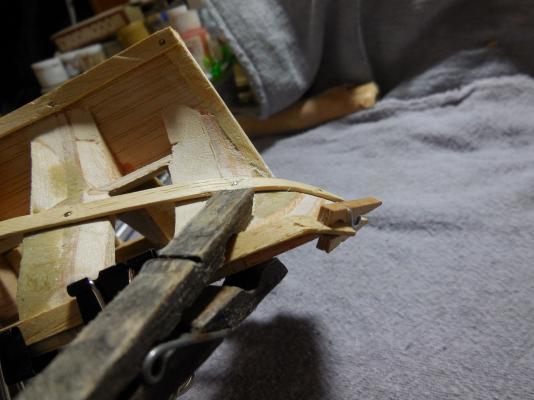
Marking bearding line & thinning down so that the rudder pieces will fit properly later....


-
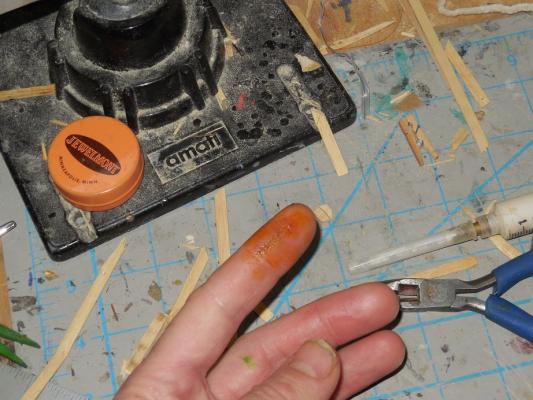
What do you do when your razor edge hobby knife slips & stabs deep into your finger? First move your hand away from the model & all that precious wood so the blood drips on the rug instead. A Dr. visit for a few stitches would take too long & prevent any more progress on the build this afternoon (not to mention take away money for supplies) so squeeze like crazy till it stops bleeding, sterilize the area & grab the super glue. Works like a charm! All sealed up & ready to get back to the ship!
- 607 replies
-
- 2
-
-
- scottish maid
- artesania latina
- (and 1 more)
-
You're right. Wood this nice looking shouldn't be painted!
-
Mike, on the template making, that's exactly the same way I have always made mine too. It is always well worth the extra time it takes to make them.
-
After removing some planks, deeply cutting my finger & some precise sanding it's looking much better now.

-
LOL, my wife has a hundred pair of shoes too! This is why I love working with wood. You can easily take away, add to, shape, re-shape, etc. It can be fixed if you have the will to do it. it's a great material to work with!
- 607 replies
-
- 1
-
-
- scottish maid
- artesania latina
- (and 1 more)
-
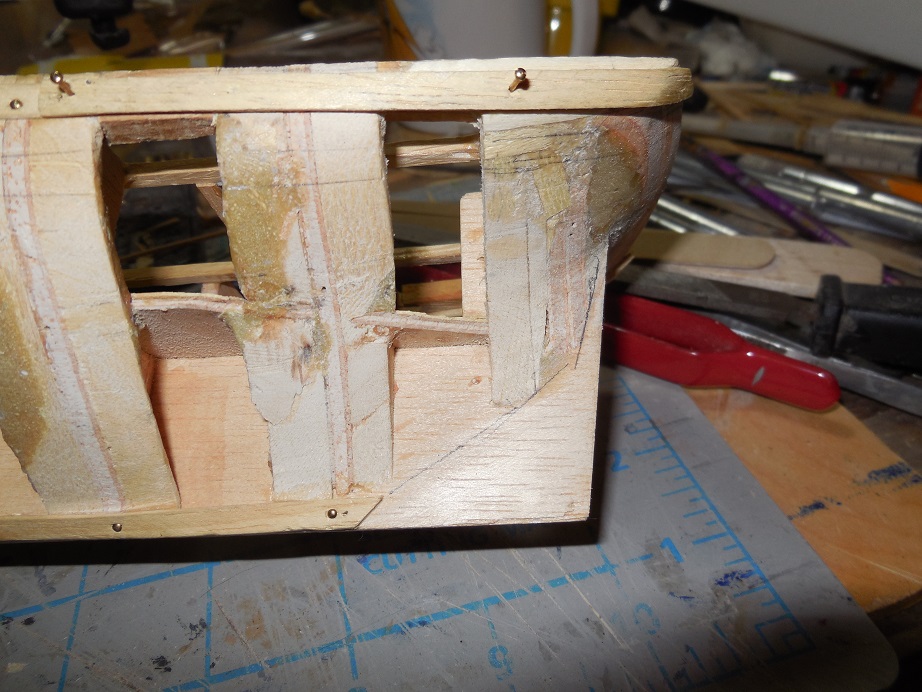
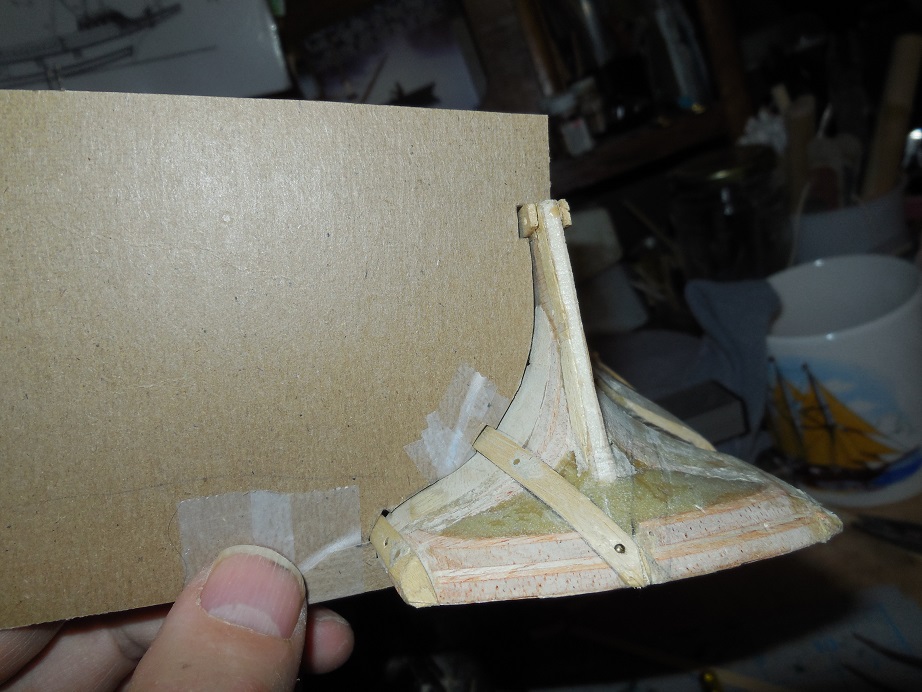
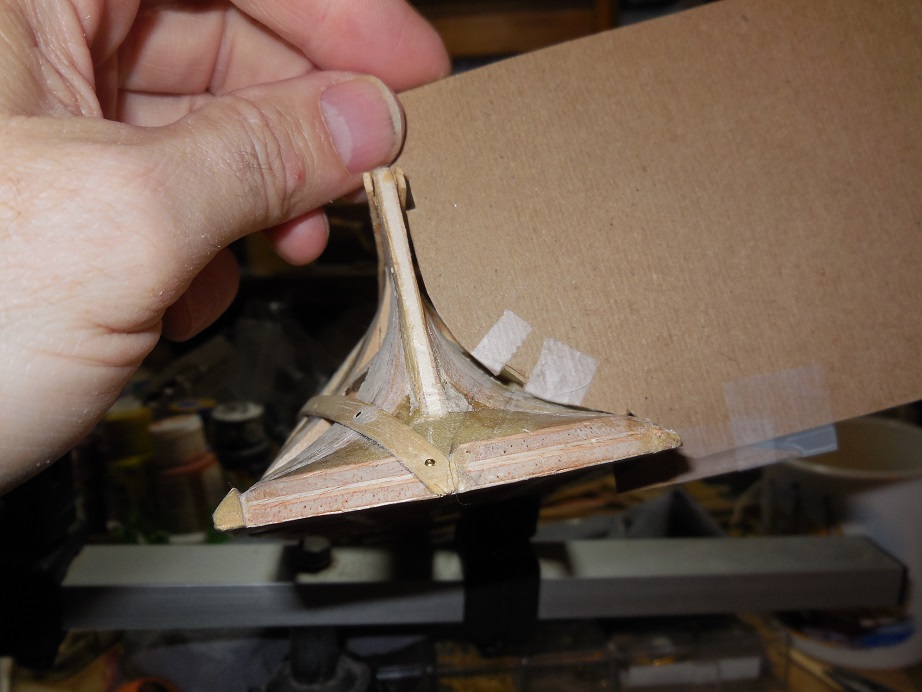
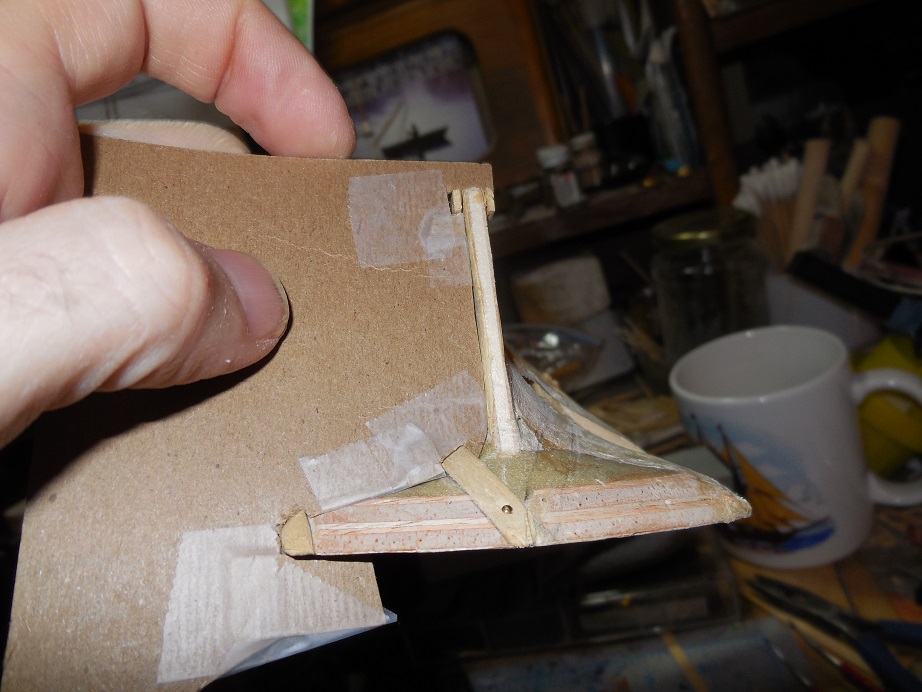
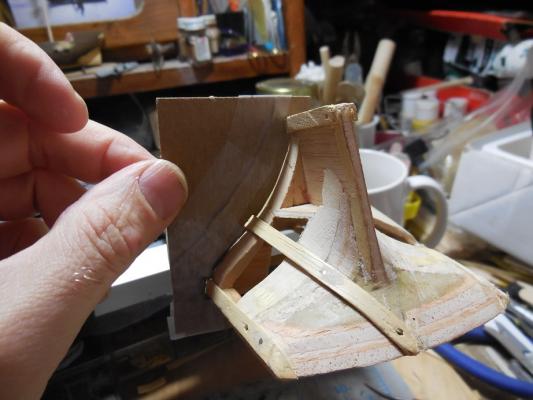
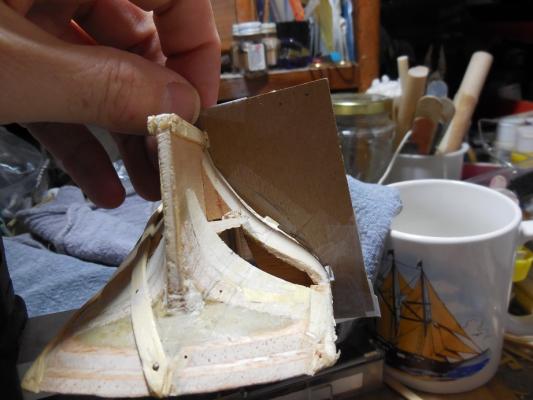
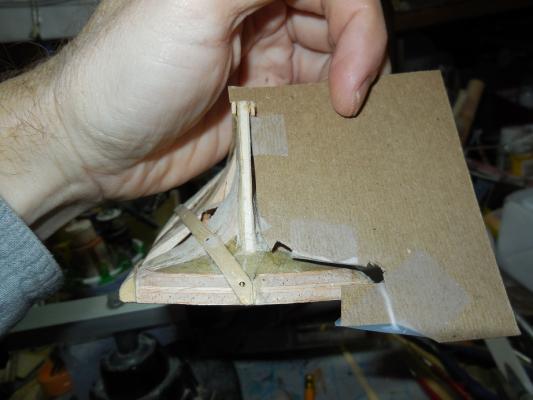
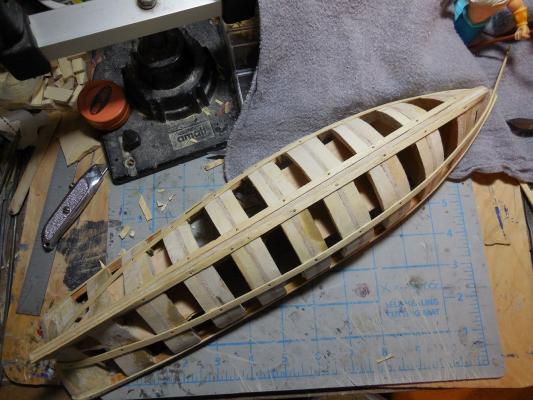
Glenn, I think I missed that too. It's ok, I have a lot of time on my hands & it's not the 1st time I've had to go back to redo something like this. This cold snap moving through is not good for someone with lyme so today I feel like I've been in a plane crash. Haven't felt good enough to do much work but did decide to make some templates to see how different each side is. Since my problem is aft I made templates for the last 3 sections it that area. The 1st one is pretty close, the 2nd shows a little more gap on one side & the 3rd one is so off it wont even fit over the other side.


- 607 replies
-
- 1
-
-
- scottish maid
- artesania latina
- (and 1 more)
-
A little irritated with myself. I spent a whole day the other day measuring all over to make sure I had everything right. Somehow I missed the stern area & have one side 1 1/2 -2 mm off from the other. Of course this throws off the plank spacing on each side so I will tear them off, sand the side down to the right spot & re-plank.
-
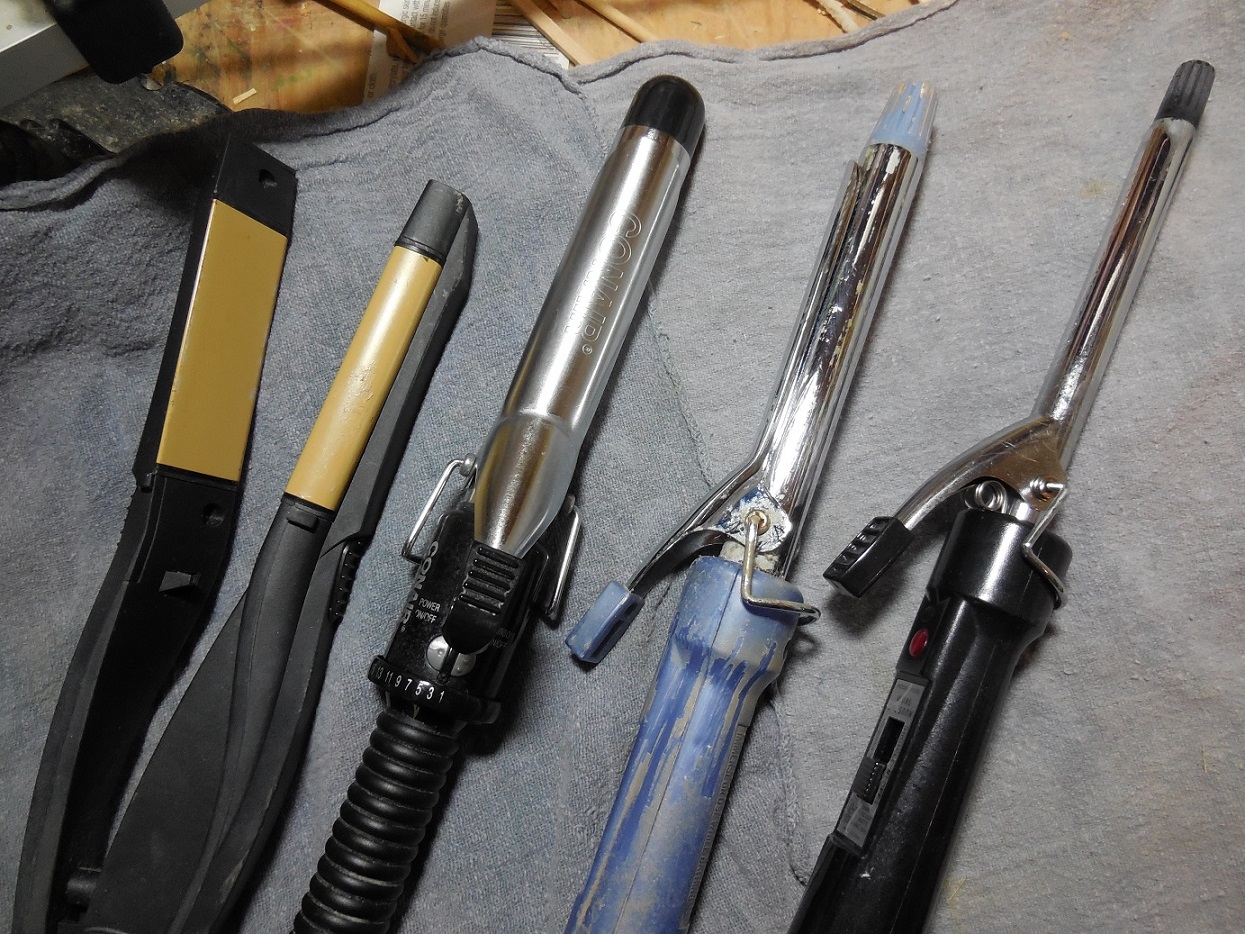
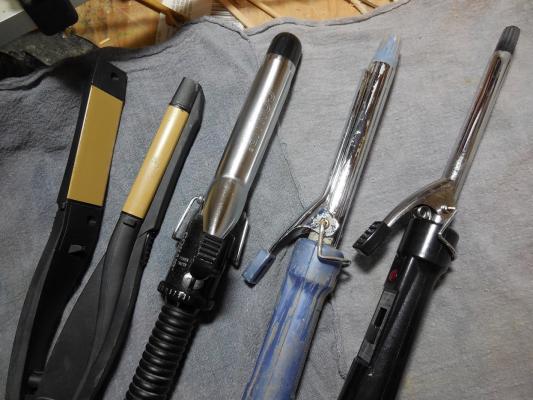
Went looking in the bathroom cabinets & found several extra curling irons not being used. (They all worked so I'm wondering what my wifes reasoning is for buying the new ones she & my daughter are using now - I will never understand women, lol ) Anyway I decided I would take them & use for additional plank bending tools. I got 3 different size curves & a straight one. Should come in handy in the days to come.
- 607 replies
-
- 6
-
-
- scottish maid
- artesania latina
- (and 1 more)
-
Soaking the next set of planks, Adding center plank, getting some additional input...
- 607 replies
-
- 1
-
-
- scottish maid
- artesania latina
- (and 1 more)
-
Thanks for all this info. I never knew about this!
-
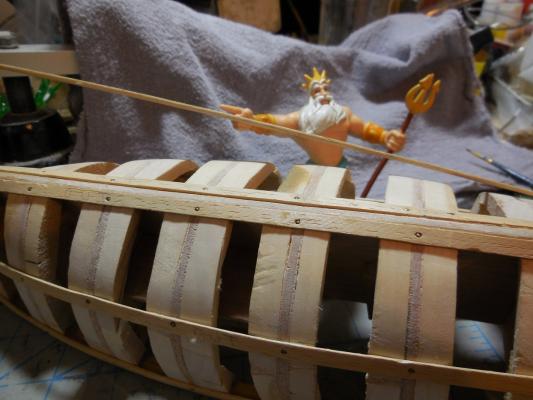
I think adding the extra blocks is always worth the extra time & work when you start to add the planking.
-
Sailor, It depends on how much you are familiar with modeling I guess. If you have built before you can figure it out. It may be hard to get a few things accurate mainly the right angle at the stern for the transom. The instructions seem to be made for modelers who have some experience in ship building.
-
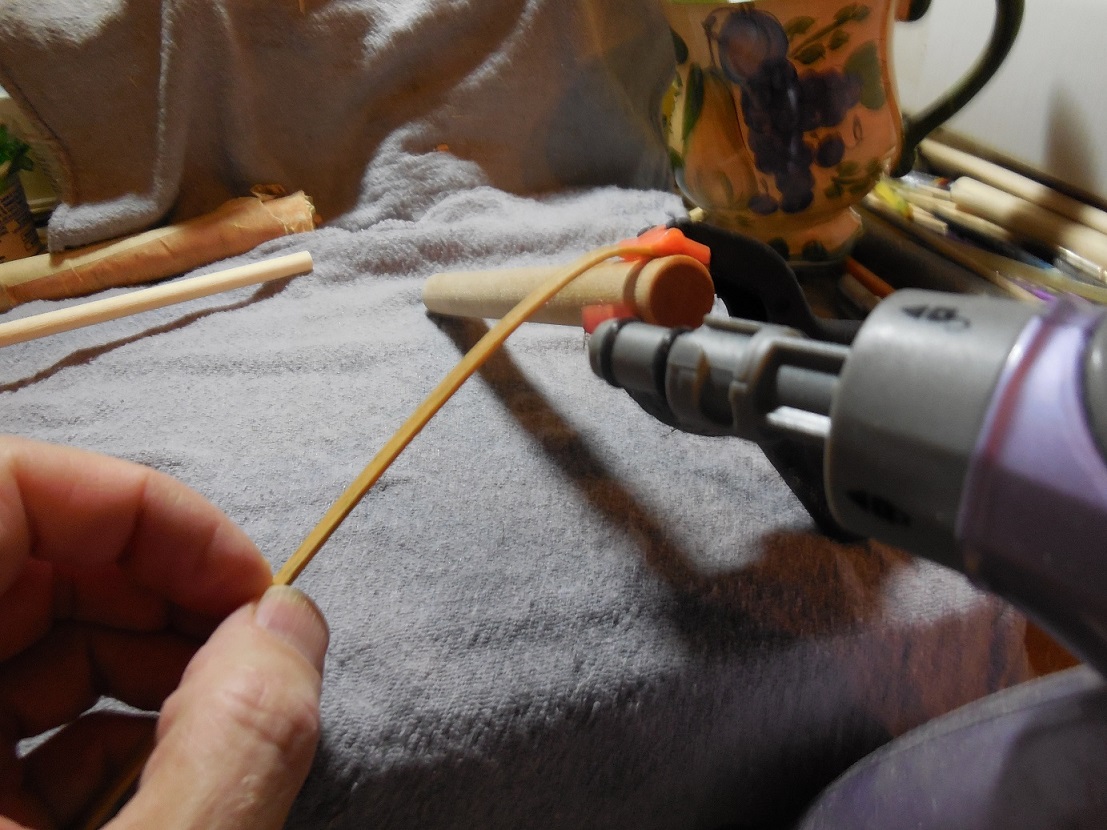
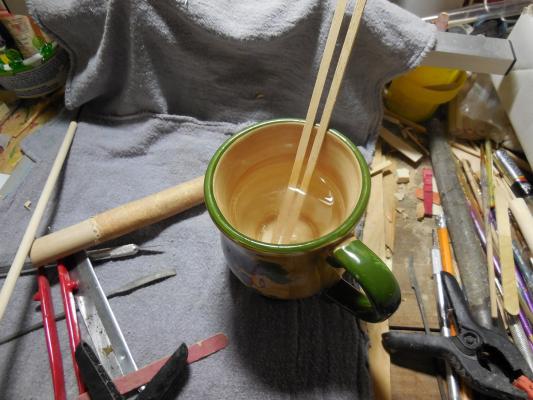
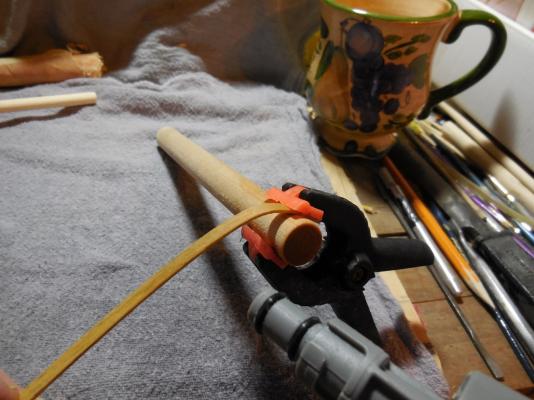
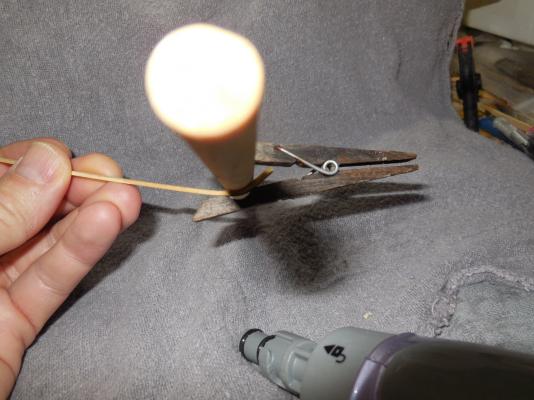
Getting better results now. I heated a cup of water in the microwave till almost boiling & soaked the end of the strip for about 20-30 min. first then used the steamer & the wood is bending way better & farther now without breaking.

- 607 replies
-
- 2
-
-
- scottish maid
- artesania latina
- (and 1 more)
-
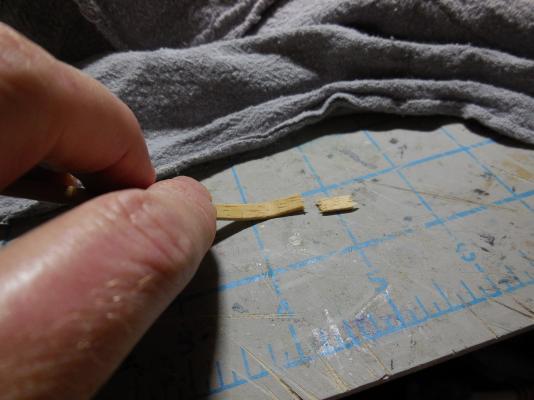
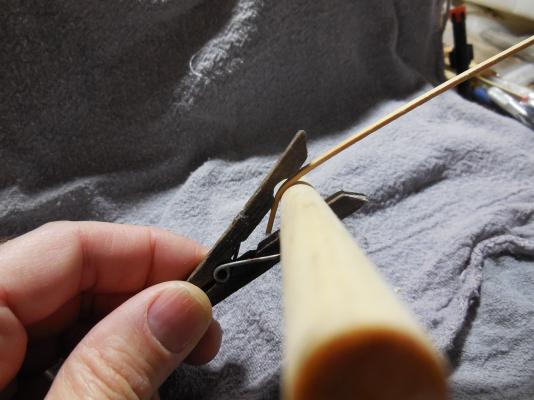
Works on average bends but on the real sharp bends I still got wood breaks & cracks. Trying a longer soak first for the one on the other side......


- 607 replies
-
- 2
-
-
- scottish maid
- artesania latina
- (and 1 more)
-
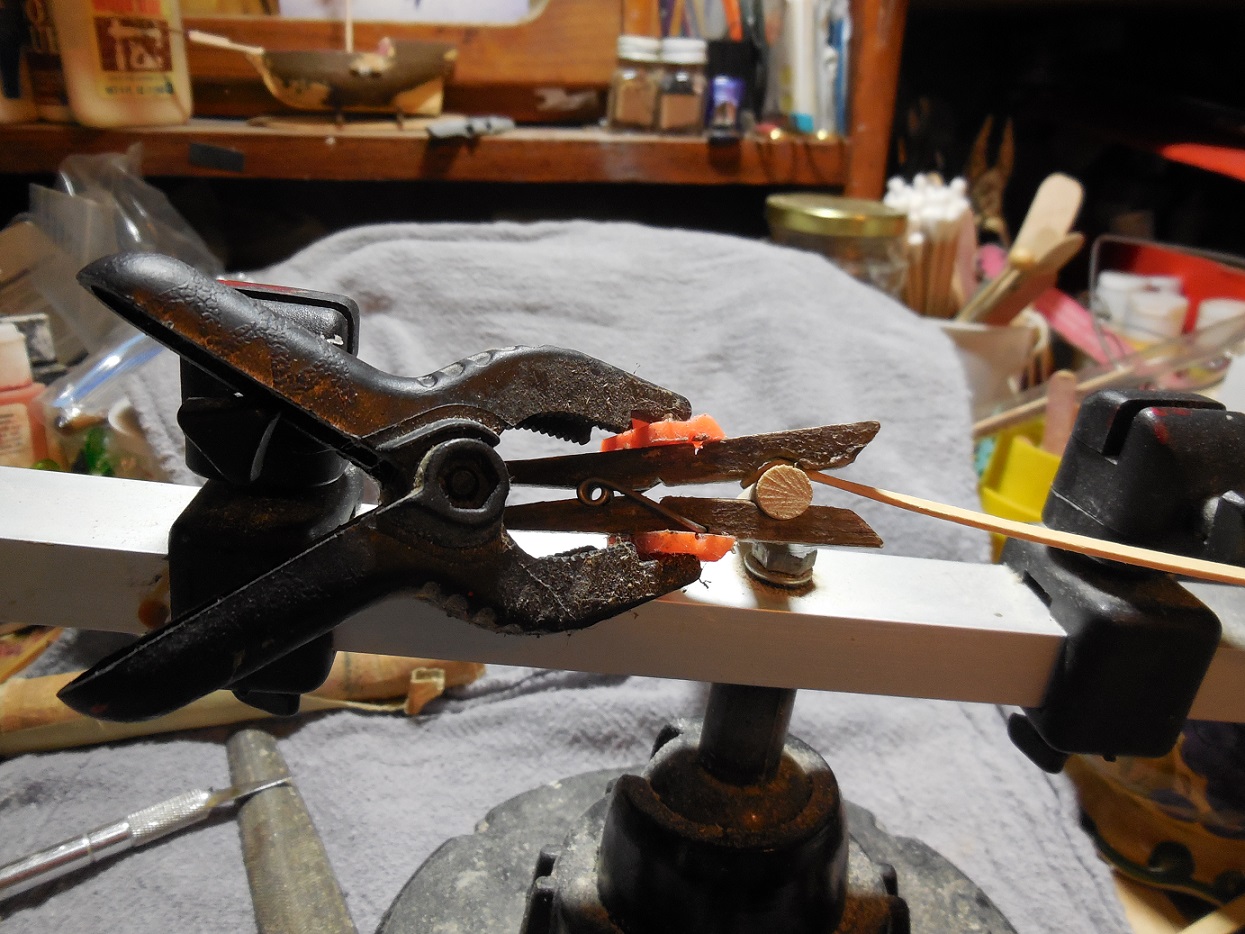
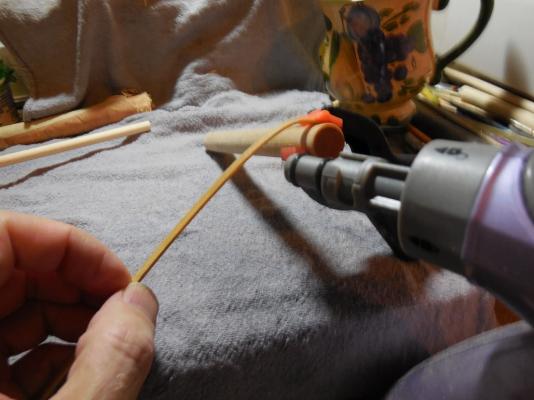
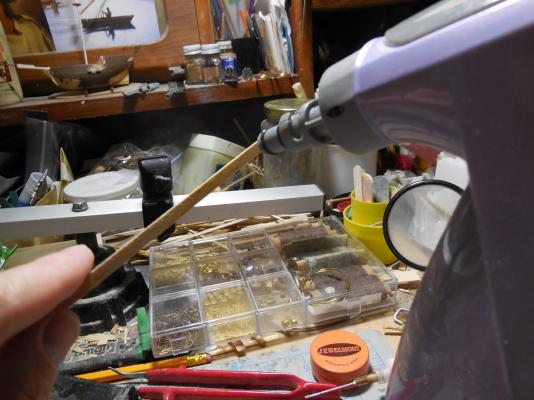
Now to see how this steamer gadget will work.......
- 607 replies
-
- 2
-
-
- scottish maid
- artesania latina
- (and 1 more)
-
Yes, that bend is pretty sharp. It is easy to break even the softer woods at that much of a bend
-
The wood looks beautiful!
-
I have this same kit I built years ago. It is beautiful when finished!
-
I have an old unfinished ship( supposed to be the Mayflower) that I picked up in an antique store a few years ago. I thought it would be simple to restore & finish it until I actually got it home & got to looking at it better. A lot has to be redone. I've been messing with it off & on for a few years. Don't know if I will ever be able to finish it! Good luck on this project. Can't wait to see what you do with it!
-
Looks good so far. I have never built one of these but have always wanted to.