JesseLee
-
Posts
1,694 -
Joined
-
Last visited
Content Type
Profiles
Forums
Gallery
Events
Everything posted by JesseLee
-
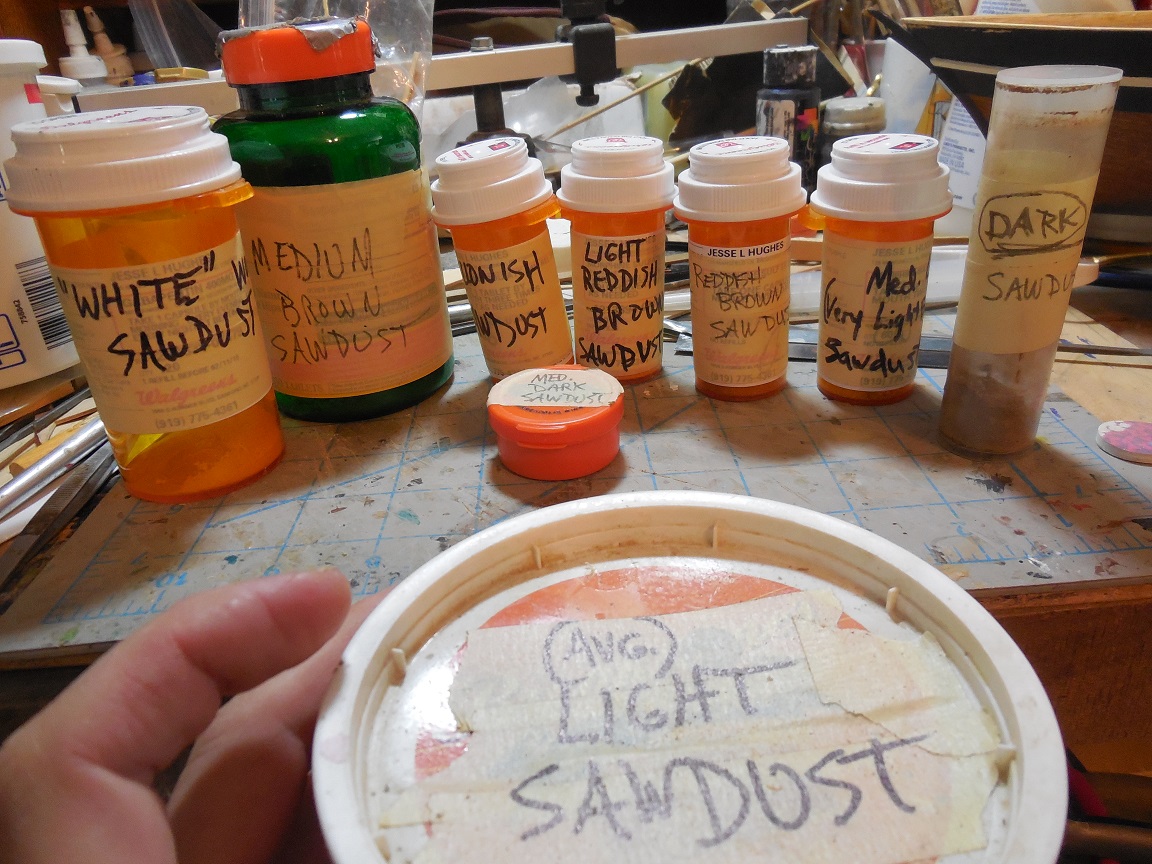
 Began cutting the timber heads. It takes 54 of these so this step will take some time & a lot of sawdust. Seeing the sawdust there I thought I'd show all the various colors I have saved up on this build. Being sick leaves you with a lot of left over medicine containers. They have worked well for sawdust containers!
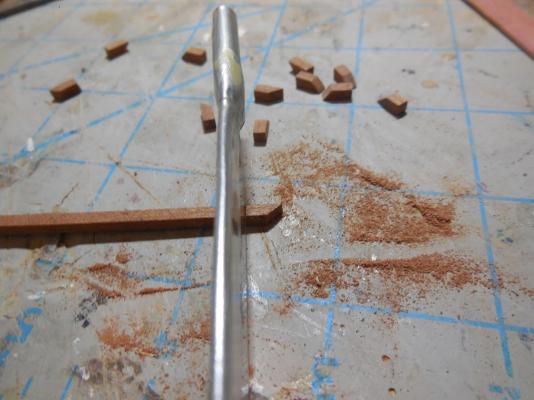

- 607 replies
-
- 4
-

-
- scottish maid
- artesania latina
- (and 1 more)
-
Looks great! Like Keith, I would like to know the process of making the mast hoops.
-
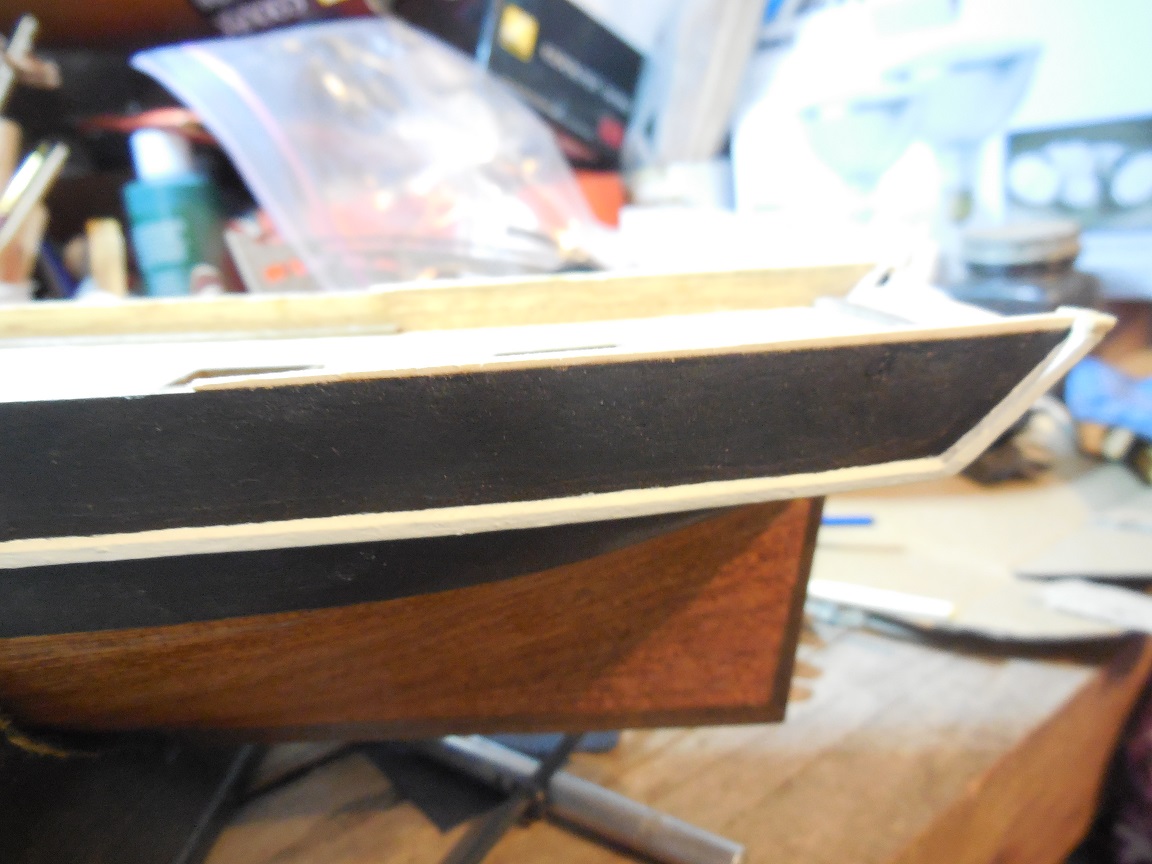
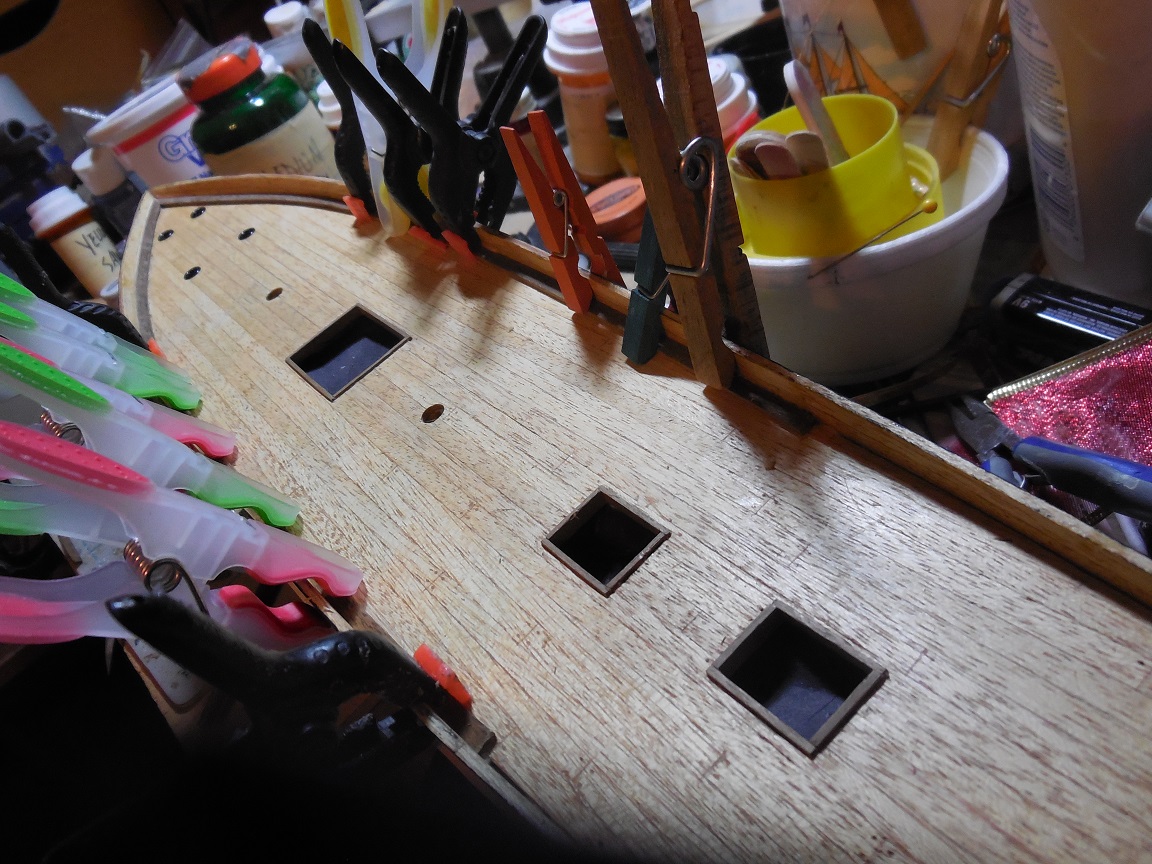
Sanded everything down. Added more planking to the inside side of the transom. looks more like it should now. Once some paint is added it wont show on the outside. While I was at it I evened up the bulwark tops at the bow too.


- 607 replies
-
- 4
-
-
- scottish maid
- artesania latina
- (and 1 more)
-
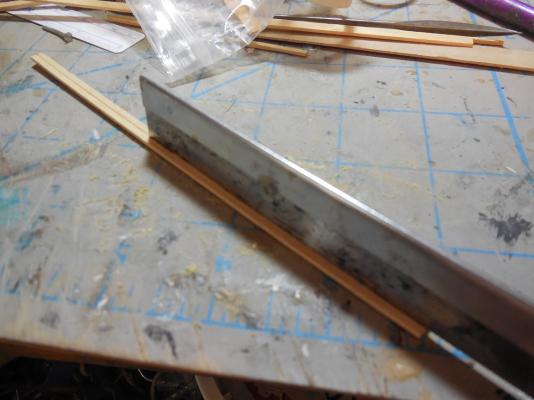
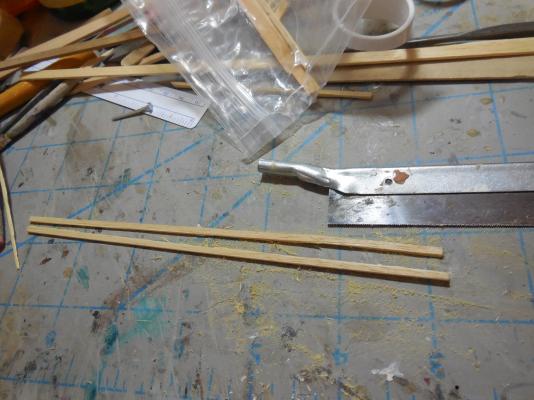
As the transom top edge is made higher the bulwarks also had to be added on to a little also where they joined the transom. I took an extra strip of wood from the first hull planking & sawed it in half lengthwise. This made 2 strips almost exactly the right size to fit the top of the bulwarks. Added all this on


- 607 replies
-
- 4
-
-
- scottish maid
- artesania latina
- (and 1 more)
-
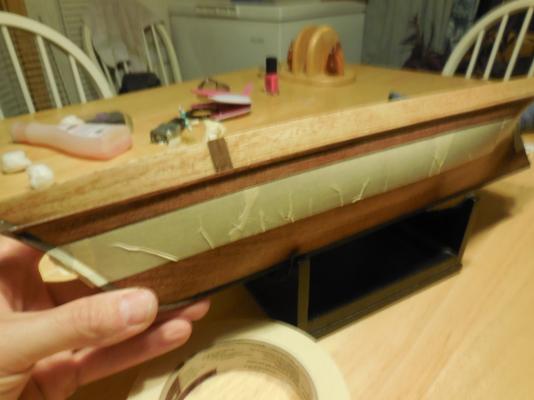
Sailor, I did figure it out! The beginning of the building up of the transoms top edges

- 607 replies
-
- 4
-
-
- scottish maid
- artesania latina
- (and 1 more)
-
Looking good! Cant wait to see how this planking looks when finished.
-
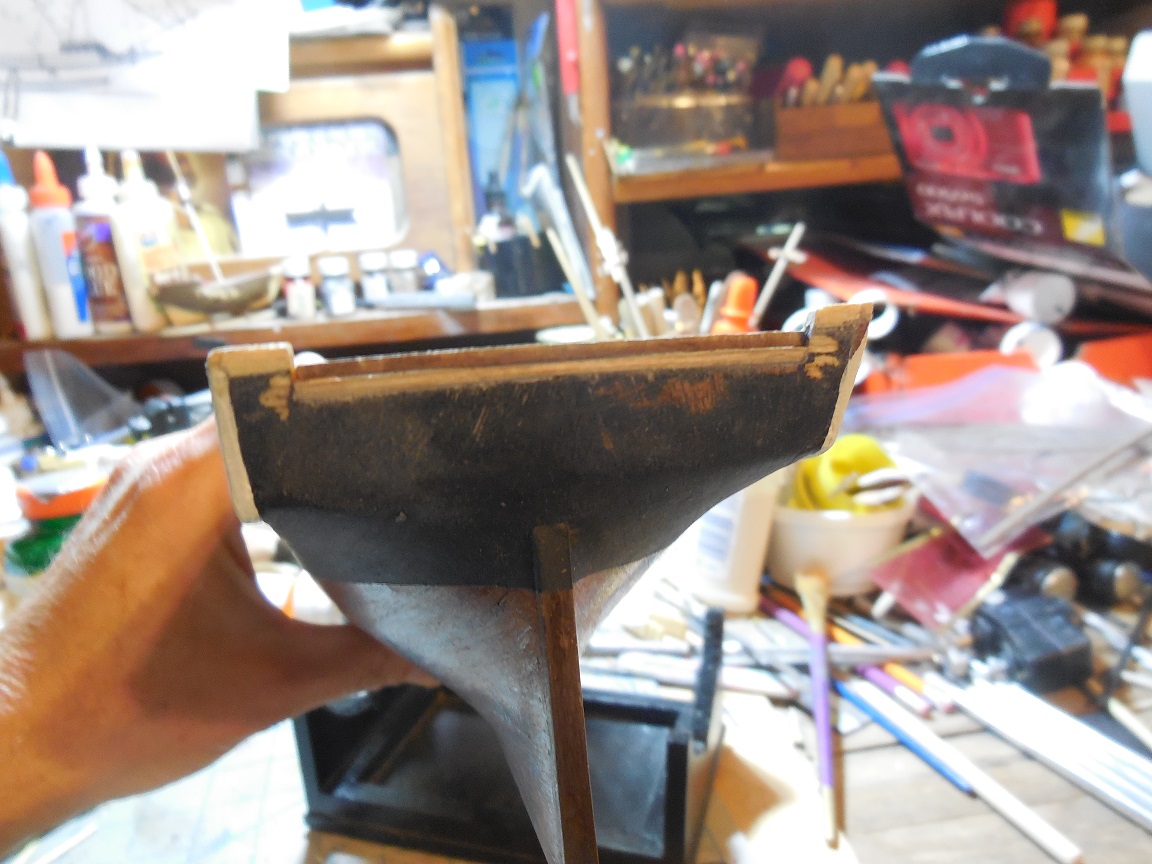
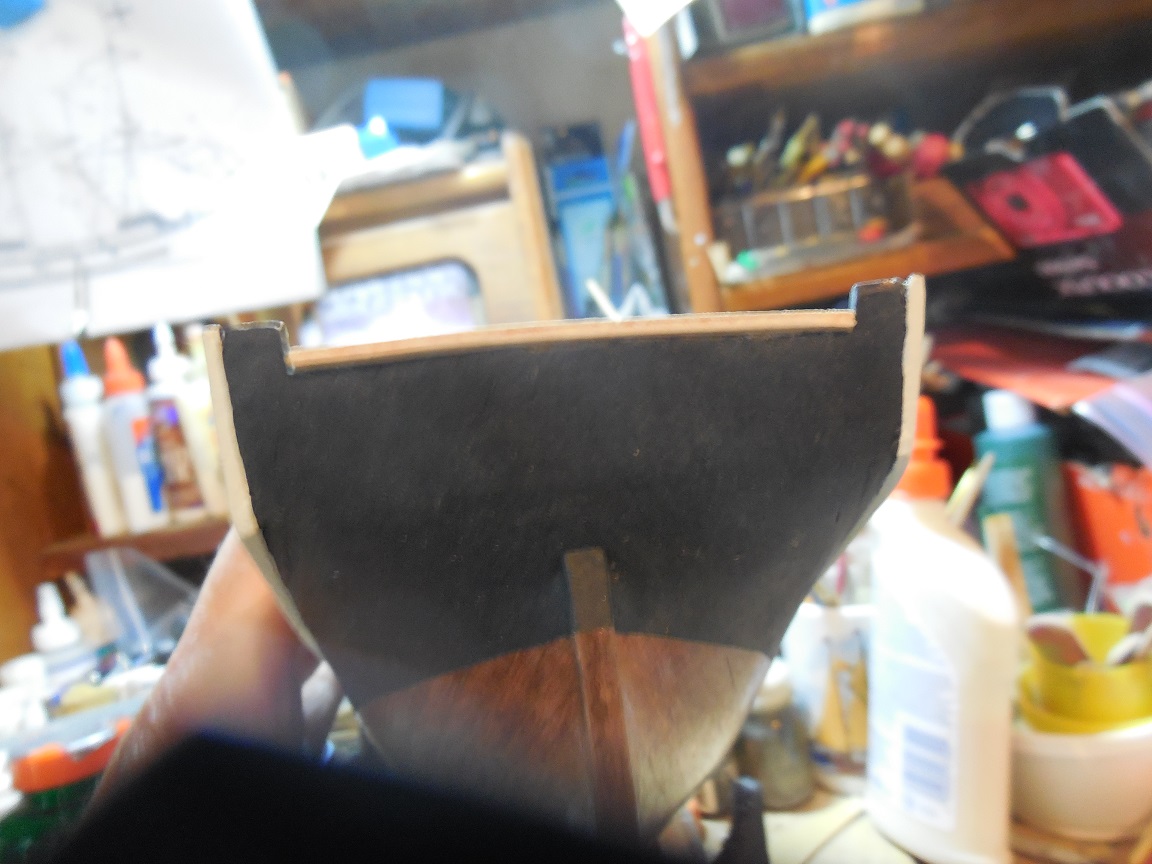
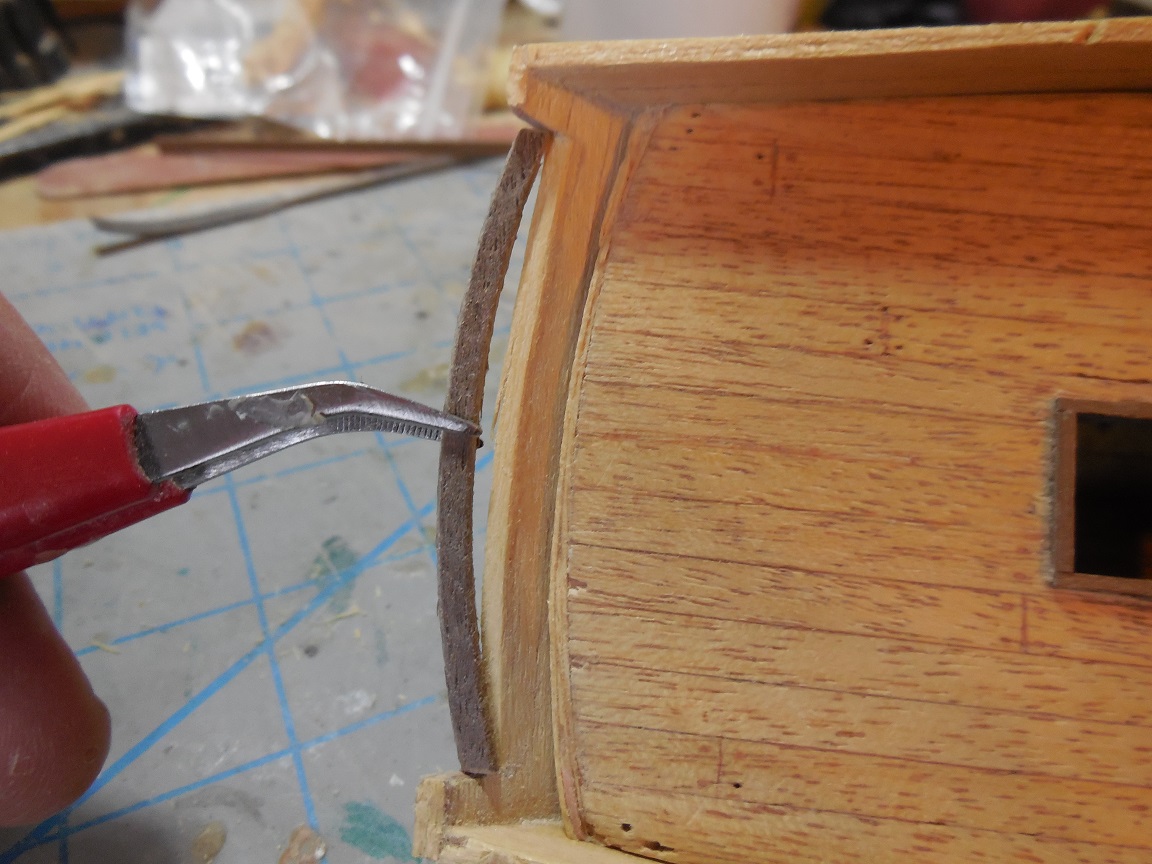
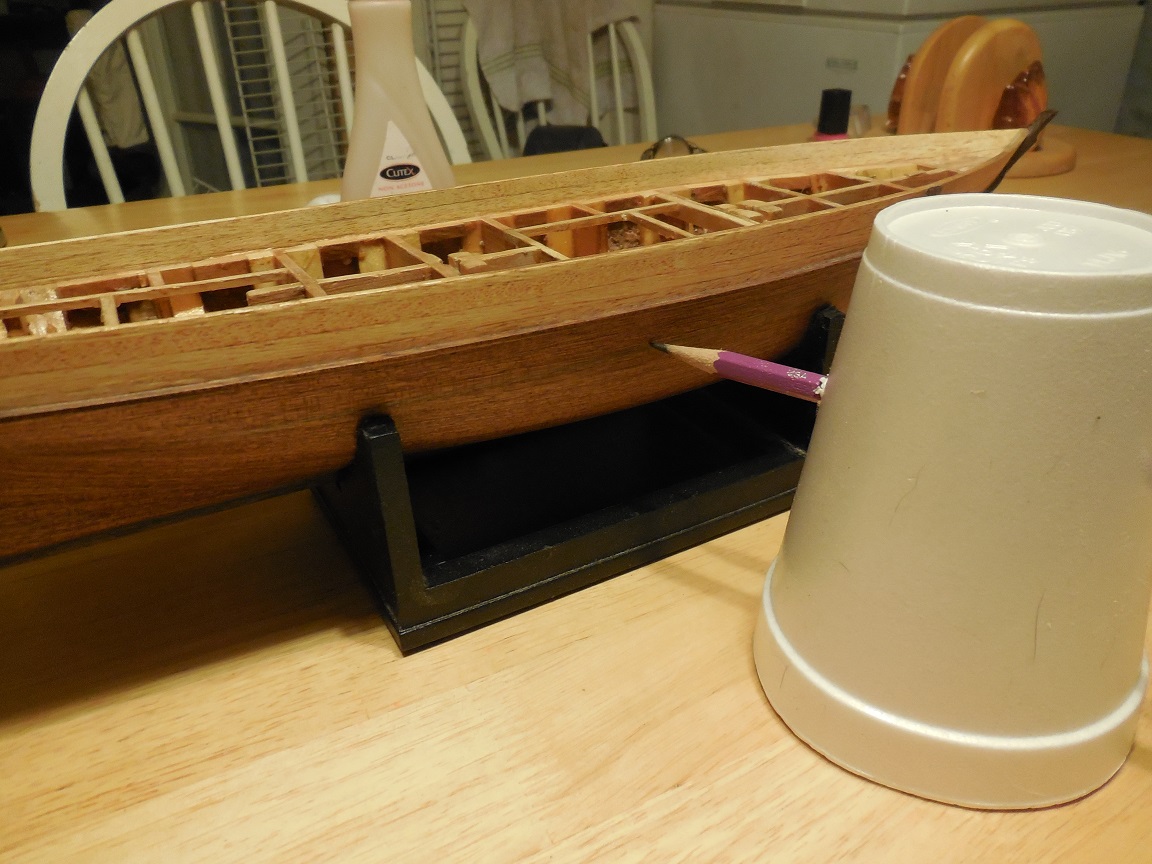
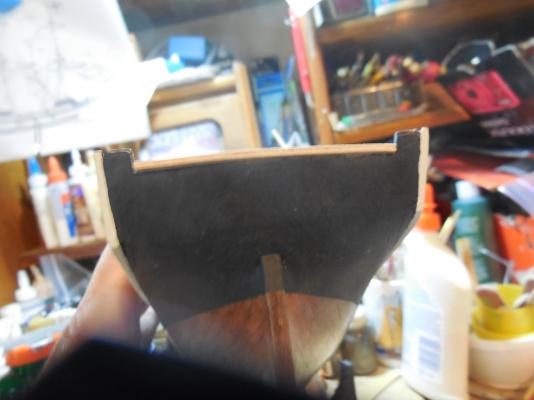
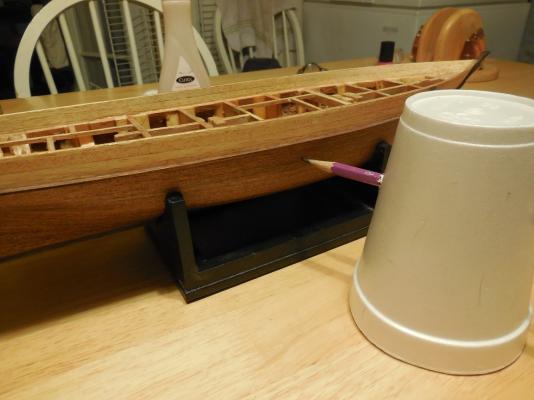
Gluing the water-ways on when I noticed another problem. I didn't get the transom on at the right height as the side-by-side of the model & photo shows. This one has me temporarily stumped.


- 607 replies
-
- 3
-
-
- scottish maid
- artesania latina
- (and 1 more)
-
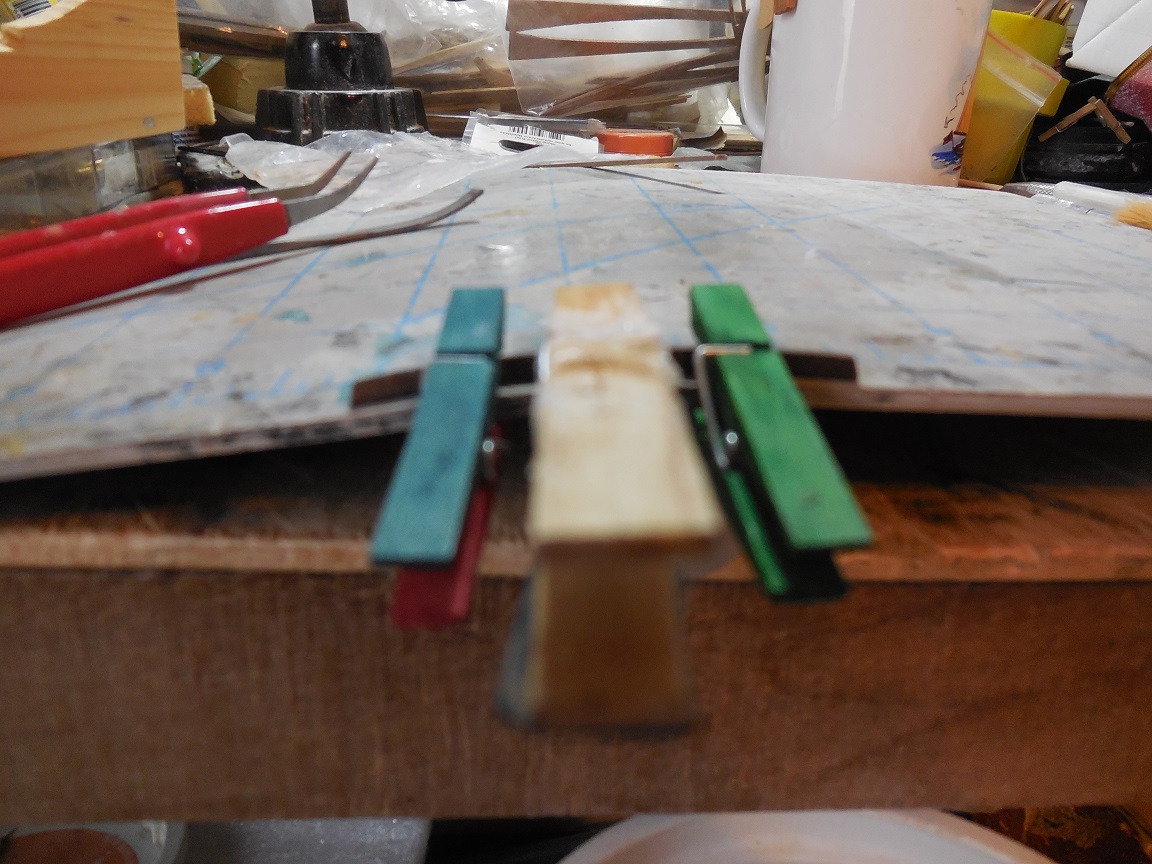
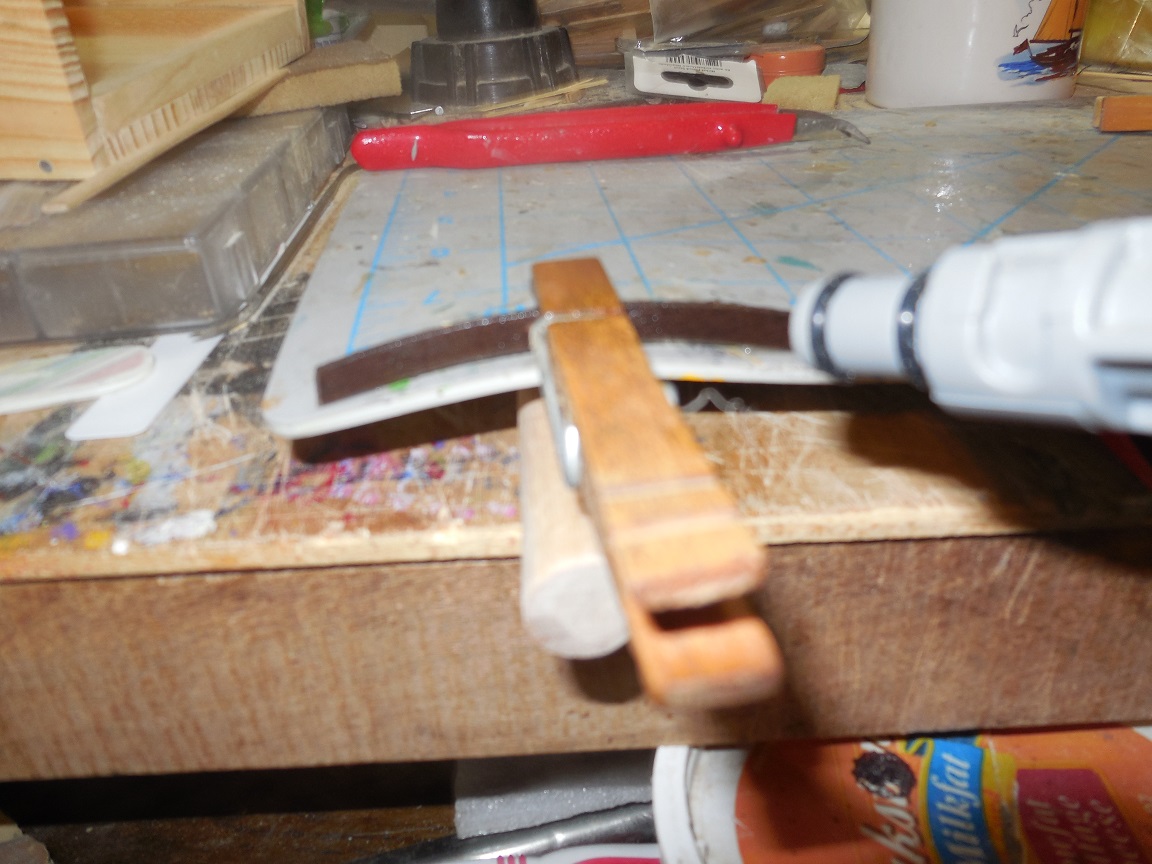
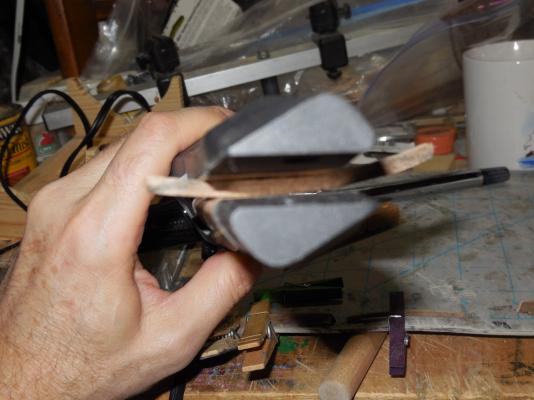
It took one more round of steaming & clamping overnight to get them to the final curve I needed because the wood resisted the bending. Taking these several steps at a time prevented any cracking & splitting. Now these parts are ready for when I get to them which is coming up soon.

- 607 replies
-
- 4
-
-
- scottish maid
- artesania latina
- (and 1 more)
-
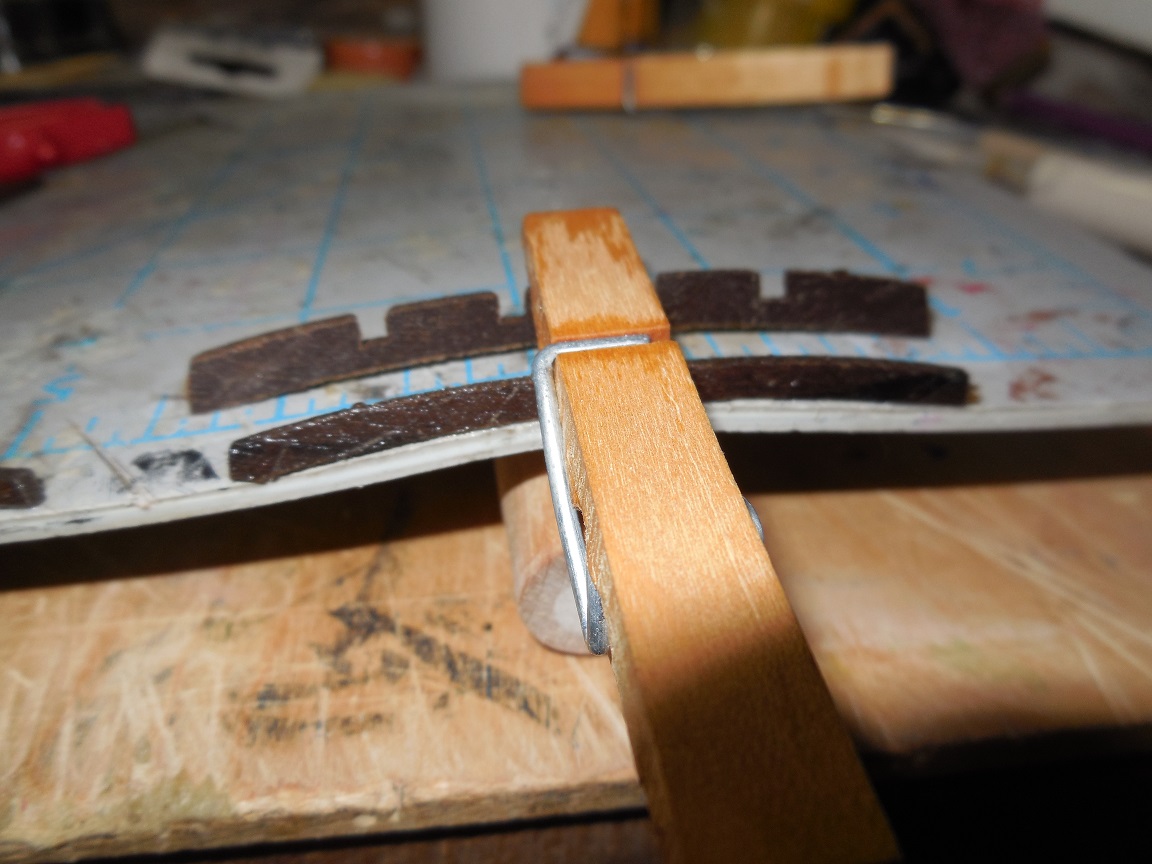
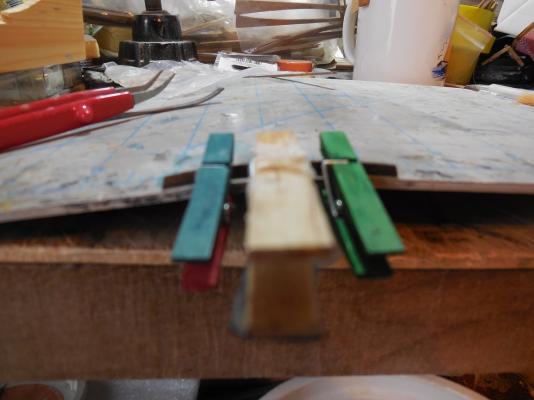
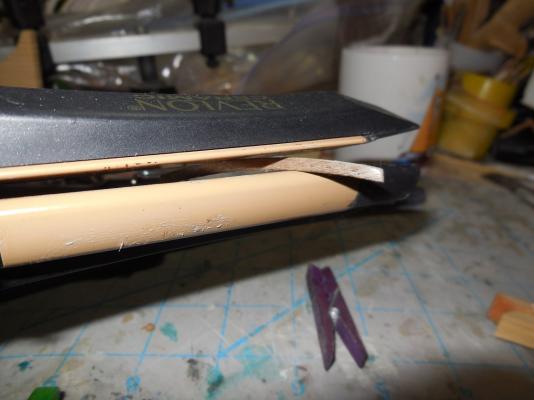
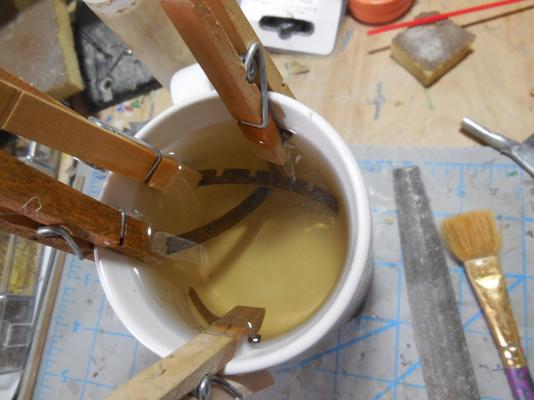
After soaking clamped the parts with clothespins to pull down on them while steaming them. Used a hair straightener to heat dry to hold the new shape.

- 607 replies
-
- 3
-
-
- scottish maid
- artesania latina
- (and 1 more)
-
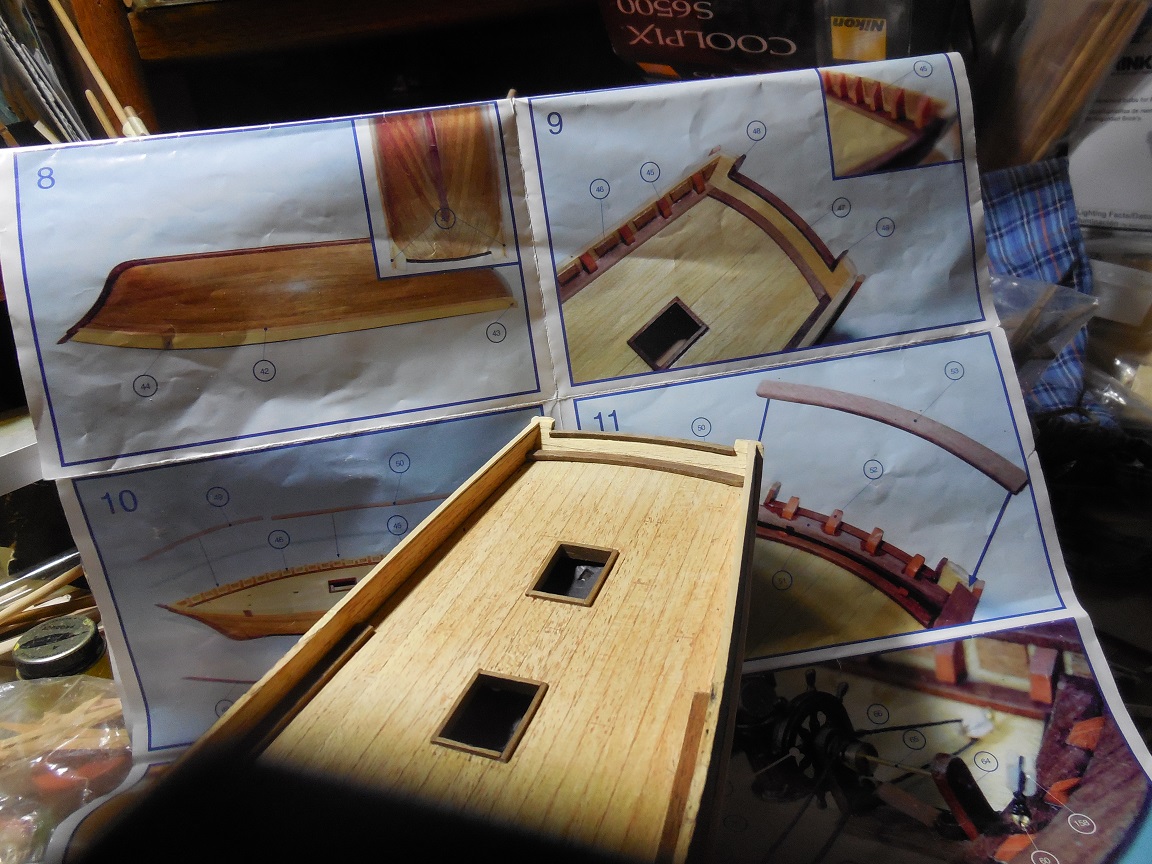
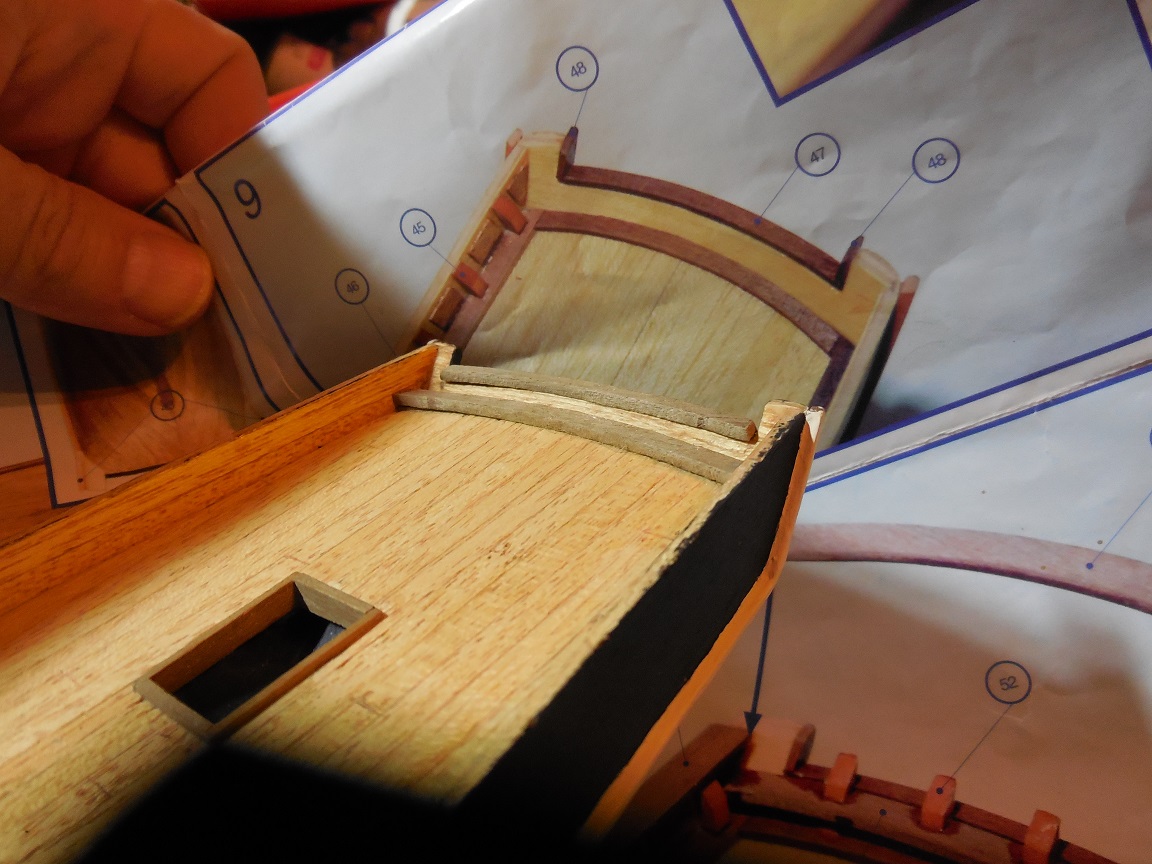
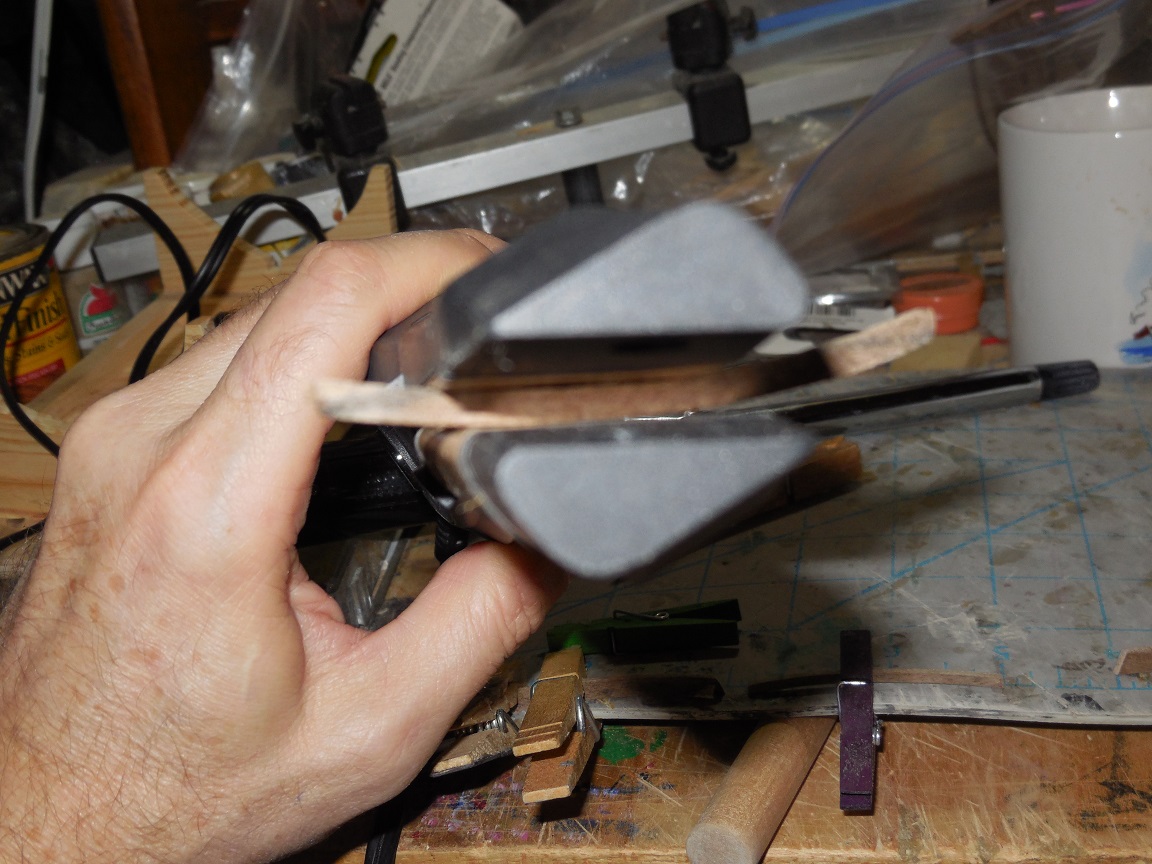
Was going to dry fit the stern waterway & saw that due to a lack of real instructions I did not get the correct curve on the stern & transom area. I was not going to re-do the whole end of the ship so since the parts that will fit here are pre-fab I've got to get them bent to match the curve I have. Dropped the stern waterway, transom step gunwale & stern gunwale pre-fab parts in water for a good long overnight soaking since they are all African walnut & do not bend well at all.

- 607 replies
-
- 1
-
-
- scottish maid
- artesania latina
- (and 1 more)
-
The wood looks nice like it is. Not going to worry about any kind of coppering. What would be the best way to show slight weathering (not too much- just a thin wash) all over the ship so that it looks more realistically used some instead of brand spanking new the first day she was launched?
-
Thank you Frank. guillemot, would any light greenish color do if I don't have chrome oxide green? Just as a very light watered down wash? Steve, I got the idea from one of the many discussions here on MSW somewhwere
-
Very nice work!
-
I actually got the idea here on MSW somewhere
- 607 replies
-
- 1
-
-
- scottish maid
- artesania latina
- (and 1 more)
-
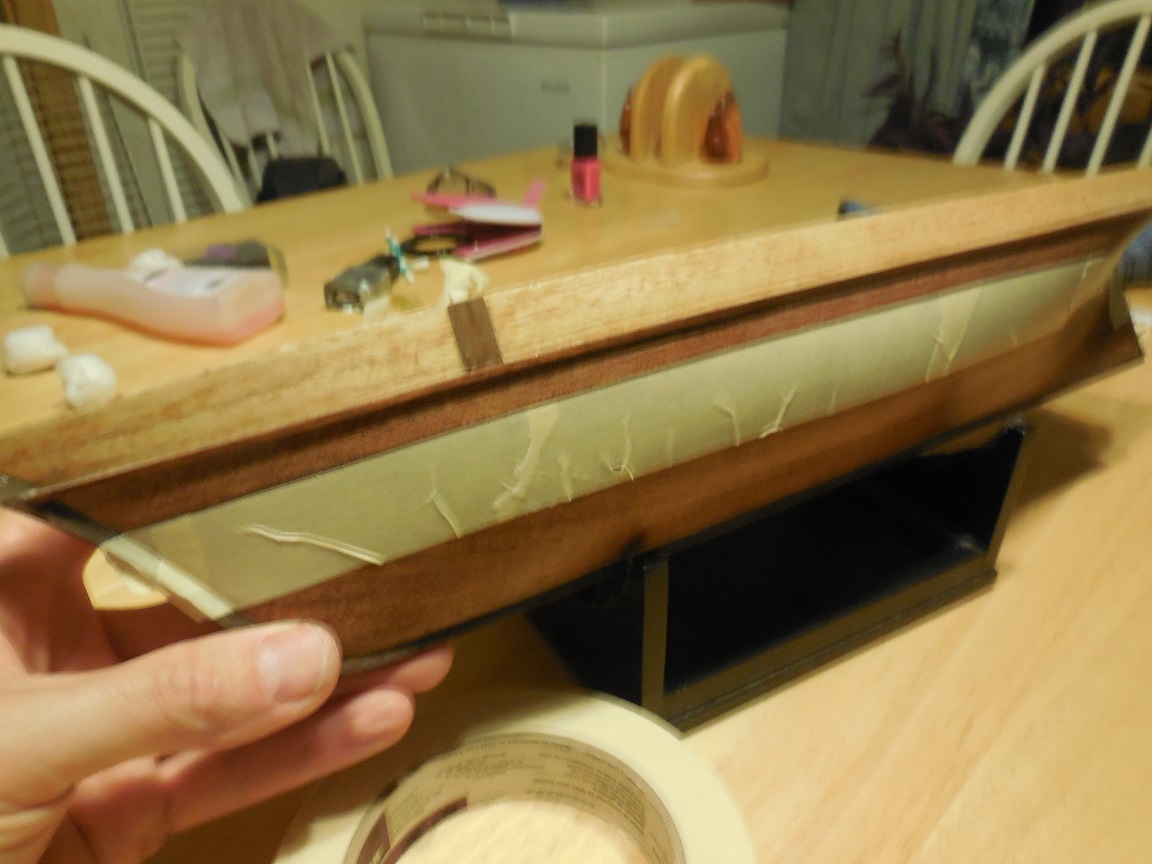
Just realized I left 2 pics out that should have come befire the last one showing the marking of the waterline & masking it for painting.
- 607 replies
-
- 3
-
-
- scottish maid
- artesania latina
- (and 1 more)
-
I was trying to read up on weathering ship models last night. Found a lot of discussion but not real instructions on exactly how to do it.
-
I used satin varnish- 3 coats, lightly steel wooled
-
Just caught this. Love the weathering & even the barnacles! Never seen a model done like this. Great job!
- 389 replies
-
- 1
-
-
- supply
- caldercraft
- (and 1 more)
-
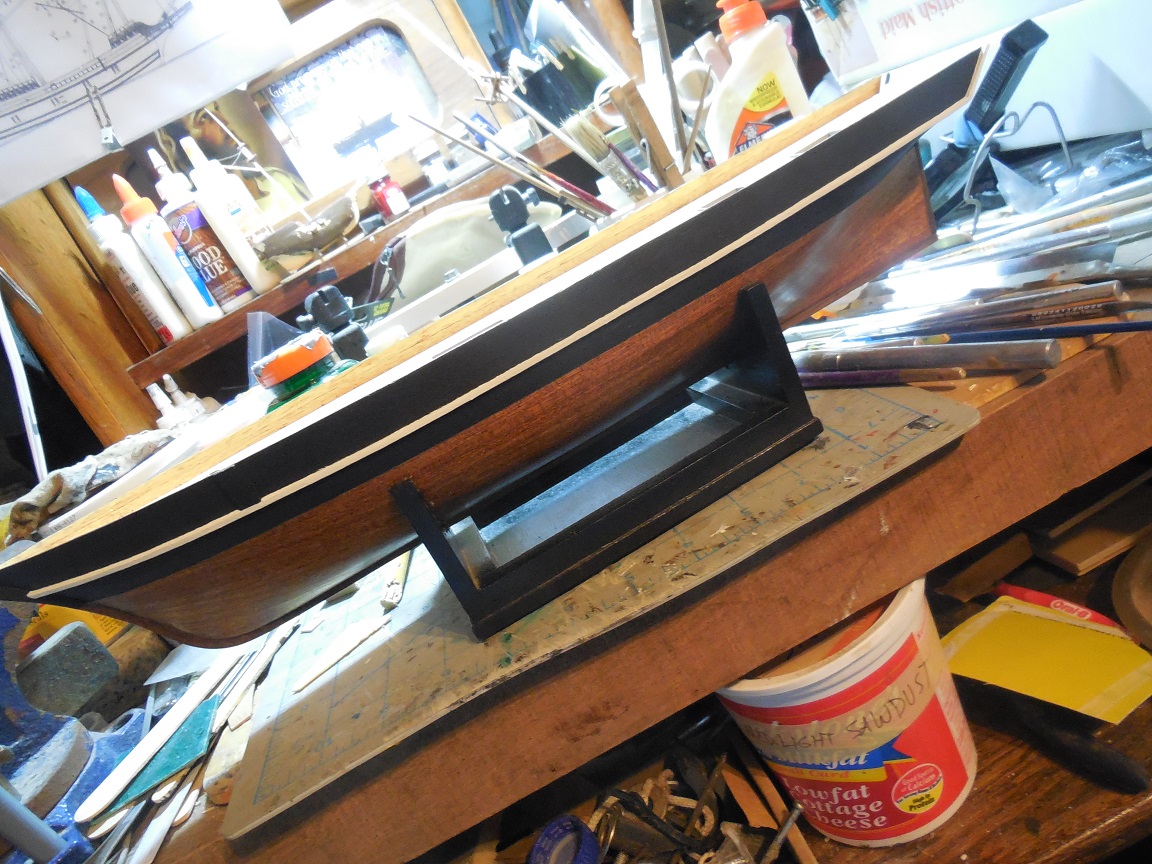
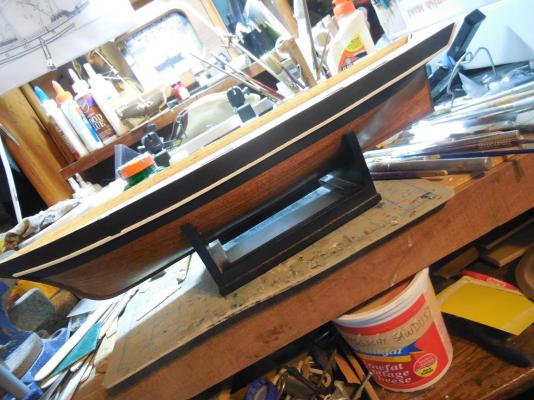
Still feeling rough but working a little bit during this down time. Well, it was not an easy decision but historical accuracy won out. Don't know if I will leave the bottom like it is or if I will pain it too. Looks ok like it is.....
- 607 replies
-
- 3
-
-
- scottish maid
- artesania latina
- (and 1 more)
-
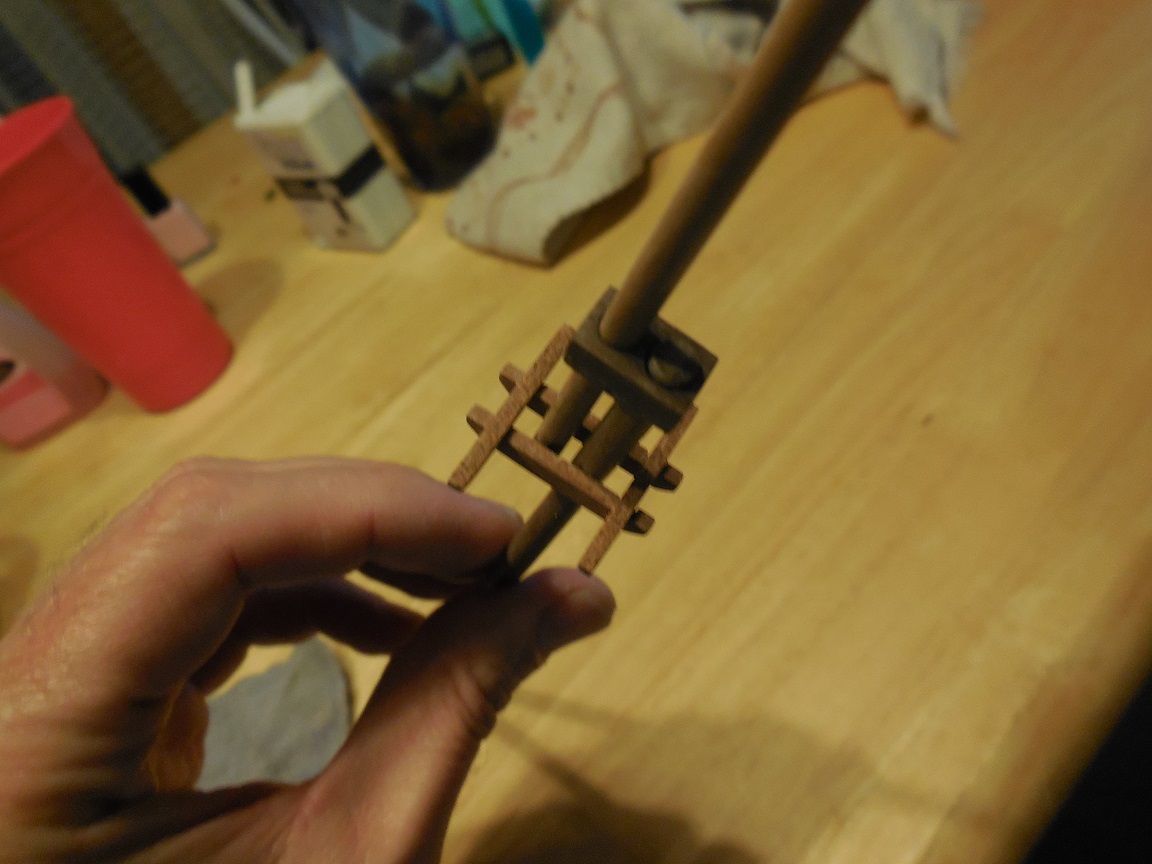
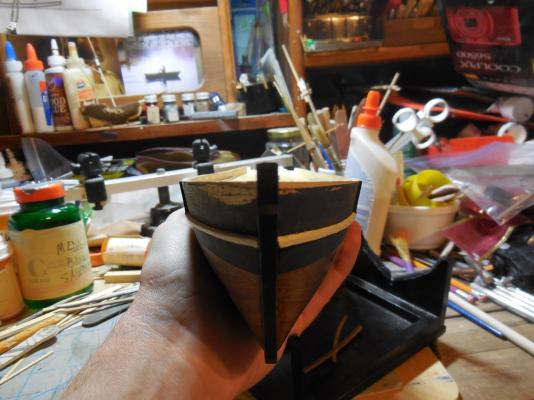
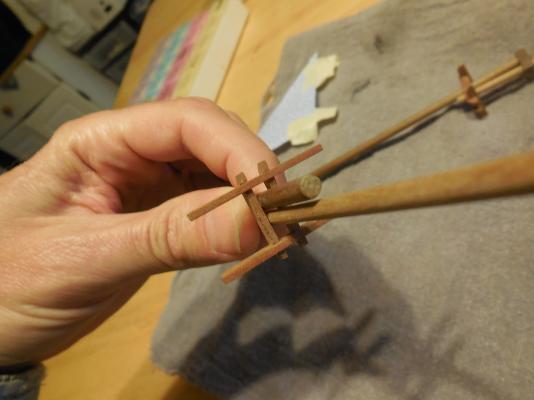
Yes, they haven't been added on yet. This is just a dry fitting ahead of time to see how everything fits together. Look at how much space there is from the inside edge of the crosstree & the mast pieces on each side. Shouldn't they touch?
-
Here is how the crosstrees fit that the kit supplied. Just doesn't look right to me.

-
I saw someone else square the mast. I looks better that way. The crosstrees from the kit seem to be spaced too far apart & have too long of a space for the mast doubling, but without any real plans I don't know if they are right or not.
-
I like the paint color idea
-
Interesting. It shows her copper plated. I think like you from all the talk & reading that she most likely wasn't. Since I don't have materials for copper plating I may not go that way. Not sure if copper paint over wood planks would look right.