JesseLee
-
Posts
1,694 -
Joined
-
Last visited
Content Type
Profiles
Forums
Gallery
Events
Everything posted by JesseLee
-
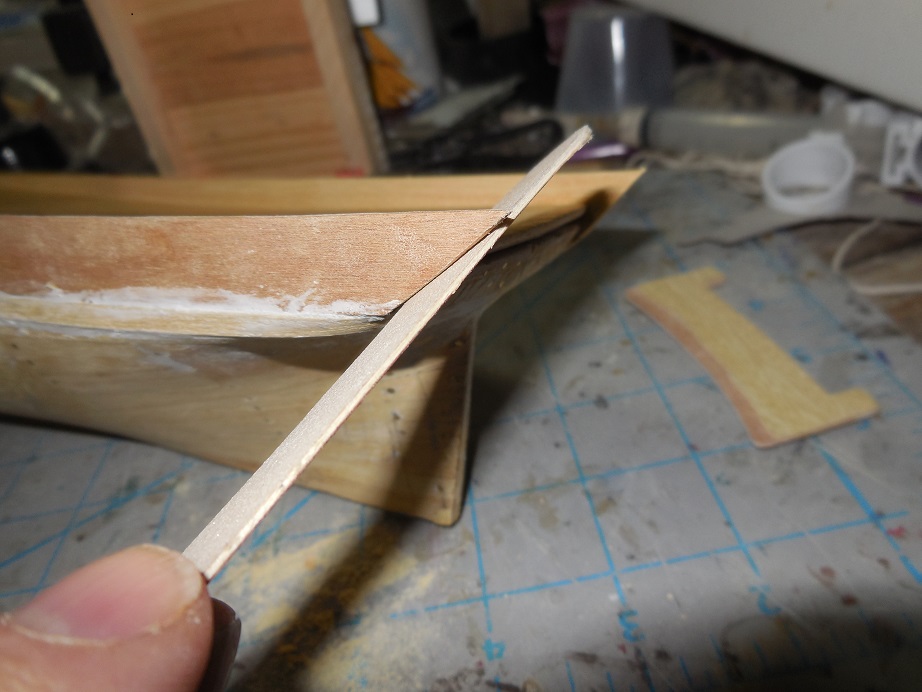
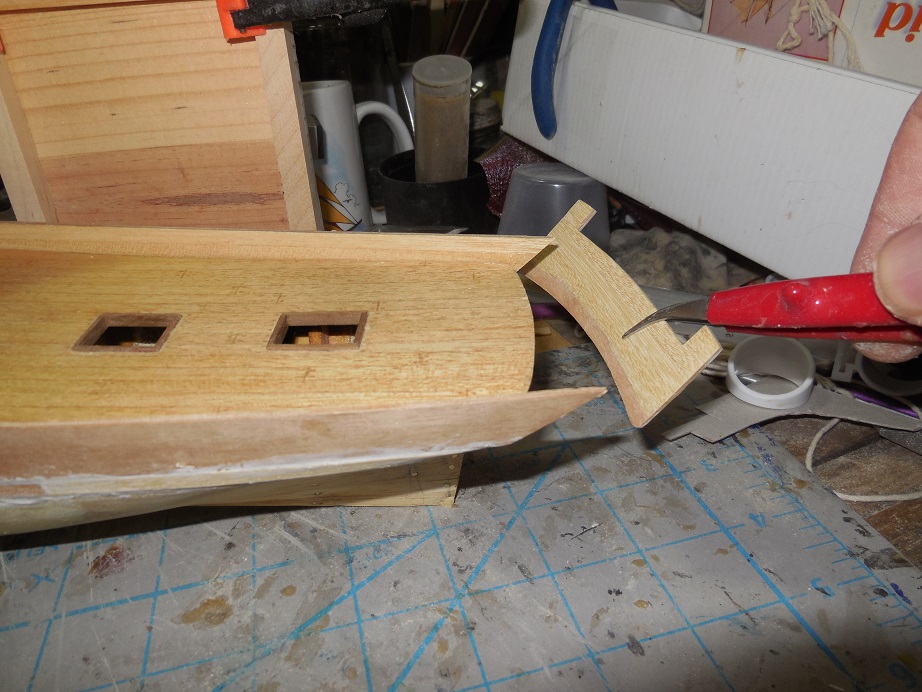
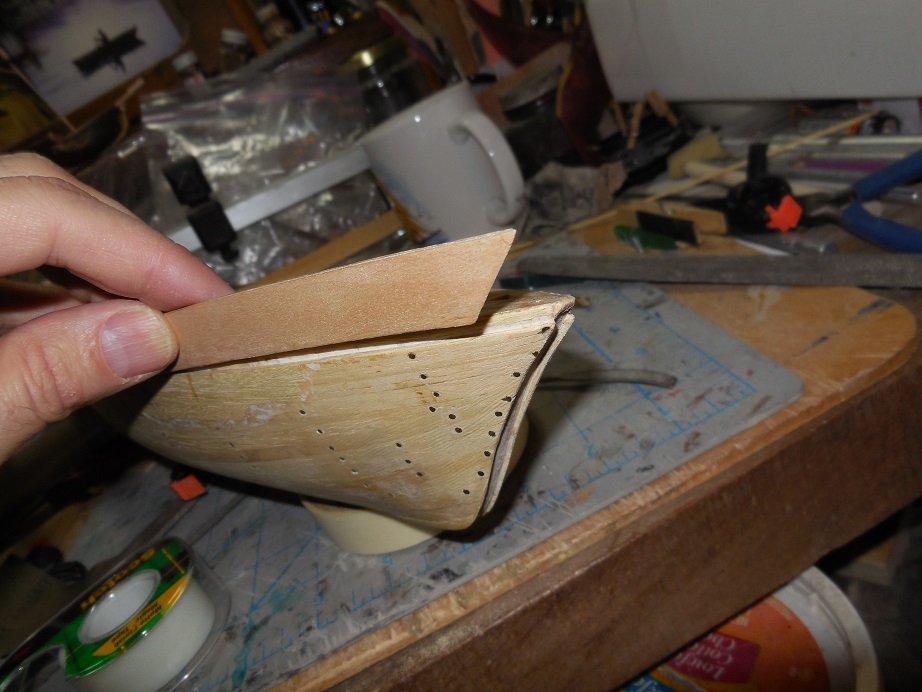
 Filing & sanding the bulwark ends to the right angle for the transom to fit. Attaching the transom.....


- 607 replies
-
- 1
-

-
- scottish maid
- artesania latina
- (and 1 more)
-
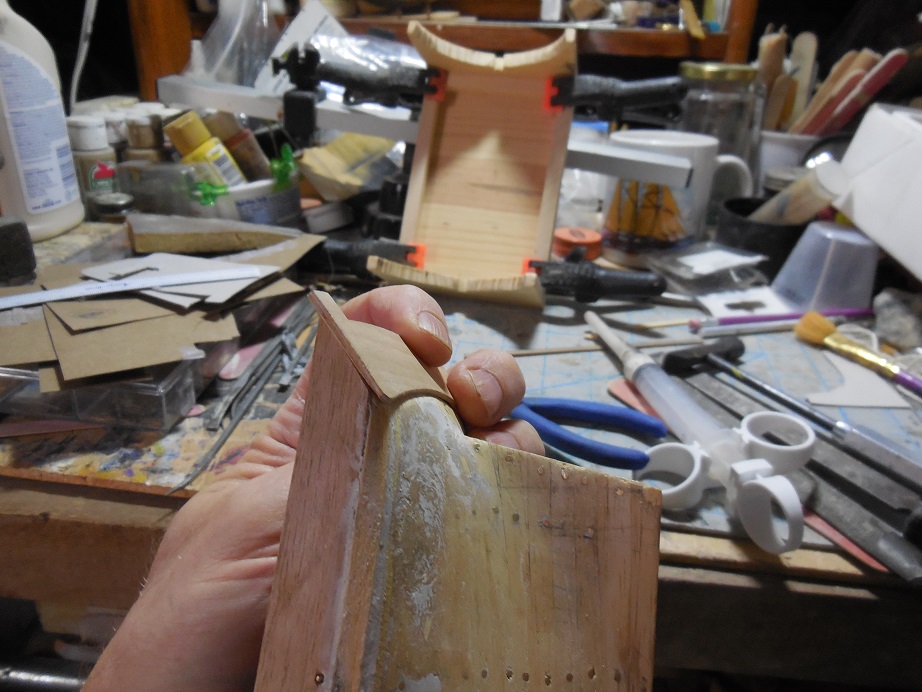
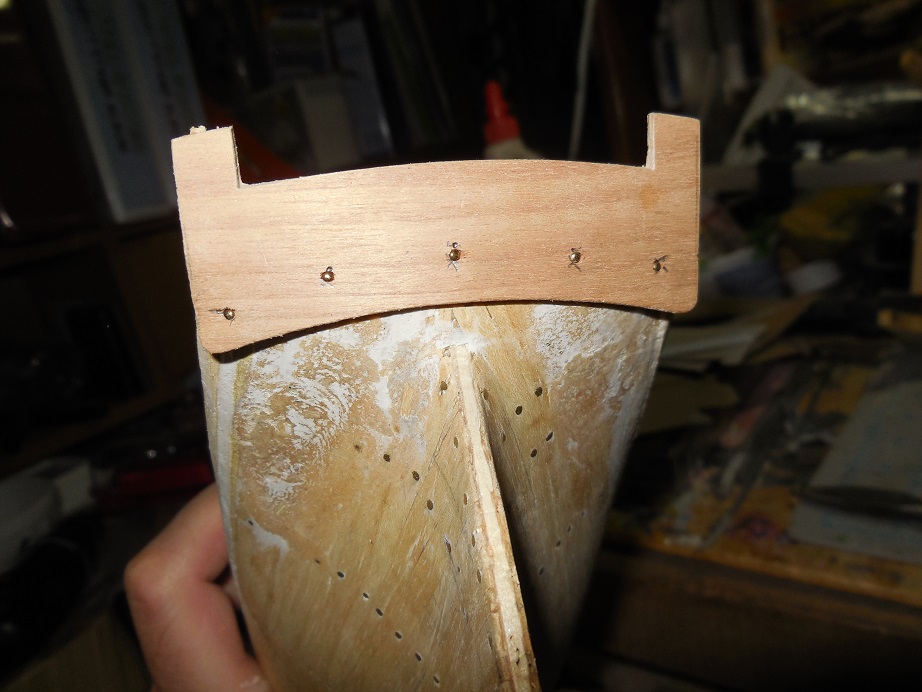
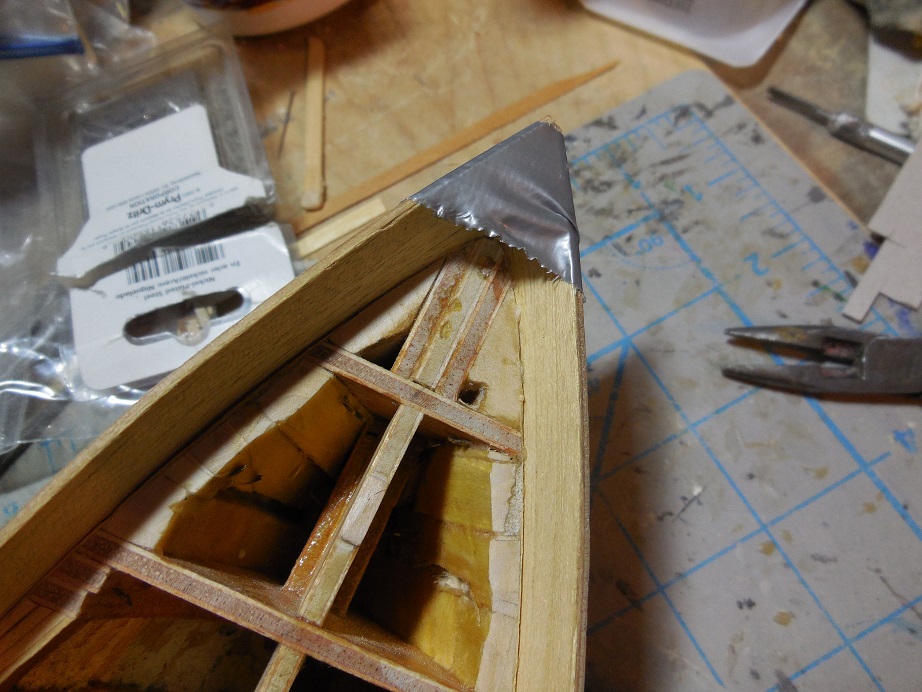
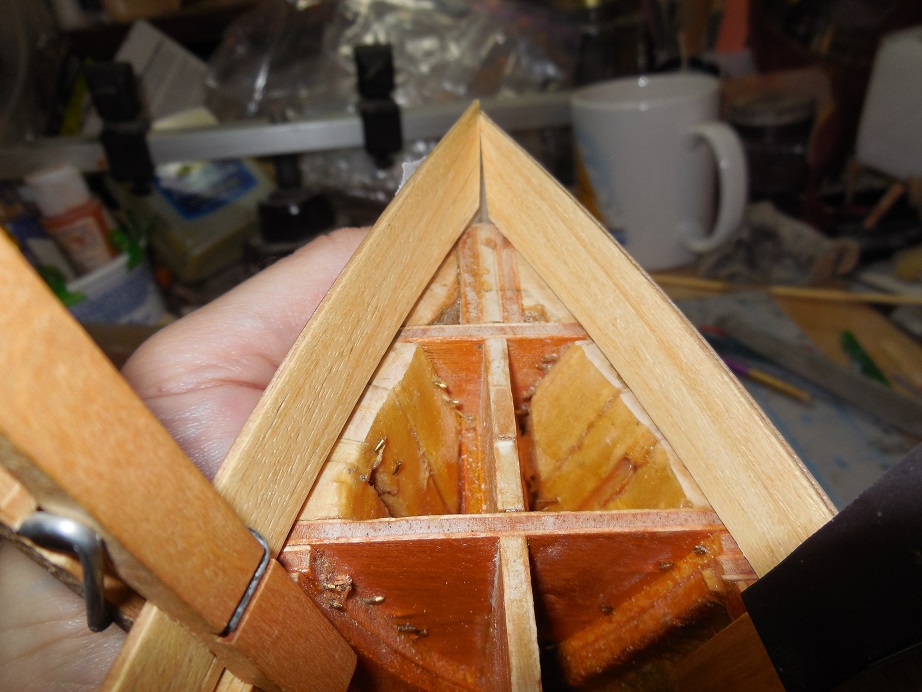
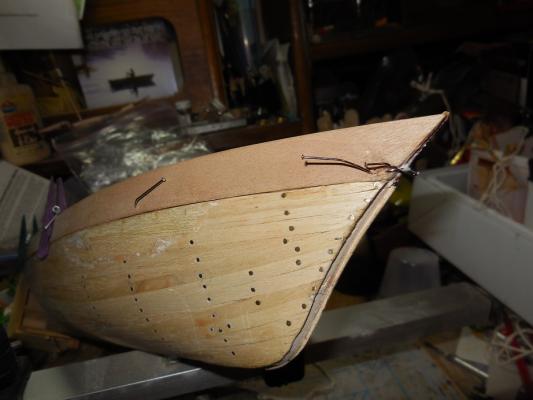
Nailed the bulwarks for extra strength. Dry fitting transom To see what needs doing for it to fit.

-
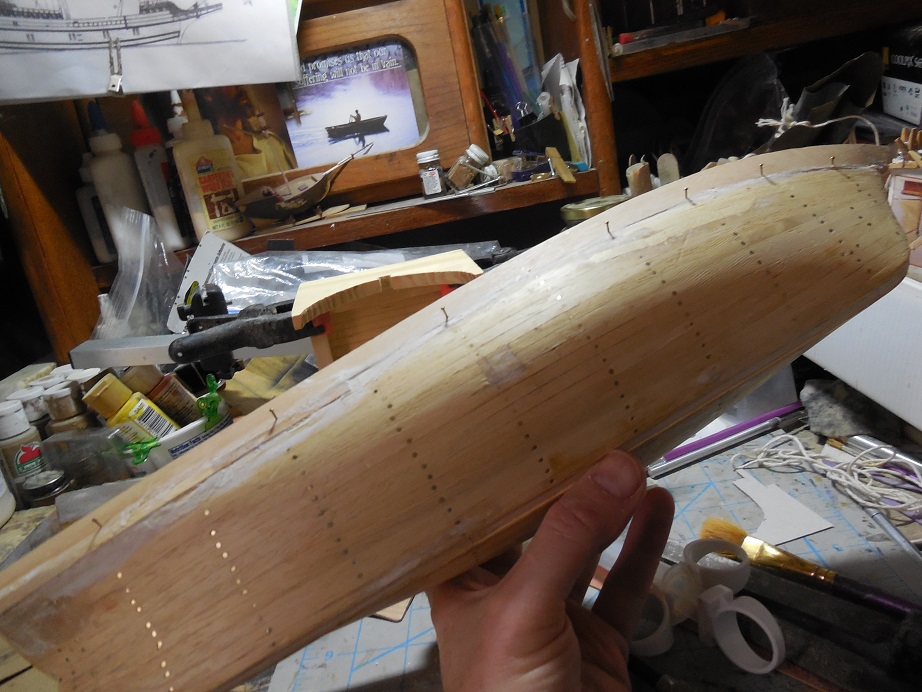
Everything with the hull is looking alright - now gluing on the bulwarks. Getting that forward V is not as easy as it seemed it would be.

- 607 replies
-
- 1
-
-
- scottish maid
- artesania latina
- (and 1 more)
-
I have always wondered the same thing
-
I am always amazed at these small builds. I started out years ago with small builds but mine were always solid hull to make it easy. Great detail for such small work!
-
I think it was actually both. After the first planking when you looked down the ship from the topside it had a twisted look. A little high on the starboard side fore & on the port side aft. Templates put up beside the hull showed differences in each side. I had to file/sand wood away in some areas & add layers in some places with leftover pieces from the deck planking until it is finally looking almost right.
-
Dan, she is beautiful! Steve, I don't know about patience, the log doesn't show me having my fits! Those were kids of a friend of ours. My daughter was babysitting that day. Keith, as always. thanks!
-
Looking great! Wow I wish I had the tools & equipment you have! Your log is just fine. Ship modelers can never have too much information- lol. You did good to do the extra work on your framework to make sure things were more straight & sturdy. I failed to make sure mine was straight & I'm paying for it now. I did add extra wood to strengthen it. I too noticed how thin & bendable the plywood is that they provide for frames nowdays. Do you know anything about the history of this Cutter? I tried to look it up but all I can find is hundreds of ads for this kit & the bigger more famous C.S.S. Shenandoah. Jesse
-
Some spots needed building up, some needed sanding down. After doing this all around the hull & the topside with continuous checking with the cardboard templates things are looking much better now


- 607 replies
-
- 5
-
-
- scottish maid
- artesania latina
- (and 1 more)
-
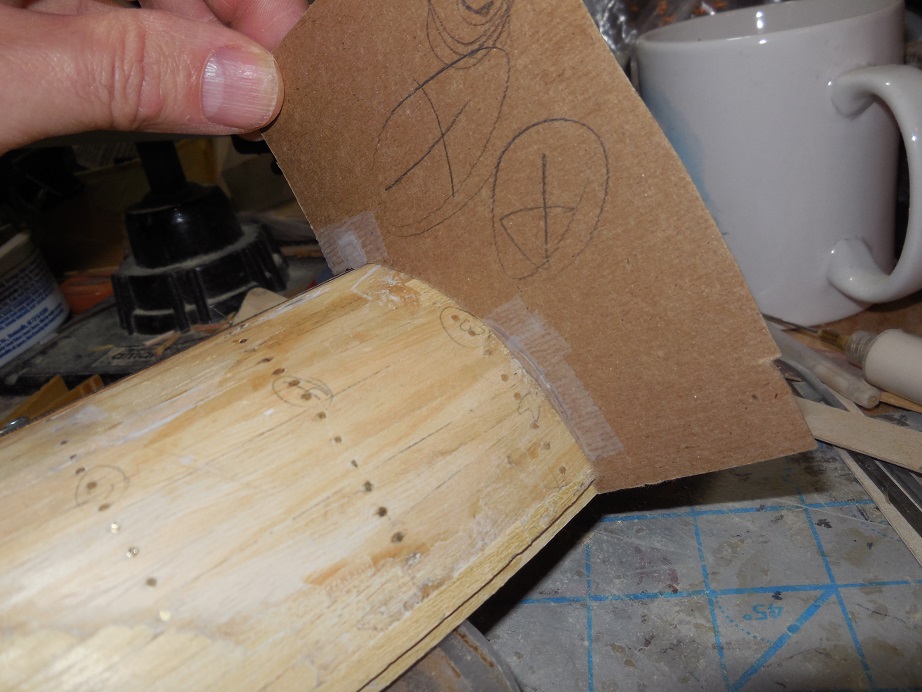
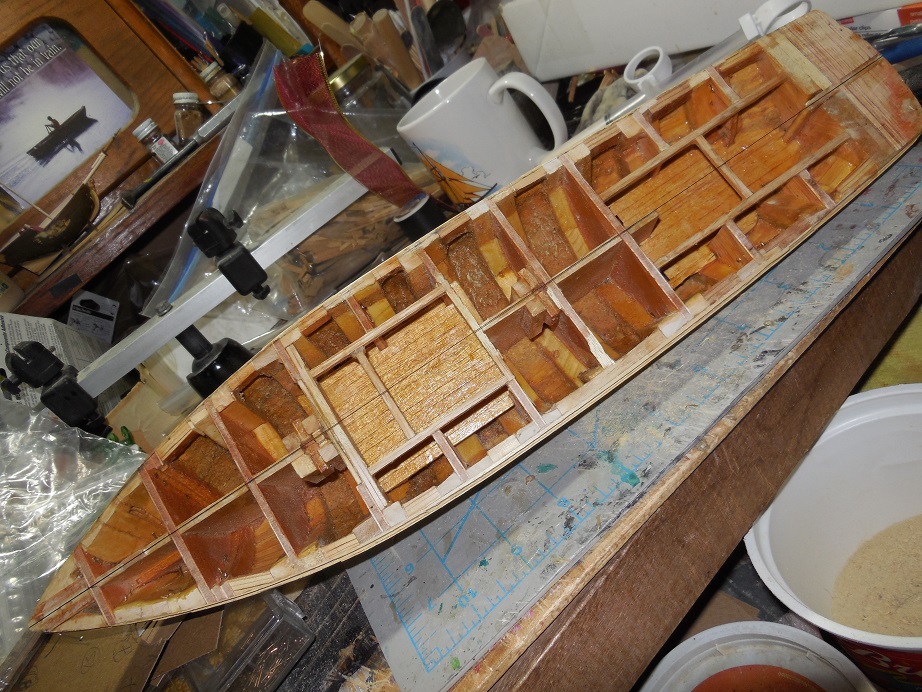
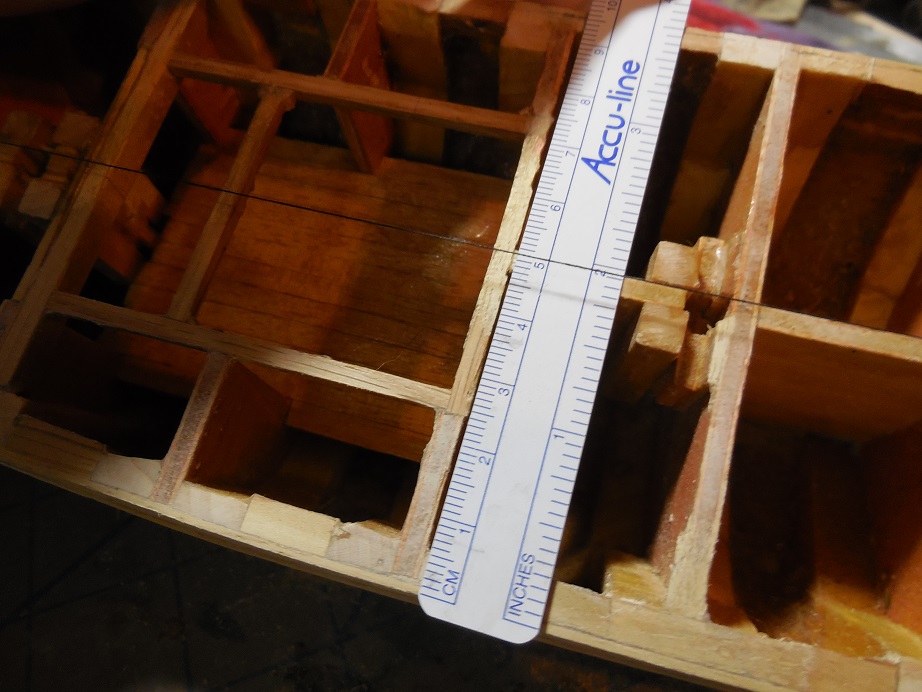
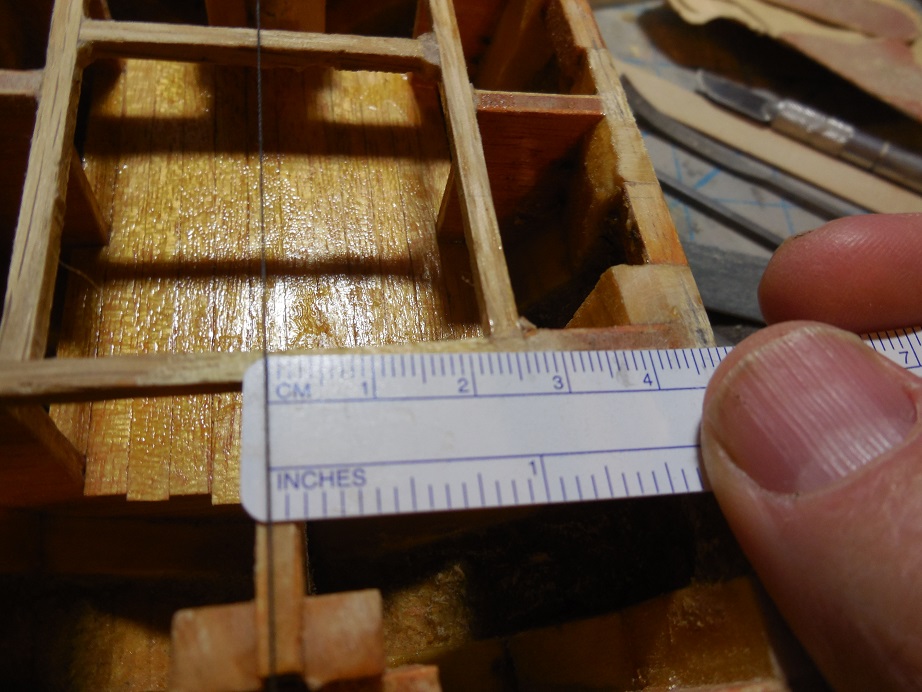
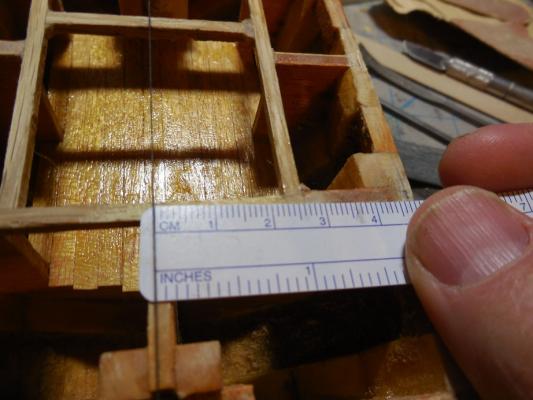
My kit plans do not have any template drawings in them. As a result of this I got things off a bit. The pics don't show it well but it has a twisted look to it. My problem is how to get things the same height/shape on each side of the hull & the whole top side level as it should be without templates in the plans. I decided I would put a plum line down the middle of the top side. from there I can measure each side from true center to see where wood needs adding or taking away All around the top edges. I will also make half templates for the hull shape. I will hold them up to the side then to the other side at the same spot to see what adjustments need doing. Doing this all across the whole hull & topside should get things back in shape correctly....


-
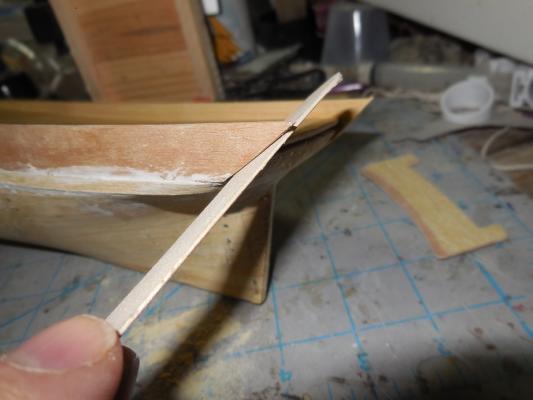
Steaming the bulwarks again. Didn't get enough of a bend the last time..
-
Caught a mistake this morning. This kit has very vague instructions & very few detailed pictures so I ended up cutting the stepped edge for the waterways so the waterways would come up each side of the stem. After studying the other build log here on MSW on the same ship & small pics on the front of the kit box I think the waterways should come to a point BEHIND the stem. Now I have to recut the step in the stern area & will most likely have to reshape the hull a little in this area too. I'm frustrated but glad I caught it now- just before I was going to glue the waterways on. This kit has very few detailed pics or info on a lot of areas of the ship. Difficult to know if you are shaping or forming things exactly right. Another obstacle but all these problems will make the finished model much more appreciated when finished!


- 607 replies
-
- 1
-
-
- scottish maid
- artesania latina
- (and 1 more)
-
Good luck on this build!
-
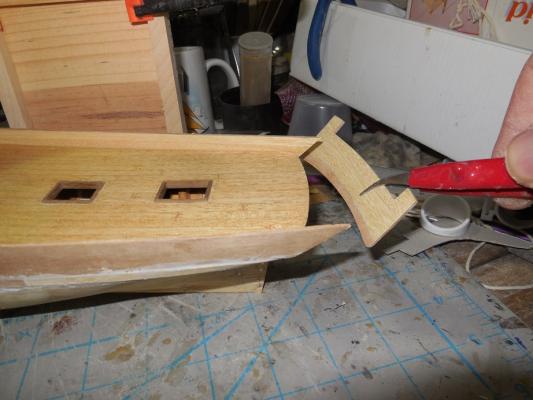
Progress on some of the deck fittings. Had a little helper today


- 607 replies
-
- 4
-
-
- scottish maid
- artesania latina
- (and 1 more)
-
I have used wood filler from a hardware store. The kind I had worked but didn't hold together well & crumbled easily. It also dried up in the can quickly. I may have gotten an old can & didn't know it.
-
Beautiful work!
-
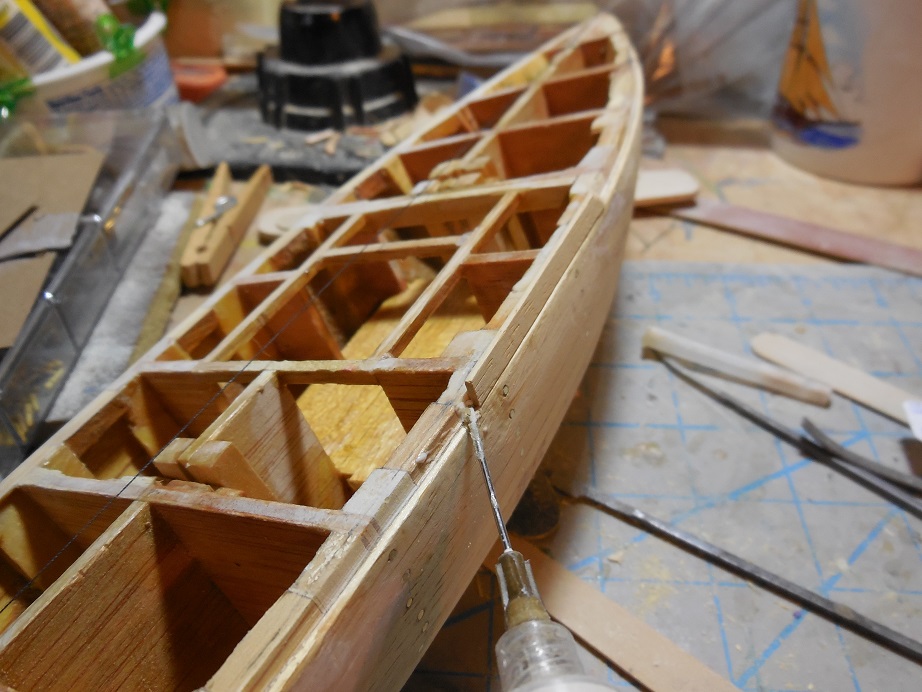
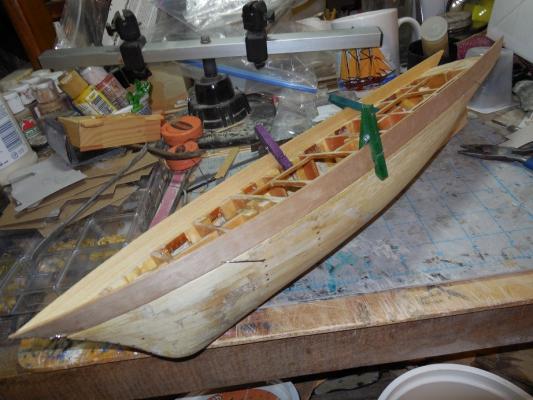
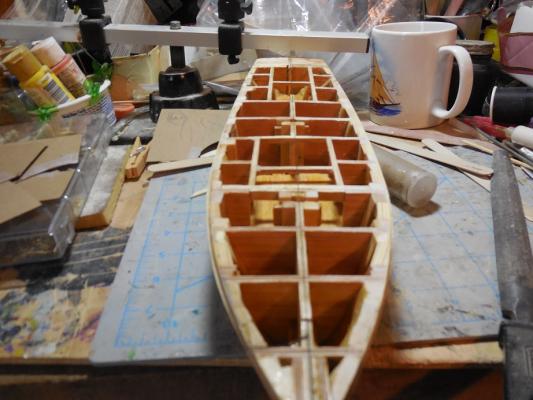
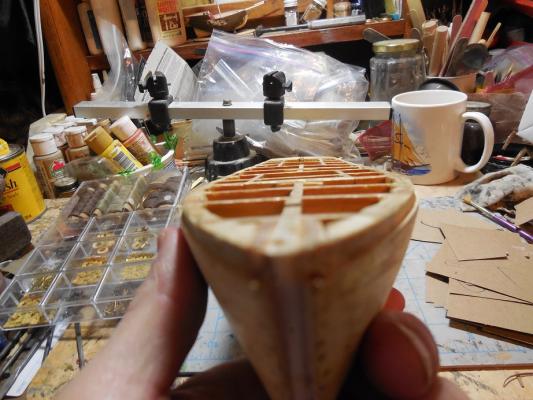
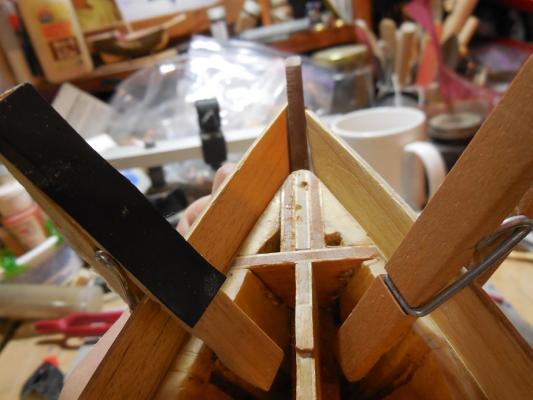
Added inner planking to the Bulwarks

-
Started assembling & covering some of the deck housings & fittings. Added inner planking on the transom.


-
rotary
-
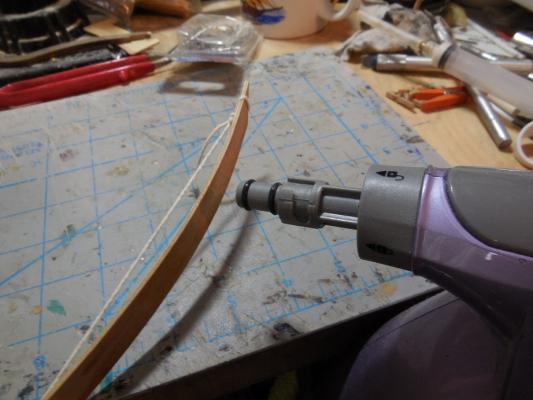
Getting the African Walnut strips bent for the outer hull planking. A quick soak in hot water & they bend very easy with the hair curler.


- 607 replies
-
- 1
-
-
- scottish maid
- artesania latina
- (and 1 more)
-
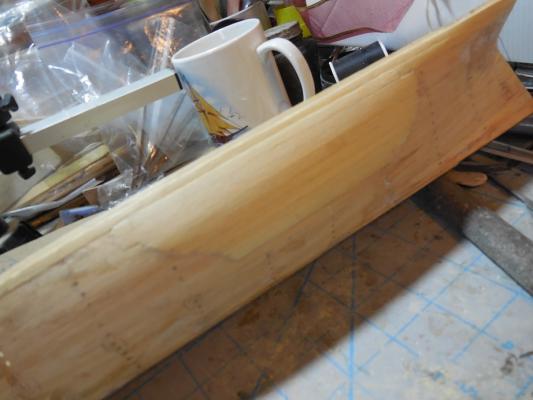
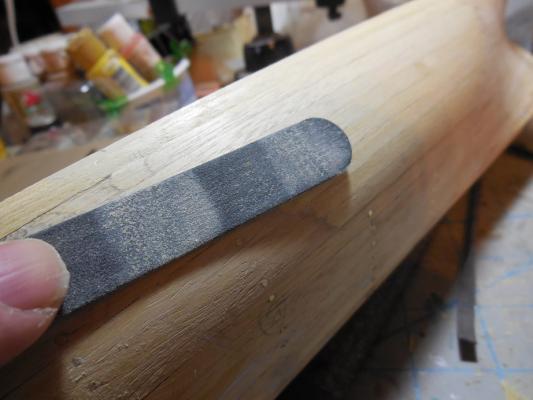
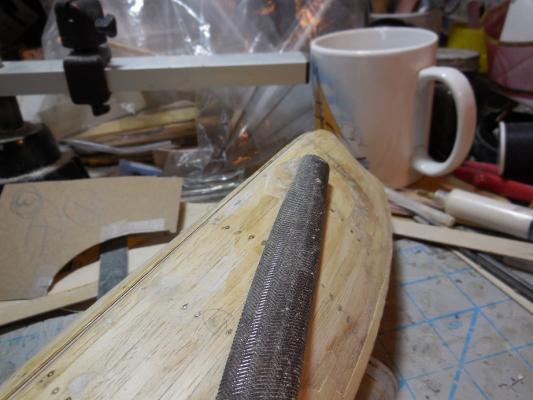
Completed first layer of planking. Sanding down any high spots.......


- 607 replies
-
- 2
-
-
- scottish maid
- artesania latina
- (and 1 more)
-
I have some small cans of various stains & a can of varnish that all have in very small print a warning that any cloth, brush or even steel wool used in the application of the product could spontaneously combust. Kinda scary! Is this a real concern? Do any of you worry about this? Should you throw out every rag or brush or even as it says steel wool each & every time these products are used? Can such rags be washed or is that not good enough to prevent the possibility? I also wonder if cloth with the product absorbed in it can combust then why doesn't any wood do the same thing?
-
Your work is amazing & beautiful!
-
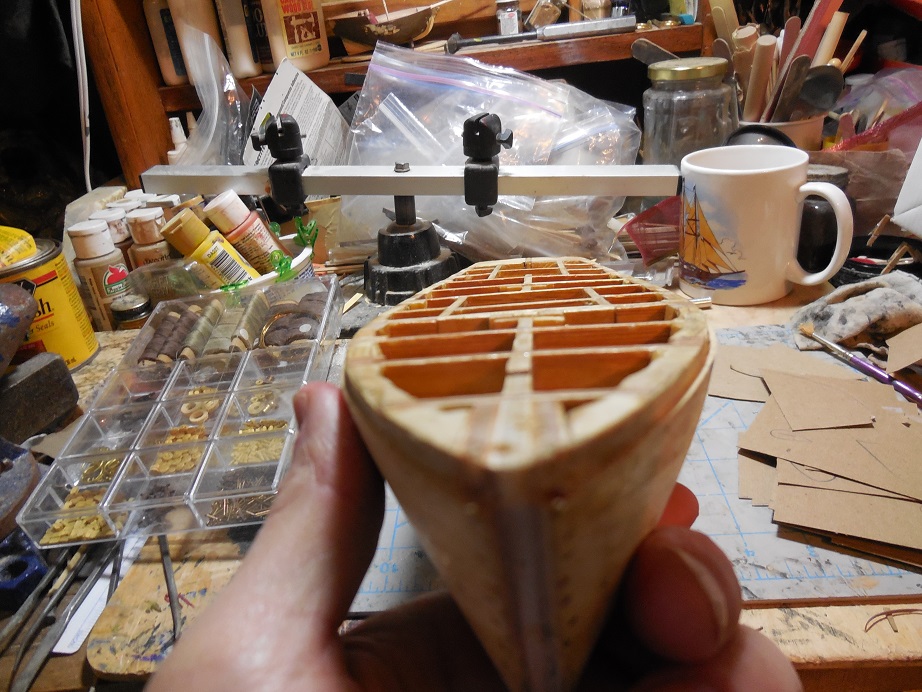
Getting close to finishing inner planking. Late stage lyme disease has made this much more difficult for me than it used to be. Not only does give me physical problems but it also infects my brain & getting things right & not all mixed up is almost impossible. This first layer will be covered anyway & not seen at all so it wont matter so much but I hope I don't have the same problems with the outer planking. At least I am very patient ( or stubborn ) & will keep at it till I work through each problem no matter how long it takes. There are moments where I feel like I need to give up & say I can't do this anymore but no, I WILL BUILD THIS SHIP!

- 607 replies
-
- 1
-
-
- scottish maid
- artesania latina
- (and 1 more)