HOLIDAY DONATION DRIVE - SUPPORT MSW - DO YOUR PART TO KEEP THIS GREAT FORUM GOING! (Only 72 donations so far out of 49,000 members - Can we at least get 100? C'mon guys!)
×

puckotred
-
Posts
434 -
Joined
-
Last visited
Content Type
Profiles
Forums
Gallery
Events
Everything posted by puckotred
-
 Picture 30 in the manual says to use 3x3mm on the interior. I regret doing that as it shows too much. My strips are darker than the planks... For me two planks + 5B made the gunport at right height on the outside of the hull.
 -
Second question: That would be the whale. I glued mine to the frames. It seemed too thick to glue on top of a plank.

-
This is The final picture of Bohuslän in her new home out in the shed.......

- 113 replies
-
- 10
-

-
- bohuslän
- nordic class boats
- (and 1 more)
-
Looking good as Bob said. I never thought much of the gap between the planks. I sanded them before I glued them down... Did the gratings the same way as Bob. Still have not glued them in place.
-
Ok, I see what your problem is now. I didn't care too much about that. I hid the gap from the hull planking and the frames with the gunport framing.
-
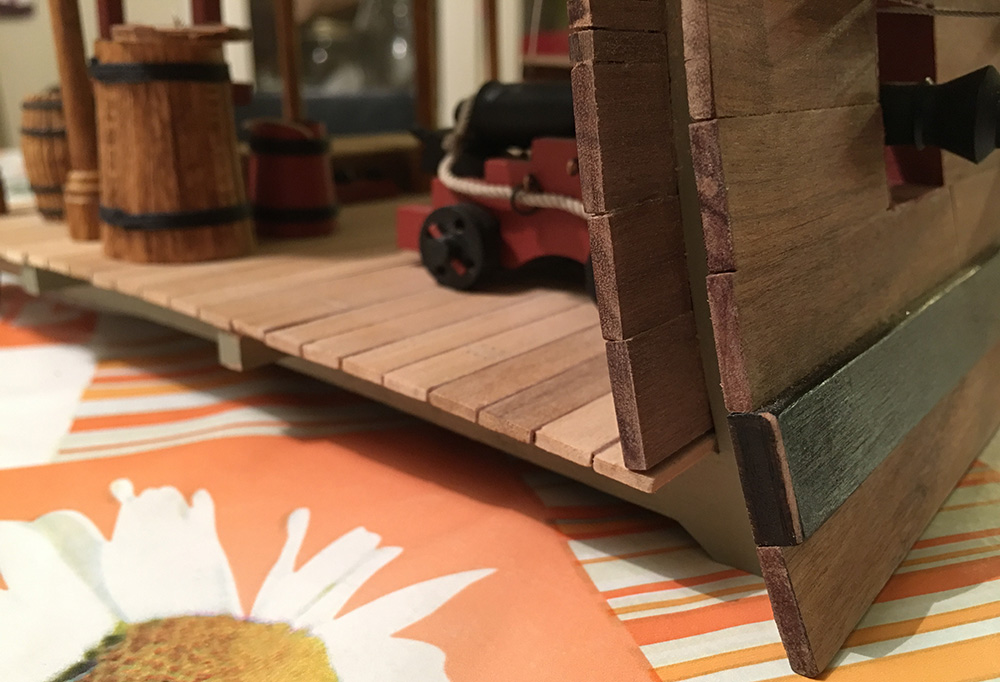
The plans show the deck butting up to the hull, but all the pics in the manual (and my build) have the hull planks on top of the deck planks. I would butt the deck planks up against the hull. Looks better imho...
-
I had 4 or 5 planks that where quite bad but fortunately I managed to either fit them with the bad side down or use them around the grating cutting away the worst parts. One was warped but I force glued it (almost) straight...
-
I don't think that this kit is that hard actually. Having checked out the official build logs from DeAgostini of Victory and SoS etc the kits and the instructions seems well suited for builders with one or two models behind them.
- 305 replies
-
- 4
-
-
- deagostini
- vasa
- (and 1 more)
-
Hello Mike, I also used the supplied strips. Mine where dark enough to simulate nicely caulking. When I varnished the deck they darkened a tiny bit more
-
Incredible. Thanks for letting us follow this build!!!
-
Thanks Paul Wacko: Yes, one can really tell the difference...
- 305 replies
-
- 2
-
-
- deagostini
- vasa
- (and 1 more)
-
oak for the deck and mahogny for the rest. Both Admiralty stains.
-
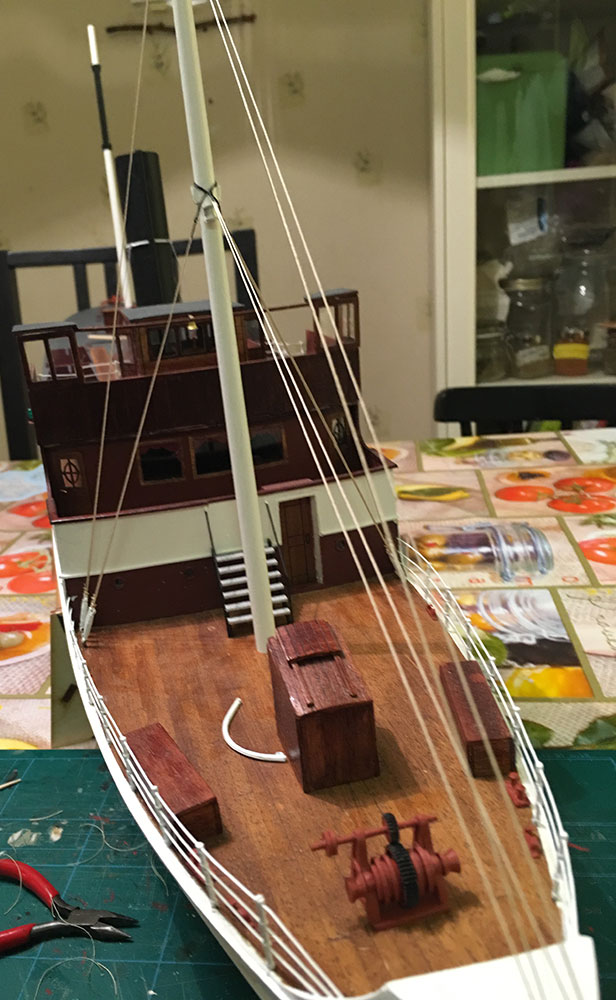
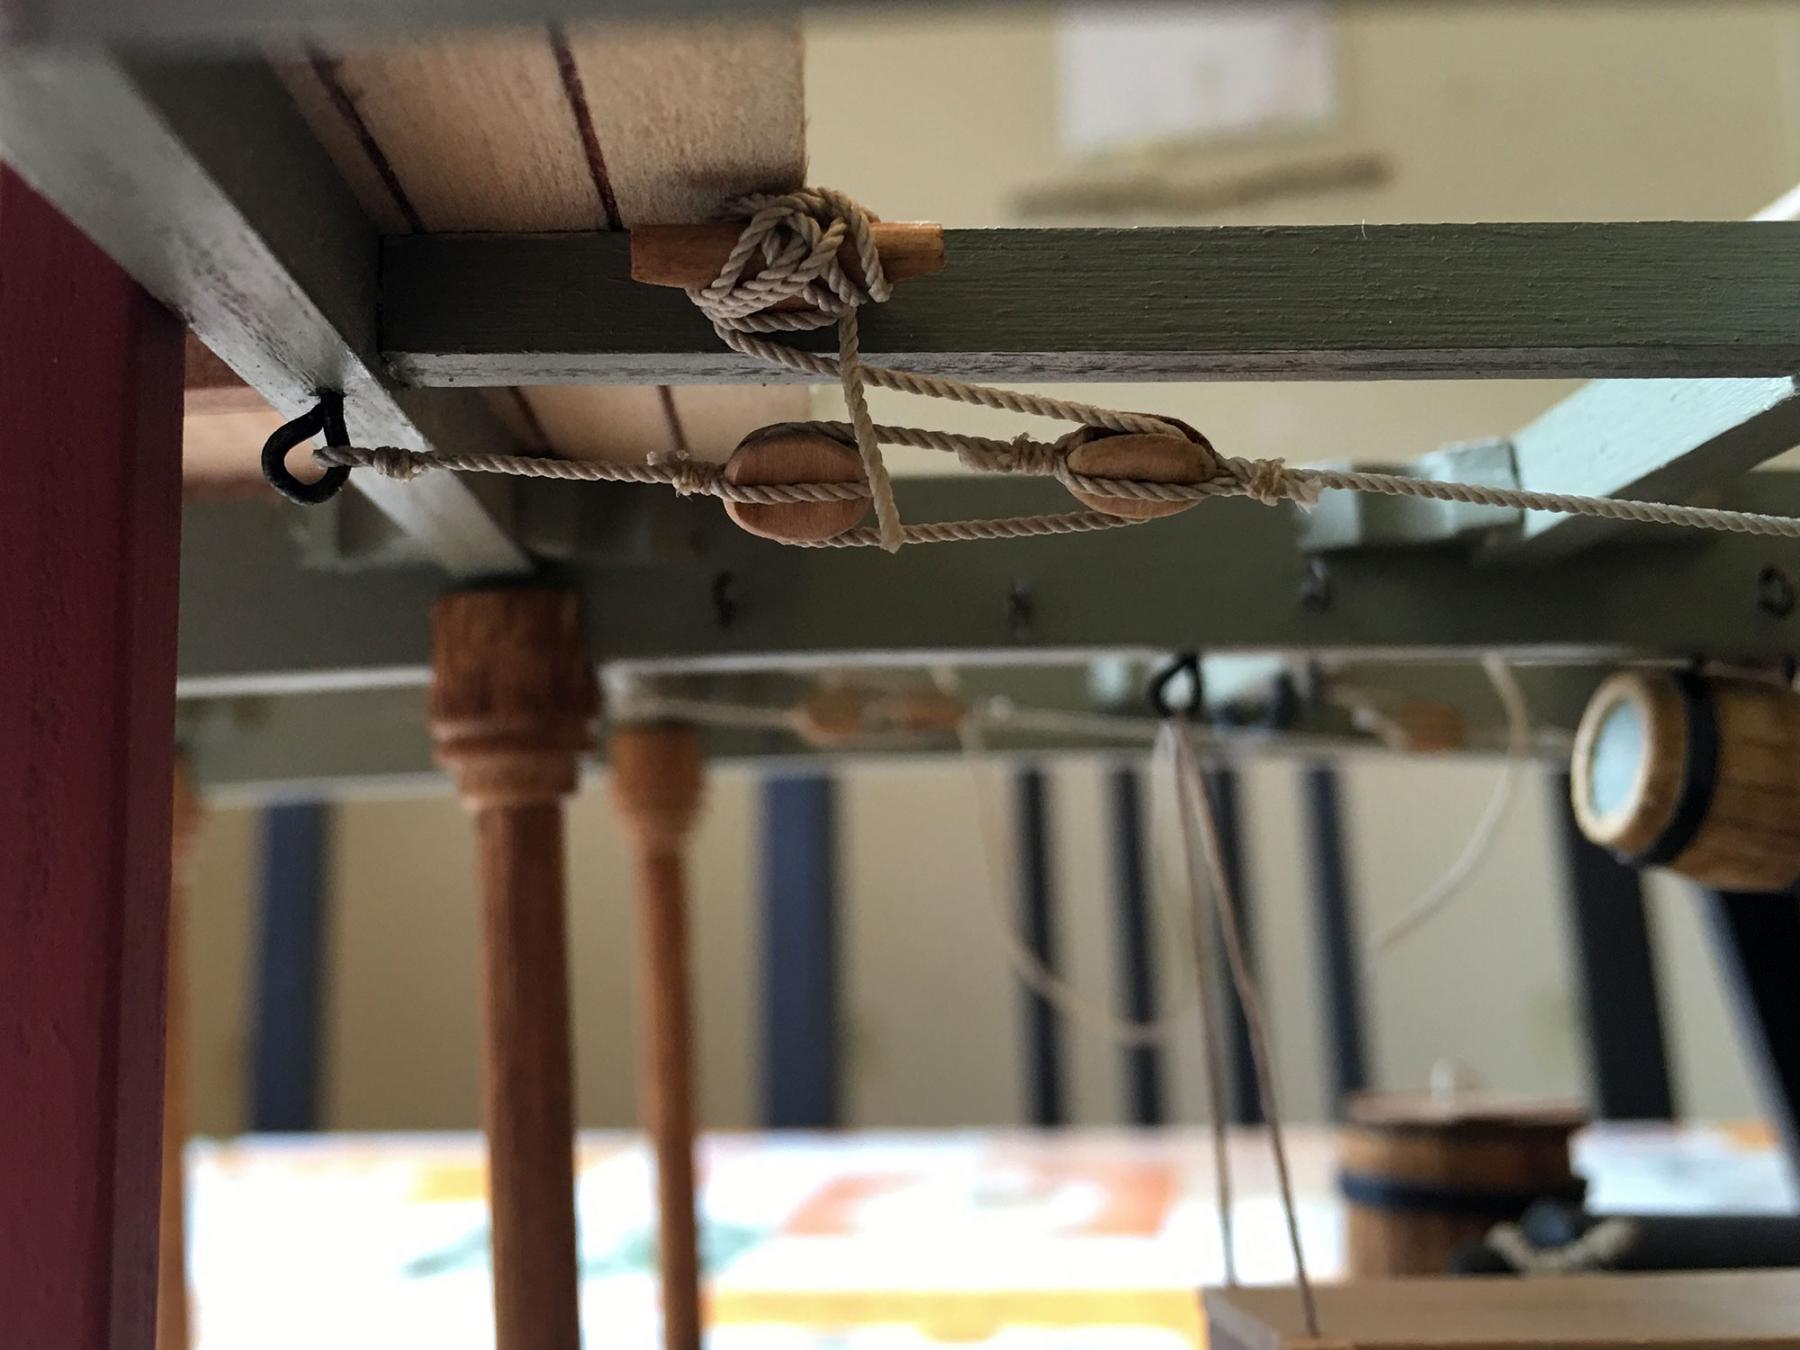
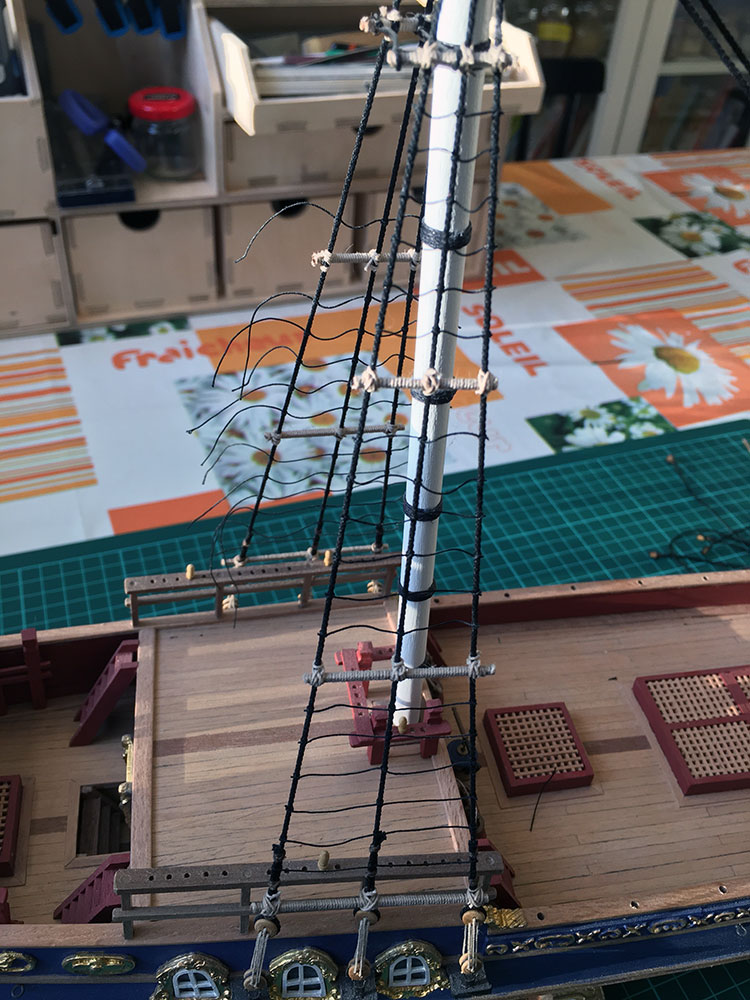
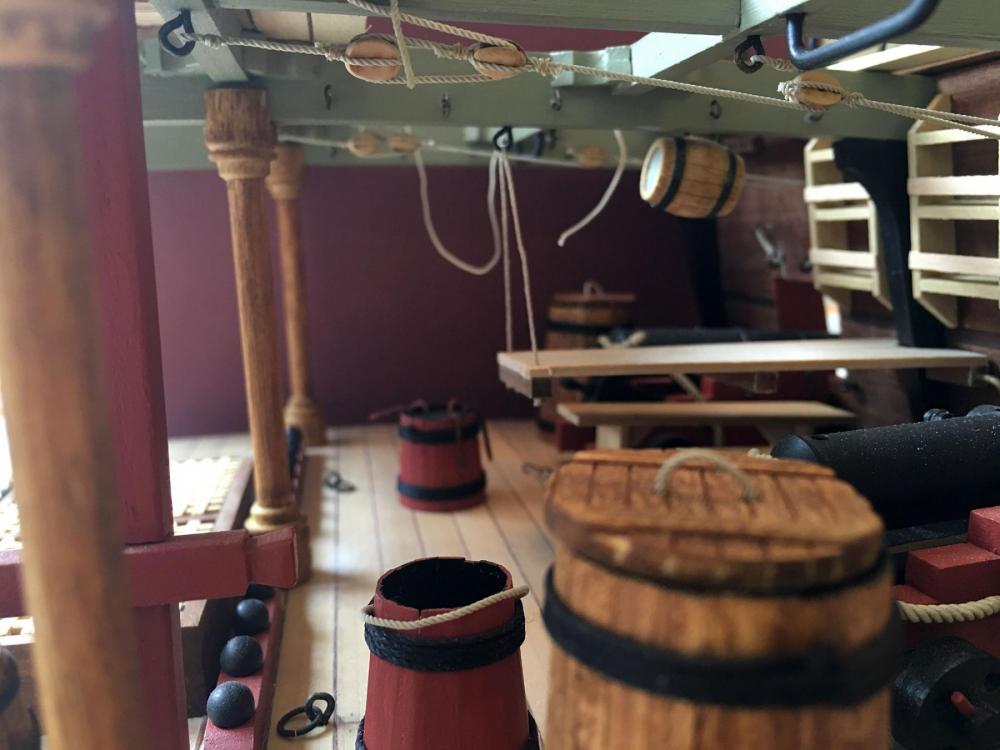
I'm going crazy waiting like this. Hopefully there will be a longer building period when I get 4 issues a month... In the meanwhile I have had some fun with Chuck's blocks: Also tied ratlines on Amphion. Not as awful task as I remembered actually

- 305 replies
-
- 9
-
-
- deagostini
- vasa
- (and 1 more)
-
Bob, Maybe this place?
-
Hello Jan, 36 shipments. 2 first shipments with 2 issues each, the rest 4 issues in every shipment. That would be 132 issues all together.
- 305 replies
-
- 4
-
-
- deagostini
- vasa
- (and 1 more)
-
Hi chborgm, Look ahead yes, in this case that translates to foreseeing every part and its place and what parts are meant to be near any other part. And measure EVERYTHING before construction. You should not have to worry that walls have different sizes or that a 50 mm tall door is 8 mm too high and wide to fit the door opening.
-
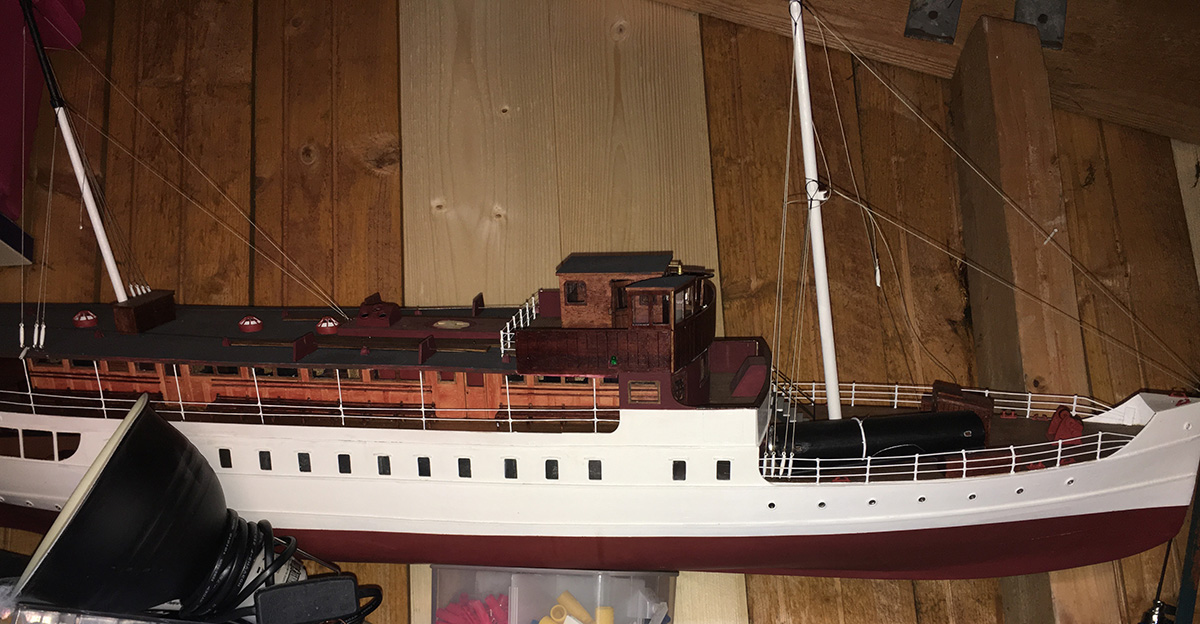
Hello Peter. Not beyond repair. But after all the trouble with the build I just couldn't be bothered fixing it. As Captain Slog said above: "Its fun putting to together new parts not so much redoing them." The wood is kind of OK. The laser cut hull frames fit like a dream but then the laser cut parts on the thinner vener of the superstructure was way off. one wall 5 mm higher than the other etc. And the thinner vener was very bristle. Instructions worst than those from plastic kits. So, no not really worth the money. BUT in the end she looked pretty good (before the dive to the floor) so if one really have a fetisch towards these old steamships one should go for it. And there is room ready for radio controlling her. Türkmodel sent me the broken/mismatched parts at once when I contacted them. And it's fun with all the chairs and tables and curtains.
-
Well, I was almost finished with Bohuslän, only the lifeboats to go when I decided to put her in my youngest kids room as a nightlight. My youngest daughter got a little too excited and managed to topple the model down from the shelf and most of the protruding stuff went off. My own fault and no big loss actually. The kids where more upset than me cause their nightlight was gone. So the story of Puckotreds "Bohuslän" ends here. She is somewhere deep in a wardrobe now.... (The ship, not the kid...)
- 113 replies
-
- 1
-
-
- bohuslän
- nordic class boats
- (and 1 more)
-
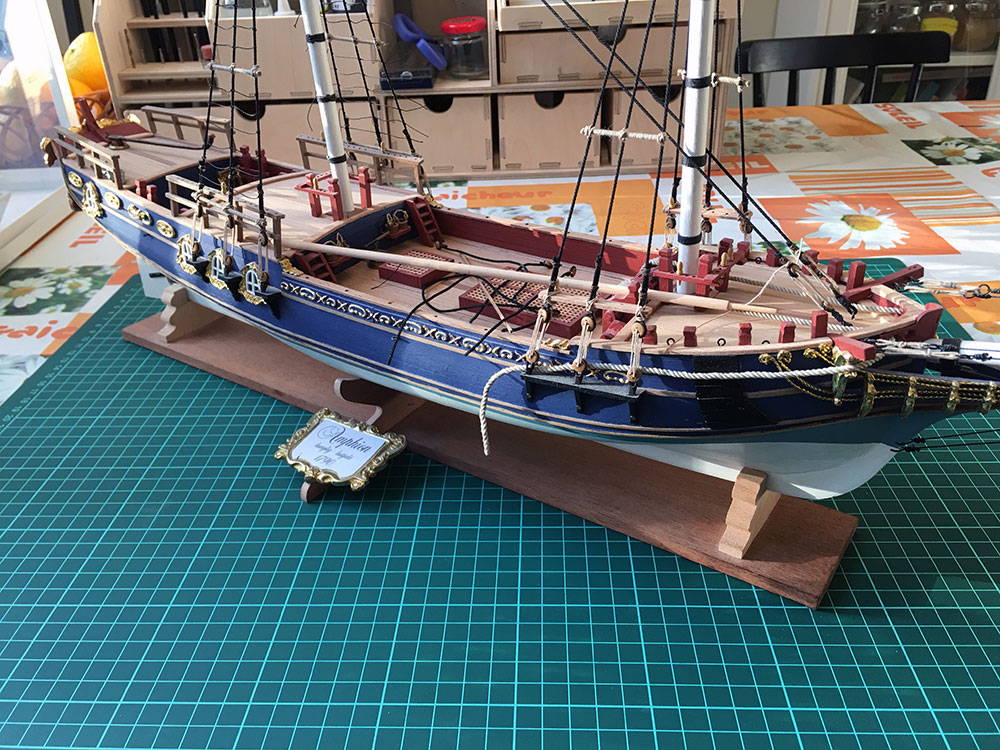
Wacko: I also have a half built Pegasus and the Pinco Genovese (hull built), and a "Section Deck Between Gun Bays" going, so busy I am indeed... Peter: yes I know. I got the Amphion and Pegasus more or less half built at the cost of picking them up. Since I knew a little of the history of the real Amphion I was quite surprised at what the kit actually was. But as you said, still a nice model of a yacht.
- 305 replies
-
- 3
-
-
- deagostini
- vasa
- (and 1 more)
-
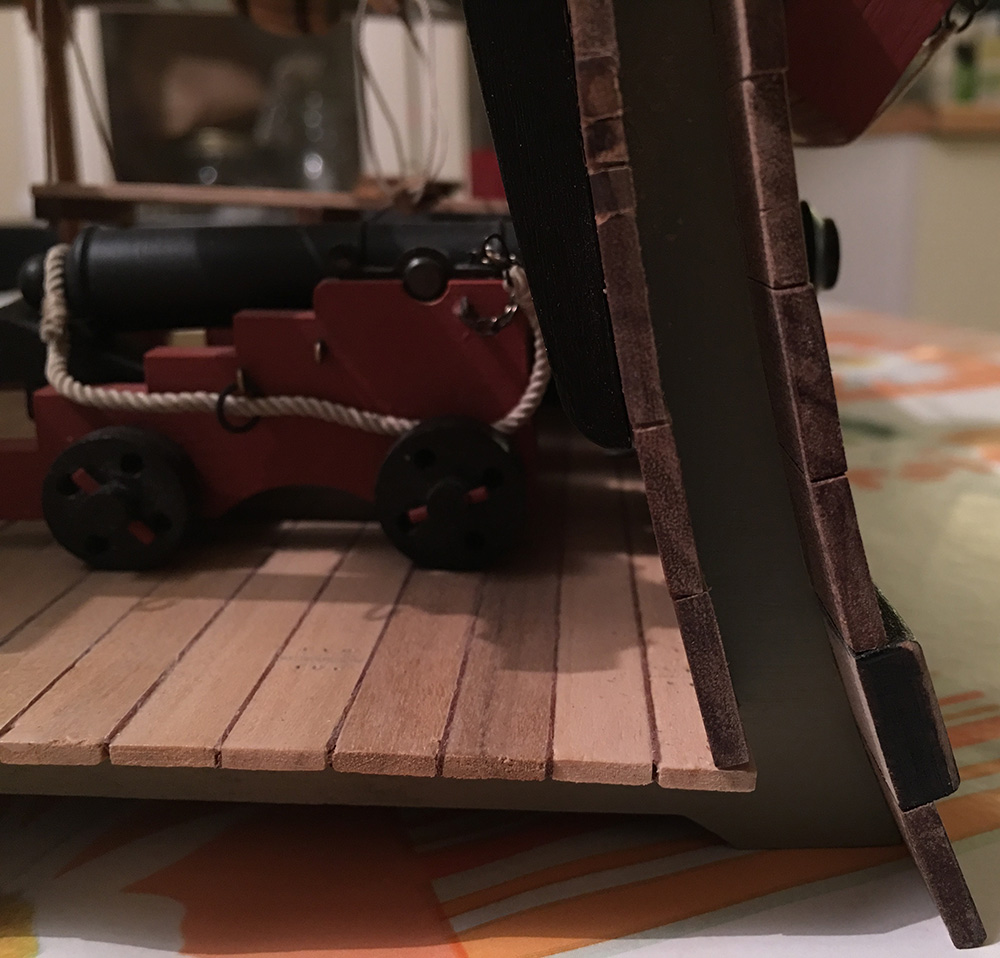
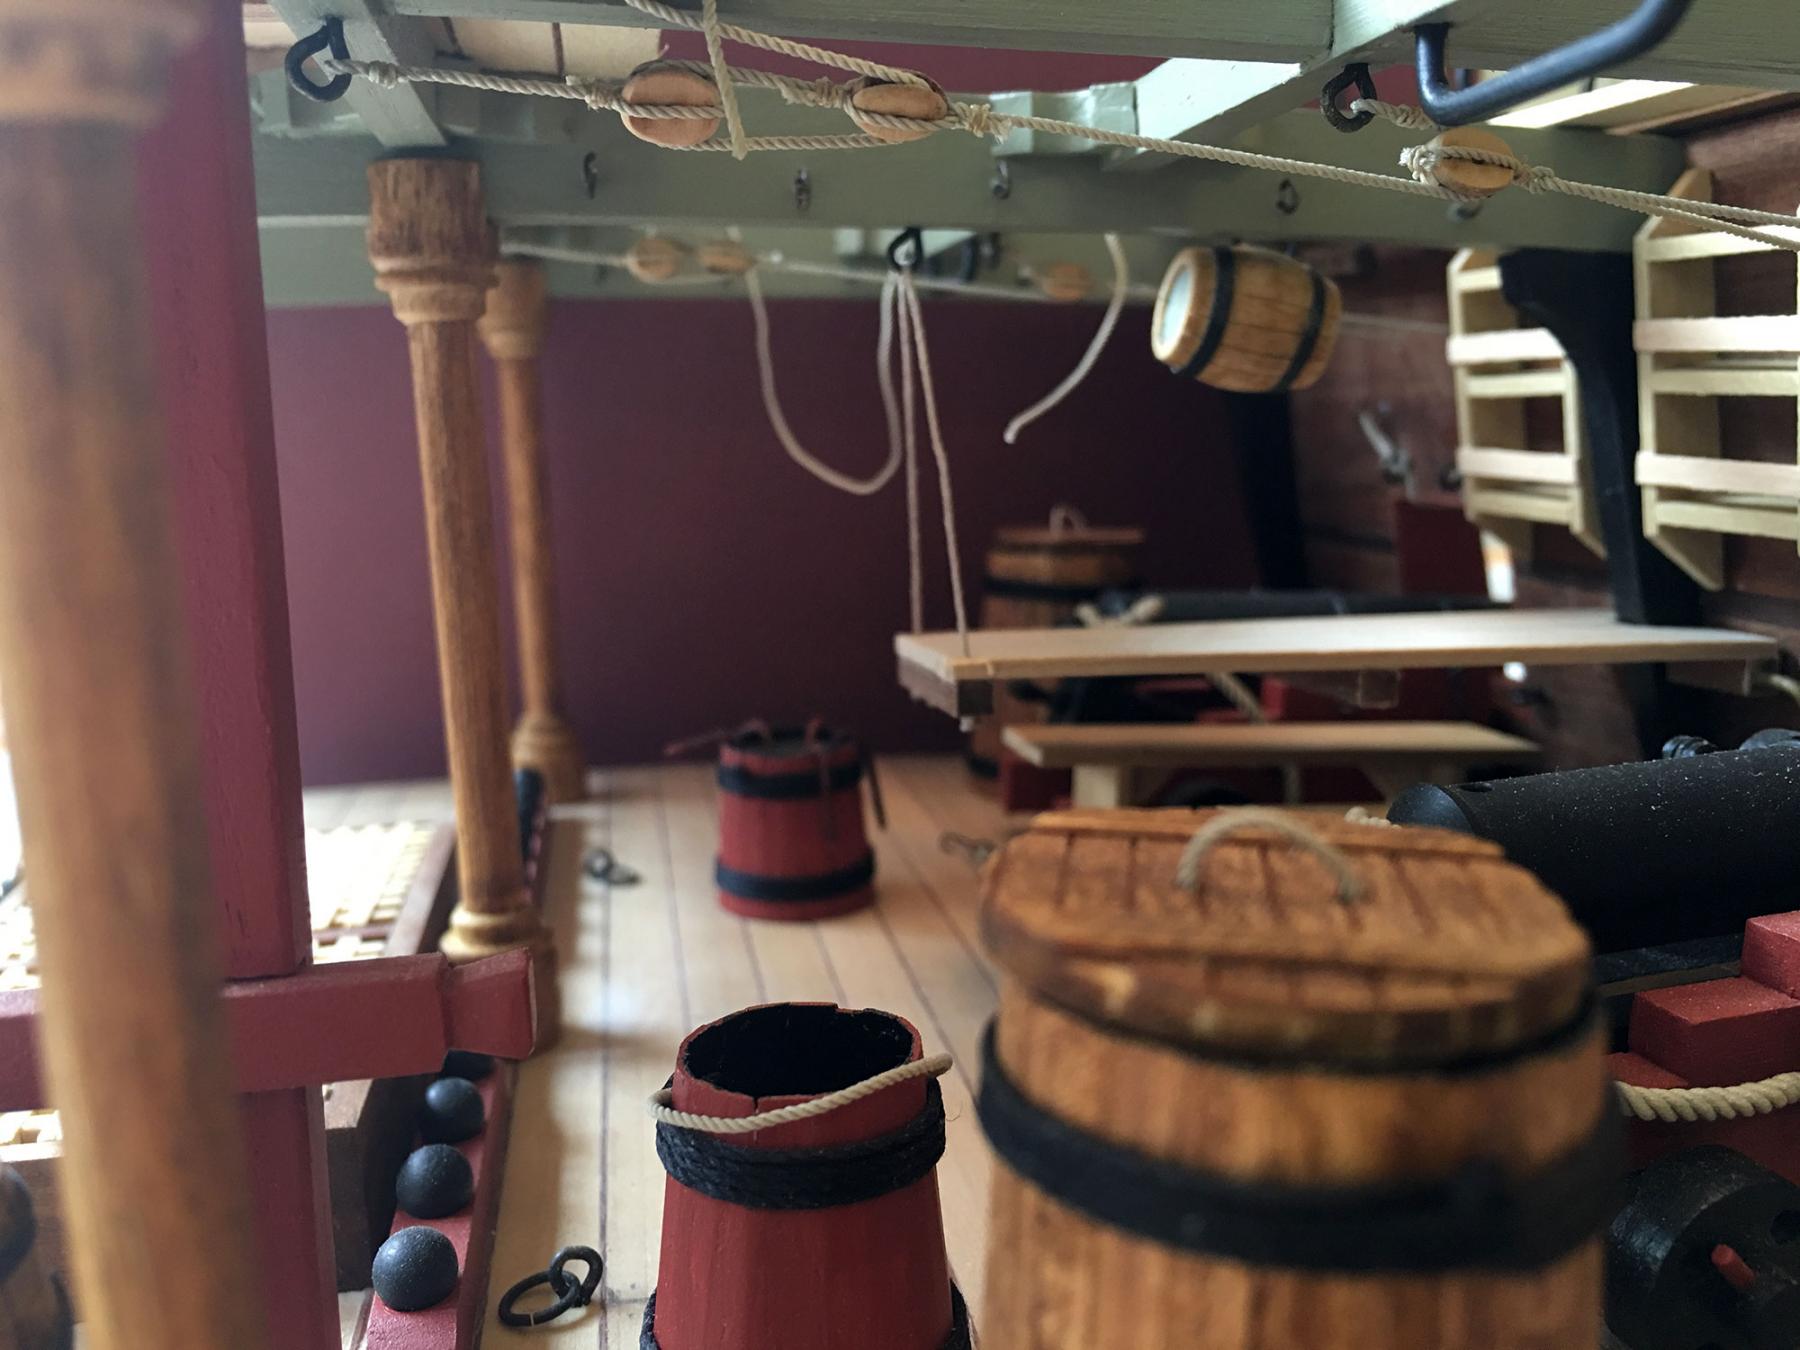
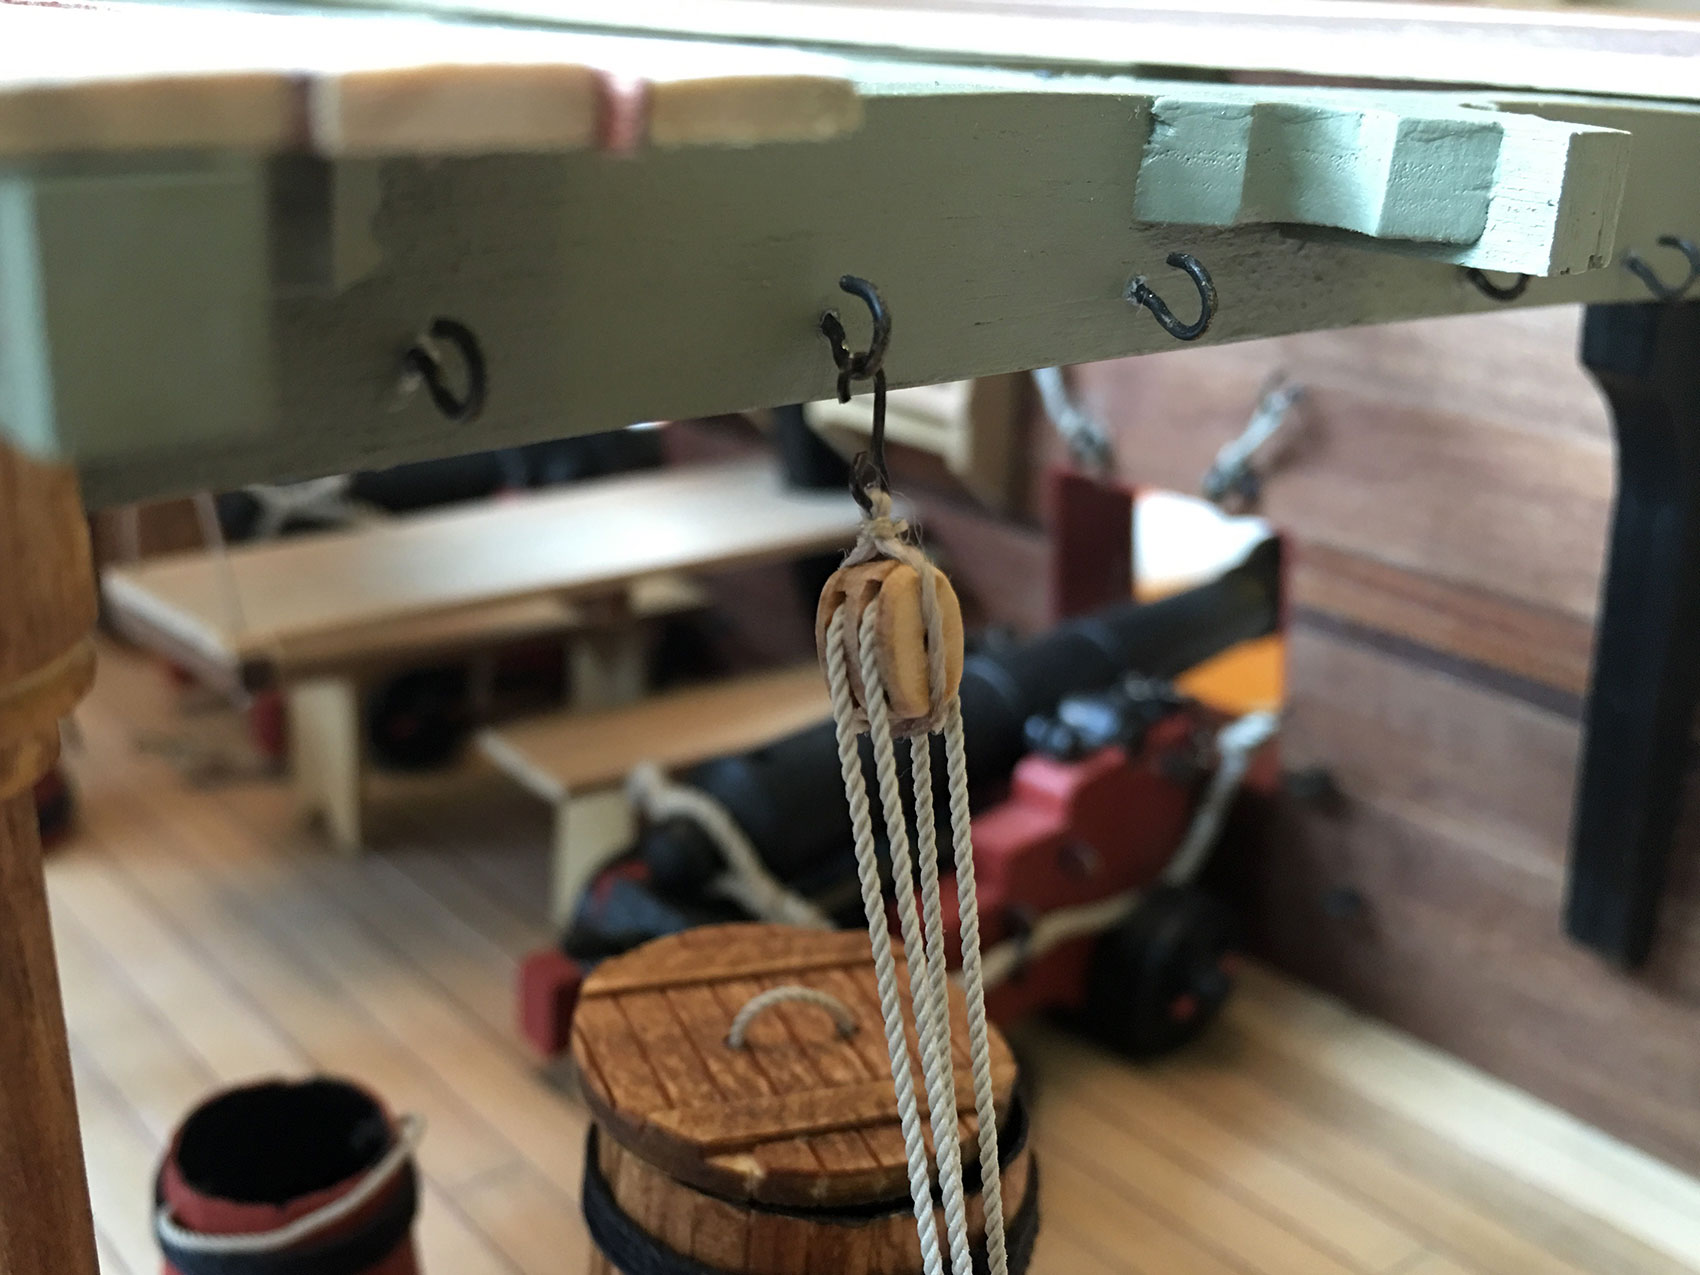
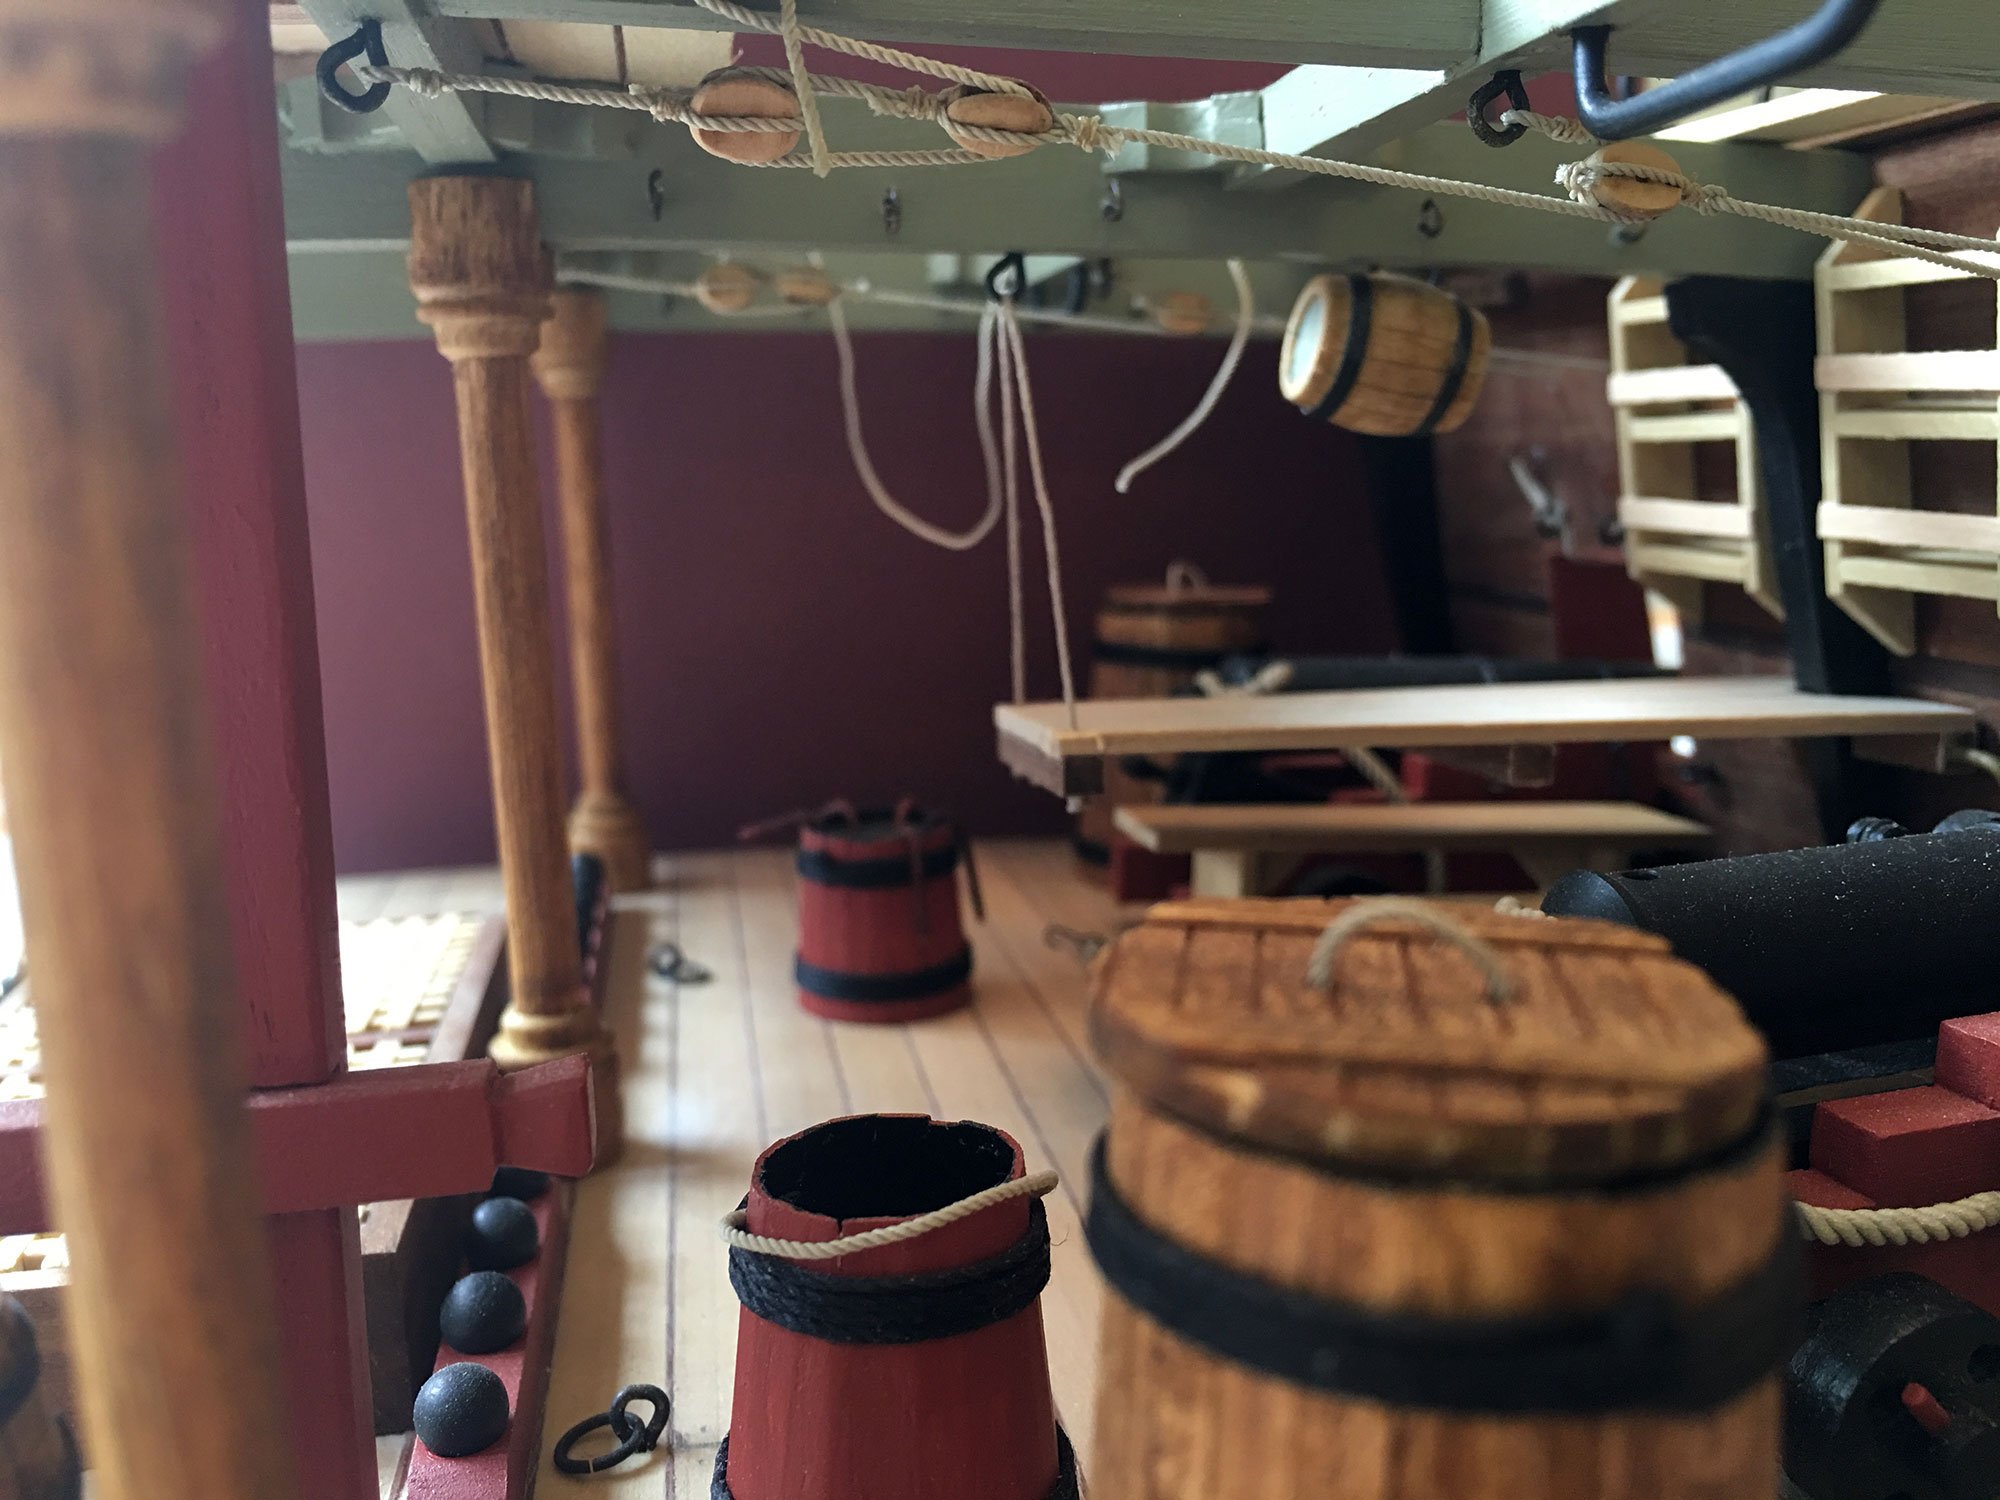
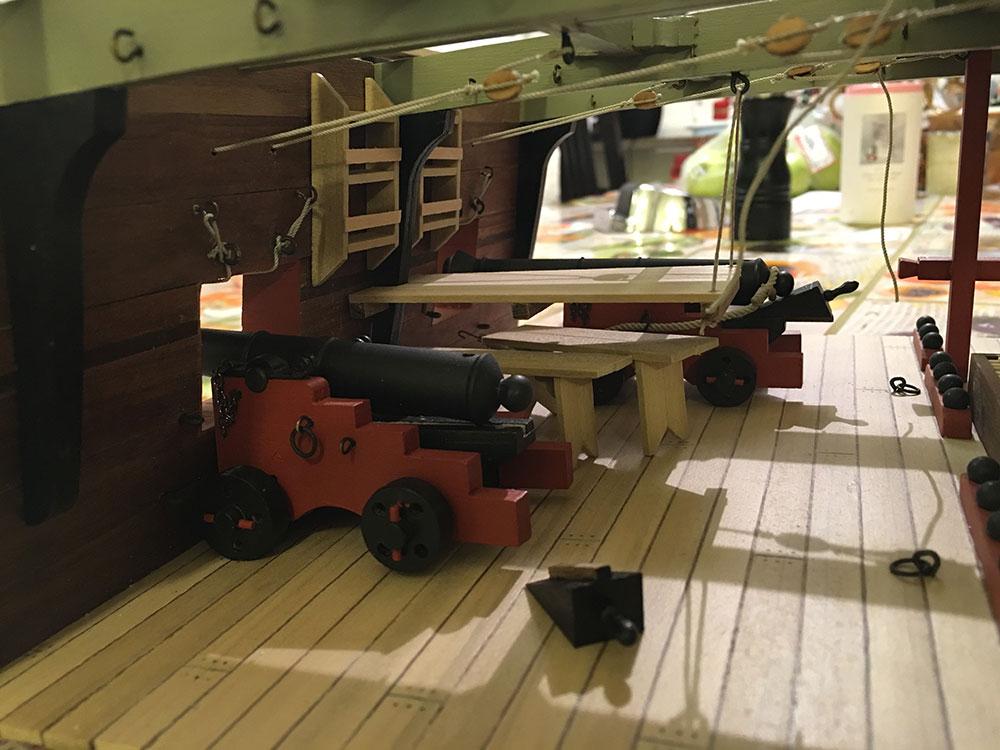
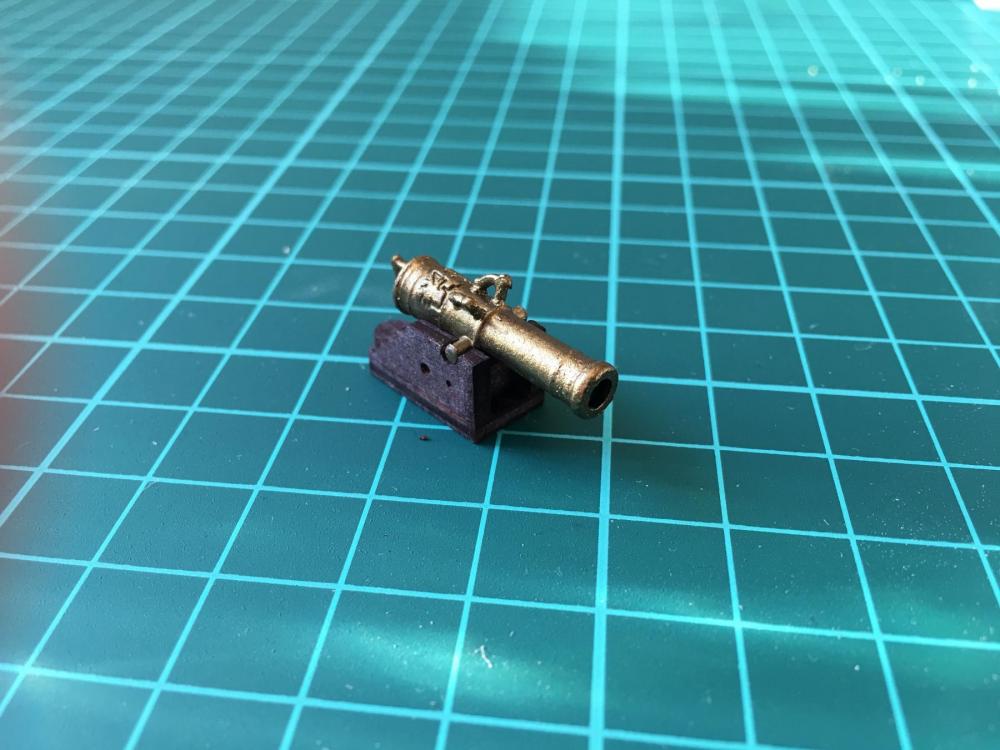
Another tiny update: Some color on the decorations It's place: Bronze cannon and ebony stain on the carriage And while I'm waiting for the next parts to come I have some time with one of the other projects Corel's Amphion


- 305 replies
-
- 12
-
-
- deagostini
- vasa
- (and 1 more)
-
This is also on my next-to-do list. Will follow with interest!
-
Peter, thanks for the pic. A black stain (maybe ebony?) would do the job I see. Will have to scrape the red paint off from the tight little corners since the carriage is quite small... We'll hope that the quality of the kit will continue.
- 305 replies
-
- 4
-
-
- deagostini
- vasa
- (and 1 more)