HOLIDAY DONATION DRIVE - SUPPORT MSW - DO YOUR PART TO KEEP THIS GREAT FORUM GOING! (Only 20 donations so far - C'mon guys!)
×

puckotred
-
Posts
434 -
Joined
-
Last visited
Content Type
Profiles
Forums
Gallery
Events
Everything posted by puckotred
-
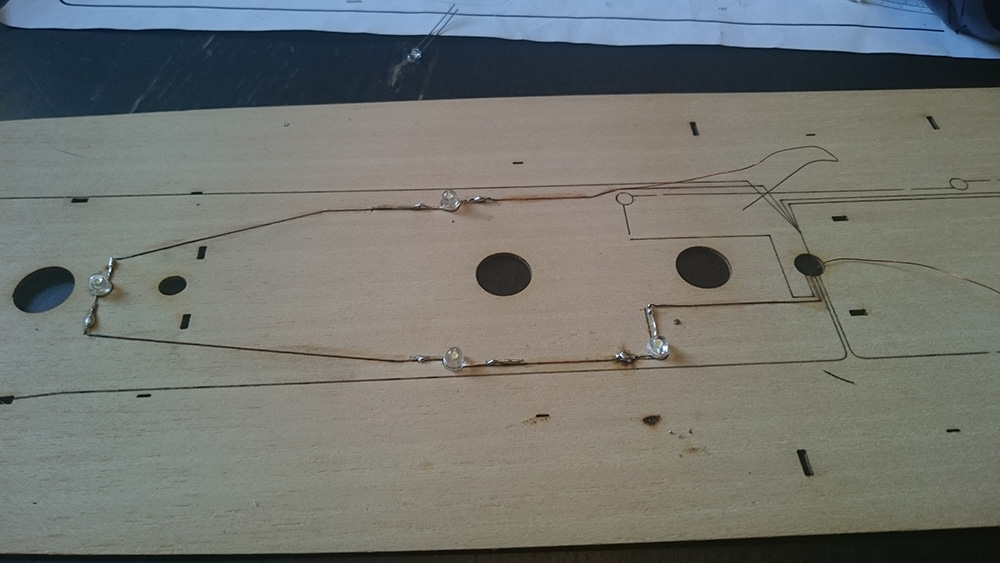
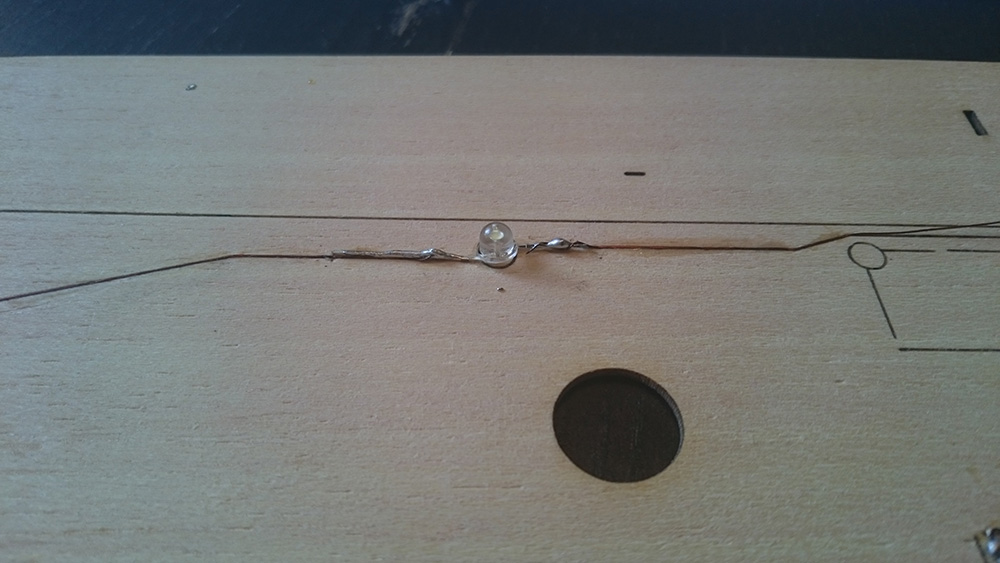
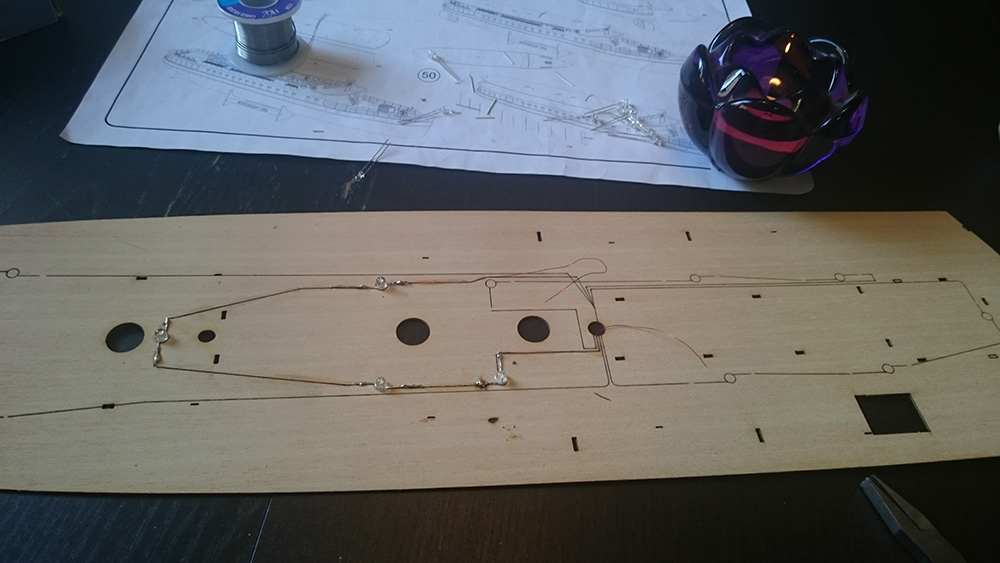
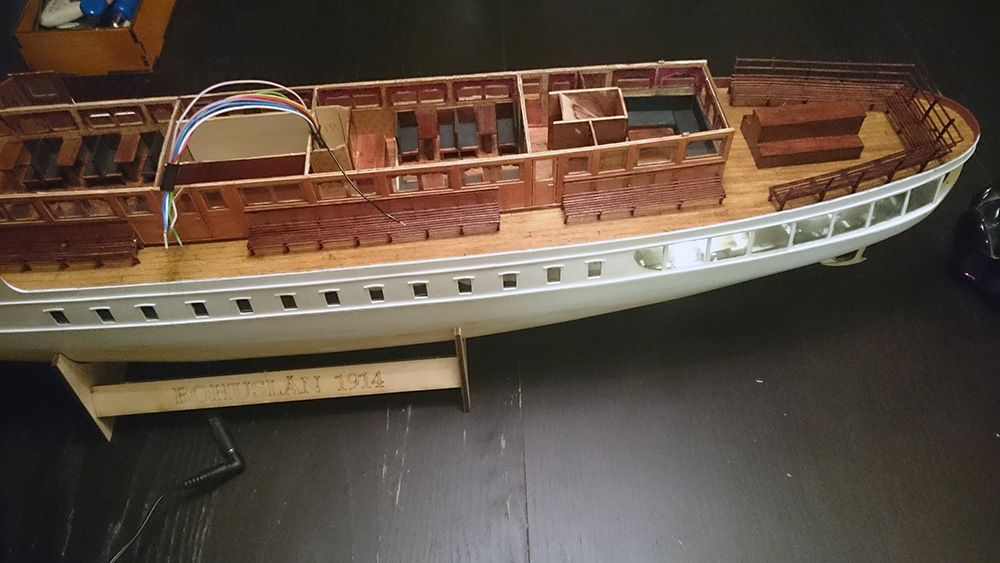
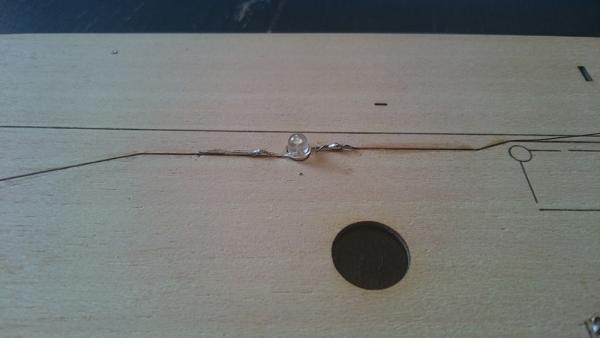
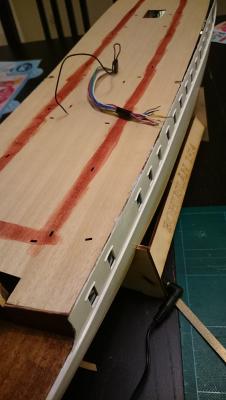
 Thanks Burnside. There's still a lot of frustration concerning scale and accuracy. I've decided to try and not think about it and just go on building. Lightning for second deck: I suck at soldering but the wire is secured and glued to the wood. It isn't going anywhere... Done at last Awaiting third deck.


- 113 replies
-
- 6
-

-
- bohuslän
- nordic class boats
- (and 1 more)
-
Thanks Dr. Per. No, the curtains was provided in the kit. Just had to colour the fringes gold.
- 113 replies
-
- 1
-
-
- bohuslän
- nordic class boats
- (and 1 more)
-
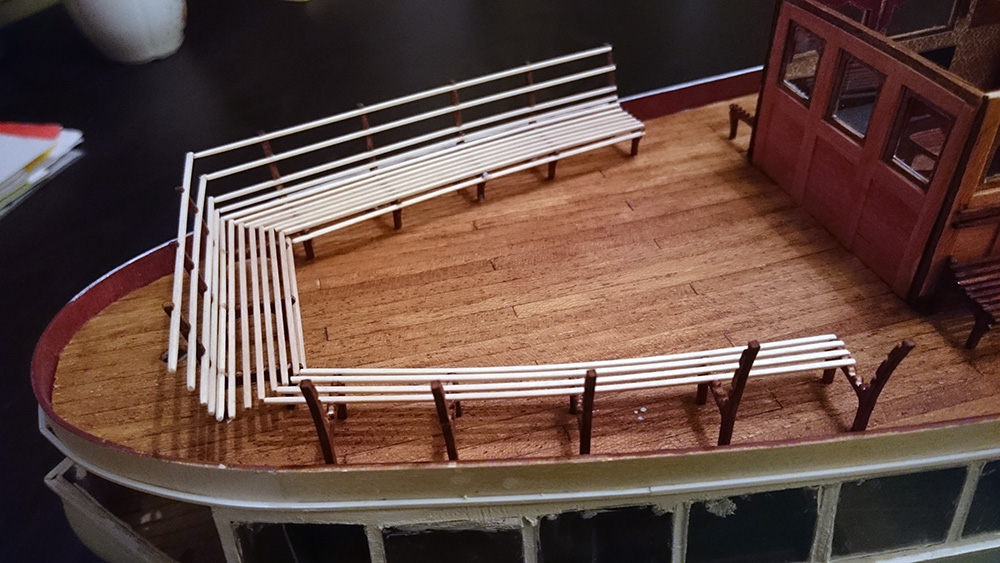
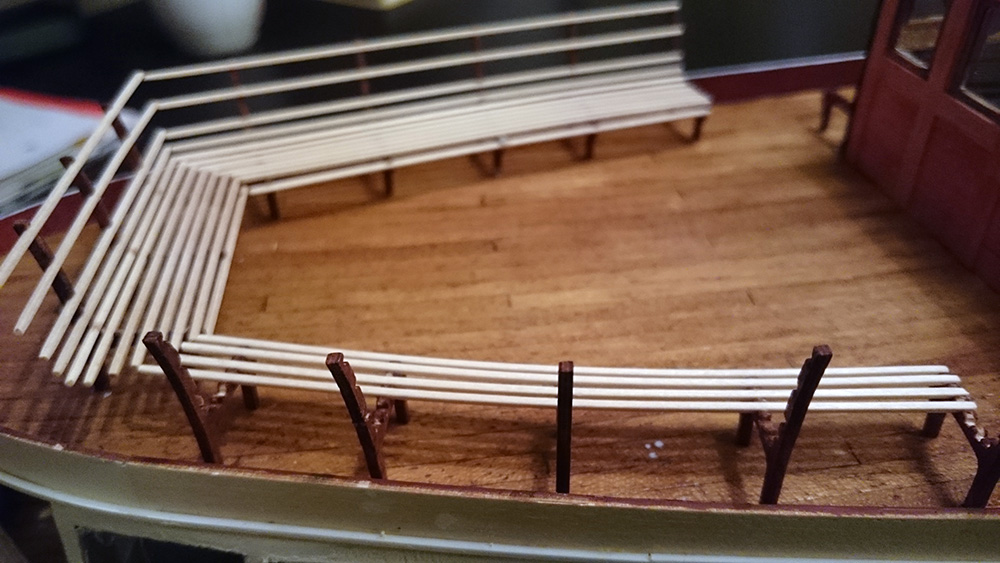
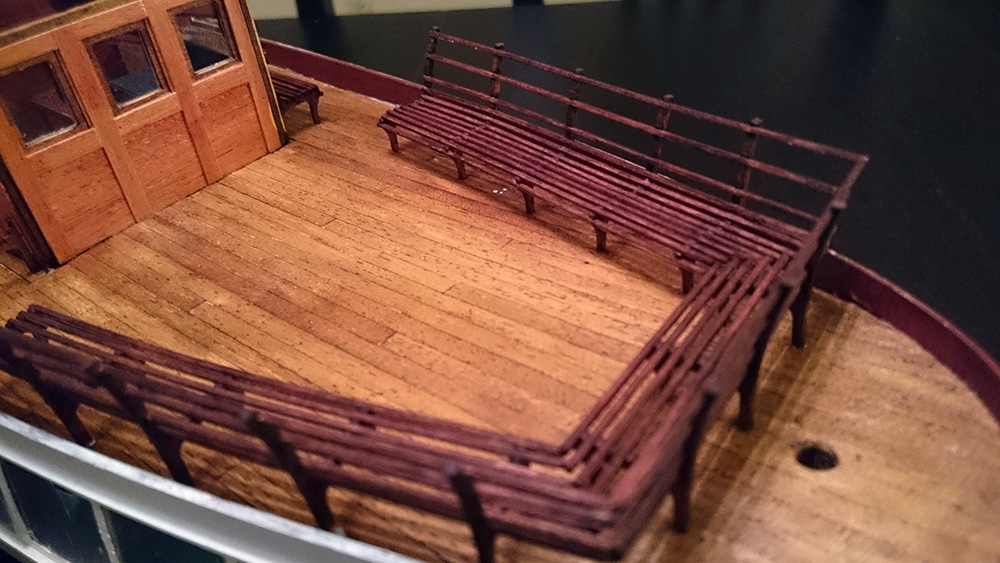
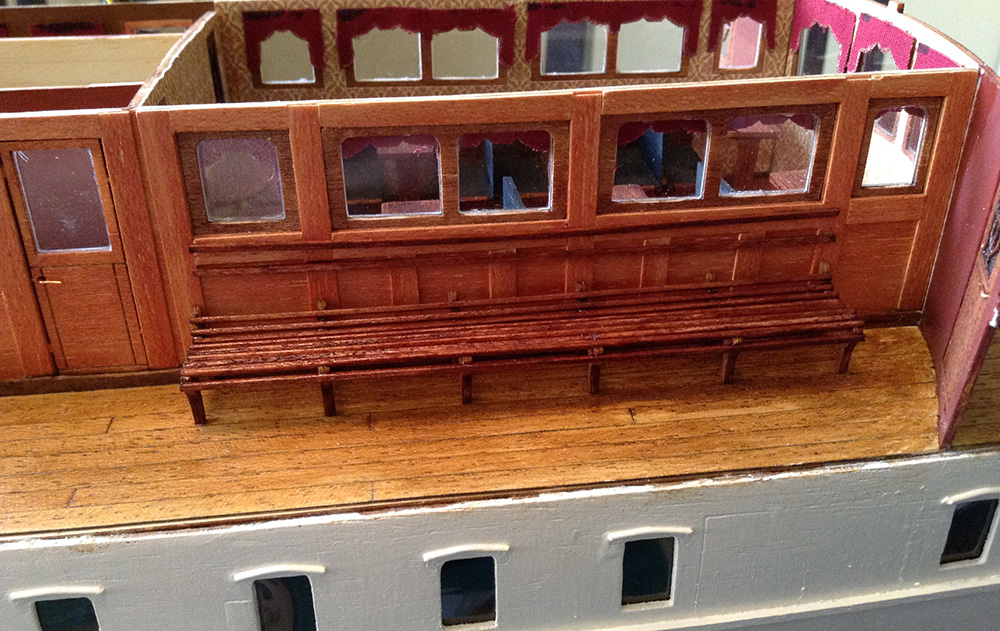
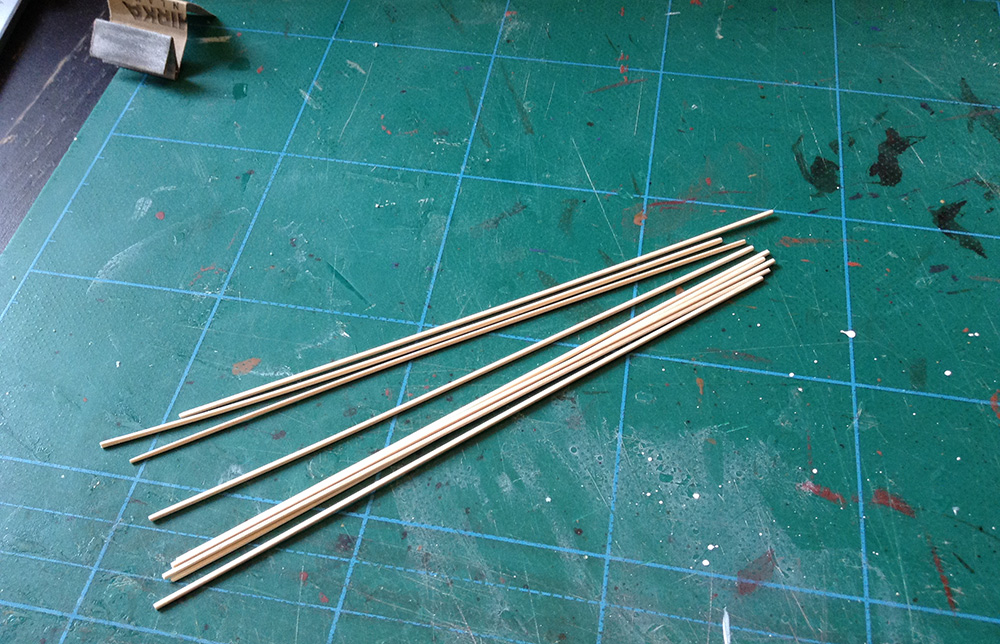
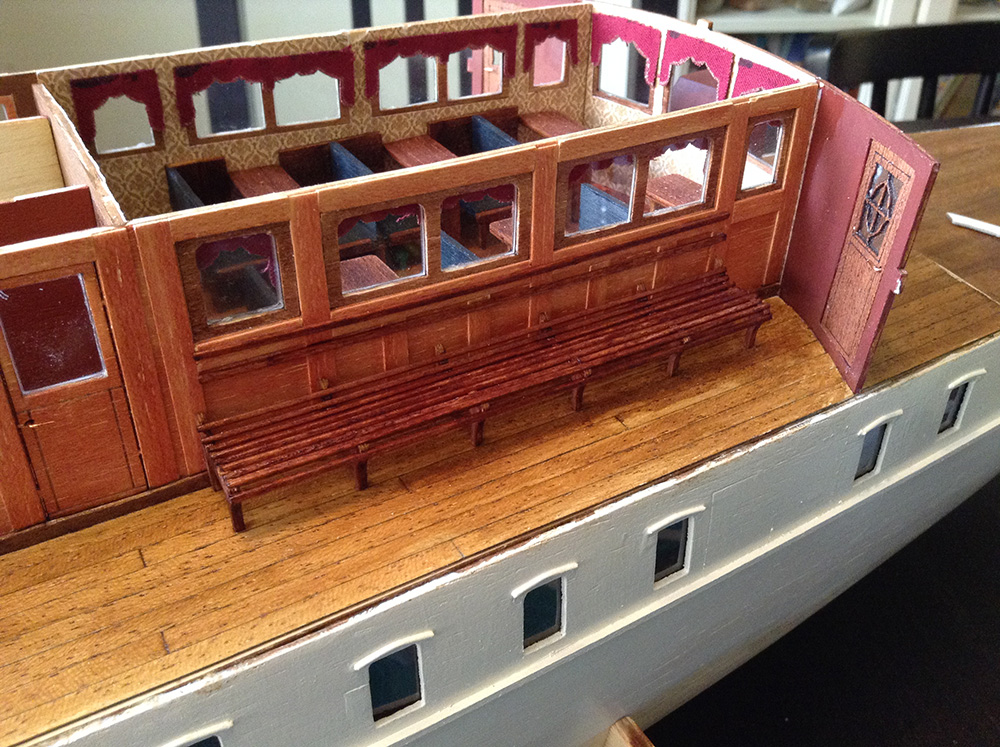
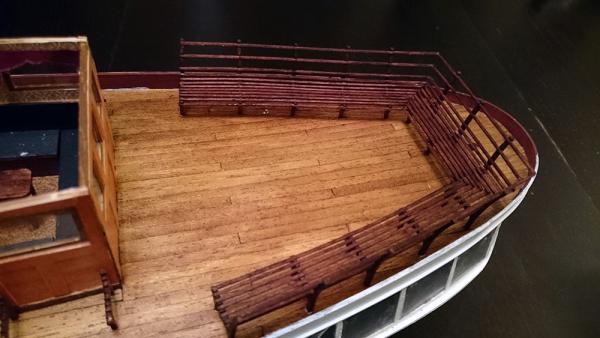
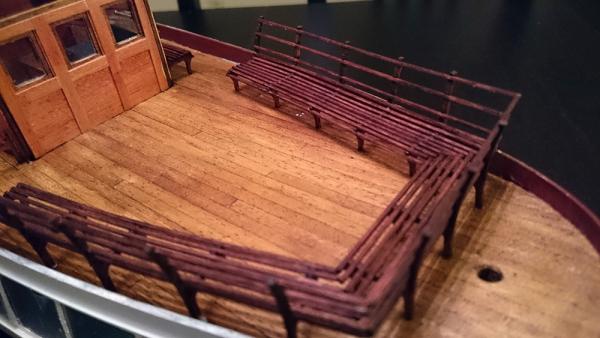
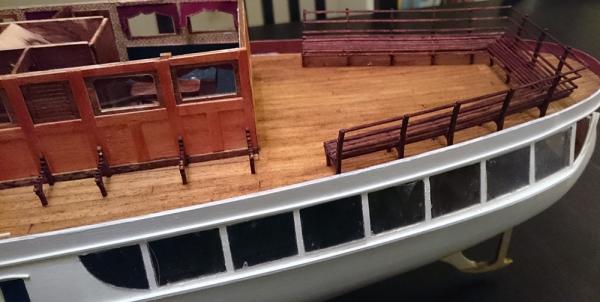
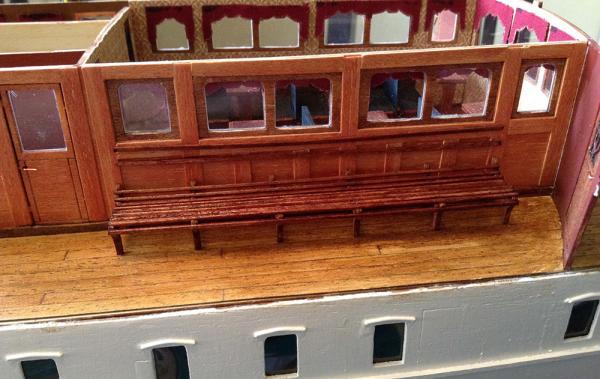
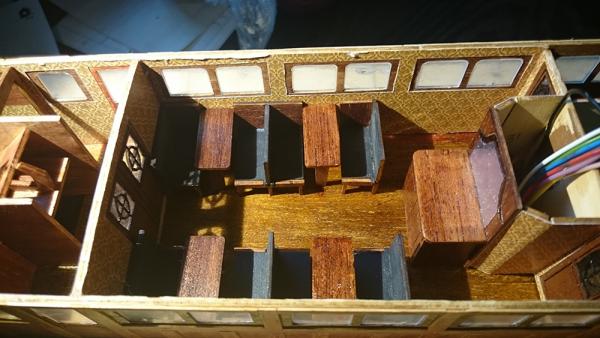
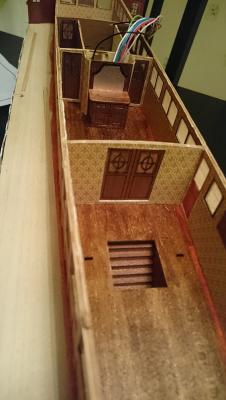
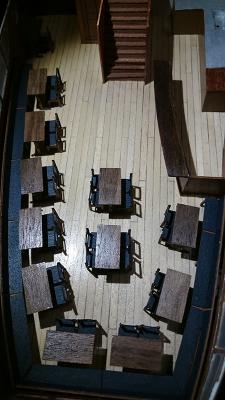
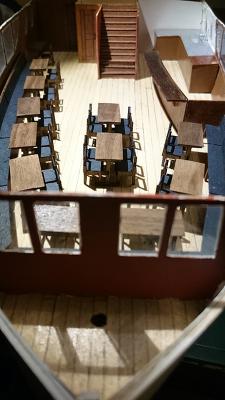
Building the benches in aft of second deck: Lots of strips (1x1mm) to fit. Staining. I apply the stain with a brush to give it a little weathering effect. Next is varnish and then do the rest of the benches along the cabin walls. Oh, and happy Easter!


- 113 replies
-
- 9
-
-
- bohuslän
- nordic class boats
- (and 1 more)
-
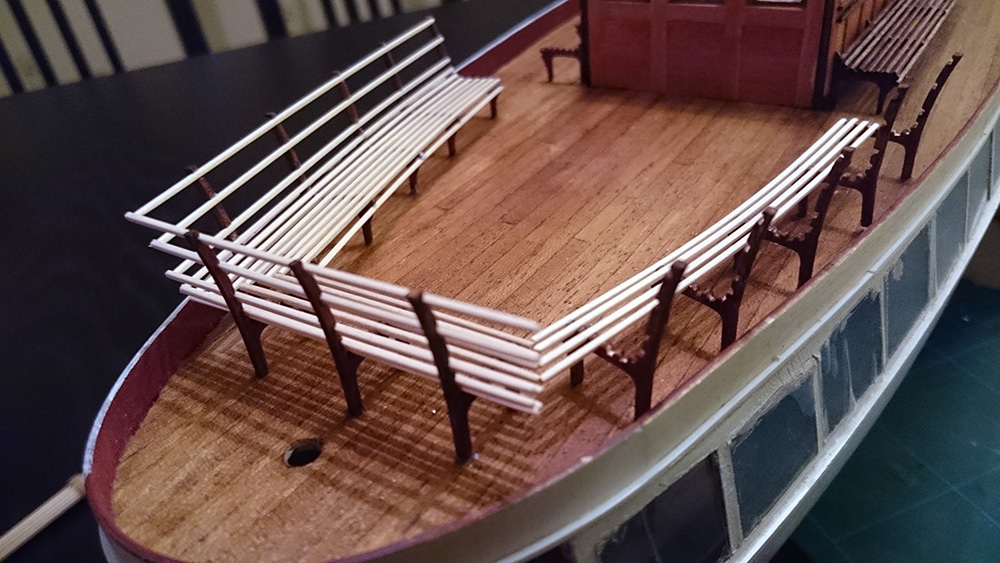
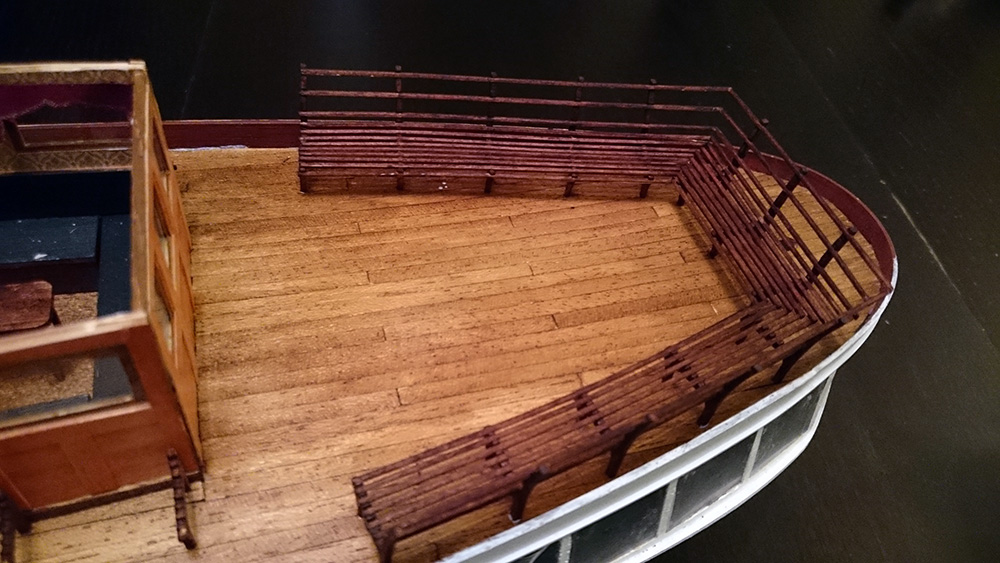
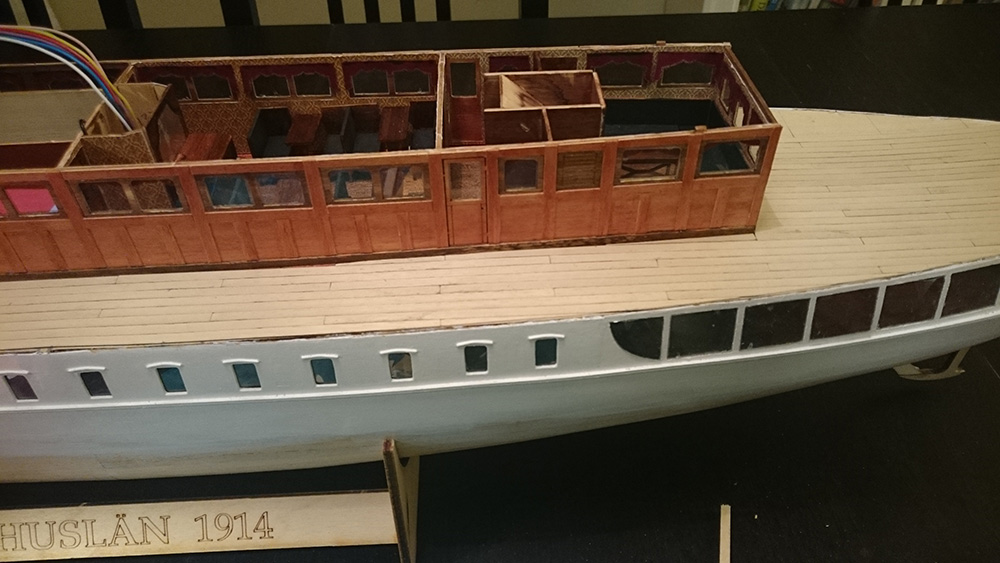
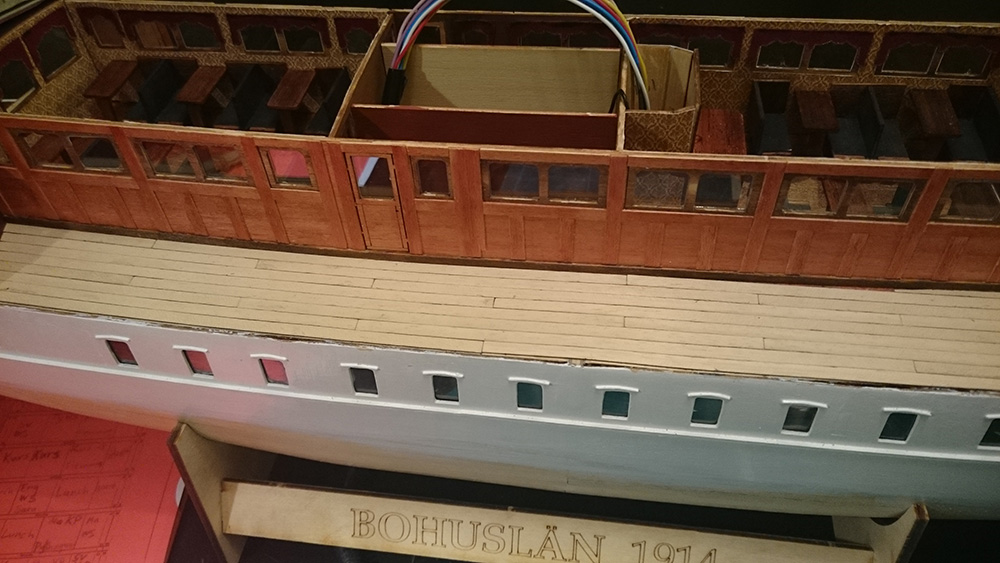
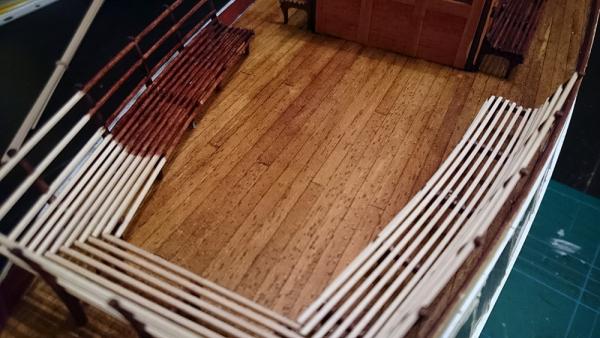
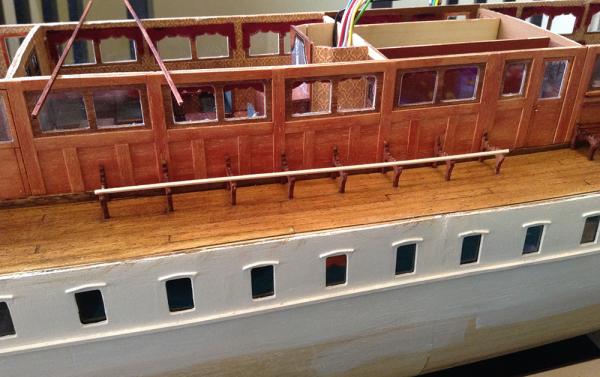
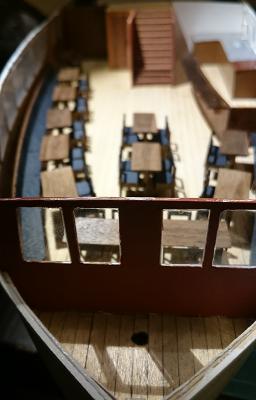
Planking of second deck Outside benches on second deck. 11 strips of 1x1mm to make up the seats.


- 113 replies
-
- 8
-
-
- bohuslän
- nordic class boats
- (and 1 more)
-
Hi all, Just realized I have not thanked you for the comments. Stockholm tar, Nils, Nirvana, Uwe, Burnside63 and Clare: Thank you for visiting and commenting my log. And tanks to the others for the likes. Now, curtains(?!): Planking the deck is up next. Stockholm tar, no rivets. So many details are missing and/or wrong on this kit so I won't bother with them.

- 113 replies
-
- 5
-
-
- bohuslän
- nordic class boats
- (and 1 more)
-
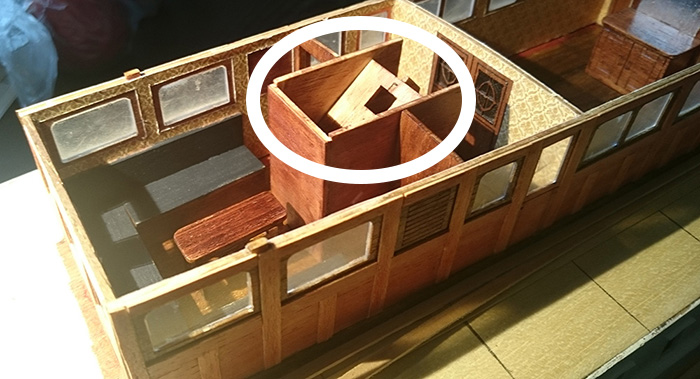
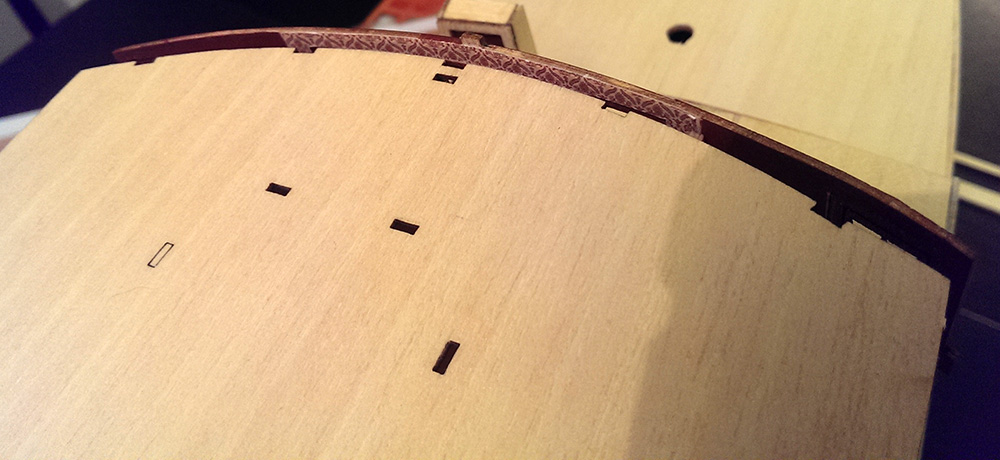
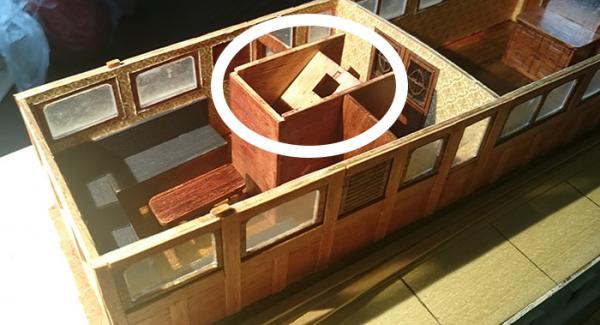
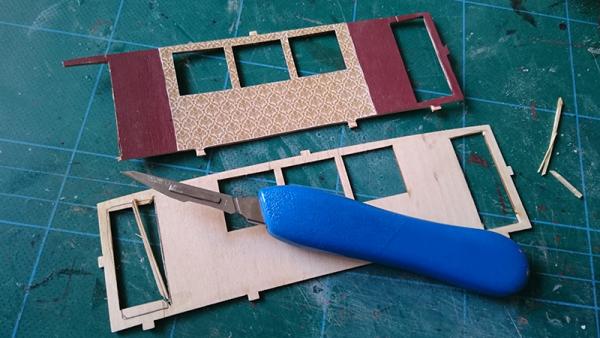
Another error in the building instructions. The marked area is upside down. had to soak the whole area in debonder to rebuild and is now right side up. The construction is for one of the masts to rest in.
- 113 replies
-
- 2
-
-
- bohuslän
- nordic class boats
- (and 1 more)
-
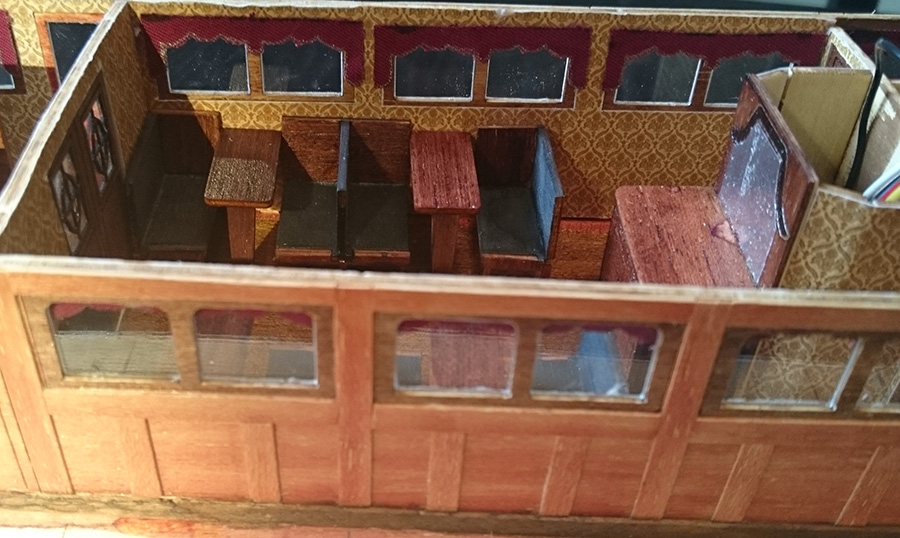
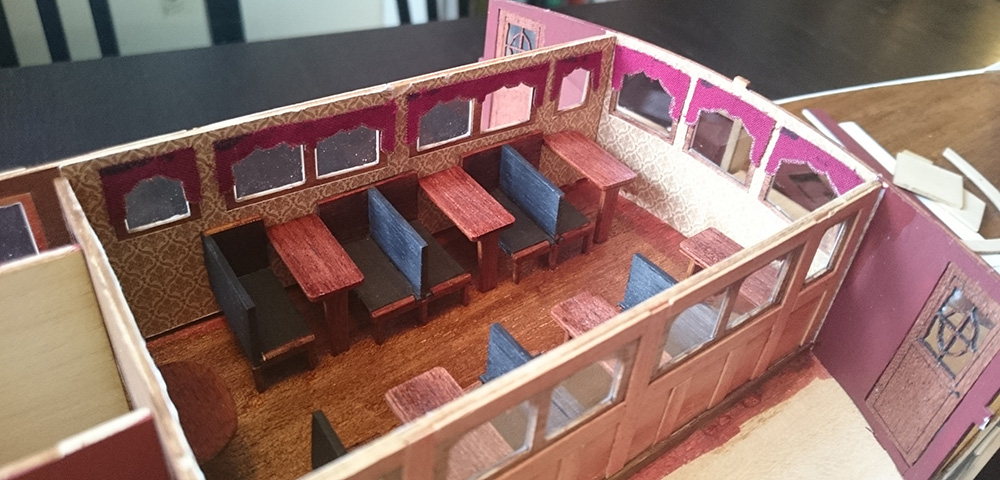
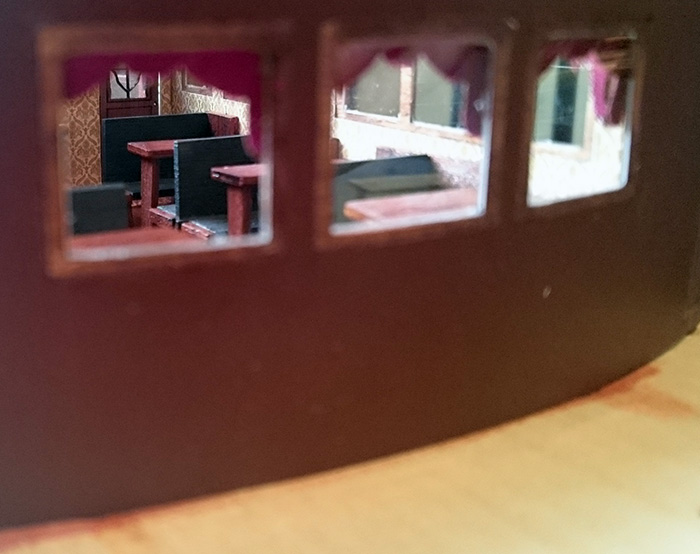
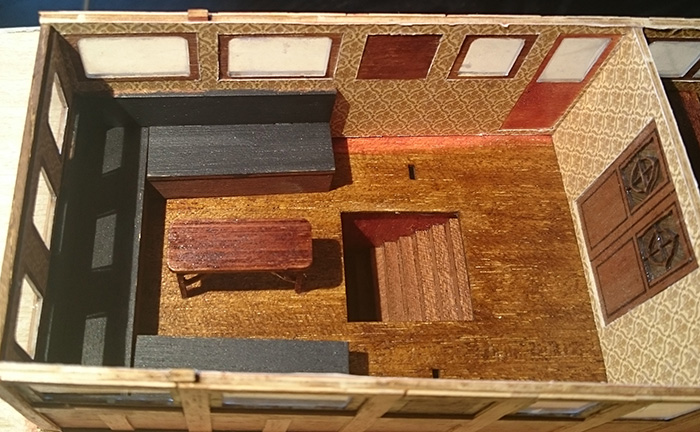
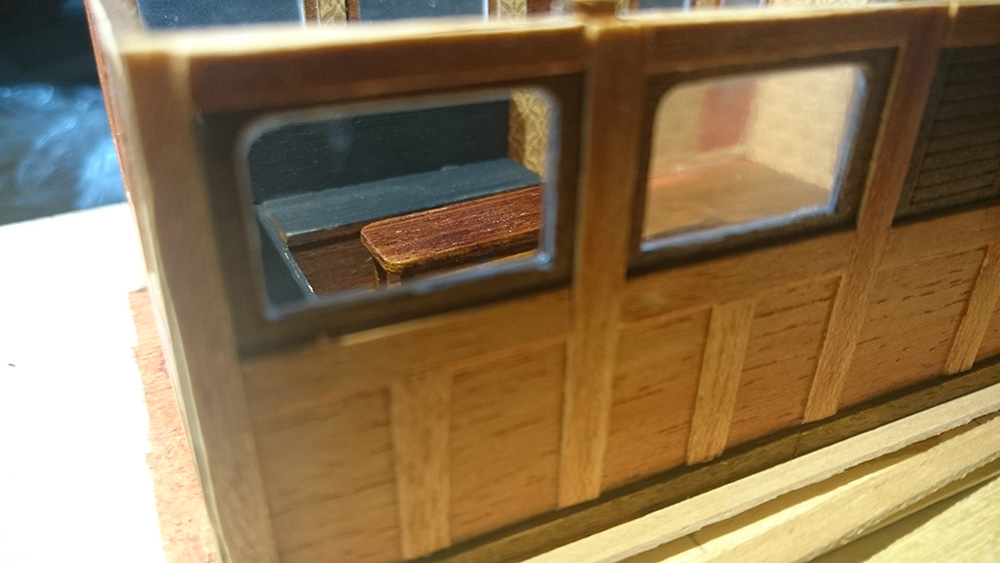
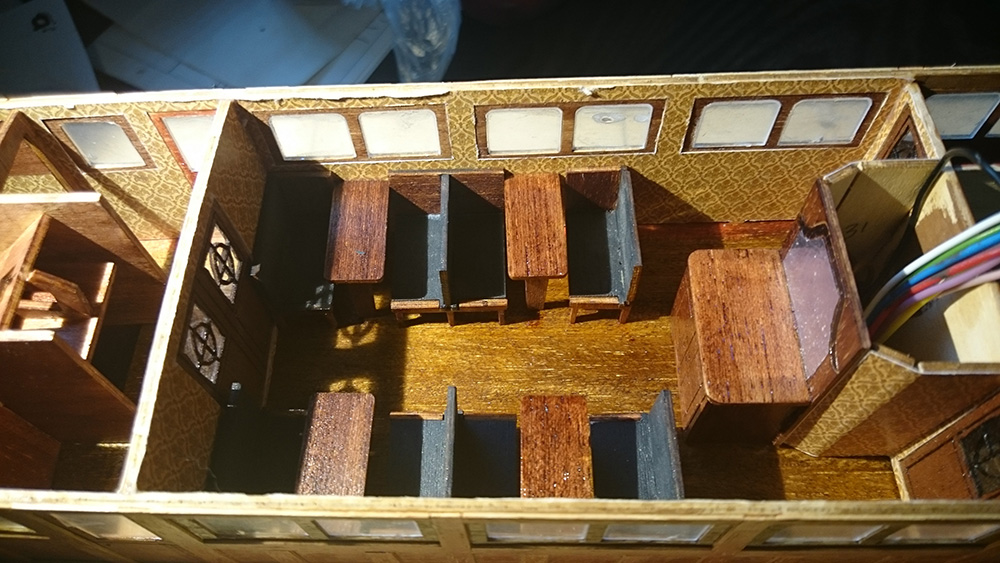
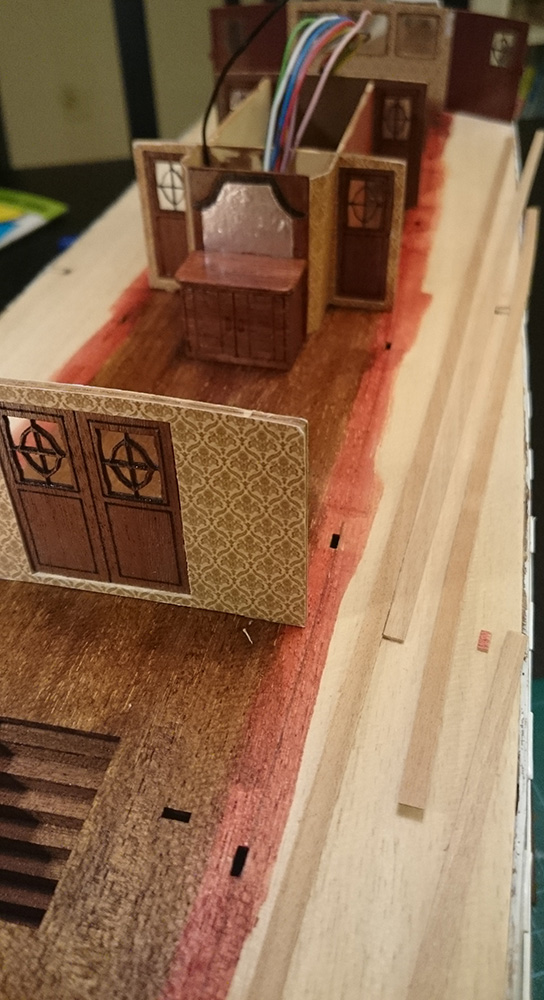
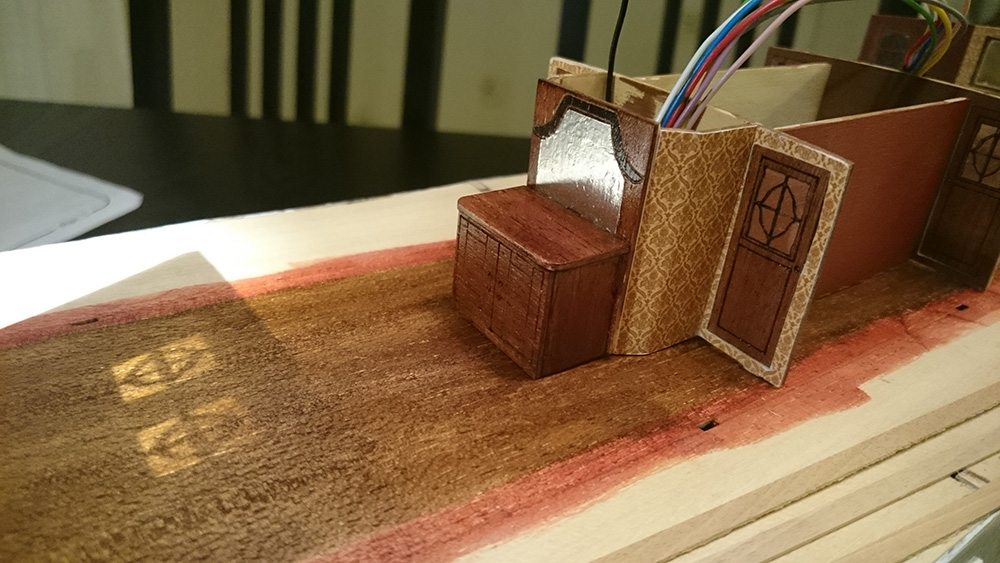
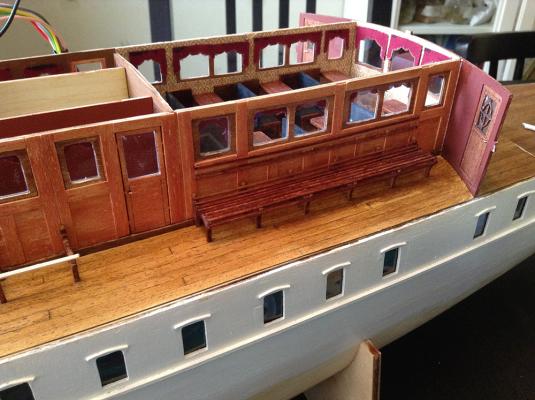
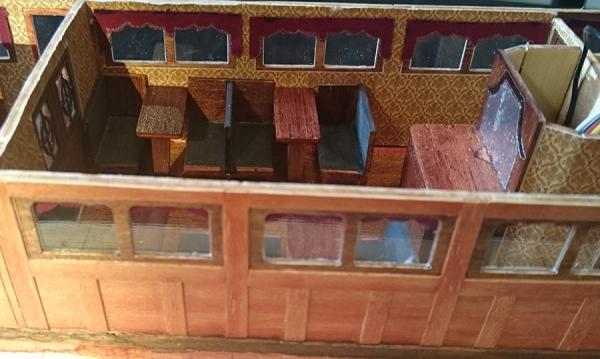
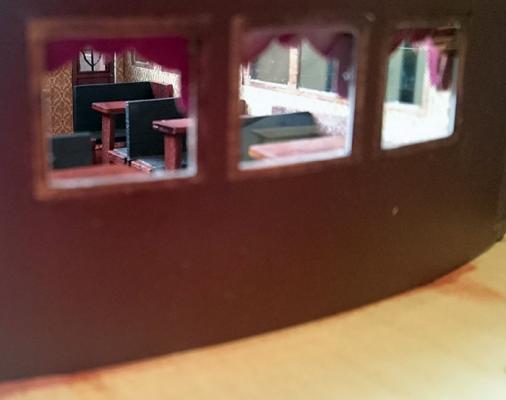
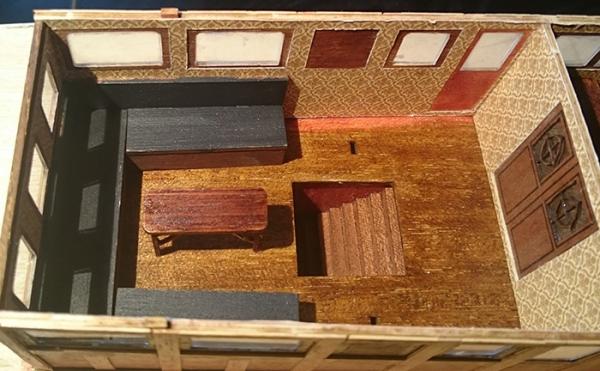
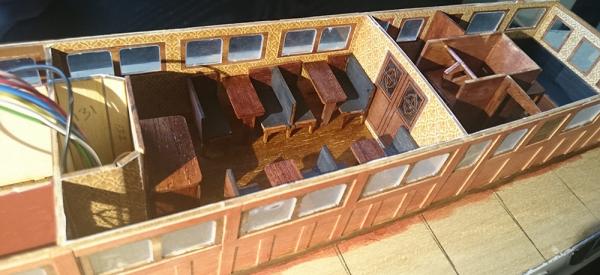
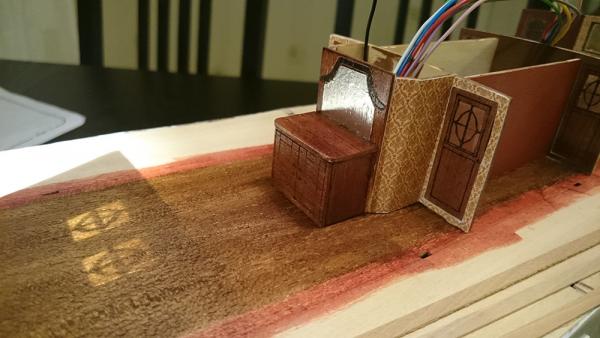
Furniture in rear cabin. (Smoking room) Mid cabin. Size and proportions are all wrong, quite irritating. Manual is also wrong here. The benches to the right should not be here but in the foremost cabin. Will see if the CA-debonder can fix the problem...


- 113 replies
-
- 6
-
-
- bohuslän
- nordic class boats
- (and 1 more)
-
Mike, Check "Biltema" They have a great little compressor. And you can use it later to learn airbrushing! Biltema
-
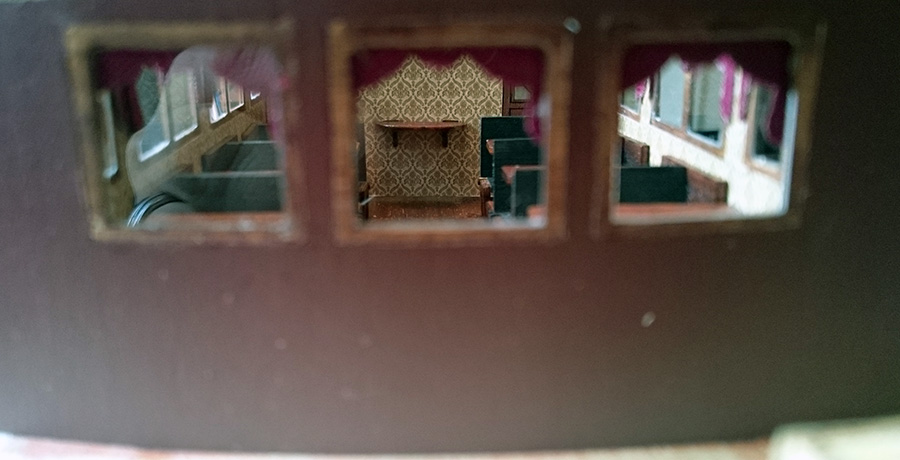
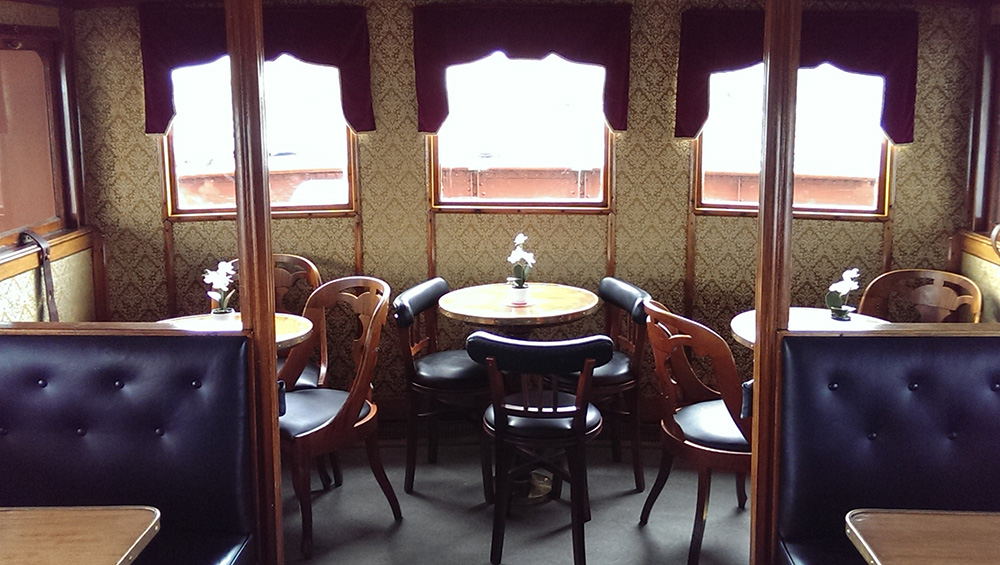
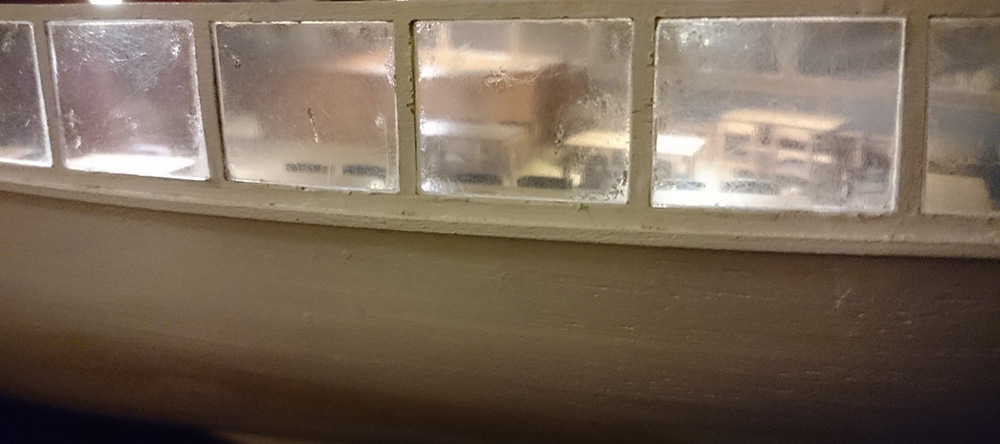
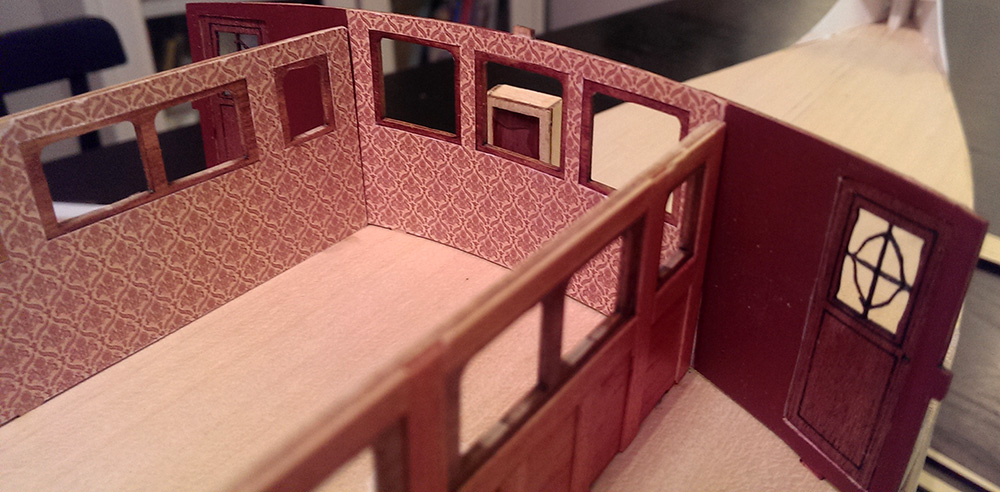
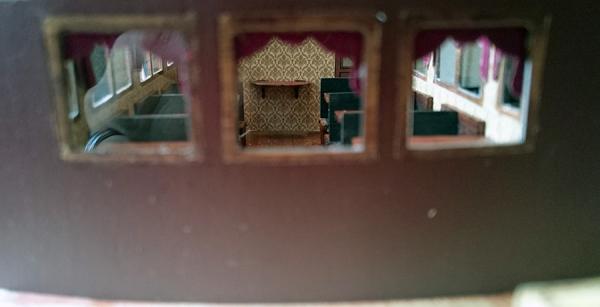
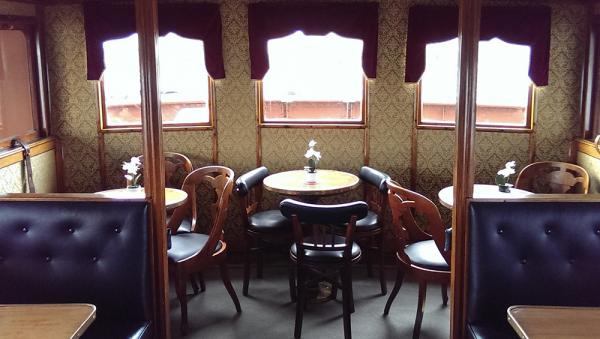
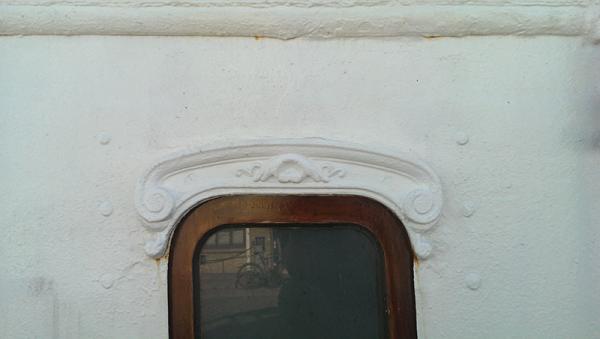
Just a quick note: If anyone wonder about the hideous wallpaper on my model, here's a pic from the real ship:
- 113 replies
-
- 6
-
-
- bohuslän
- nordic class boats
- (and 1 more)
-
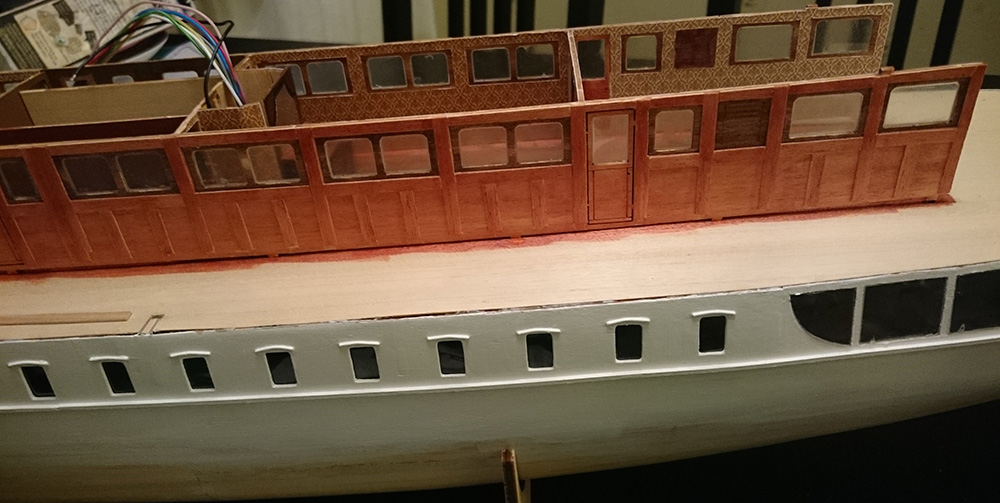
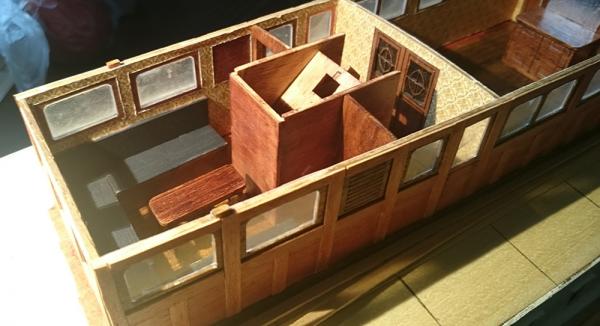
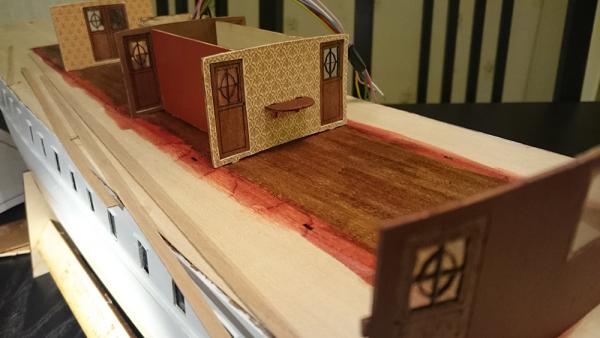
Cabin construction continues. Not much to say here. next up is furniture.


- 113 replies
-
- 8
-
-
- bohuslän
- nordic class boats
- (and 1 more)
-
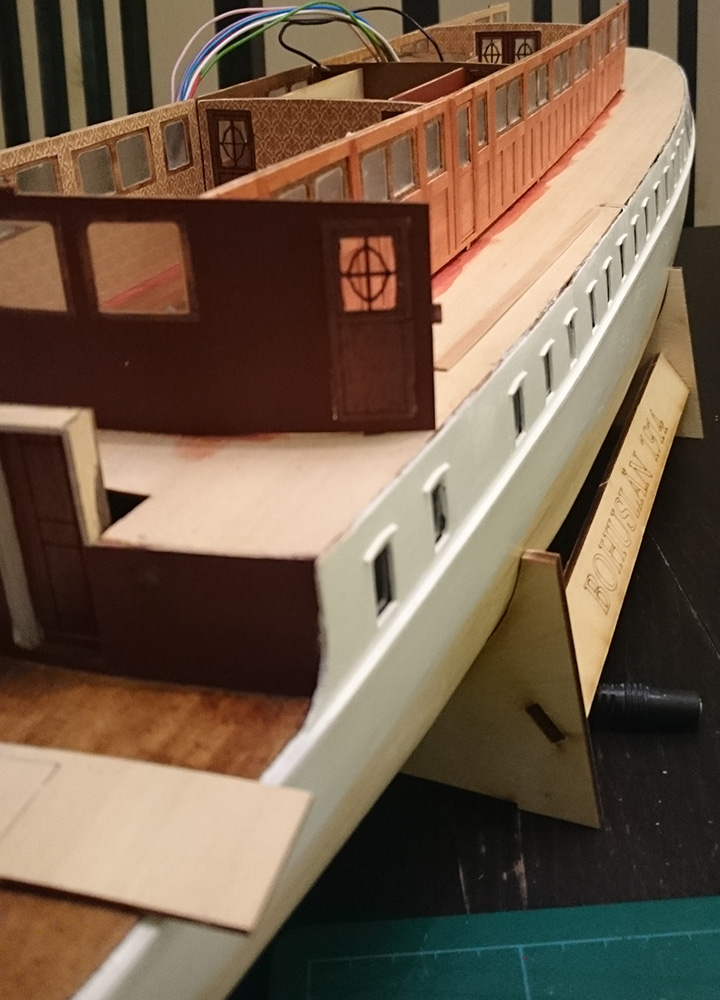
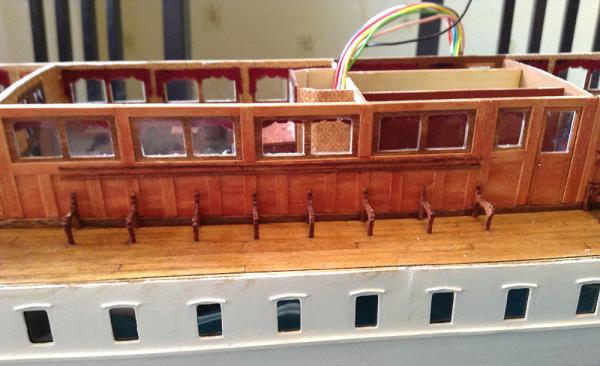
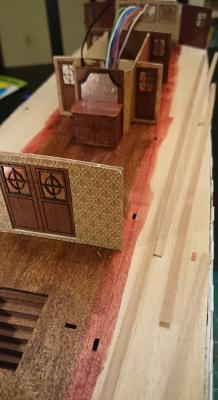
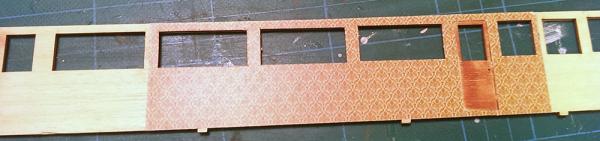
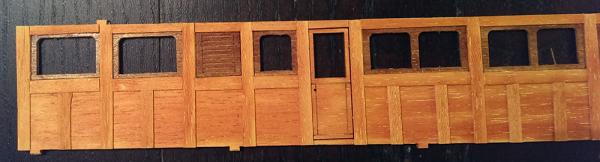
Small update: new piece from Turkey Door openings still too small. Turkmodel: "Doors not meant to be functional. Glue them to wall." Fitting the upper cabinswalls. The walls have a strong curve upwards at the aft that the deck, or anything else has, have to fill up with strips. Painting and fitting some other stuff


- 113 replies
-
- 7
-
-
- bohuslän
- nordic class boats
- (and 1 more)
-
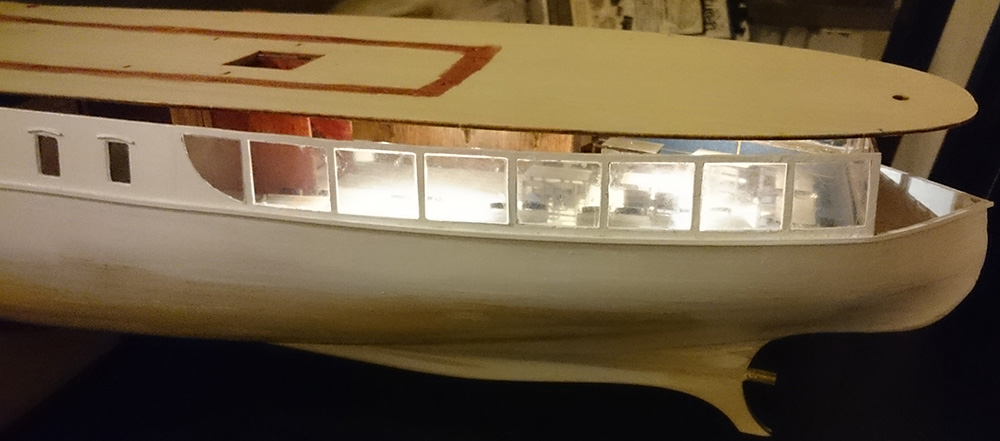
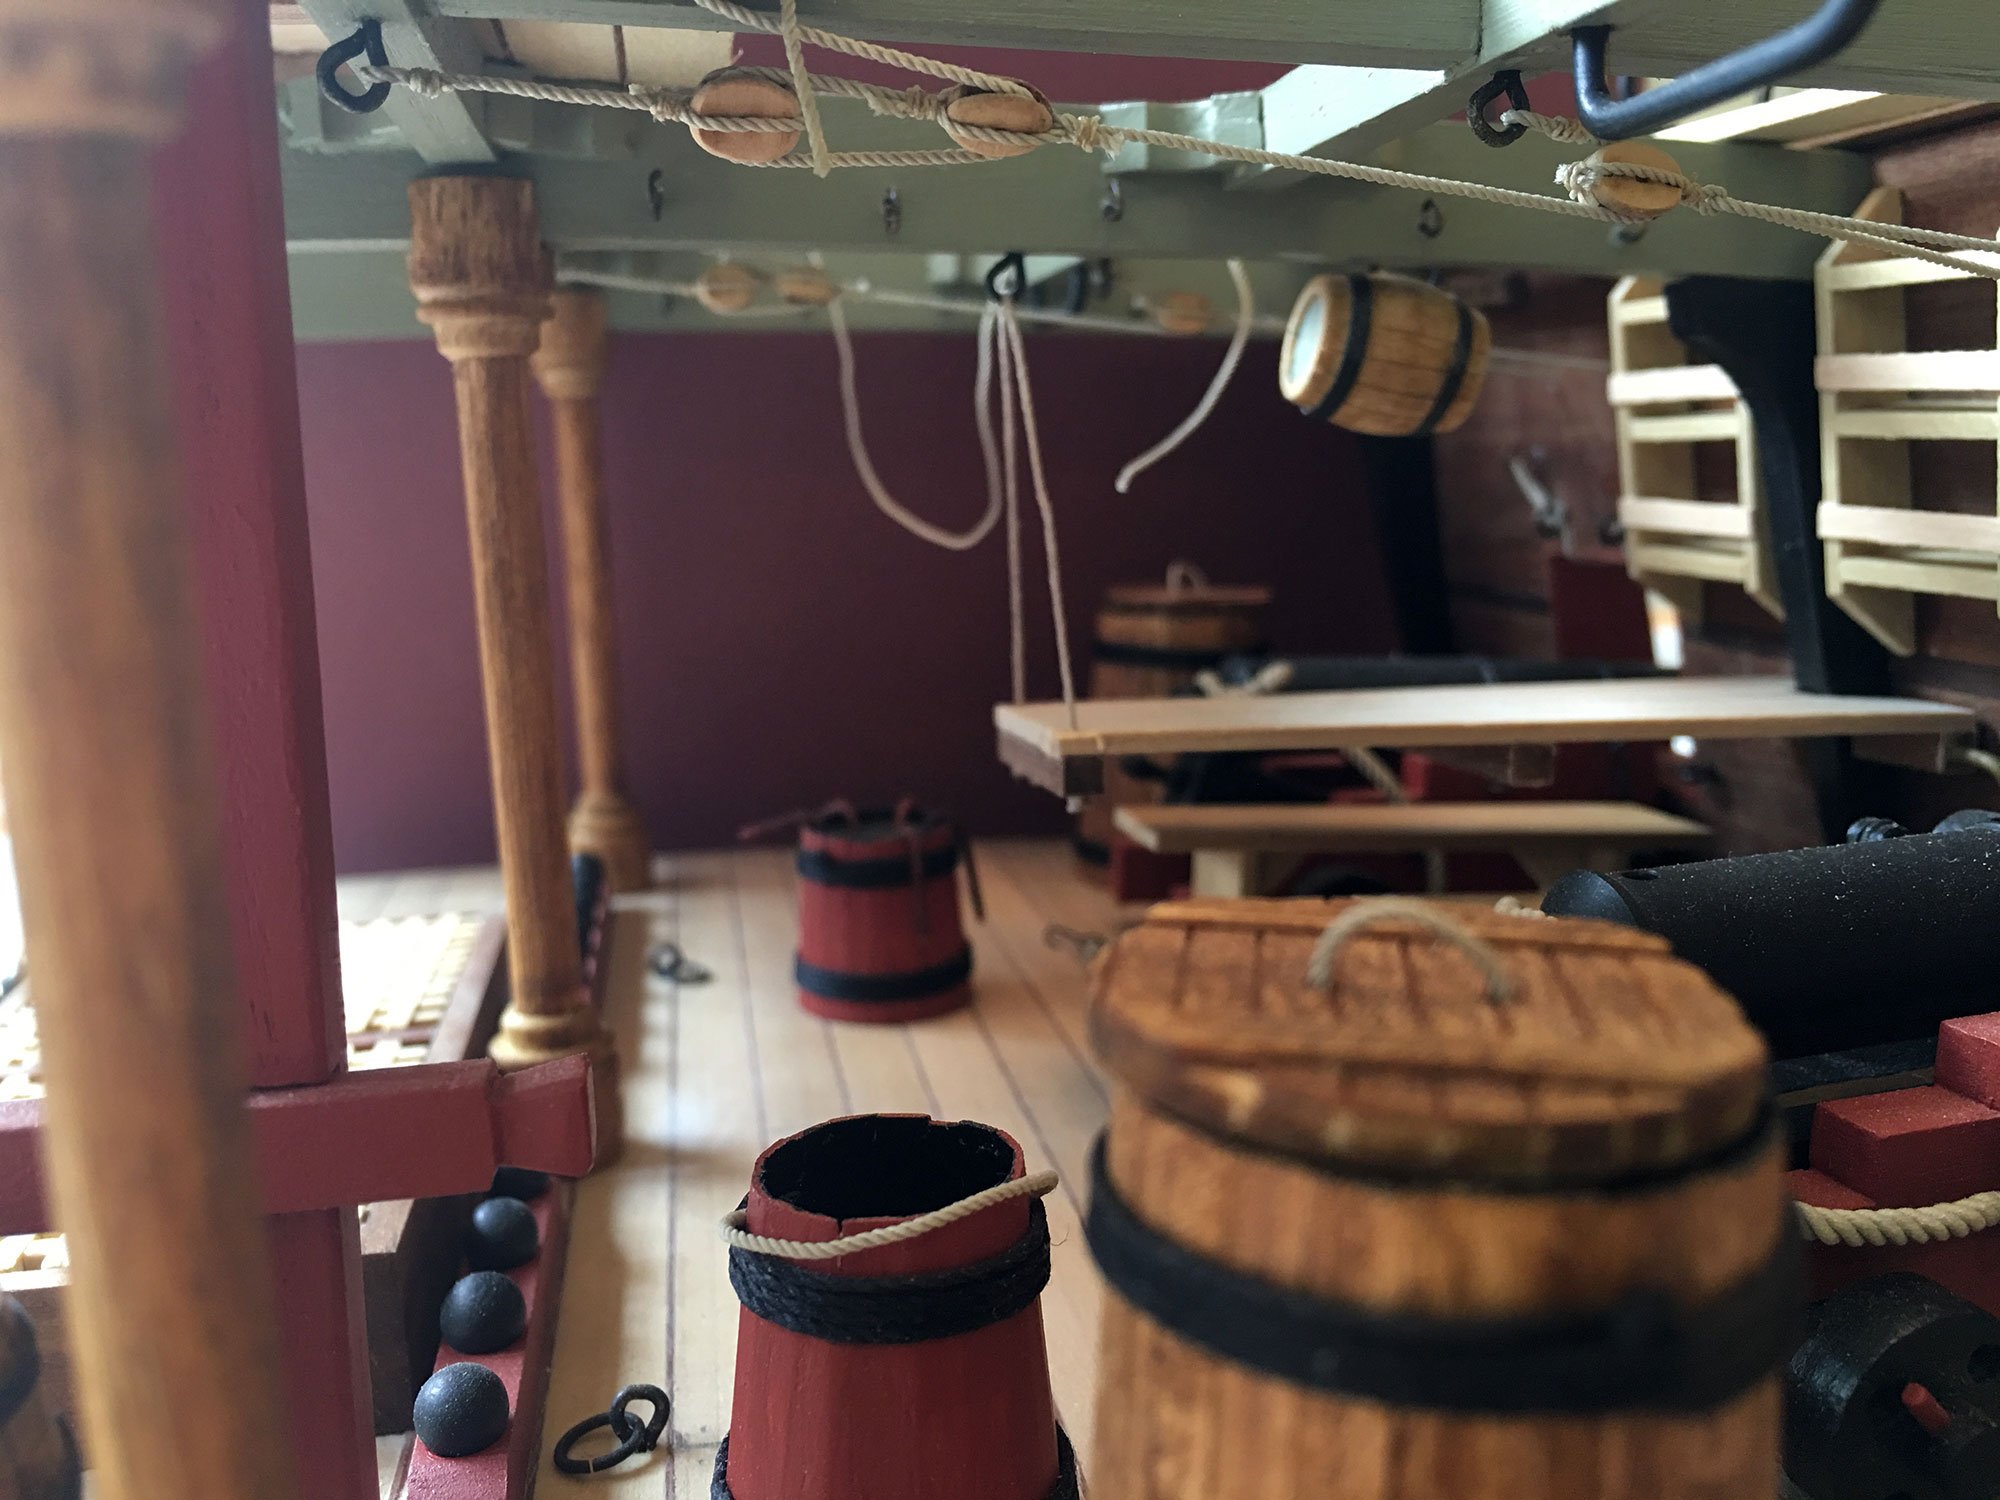
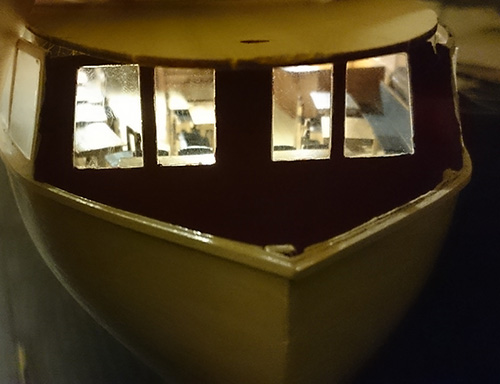
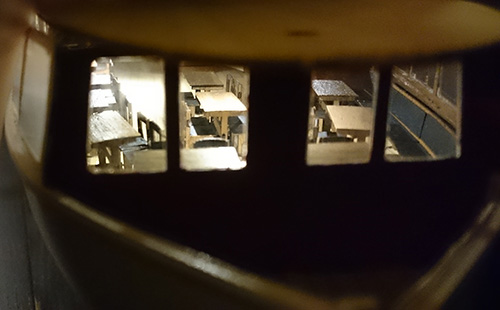
Well, I could not keep away. Just had to do a little more... Finished the cafeteria Started attaching the roof. Does not fit at aft. Have to do some thinking on how to fix that. Testing lightning. The windows are dim since the protective film is still on. From aft.


- 113 replies
-
- 8
-
-
- bohuslän
- nordic class boats
- (and 1 more)
-
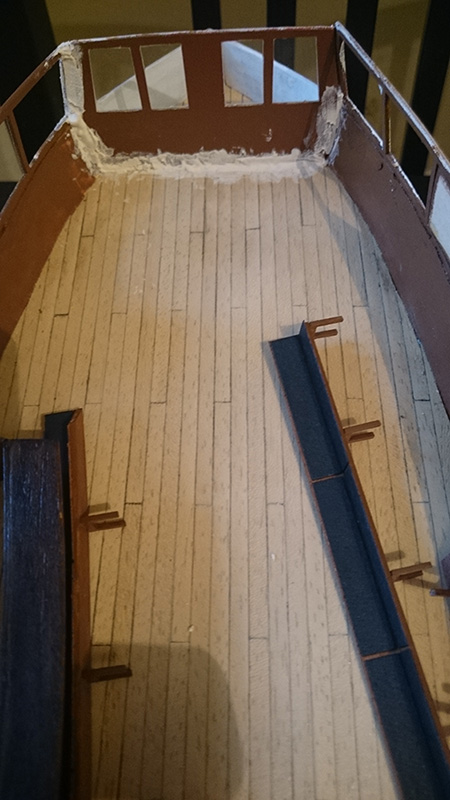
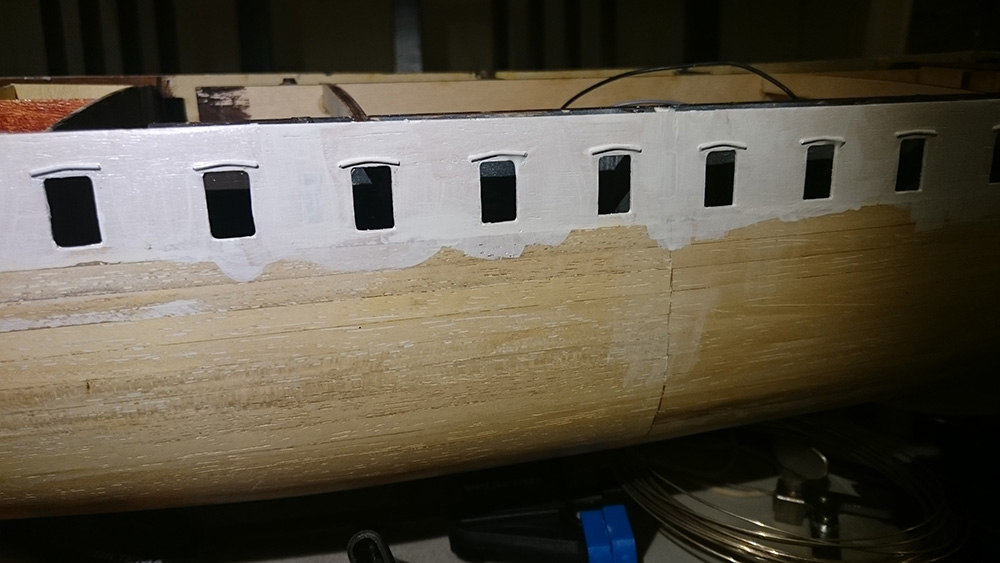
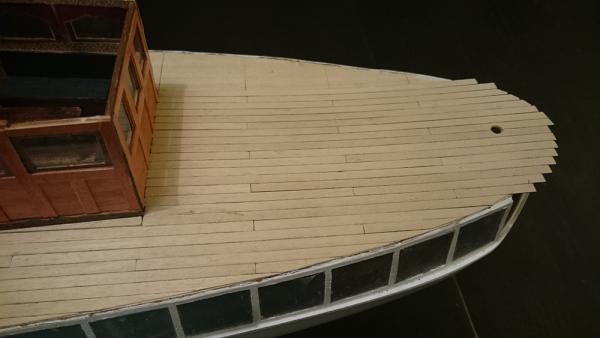
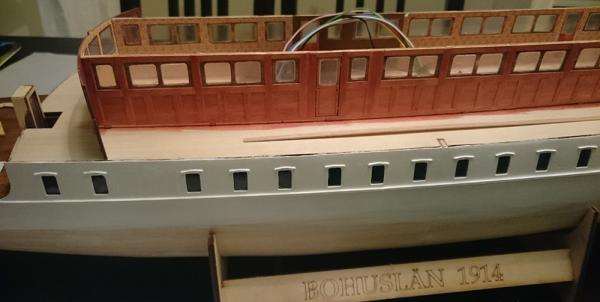
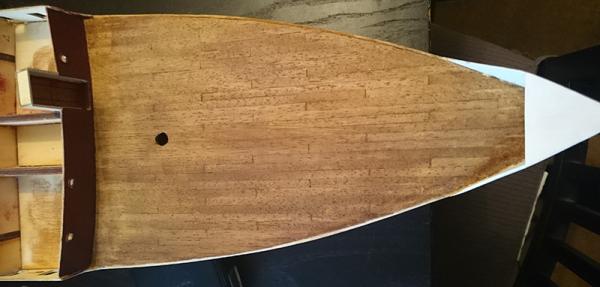
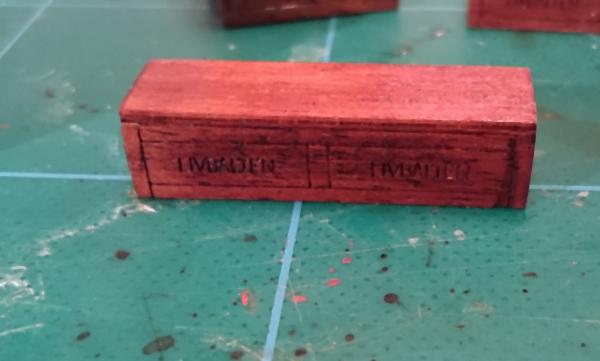
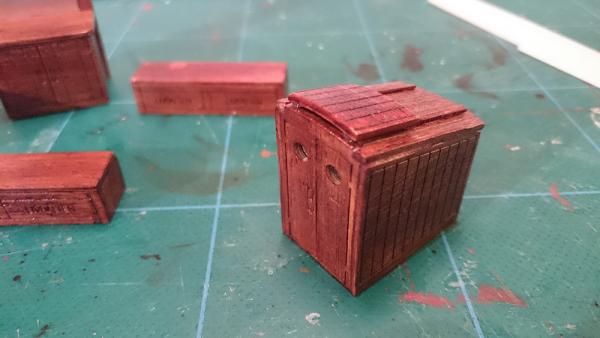
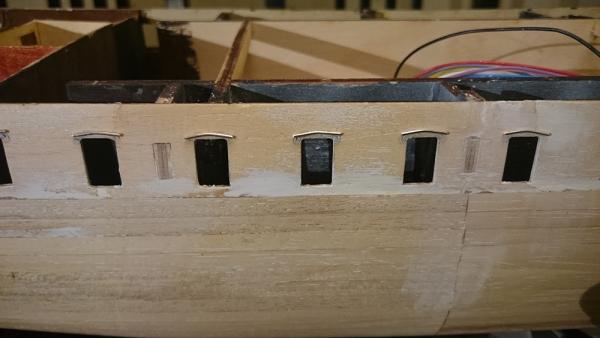
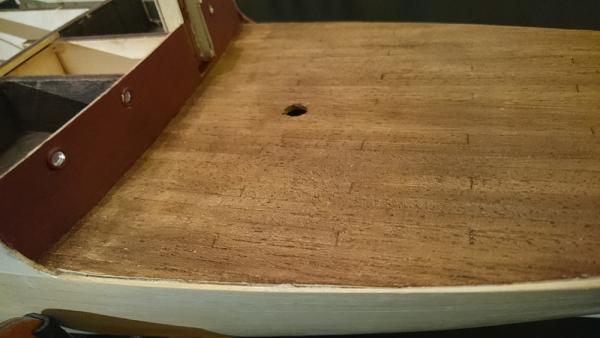
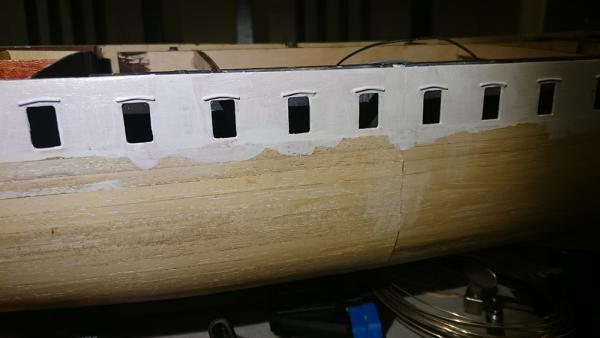
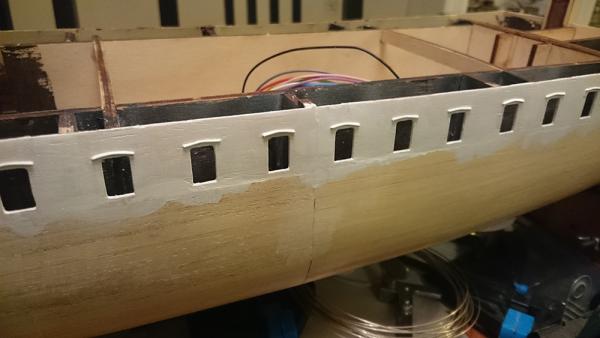
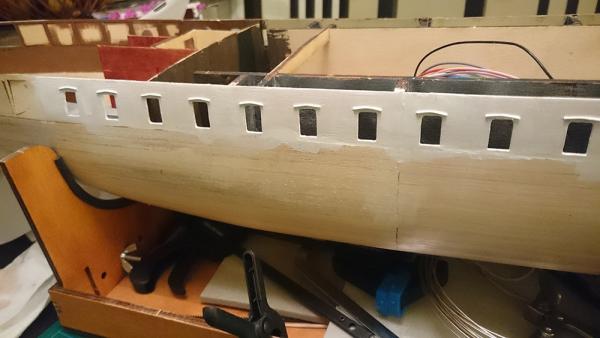
Hello all I've been doing some odds and ends on the Bohuslän. Oak stain on the front deck: Aft wall of cafeteria did not fit so good. It may be me having trouble getting the planks to lay flush to the frames aft. Filler, sanding and paint plus the sofas will hide this mess I hope. The lip of the windows where marked with the lasercutter. They would disappear when painted so I cut some silver wire and made a rather simple ornament. I tried doing the curly bit on the ends but it was impossible (for me) to get them all identical so I went for the simple variation. First of many, many, many coats of paint. No portholes included so I ordered from CMB. Companionway and "lifebelt boxes" Kind if weathered look. The plywood is very bristle and breaks all the time. Well, I'll be doing some rigging again on my other builds for a while so the next update will not be too soon.

- 113 replies
-
- 7
-
-
- bohuslän
- nordic class boats
- (and 1 more)
-
Since burnside63 told me about others having this kit without the mismatch pieces I contacted Turkmodel. Mr. Selvi answered quickly and confirmed that they had some adjustment issues on the first batch of this kit. They are sending me replacement parts ASAP. So I'm back on track again. But now I have four builds going simultaneously Thank you burnside63 for kick-starting me on this one.
- 113 replies
-
- 2
-
-
- bohuslän
- nordic class boats
- (and 1 more)
-
I would not acquire "Bohuslän" if I was you. The laser cut wall panels, roof and doors do not fit at all. I can't understand how they could do so wrong. It's like the parts are at a different scale. Just to let you know.
-
Is a waterline marker useful?
puckotred replied to CharlieZardoz's topic in Modeling tools and Workshop Equipment
This one works like a charm: waterline marker -
As some of you know I had a dispute with a retailer over a Euromodel kit. The retailer never sent me anything and I had to get a refund from Paypal. Euromodel heard about this issue through Pete who runs their helpdesk and although Euromodel was in no way part of this dispute they offered me a discount on the kit as a compensation for my trouble with the retailer!!!! This is really an example of extraordinaire customer care I never have experienced before, and it shows how much Euromodel values their customers. Thank you Euromodel and thank you Pete.
-
Thanks for visiting Nils. Sorry to say that Bohuslän is on hold. Think I'll have to do a lot of the panels from scratch and I'm not ready for that right now. In the meanwhile I'm rigging a Pegasus model and masting one called Amphion. Hopefully the Pinco Genovese from Euromodel is on it's way soon.
- 113 replies
-
- 1
-
-
- bohuslän
- nordic class boats
- (and 1 more)
-
Hello Peter. Wonderful model. A true inspiration. I bought this model half built some time ago and I'm now at the rigging stage. I have a question about the Futtock Staves. Did you tie them to every shroud or just to a few? I'm worried I'll end up with a big lump of knots with all the rope meeting there. Cheers
-
Billings boats has a Titanic that measures about 1800mm.
-
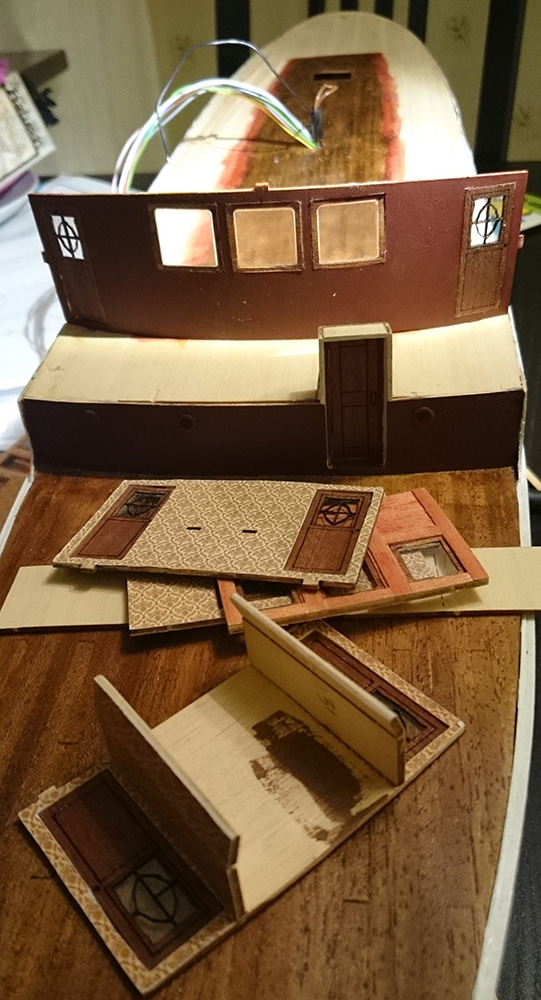
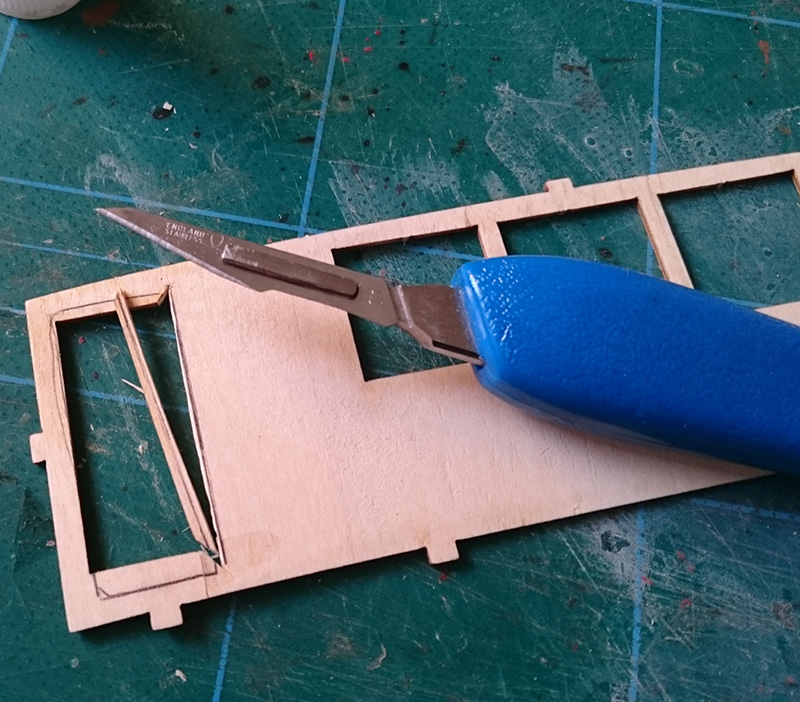
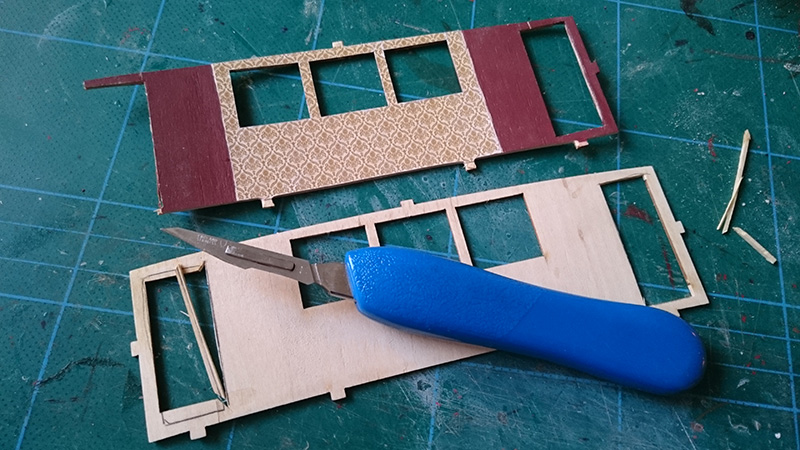
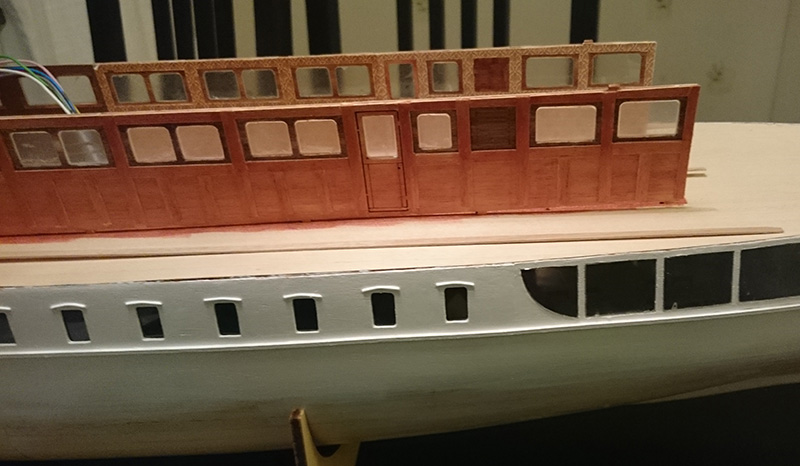
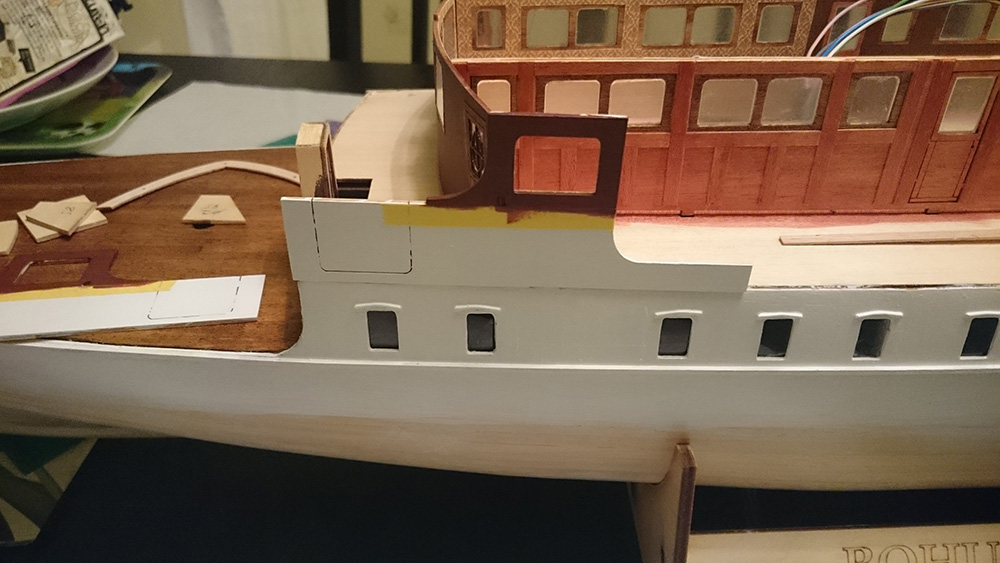
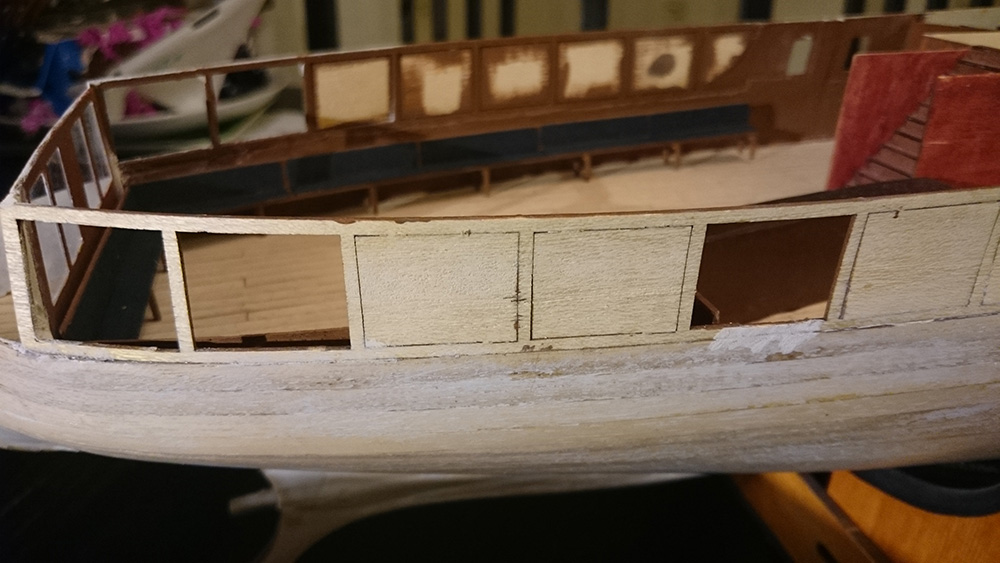
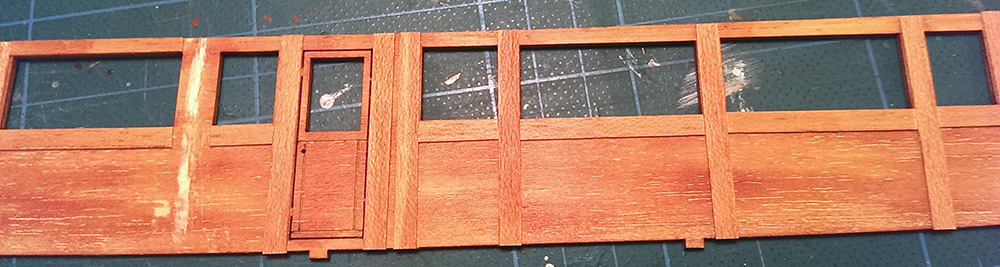
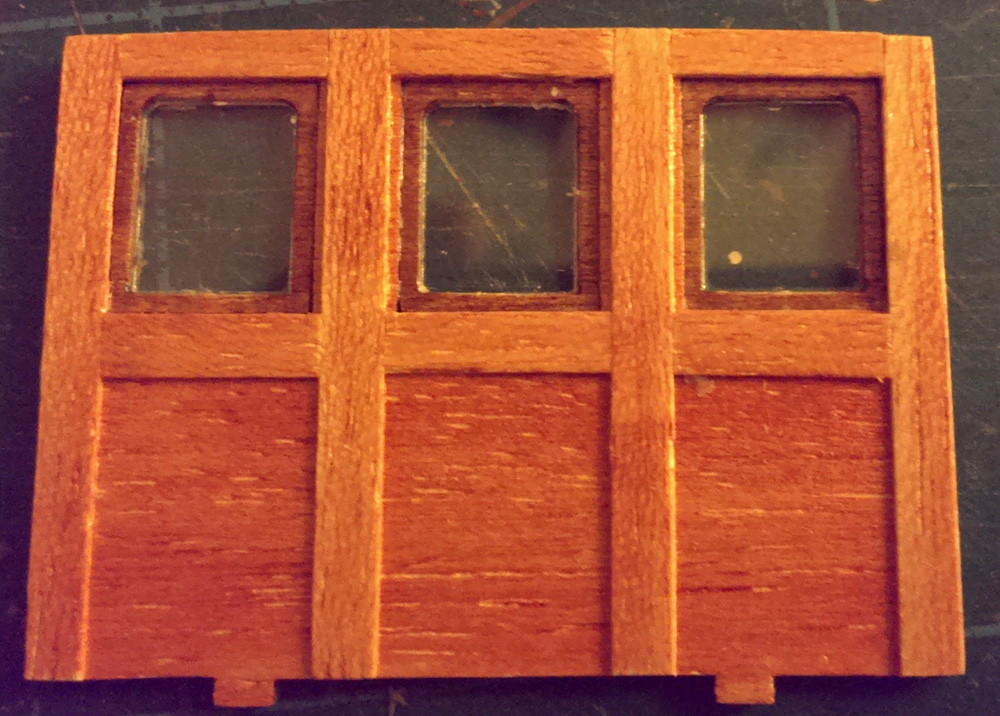
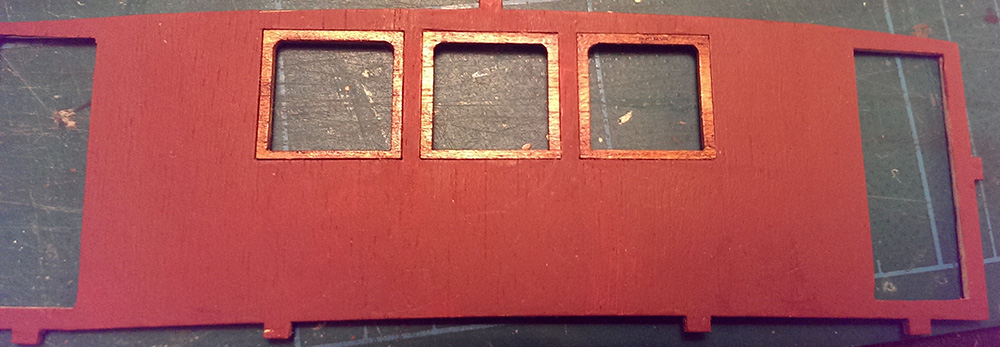
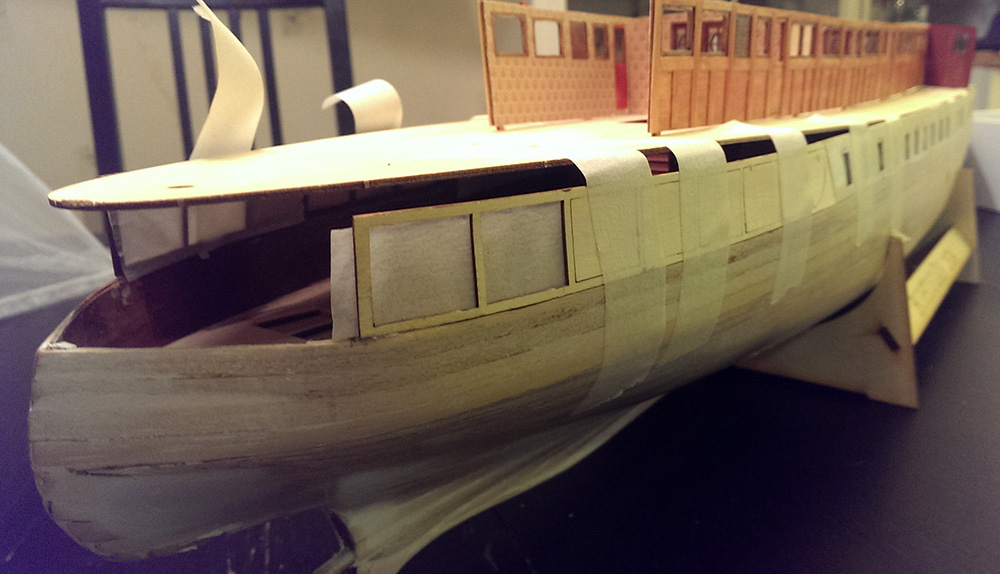
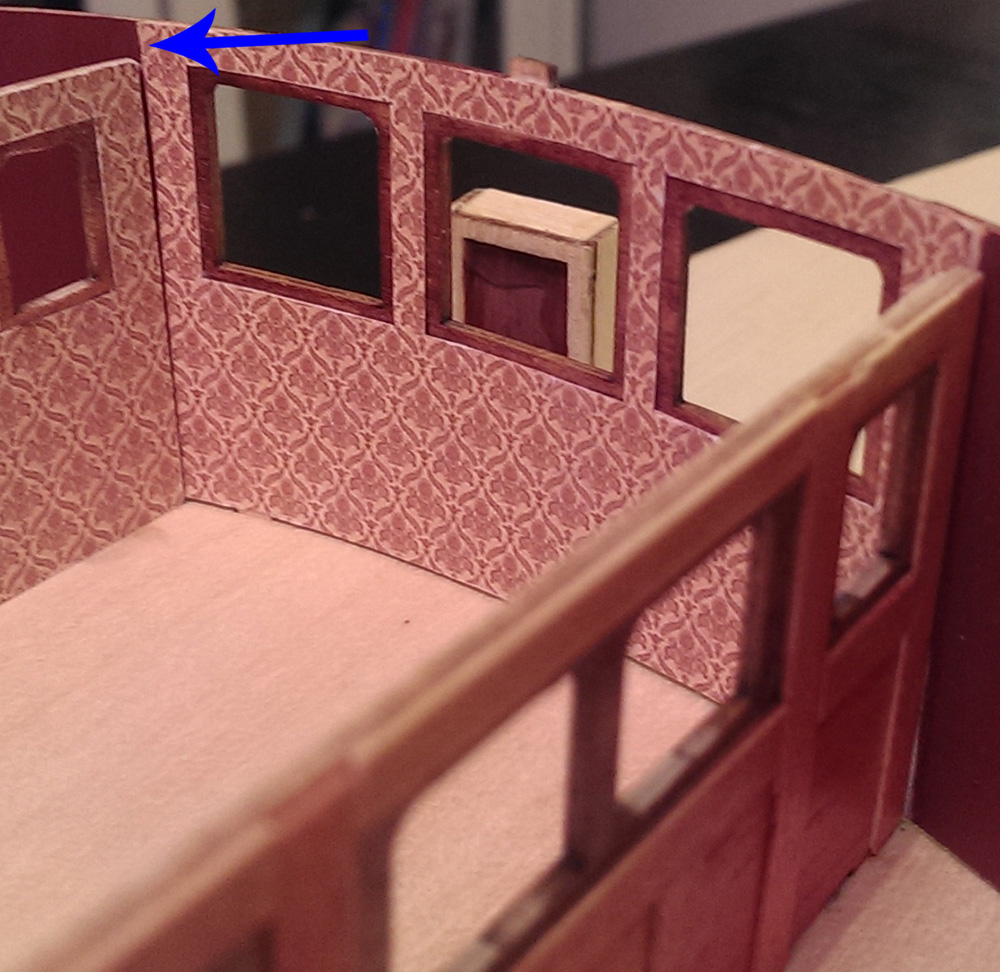
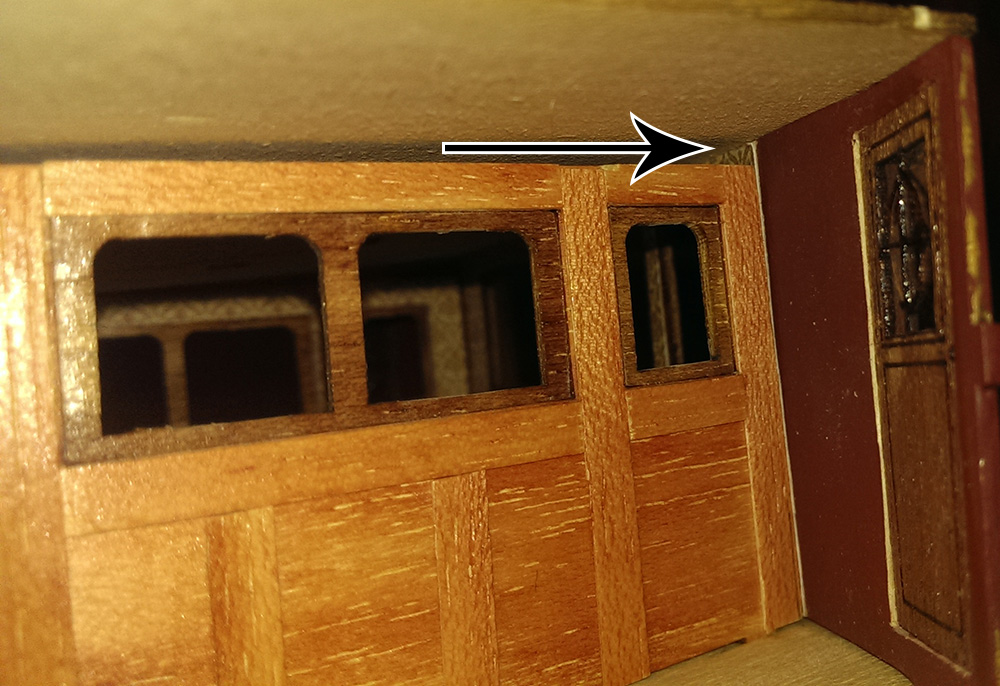
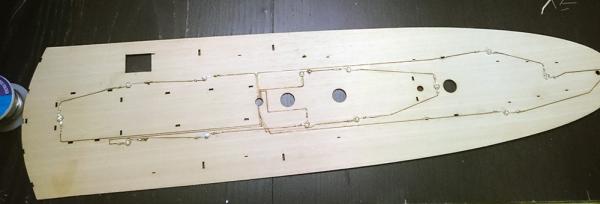
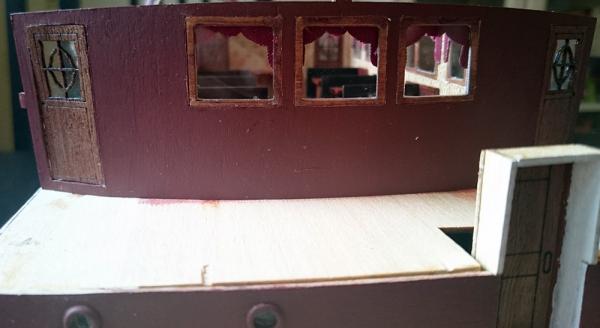
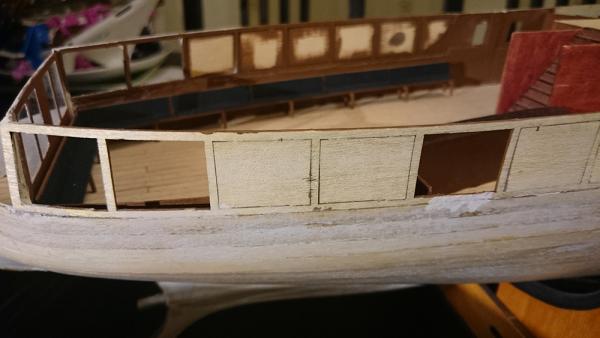
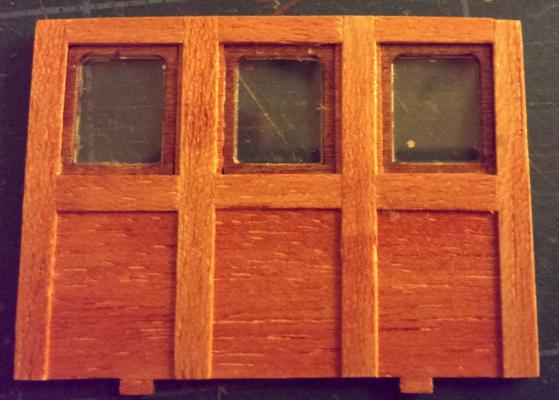
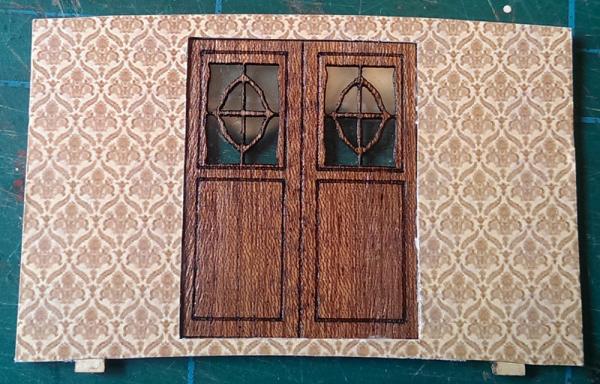
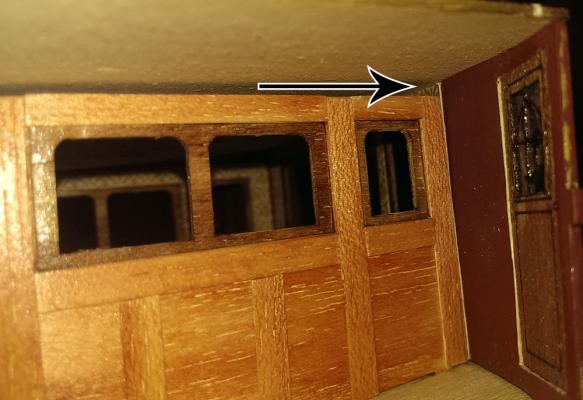
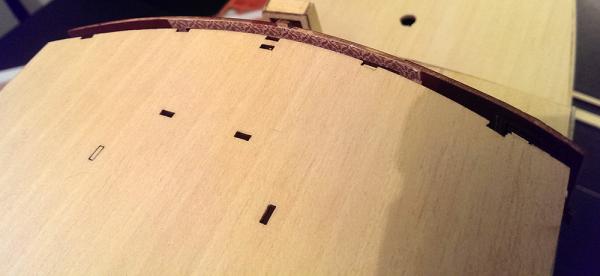
Hello, While waiting for some paint to arrive from England I thought I could do the upper cabins. Outside panels: Some wallpaper on the inside: Windowframes: Windows mounted (scrathces from mat underneath): Front: and a double doors: The doors where 5 mm too tall and about 3 mm too wide. Extremely sloppy considering it is laser cut! Had a hard time with frames breaking when I was sanding the opening wider. Not happy!!! Then I discovered this: The main deck is apparently curving upwards at the aft. there is no hint of this in the plans. They show planking following the top of the frames, but then there's no curve. Almost 10 mm gap at most. The walls of the upper cabins are curved for this but I did not realize it was that much. Looking at the few pictures I could find of this model shows no curve either.I have no I dea how to fix this. I thought I could maybe mount some scrap strip on top of the rear windows. Then I discovered the next catastrophe: A gap from the upper cabin walls to the front of almost 5 mm!!! No way to attach upper deck there. And this is LASER CUT!?! The light from the LEDs will spill out here. Shaving off the top of the front will free the window frames and the doors on each side. Cutting the bottom cuts the doorframe. Since the doors where too big, there's no marginals left!!! To say the least I'm really pissed off right now! Will take another look at this the day after tomorrow since tomorrow I have some real boats to renovate.


- 113 replies
-
- 2
-
-
- bohuslän
- nordic class boats
- (and 1 more)
-
I never bother, it's gone the day after anyway...