SGraham
-
Posts
538 -
Joined
-
Last visited
Content Type
Profiles
Forums
Gallery
Events
Everything posted by SGraham
-

HALF MOON by jct - FINISHED - Corel
SGraham replied to jct's topic in - Kit build logs for subjects built from 1501 - 1750
Looking very, very good, J. Pardon me if you've already mentioned this in your log: how did you blacken the port hinges? Steve -
Thanks Sam. That's a really helpful resource. Well, I might try a hooked scarph on the next joint down the railing. I'm getting better at sneaking up on the right shape. That breast hook took a lot of sneaking. Steve
- 569 replies
-
- 1
-

-
- shenandoah
- corel
- (and 1 more)
-
Thanks for the kind words, J. Wow, that micro hardware is very cool. Thanks for the link. I just ordered some stuff. Steve
-
Hooray, progress! Thanks David. I appreciate that you take the time to comment helpfully on so many people's builds in spite of your own health situation. Noticed and appreciated, sir. Steve
- 569 replies
-
- 1
-
-
- shenandoah
- corel
- (and 1 more)
-
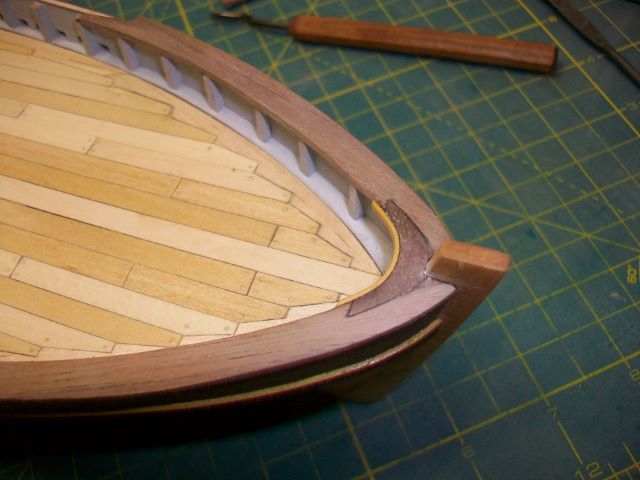
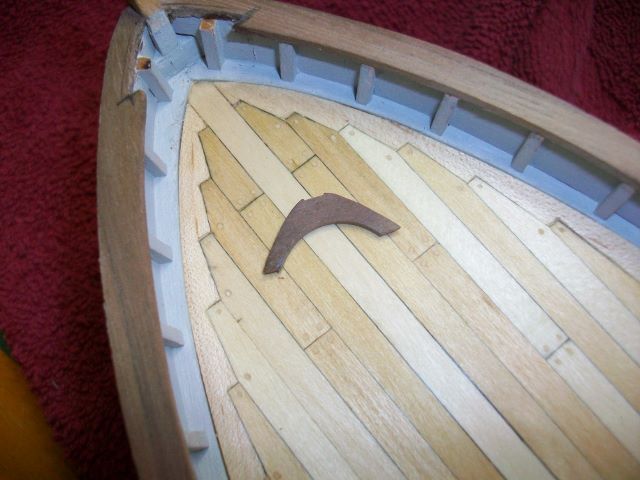
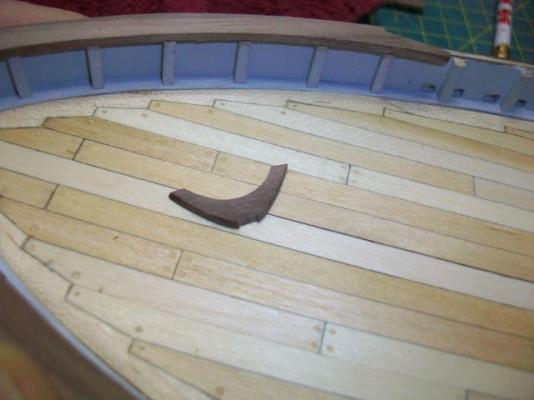
I thought it would look kind of nice to bend a piece of wood and attach it to the inside face of the hook. I had a little left of the boxwood I made the wales from. My guitar side bender wouldn't take this tight of a curve, so I used a soldering iron. It took me a little while to get the scorch marks off. I think I'd like to add 3 bolt heads--one to each side of the curved piece and one in the middle. Any thoughts on how to do this? Thanks so much for reading! Steve


- 569 replies
-
- 7
-
-
- shenandoah
- corel
- (and 1 more)
-
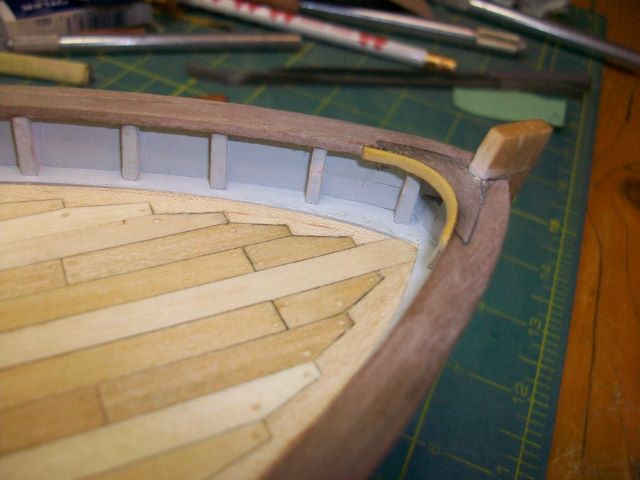
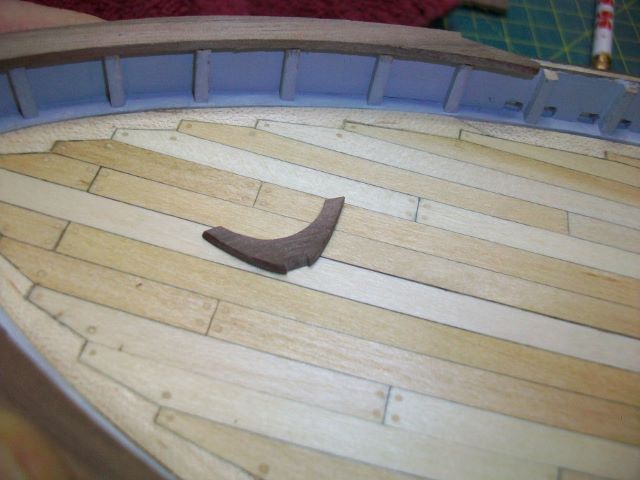
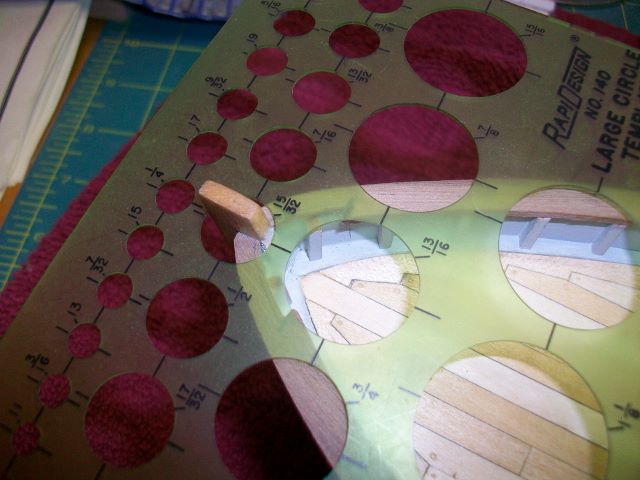
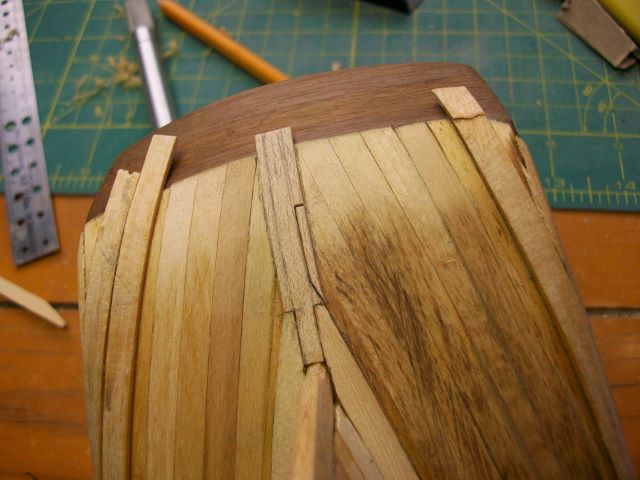
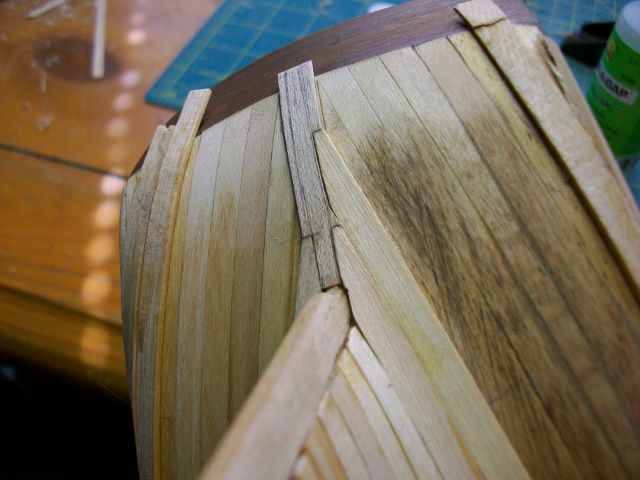
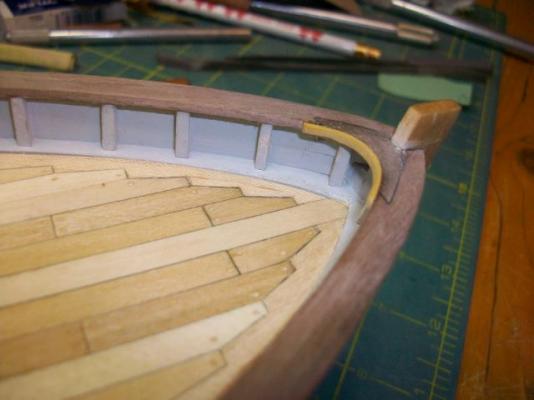
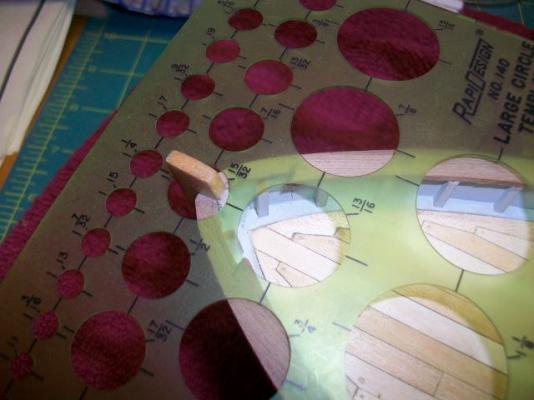
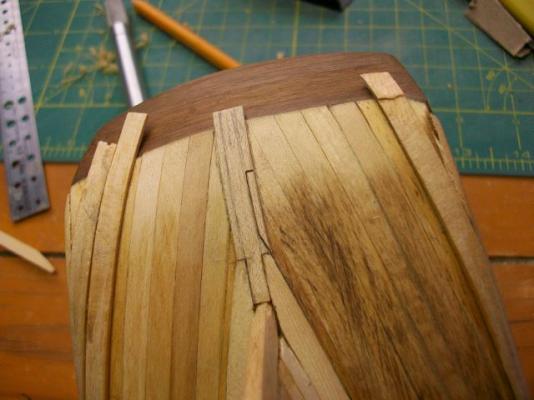
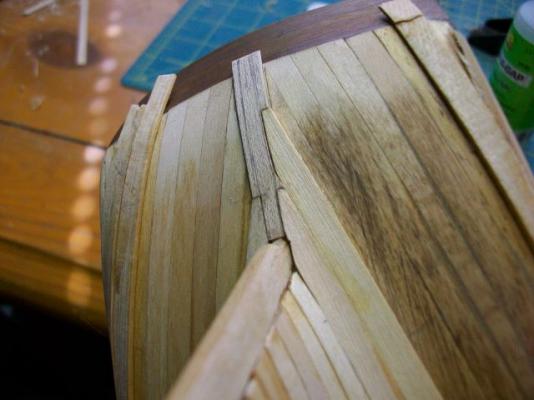
The plans show a breasthook of sorts joining the two bow railcap pieces at the stem. So, I cut out a space for the breasthook and made a piece from the same walnut to fit the space, but with the grain running side to side. Next, I found a circle on a template that matched the inside radius nicely. I sanded this radius unto the back of the breasthook on the spindle sander. I had to cut a slanted notch down the front of the breasthook so it would accept the stem.Thanks for looking! Steve

- 569 replies
-
- 5
-
-
- shenandoah
- corel
- (and 1 more)
-
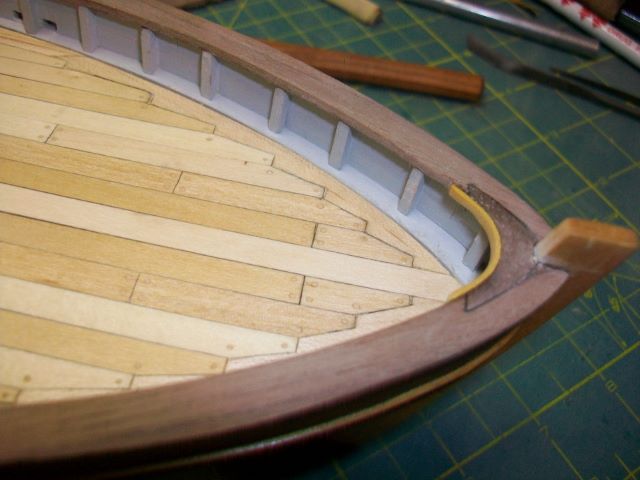
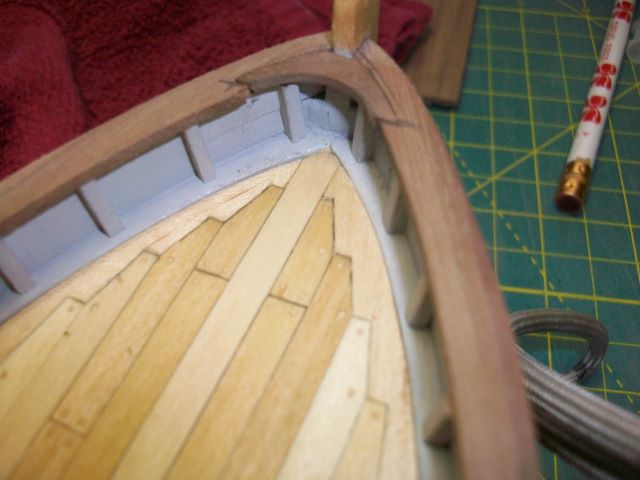
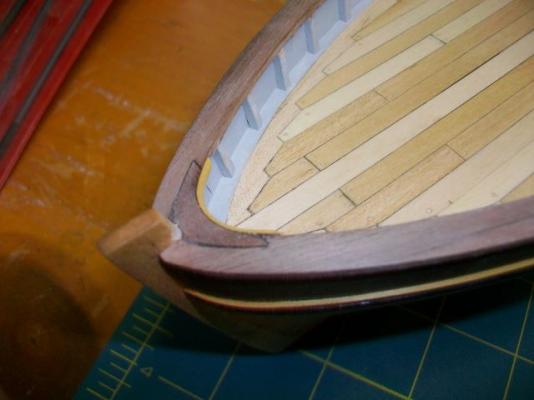
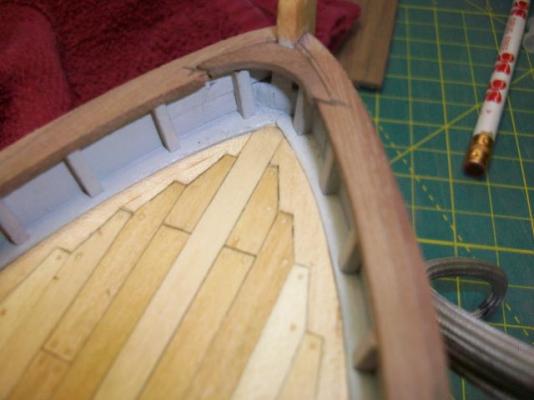
I got a little more work done today on the cutter. I've begun installing the rail caps. I've got the two bow pieces installed. They are really wide; in fact, they're downright chubby. That's because with all the messing around I was doing earlier in the build, I made the bulwarks much thicker than they should have been. Oh well, another lesson learned. I'd better start keeping a "mistakes to avoid next time" notebook. They'll be somewhat narrower when they're finished since I'm not going to trim the outsides until they're all installed. Then I'll cut them as close to the side of the bulwarks as I can still leaving a bit of overhang. I'll be making each side out of three pieces of walnut and jointing them with scarph joints. I don't know how to cut a hooked scarph joint yet and have decided to leave that for the next build. Here are the scarphs.
- 569 replies
-
- 4
-
-
- shenandoah
- corel
- (and 1 more)
-
Very nice work, Jesse. Can't wait to see those deadeyes and chain plates on the Maid. Steve
- 607 replies
-
- 1
-
-
- scottish maid
- artesania latina
- (and 1 more)
-
Thanks Sam! Thanks, also, Dave. Food for thought... Steve
-
Thanks David. Do you even use them on your models? Steve
-
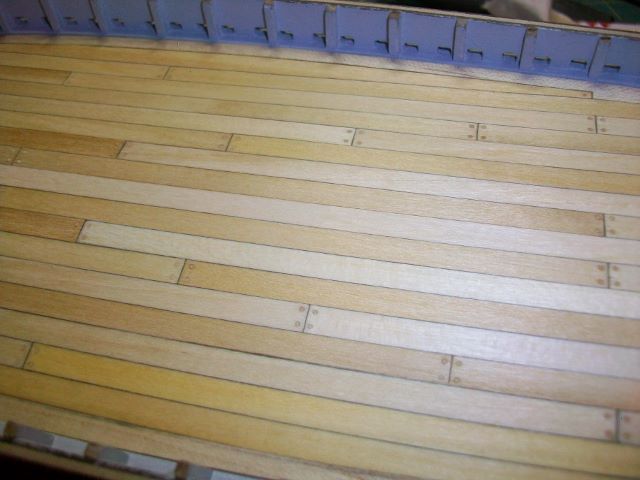
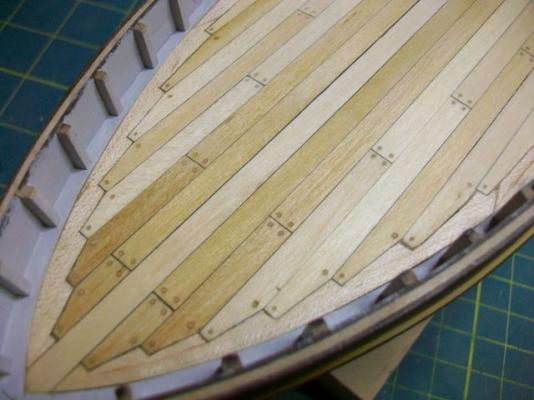
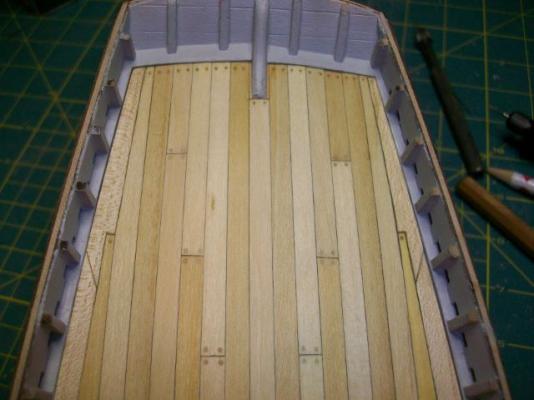
Well, I got the deck drilled, filled, sanded back down, and resealed. I think I'm pretty happy with the "treenails." They're sort of large, but they aren't as obvious in person as they are in the photos. Thanks for the advice! Steve

- 569 replies
-
- 2
-
-
- shenandoah
- corel
- (and 1 more)
-
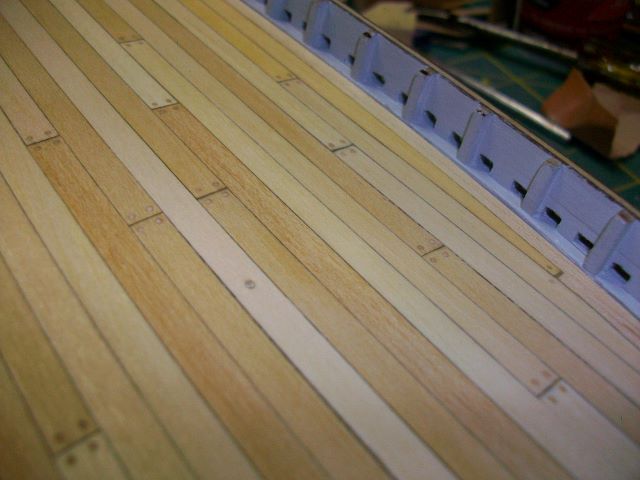
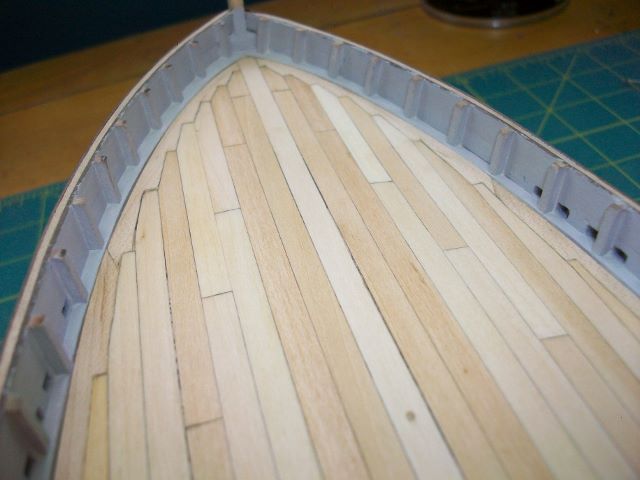
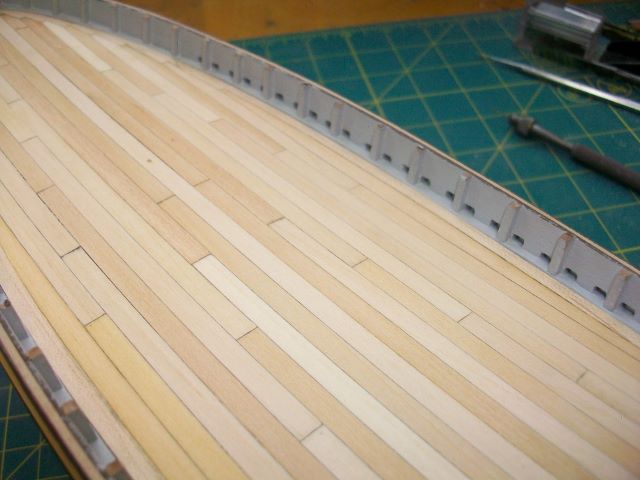
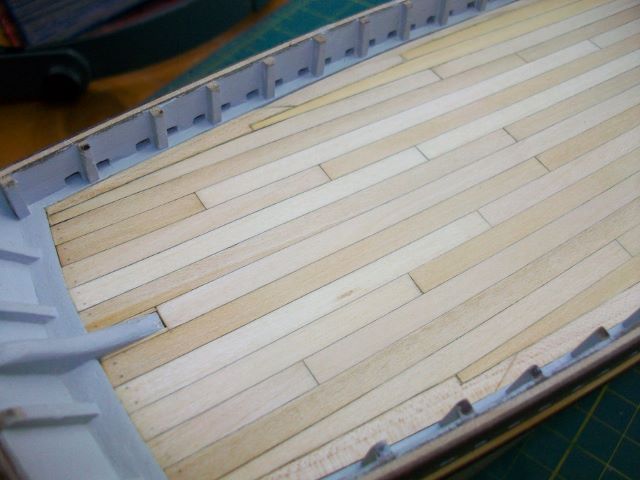
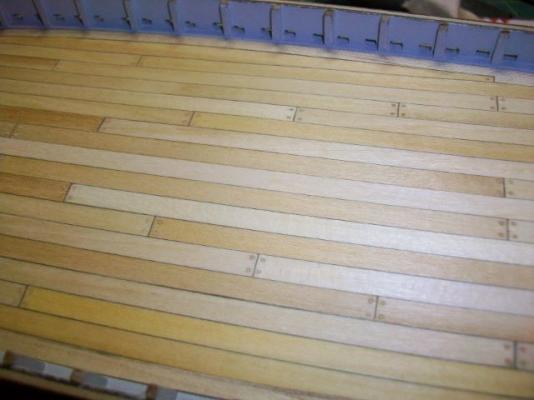
Thanks for the quick replies David and Sam. I've used pore filler on guitars and such. That's great stuff. I wasn't thinking of using it on this build. I want a pretty subtle effect, maybe more like the wooden plugs they use on decks over nails and spikes. My idea was to use a natural colored wood filler--not putty, apply it in the holes a few at a time with a toothpick, and then scrape it off with a razor blade before it sets. It'll need a light scraping or sanding after it dries too, I'm sure. I've only applied sanding sealer to the deck as yet. Do you think this sounds workable? I just applied a light oak stain to the hull. I like how it looks but it's too dark for the deck. I think I'll merely oil the deck after treenailing. I like the kind of haphazard effect of the different colors of planks. Steve
-
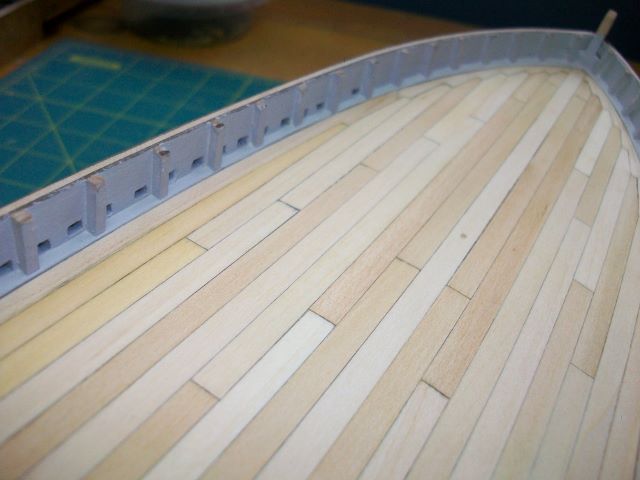
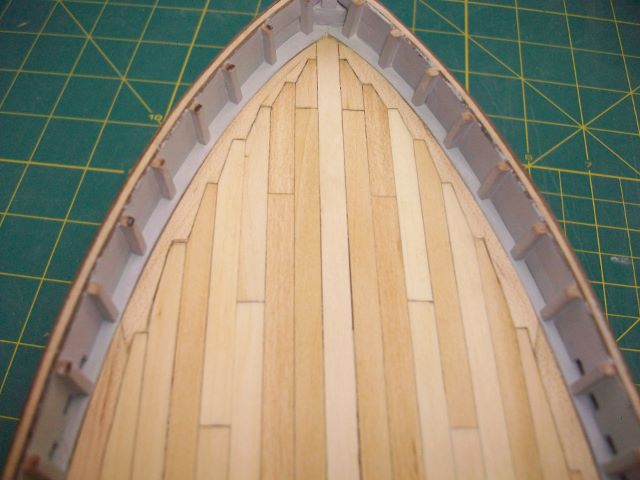
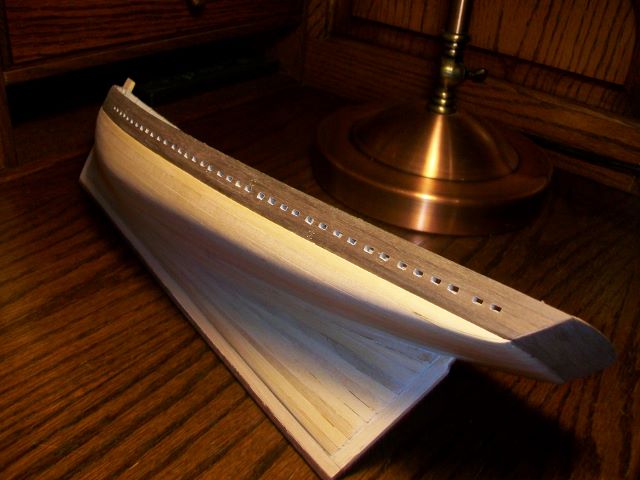
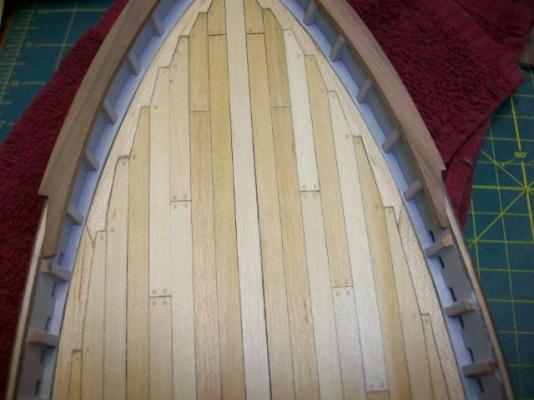
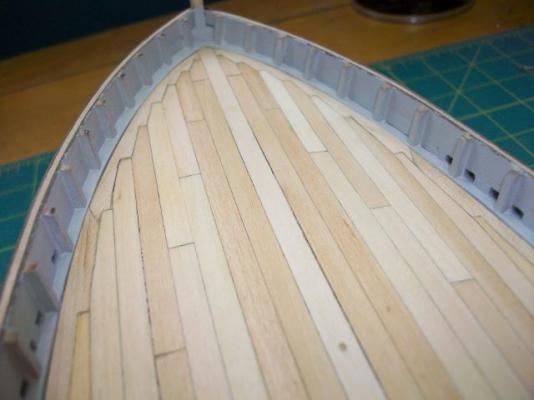
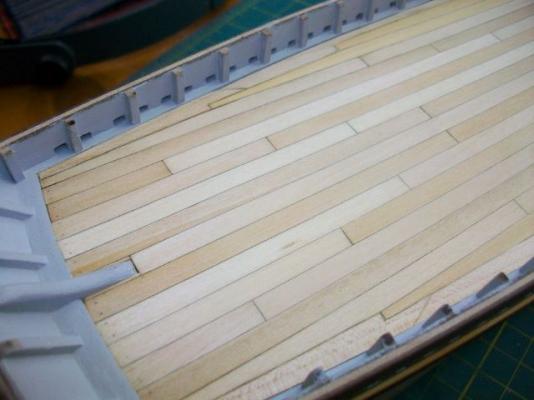
Thanks J and Sam. I finished planking the deck today and got it sealed. I'm still deciding whether or not to give it a thinned coat of light stain. I'm going to try to simulate treenails with filler after it dries. Is it best to oil/poly first and then do the treenails or vice versa? Or does it even matter? Here are some pics of the finished deck. Steve


- 569 replies
-
- 7
-
-
- shenandoah
- corel
- (and 1 more)
-
Band Saw Question... or two
SGraham replied to mtaylor's topic in Modeling tools and Workshop Equipment
Mark, +1 on what Duff says. You can pick up an older 14" USA made band saw for not much money. Check out the older Deltas, Walker Turners, Atlas, etc. I have a late '40s Delta 14" that I use to size stock. I don't know how I would do without it. There is a website called VintageMachinery.org (owwm.com) that offers all kinds of support for folks who want to get an older machine and tune it up. They really are so much better than the new underpowered plastic/sheet metal things you can buy at the big box stores. With ebony or boxwood stock of the dimensions you mention, I'd resaw it on the band saw to thin enough pieces and then do the fine cutting of the planks on my small table saw. Steve -
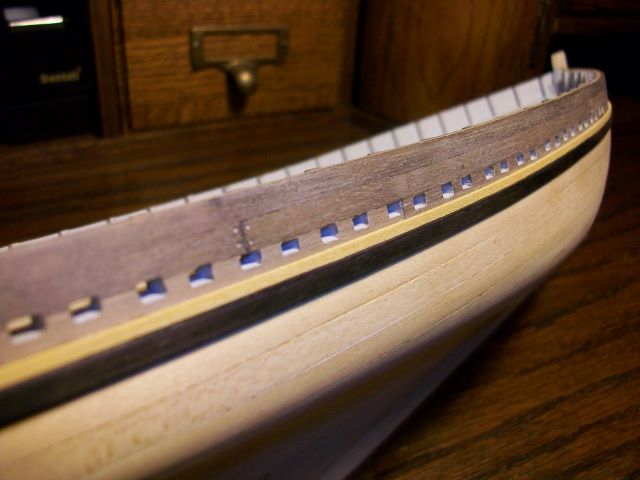
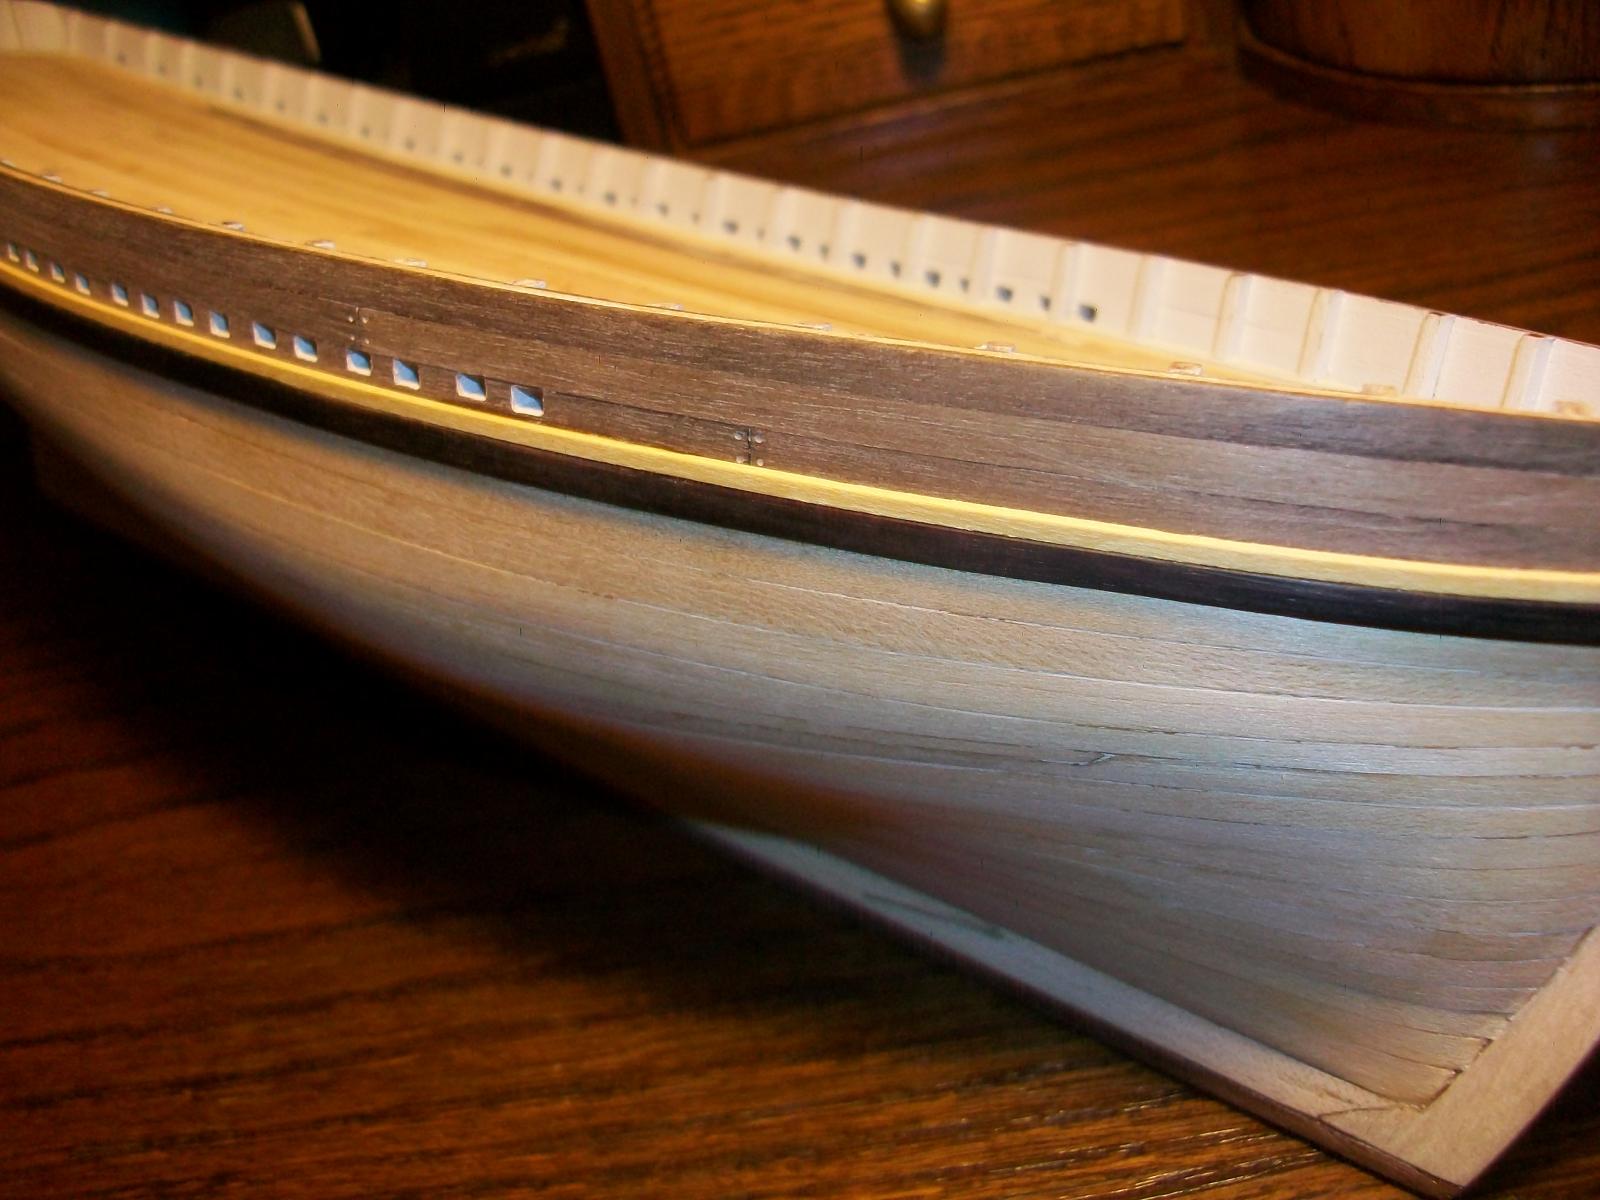
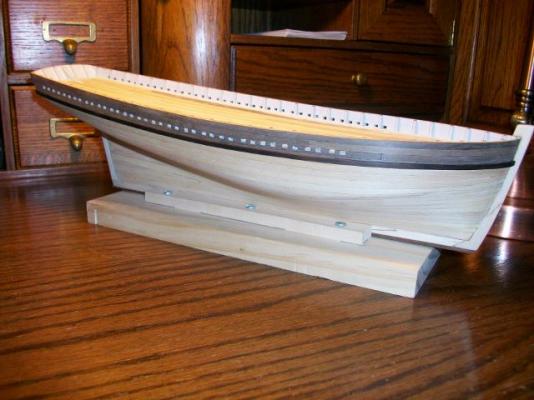
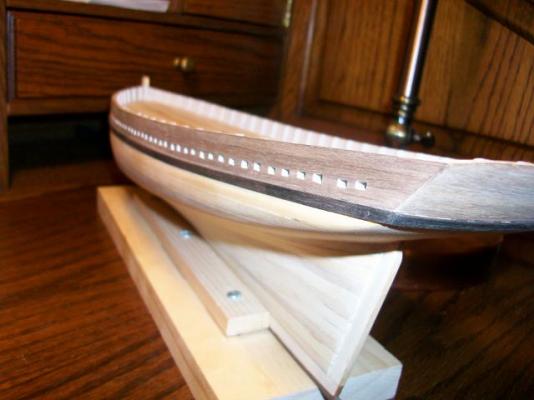
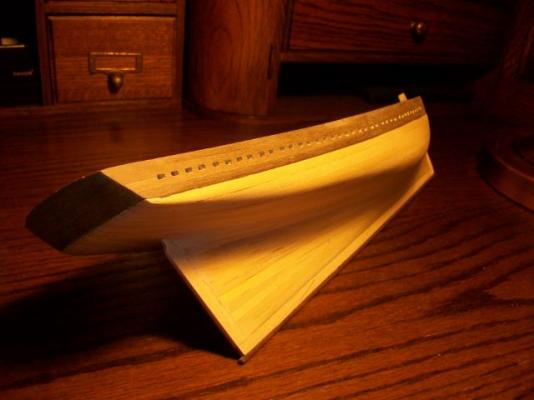
The work continues by drips and dribbles. Here's the contrasting wale (I think it's boxwood) above the ebony. The ebony was easier to bend. Steve


- 569 replies
-
- 11
-
-
- shenandoah
- corel
- (and 1 more)
-
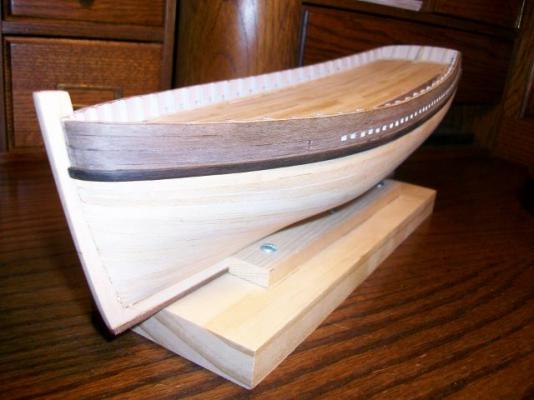
Thanks all, for the kind comments. I agree, Sam; something lighter in color would look good, especially since the walnut topsides are going to darken considerably when I oil them. Next step is sealing and staining. Steve
-
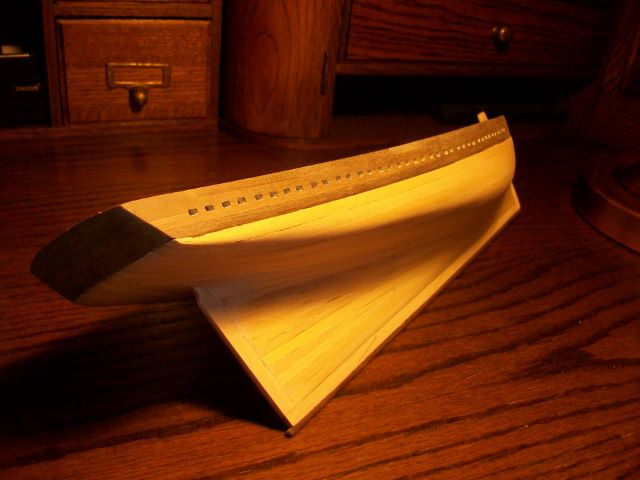
Here's the wale in place. I'm thinking of adding a smaller, thinner one above it in a contrasting color. Maybe a dark mahogany, or maybe painted. Thanks for looking. Steve

- 569 replies
-
- 5
-
-
- shenandoah
- corel
- (and 1 more)
-
Thanks Bindy, Jesse, and J. I was going to paint, but my painting skills are pretty much non-existent. I'm going to have to look at this ship daily, so I figured I may as well bite the bullet and replank. I found an old piece of streaky brown/black ebony in a scrap box. I'm making the wales from it right now. Steve
-
I'm waiting to see how you solve this one, Jesse. I'm far from being at this stage on my build, but I'll catalog what I learn from your log. Steve
-
HALF MOON by jct - FINISHED - Corel
SGraham replied to jct's topic in - Kit build logs for subjects built from 1501 - 1750
Wow, J, the Half Moon is really coming alive. I love those railings. Steve -
Thanks Nils. I just took a look at your SS Bohuslan. I'd love to be able to achieve that level of proficiency and artistry in my builds some day. Steve
-
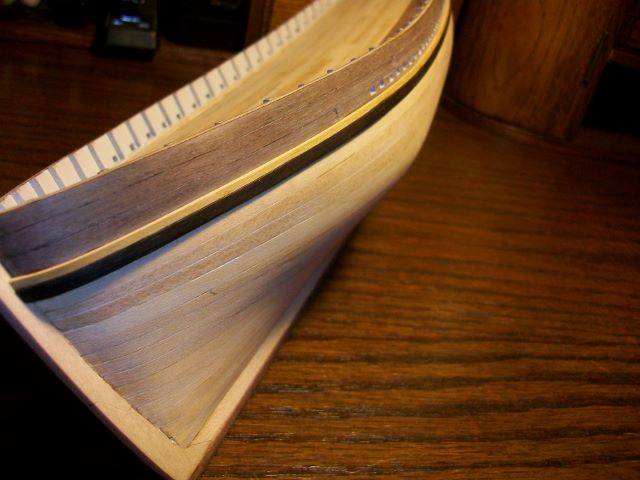
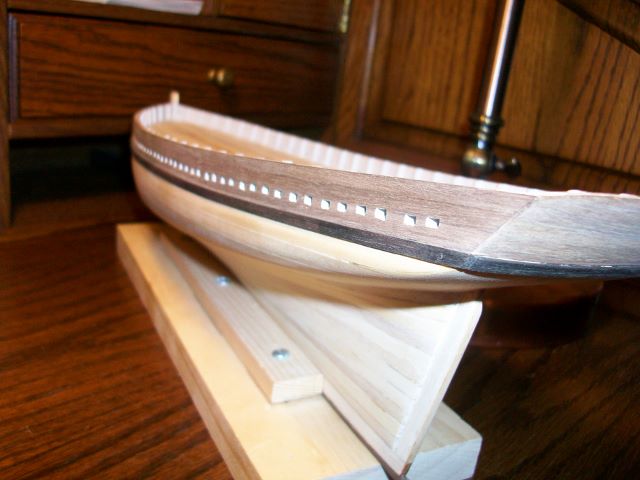
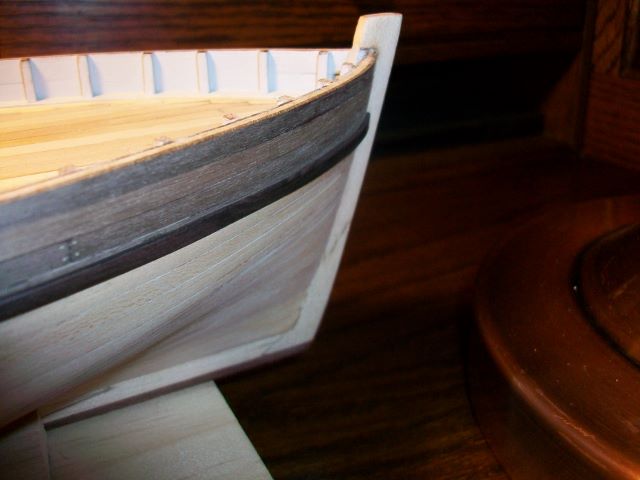
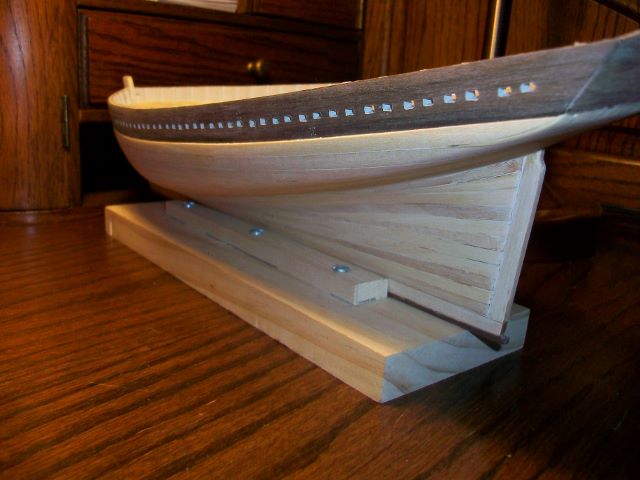
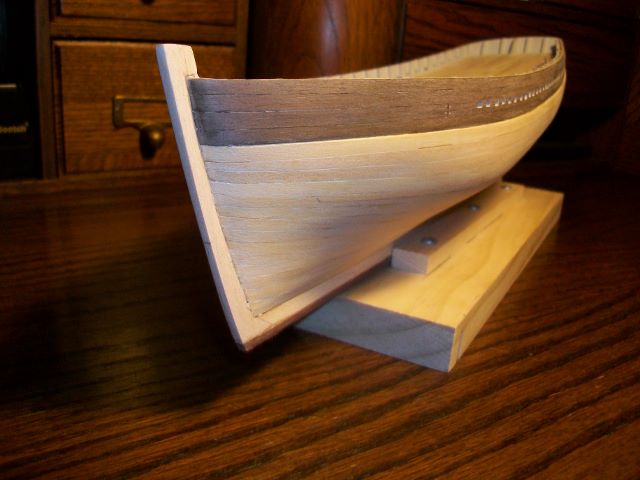
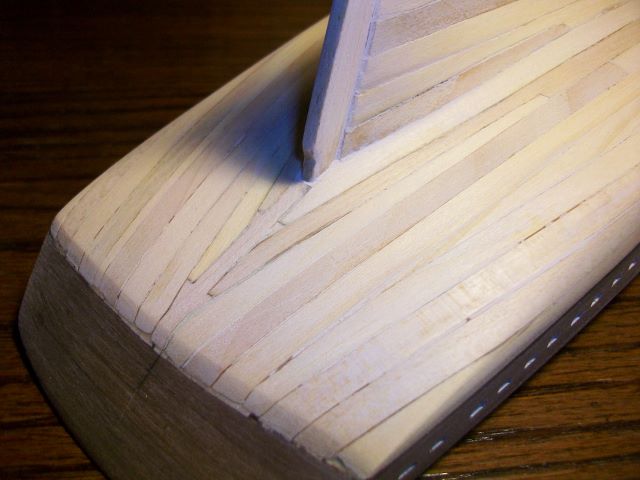
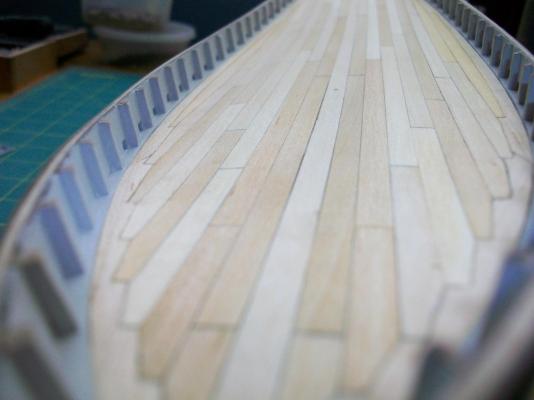
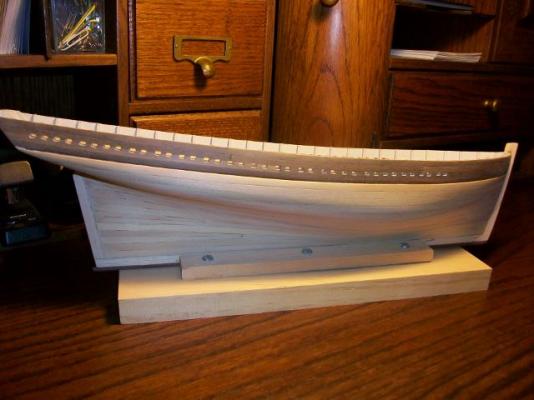
Here are some photos of the replanked hull sanded down to 220 grit. I'm happier with it now and will be sure I seal before I LIGHTLY stain. Thanks for reading. Steve


- 569 replies
-
- 8
-
-
- shenandoah
- corel
- (and 1 more)
-
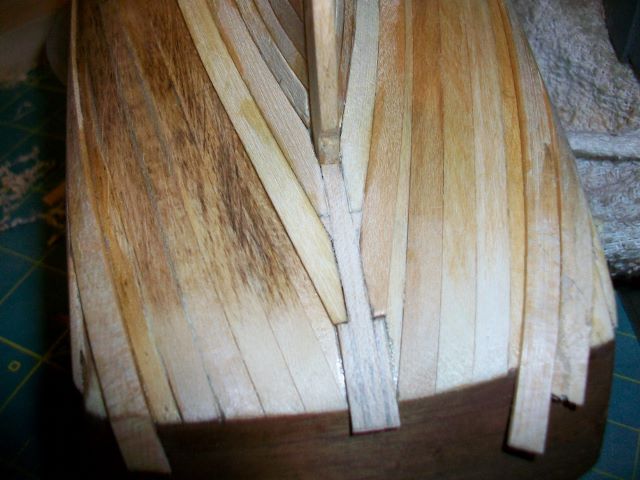
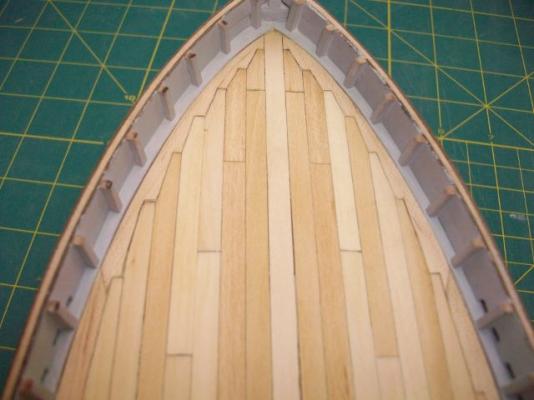
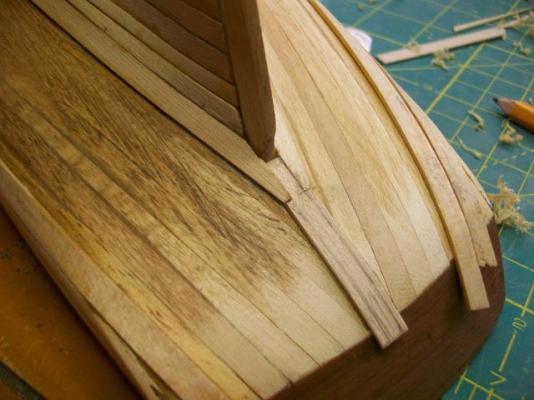
I decided that I didn't want to paint the hull. However, the patches of filler were really bothering me. I somehow came up with the brilliant idea of putting a darker stain on the hull to partially hide the filler. I did this without resealing the hull. I had sanded through all the sealer and forgotten that I had done so. The stain looked horrible--you can see it on one side in the following photos. The stuff wouldn't sand off, so I was left with a choice between painting and putting on another layer of planking. I chose to plank. It went better and worse than the first round. When I got to the bottom of the hull beneath the transom, I decided to joggle the planks. It looks a little odd, but it's done. There's a dark scratch going up the transom from a slip of my knife. I'm not sure what to do about it. There's going to be a piece of trim going across the bottom of the transom to hide the plank ends. Here are the photos. Steve


- 569 replies
-
- 5
-
-
- shenandoah
- corel
- (and 1 more)