pete48
-
Posts
2,132 -
Joined
-
Last visited
Content Type
Profiles
Forums
Gallery
Events
Everything posted by pete48
-
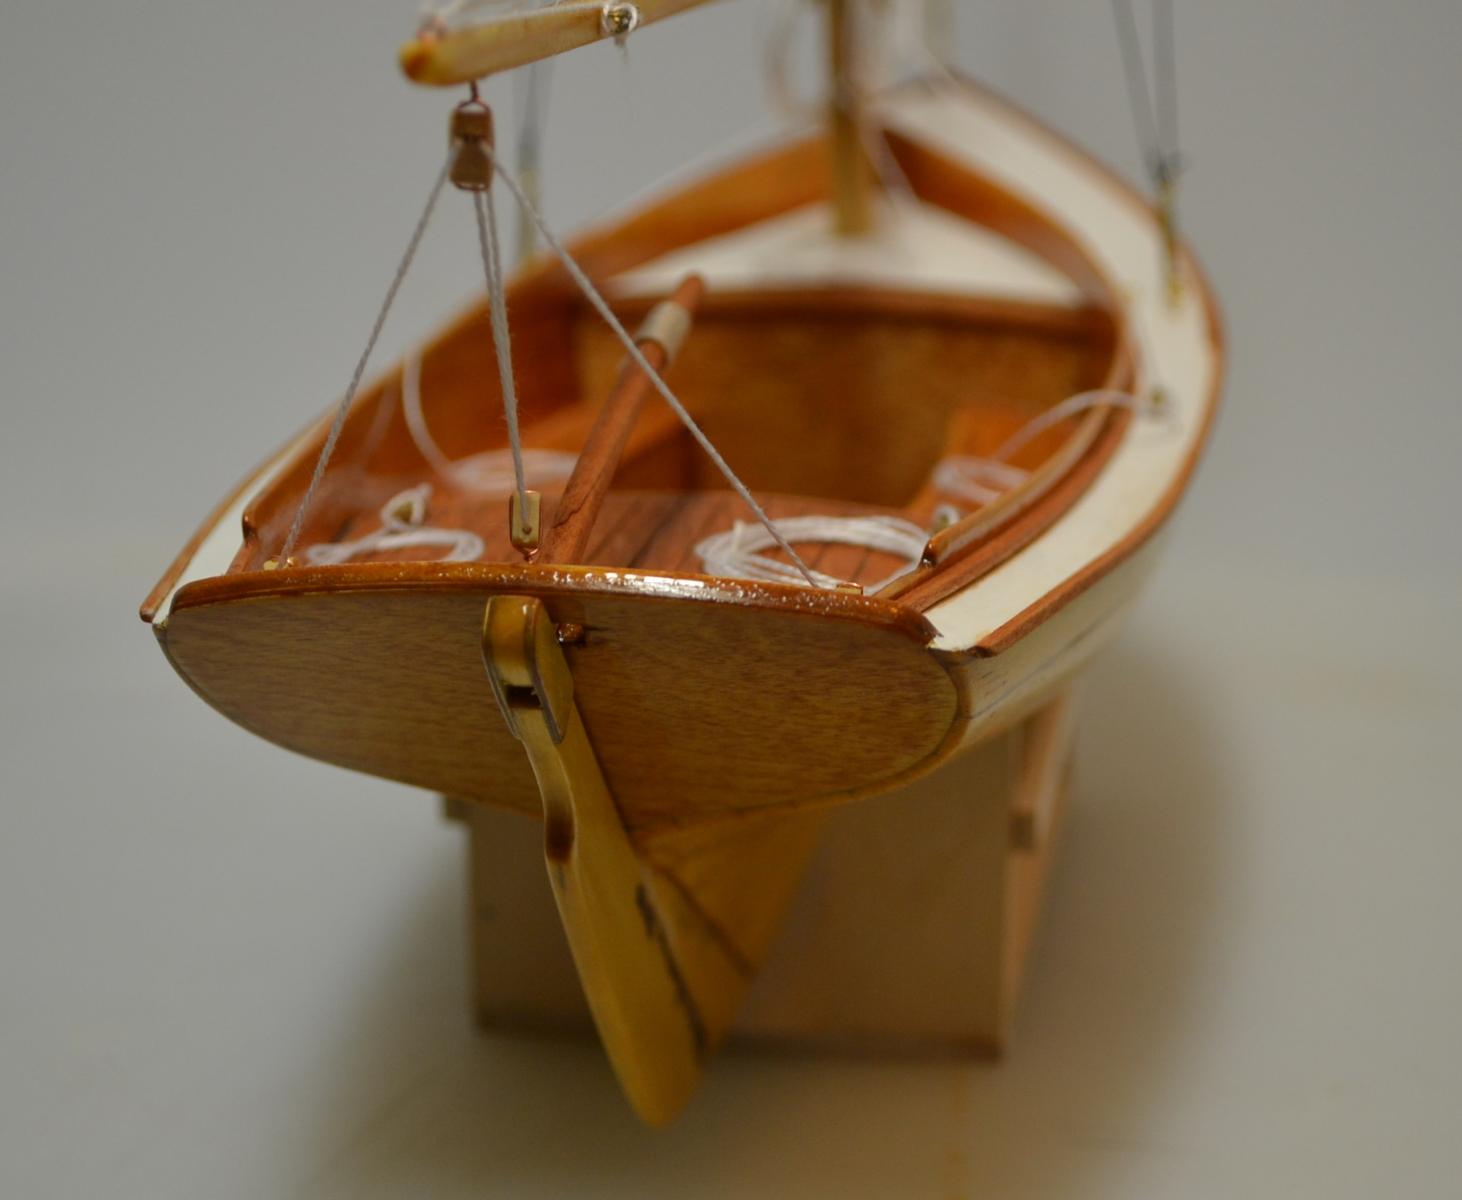
 You know it Patrick , The transom was the trickiest part of this build, ( it was a challenge to say the least ) Best Regards, Pete
- 77 replies
-
- 1
-

-
- alerion
- herreshoff
- (and 1 more)
-
Thanks Patrick, We are almost there , I bet she sails great. I am thinking I have to do a free sail version just to see what she can do Best Regards, Pete
-
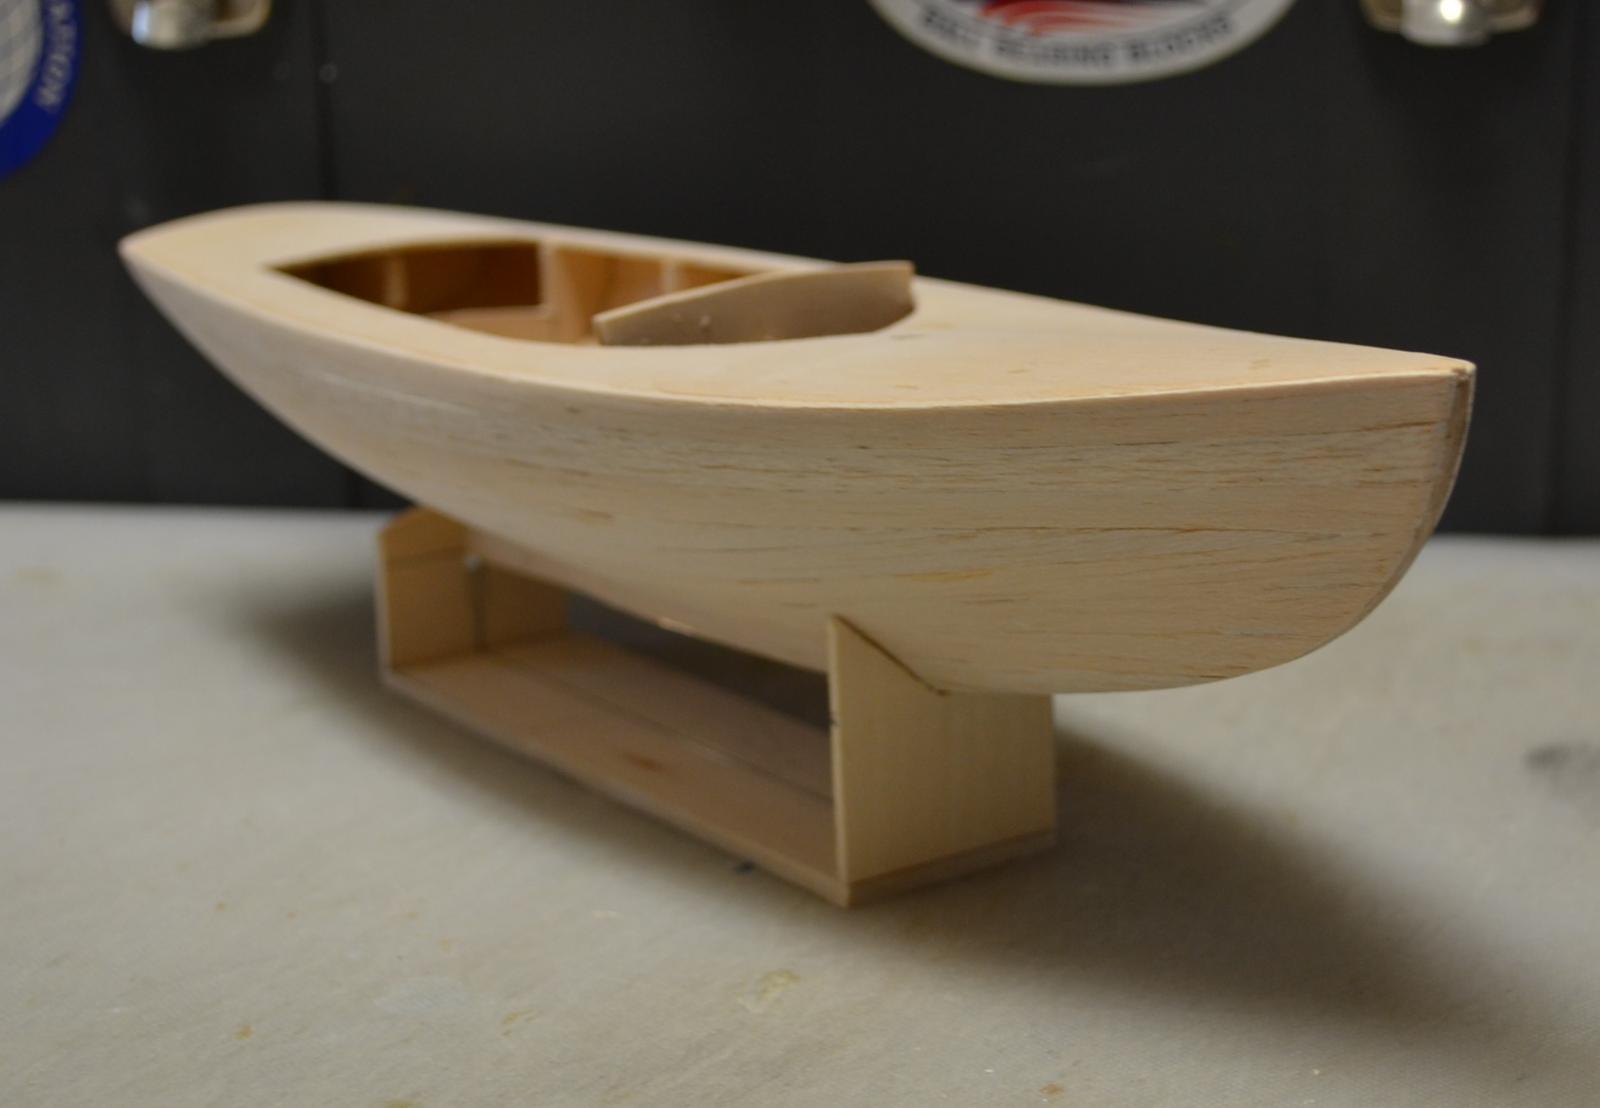
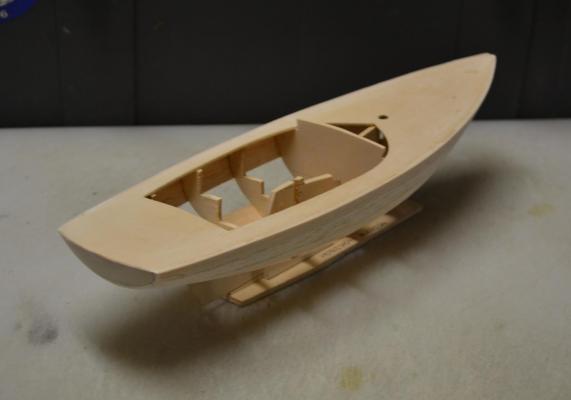
Today, I started by finishing up planking the Hull, Next I faired the Hull sanded up to 400 grit ( starting with 220 grit ) I then made the cradle. Next will be to seal up the outside of the Hull and start detailing the Cockpit. Here are the results


- 77 replies
-
- 8
-
-
- alerion
- herreshoff
- (and 1 more)
-
Thanks Michael, Shes coming together Best Regards, Pete
-
Thanks Patrick, This boat has been a pleasure to build ( to this point ) every thing has gone very smooth, A beautiful design that was Nate's personal boat Best Regards, Pete
- 77 replies
-
- 1
-
-
- alerion
- herreshoff
- (and 1 more)
-
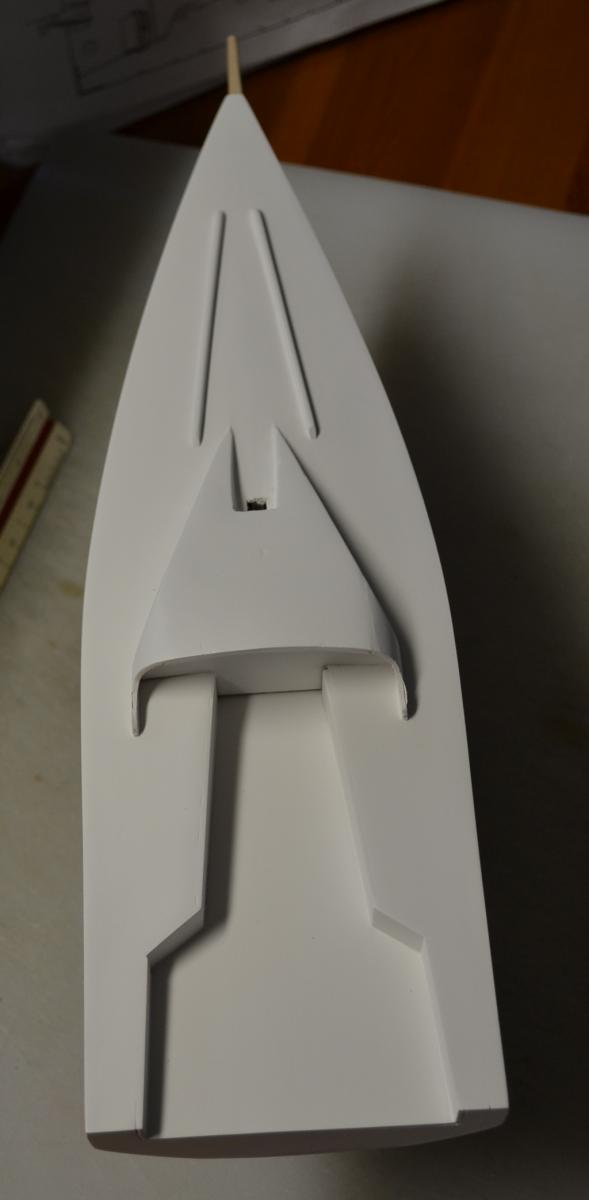
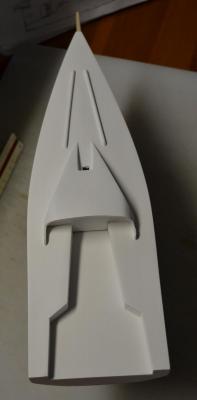
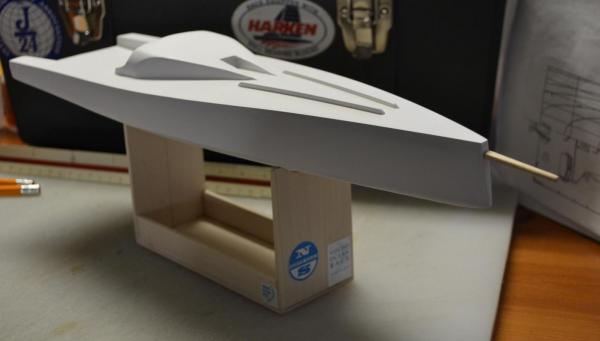
Today, I decided to get back to work on the Volvo 65, I started by sanding the Deck up to 600 grit ( starting with 220 ) then prepped her for another coat of paint. I then turned my attention to making the bowsprit . I then sprayed a coat of flat white . once dried I checked the bowsprit for a good fit . Next will be to get started on the Hull graphics. Here are the results
-
Thank you Michael, she's going together really smooth. ( practically building herself ) so it goes pretty quick Thanks David B. , mine is not painted yet ( I know that Ive been called "Rocket" ) I am not that fast. The photo ( posting # 18 ) is from the Mystic seaport museum Best Regards, Pete
- 77 replies
-
- 1
-
-
- alerion
- herreshoff
- (and 1 more)
-
Looks great John, Beautiful work Best Regards, Pete
- 745 replies
-
- 2
-
-
- francis pritt
- mission ship
- (and 1 more)
-
Thanks Cap'n'Bob, Capt' Nate was definitely a Master , and His son L. Francis was no slouch either Best Regards, Pete

- 77 replies
-
- 1
-
-
- alerion
- herreshoff
- (and 1 more)
-
Thank you John, She is starting to take shape , I have been enjoying building this one Best Regards, Pete
-
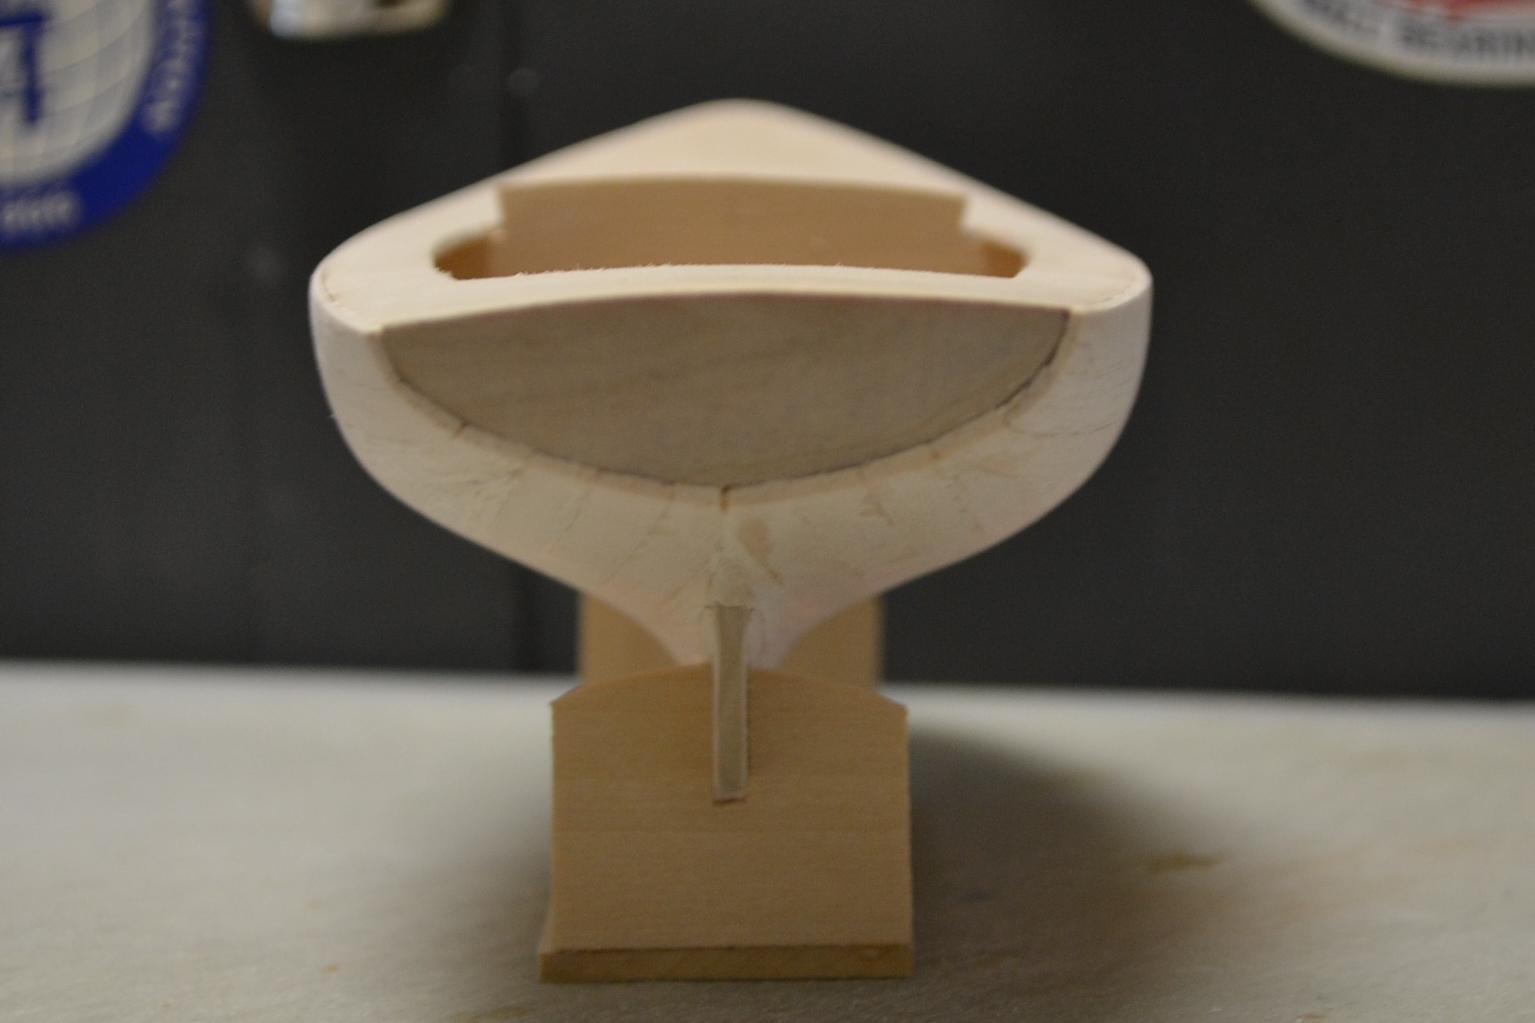
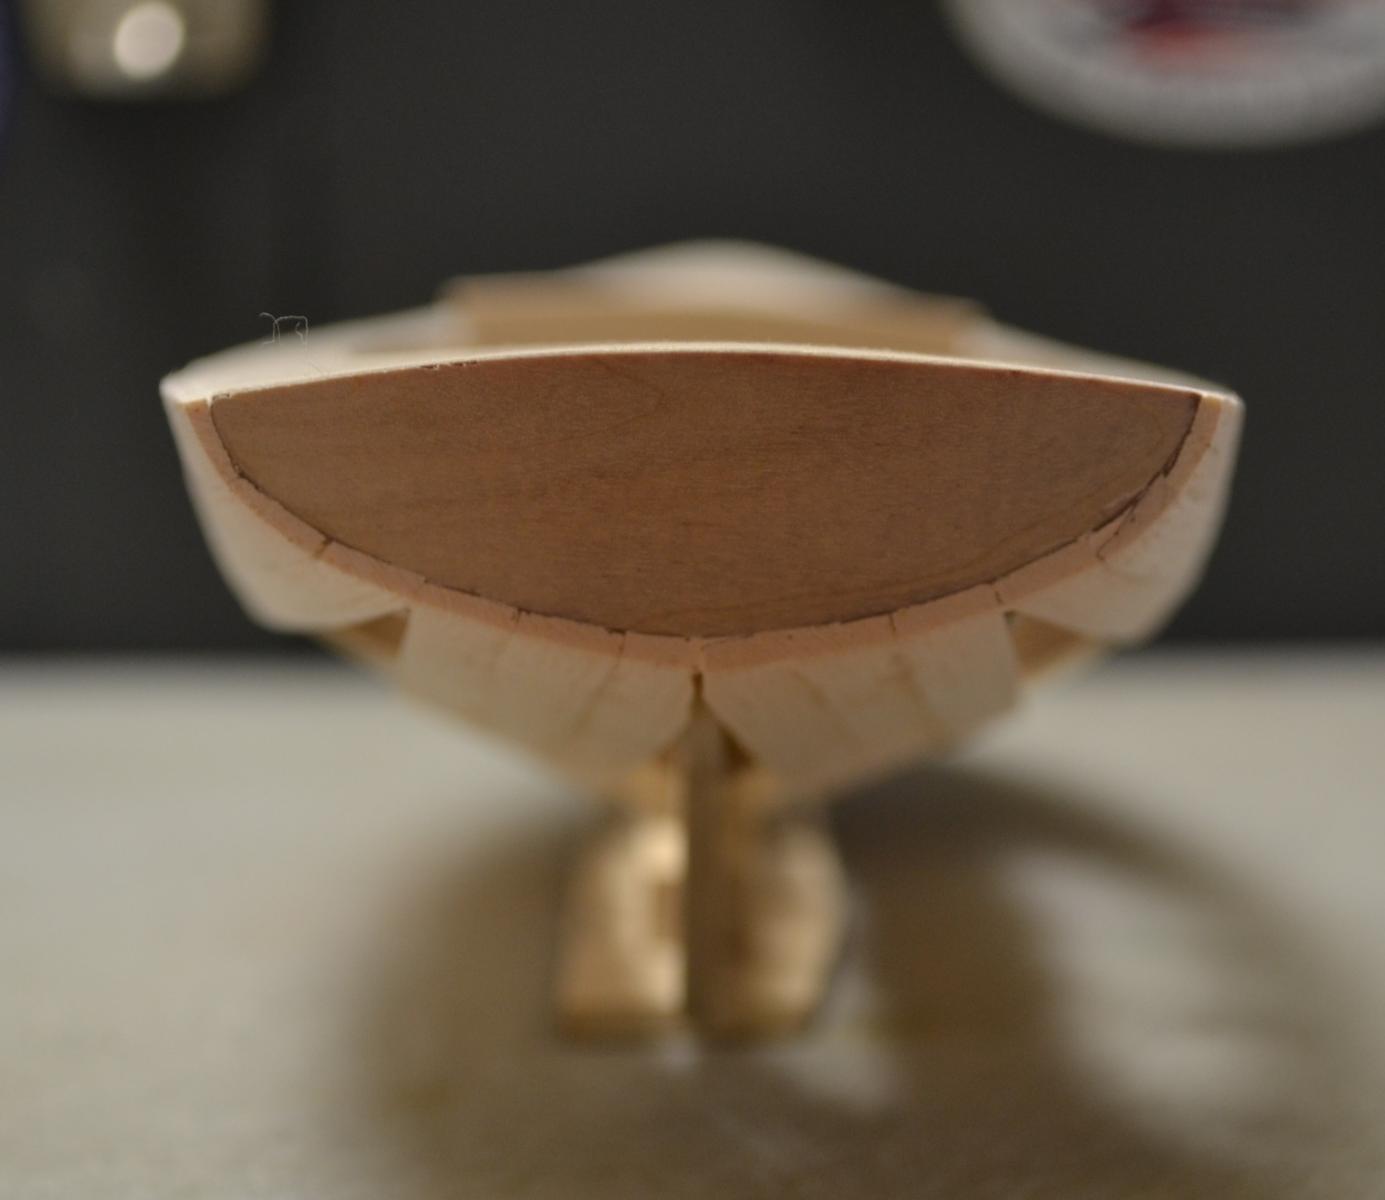
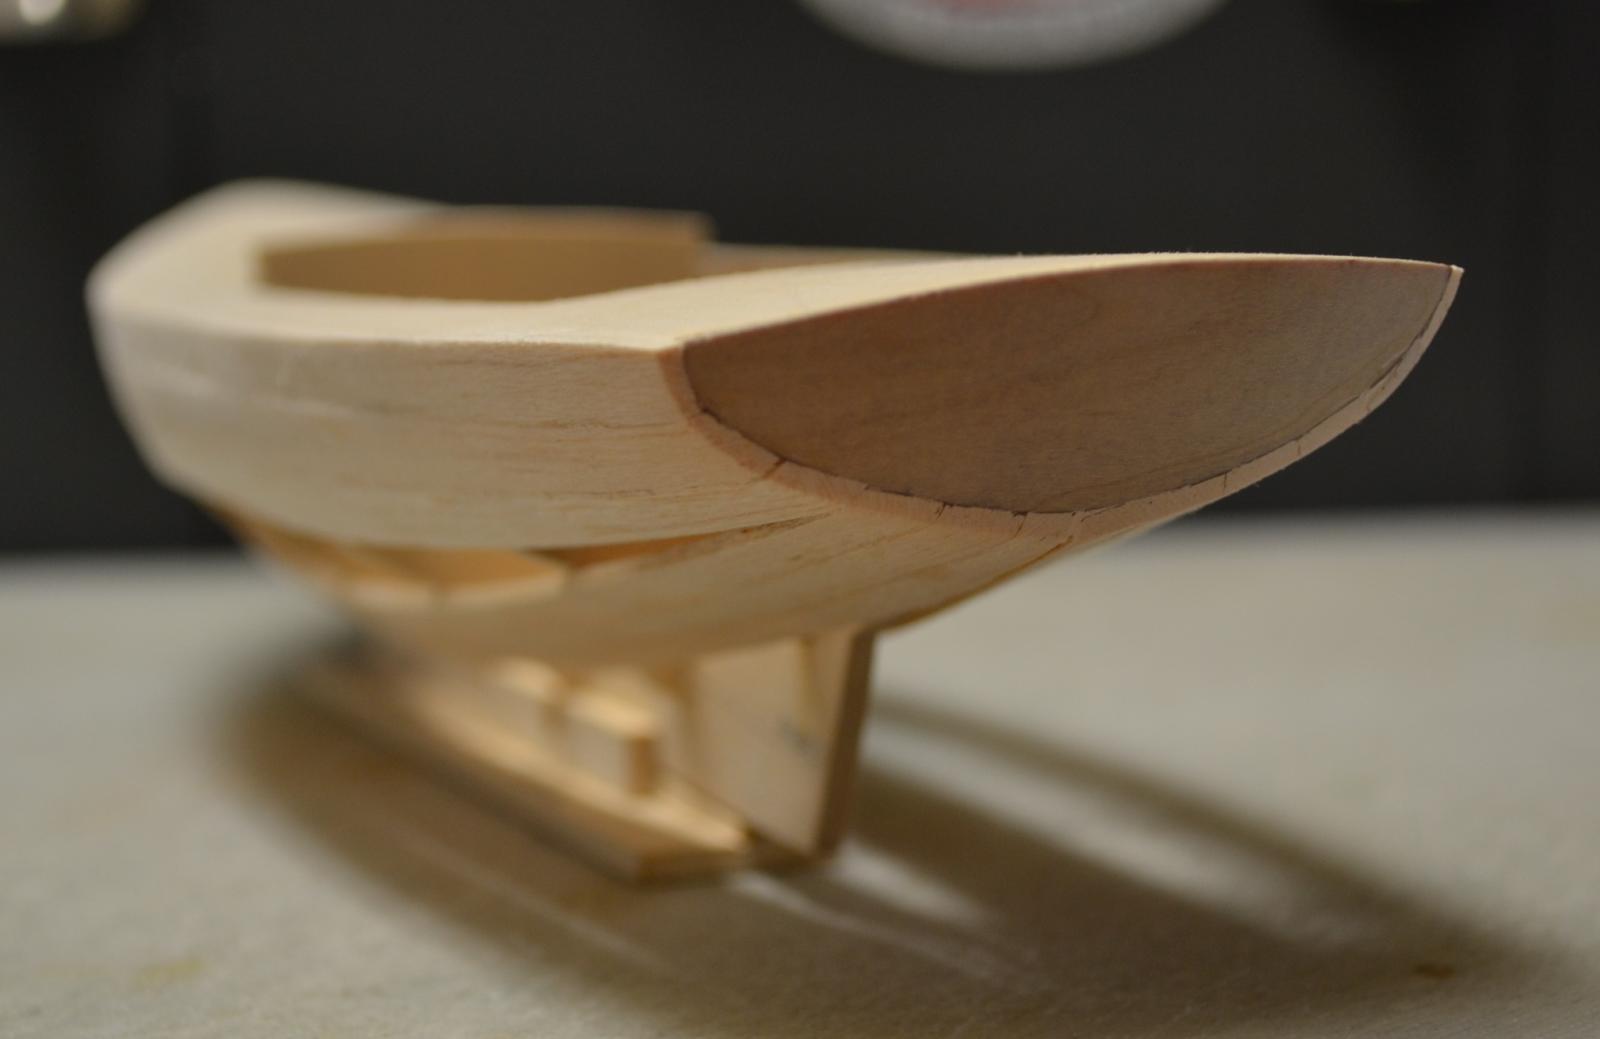
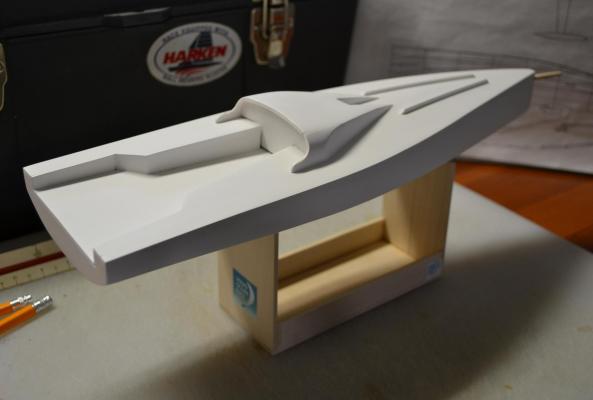
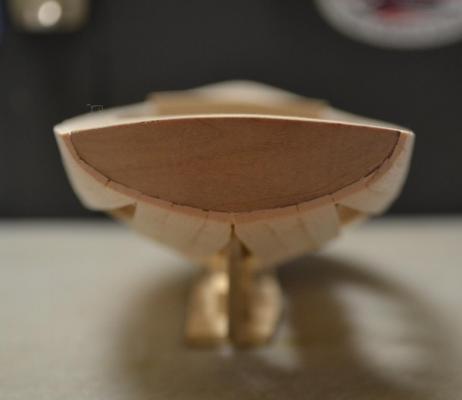
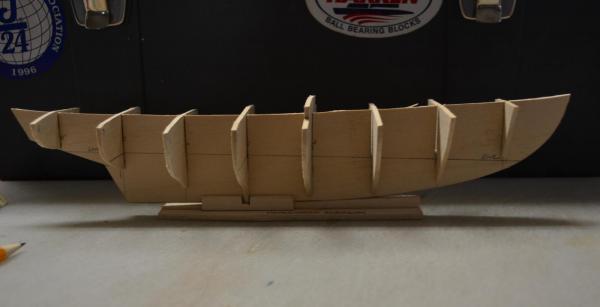
Today , proved to be a good challenge, I started by getting the Transom laid out , next I framed in the transom section and then faired it in with the frames. I then added a piece of Birch ply ( wich will be stained a cherry red ) I then turned my attention to planking . I did the first 3 rows , and then detailed the cockpit section. I then ran the next 3 rows of planking. Next will be to finish the planking. Here are the results

- 77 replies
-
- 8
-
-
- alerion
- herreshoff
- (and 1 more)
-
Thanks David B, I have always liked the Herreshoff designs , by all means pull up a chair Best Regards, Pete
-
Hi Nils, Nice work on the Props , they look fantastic ( better than any store bought ) well done Best Regards, Pete
- 2,625 replies
-
- 1
-
-
- kaiser wilhelm der grosse
- passenger steamer
- (and 1 more)
-
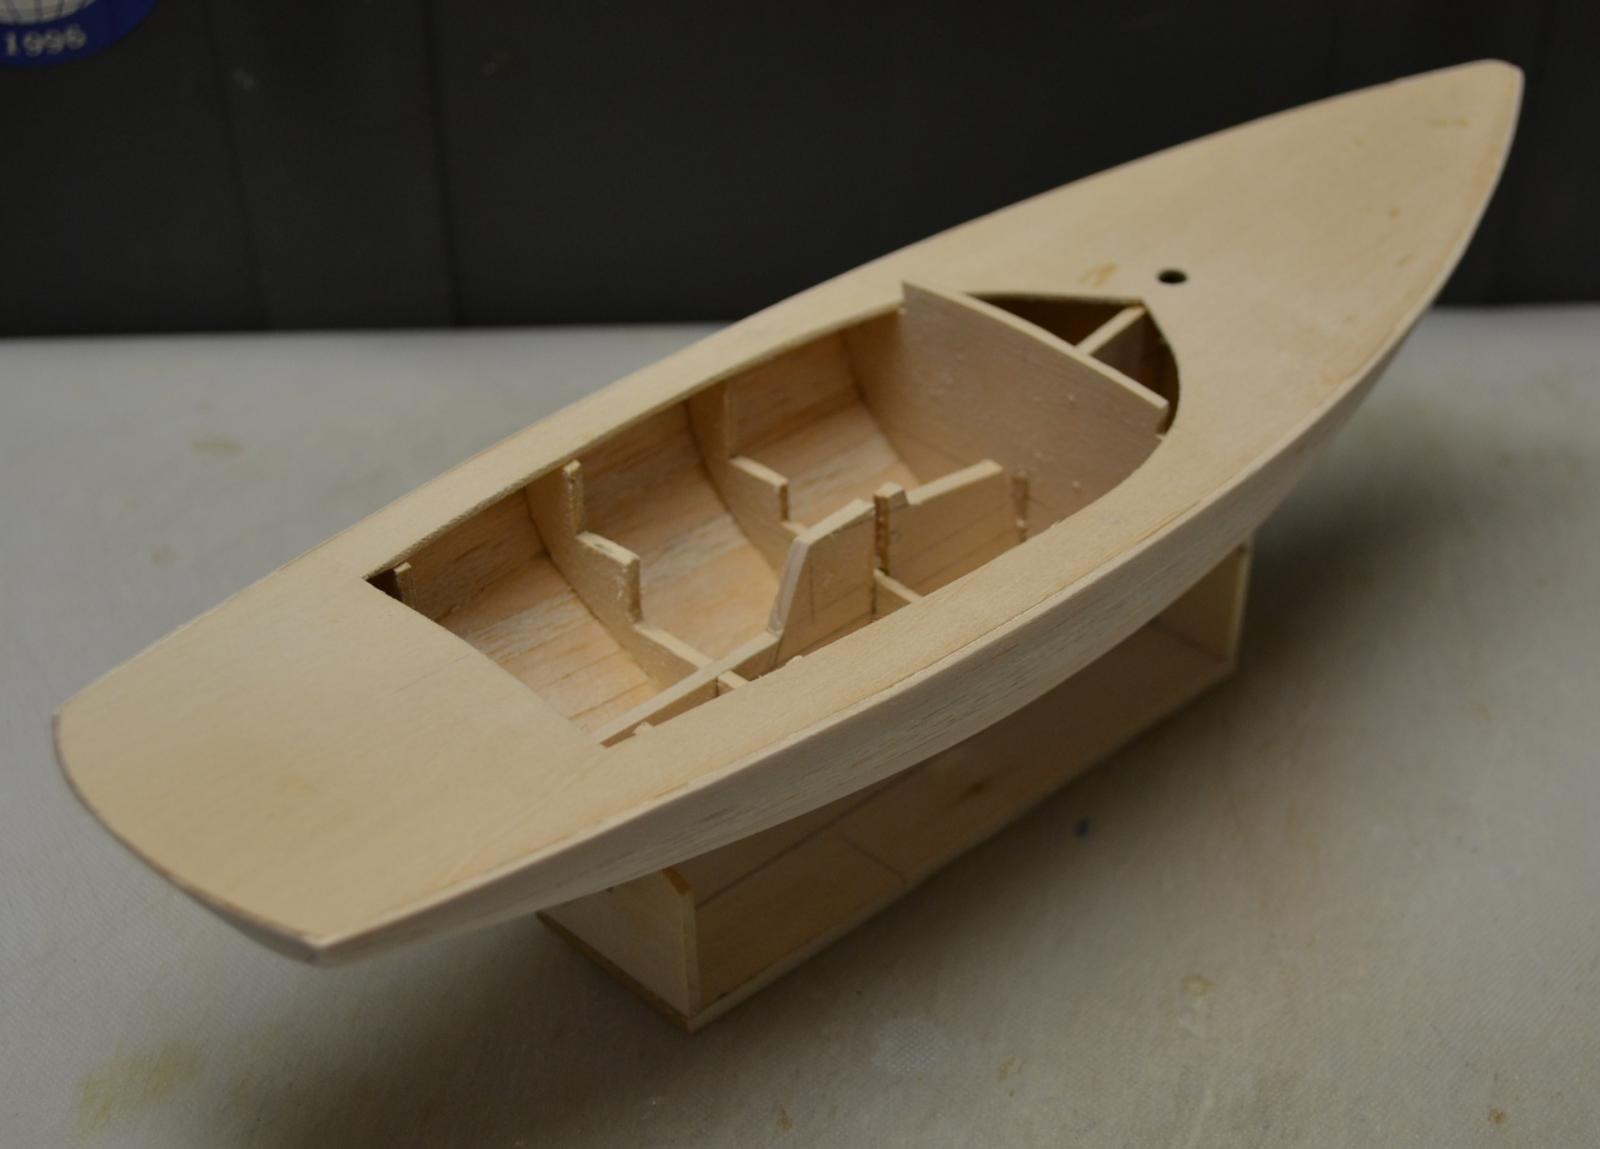
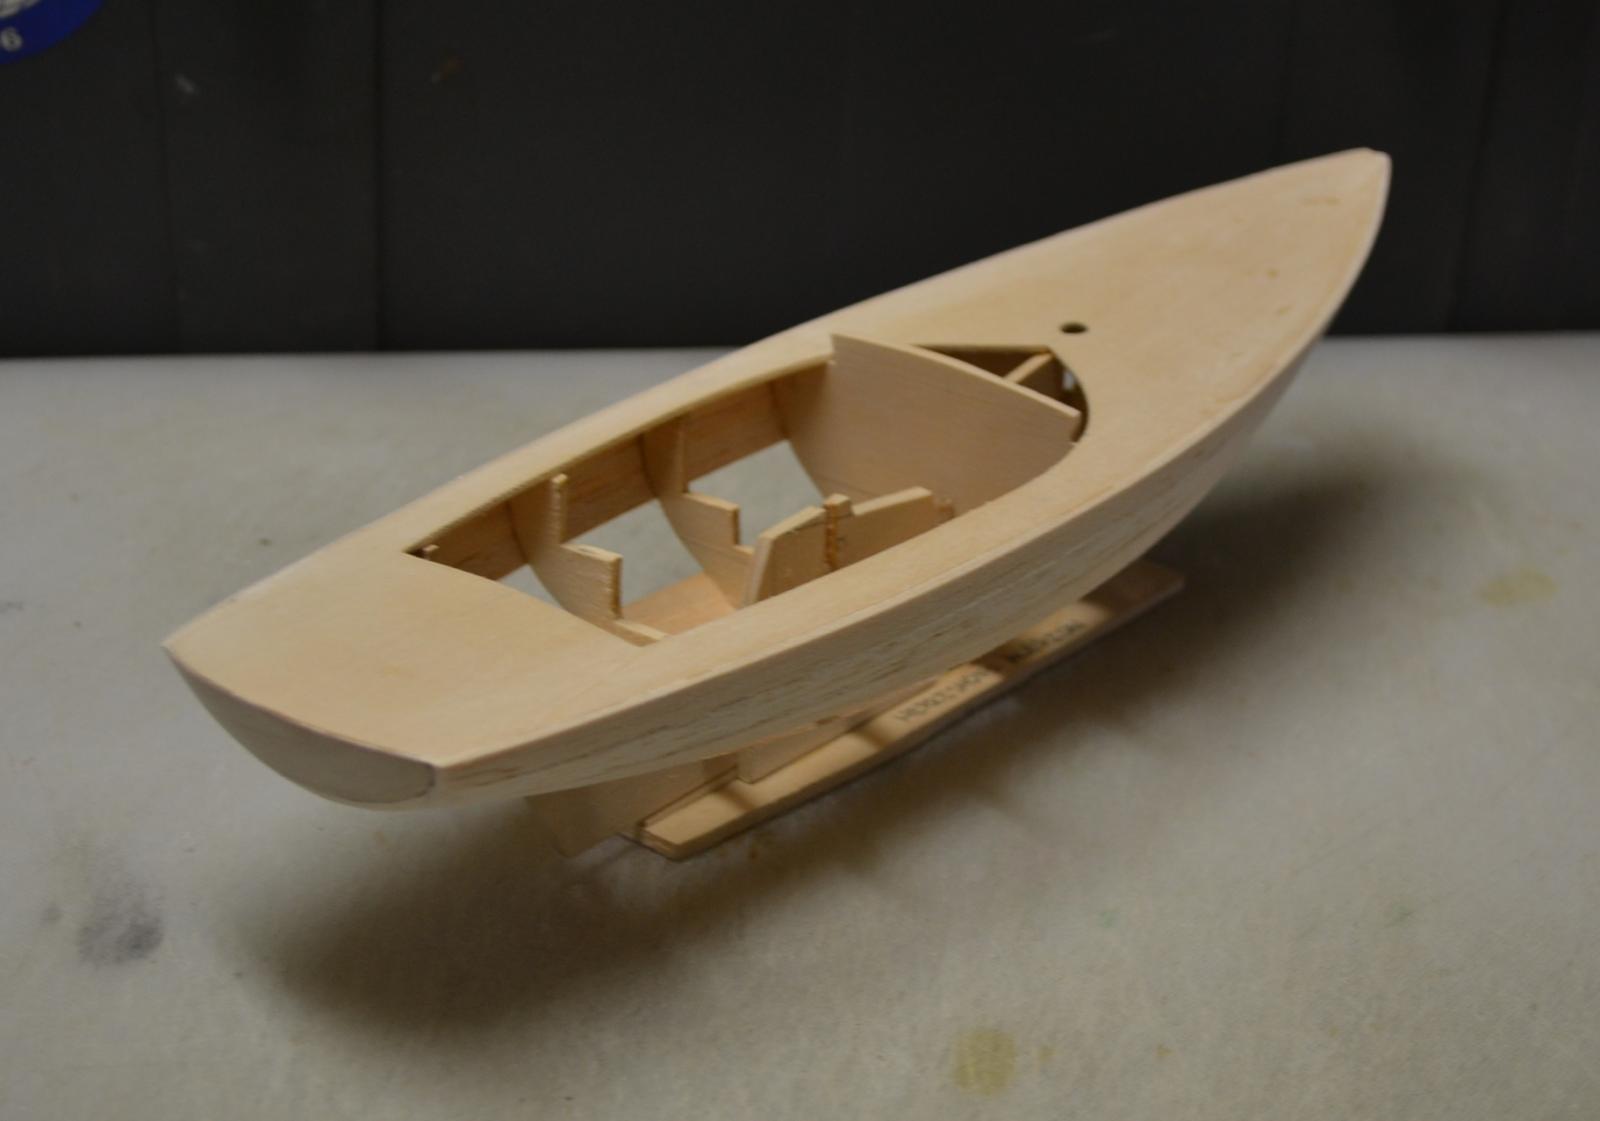
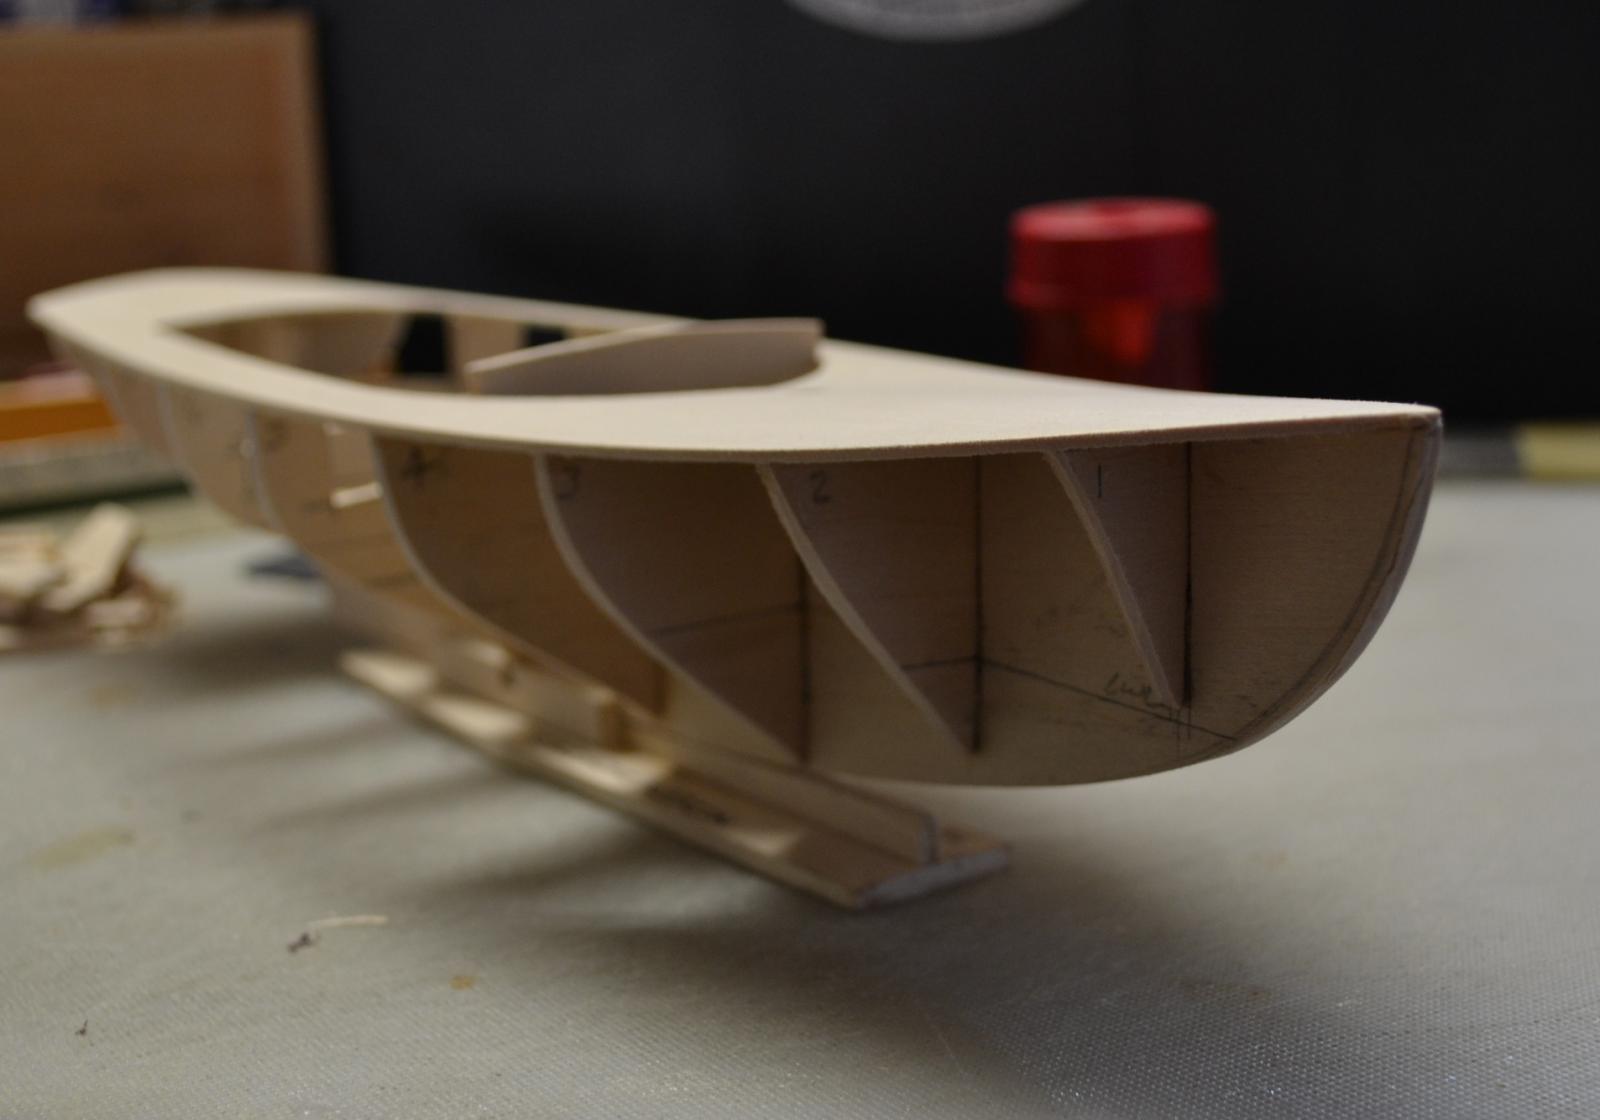
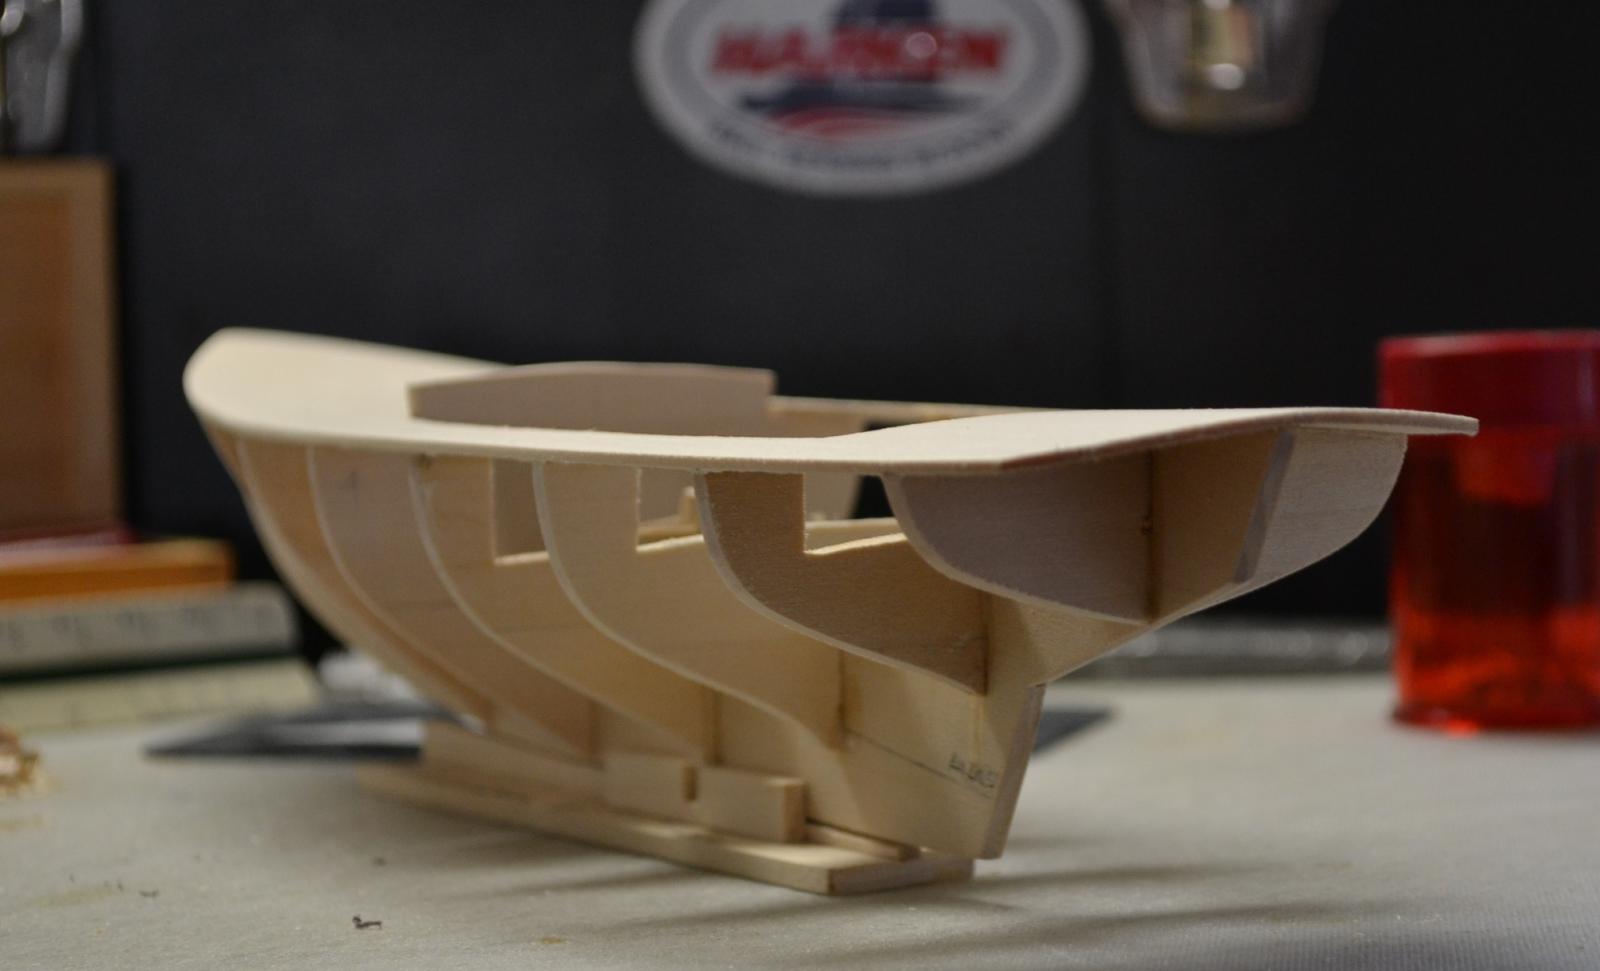
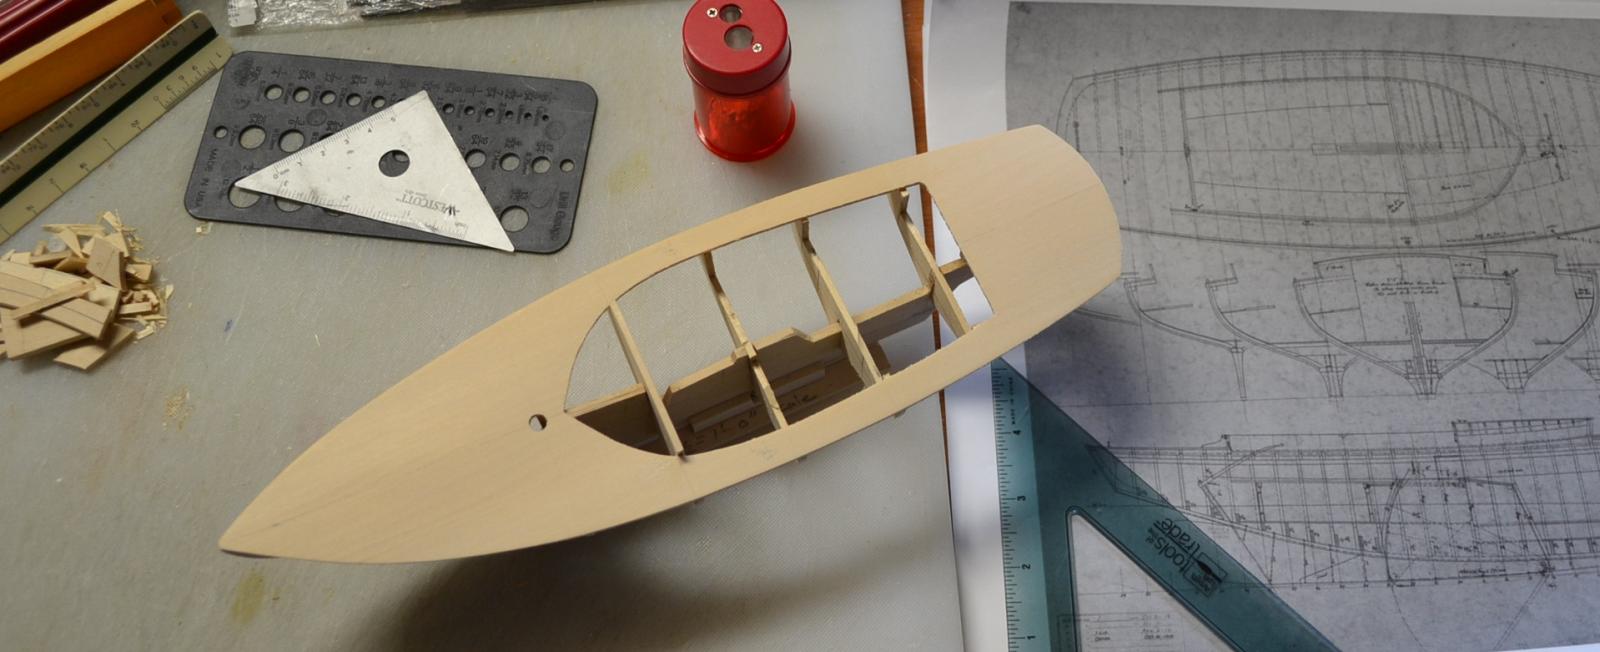
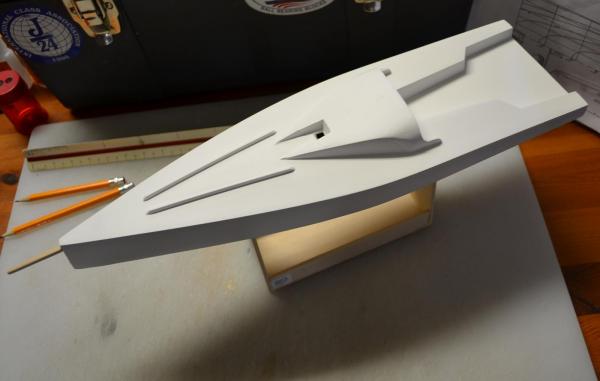
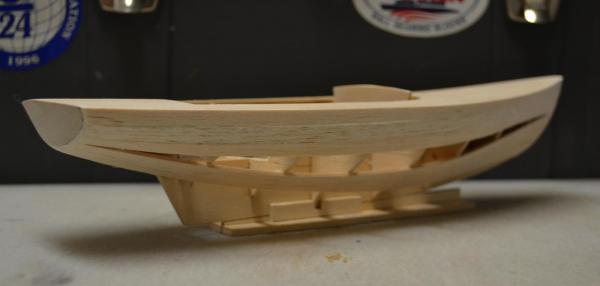
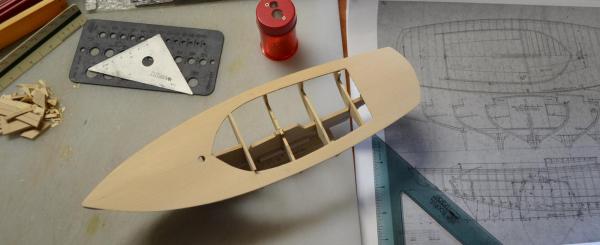
Today , I started the day by detailing the Keel. I then detailed the frames wich make up the Cockpit. ( I only cut them down to the top of the seats , and will cut them down to the Floor once the Hull has been planked.) I then trued up all the frames and fit them into the Keel. I then glued the Frames in making sure that everything lines up ( remember plumb is plumb and level is level) I then turned my attention to the Deck . I started by laying out where all the frames are as per plan. I then laid out the Cockpit section. Next I attached the Deck to the Keel and frames, again making sure everything lines up. ( So far she's right on the money ) I then started fairing the Frames ( I am very close at this point ) next will be to work on what I feel is the most challenging part of this build the Transom. Here are the results


- 77 replies
-
- 8
-
-
- alerion
- herreshoff
- (and 1 more)
-
Thank you Cap'n'Bob , The Alerion is definitely a beauty Best Regards, Pete
-
Looks like its going to quite the build Nils, I am betting shes going to be a beauty Best Regards, Pete
- 2,625 replies
-
- 4
-
-
- kaiser wilhelm der grosse
- passenger steamer
- (and 1 more)
-
Thank you Harvey, This is one that I have wanted to build for a while now Thanks Michael, I dont know about that " Rocket Pete" , however I do appreciate the compliment Thank you John, This is one of my favorite boats I bet they sail great Thanks Jay , This feels like one of those builds that just fall into place ( I can usually tell right from the start if it's going to go smooth or be a struggle) Thanks Patrick, ok maybe " Rocket Pete " ( Kate thinks its great ) I love the Herreshoff designs, I hope to do this one justice Best Regards, Pete
- 77 replies
-
- 3
-
-
- alerion
- herreshoff
- (and 1 more)
-
Hi Patrick, Yes it is the same , I showed some pic's of her when I got her home posting # 80 ( on this build log ) a beautifully designed boat I cant wait to take her out Best Regards, Pete
- 112 replies
-
- 1
-
-
- buzzards bay
- herreshoff
- (and 1 more)
-
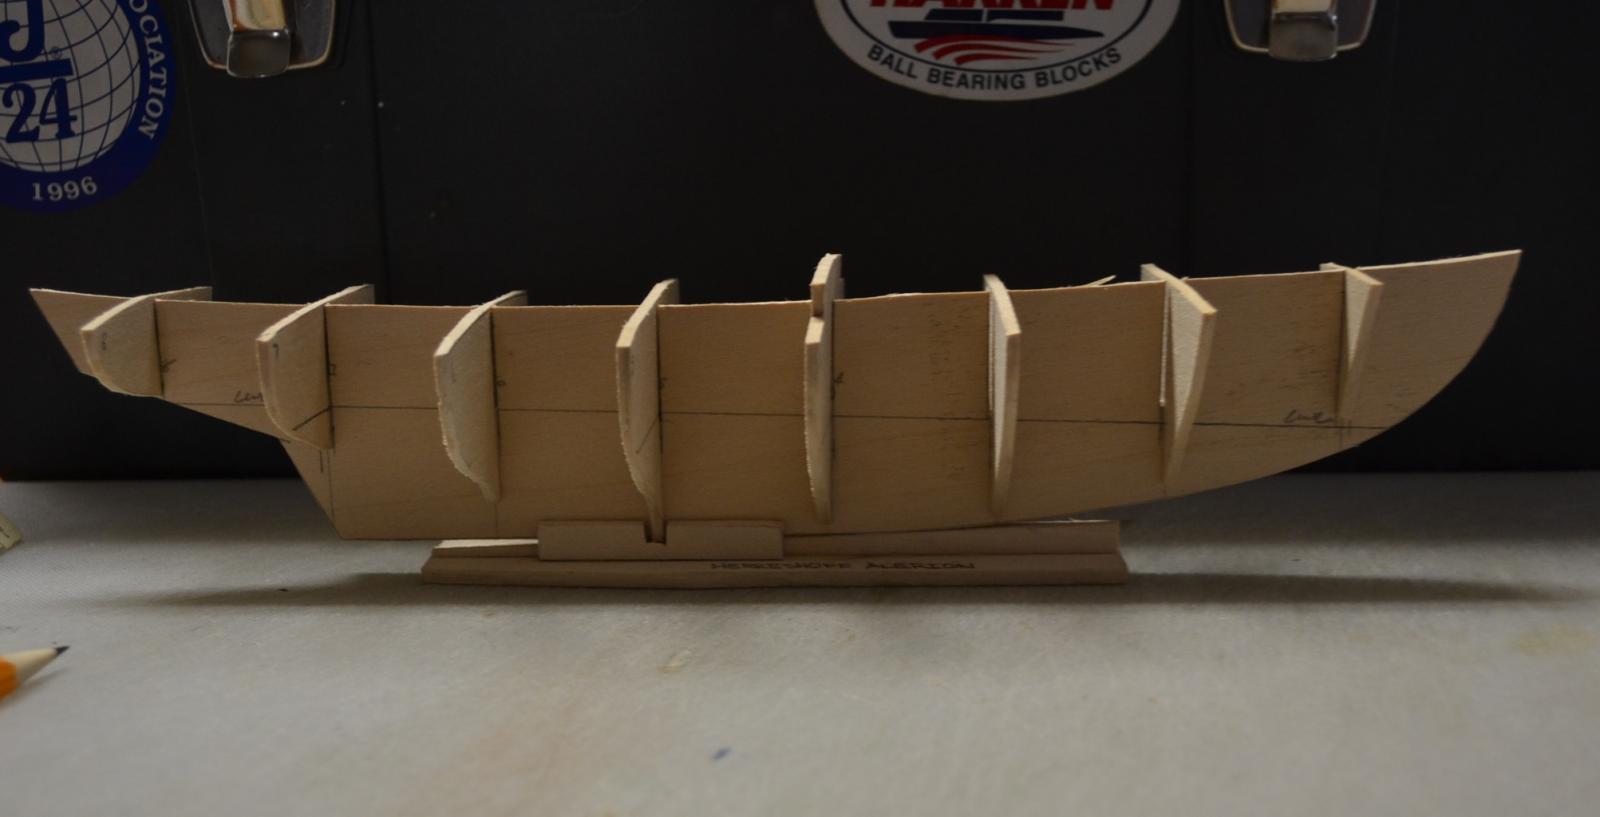
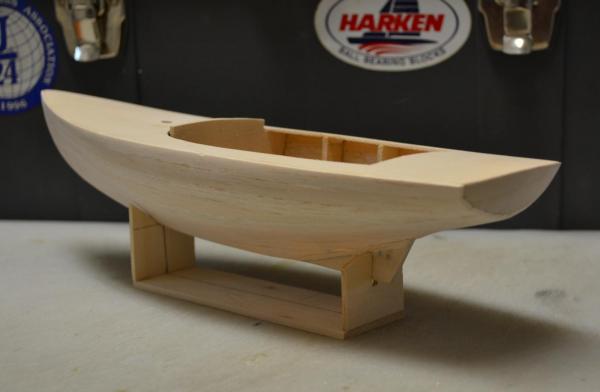
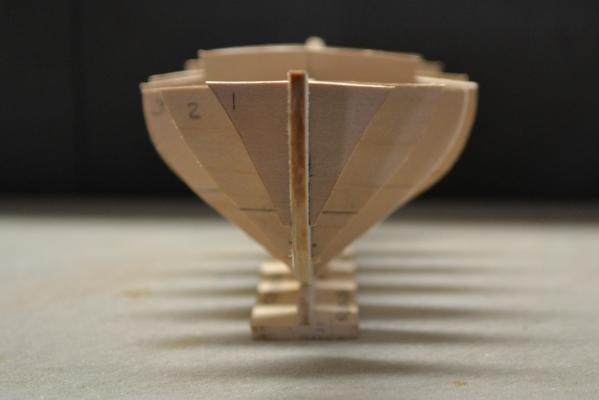
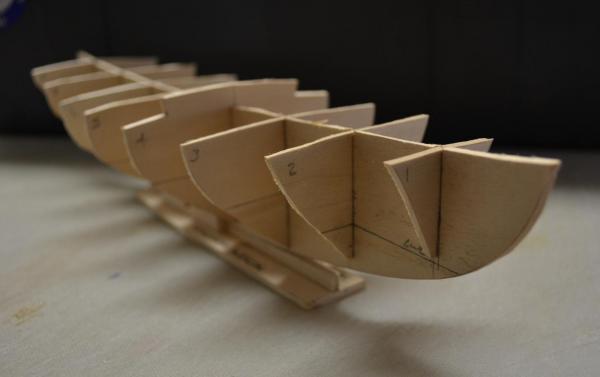
I started the day by laying out the Keel on 1/8" Bass wood, Next I lofted out all the frames , I then laid out the 3/32" Bass wood for the Frames , Next I cut out the Keel and Frames, then did a dry fit. so far She's coming out right on the money . Next will be to true up the frames and detail them along with the Keel . Here are the results
- 77 replies
-
- 10
-
-
- alerion
- herreshoff
- (and 1 more)
-
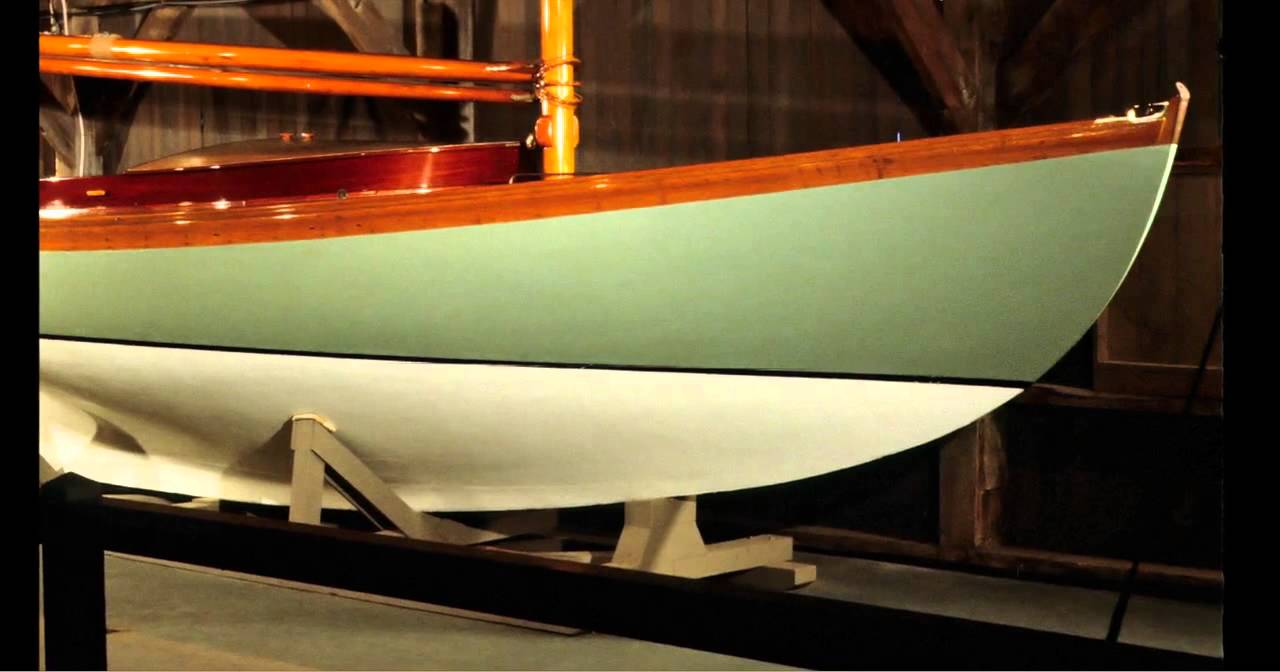
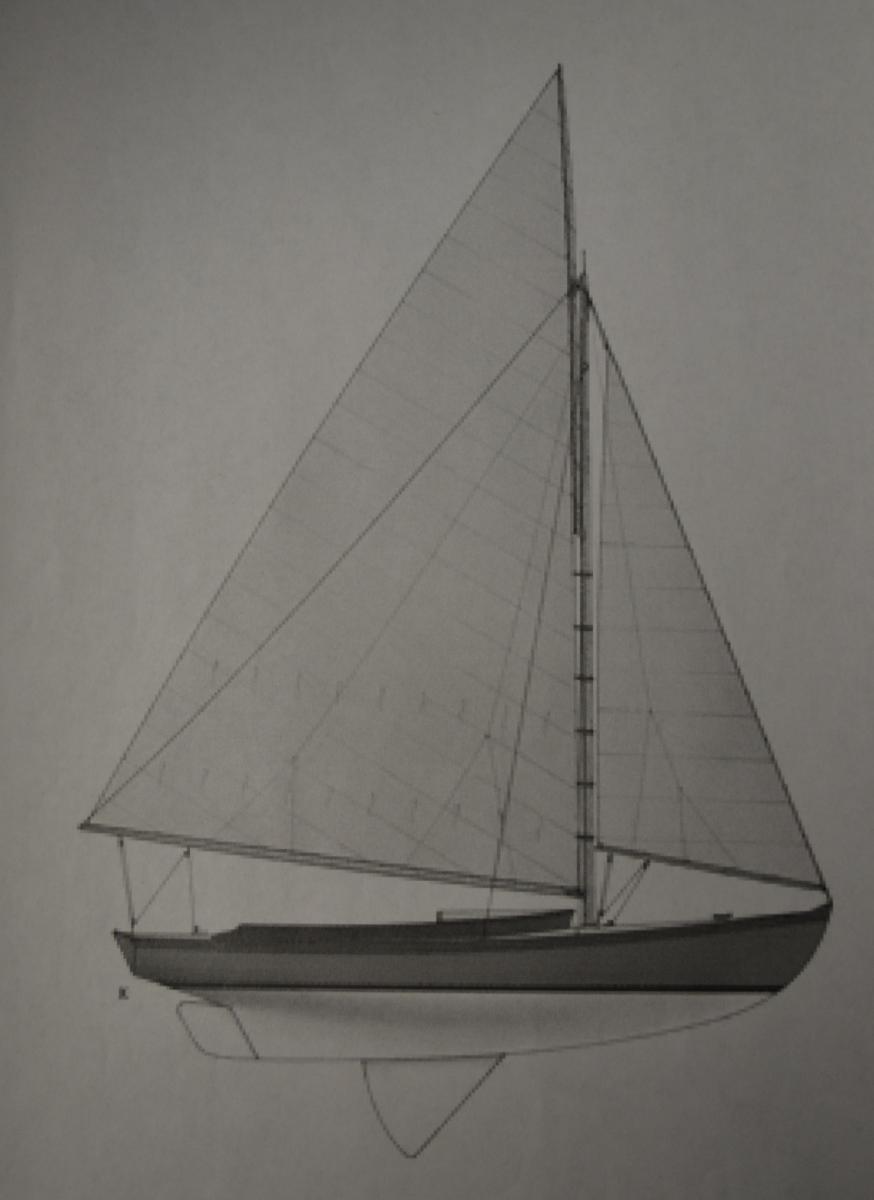
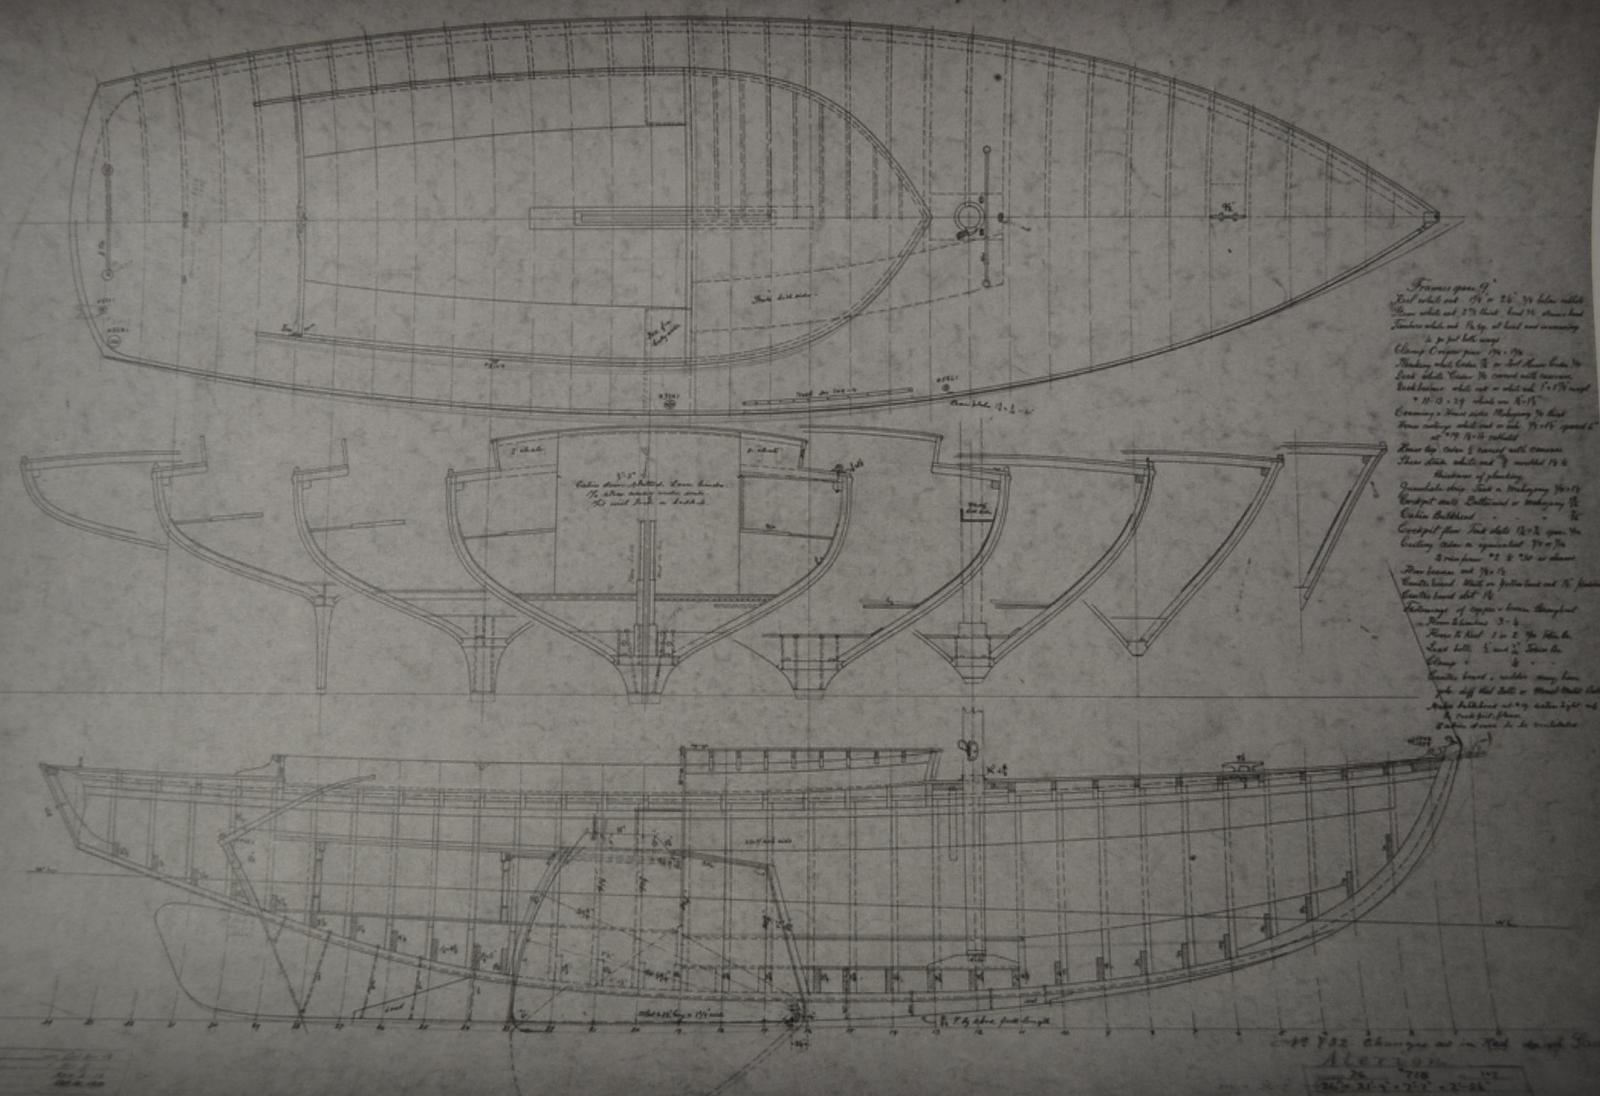
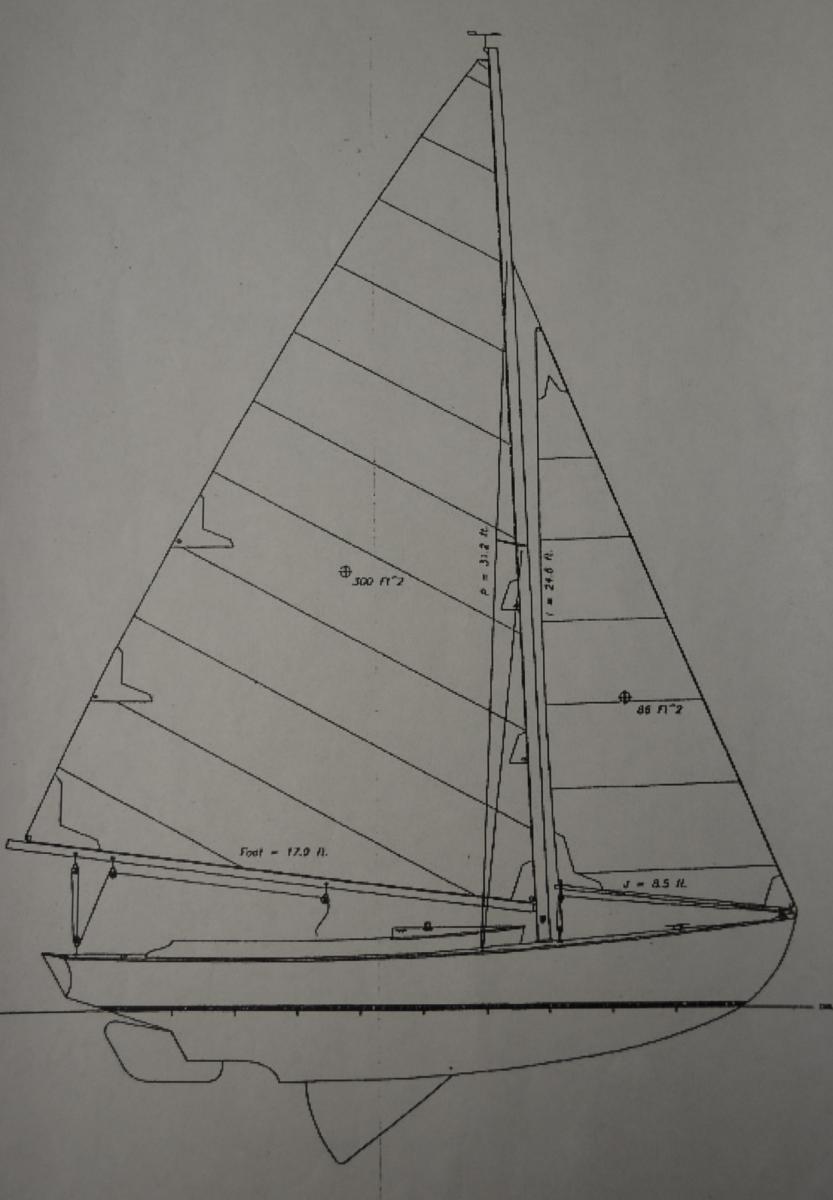
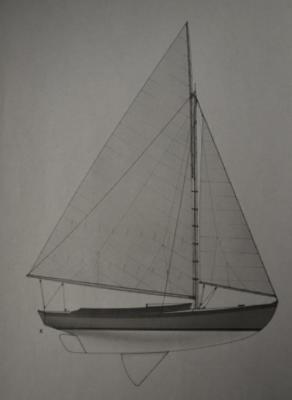
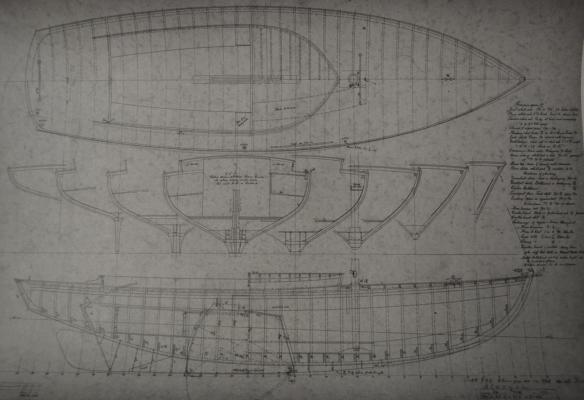
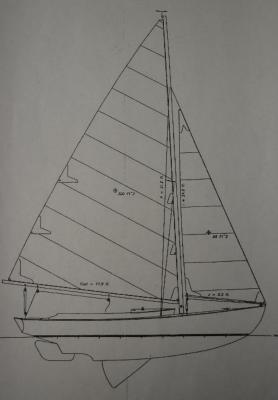
I have been planning this build for a while, and I have done extensive research. I am now comfortable with all the information gathered to start this build. This version is the one designed by Cap'n Nate (1912 ) Here are some of the drawings to give you an idea of what she will look like. Here are the results
- 77 replies
-
- 6
-
-
- alerion
- herreshoff
- (and 1 more)
-
Thank you Jay, she turned out pretty good Best Regards, Pete
- 112 replies
-
- 1
-
-
- buzzards bay
- herreshoff
- (and 1 more)
-
Hello vaddoc, Nice looking build you have here , Looks good Best Regards, Pete
- 253 replies
-
- 1
-
-
- ketkch
- gaff-rigged
- (and 1 more)
-
Hi Cap'n'Bob , The amount of time is irrelevant, the only thing that matters is that you are having fun. Best Regards, Pete
-
Thank you David B. , Michael, Mark , I think the wood tones worked out very well on this one . Thanks Patrick, I usually do not keep the models, the fun for me is in building them . I have this one up for sale on ebay , along with a few Lobster Smacks ( I have a big wish list of items for my Montgomery 15) I thought I would try something you mentioned last summer ( I am also working on a web site ) Best Regards, Pete
- 112 replies
-
- 1
-
-
- buzzards bay
- herreshoff
- (and 1 more)
-
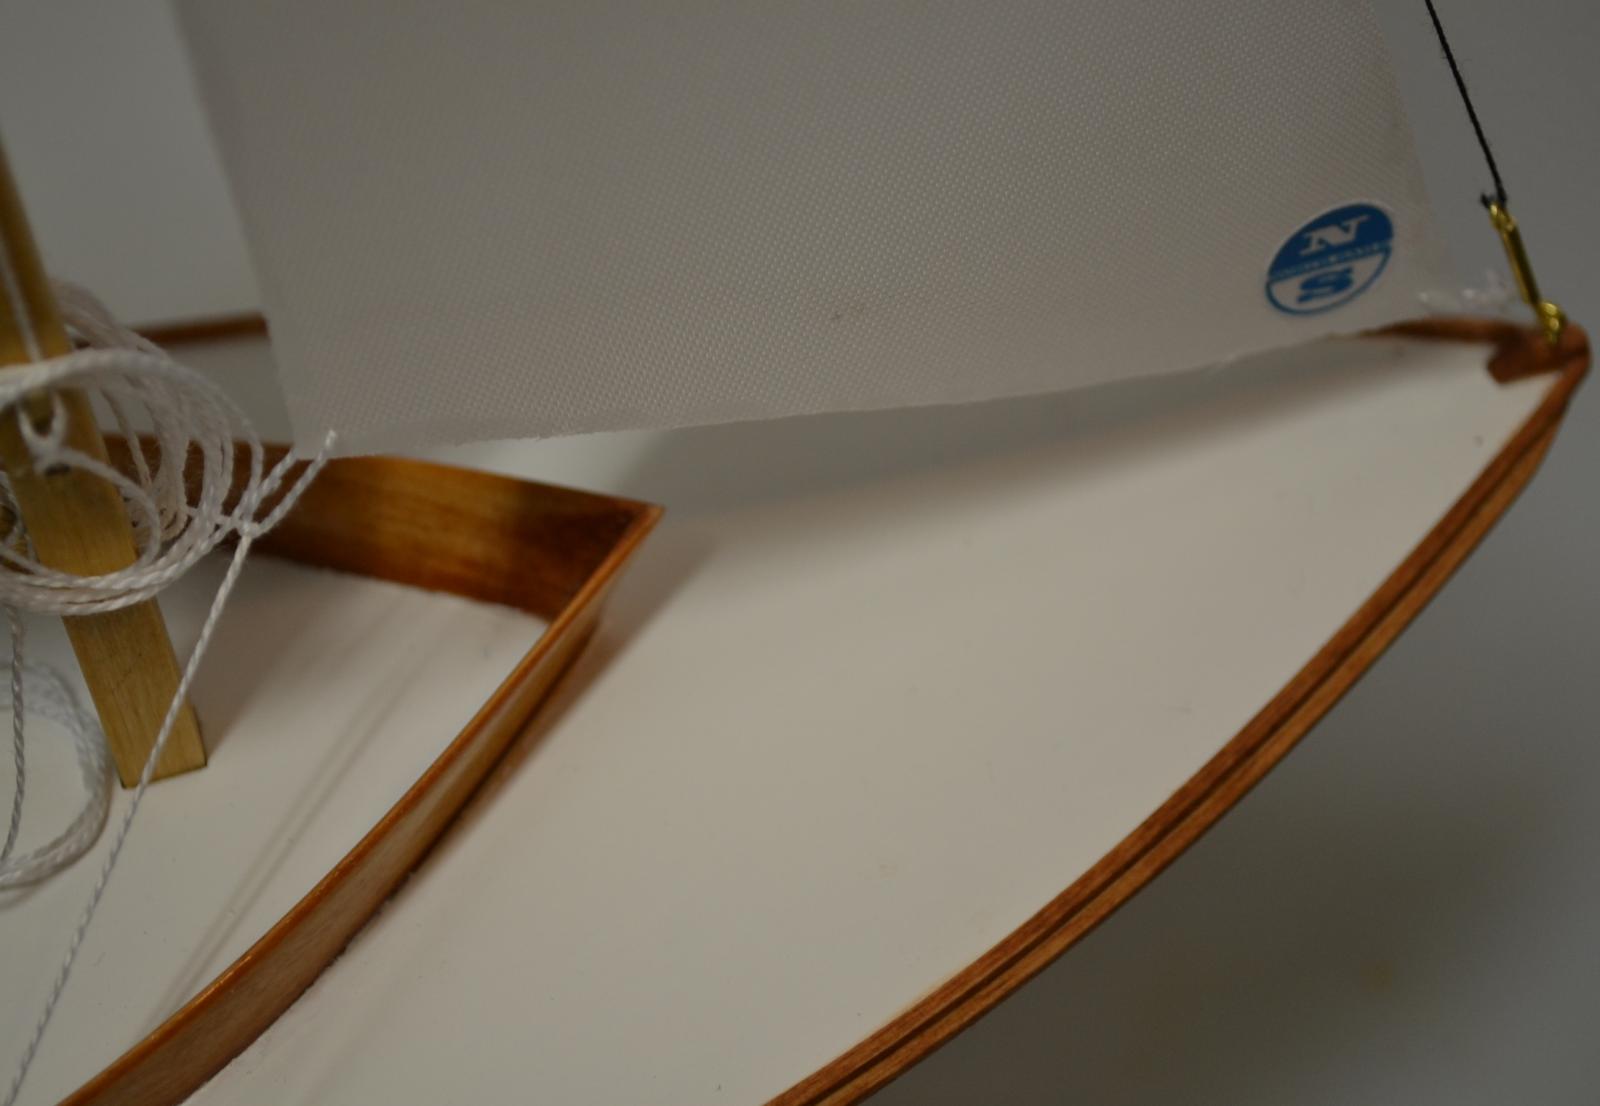
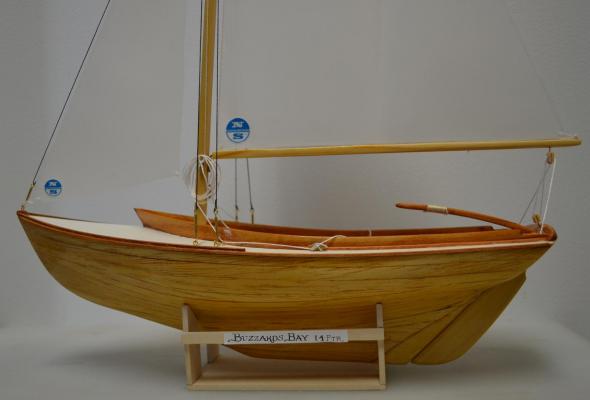
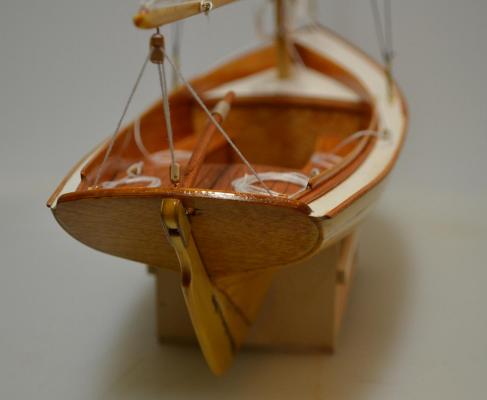
First off I would like to thank everyone that followed this build and for all the likes and comments. Today, I was able to pass the committee Boat and cross the finish line. I started by installing the Rudder Blade and Tiller. Next I installed the Standing Rigging. I then installed the blocks and Main Sheet. I then installed the Jib then the Main. This will be the last new posting for this build log, as she is now complete. Here are the results. More can be seen in the Gallery


- 112 replies
-
- 12
-
-
- buzzards bay
- herreshoff
- (and 1 more)