pete48
-
Posts
2,132 -
Joined
-
Last visited
Content Type
Profiles
Forums
Gallery
Events
Everything posted by pete48
-
 Thank you Jay, you said it , I am sold on Epifanes Thanks David B. , A shrinking Machine would be ideal, I would love to take her out for a Sail as well Best Regards, Pete
- 112 replies
-
- 1
-

-
- buzzards bay
- herreshoff
- (and 1 more)
-
After another early start, I was able to get 2 more coats on the Coamings and benches. I started by sanding the bright work with 320 grit sandpaper working my way up to 600 grit. the key is going slowly then applied a coat of Varnish ( Epifanes I recommend it ) waited 8 hours and sanded with 400 grit up to 600 grit, I then applied the second coat. I am pleased with the result and will decide in the morning weather another coat is needed. Here are the results
- 112 replies
-
- 9
-
-
- buzzards bay
- herreshoff
- (and 1 more)
-
Very nice work Dave, I just stumbled on to this build , looks like you are making quik work of this one. Nicely done Best Regards, Pete
- 962 replies
-
- 3
-
-
- sovereign of the seas
- ship of the line
- (and 1 more)
-
Thanks Patrick, once the deck is on it should make a huge difference especially once the Cockpit floor is installed Best Regards, Pete
- 147 replies
-
- 10
-
-
Very nice work Patrick, Planking is my favorite part of the build, She is taking shape and looking good Best Regards, Pete
-
Thank you Piet, This Herreshoff has to be one of my favorite builds, She has gone together smoothly Best Regards, Pete
- 112 replies
-
- 2
-
-
- buzzards bay
- herreshoff
- (and 1 more)
-
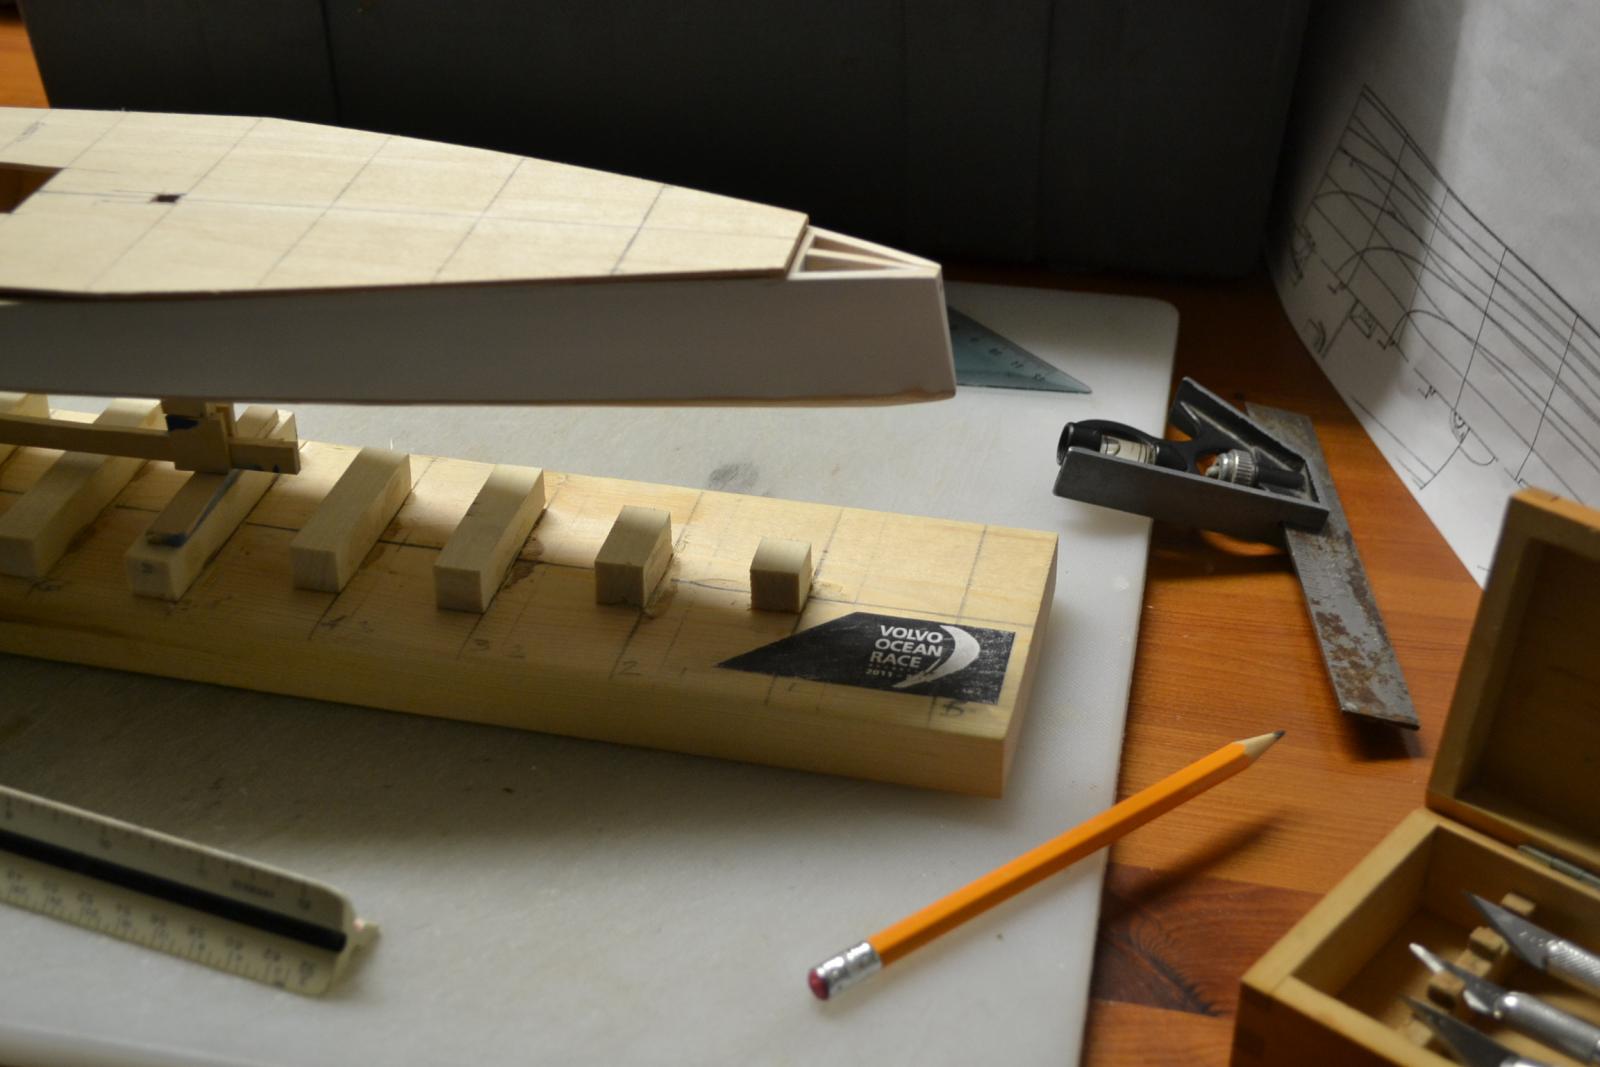
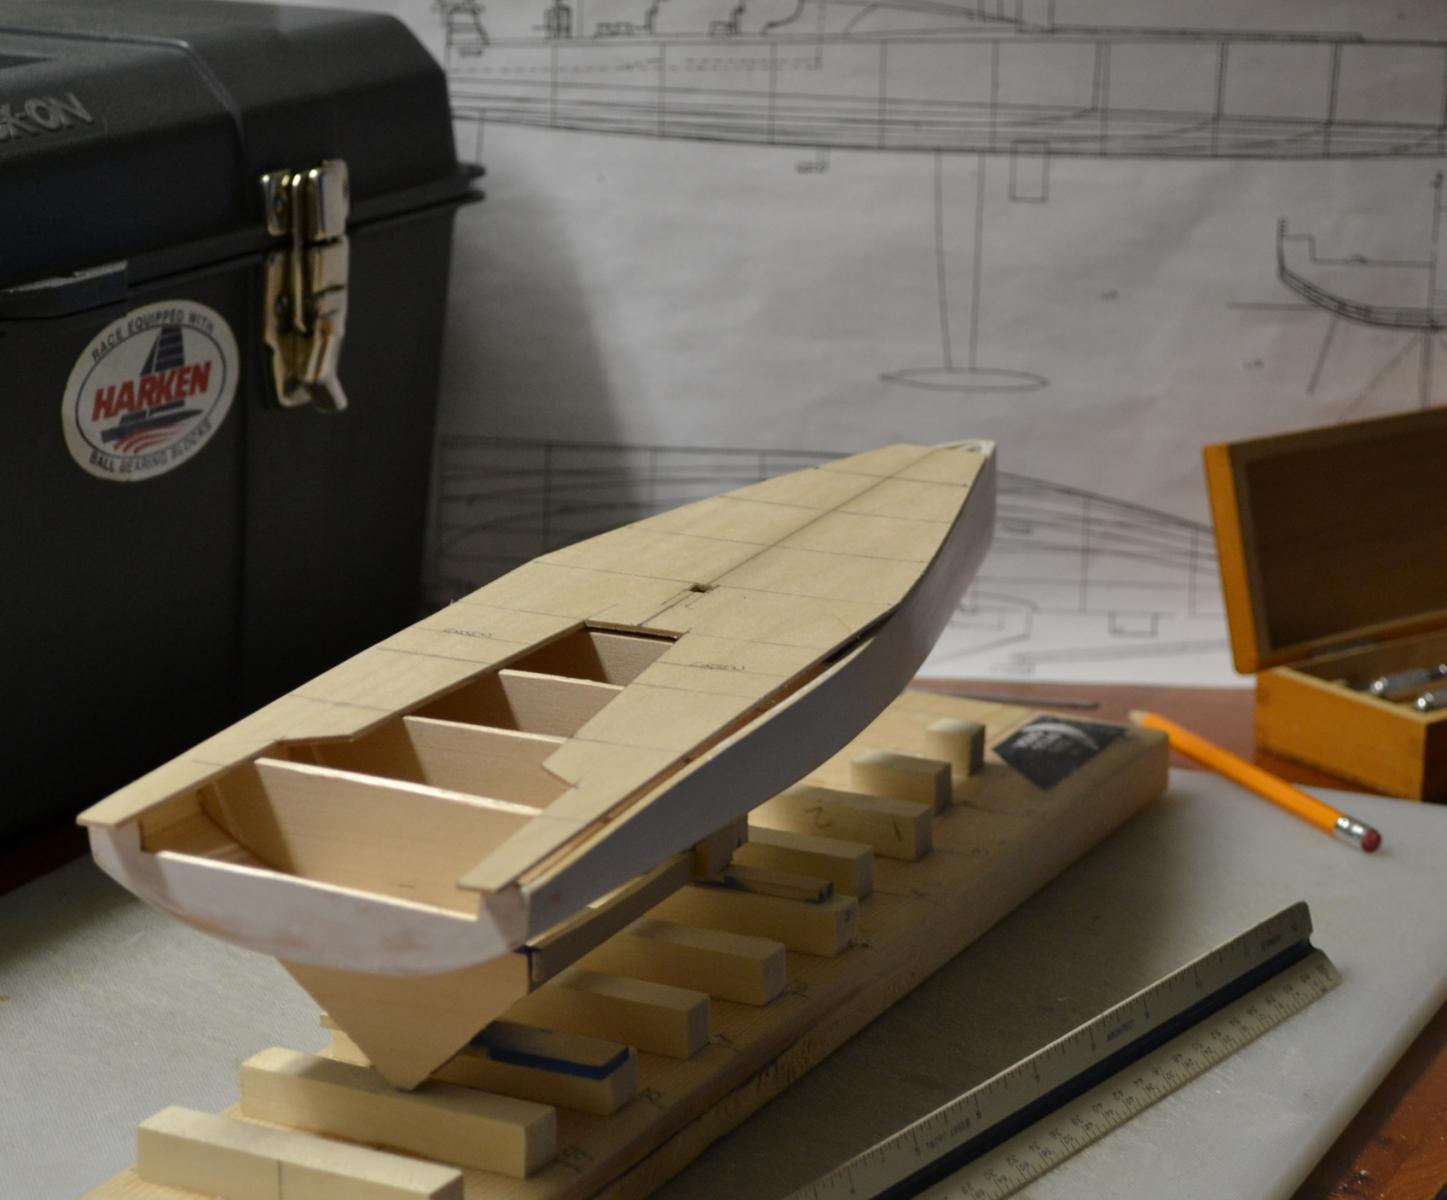
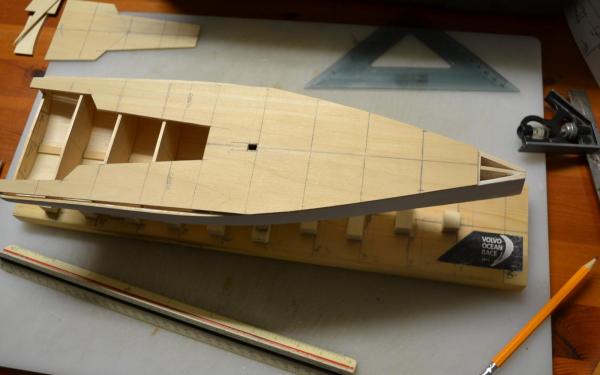
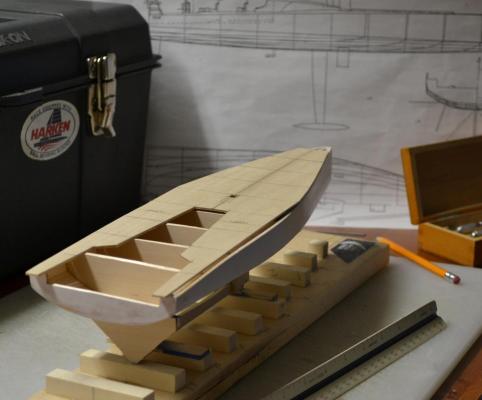
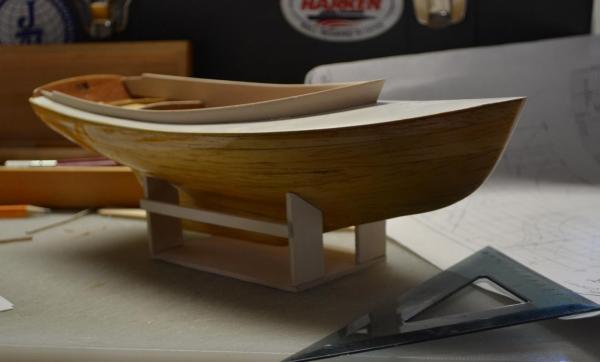
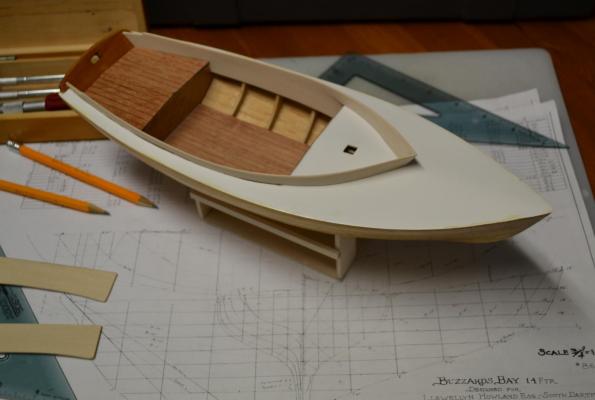
After completing the Varnishing on the Buzzards Bay ( for the day ) I started by sanding the top of the hull flush with the Deck Clamp. I then turned my attention to laying out the deck the Bass wood sheet is only 4" wide so I will have to scarf on the remainder. ( I left off the forward Bow section of the deck to allow for the proper fitting of the bowsprit)The next step will be to cut out the stations to allow the Cockpit floor to be installed, adding the Mast step and setting the deck camber . Here are the results

- 147 replies
-
- 10
-
-
Thanks Patrick, I should be starting making the Mast in a few days , The Rudder Blade has been Made , I just need to shape it , Varnish and install. Won't be long now, she is nearly completed. Best Regards, Pete
- 112 replies
-
- 1
-
-
- buzzards bay
- herreshoff
- (and 1 more)
-
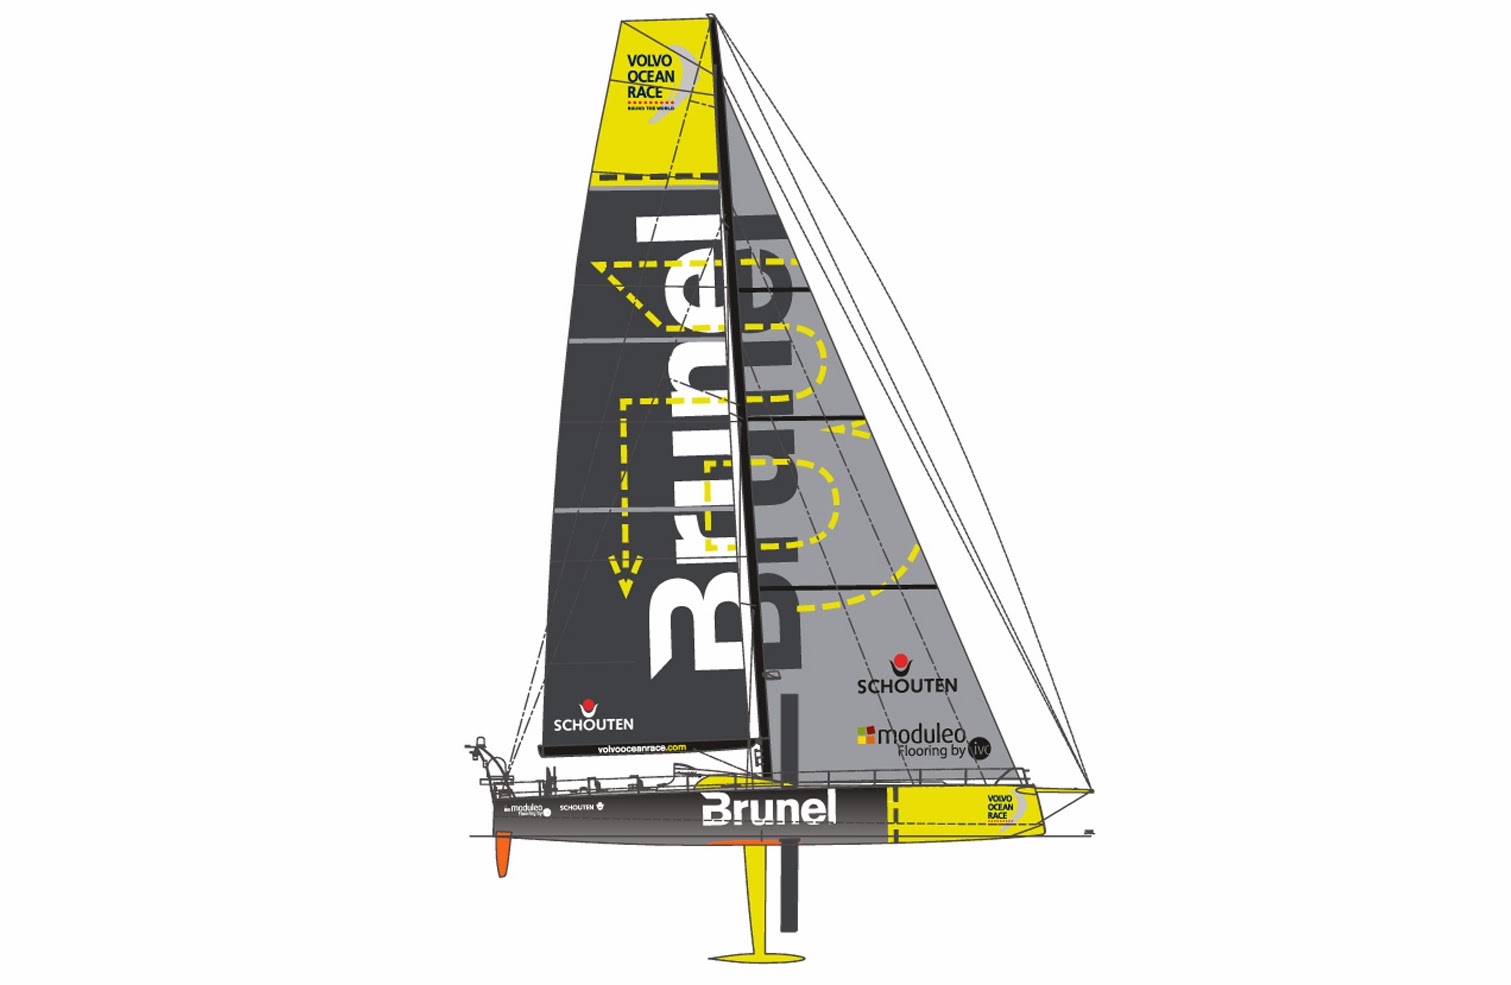
Thank you Nils, These are state of the art racing Boats Thanks Jay, Fairing this Hul sure kept me on my toes Best Regards, Pete
-
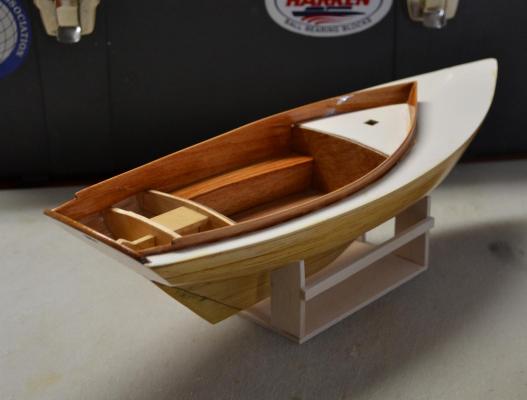
I got an early start this morning , and started by finishing making the seats. Next I made the seat Bases. After every thing fit well, I sanded the coamings Benches and Bases. I then Stained all the pieces a Cherry Red. I then installed the Seat Bases and added the bracing for the seats. I then installed the Seats. I then applied the first coat of Varnish. Next will be to sand and Varnish, till the desired finish is achieved. Here are the results


- 112 replies
-
- 11
-
-
- buzzards bay
- herreshoff
- (and 1 more)
-
Thanks Patrick, She is Defiantly a Racing Machine, and she has been quite the challenge to build thus far Best Regards, Pete
-
Amazing Nils, The detail work is stunning ( incredible to look at ) Fantastic work , you are a true craftsman Best Regards, Pete
-
You know it Patrick, it is all about having fun , the frames are looking good Nice work Best Regards, Pete
-
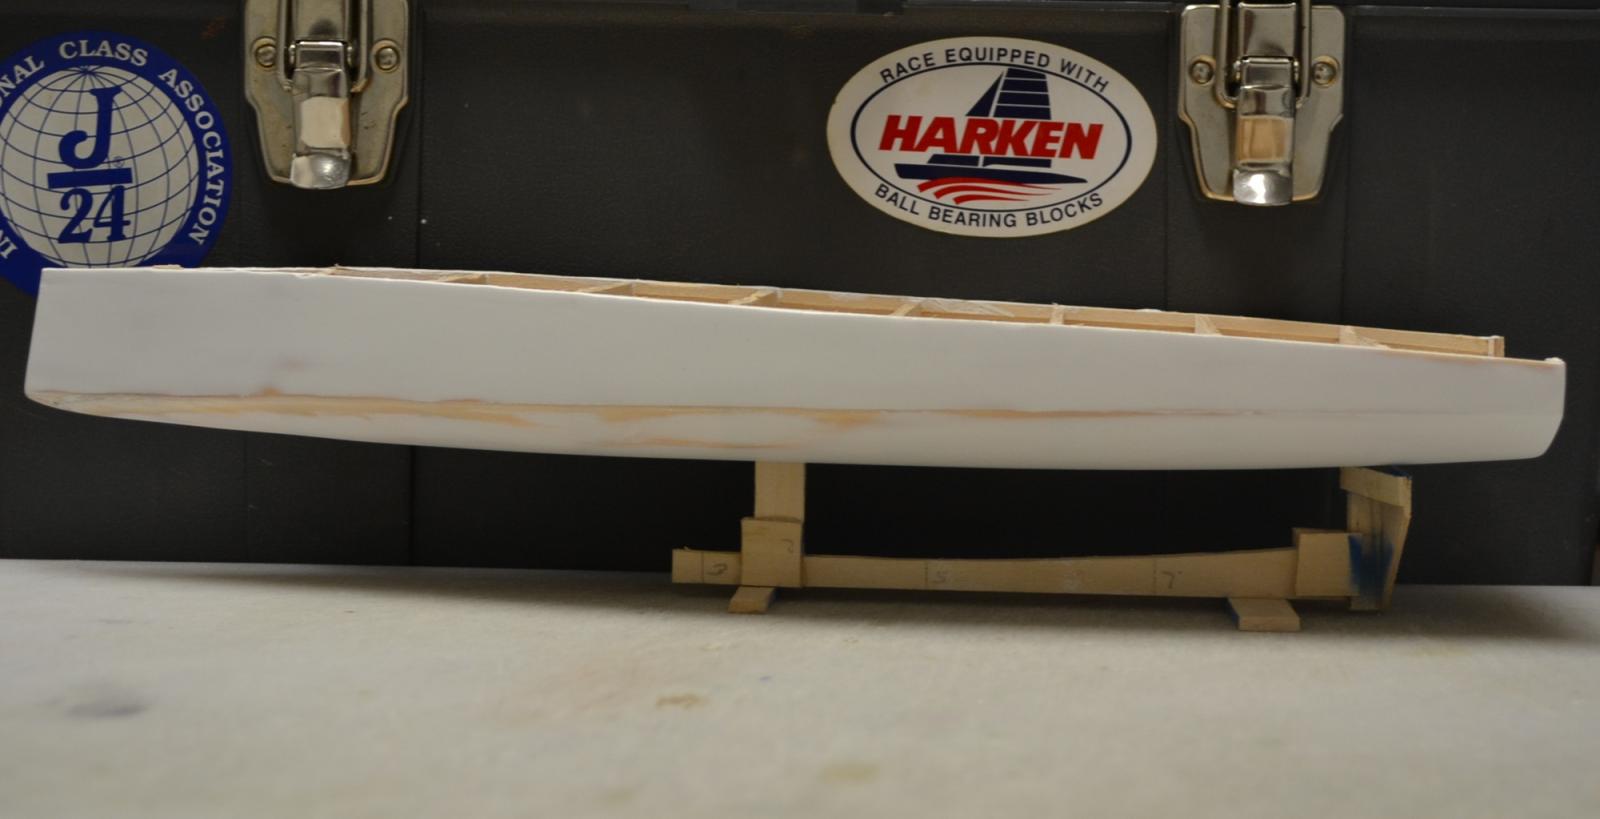
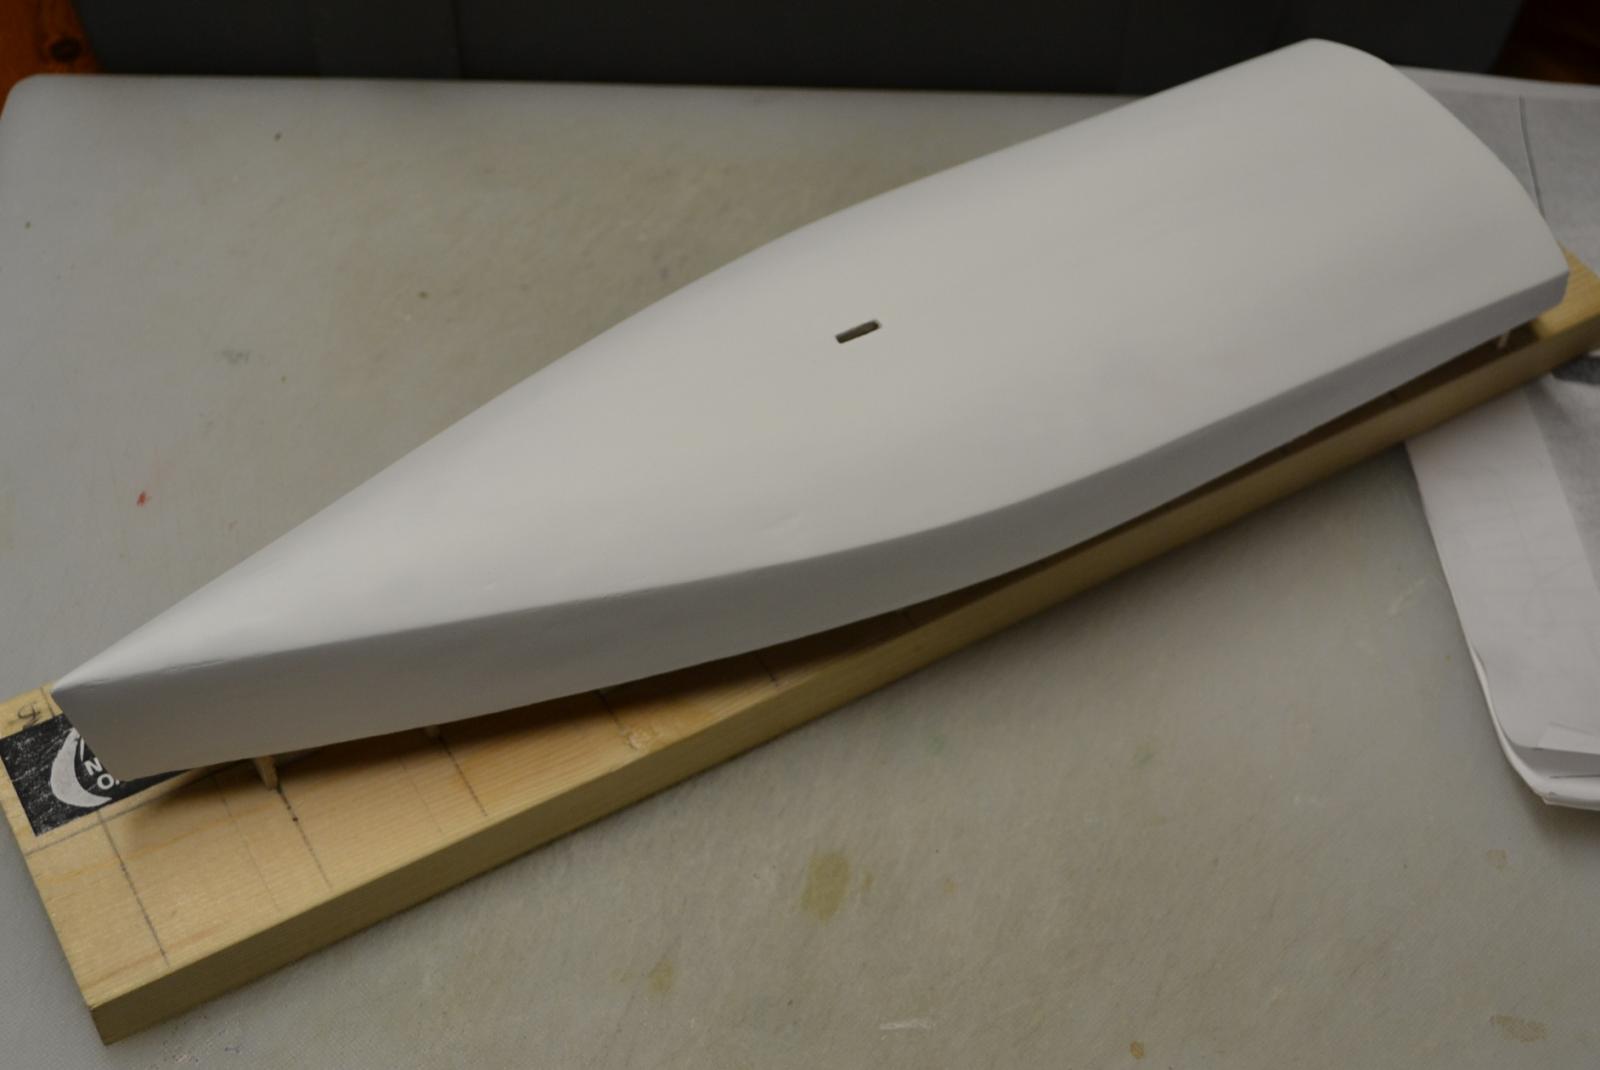
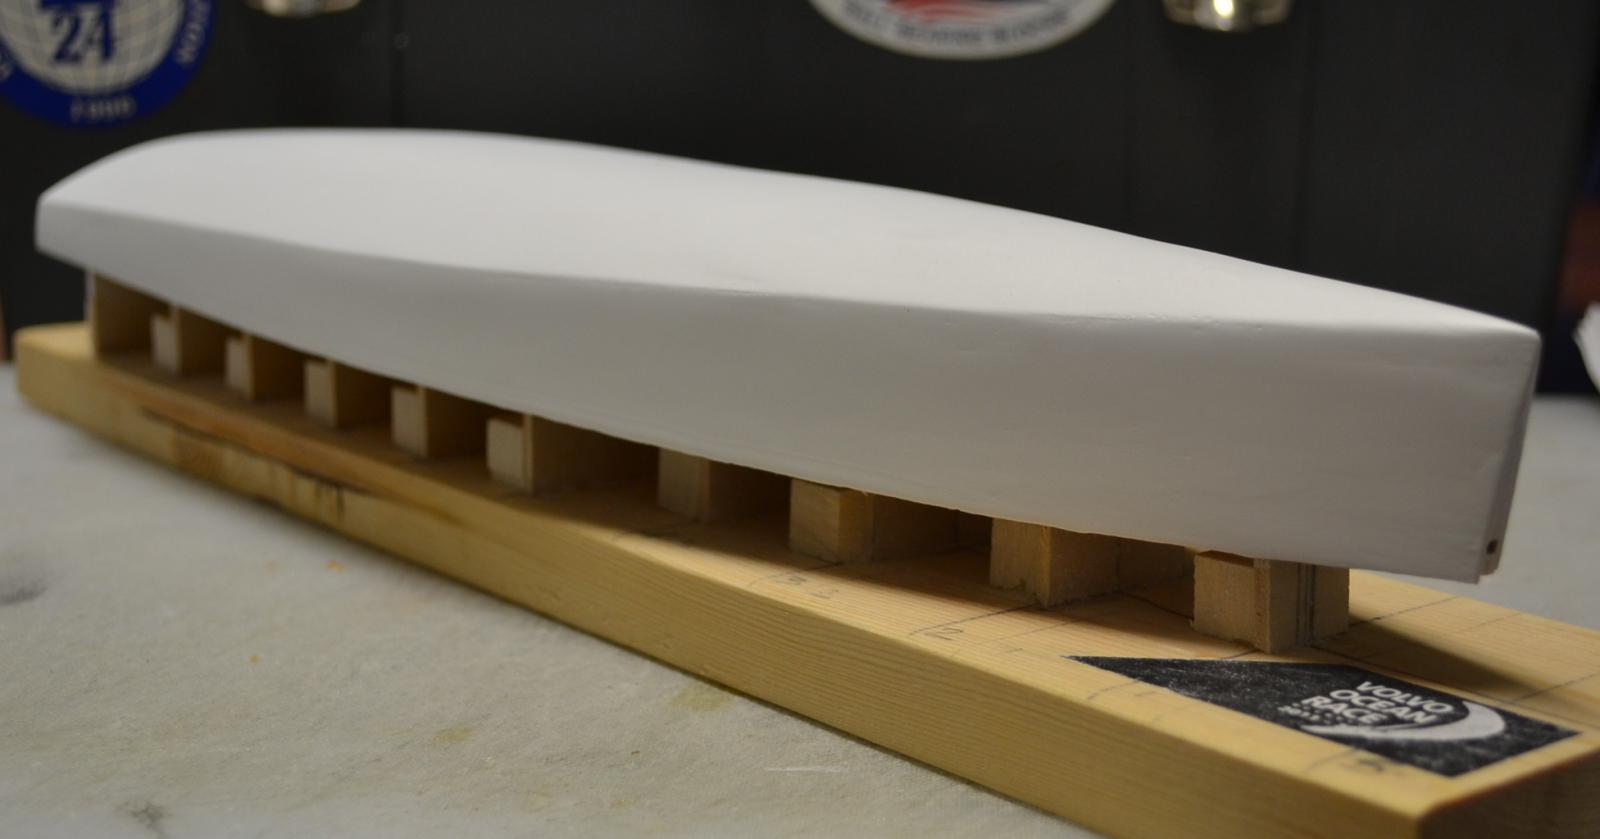
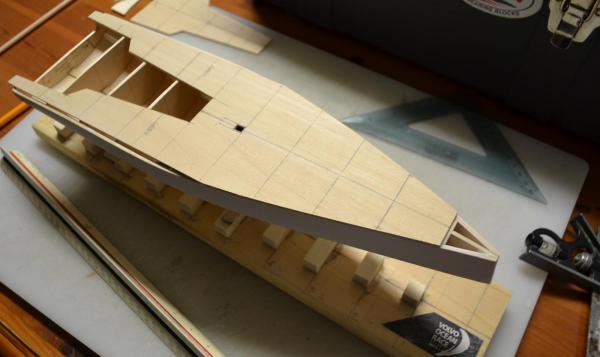
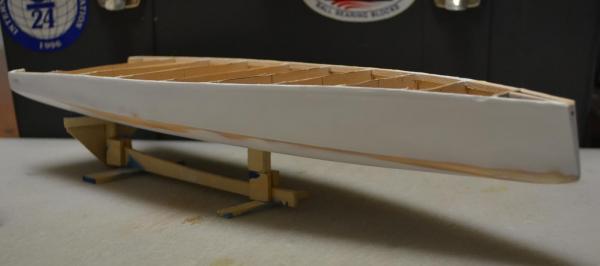
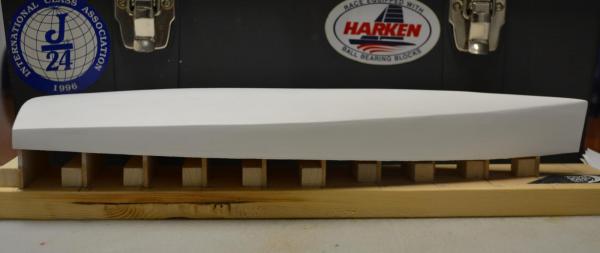
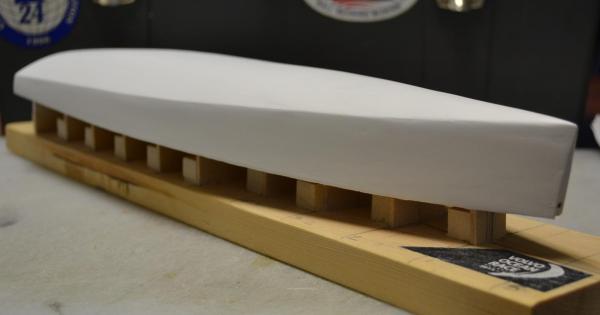
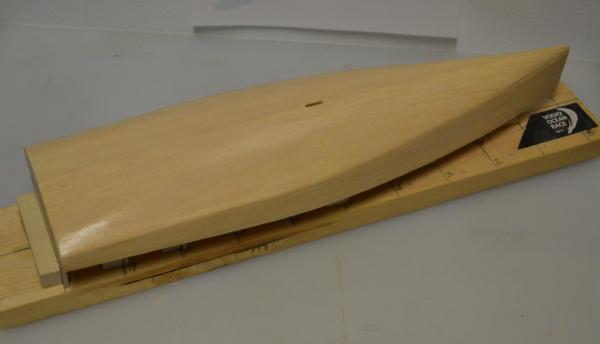
Well it worked, Painting the Hull Flat White did the trick , I was able to get the Hull faired more easily ( it reminded me of my Racing days , I would Fair the Keel on a regular basis especially before a race ) I then removed the Hull from the building Jig. then got the Building Jig cleaned up and ready to build the next one. Next will be to lay out the Deck and get it cutout and attached to the Hull. Here are the results

- 147 replies
-
- 14
-
-
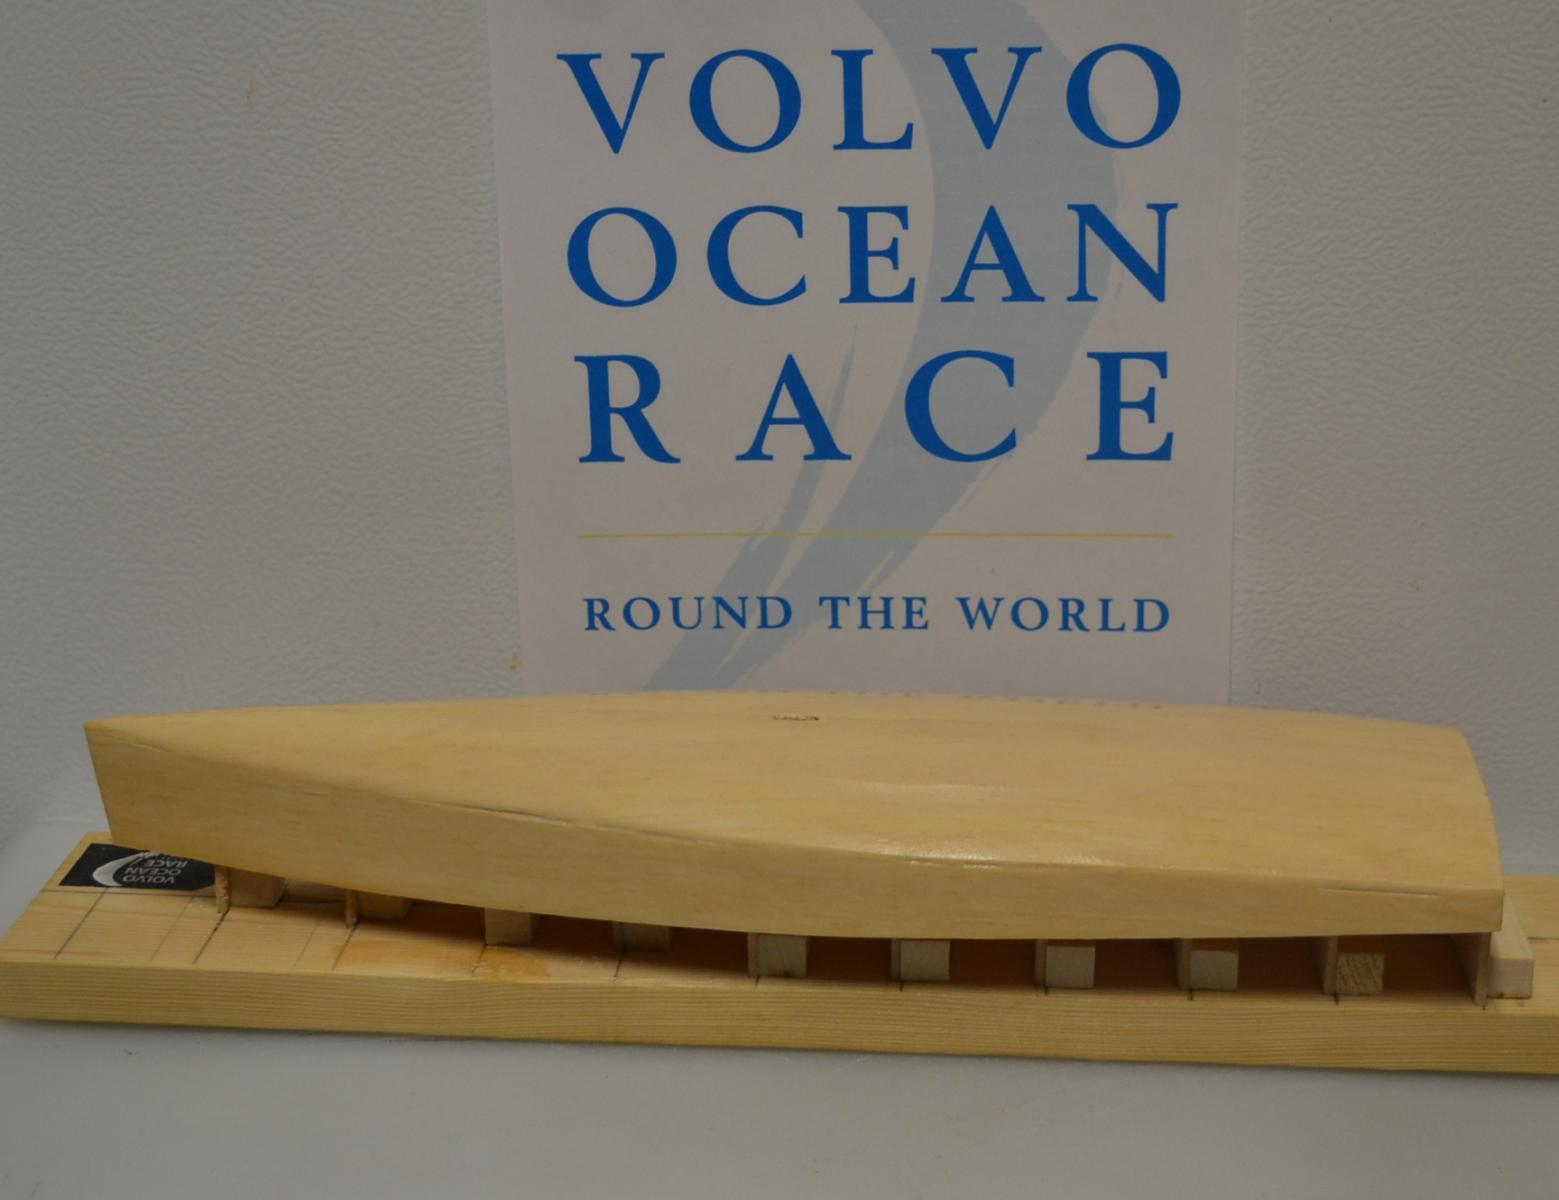
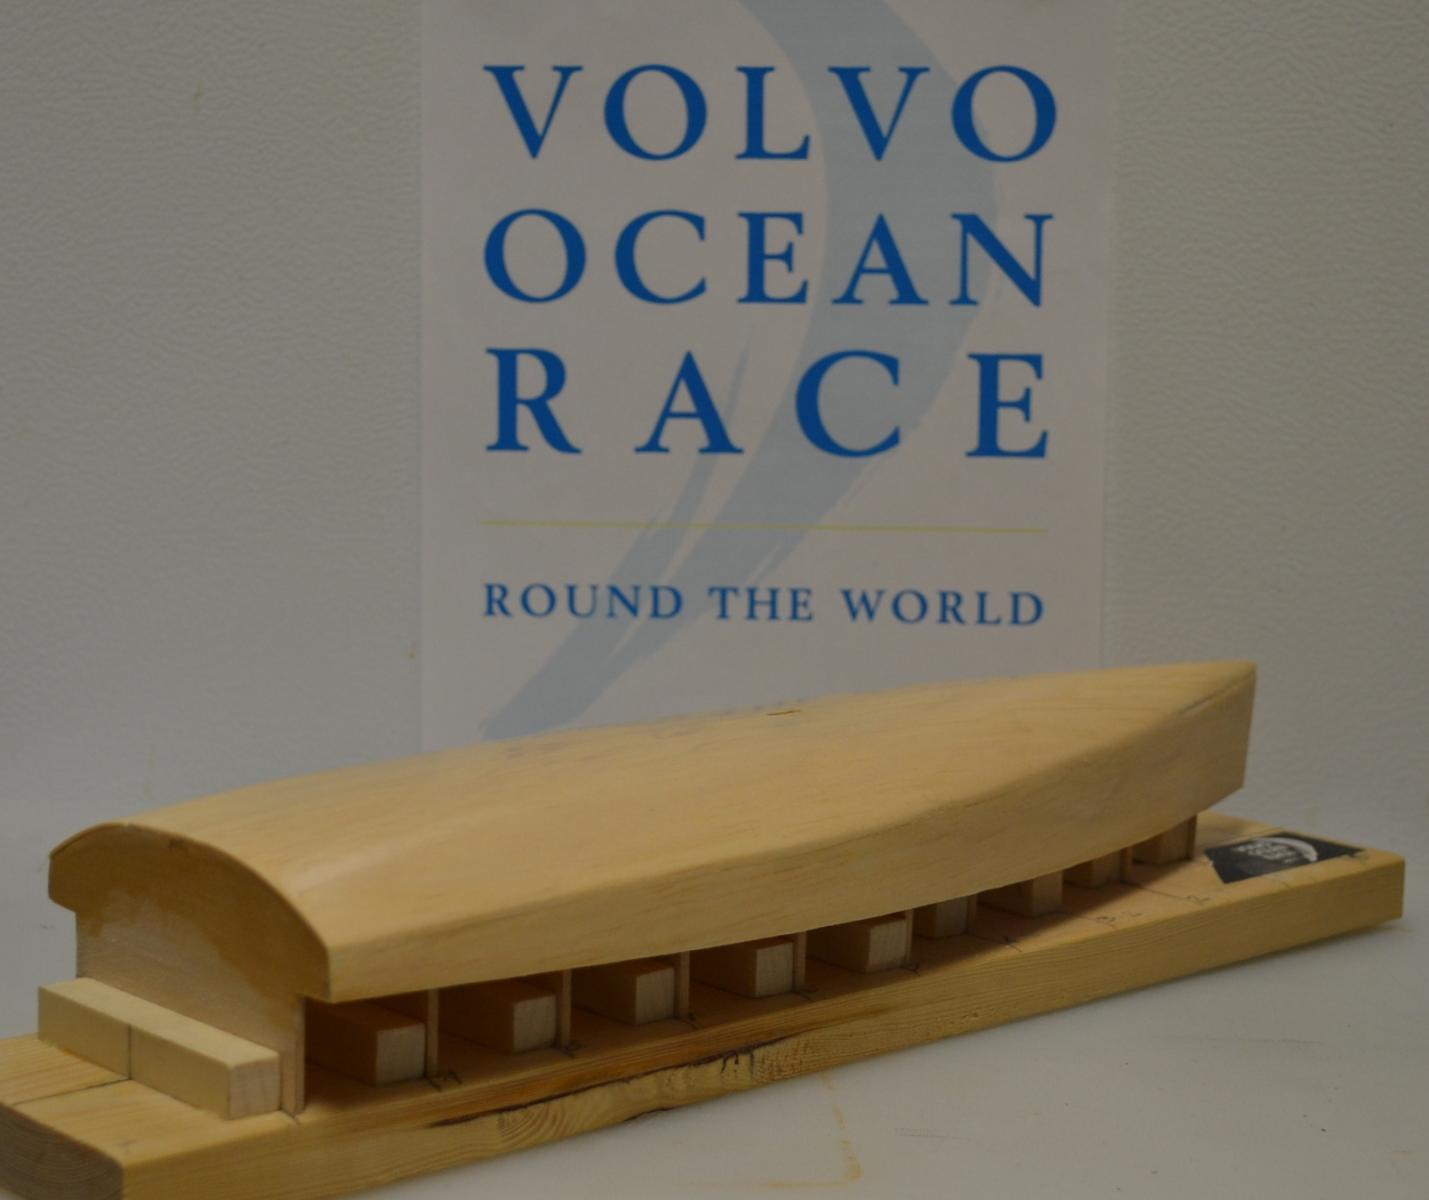
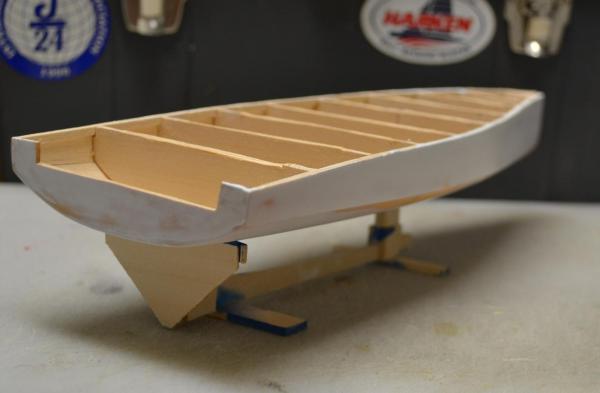
Today, I started the day by fairing the hull, wich proved to be more dificult than I had originally thought. I figured that it would take "maybe" a few hours, it ended up taking all day . I got her close and sprayed a coat of flat white on the Hull . ( I figured that the lines can be seen more easily ) next will be to get a final fairing and remove the Hull from the building jig. Here are the results
- 147 replies
-
- 13
-
-
Thank you Patrick, I greatly appreciate it Best Regards, Pete
- 112 replies
-
- 1
-
-
- buzzards bay
- herreshoff
- (and 1 more)
-
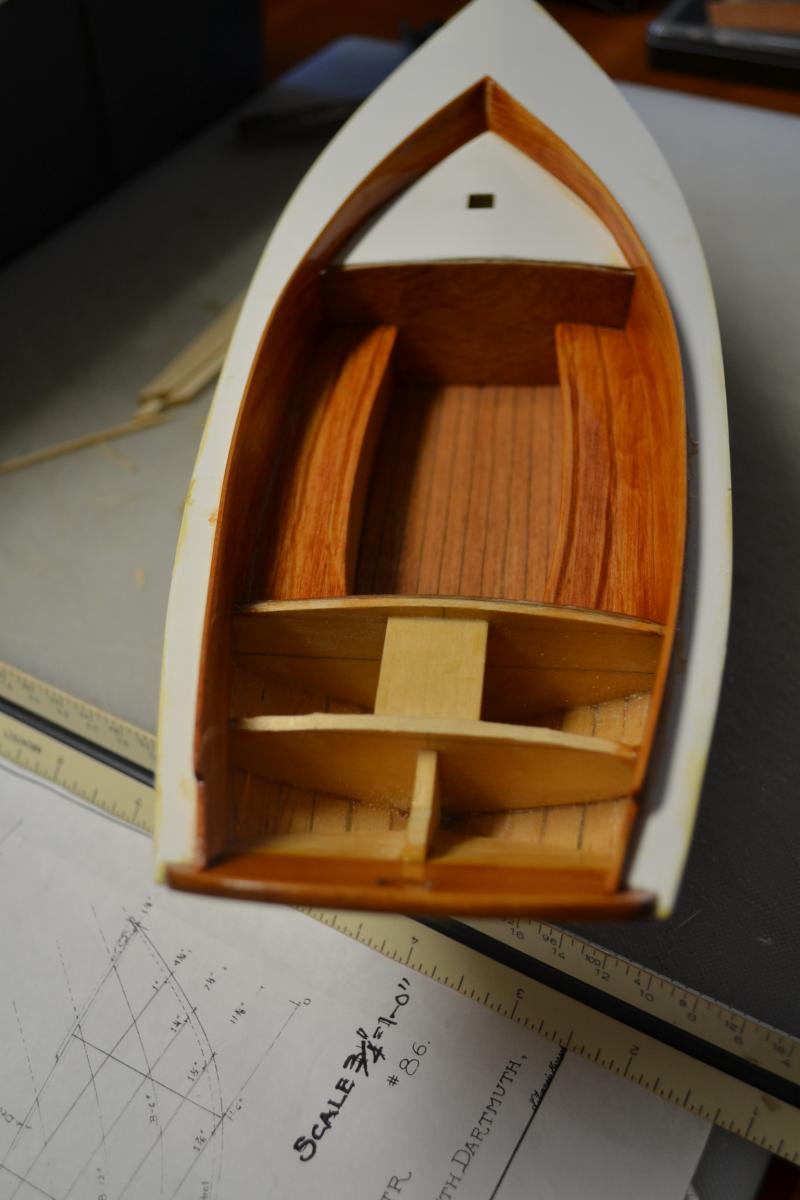
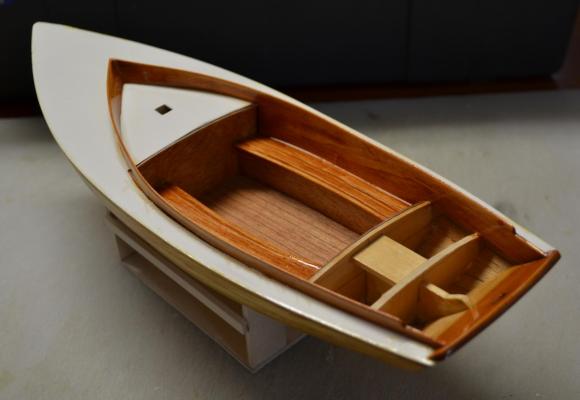
Today, I started by Staining the Cockpit Floor and rear Deck. Next I cut out the Cockpit Coamings and put them in rubbing alcohol.(Allowing them to soak for 3 hours ) I then installed the Cockpit floor Braces, and installed the Cockpit Floor. I then Bent the Coamings, and installed them. Next I started sanding them with 320 grit sandpaper. Next will be to get the coamings sanded up to 600 grit.( working my way up) Then will be to stain them and put 3 to 4 coats of Varnish. the rear deck has not been installed at this stage . Here are the results

- 112 replies
-
- 11
-
-
- buzzards bay
- herreshoff
- (and 1 more)
-
Hello Igor, Very nice build you have here , Beautiful work Best Regards, Pete
- 154 replies
-
- 2
-
-
- colin archer
- lifeboat
- (and 2 more)
-
Hi Marc, I am not sure about that , I am having a great time building them. Glad to have you along for the ride Best Regards, Pete

-
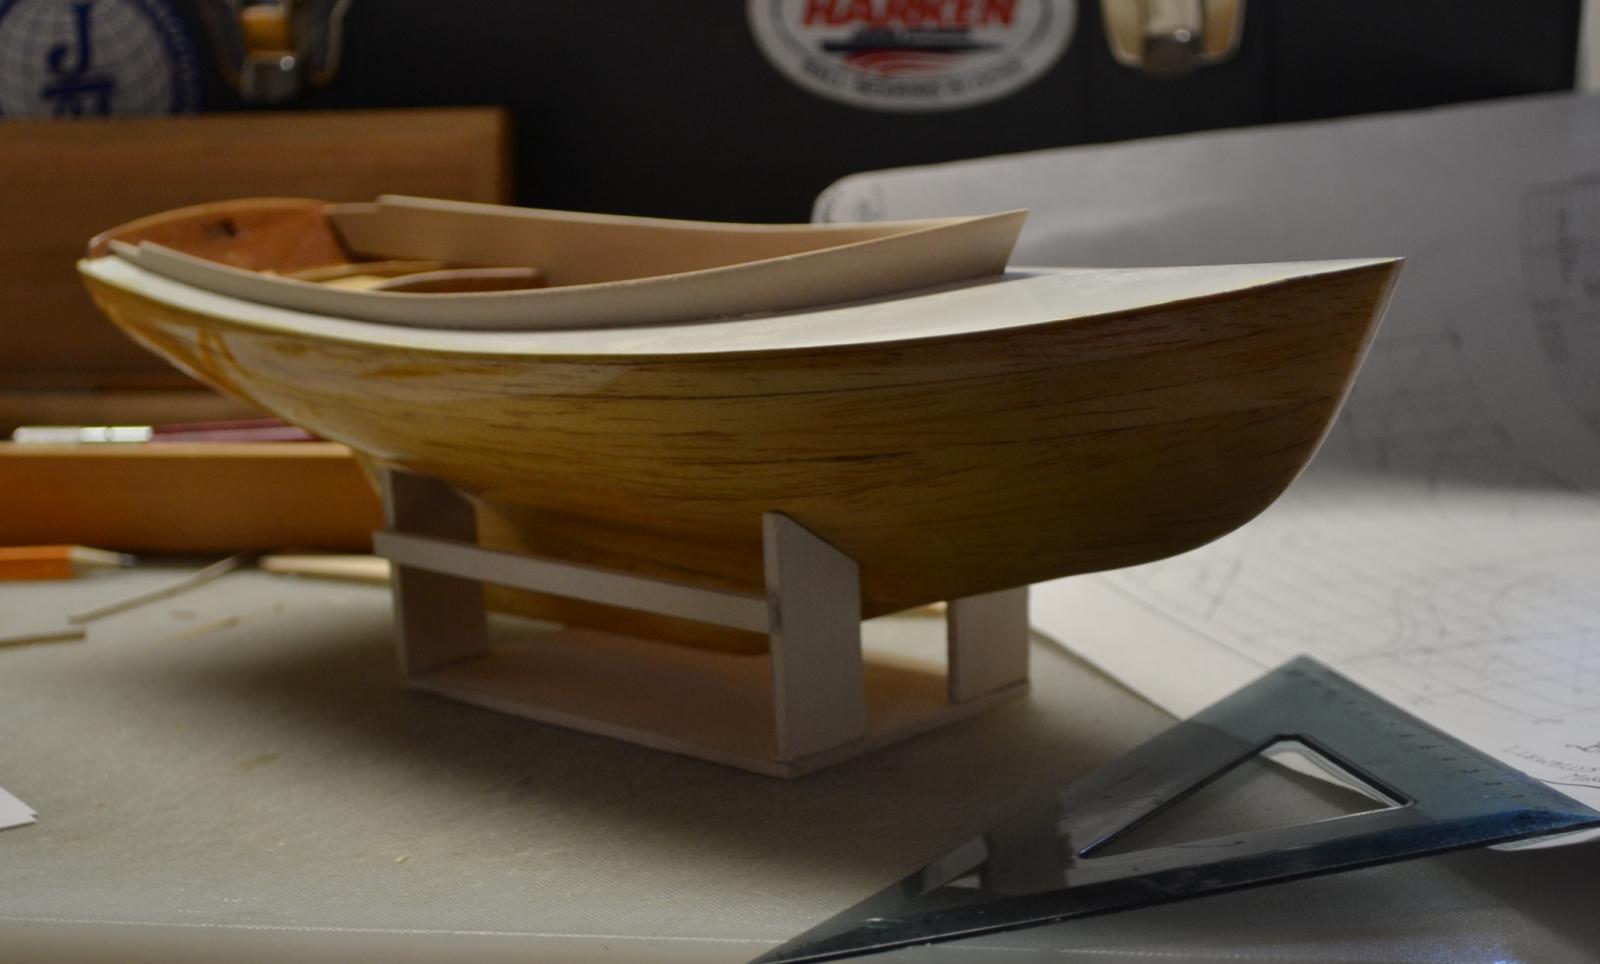
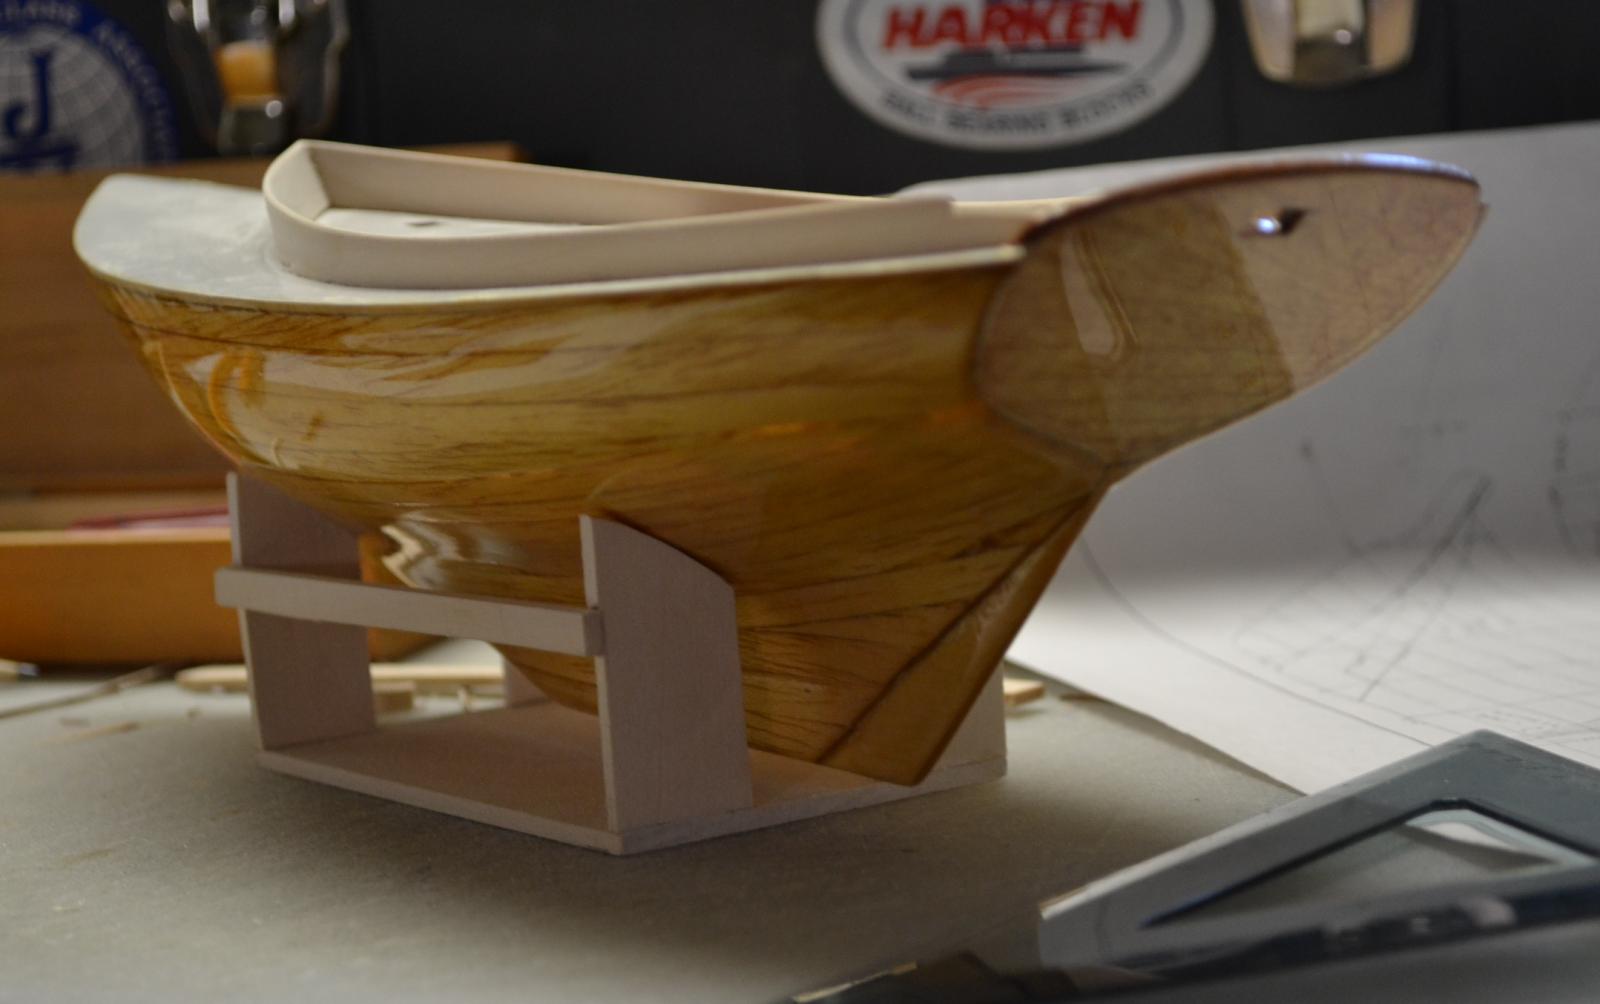
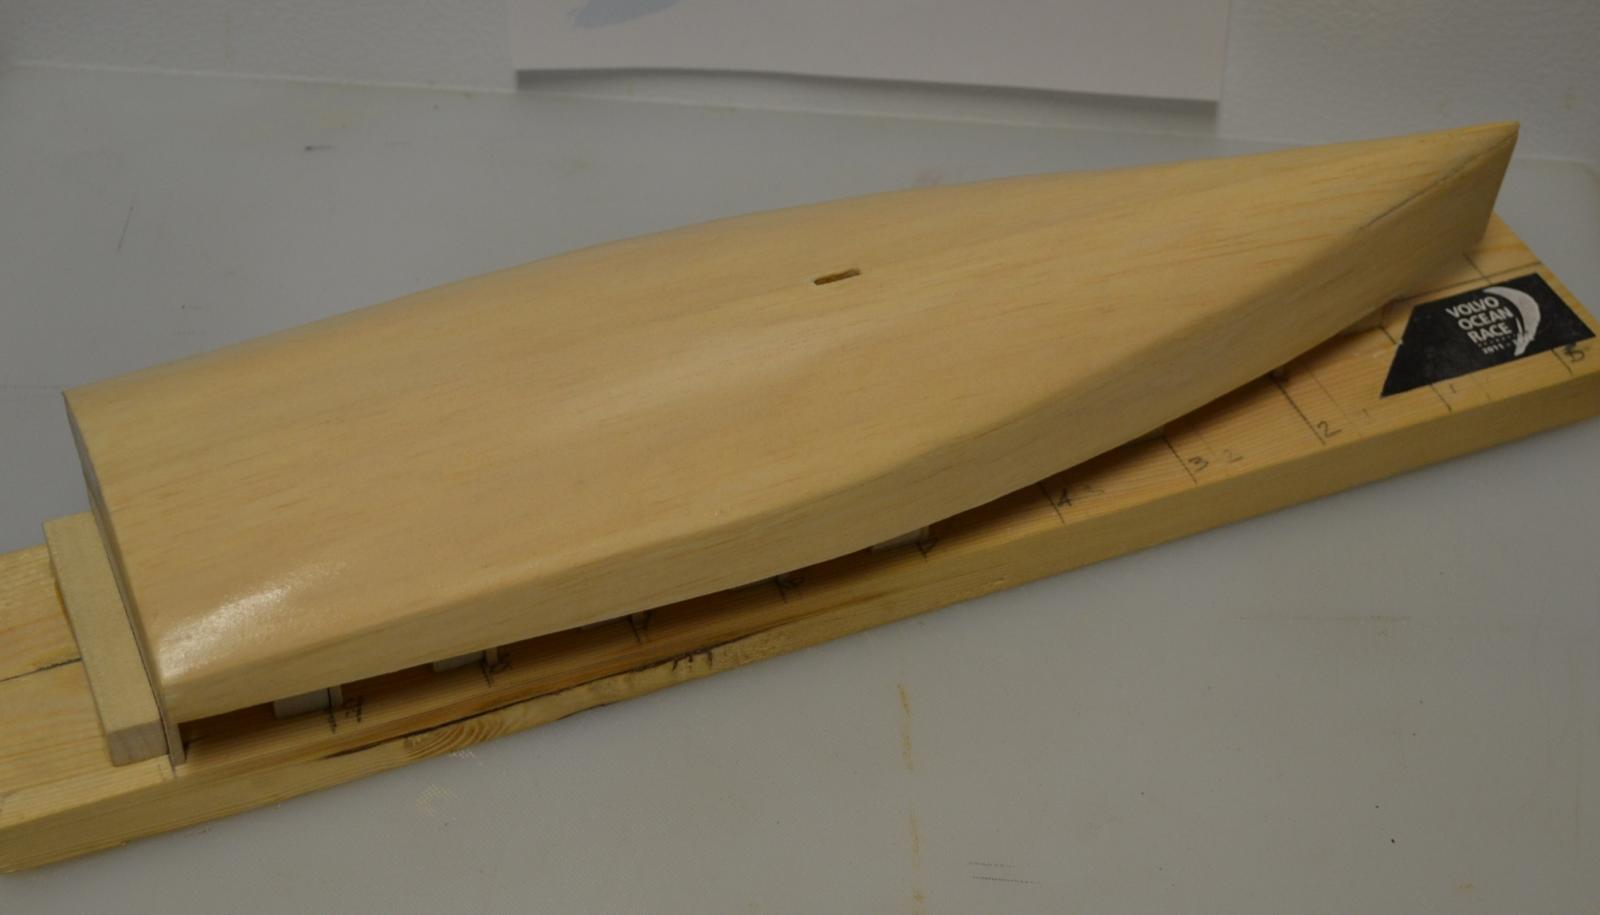
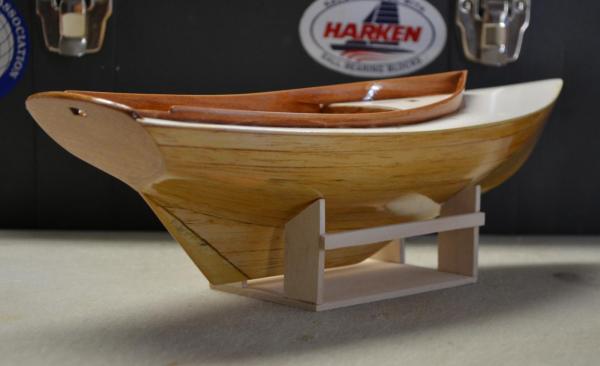
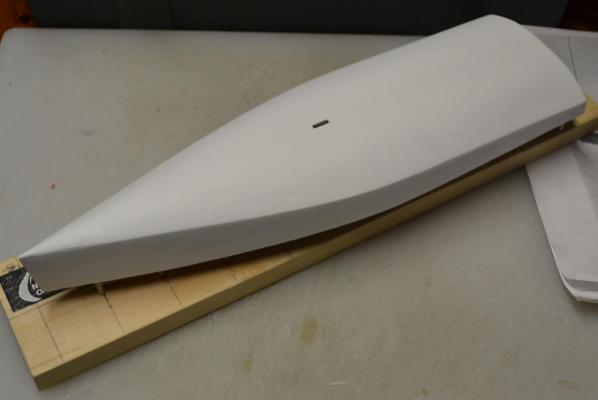
Today, After completing the Varnish on the Herreshoff, I turned my attention to finishing the fairing of the Hull. I started where I left off with 320 grit sandpaper and worked my way up to 600 grit. after I got her close I brushed on a coat of Titebond 3 glue to the entire outside of the Hull. and of course This Hull design would make a great canidate for a sailing version ( just bump the scale from 1/4" to 1/2" Scale) in any event , the next step will be to sand with 400 grit and fill in a few voids and repeat the process and she will be ready to be removed from the Jig. Here are the results


- 147 replies
-
- 14
-
-
Thank you Patrick , Hopefully she will turn out the way I see her in my head. Thanks Cap'n'Bob, Any time I am always up for Sailing Best Regards, Pete
- 112 replies
-
- 1
-
-
- buzzards bay
- herreshoff
- (and 1 more)
-
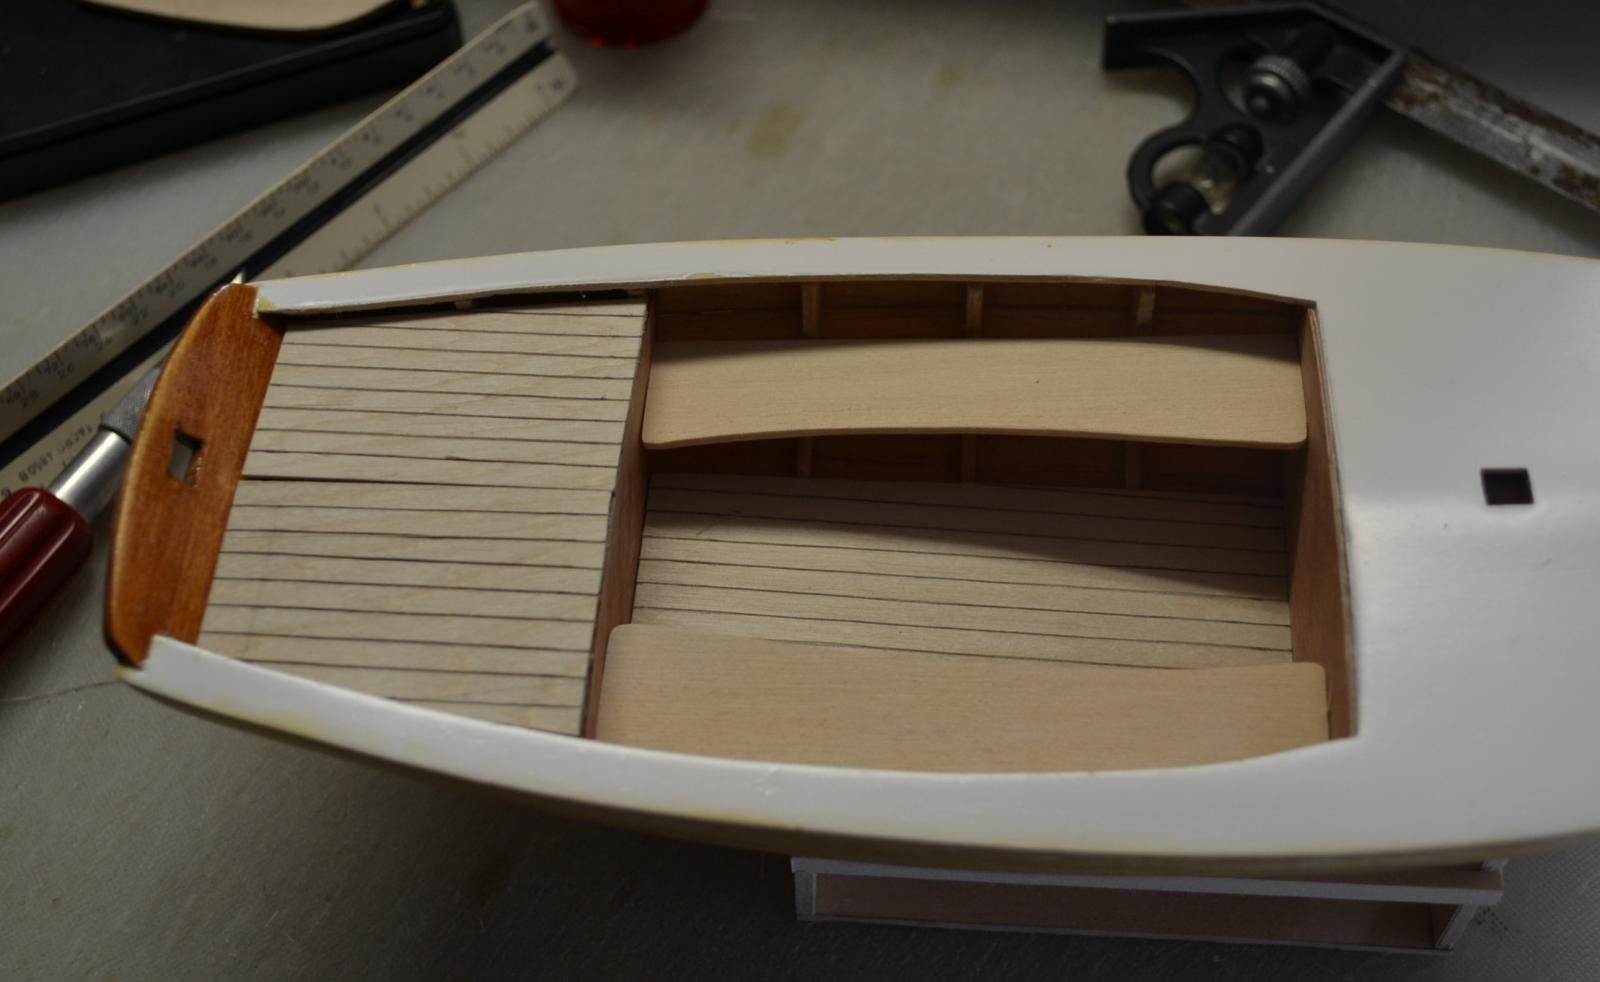
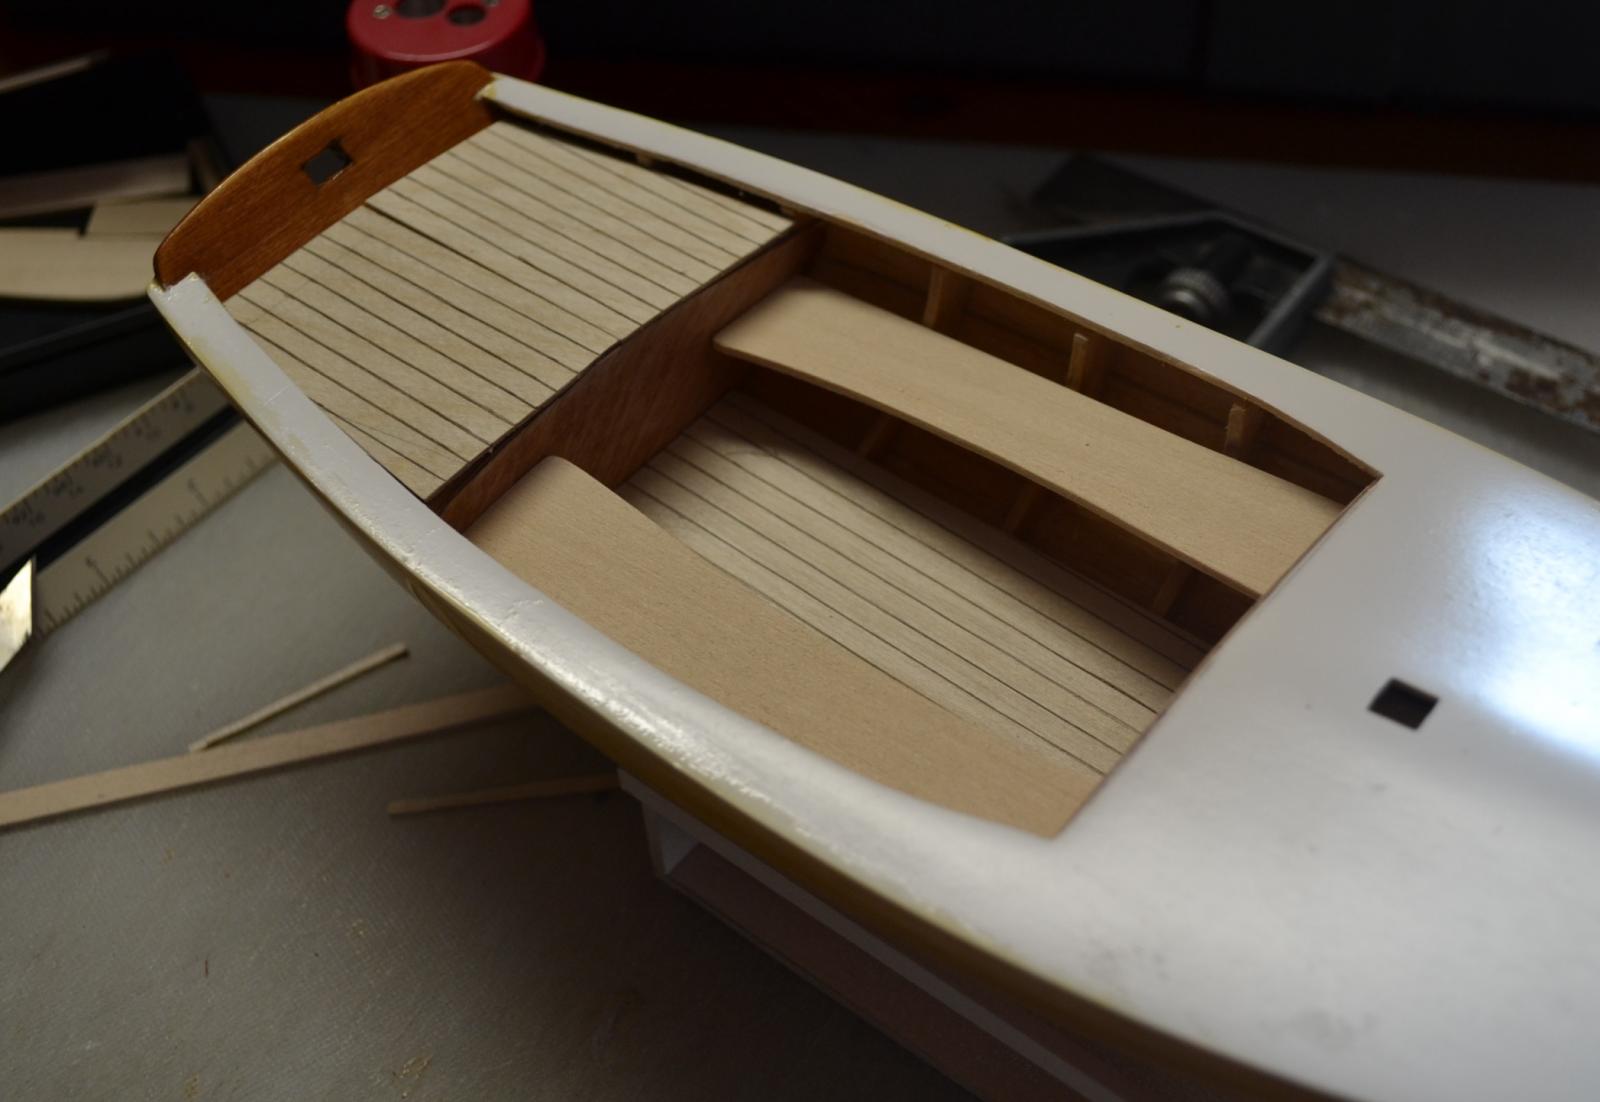
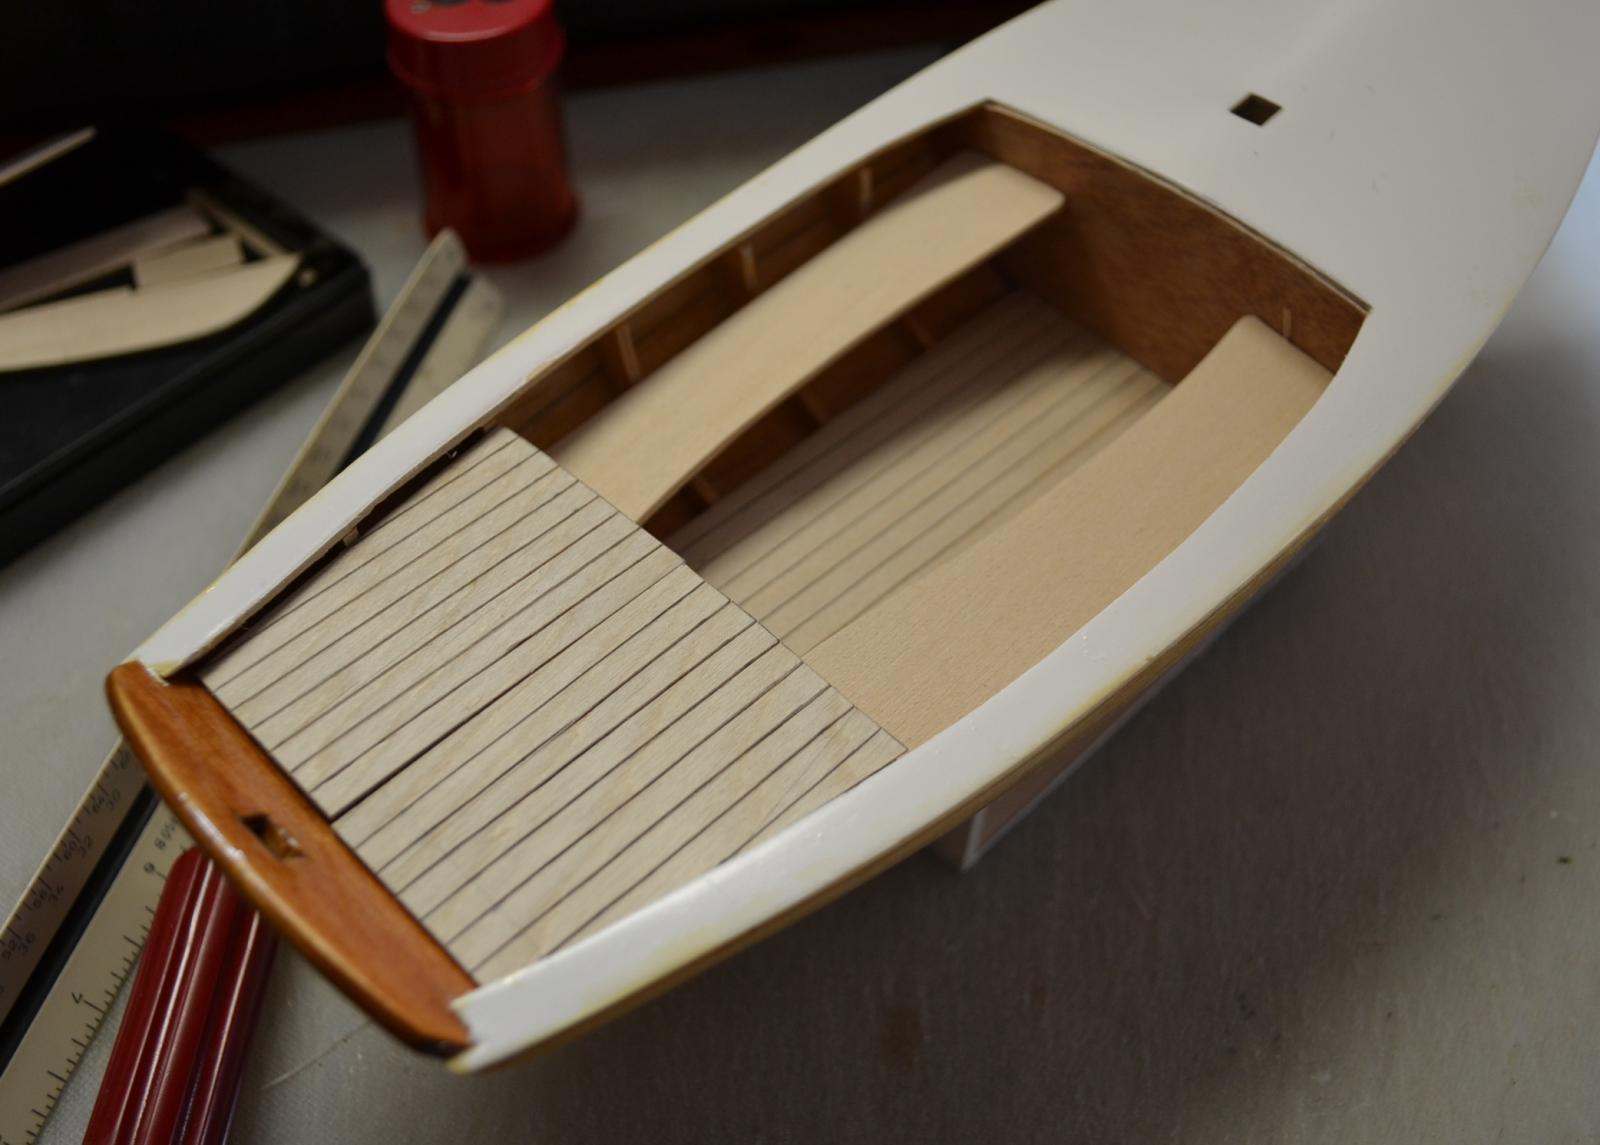
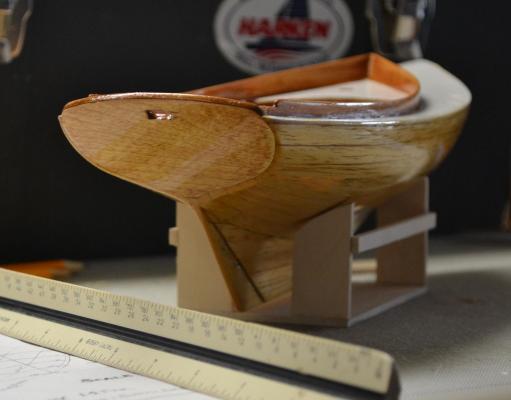
The Varnish on the Hull is cured enough now to where I can get back to work , I made a new cockpit floor and detailed the rear deck. I used a birch ply for this and using a wide blade I cut groves in the deck and cockpit floor , since its a ply, if you cut through the first layer of the ply the glue before the second layer of the ply simulates the caulk. Nothing has been glued in at this stage. Next will be to varnish the bulkheads in the cockpit. Here are the results


- 112 replies
-
- 11
-
-
- buzzards bay
- herreshoff
- (and 1 more)