Glenn-UK
-
Posts
3,168 -
Joined
-
Last visited
Content Type
Profiles
Forums
Gallery
Events
Everything posted by Glenn-UK
-
 Nice work, looks like your are making very good progress
 -
Looks really good, something for me to think about in the future.
-
Looks like you have continued to make good progress and the build looks really good.
-
Thanks to everyone who has visited my log, for all your likes and very kind comments.
-
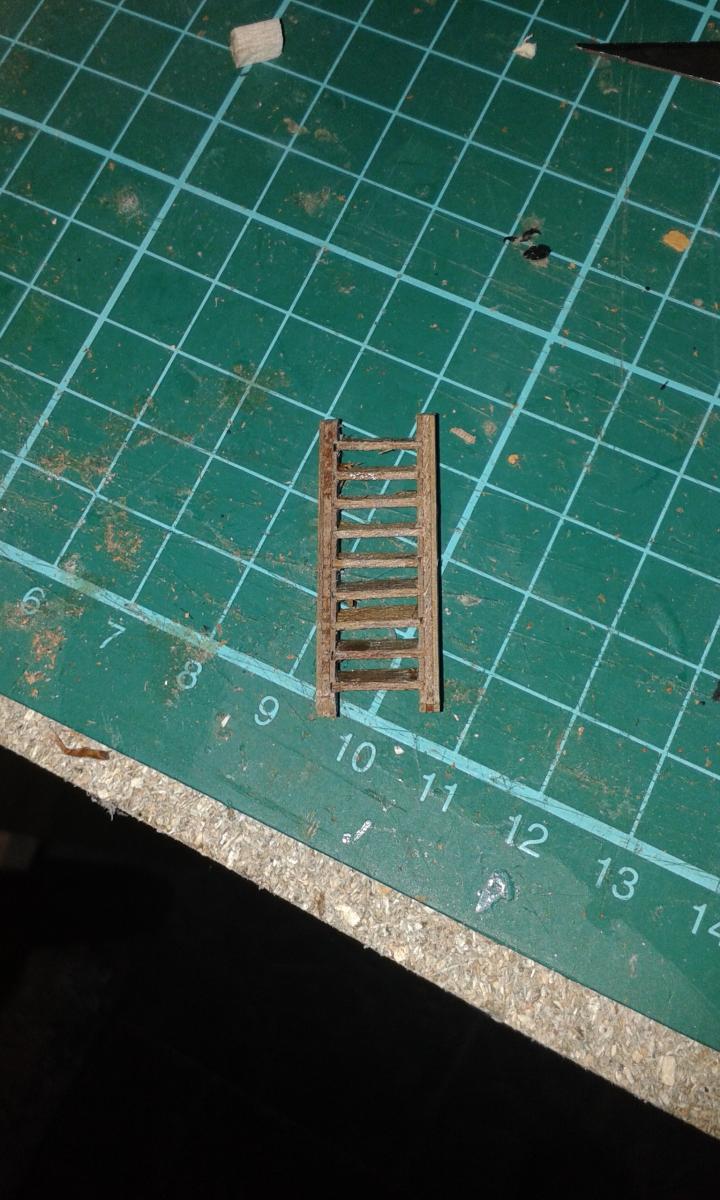
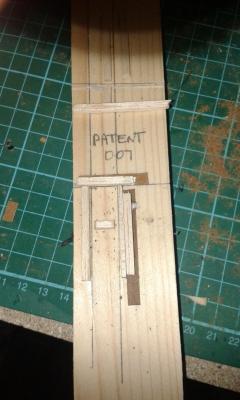
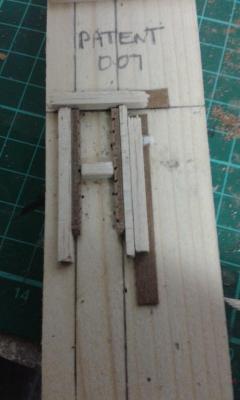
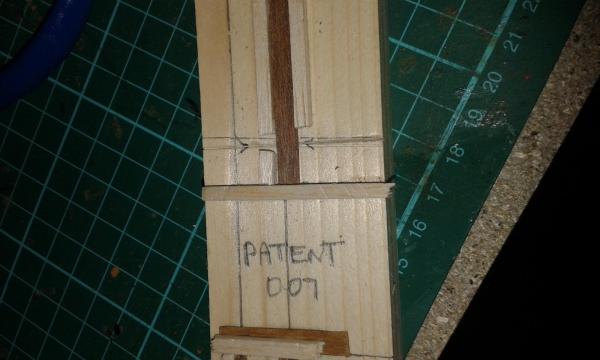
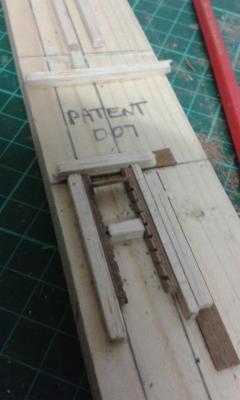
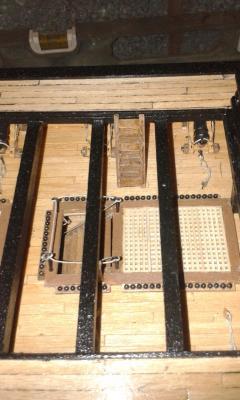
Tonight I assembled the 4 waist ladders. Before I started I decided it would be benificial to make a simple jig to aid the assembly. It was a very simple jig and I found it did speed up the process. Here is a picture of the jig, there is an section to hold the 2 x ladder sides in place and a second section to cut the ladder steps to the correct length. Ladder sides installed in the jig The ladder steps were all cut to the same size, using the jig Assembly of the ladder work in progress Completed the frist waist ladder assembly Dry fit of the first ladder. Completed all four ladders, ready to be painted black, noting two ladders will be fitted on opposite side

-
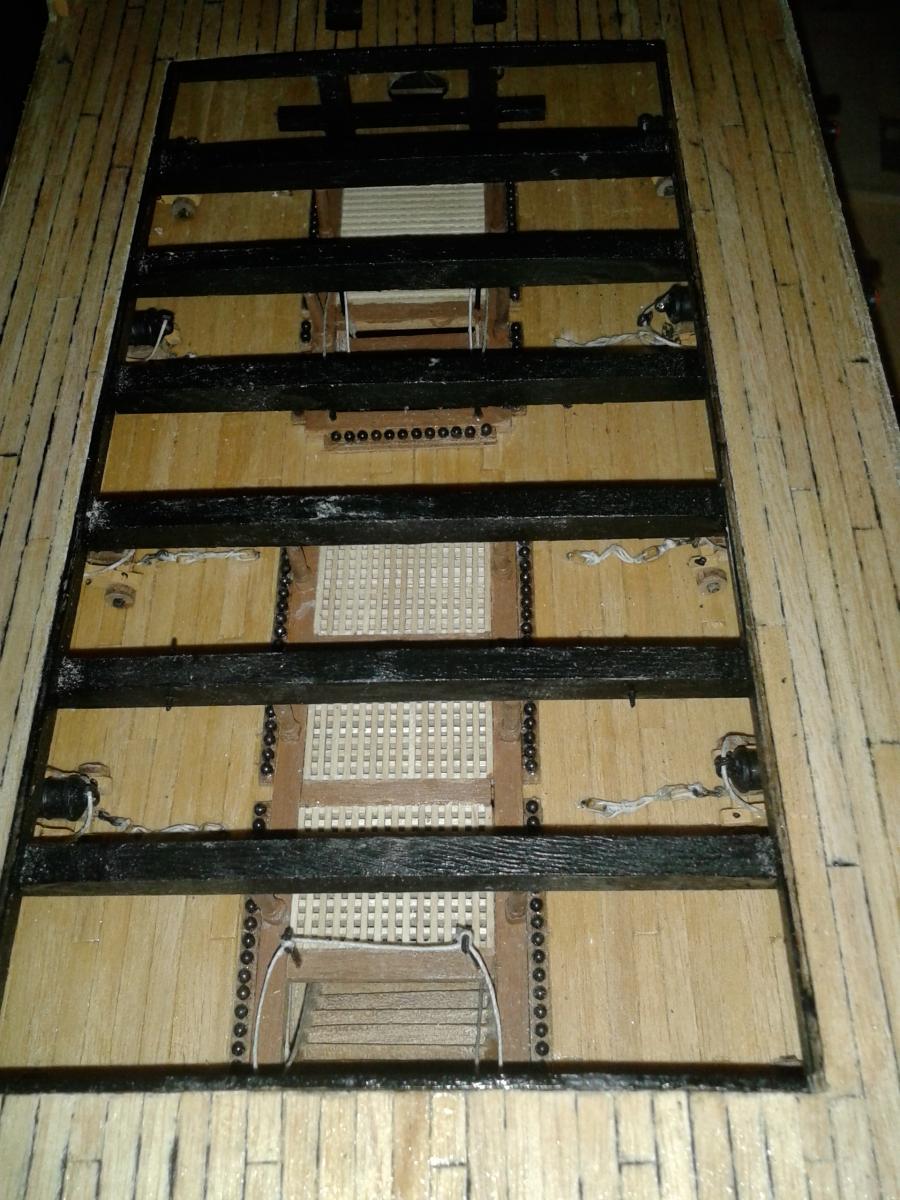
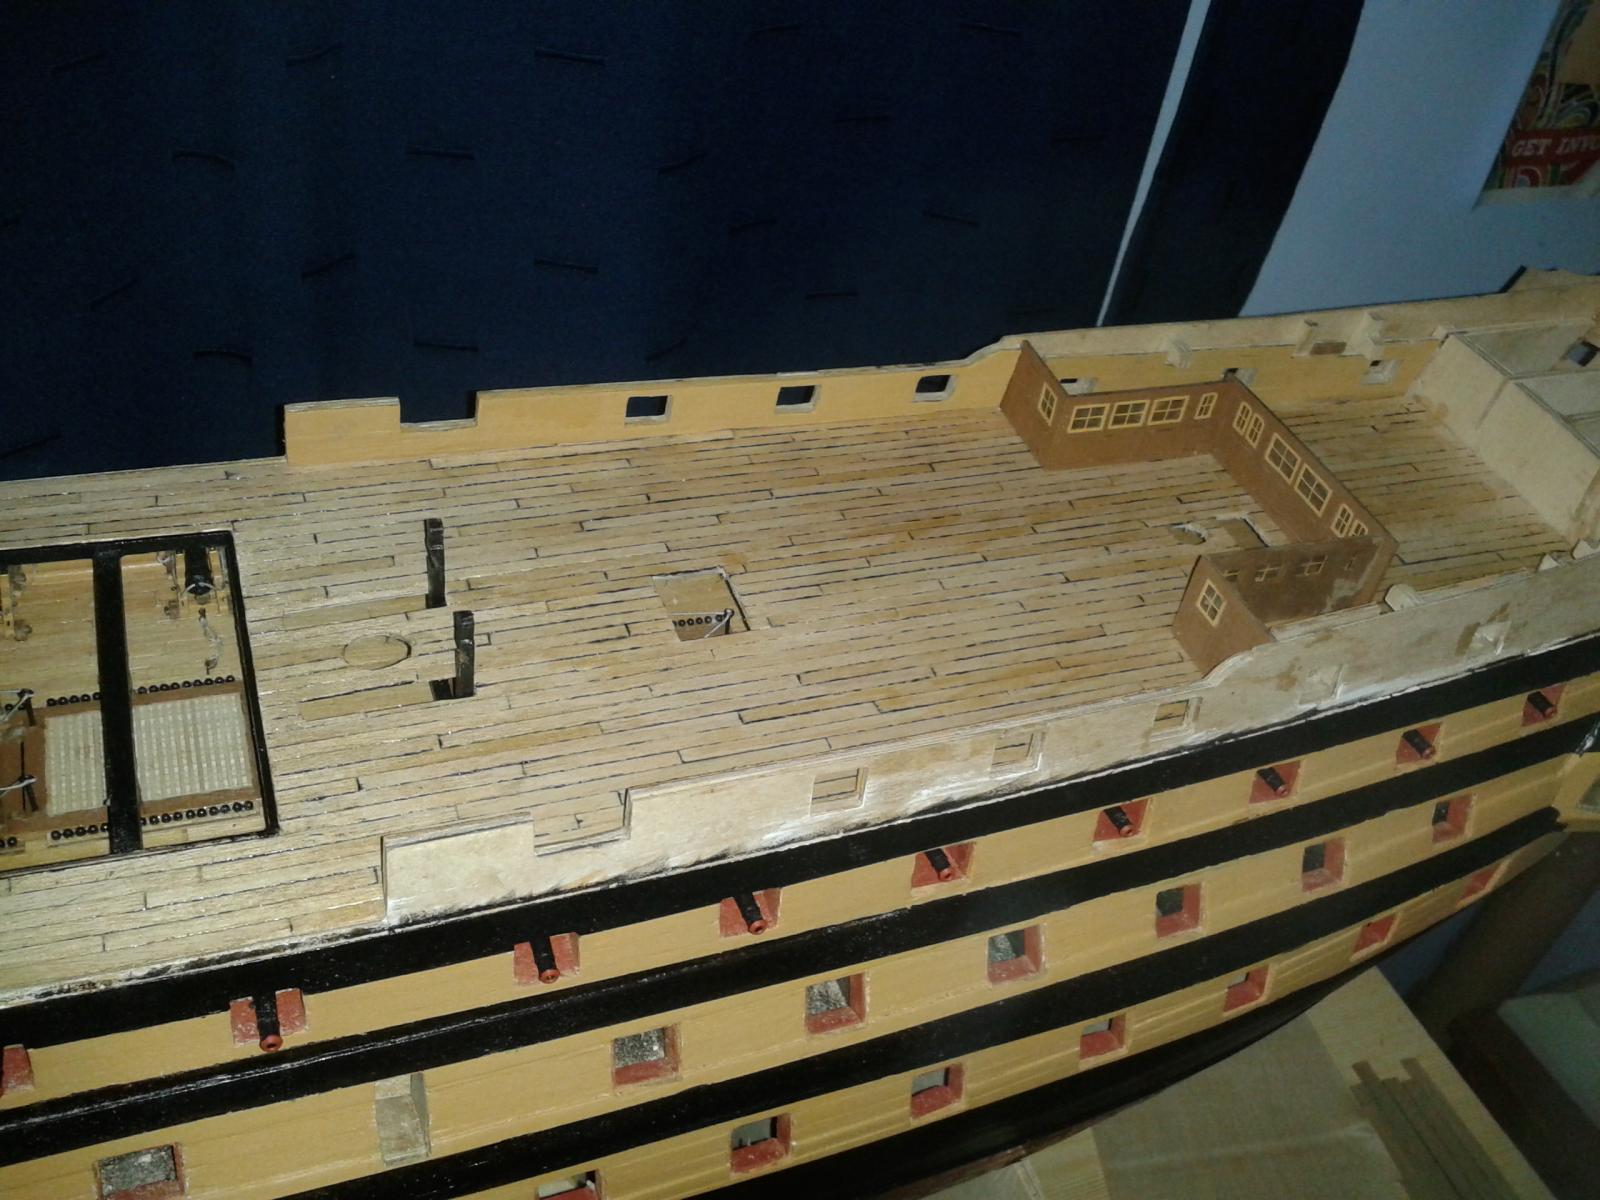
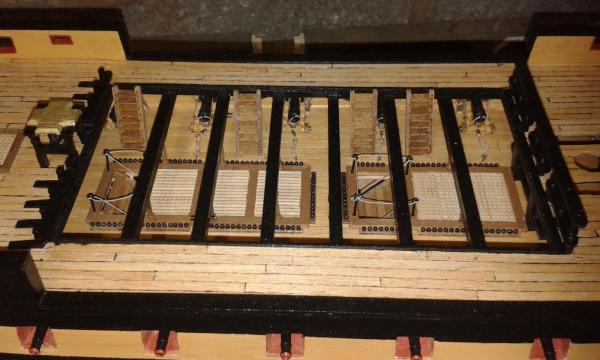
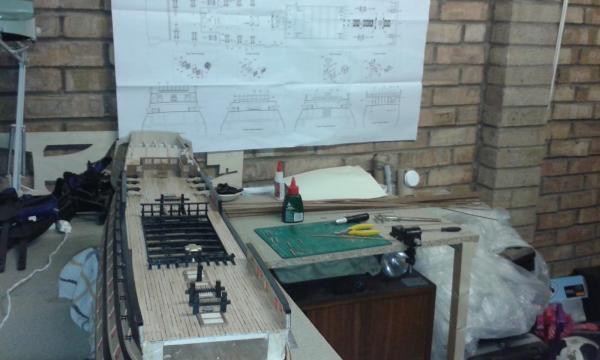
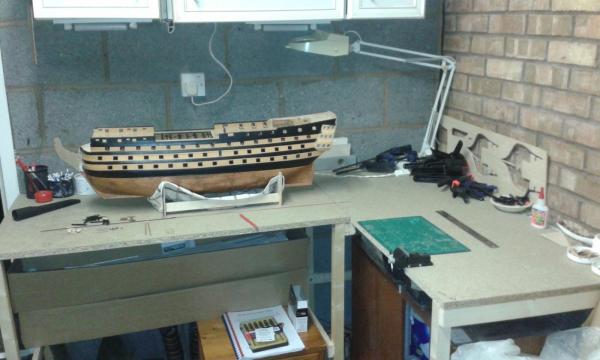
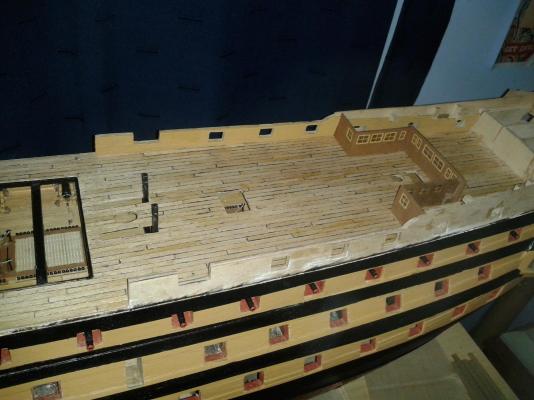
Work continues on the quarterdeck fittings in the new workshop. The added room is making the work much easier. Nice broadship picture of the assembly Picture of the workbench, added some wooden battens to the wall so I can pin the drawing sheets as I progress on with the build View of the bow end fittings NIce view down to the upper gun deck.

-
Well done, enjoy you trip
-
There will be heat when need, just need to acquire a suitable potable heater, which is currently with my mother.
-
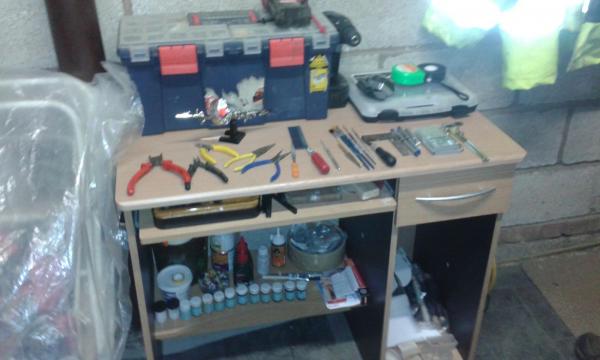
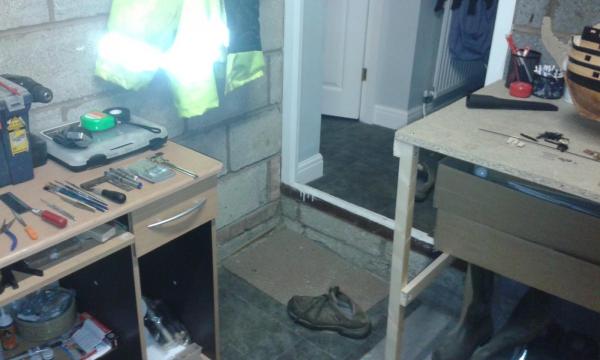
Space was becoming an issue in the old shipyard, as was the general mess I was making so the shipyard has now been fully restored to it's old function, that of being a bedroom. On saturday I constructed a work bench area in my garage, and still have room to get the car in if needed. Tonight I have moved down all the items from the bedroom to the new shipyard. It will go live tomorrow night. My main new work bench, with plenty of room for the boat and an extra area to work for making parts as necessary. As can been seen I also created a storage area for the kit box under the desk. The old desk from the shipyard has also been moved down which will be used for the tool storage. Access to the new work shop is via the utility room, sorry about the old shoes in the picture.
-
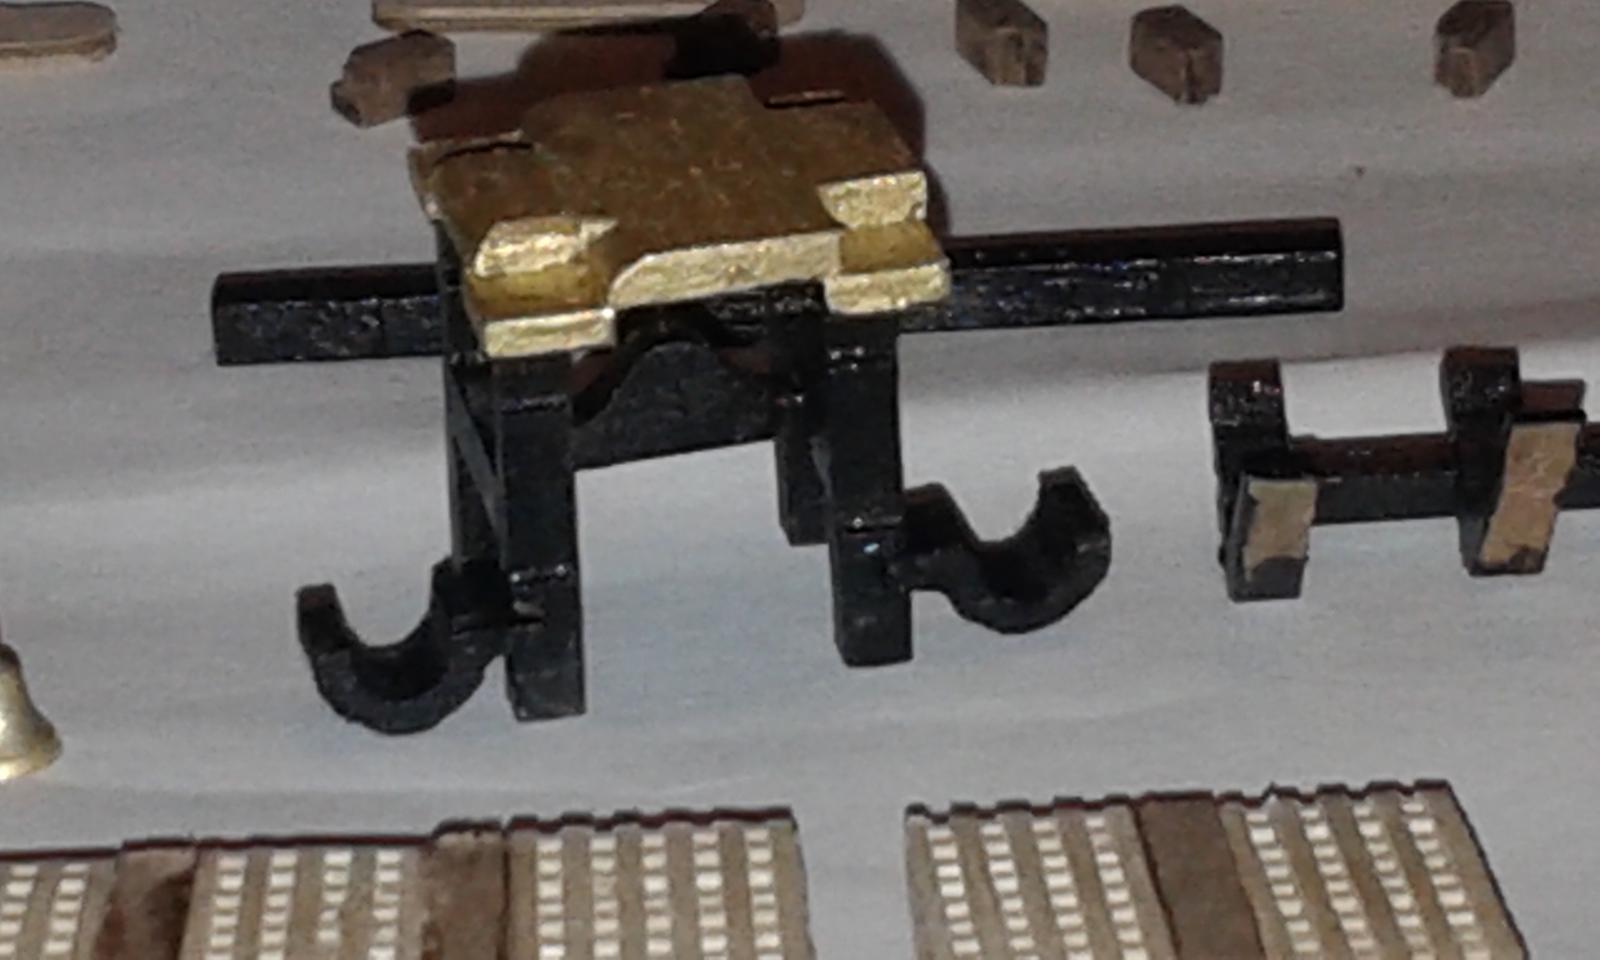
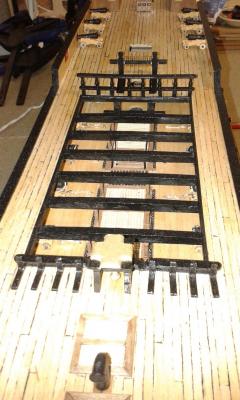
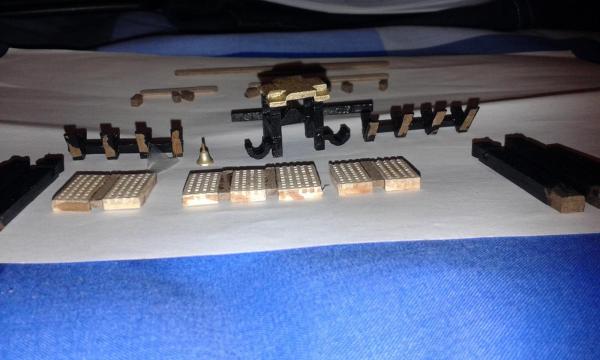
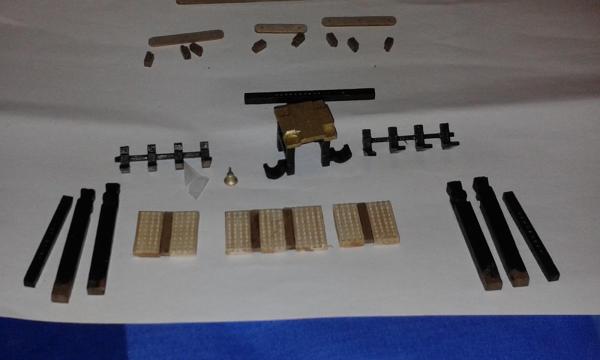
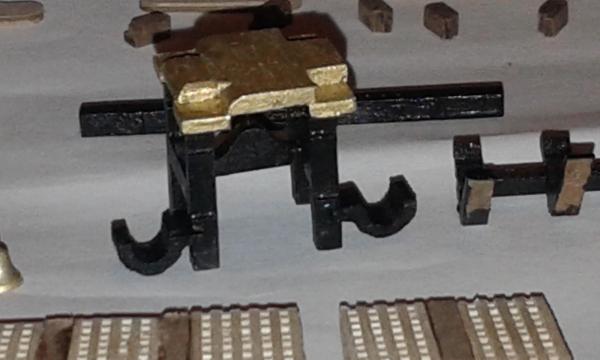
I have been building the quarterdeck sub assemblies from the forecastle gratings to the quarterdeck barricades. Once I have completed building and painting the sub assemblies I will install. I just need to attach the 3mm x 1mm strips to the gratings for the coaming so I can then drop the gratings in the openings which will be held in place by the coamings. I made a bit of a error initally using 4 x 2 mm strips for the coaming (thought it was 3mm x 2mm for some reason unbeknown to me) which made me think there was something wrong with the quaterdeck. Thankfully it was simple to recover the gratings. Thanks to Jerry and David for their help and advice. Pictures of the sub assemblies work in progress Close up of the ships bell tower. Not sure if I need to paint some of the top bit black (in the four corners).


-
I cleaned the excess glue off as I went along and the used brasso for the final cleaning process before applying a clear varnish
- 414 replies
-
- 1
-

-
- caldercraft
- victory
- (and 1 more)
-
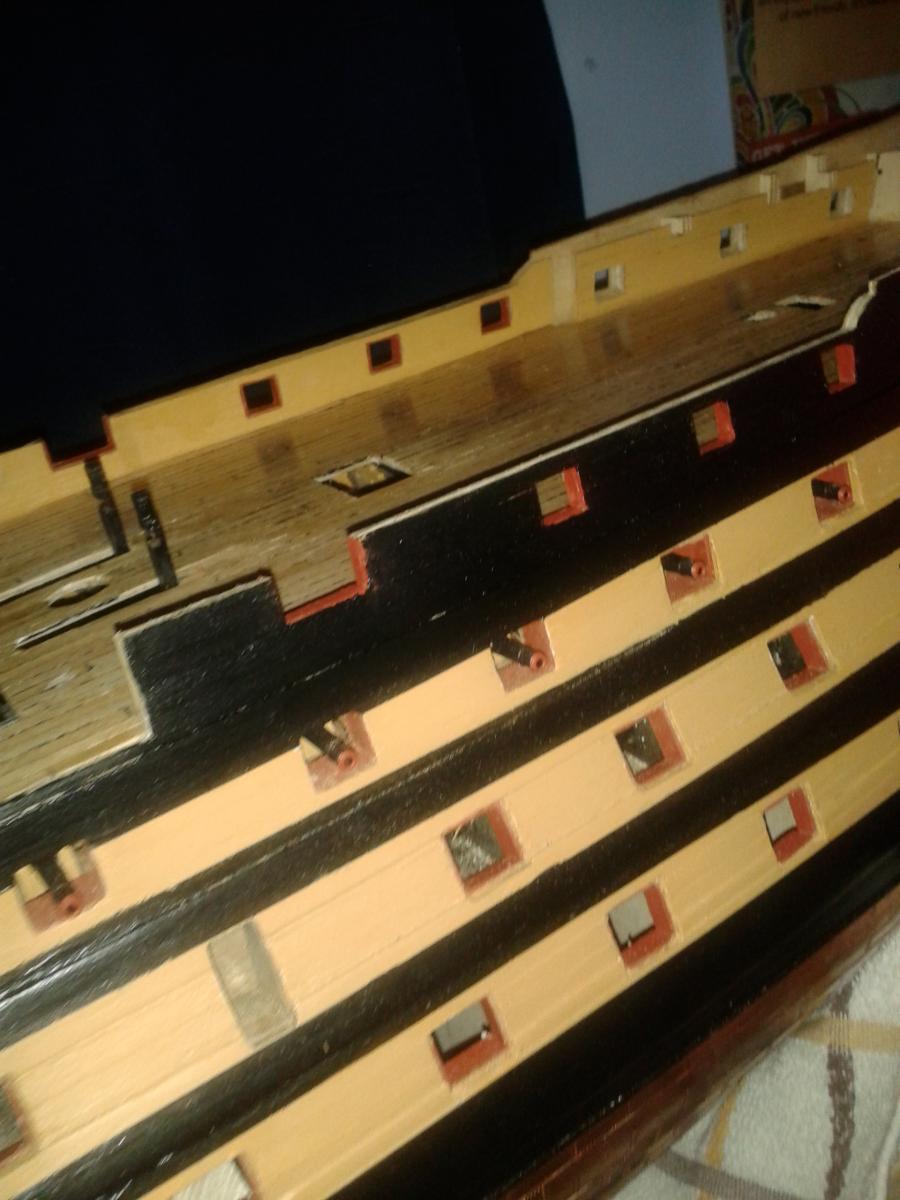
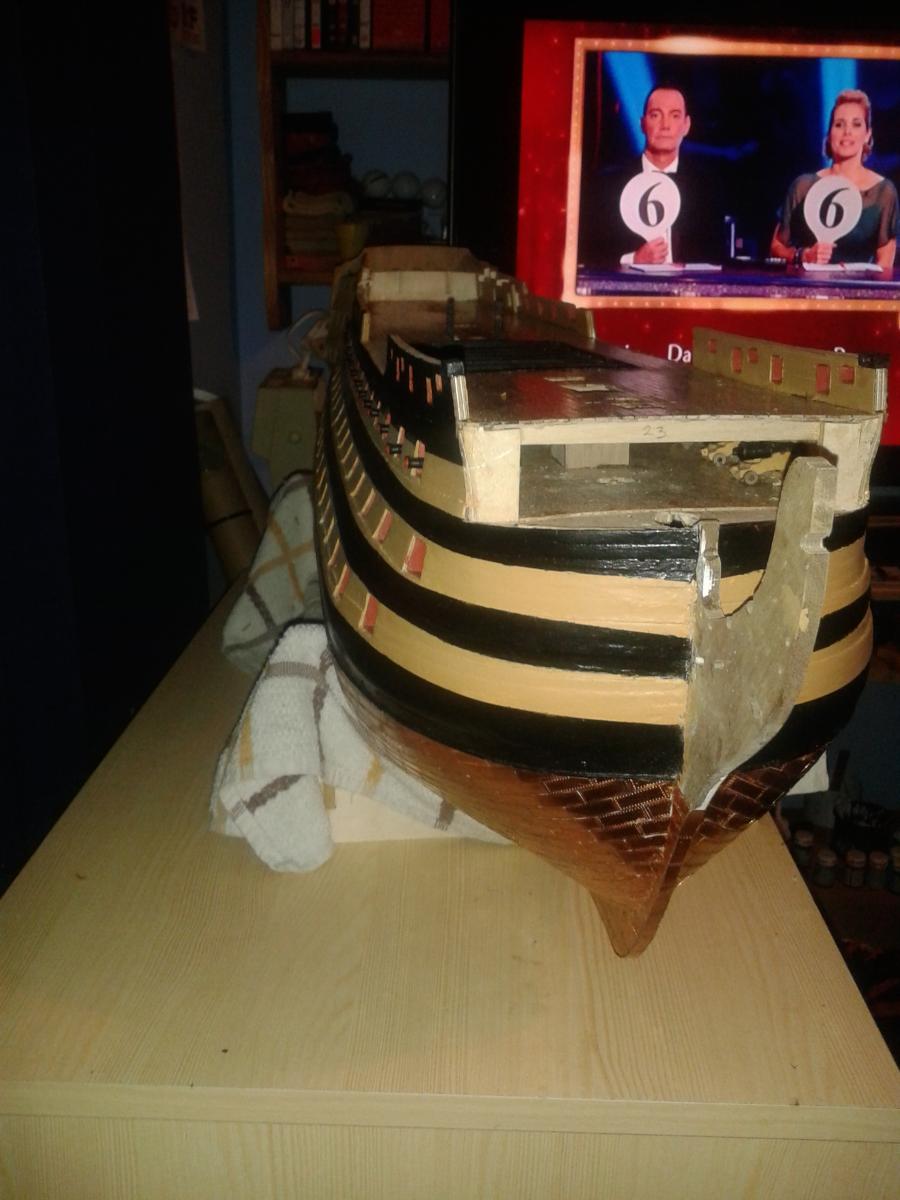
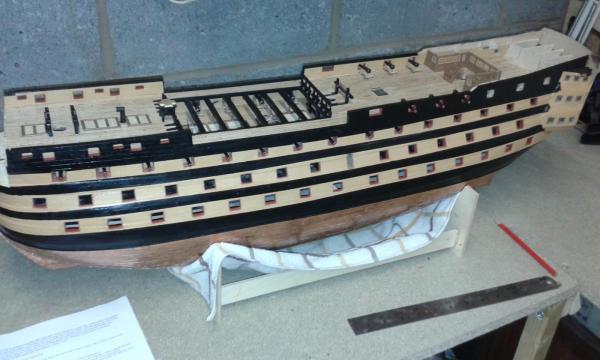
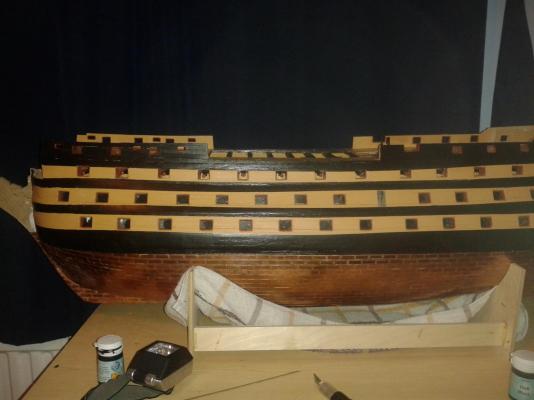
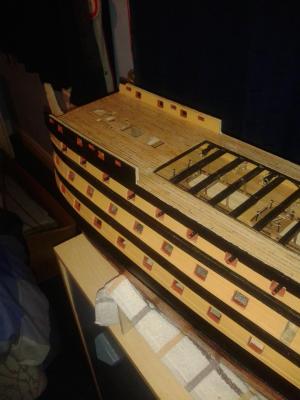
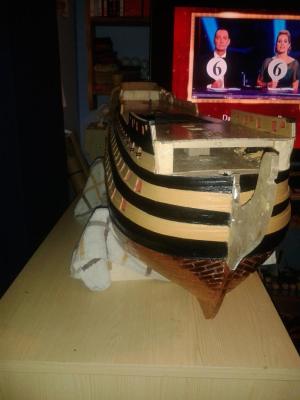
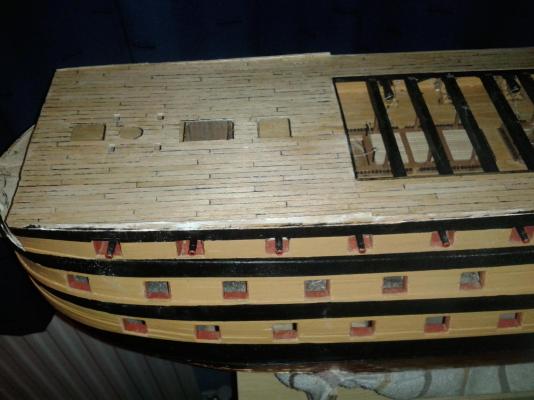
I have had two very good sessions working on the boat yesterday and today so I'm happy to report that the hull planking is now complete. Also all gun ports, except last 3 aft upper gun ports are lined, which will the next job. As can be seen I have fitted the snatch bocks to the front of the forecastle gun port strip Cappings will be fitted to the gun port strips once the last three gun ports have been lined. It's nice to get a professional opinion of the work in progress, 6 of the best, maybe a bit sad that I was watching Strictly Come Dancing whilst woring on the ship! To compensate I will be travelling to Manchester on Sunday to watch the ManU v Everton football match!

-
David and Gerry Many thanks for the visit and kind comments. Your help, advice and support continues to inspire me as I progress with this build.
-
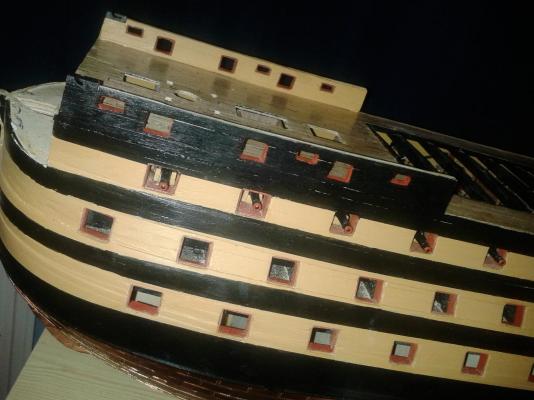
Installed the forecastle gunport strips, the starboard side is fully lined, the port side is about 80% complete. Next task will be to complete the hull planking This is the mid section upper gunport strips.
-
Hello David How exciting a new build in the pipeline. Looking forward to seeing you Victory in the case
- 439 replies
-
- 1
-
-
- victory
- caldercraft
- (and 1 more)
-
Hi Gary Well done on doing a proper job rigging all the cannons! I intend to fit the forecastle gun strips tonight. Following a discussion with Shipyard Sid, he advised it was better to install once the forecastle uprights have been removed. Others have done the same thing also. Hello Jerry many thanks, as always, for your kind comments Hi Kevin I agree there is a lot of work undertaken which is hidden from view, thanks for your very nice comment.
-
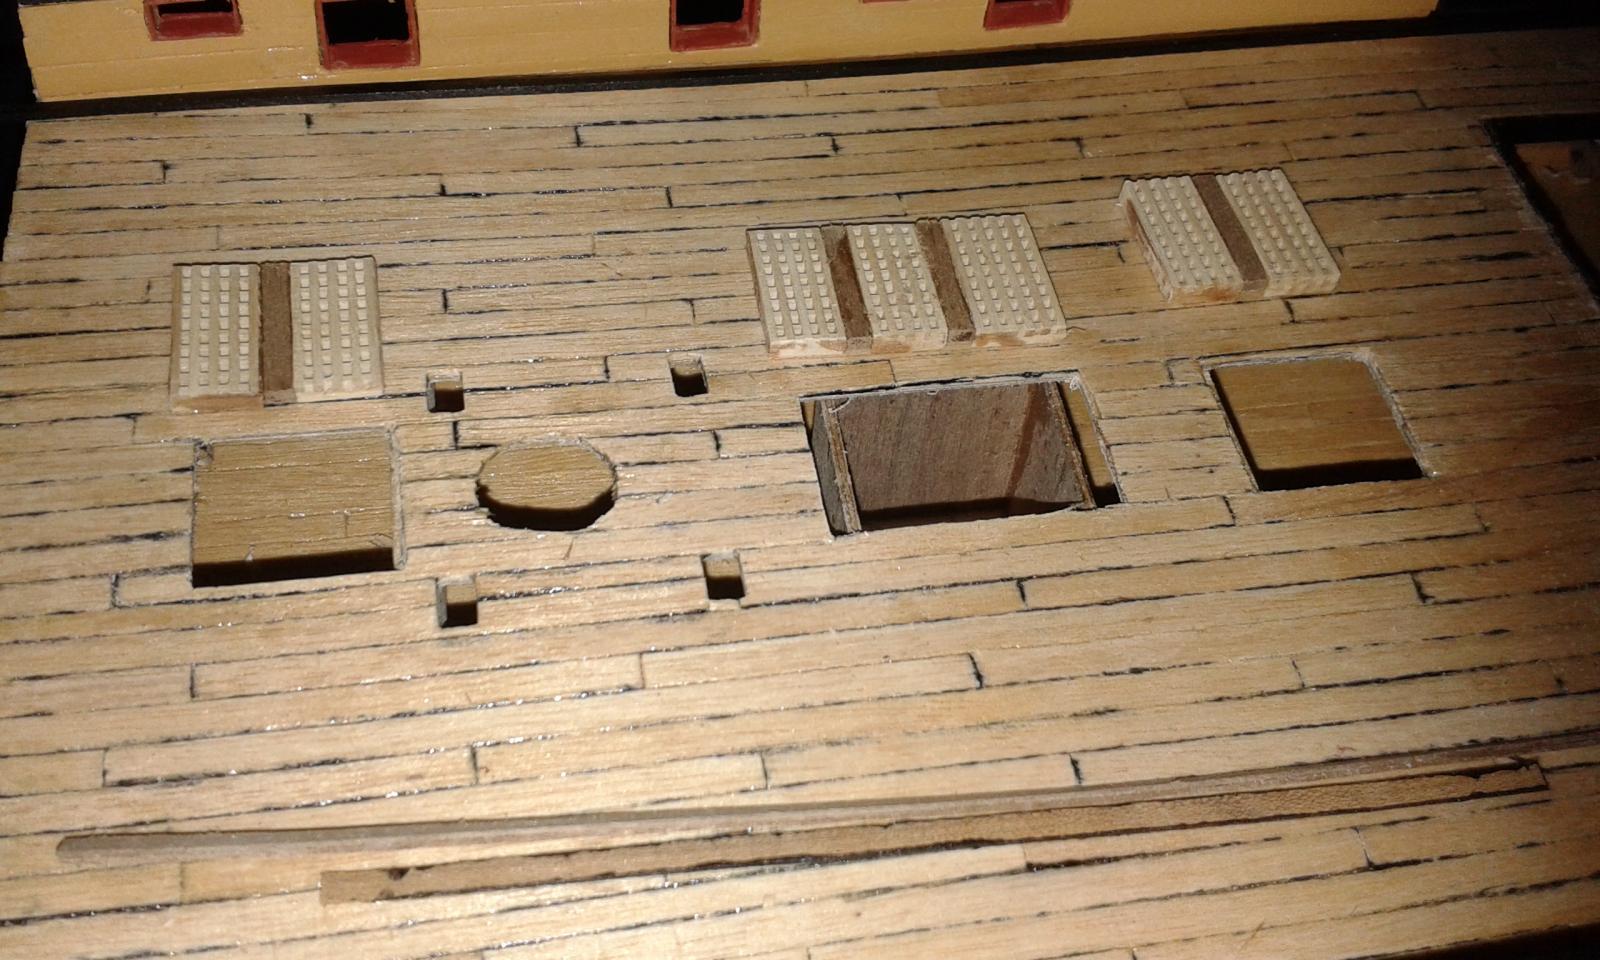
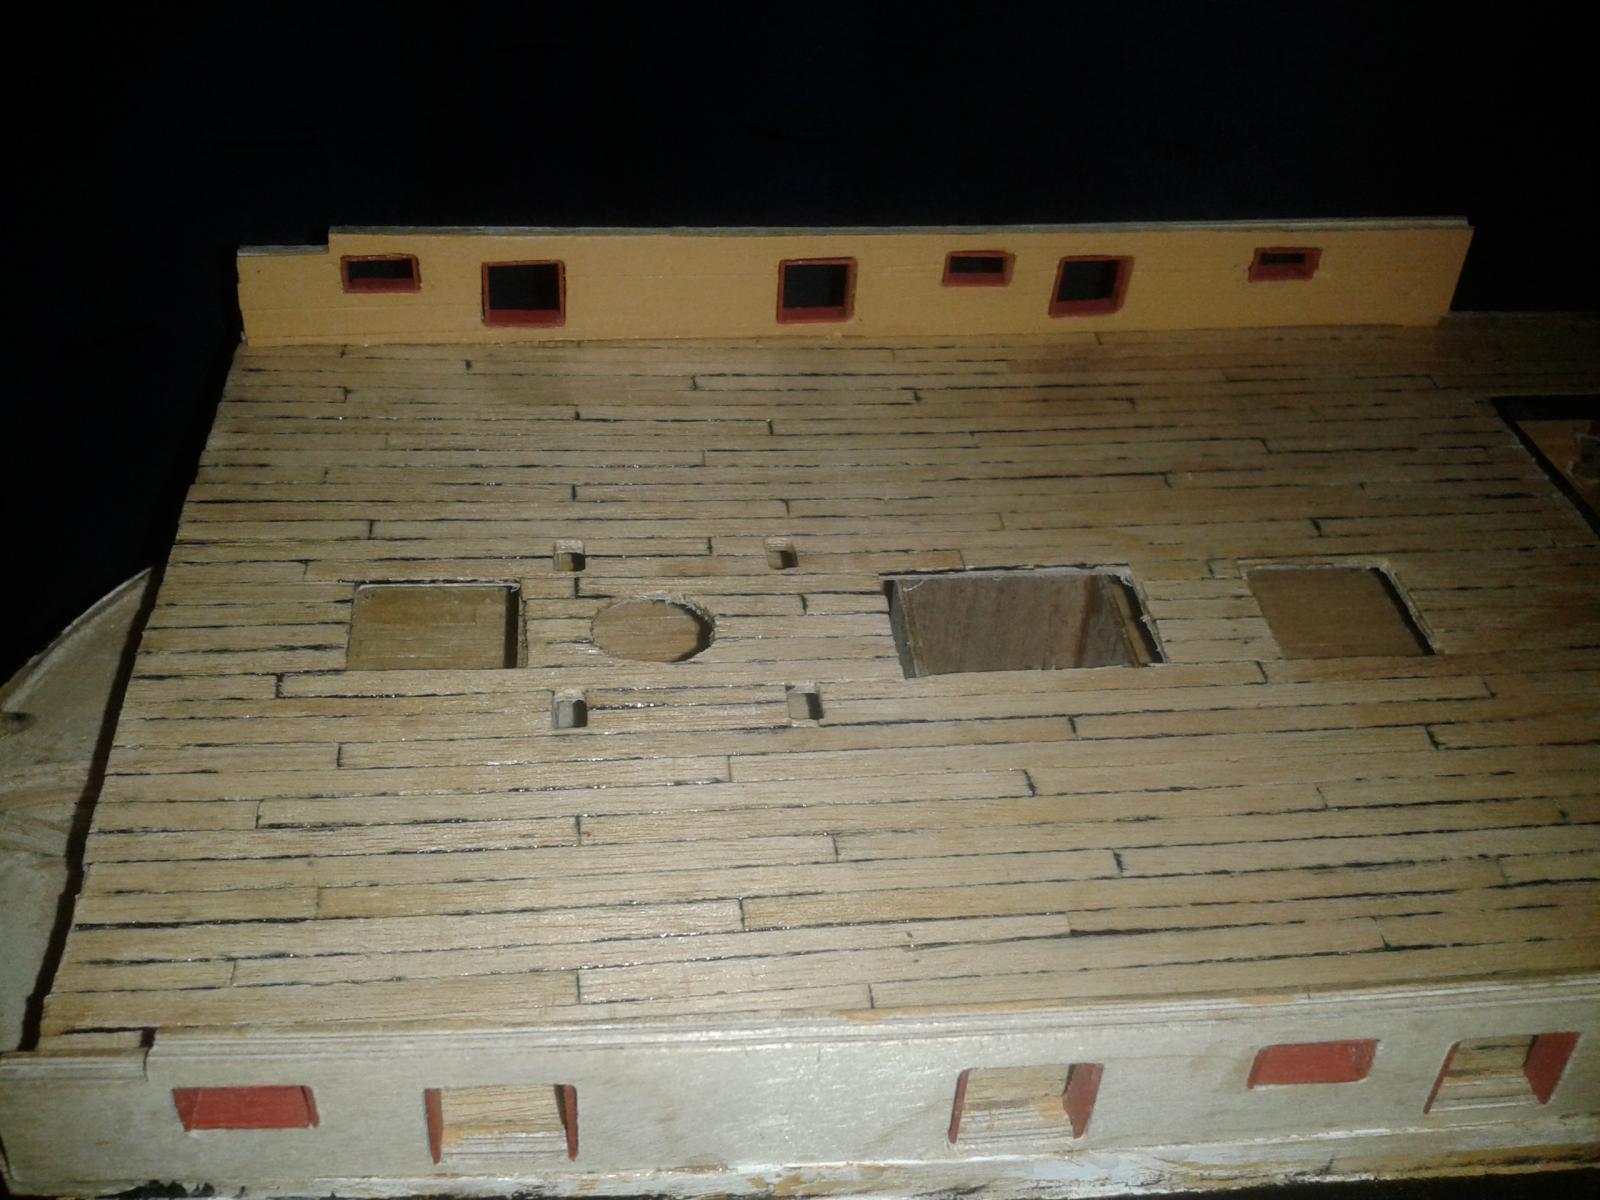
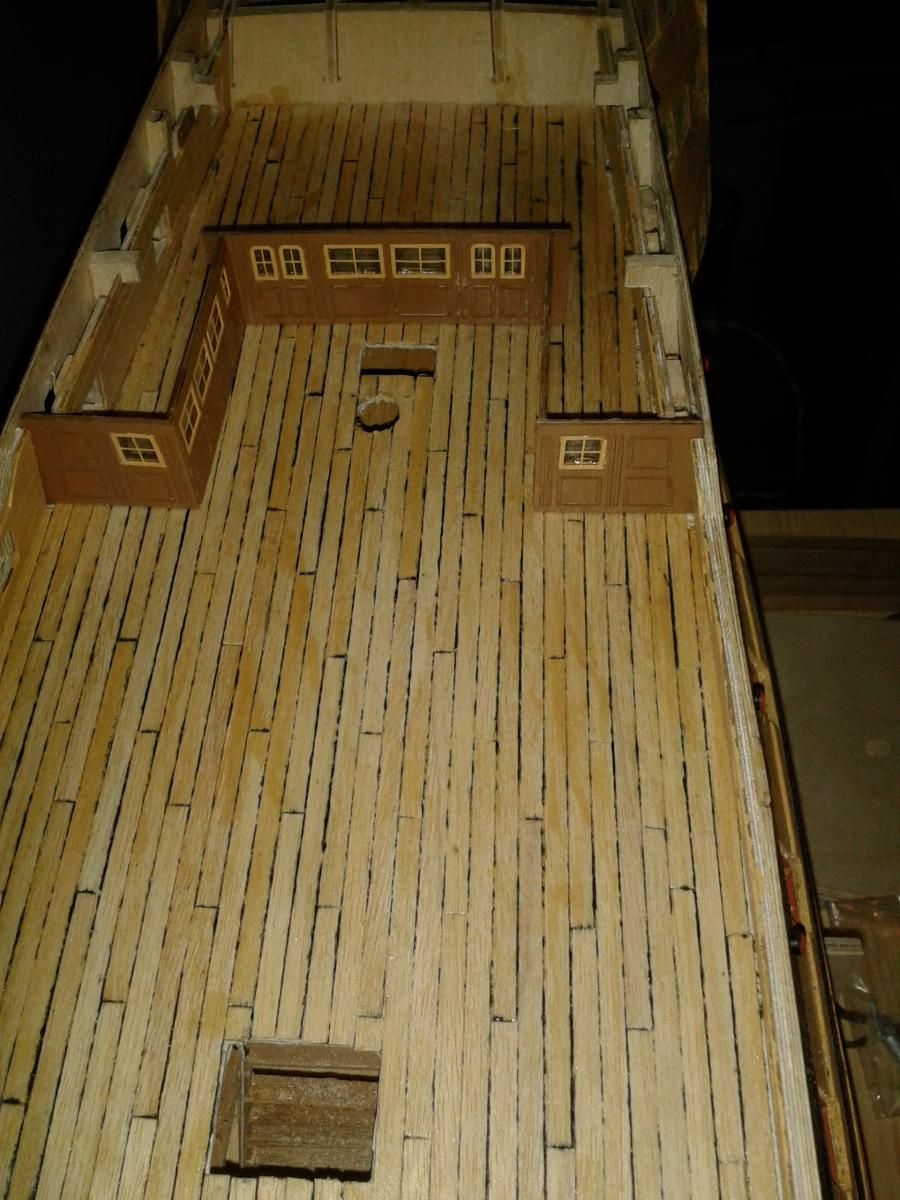
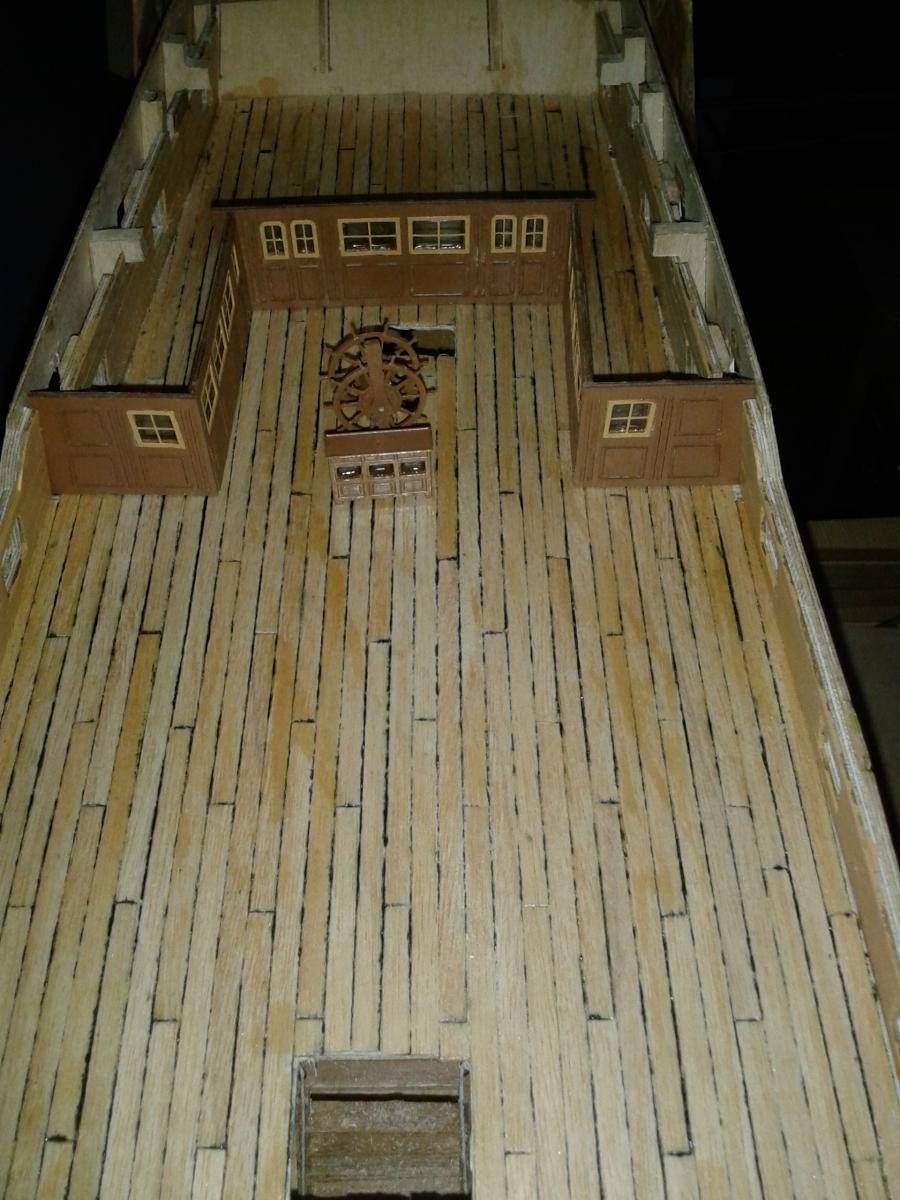
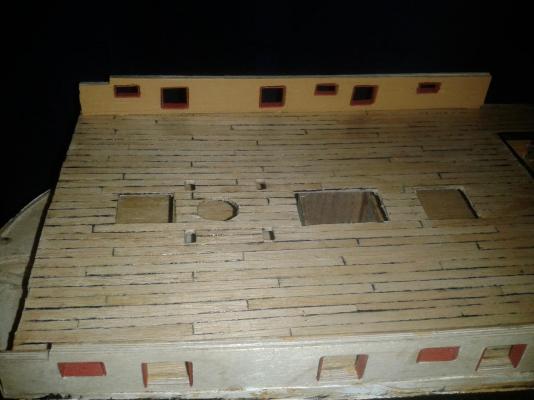
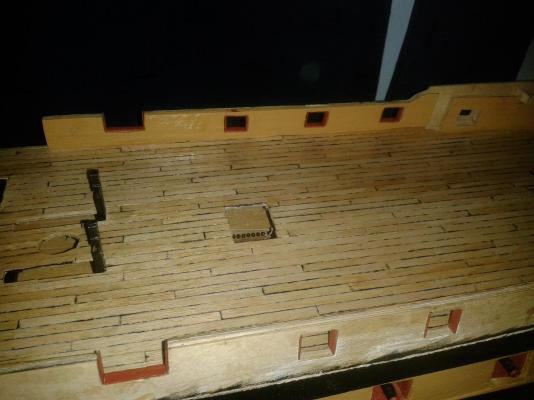
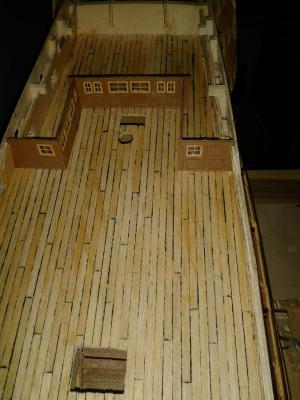
Finally completed the quarterdeck planking at the end of last week. I have been spending a bit of time planning the next build phase, and constructing some of the quarterdeck fittings. Here are some pictures of the work to date. I used a very thin nibbed felt tipped pen to add the caulking effect to each plank prior to fitting, I'm very pleased with the end result. Here is a picture showing bow end. A picture showing the view down to the upper gun deck Here is a picture showing stern end, the screen assembly is only dry fitted, I do not plan to fit until later on. Spot the difference in the next two pictures, the fittings shown are dry fitted.


-
Nice work Kevin, the end result justifies the hard work you've put in on this task
-
Great work Kevin. Keep the pictures coming as I'm enjoying watching your progress. I'm about to start fitting the quarterdeck fittings now I've finished planking the quarterdeck.
- 1,319 replies
-
- 1
-
-
- caldercraft
- Victory
- (and 1 more)
-
Welcome back looking forward to watching your progress, your build is a key reference point for my on going build.
-
Very informative and looks a very easy method, many thanks for sharing this.
-
I think the majority of us started at the top and worked down. My advice is to find a method that you are happy with then I'm sure you will get the result you desire.
-
Very nice work Kevin, well done on your build so far.
- 1,319 replies
-
- 1
-
-
- caldercraft
- Victory
- (and 1 more)
-
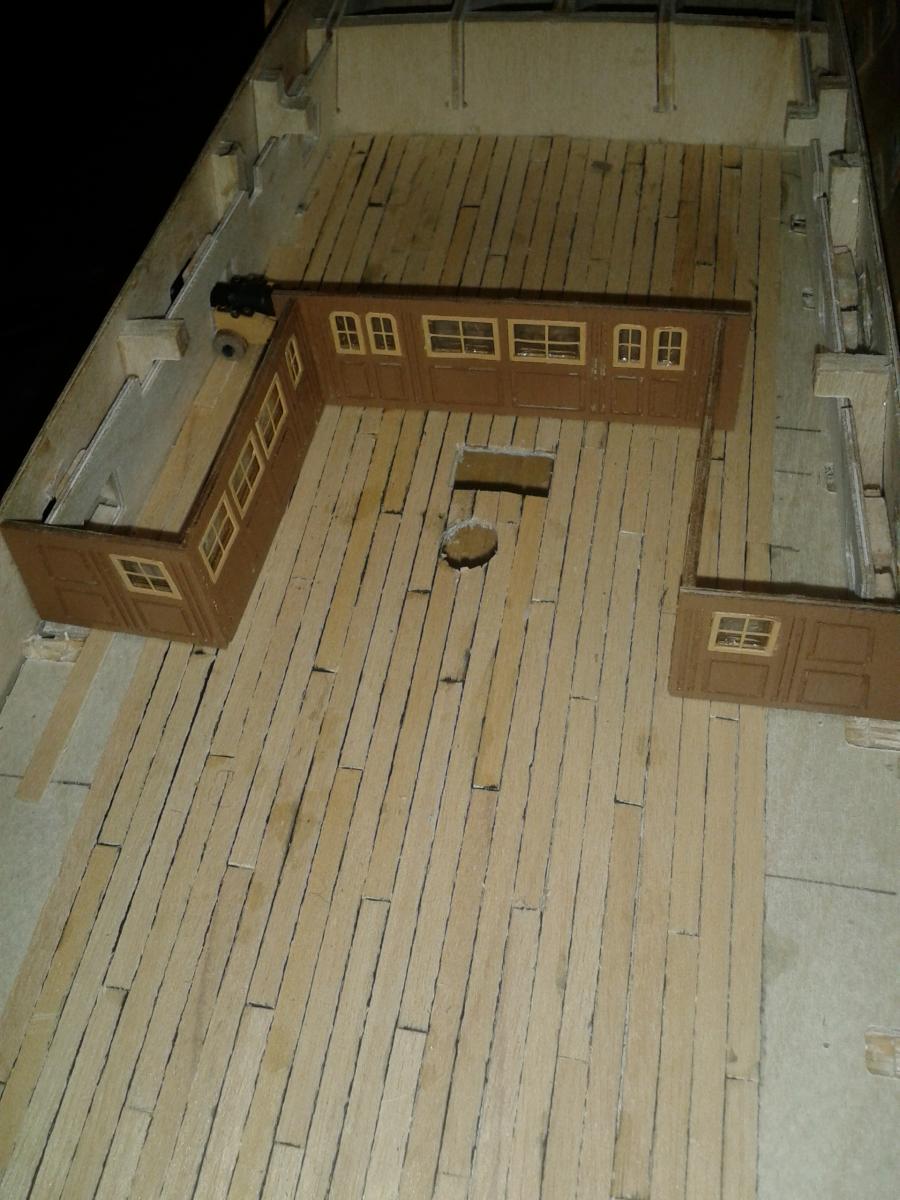
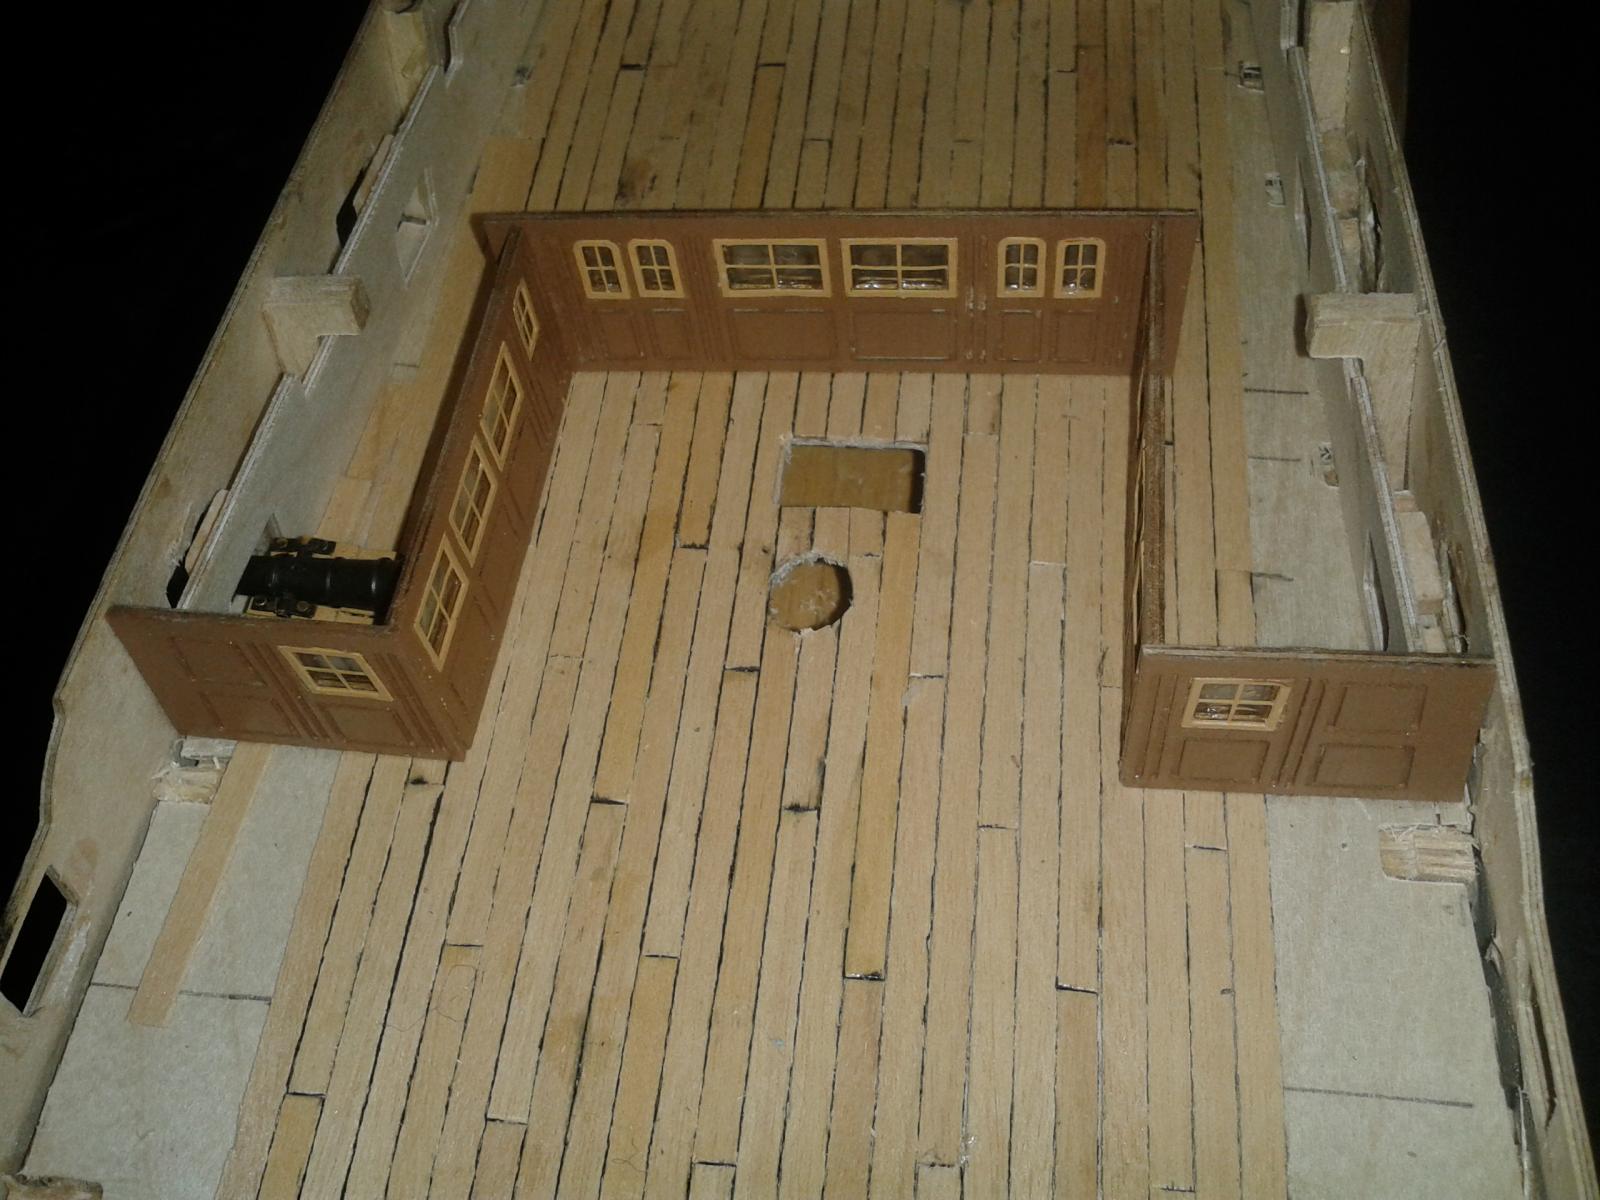
Work progressing on the quarterdeck planking. I have completed the screen assembly which has been dry fitted to the deck. I have dry fitted the inner bulwalk and fully assembly a cannon to check their positions. I'm pleased with the caulking effect also. You can see I used a small basla support on the screen assembly.


-
Enjoy the small boat build and many thanks for your kind comment.