DONATION DRIVE - SUPPORT MSW - DO YOUR PART TO KEEP THIS GREAT FORUM GOING!
×


Glenn-UK
-
Posts
3,164 -
Joined
-
Last visited
Content Type
Profiles
Forums
Gallery
Events
Everything posted by Glenn-UK
-
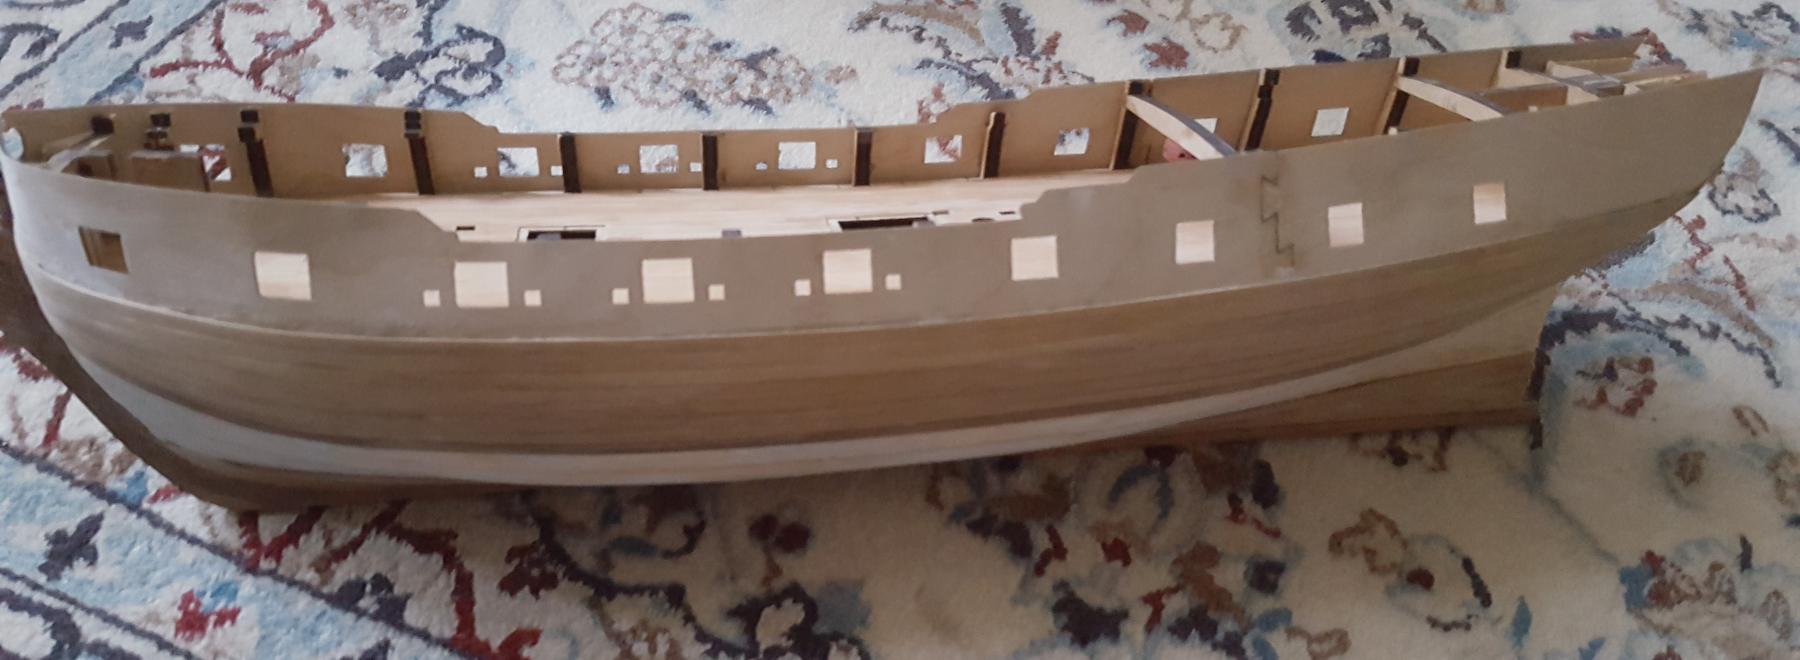
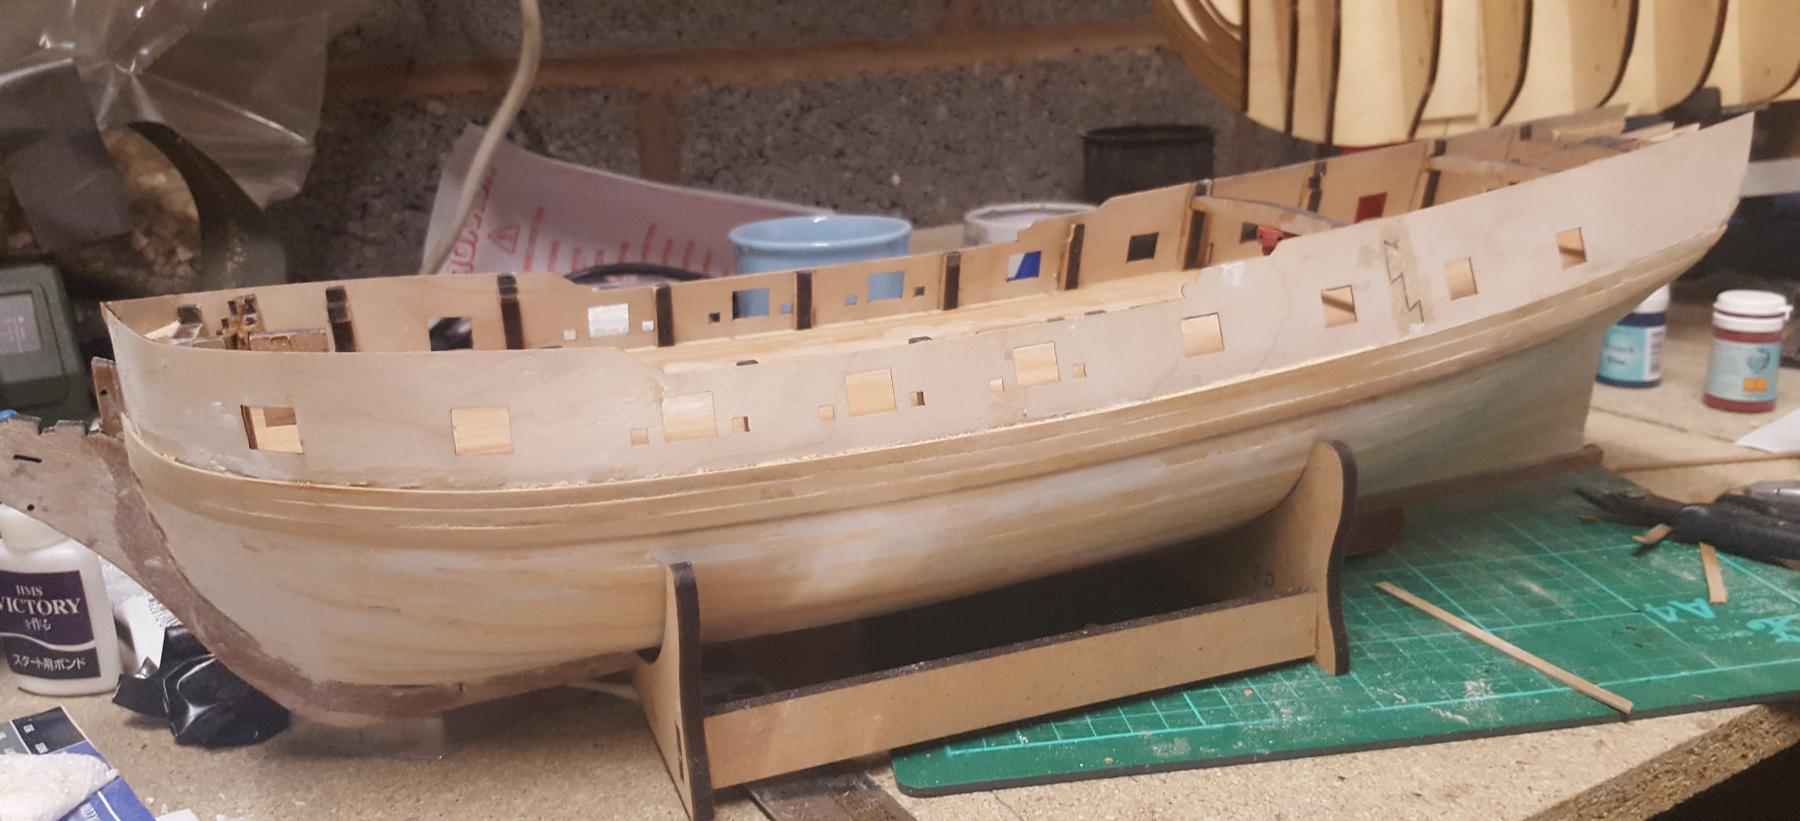
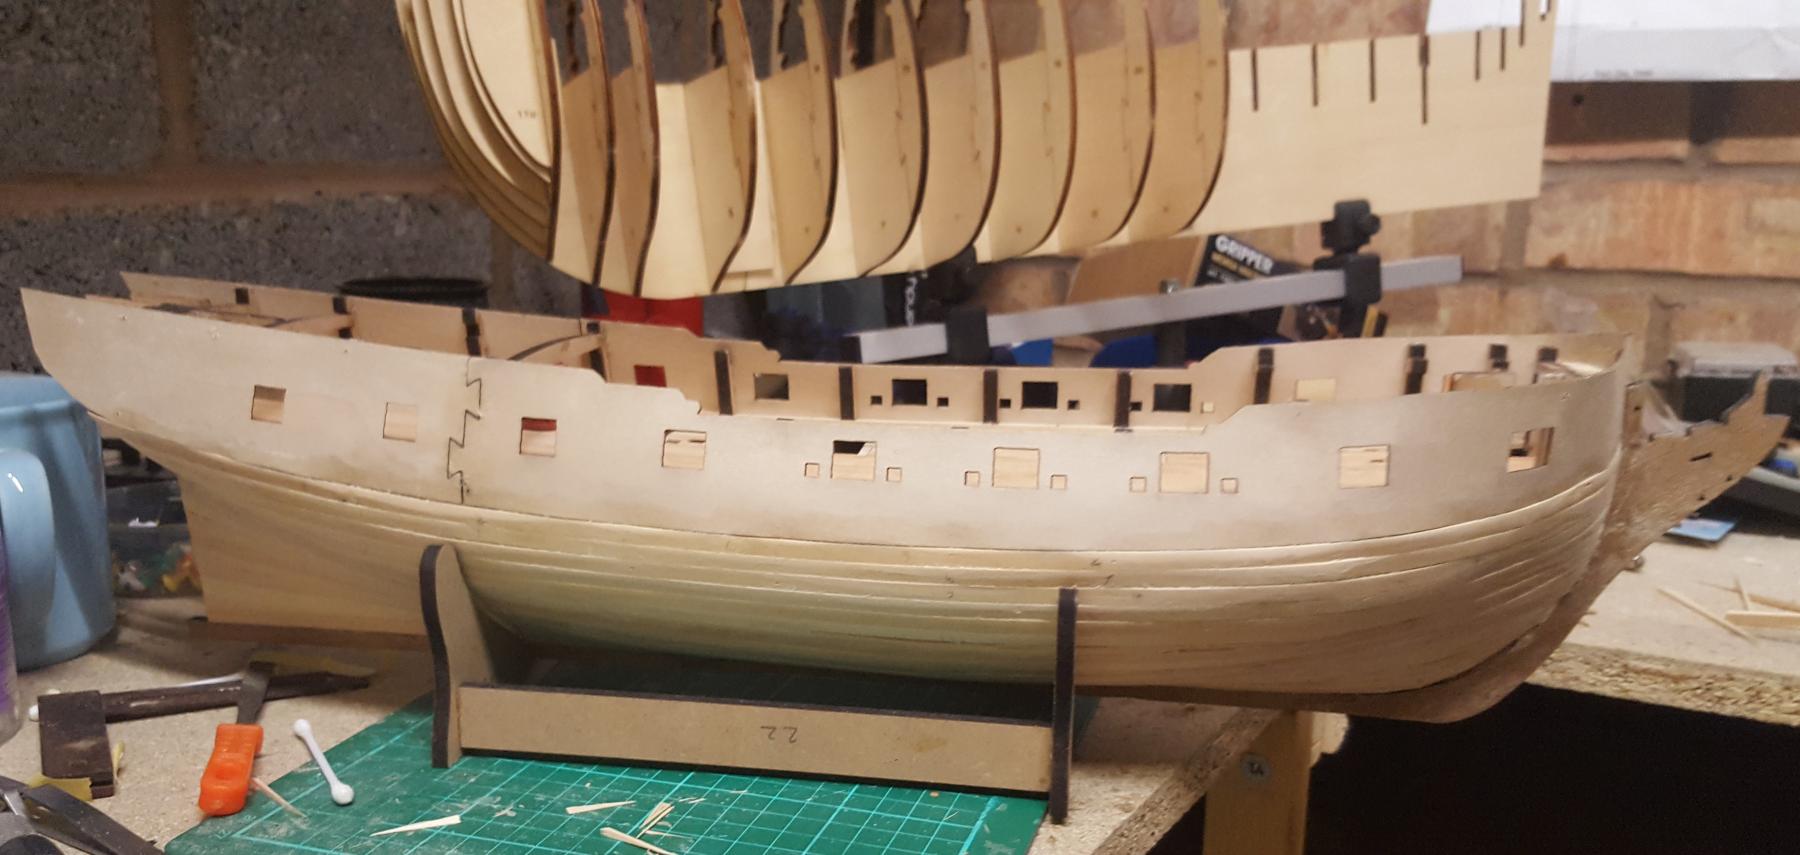
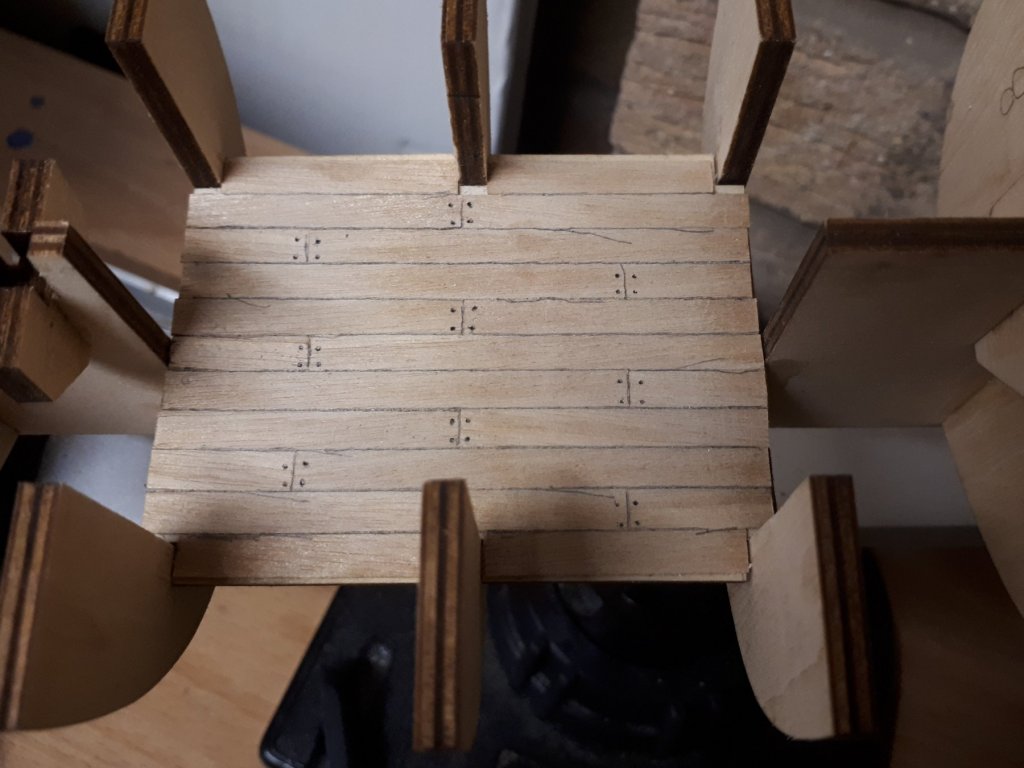
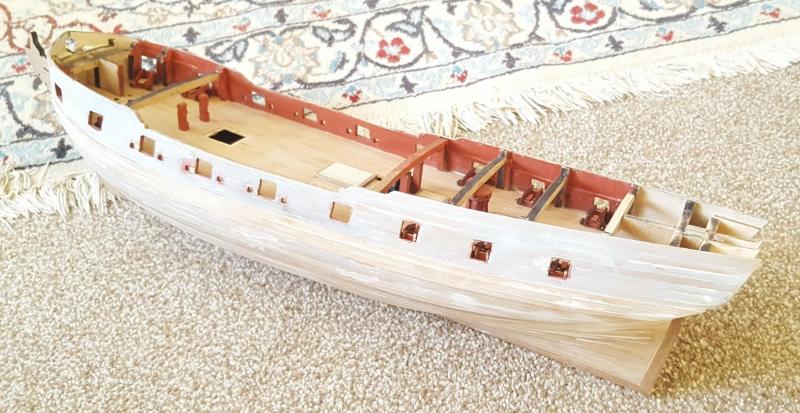
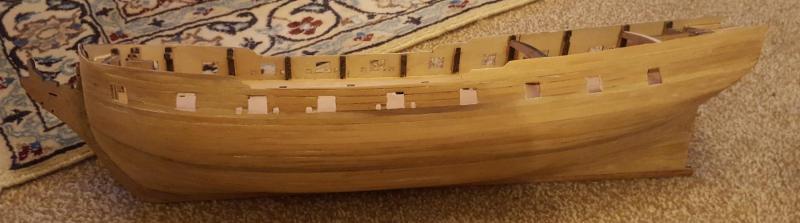
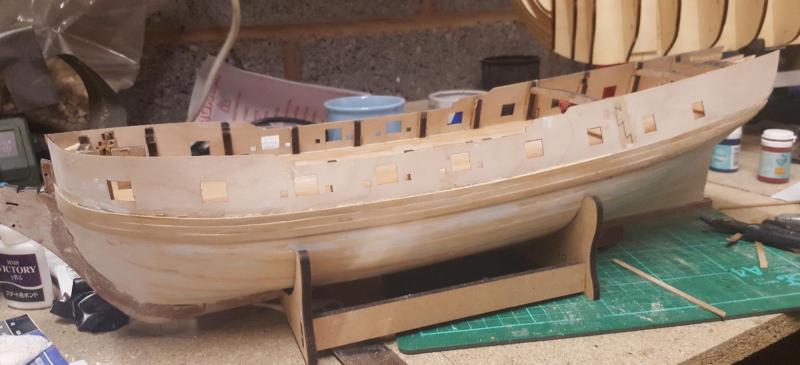
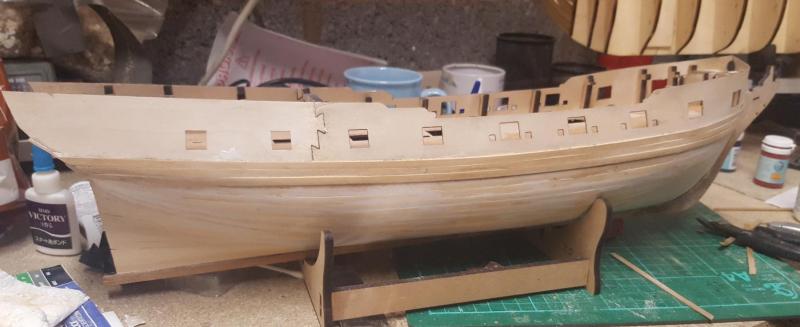
 Worked has continued on my Scottish Maid build. I have now completed the 1st planking and got the finish nice and smooth with plenty of sanding. I have also planking the main deck and fitted the bulwarks and stern counter. I used 70mm long deck strips and also used a pencil to simulate the tar between the planks. I've just commenced the 2nd planking and will be using 100mm long planks, offset between each row.

-
Welcome back Sid. Its a coincidence that after stopping a couple of years ago I have just restarted with a new build.
-
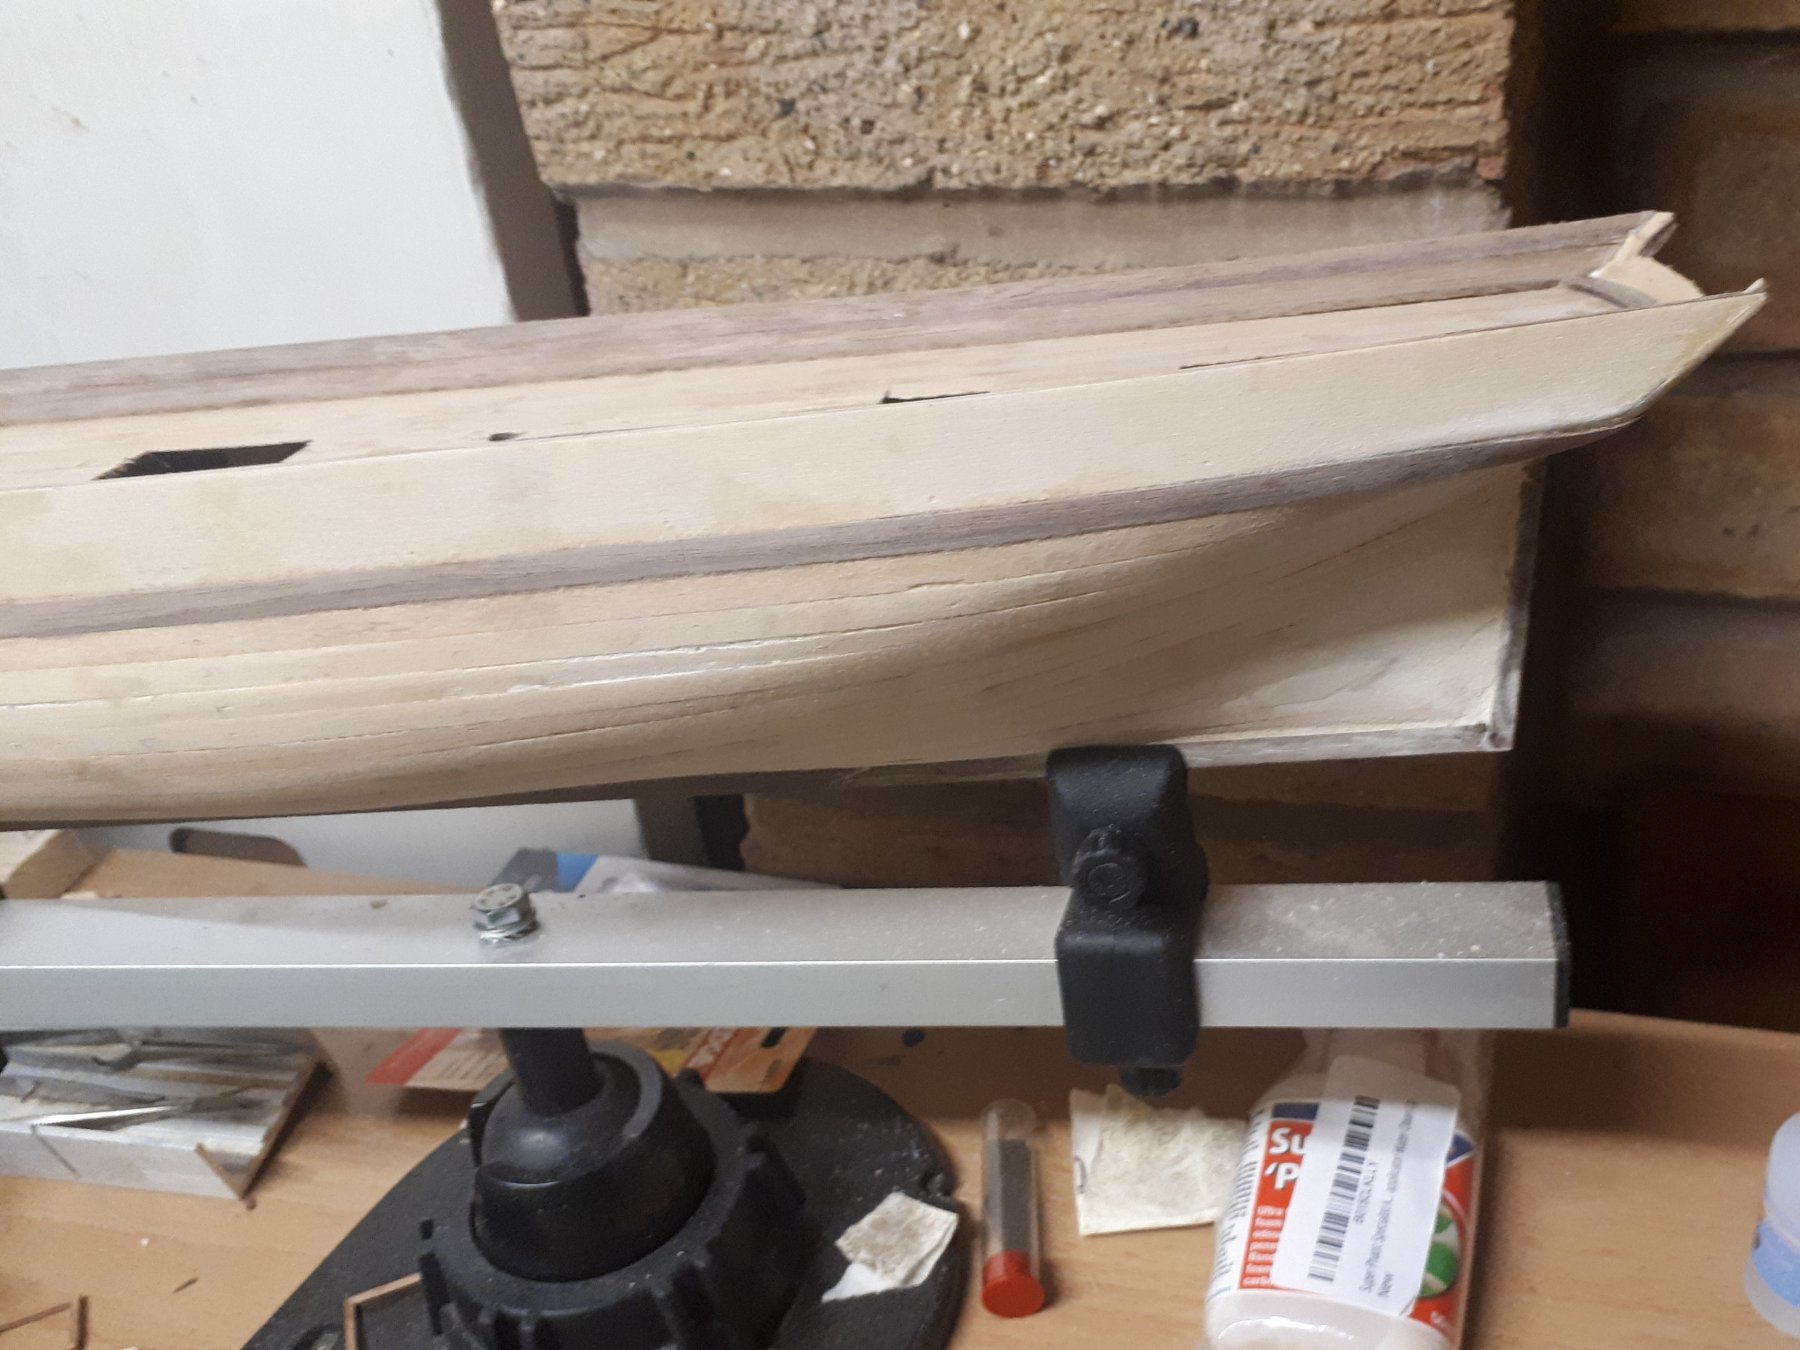
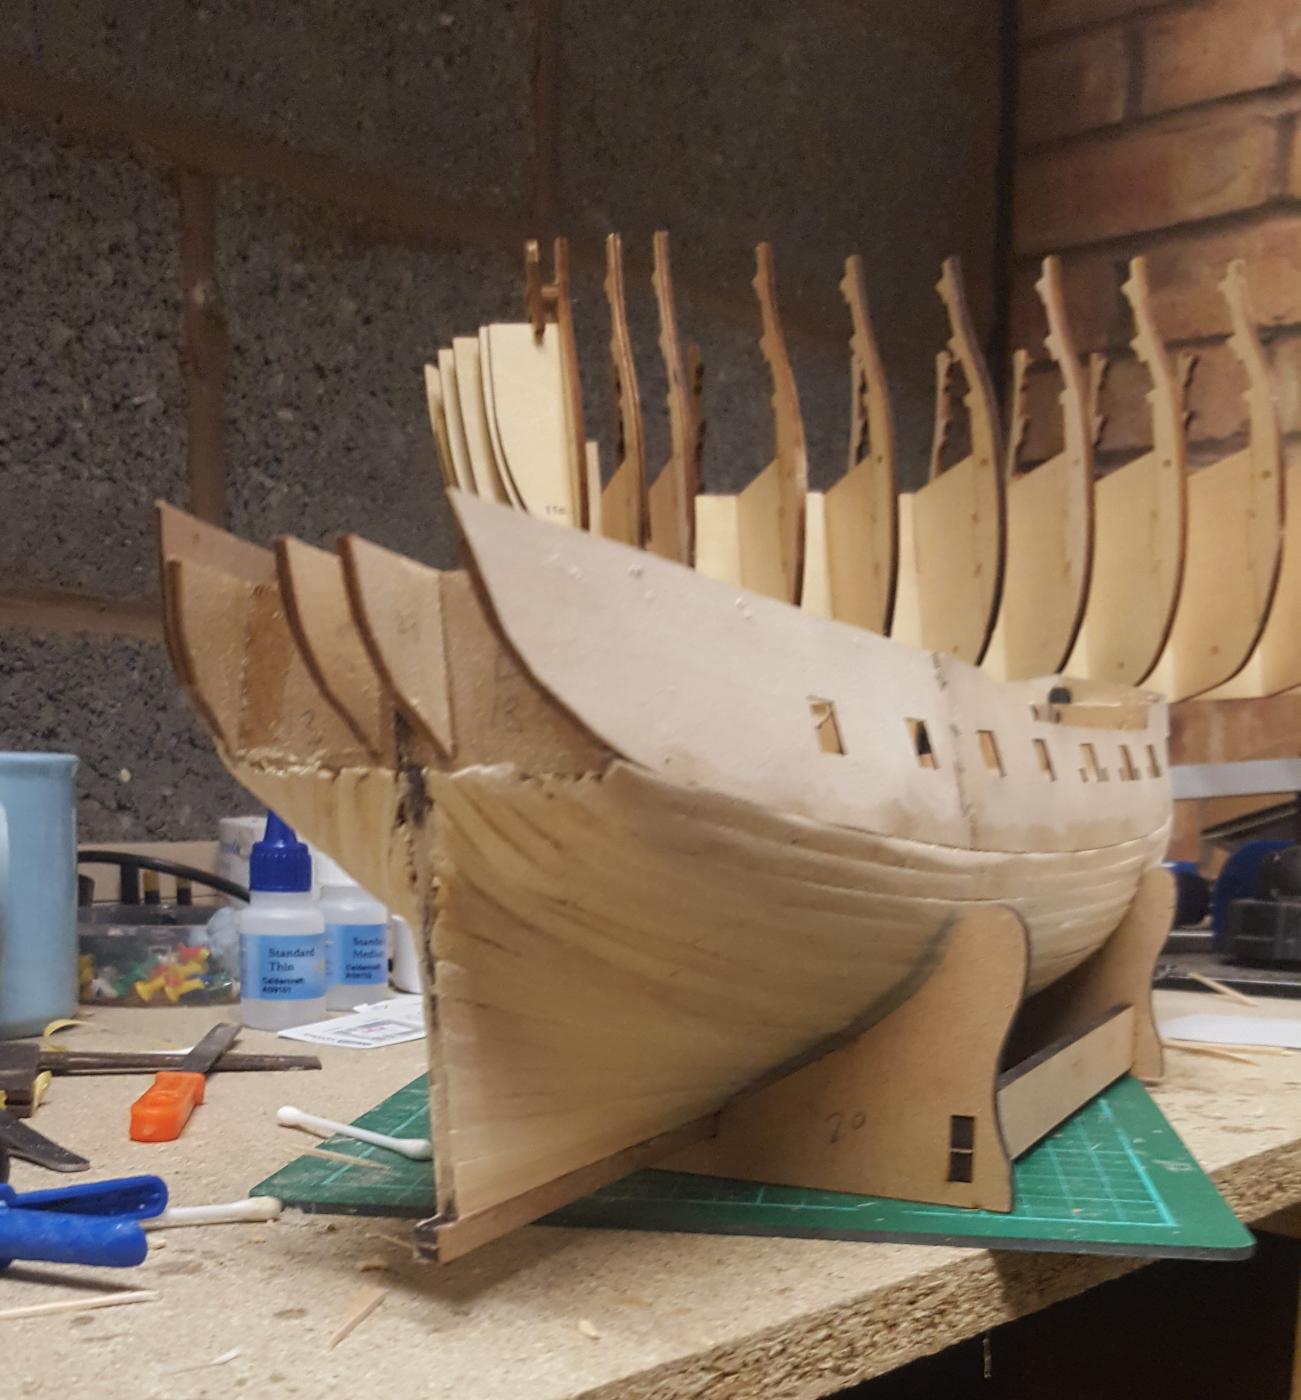
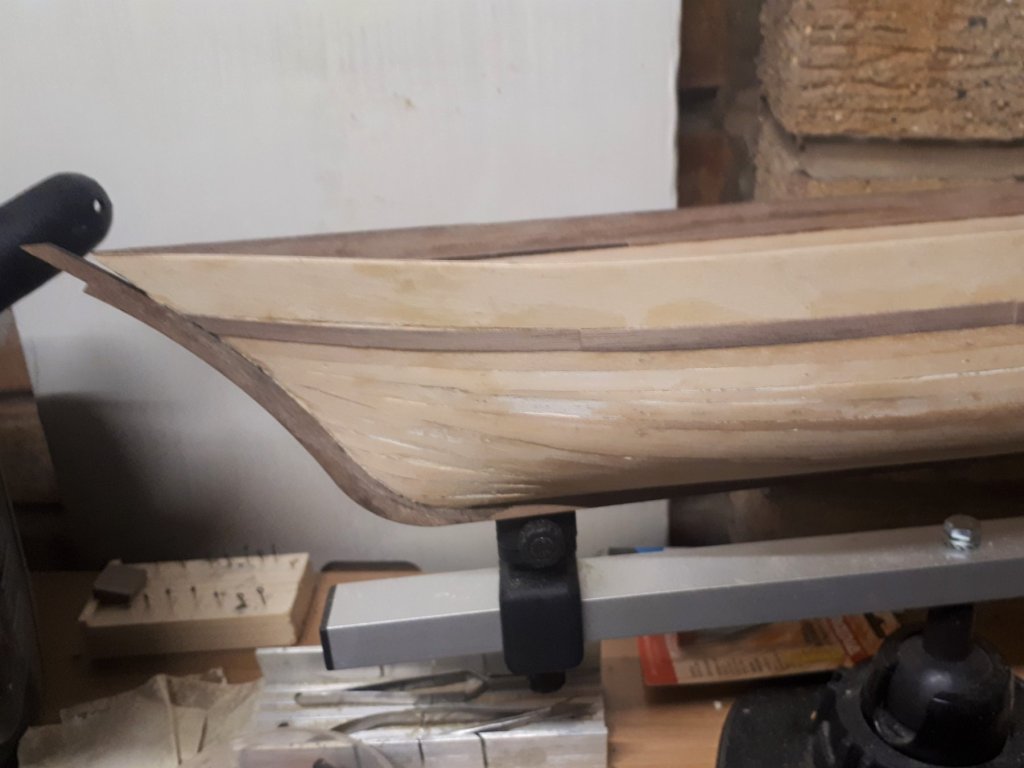
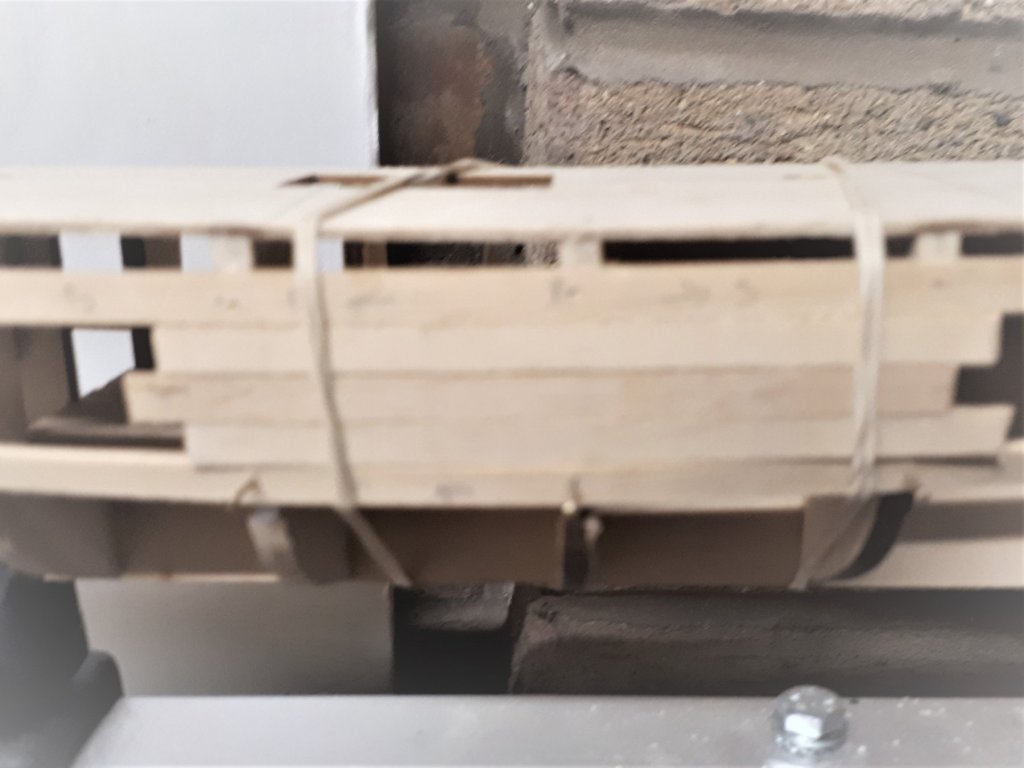
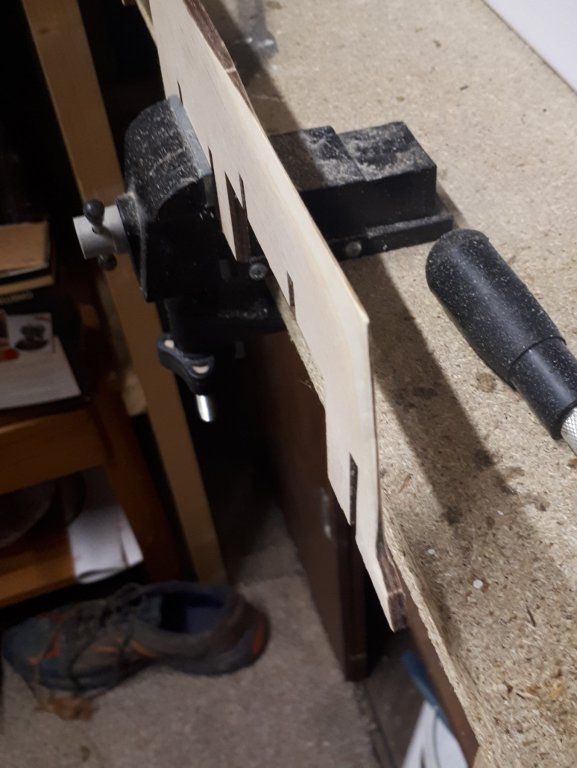
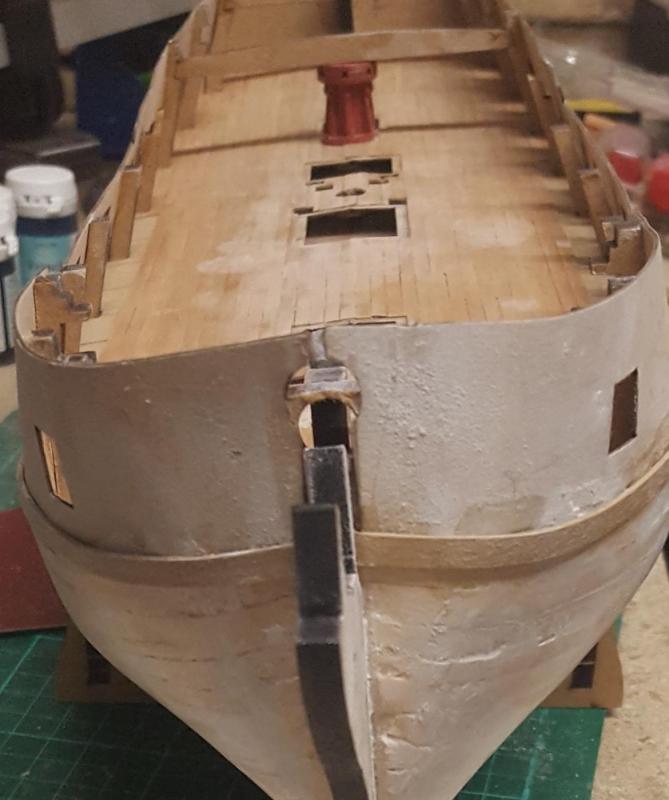
With much filing and sanding the bulkheads have been successfully faired. I spent quite a bit of time on this task and I was constantly checking how the 1st planks would fit on the bulkheads. I have now started the 1st planking. Once again I have taken my time ensuring the planks are correctly bent. I fitted the top plank first, using a small jig to locate it 3mm below the deck level. I then fitted a second plank at a point along a line where it terminates nicely where the stern post fits. I also used three small plank offcuts to space the second plank at the mid point.


-
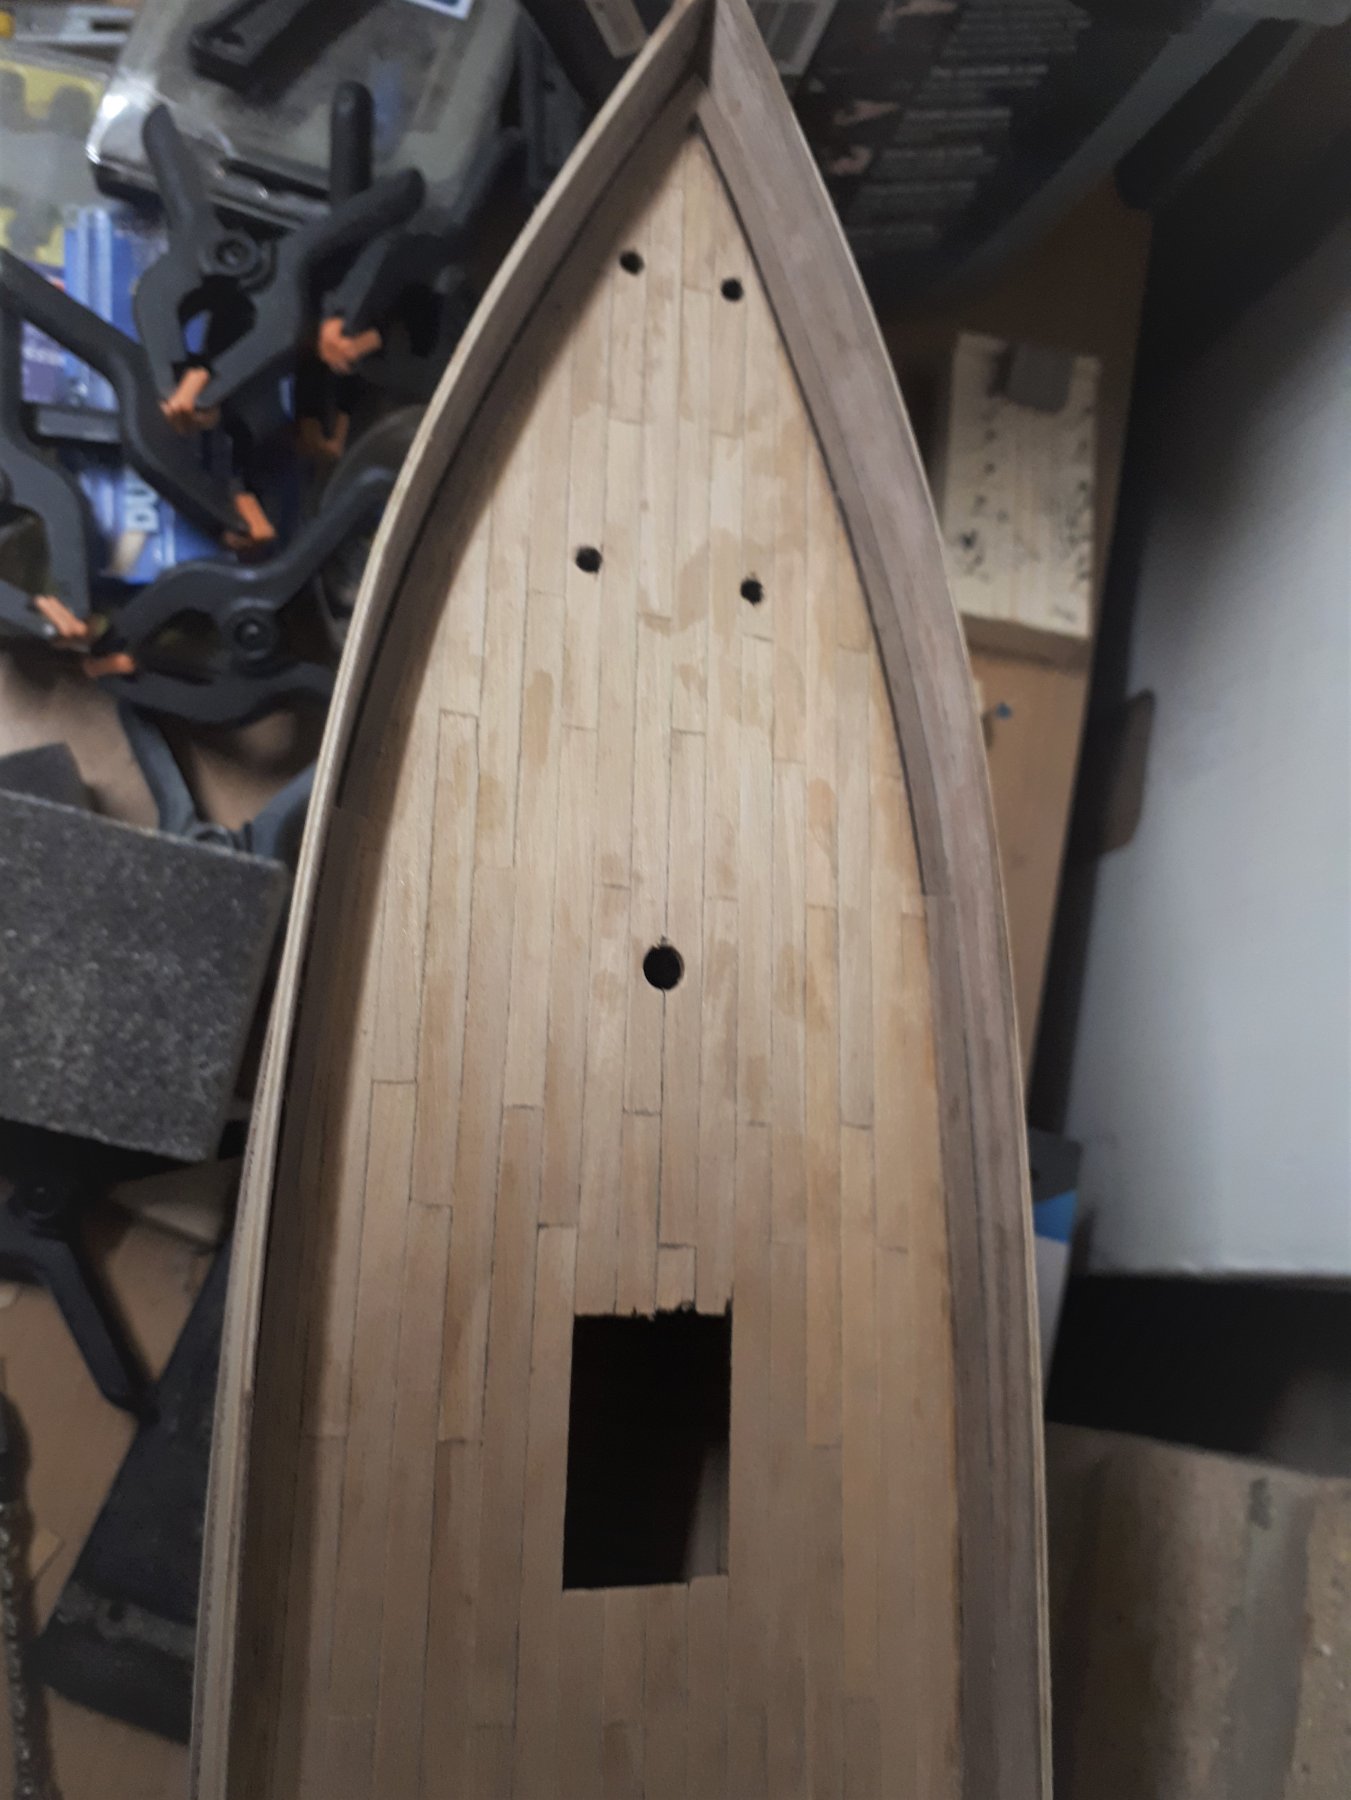
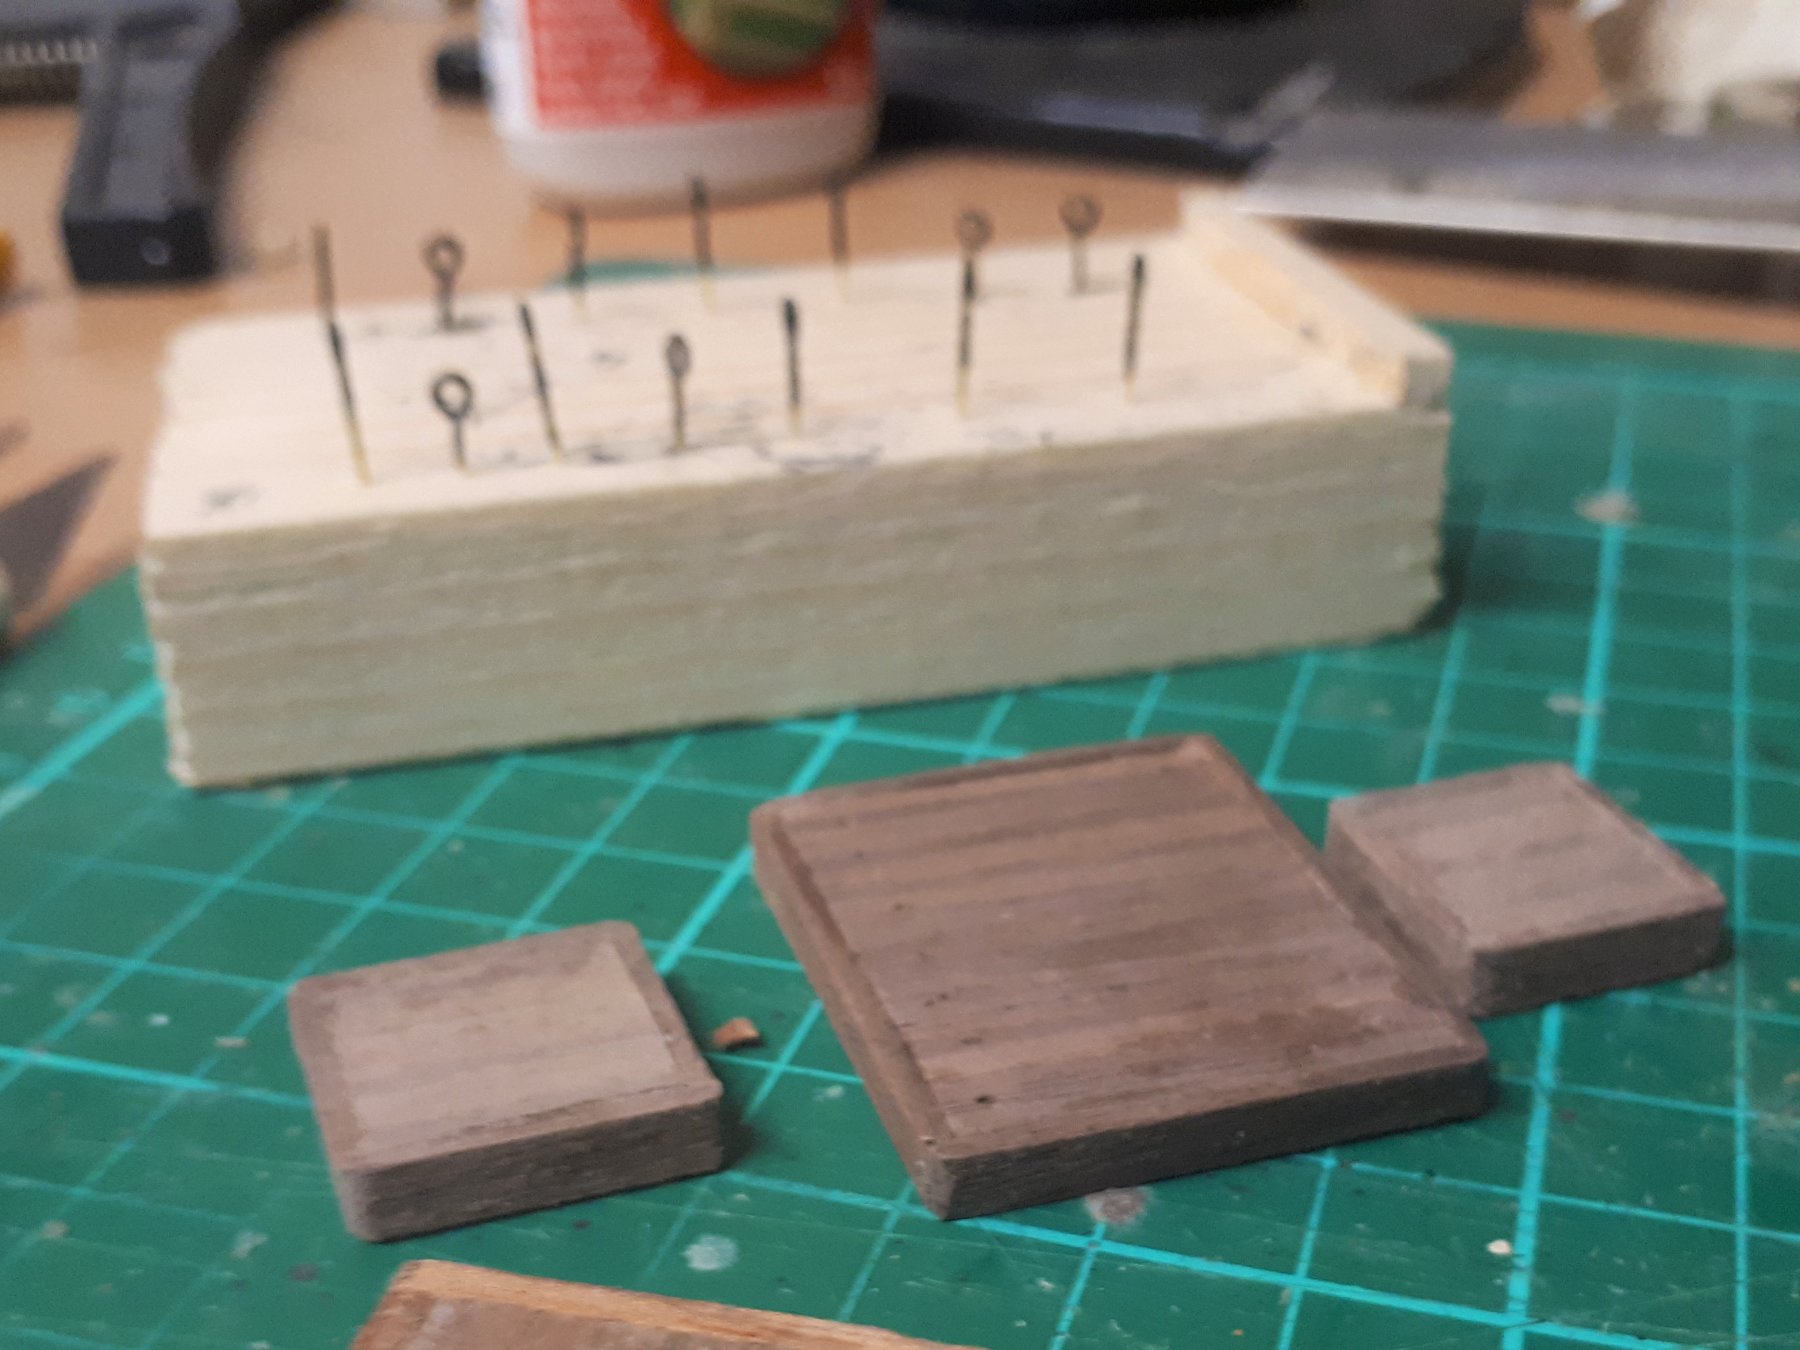
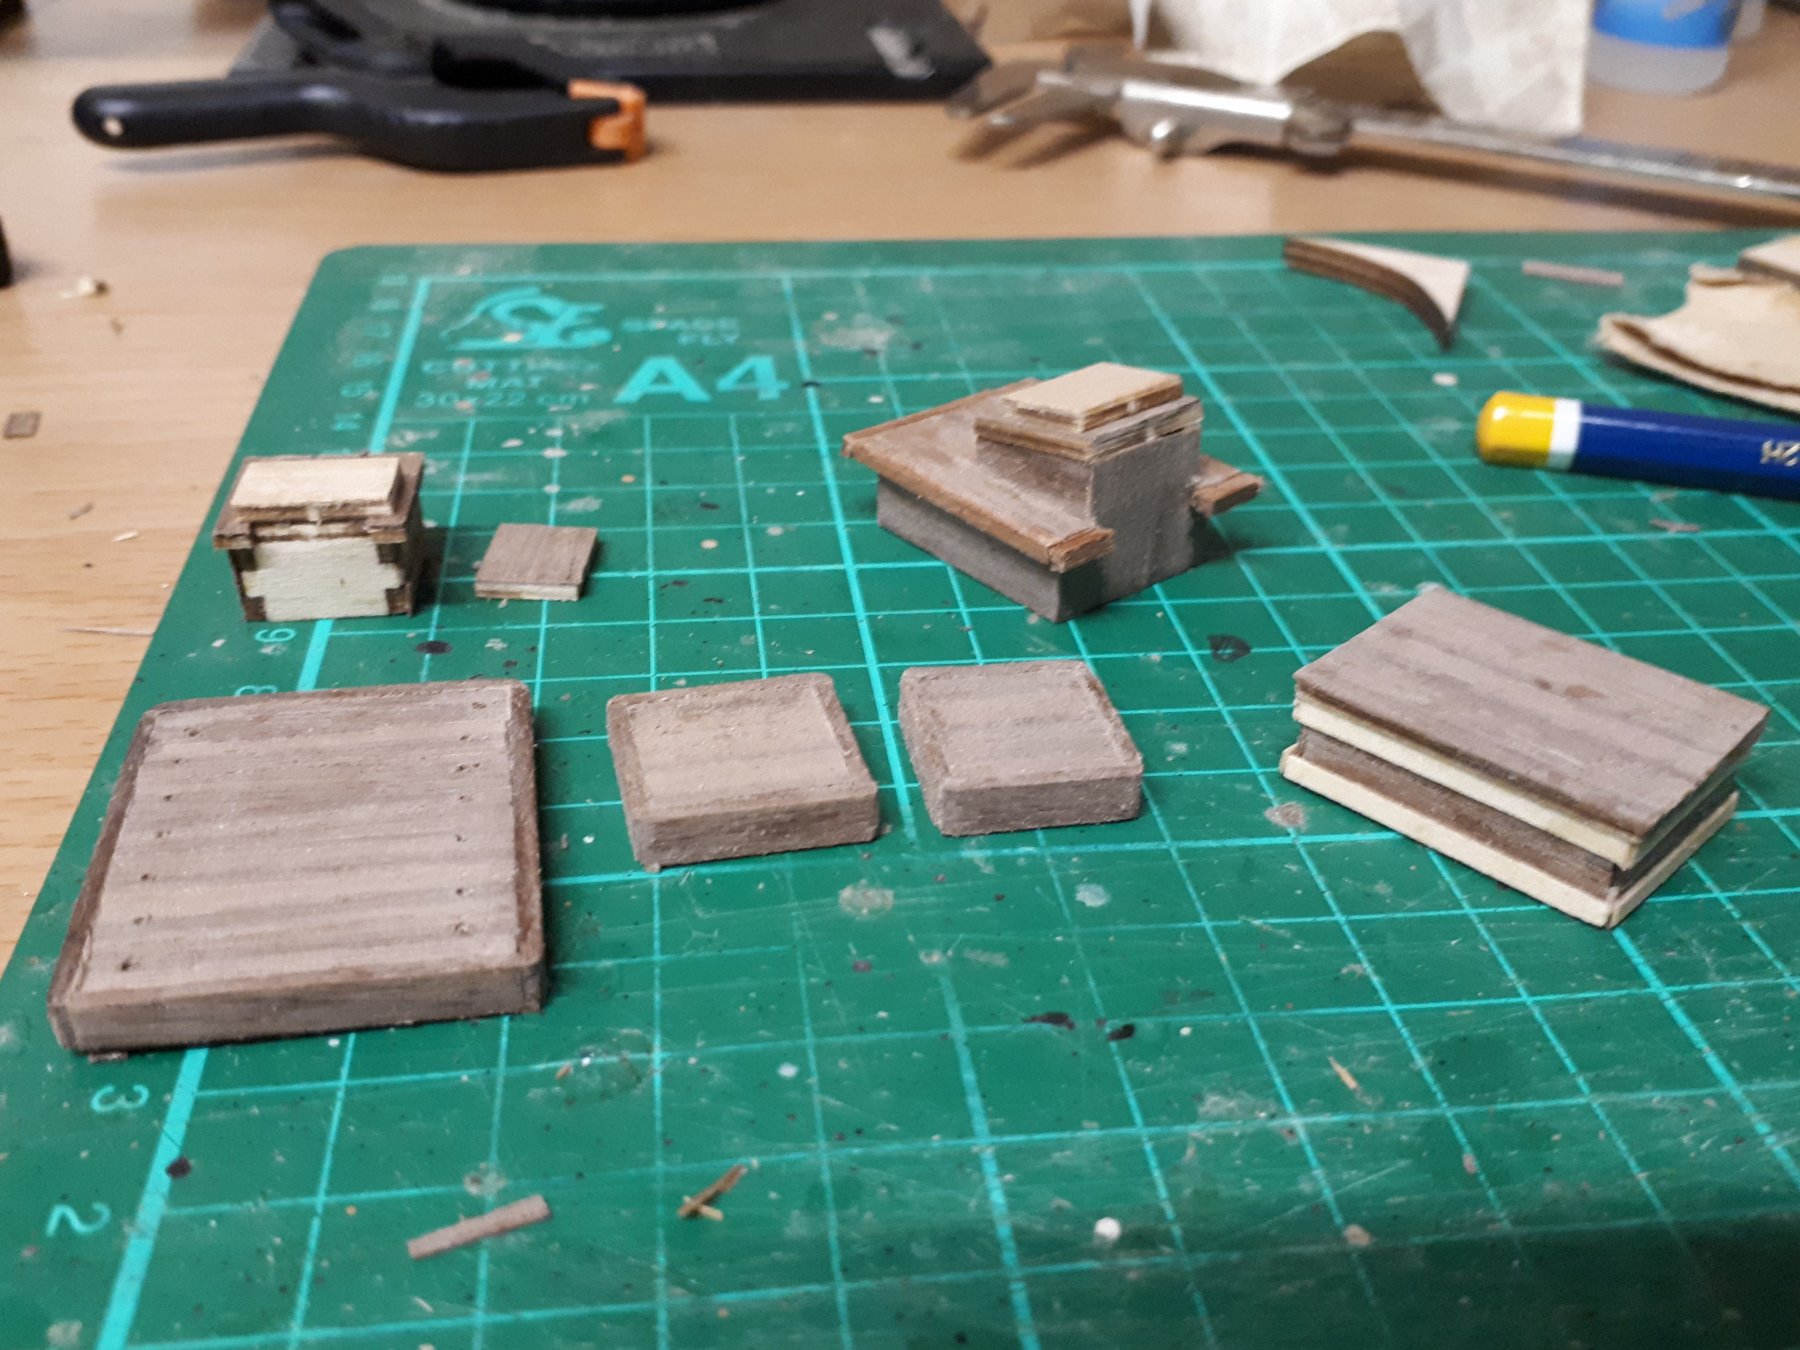
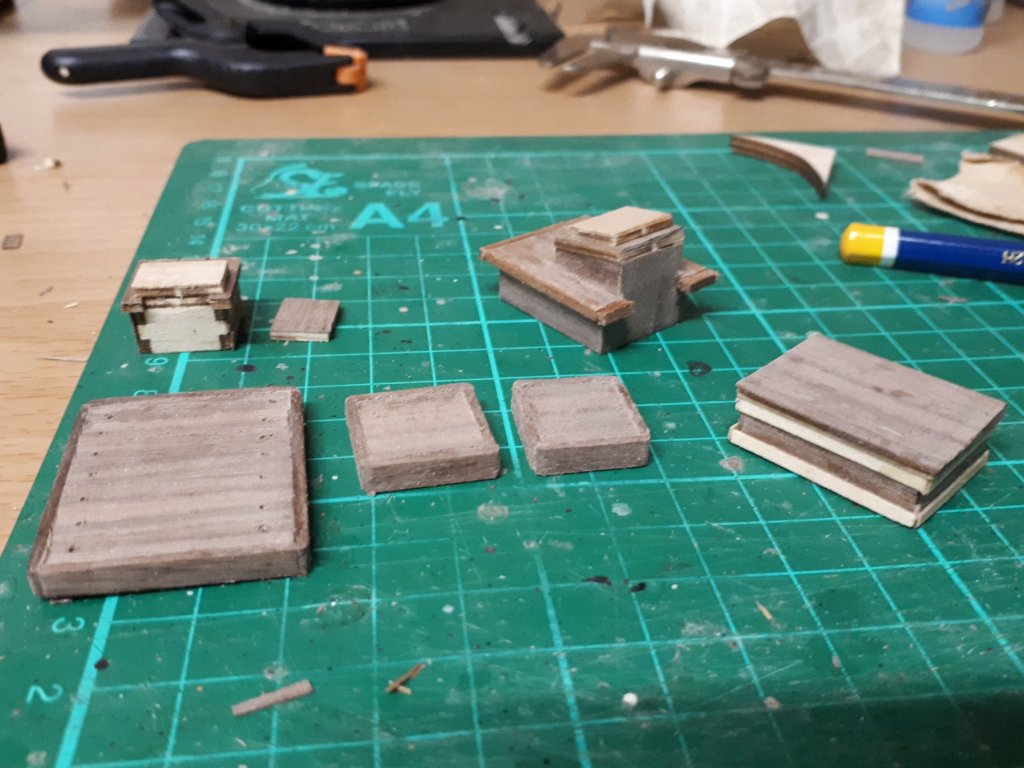
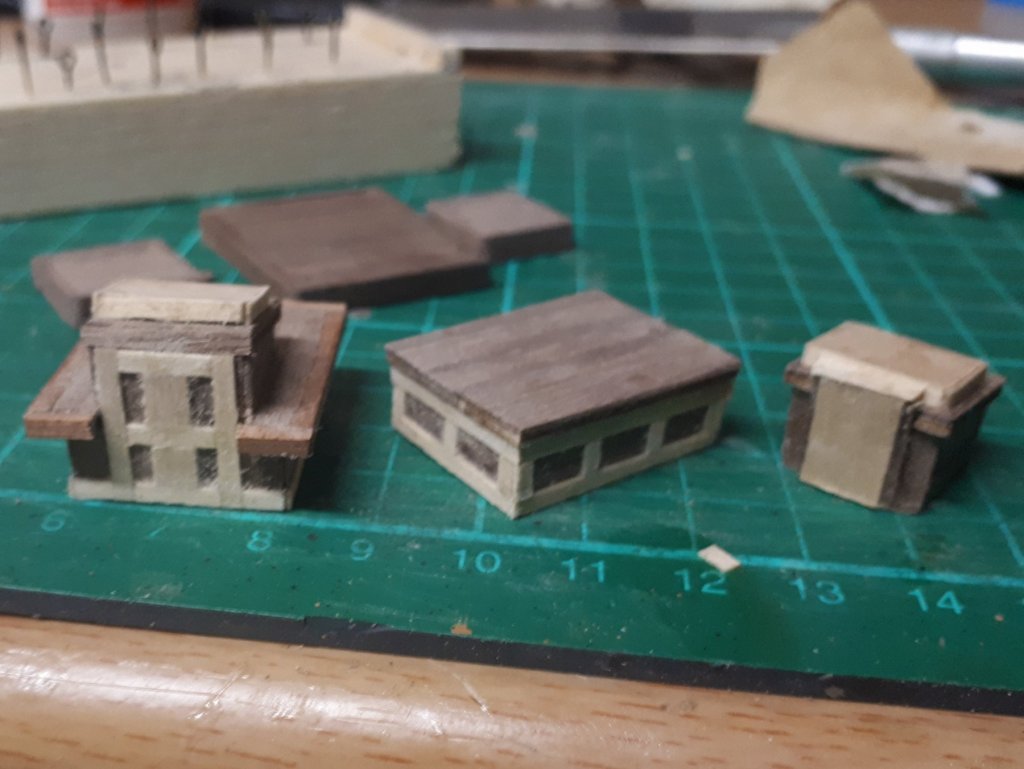
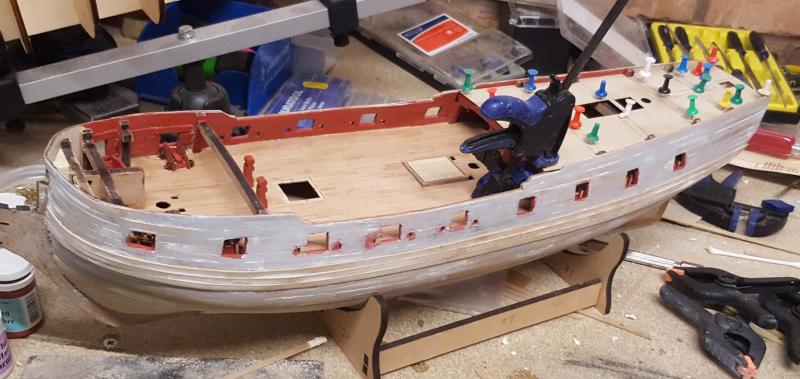
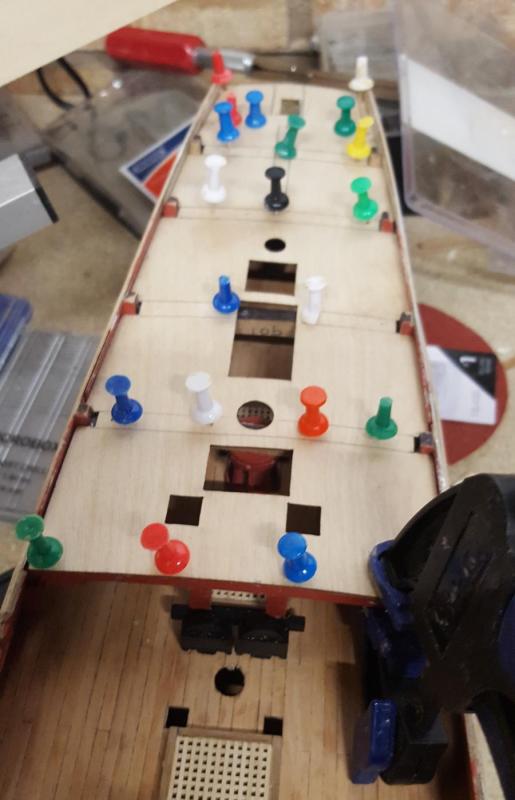
The main deck and bow deck supports have now been glued to the keel assembly as I decided I would prefer to plank the main deck in situ. Based on my previous deck planking experiences I'm planning to use 80mm long deck planks, using either a 3 butt or a 4 butt shift pattern. I have also started work on building some of the deck fittings, and I have been adding little bits here and there to improve the general appearance of these items, noting these items are still work in progress. I have also opted to paint the eyebolts required for the deck hatching black, as can be seen. My next task will be fairing of the bulkheads in readiness for the start of the 1st hull planking.


-
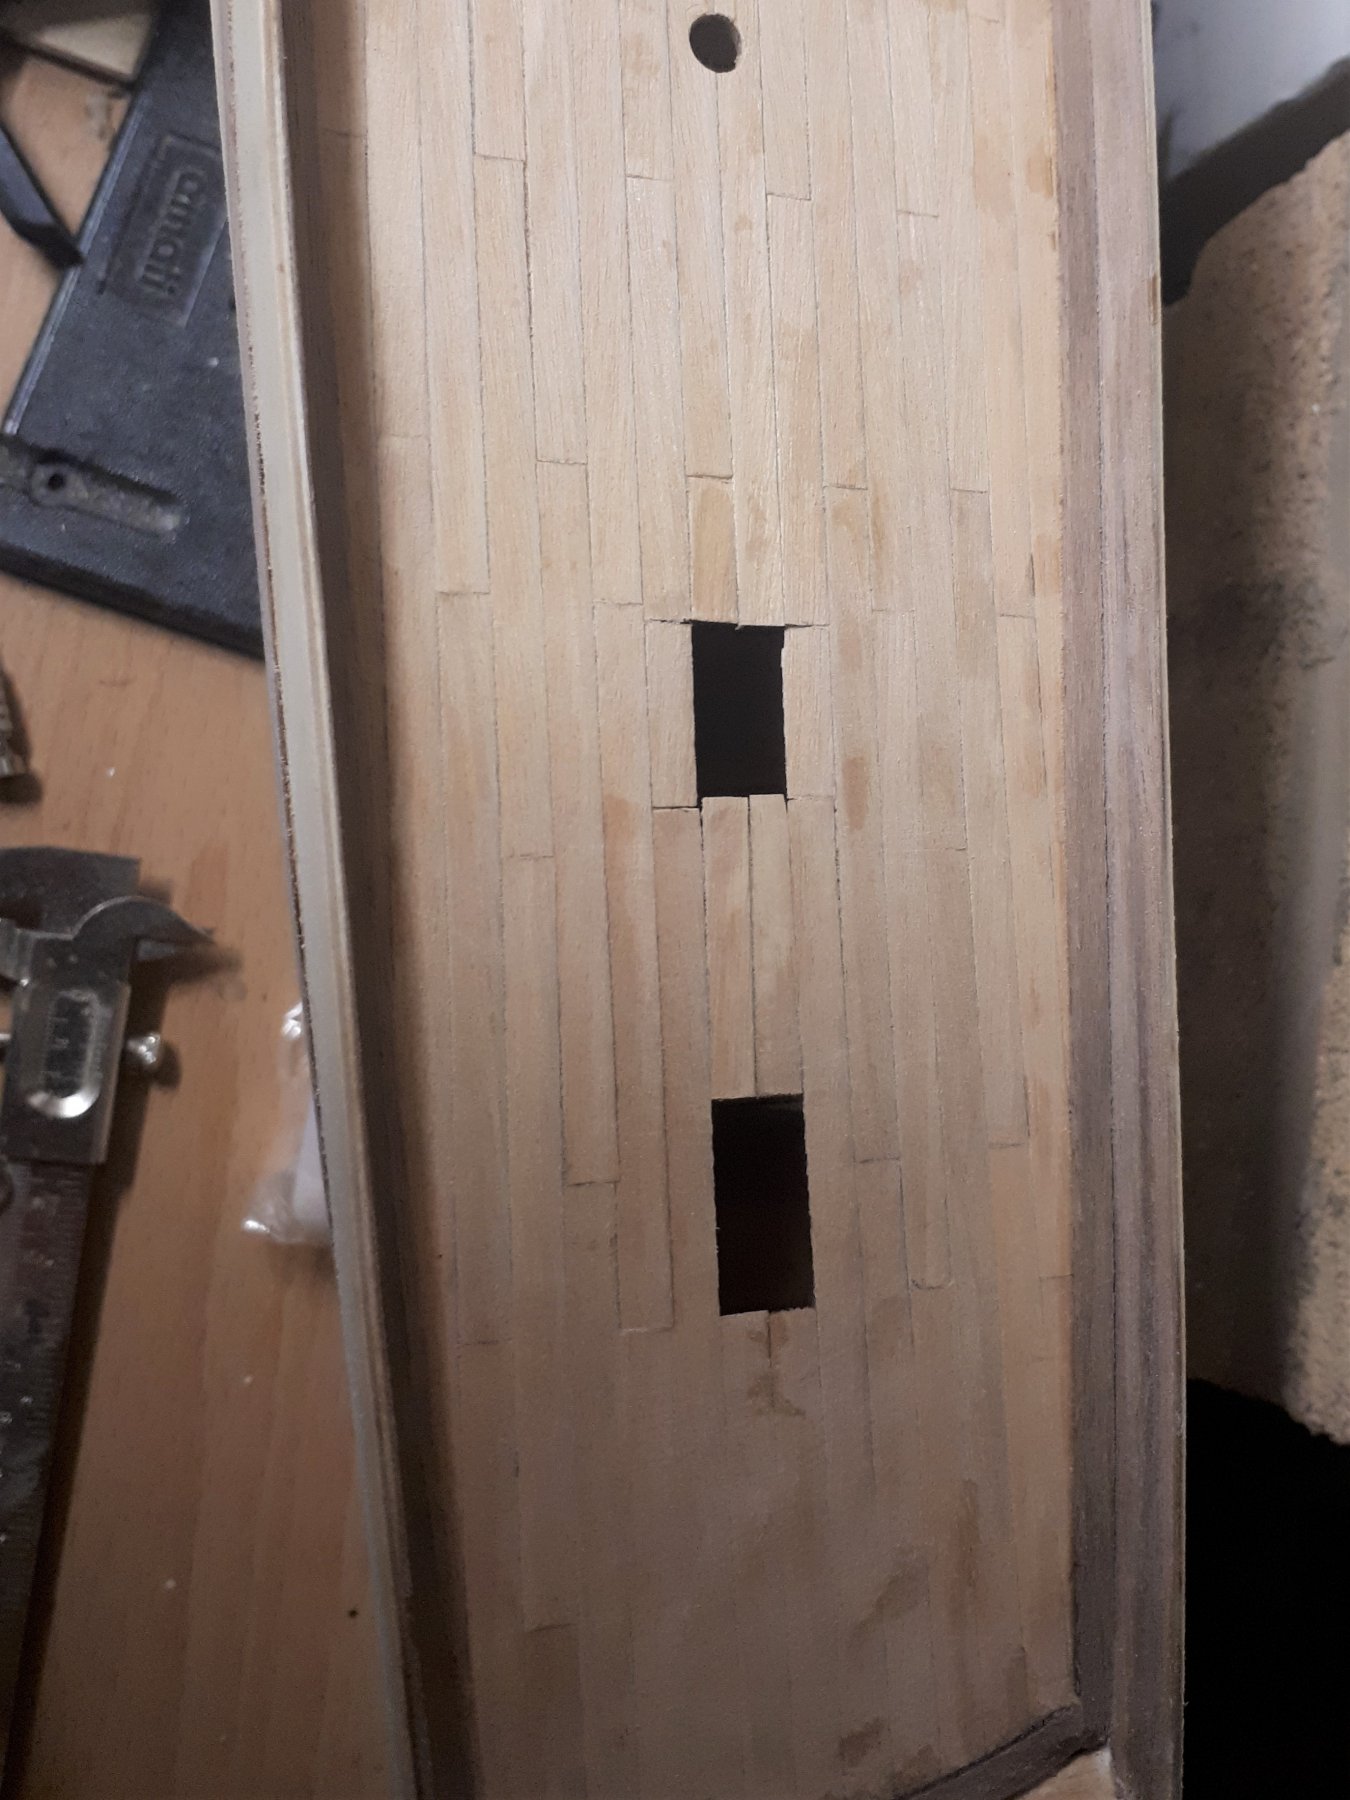
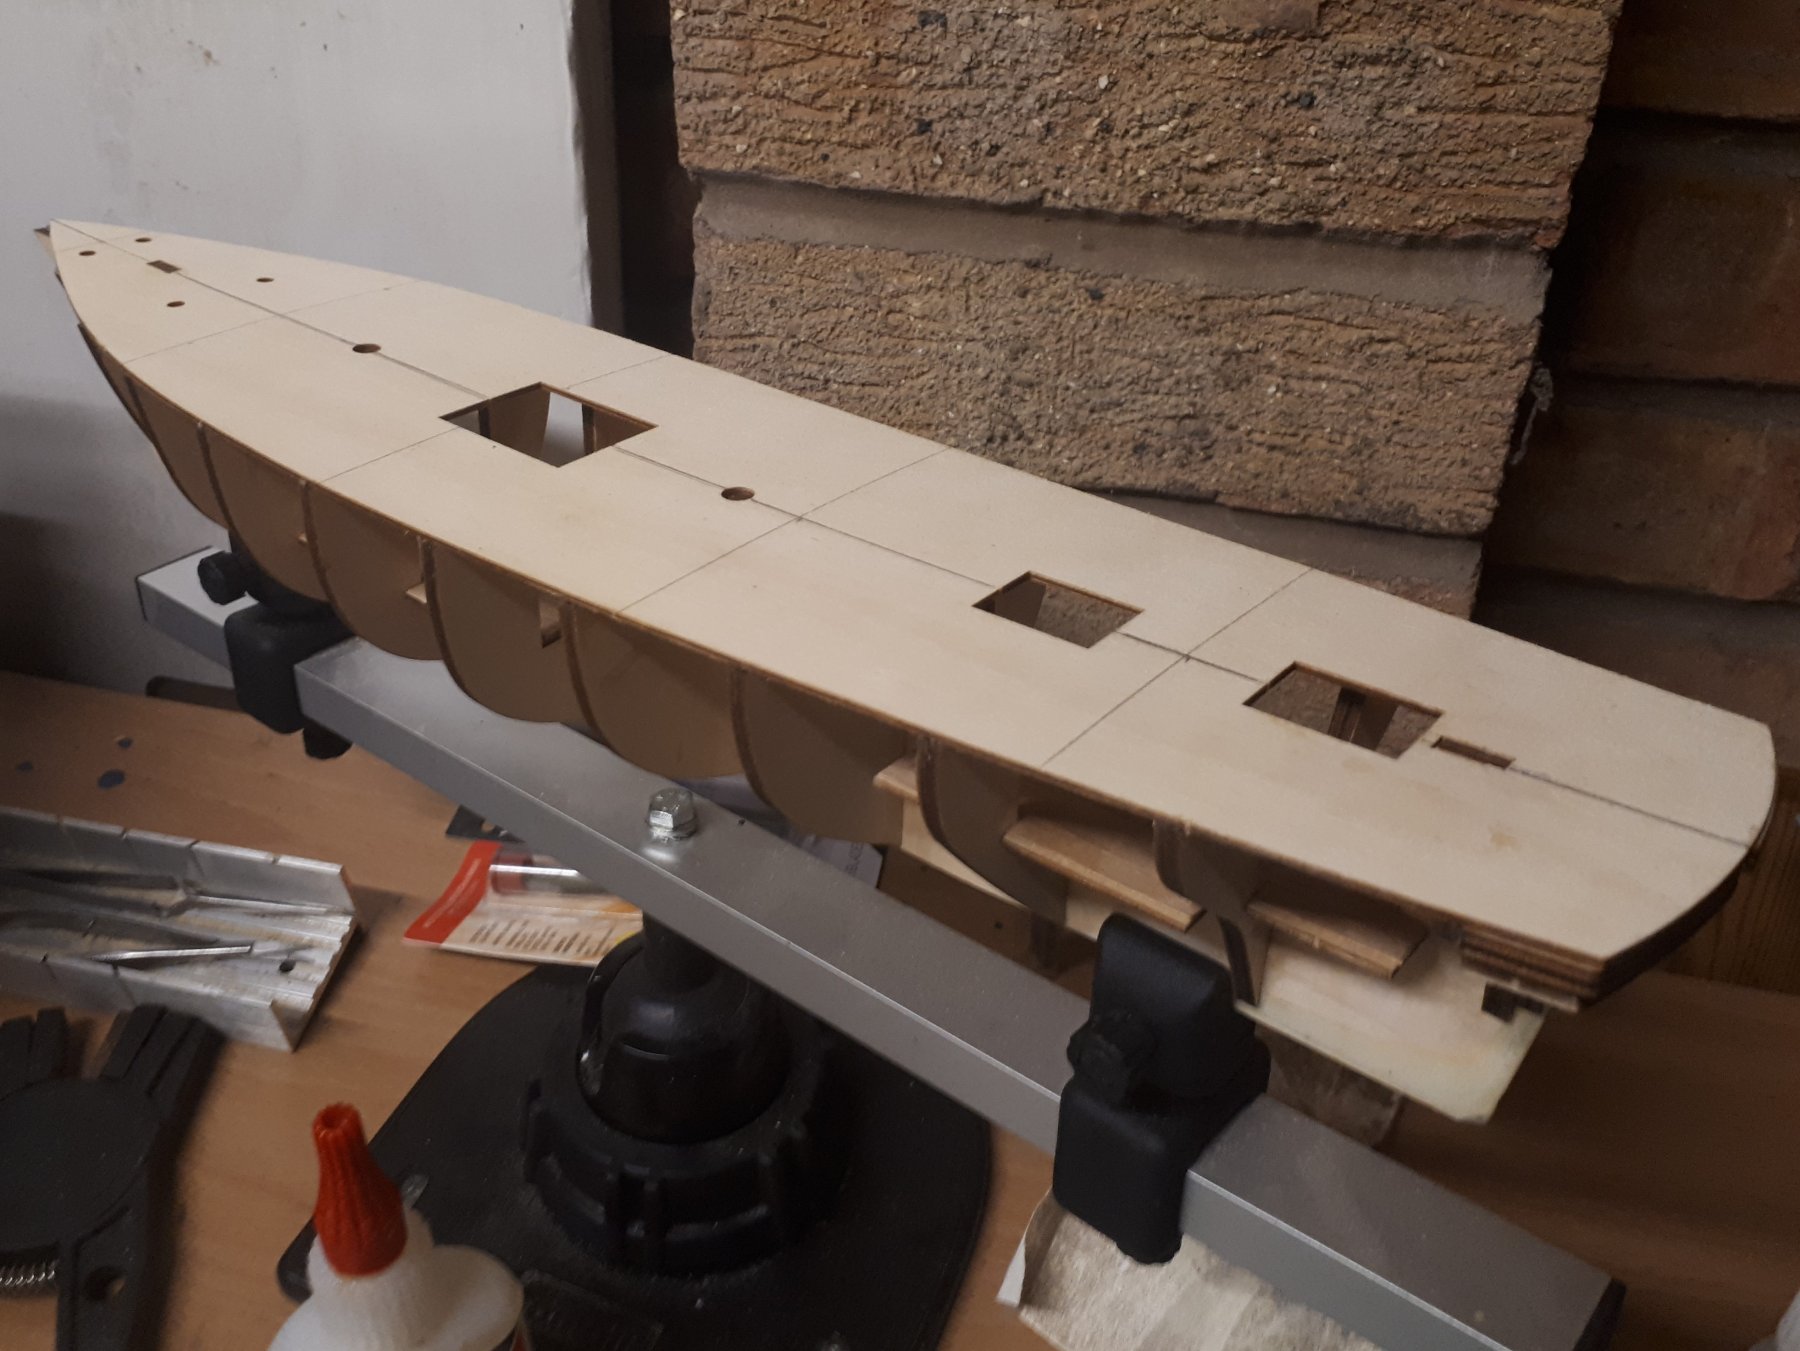
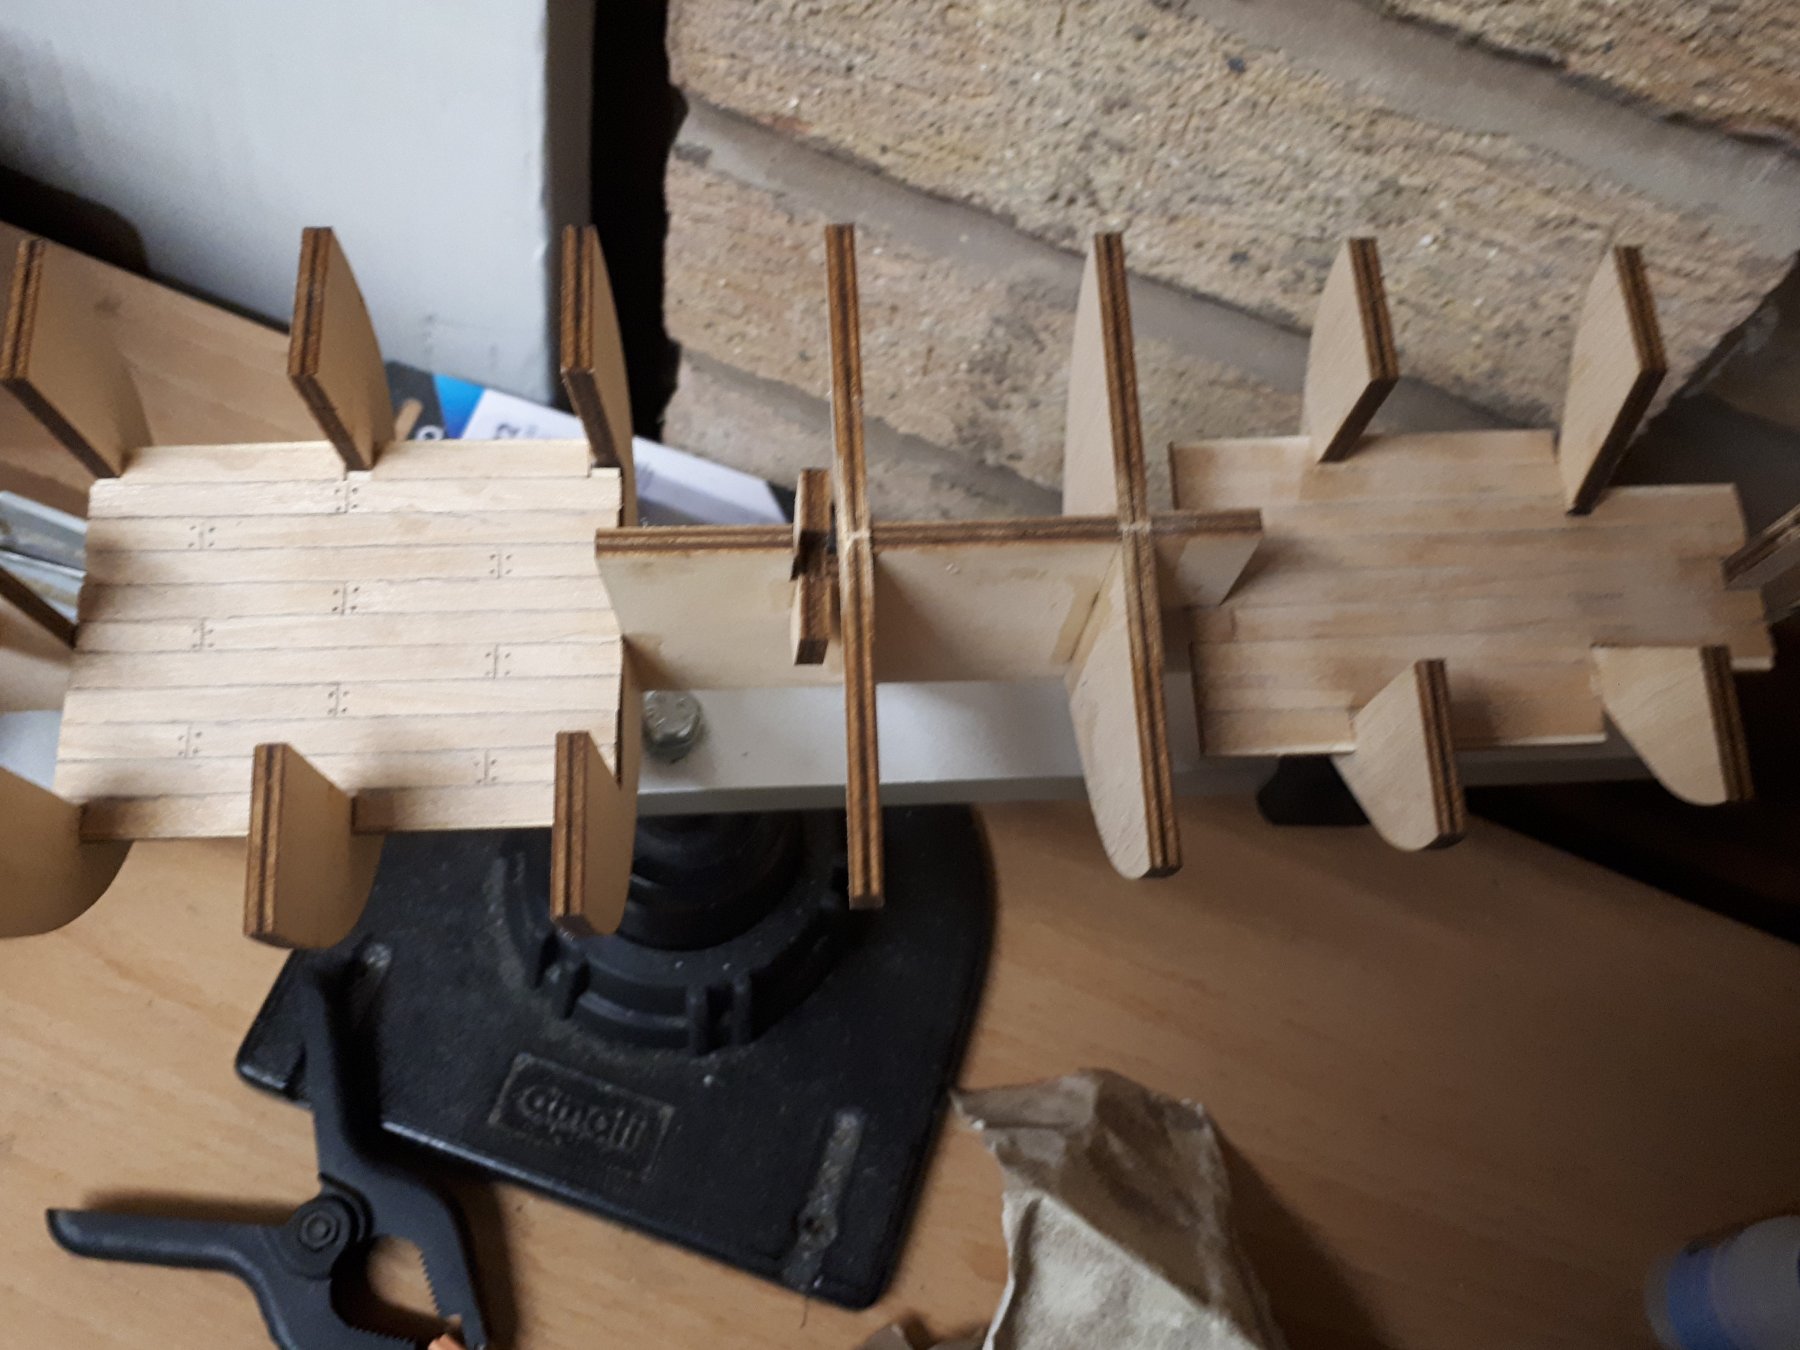
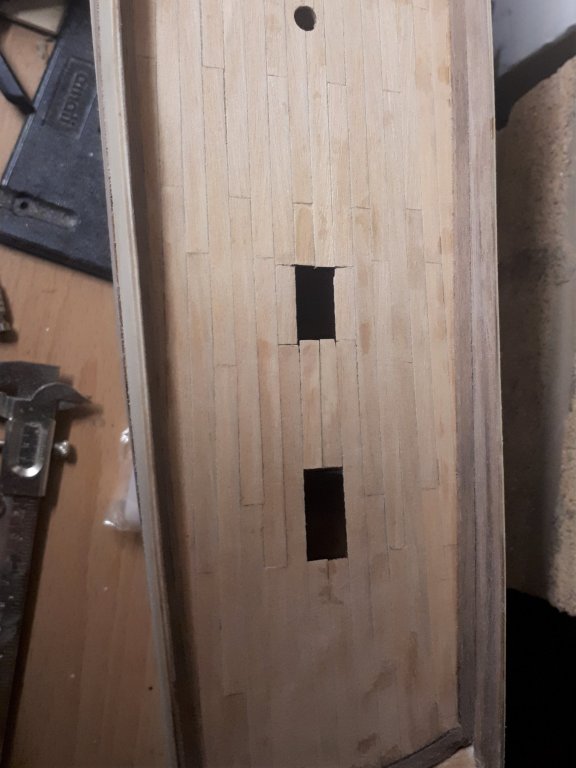
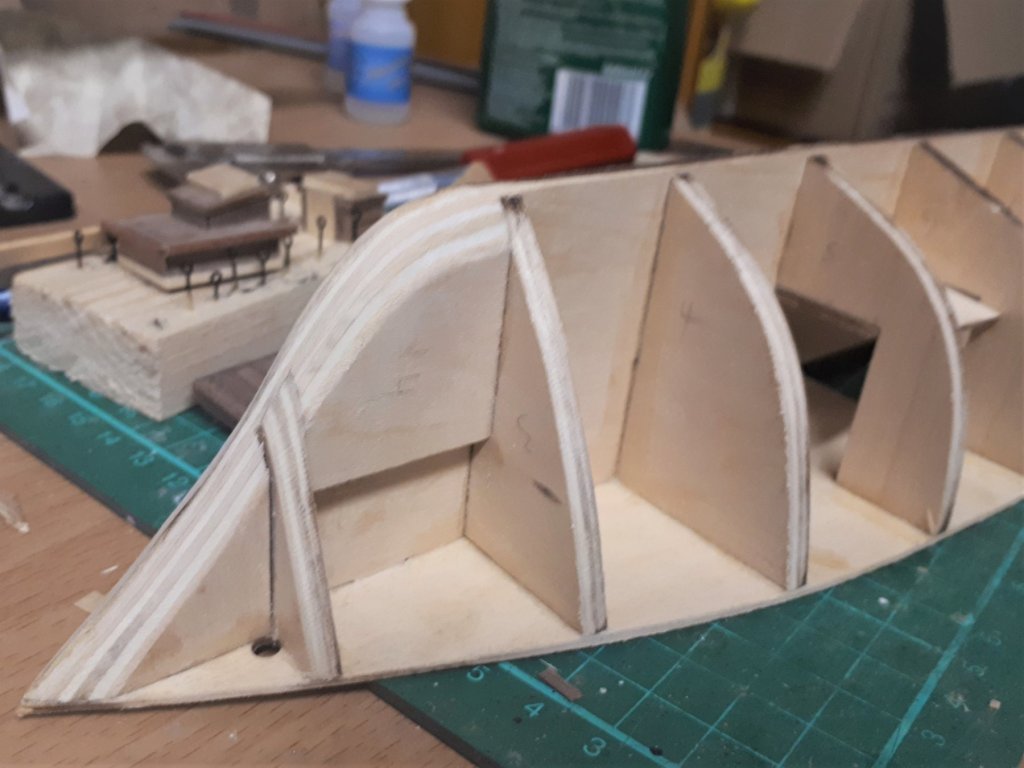
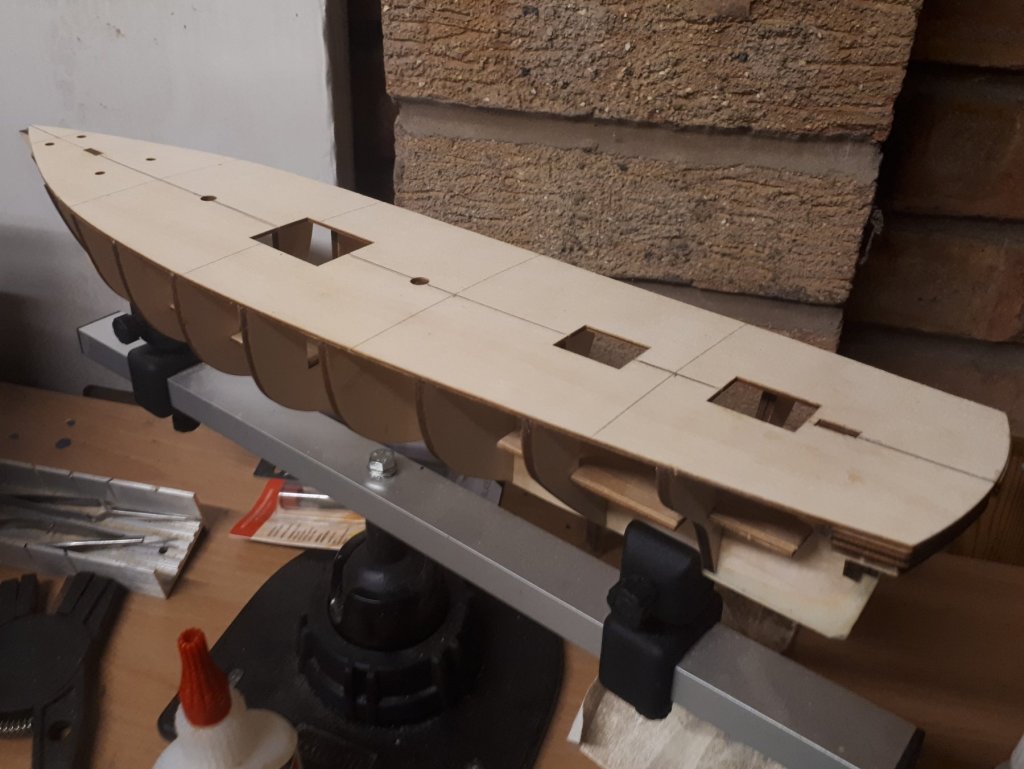
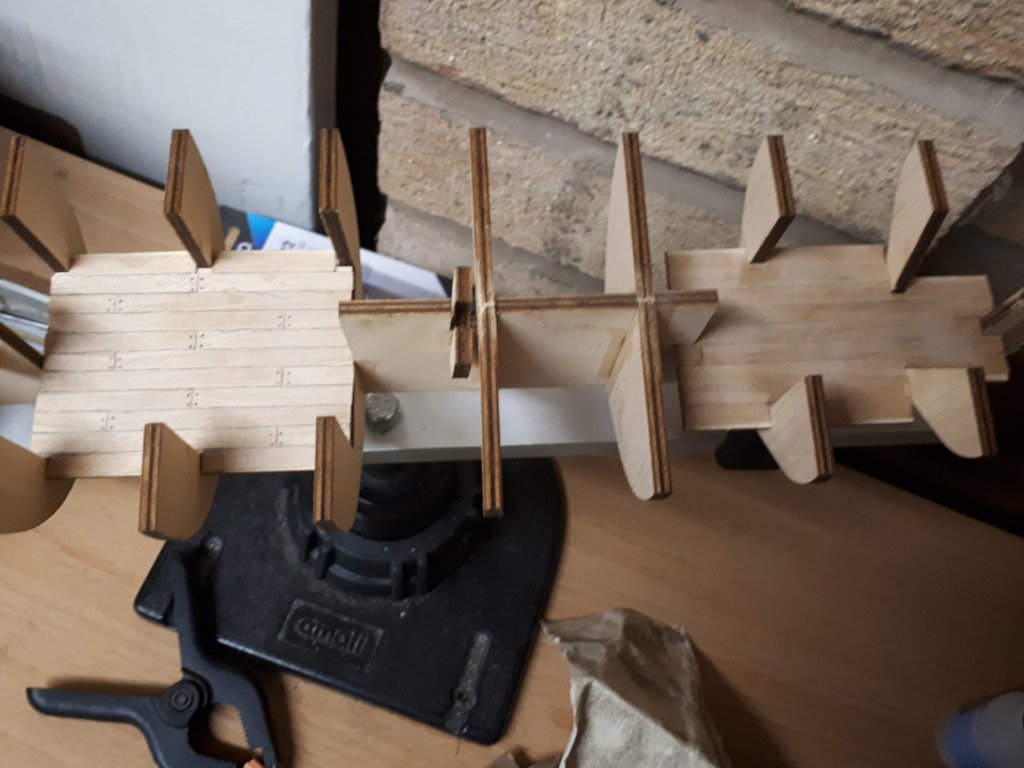
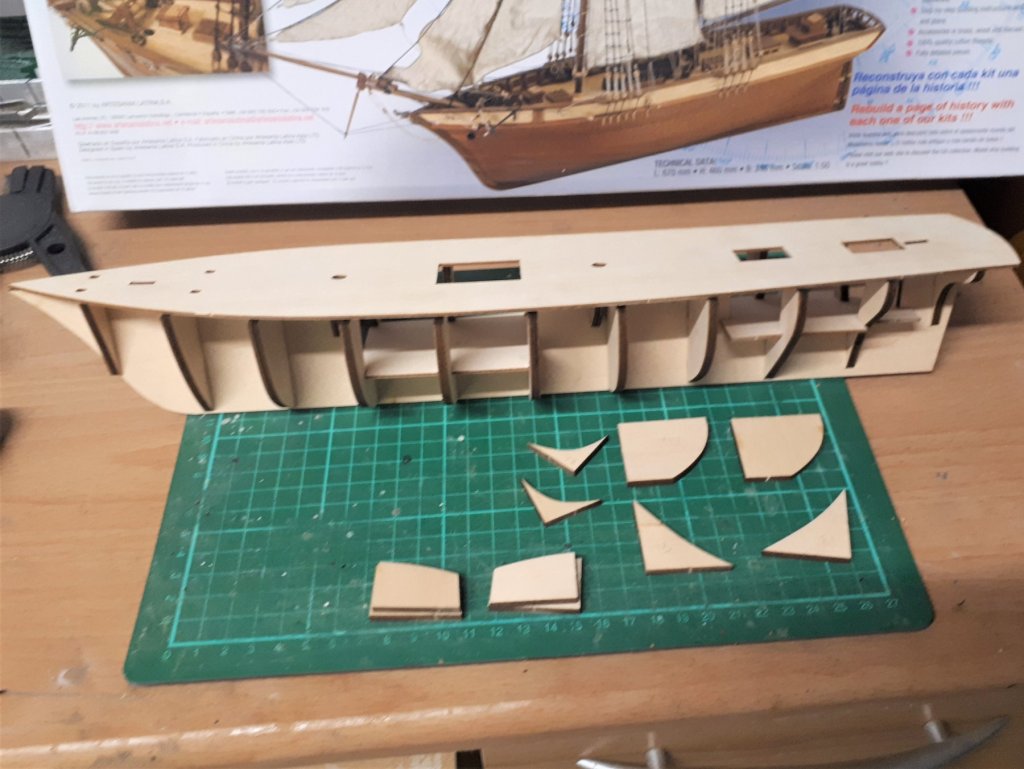
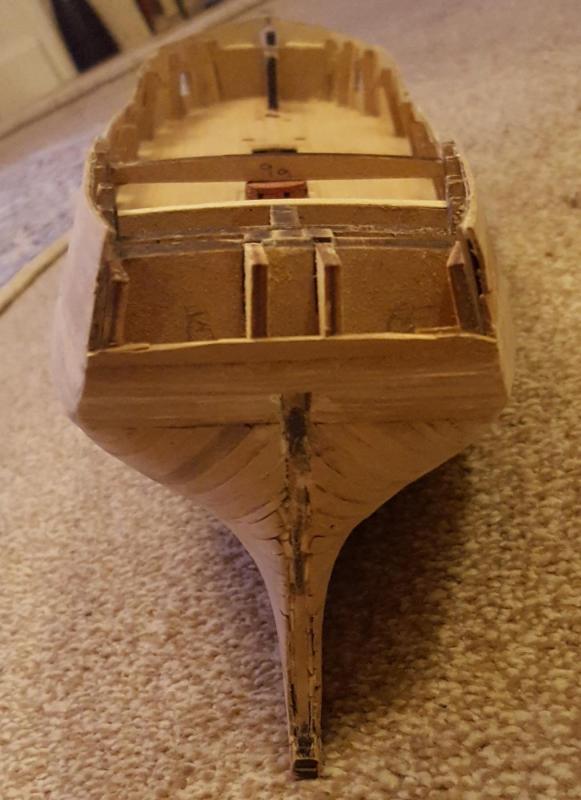
The first task was the dry fitting of the bulkheads, mask supports, and decks to the false keel. I was pleased that everything seemed to fit without any additional work. I then marked out the dead area at the stern end and proceeded to reduce the width down to 1mm at the edges to ensure when the planking is completed it will be the same width as the stern counter. I then glued the bulkheads, mast supports, bulkhead supports and lower decks to the false keel. Even though the two lower decks will not be visible once the main deck and deck fitting are installed I decided to go ahead and plank the two lower decks as I wanted to experiment with a couple of different planking methods.

-
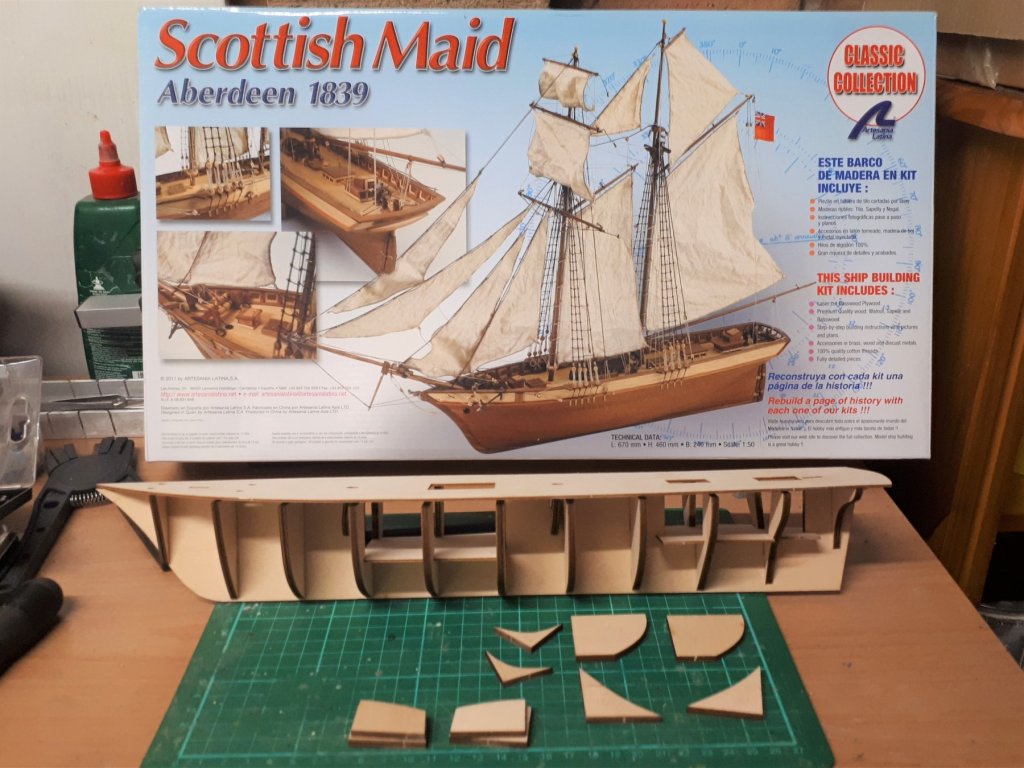
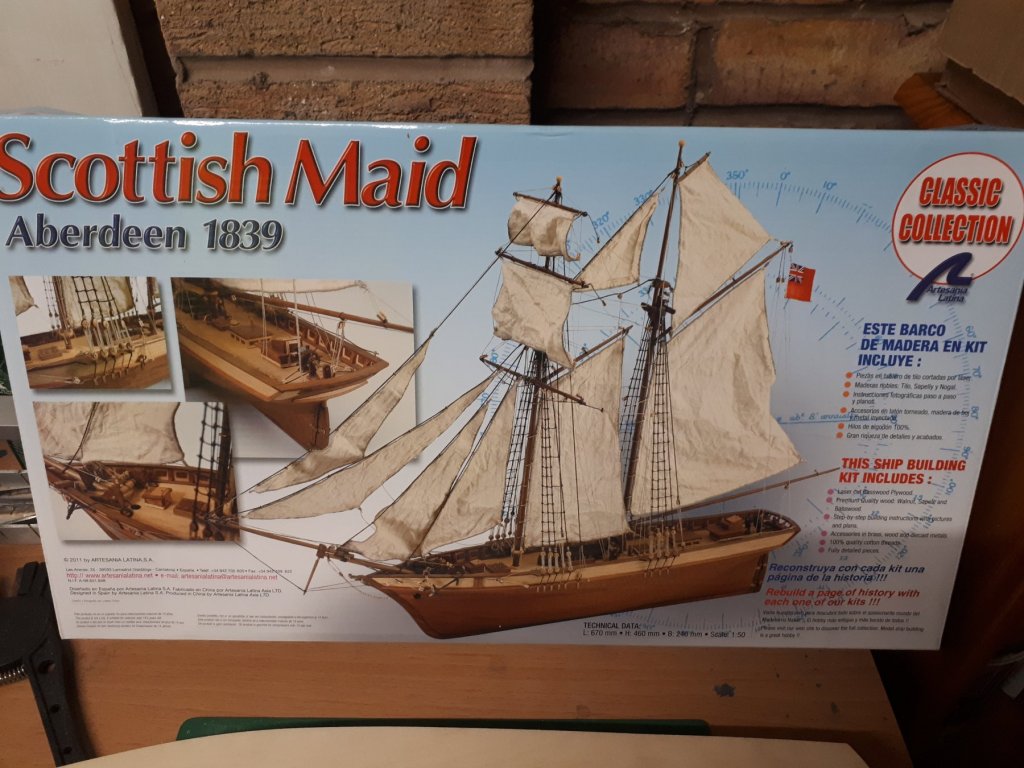
After a long break I have returned to the world of model ship building. I decided to start with a simple build so I purchased the Artesania Latina kit for the Scottish Maid, revisiting the first ship I (badly) a few years ago. I seem to recall the instructions were a bit vague and the translation to English leaves a lot to be desired in places. I noted the kit was missing the deck planking materials, which I had noted other builders had also commented on therefore I purchased some suitable deck planking material from CMB. I plan to enhance some aspects of the build.
-
Hello David Now that I've retired I have plenty of time to work on my boat build projects
-
Build Index Hyperlink The wales have now been fitted to the hull. I have also assembled 10 cannons and glued them to the main deck. I have also glued more of the deck fittings. I have now glued the rear upper deck in position which I can start to plank once the glue has dried.

-
You have a nice looking build. I seem to recall the skid beam pillars being a right pain to install.
-
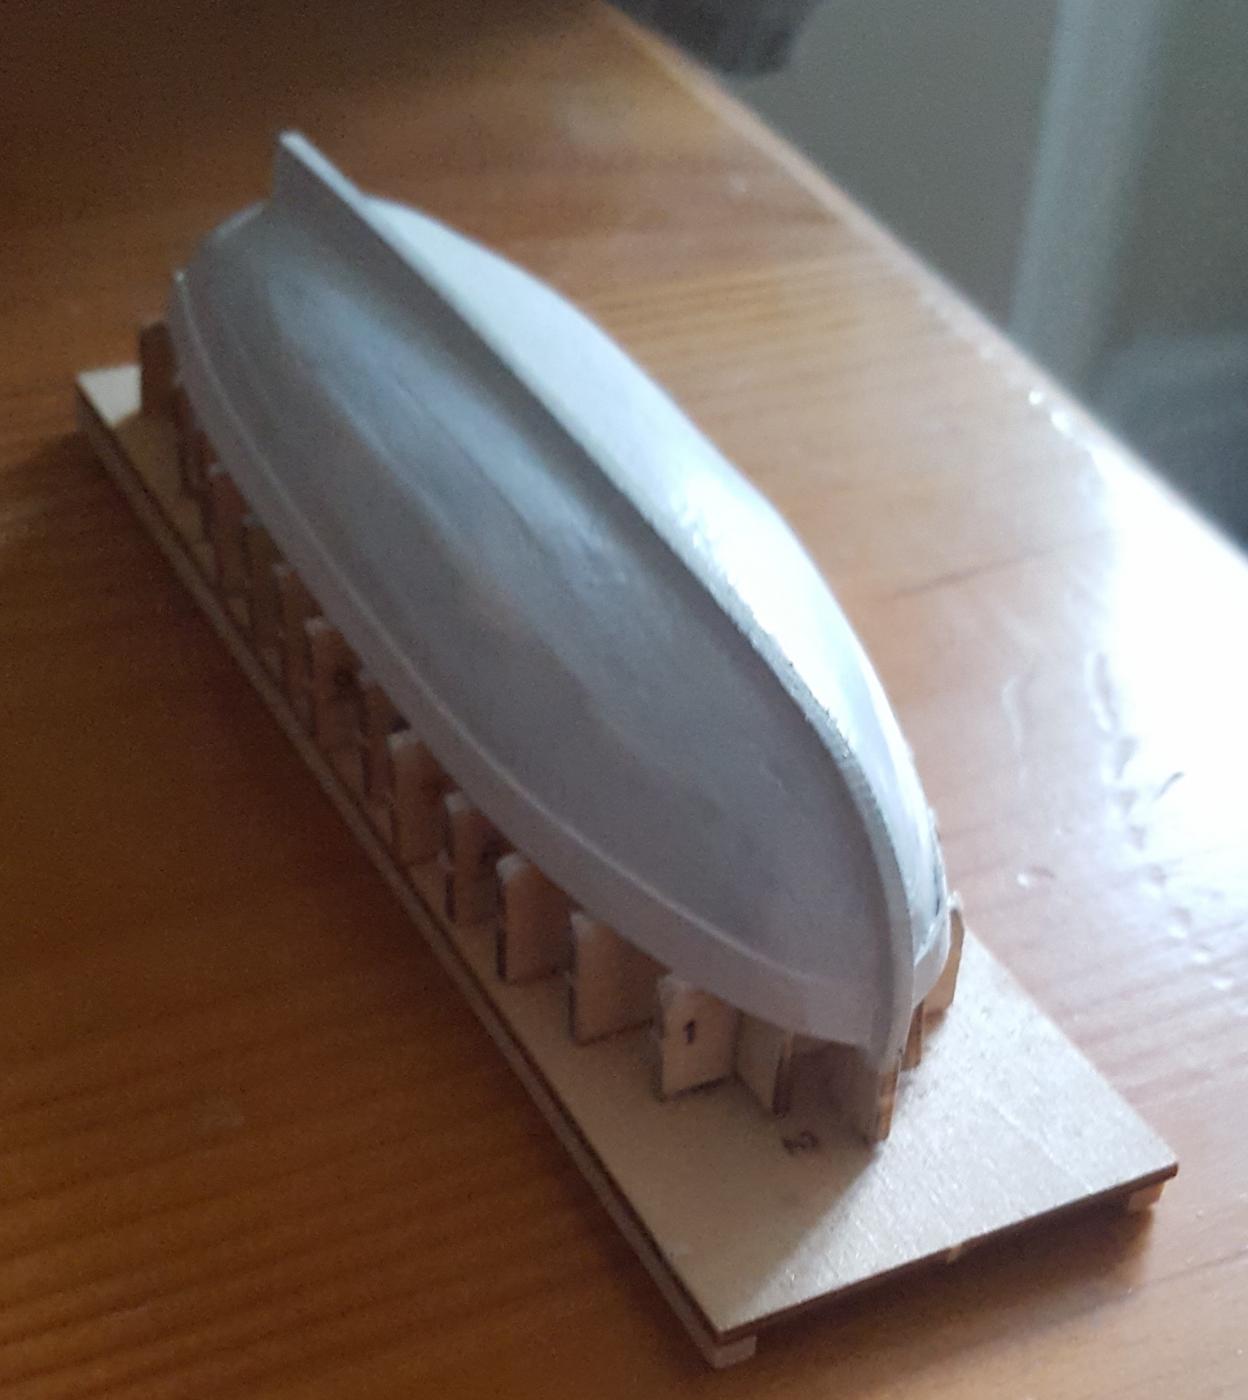
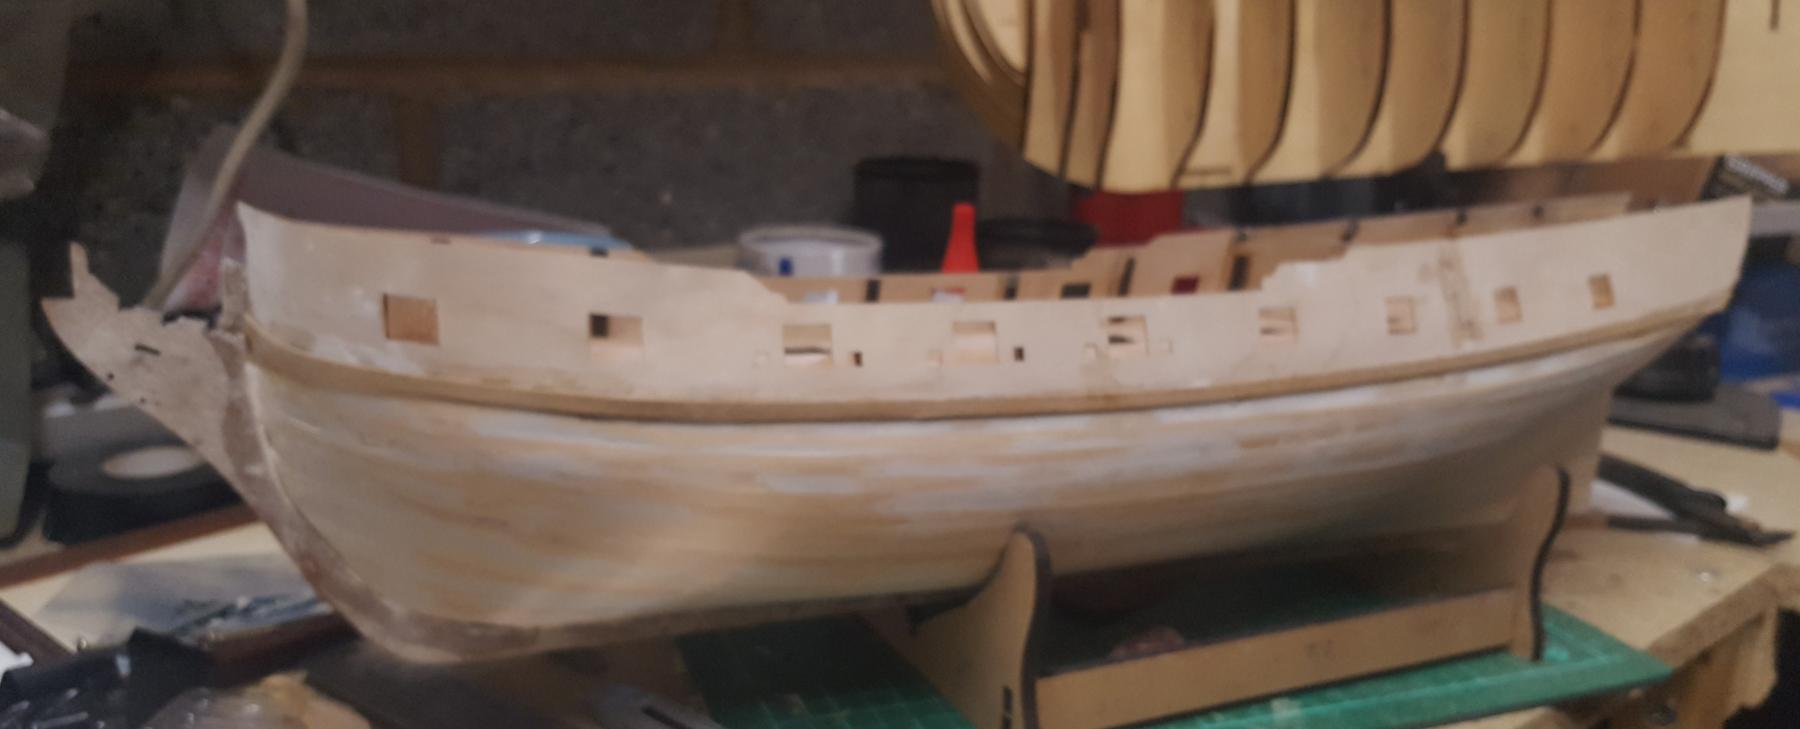
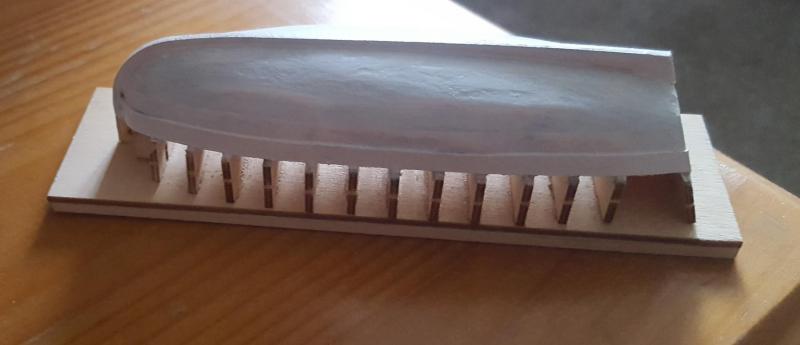
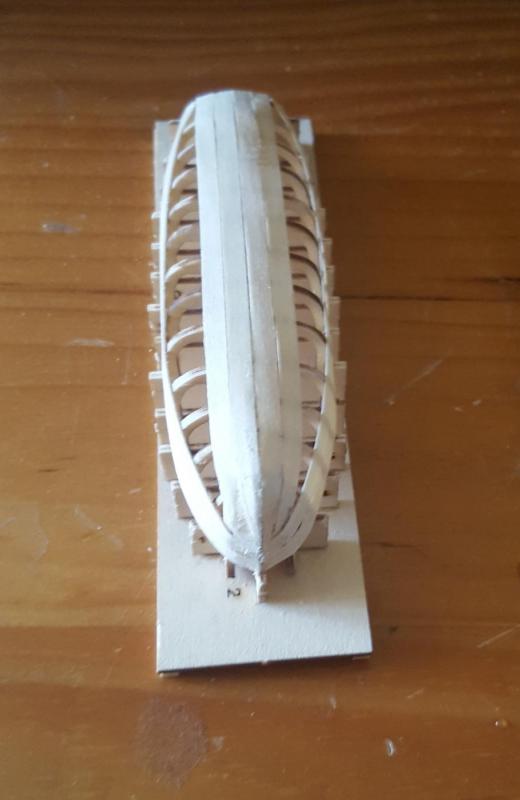
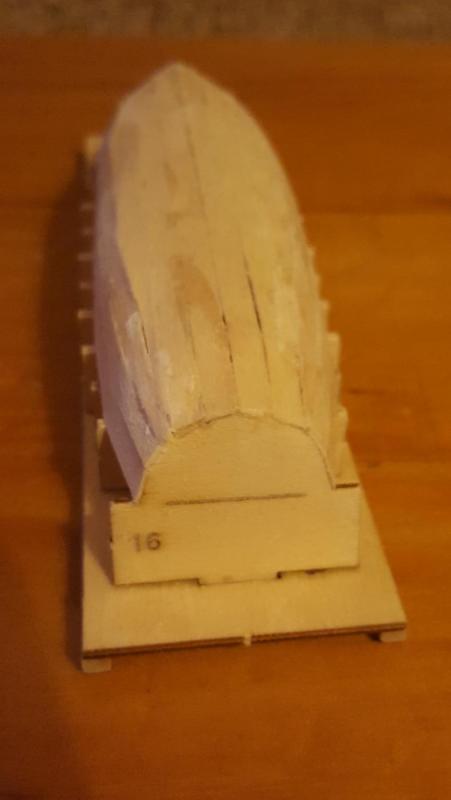
I found some time to continue on with this project, which I'm dovetailing with my HMS Pegasus build. I'm currently waiting for delivery of subscription pack 2 before I can move on with the main HMS Victory build so today I worked on the launch. I started by giving the hull a good sanding and then applied a primer. I then fitted the wales and also applied a couple of coats of white paint. Once the paint had dried I then proceeded to remove the launch from the build jig and then sanded the excess jig wood so I'm now left with the basic launch which is now ready for me to add all the internal fittings.

-
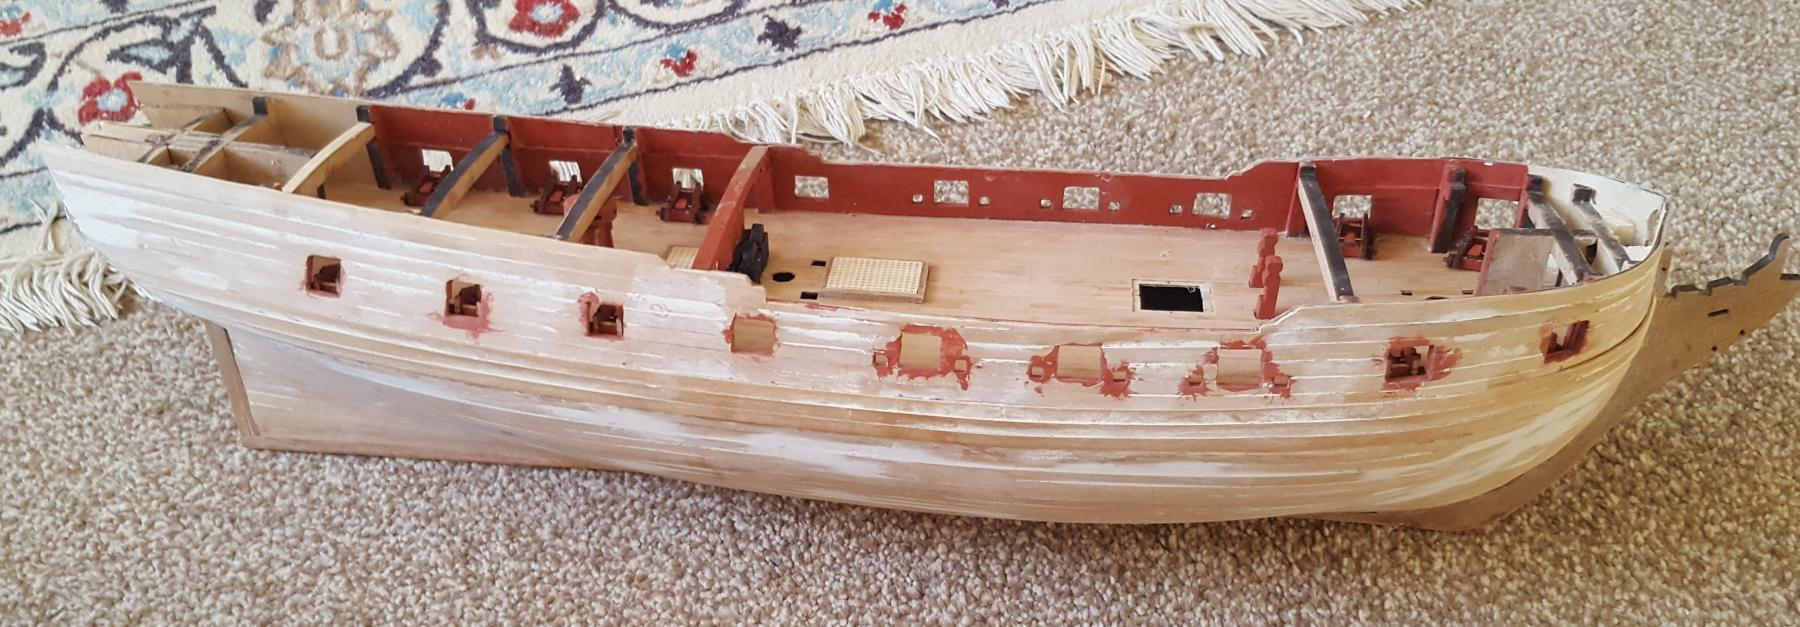
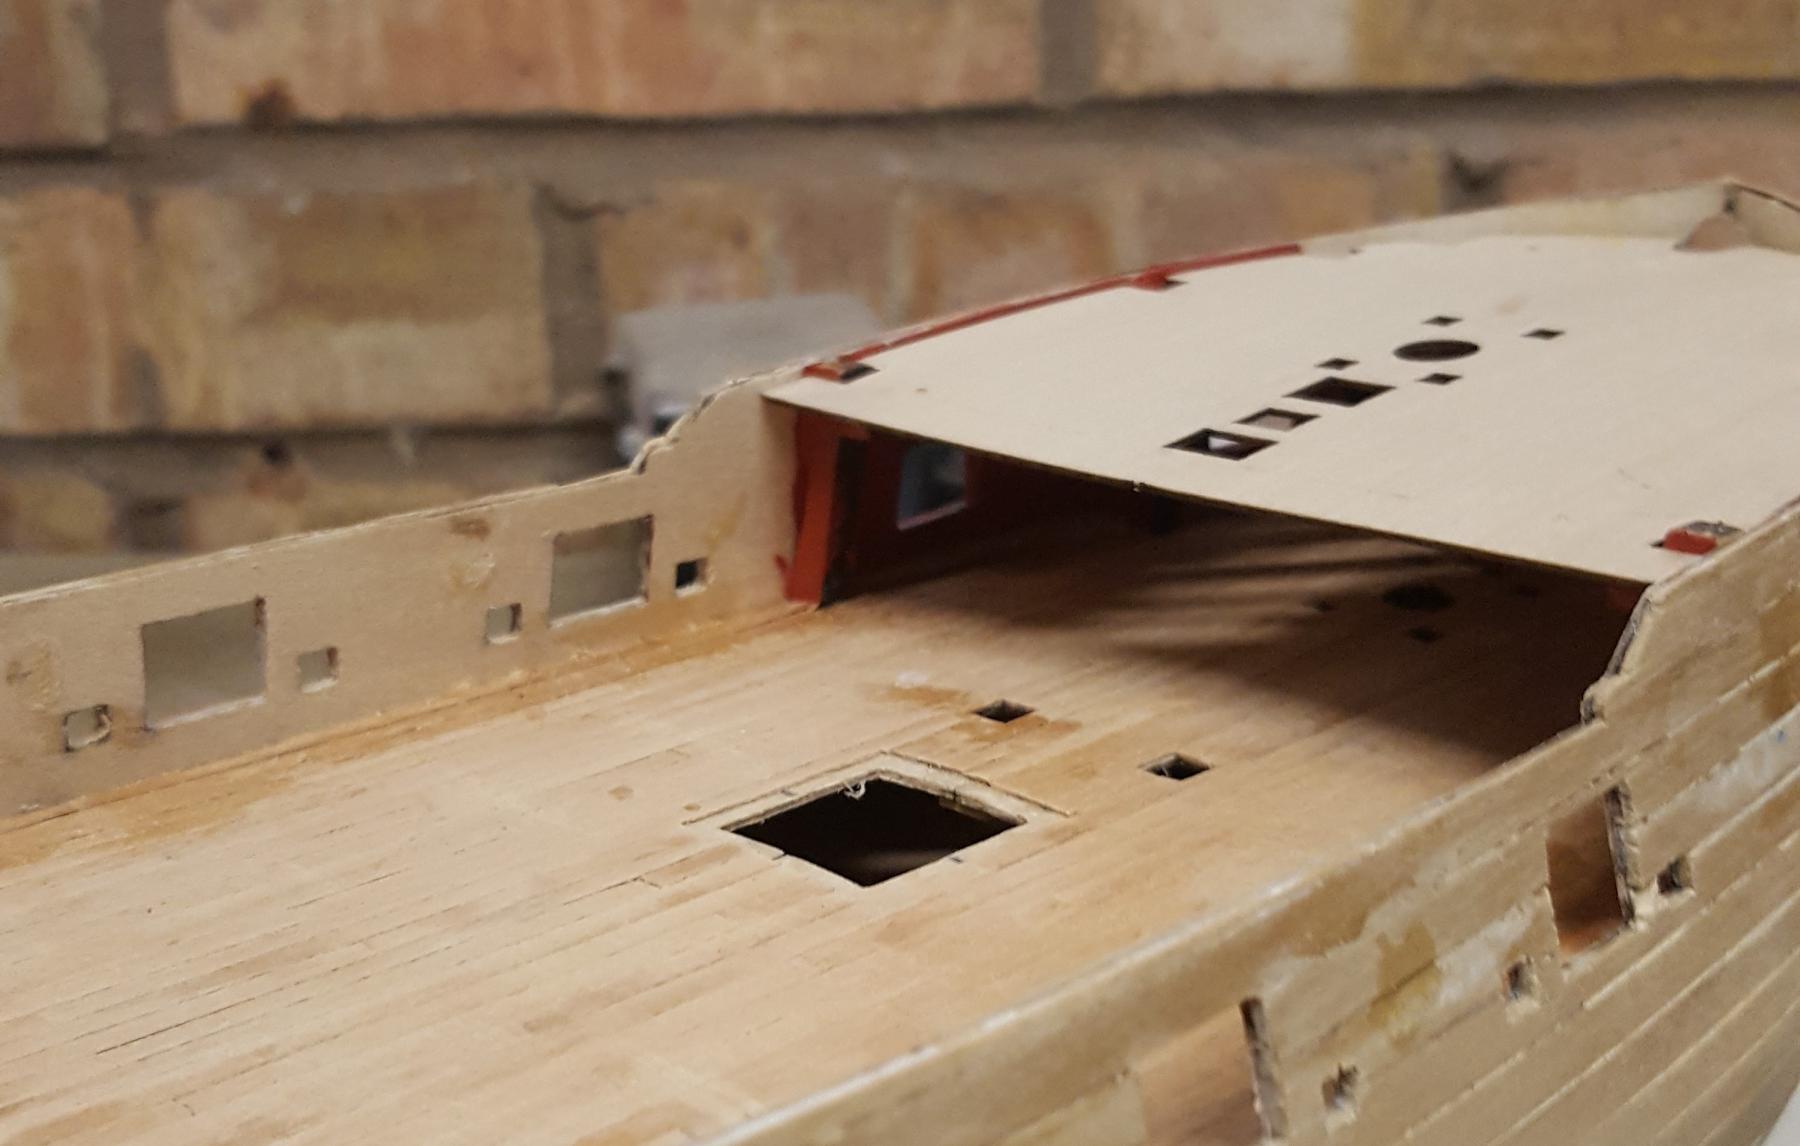
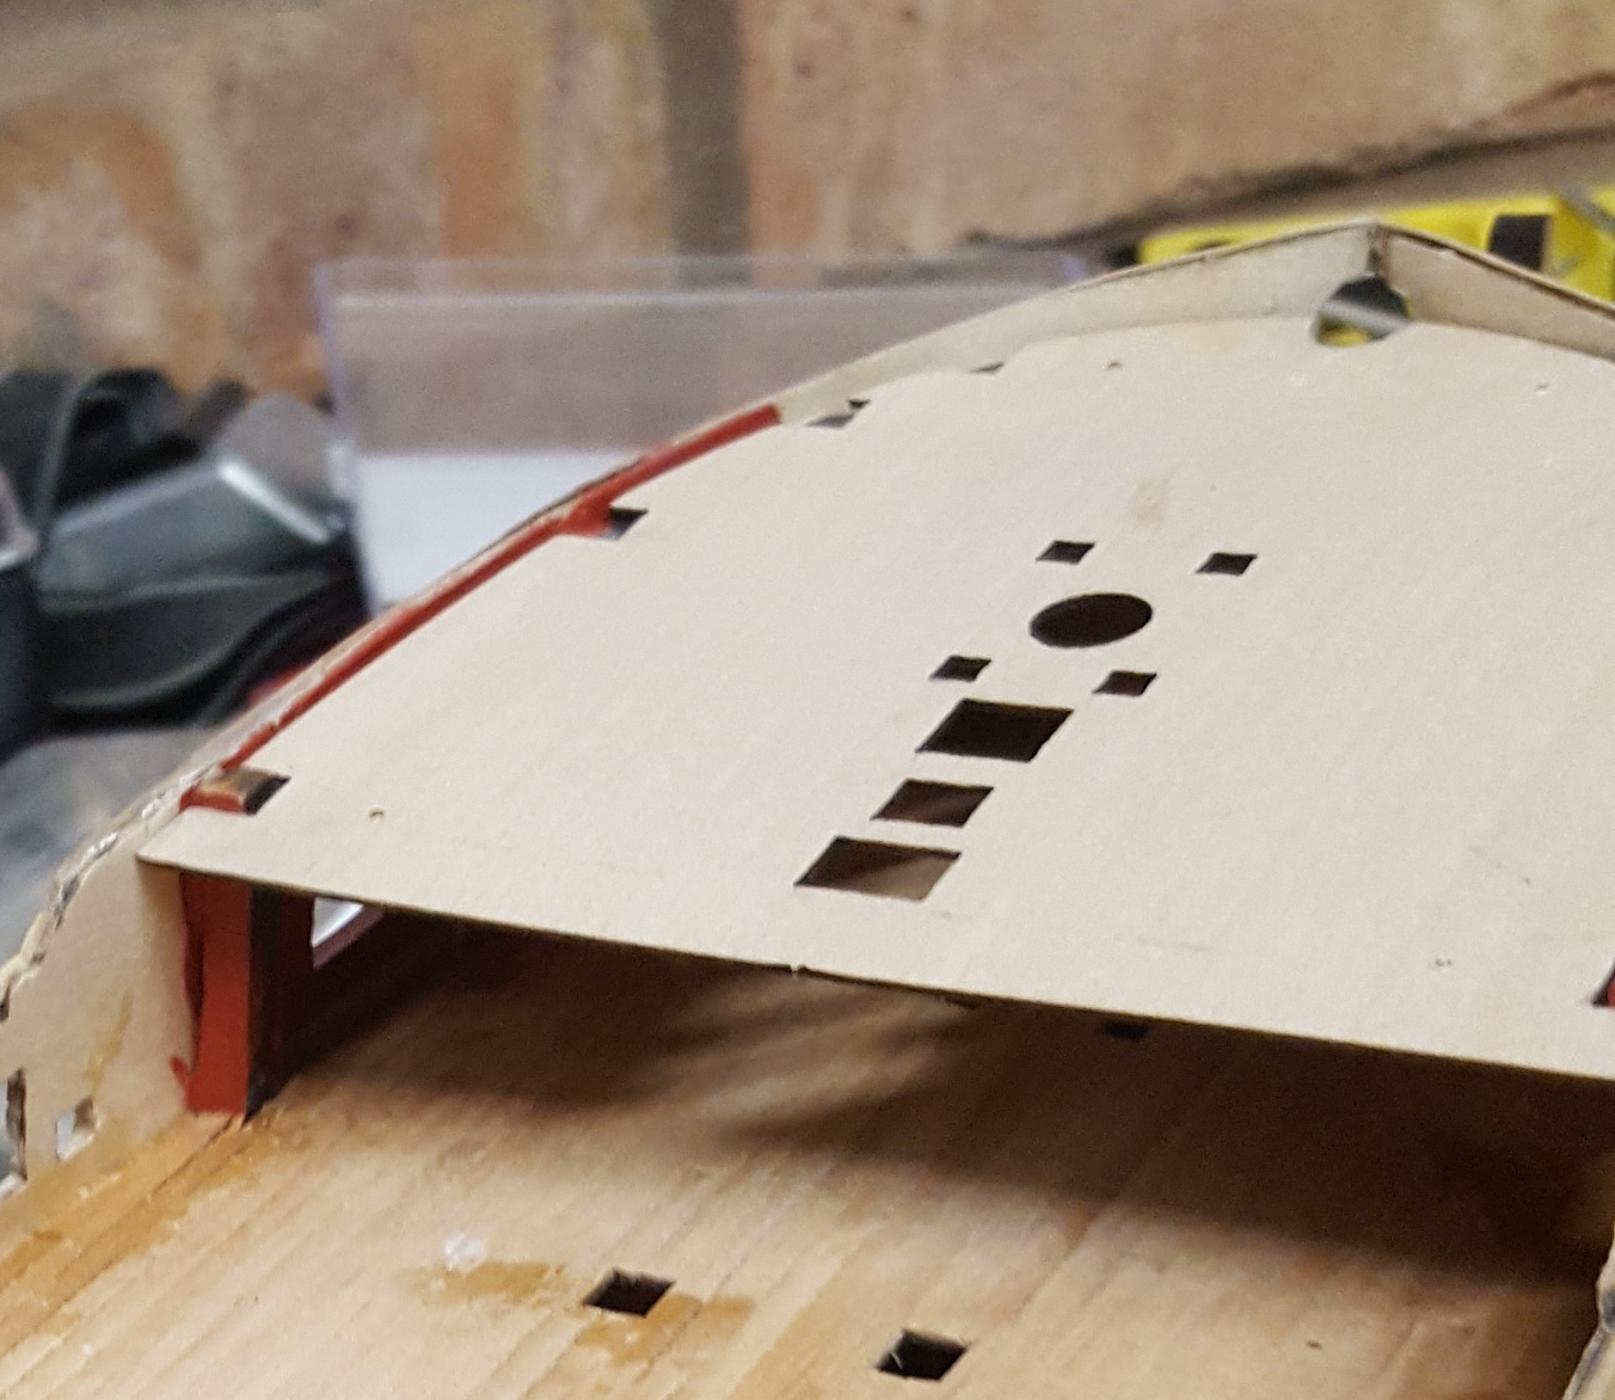
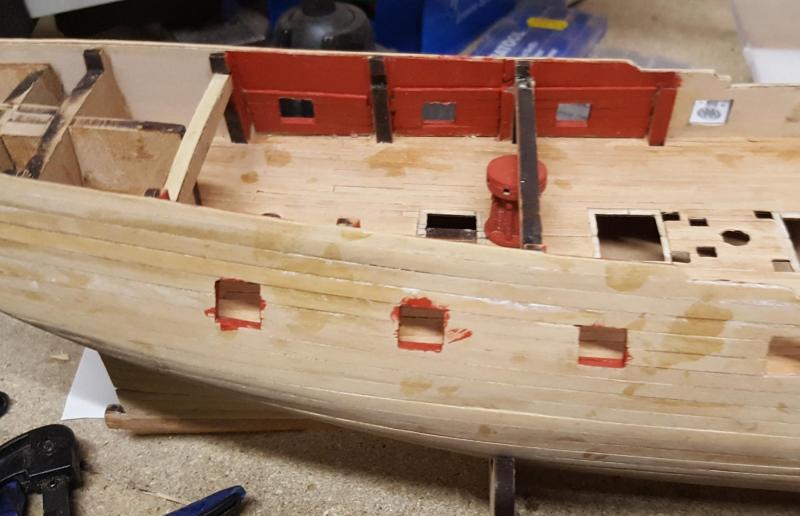
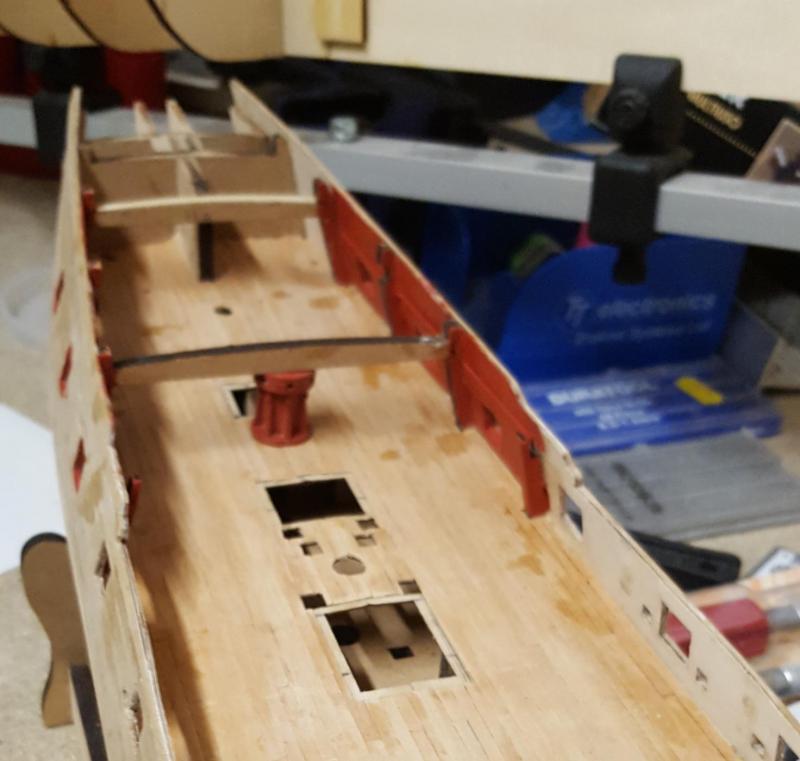
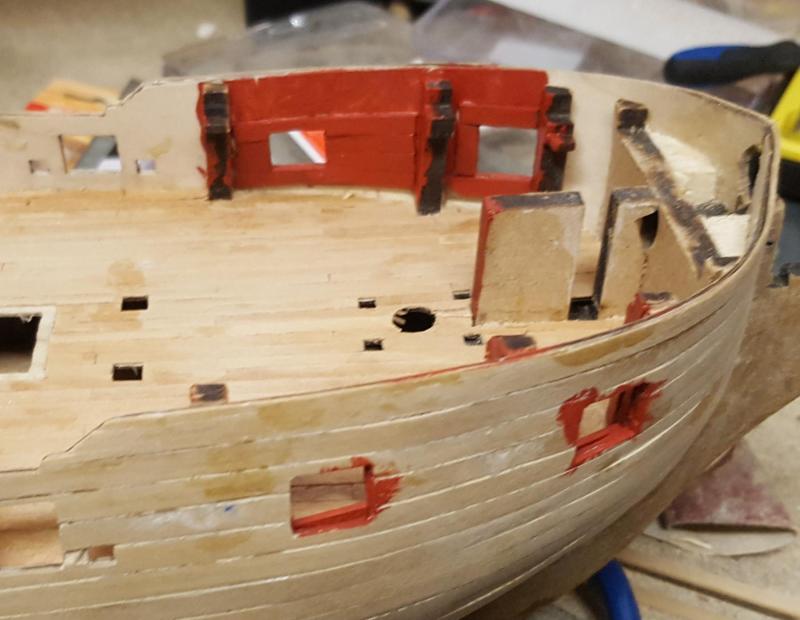
Build Index Hyperlink I removed the hull shaping studs and then completed the main deck planking. I'm just waiting for delivery (hopefully tomorrow) of the varnish I've ordered to protect the deck planking. I have also spend some more time sanding the hull. I just need to get some primer which I intend to apply to the hull to pinpoint any remaining defects which may need additional sanding (or filling). I'm also debating weather to jump ahead and fit the copper plates before I move on to installing the various deck fittings. I did decided to take a small excursion away from the instructions to enhance the build by installing some bulwarks around all the gun ports that are hidden by the upper decks. I have also painted the wooden frames red so everything will look better after the upper decks have been installed. In the attached pictures I have included some with the upper decks dry fitted.


-
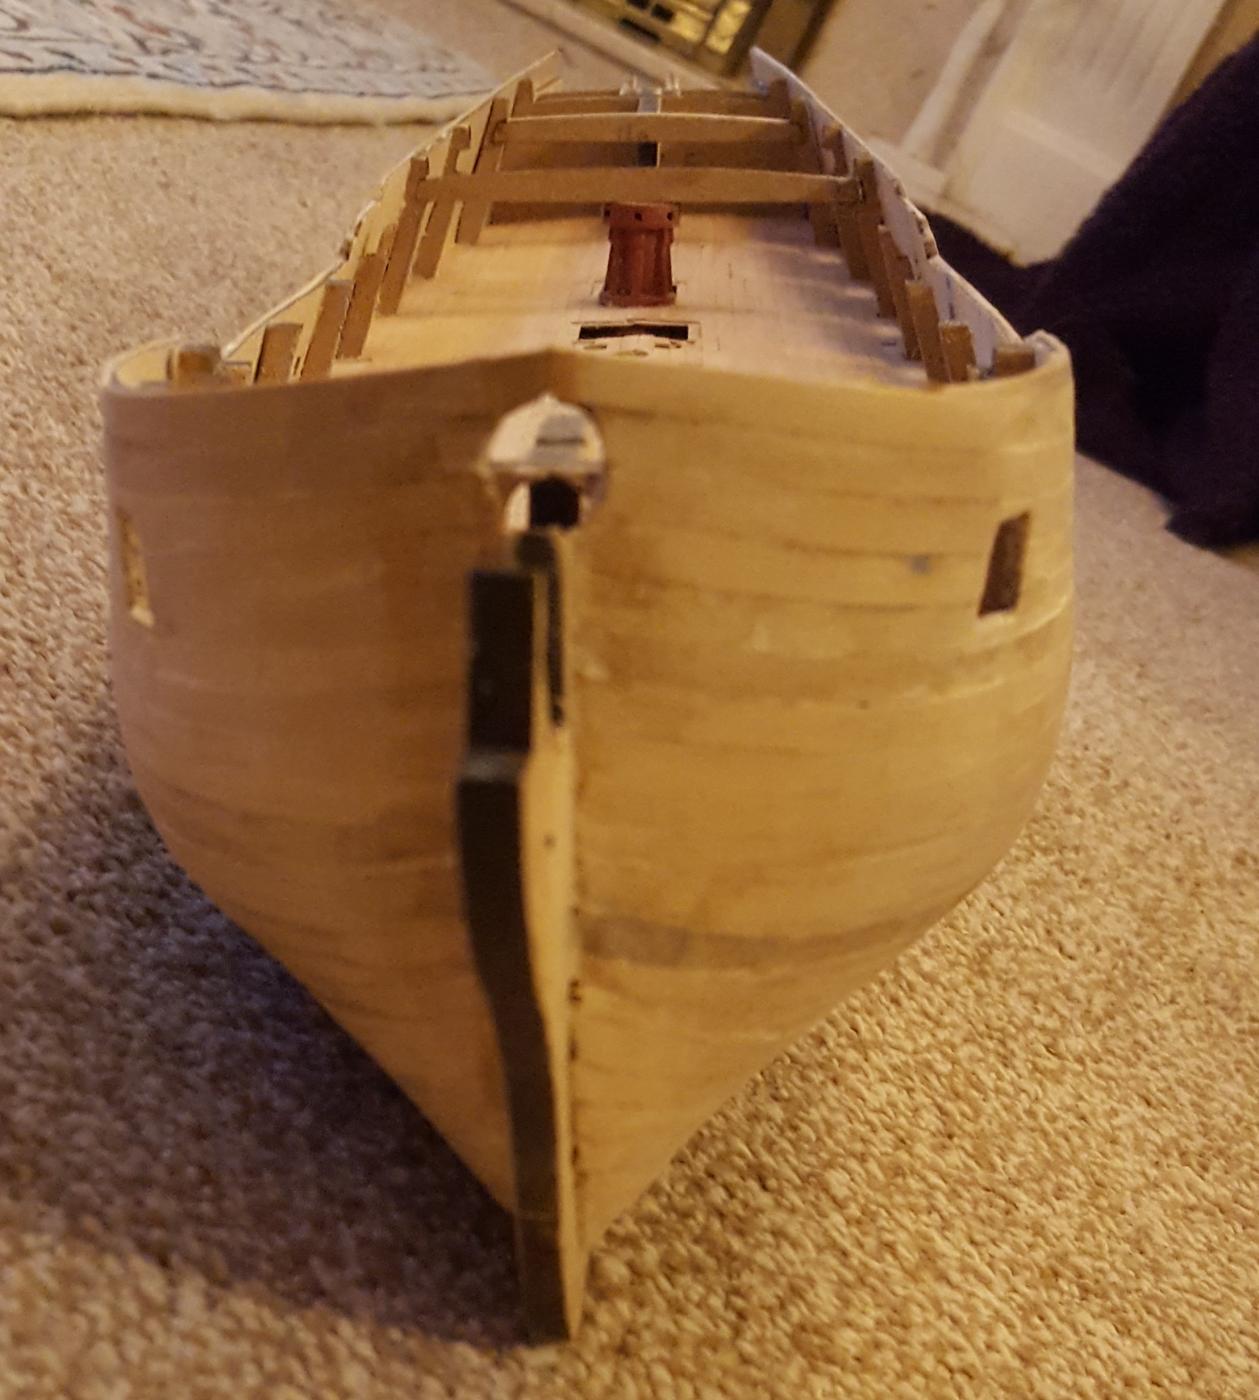
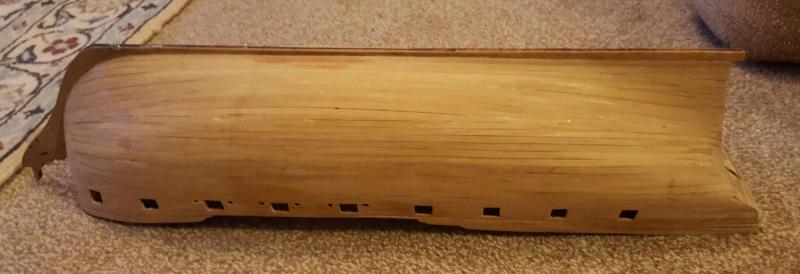
Build Index Hyperlink I have been able to spend some time on the boat build today and I've finally completed the second planking. I'm happy with the end result and the hull will not require too much sanding or filling. The next task is to build the cannon assemblies which need to be fitted before the two upper decks can be fitted. The bowsprit opening has been cleared I cleared the gun and oar port openings as I progressing with the planking The top of the stern counter planking has been correctly shaped in readiness for the fitting of the stern fascia, later on in the build.


-
I do not know when Victory will be released, but I do know that Amati are working on it right now There is a lot of English text to translate..
-
Nice work Jerry
-
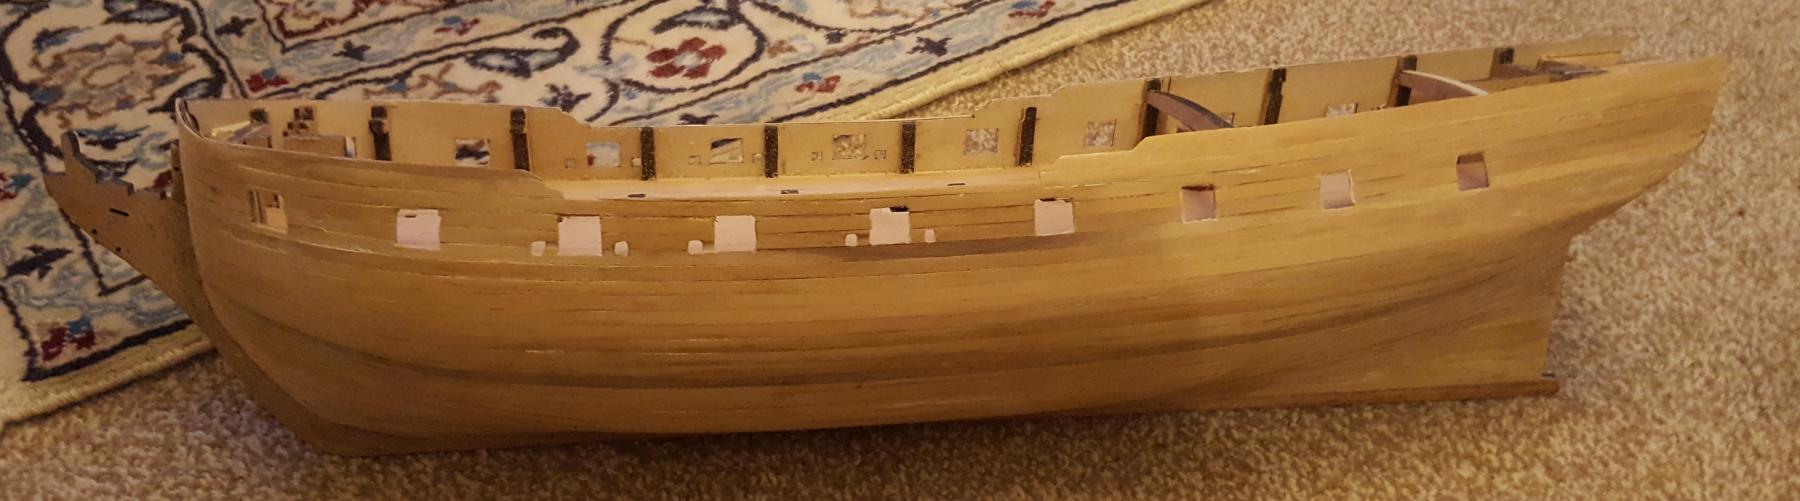
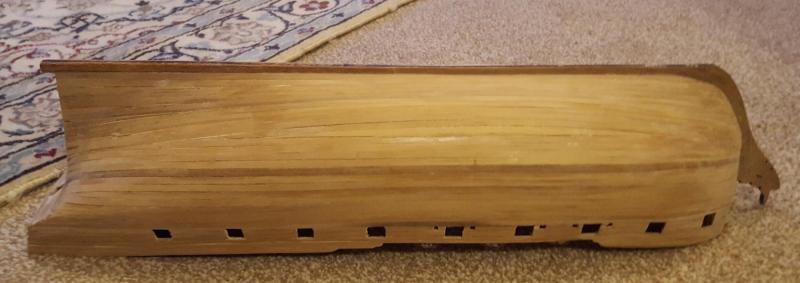
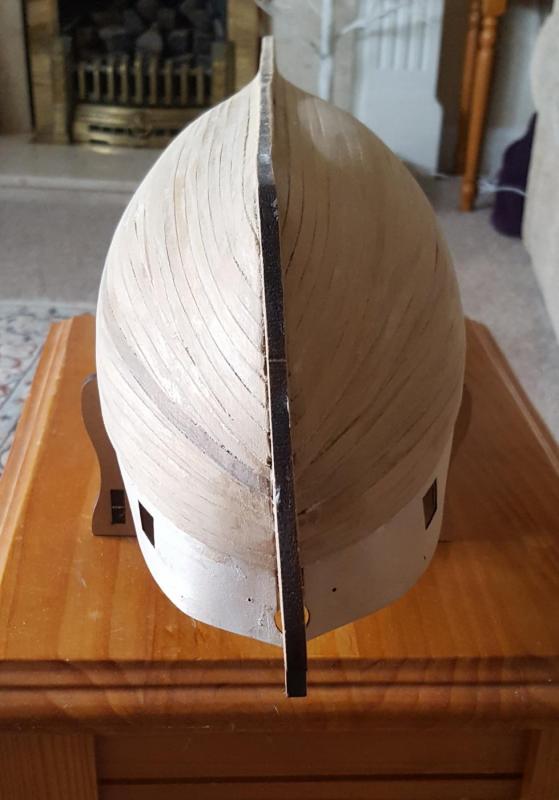
Build Index Hyperlink I have made really good progress over the last couple of days and have completed the second planking of the hull. This will now require a bit of sanding to get a fully smooth finish but overall it has not turned out too bad. I now have to continue with the second planking from the top of the wale line to the top of the gun port strip. I expect this will be time consuming work as I have to clear the gun ports and oar openings as I go along. I am now really looking forward to starting the next phase of the build in the next couple of weeks. A trick of the light makes the stern area looked bowed shape, but this is not the case


-
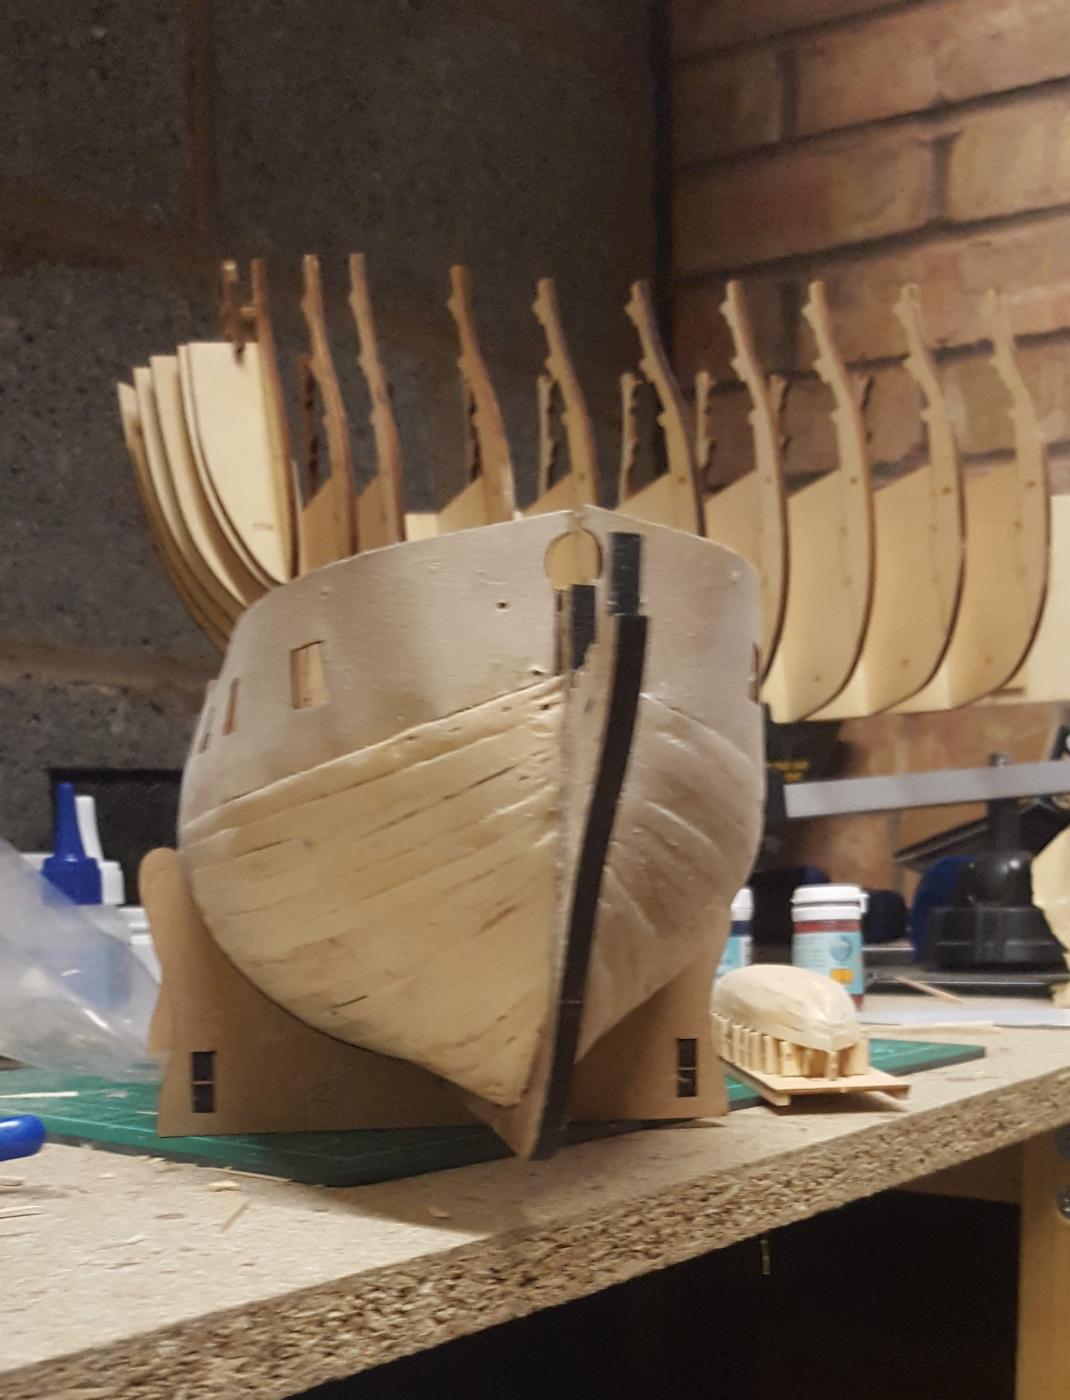
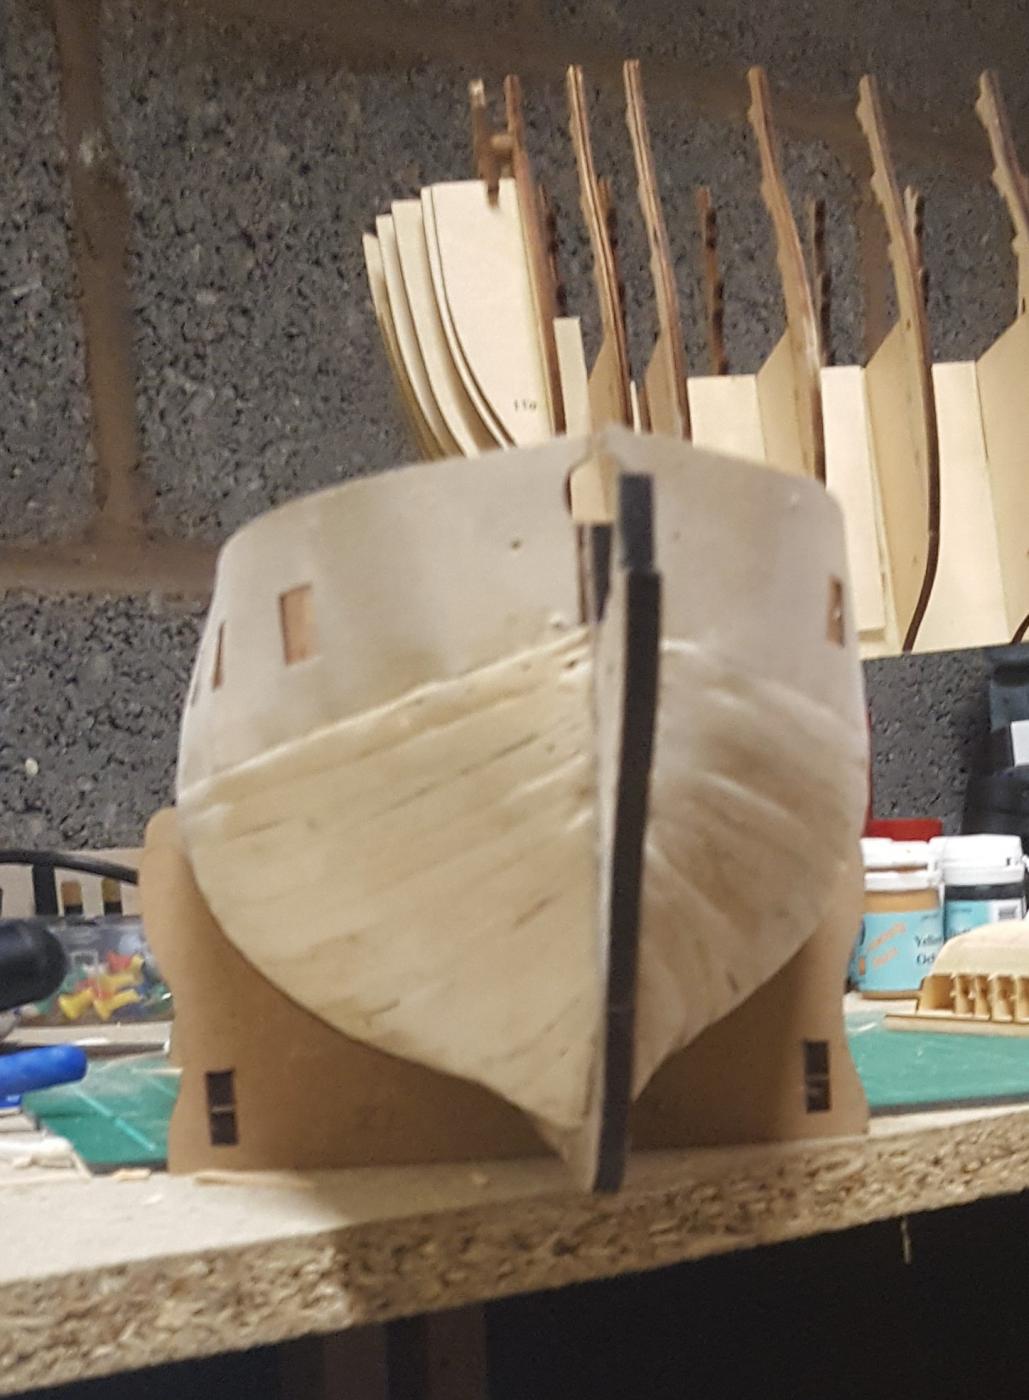
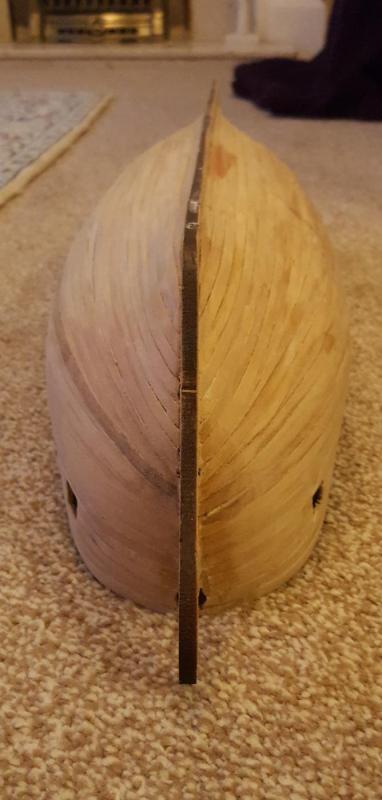
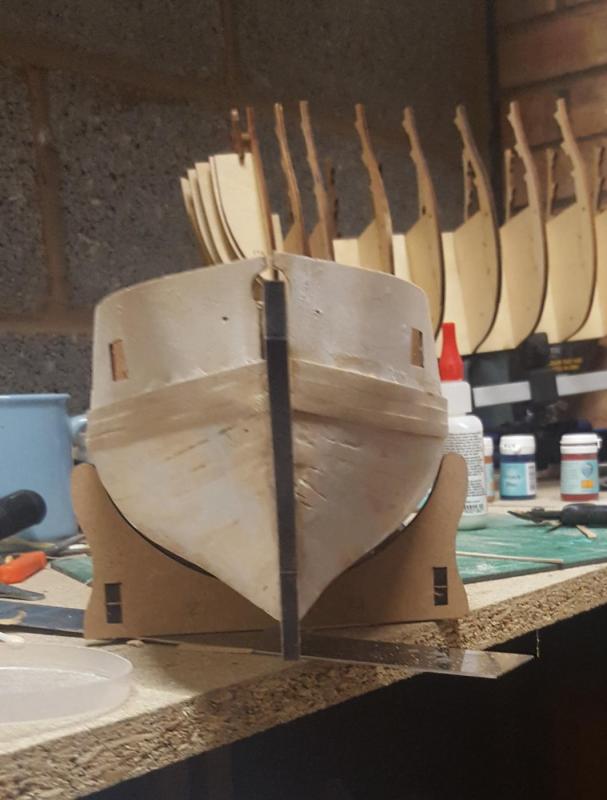
Build Index Hyperlink Work is progressing slowly on the second planking and I would expect to complete this task sometime in the next week or two ás I am taking my time. View from the Stern View from the Bow Side on View


-
I'm really looking forward to watching your progress on this build, welcome back to the shipyard.
-
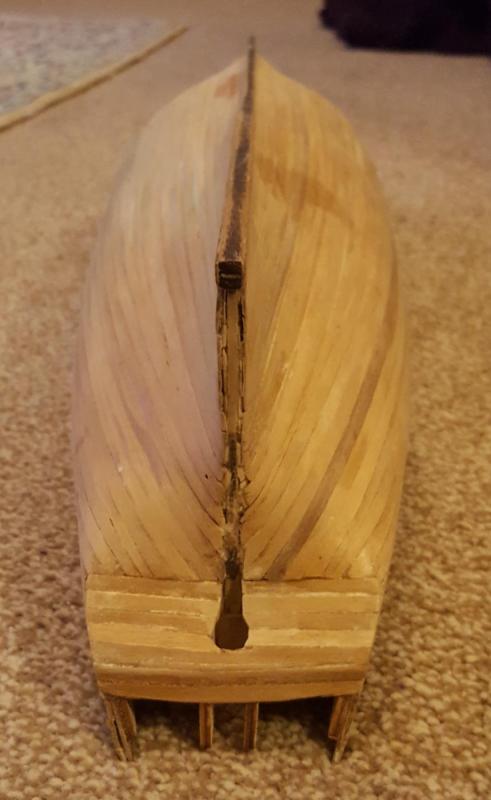
Build Index I have now finished the sanding (and filling) of the hull. I am really happy with the end result and the hull is now nice and smooth, and is ready to accept the second planking. I have also checked that the second planking will fit flush with the stern post and false keel. The stern counter has also been fitted without any problems. I have made a small rabbet slot for the second planking, it is not very deep but should help give a smooth edge to the second planking that terminates around the bow. I treated myself to a new tool, an electric plank bender and after giving it a test concluded it gives a much smoother bend compared with my manual plank bending tool. It is more time consuming however providing I put a few planks in to soak in warm water for approx. 30 mins prior to start the actual bending process it is relatively quick. My new tool I marked the position of the top of the wale on the hull and then started the second planking phase. Pictures of the first row of planking First three row of planks


-
Hello Jerry All is looking good, and I'm glad that you're back in the shipyard as I do enjoy watching your progress and workmanship. Work is progressing slowly on my HMS Pegasus build but I'm happy to take my time this time around. I plan start the second planking tomorrow. My DeAgostini Victory build is also moving along and I'm waiting for delivery of this month subscription before moving on with the main ship build. I'm part way through the build of the launch, just waiting for delivery of a primer / filler before moving this small build forward. Have a great day Glenn
-
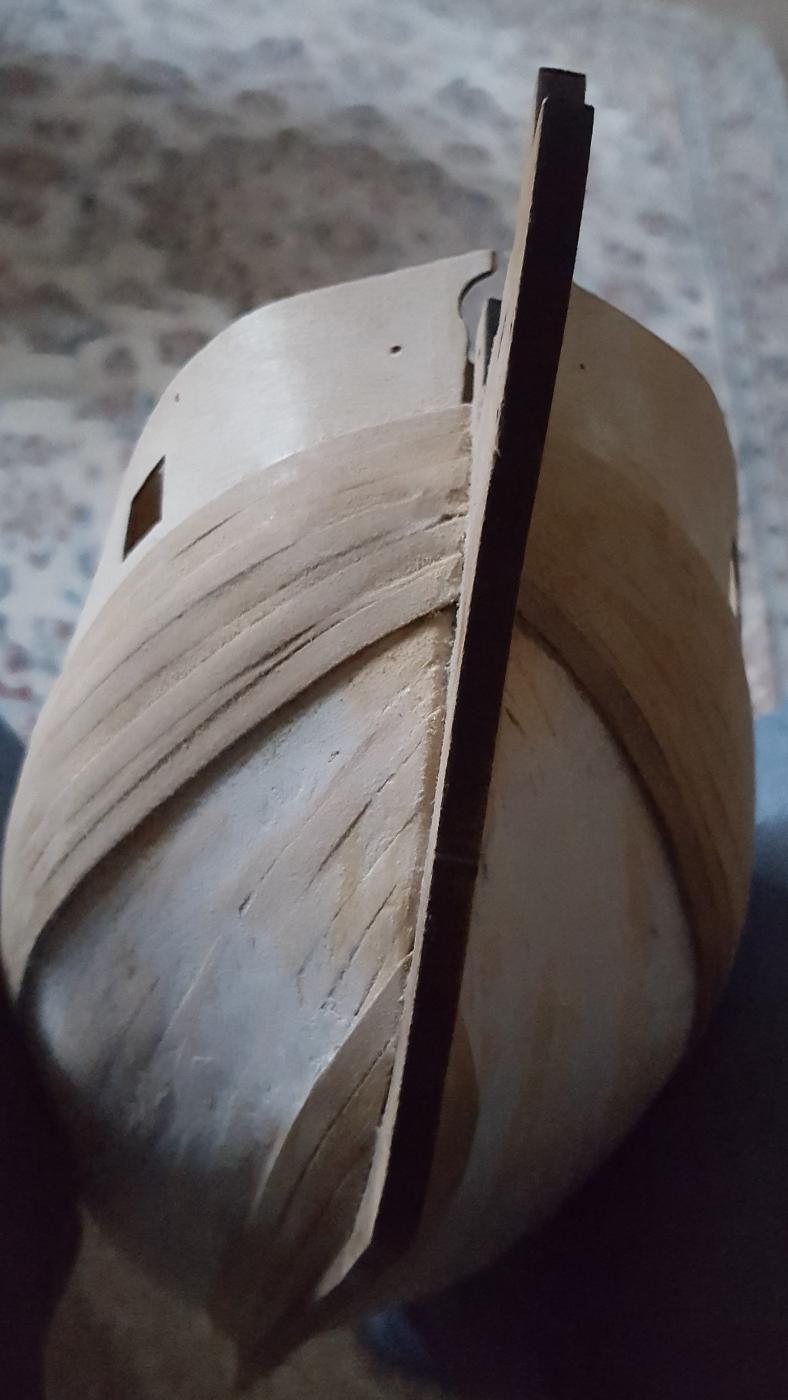
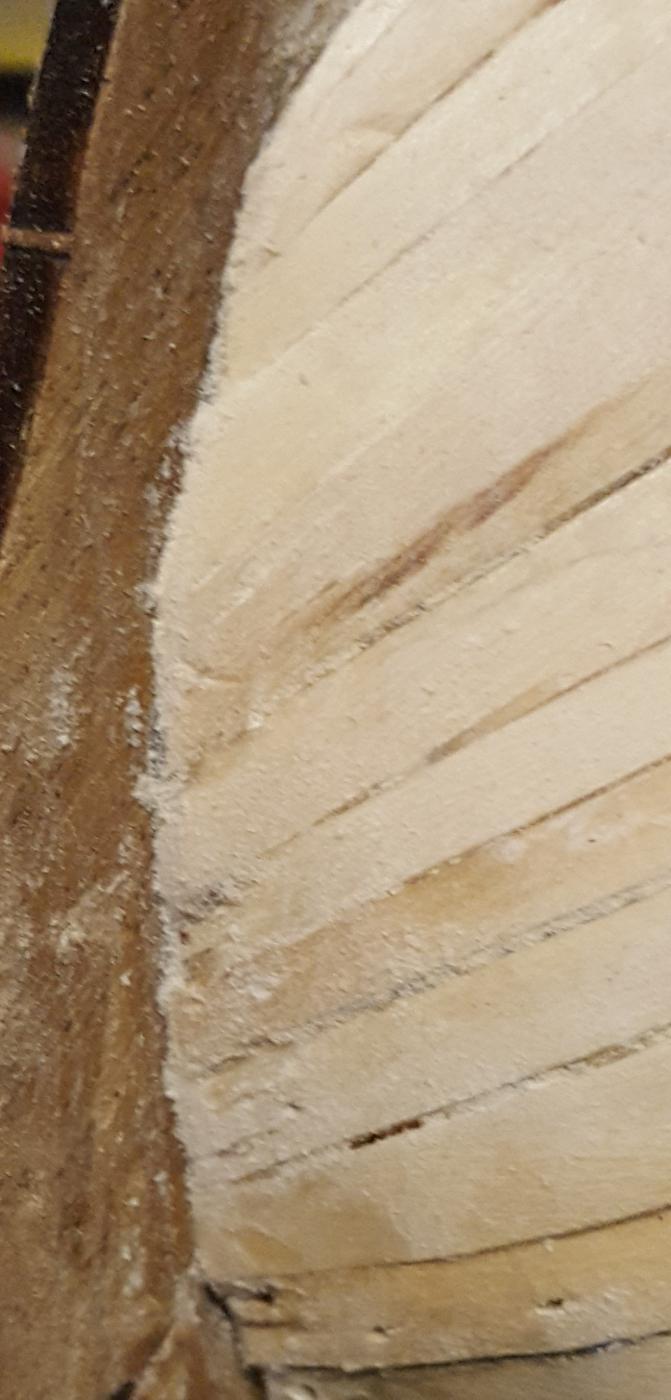
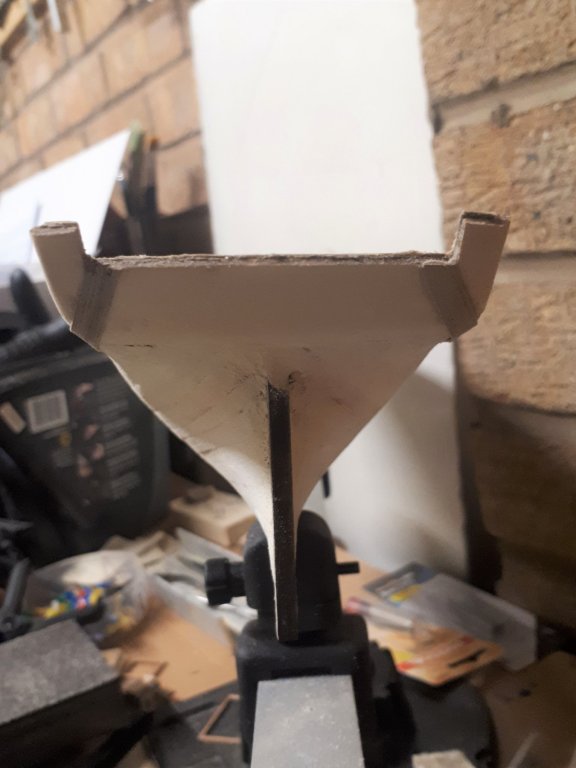
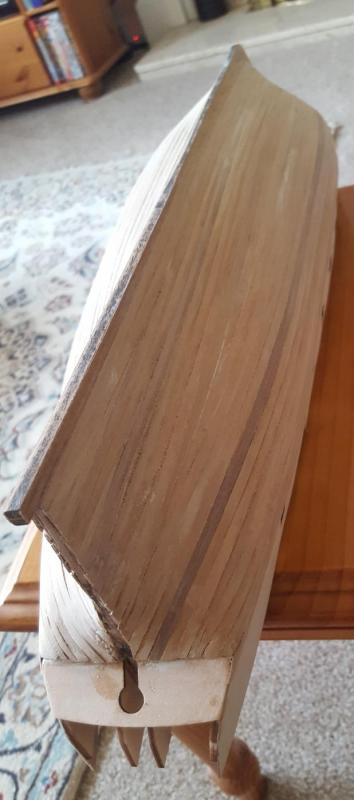
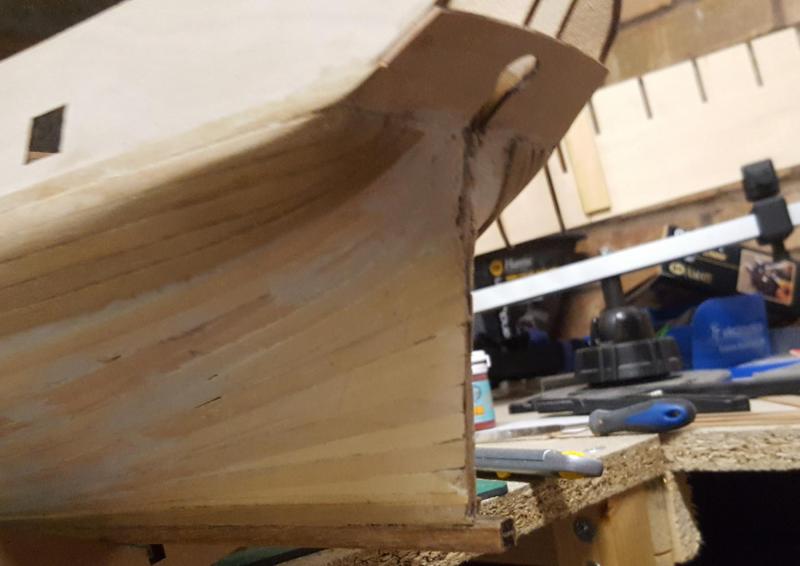
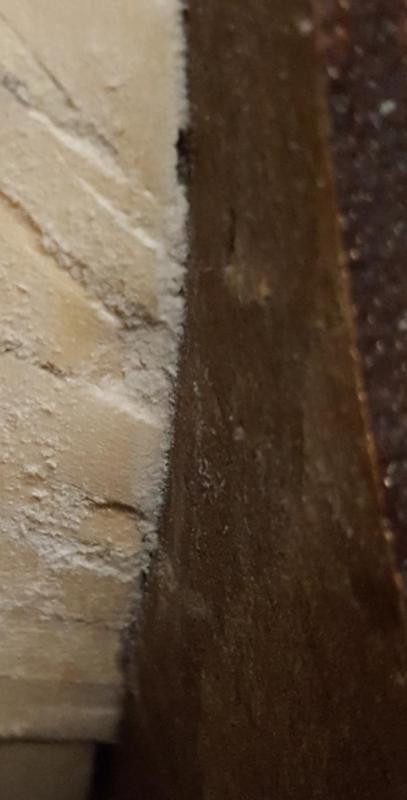
Hello Spyglass It may not be clear from the pictures but I did cut a rabbet for the first planking which certainly me helped secure the planking around the bow, please have a look on page 1 of my build log for details. I will probably extend rabbet for the second planking around the upper bow area since most of the lower hull will be covered with copper tiles (I had to fit over 3500 tiles on my Victory build!) Hopefully this pictures show the 1st planking secured in the rabbet. This one shows a very small area of the rabbet where part of the plank was fitted tad short in error . I did also reduce the width around the stern accordance with the build instructions (also as shown on page 1 of my build log) which were checked with my vernier gauge however, as you have noted, the 1st planking still requires a tad more sanding around the keel to ensure the 2nd planking will sit flush with the stern post and stern false keel. I have done a bit more sanding in that area today.

-
Great work and I will follow with great interest as I'm in the early stages of my Pegasus build
- 64 replies
-
- 1
-

-
- pegasus
- victory models
- (and 1 more)
-
Hello Doug I've just found your build log and it looks like your are doing a really nice job of your build. I will follow your build with interest as you are a bit further on than me with my HMS Pegasus build (just finished the 1st planking). Glenn
-
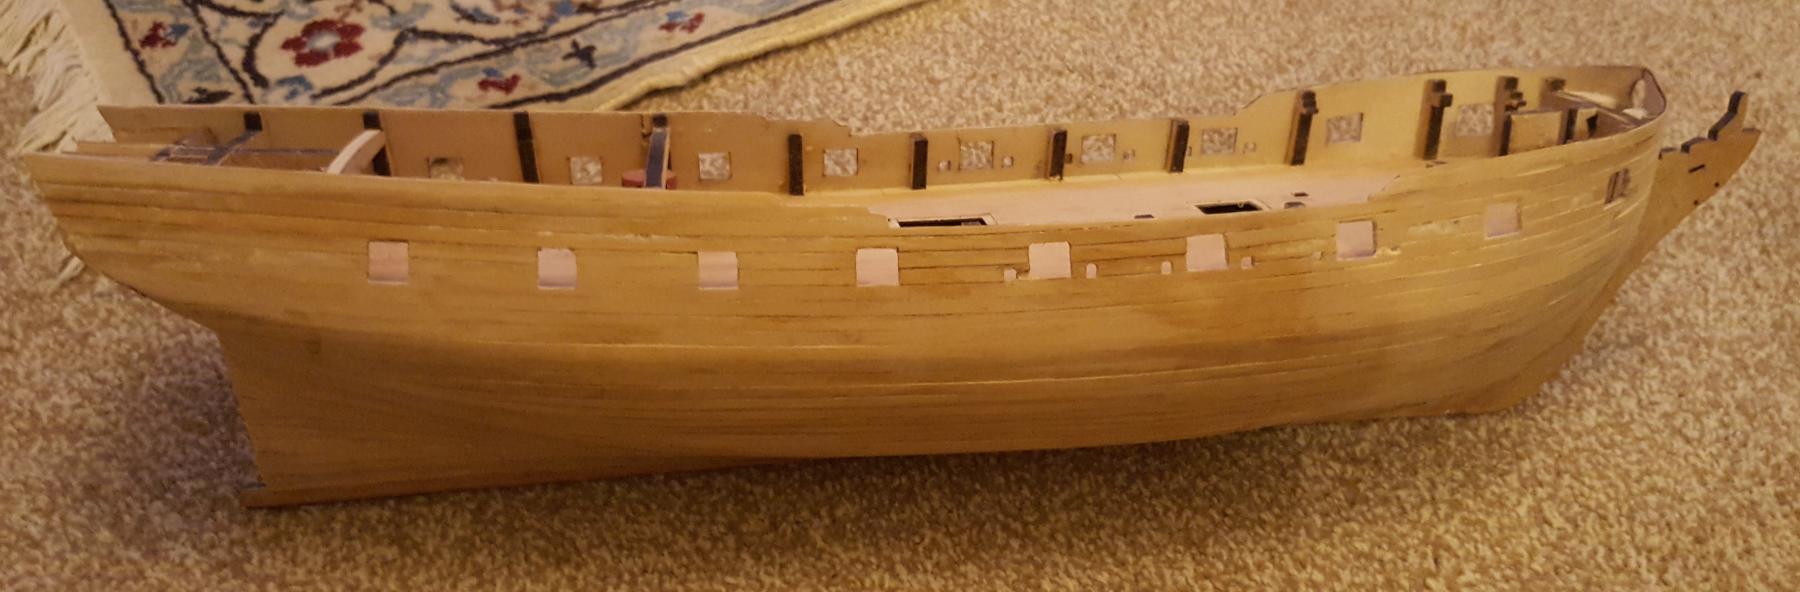
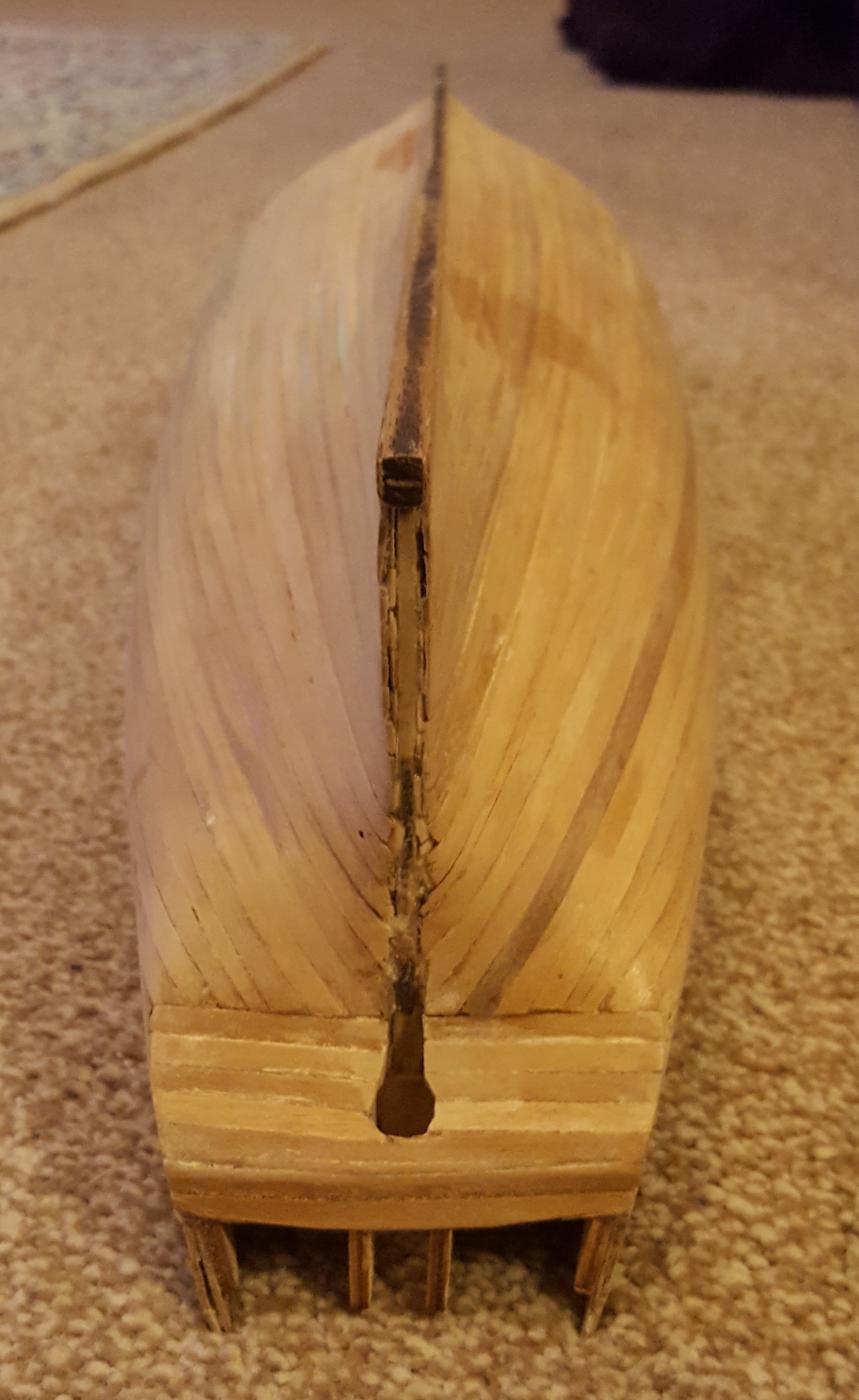
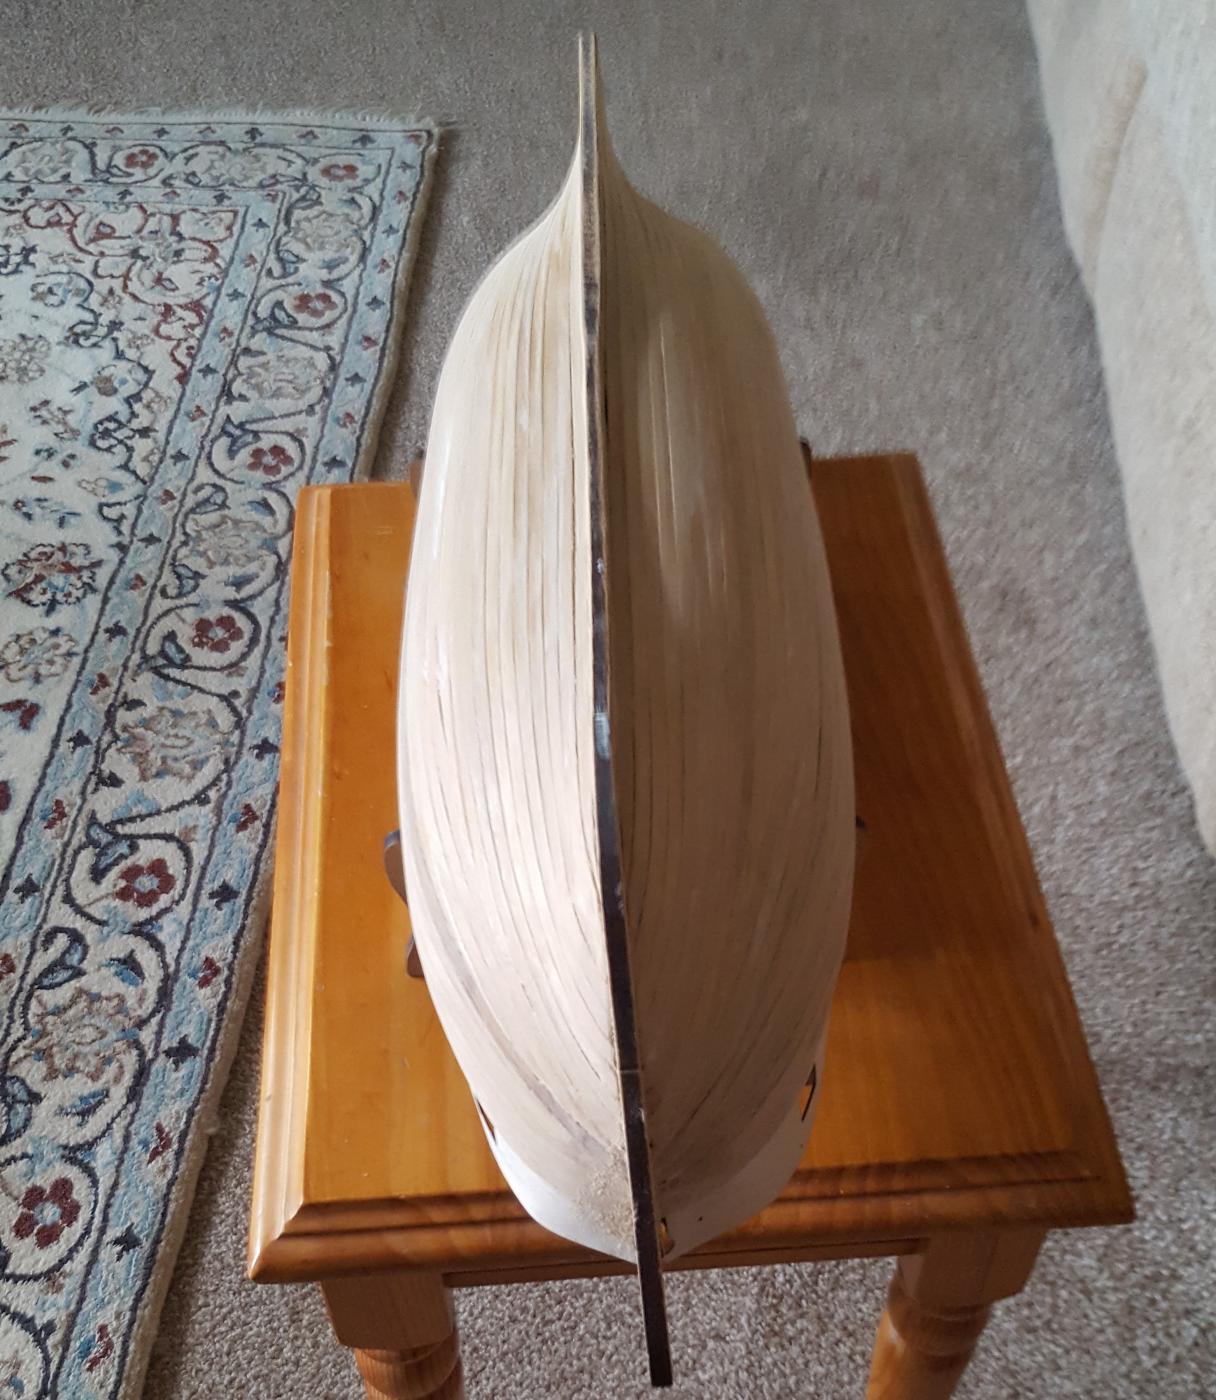
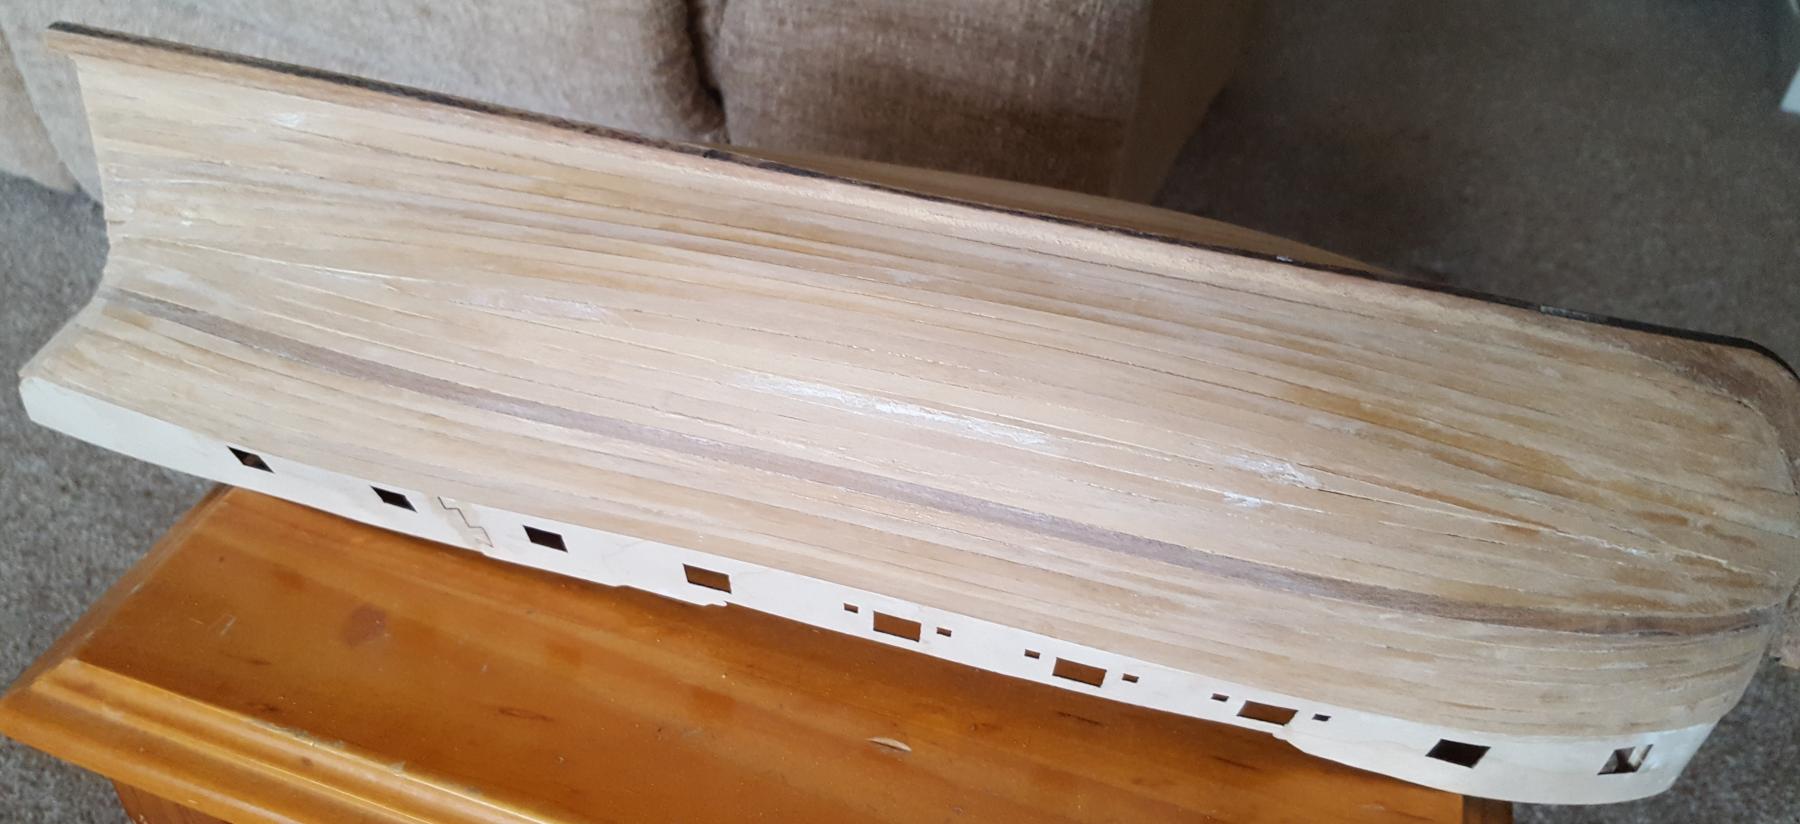
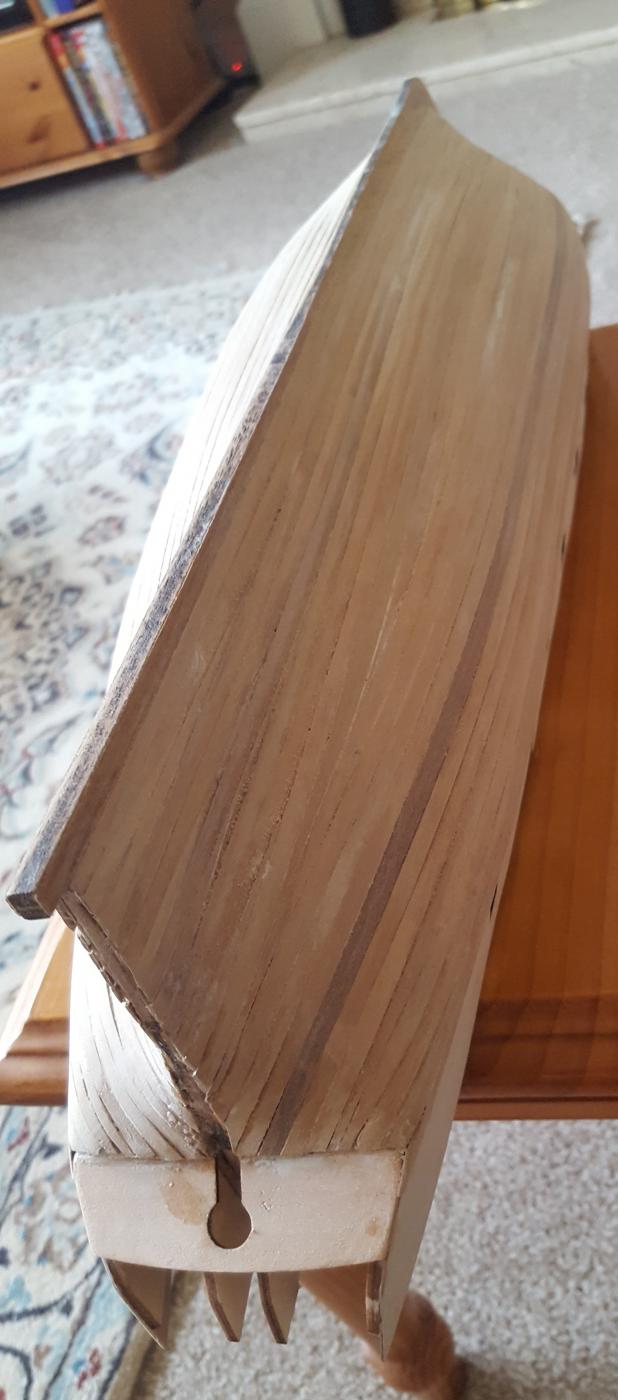
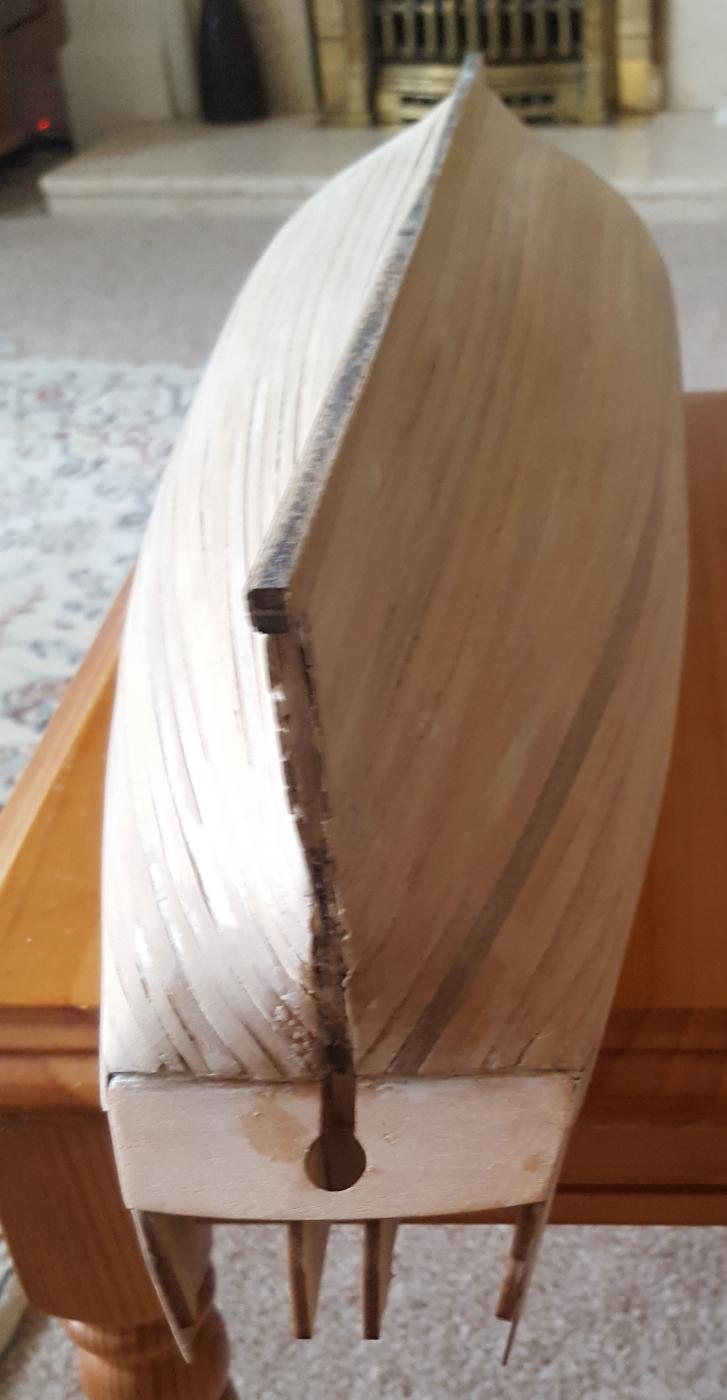
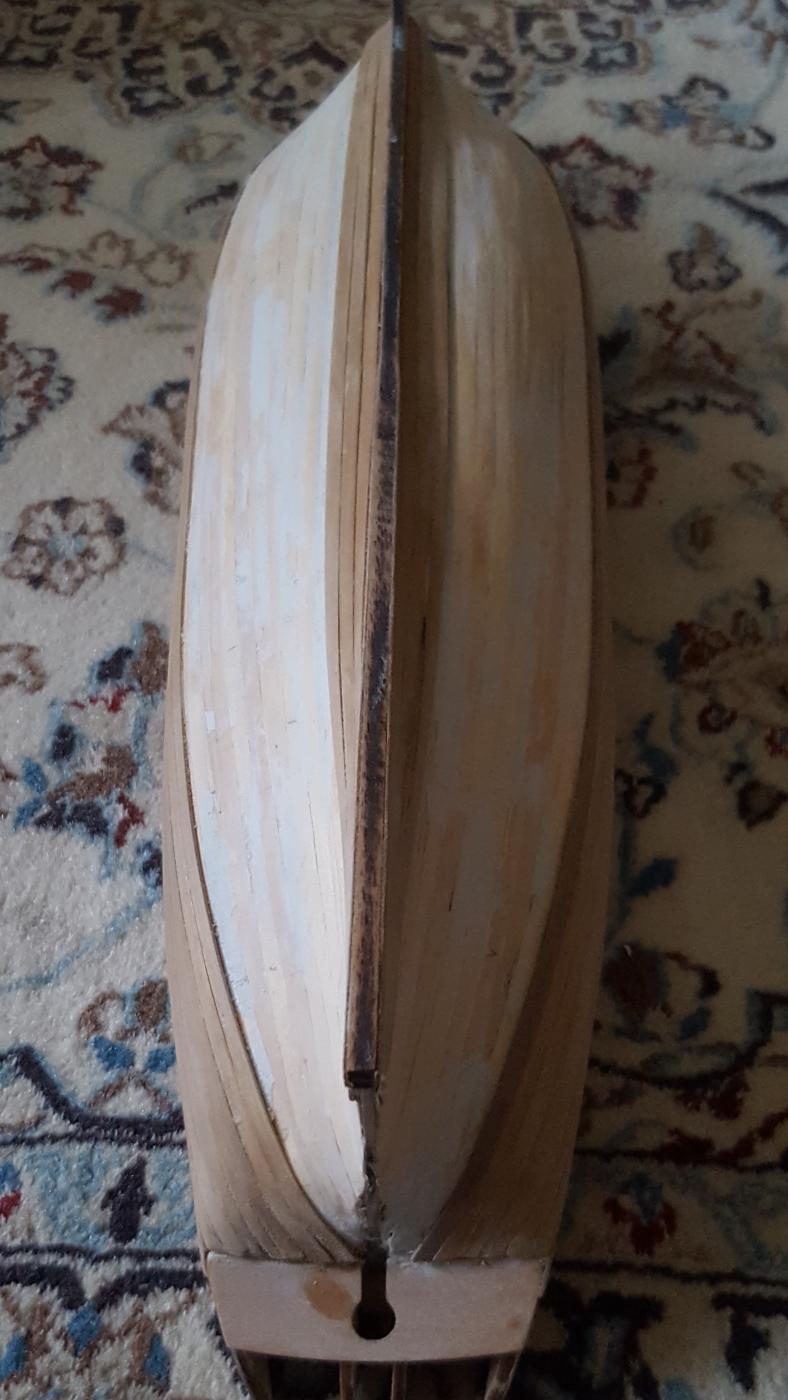
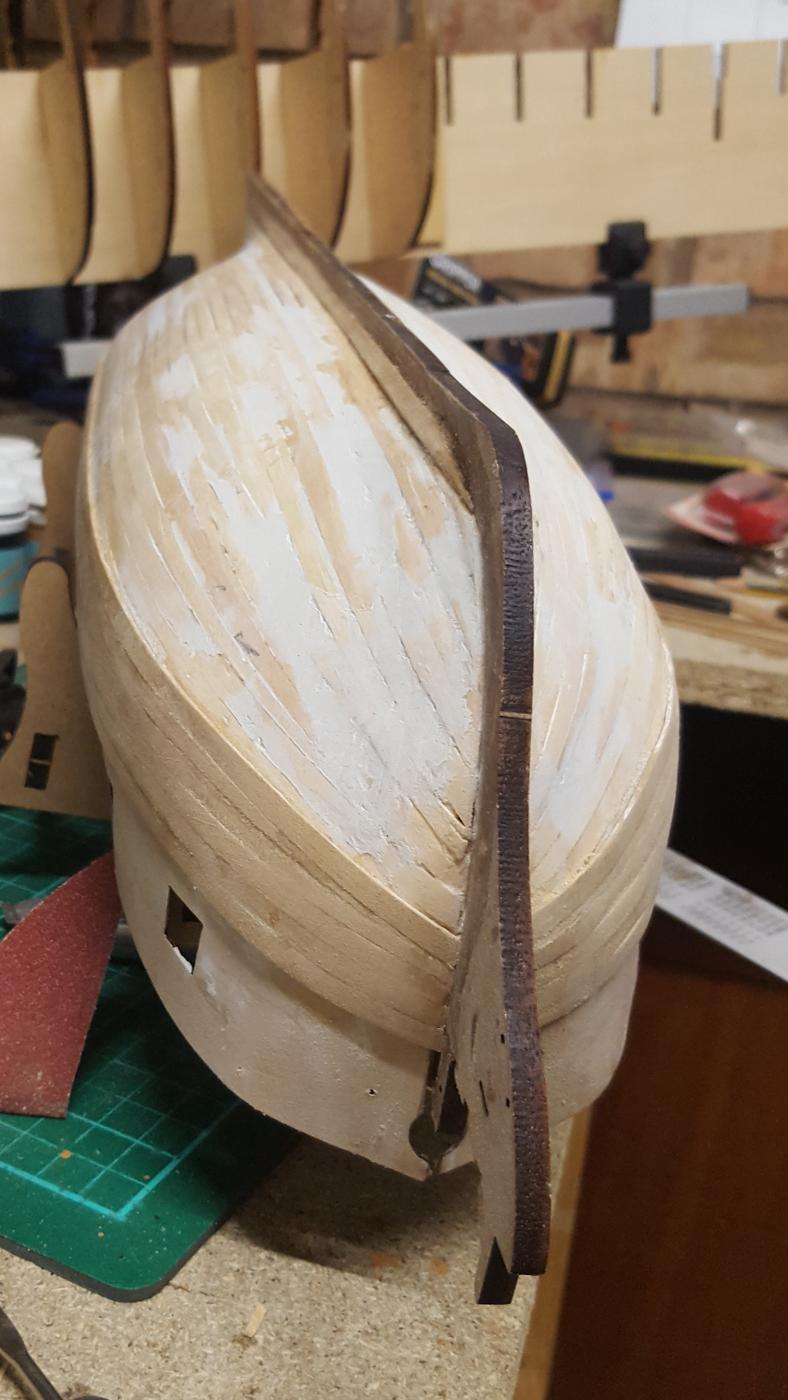
Build Log Index I have finally finished the first planking and I'm reasonably happy with the end result. It's not perfect but its more than good enough to accept the second planking. I have also completed the initial sanding and the hull is now quite smooth, however there are still a couple of small areas to be filled and sanded before I'm ready to start the second planking. I'm just waiting for a delivery of some squadron white putty to complete this activity. Here are some pictures


-
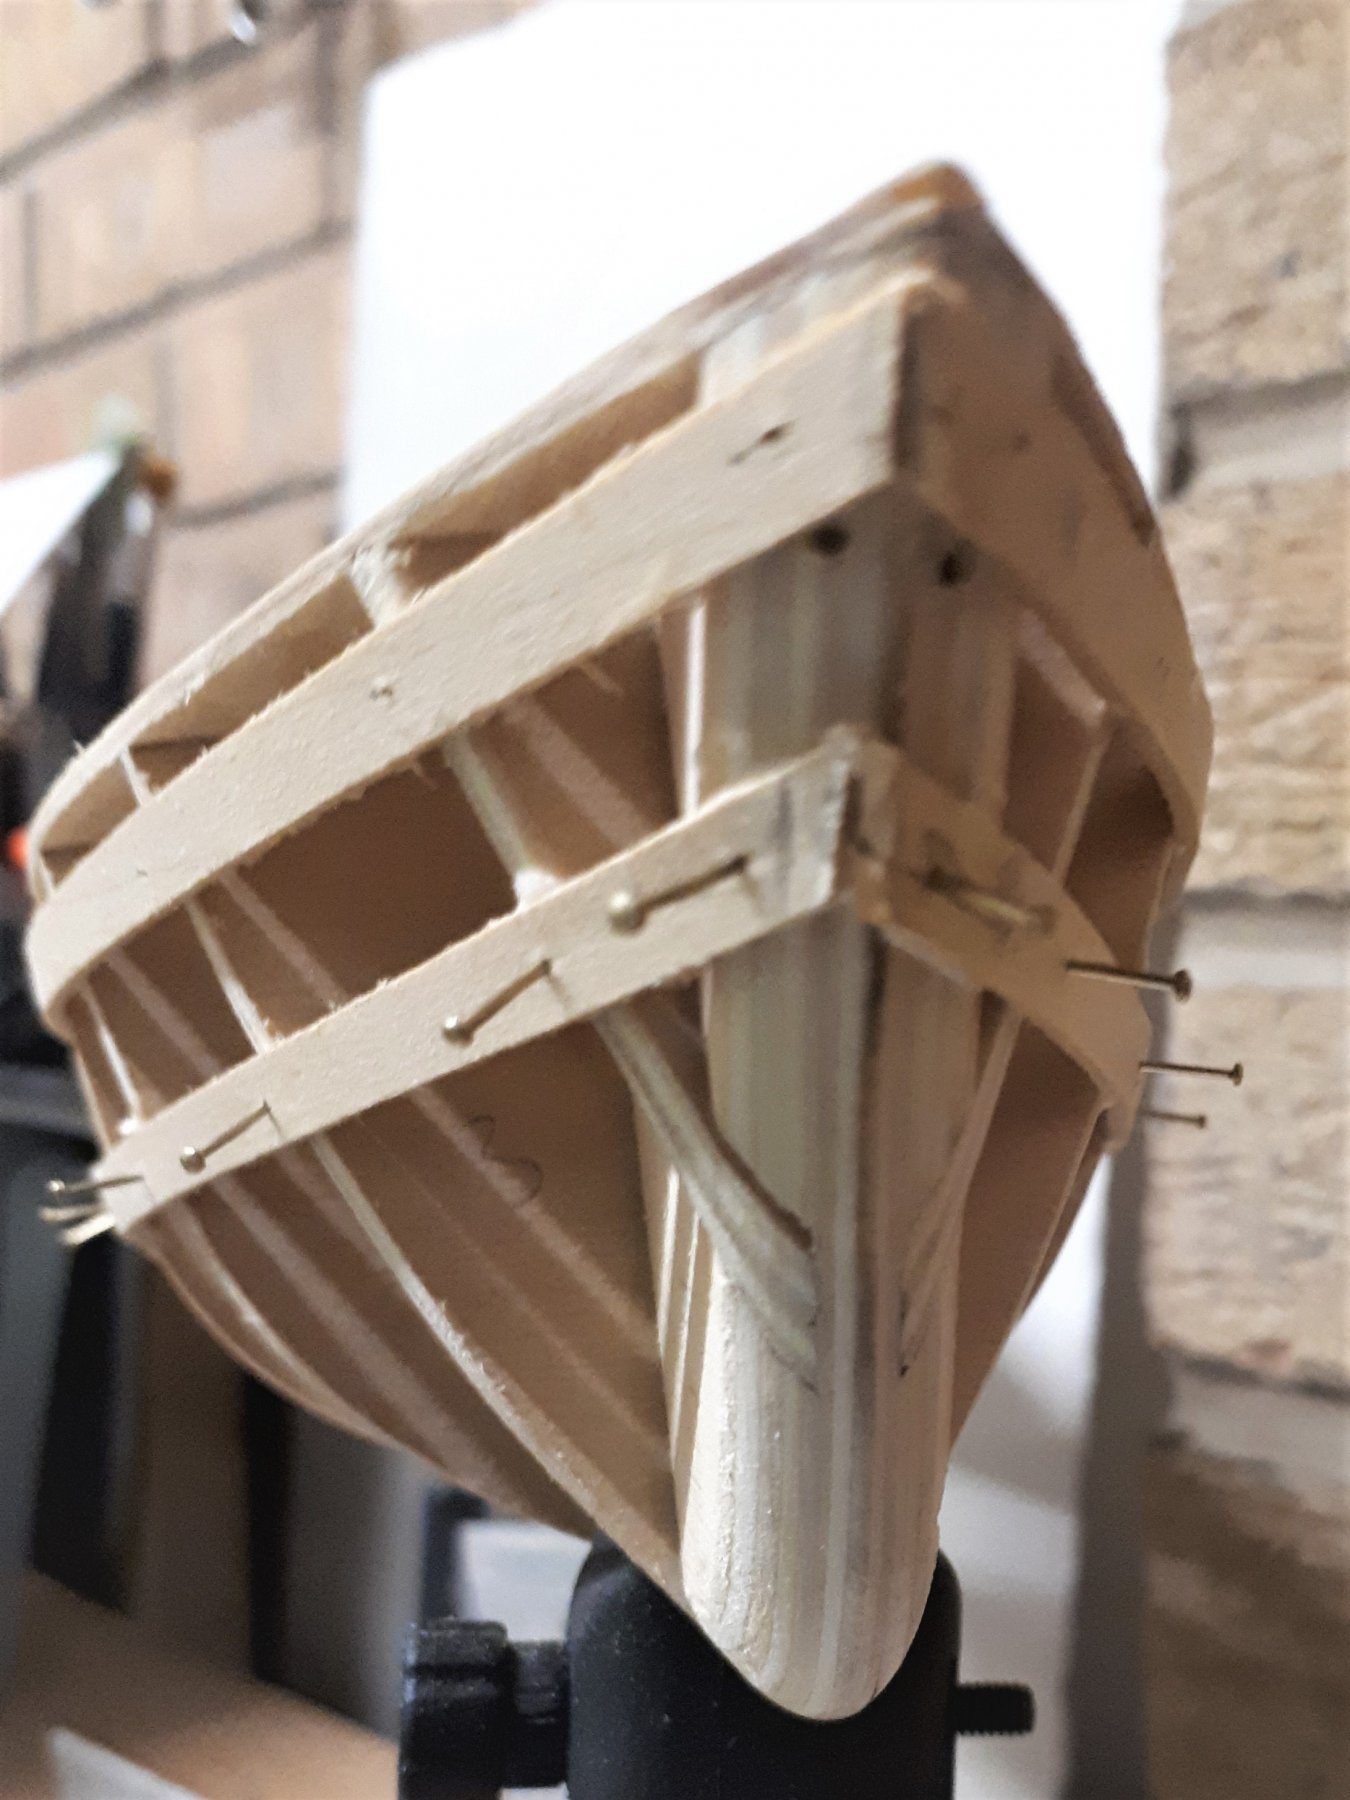
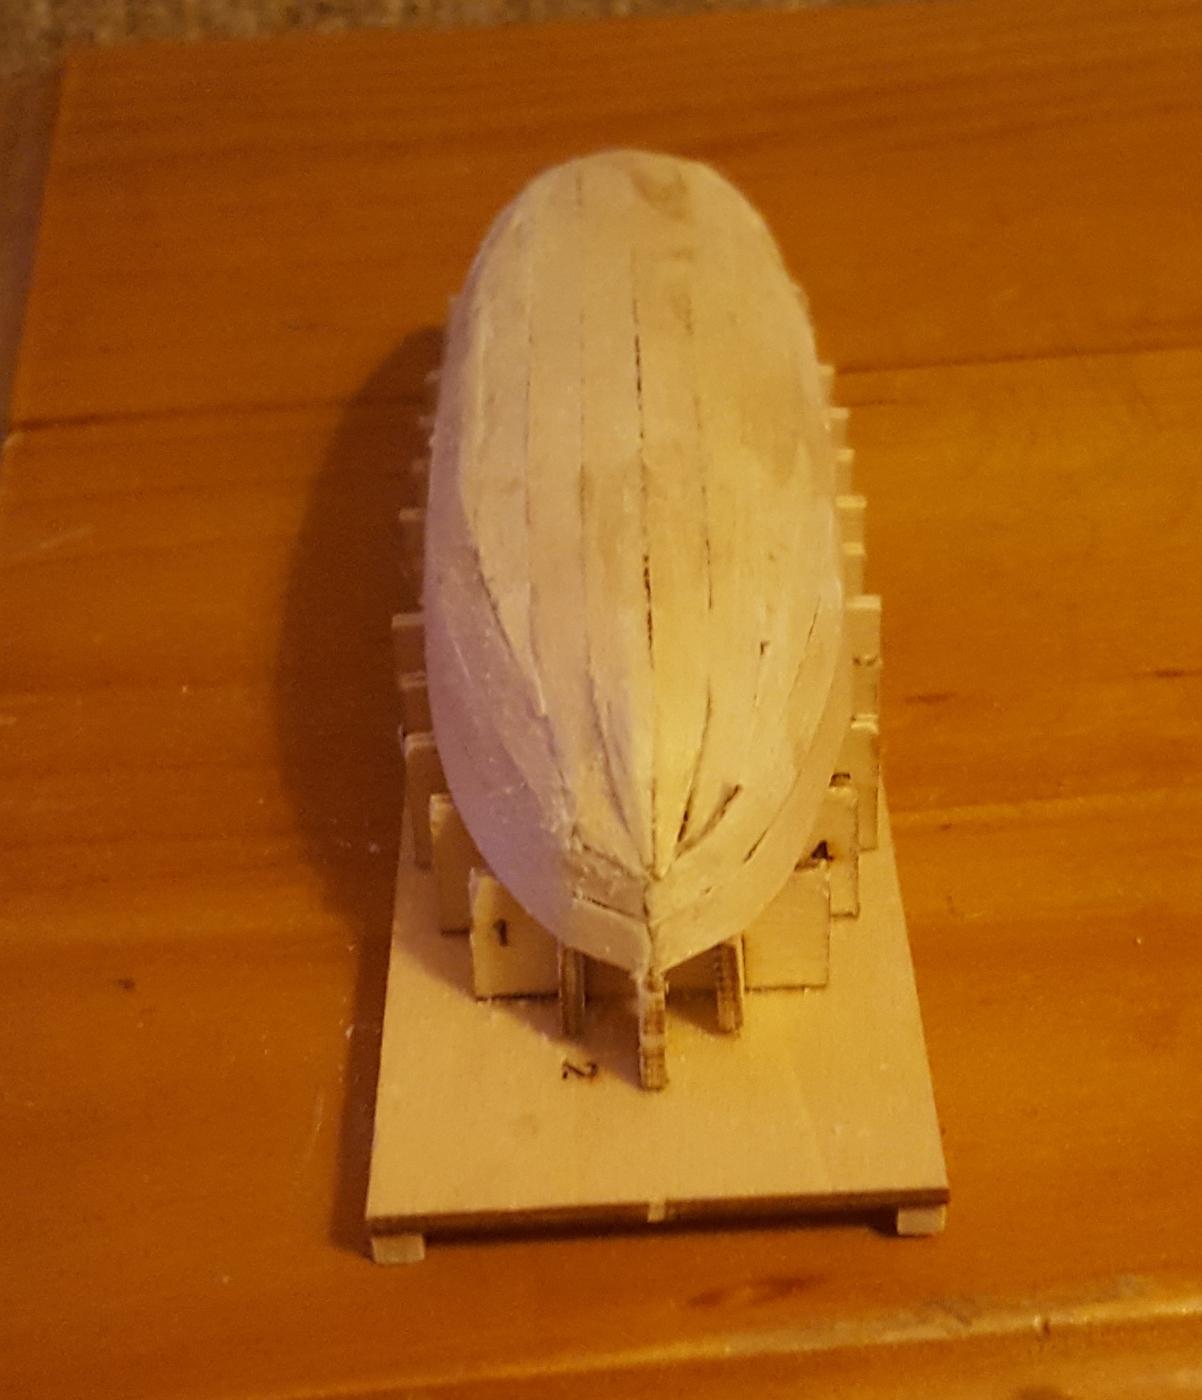
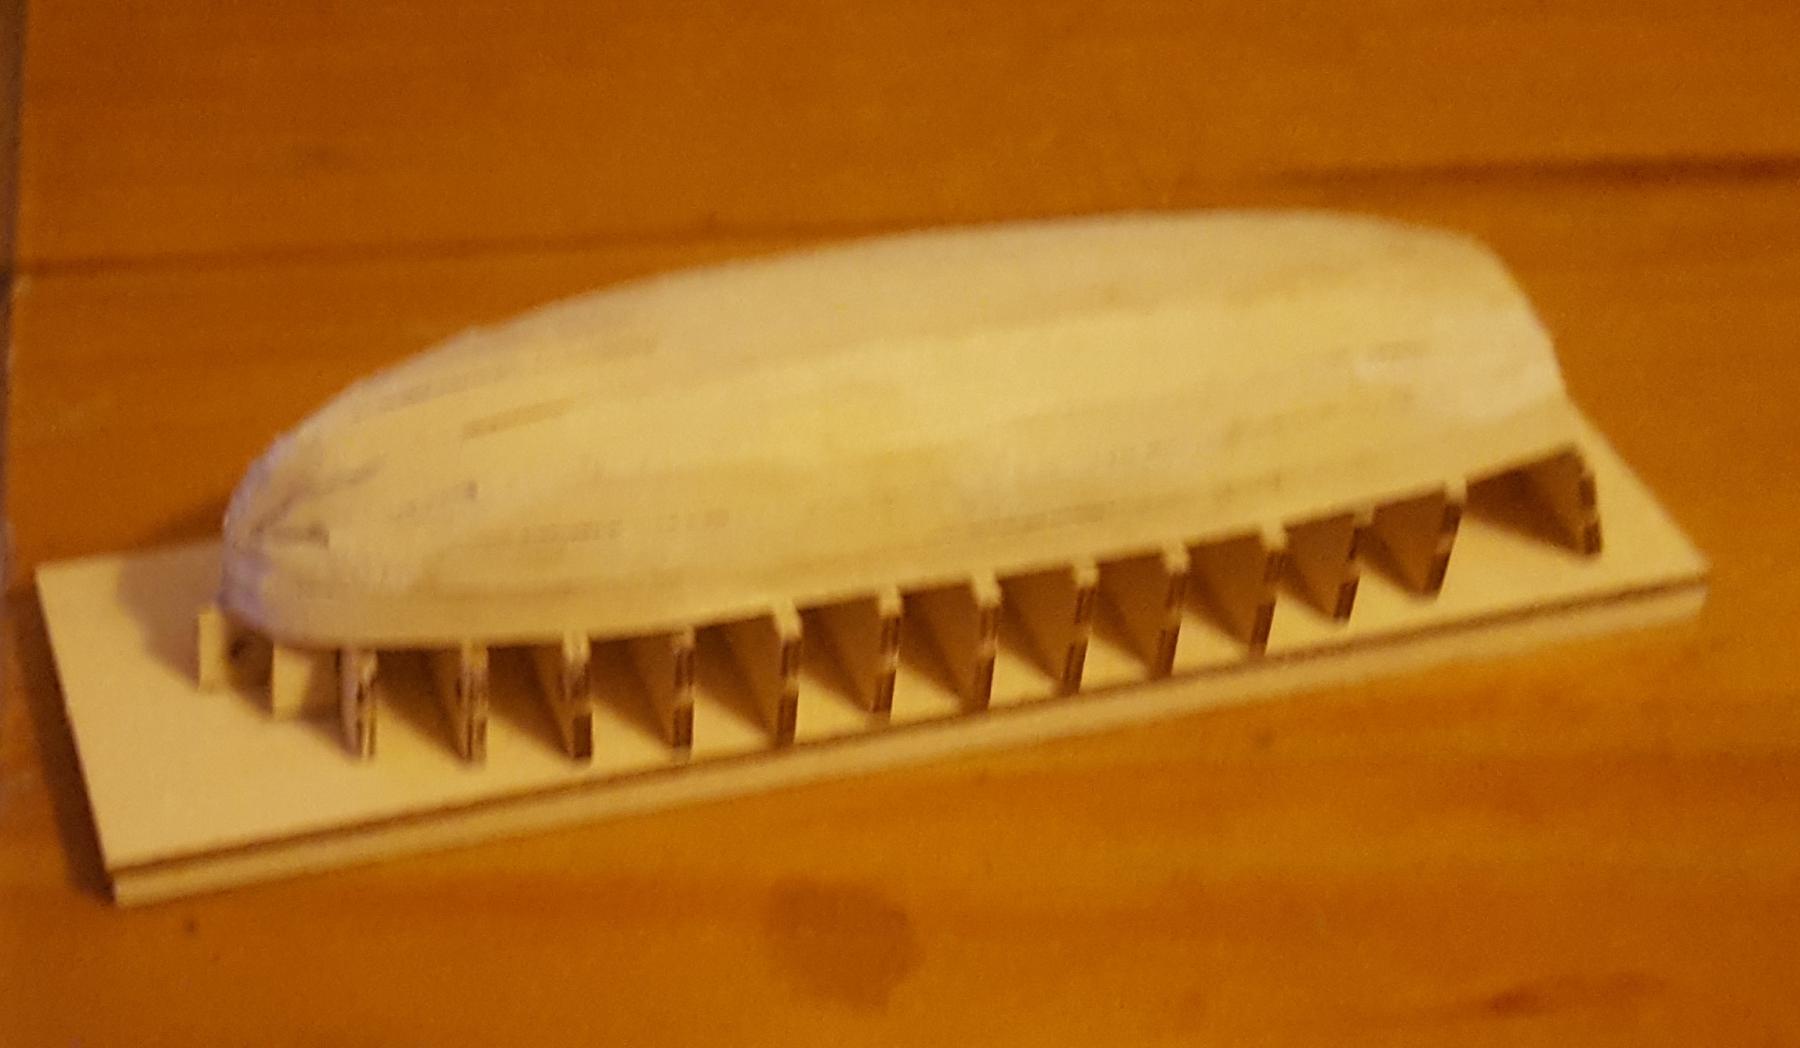
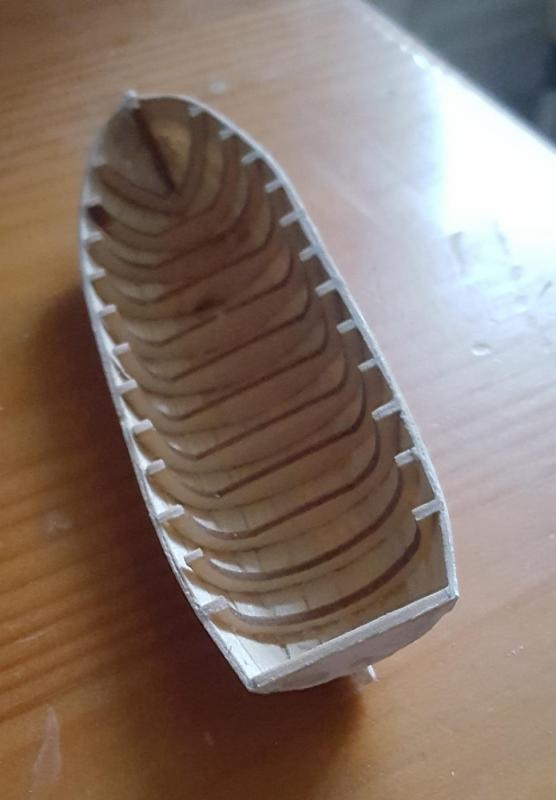
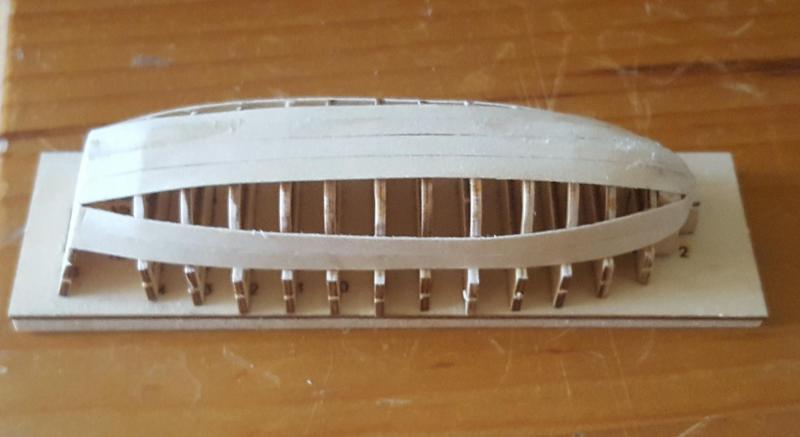
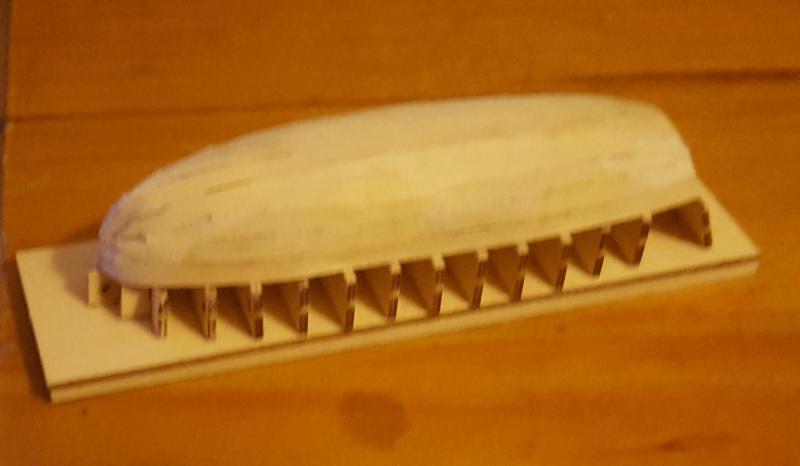
Spent today planking the launch. It was reasonably easy, and I found it best to use CA glue. I started with two planks at the top, and added two planks from the keel The hull is now ready for sanding. Before I start the sanding process I intend to mix some watered down wood glue with planking sawdust to fill in the gaps. I have also ordered Mr. Primer Surfacer 1000 which I will use to prime the hull before painting.


-
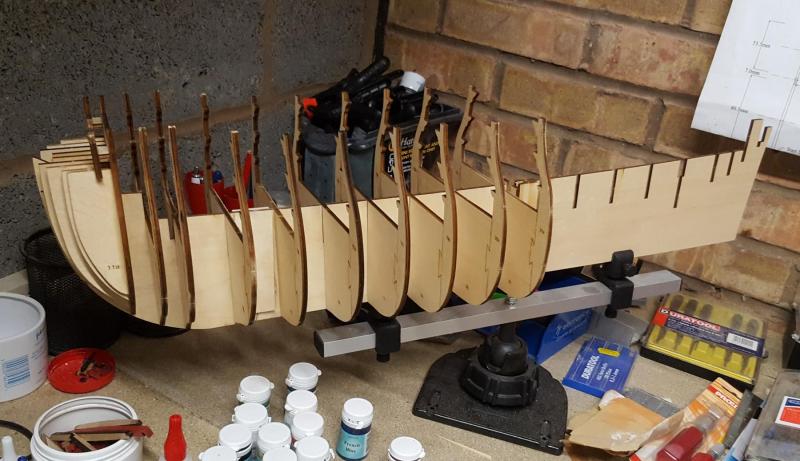
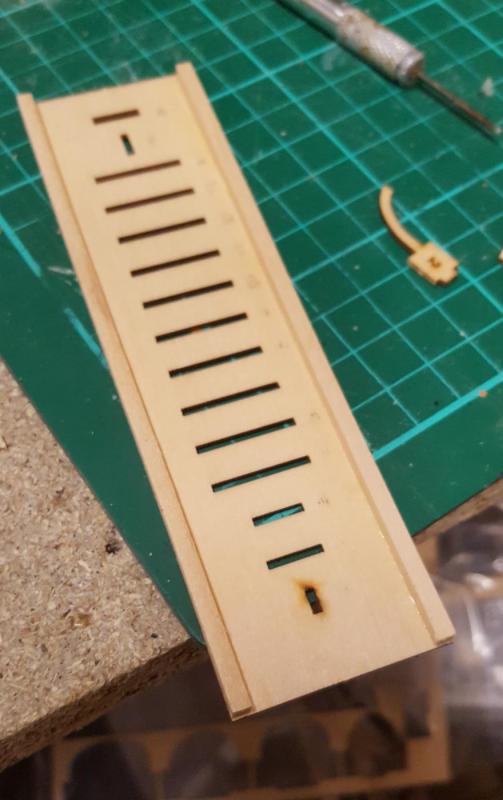
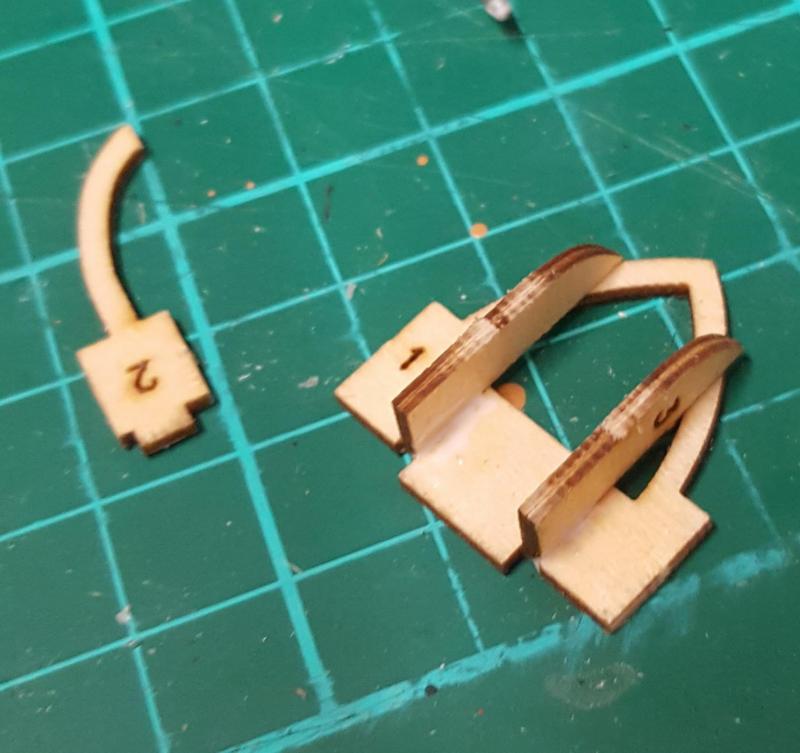
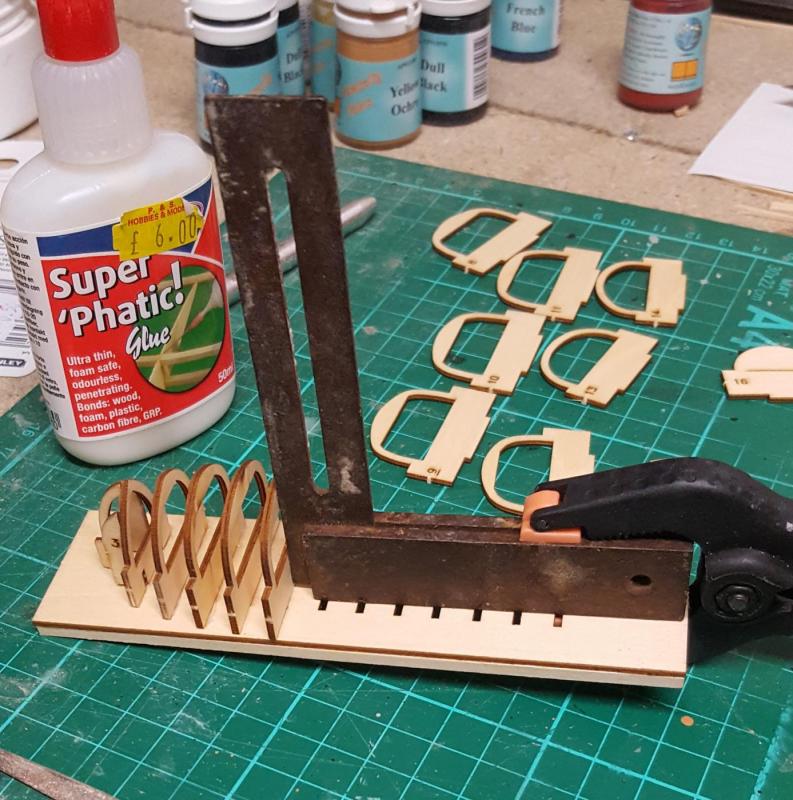
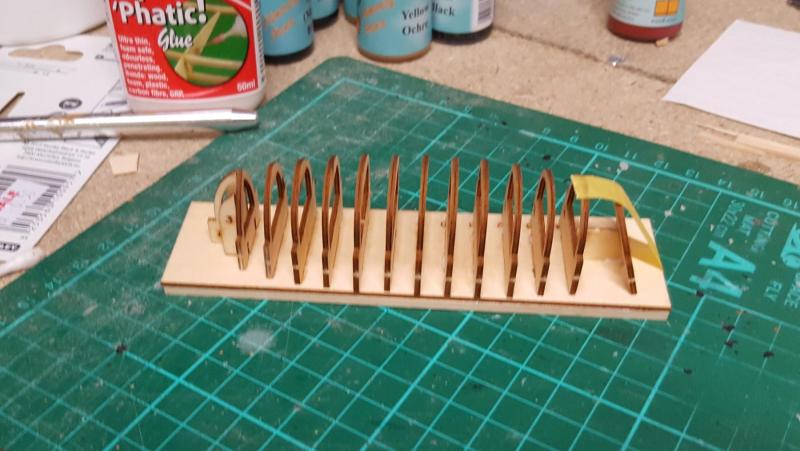
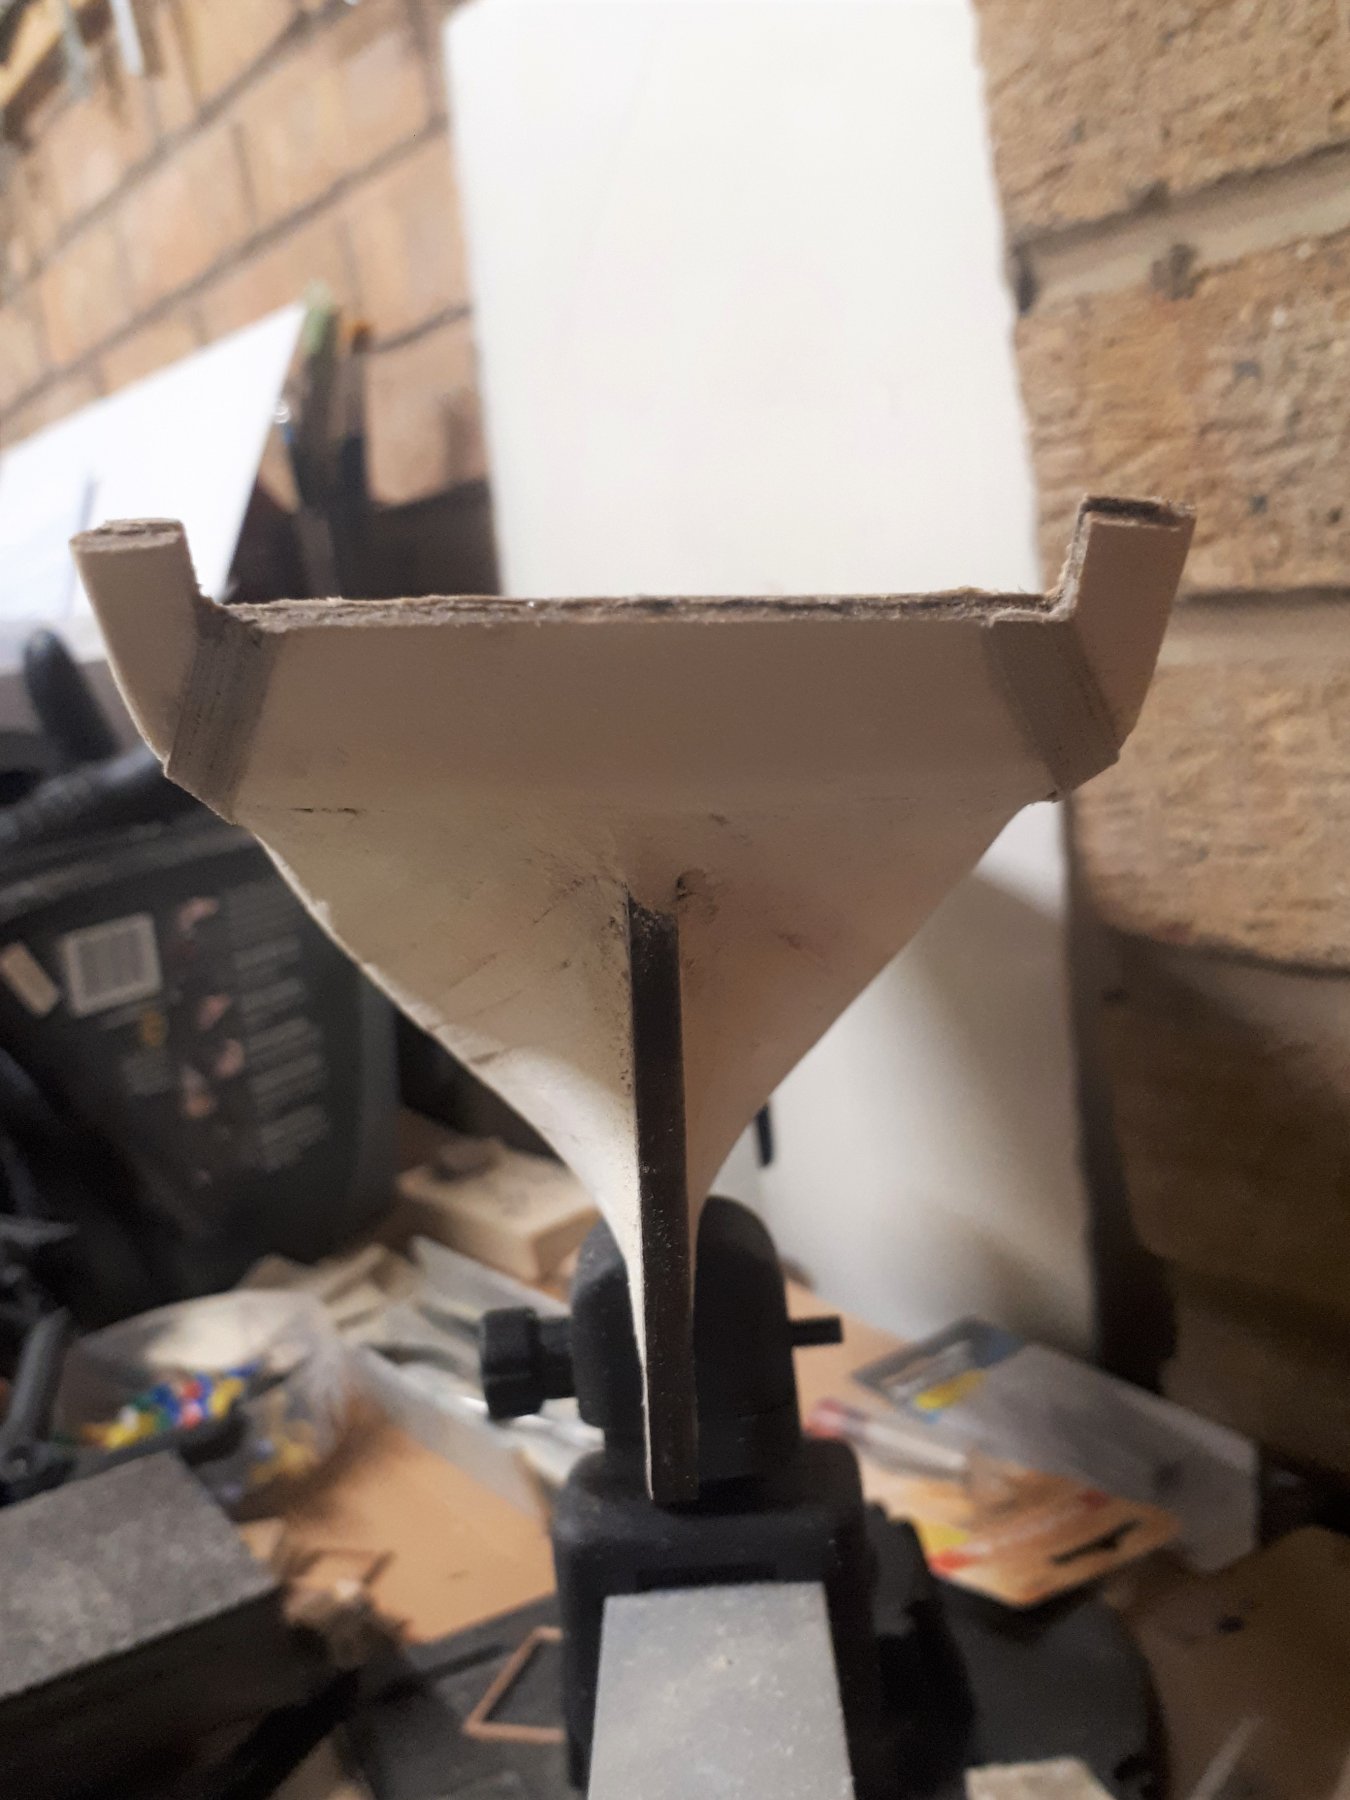
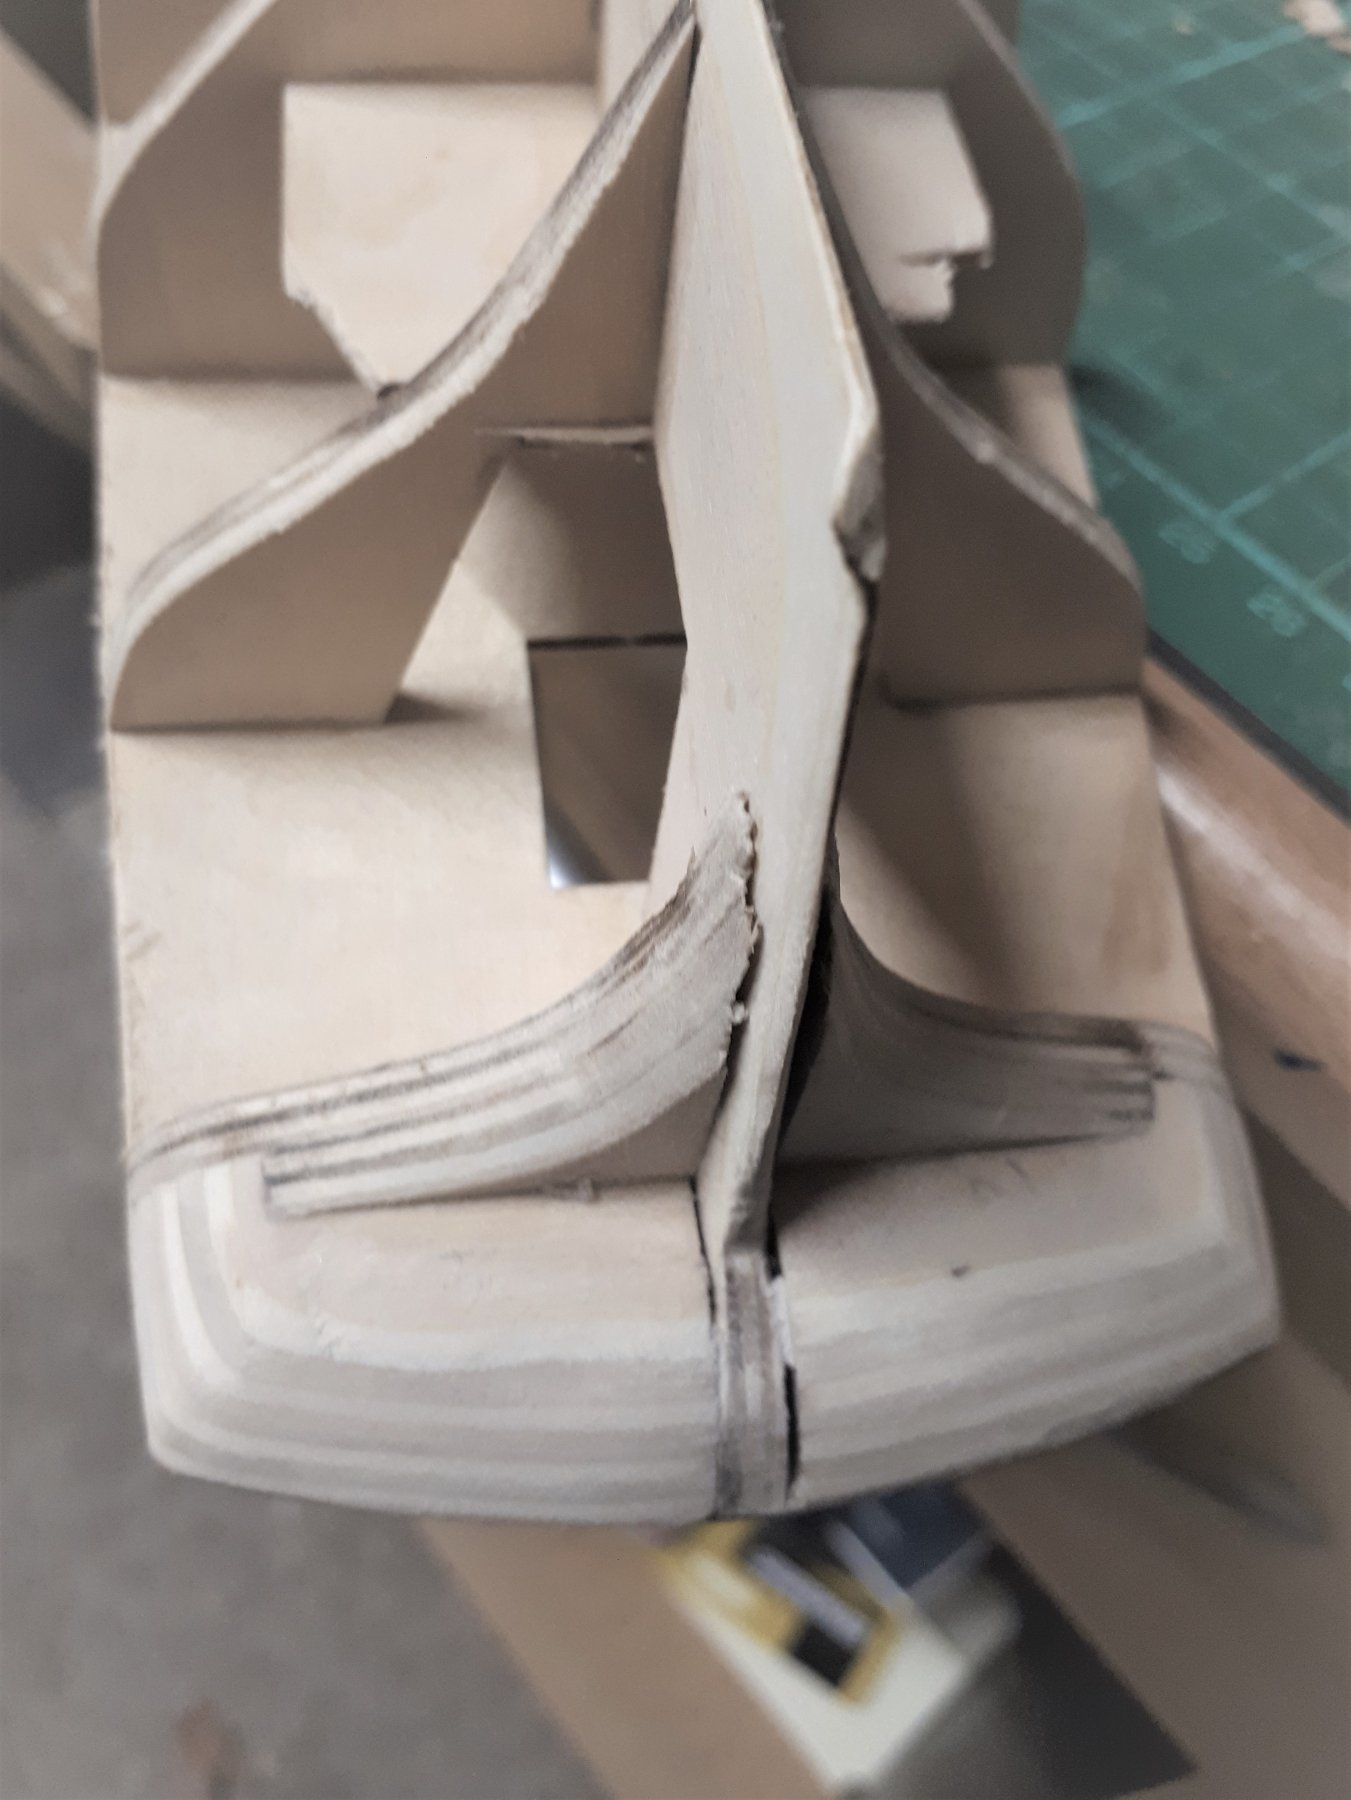
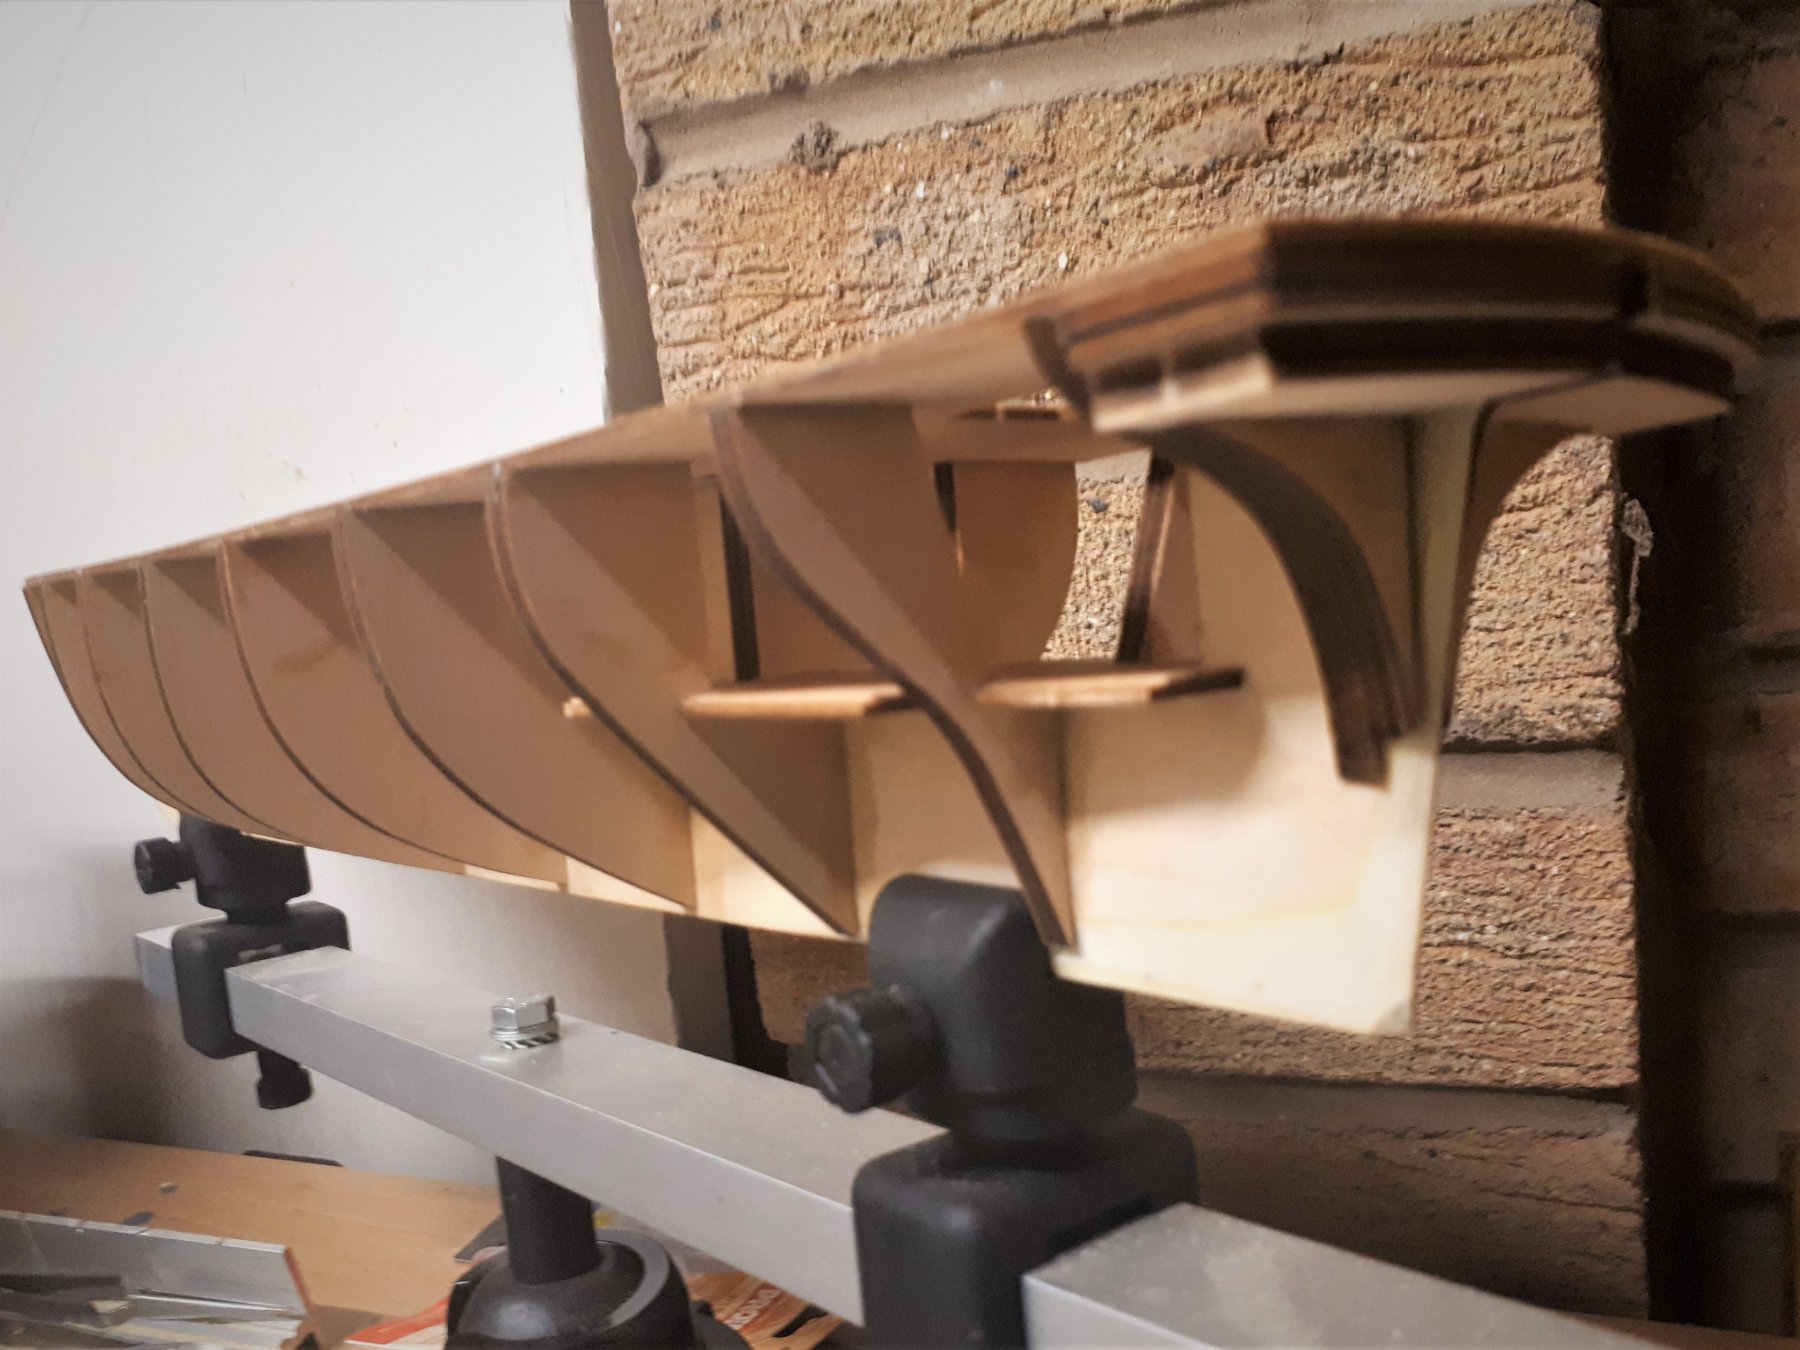
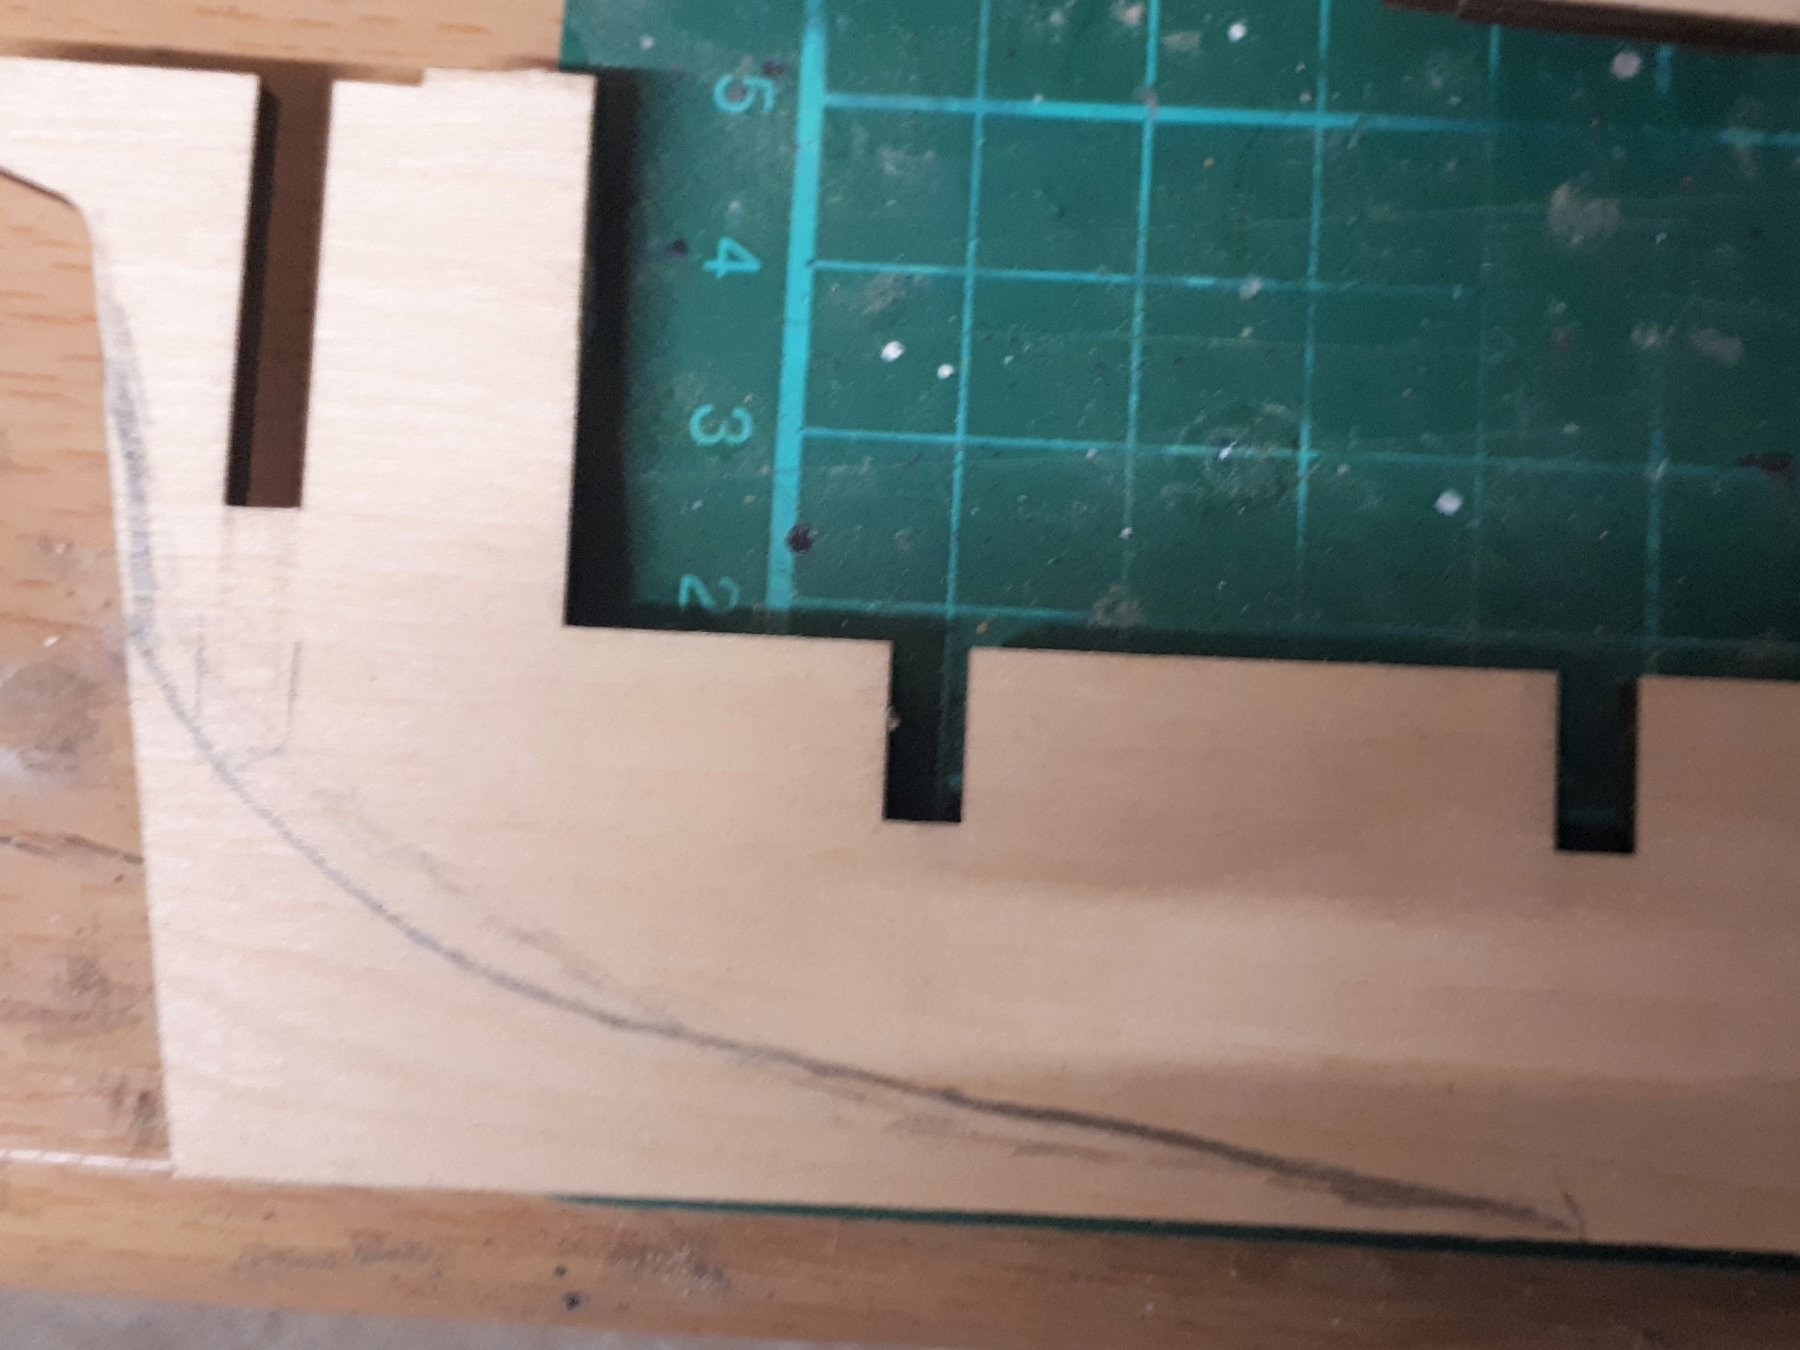
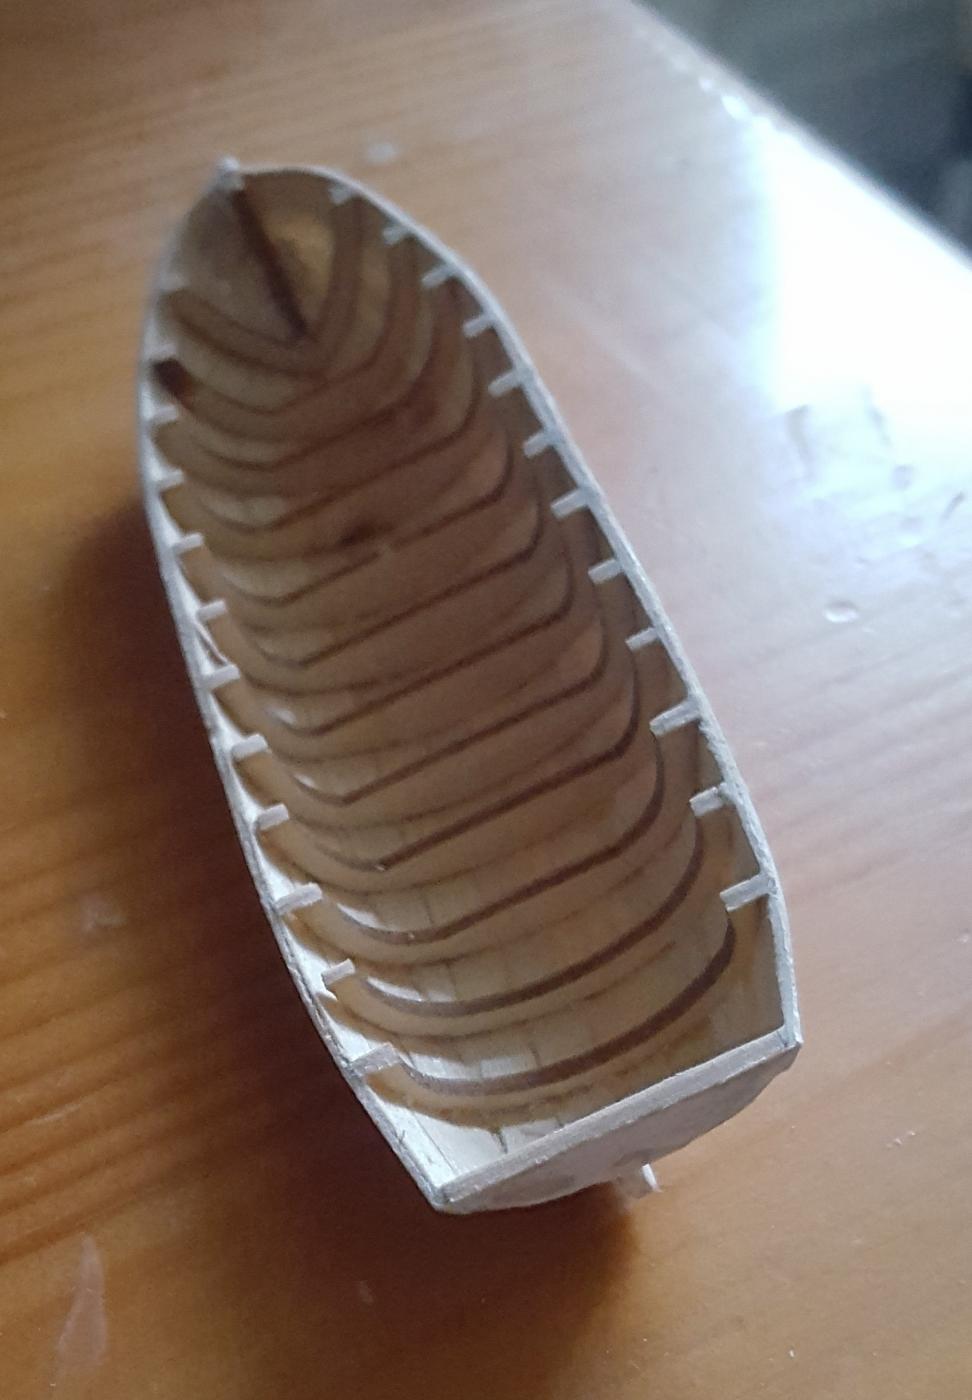
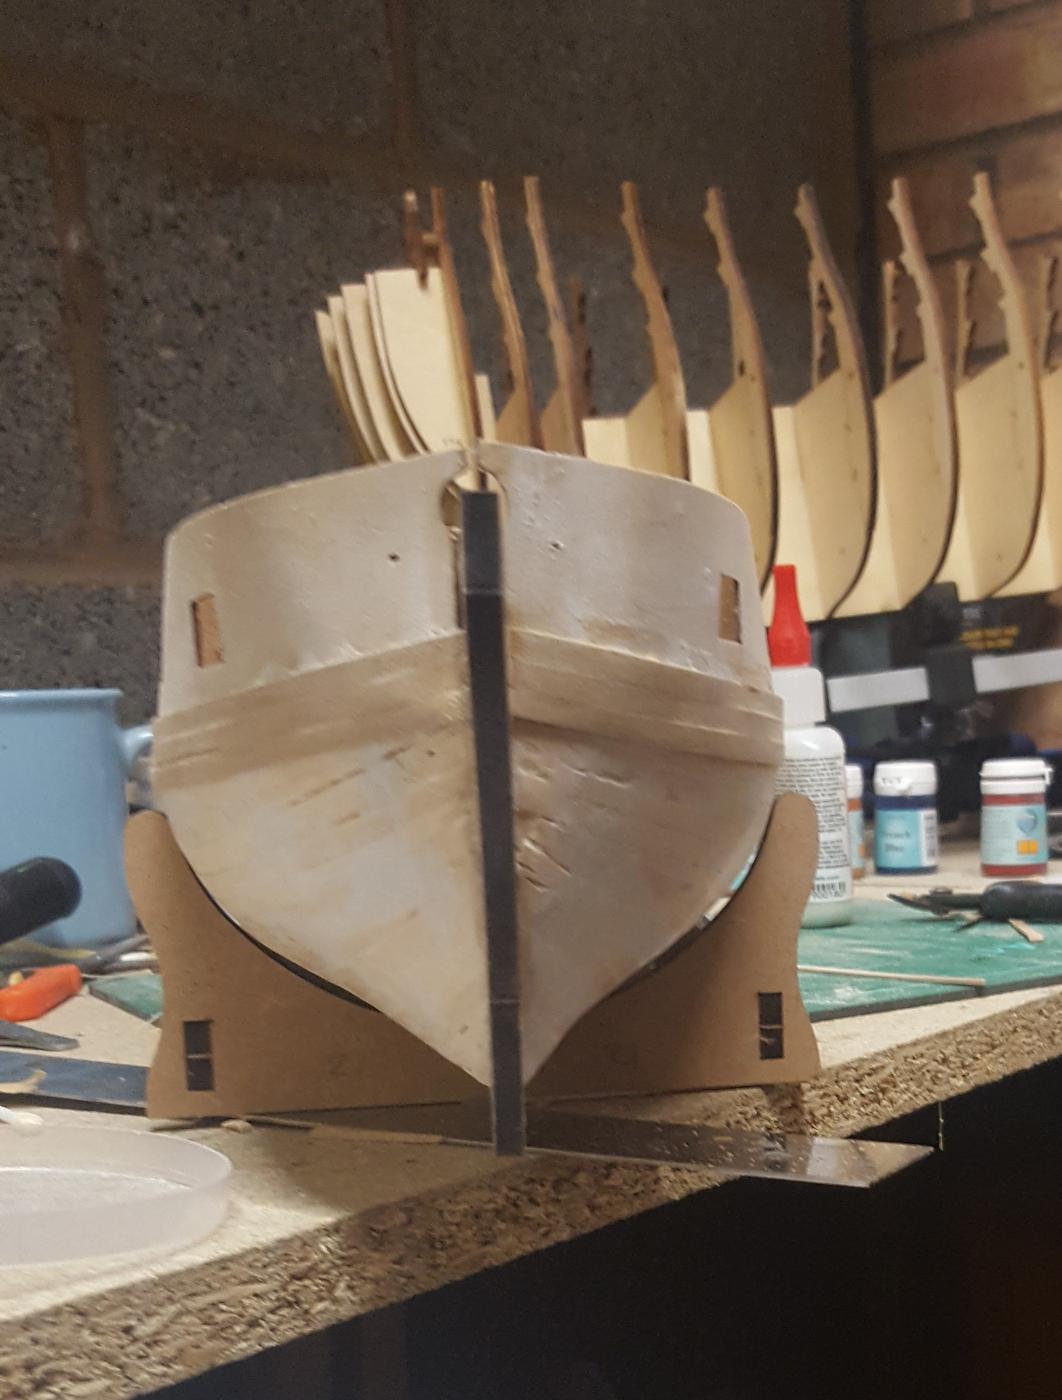
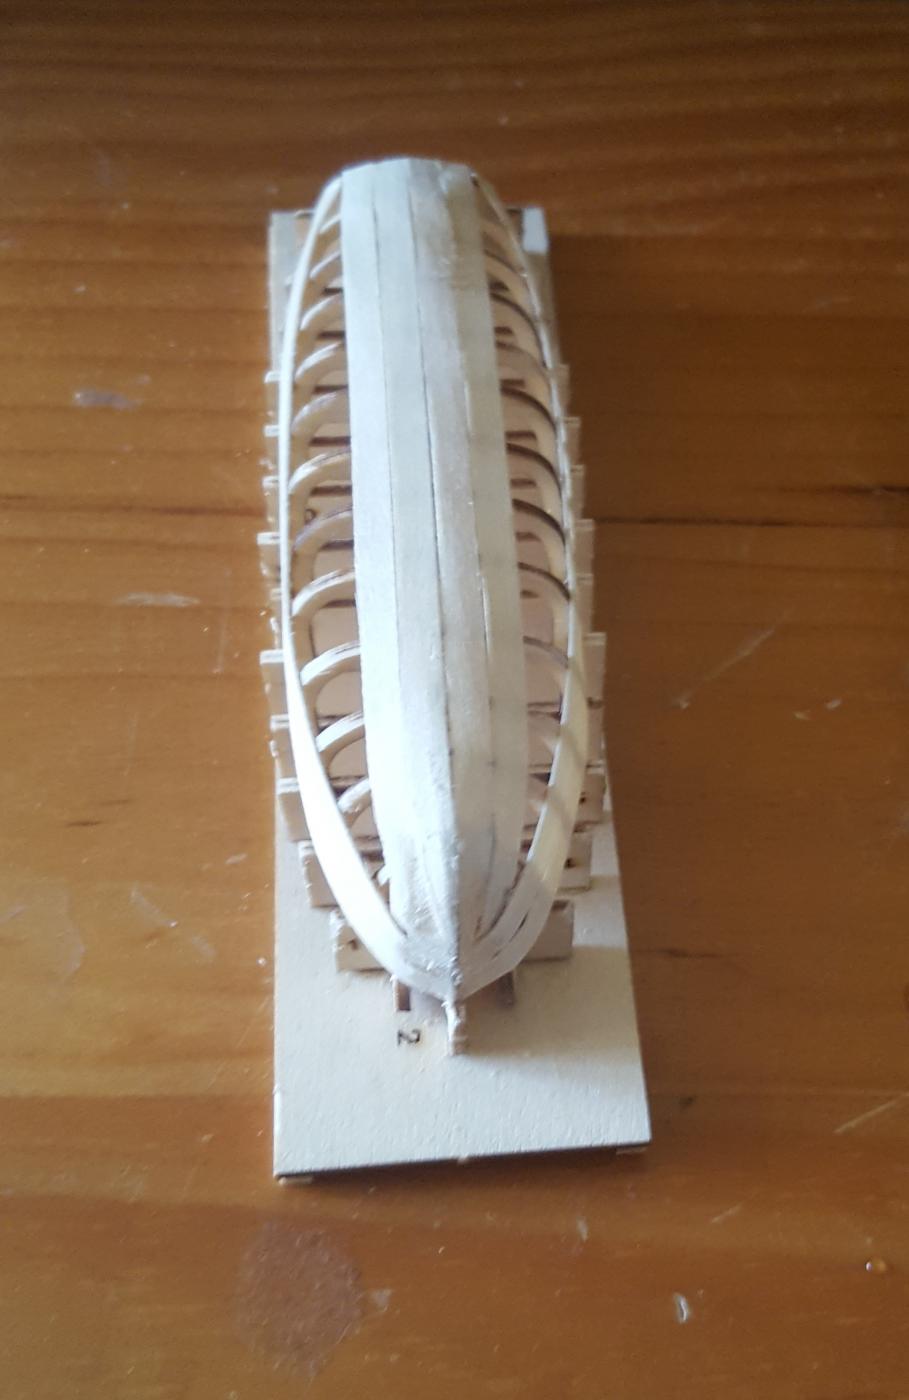
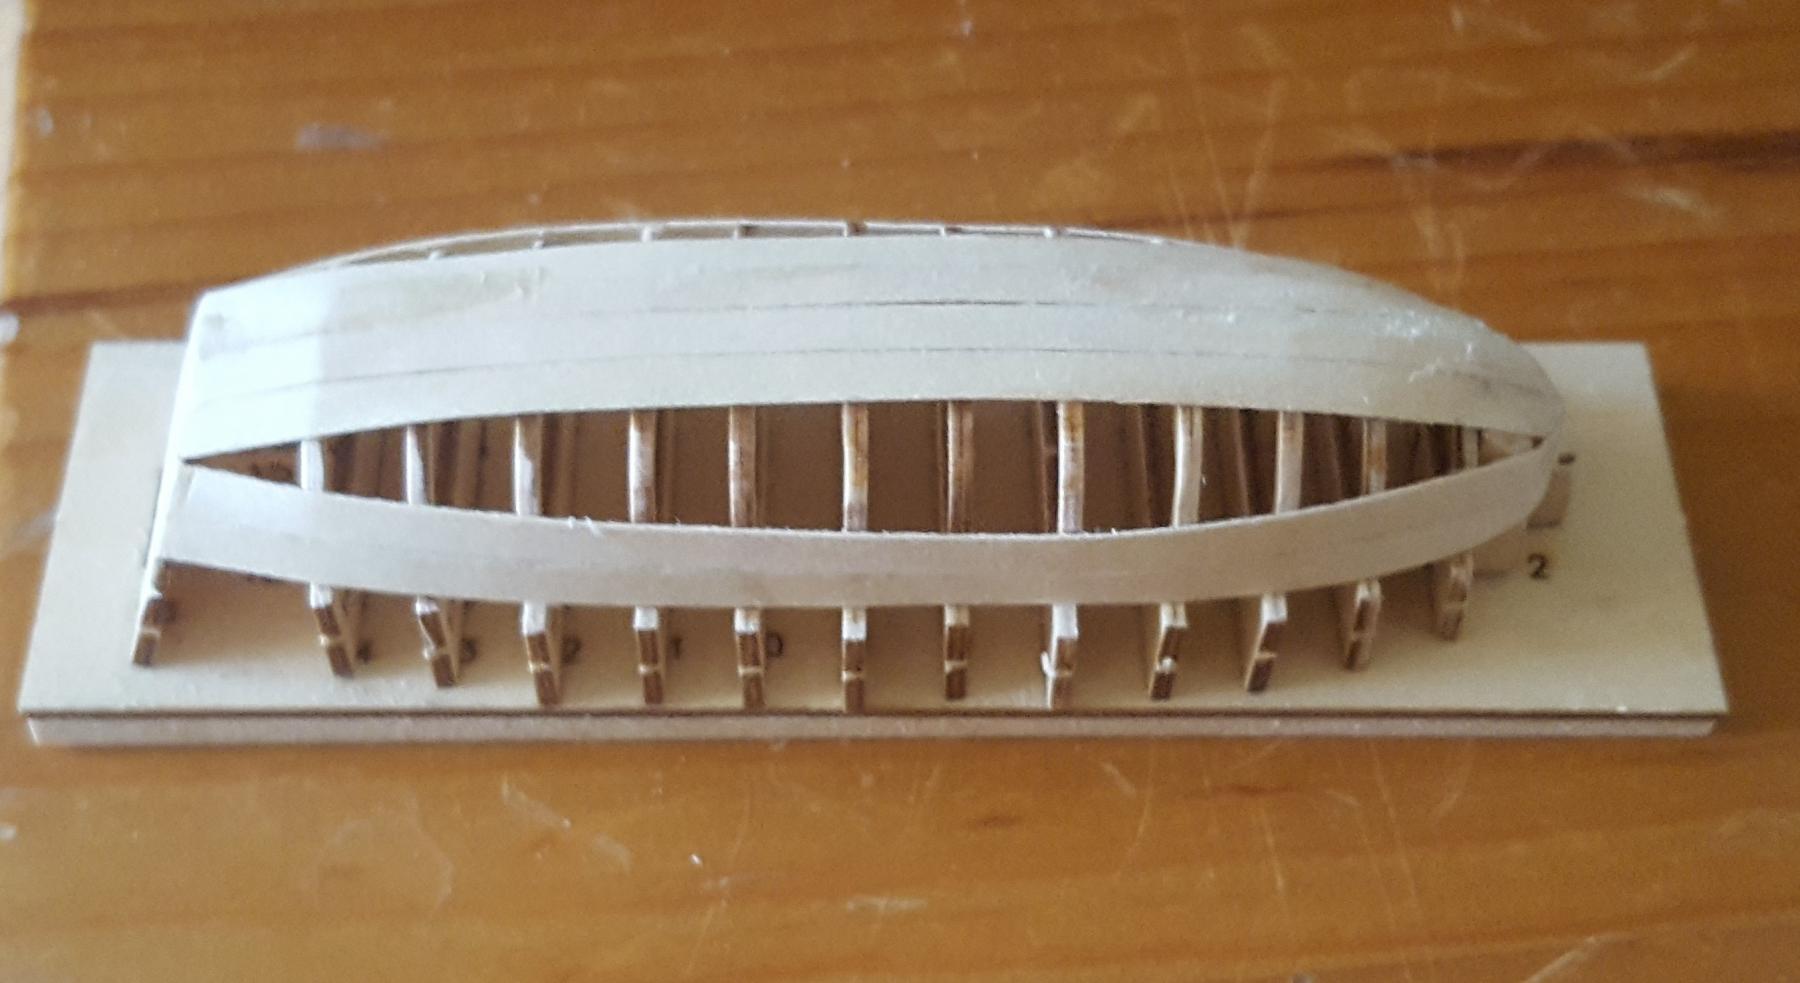
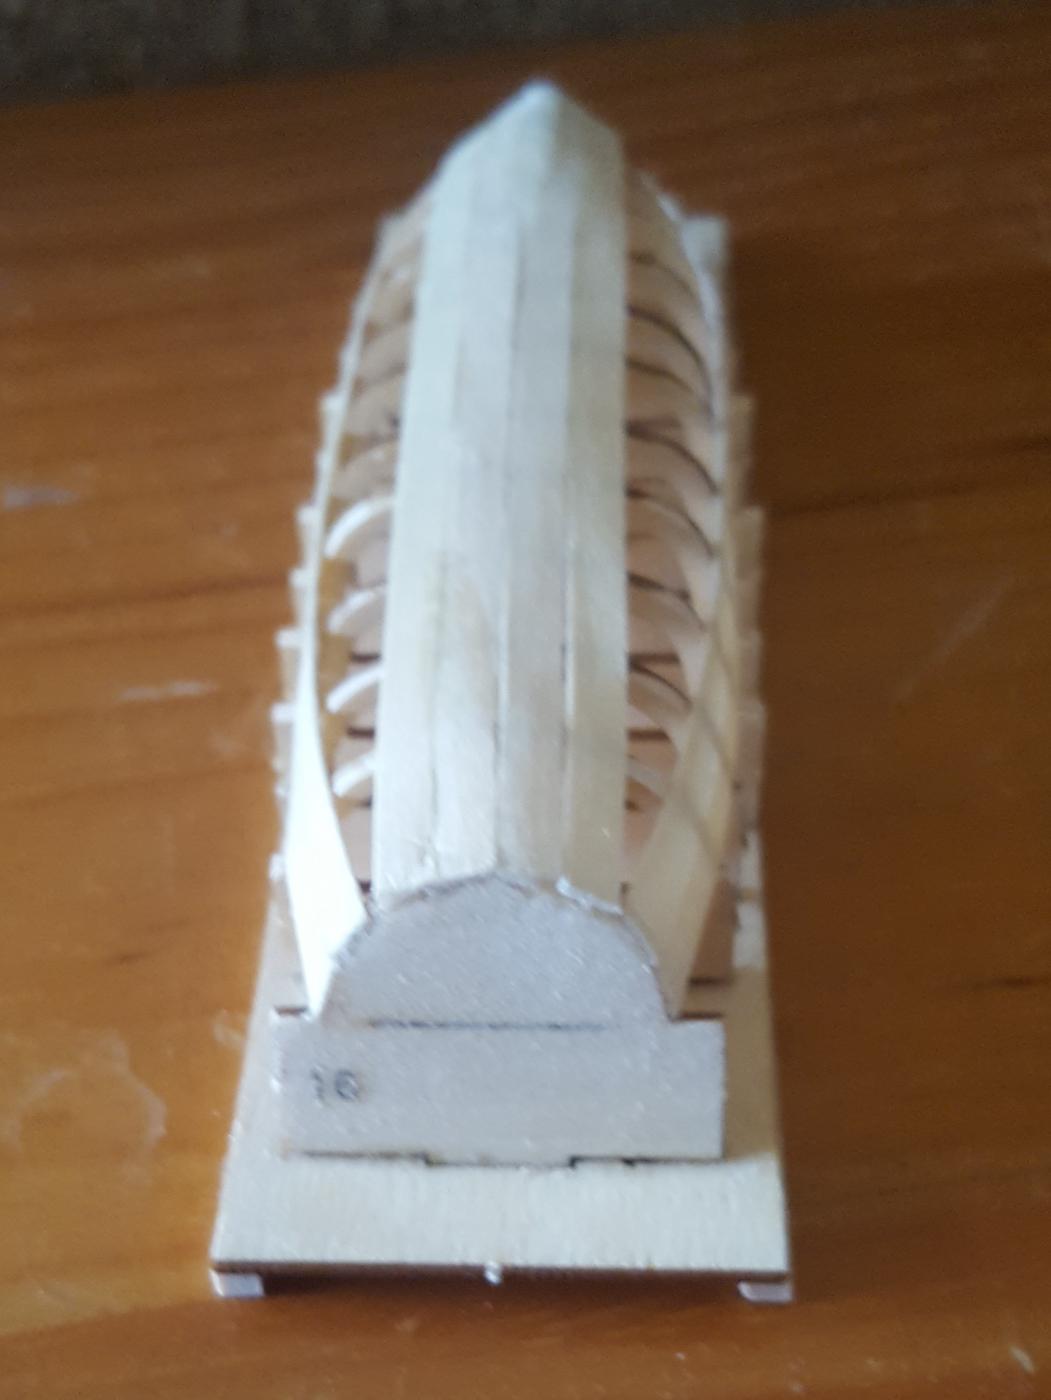
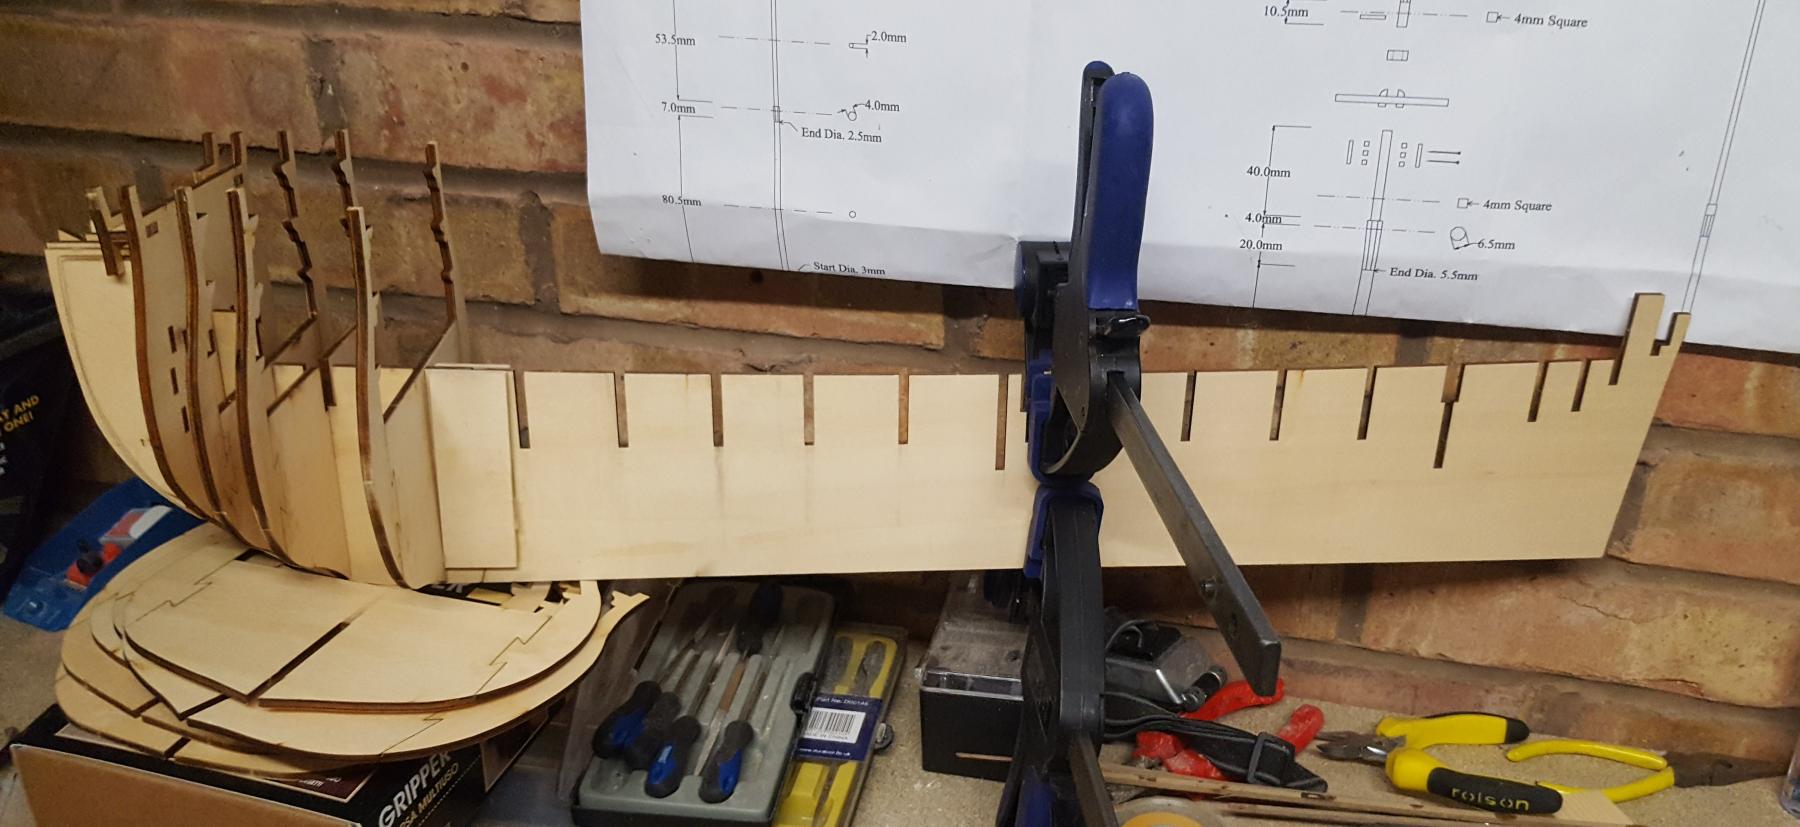
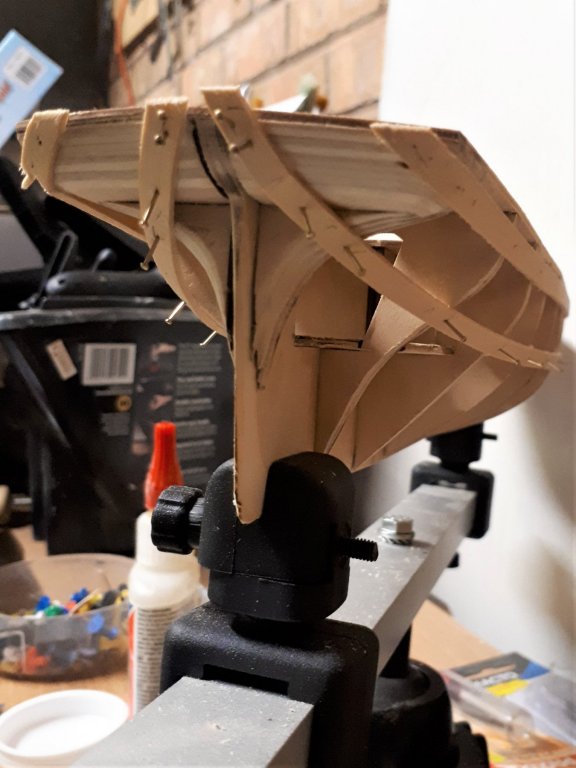
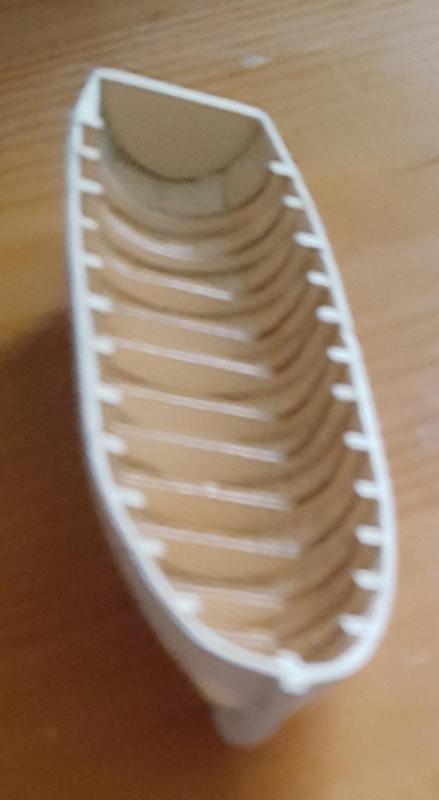
I've made a little bit more progress on this build. First of all I have attached the final keel section. Here are the before and after pictures I have also made a start on assembling the launch. The first task was to add two supports to the launch jig I then assembled the bow frame assembly Finally I added the launch frames to the jig, ensuring each frame was set square.