HOLIDAY DONATION DRIVE - SUPPORT MSW - DO YOUR PART TO KEEP THIS GREAT FORUM GOING! (Only 36 donations so far out of 49,000 members - C'mon guys!)
×


mtaylor
-
Posts
26,273 -
Joined
-
Last visited
Content Type
Profiles
Forums
Gallery
Events
Everything posted by mtaylor
-
Thanks Lou. I'm sorting things out. I have an eye appointment for new glass eyeballs next week so I've slowed things down a bit and anyway, I have to wait on the guns. Indeed... in hindsight, it was different world maybe even a different universe. Sam, we had those warning lights come fairly often. As I recall, Sikorsky replaced all the detectors and problem solved. Actually the did. Under the right conditions we actually had clouds inside them. Ah... the E-model and beyond. They have 3 engines instead of 2 adding the extra blade provided more lift. They are a different critter. There's currently a new model of the 53 in development but haven't seen the specs on it. That will run something $23 Million per bird. It is supposed to be somewhat bigger but I don't know the details. Yes, the gunships are really impressive. My era was Puff and Spooky but the C-130 based is amazing. There's a video out there where one is doing the "Angle of Death" by firing all it's flares at once. Here's an image of it: No comment on the disbursing lad. We were paid in cash in the 60's and he was armed with a .45 and had 2 guards with him with M-14's and .45s.

-
Welcome to MSW, Nathan.
-
True. When I was looking for the guns (which will be here on the 10th) I was amazed at what detailing parts, etc. were available. I could spent easily $200 or more. I do understand what you're saying. For now, I'm just going to plod along and see where things lead. My sinuses are finally clearing and if I can get a couple of nice days outside, I'll be jumping back on Belle Poule.
-
Thanks CDW. No one knew until there was a communication to find out where they were. We had the "rescue bird" ready to go and then it was like "where are they?". As I understood it, that after landing a few members of the facility came up to the aircraft and told them. Funny thing, OC. I didn't see the problems until I saw the photo. Give that this area will be a bit buried, I'm going to use it to practice touching up.
-
Now you did it, Bob. We're going to have comments about square pegs in round holes. At least it won't be cornbread.
-
Workshop Essentials - Favorite Features
mtaylor replied to Justin P.'s topic in Modeling tools and Workshop Equipment
If the circuit breaker box is in the garage, trip the breakers for the power. You can have an electrician come in wire in a keyed switch just for the wiring to your work area. Most places will be glad to come out, look it over and give you an estimate. I'm not an electrician so for me, it's call a contractor. -
If a mast is broken out at sea, what do you do?
mtaylor replied to Devin Camary's topic in Masting, rigging and sails
Many ships did lose masts in battle, Victory for one. They would spare masts, even yards for a mast. In Victory's case, if I remember right after Trafalgar, they rigging yard to be the foremast, didn't have any others. The rig was simple triangular one. -
I wouldn't use a PVA glue, myself. All fabric shops sell cloth glue that remains pliable after it dries.
-
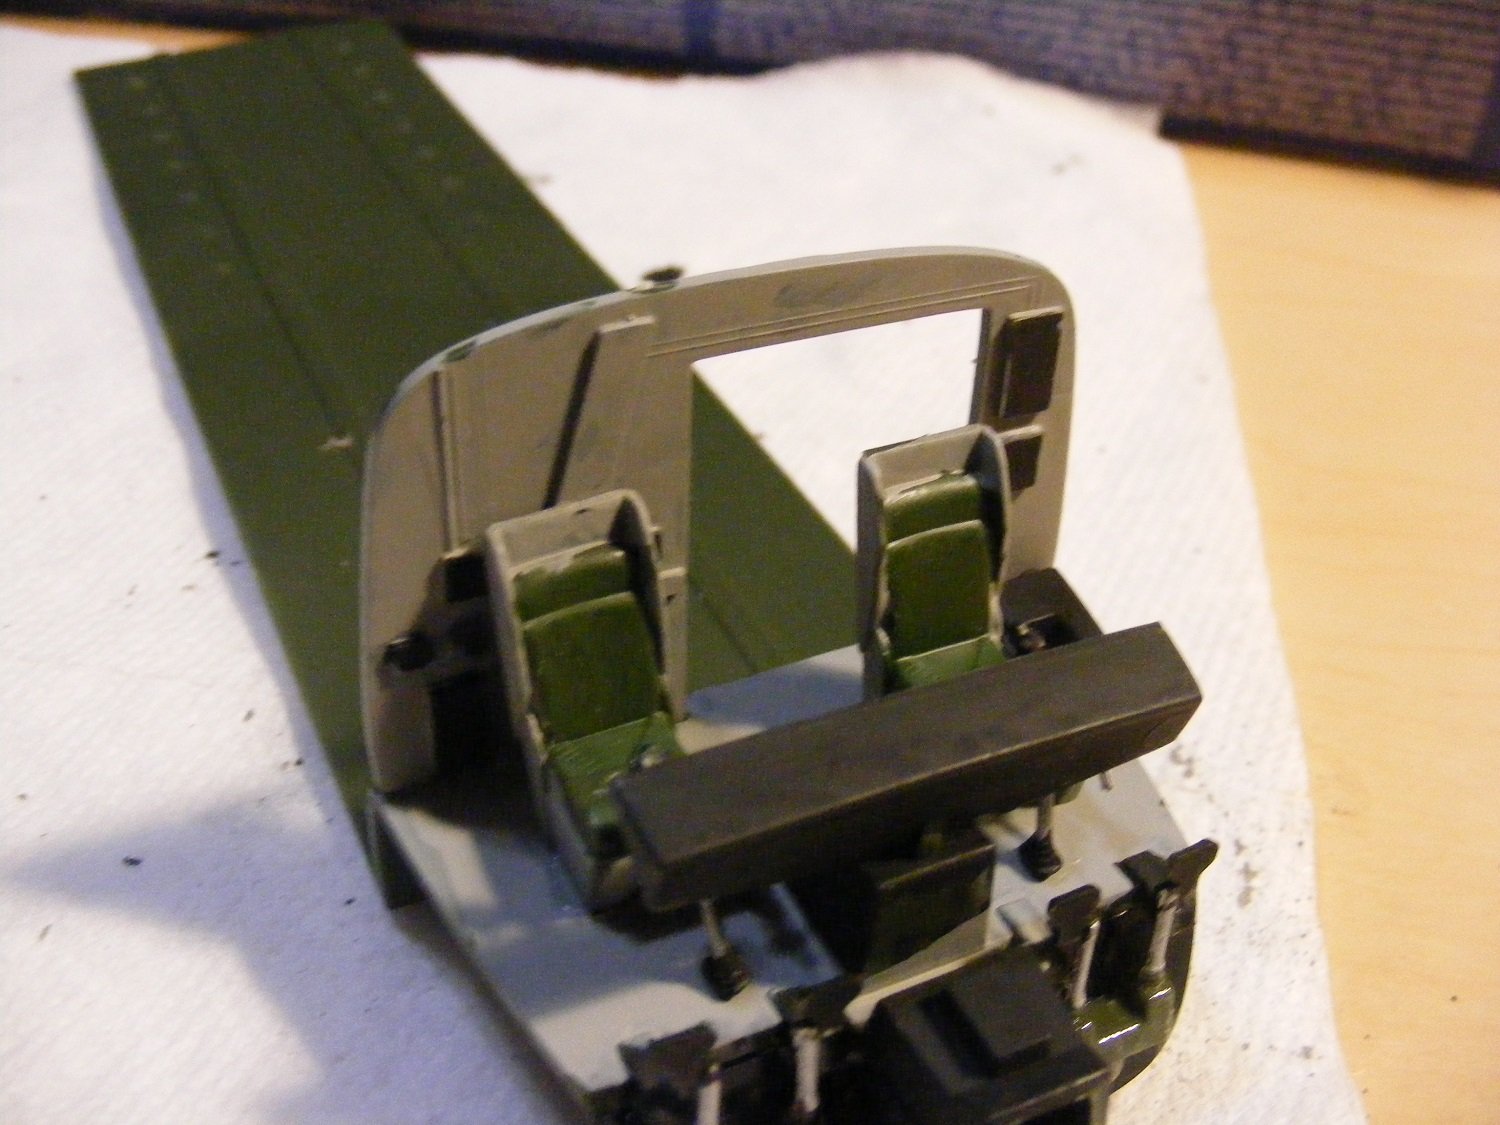
One of my "fun" memories. We had a 53 call in saying they were setting down with a chip light problem. This can mean metal in the main gear box which is very bad. So the Office of Day starts calling departments to get mechs, toolkits, a quantity of lubricant for the tranny, a hydraulic's guy and an electricial type in case it's wiring. They're getting the 53 loaded up and trying to find out where they were. They did and suddenly there were about 100 guys lining up to "go help". The aircraft set down in a large field at a nudist camp. To everyone's dismay, the refired her up, got the head spinning, and the light went out. (If had been a chip, it would have remained attached to the chip detector as the detector has a strong magnet in it.). They made it back to base and everything checked out after doing tests and changing lube. Needless to say, there were bunch of very disappointed lads who didn't get to go. Moving slowly... have some painting and assembly done. Photo below. The close up tells me I need to do a touch up and also do better.

- 265 replies
-
- 13
-

-
-
Hello Gan Do. Best way to get help is open a build log. And don't feel bad about the wrong Bellona as it can be a confusing world out there.
-
Crazy?? Not at all. Really cool looking.
-
Thanks for the list, Lou. You find some amazing things, sir. I couldn't find a list like that if my life depended on it.
-
Workshop Essentials - Favorite Features
mtaylor replied to Justin P.'s topic in Modeling tools and Workshop Equipment
For plan storage, at least for the one's for the "current" project, someone was using an old roller blind. When they were done, the plans rolled up and out of the way. -
At one point, there was discussion of putting mini-guns on the 53's... They never did though. Pity, that would have been a blast to fire. Saw Puff or maybe Spooky(?) working out several times around the Marble Mountain... just long red strip headed to the ground. When you consider that tracers were 1 out of 5.. there was a lot of hurt headed someones way.
-
As I recall, the movie "Memphis Belle" was actually a compilation of it's mission, not just the last. Something about "dramatic effect" comes to mind.
-
Bell UH-1H Huey By lmagna - Dragon - 1/35 - PLASTIC
mtaylor replied to lmagna's topic in Non-ship/categorised builds
Interesting on the shooting his own rotor. I've heard of it happening but never saw one up close and personal. If I remember right, our mounts on the CH-53 limited the "up". I wonder if the Huey getting hit was from the gunner holding it instead of on a mount? There's no way in hell I ever heard anyone doing a John Wayne with .50. A .30 it could be done.... M60 was a hand held. -
Denis, Try (test first!!!!) using toothpaste for rubbing out paint. Way back in the dark ages, many of used it on our models. Hopefully they still make toothpaste with some grit to it.
-
No rush, Lou. I will keep those in mind though if there's any more problems. I've had second thought.... I'll mount the good 1/72 .50 on my 1854 Constellation. I think the Marines on board would appreciate it.
-
What came in from France was the first set of guns I ordered... wrong scale and missing parts. <sigh> The correct scaled ones will be on their way but things have been messed up due to postal strikes and also getting shipments from the supplier in the Ukraine. They've told me they will credit my account on the ones I received missing the parts. I just need to figure out what to with a 1:72 .50 cal MG. Put it on Belle Poule maybe?
-
Yves, like a lot of things, this might have to be ordered from some company in Europe.
-
It's new paint, Lou. Maybe I just didn't stir it enough as Denis pointed out. I'll fix it, either repaint or apply some clear "flat" to it. No gloss wanted CDW. I'm using all flats from Model Master. Thanks Rich. That confirms what I thought. He did love to fly apparently. On the build side, I'm painting away while waiting for the .50's to come in.
-
Bell UH-1H Huey By lmagna - Dragon - 1/35 - PLASTIC
mtaylor replied to lmagna's topic in Non-ship/categorised builds
I believed back then most of those protesters weren't there to protest because they believed on the protest. Nope, most of them seemed to be there to meet members of the opposite sex. Laugh... but heard too many say they found their mate there. Sadly, those idiots didn't have boundaries. Even sadder, they've passed that apathy, etc. on to their children. The catch was/is that most of those didn't understand that those of us in the military were in control such things as war, etc. I'll get off my soapbox and also apologize for hijacking this topic.