MrBlueJacket
-
Posts
1,313 -
Joined
-
Last visited
Content Type
Profiles
Forums
Gallery
Events
Everything posted by MrBlueJacket
-
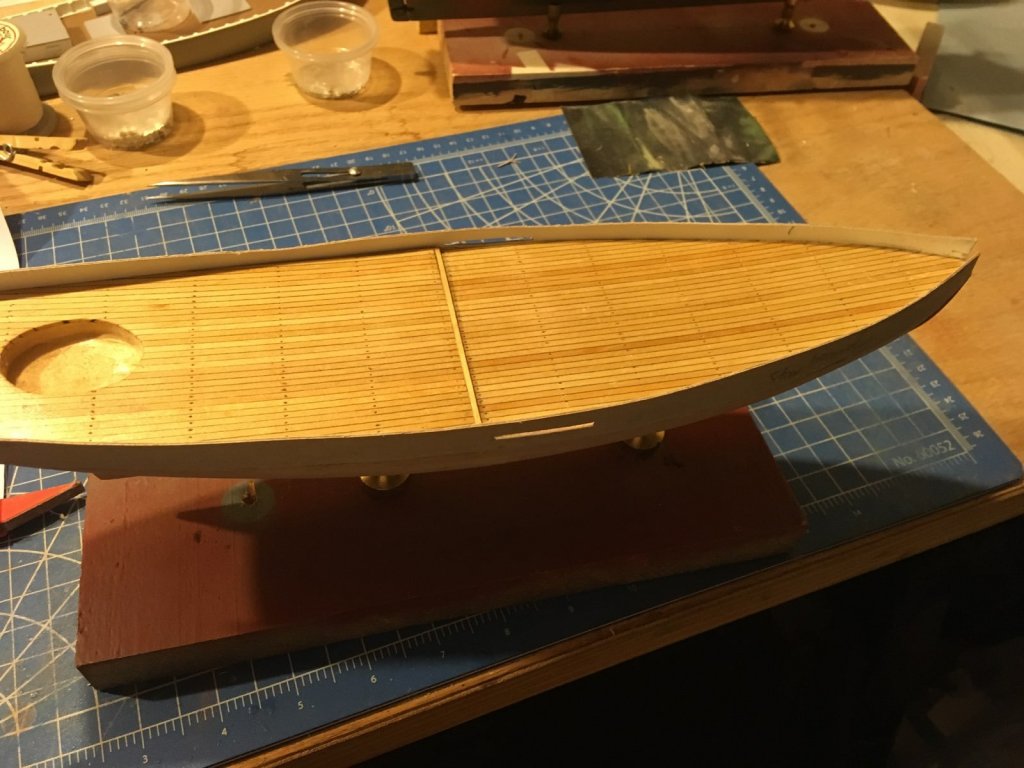
 And a view from the side. Now all that needs to be done is trim things up.
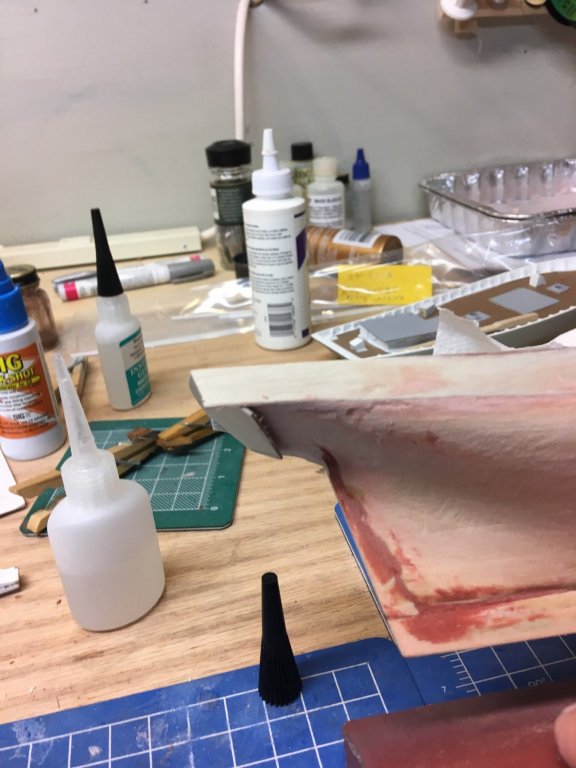
- 77 replies
-
- 8
-

-
- schooner
- solid hull
- (and 4 more)
-
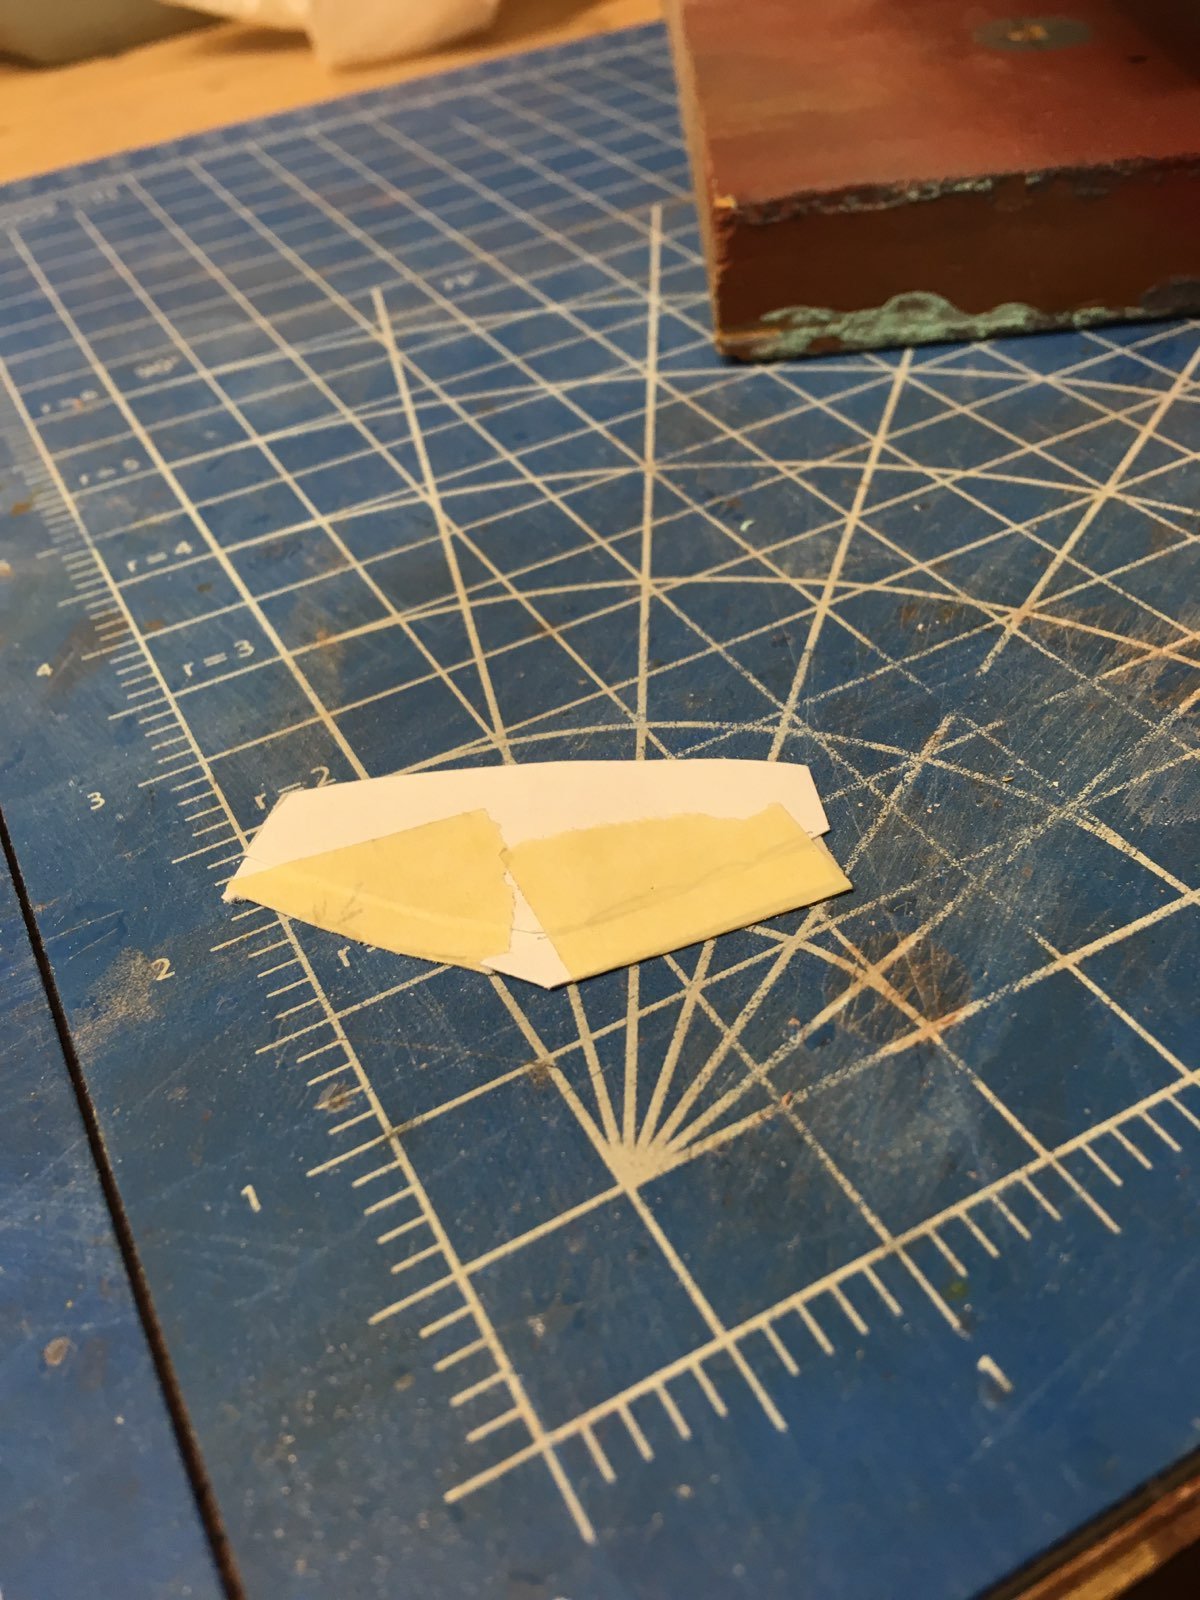
OK, now the transom. I made a template so I could get a tight fit against the bulwarks. the bottom is a little long.
- 77 replies
-
- 2
-
-
- schooner
- solid hull
- (and 4 more)
-
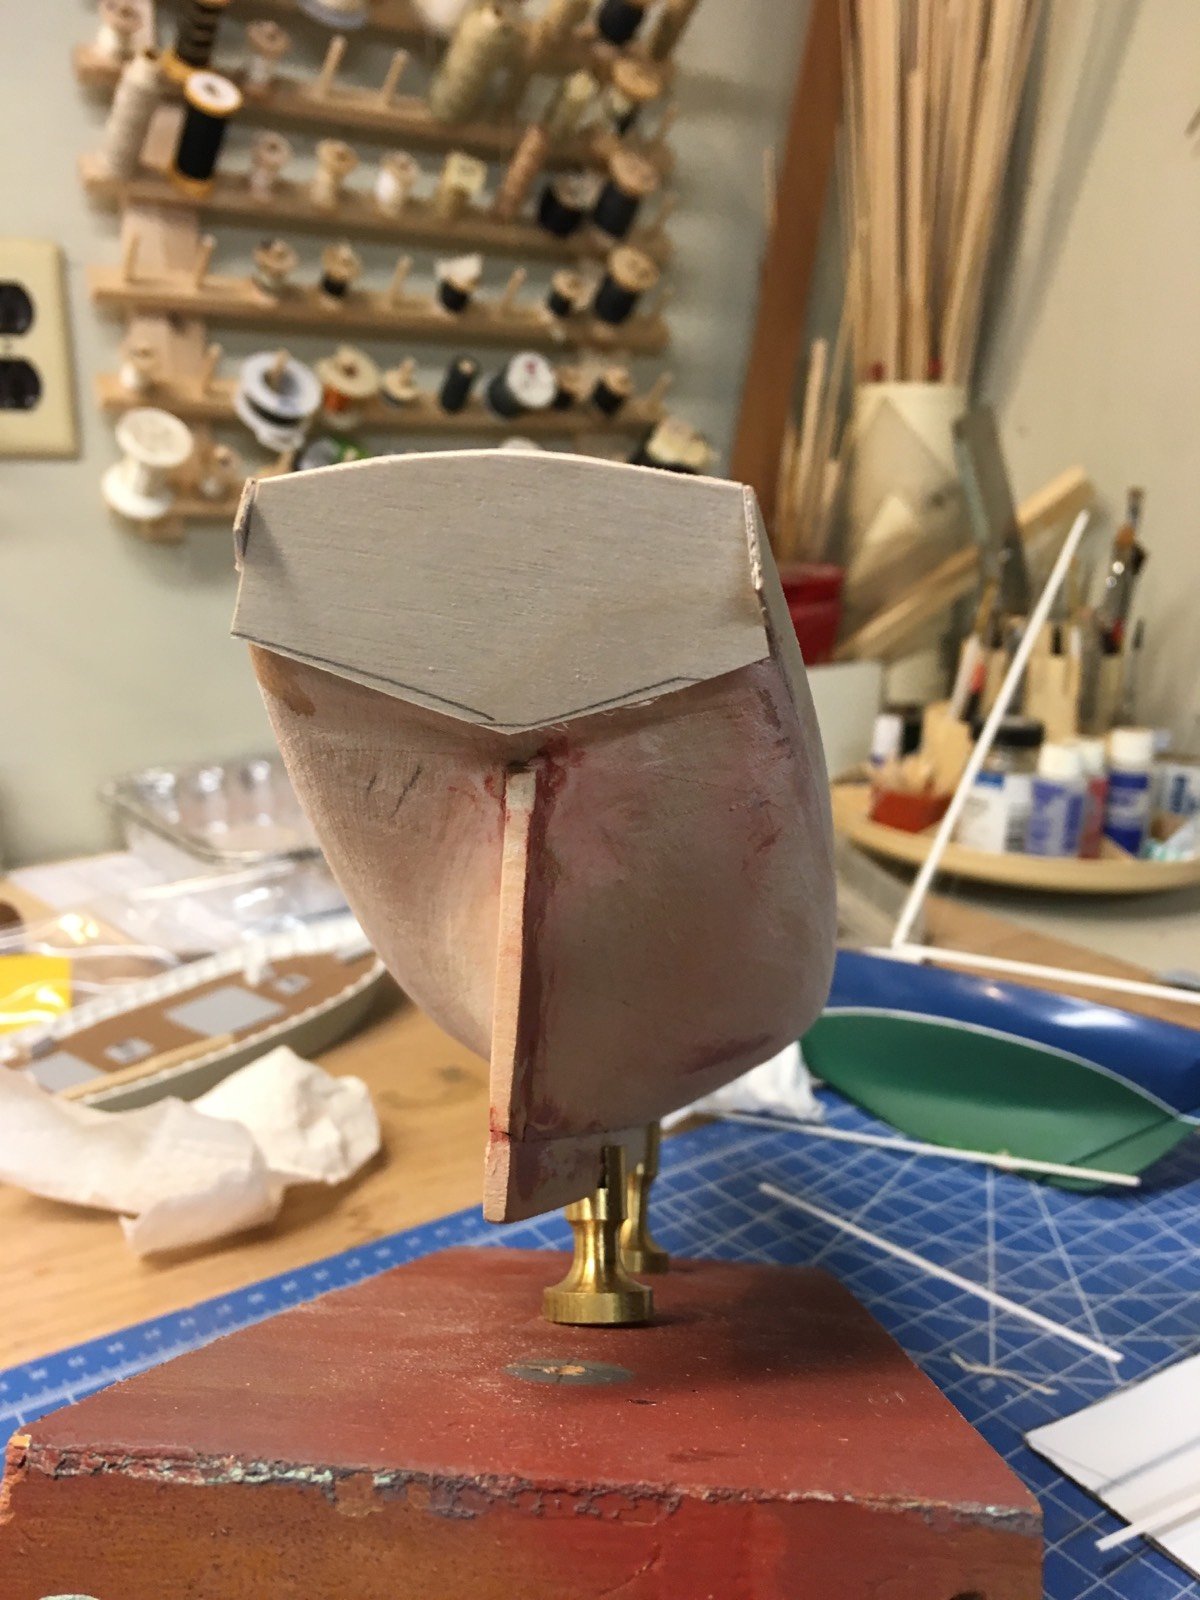
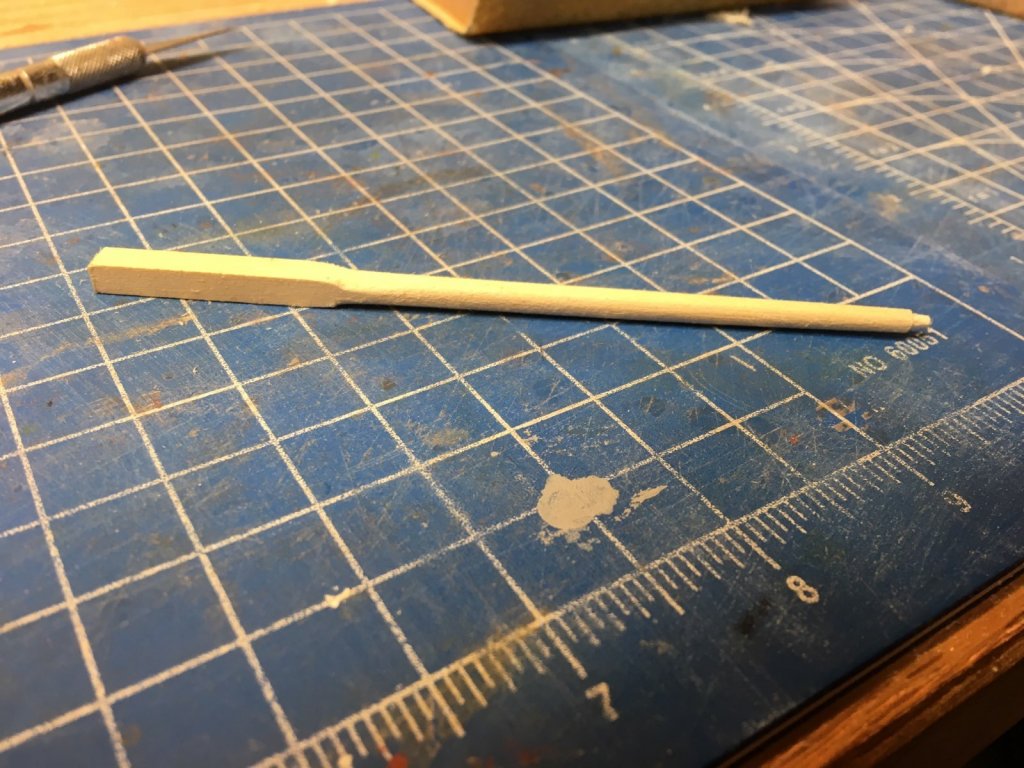
Fitting the transom is next, but I took a side path and shaped the bowsprit - it was more fun than the transom!
- 77 replies
-
- 8
-
-
- schooner
- solid hull
- (and 4 more)
-
Here are the bulwarks trimmed down to their final height. I used a Dremel saw attachment (carefully!) to trim it close, then sanded to the final lines I drew with a compass so it would follow the deck properly.
- 77 replies
-
- 10
-
-
- schooner
- solid hull
- (and 4 more)
-
Writing instructions can be a delicate balance between what you think someone buying a certain skill level kit should know, yet trying to help sidestep difficult construction details. Also, what we think we said in the instructions is not always what they are interpreted as.
-
So with the deck done, I can attach the bulwarks. Still need to trim them down to the caprail level, but it's starting to look like a boat!
- 77 replies
-
- 8
-
-
- schooner
- solid hull
- (and 4 more)
-
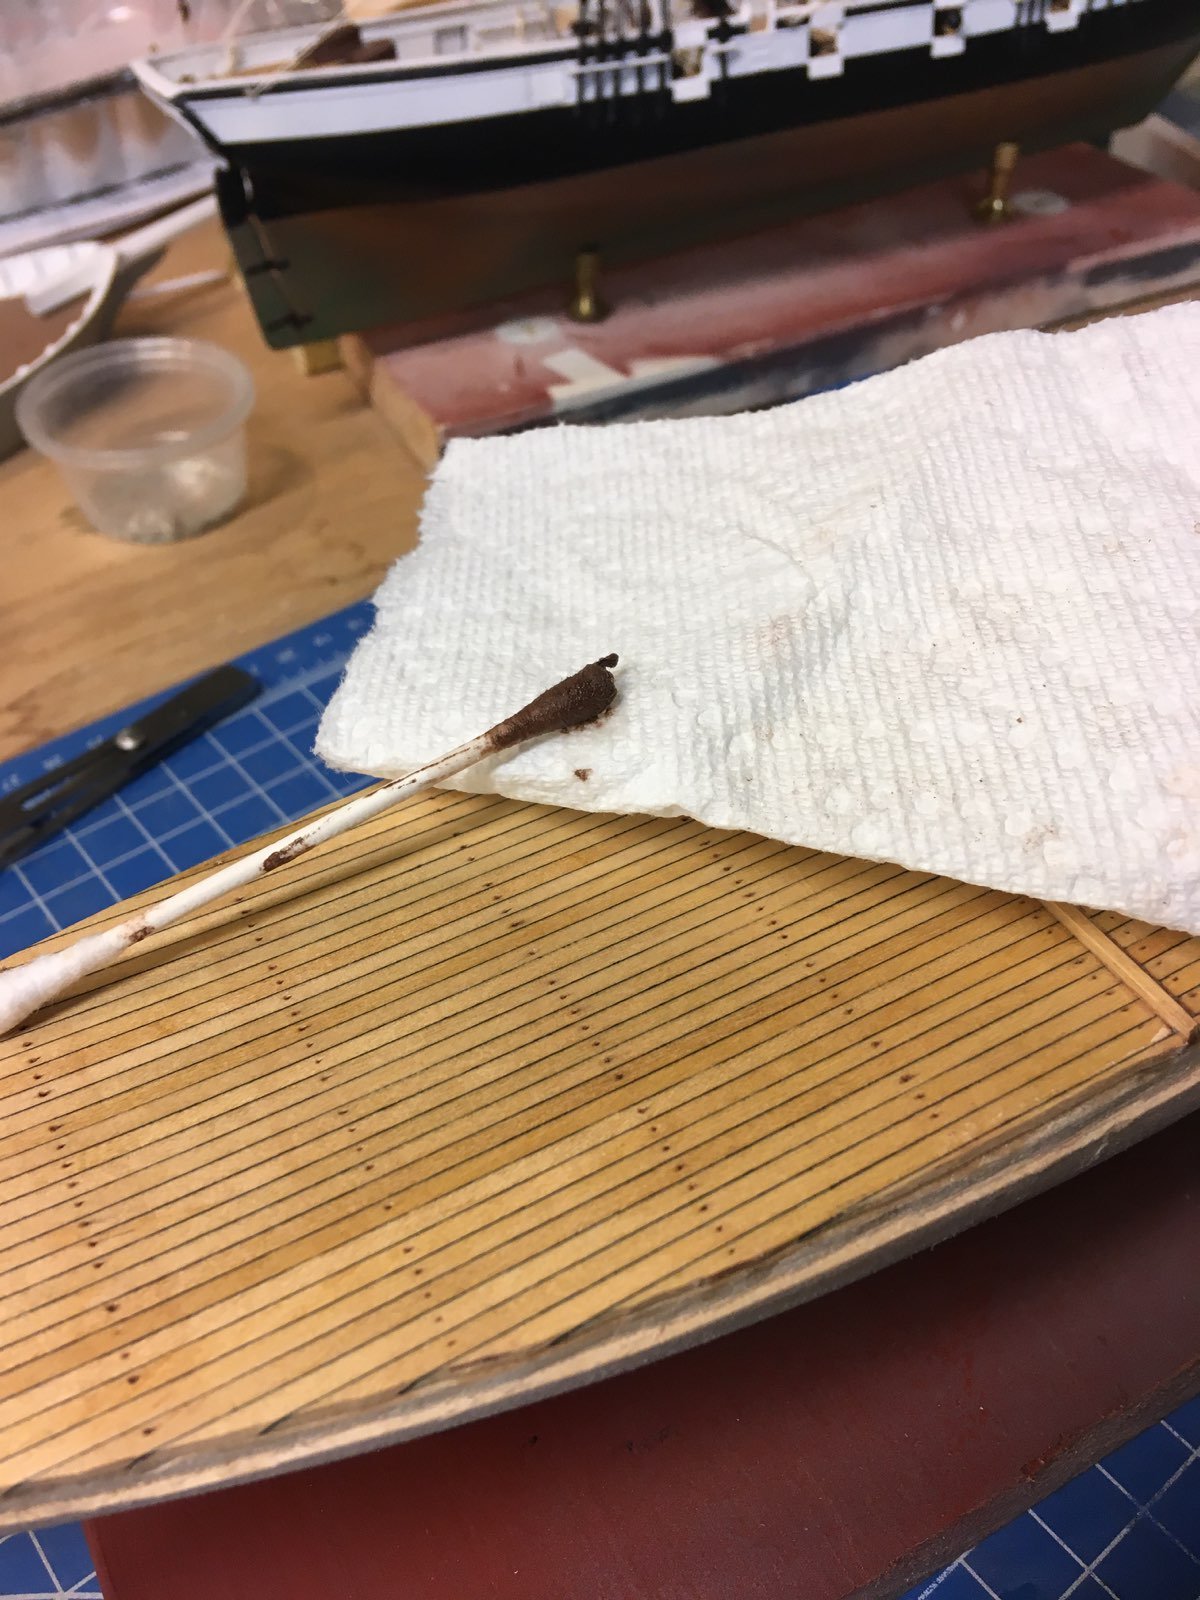
Chris, I agree. But my customer likes it. So here's the template for the pounce wheel. 1" spacing, equal to about 5 1/3 feet (model is 3/16" = 1' scale) Note the bow is already pounced. After pouncing the stern deck, I did a brown wash into the holes, quickly wiping the thinned paint off right away. A bit of overkill, but....

- 77 replies
-
- 6
-
-
- schooner
- solid hull
- (and 4 more)
-
So I have the bulwarks ready to install. They are painted and have the scupper slot cut out. But before I install them, I am going to use a pounce wheel to simulate the deck treenails.

- 77 replies
-
- 5
-
-
- schooner
- solid hull
- (and 4 more)
-
Thanks for the deck compliments. I forgot to mention that it is a sheet of pre-glued decking strips, so I can't take credit for anything but gluing the sheet down and trimming :) The kit comes with scribed decking, but this looks so much better.
- 77 replies
-
- 4
-
-
- schooner
- solid hull
- (and 4 more)
-
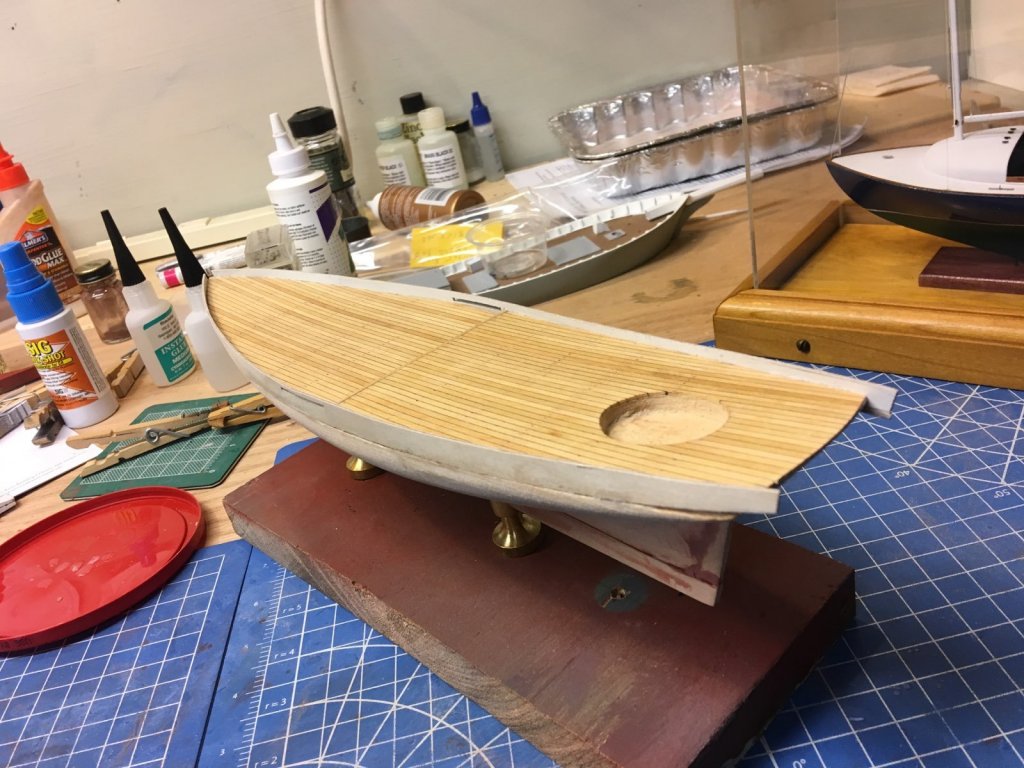
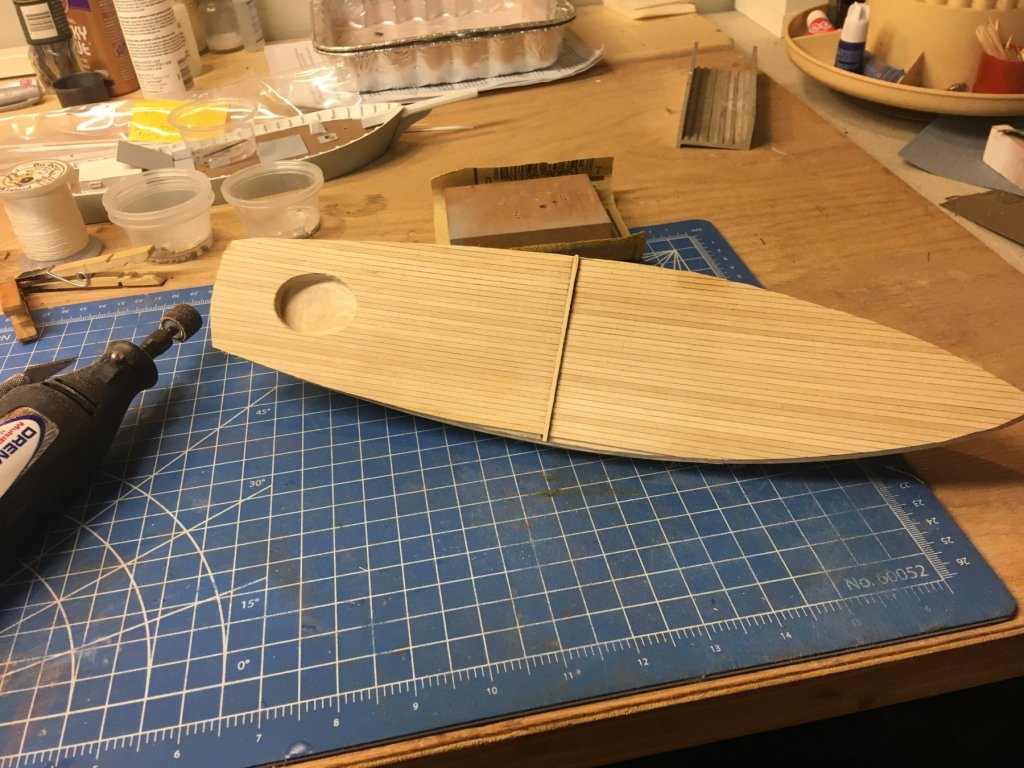
Got the deck on last night and trimmed it to fit this morning. Cockpit well was opened up with a dremel cylindrical sanding attachment.
- 77 replies
-
- 11
-
-
- schooner
- solid hull
- (and 4 more)
-
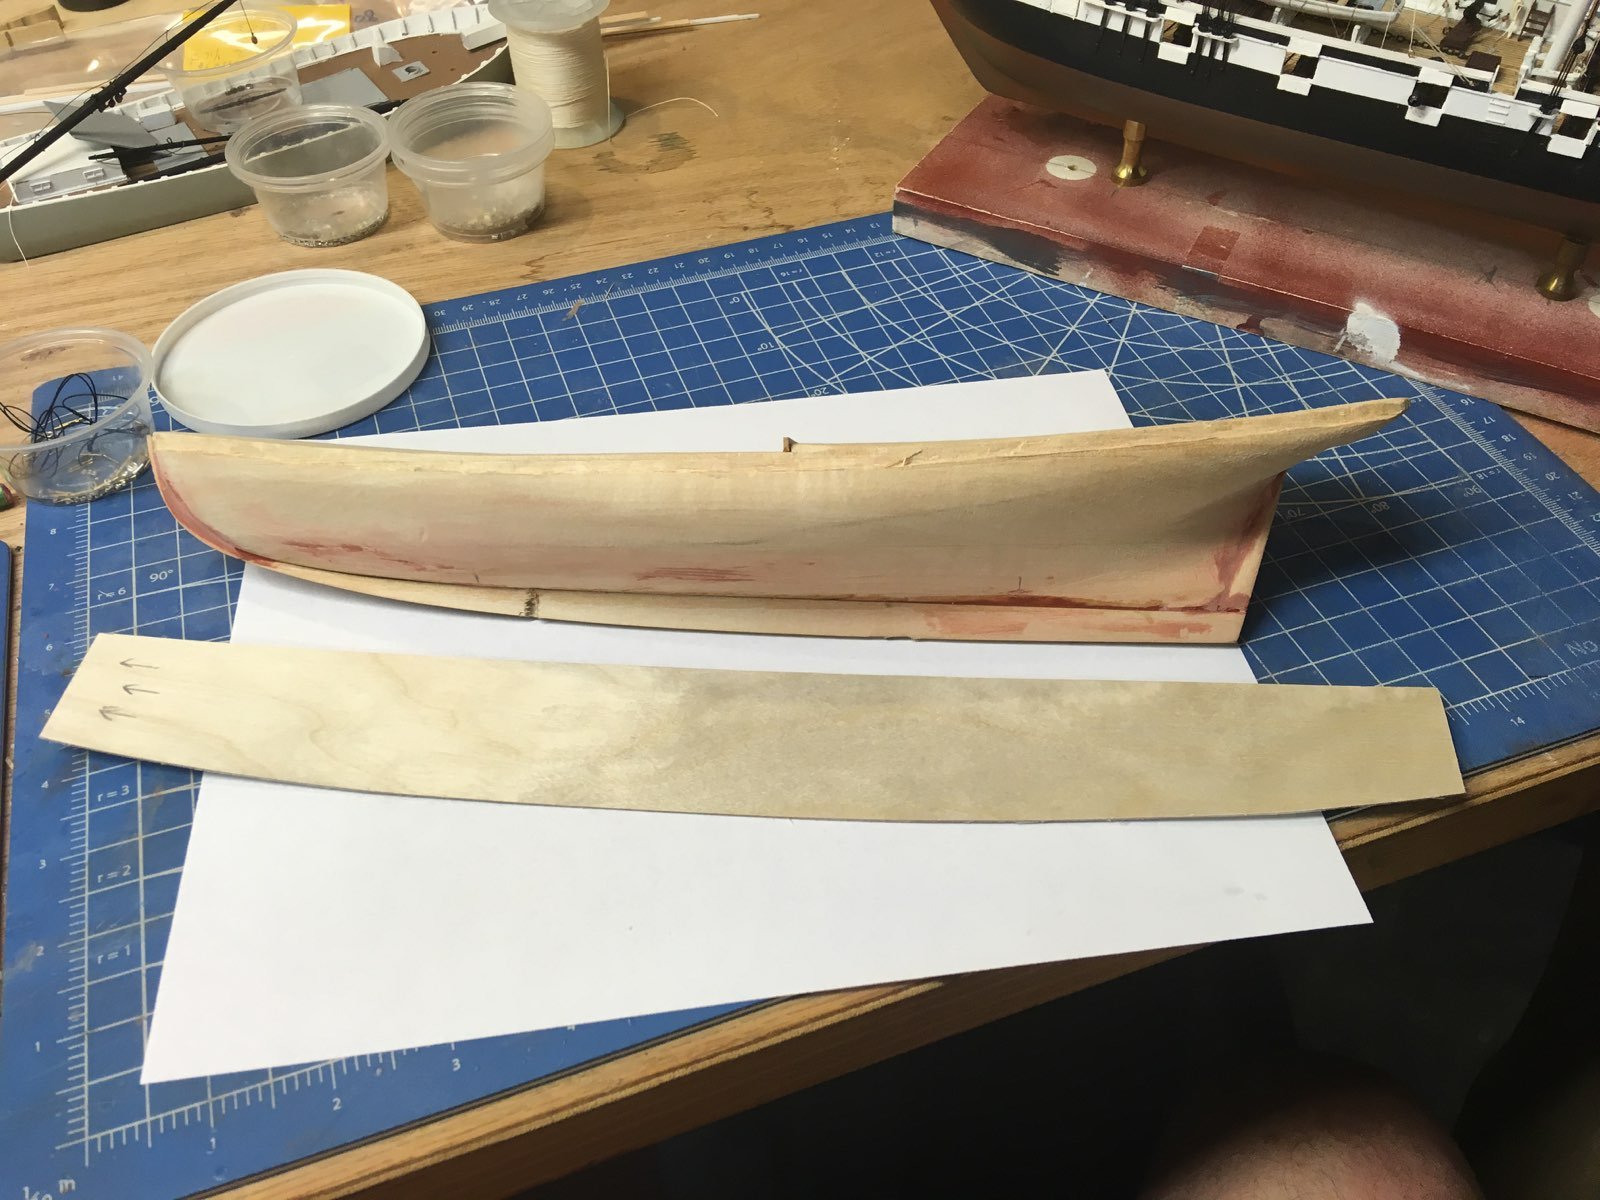
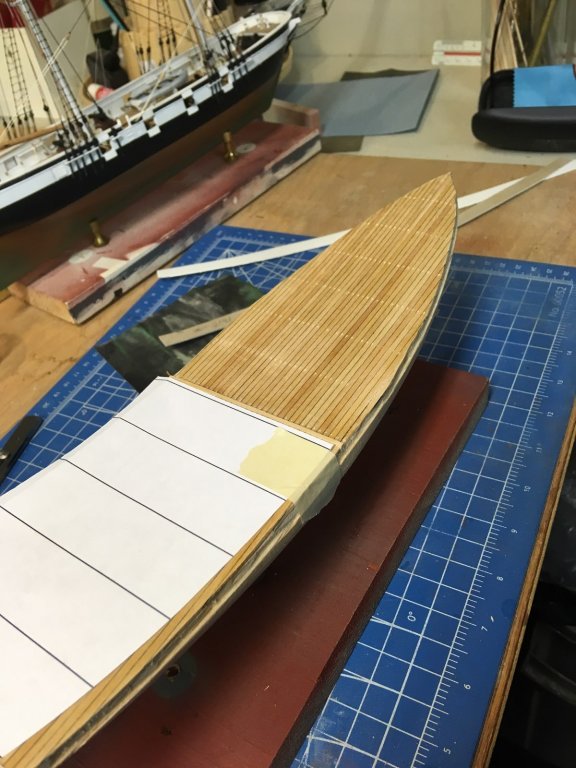
Then to cut the plywood to the same shape. Needless to say, it took a bit of trial and error. But in the end, it is a good fit as you can see in the second picture. But before I glue it on, I need to put down the deck planking. Easier to trim first, rather than try to fit the deck on with the bulwarks in place.

- 77 replies
-
- 7
-
-
- schooner
- solid hull
- (and 4 more)
-
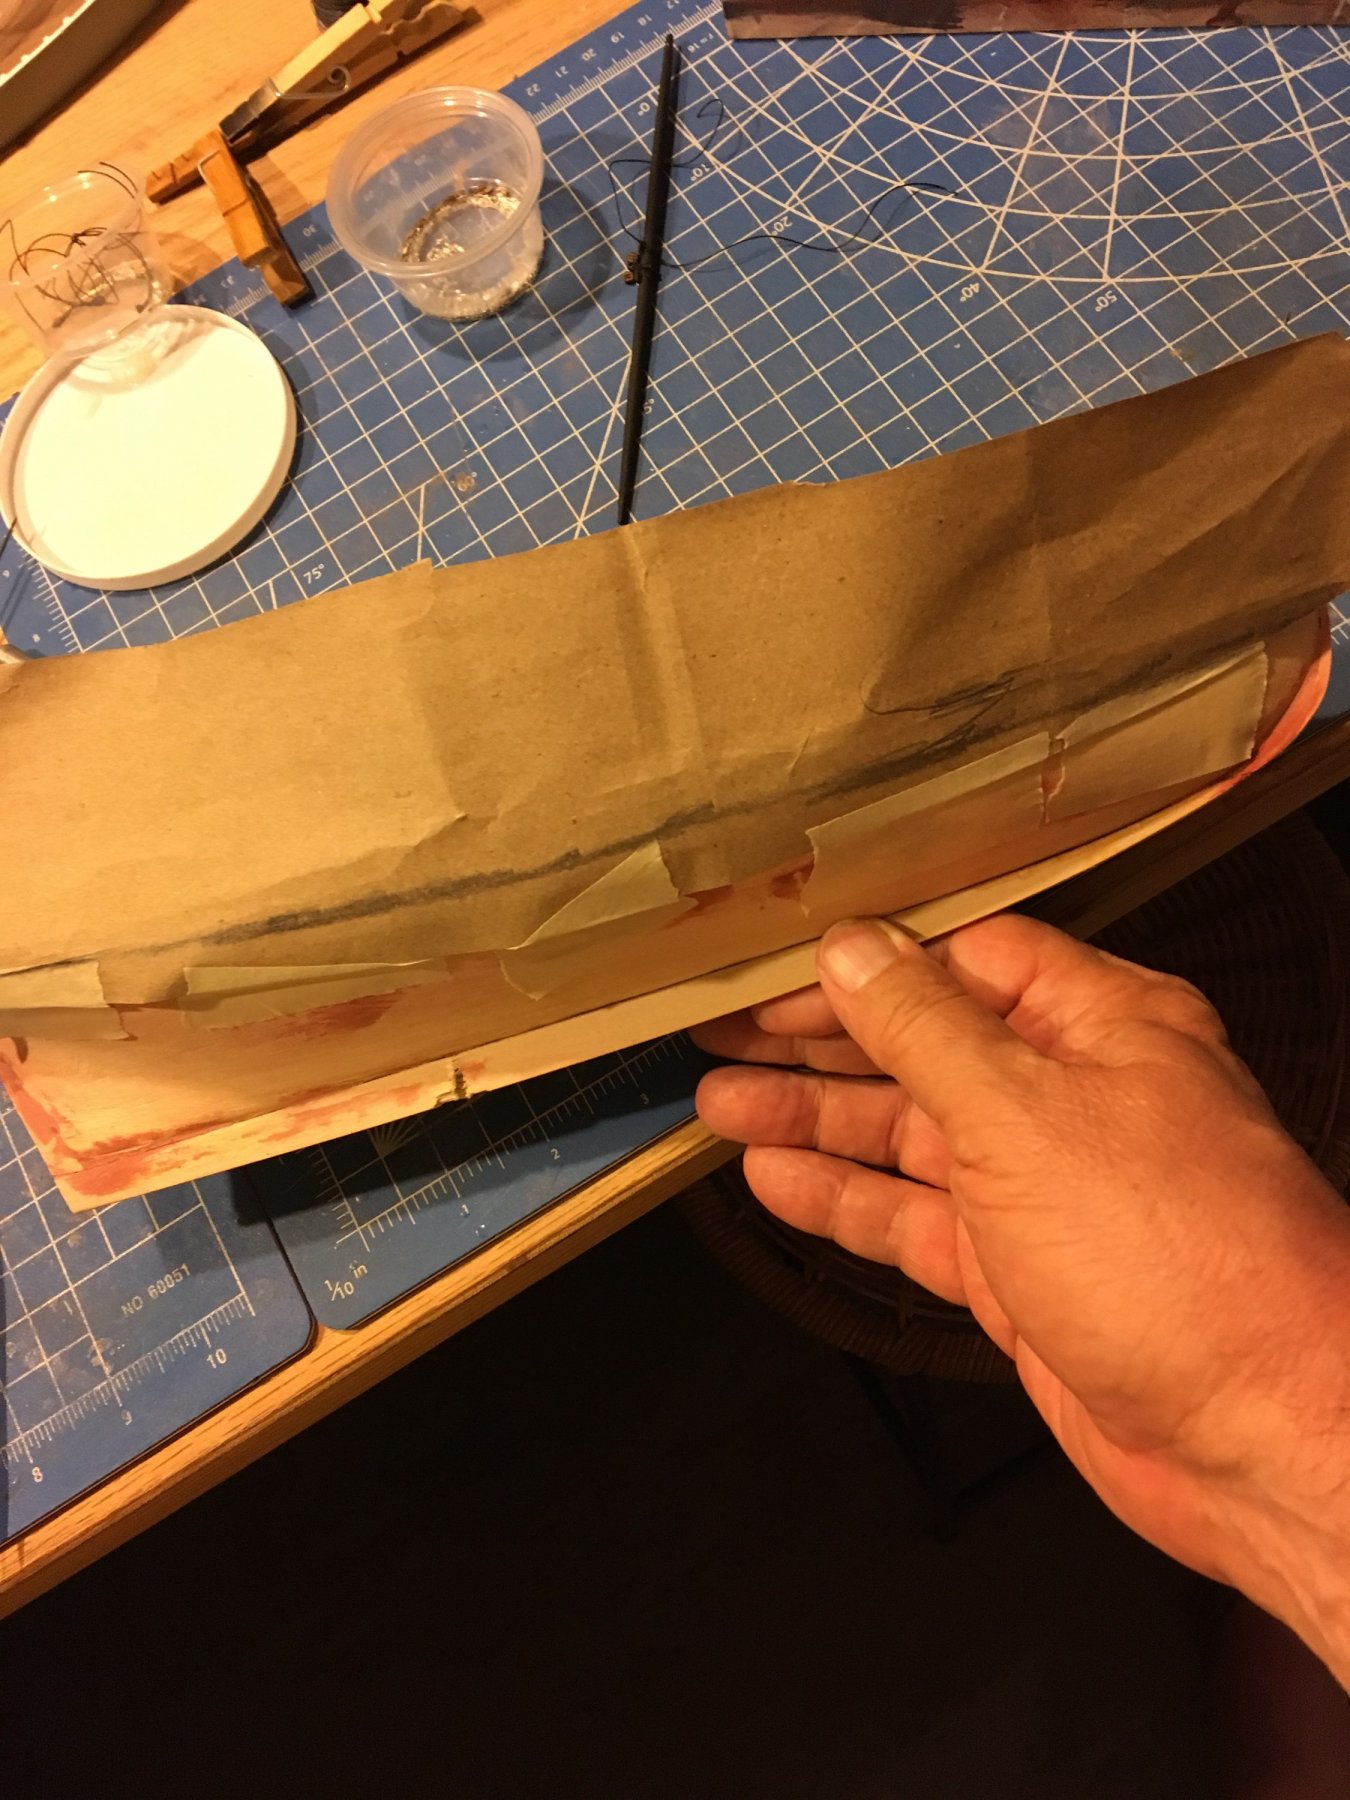
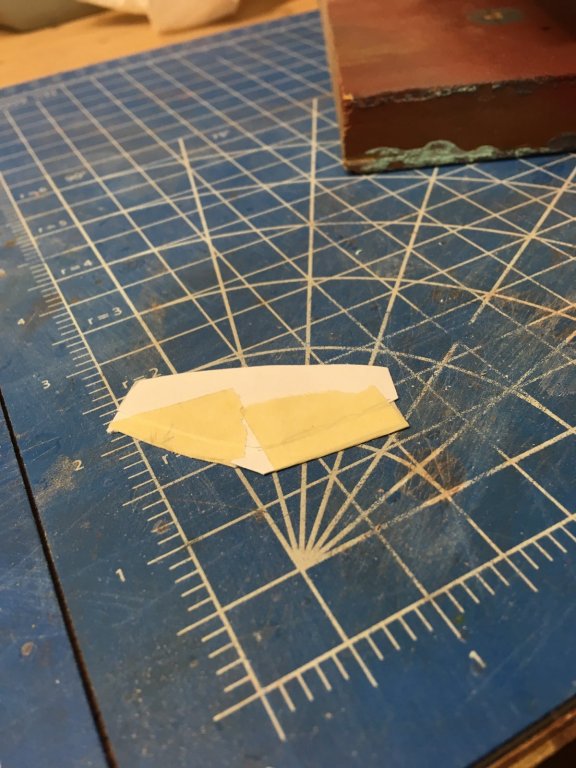
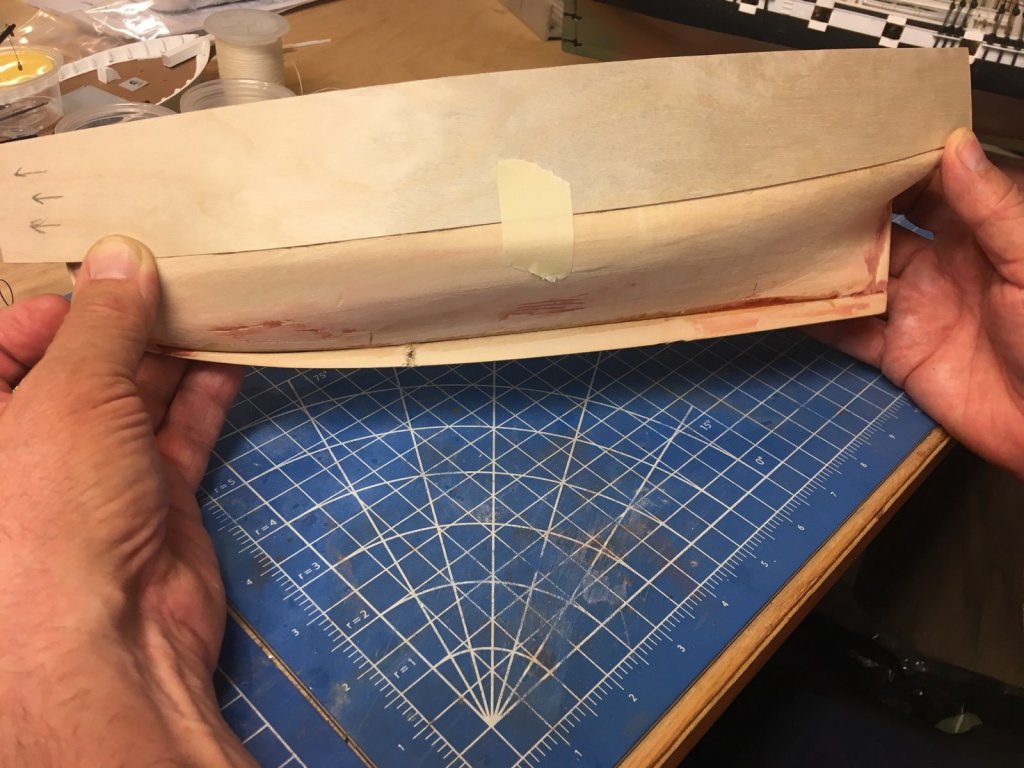
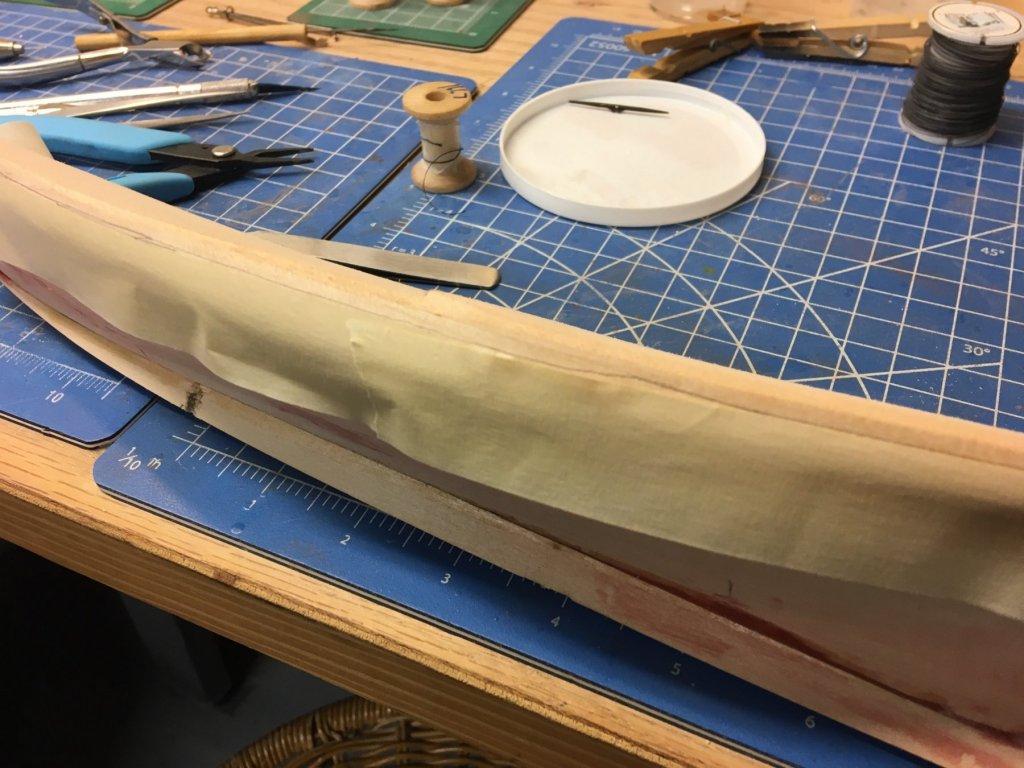
So I had a little time to work on the MT again. here's a picture of paper taped onto the hull so I can trace the bottom line of the rabbet for the bulwarks.

- 77 replies
-
- 5
-
-
- schooner
- solid hull
- (and 4 more)
-
Nice job! Am I reading this correctly, you only started the kit this past Sunday? That's quick work.
-
Hi Ric, The ships I build are for a purpose, (customer, gallery, etc) not just because I want to build a model. My current stack-up is: rigging the USS Perry (new kit) Mary Taylor (customer) Coastal Schooner (new kit) Lincolnville wherry (gallery) Liberty ship (gallery) Red Jacket (gallery) And interspersed are two repair jobs. I trust you understand. Maybe someone out there with an Alfred will step up to the plate?
- 77 replies
-
- 2
-
-
- schooner
- solid hull
- (and 4 more)
-
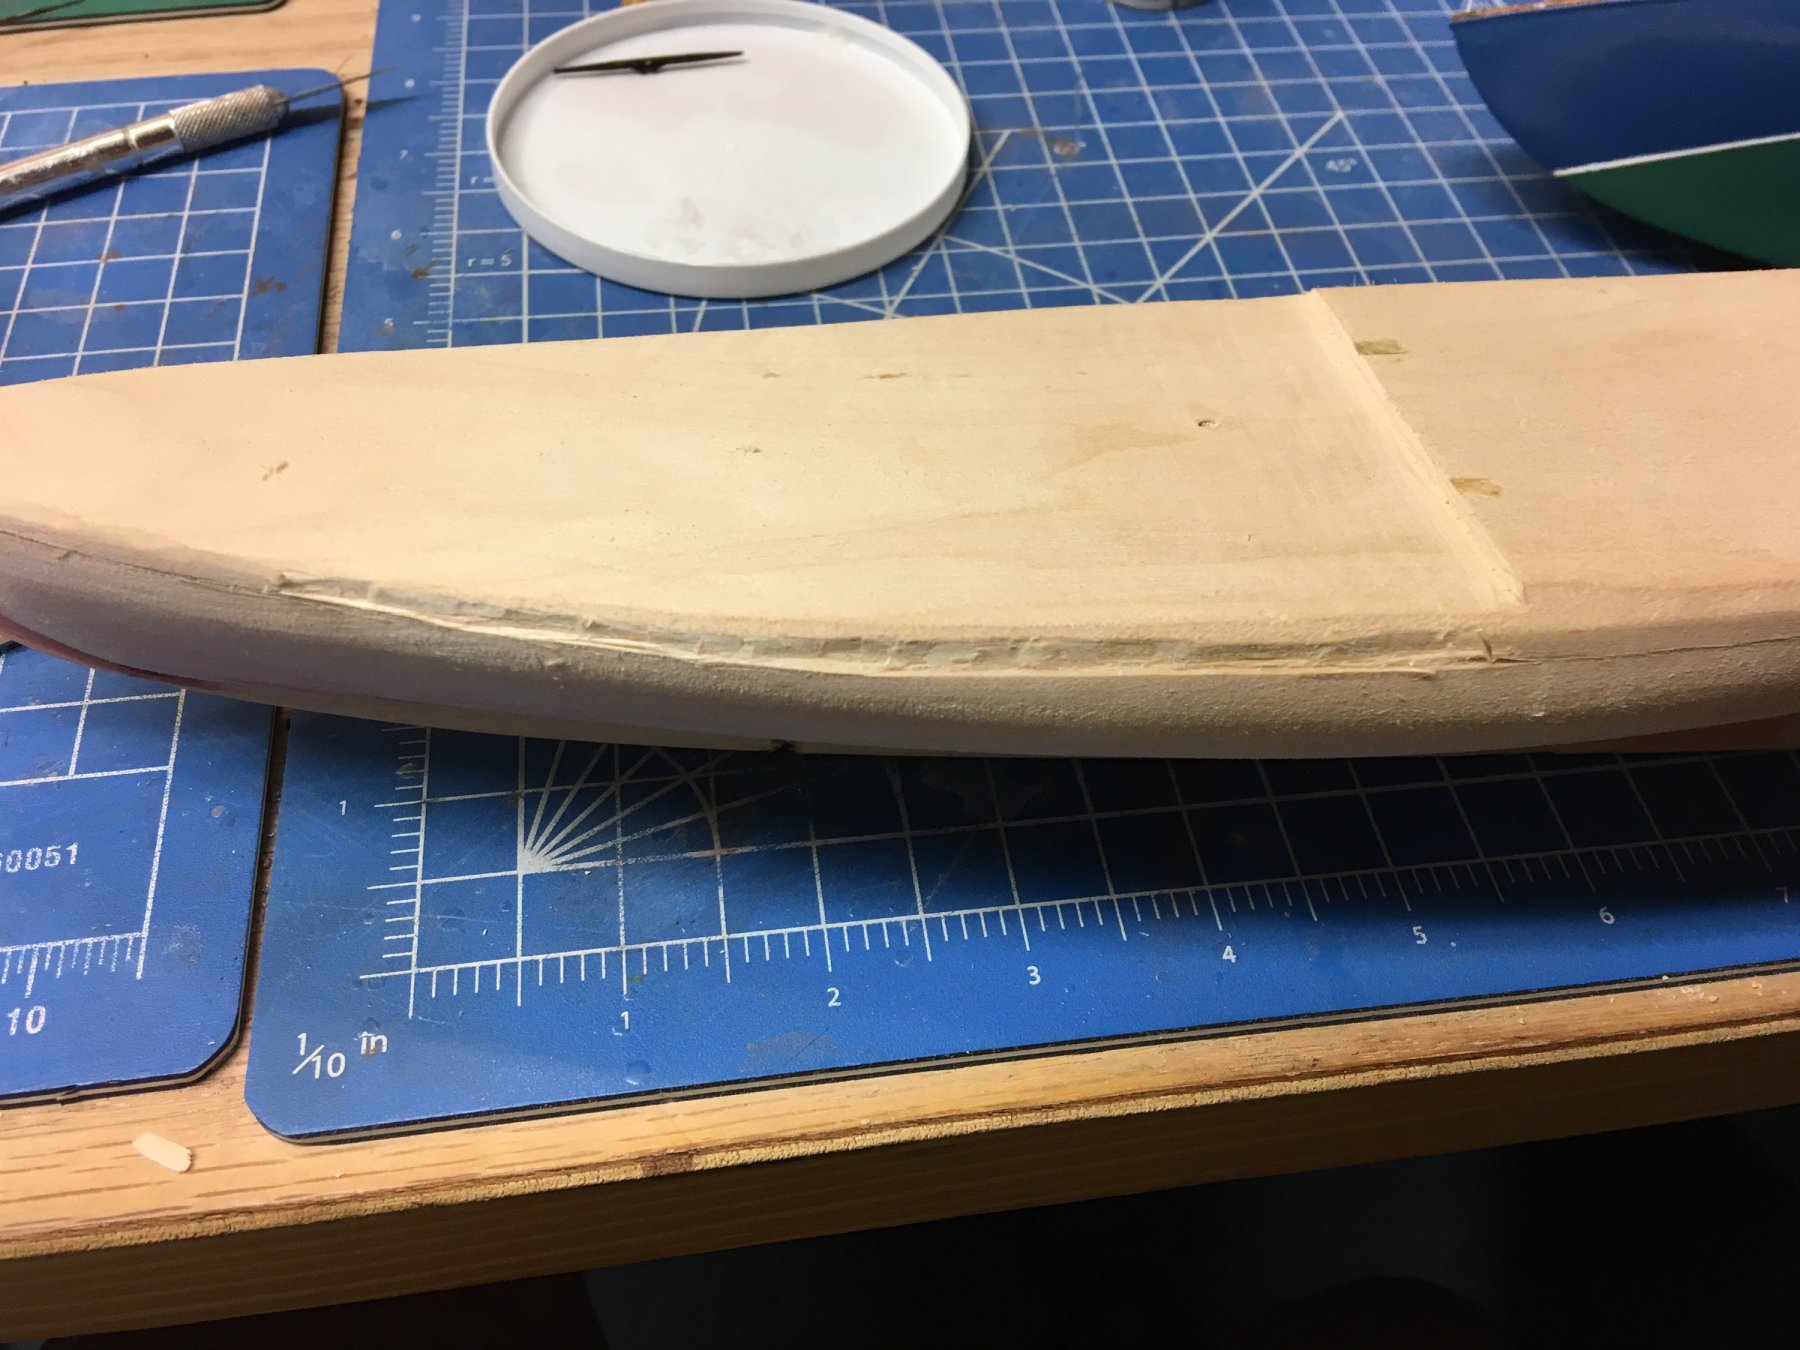
So to attach the bulwarks, you have to cut in a rabbet around the top of the hull. I started with a piece of masking tape, which I then outlined with a pencil. That gave me a good reference to cut a 1/32" groove. Next is to chisel down from the deck to the groove, forming the rabbet for the bulkhead to attach to. You don't have to be super neat, the inside edge will be covered by the bulwark and the decking. I used a sharp (new) #17 chisel blade.

- 77 replies
-
- 9
-
-
- schooner
- solid hull
- (and 4 more)
-
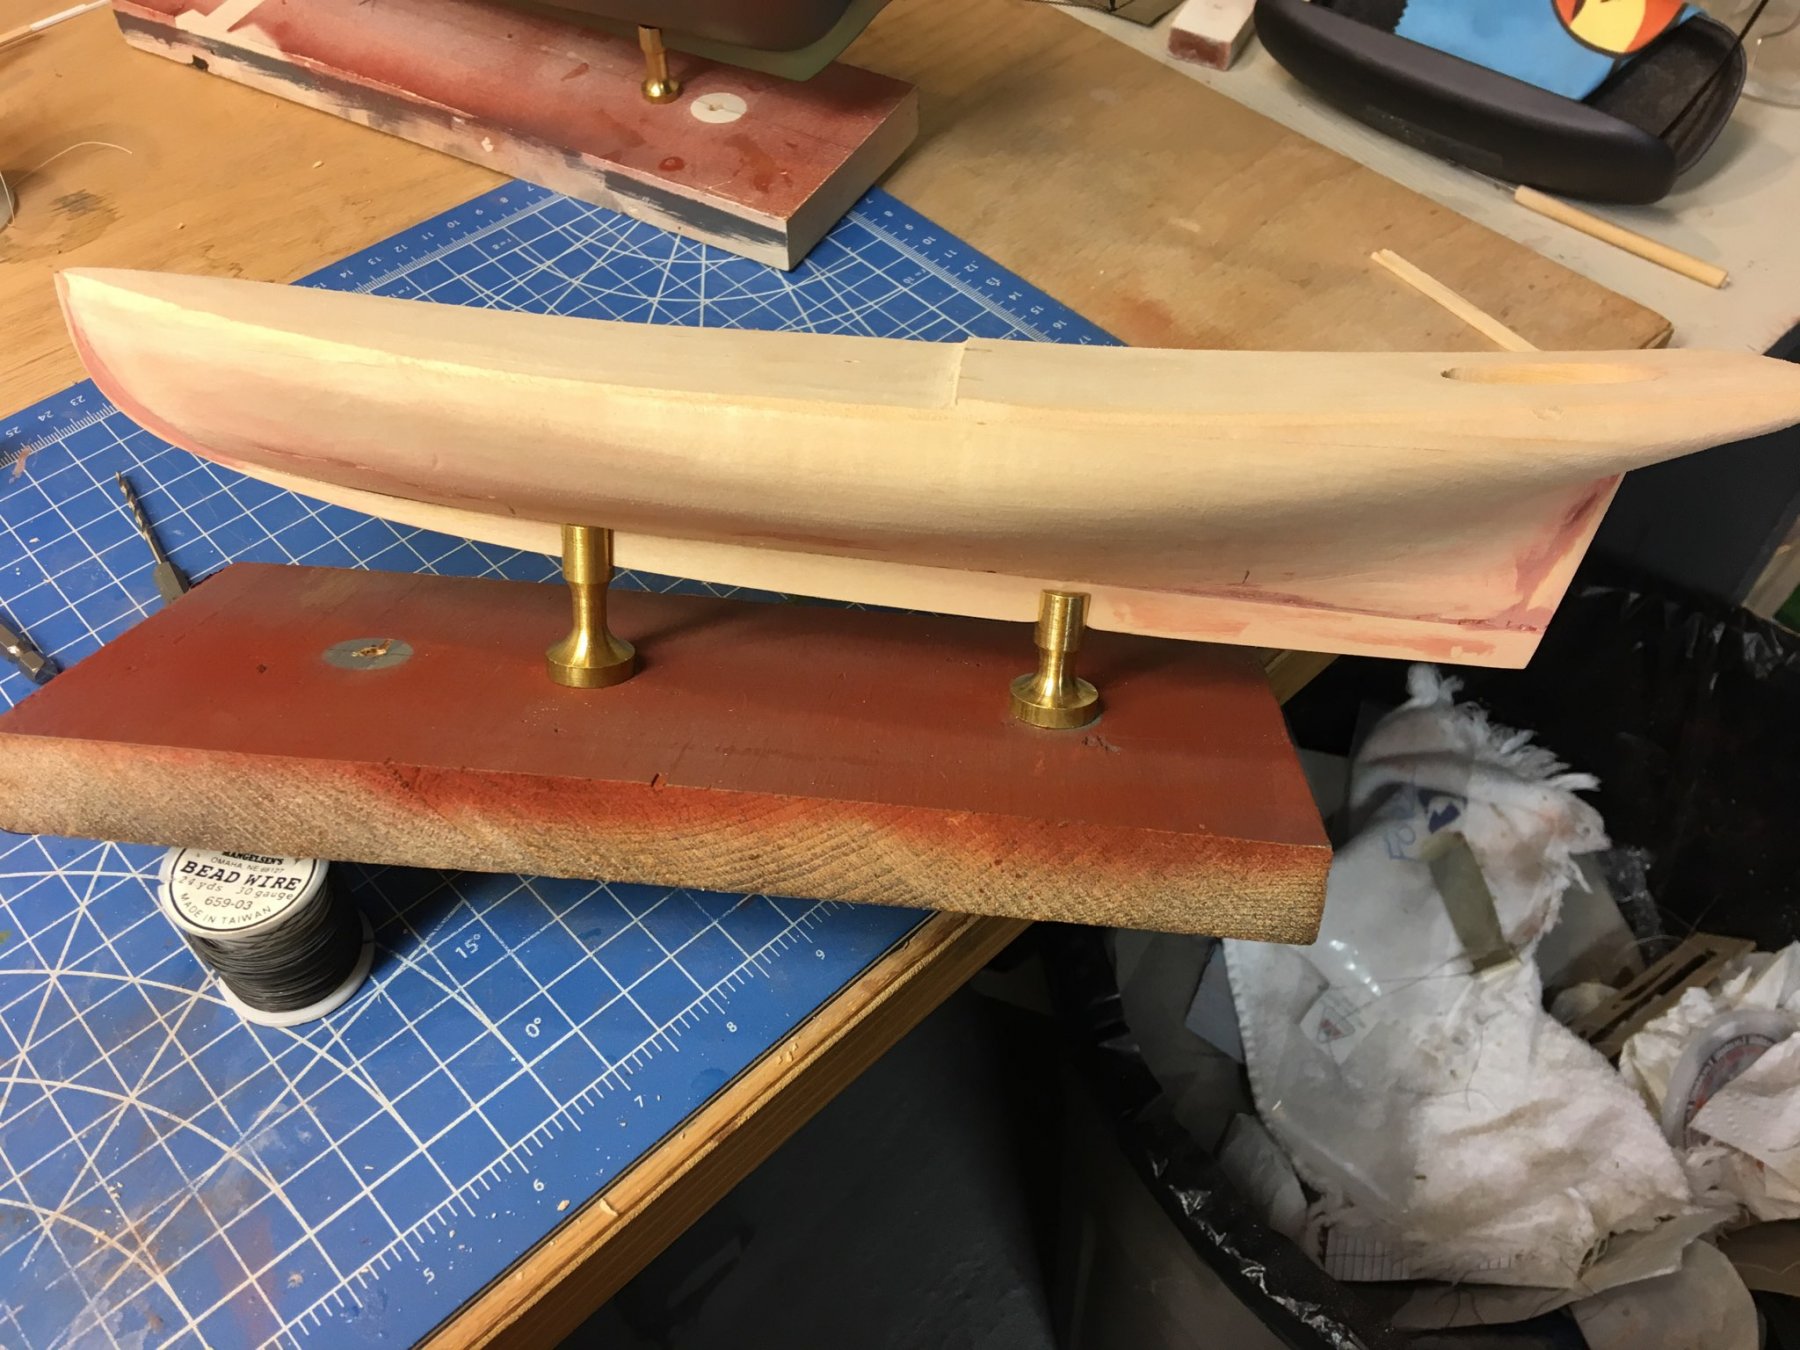
The pedestals are F0876 and F0877. There's more than one way to sequence the hull. My plan is to attach the bulwarks next, then paint their inner surfaces. Then paint the outside of the hull, then attach the copper plates. After that, put the model back on the building board and do the decks.
- 77 replies
-
- 1
-
-
- schooner
- solid hull
- (and 4 more)
-
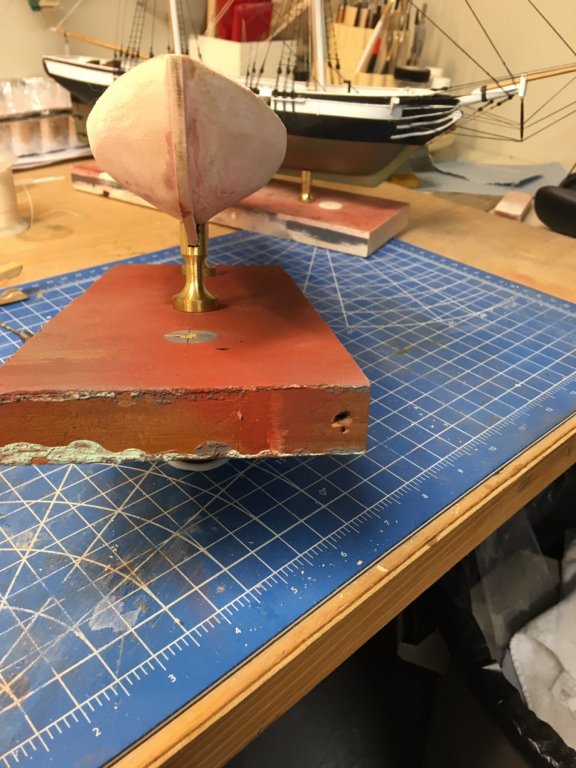
Time to drill out for the mounting pedestals and test fit onto a building board. The mary Taylor has a raked keel, so two different height pedestals are needed. And looking down the bow, it looks pretty straight up and down (Thank God, I hate shimming pedestals)

- 77 replies
-
- 8
-
-
- schooner
- solid hull
- (and 4 more)
-
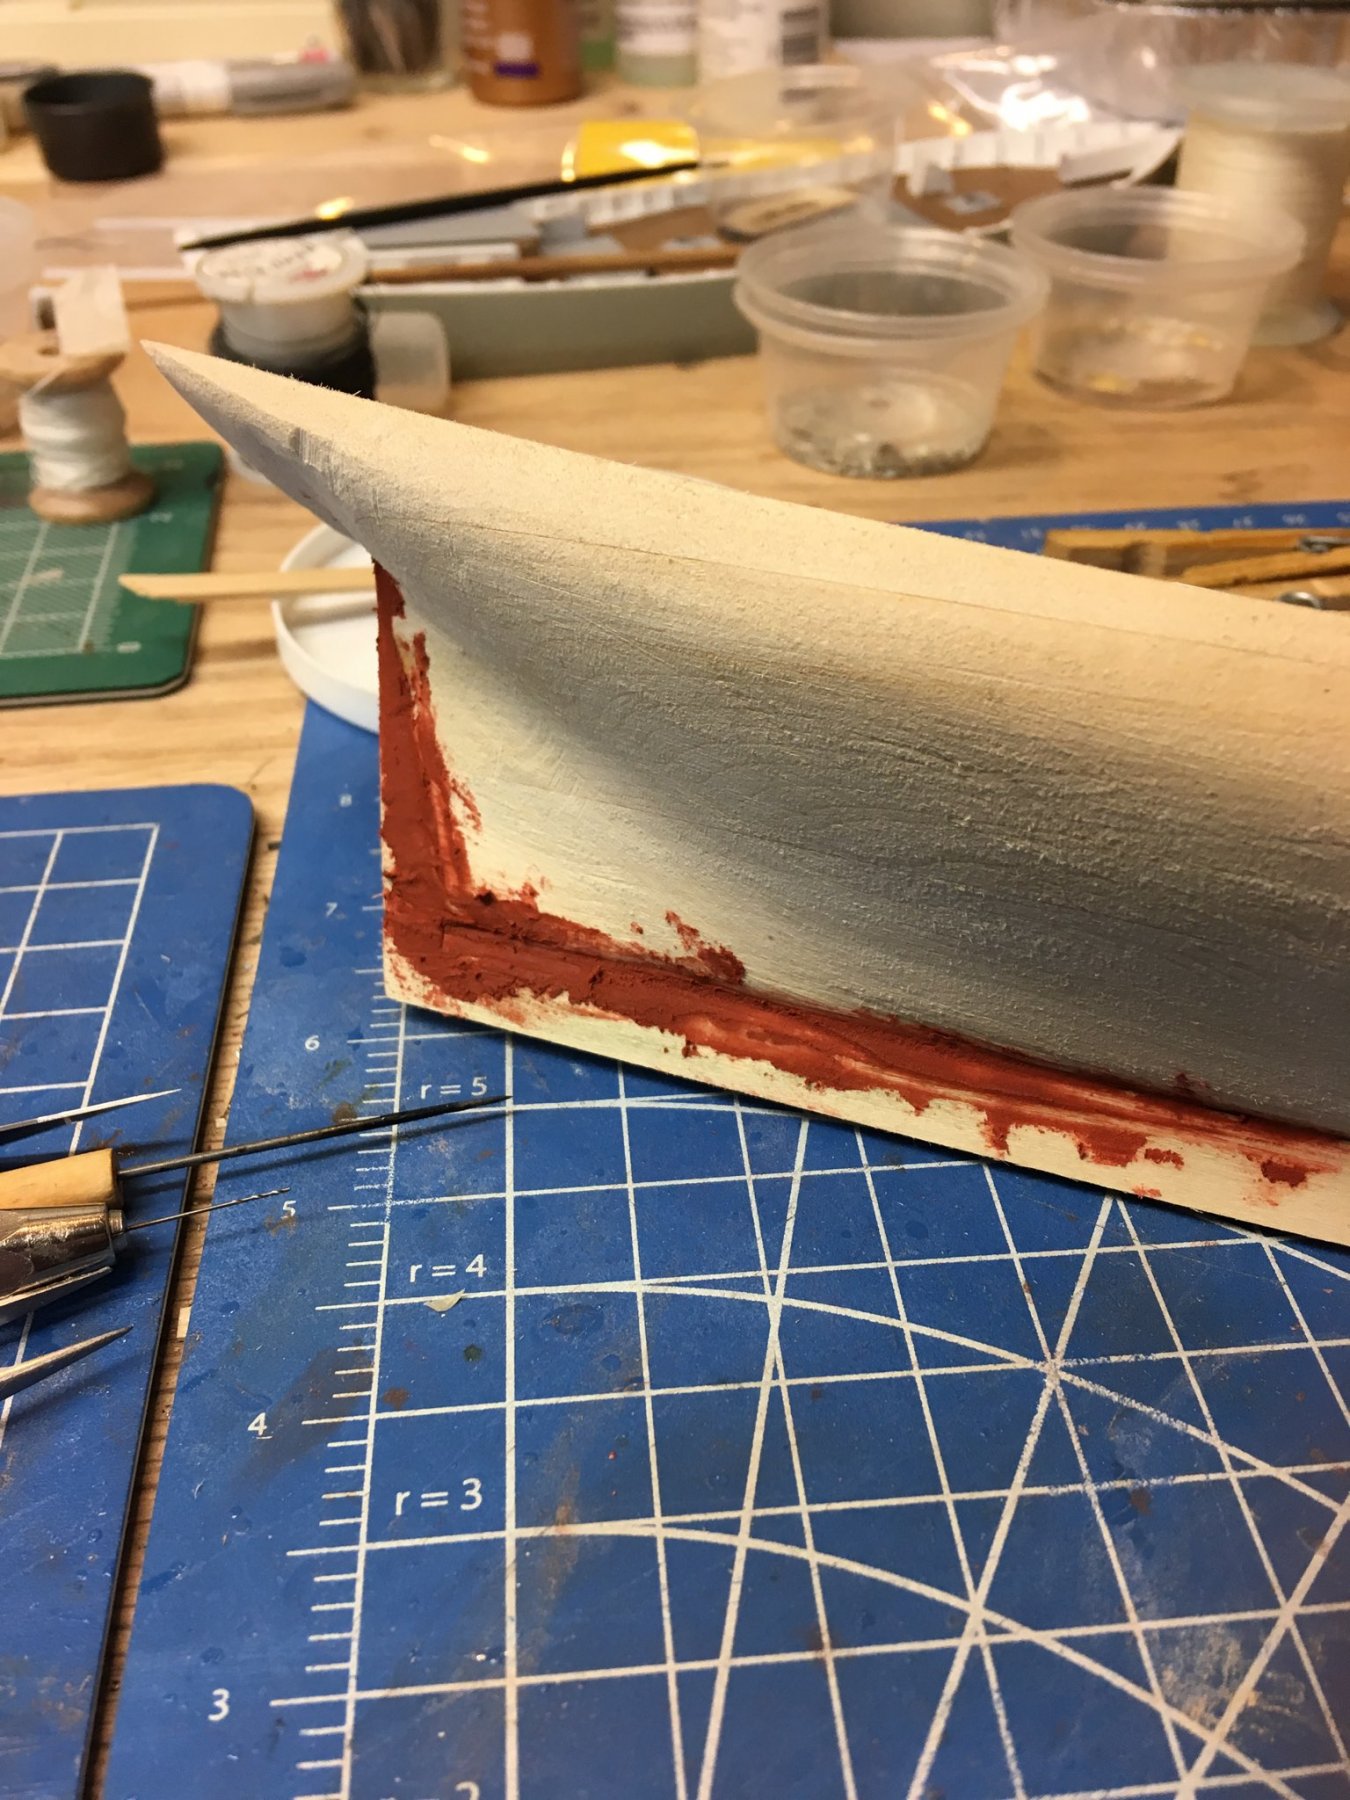
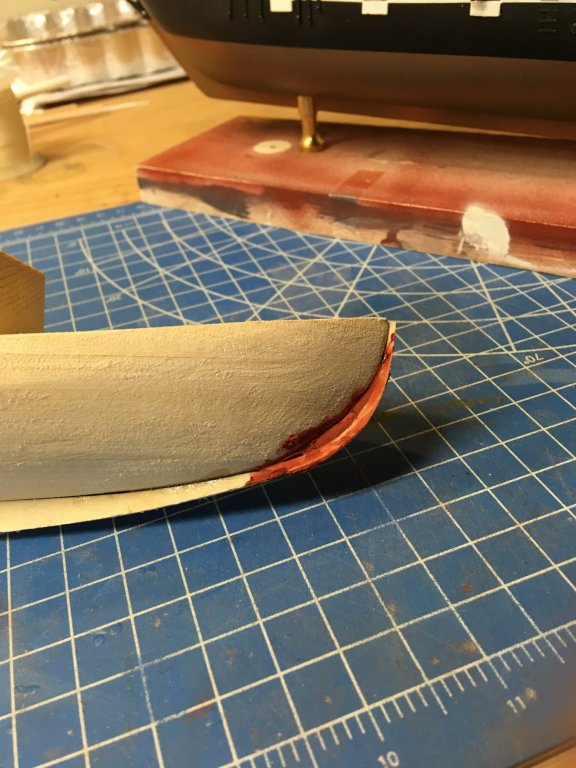
Got a little vigorous with sanding the stem, but a little putty fixes that. Since the bottom will be coppered, no harm done. Some smoothing needed at the stern, too.

- 77 replies
-
- 9
-
-
- schooner
- solid hull
- (and 4 more)
-
Some people prefer to remove the bulwarks altogether and inset a piece of ply. That's how the Mary Taylor is built.
- 104 replies
-
- 5
-
-
- constitution
- BlueJacket Shipcrafters
- (and 1 more)
-
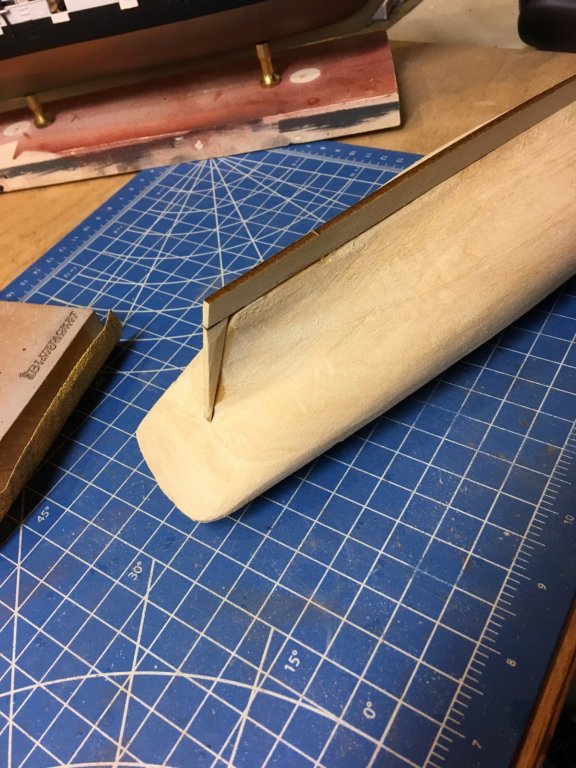
So finally got the stern shaped, the rest of the hull only needed a little cleaning up. So like jfinan said in his Constitution build "laying the keel is always a momentus occasion"
- 77 replies
-
- 8
-
-
- schooner
- solid hull
- (and 4 more)