MrBlueJacket
-
Posts
1,314 -
Joined
-
Last visited
Content Type
Profiles
Forums
Gallery
Events
Everything posted by MrBlueJacket
-
 Yes. Yes I am. Nic
 -
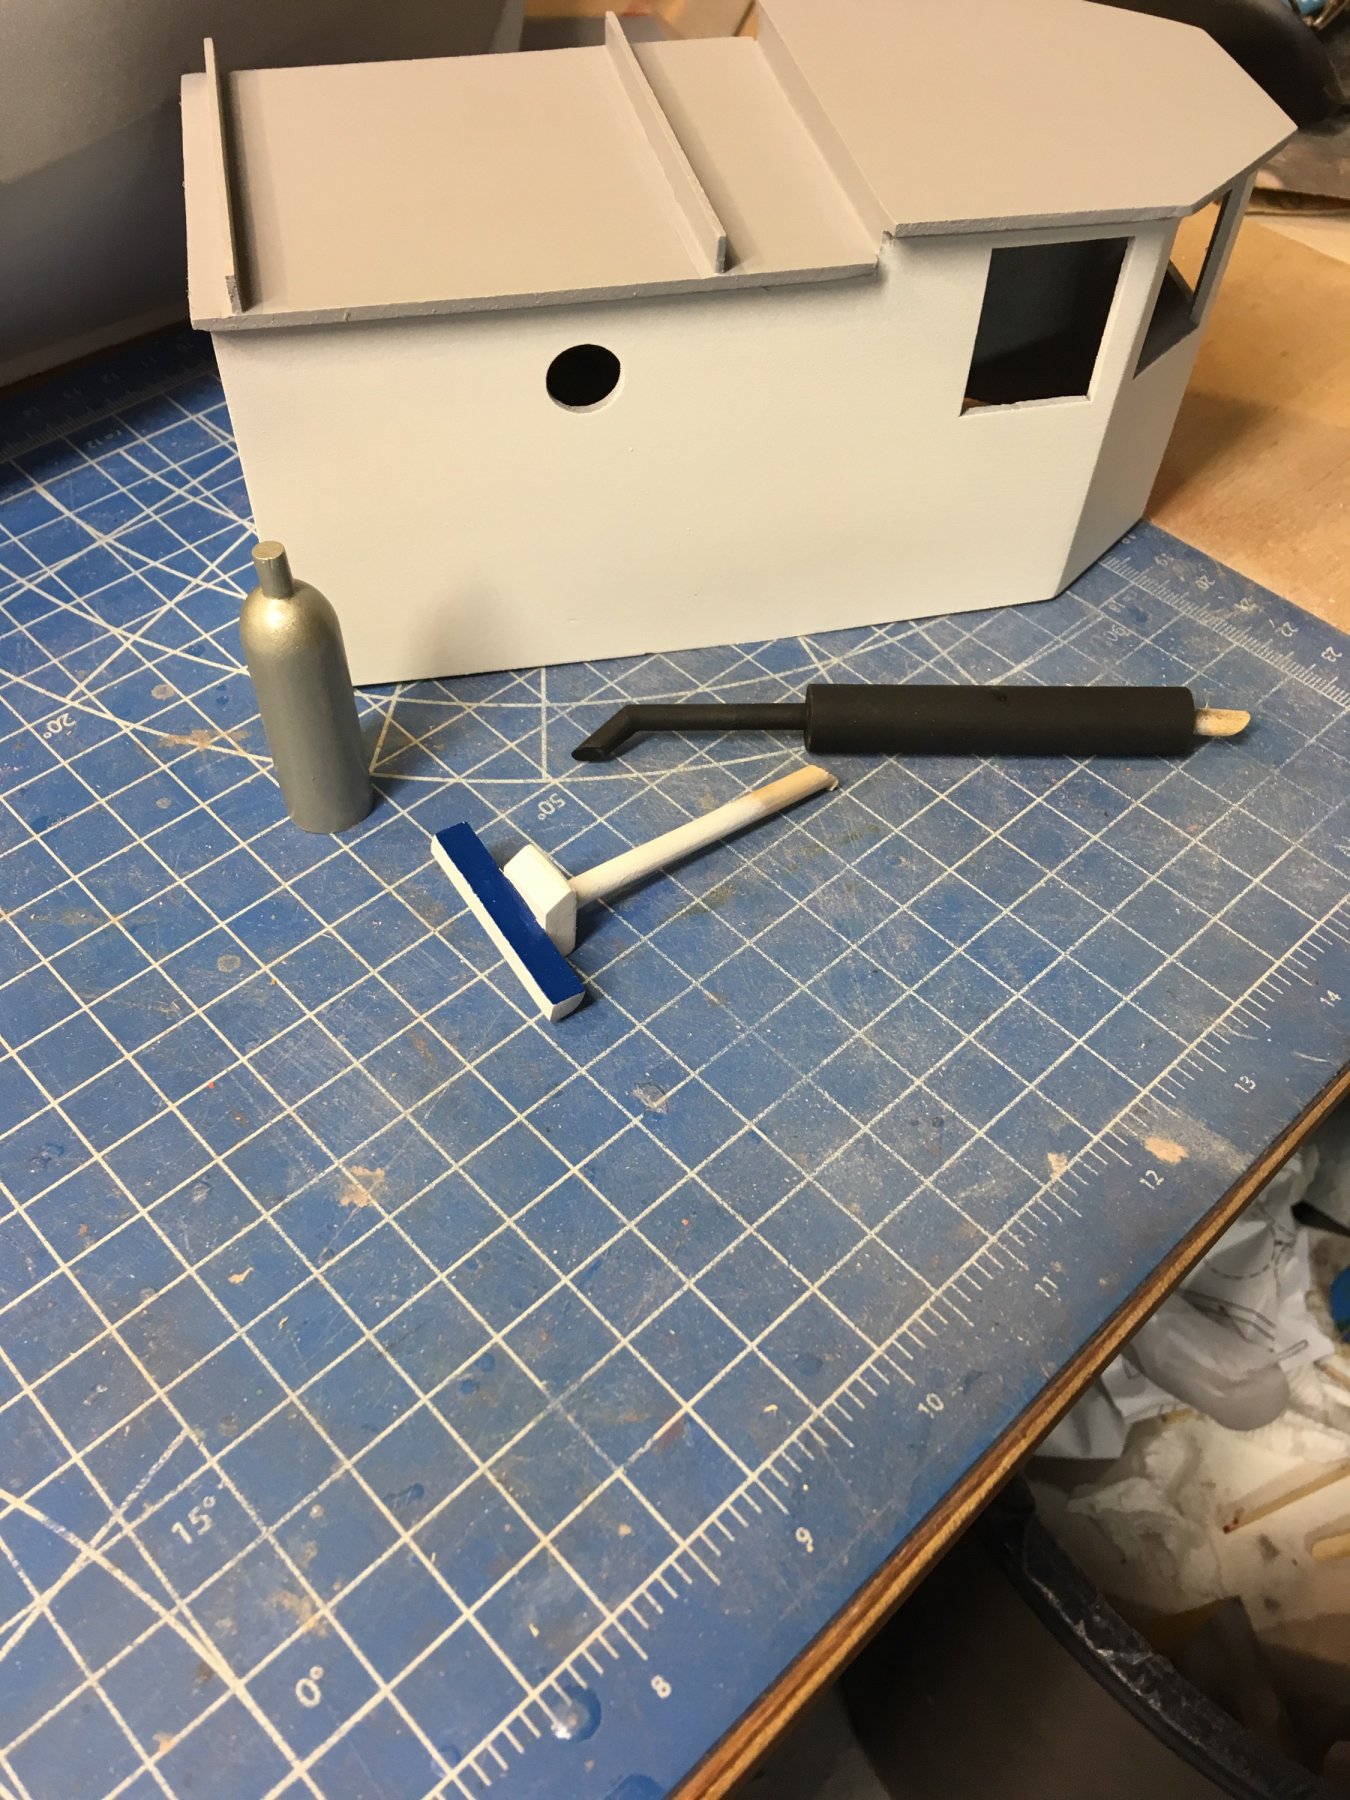
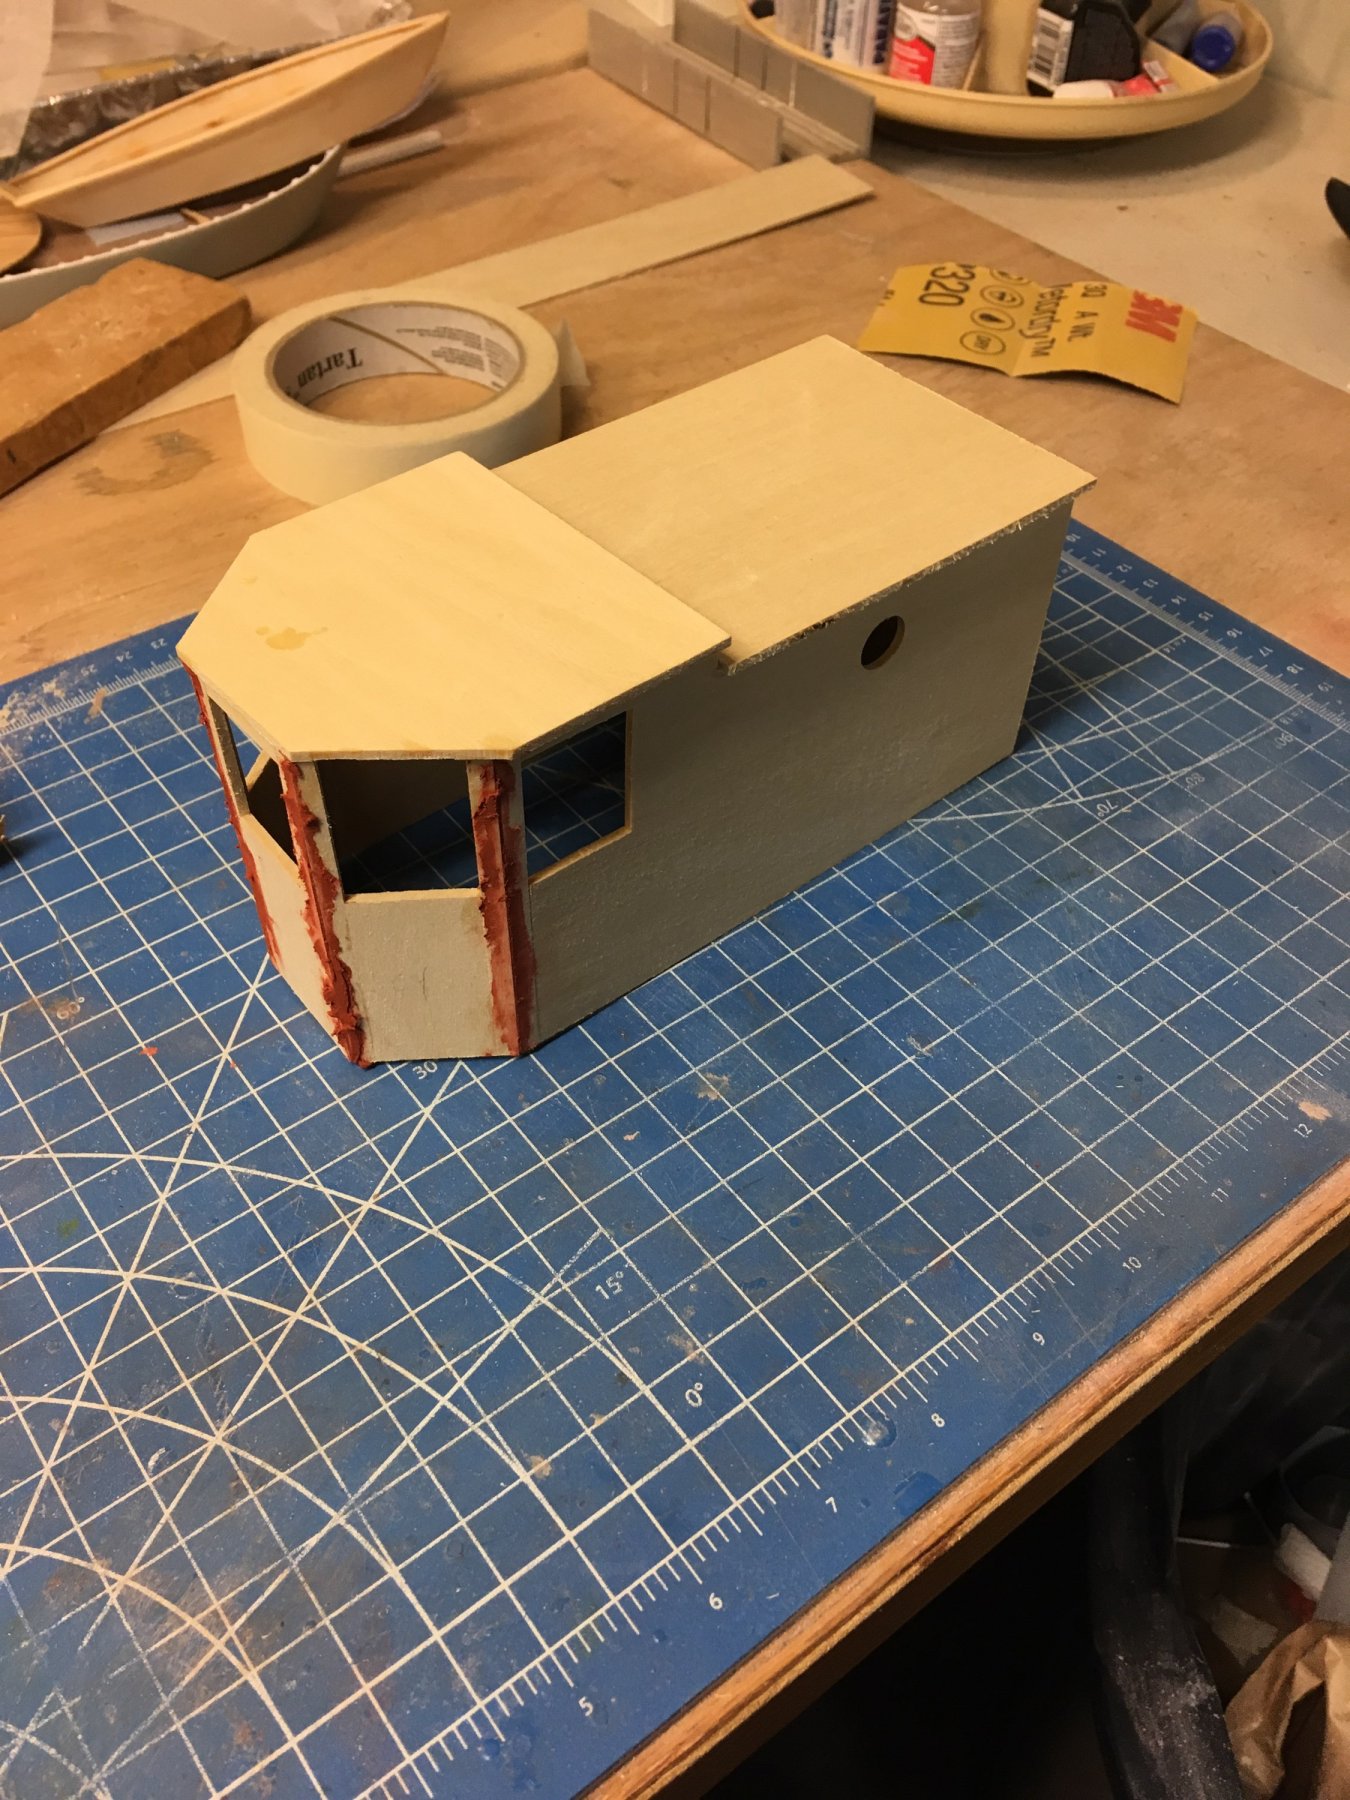
In the meantime, built the propane tank, X-band radar, and muffler/exhaust as well as painting the pilot house.

- 64 replies
-
- 7
-

-
- laughing whale
- trawler
- (and 2 more)
-
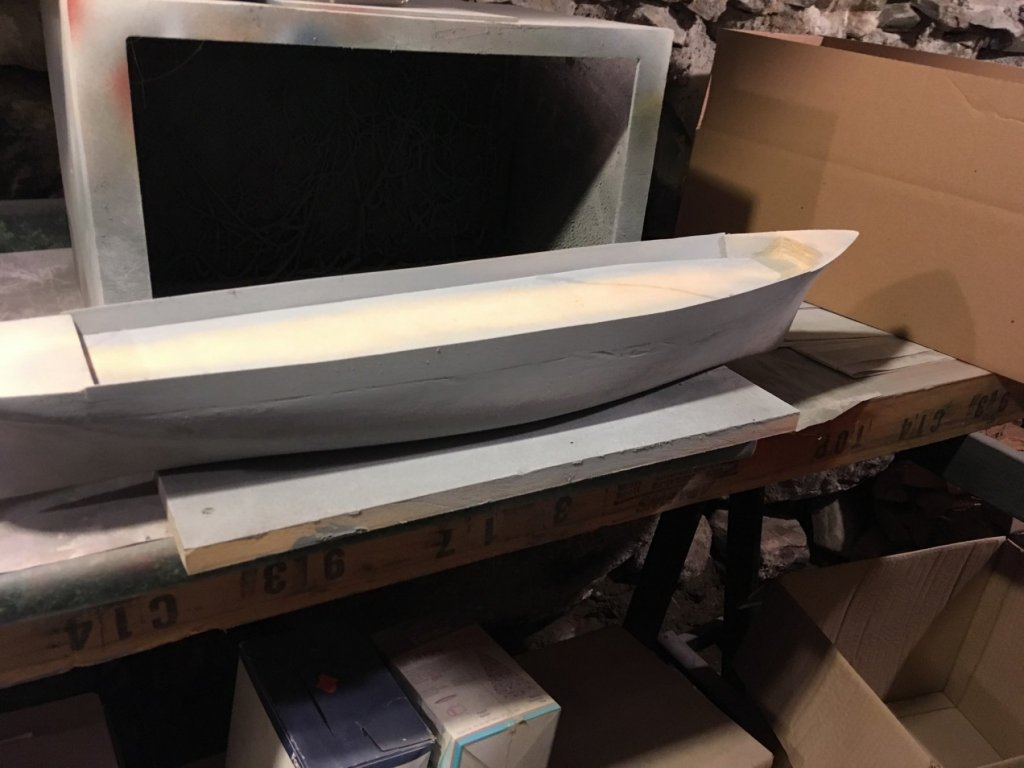
Moving up to the bow, the stem fits pretty good, I think.

- 356 replies
-
- 5
-
-
- red jacket
- finished
- (and 1 more)
-
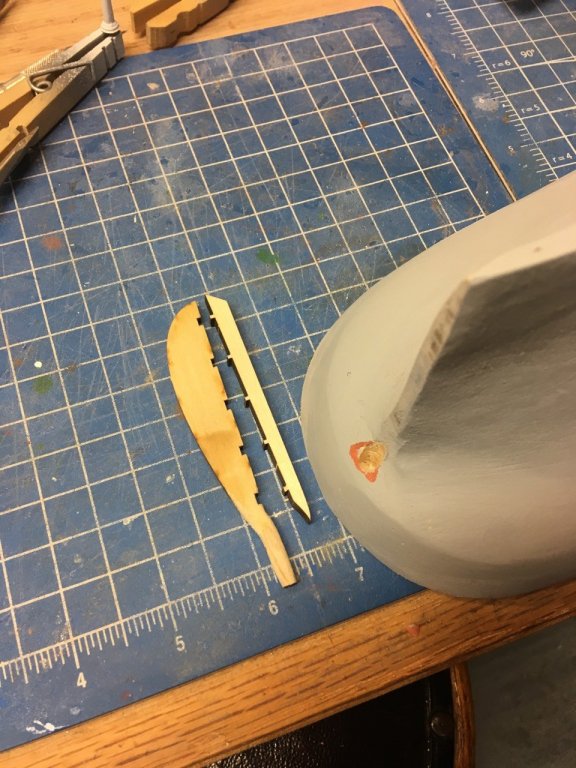
Yes, it was only one more round of primer/putty. Here's a shot of the rudder and sternpost, and the rudder hole drilled into the hull.
- 356 replies
-
- 5
-
-
- red jacket
- finished
- (and 1 more)
-
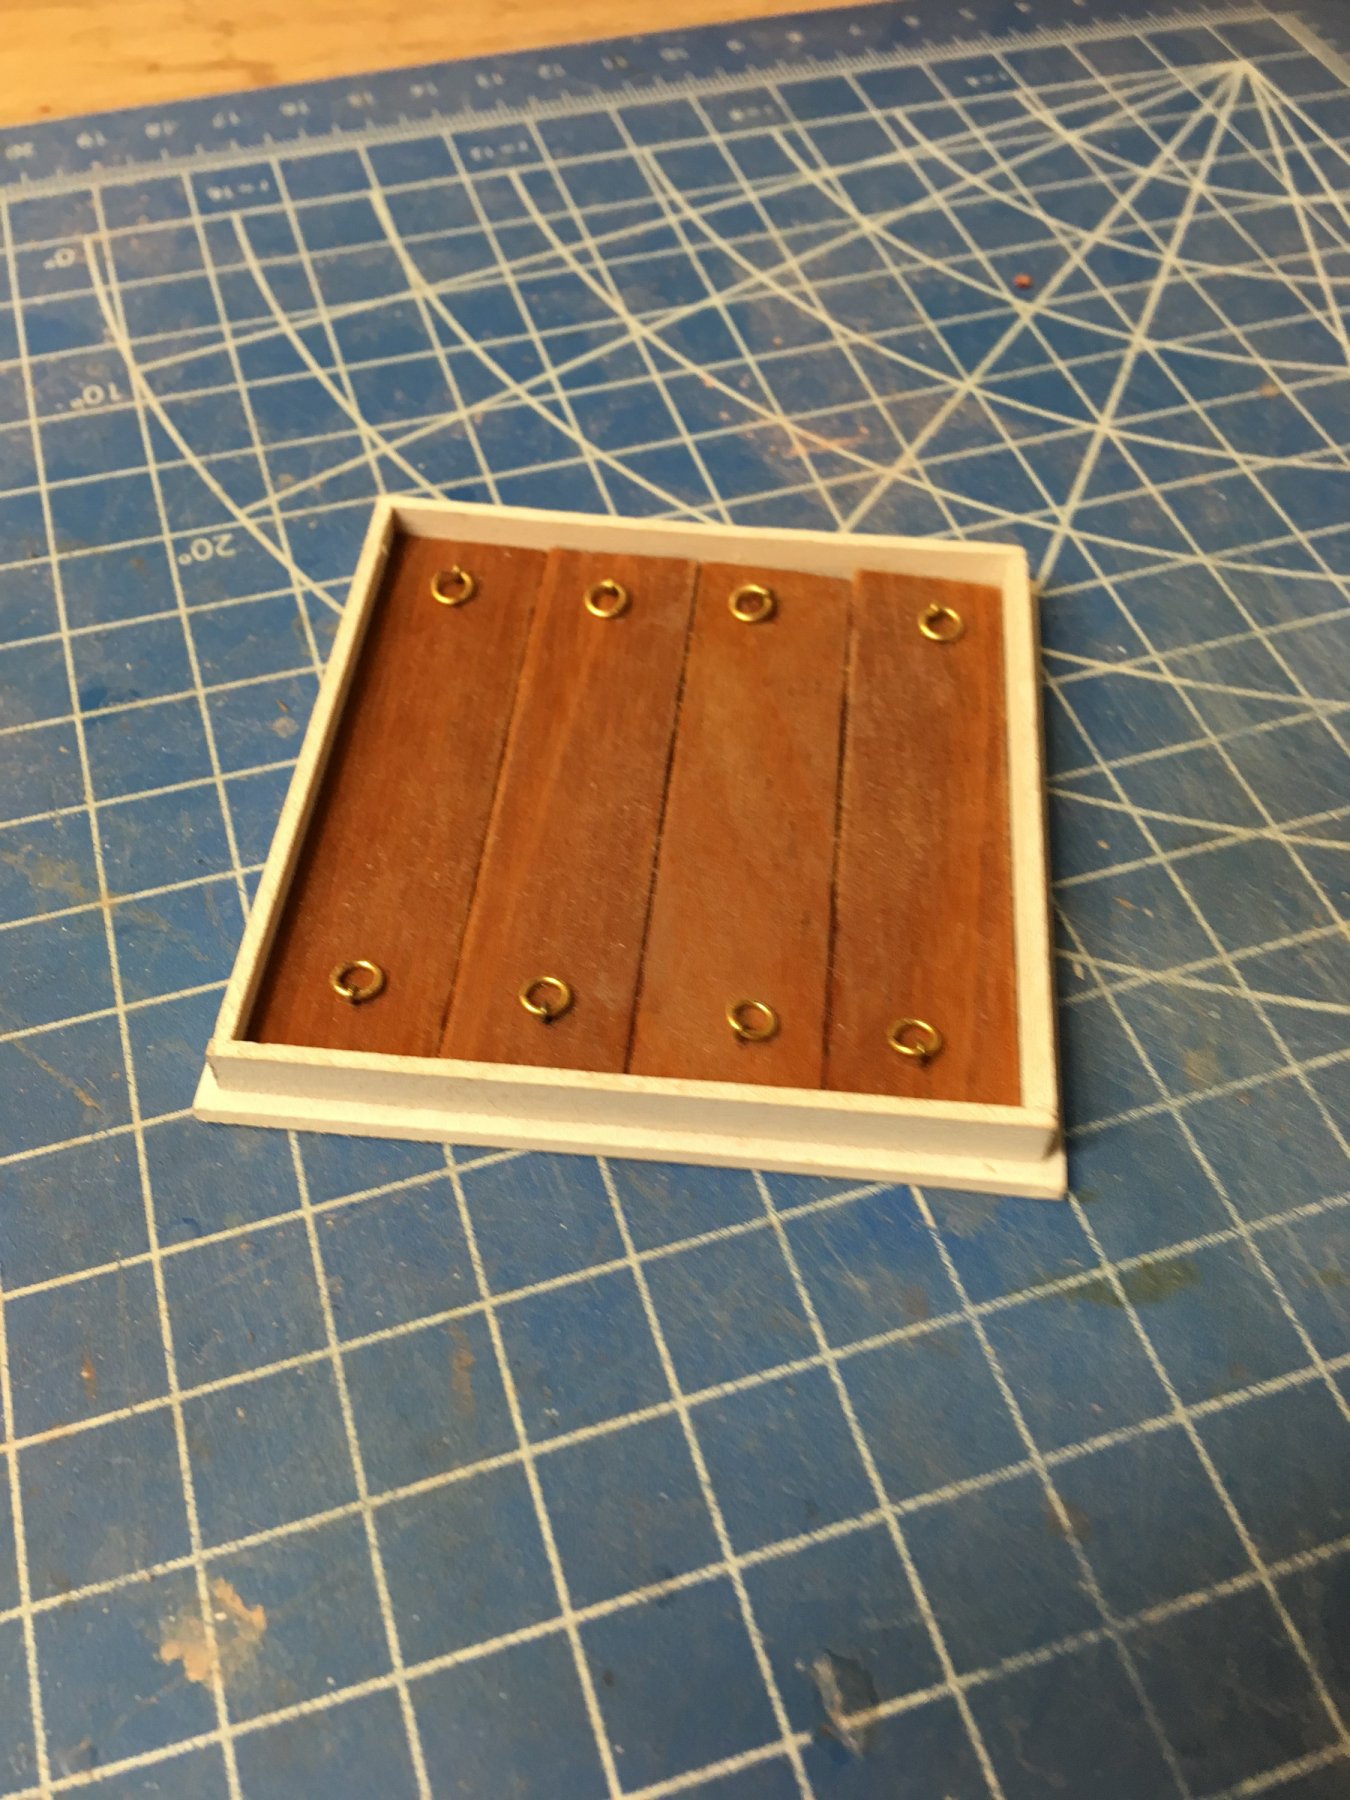
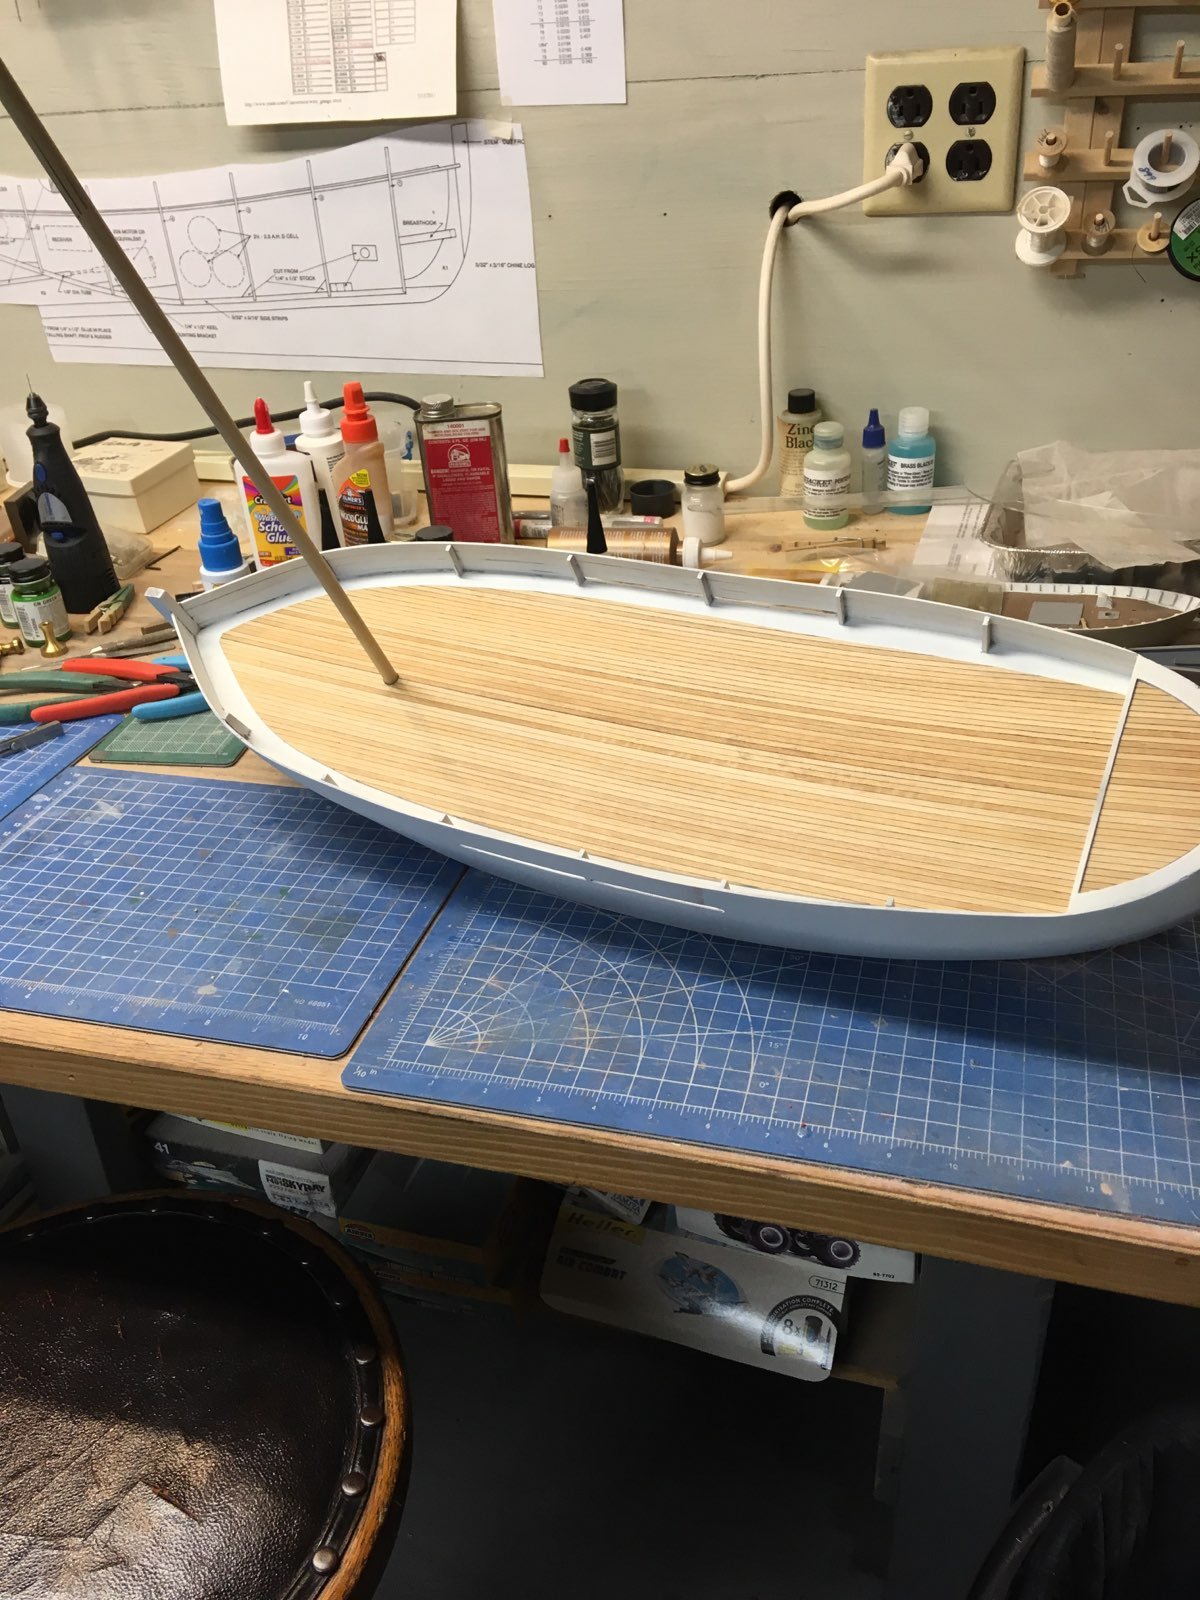
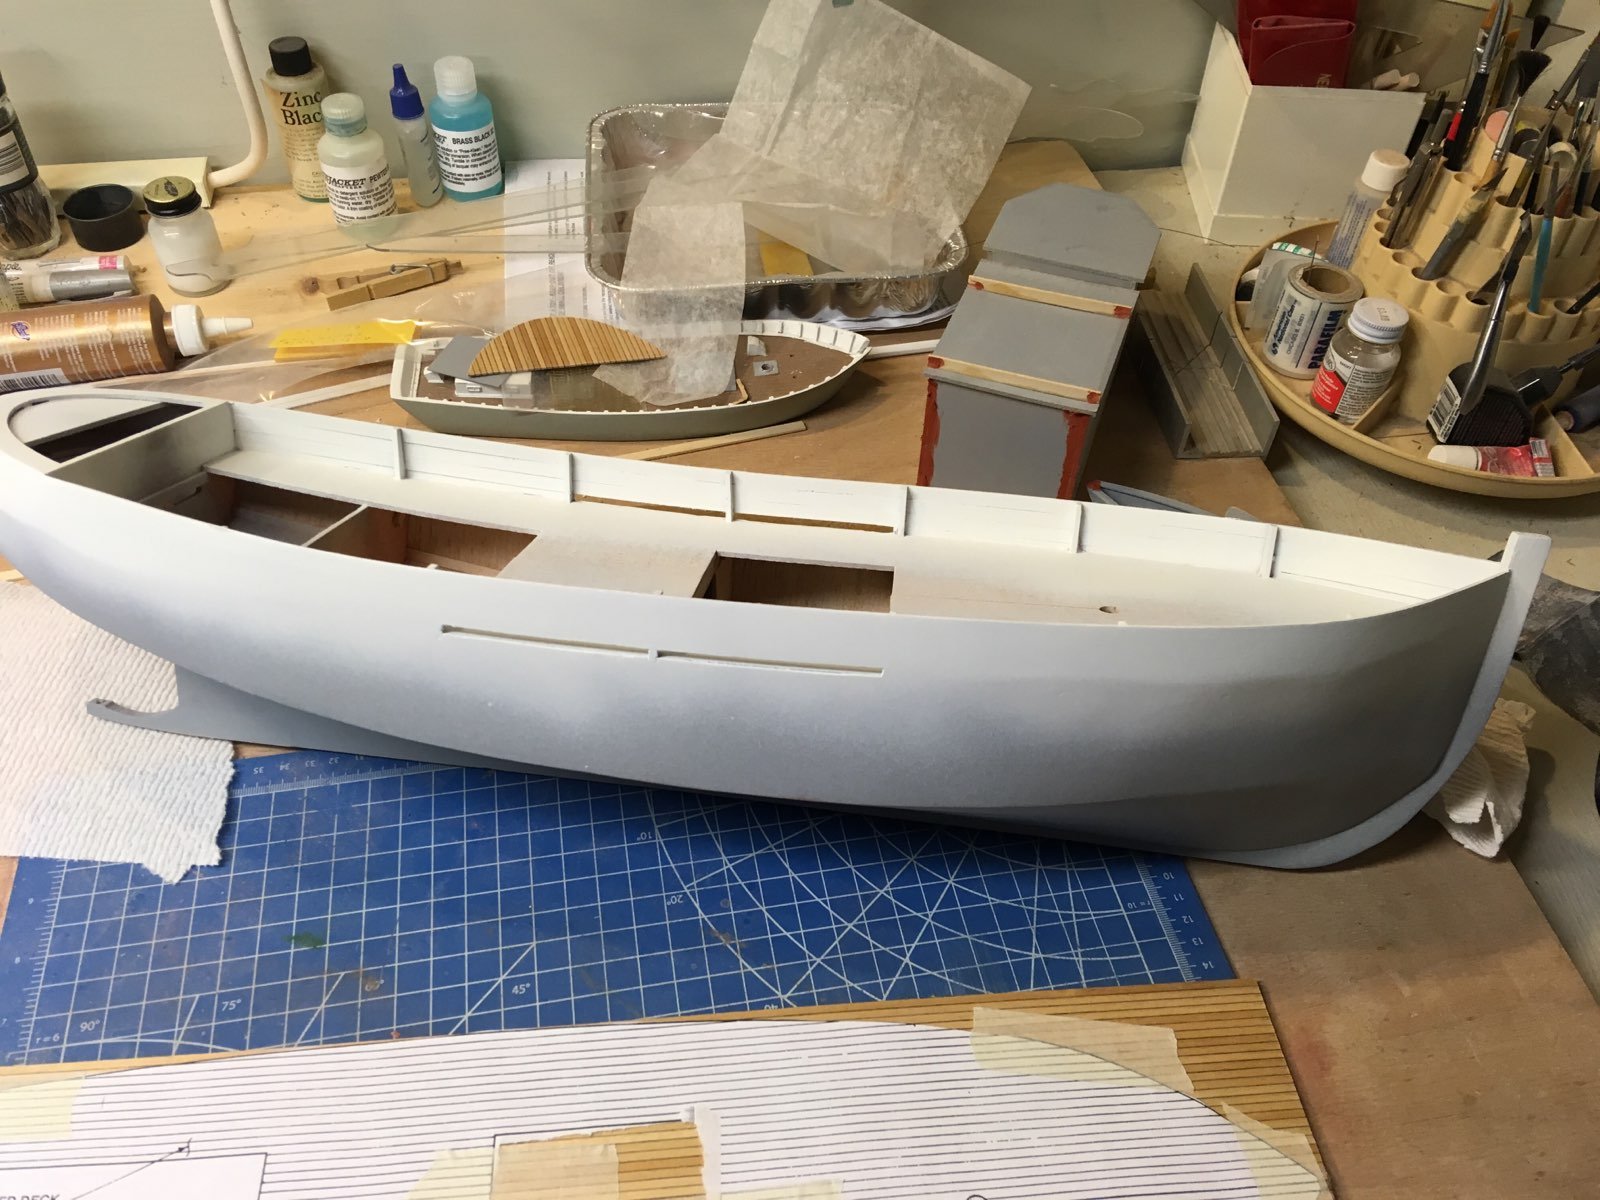
So I thought I might as well add the deck before shooting the green paint......

- 64 replies
-
- 6
-
-
- laughing whale
- trawler
- (and 2 more)
-
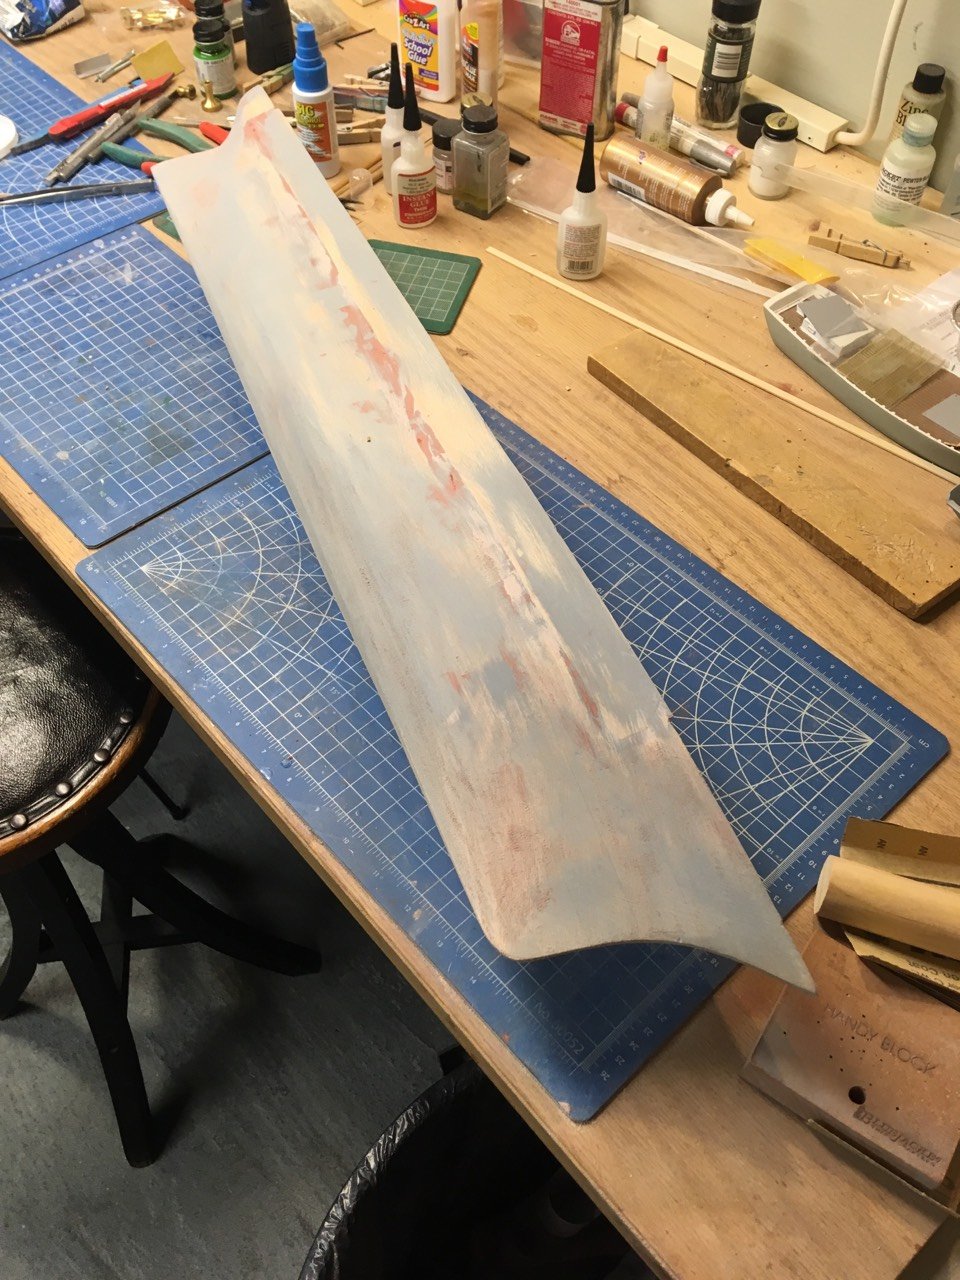
Filled in with auto glazing putty and sanded it down. Hopefully only one more round of primer and putty?

- 356 replies
-
- 11
-
-
- red jacket
- finished
- (and 1 more)
-
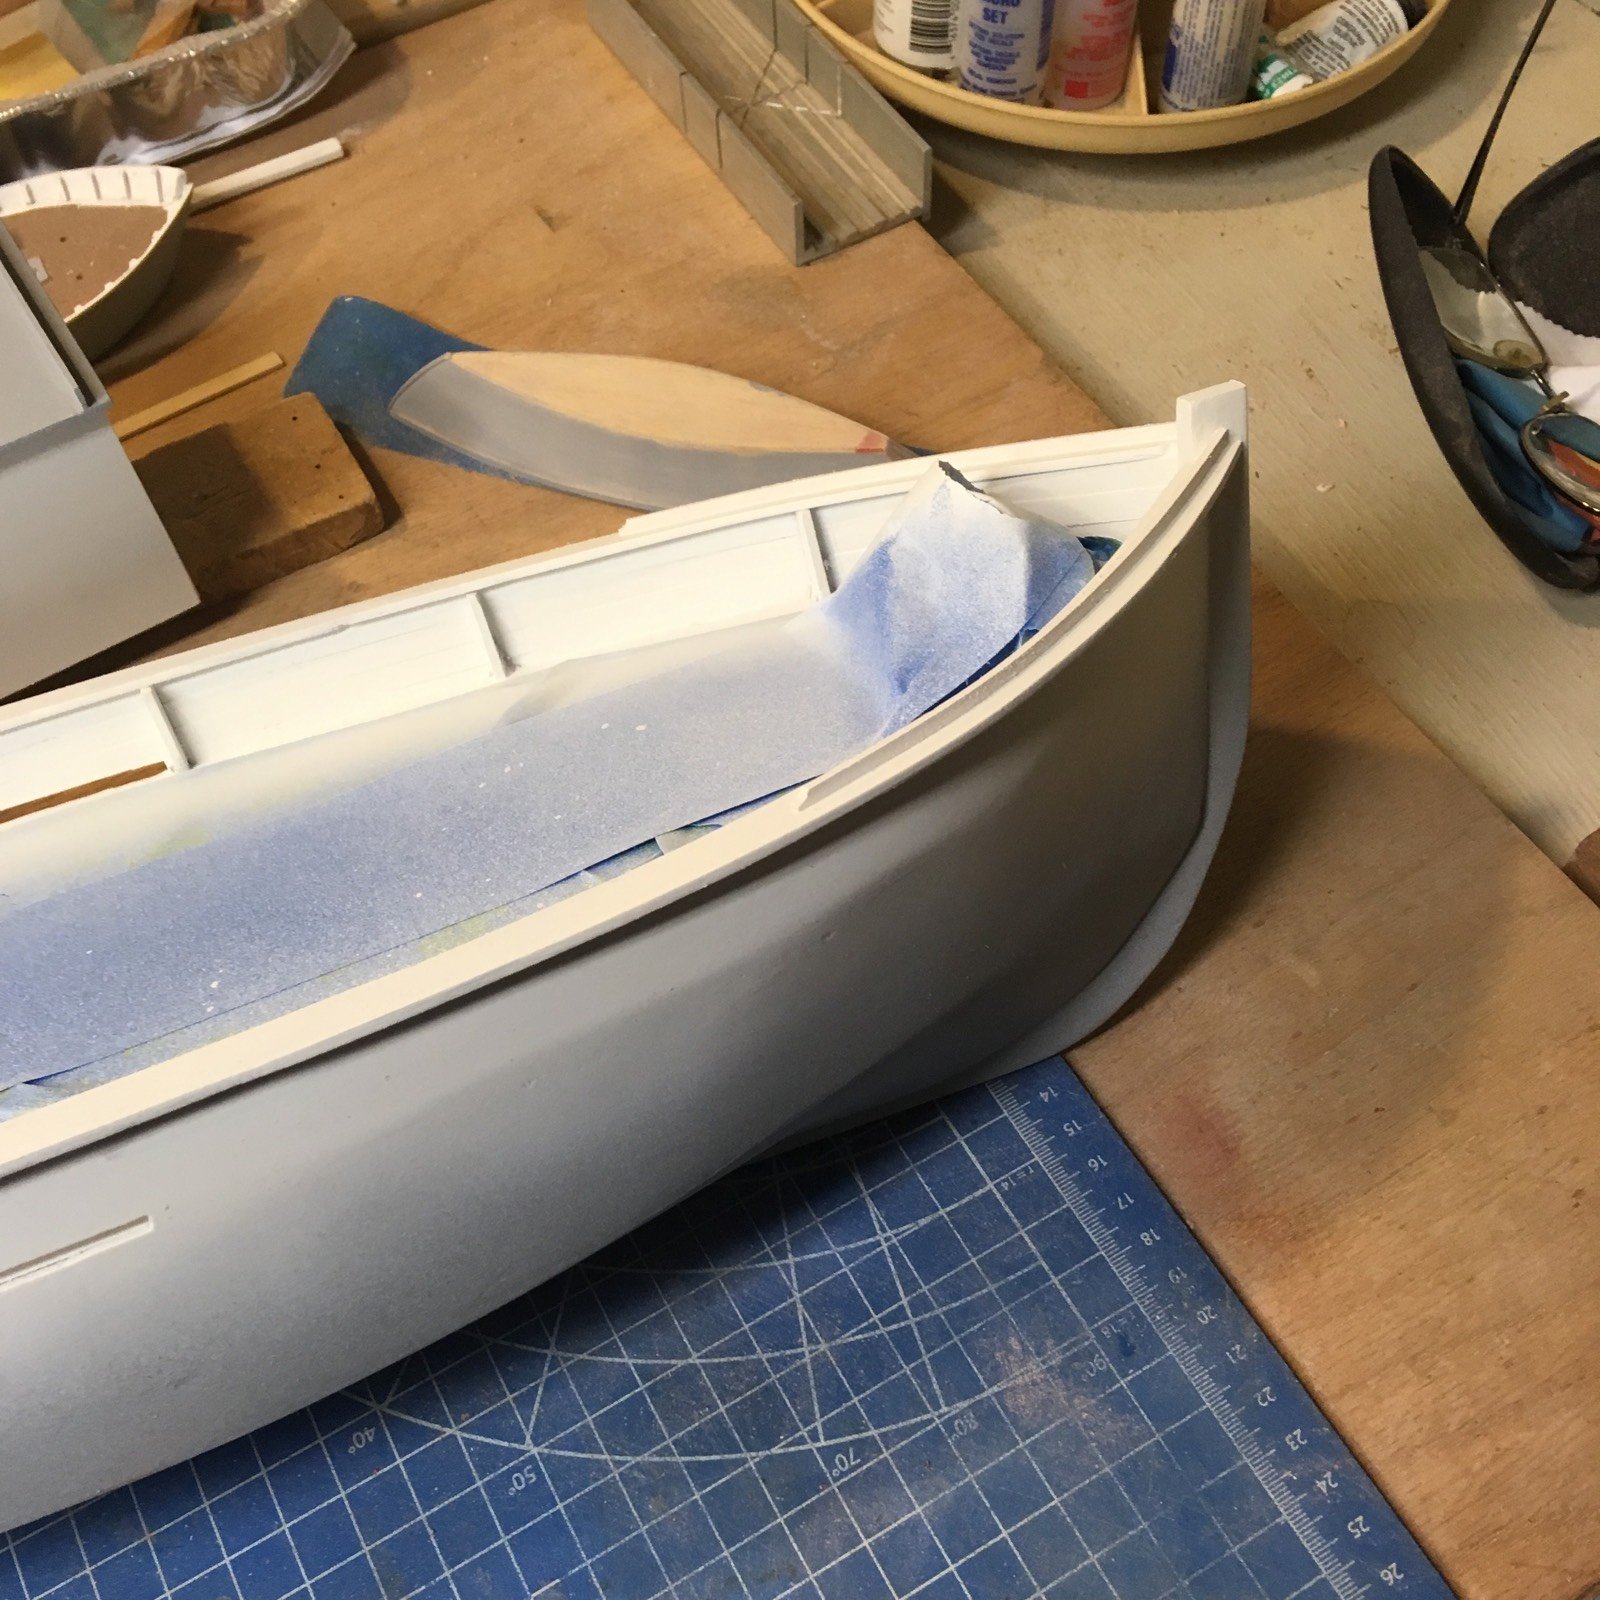
Thank you! Next is masking off for the green paint on the hull.
- 64 replies
-
- 1
-
-
- laughing whale
- trawler
- (and 2 more)
-
So now the bulwarks are in, a coat of bondo applied to the gaps in the joint and sanded, and a quick shot of primer to highlight the "discrepancies"
- 356 replies
-
- 12
-
-
- red jacket
- finished
- (and 1 more)
-
Here is the hull, all primed and the white paint put on the bulwarks.

- 64 replies
-
- 5
-
-
- laughing whale
- trawler
- (and 2 more)
-
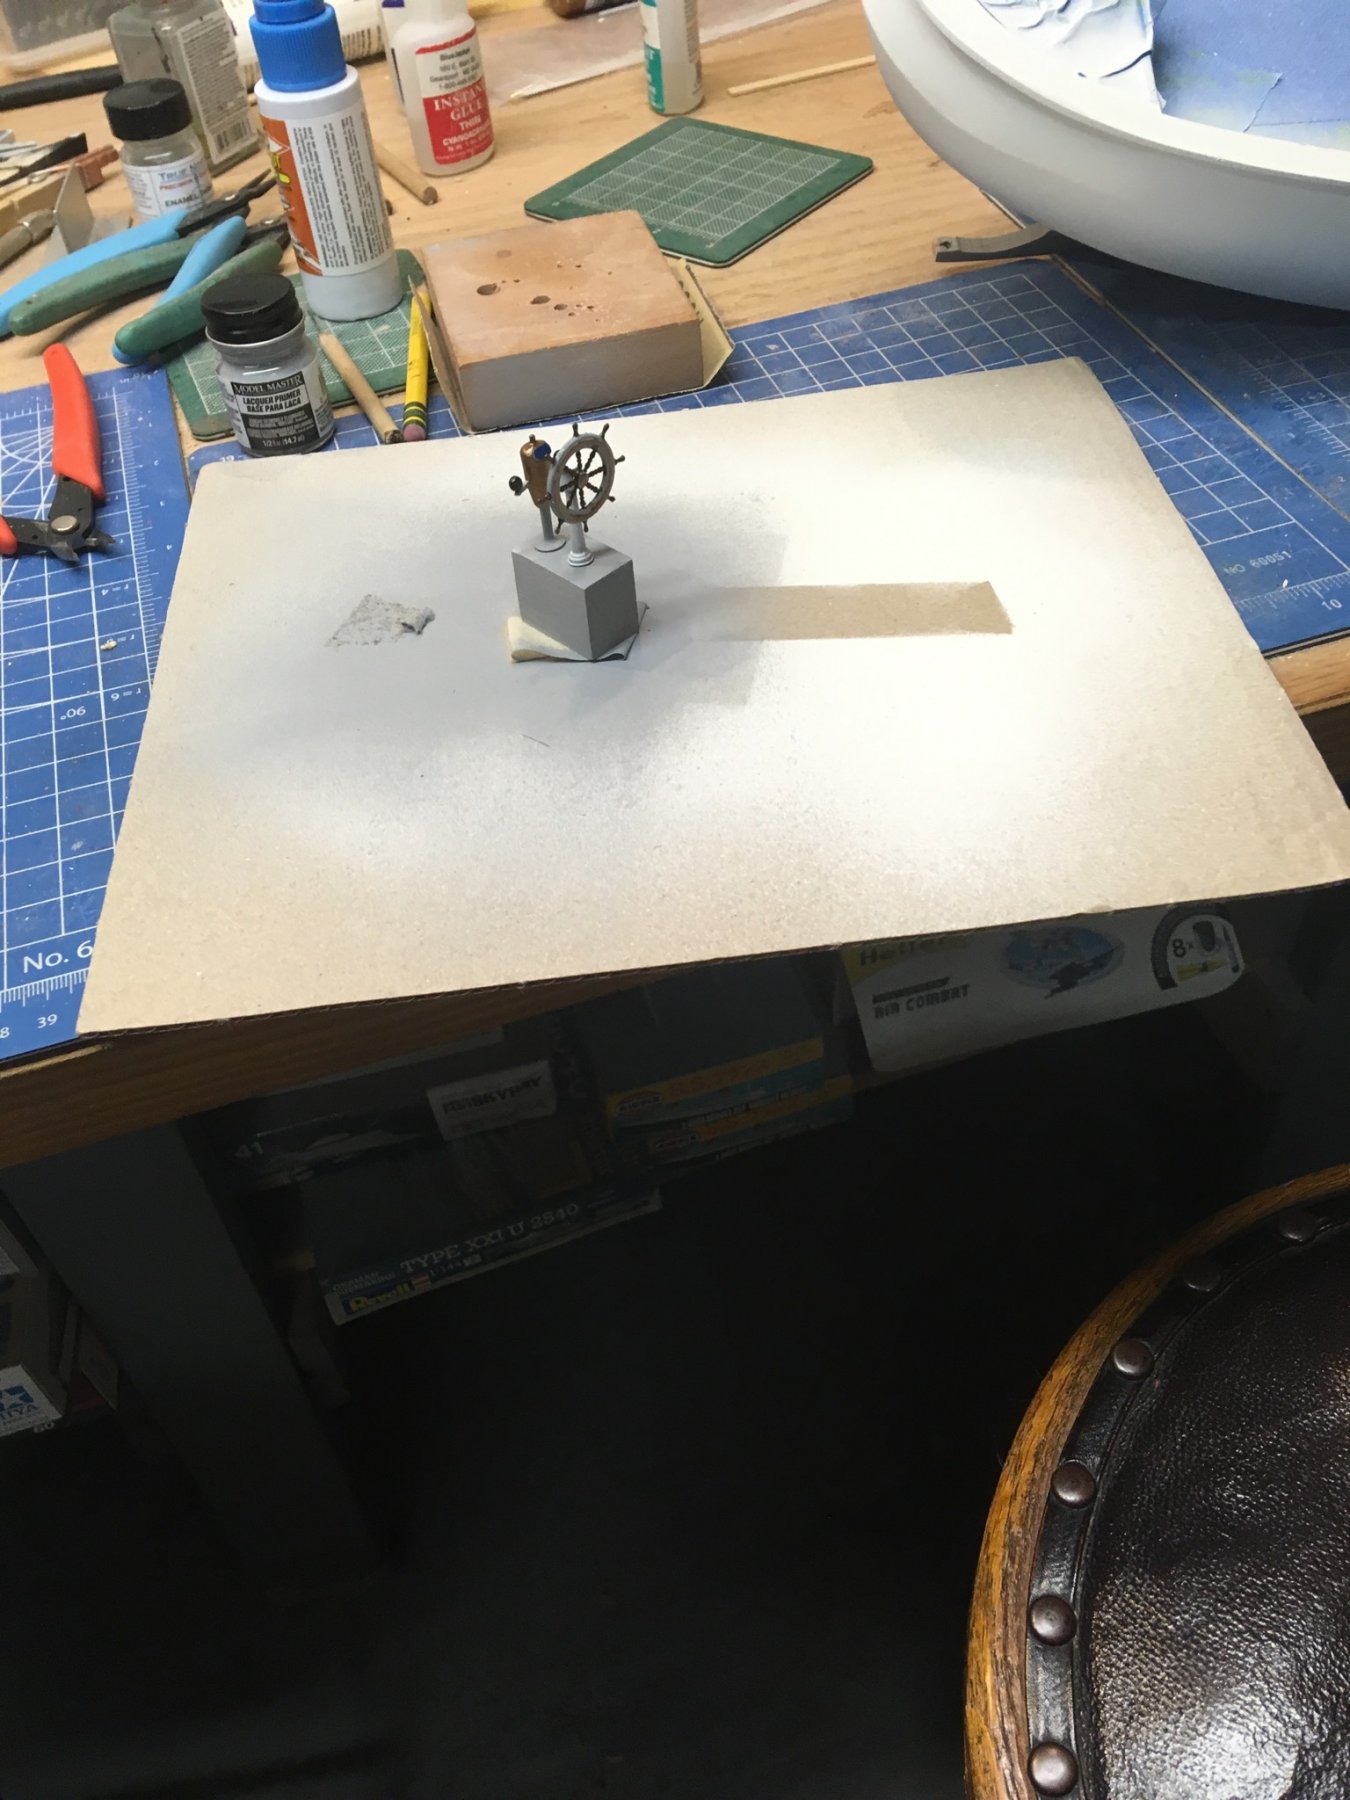
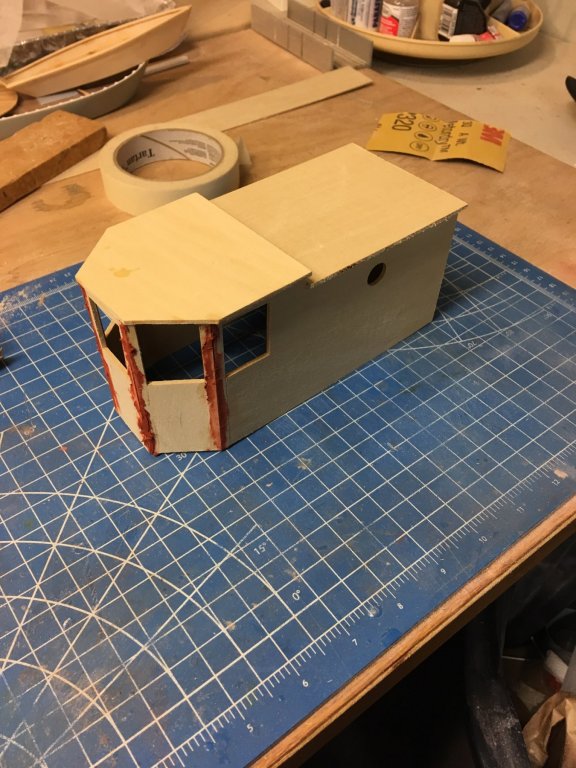
While doing the sand, primer, putty, sand, etc. I started on the pilothouse.
- 64 replies
-
- 3
-
-
- laughing whale
- trawler
- (and 2 more)
-
Andy - I think you are doing a good job. Remember the old quote: "Putty and paint, makes it look like it ain't" TeeHee Nic
- 106 replies
-
- 4
-
-
- bowdoin
- BlueJacket Shipcrafters
- (and 1 more)
-
I have been following this build and am amazed at the level of detailing you have done - GOOD JOB! Makes me proud to give you the platform to follow your goal. Nic
- 227 replies
-
- 2
-
-
- BlueJacket Shipcrafters
- Stephen Hopkins
- (and 2 more)
-
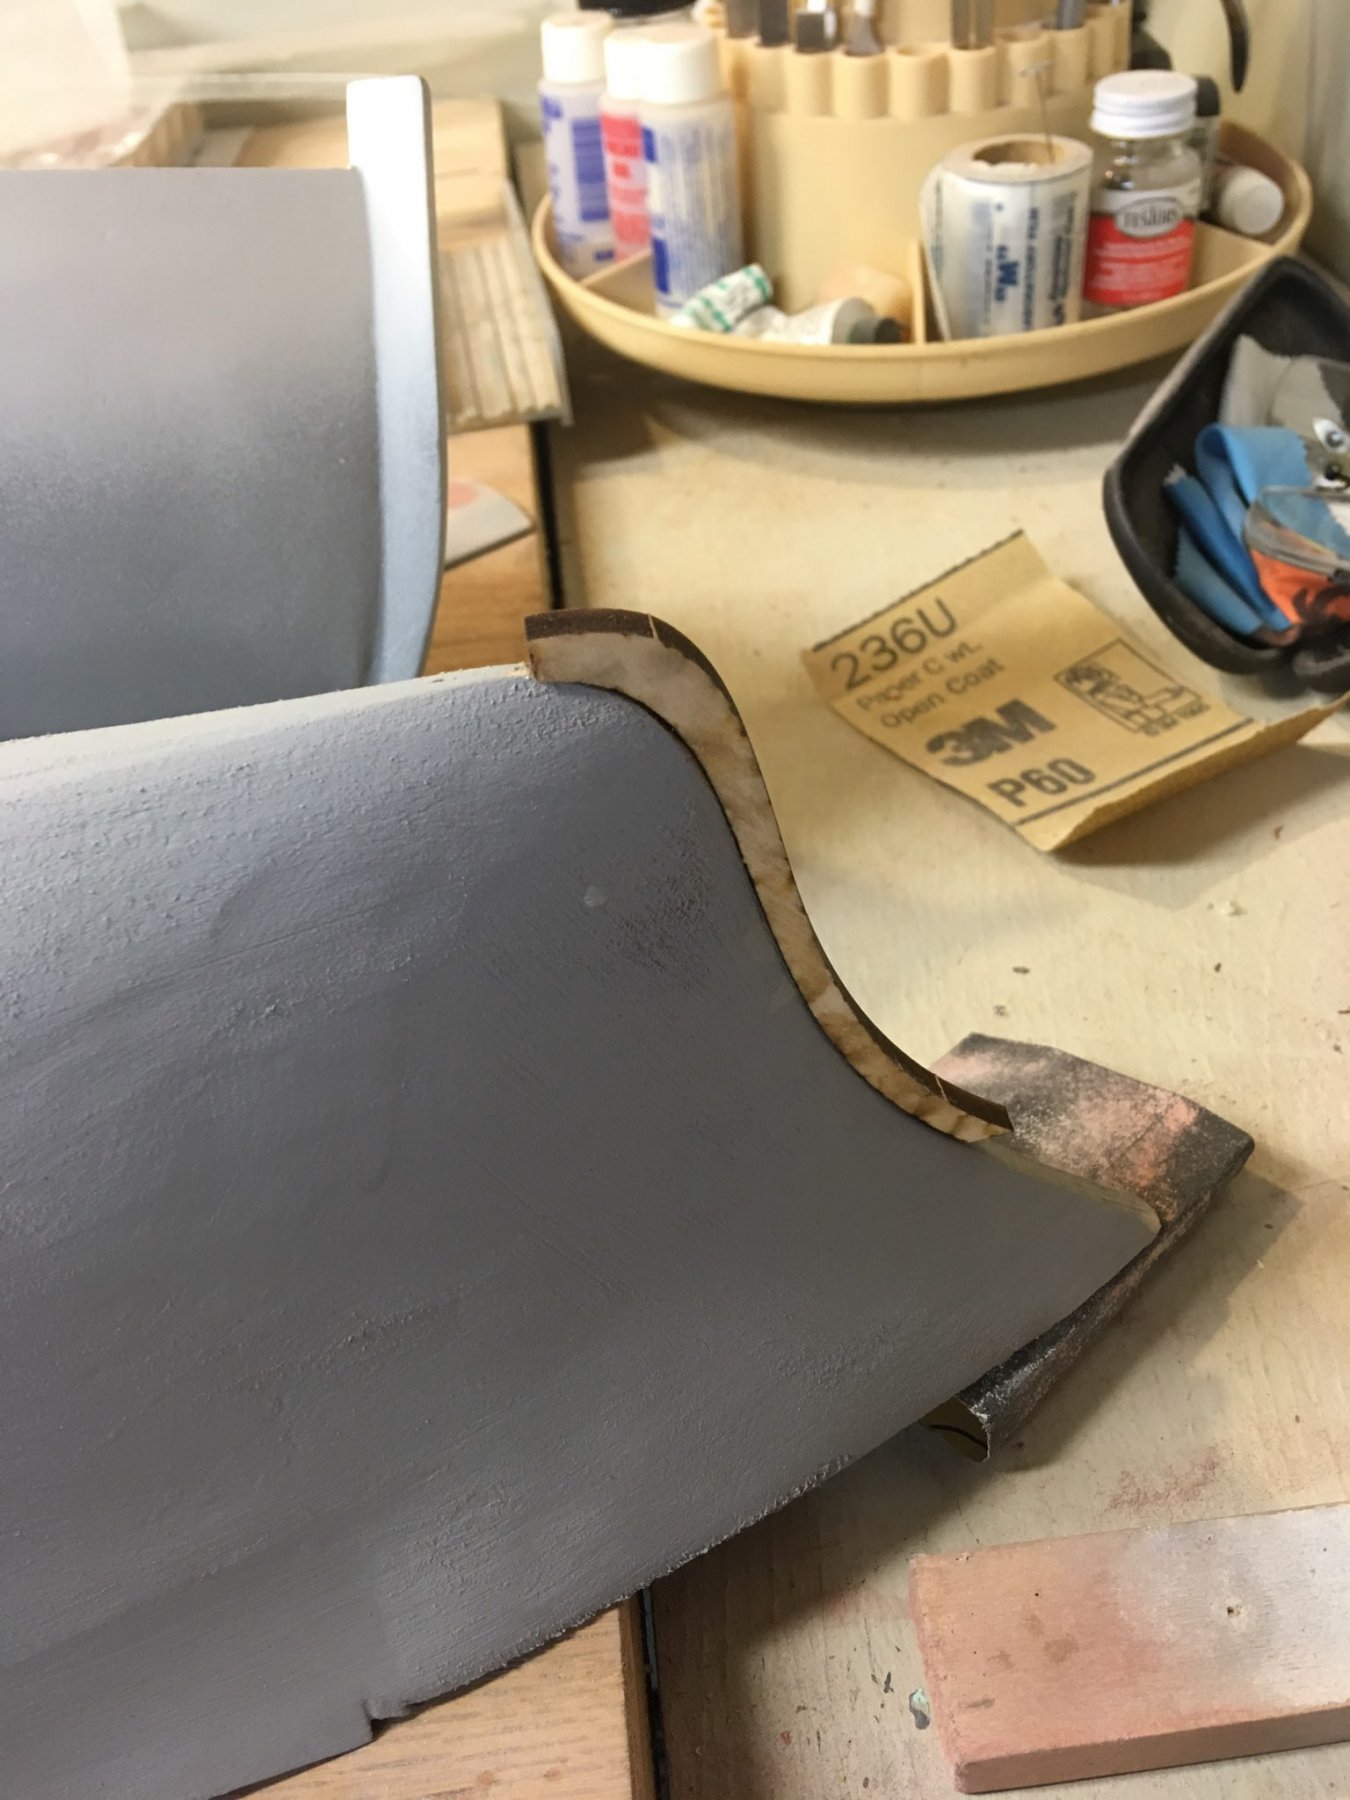
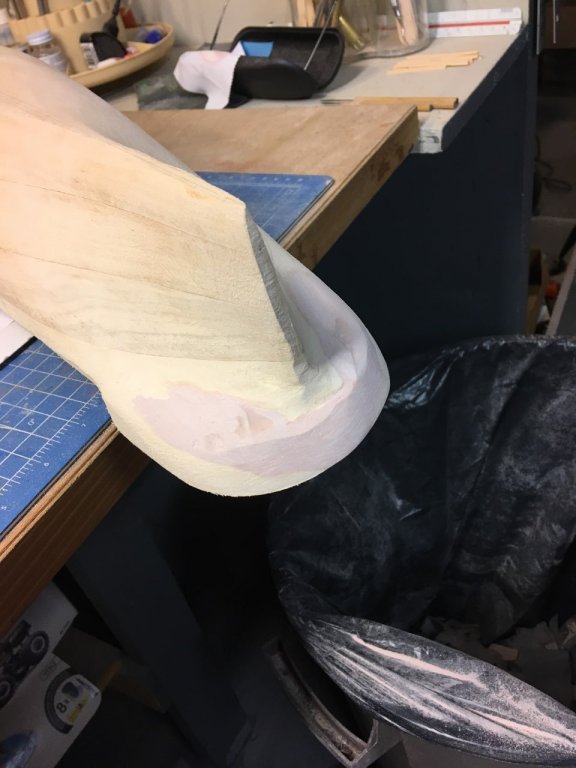
Hull sanded down. I always use a sanding block to get a smooth surface. Just using 80 grit for now, but after the next round of primer and putty, will switch to about 150 grit.

- 64 replies
-
- 5
-
-
- laughing whale
- trawler
- (and 2 more)
-
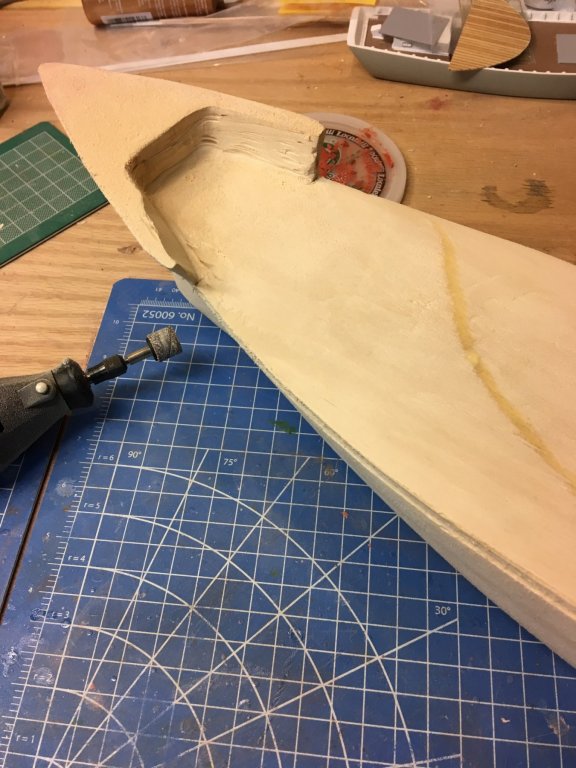
Used the Dremel sanding drum to thin out the bulwarks. After I put in the plywood pieces, I will thin some more. Luckily, the Forecastle decking will hide most of that space.
- 356 replies
-
- 6
-
-
- red jacket
- finished
- (and 1 more)
-
Nice job. As I promised, there is a note in your customer file for 10% off your next kit purchase.
-
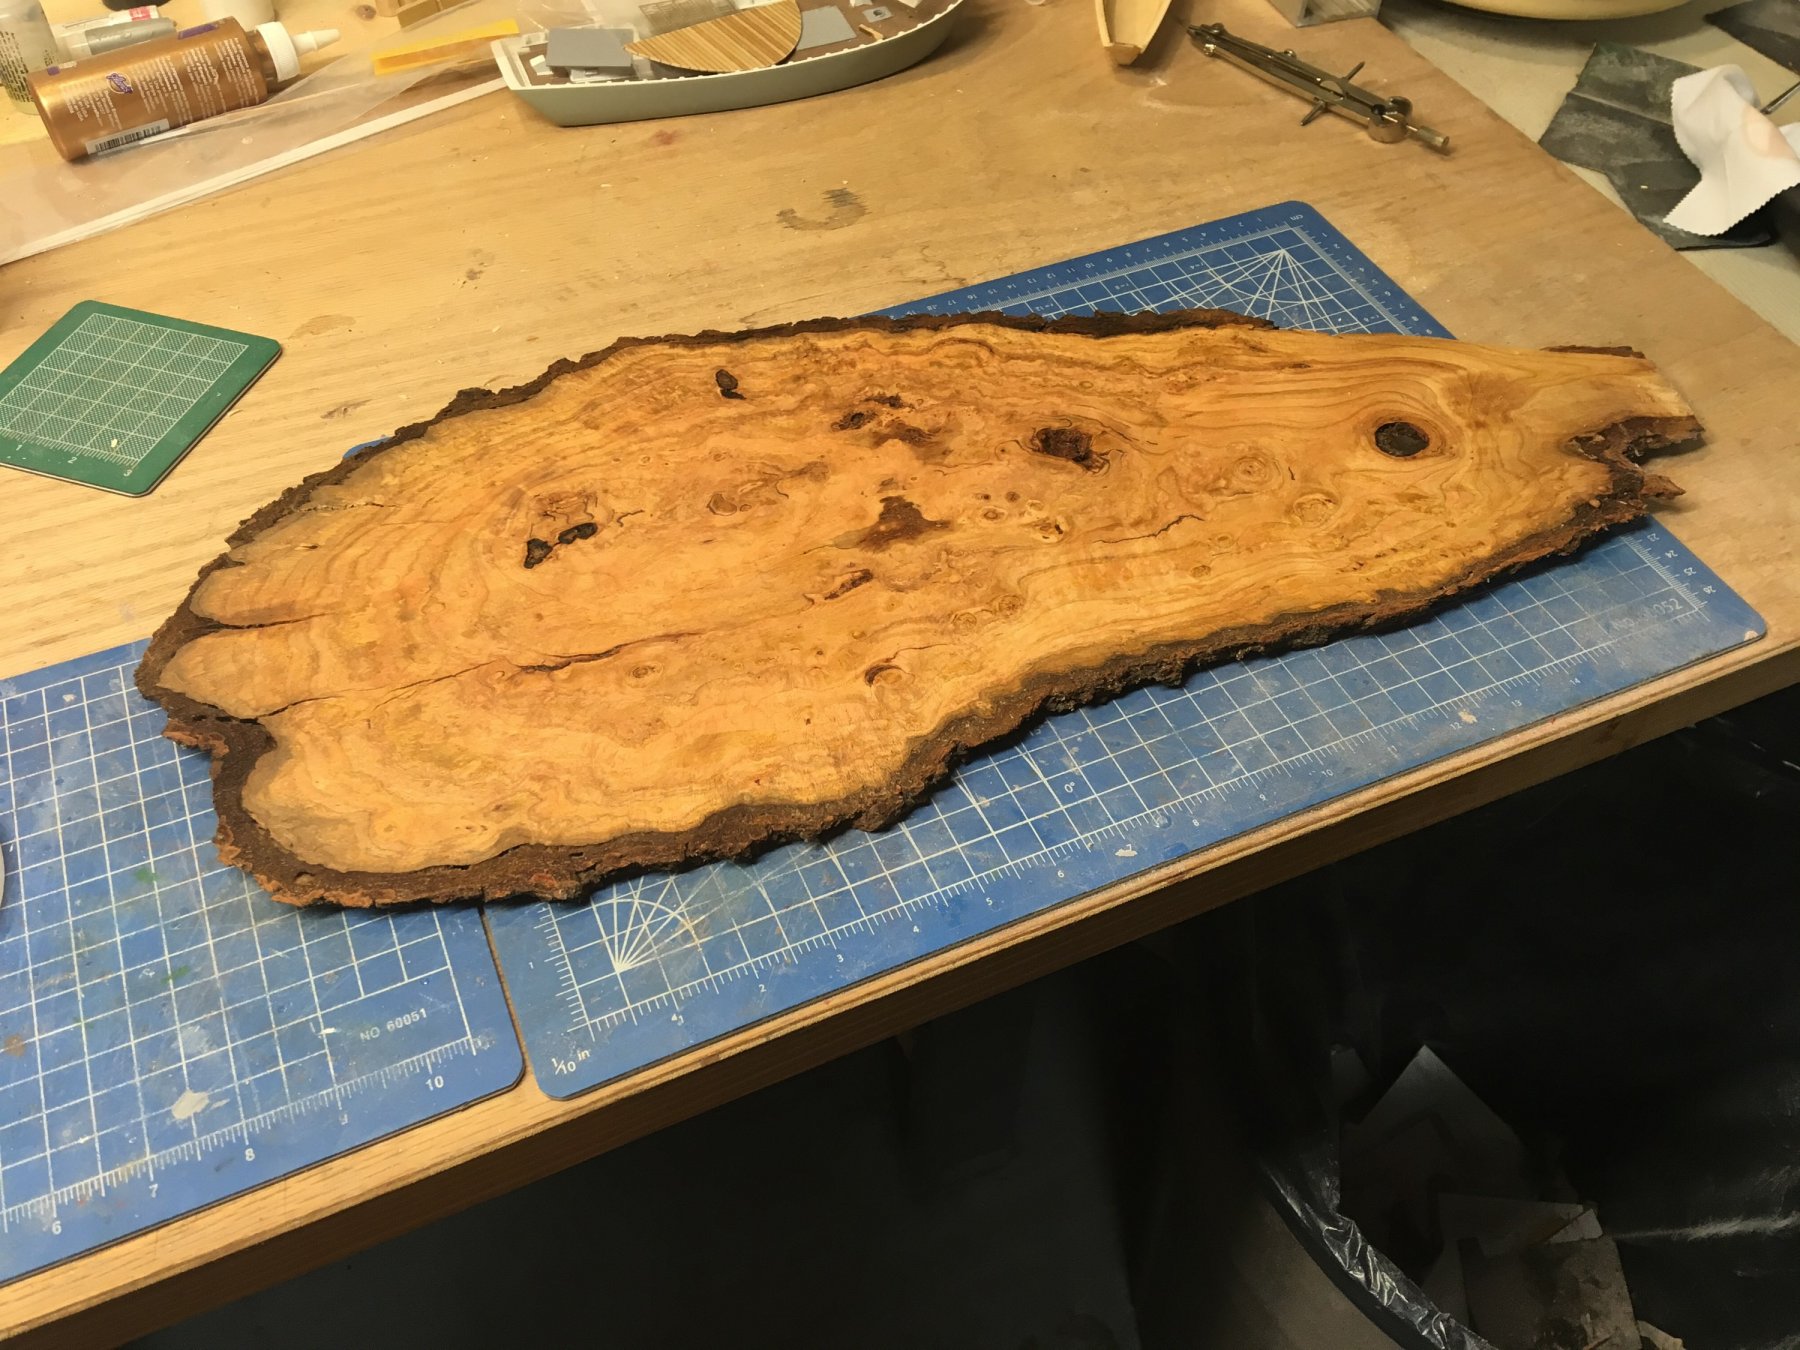
While at a Maine Made show in Bangor, I came across a guy who cuts trees into 1/2 inch slabs for cutting boards. I thought that one of them would make a great baseboard for the trawler. Here it is:

- 64 replies
-
- 5
-
-
- laughing whale
- trawler
- (and 2 more)
-
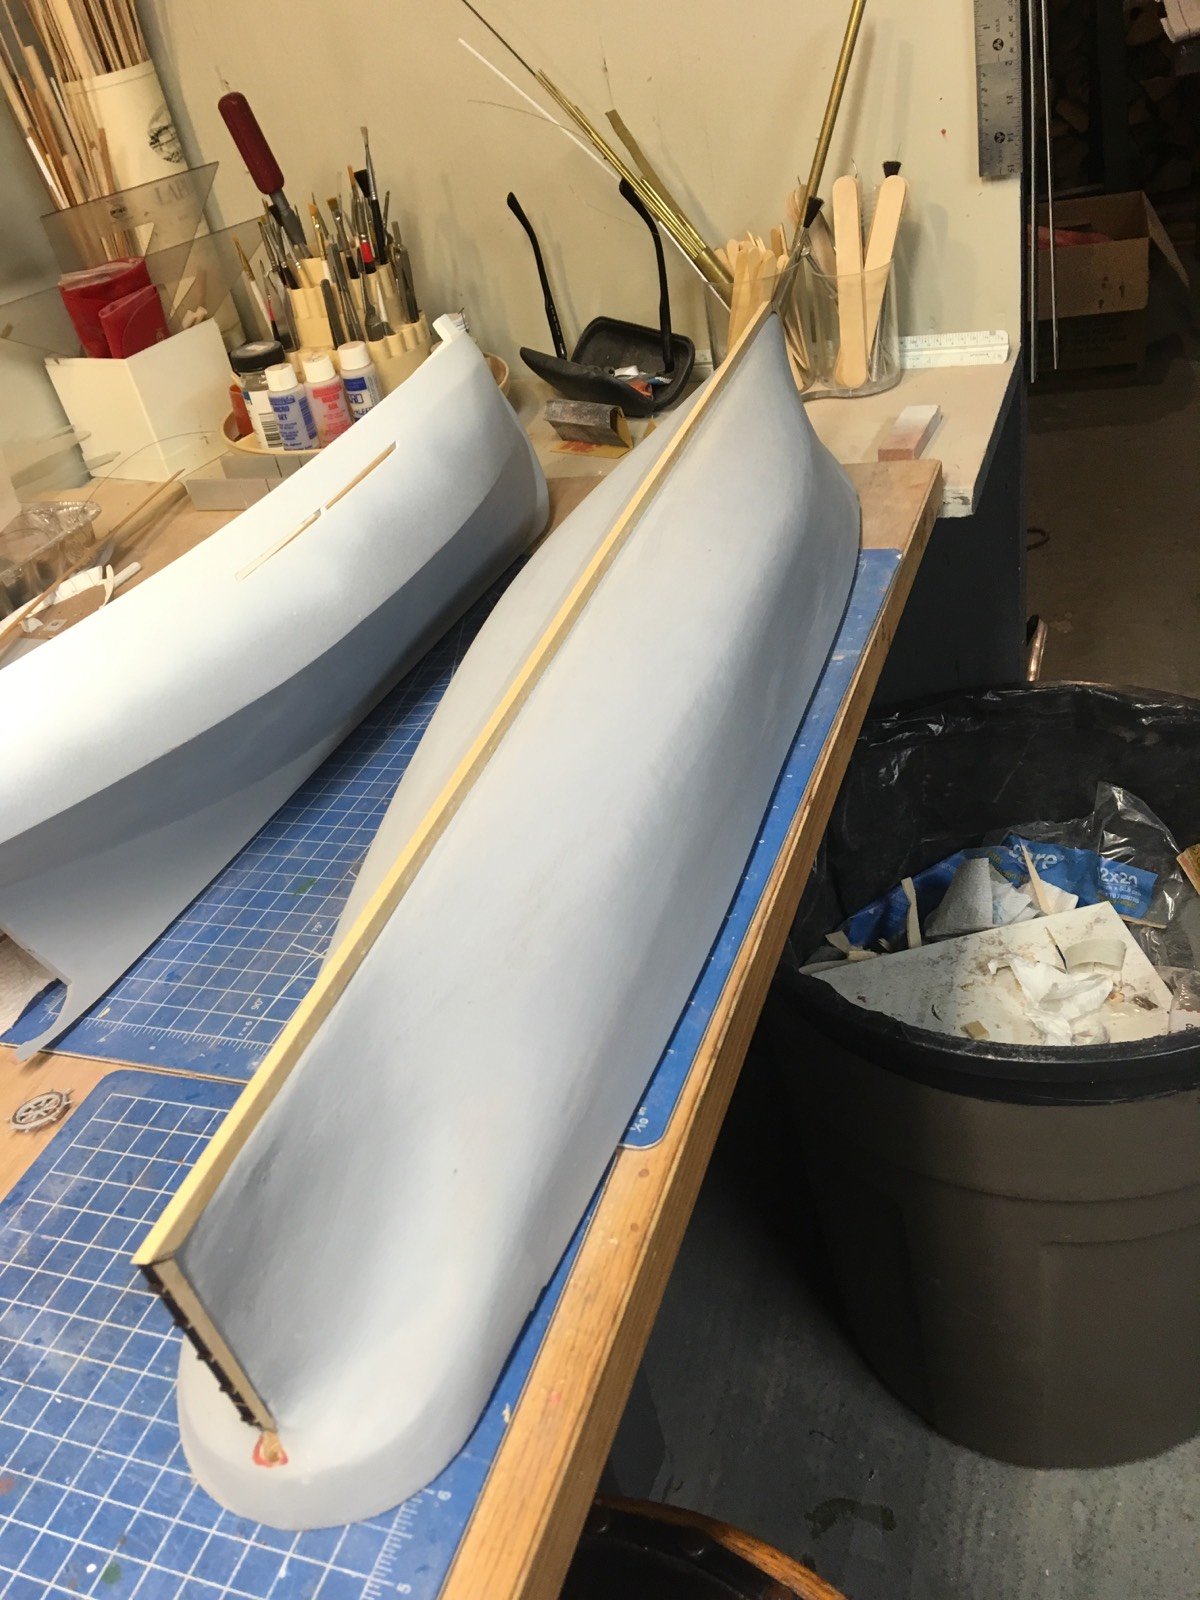
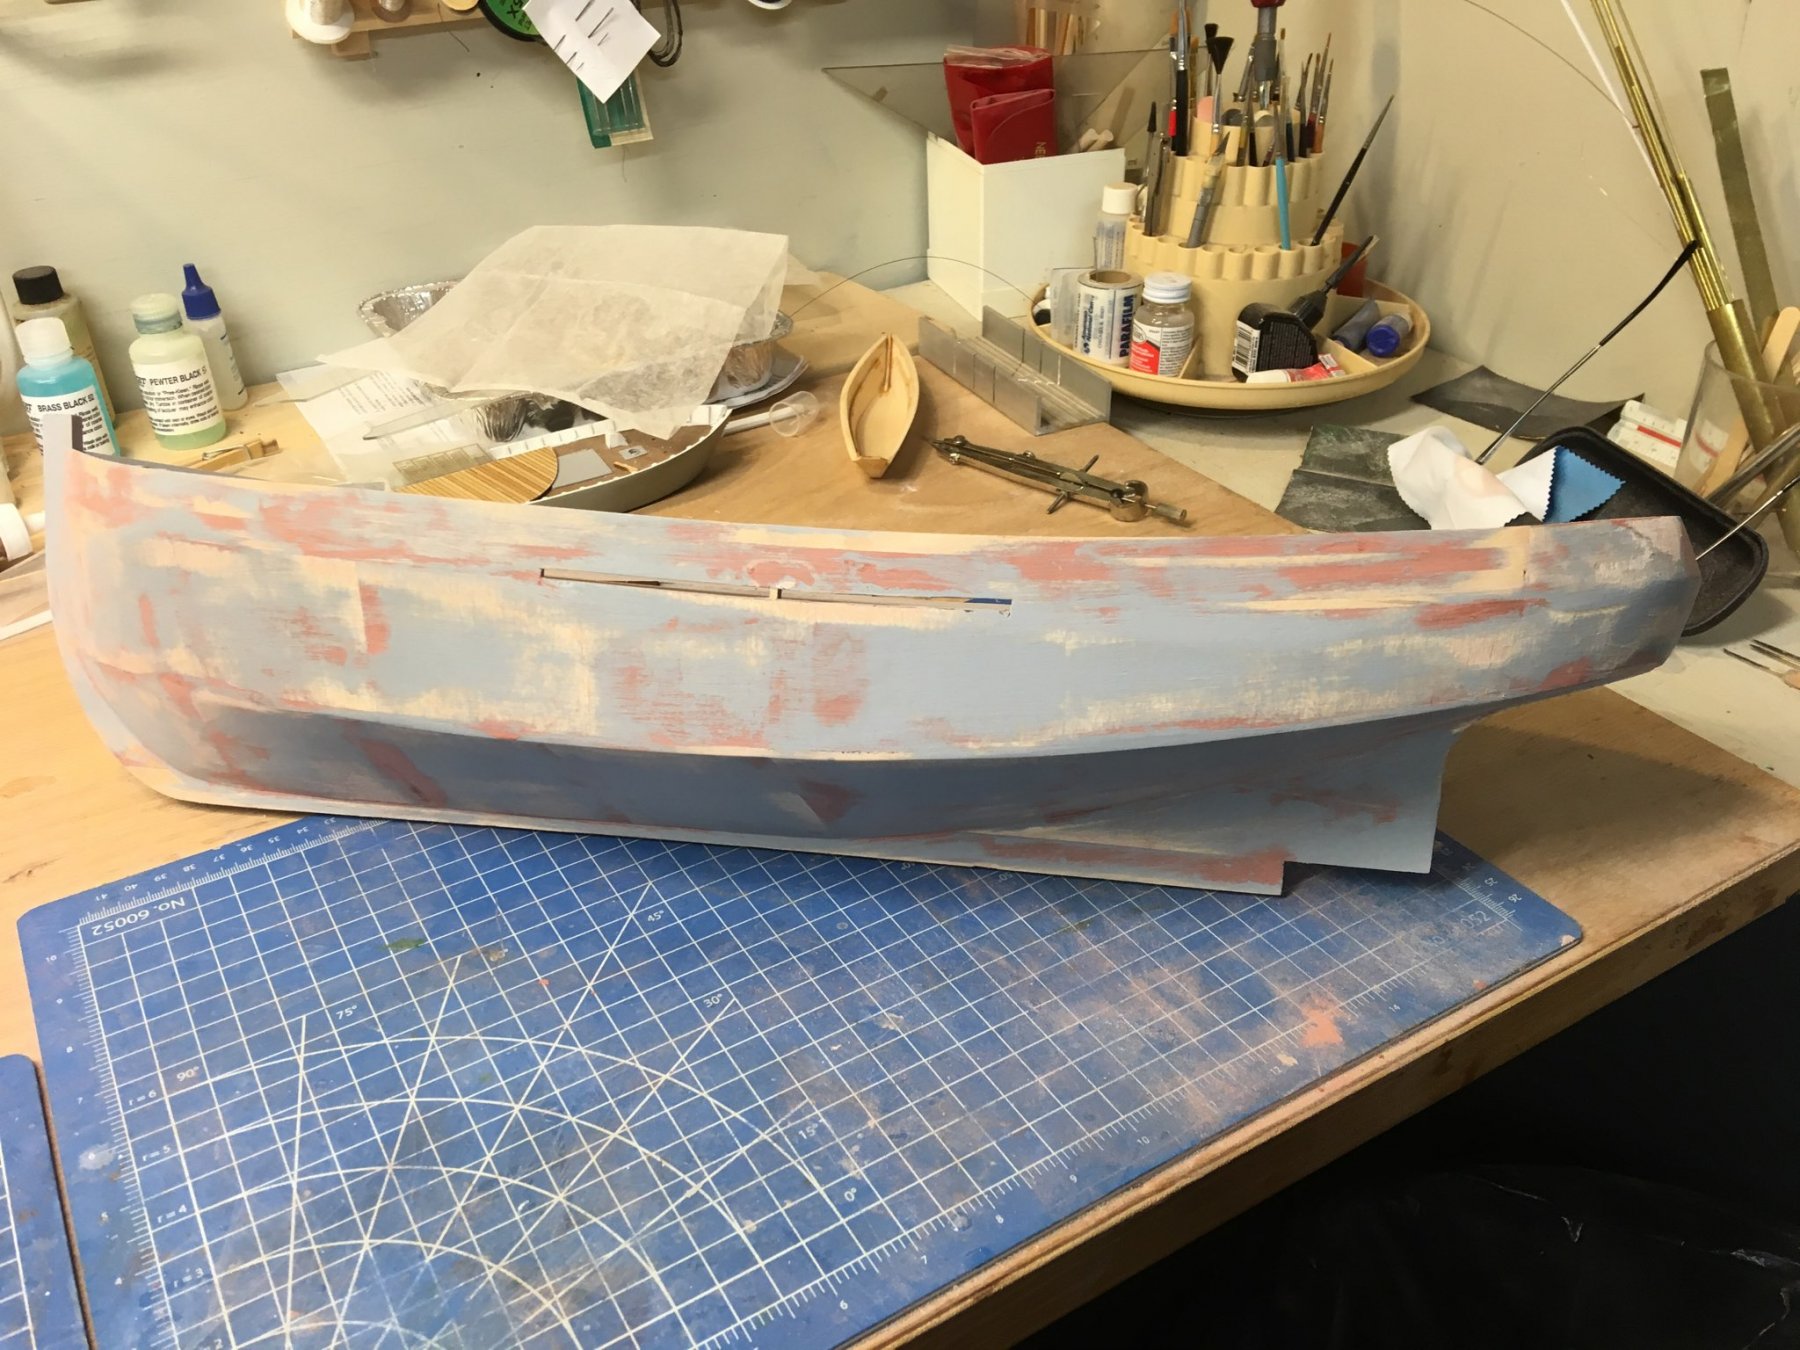
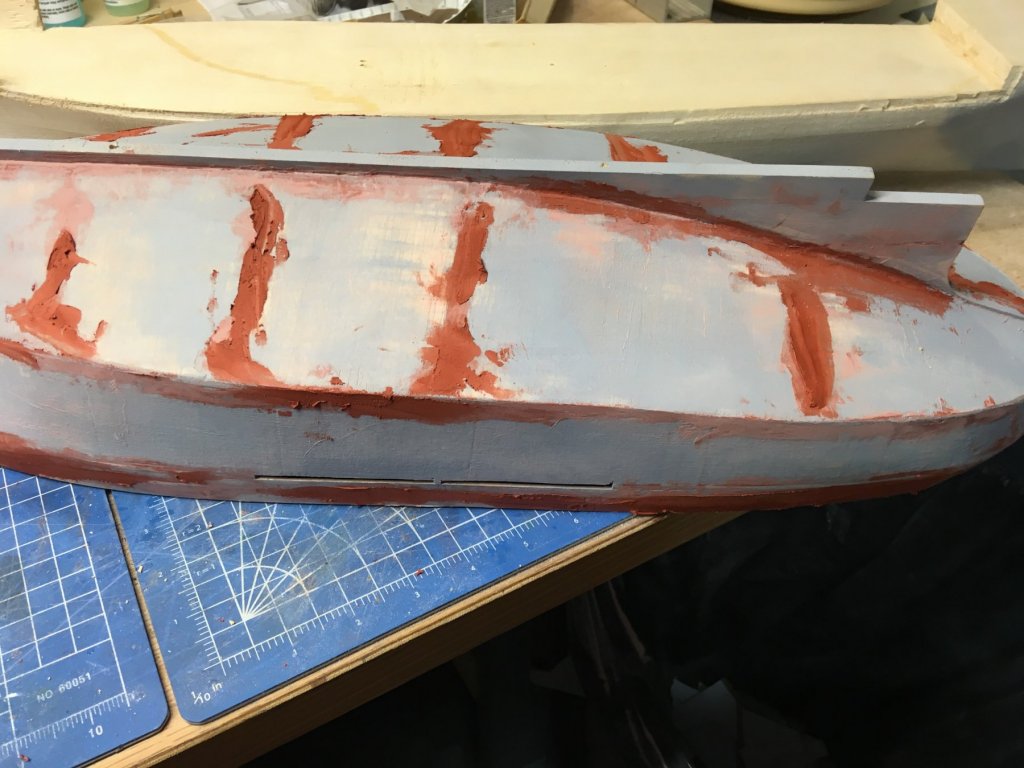
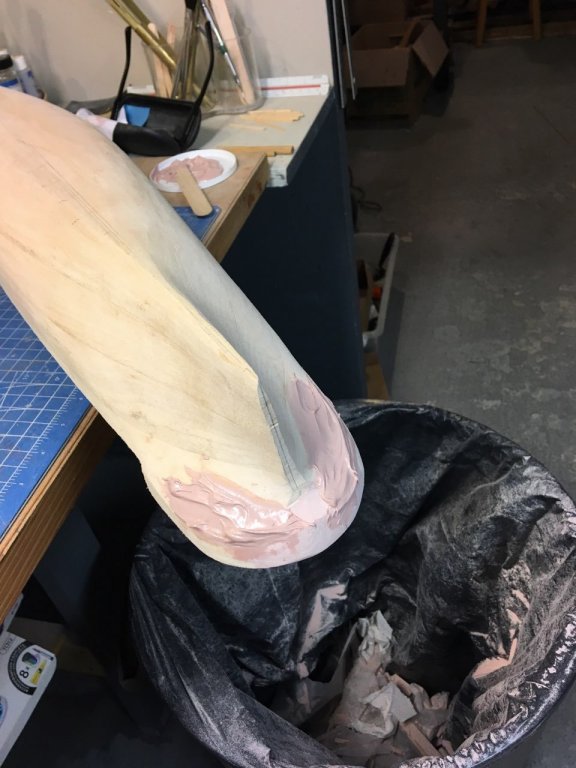
A coat of primer, then an application of red oxide auto putty, then sand. After that, repeat at least once more.
- 64 replies
-
- 2
-
-
- laughing whale
- trawler
- (and 2 more)
-
My first car was a white '62 Falcon sedan, 3 on the tree.
- 356 replies
-
- 3
-
-
- red jacket
- finished
- (and 1 more)
-
*sigh* another application of Bondo. But finally, it is starting to look like it should.
- 356 replies
-
- 10
-
-
- red jacket
- finished
- (and 1 more)