HOLIDAY DONATION DRIVE - SUPPORT MSW - DO YOUR PART TO KEEP THIS GREAT FORUM GOING!
×


Old Collingwood
-
Posts
12,096 -
Joined
-
Last visited
Content Type
Profiles
Forums
Gallery
Events
Everything posted by Old Collingwood
-
 I just held it between my fingers (very carefully) as it was very fragile - then I added a line of ca to the main part where the smaller bubble section was to go then as best as I could I attempted to glue it in place, I must have tried it about five times each side before it would stay in place, then I ran a fine line of ca using a fuse wire tip to catch the other sides of the small part, then I did the same on the other side. My heart was jumping out my chest as I was doing it - so so so fiddly. OC.
 -
Yeah in the kit on the clear parts there are two options flat or bubble, these are four separate parts, I went for the bubble as I think it was more highly used on the B IV model. Just would have been better if the assemblies were complete wit two canopy options for bubble of flat. OC.
-
Tell me about it - that canopy is a serious poor point in the kit - should be all in one. OC.
-
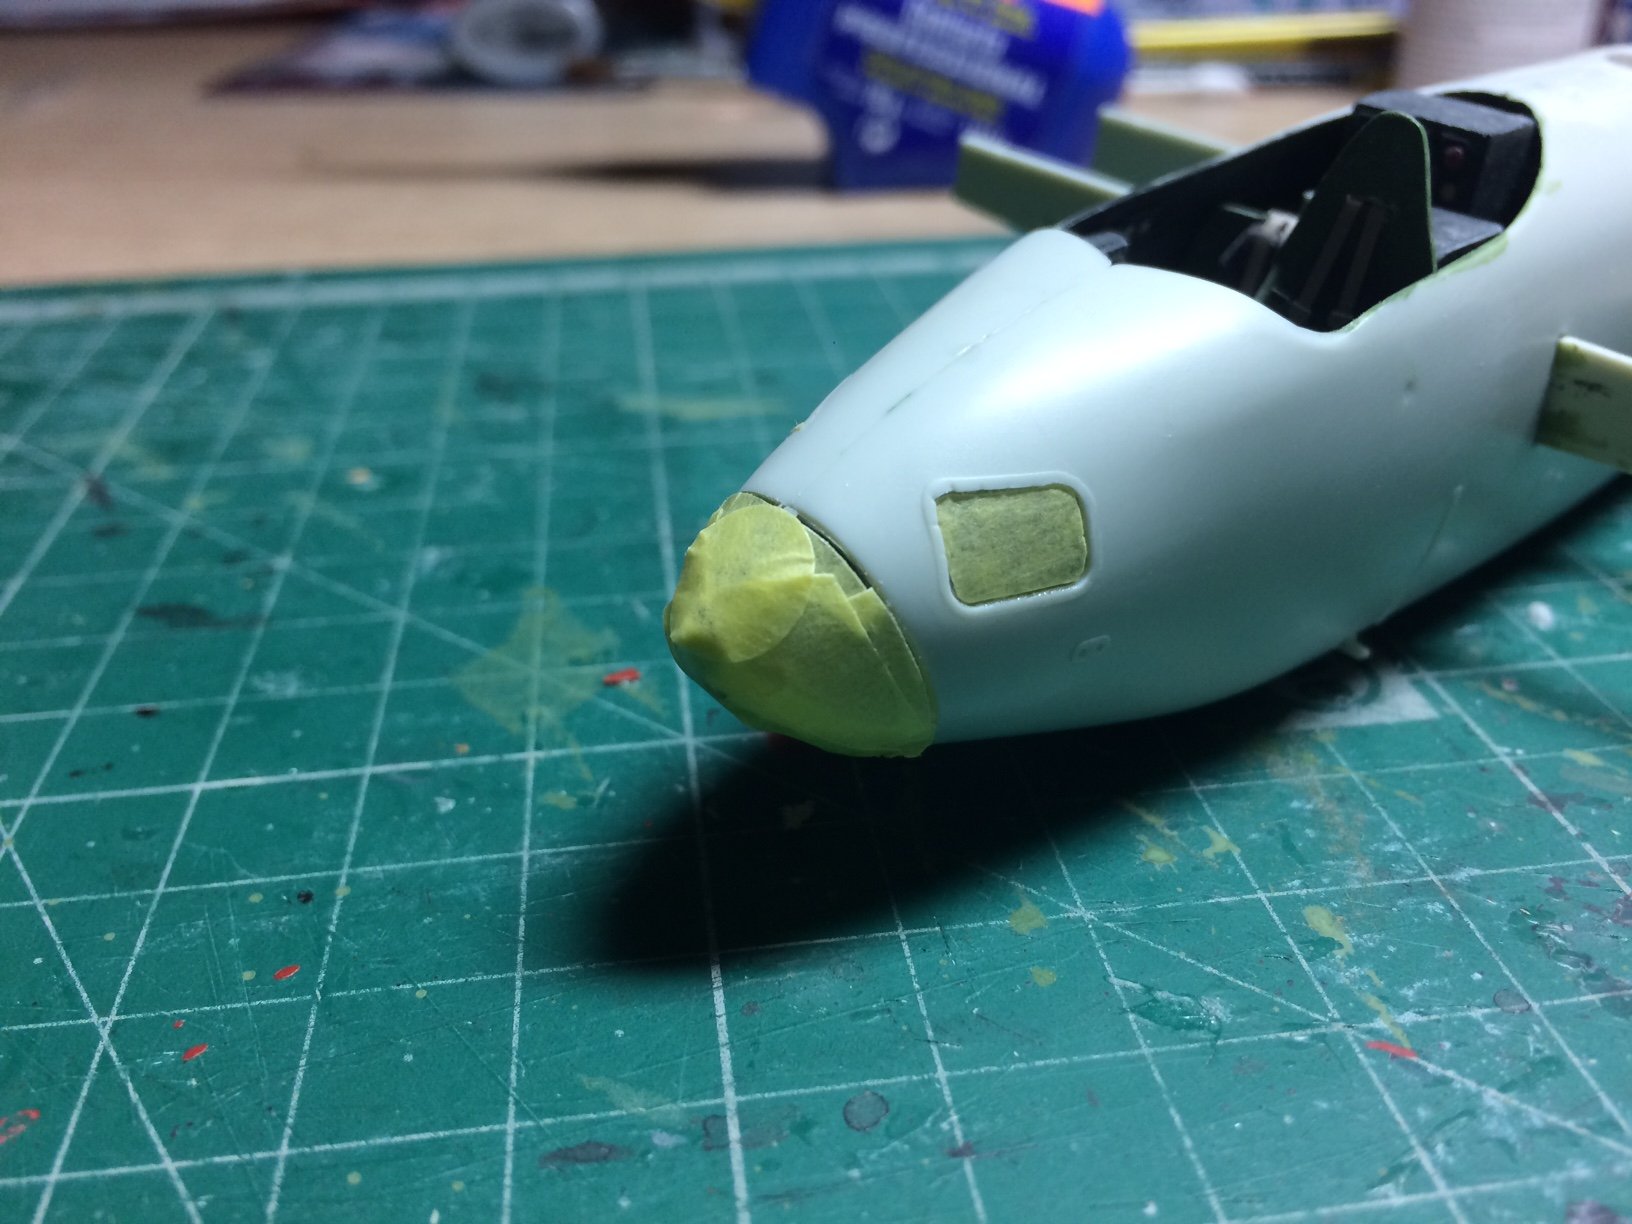
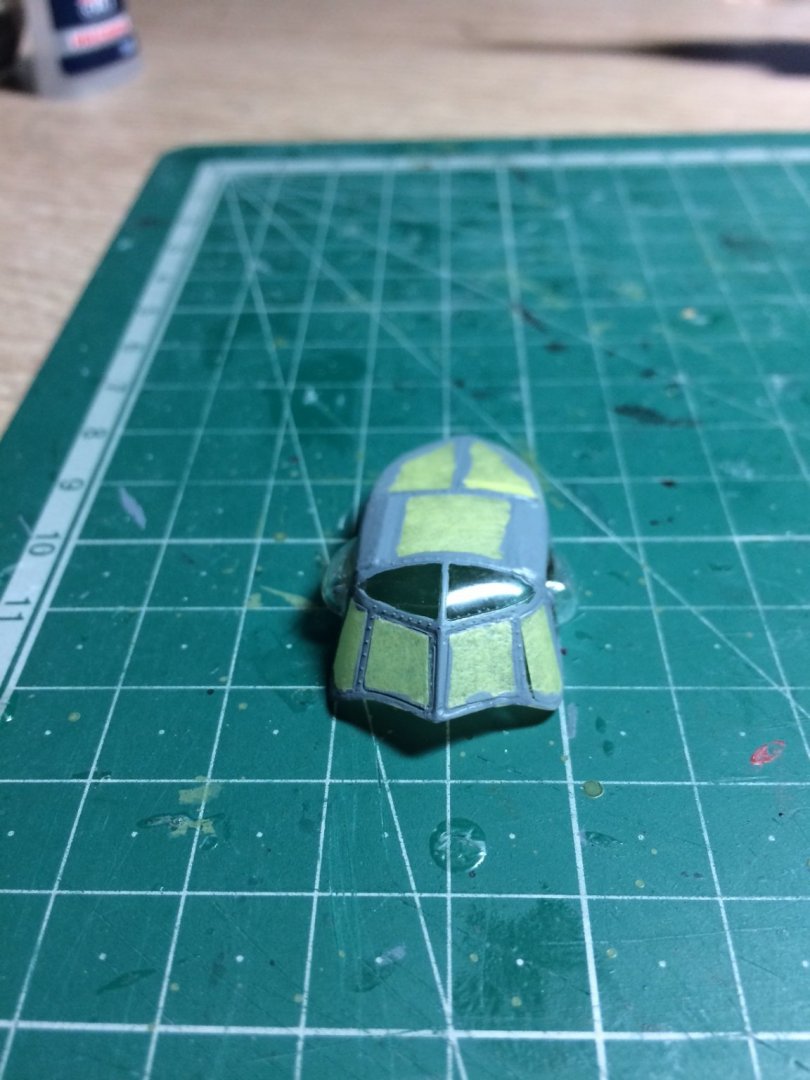
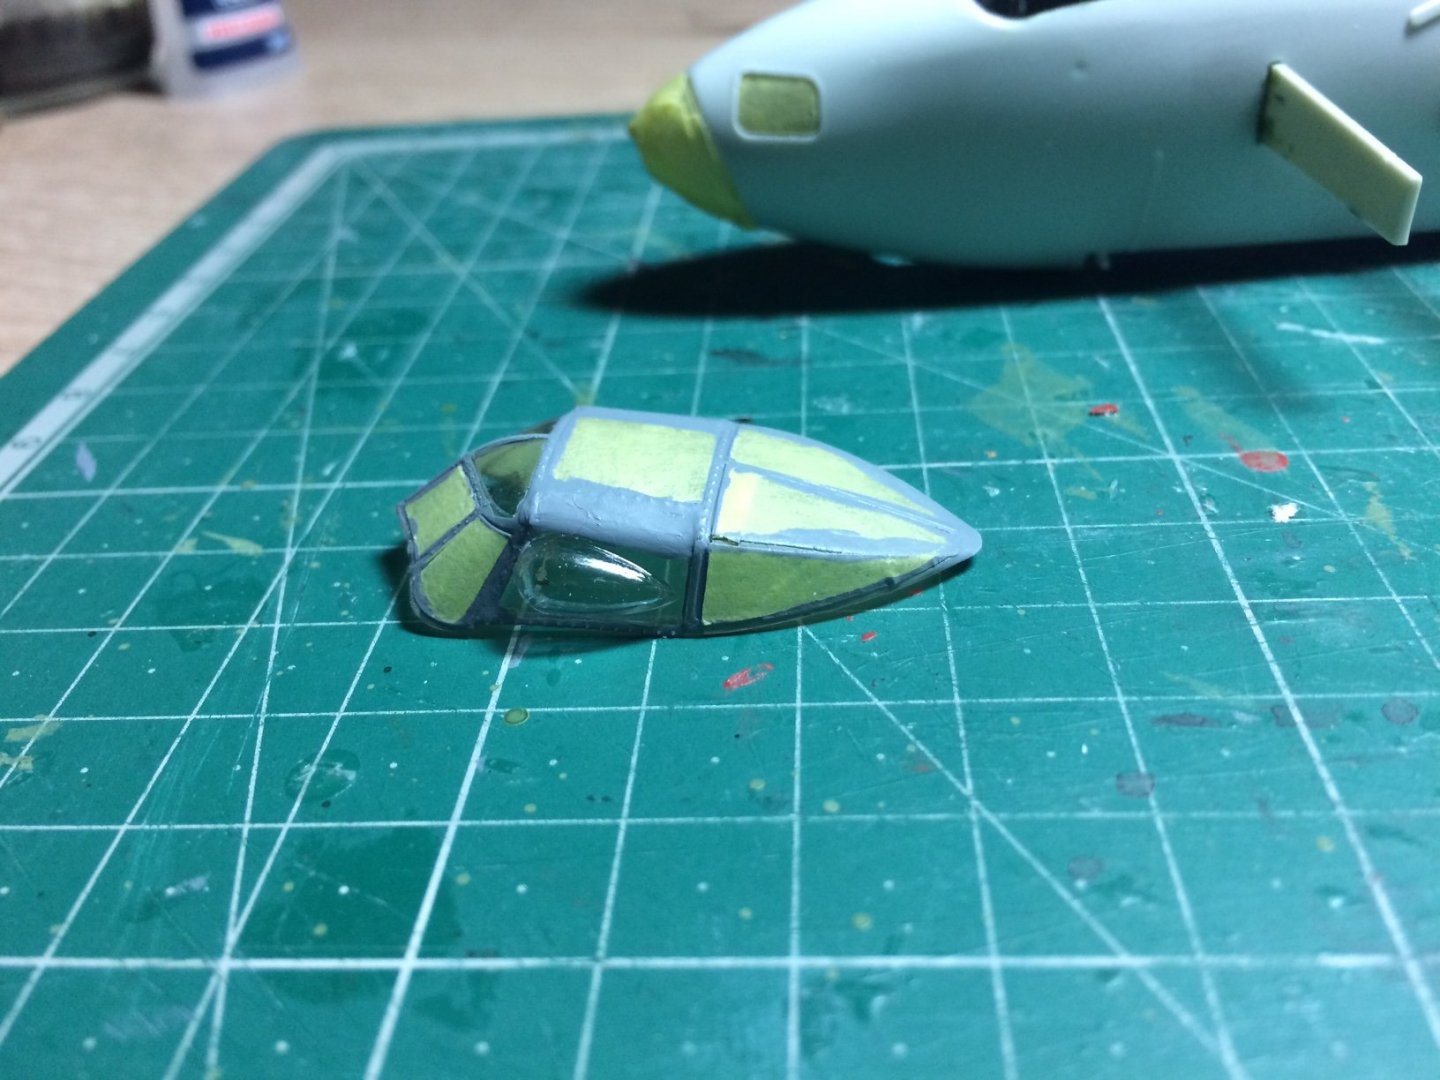
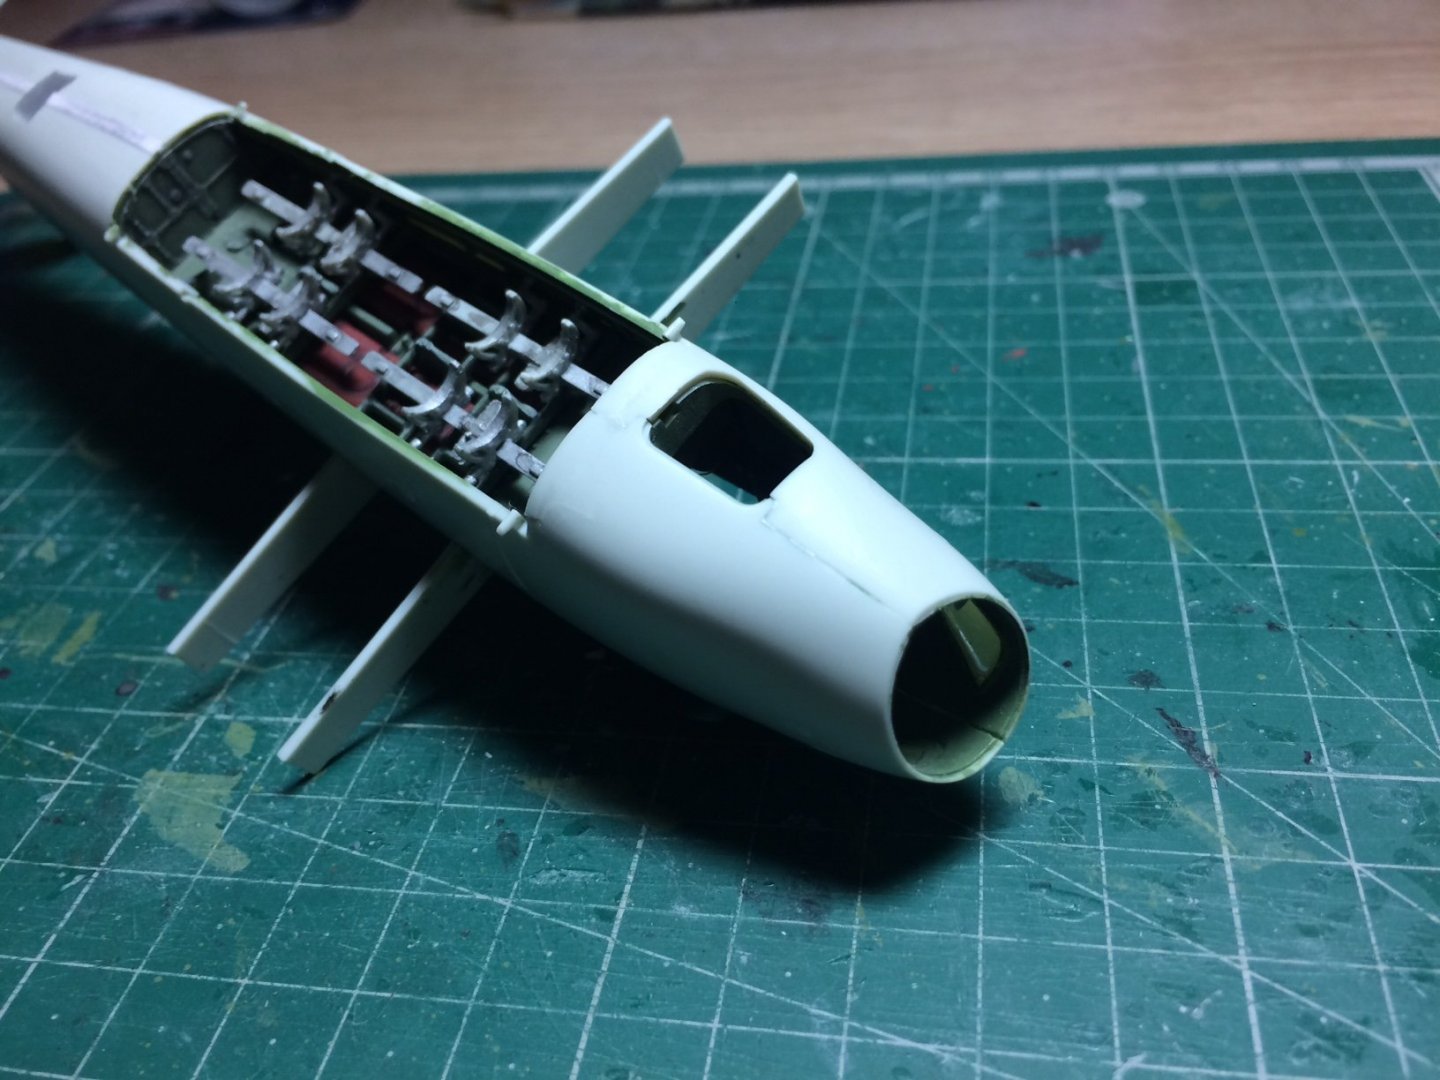
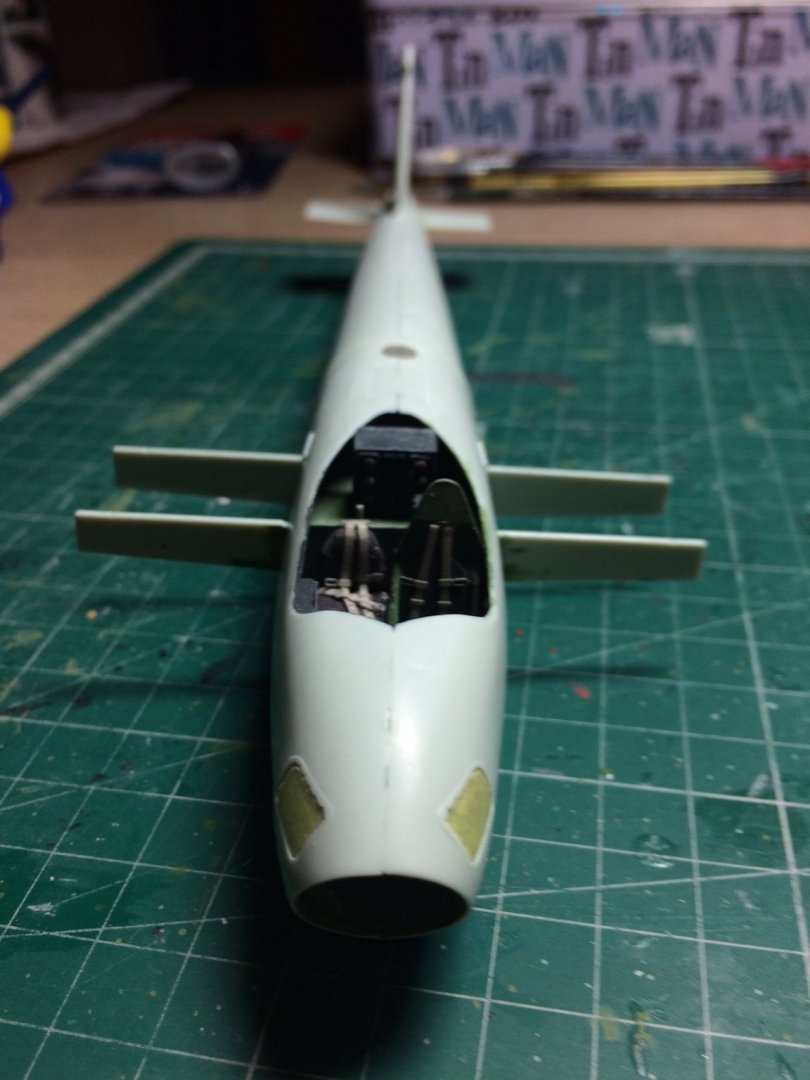
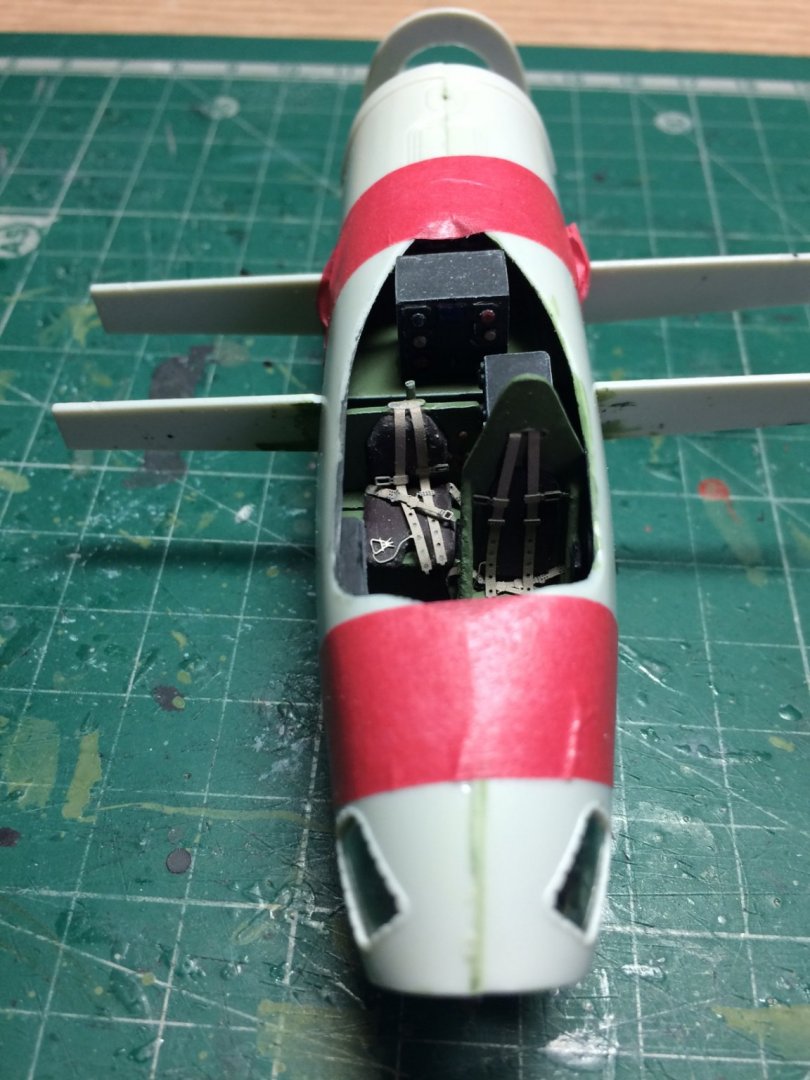
"Masking Time" Talk about fiddly difficult job............the problem is the masks are the same colour as the backing sheet making it real hard to see the edges let alone remove them, then lifting them is real fiddly, so first thing first was the nose glazing unit, this required a center oval piece (not to difficult as it was a good size and shape, then there was a couple of shaped edges - a bit more fiddly needing a few attempts to place them correctly. After a bit it was done so I worked out what paint was needed and gave the frame work a few coats, this was put aside to dry for a bit, when dry I glued it in place on the nose - but then discovered I should have dry fitted it as the glazing unit is a mil or so larger than the circumference of the nose area, to late to do anything about it now that its placed/masked and painted. Then it was the turn of the cockpit unit, after cutting this from the sprew, I discovered it has two additional units that have to be glued to it - put it this way - the room is now blue from my language and I nearly gave up, they are the most awkward things to do without mucking up the clear parts, why o why didn't it come in one piece, anyway eventually I kind of fitted them (not as neat as I wanted) so next trick was to start masking - I started with the top, nice square piece - then a few more smaller ones. After an hour or so it was masked minus a couple of places - but as I decided to paint it up first by hand with my smallest brush, then this would be ok. So this is where I stand at the moment - the cockpit unit will be glued down but after covering the whole thing, ready to lay the Tamiya Surface Primer down. OC.

-
I'm not sure ken, depends what base was operating it and the year it happened. OC.
-
Thought that was us Pirates OC.
-
Good comparison of British WW2 Bombers. Again pic off the net. OC.

-
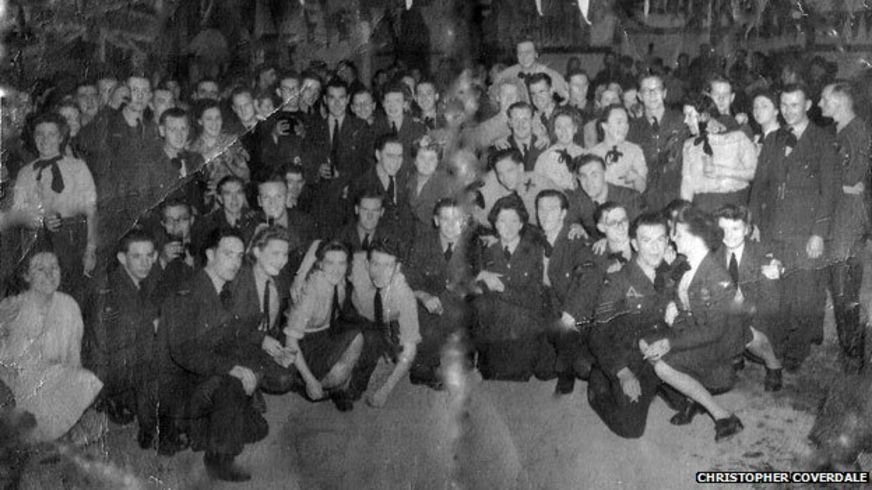
Just found an interesting article in a discussion room about the last air raid/raids on Germany in WW2, it has a lot of talk about my late farther air base where he was stationed and the squadron/s he was working for, it was the attacks on Kiel Town and Harbour to stop the Germans from sending ships to Norway to continue the war there. Here is the link - http://ww2talk.com/index.php?threads/the-last-bombs.4811/ And below a photo from that sight possibly with my dad in there somewhere during the bases celebration of the end of the war. All courtesy of the original posters. OC.

-
We were lucky being kind of high up most of the flooding happened kind of around us, most were affected close to rivers. OC.
-
We had two storms on the back of each other in ten days over here - massive flooding lots of folks lost their homes. OC.
-
So much work going into her - hats off to you phil. OC.
-
I like the seats they have come up like beige leather. OC.
-
I see what you mean mark, fully agree with you about the tape tiles, the individual one does look a lot better and look to be so much more square. OC.
-
Really good start denis, with the wood stock (not the uk music place) have you tried ebay? OC.
-
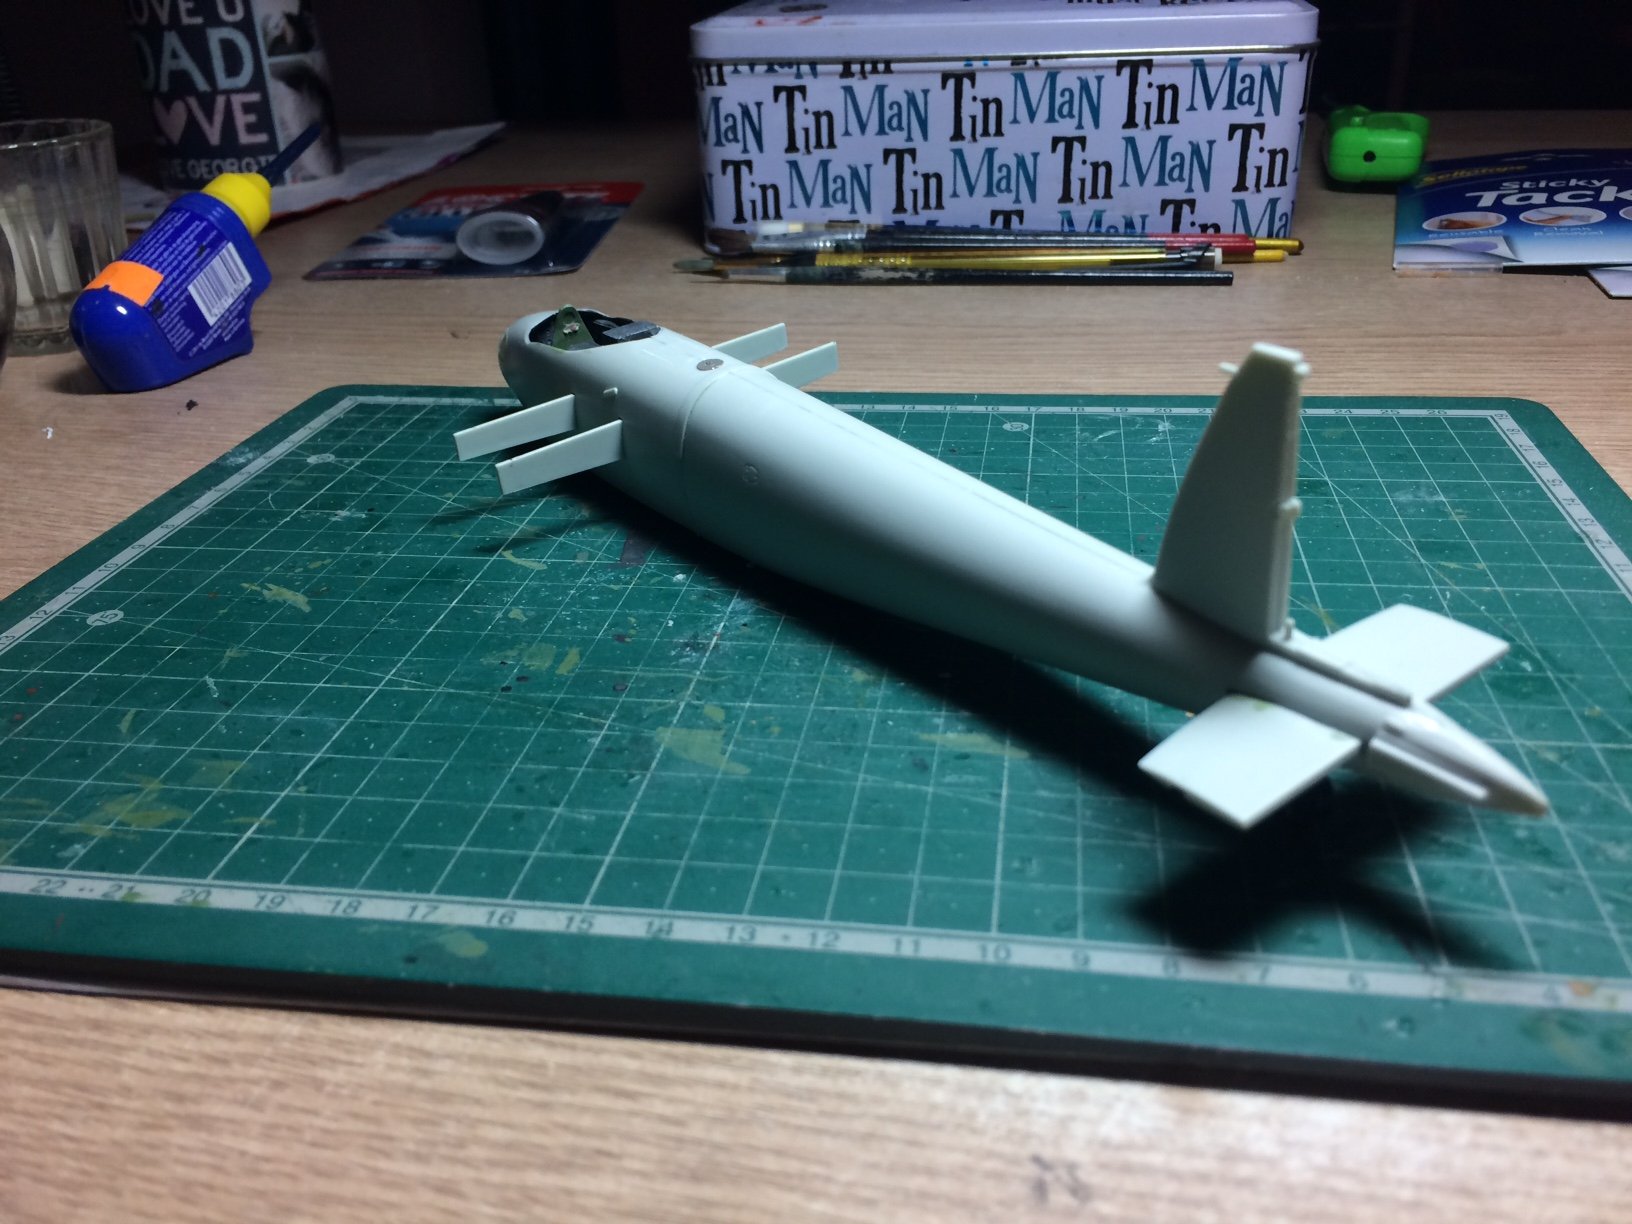
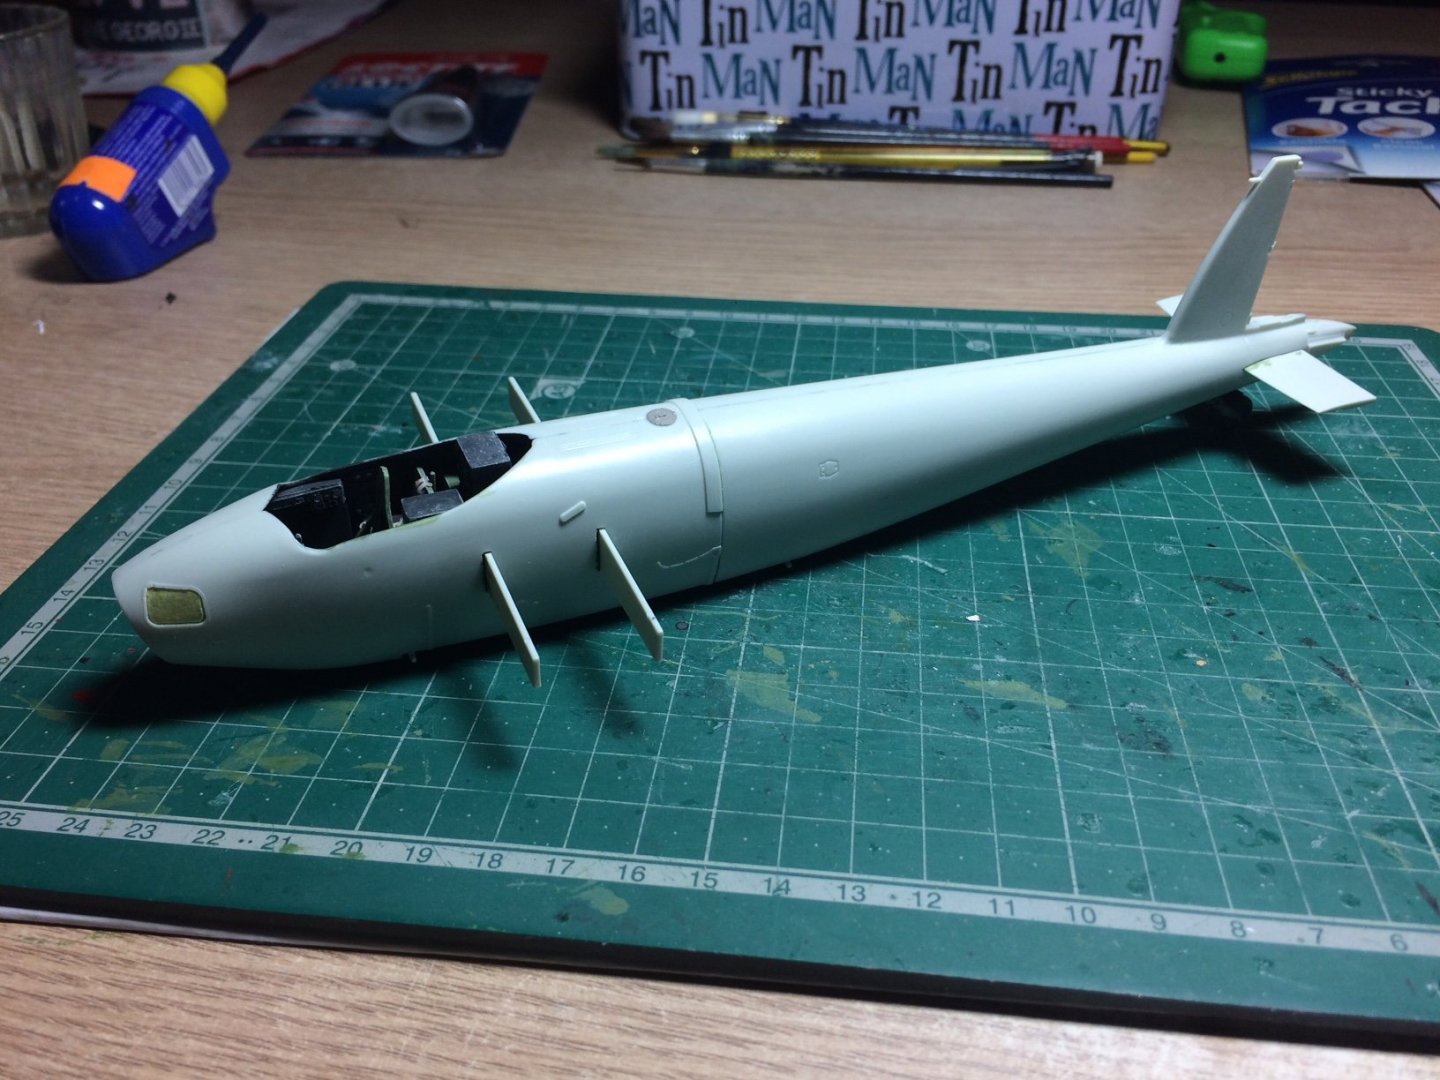
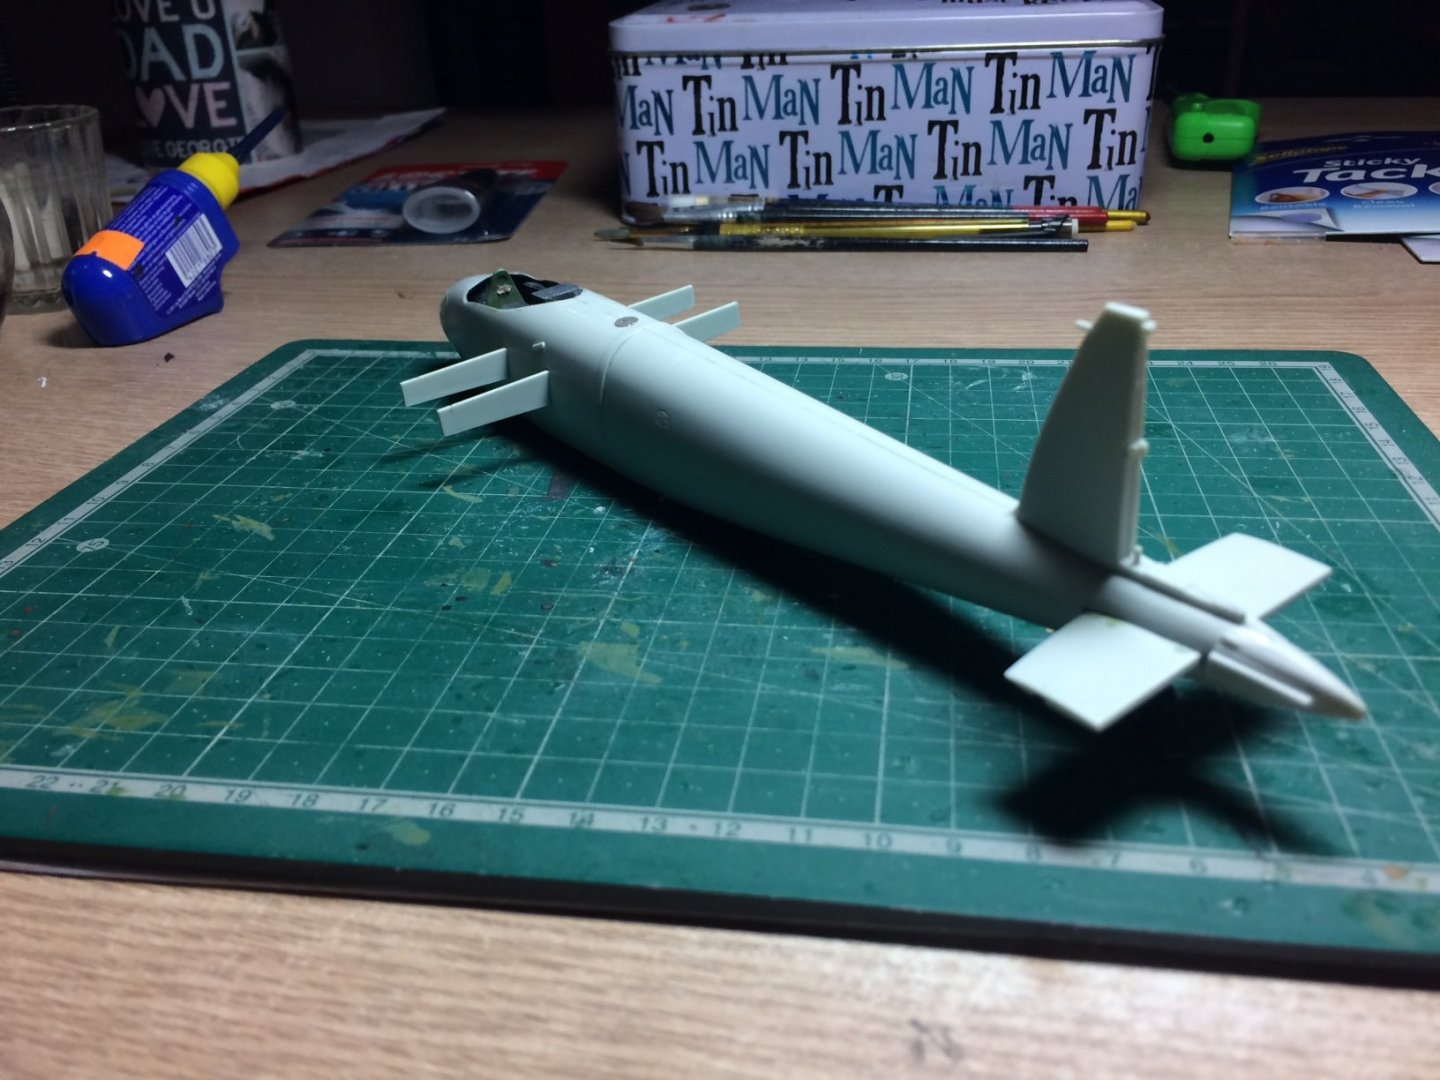
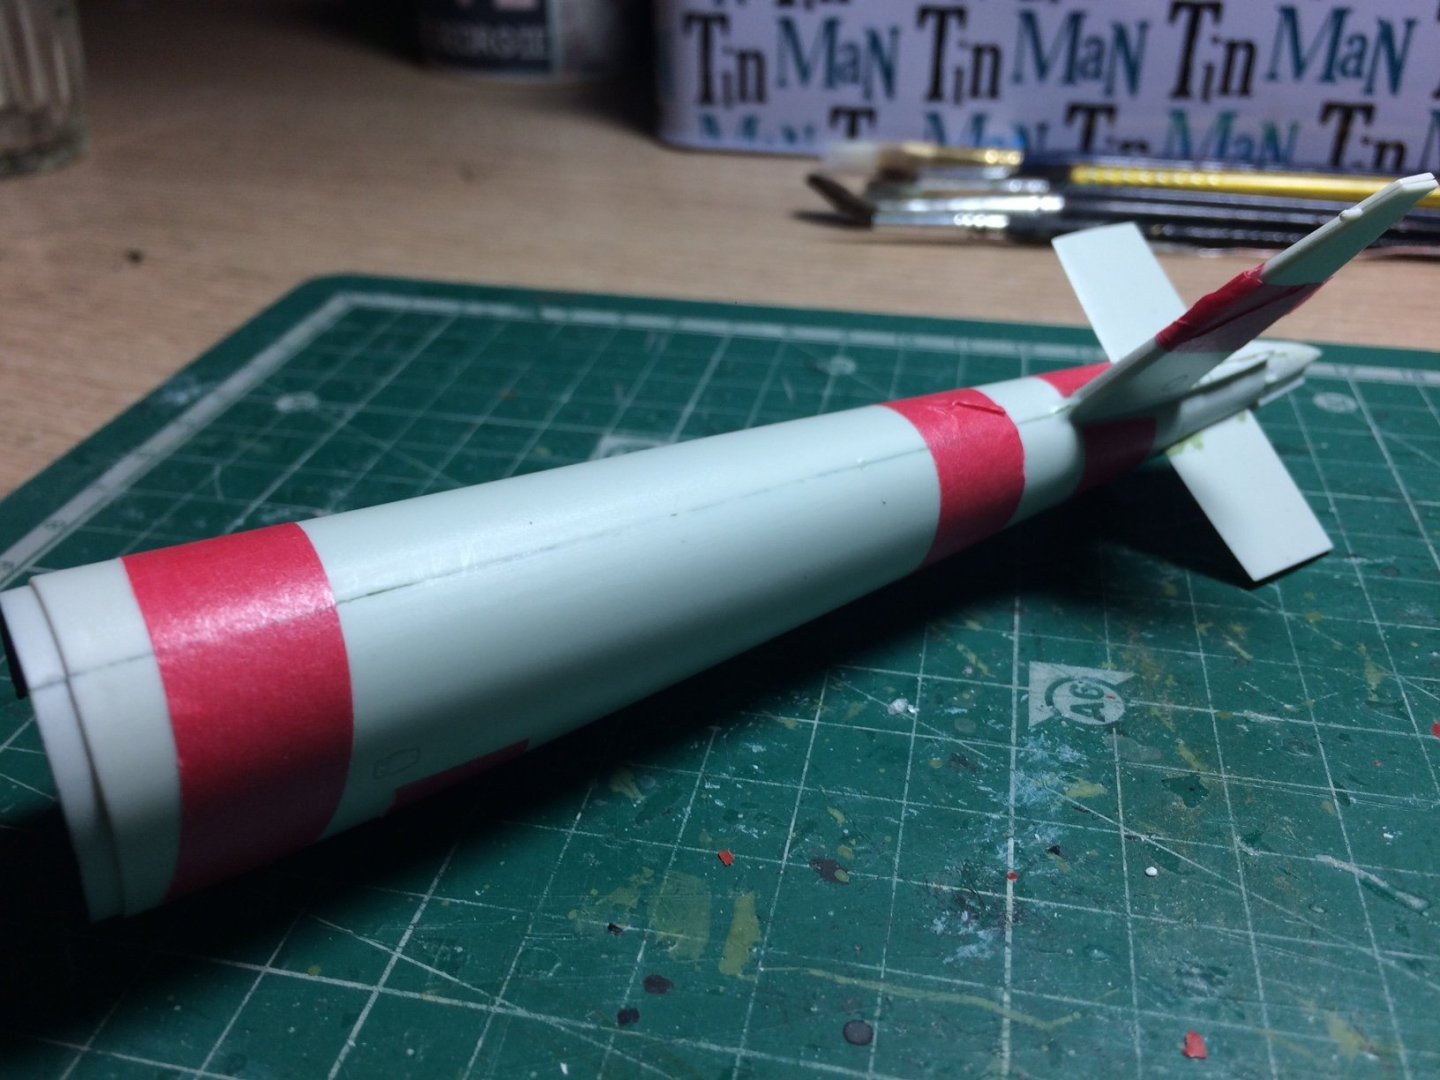
SO! here's the plan - next I will fit the nose glazing unit (after fitting the masks to it) will probably dry fit it first to check for fit, then I will check the main cabin canopy unit - then mask that also before fitting, this will leave me with a completed fuselage minus the rudder and stab - flaps. The idea is it will probably be more manageable to hold and spray the first (all over coat) with out the wings attached, I will also count the rudder and flaps as separate items to paint them off the fuselage, then after letting that to harden - I will be able to mask up for the first layer of grey camo using the blue tak and paper/tape (i got to day). Well thats the plan. OC.
-
More progress today - I took the tape off both fuselage sections and surveyed the seams, they were not too bad just needed some light sanding with 1000 wet and dry, I then turned my attention to how the two sections join - they lock into each other but it was very tight so the sanding stick and several dry fits and with a kind of "click" - they joined together, I pushed a bit of glue into the seam then pushed them together. I left it for a few hours then I added a pe fuel cap ontop and while at it I even put two masks on the lower forward windows. Oh! I also added a strengthening strip with 2mm paper underneath the fuselage. OC.
- 932 replies
-
- 10
-

-
Looking good mark - coming together now, same day posting we both closed up our fuselage. OC.
-
I have the Tamiya AS Rattle Cans to do both camo colours and the underside, gonna get some Blue Tak for the masking. OC.
-
Thanks Lou, to be honest I am dreading the rattle can stage - just dont want to ruin it with shabby spraying, I have read up and watched some videos on how to do it. OC.
-
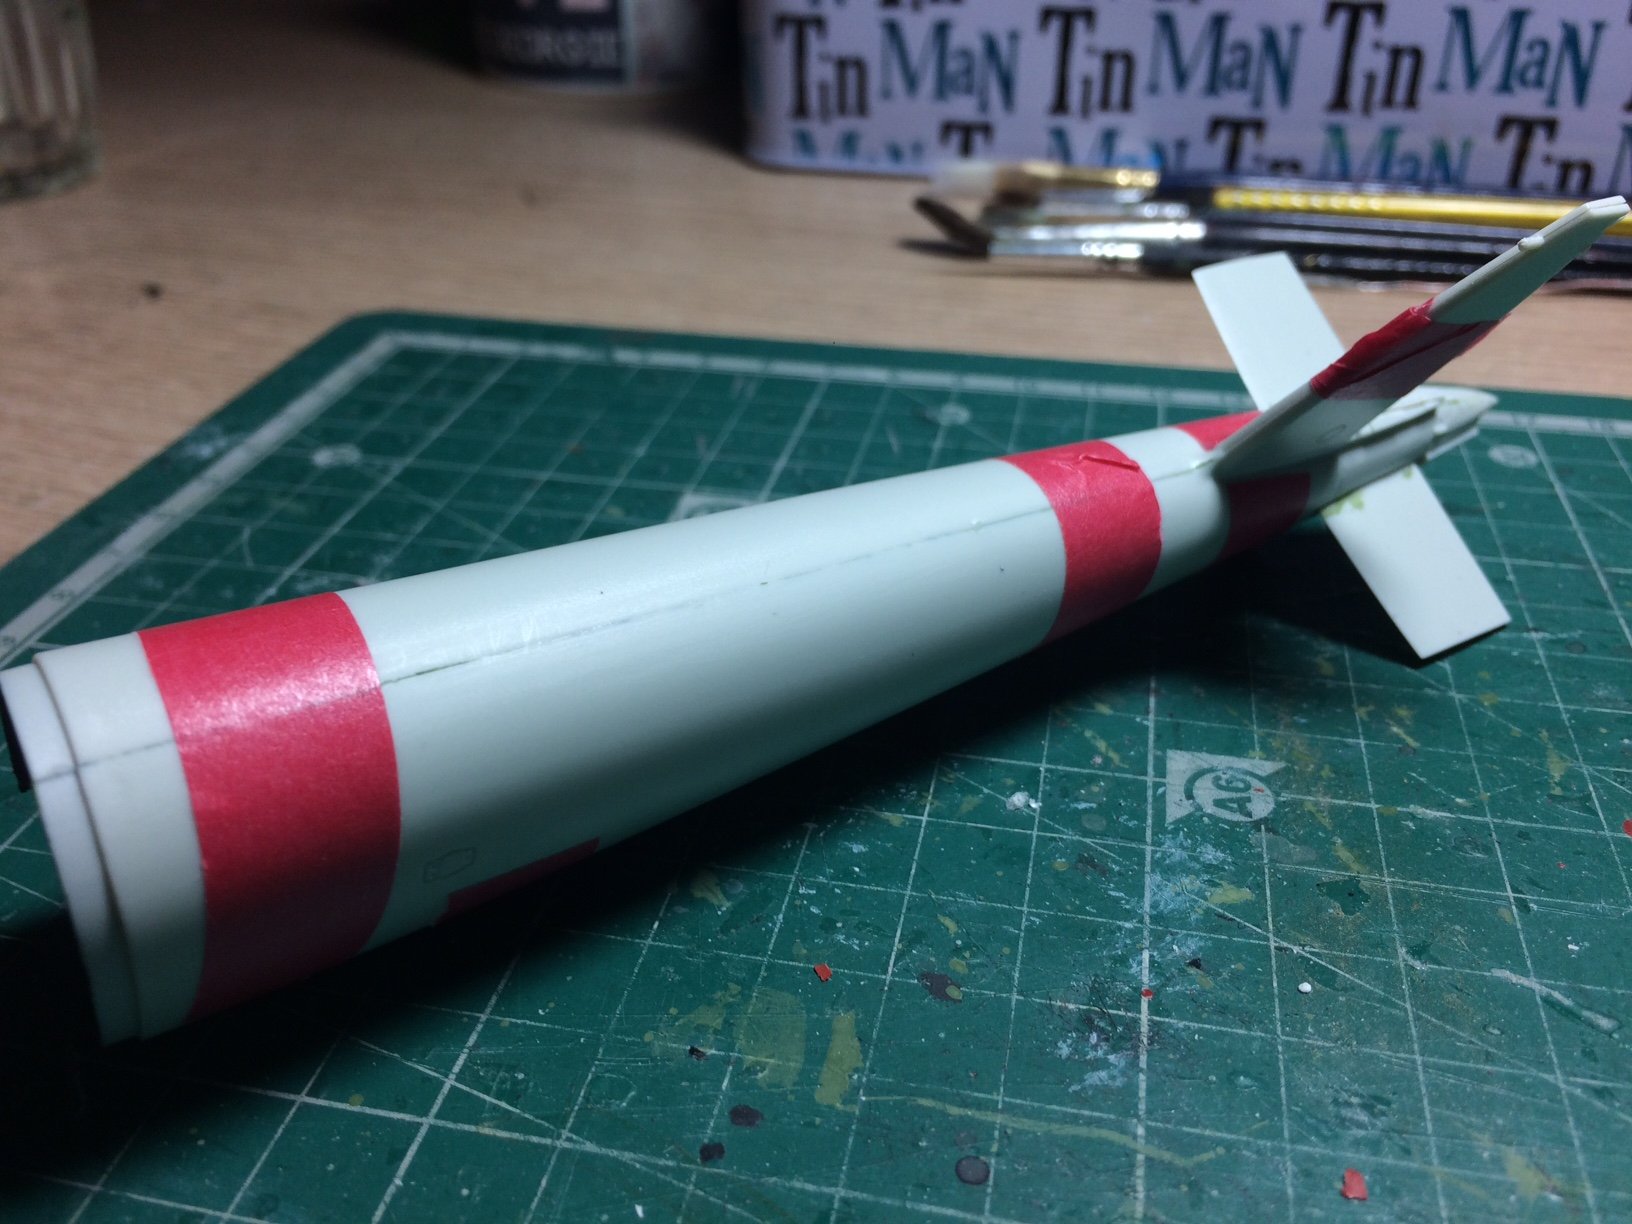
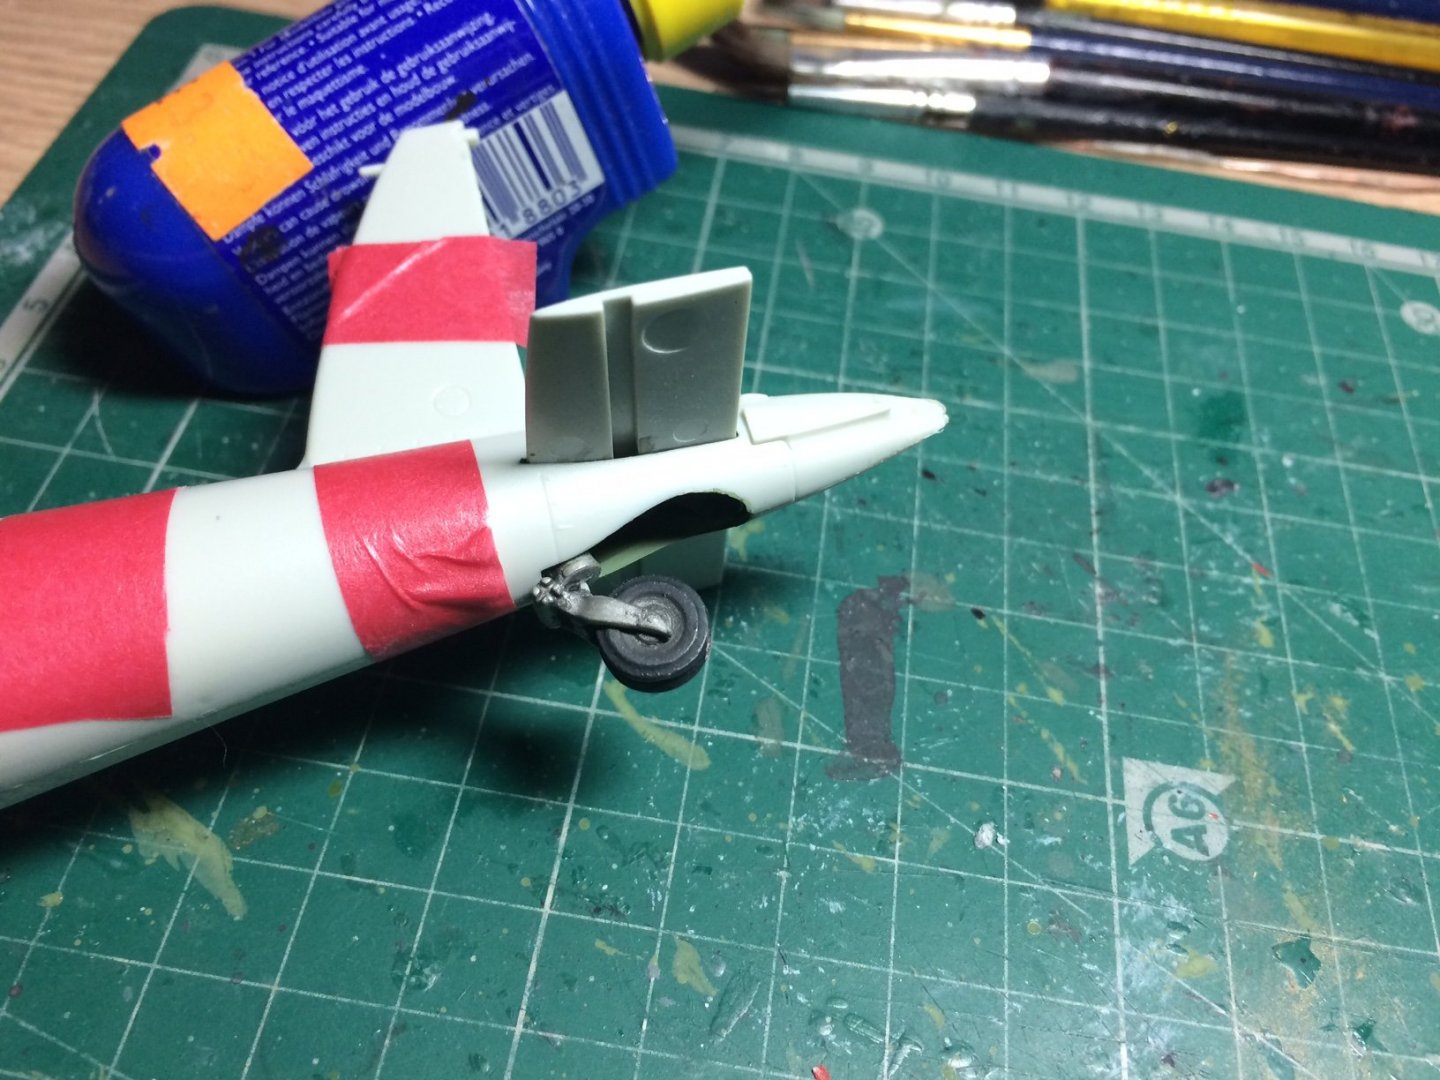
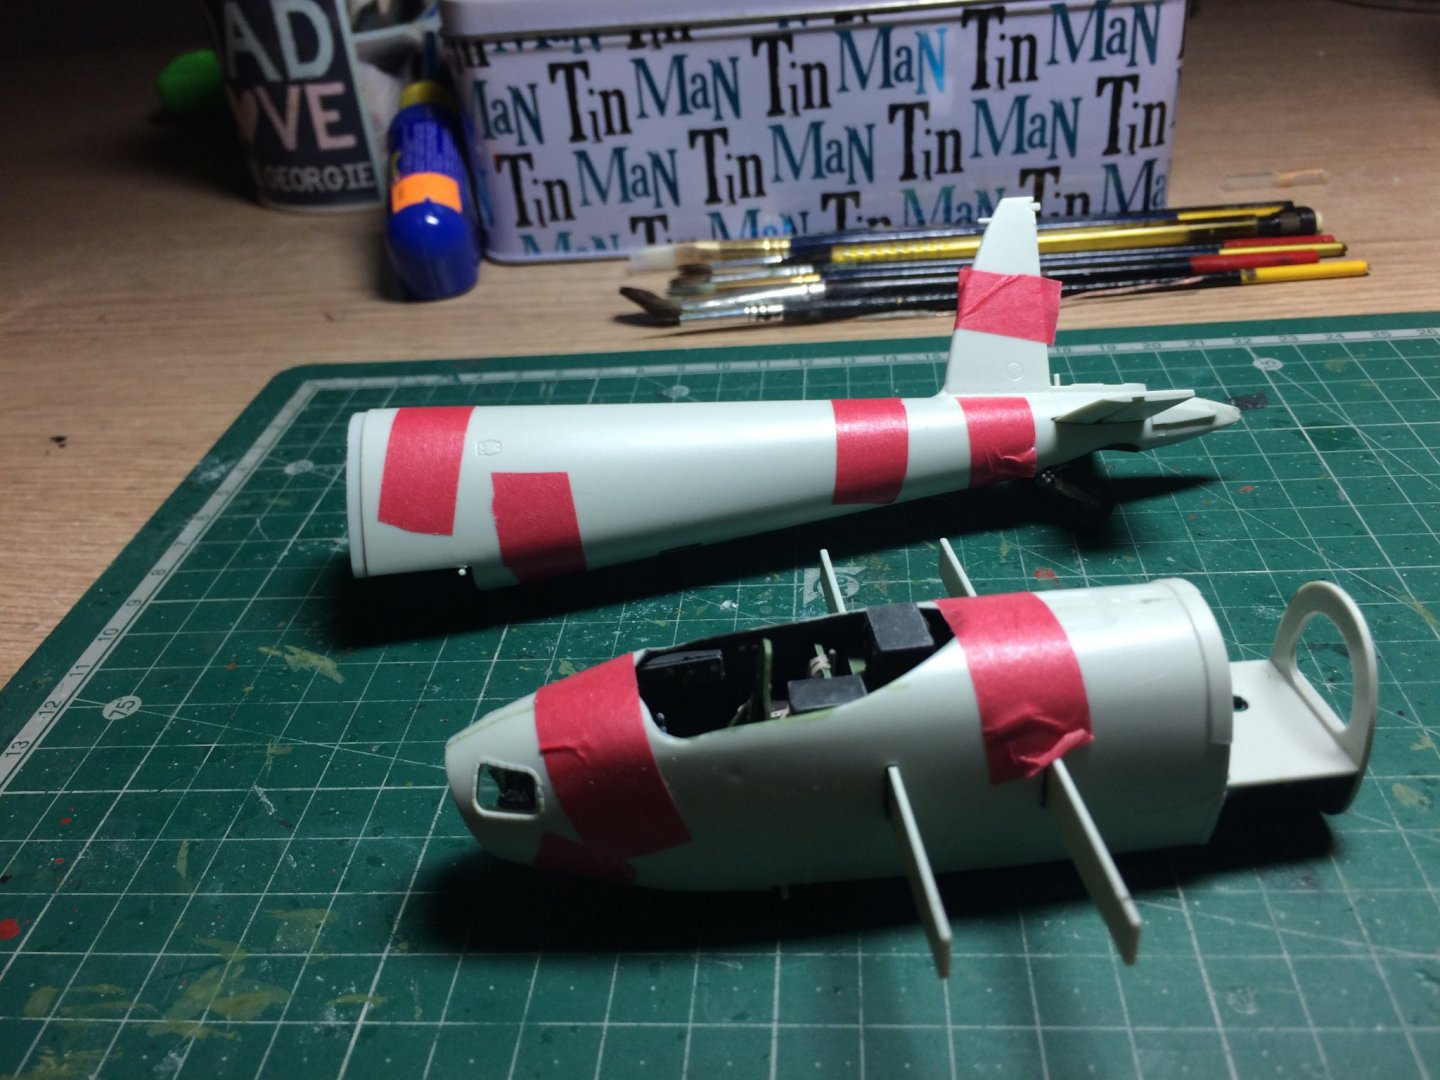
I then decided to have a go at the remaining fuselage section - again in two sections but with the rear wheel assembly needing building/painting/weathering and fitting. Because of the prob;em with the wrong size main undercarriage legs - I rectified the tail dragger wheel by filing away at the tab where it sits - I then reached a point where it was closer to the bottom of the fuselage (it would have done this with additinal weight or when in a heavy flight mode (fuel bombs etc). After fitting the wheel unit and cleaning up the edges (slight bevel on them) I glued them together and held in place with tape. So this is where I am at present. OC.
- 932 replies
-
- 10
-
-
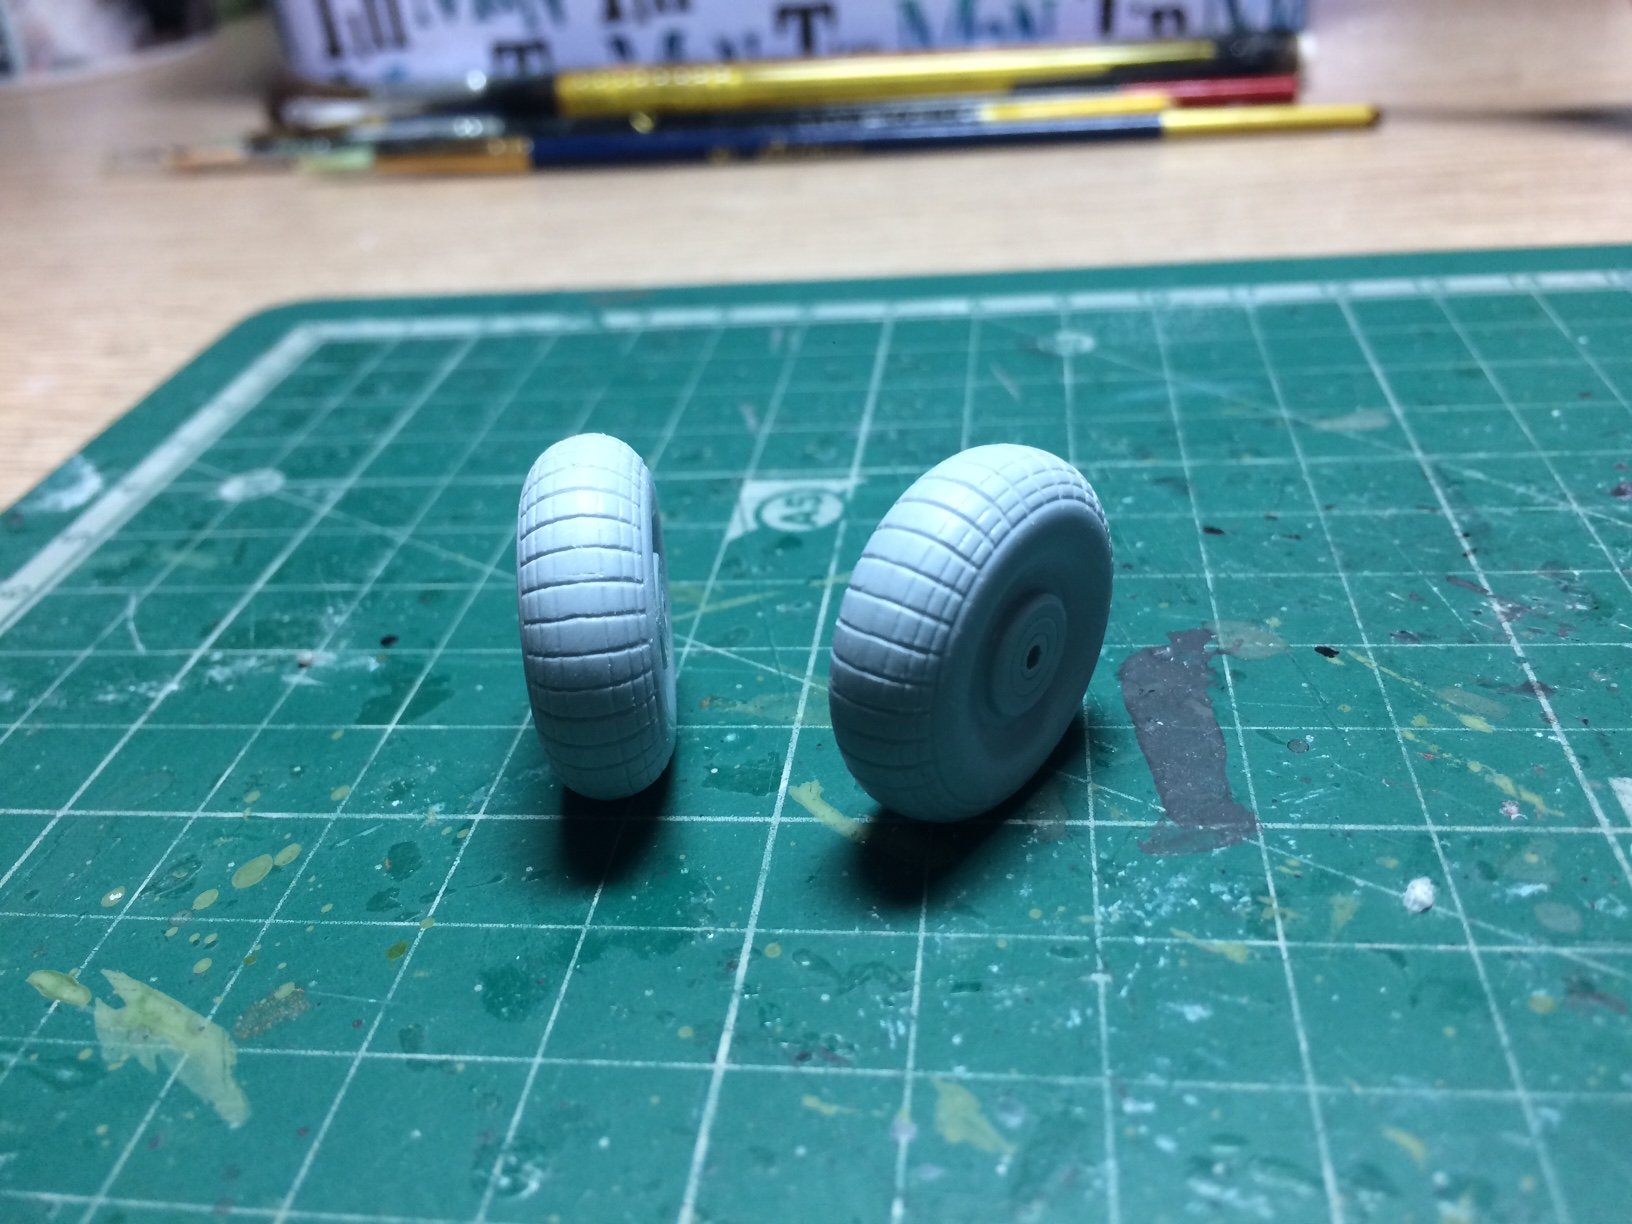
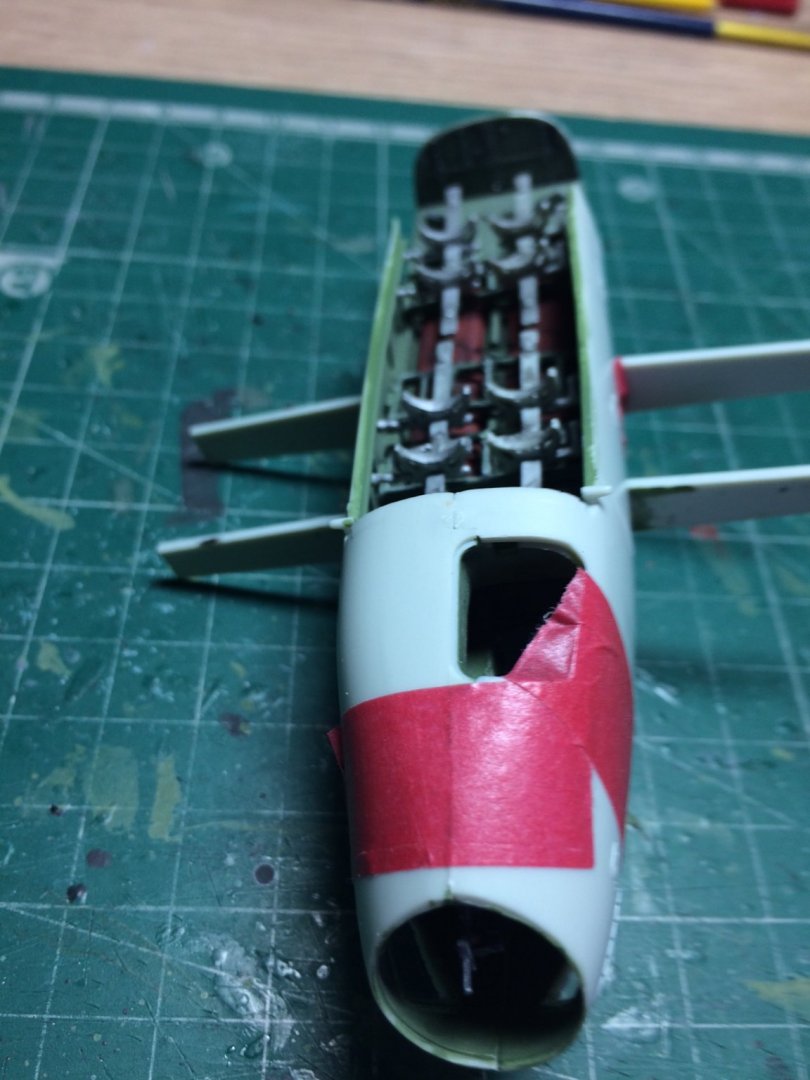
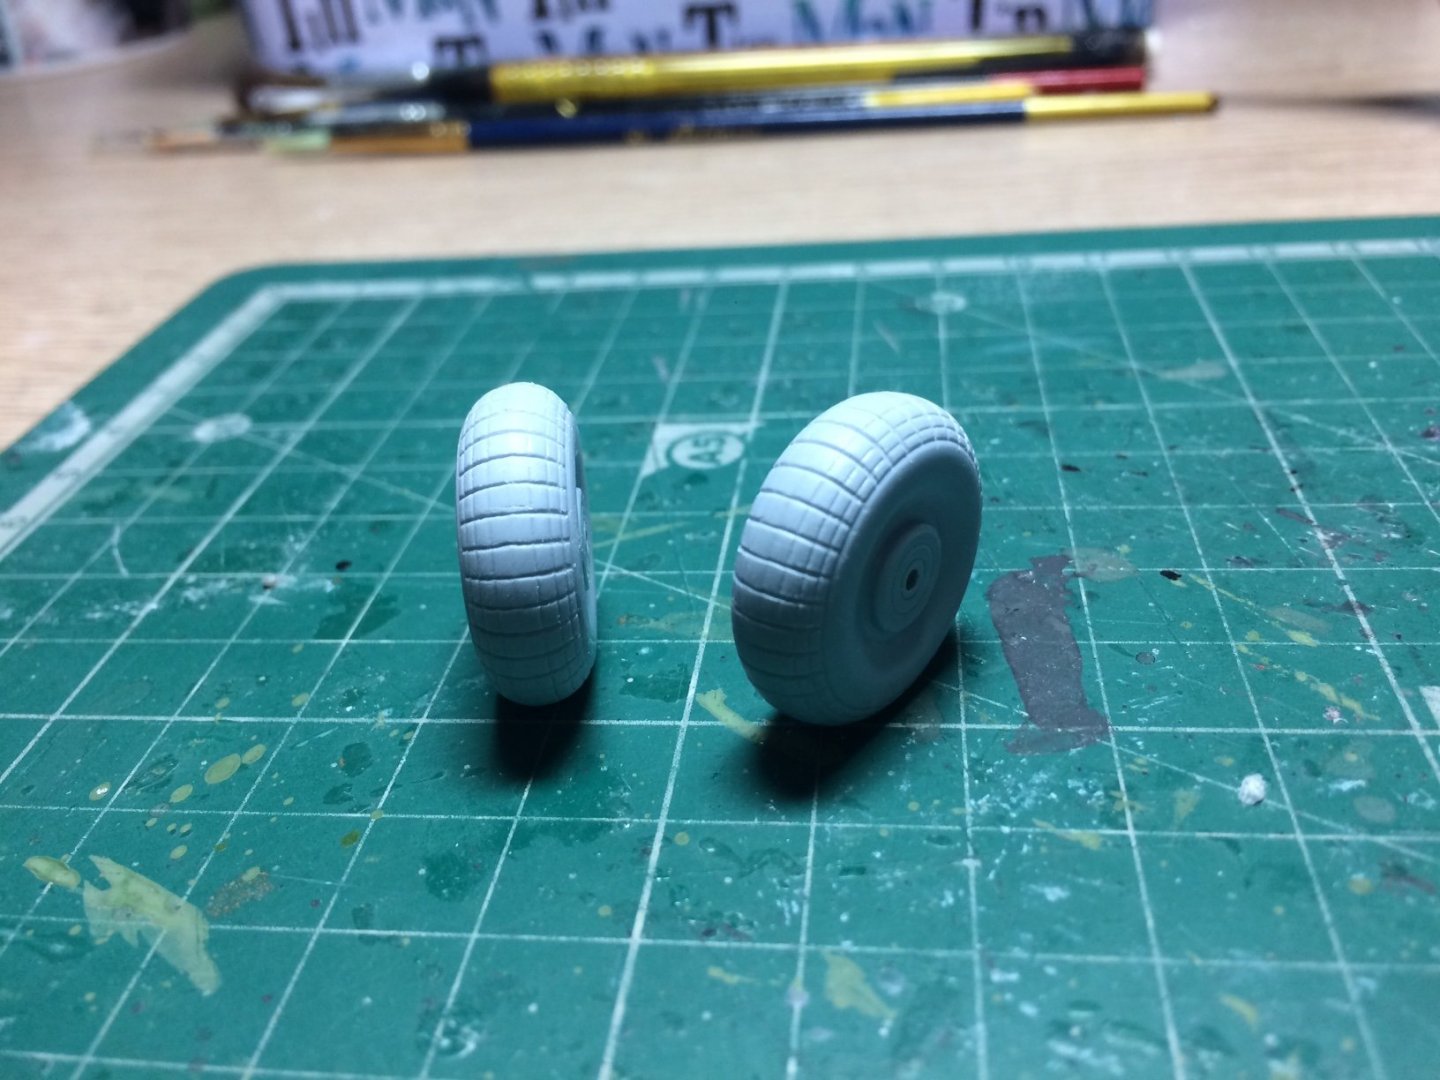
Good day all, more work today - I decided to glue the front fuselage in one go as my original idea would have bottle necked me, it glued quite well secured with tape - all the seams closed ok, while this was setting I had a go at the wheels - these needed joining together then I worked on creating a flat on each bottom them opening up the treads. OC.
-
Thank you Kevin. OC.
-
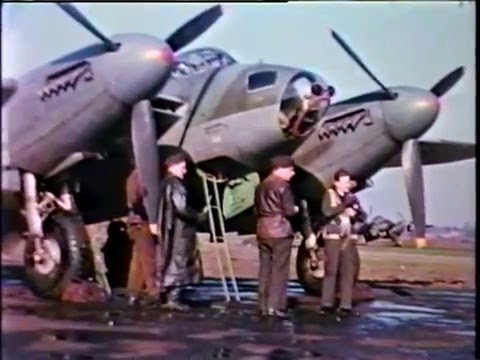
Like this photo off the net. OC.
-
Yep, thats both the entrance and escape hatch - the two man crew get into it via a narrow ladder thats stored in a locker between the outer skin and forward floor (the ladder slides into itself like tripod leg). OC.
-
Looking great denis "wow our modeling sure gives us shake of the head moments when things dont go to plan". OC.