-
Posts
696 -
Joined
-
Last visited
Profile Information
-
Gender
Male
-
Location
Christchurch,New Zealand
Recent Profile Visitors
-

Caldercraft Victory Replacement Parts
kiwiron replied to Jonathan_219's topic in Wood ship model kits
I had a broken decoration, no response from Jotika at all after 4 emails, very poor service. I got hold of the retailer I purchased the kit from and they got the part I wanted in a few days ready to send to me. -
 kiwiron reacted to a post in a topic:
Woodwork/Model making workshop by Charter33 - FINISHED - Scale 1:1
-
 Canute reacted to a post in a topic:
Woodwork/Model making workshop by Charter33 - FINISHED - Scale 1:1
-
 AJohnson reacted to a post in a topic:
Woodwork/Model making workshop by Charter33 - FINISHED - Scale 1:1
-
 thibaultron reacted to a post in a topic:
Woodwork/Model making workshop by Charter33 - FINISHED - Scale 1:1
-
 Old Collingwood reacted to a post in a topic:
Woodwork/Model making workshop by Charter33 - FINISHED - Scale 1:1
-
 Jack12477 reacted to a post in a topic:
Woodwork/Model making workshop by Charter33 - FINISHED - Scale 1:1
-
 Charter33 reacted to a post in a topic:
Woodwork/Model making workshop by Charter33 - FINISHED - Scale 1:1
-
 kiwiron reacted to a post in a topic:
HMS Victory by Yabuhebi (Chris) - Caldercraft - 1:72
-
 kiwiron reacted to a post in a topic:
HMS Victory by Yabuhebi (Chris) - Caldercraft - 1:72
-
 kiwiron reacted to a post in a topic:
HMS Victory by Marinus - Caldercraft - 1/72
-
 kiwiron reacted to a post in a topic:
HMS Victory by Marinus - Caldercraft - 1/72
-
 kiwiron reacted to a post in a topic:
HMS Victory by Yabuhebi (Chris) - Caldercraft - 1:72
-
 KARAVOKIRIS reacted to a post in a topic:
HMS Victory by Yabuhebi (Chris) - Caldercraft - 1:72
-
 kiwiron reacted to a post in a topic:
HMS Victory by Yabuhebi (Chris) - Caldercraft - 1:72
-
 mort stoll reacted to a post in a topic:
HMS Victory 1805 by kiwiron - Caldercraft - 1:72
-
 kiwiron reacted to a post in a topic:
HMS Victory by Yabuhebi (Chris) - Caldercraft - 1:72
-
 KARAVOKIRIS reacted to a post in a topic:
HMS Victory 1805 by kiwiron - Caldercraft - 1:72
-
 kiwiron reacted to a post in a topic:
HMS Victory by Yabuhebi (Chris) - Caldercraft - 1:72
-
 kiwiron reacted to a post in a topic:
HMS Victory by Yabuhebi (Chris) - Caldercraft - 1:72
-
 CODY reacted to a post in a topic:
HMS Victory 1805 by kiwiron - Caldercraft - 1:72
-
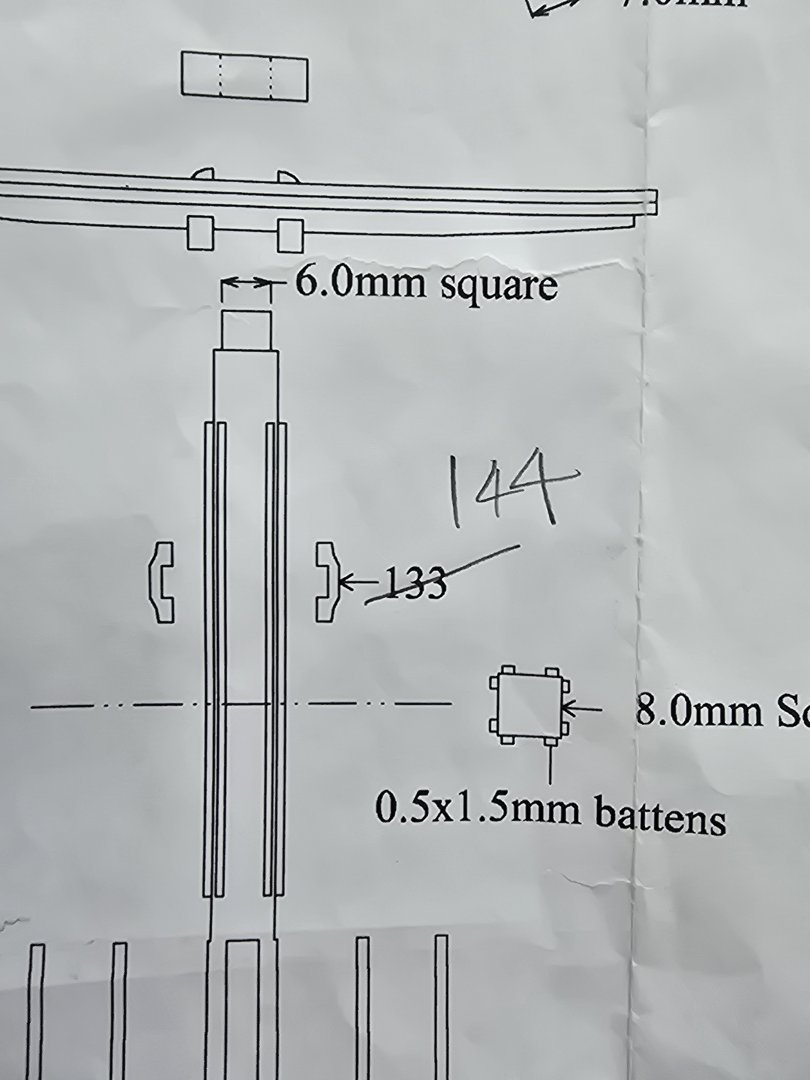
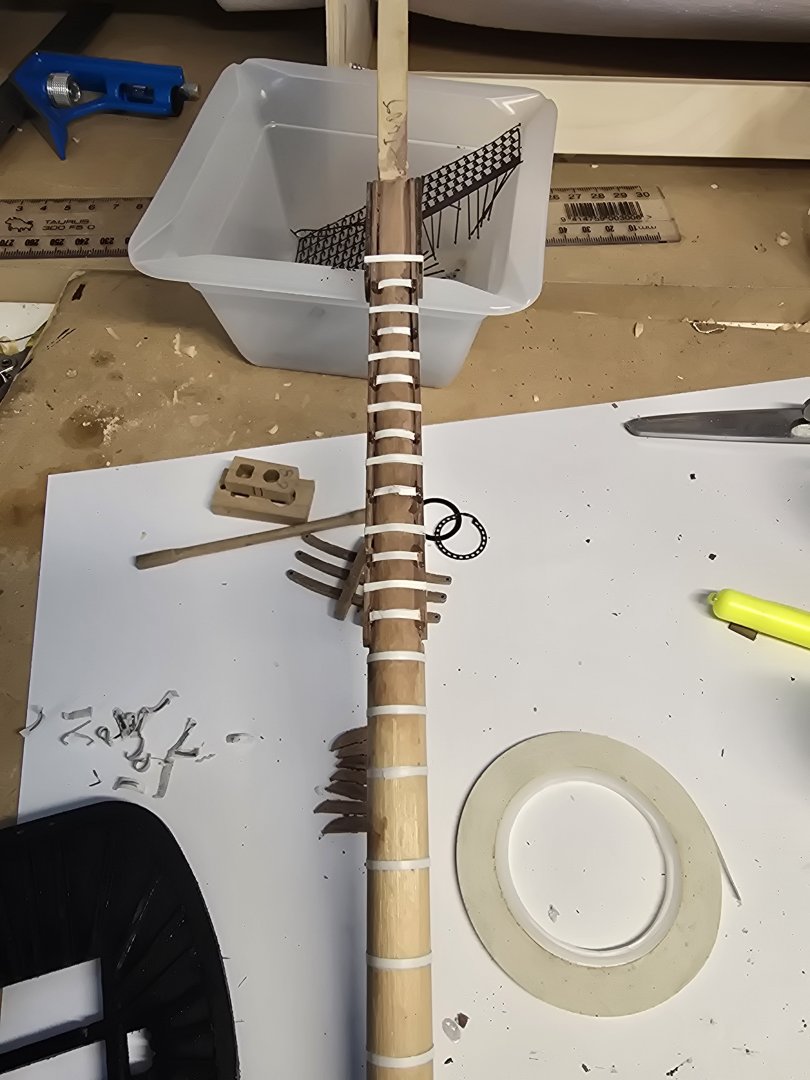
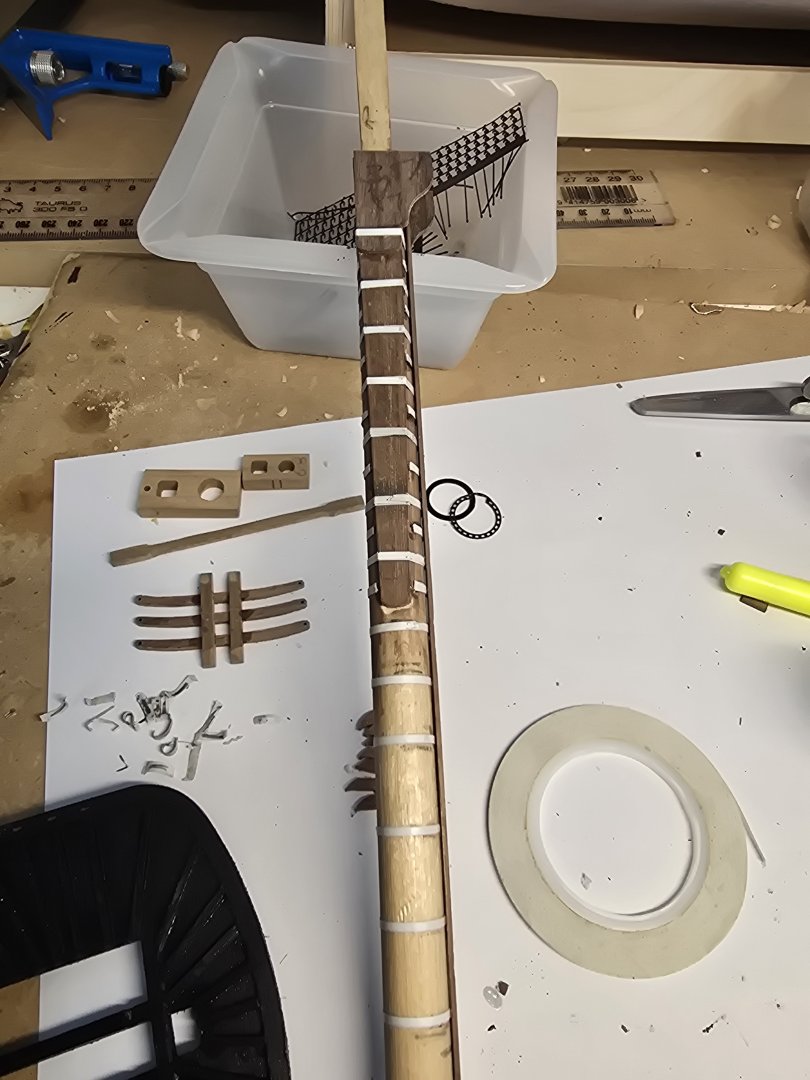
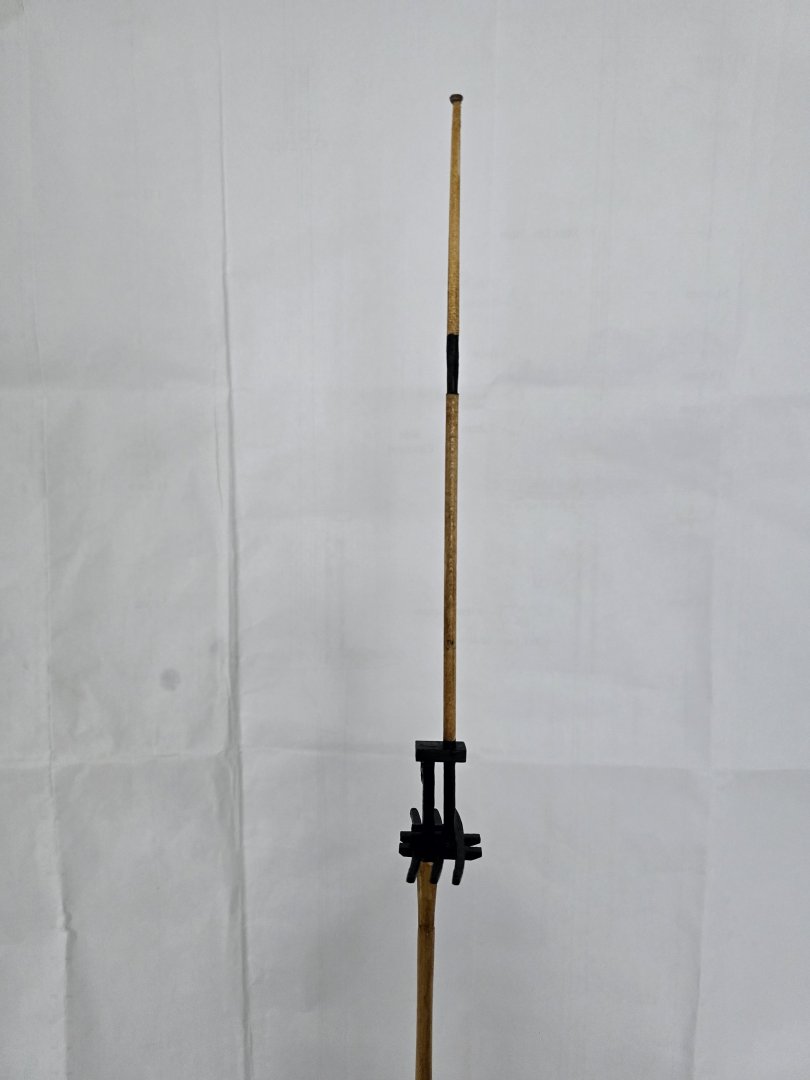
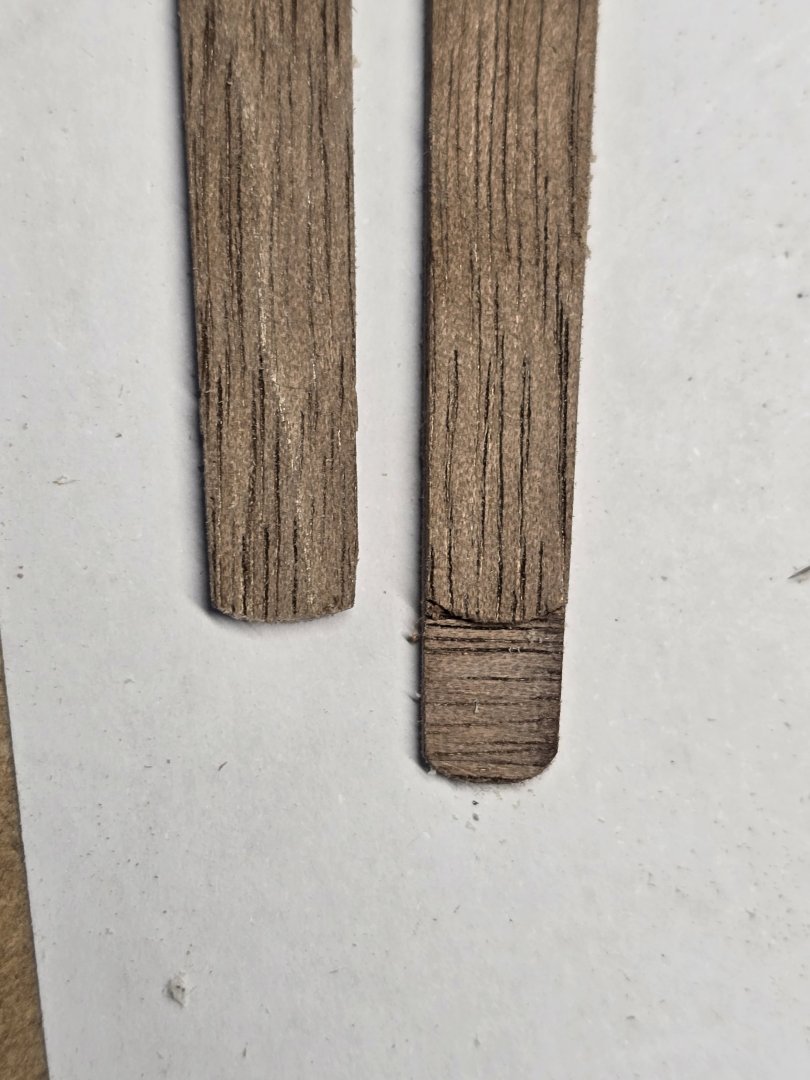
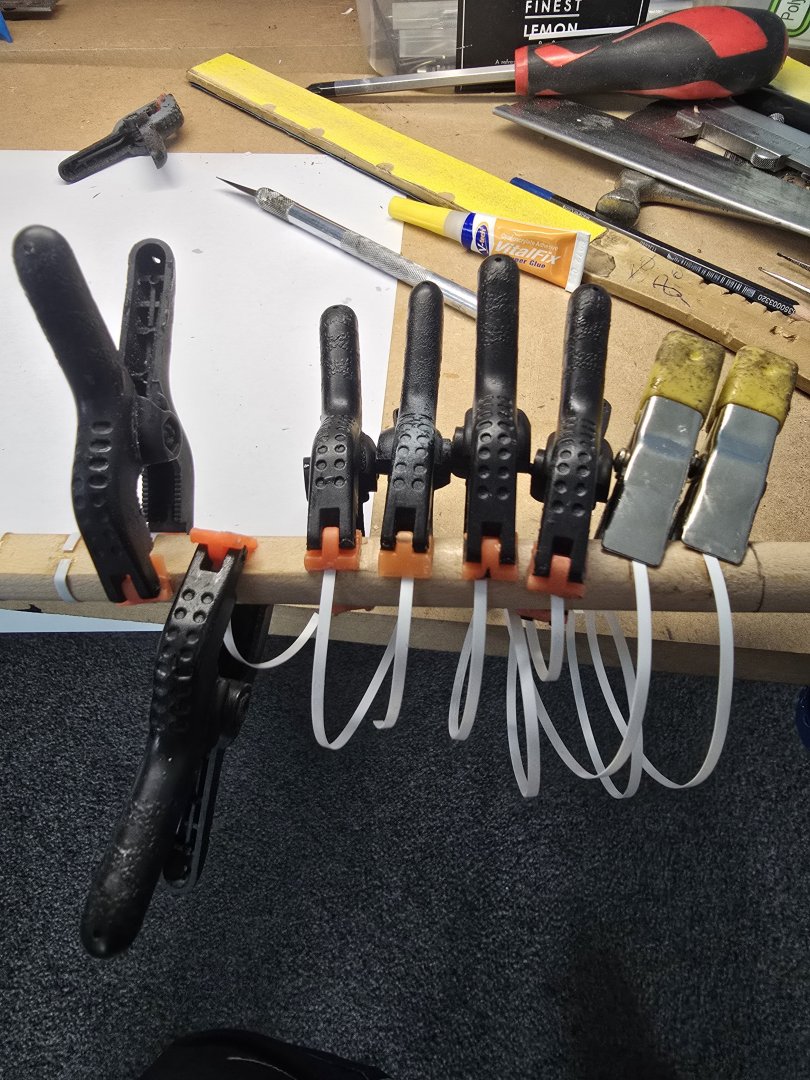
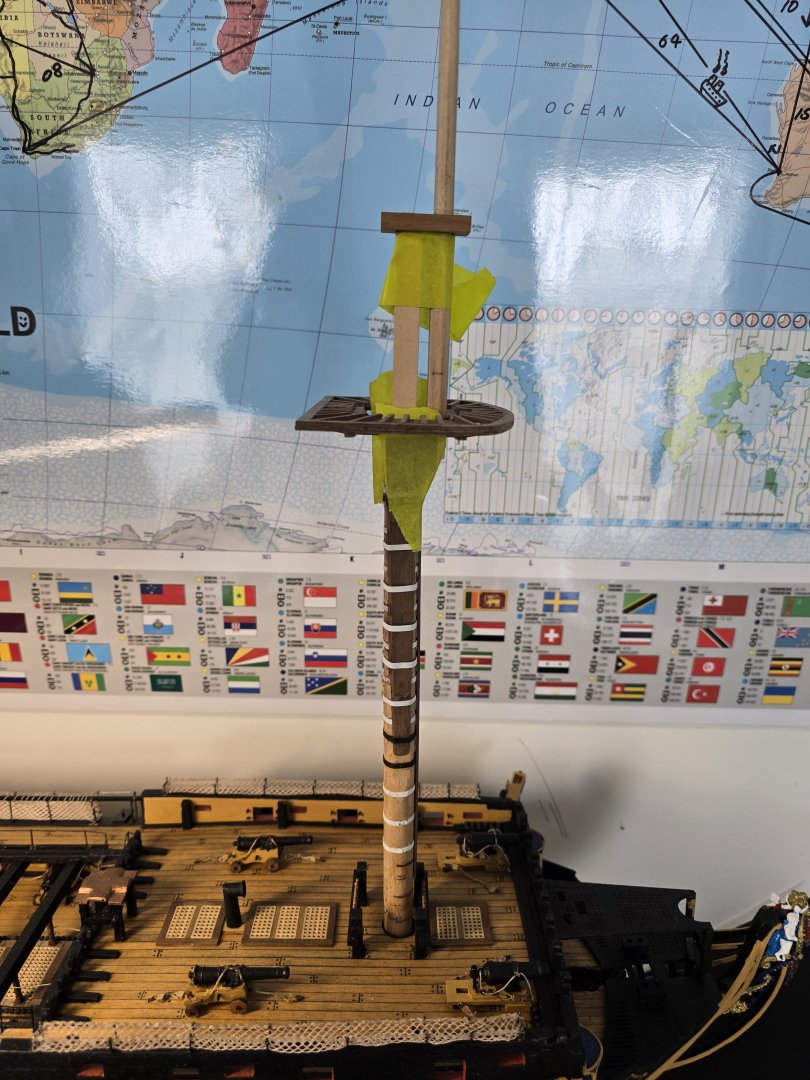
Things I learnt on the foremast. When trimming the mast for the Cheeks to fit make sure you trim for them in line with the 8mm square above vertically. I will try pin striping tape for the bands after the styrene kept breaking. Add blocks to the Platform after painting black. I did'nt so got some black paint on the blocks so had to paint the blocks black. For the mast top cut a small v under it to allow for thread to fit between that and Top Gallant mast. Fit the boarding pikes last, easy to damage. I used styrene for the battens instead of trying to cut 0.5 x 3mm walnut into 0.5 x 1.5mm. Hope that makes some sense.
-
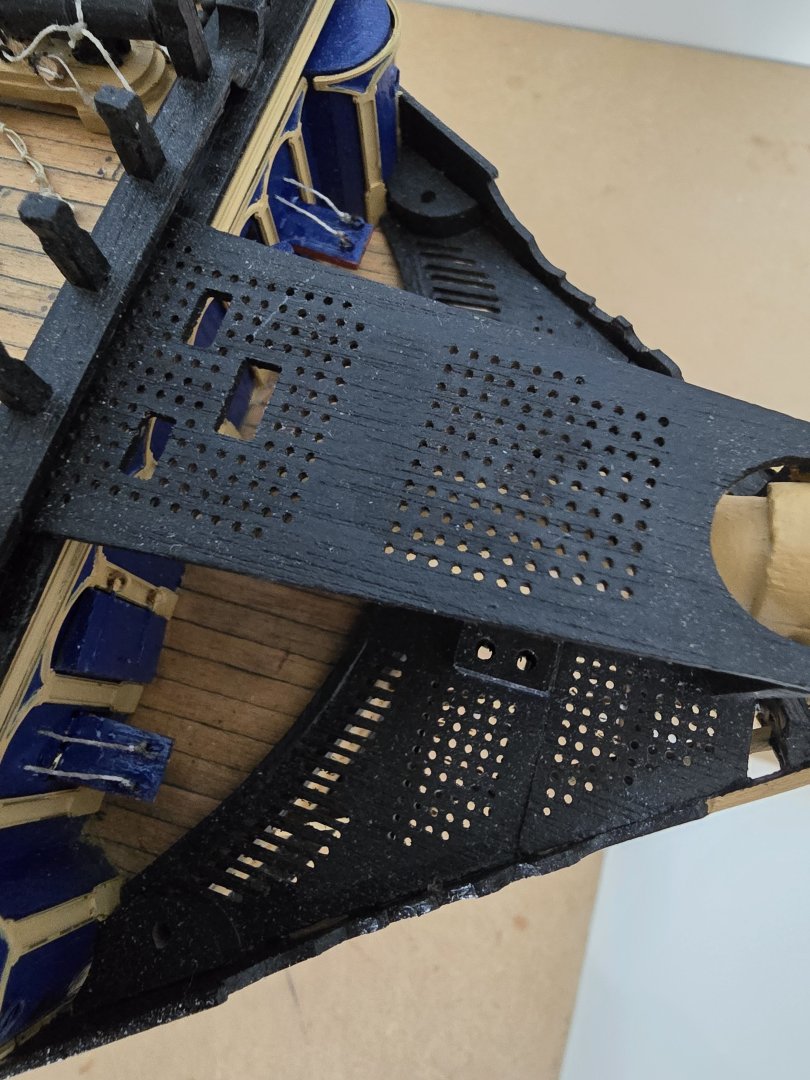
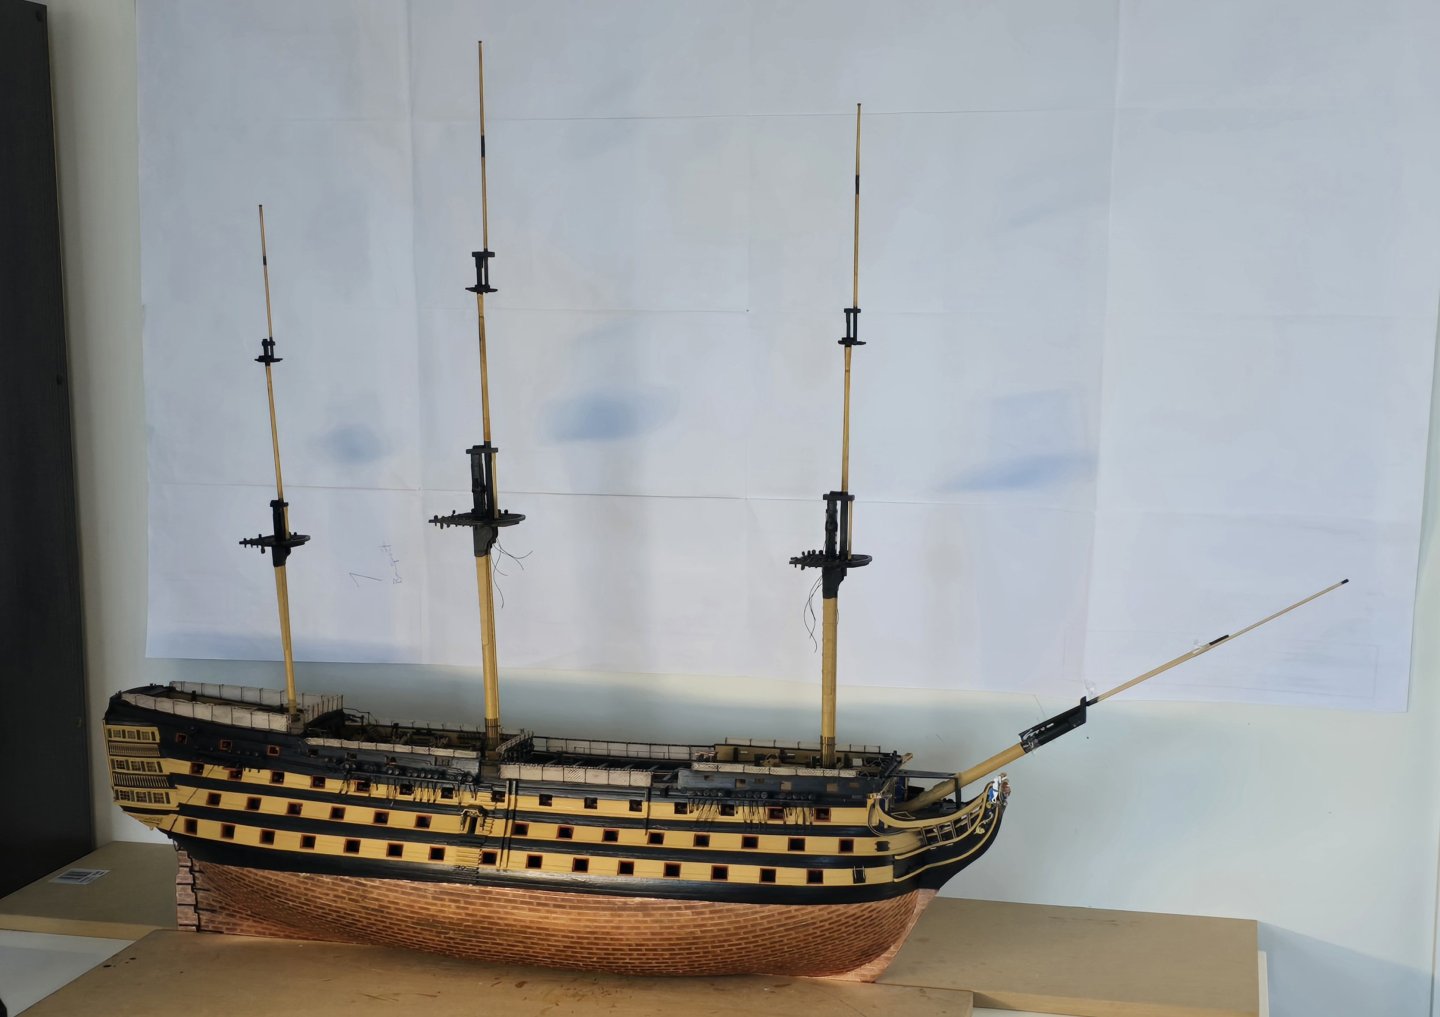
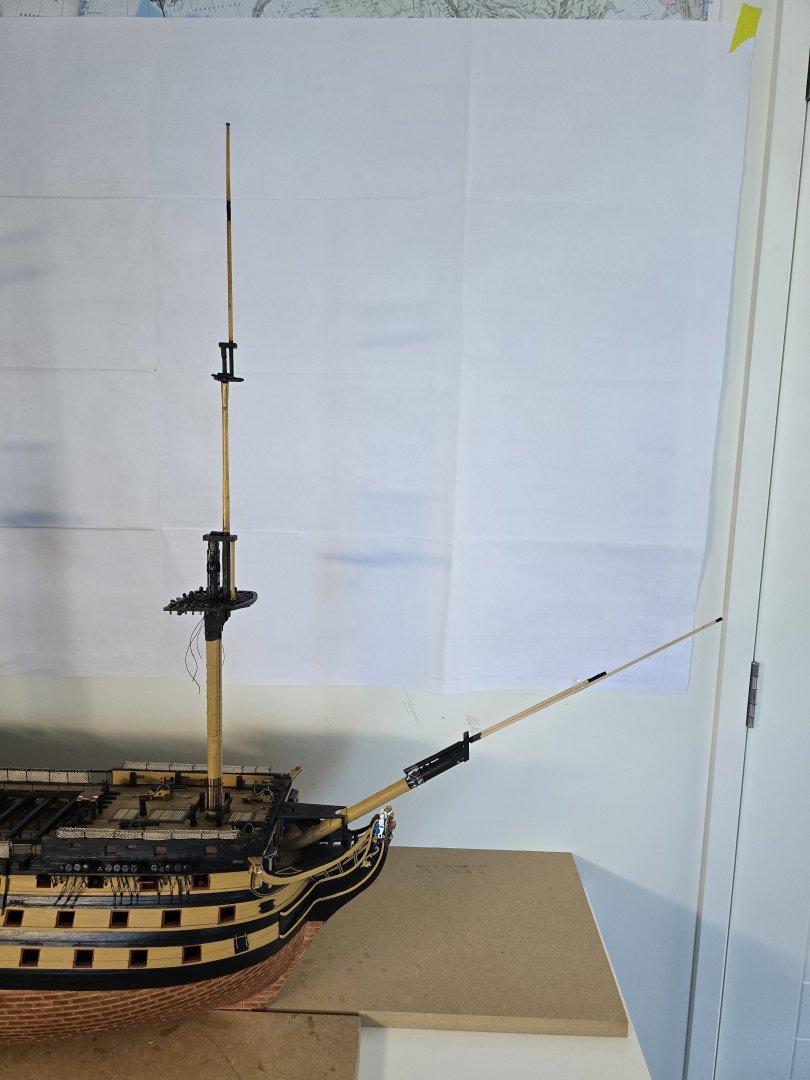
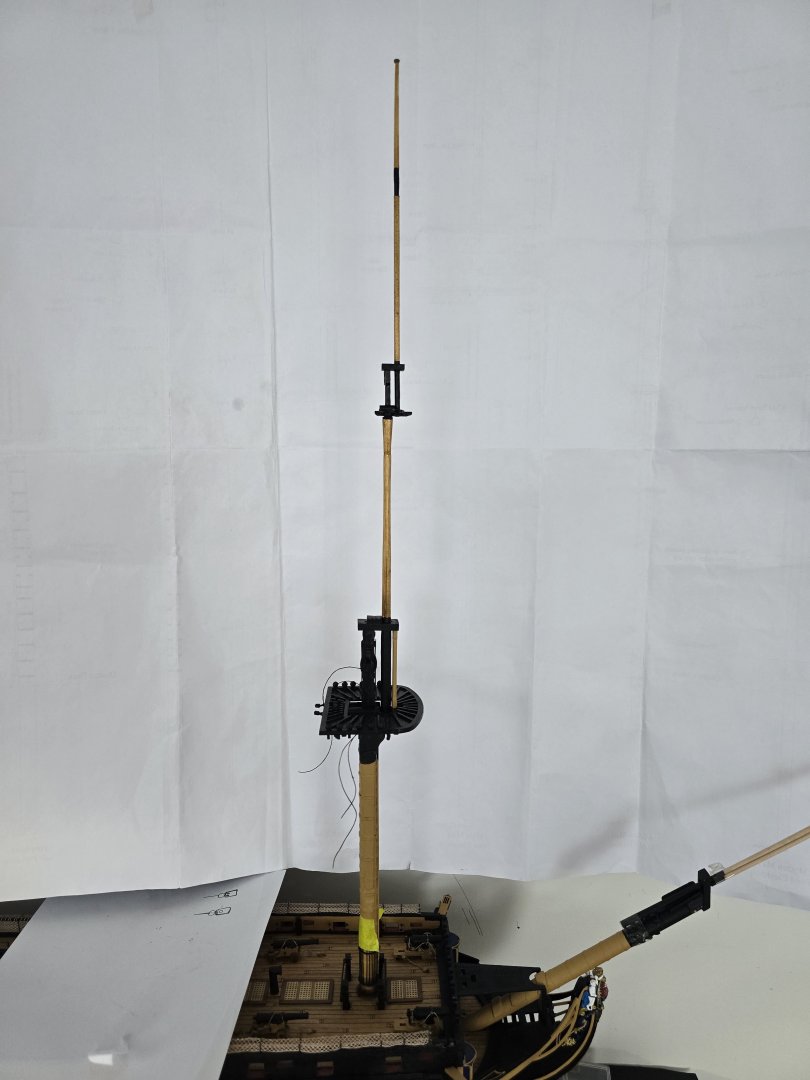
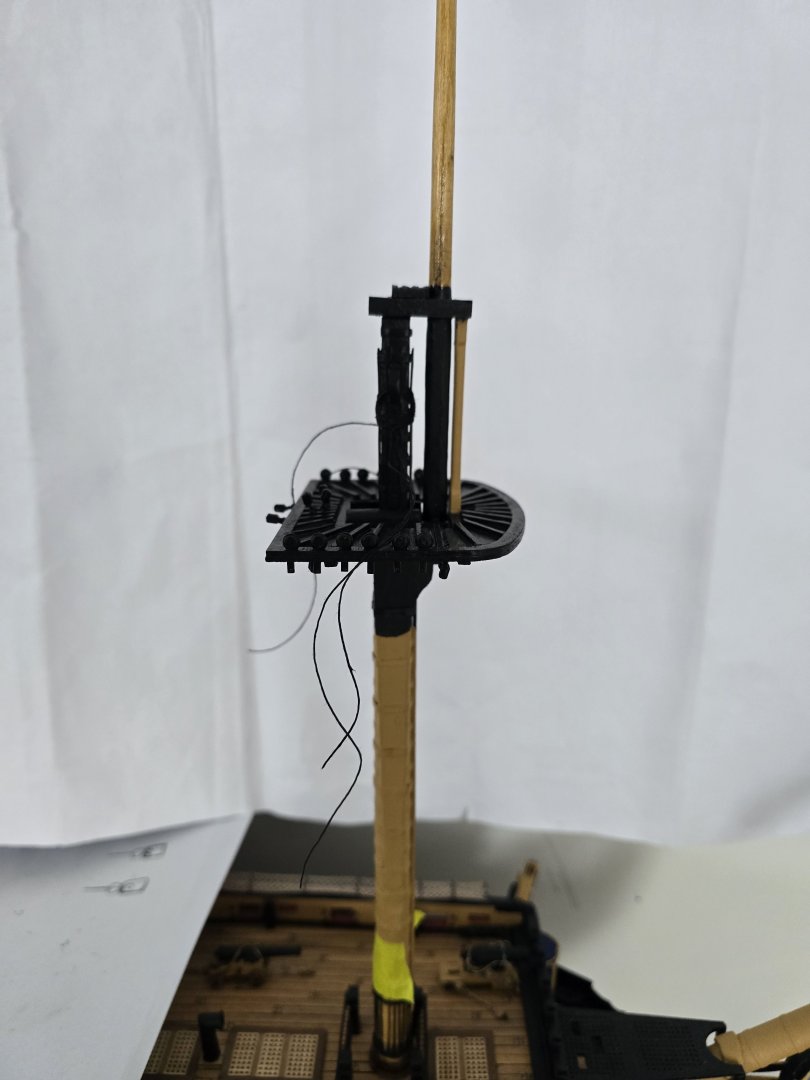
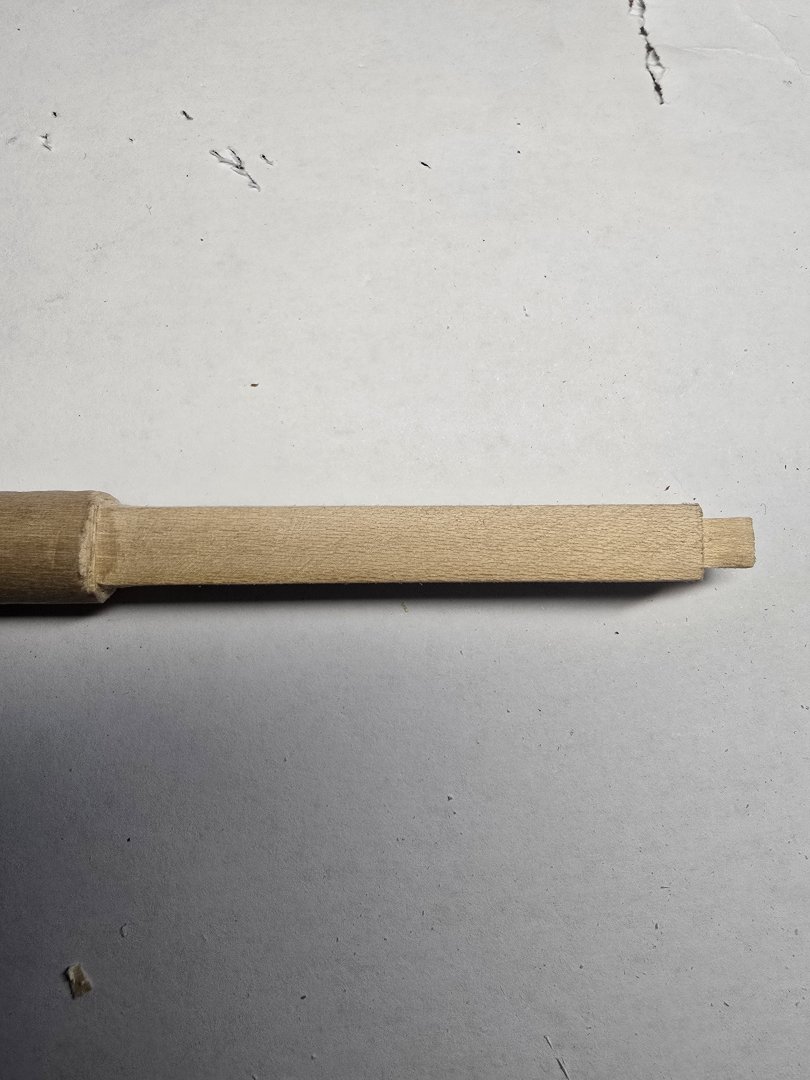
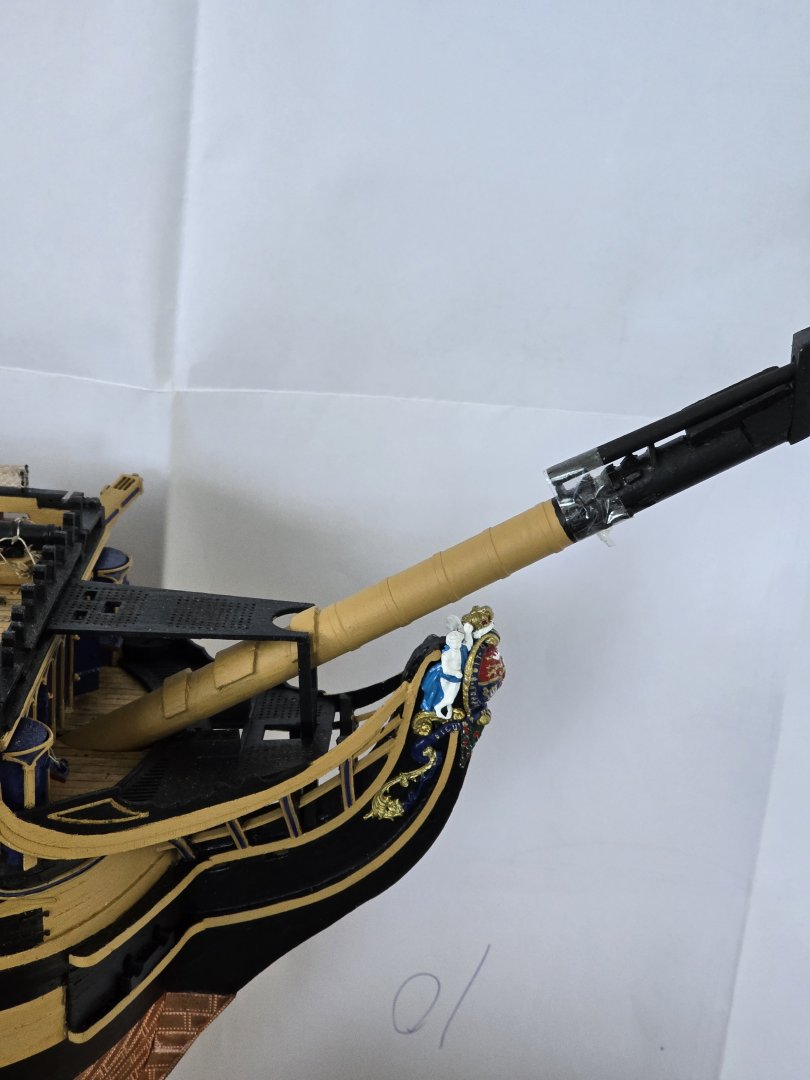
Thanks Chris, I'm onto the masts now after a break. I finally know what I'm supposed to do now studying your photo's over and over for the masts. Between fids, sheaves and bolsters I did'nt have a clue what most were. In the second photo I think I was supposed to take off the small end piece. This now matches the cheeks length on the plan sheet. Mock up of Bowsprit and lower foremast.
-
kiwiron started following HMS Victory by Yabuhebi (Chris) - Caldercraft - 1:72
About us
Modelshipworld - Advancing Ship Modeling through Research
SSL Secured
Your security is important for us so this Website is SSL-Secured
NRG Mailing Address
Nautical Research Guild
237 South Lincoln Street
Westmont IL, 60559-1917
Model Ship World ® and the MSW logo are Registered Trademarks, and belong to the Nautical Research Guild (United States Patent and Trademark Office: No. 6,929,264 & No. 6,929,274, registered Dec. 20, 2022)
Helpful Links
About the NRG
If you enjoy building ship models that are historically accurate as well as beautiful, then The Nautical Research Guild (NRG) is just right for you.
The Guild is a non-profit educational organization whose mission is to “Advance Ship Modeling Through Research”. We provide support to our members in their efforts to raise the quality of their model ships.
The Nautical Research Guild has published our world-renowned quarterly magazine, The Nautical Research Journal, since 1955. The pages of the Journal are full of articles by accomplished ship modelers who show you how they create those exquisite details on their models, and by maritime historians who show you the correct details to build. The Journal is available in both print and digital editions. Go to the NRG web site (www.thenrg.org) to download a complimentary digital copy of the Journal. The NRG also publishes plan sets, books and compilations of back issues of the Journal and the former Ships in Scale and Model Ship Builder magazines.


