HOLIDAY DONATION DRIVE - SUPPORT MSW - DO YOUR PART TO KEEP THIS GREAT FORUM GOING! (Only 66 donations so far out of 49,000 members - Can we at least get100? C'mon guys!)
×


Kevin
-
Posts
7,010 -
Joined
-
Last visited
Content Type
Profiles
Forums
Gallery
Events
Everything posted by Kevin
-
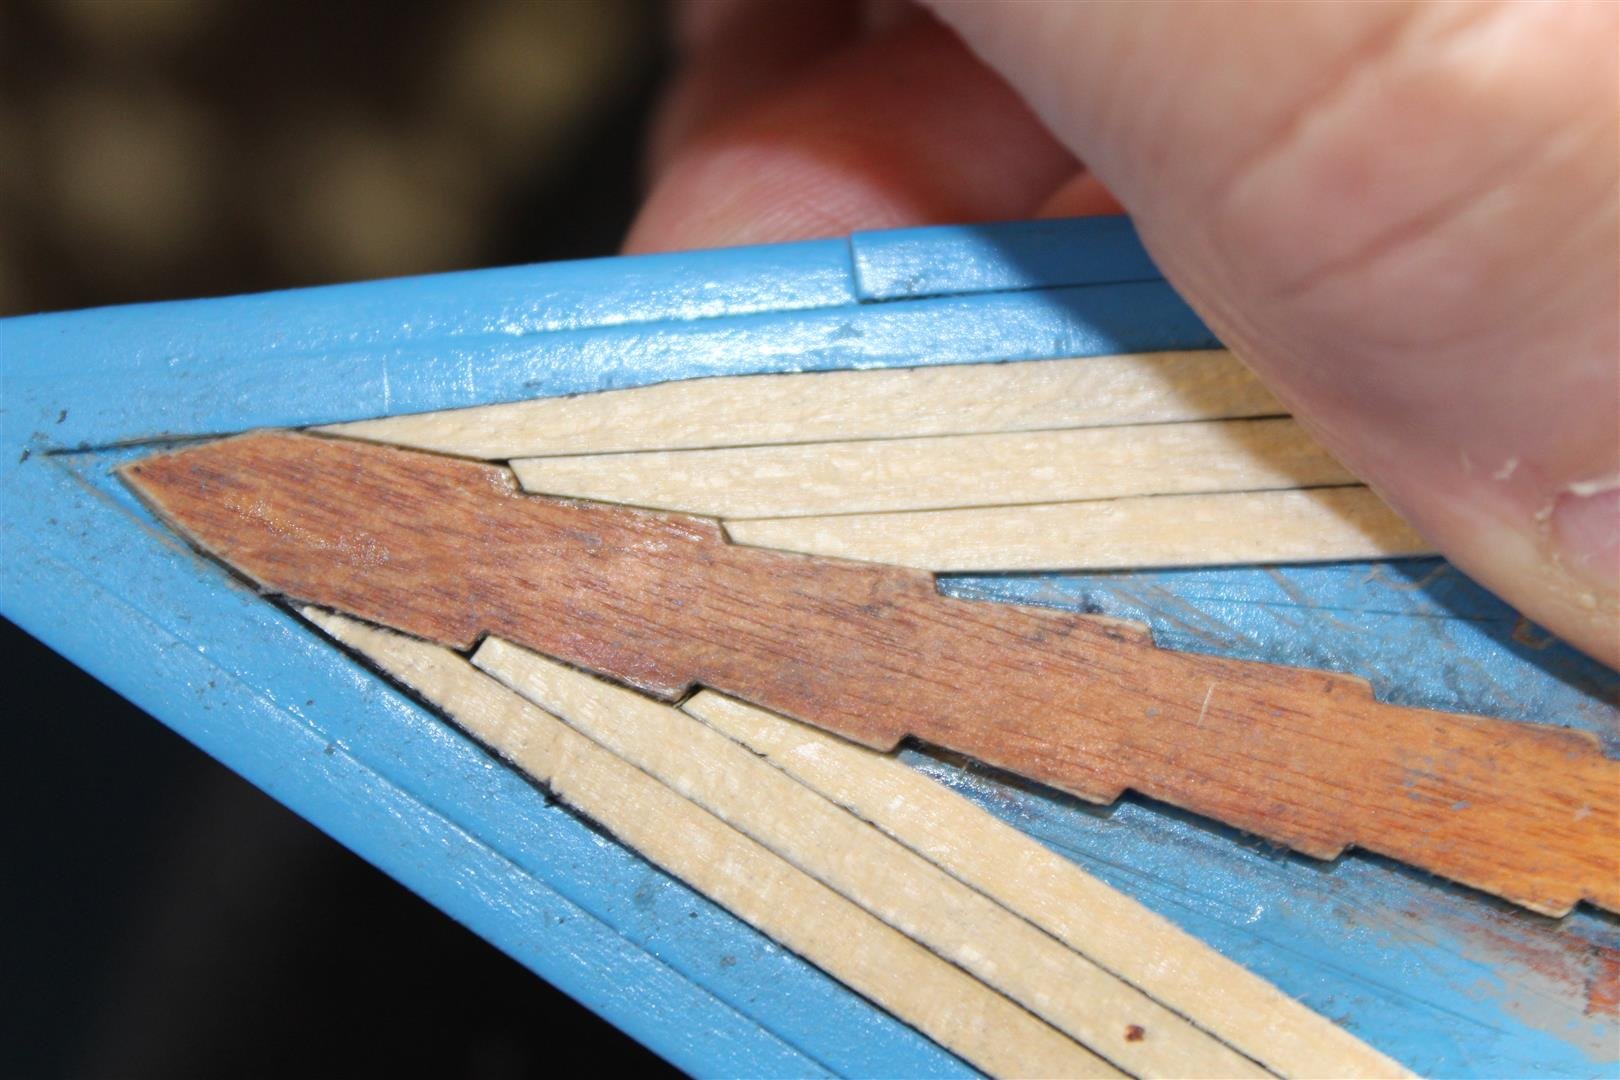
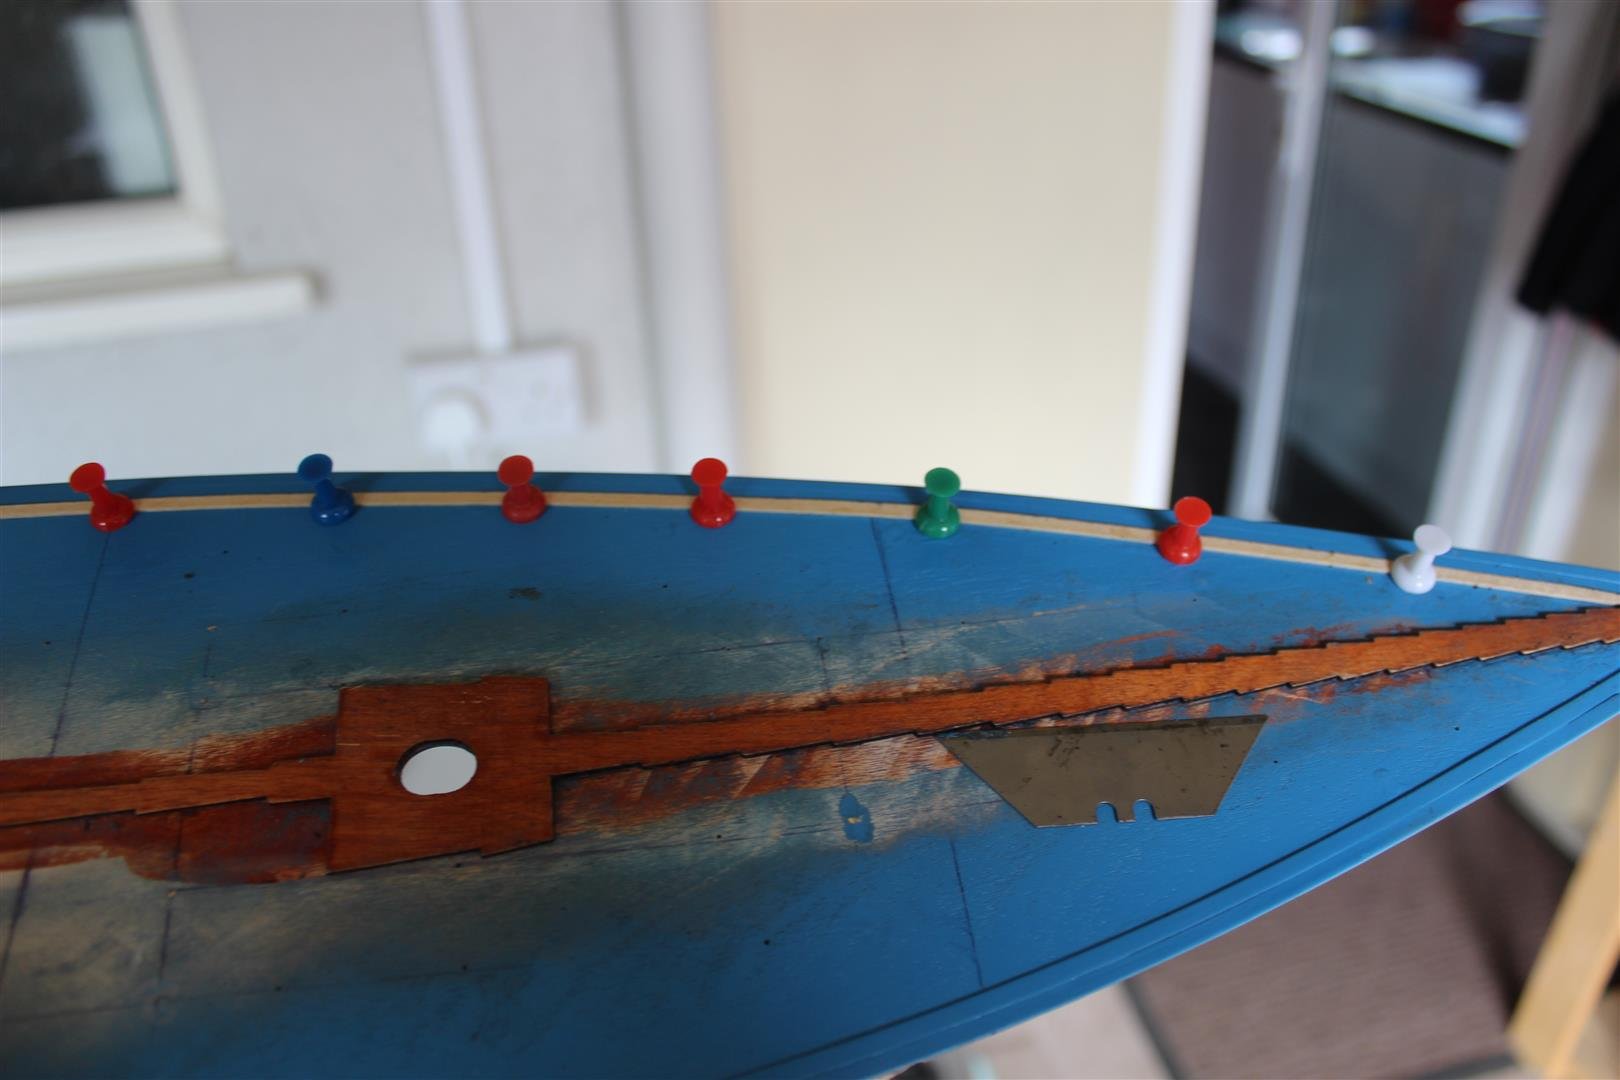
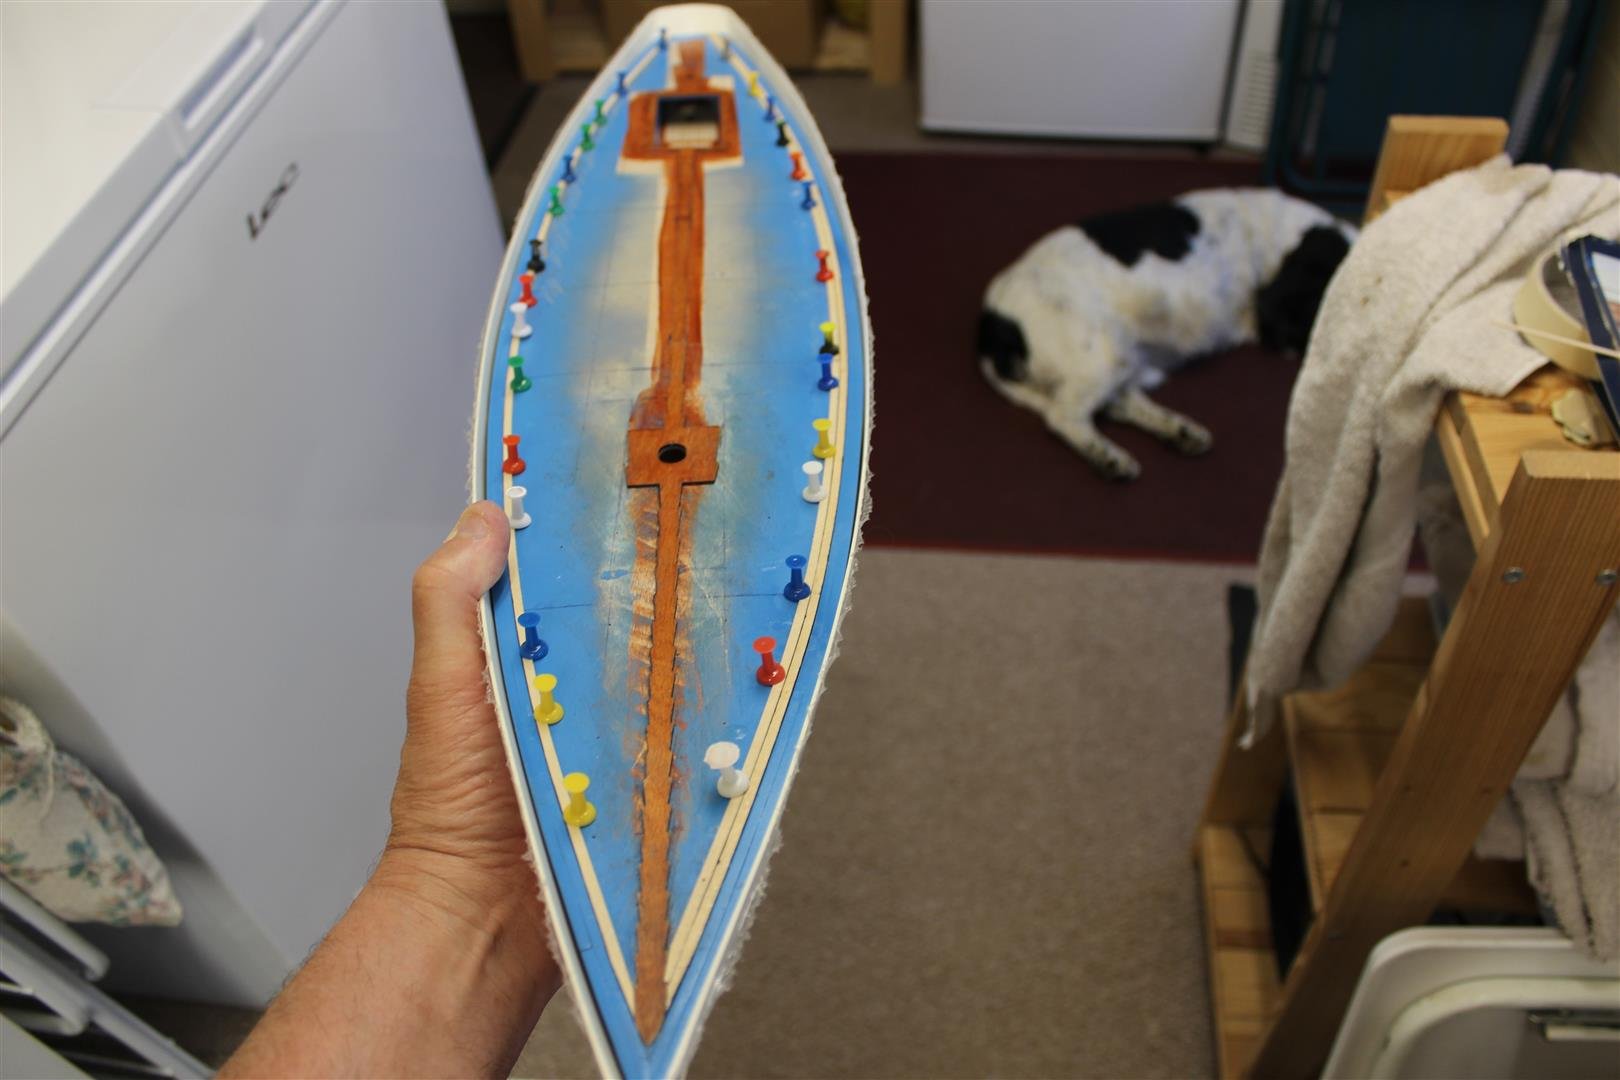
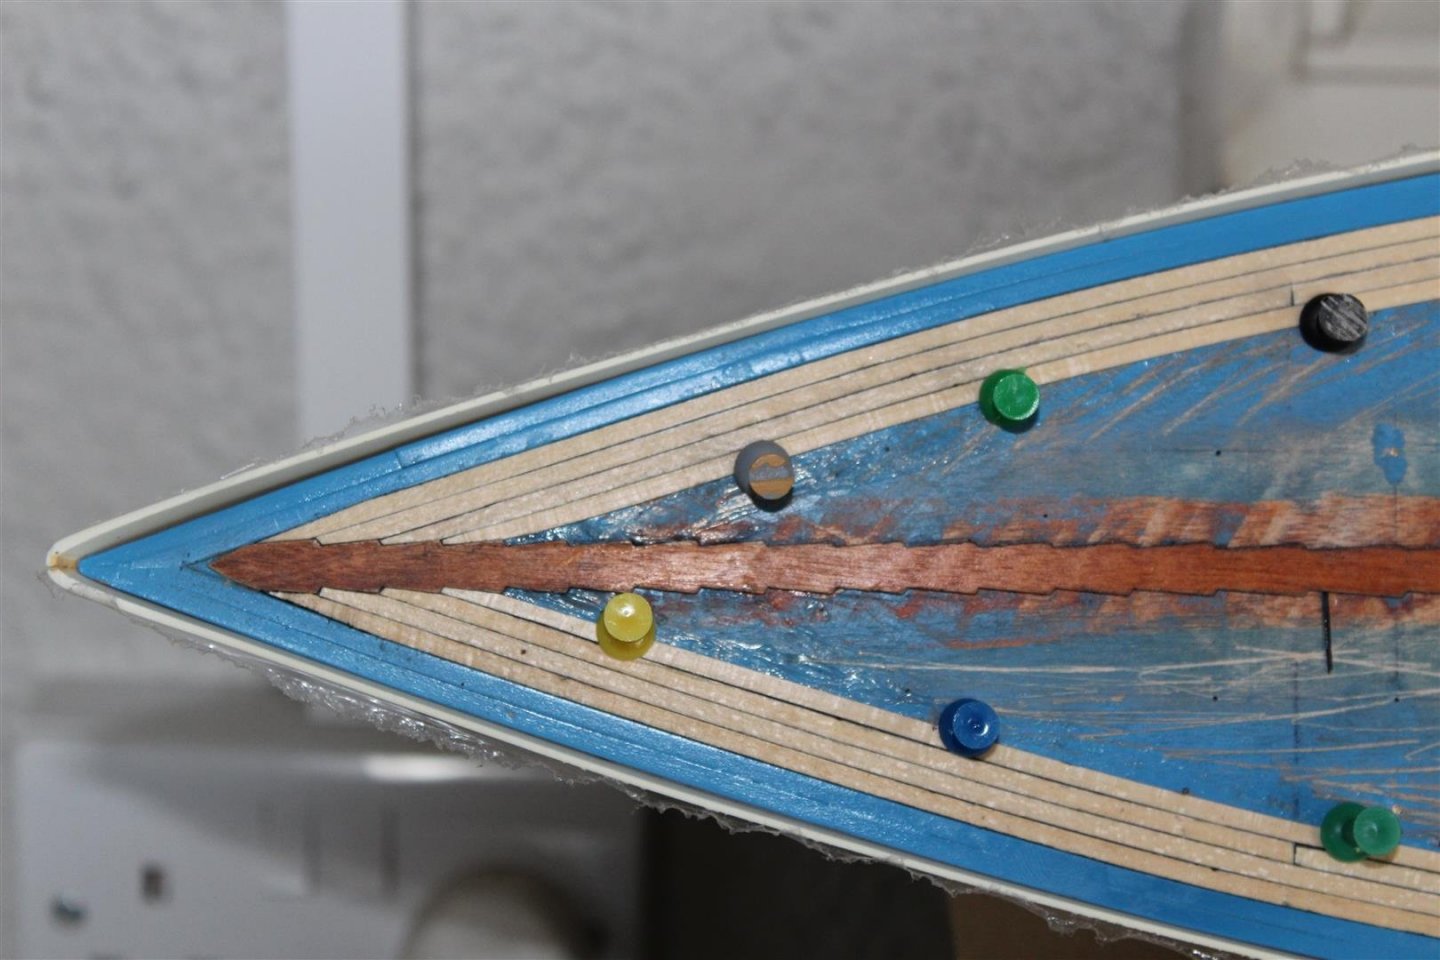
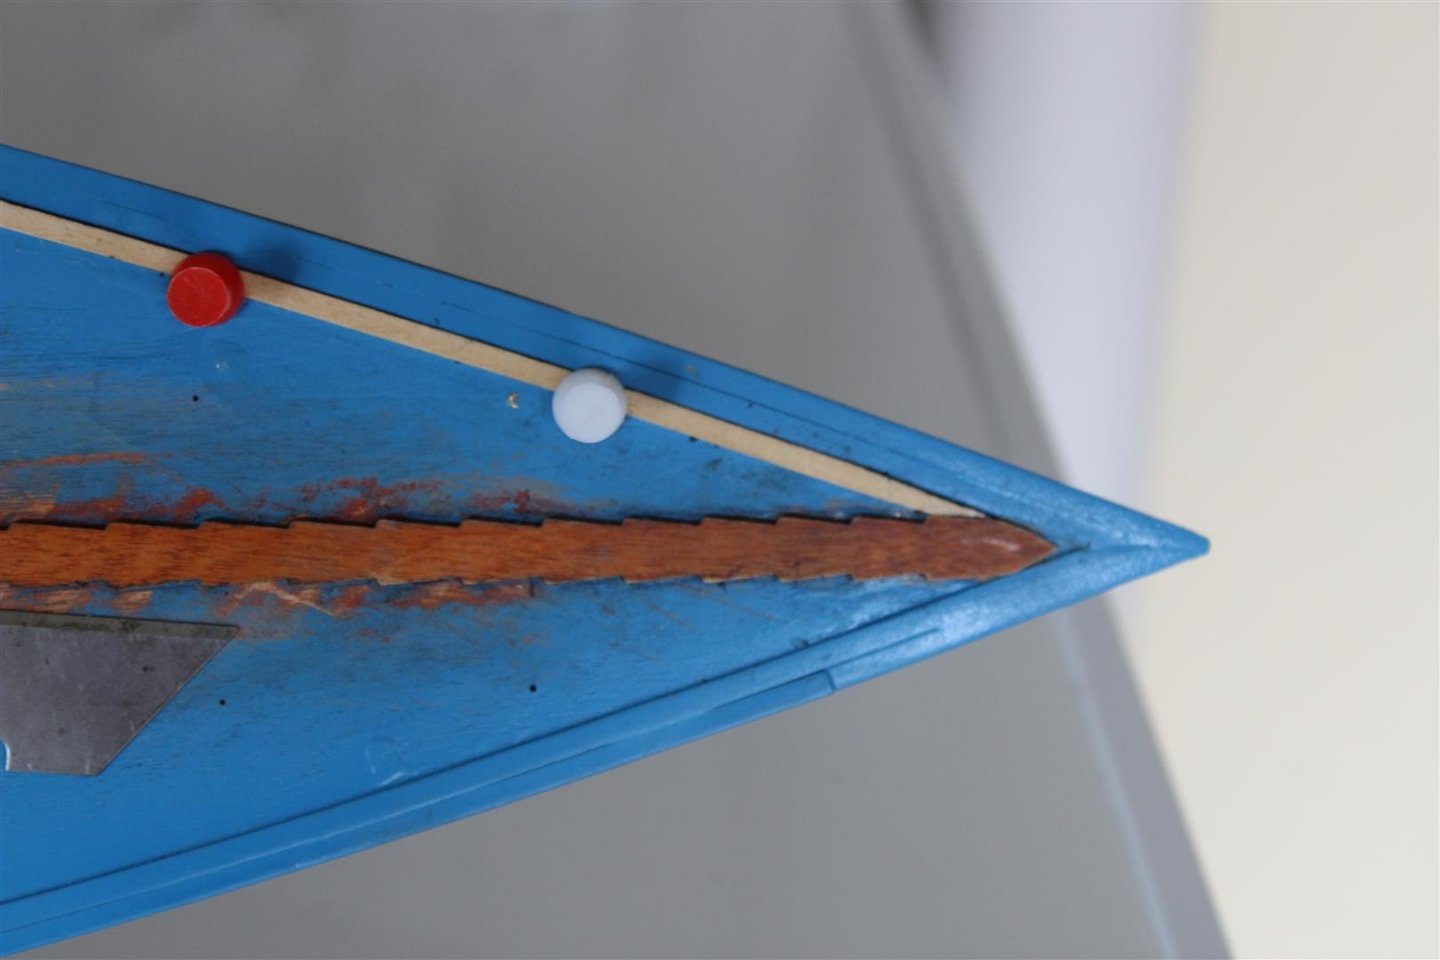
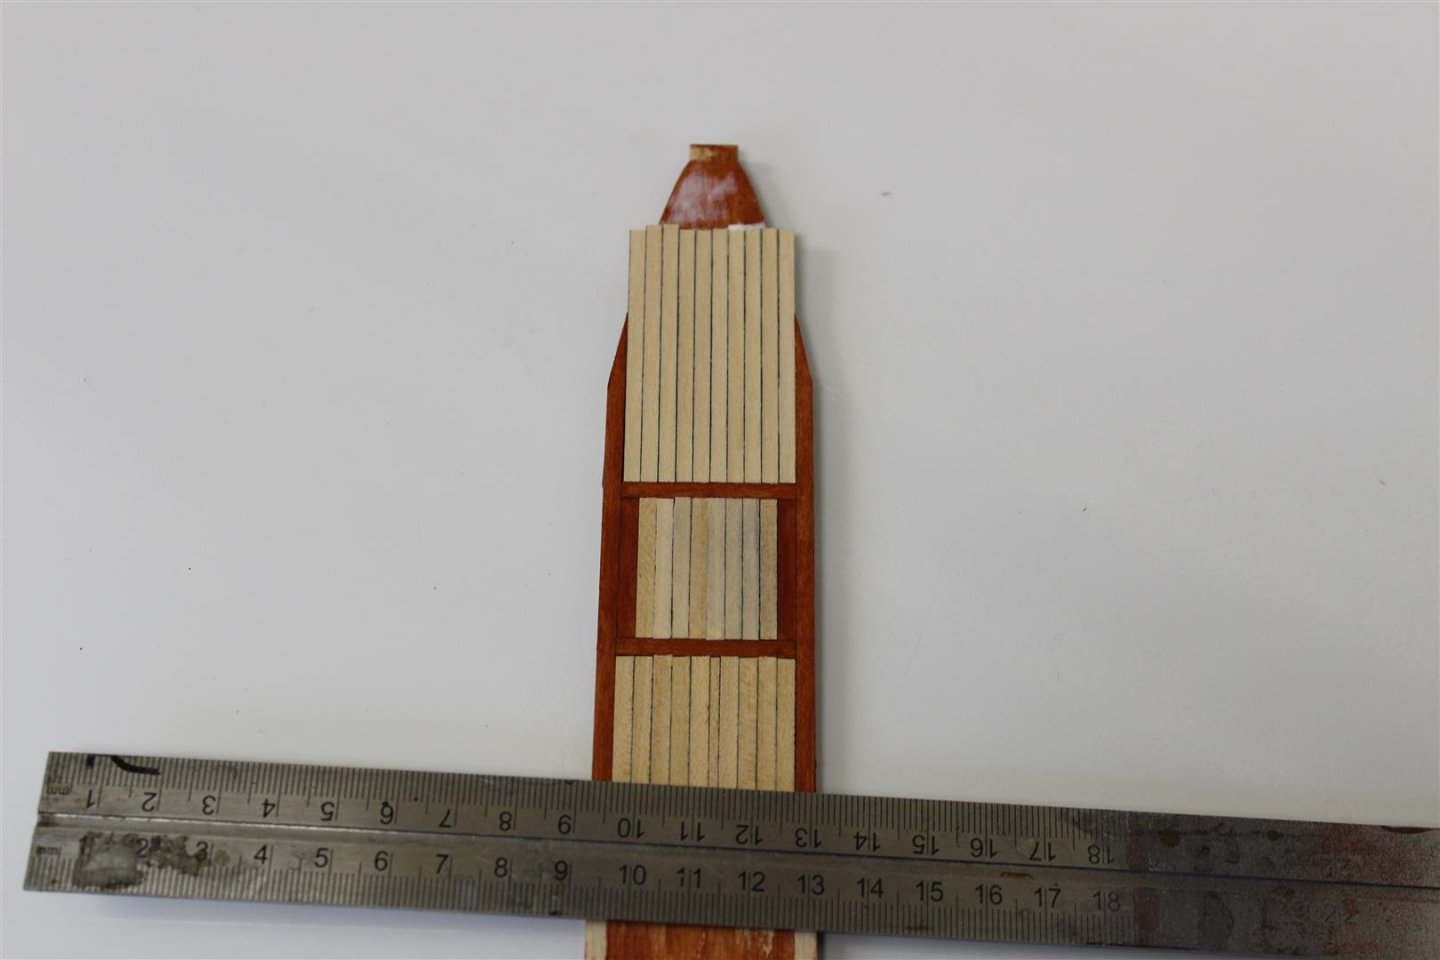
 good evening everyone 4 rows in and starting to look ok, take a bit of time to get the fir right, as the wood is different widths


-
i see what you means about my build of the Dorade having the rebates in the king planks yours turned out very nice well done
-
thank you, i hope to do it justice, the king plank is well made, it has been removed several time to get it in dead centre, as so far of the 4 rows either side, they are doing in quite well, i will post more of todays work later, lol progress is slower than needs be, as Game of thrones season 6 is dominating my and the admirals free afternoon time##
-
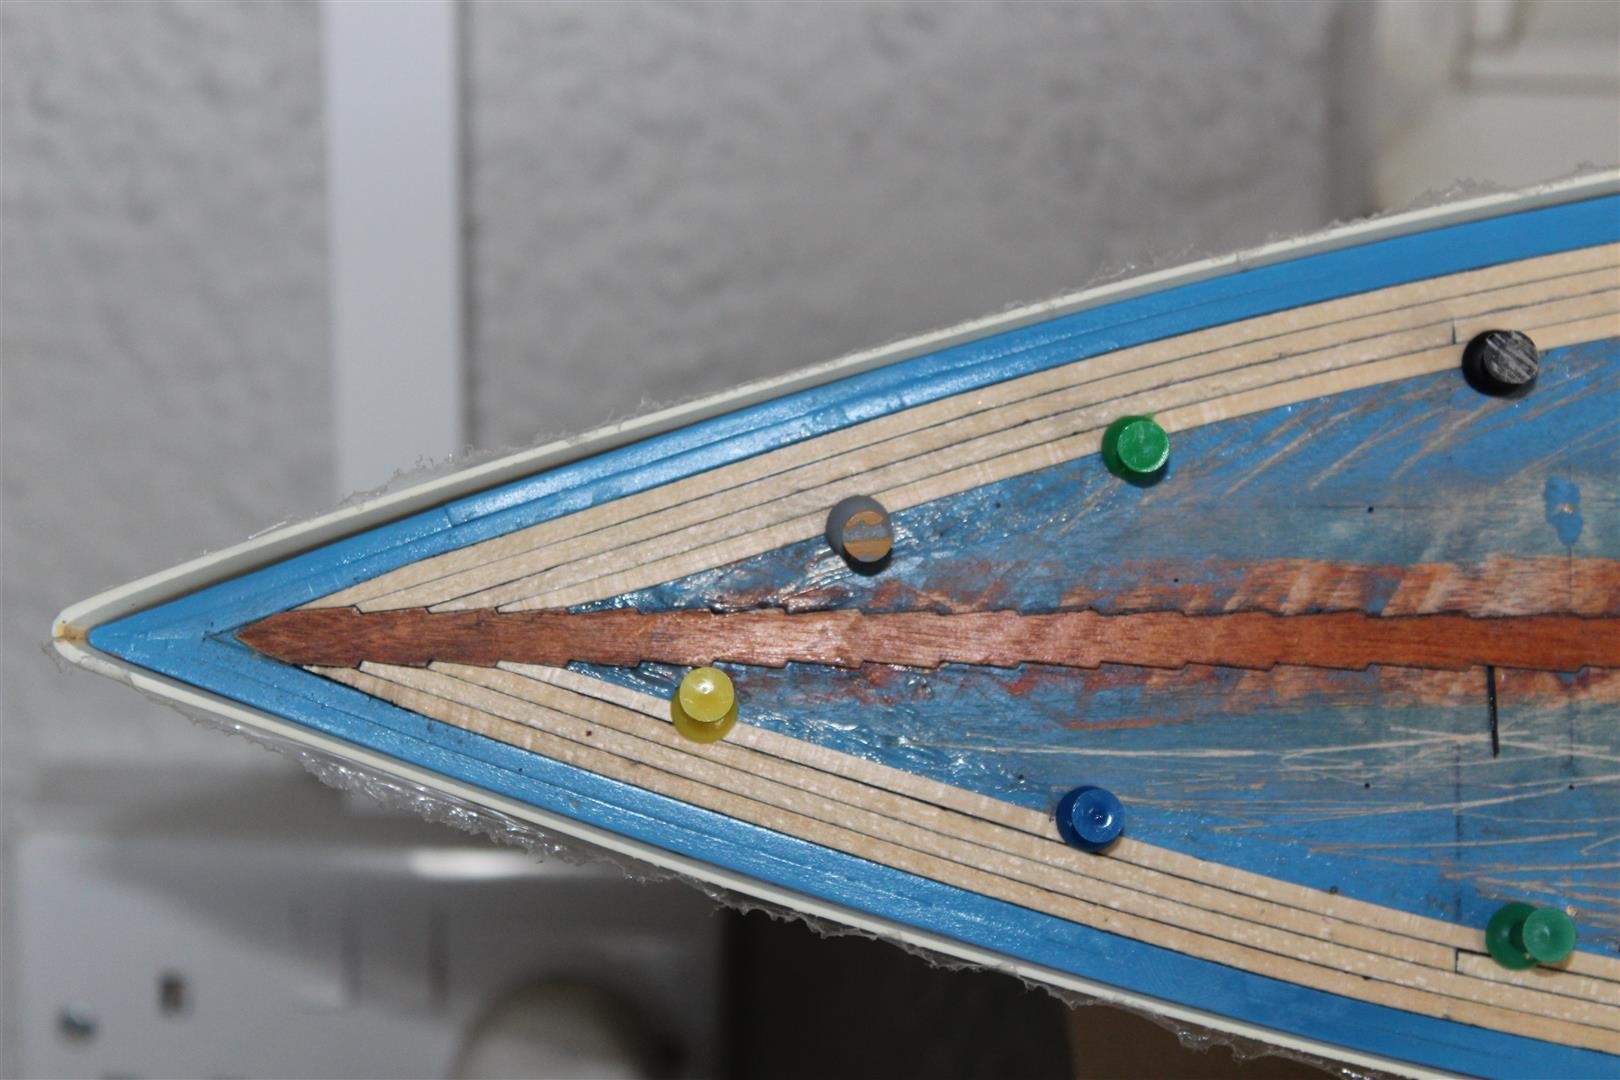
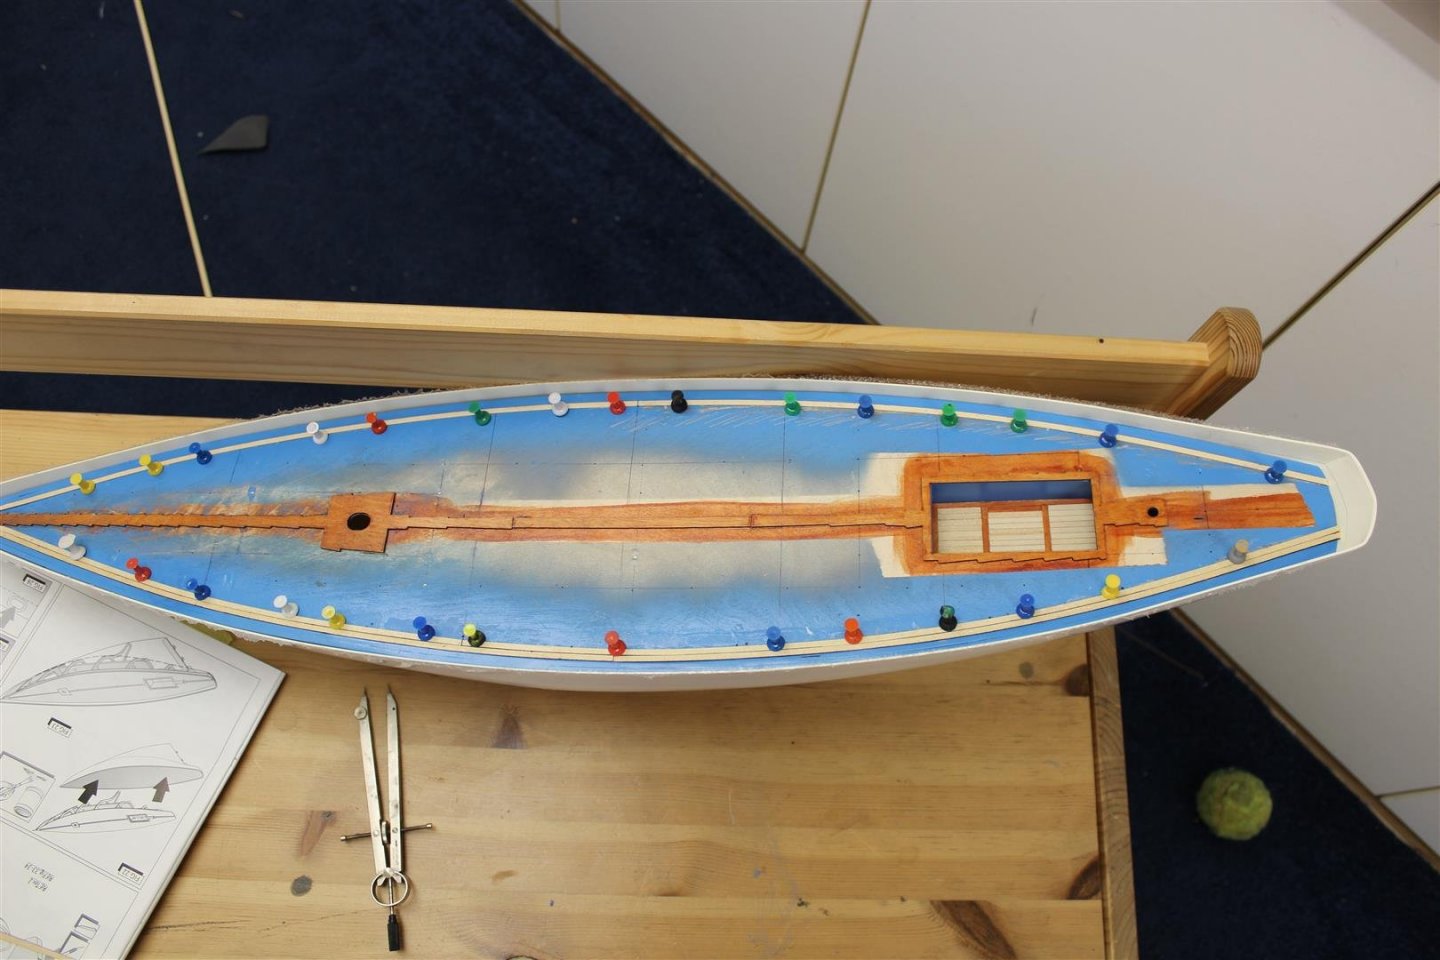
Good morning everyone a slow start but the deck planking is going down, i have gone back to using the kit supplied strip wood and it is thicker then my own


- 127 replies
-
- 10
-

-
lol that would depend on how much fog
-
are the seat worth the 6 week delay, they look very good
-
Change Theme
Kevin replied to cog's topic in Using the MSW forum - **NO MODELING CONTENT IN THIS SUB-FORUM**
i like the new banner -
add a char wagon and some NAAFI girls, a bit of runway some perimeter lighting, and some fog, jeep looks fantastic
-
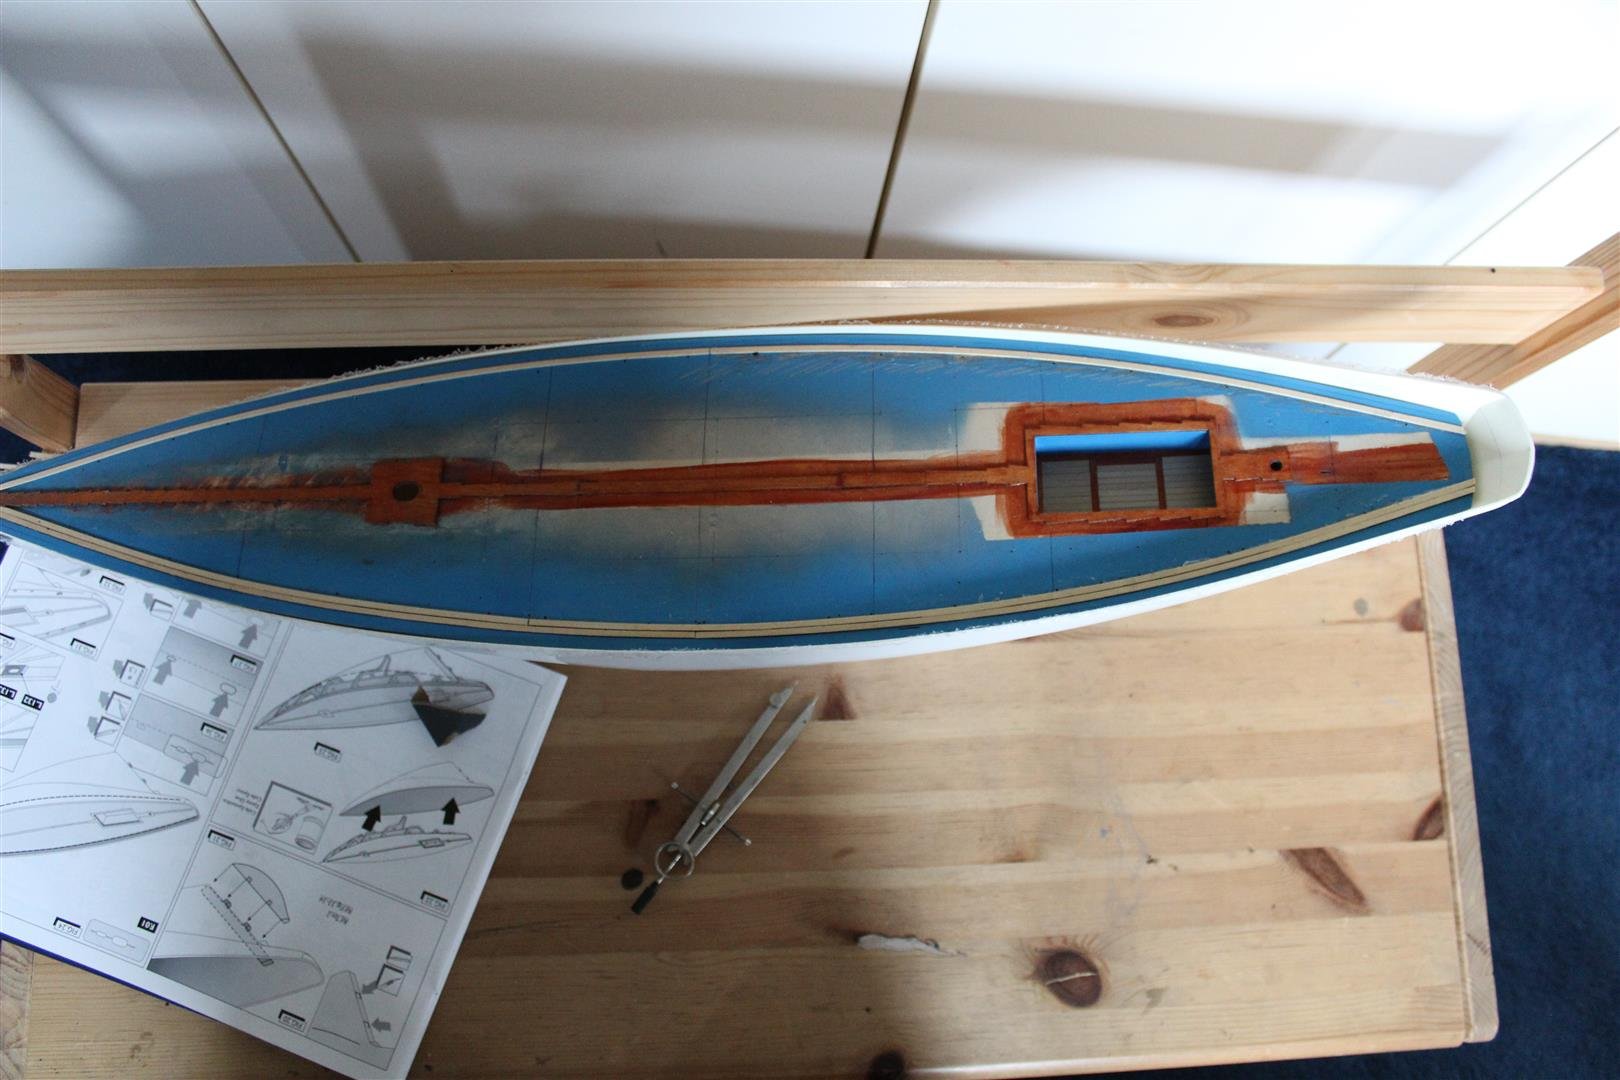
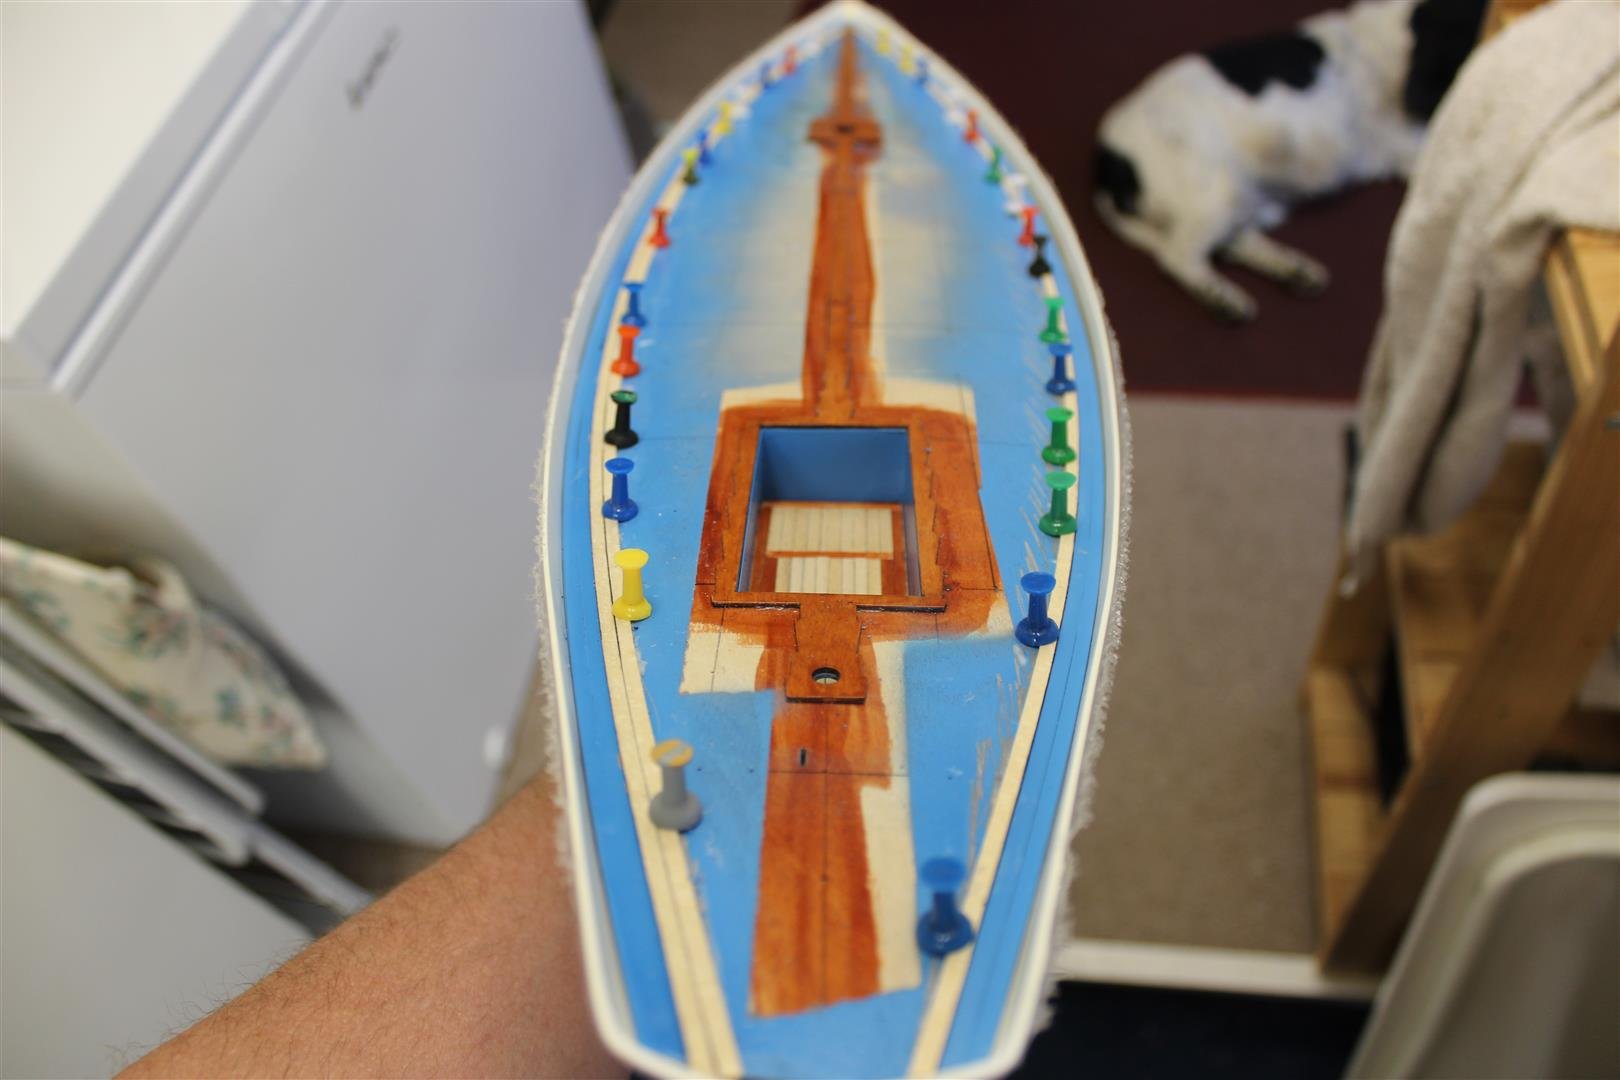
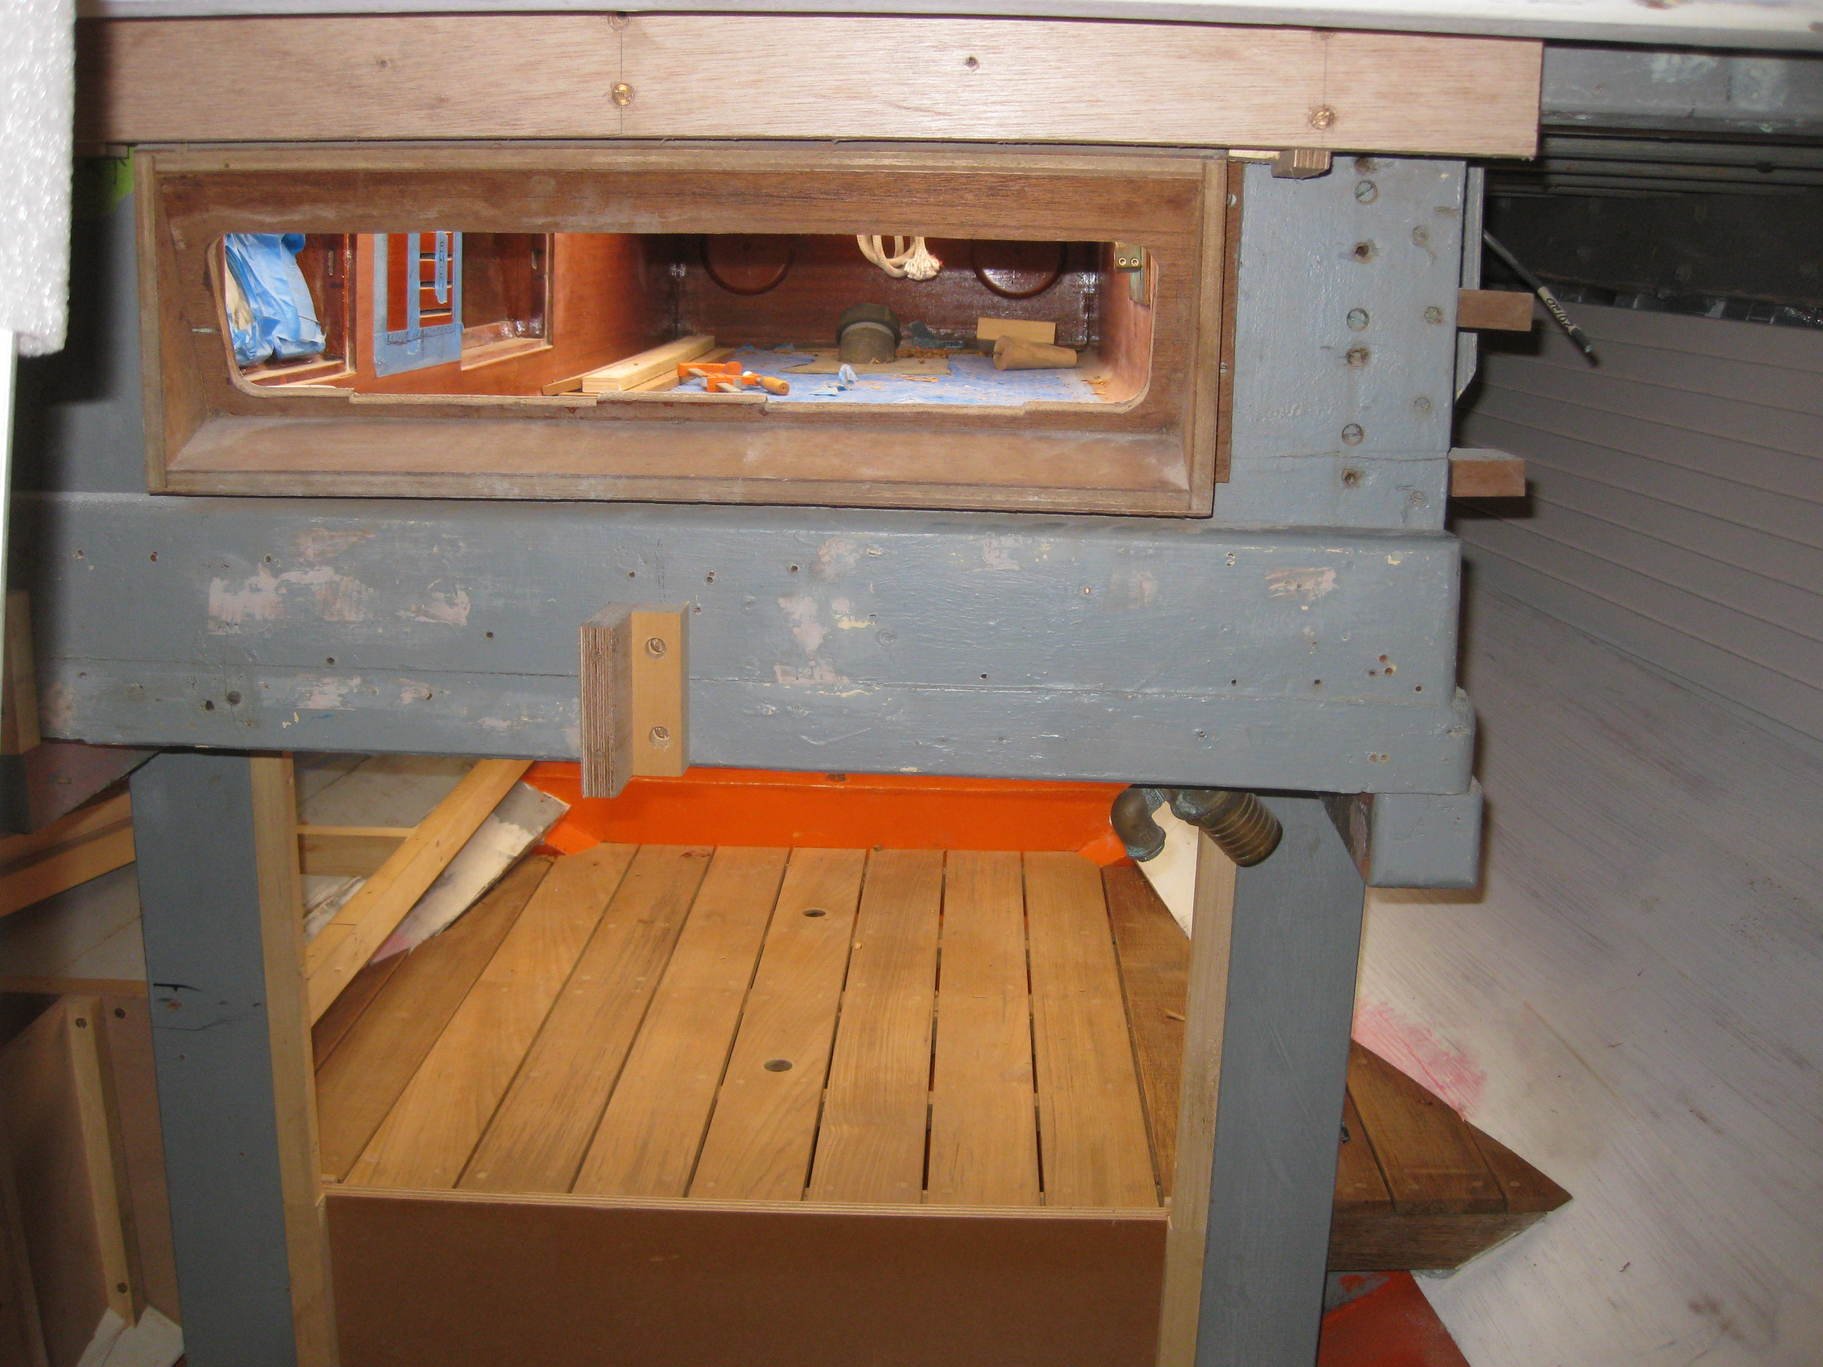
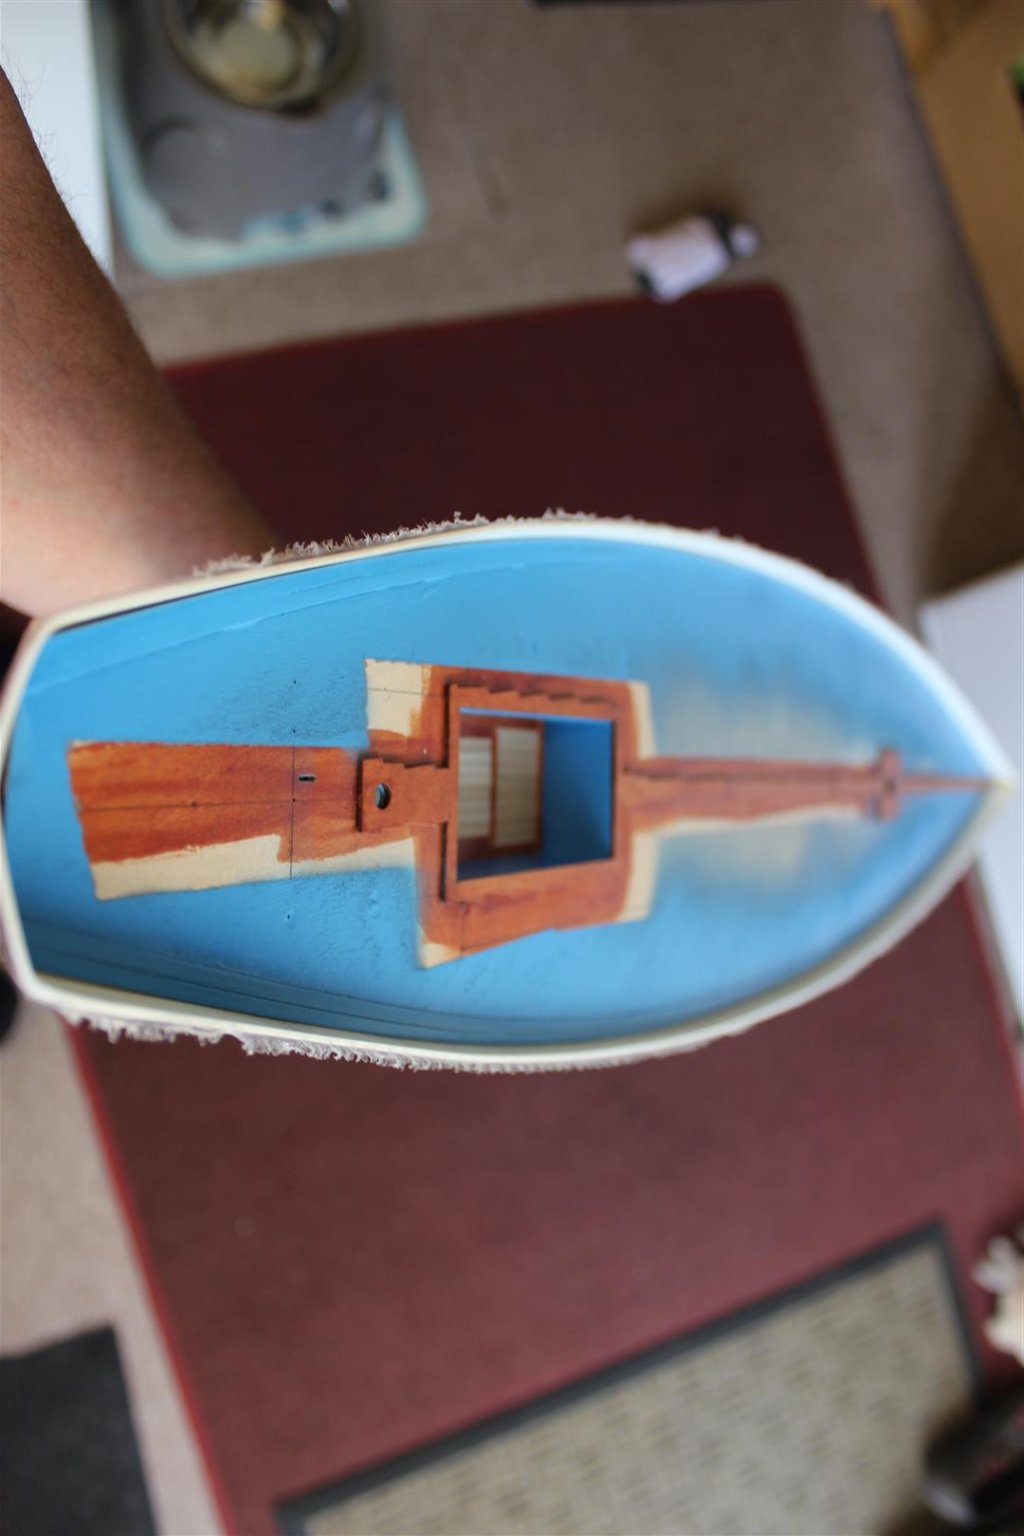
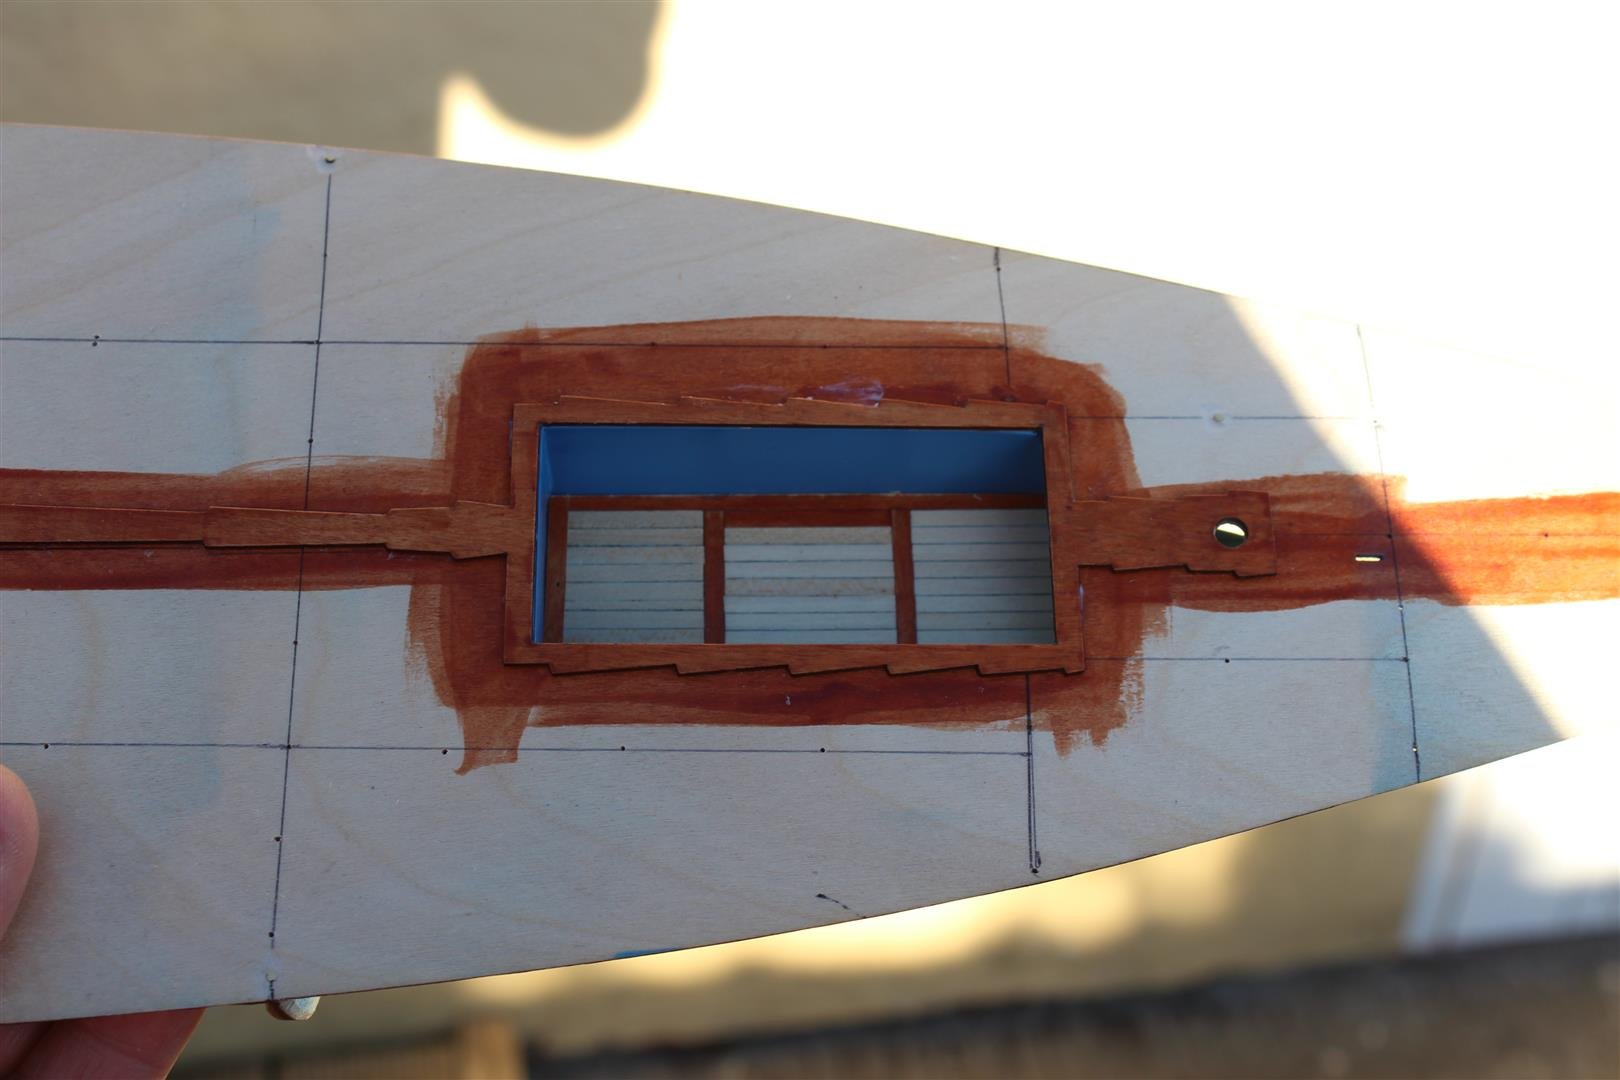
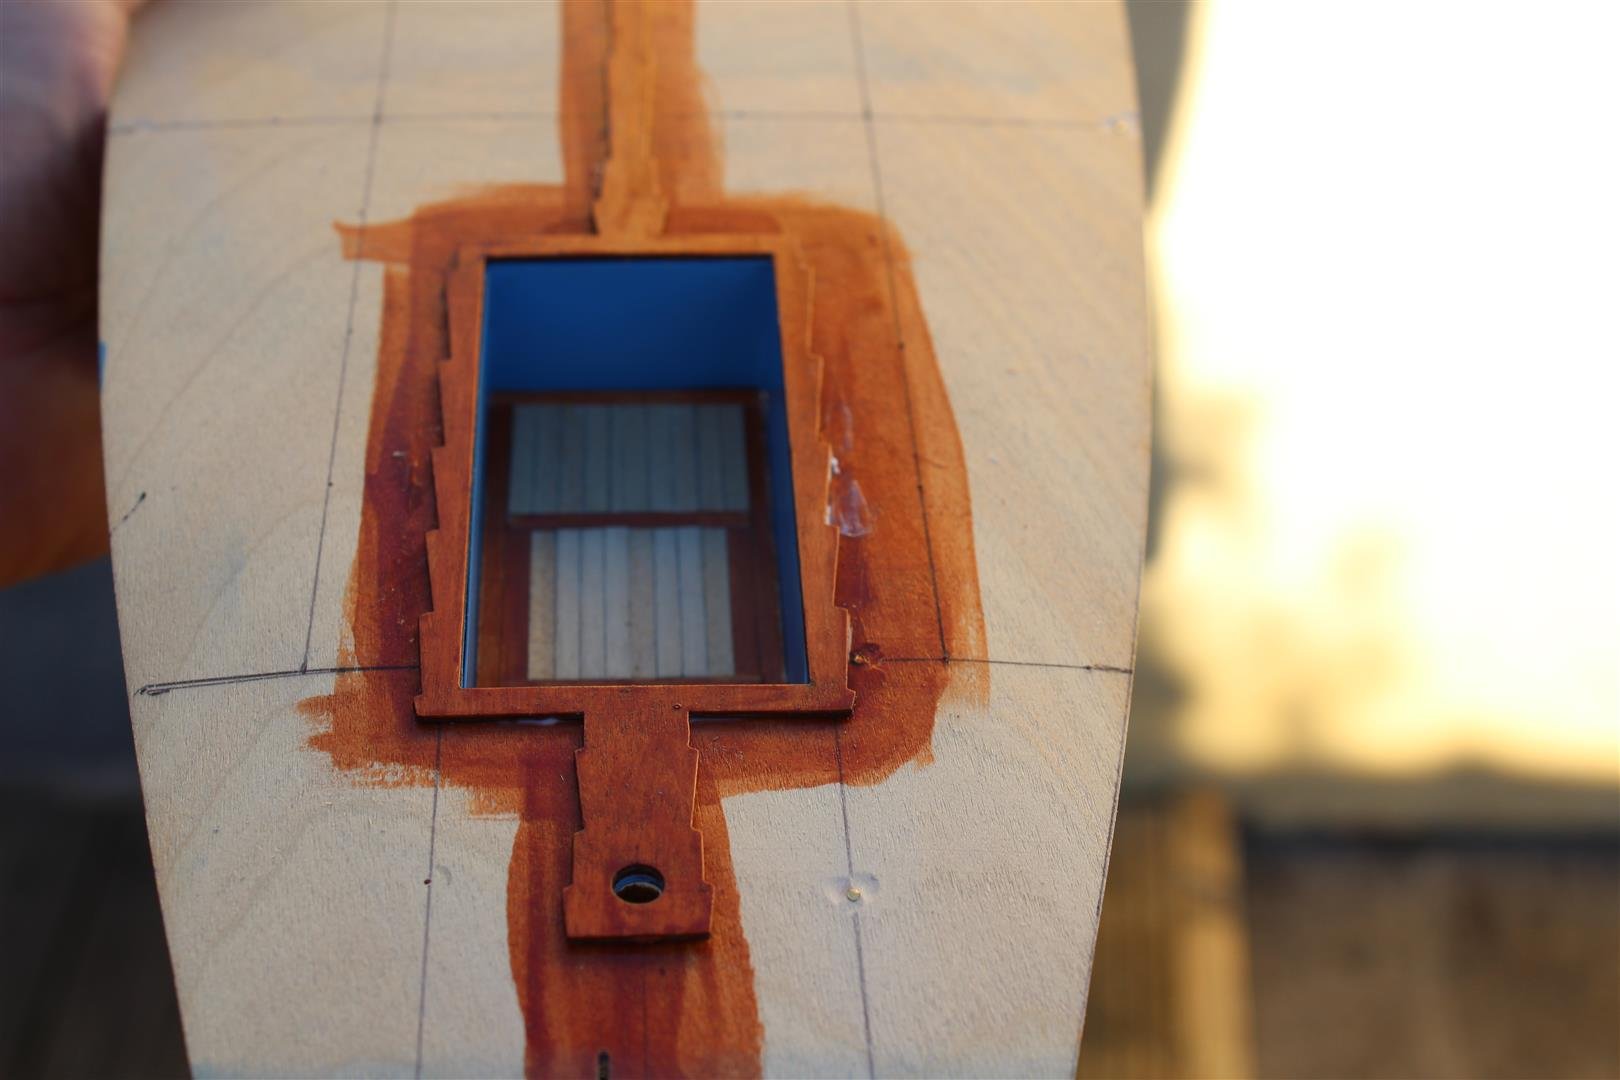
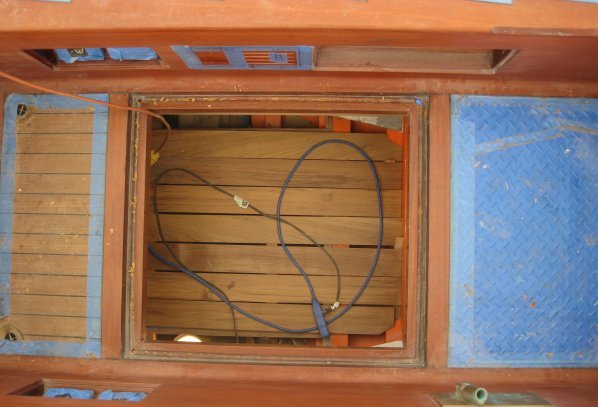
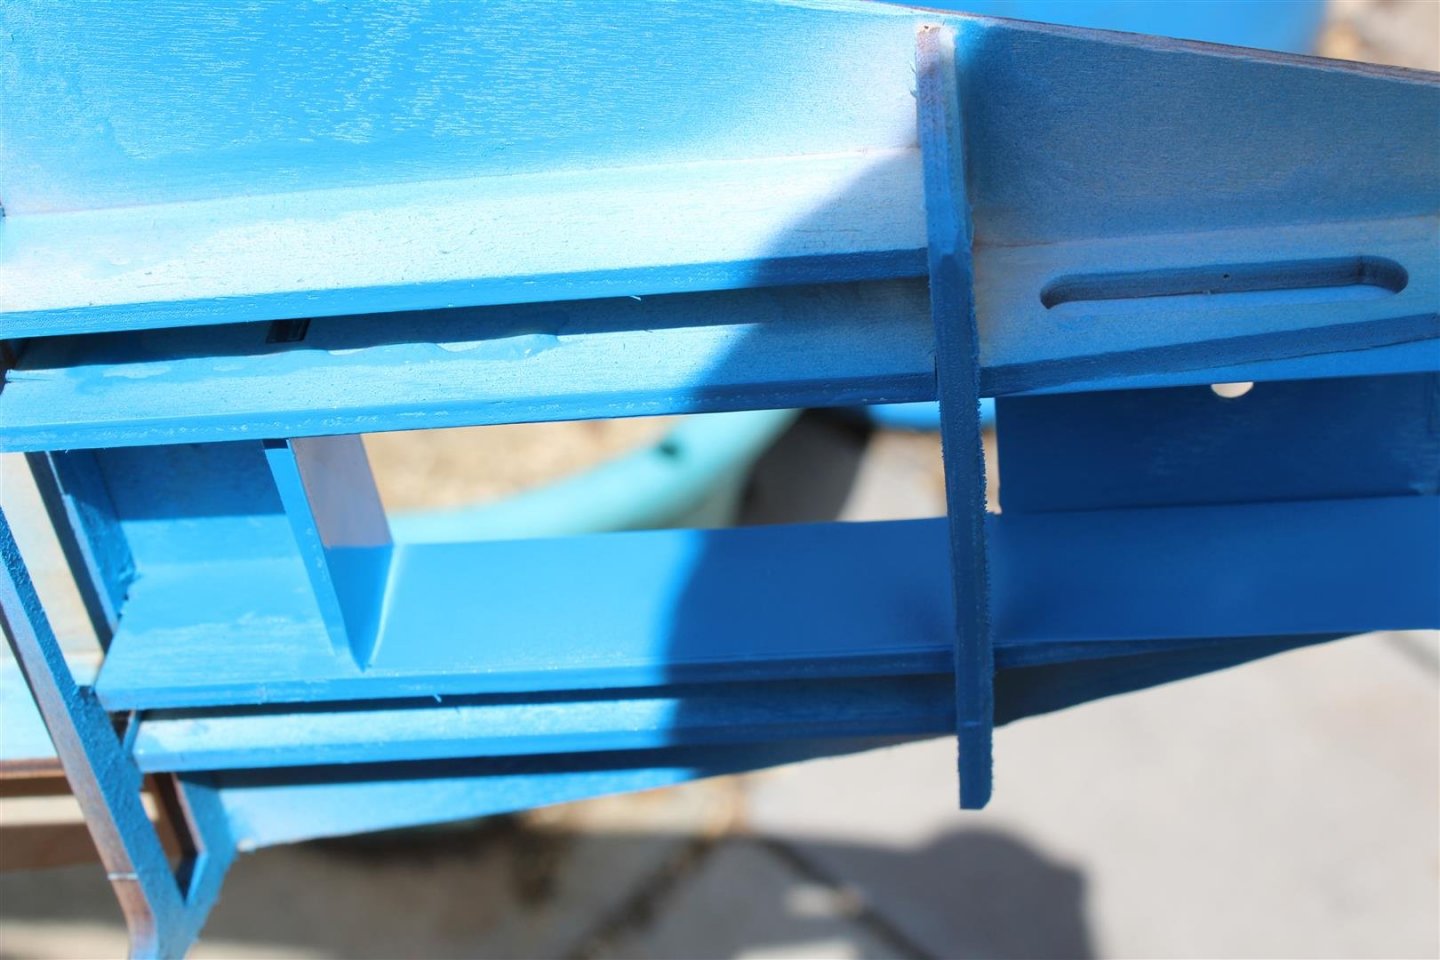
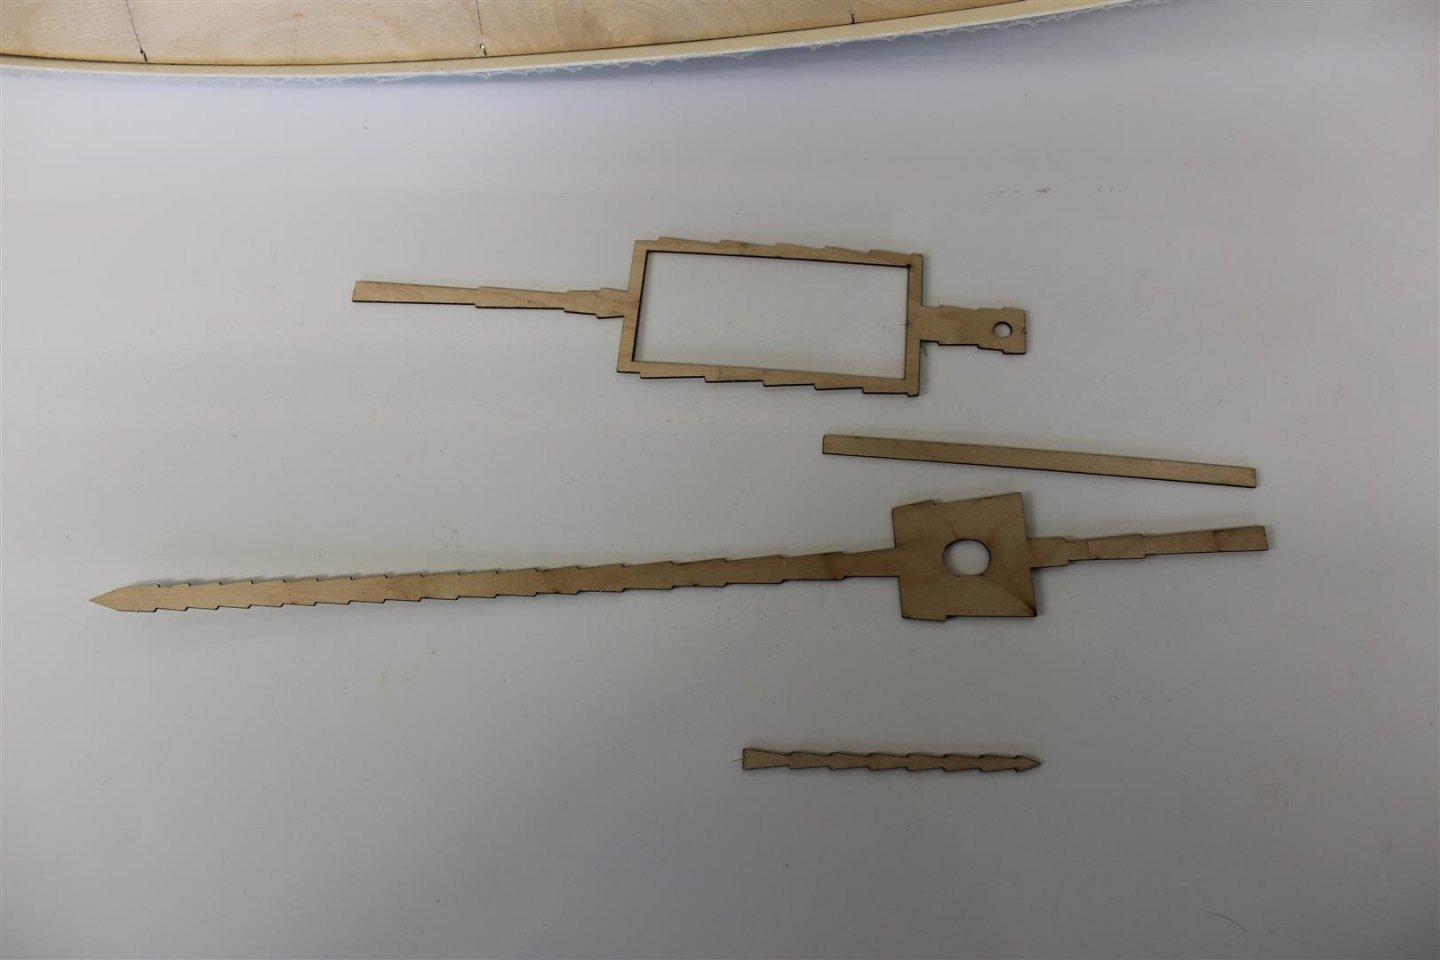
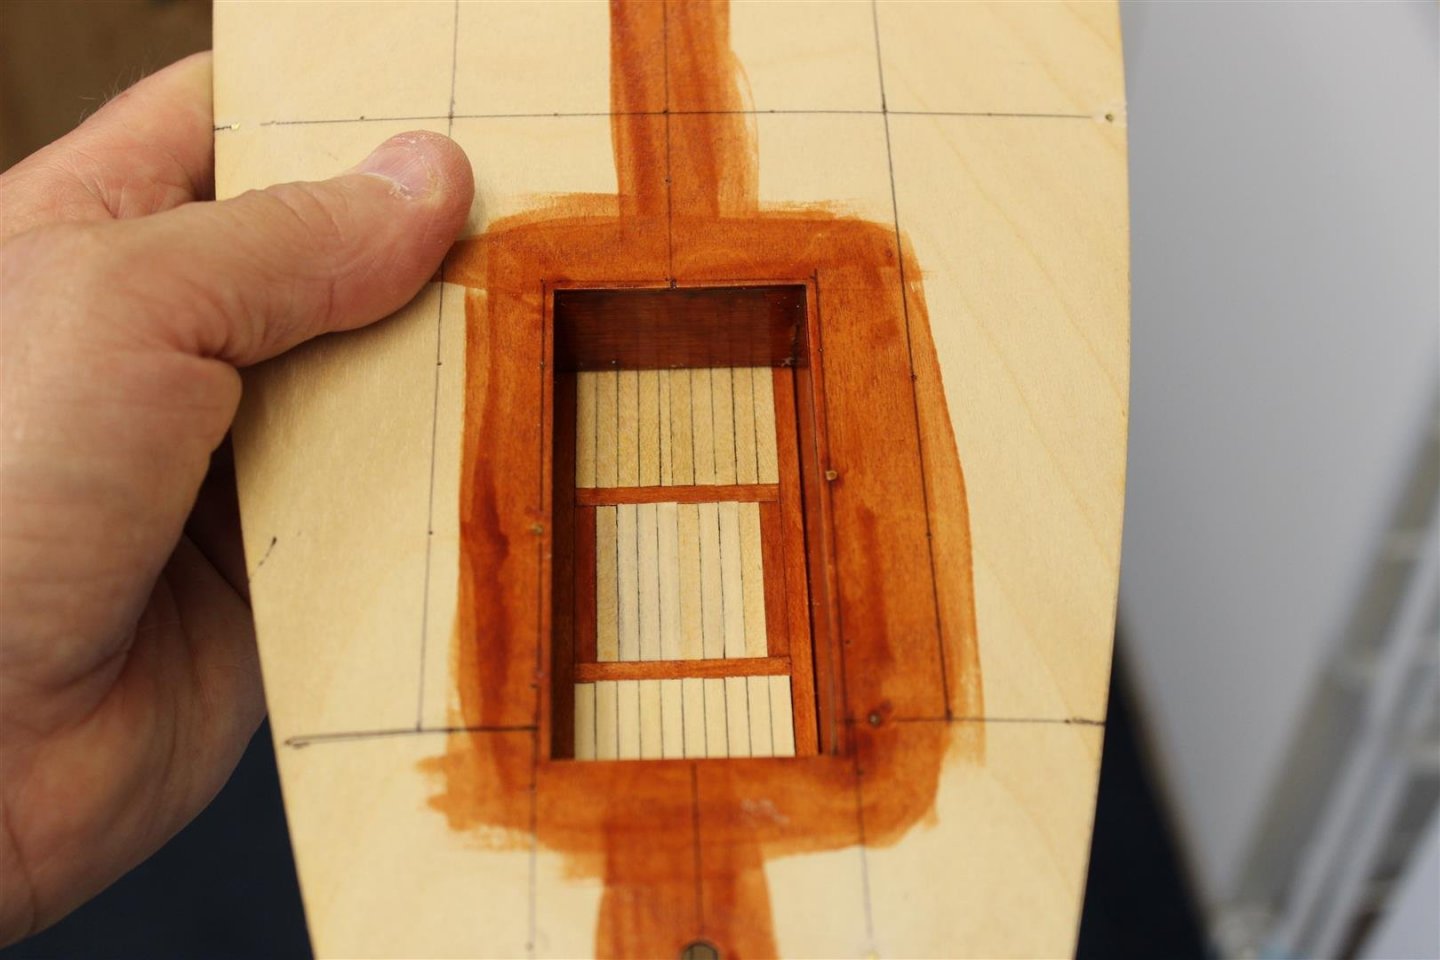
good evening everyone not quite so much progress made taday as like, Game of thrones got in the way 3 times they are lockers in the cockpit deck, they open up to two levels, which apparently give access to an engine! the hull inner bulkheads and the outer 6mm of the decking (which i have now found out is not decking, but a steel water way) are all the same colour Next decision is decking, i was replacing the supplied strips with lime, but mine is the same width but only 0.5mm thick as the supplied stuff and king plank is 1mm real dorade cockpit locker


- 127 replies
-
- 10
-
-
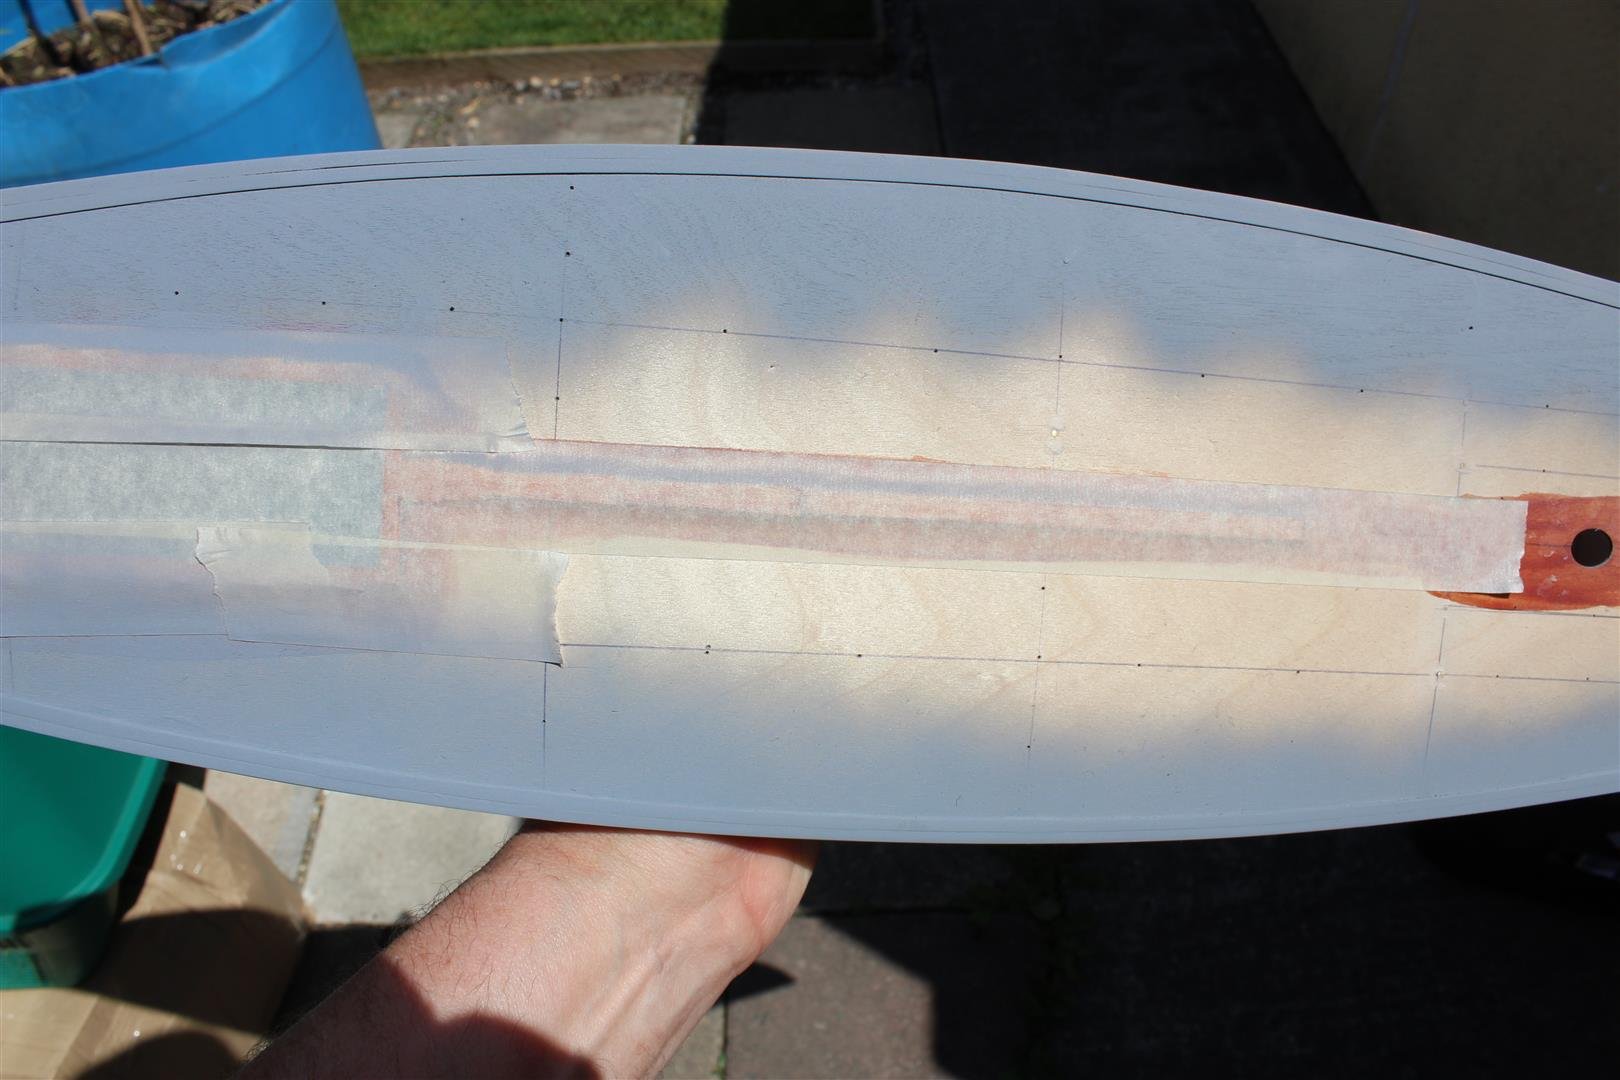
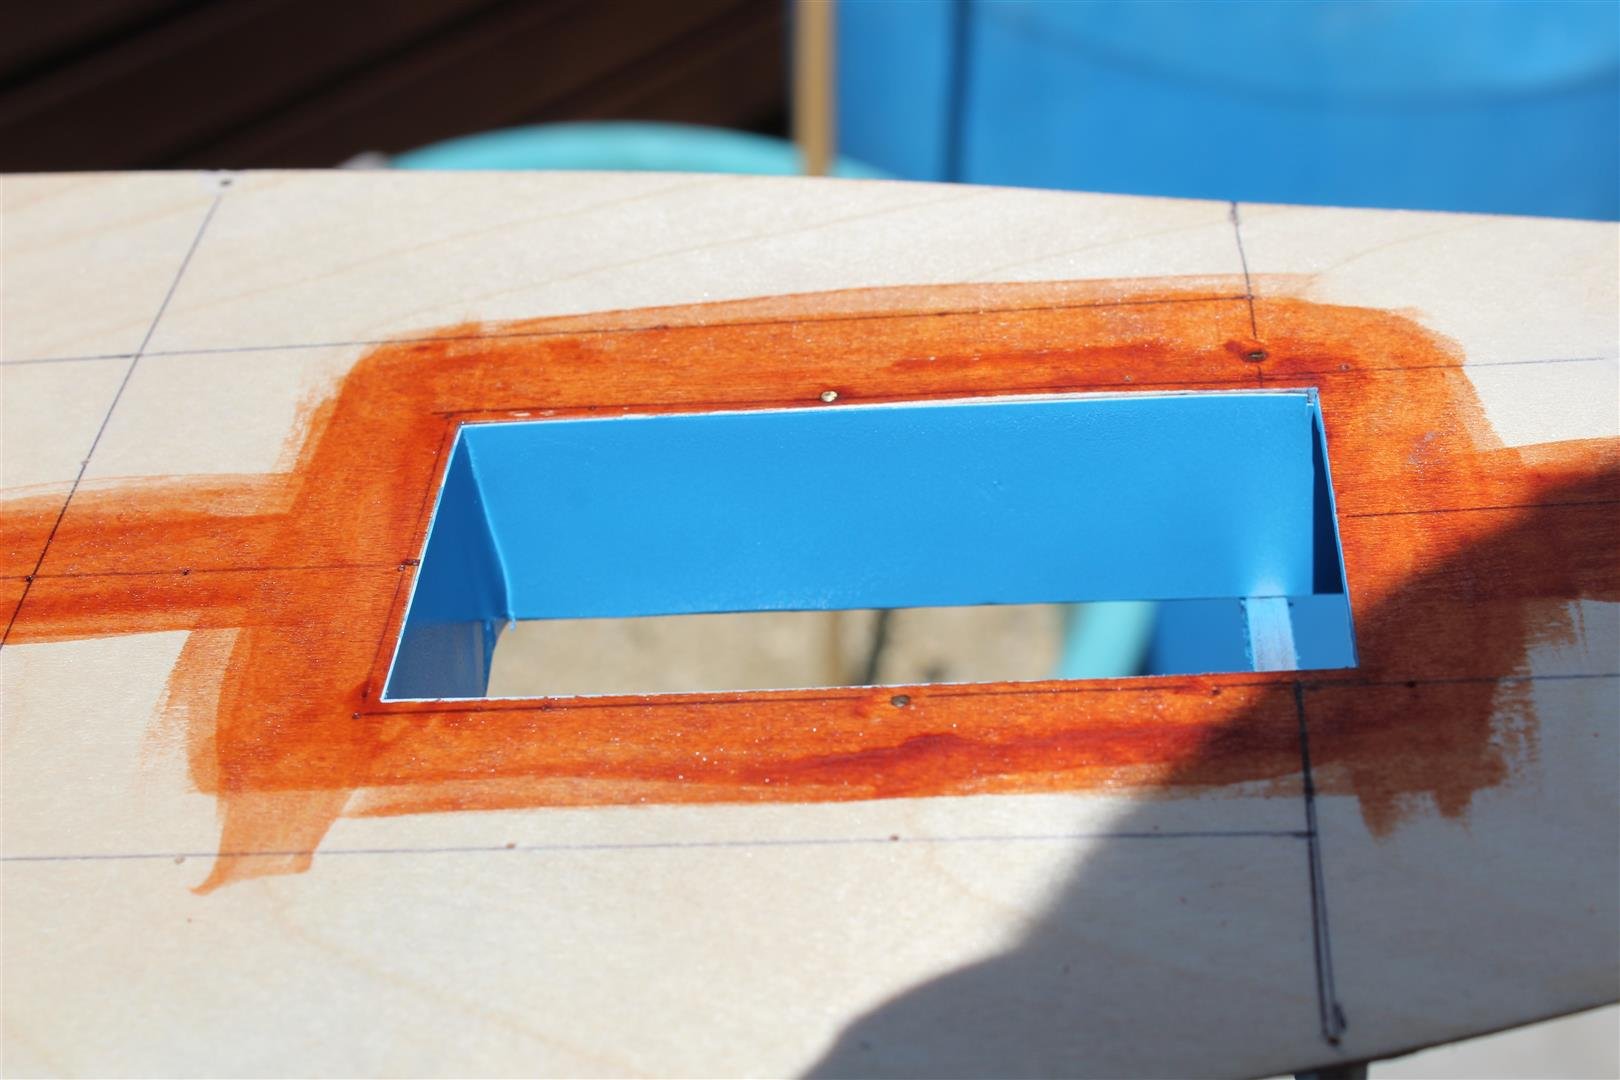
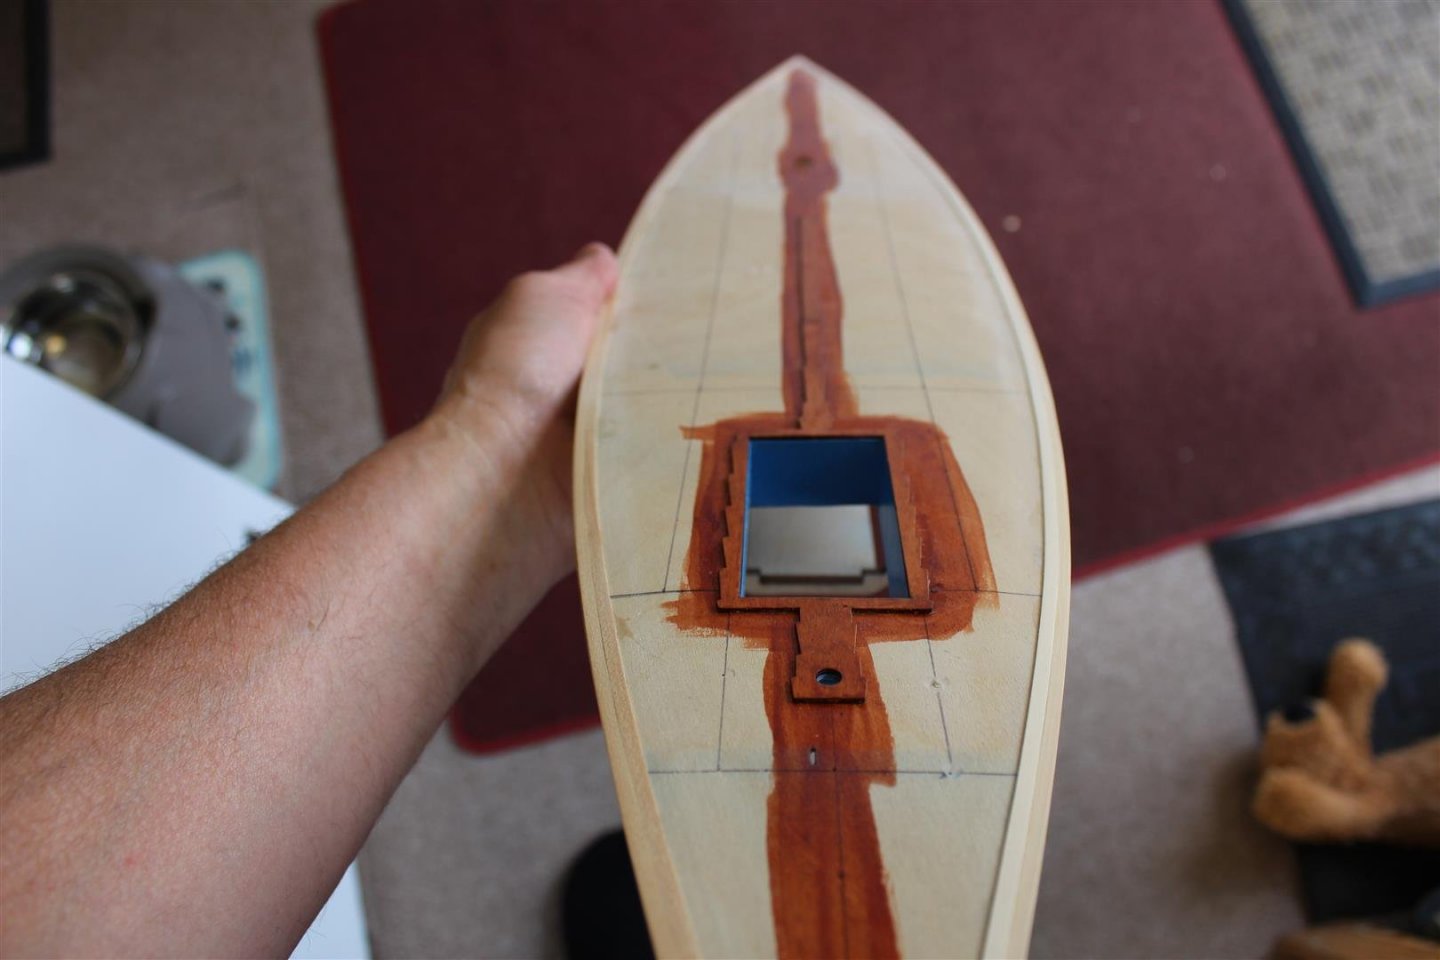
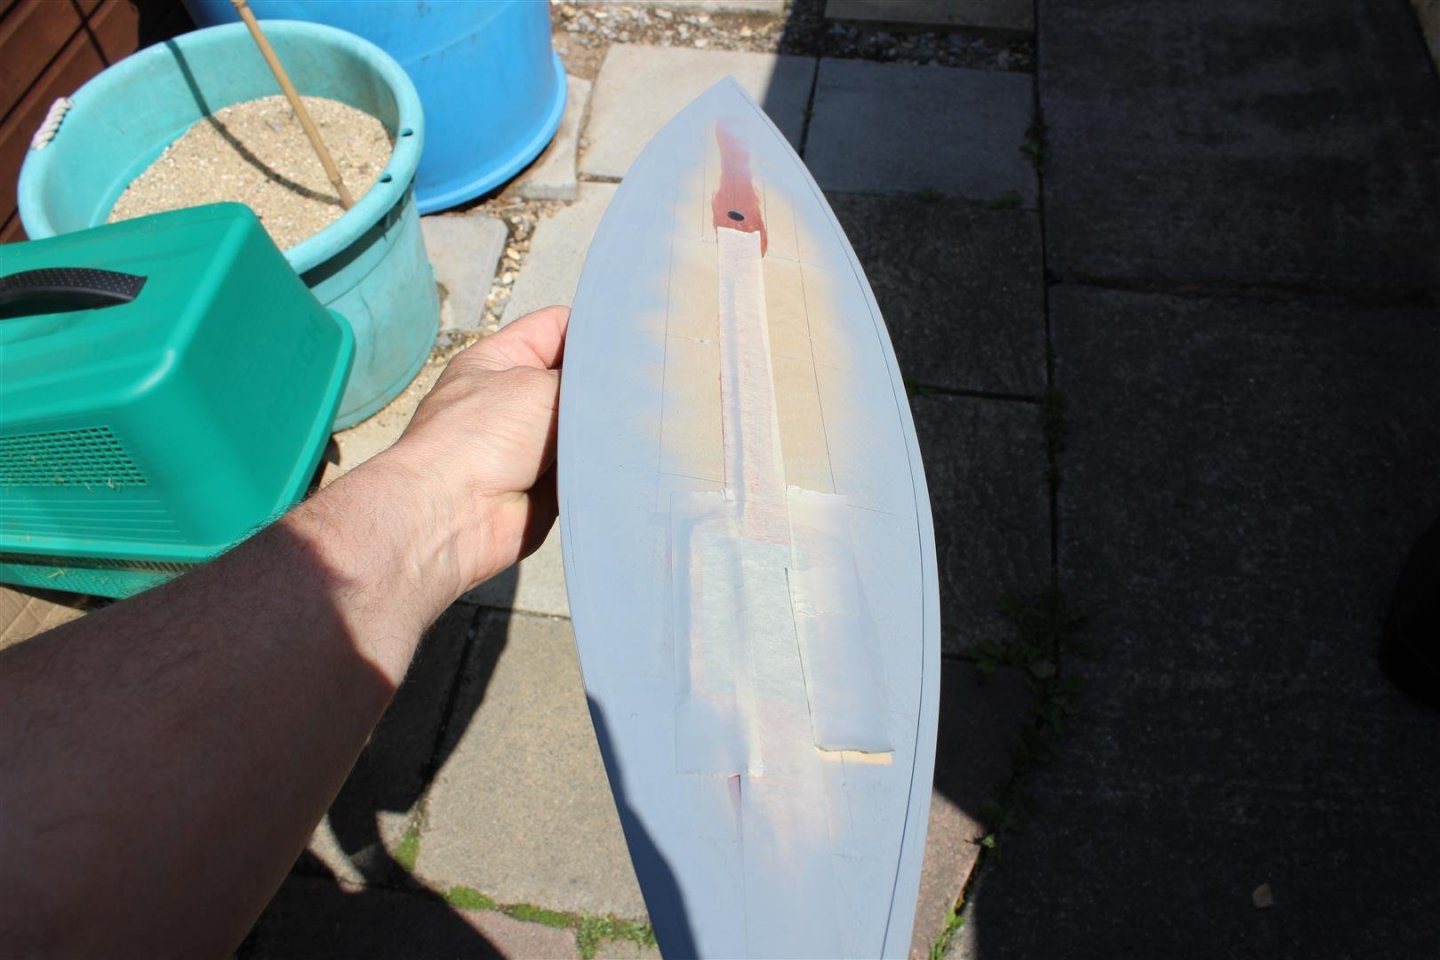
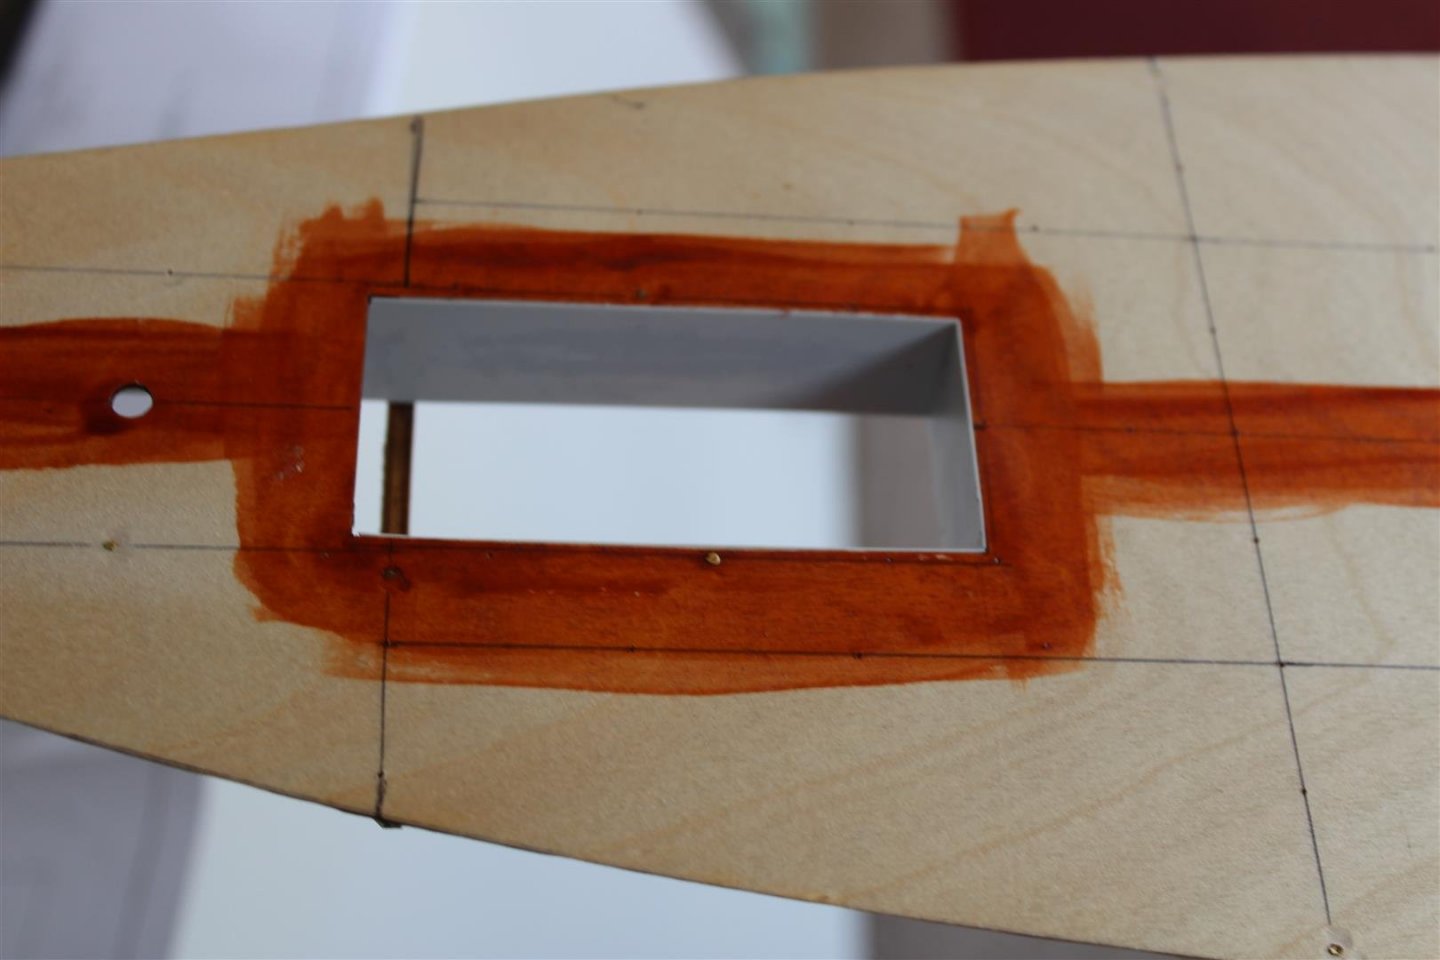
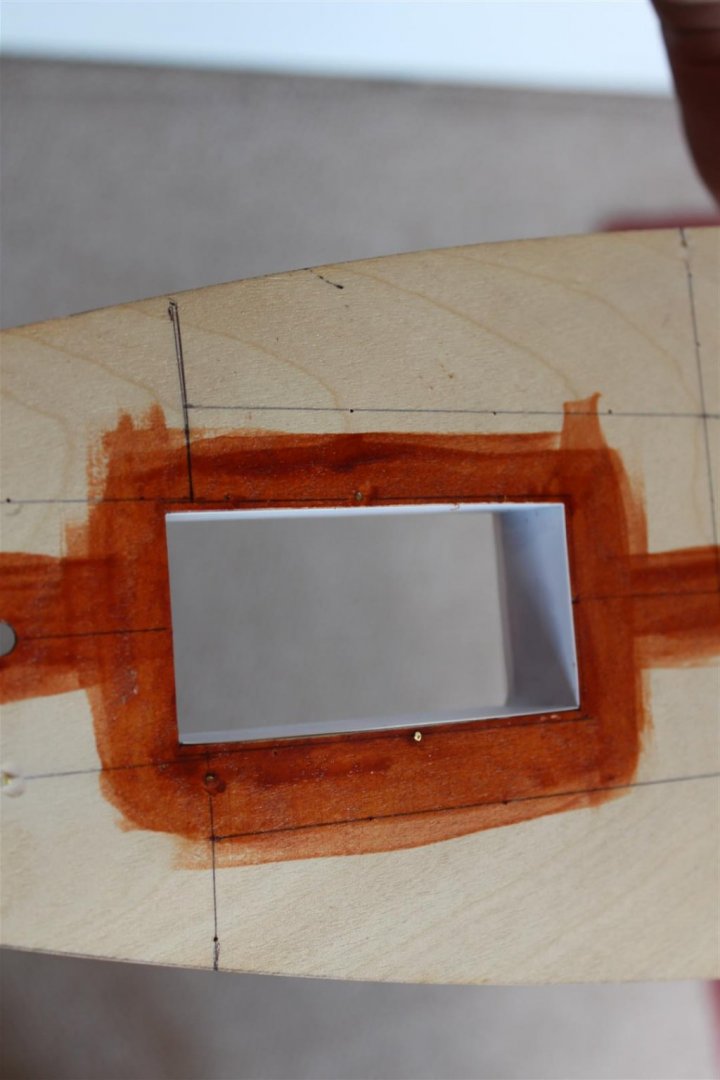
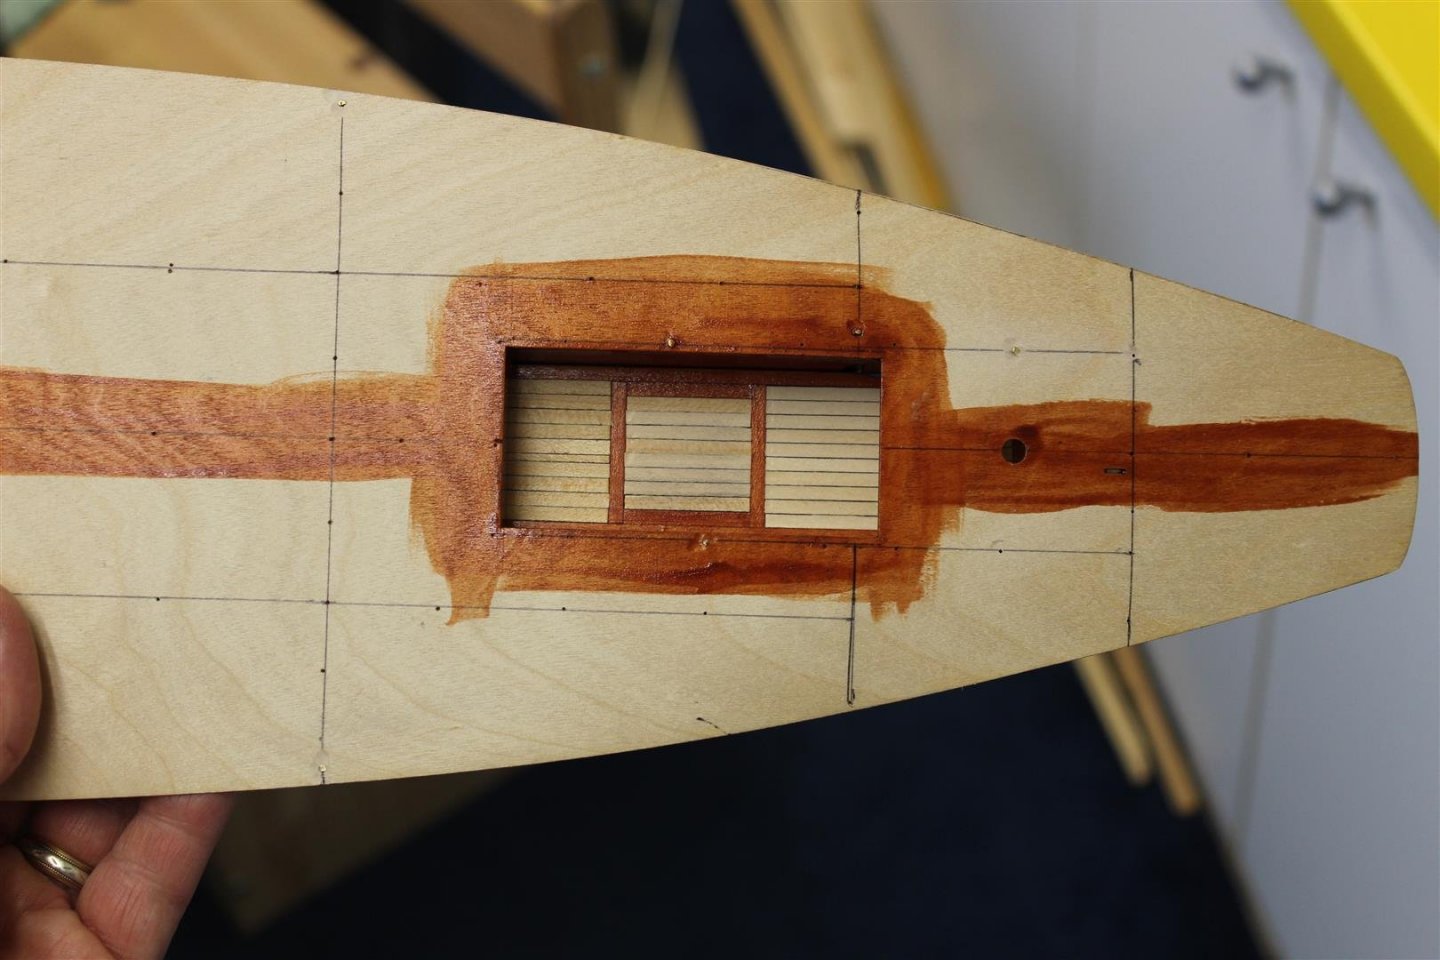
good evening everyone day 2 first do again I didnt like the cockpit walls, so i covered the original wood with .5 plastic card, primed and sprayed, this colour will be the same as the hull, the cockpit deck does anyone know if that would be a locker, or access to a pump?


-
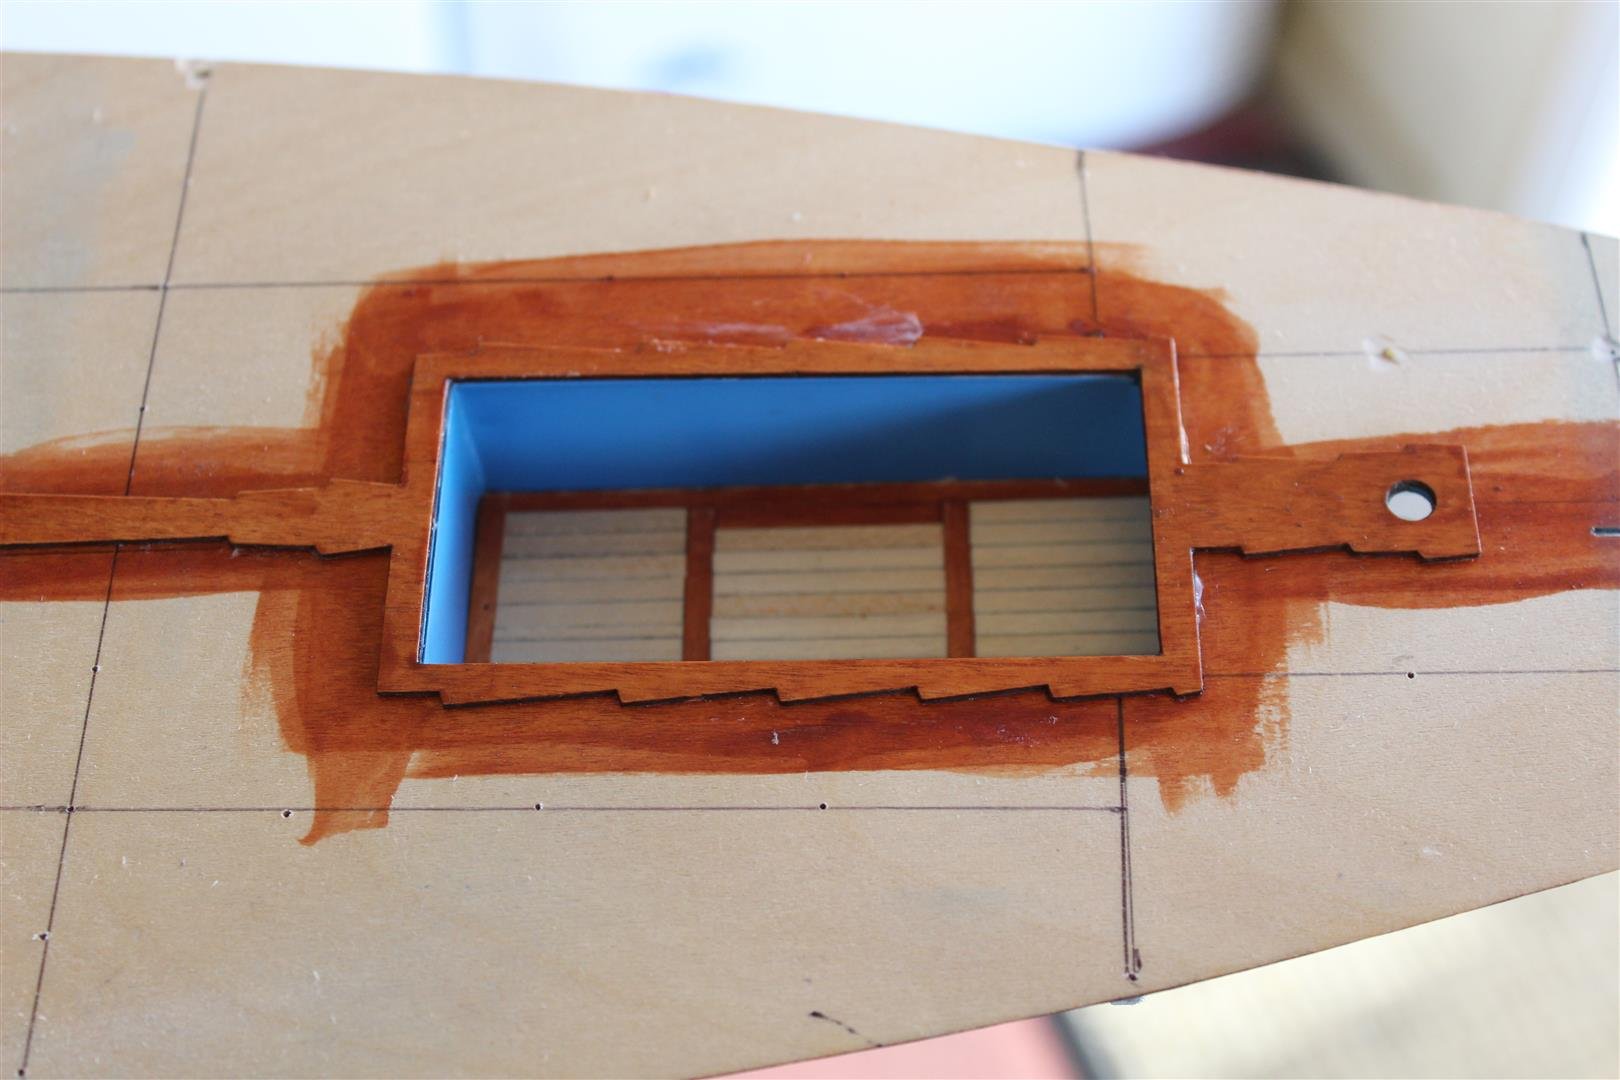
just looking at the cockpit, the lime seams to have a better finish on one side, so i may do it again to make it look the same, must remember that for the main decking, i have also been contemplating the caulking, i normally use a permanent marker, was going to try card, but im not sure i can get the results i fancy
-
Some white splintery stuff i dont know what to do as a decking protector, wondering if i should try a poly wipe satin, as normally use a satin water based varnish
-
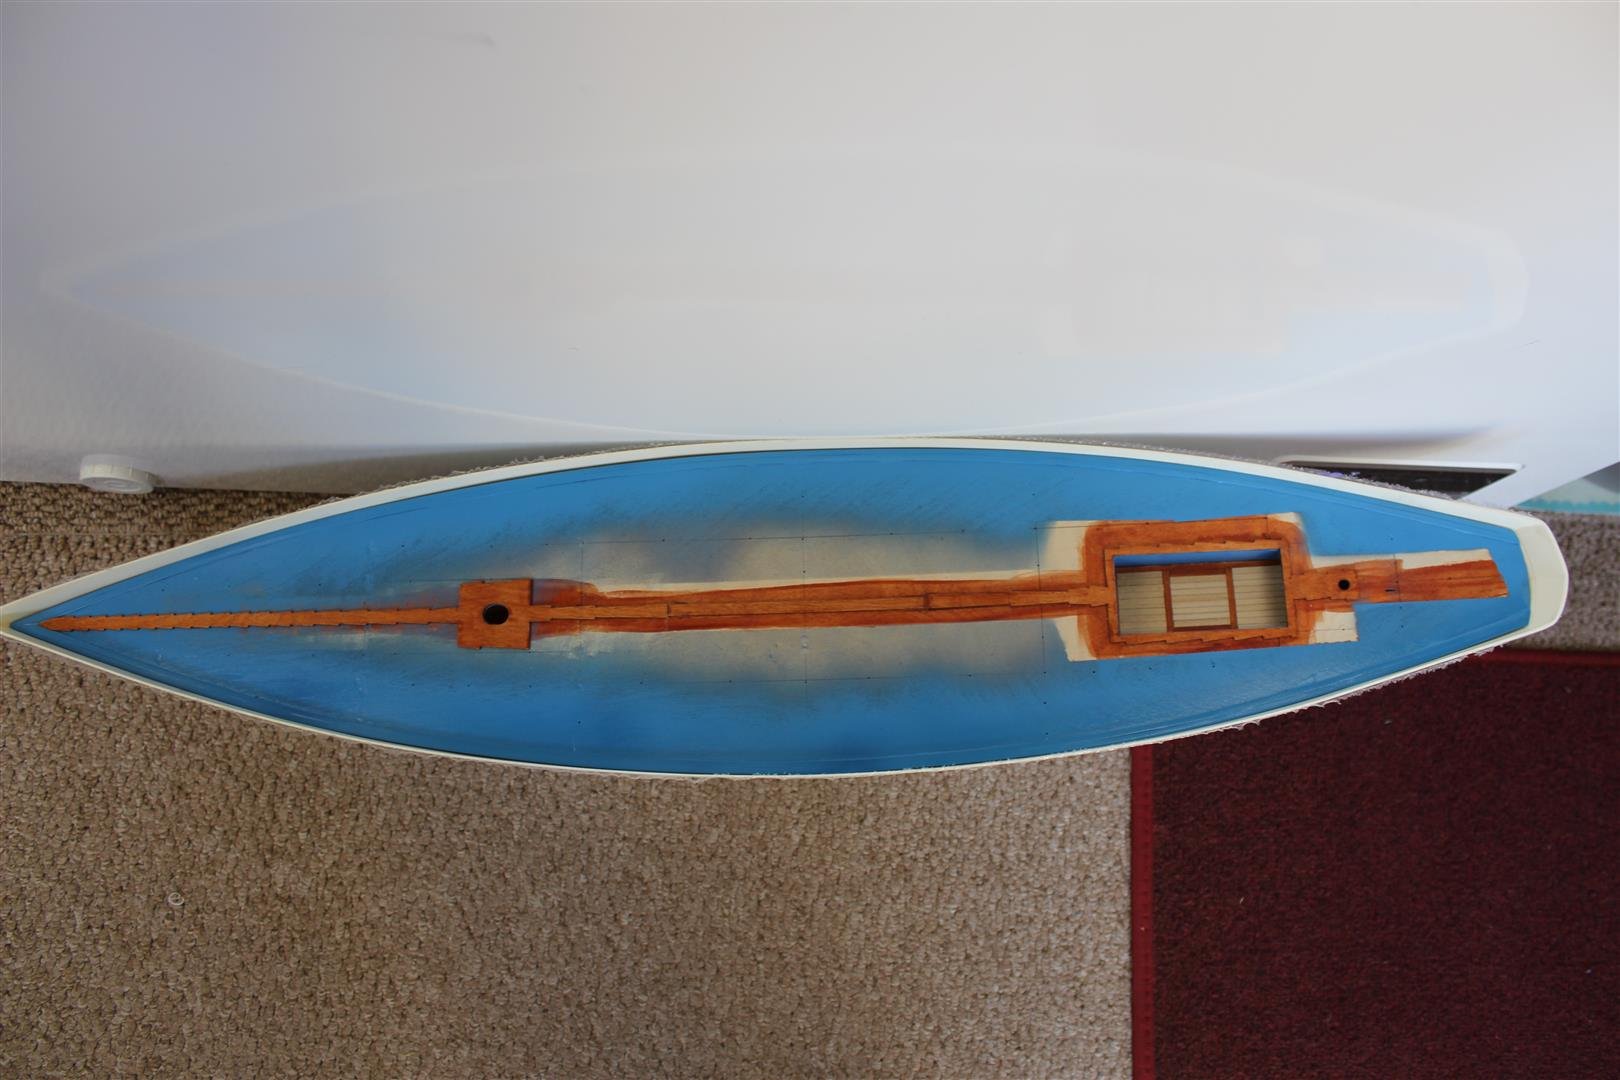
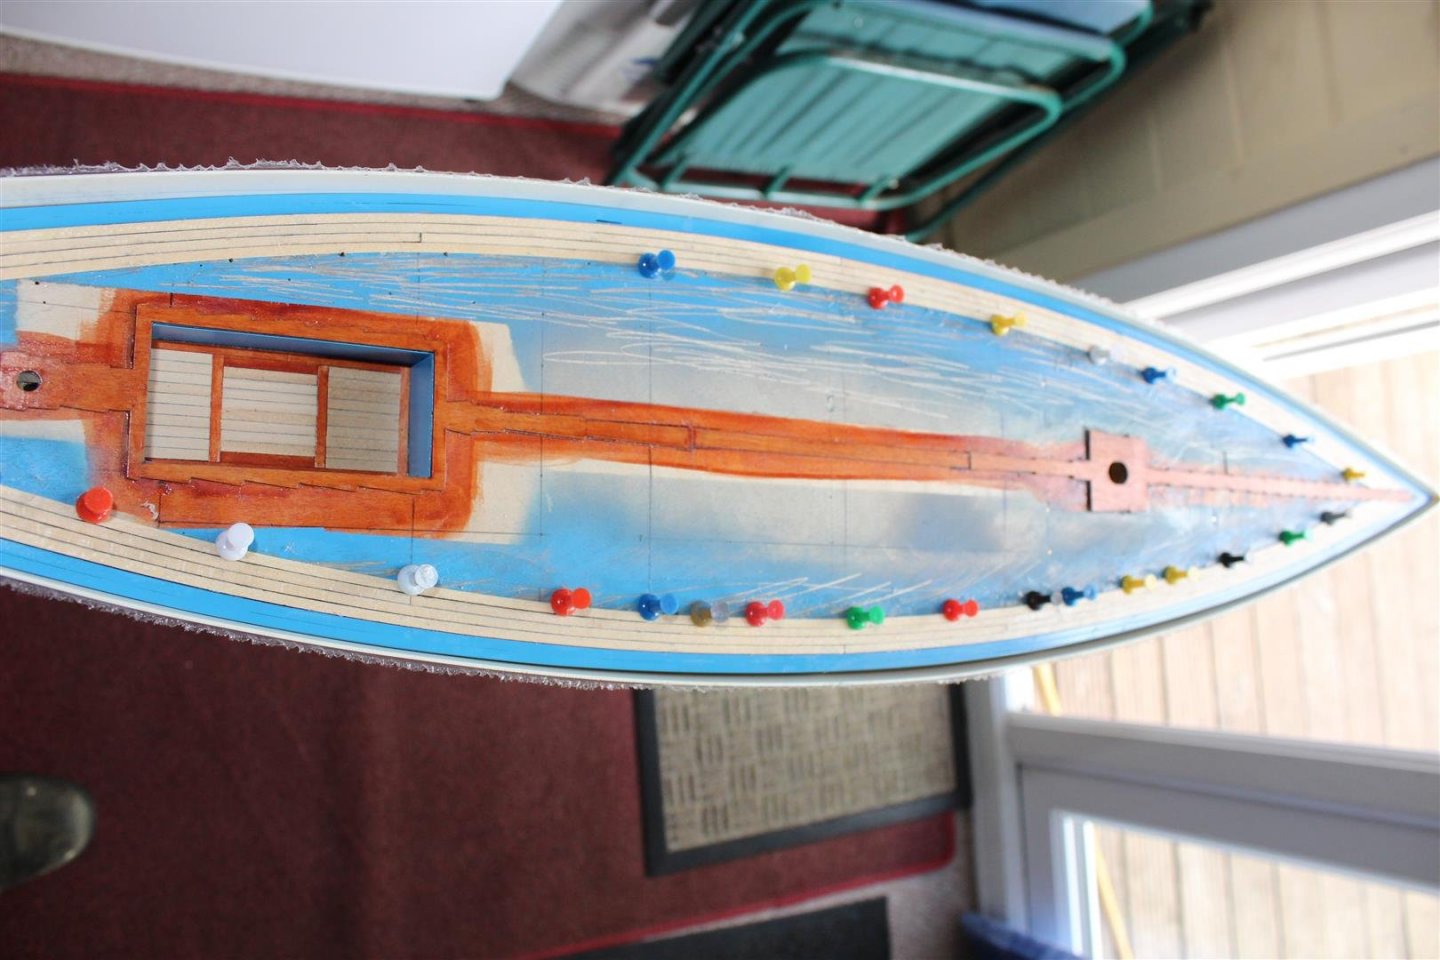
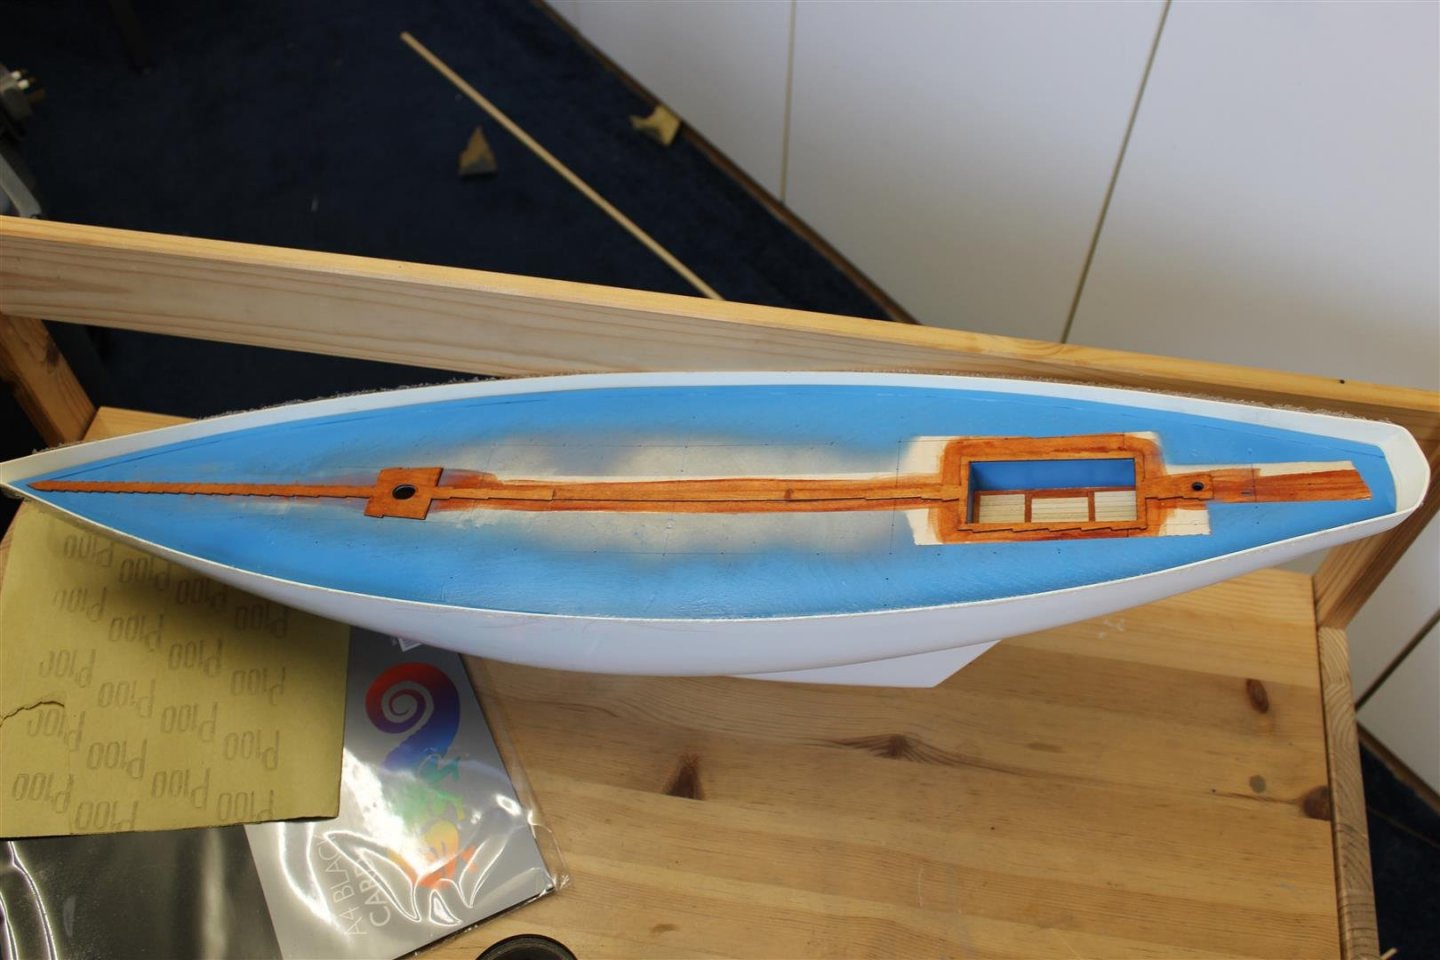
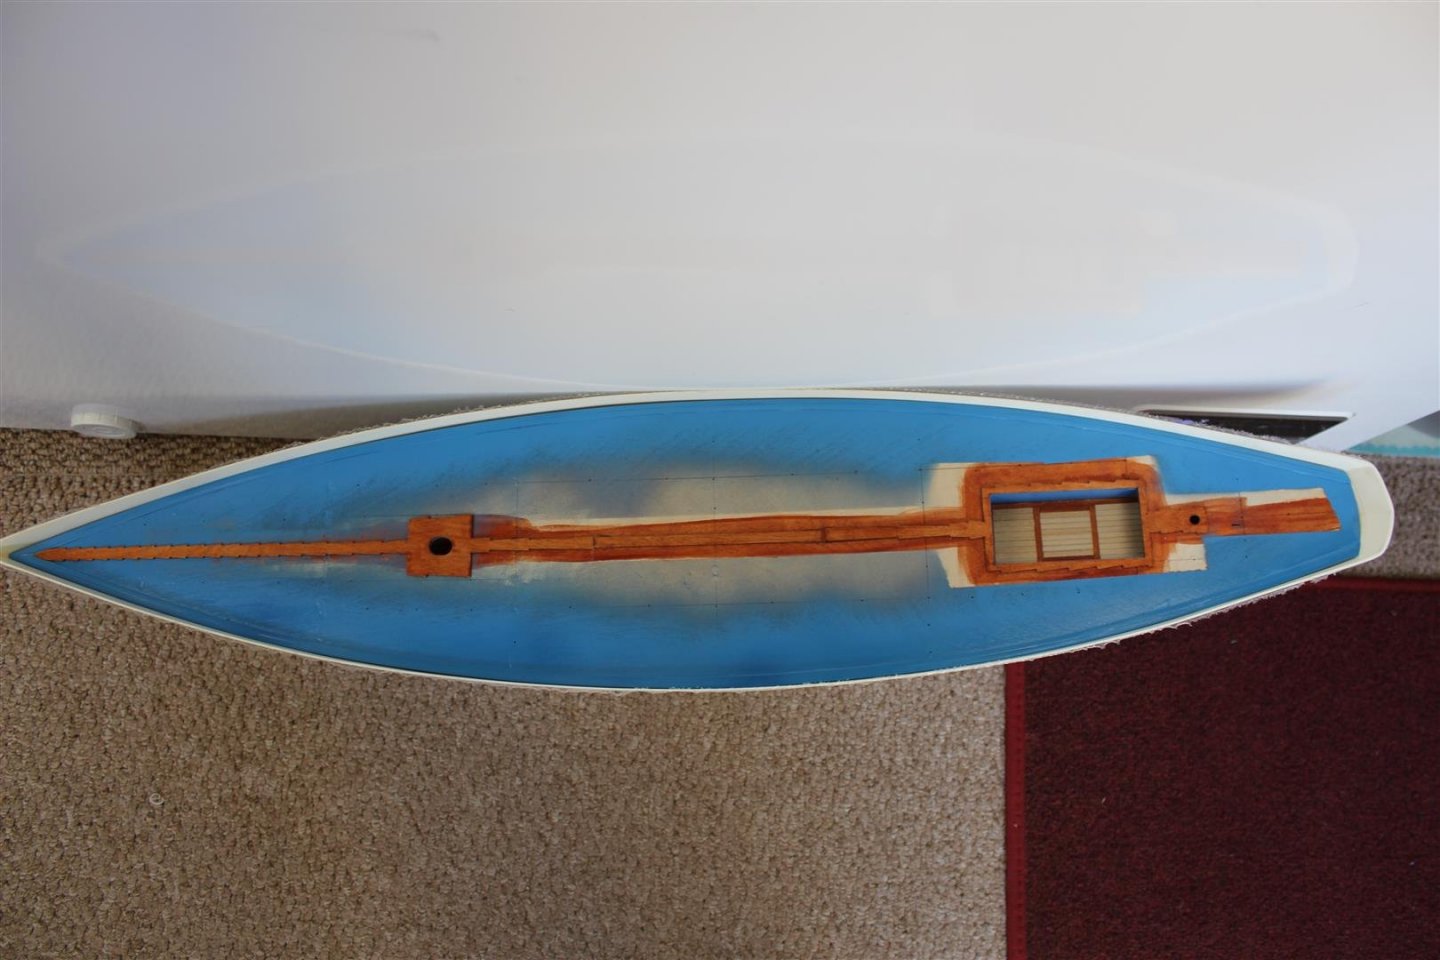
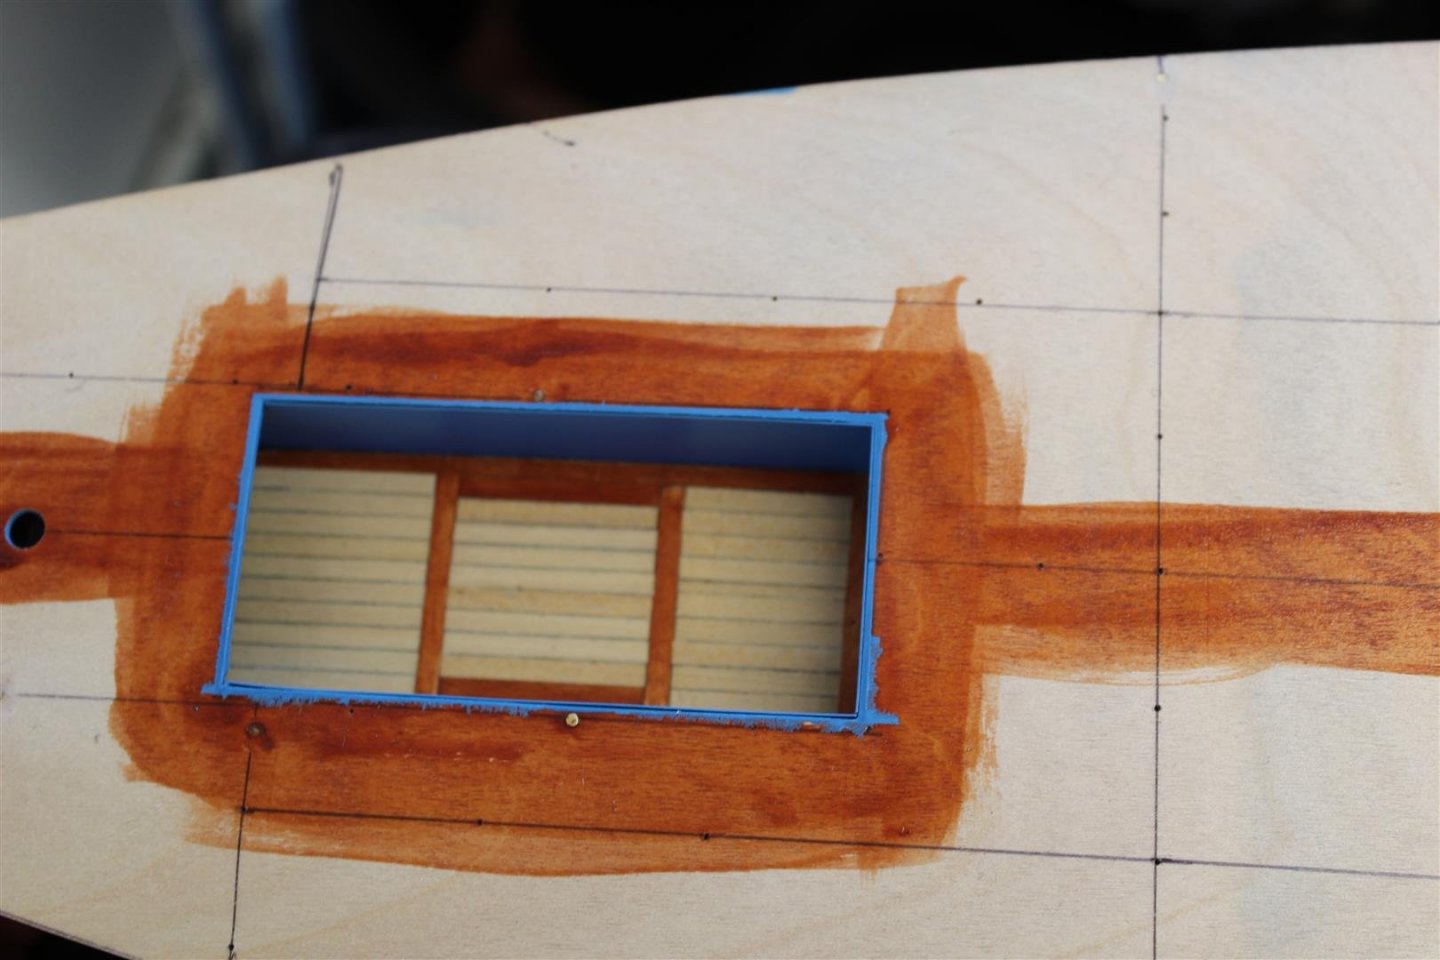
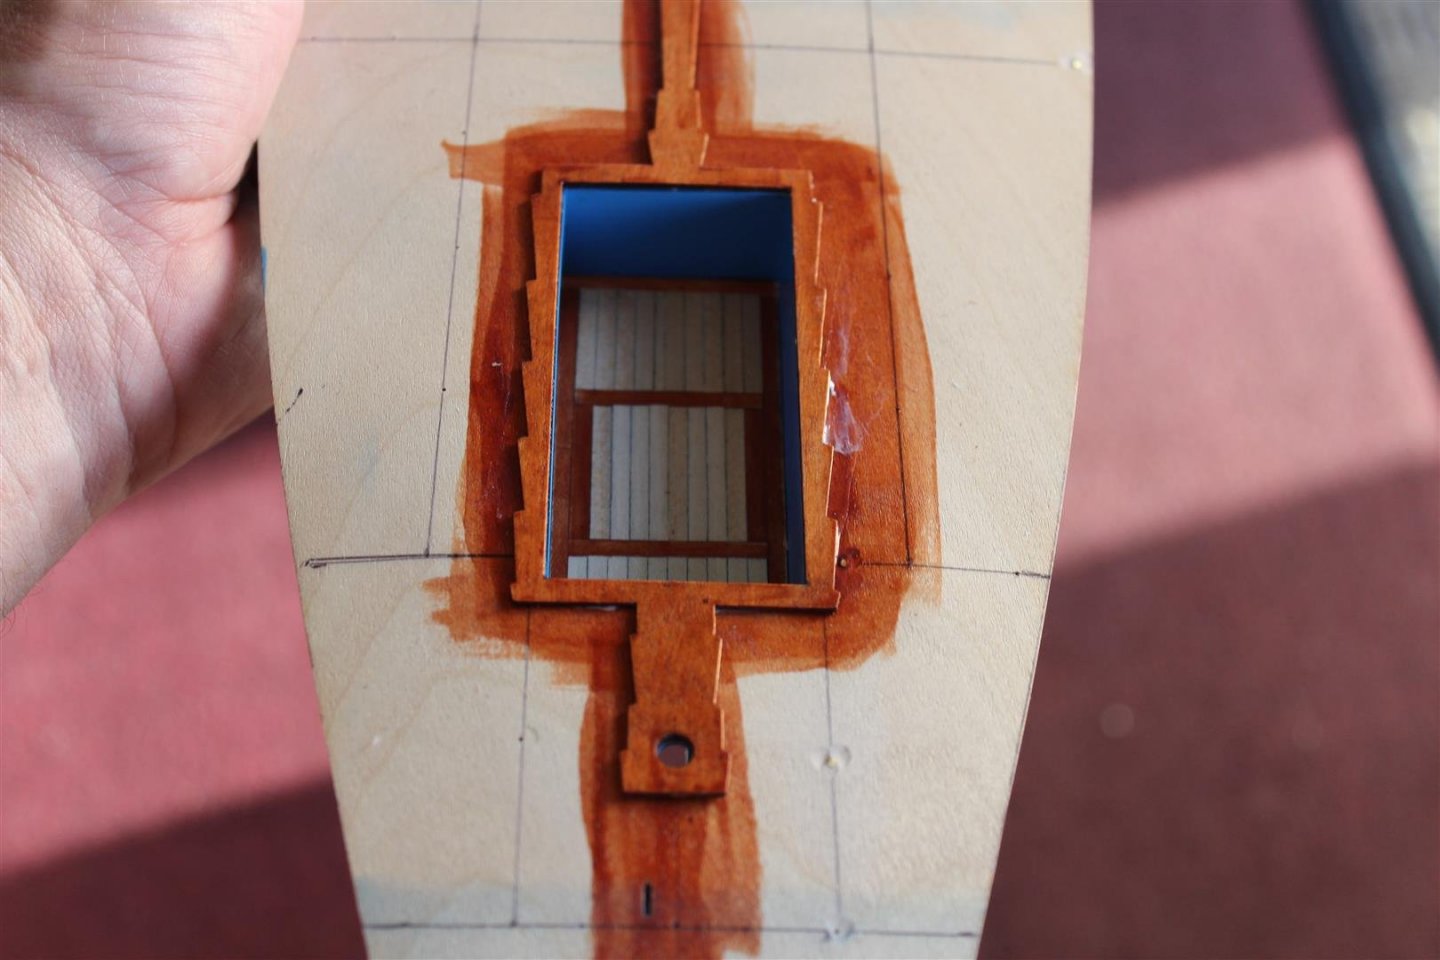
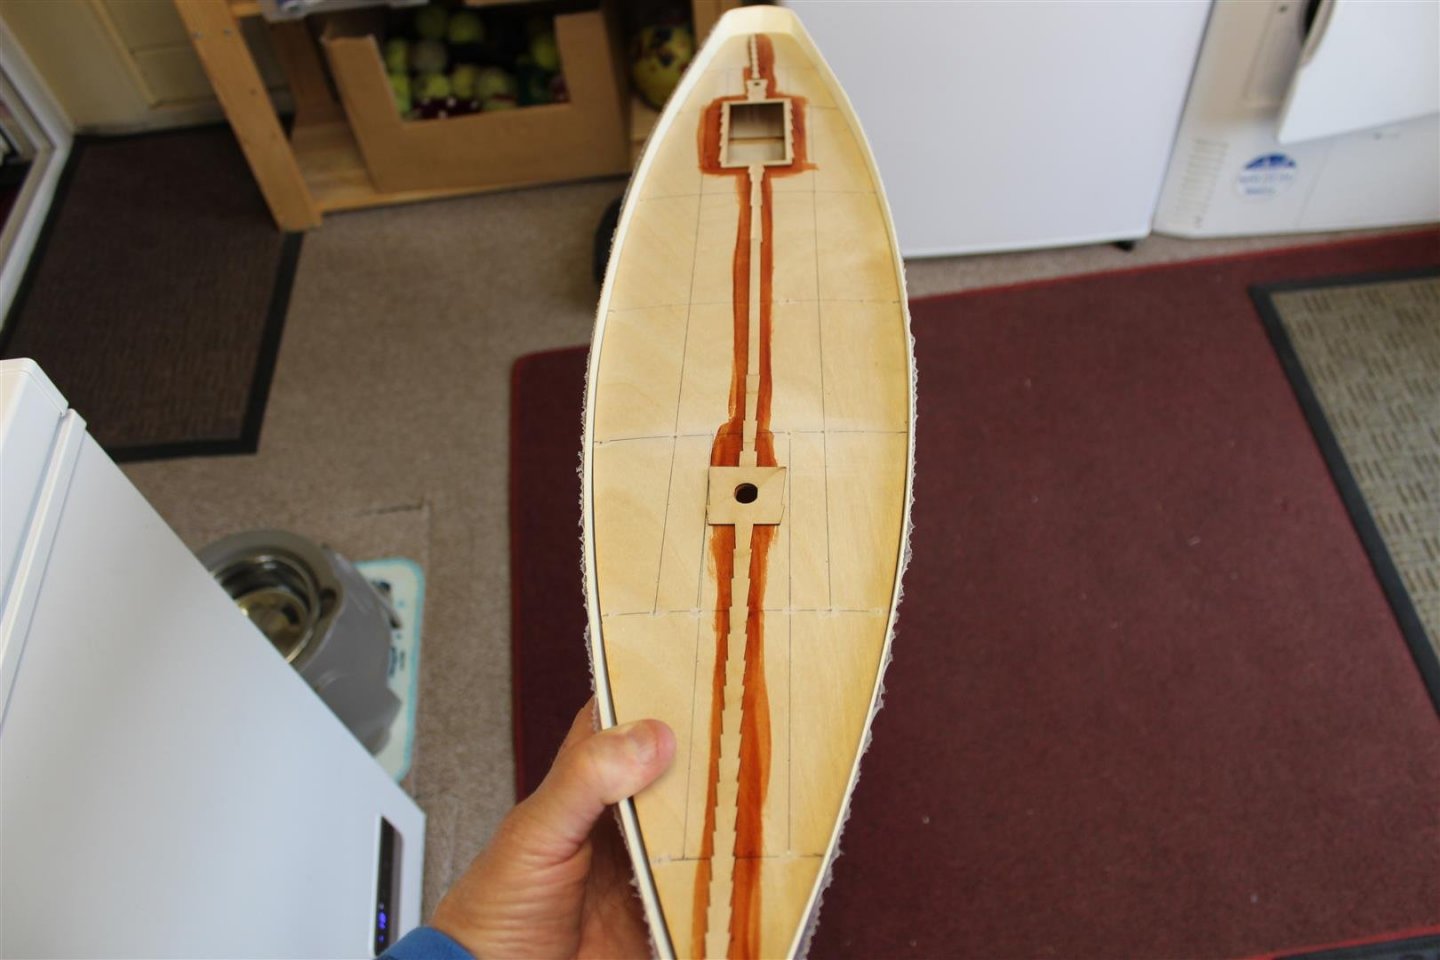
Good morning everyone i have been working on the cockpit (not sure if thats the right word for the pit), i am using lime strips, not the wood that came with the kit, also i am using red mahogany gloss/stain for the contrast, i will also use this for the centre plank and other deck accessories

- 127 replies
-
- 12
-
-
No, i personally would add more detail than see water, plus i dont have a big enough car, and lol it means i would have to socialise with the population out side of my dog walking routes
-
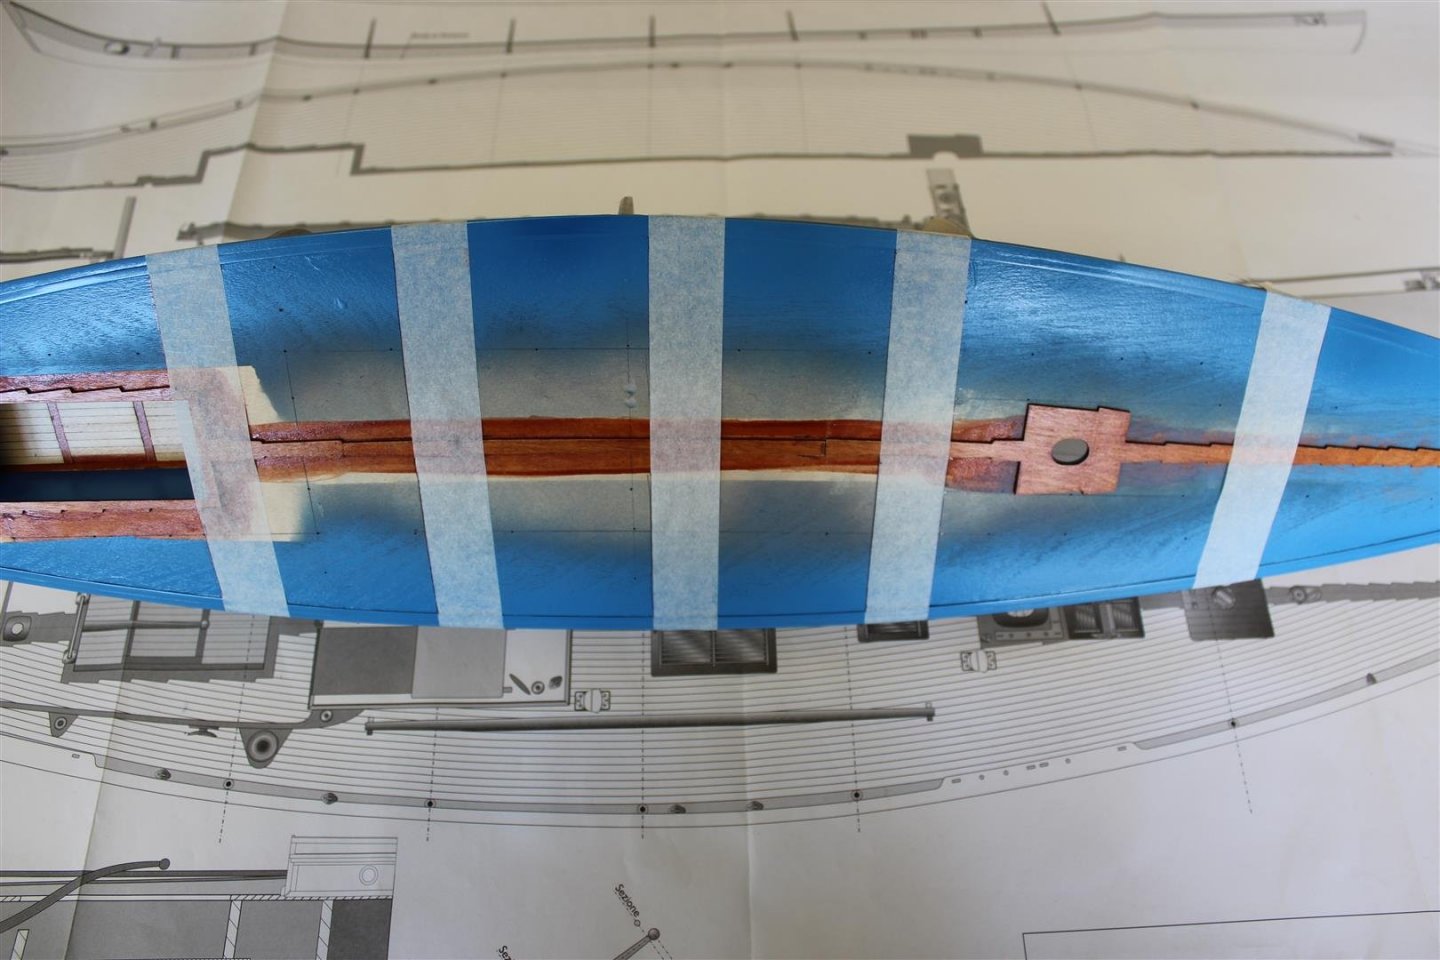
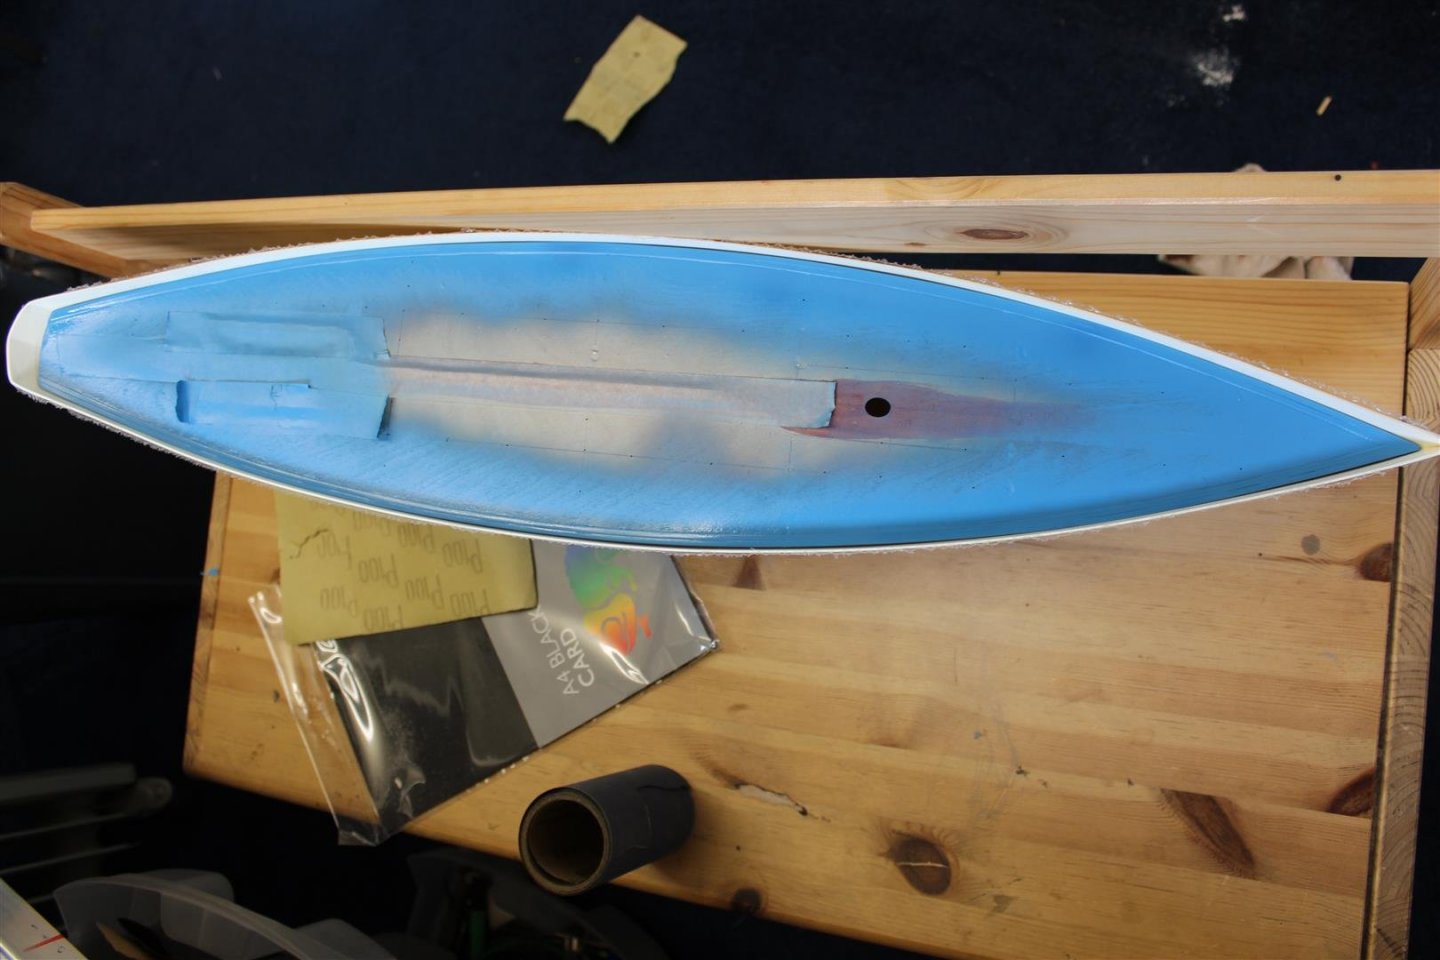
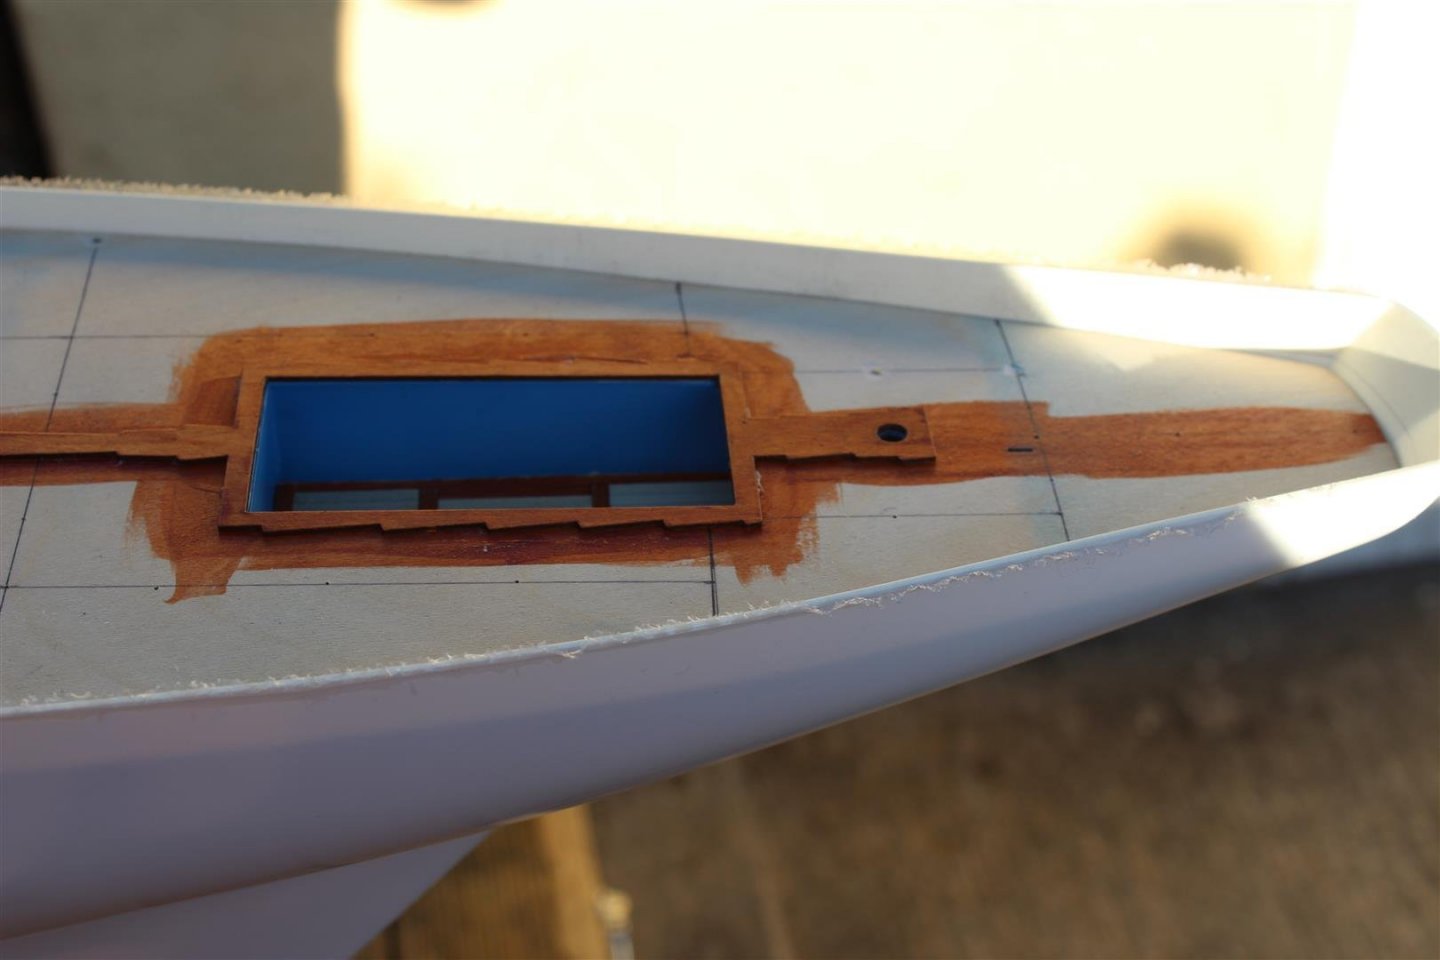
I think gold would look great, but i love the idea of a deep blue, the annoying thing is that when the deck is fitted, the hull is then painted with the two outer planks of decking, that idea what ever colour scares me, my masking is poor at the best of times
-
hope mine turn out this good
-
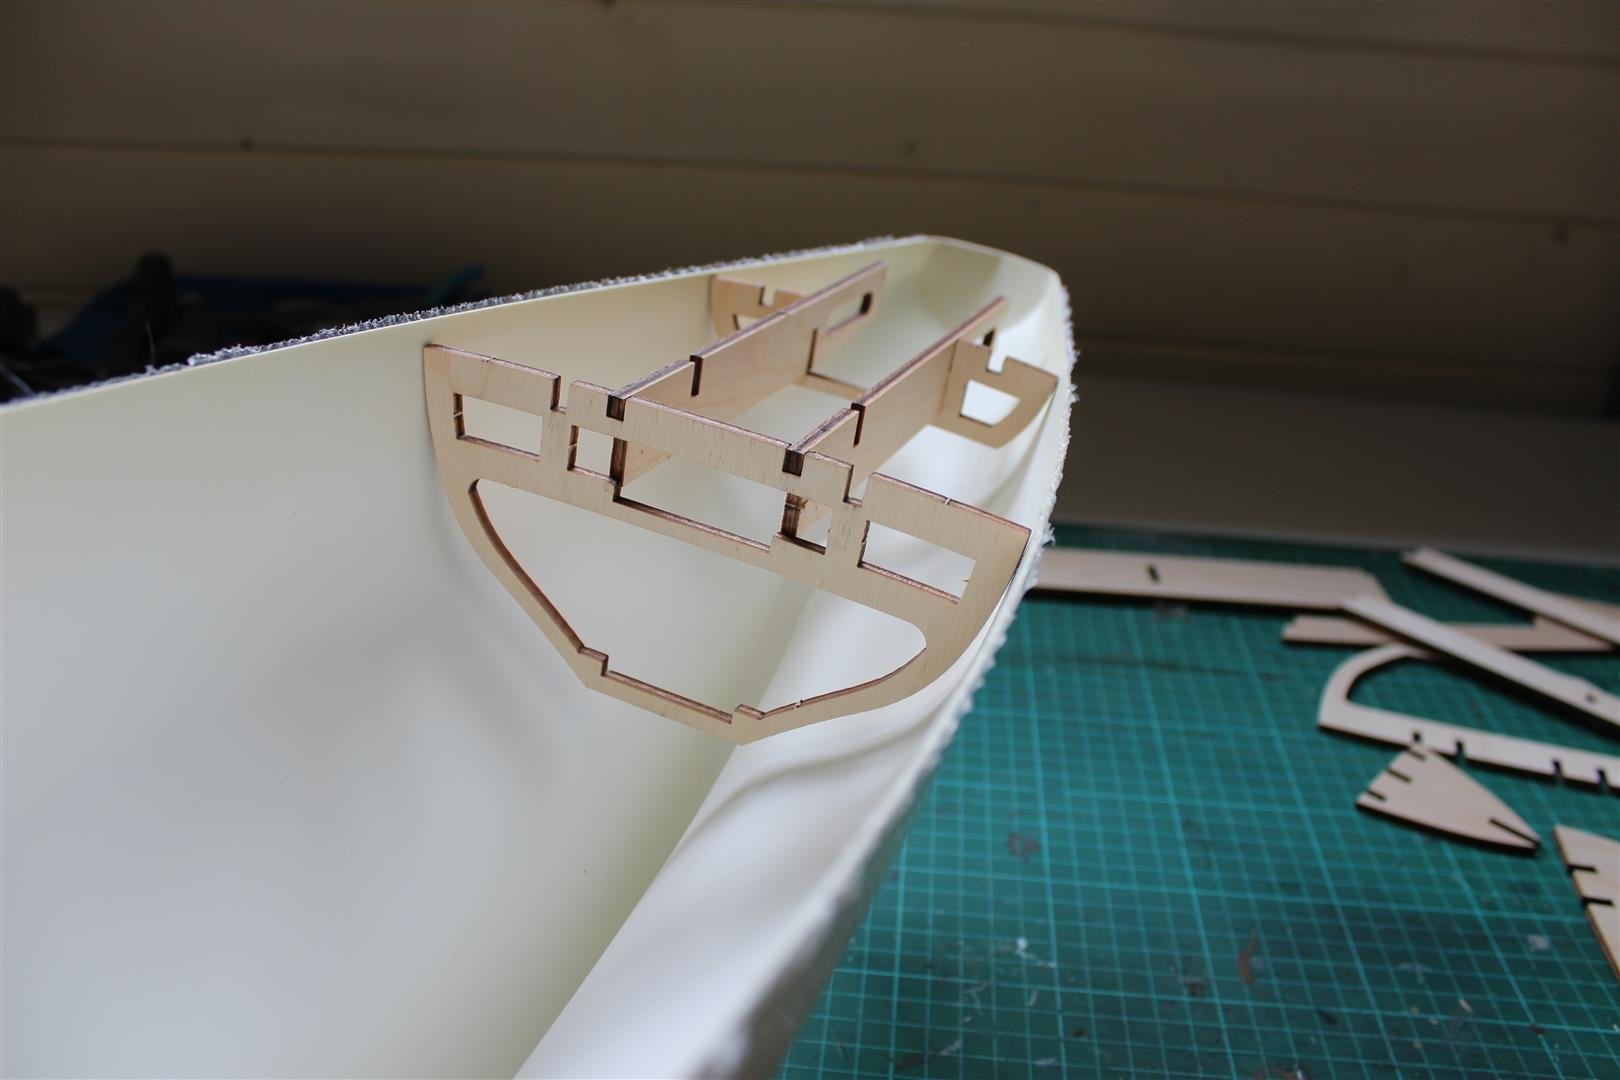
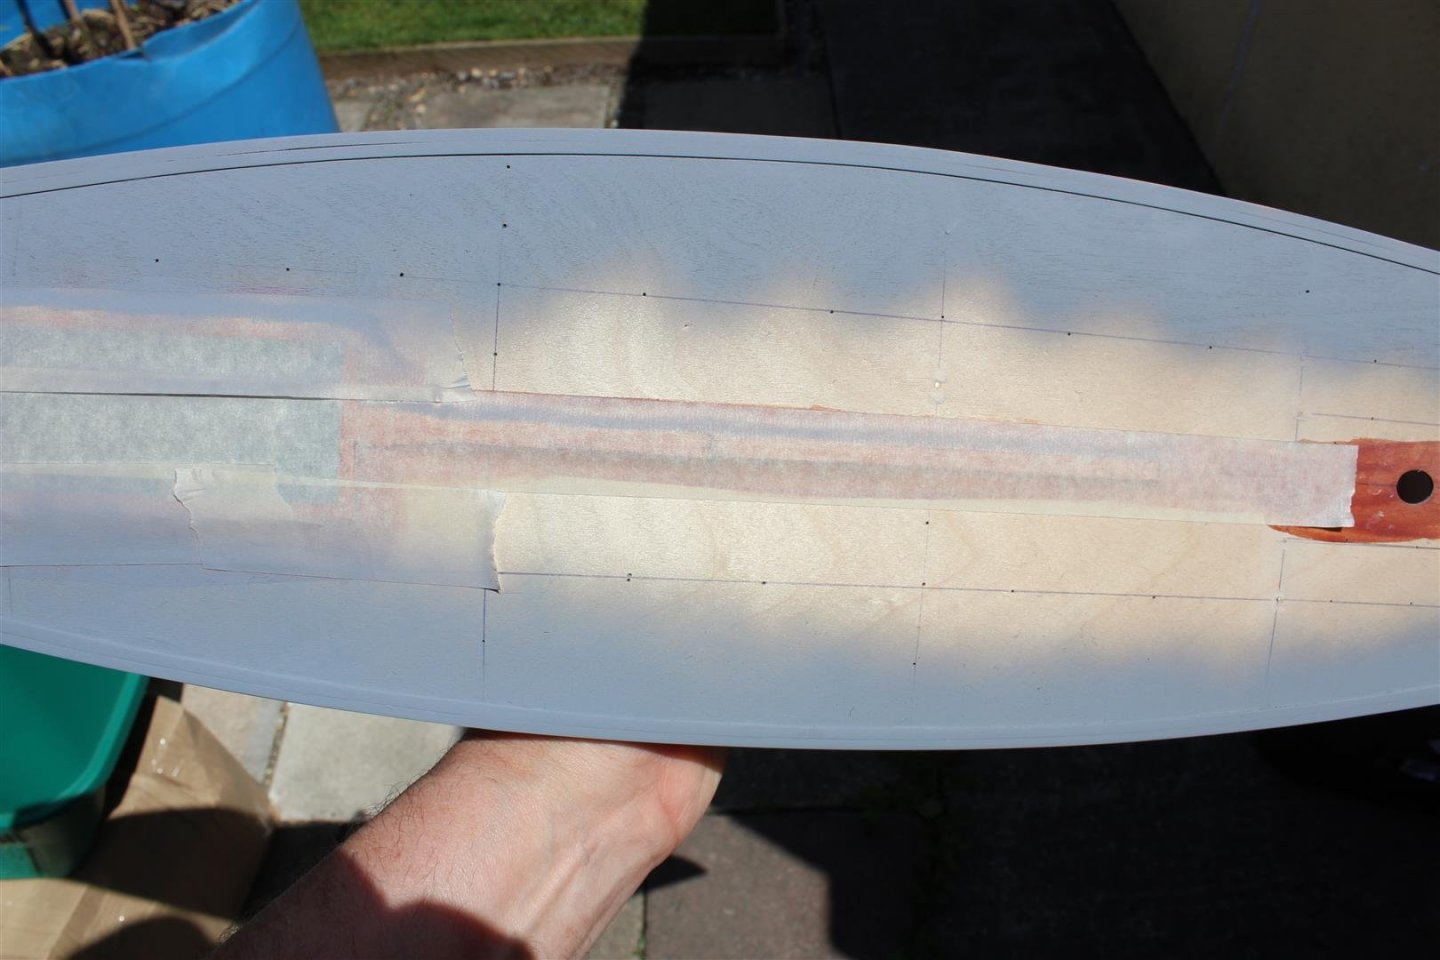
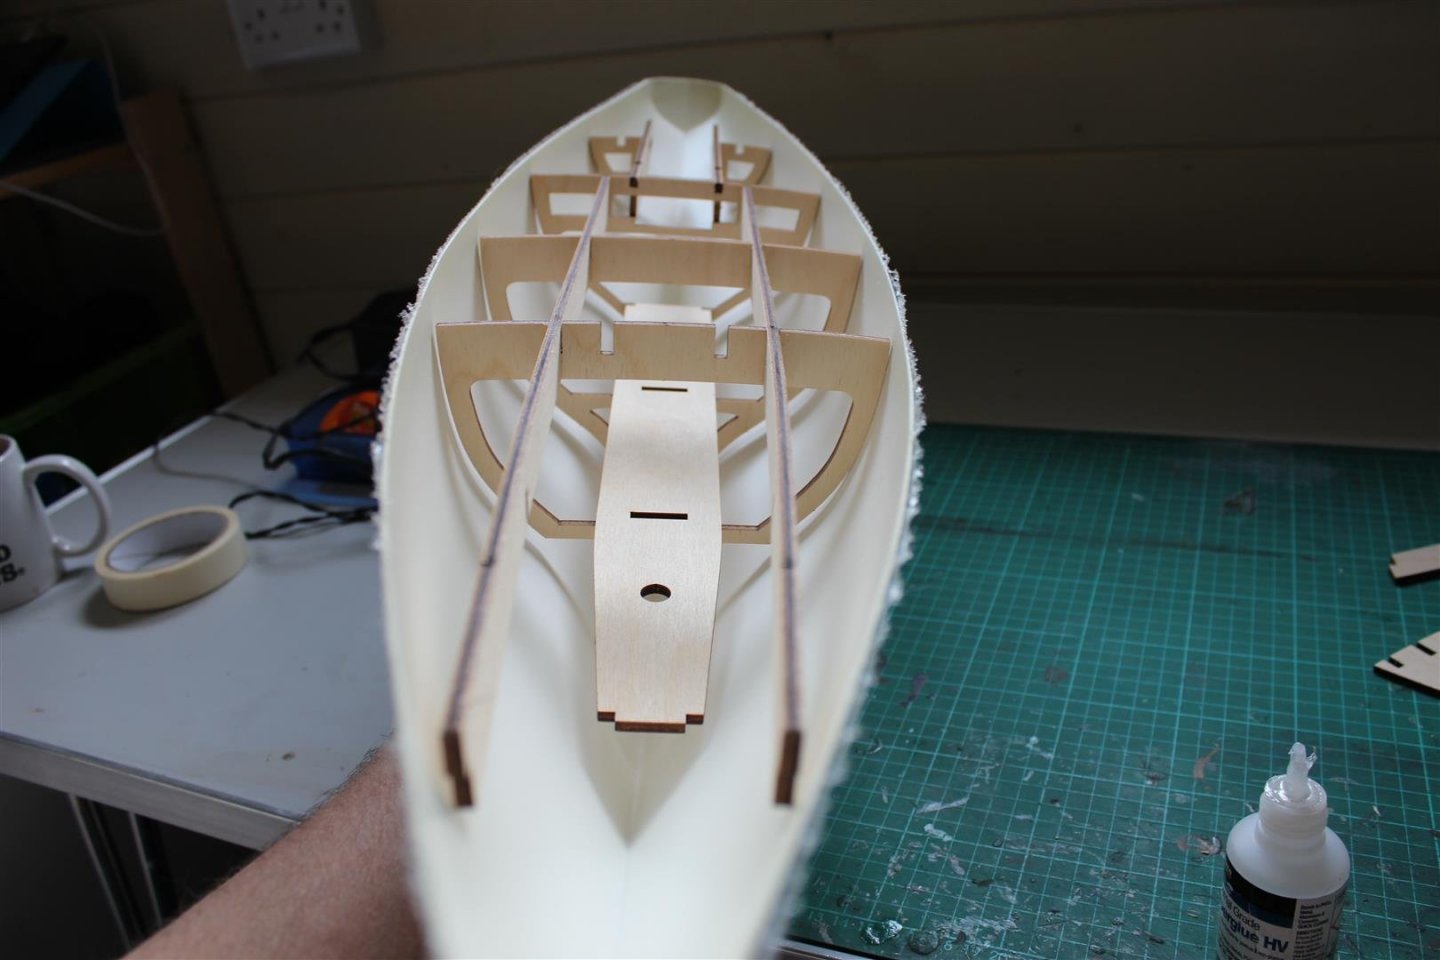
it does take any flex out of the plastic, provides a platform for a lot of the RC gear, and a means of getting the deck level all around,
-
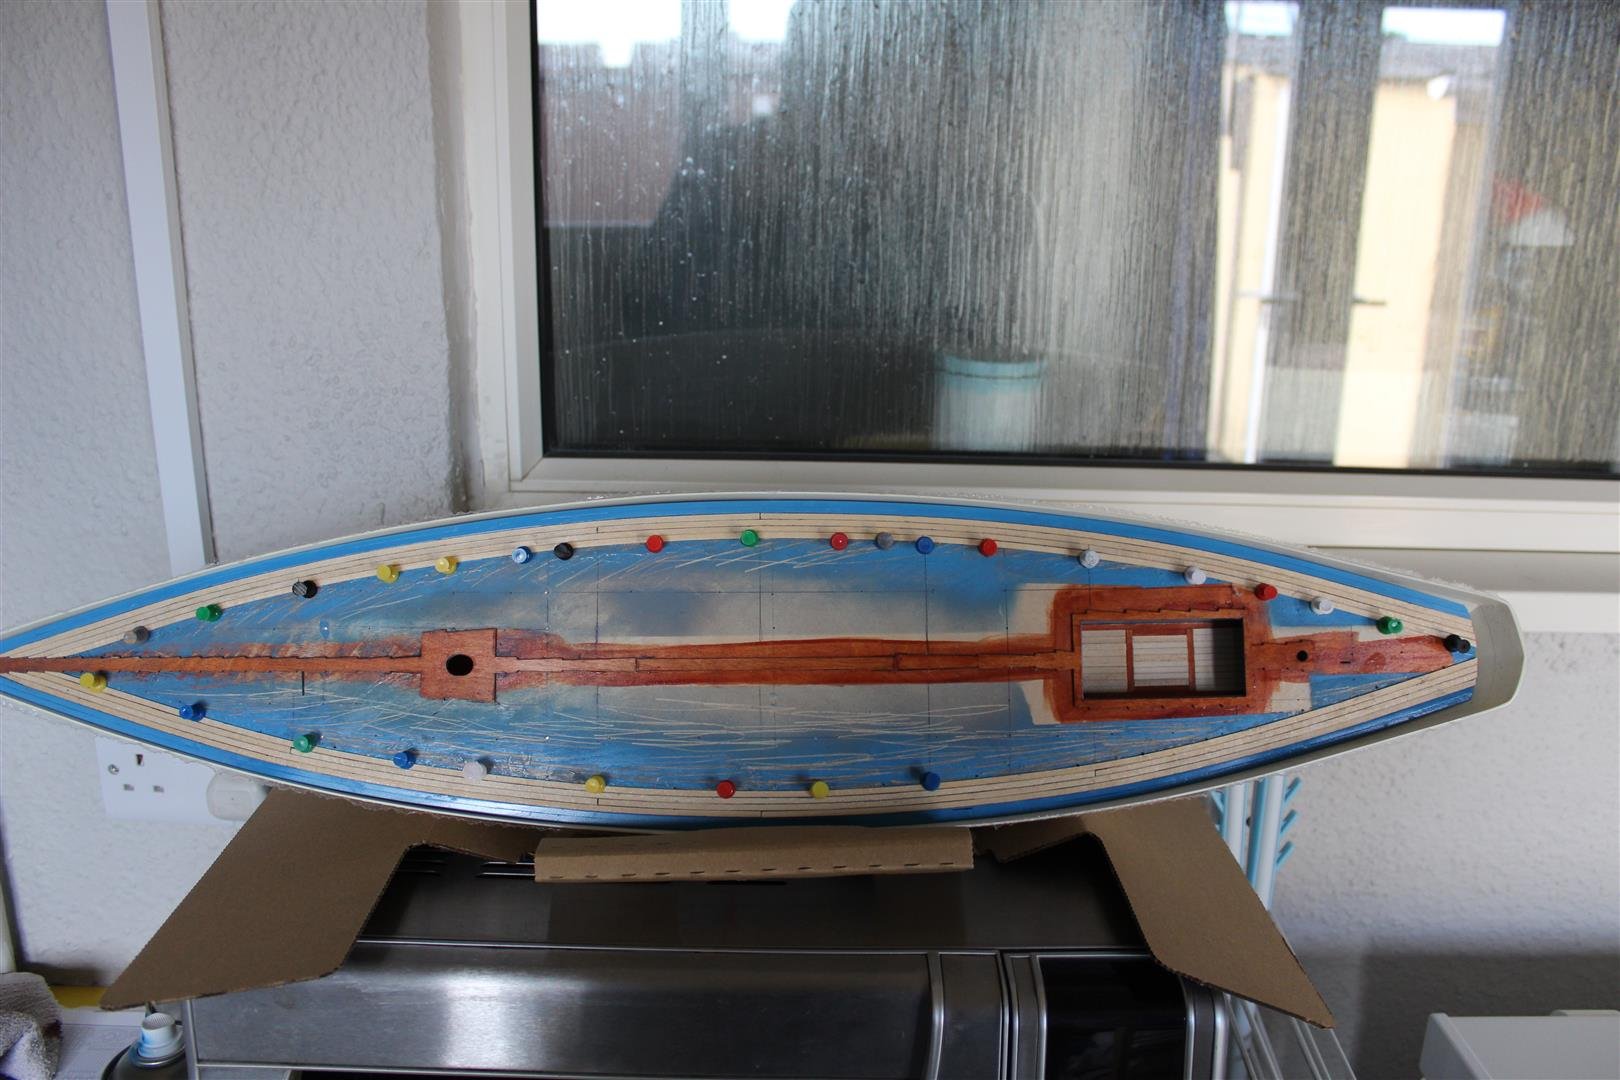
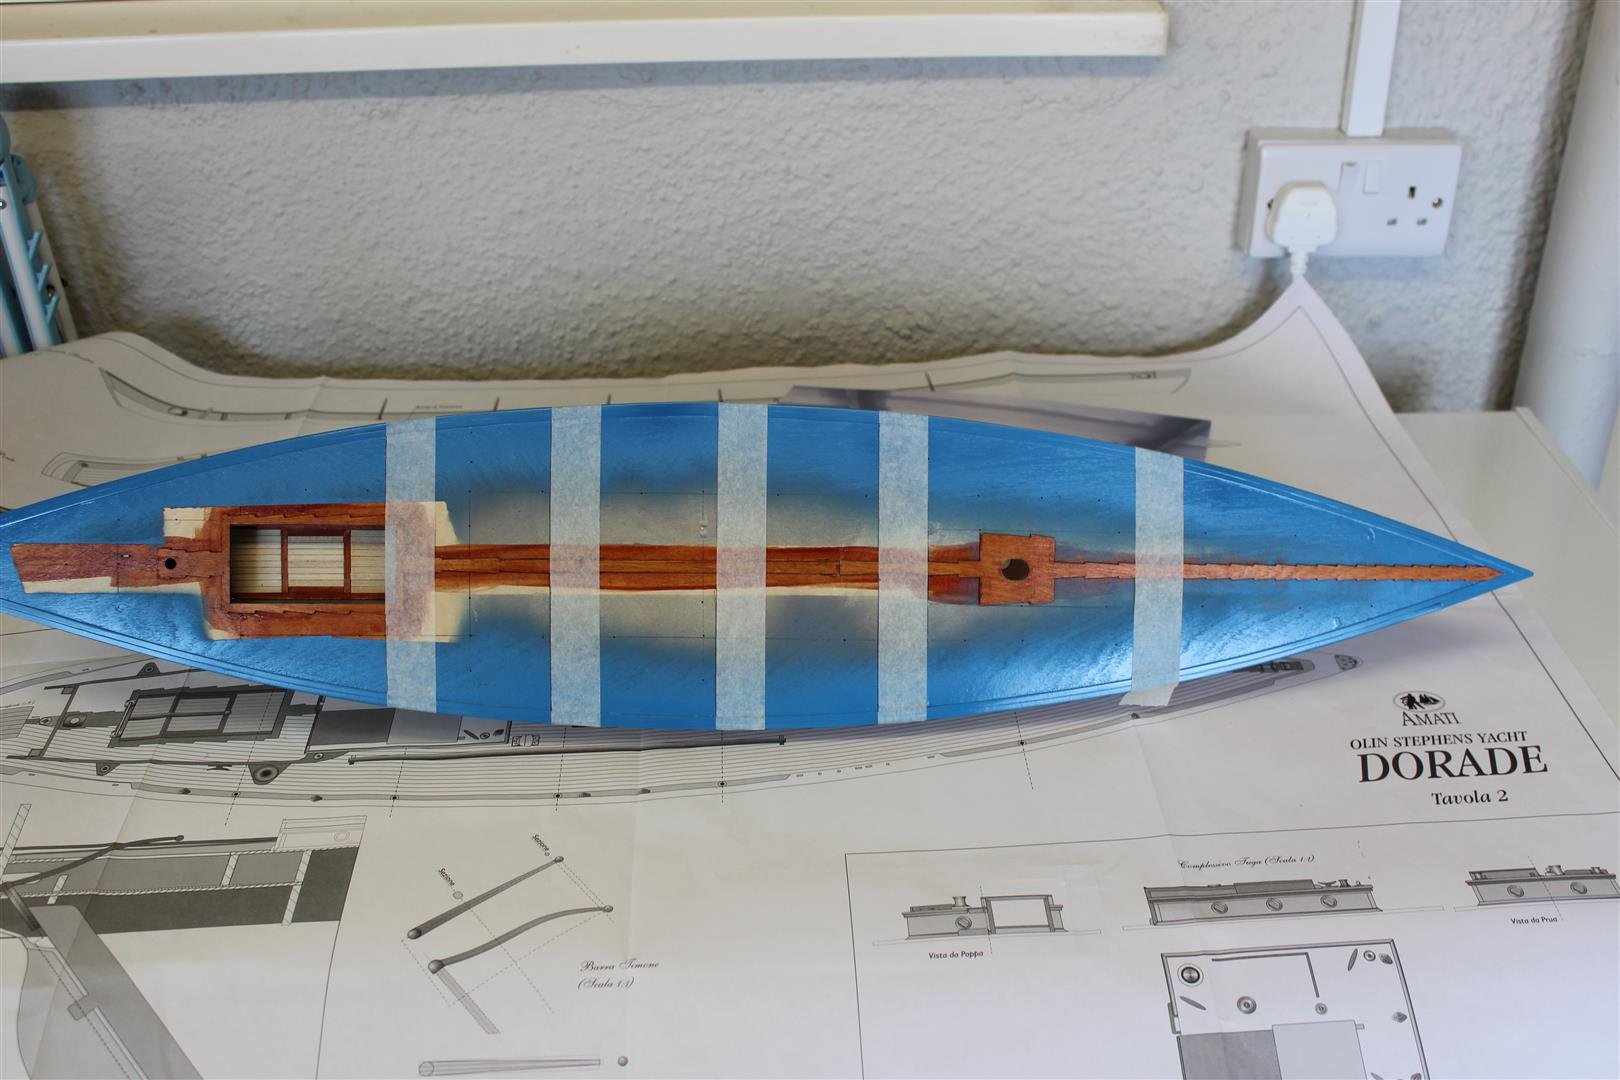
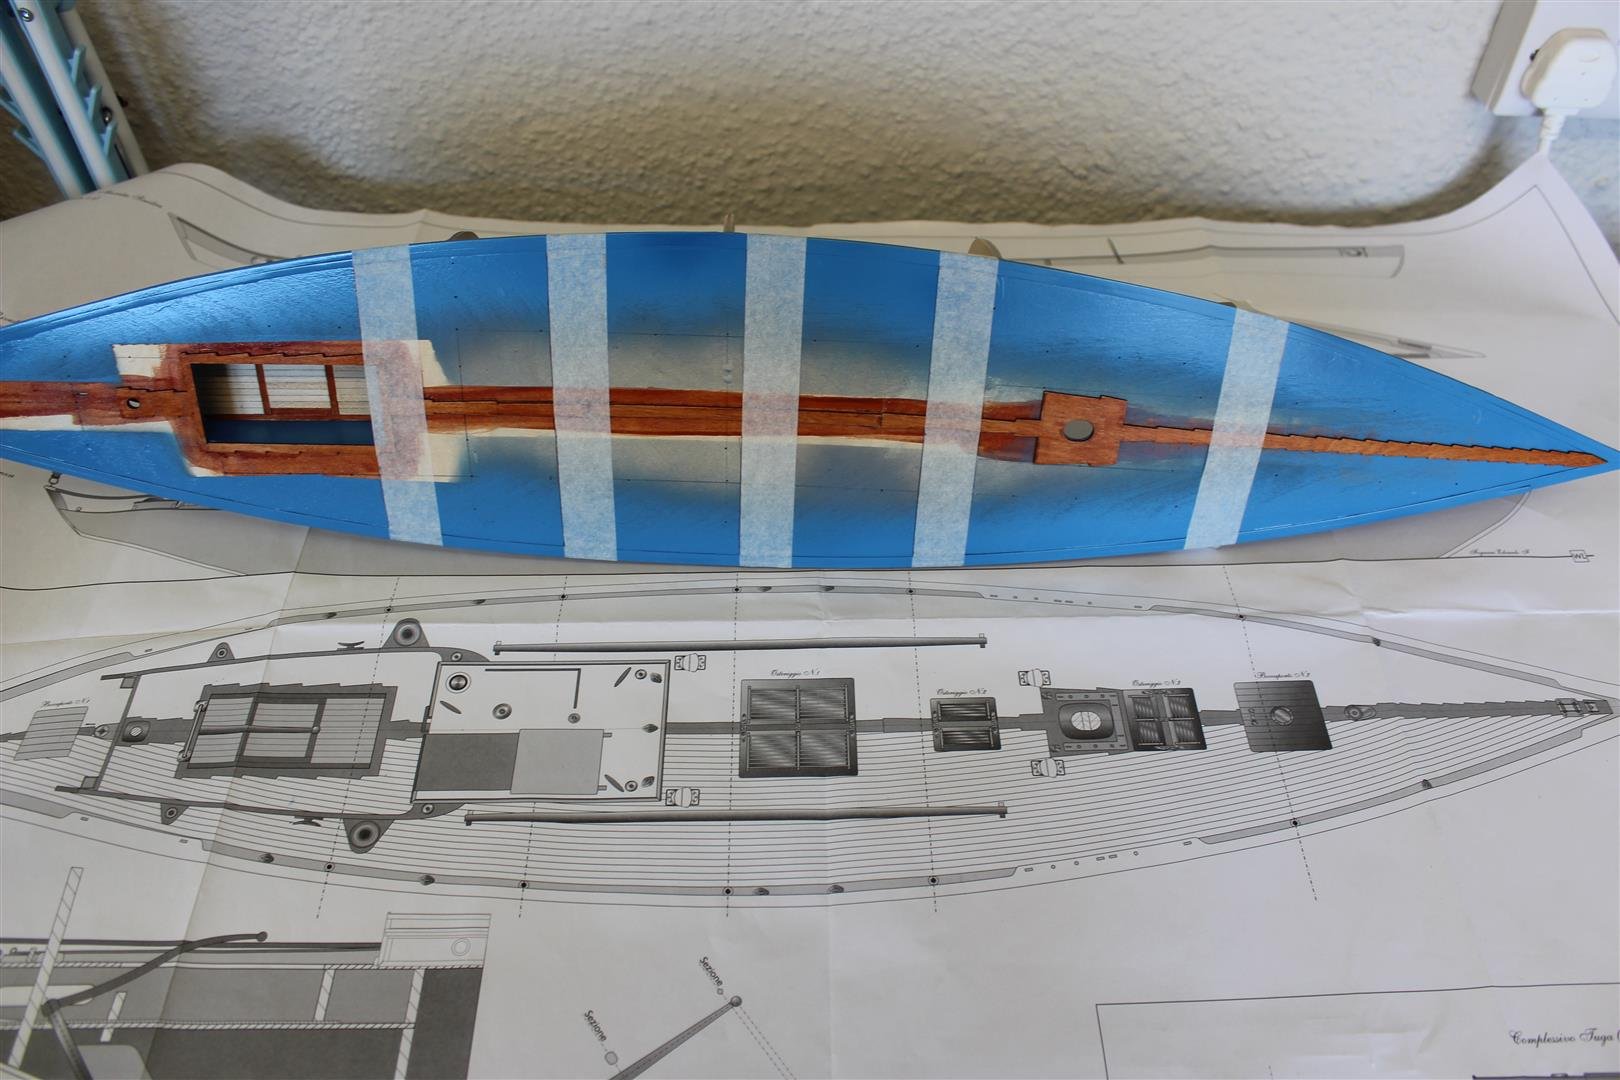
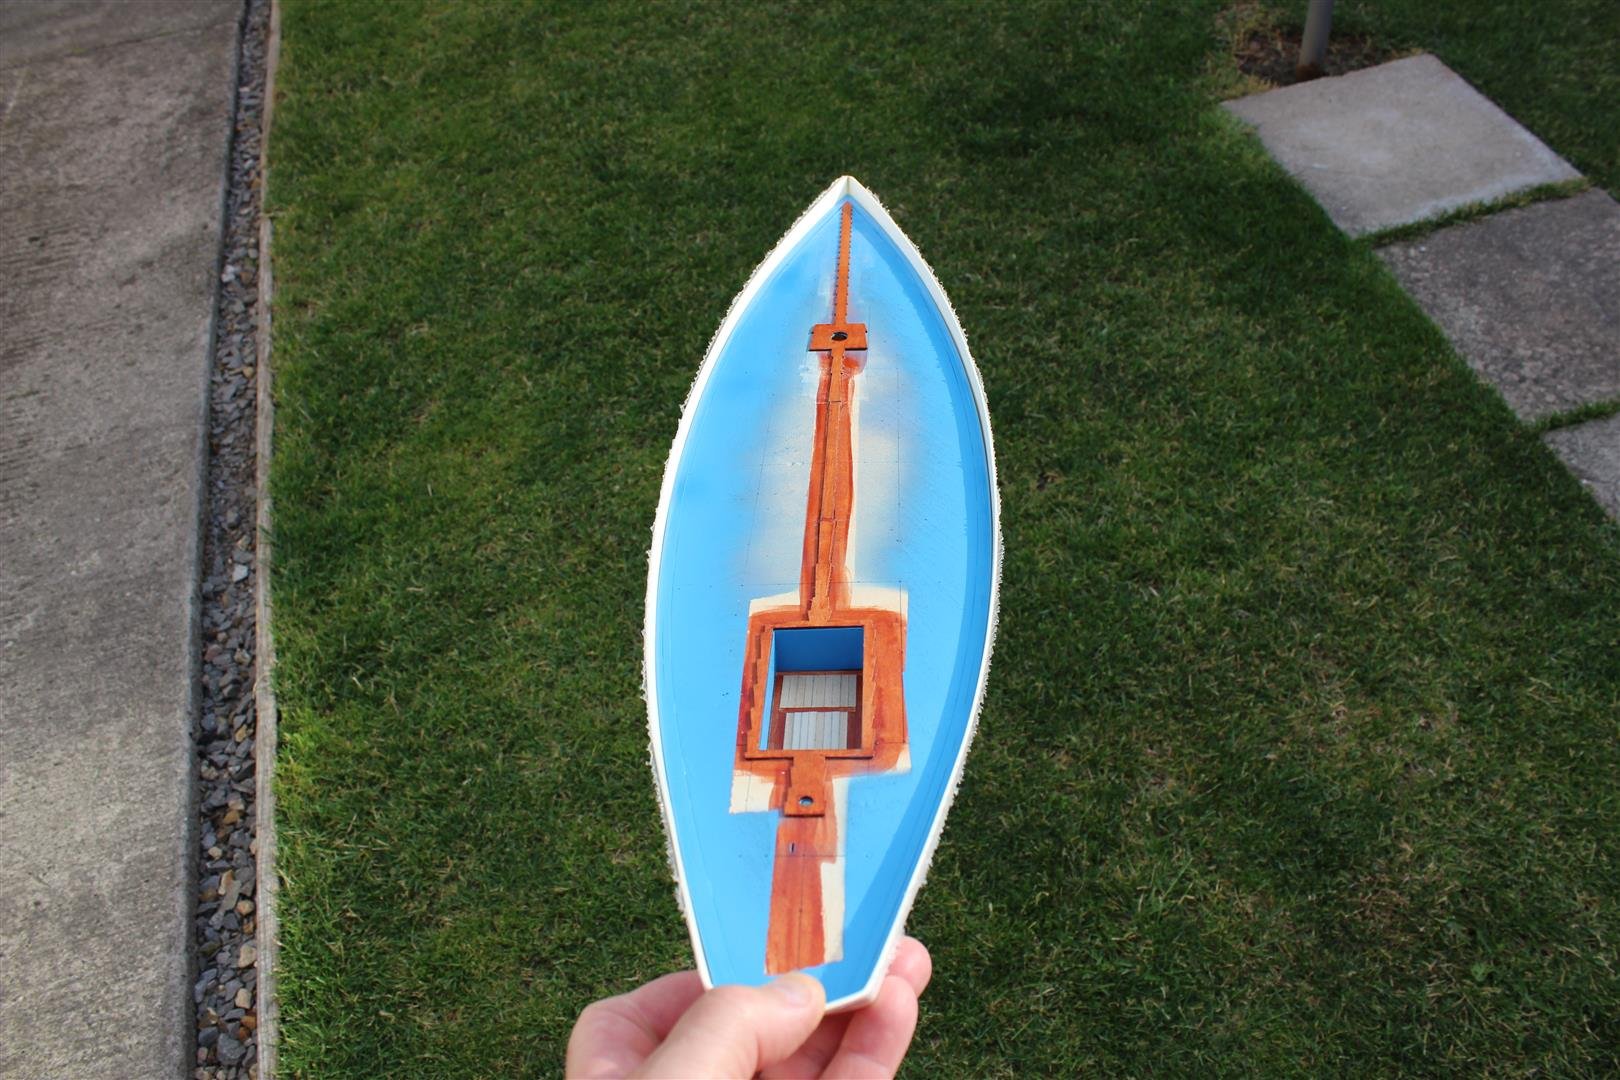
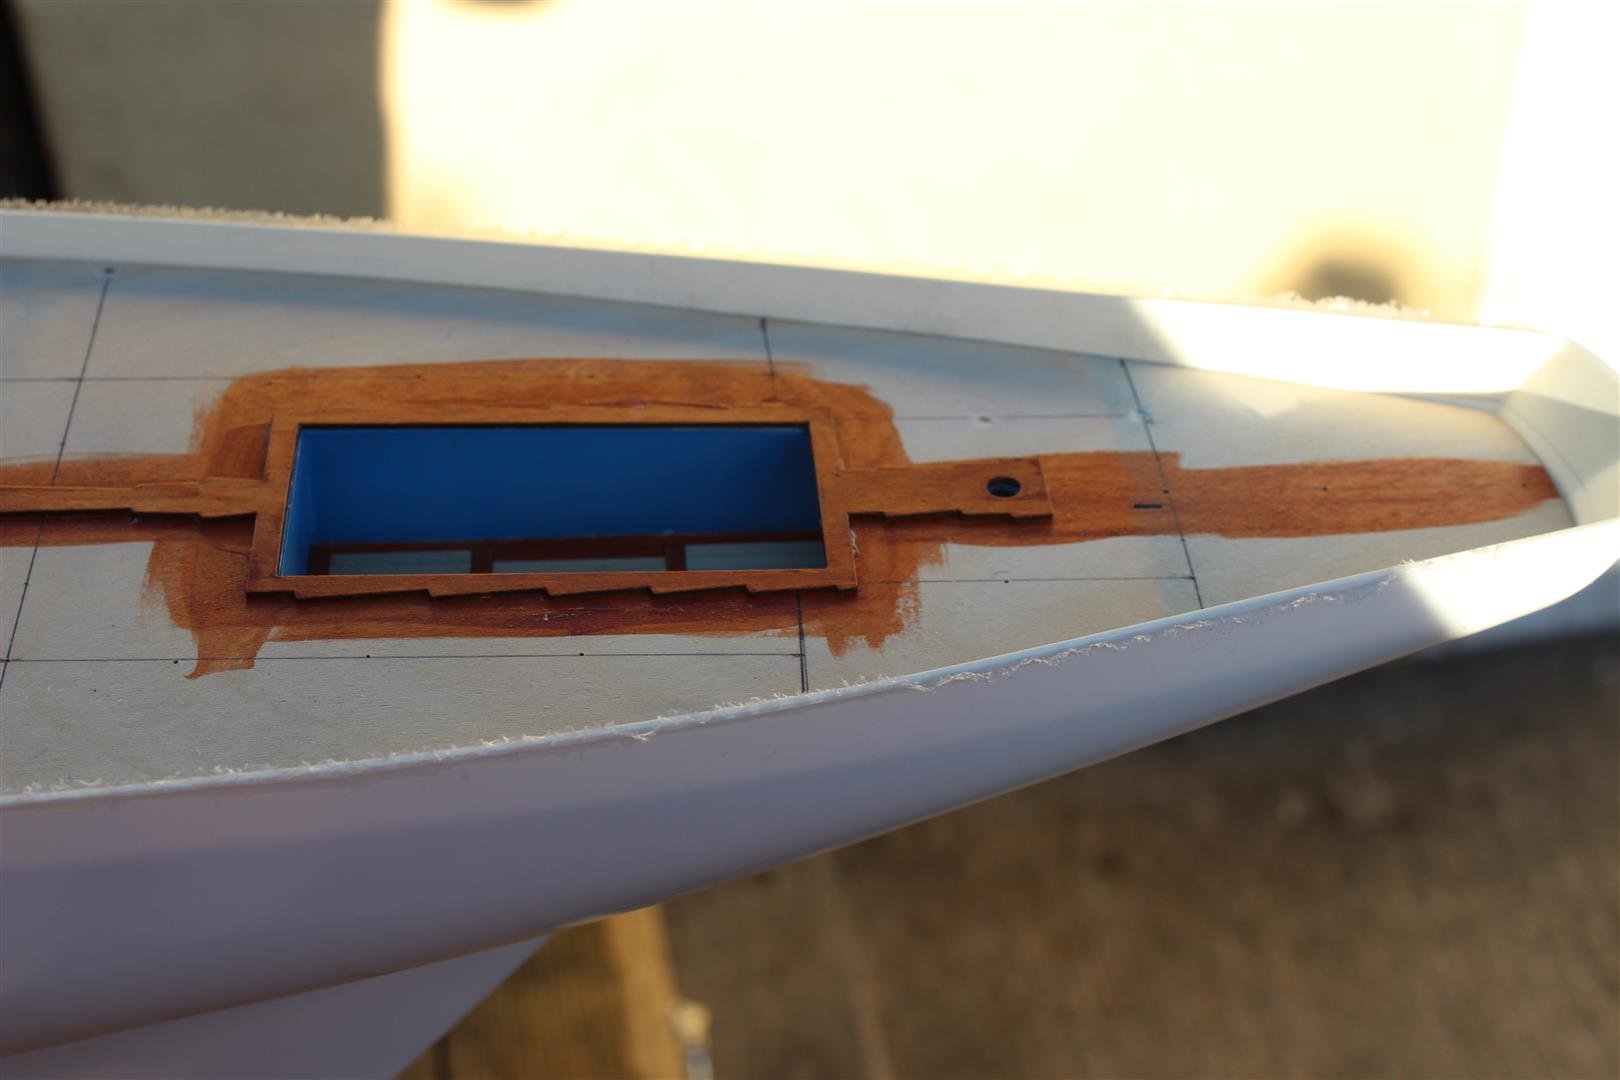
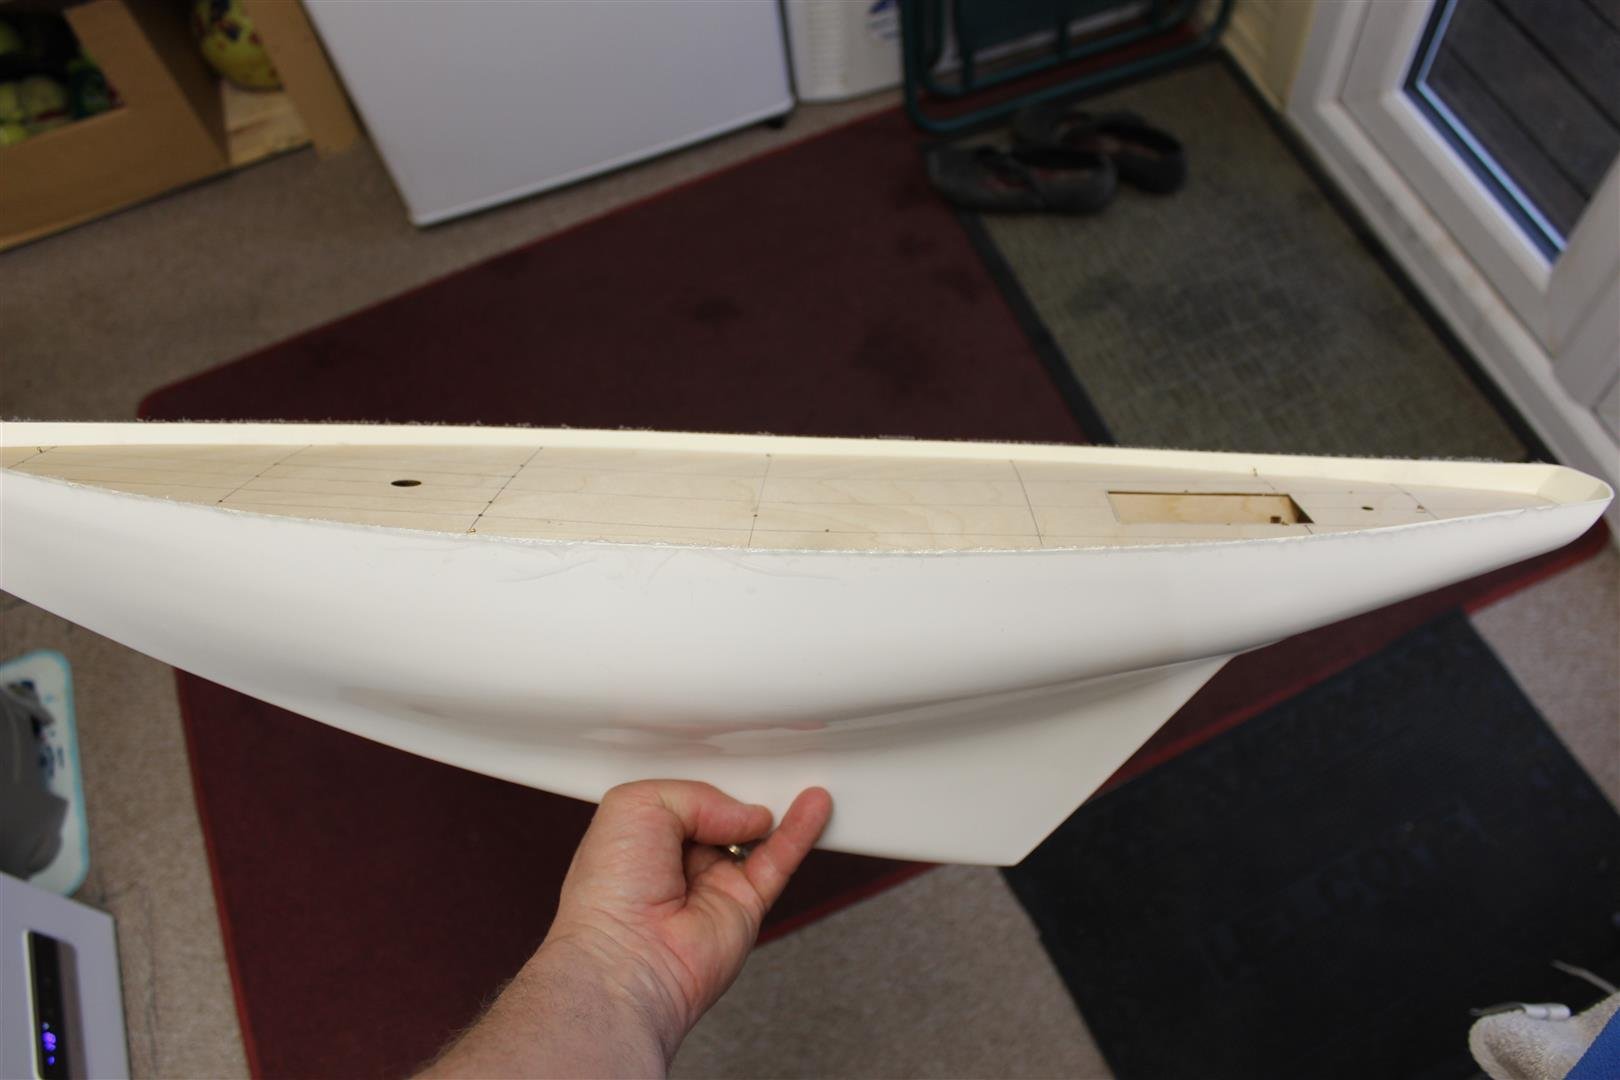
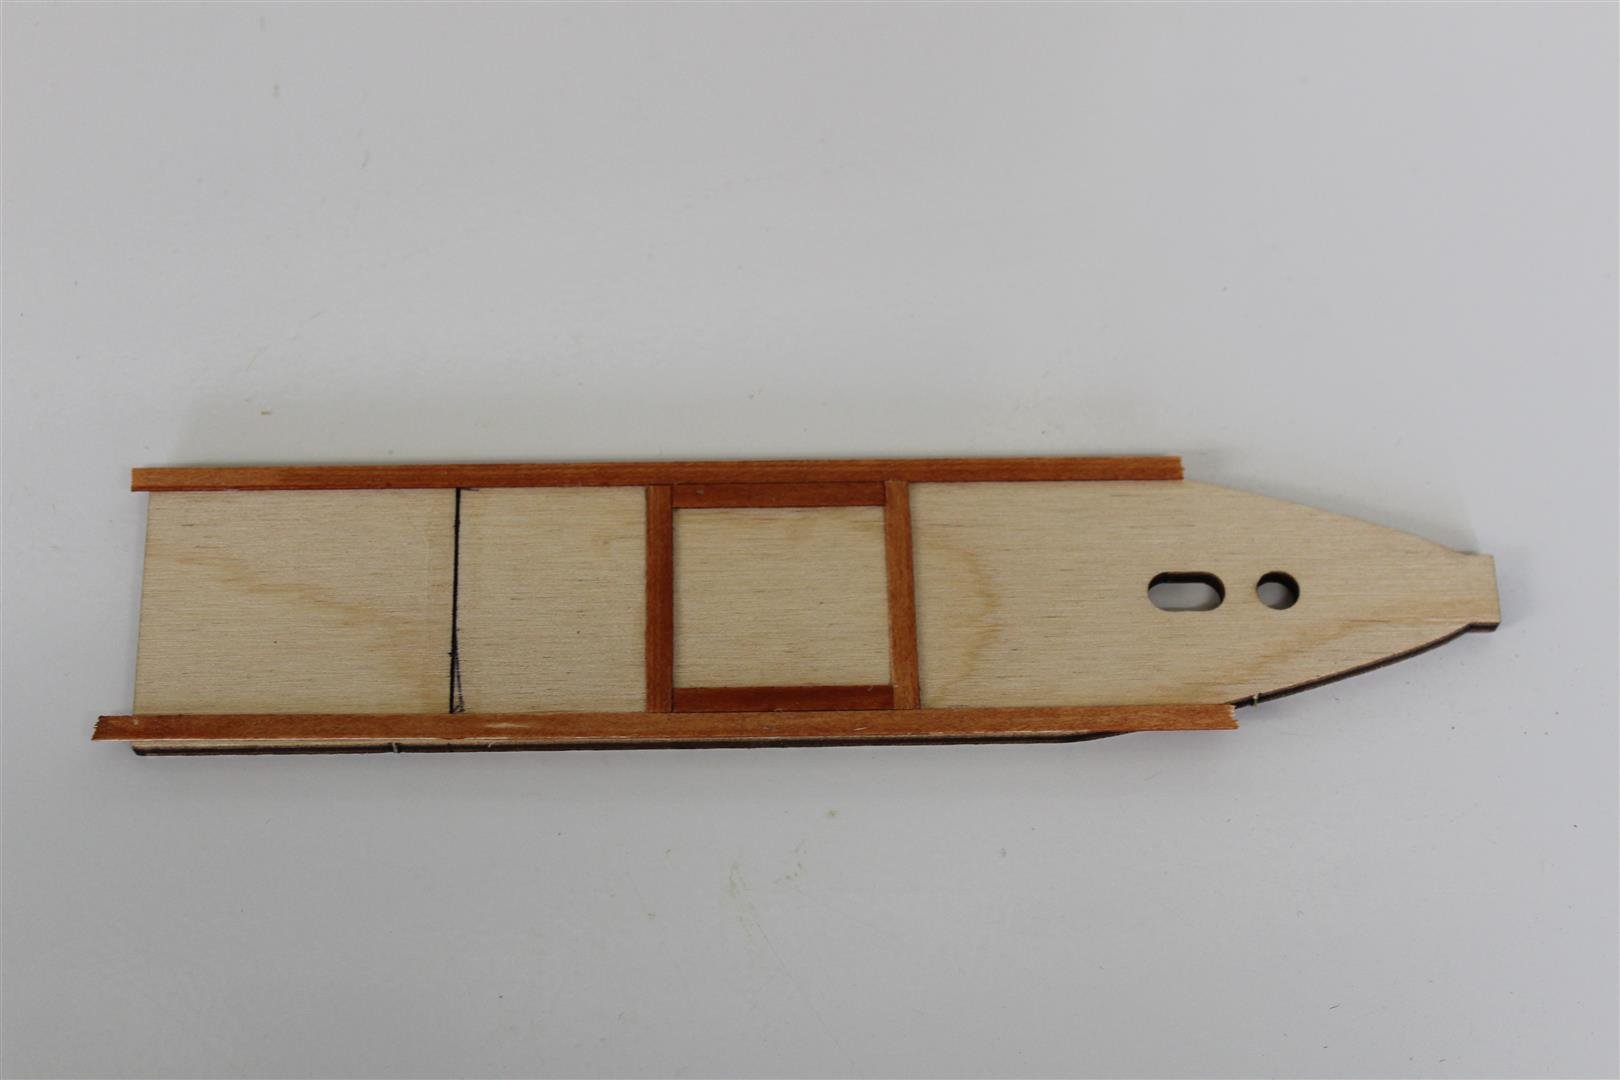
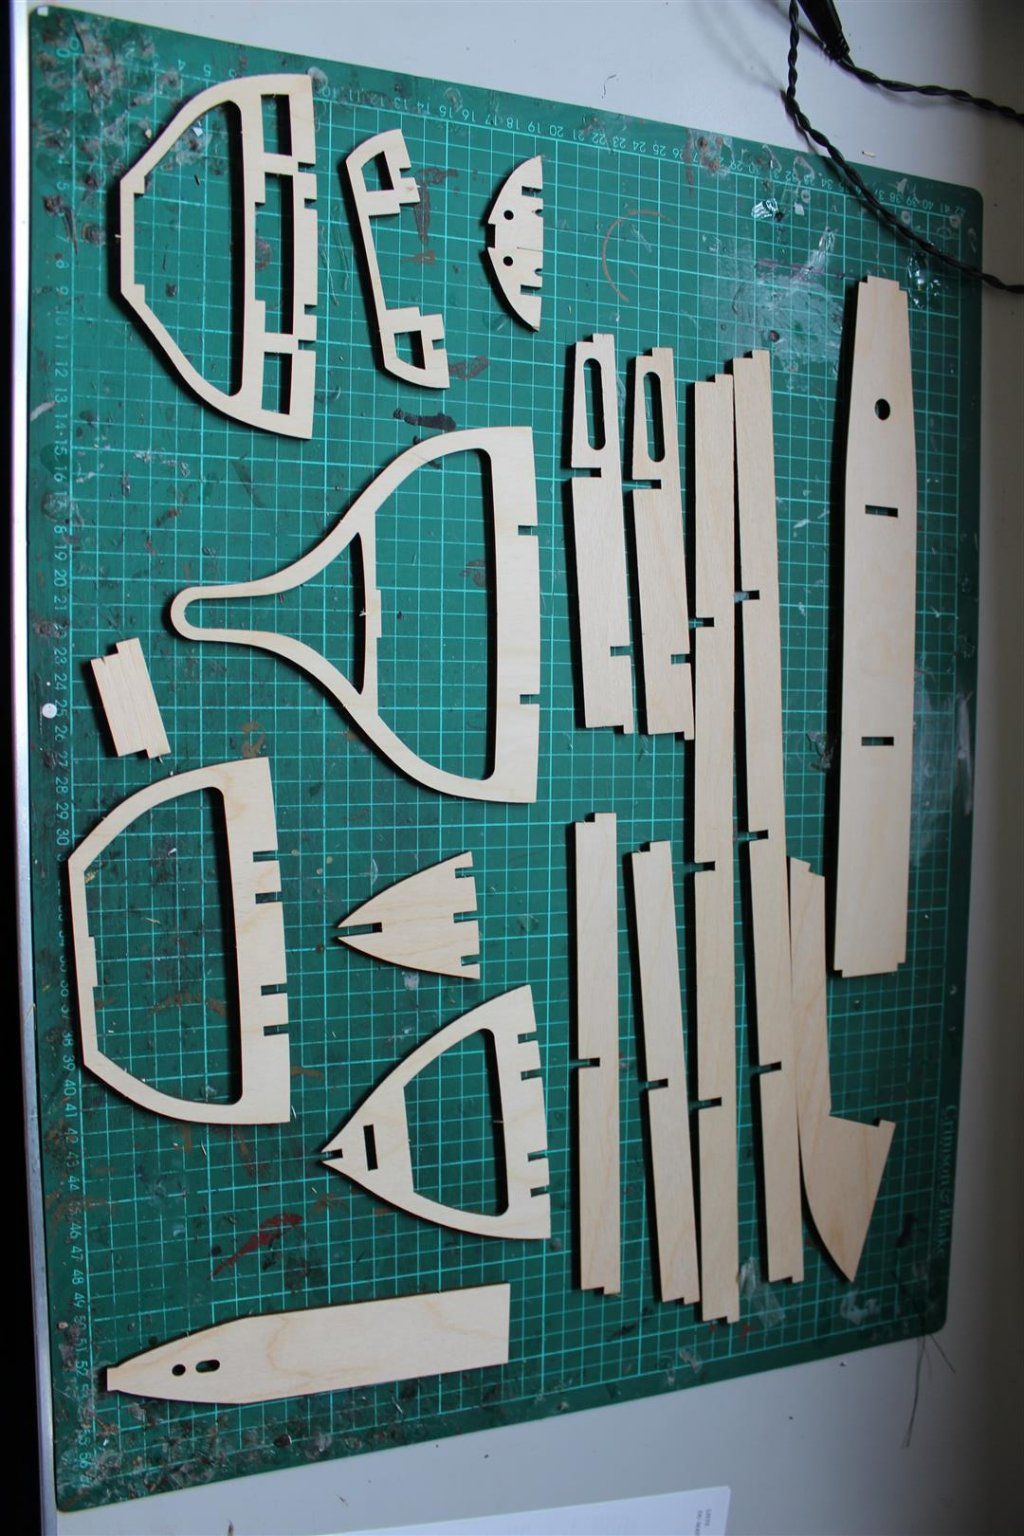
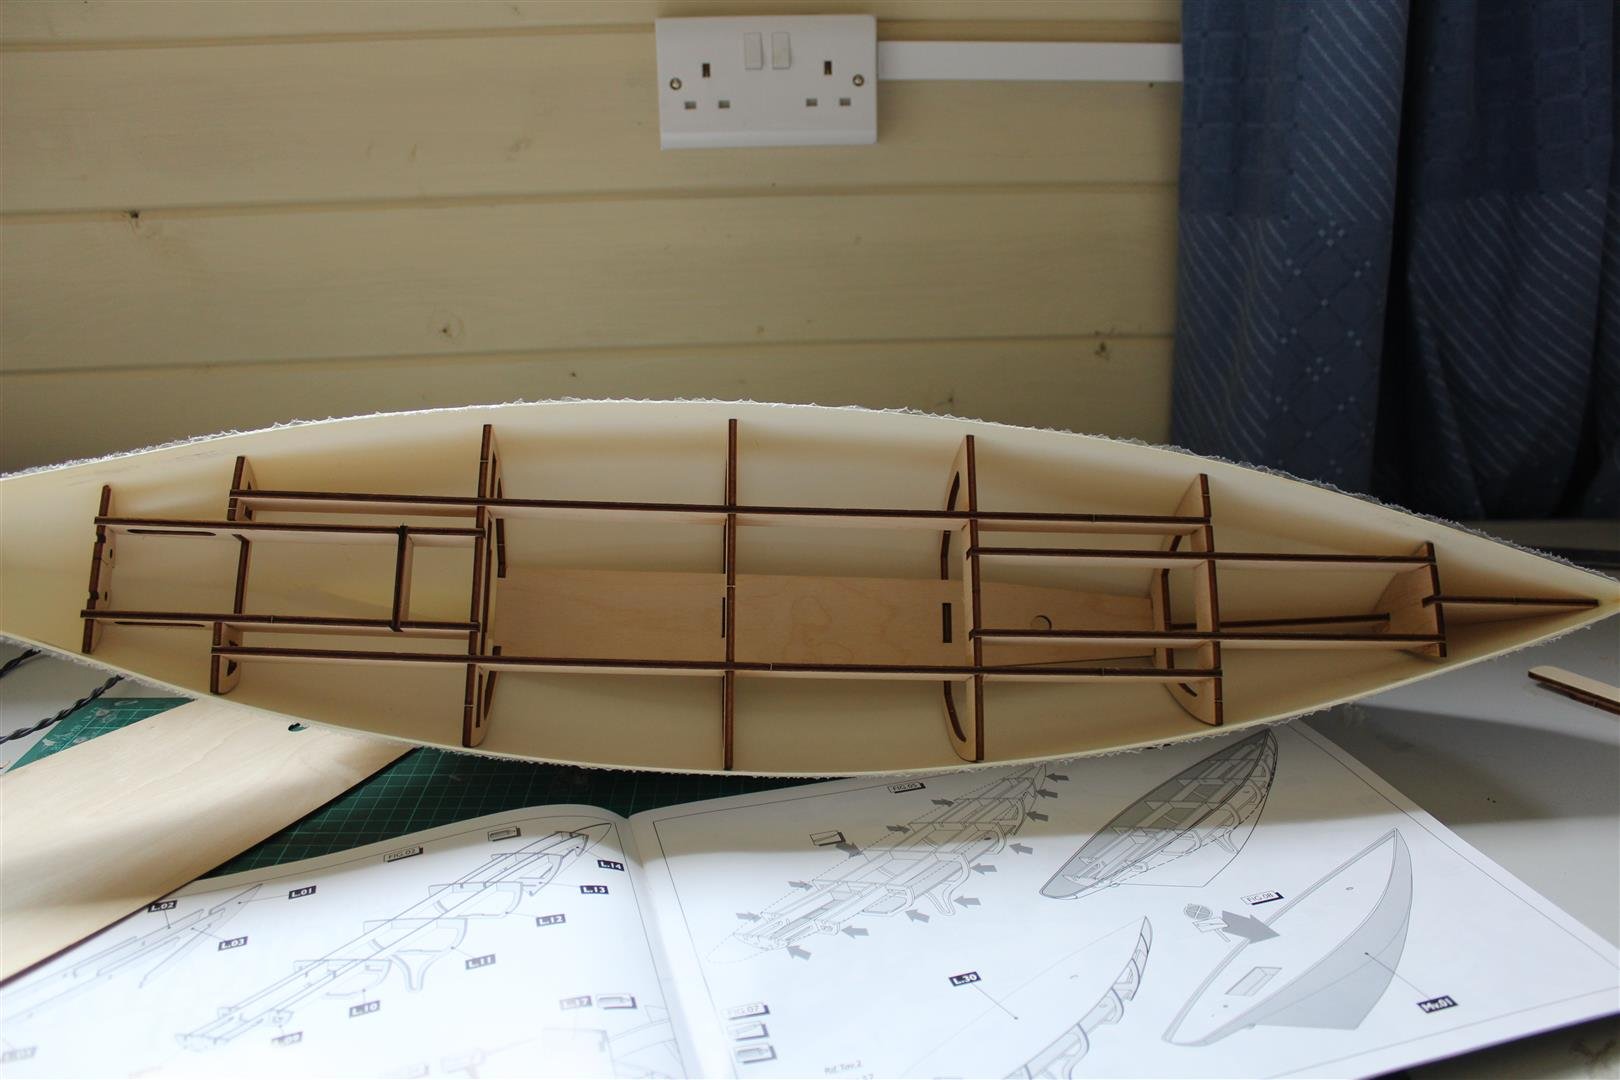
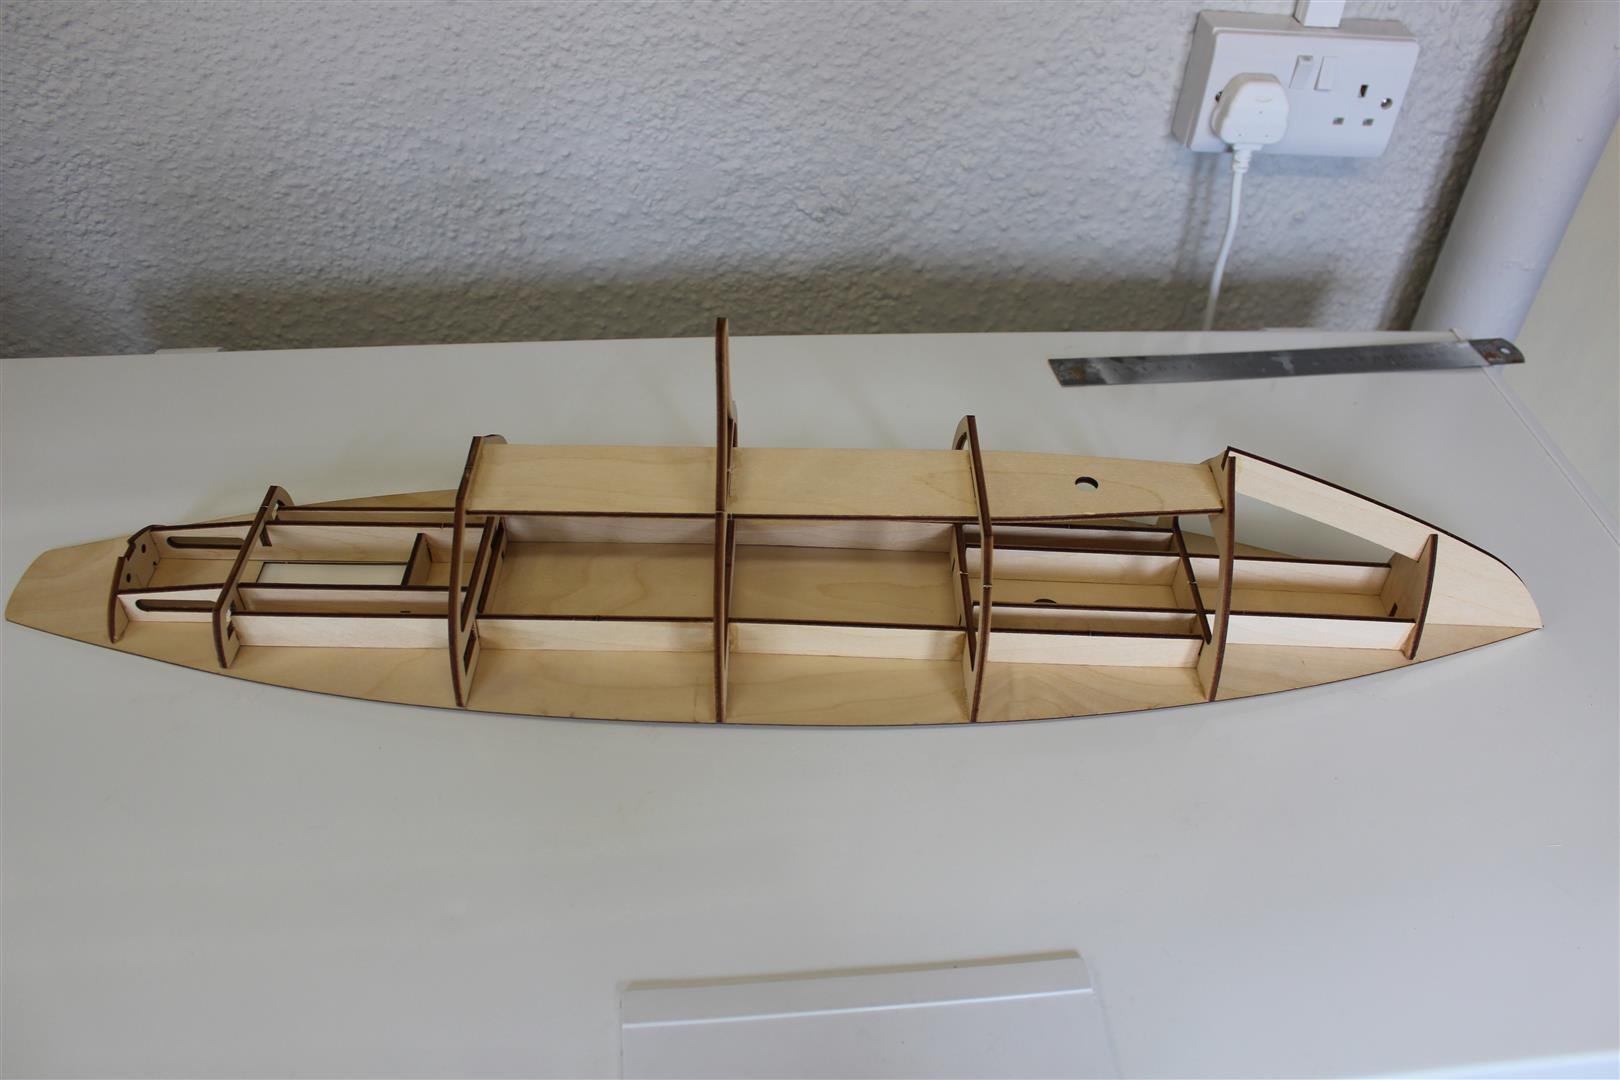
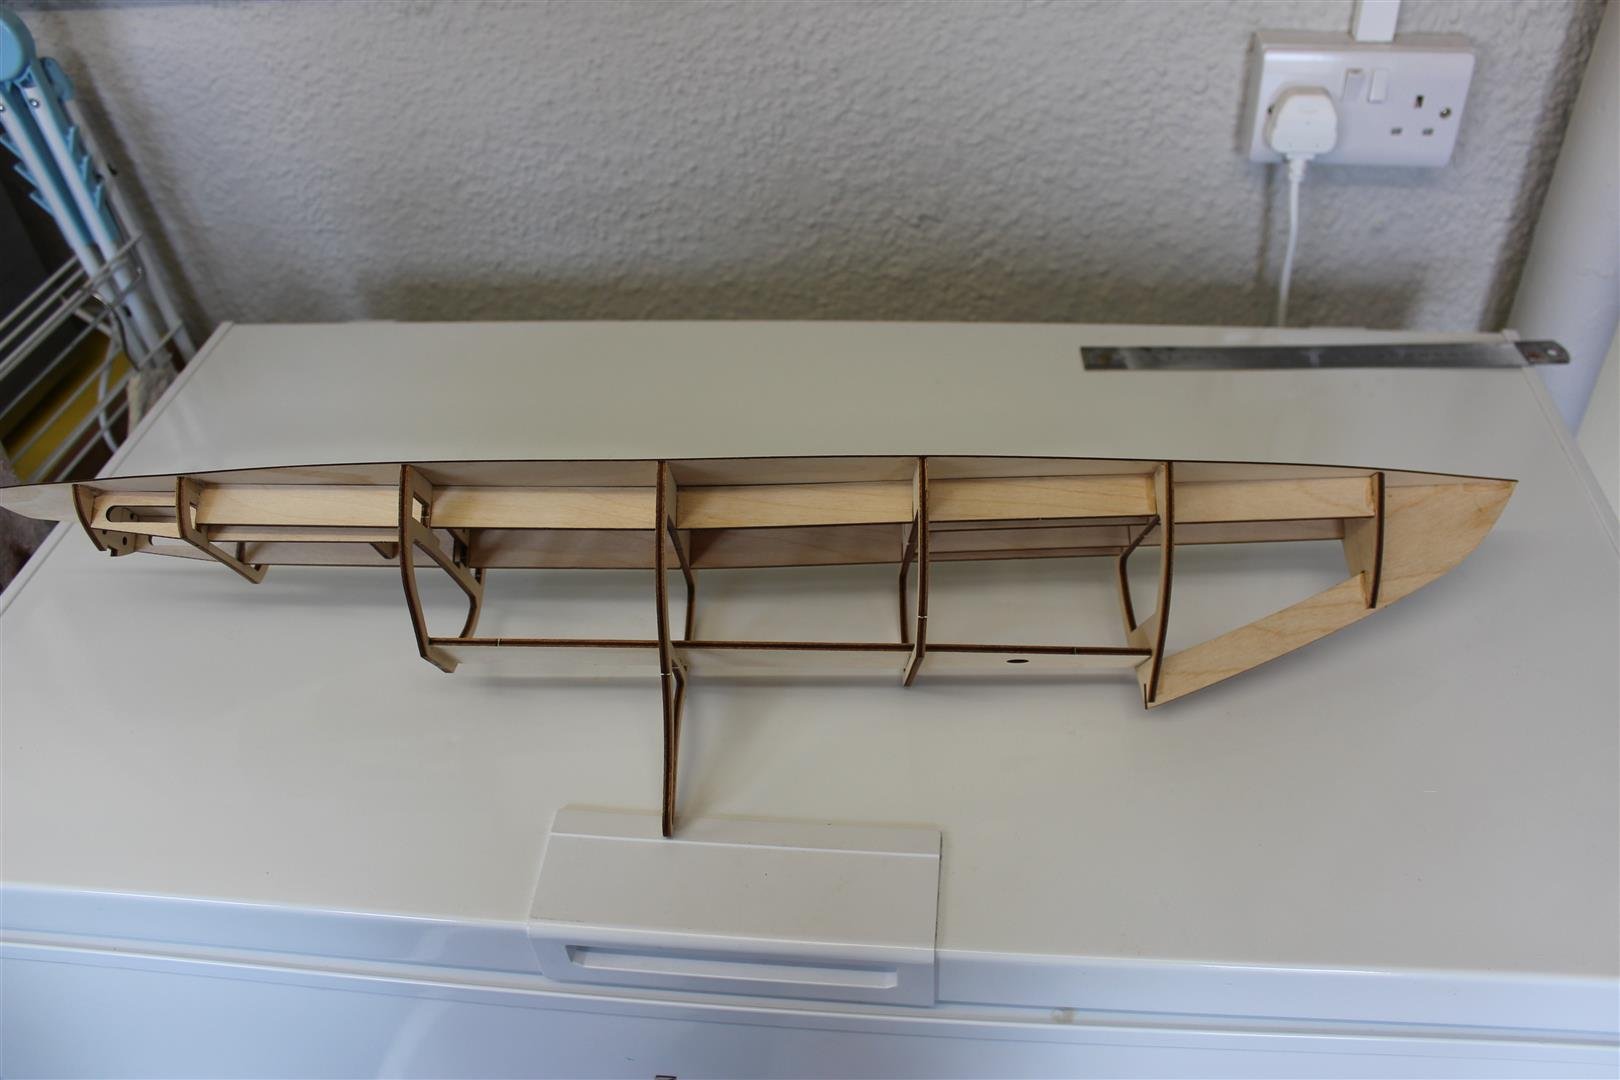
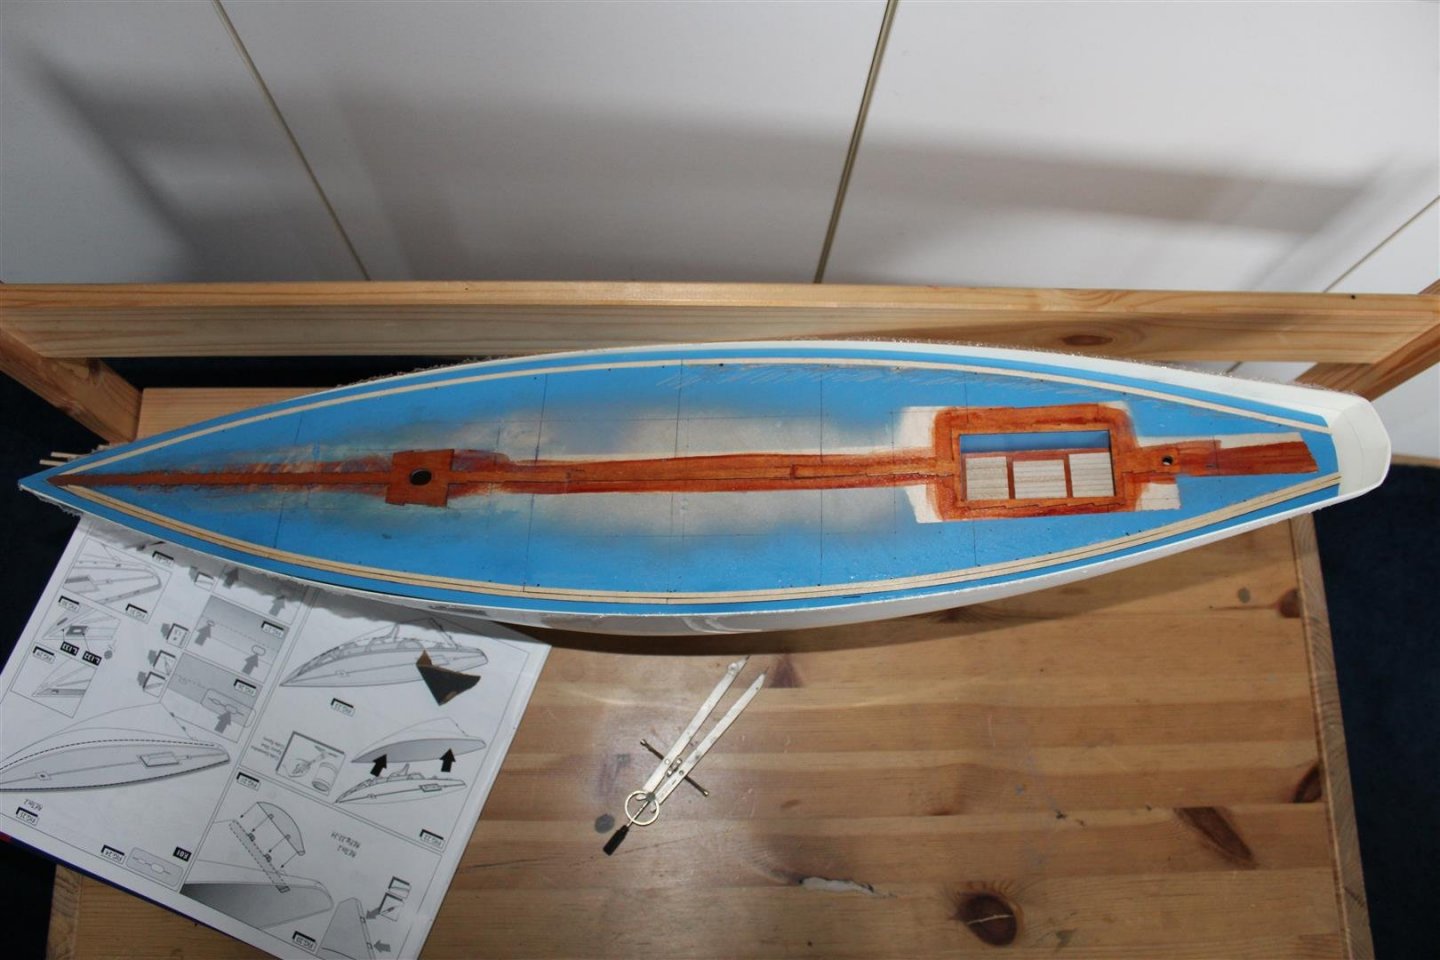
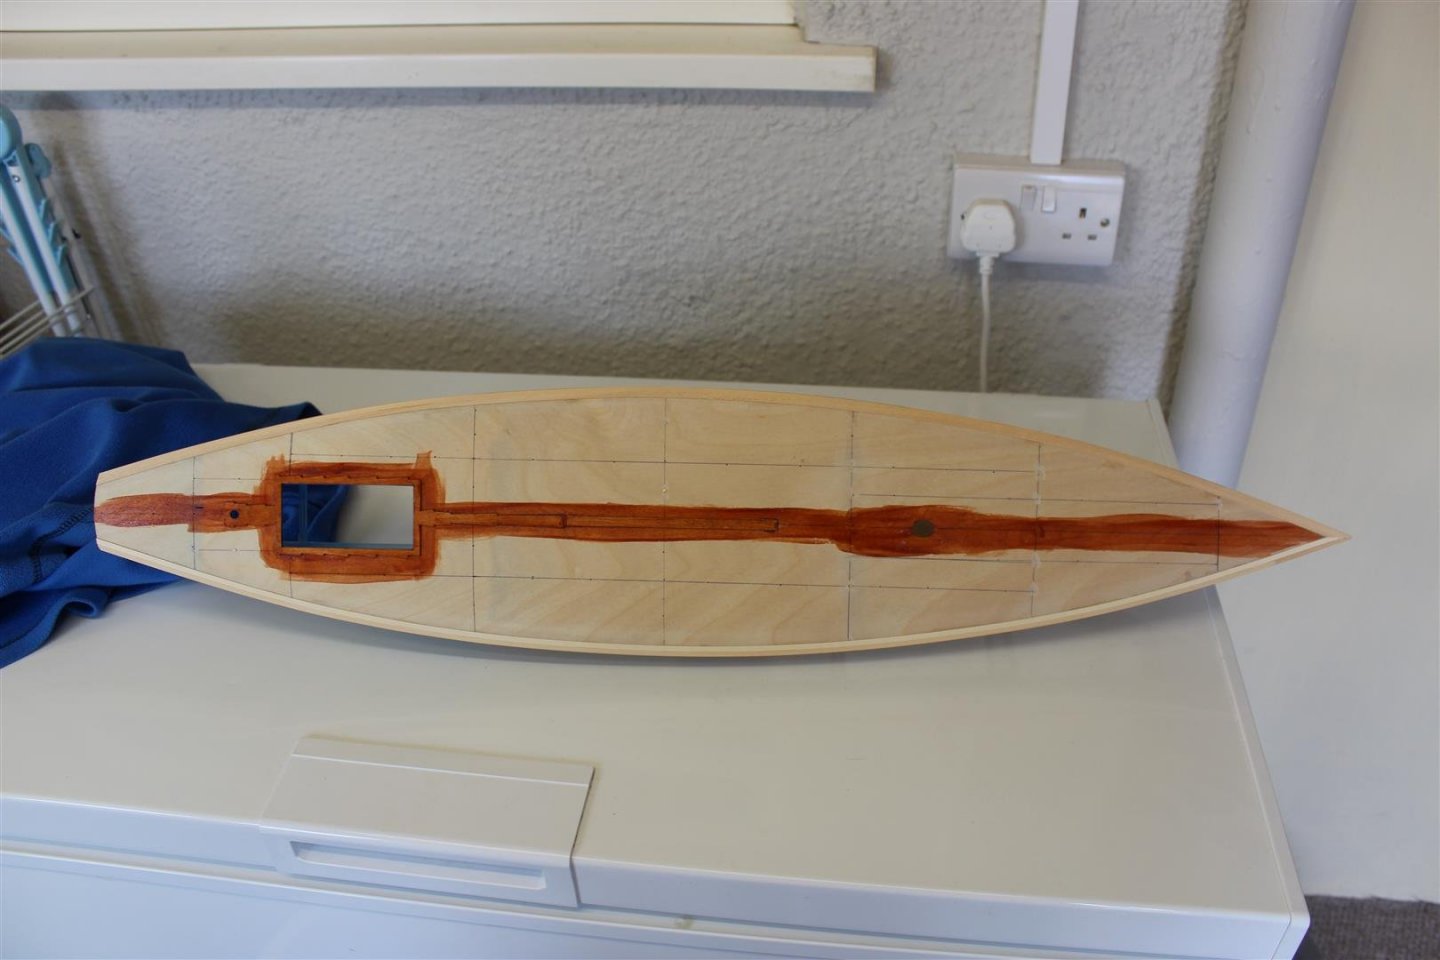
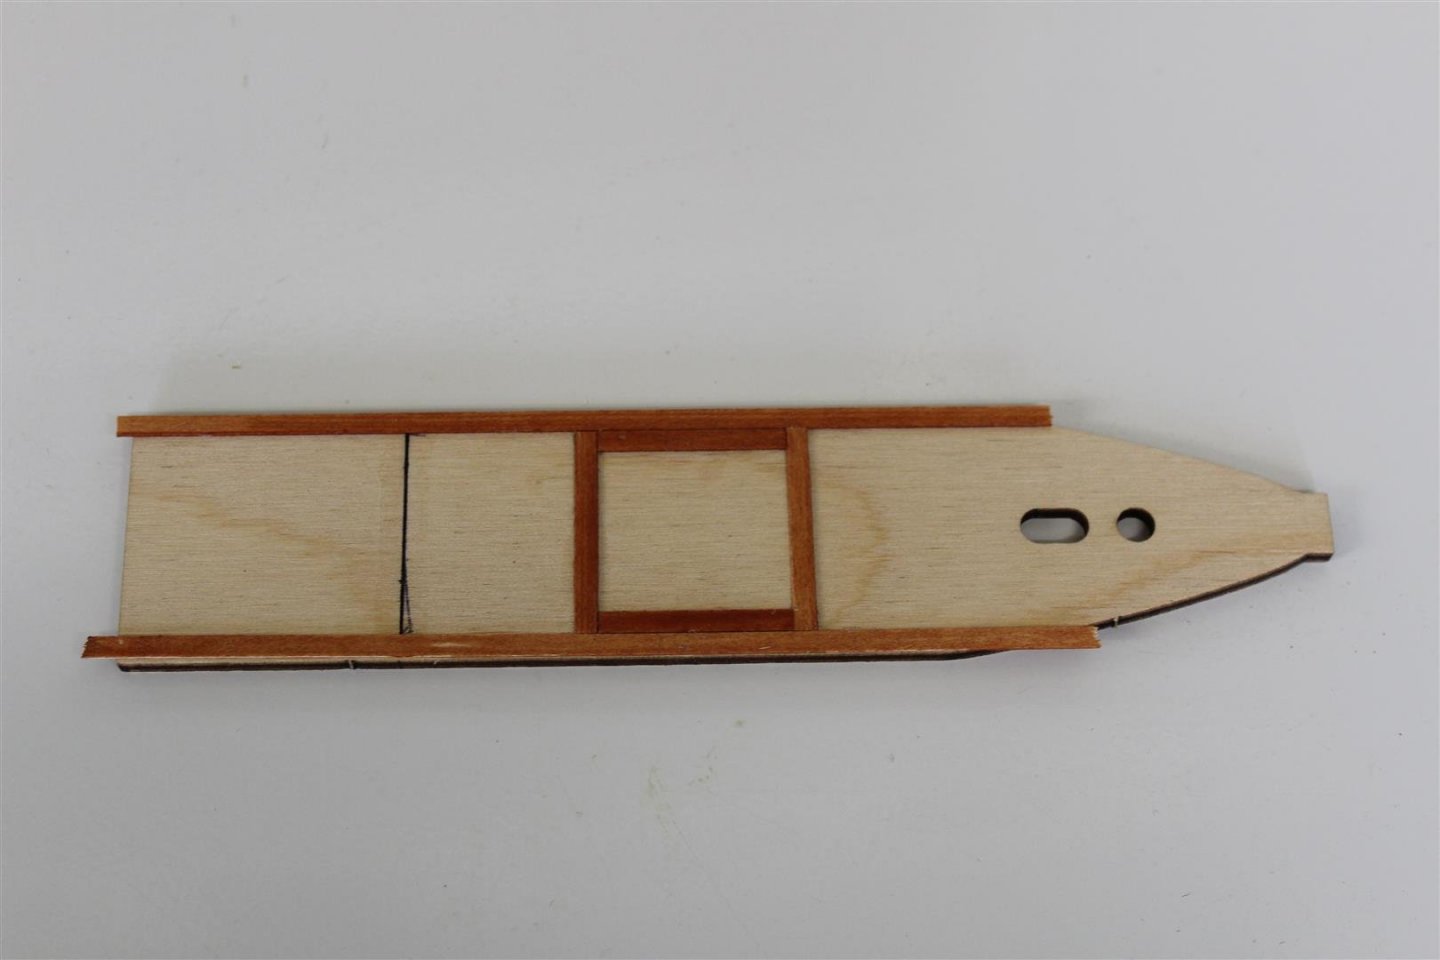
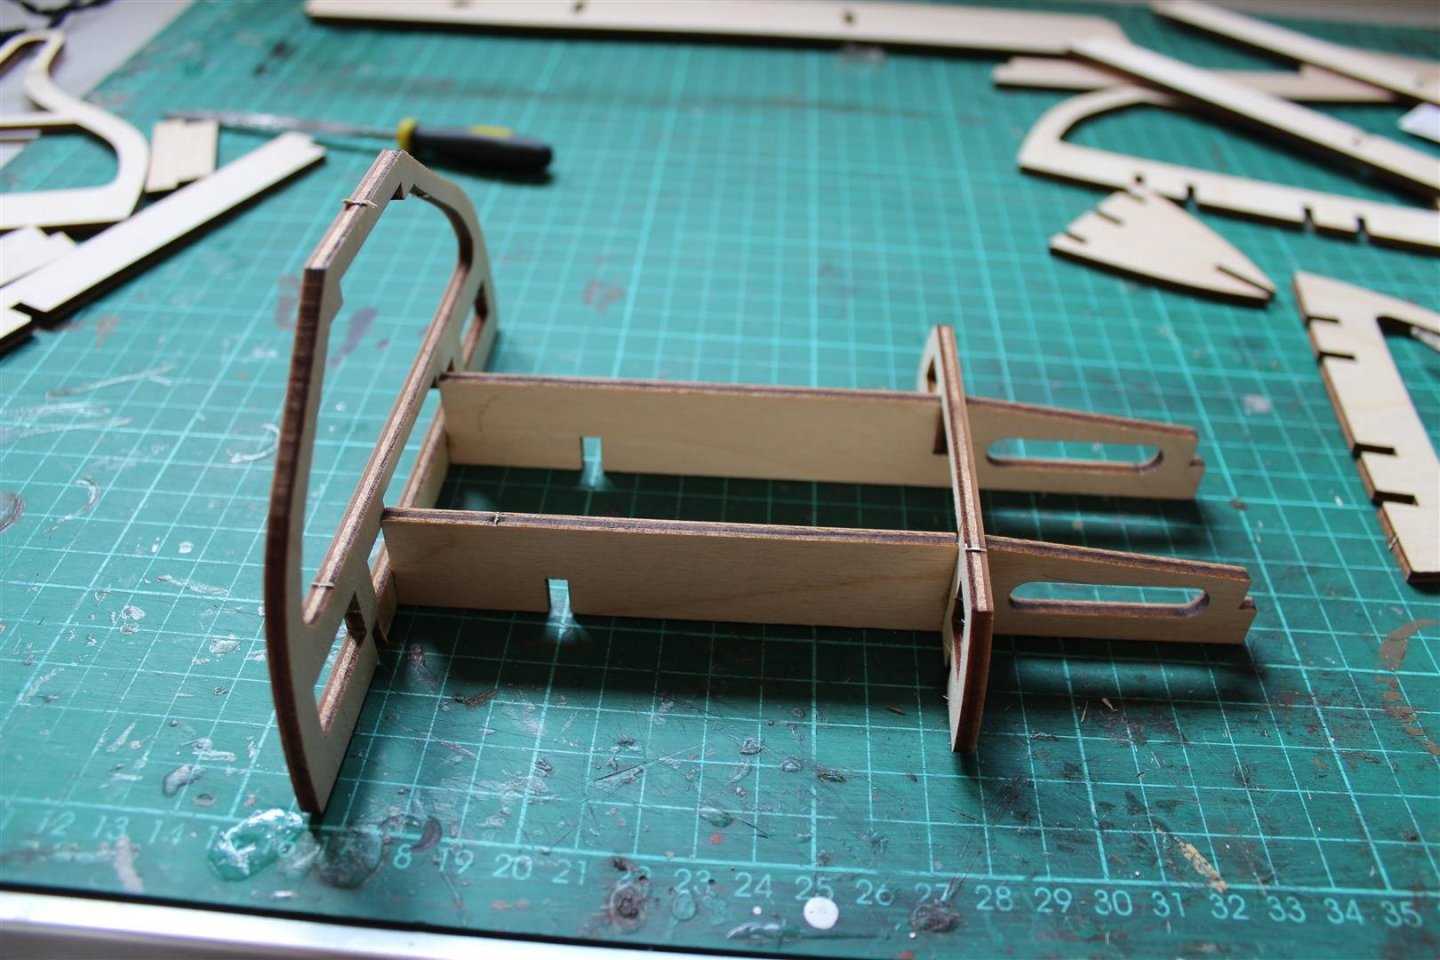
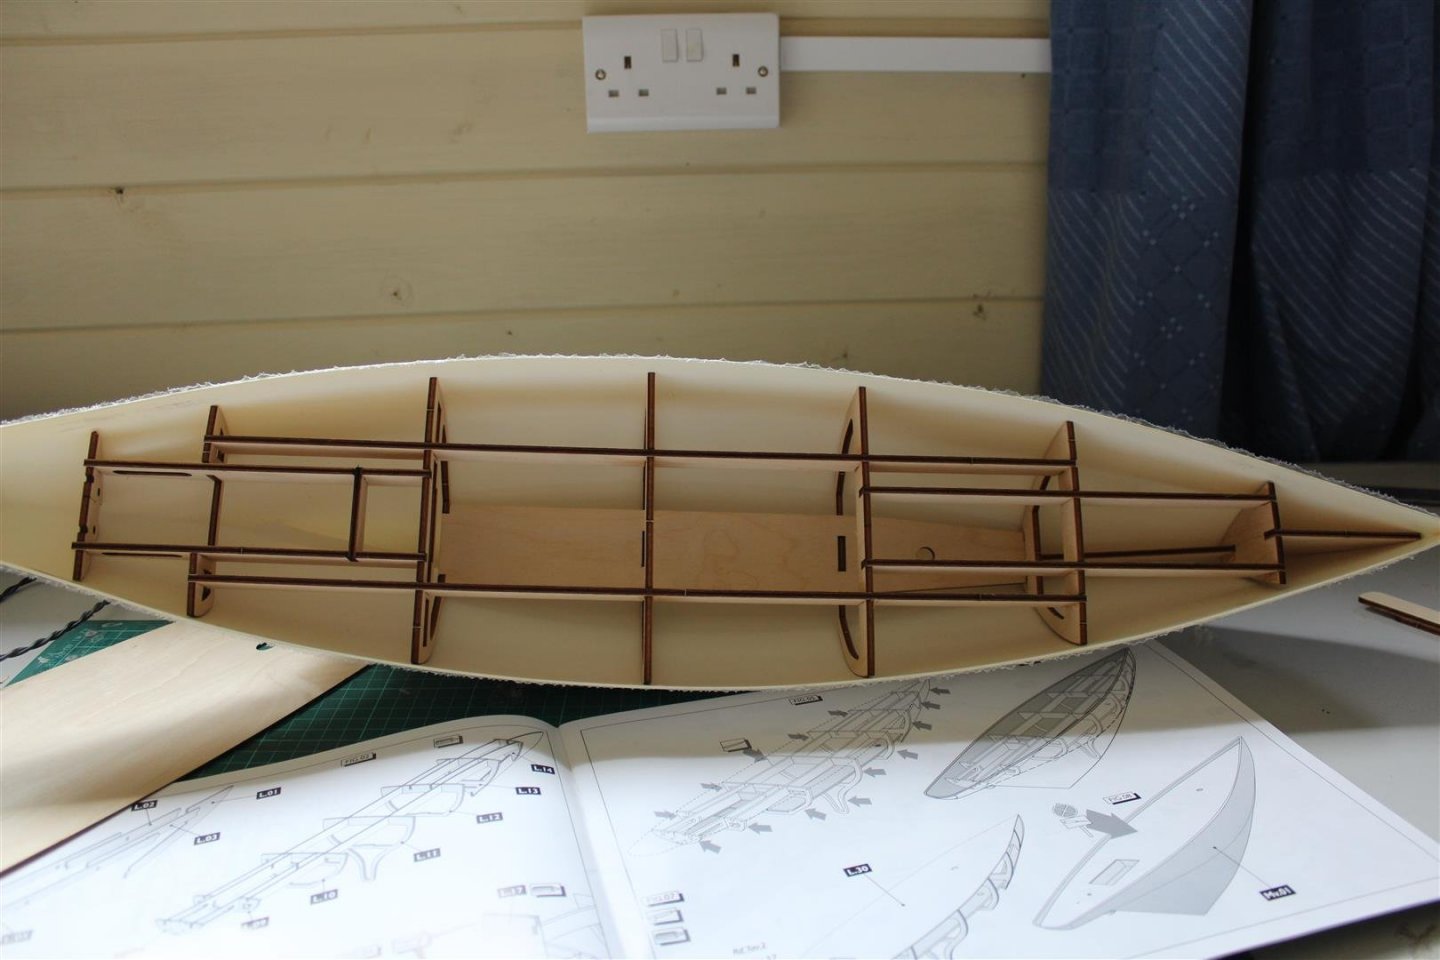
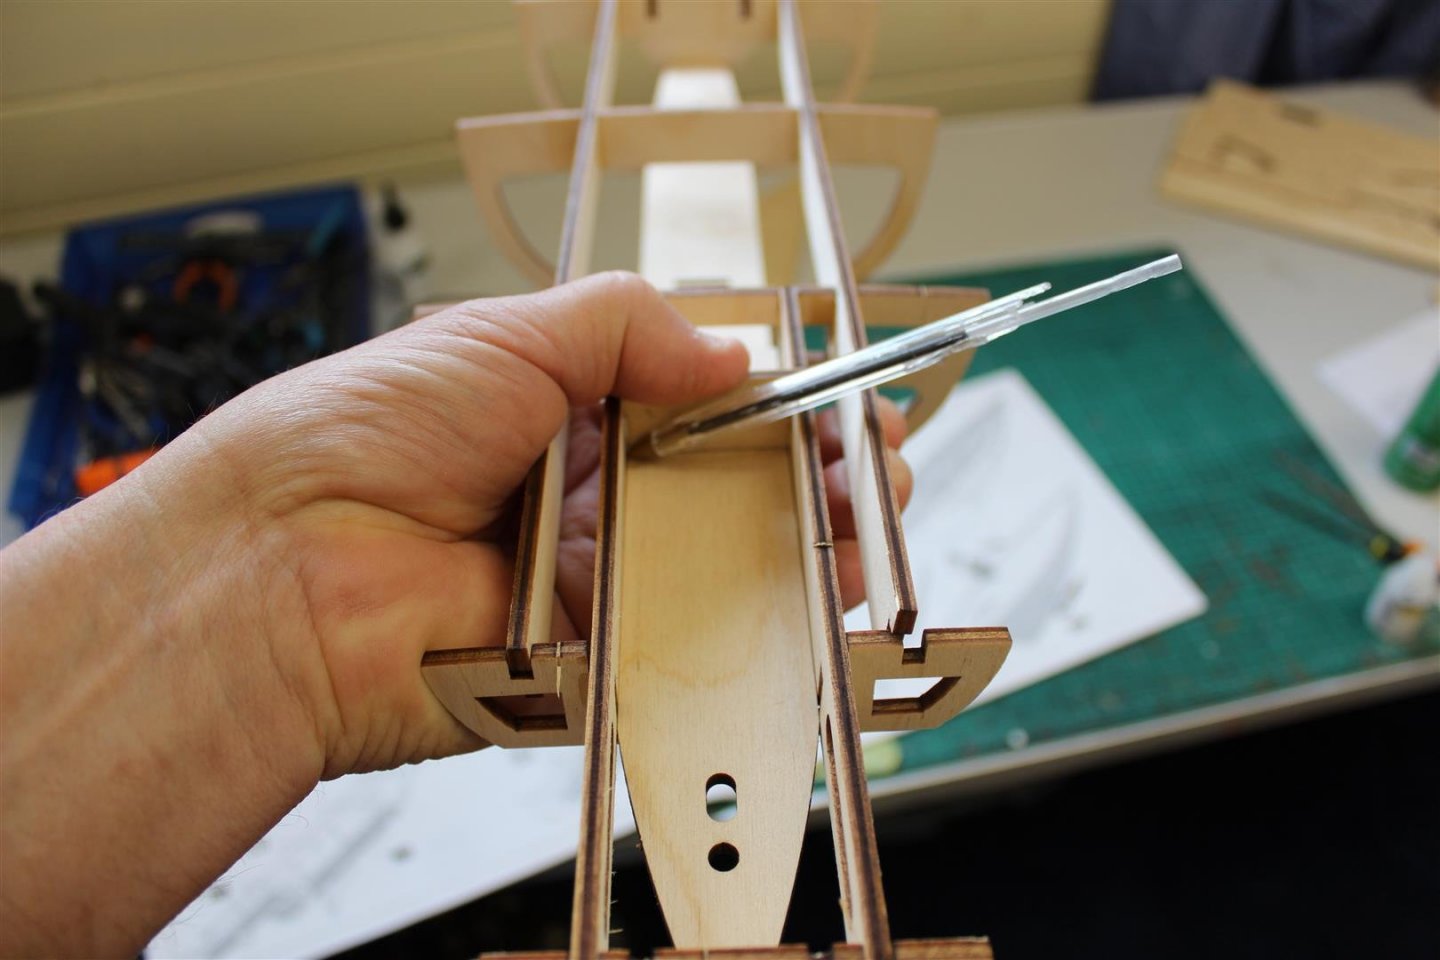
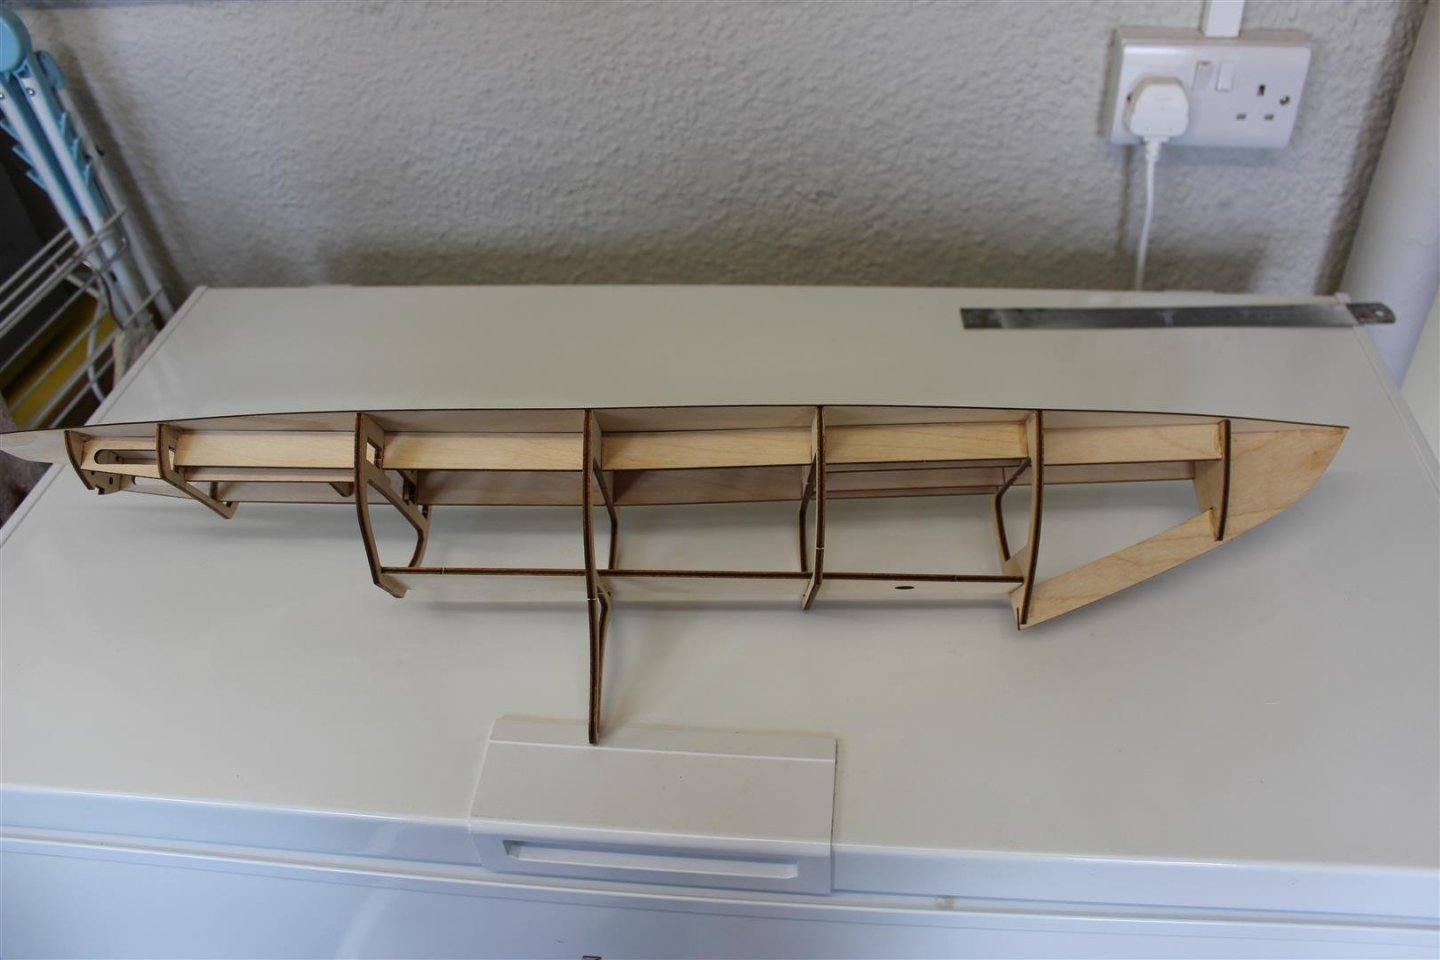
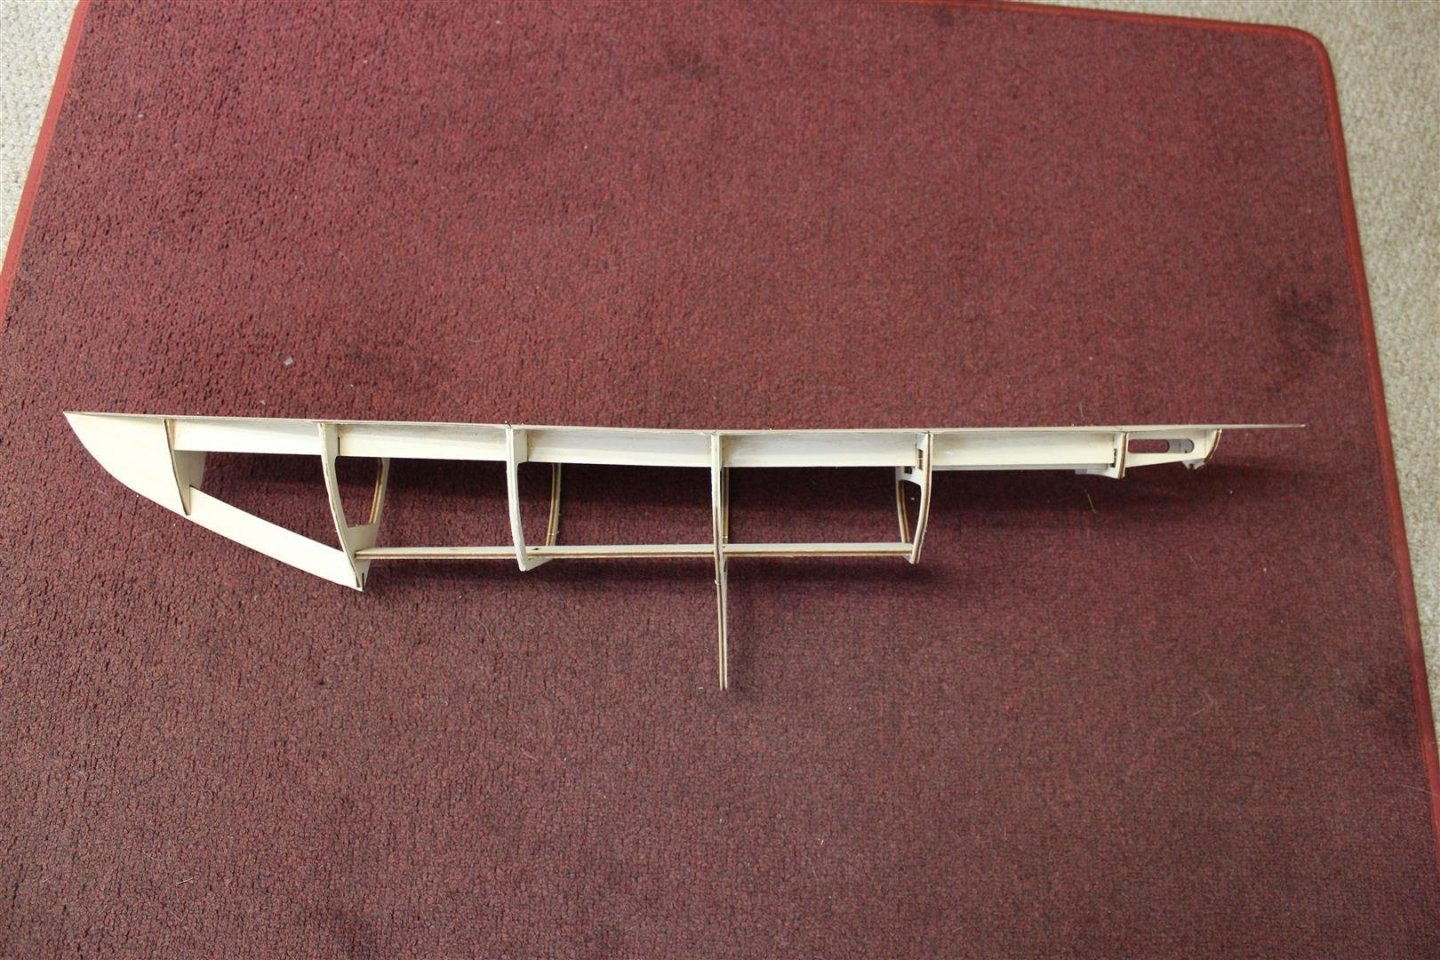
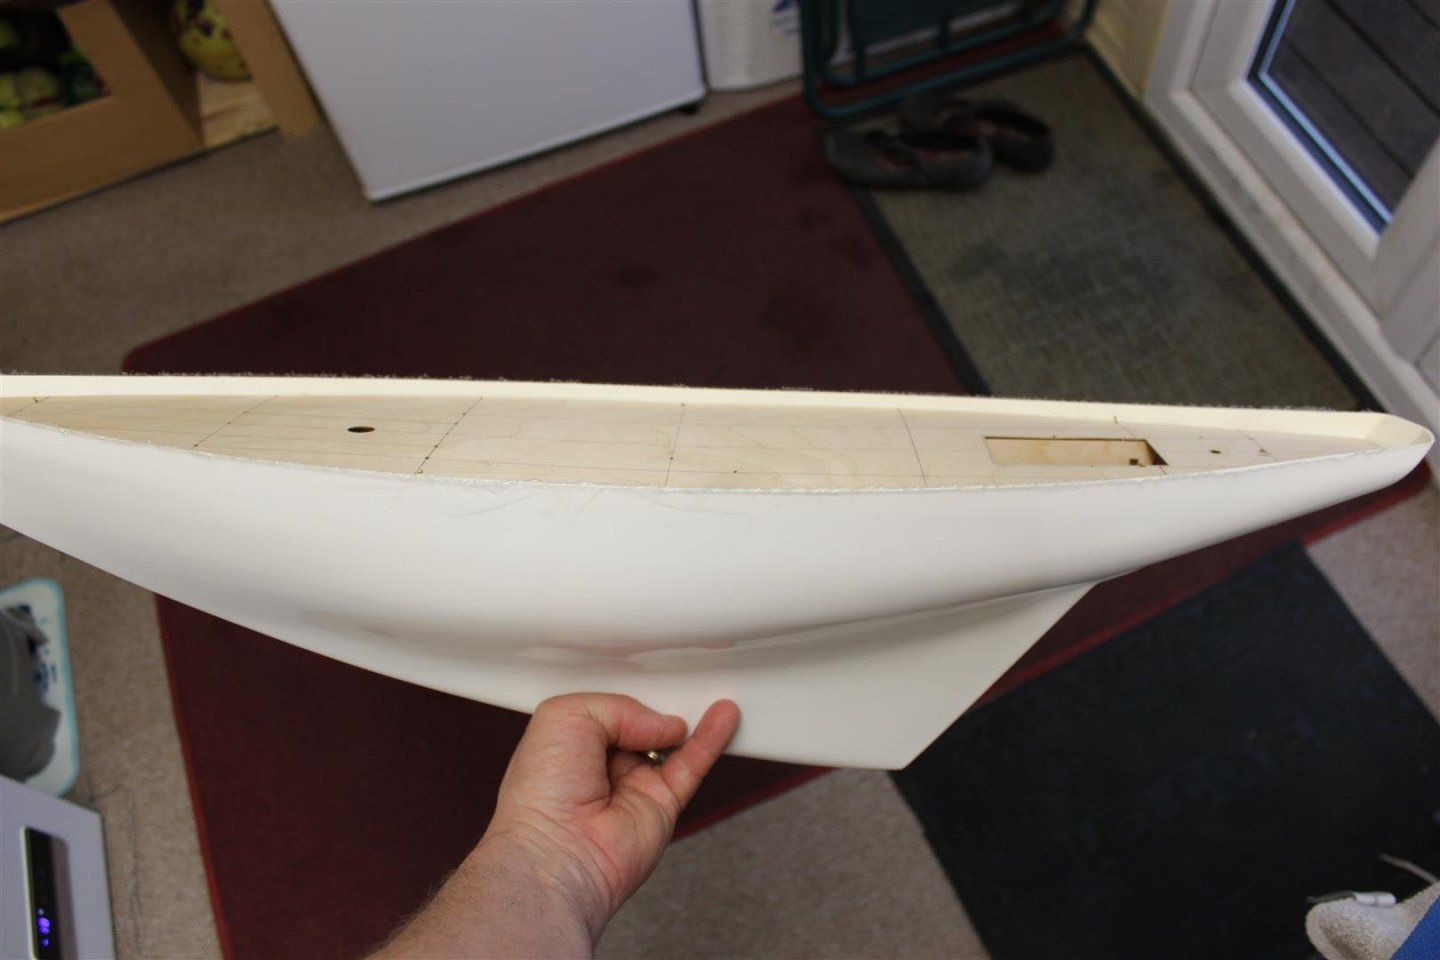
good morning everyone its is certainly a change to work on a project and see some of the work bench must admit is am pleased with this kit so far, the laser cut hull frames have gone together with no issues, i have read cases where this is not the case, Once the hull formers are made up the deck is fitted, i thought that this would then be fitted inside of the hull, but no, deck planking is fitted first, then the scuppers and other hull openings are made, before this is done after a few dry runs to ensure that the assembly drops into the hull the deck was fitted, this has been glued and pinned, i will remove the pins, or fille them down today so far this build is 10 out of 10


- 127 replies
-
- 12
-
-
welcome, Popcorn is available over there in the corner, just behind all my unfinished builds
-
Welcome to my latest Build This was presented to me by MSW a few months ago as a retirement present, for which i am extremely grateful, this actual kit was kit reviewed by @James H so i have put the link in, i hope to do the kit justice, and of course i will do things different, as i make her my own, im already thinking of a royal blue hull
- 127 replies
-
- 12
-
-
thank you for the comments, next build is already on the table, after i stayed up for hours cleaning up and finding bits lost that had to be scratched lol i will try and get her outside today again for some better photo
- 337 replies
-
- 4
-
-
- finished
- mountfleet models
- (and 1 more)
-
Thank you Yves this was a retirement present from Model Ship World, for which i am extremely grateful, i hope to have a build log up and running tomorrow
- 337 replies
-
- 10
-
-
- finished
- mountfleet models
- (and 1 more)
-
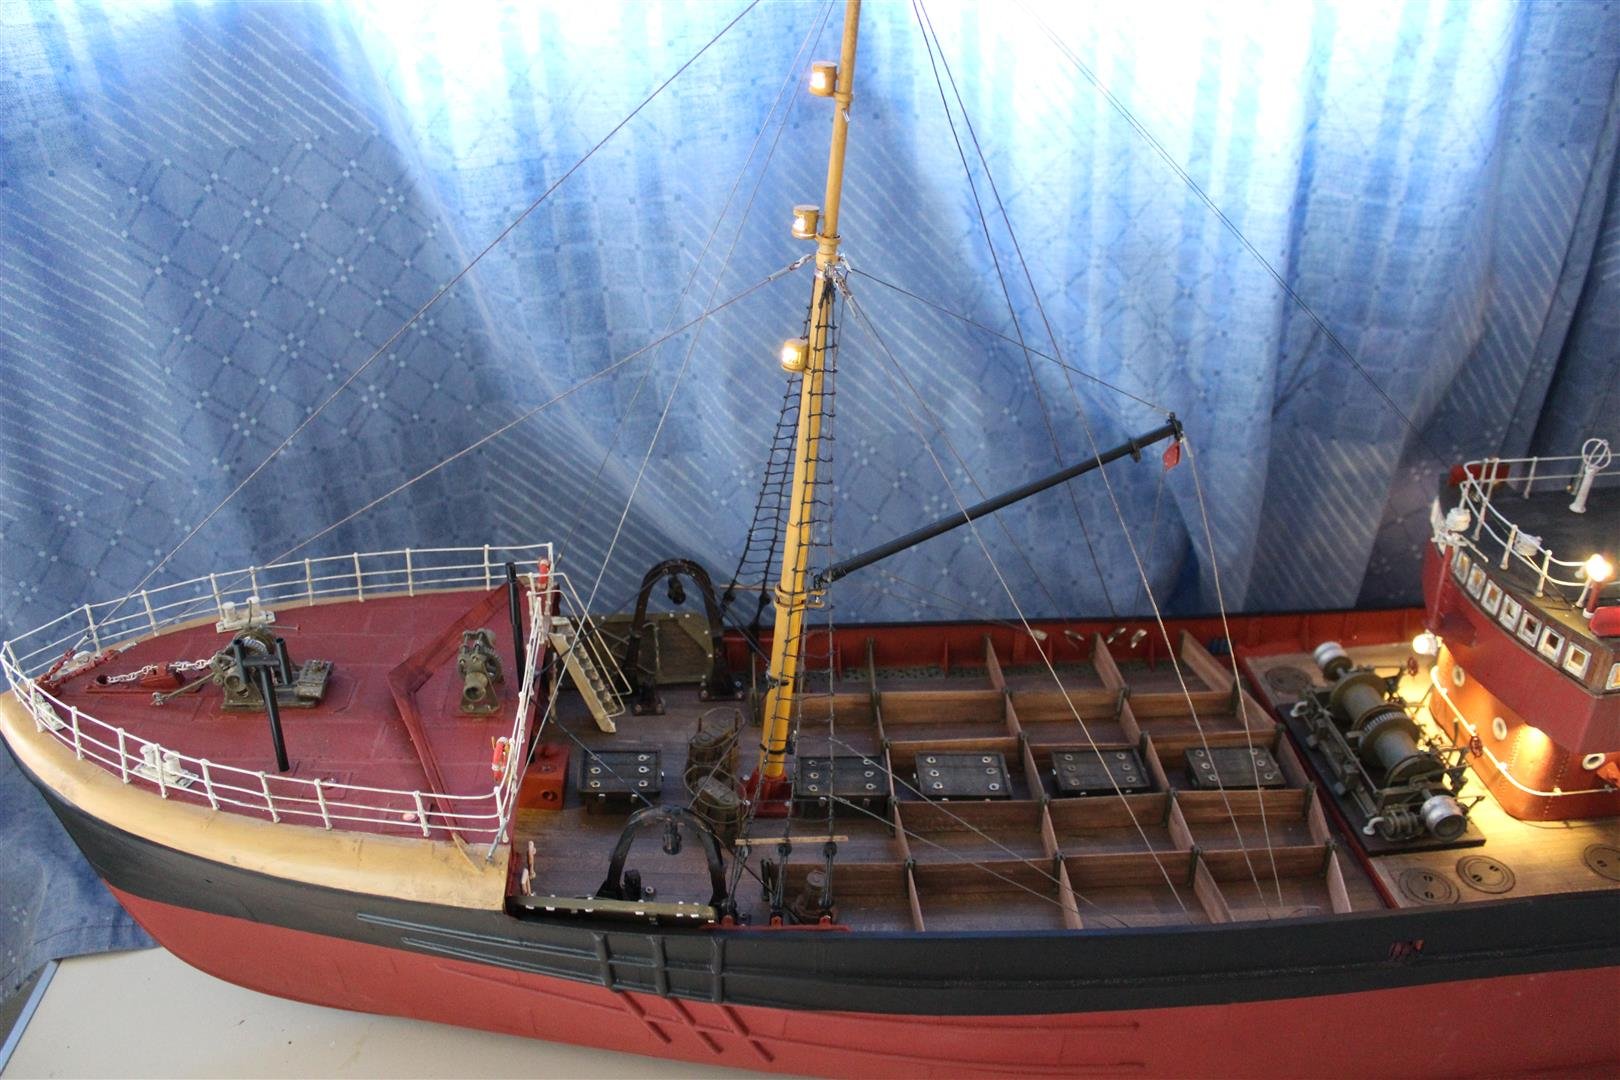
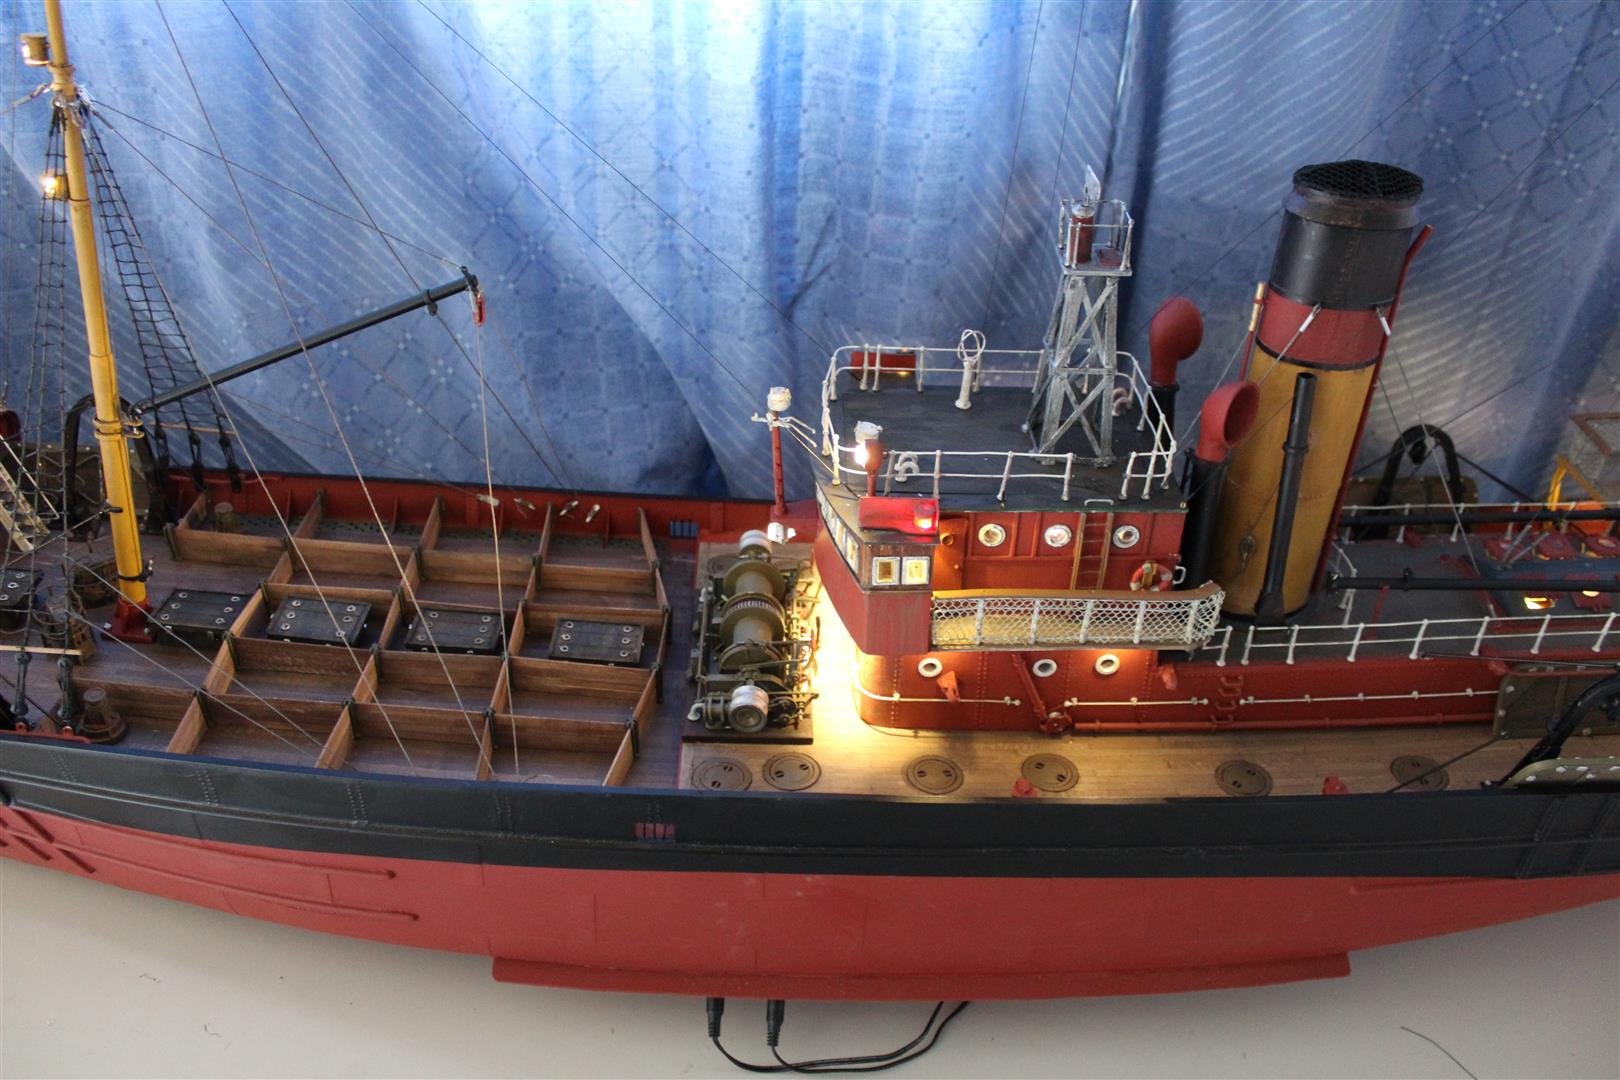
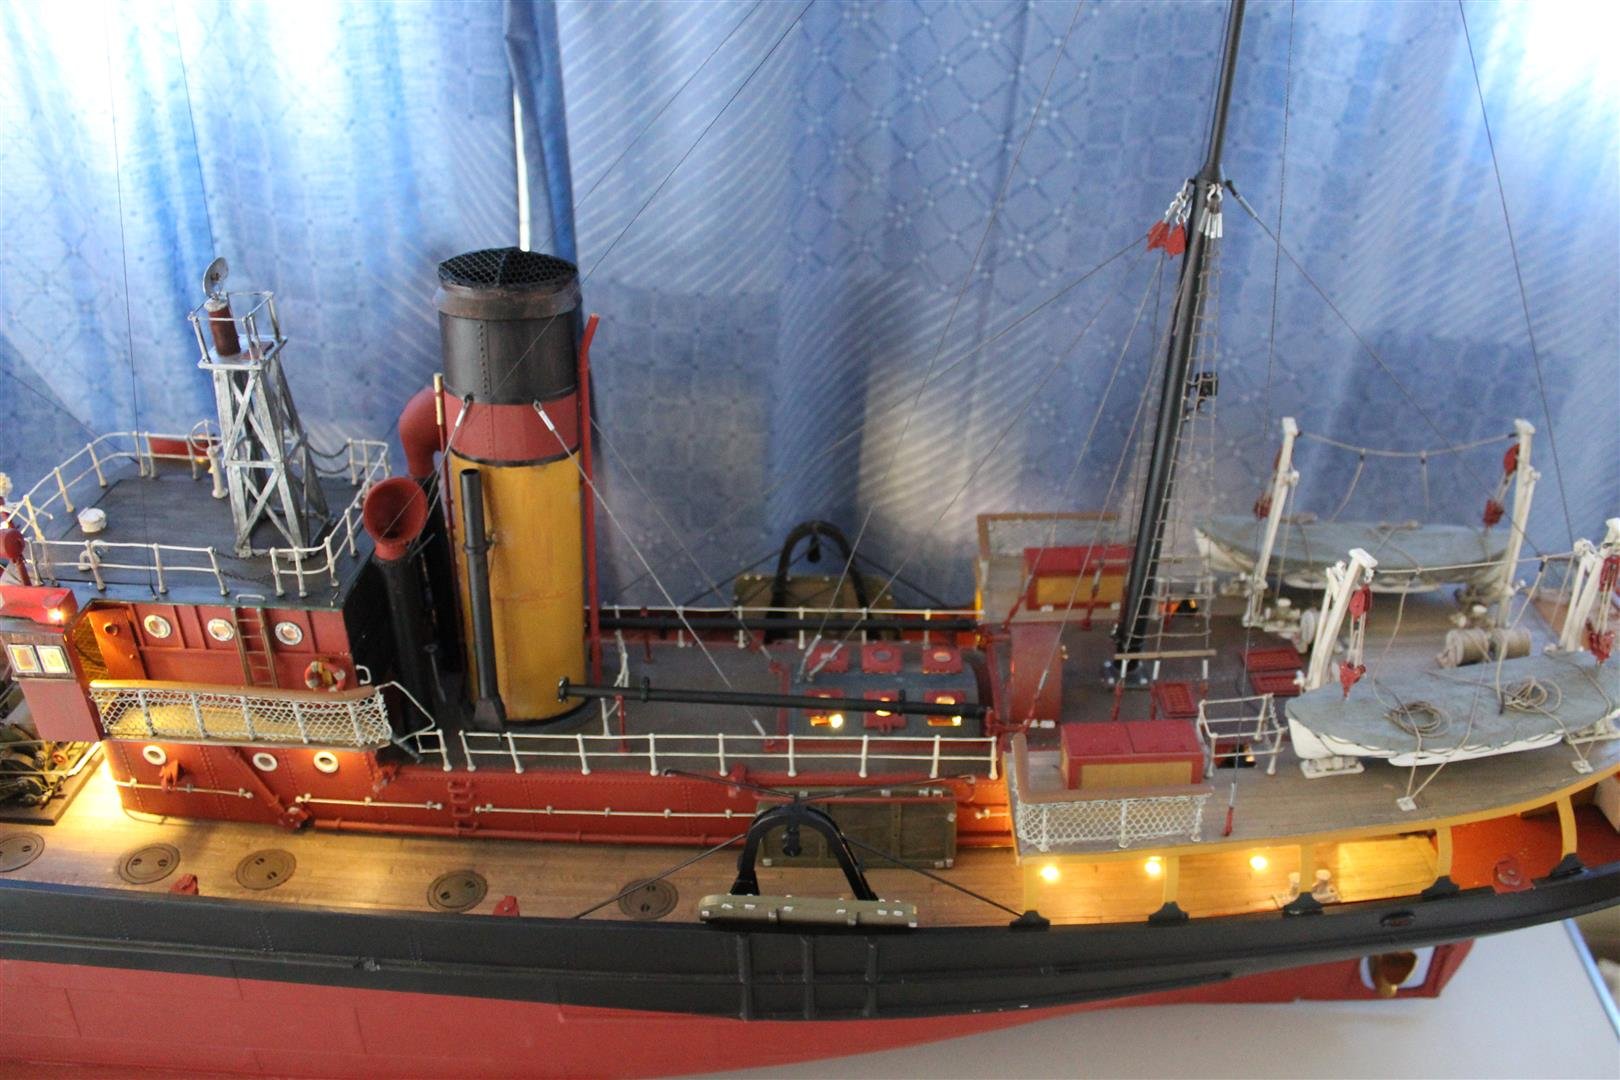
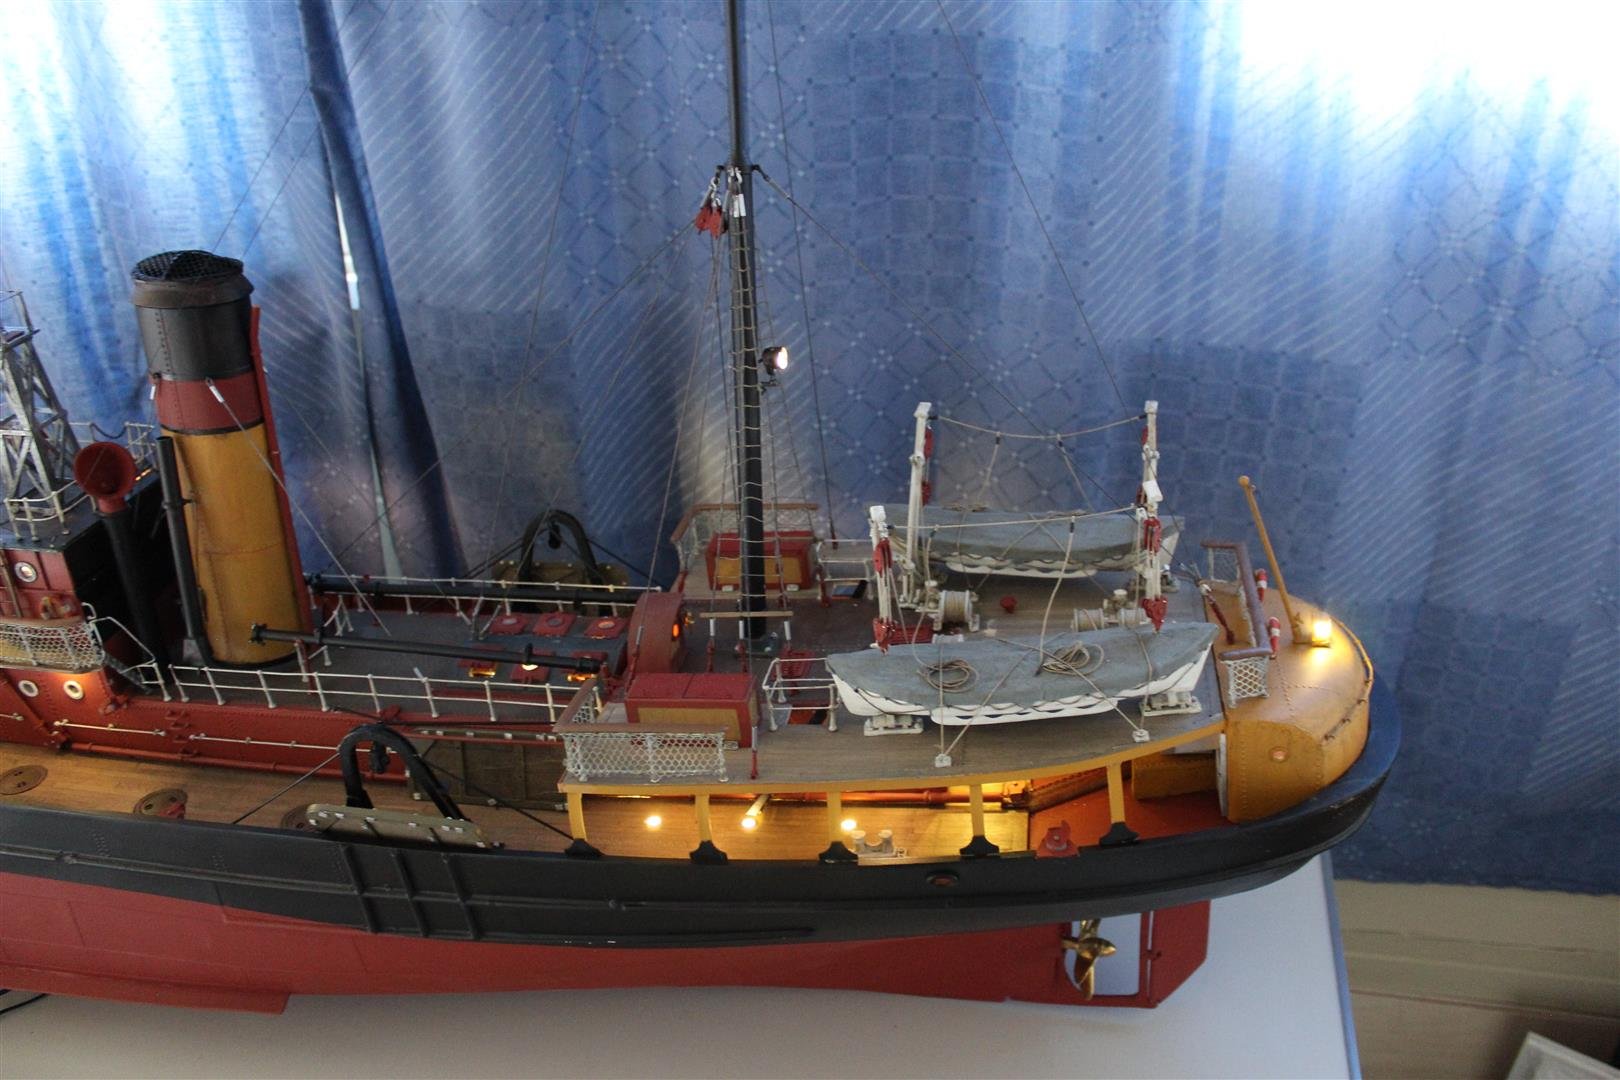
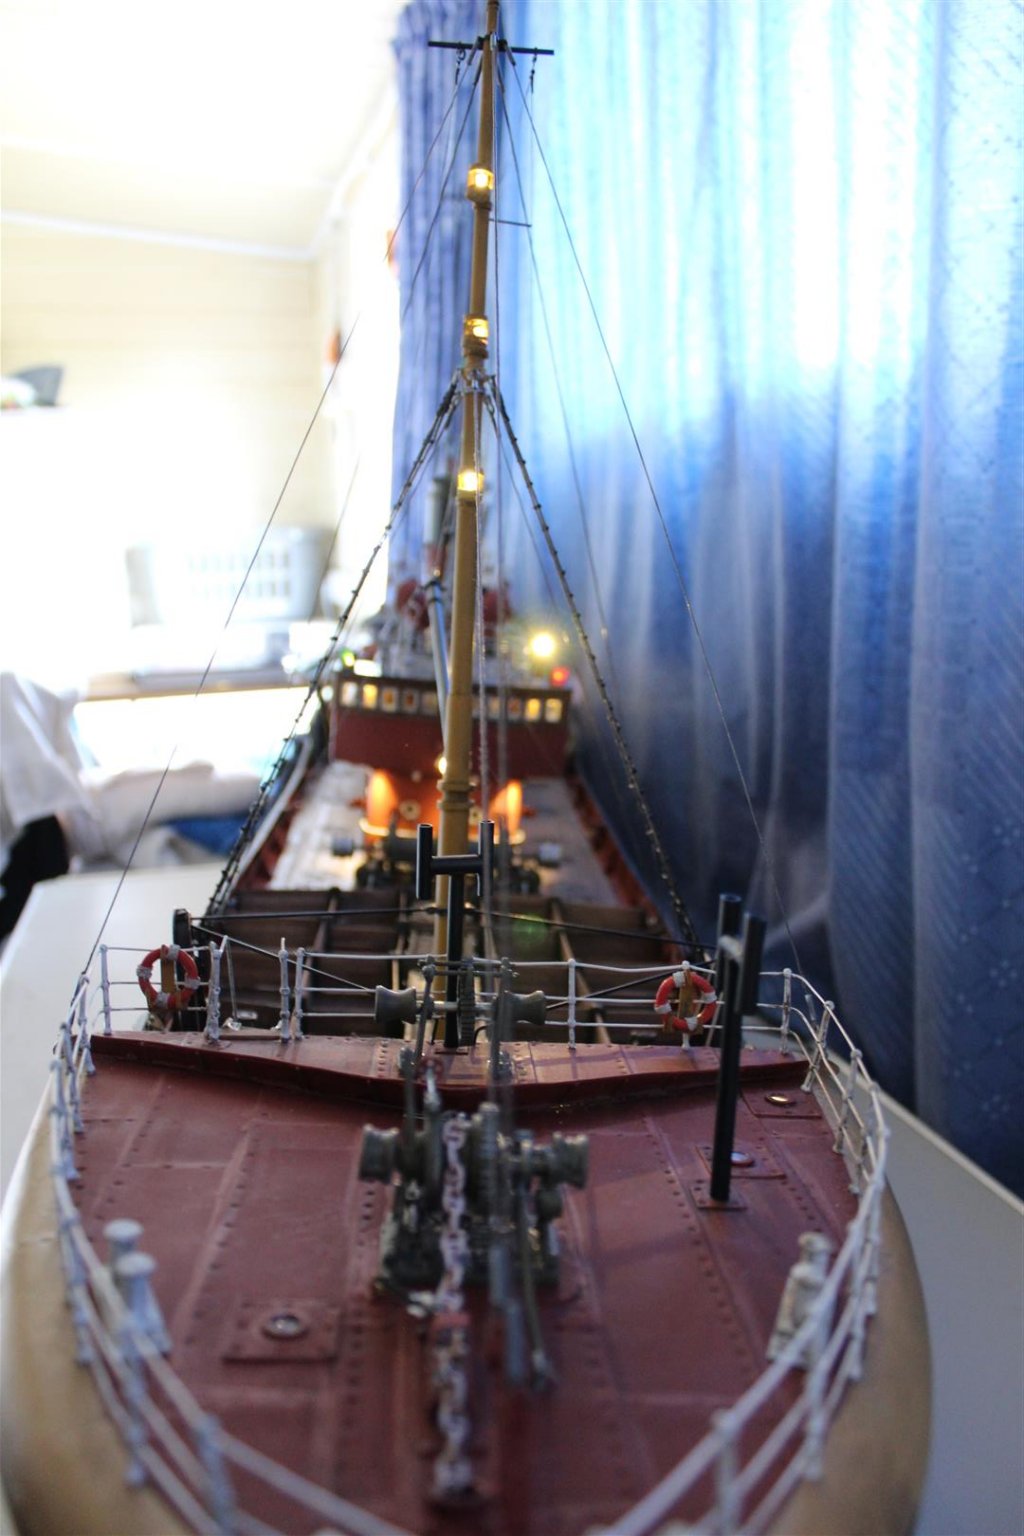
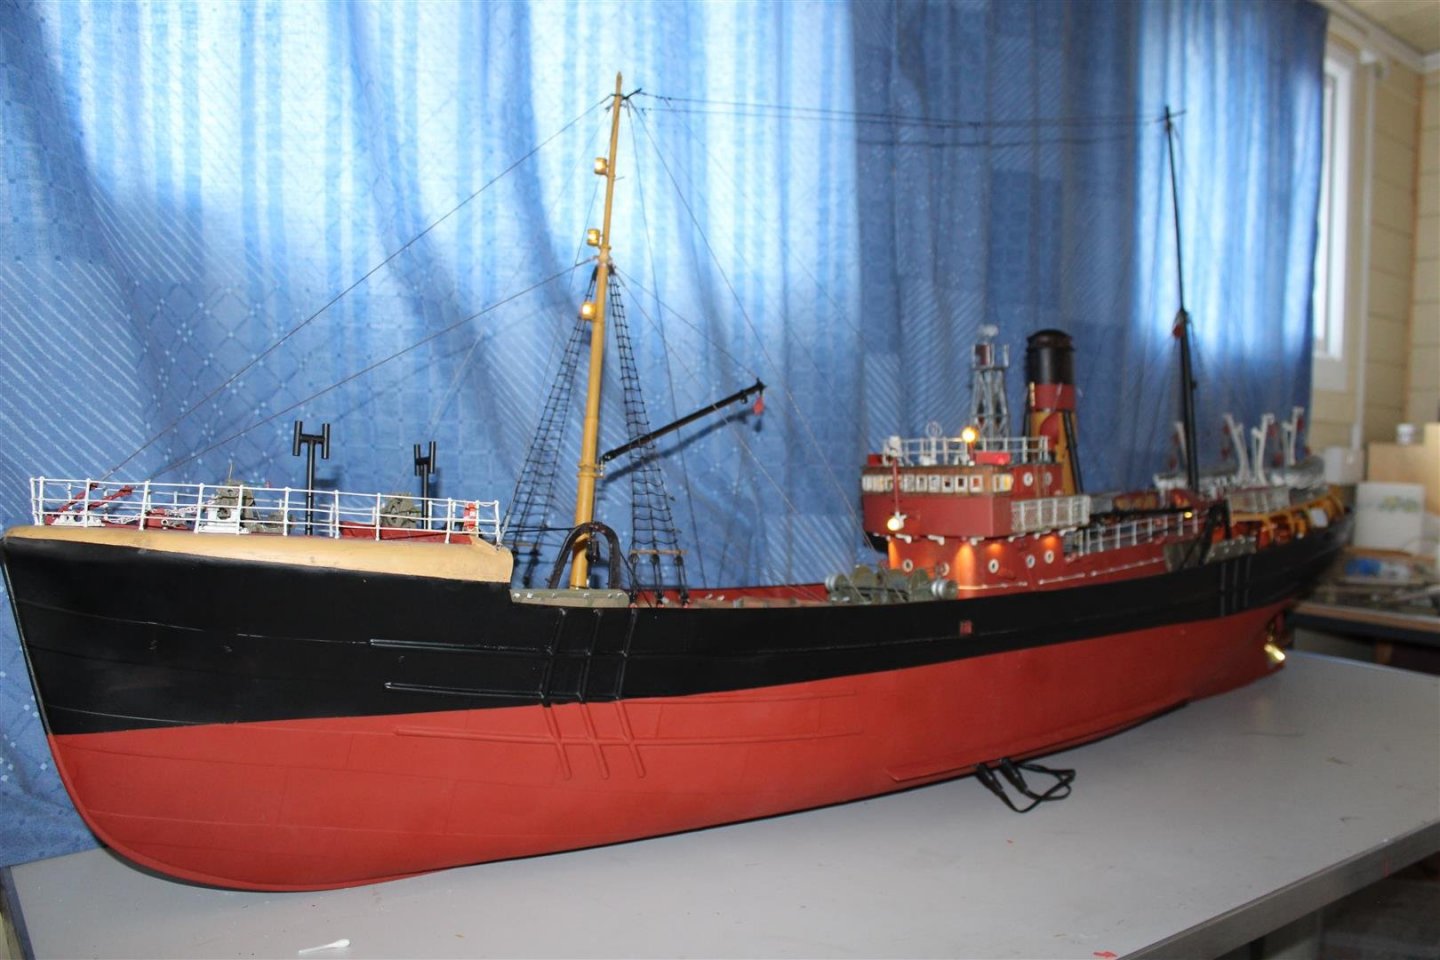
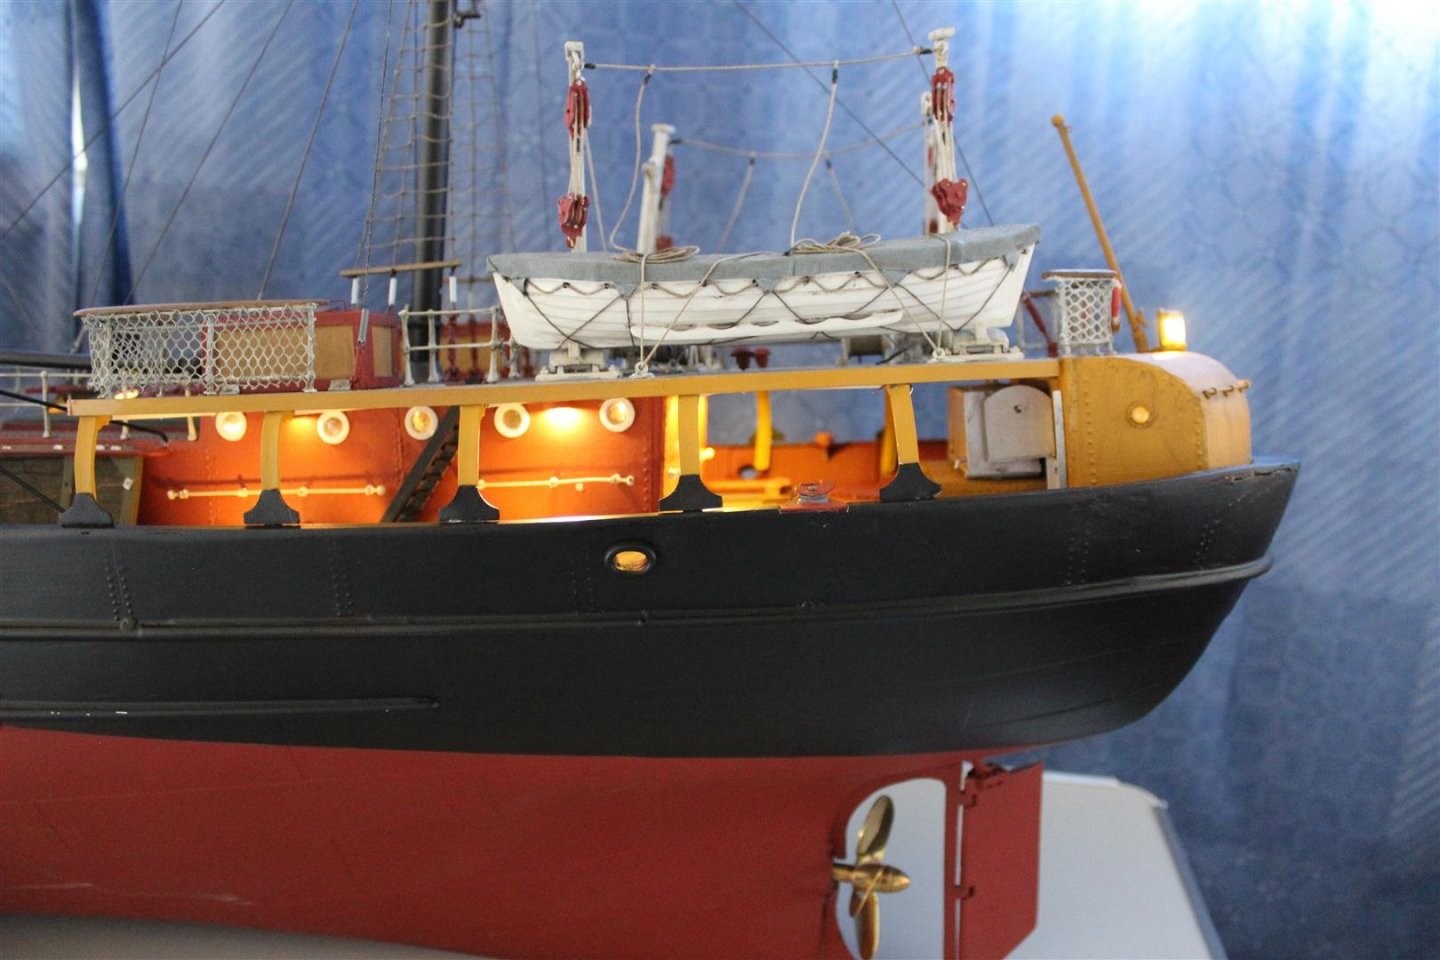
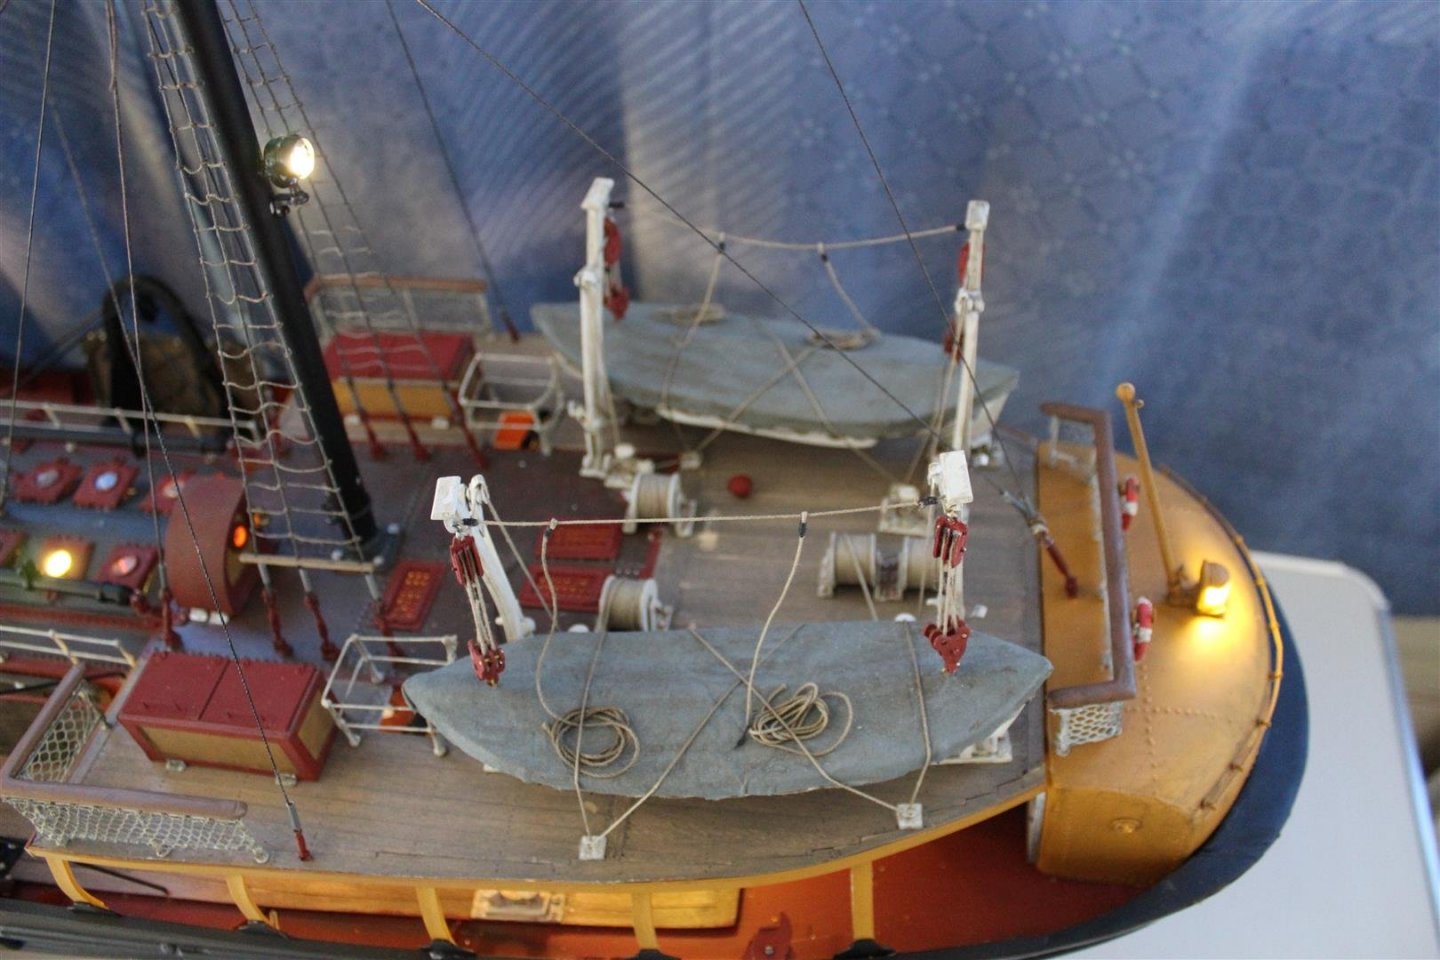
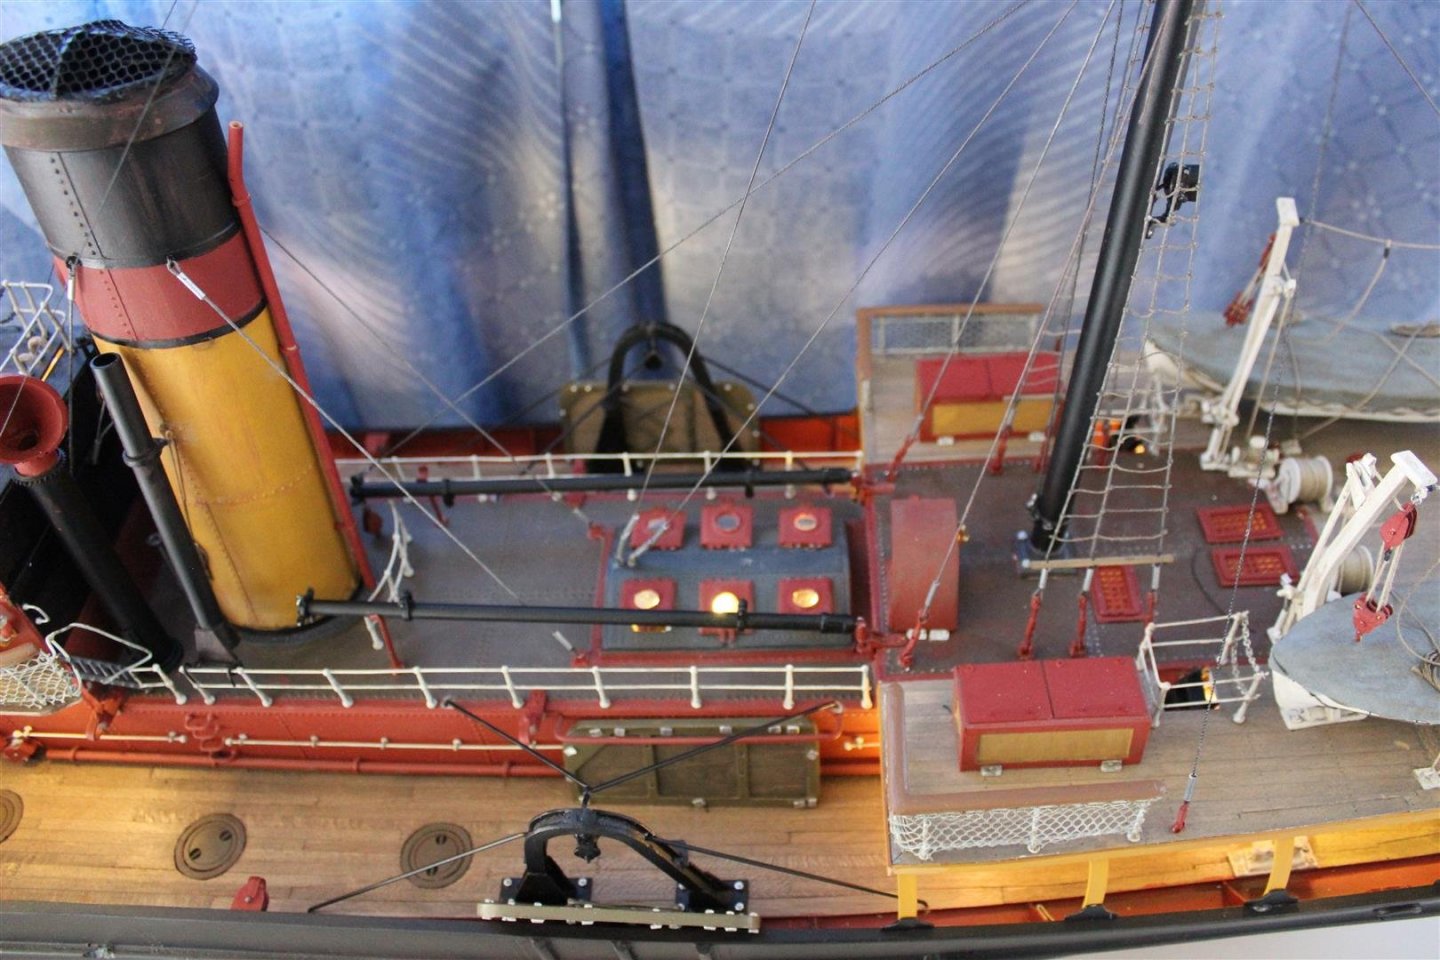
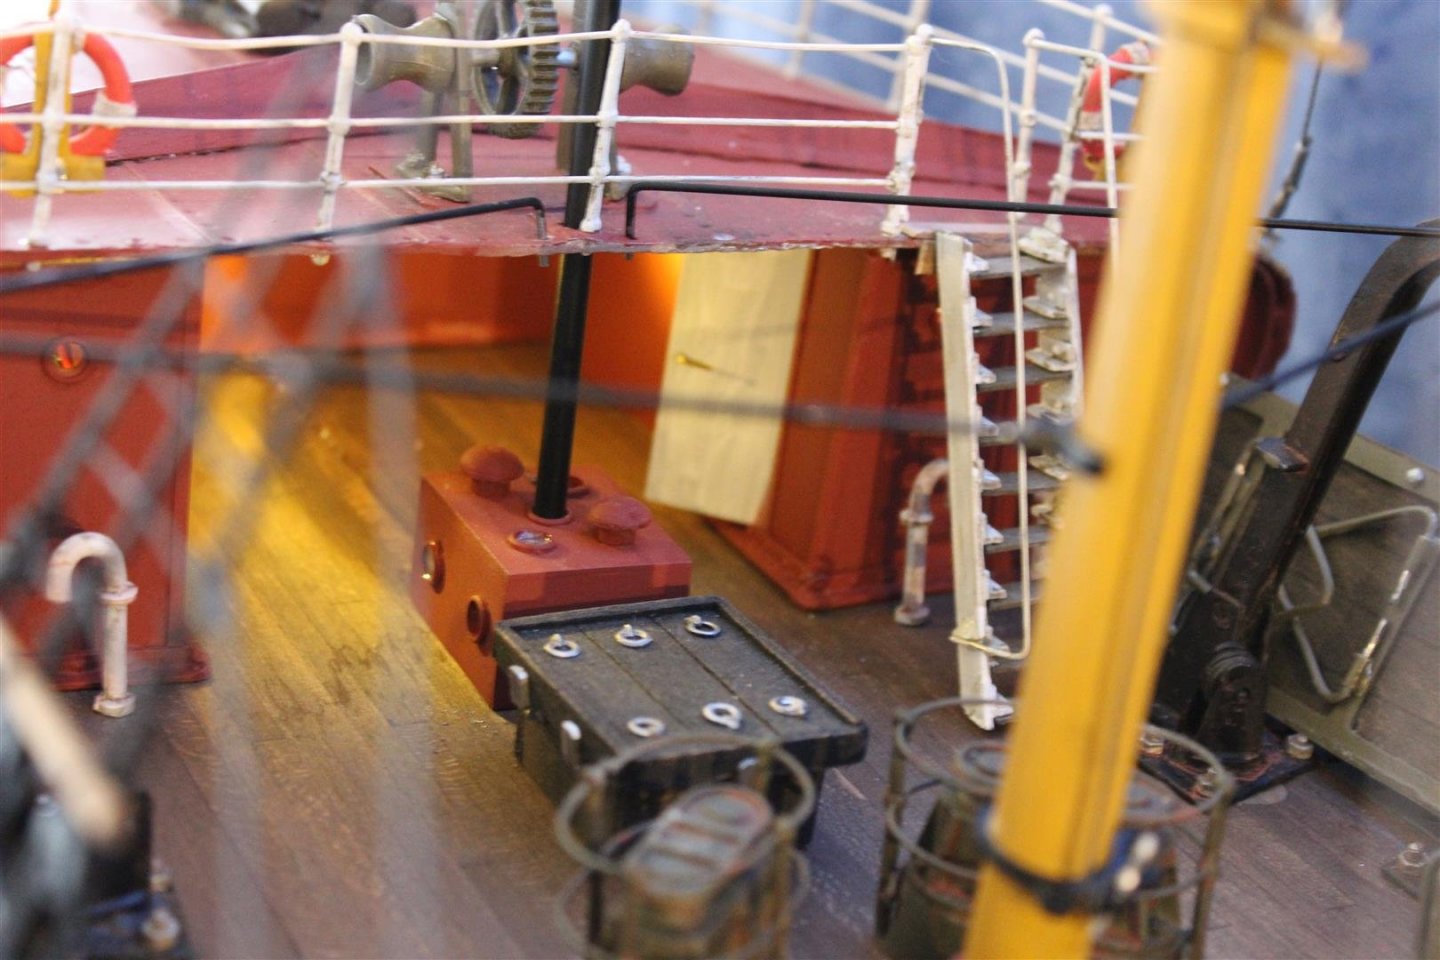
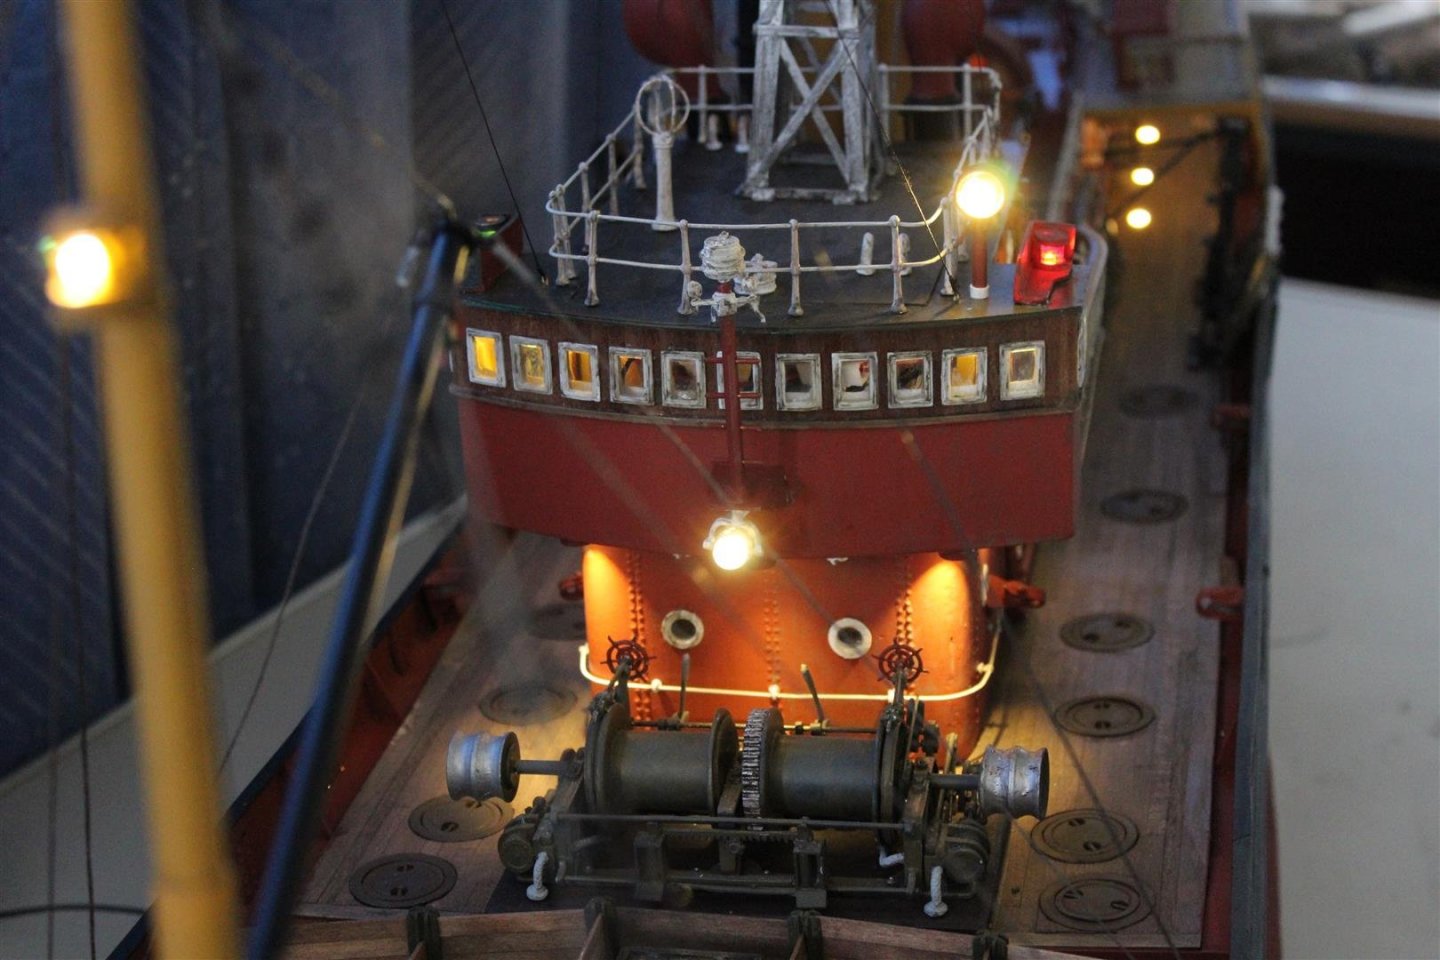
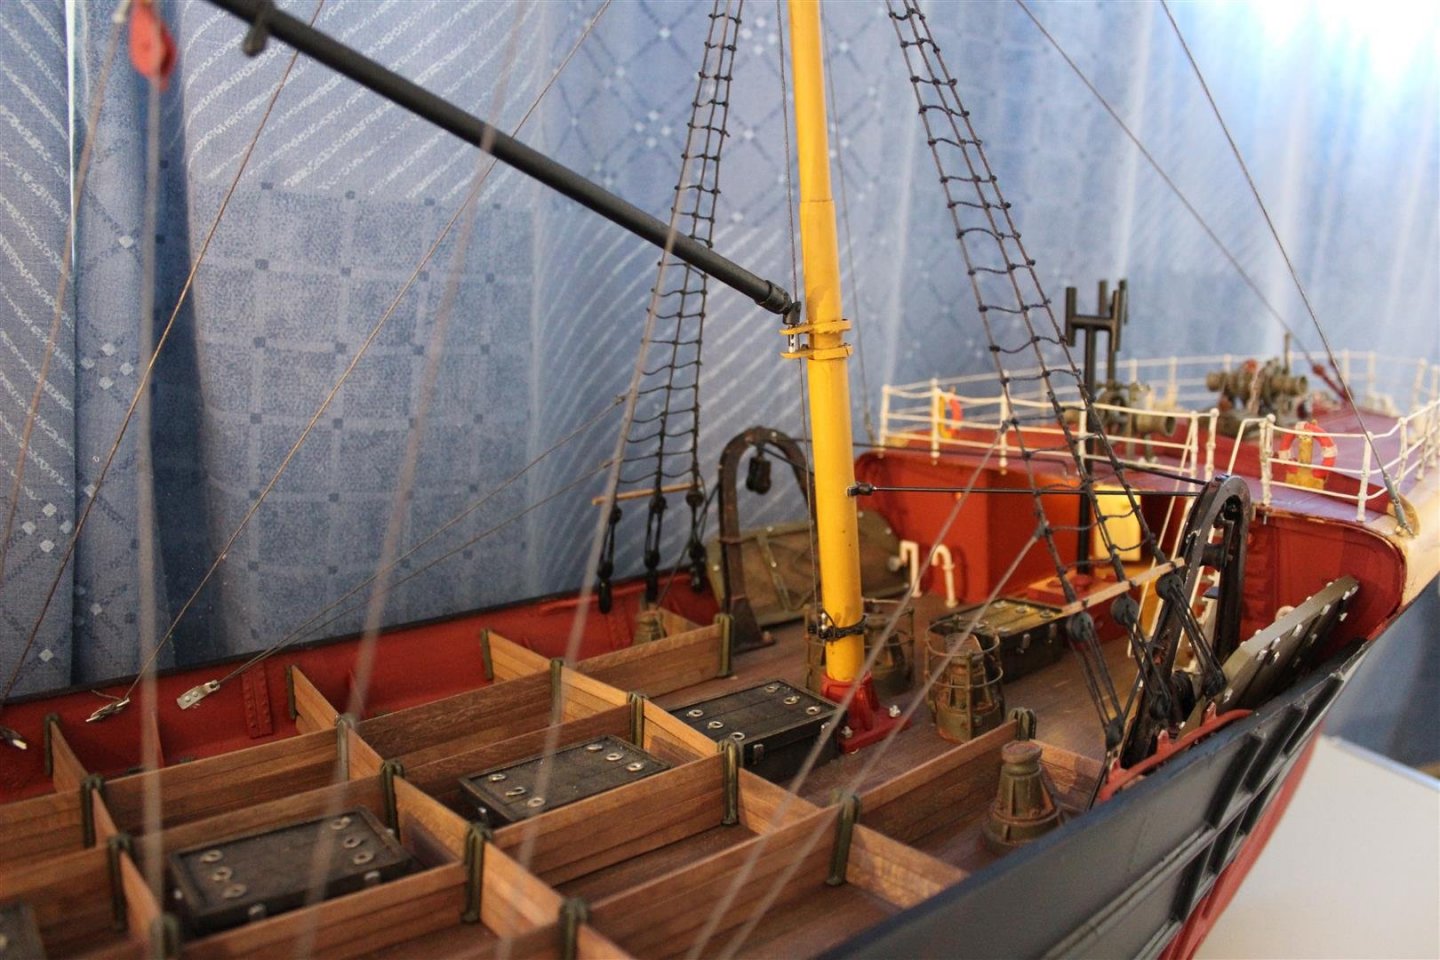
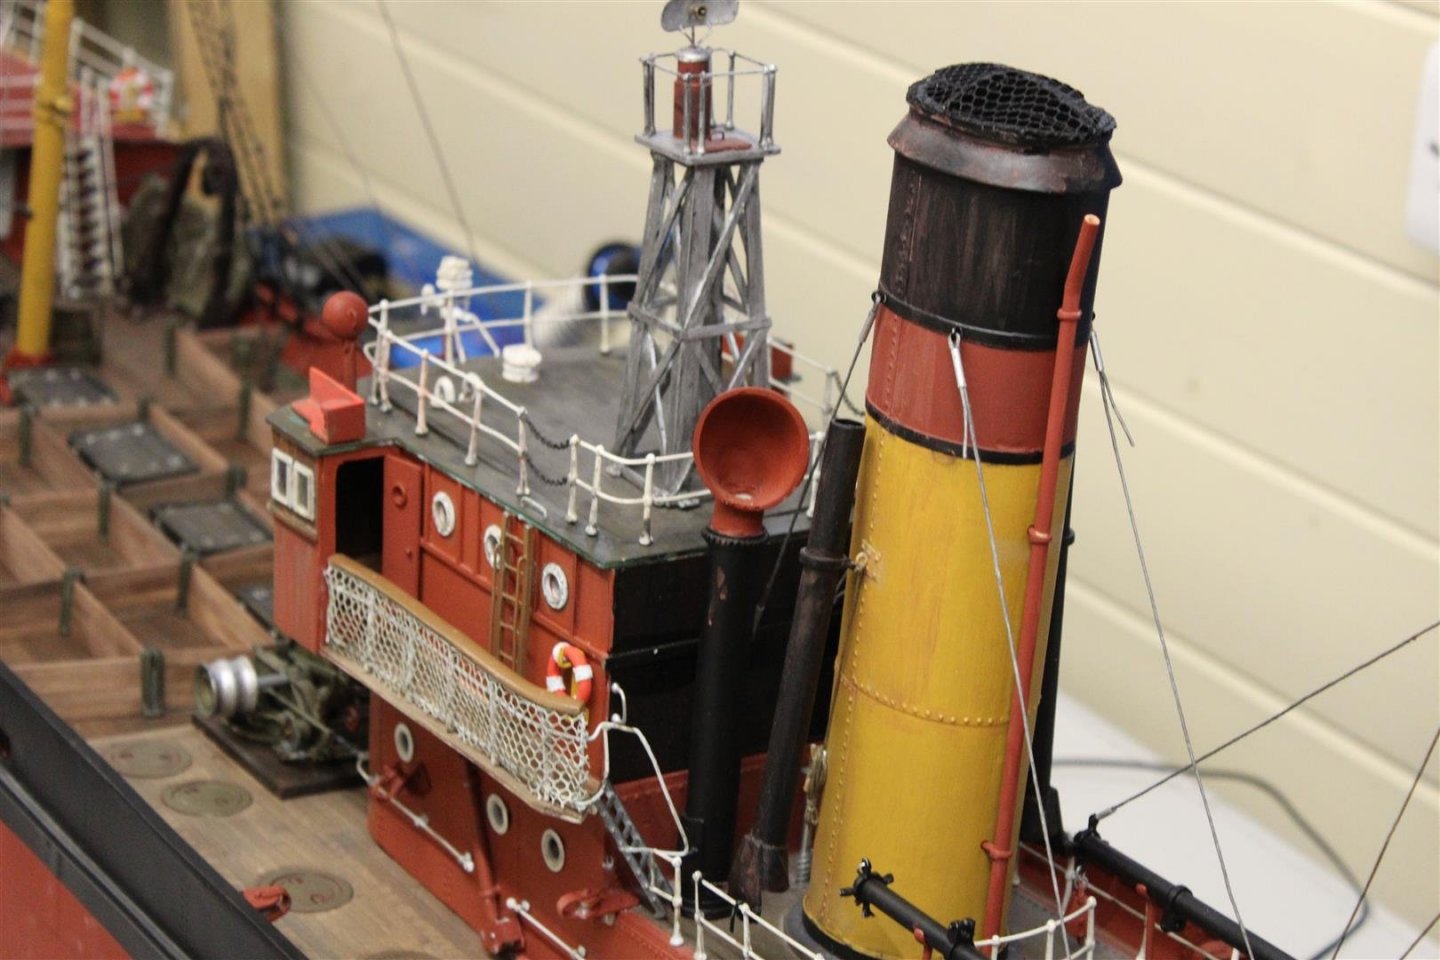
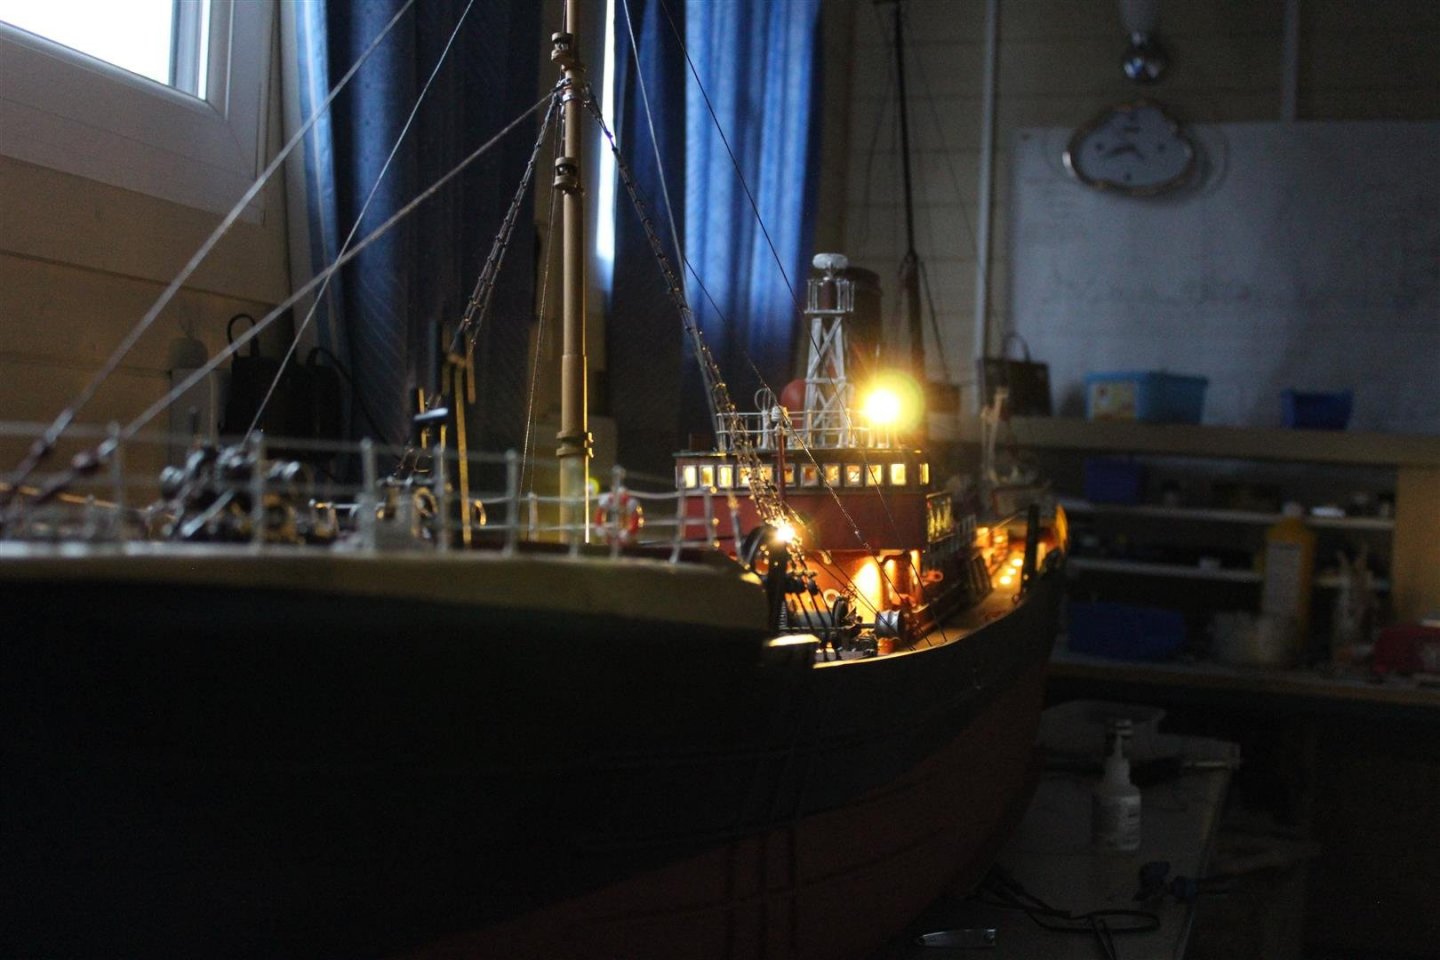
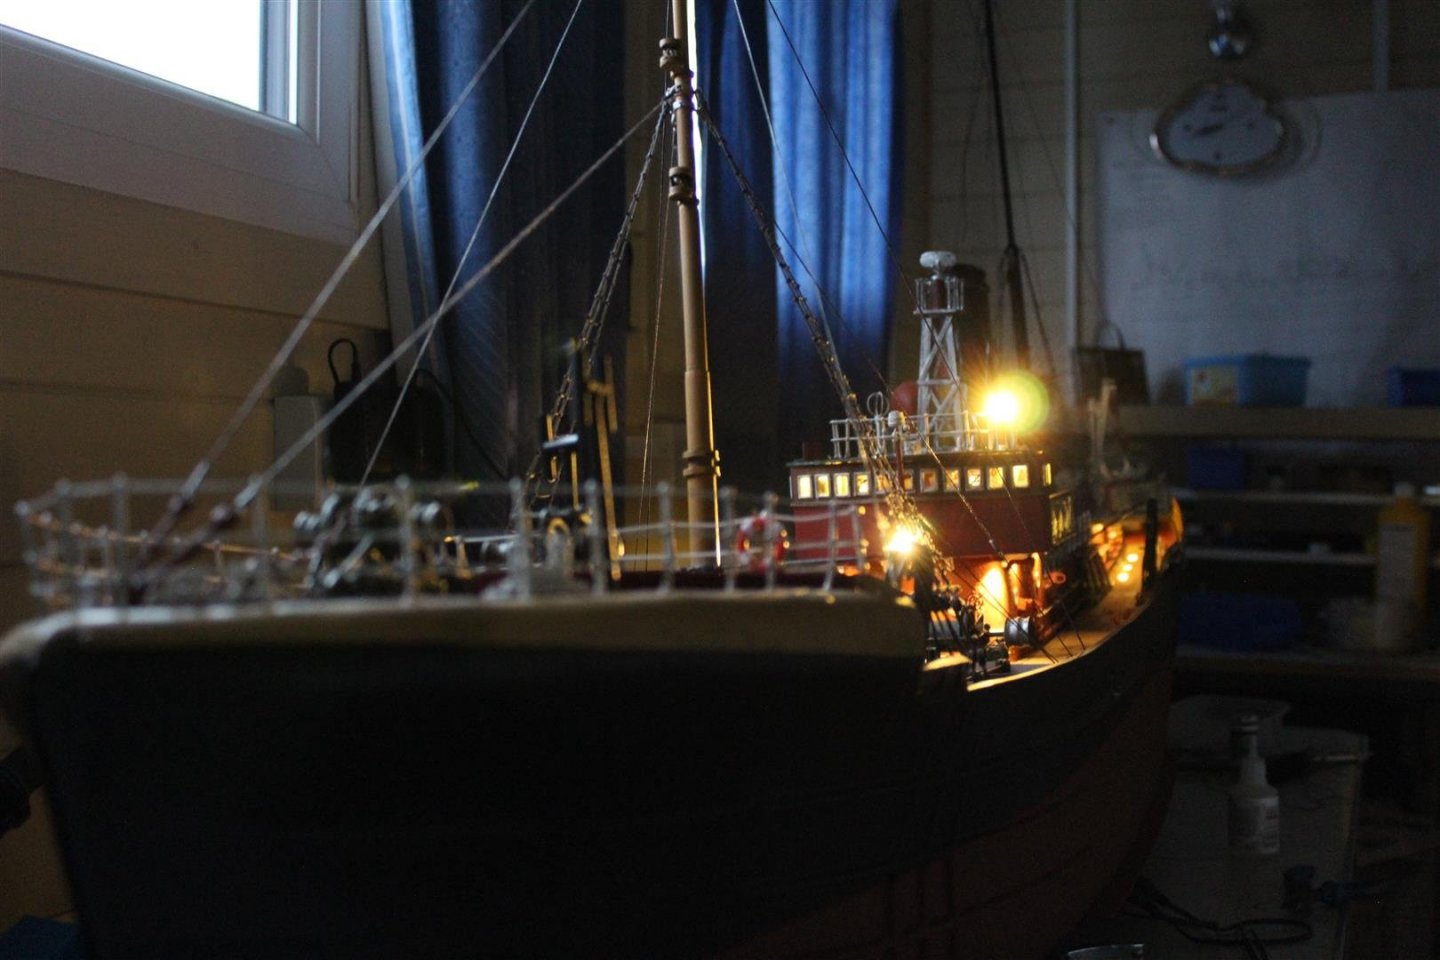
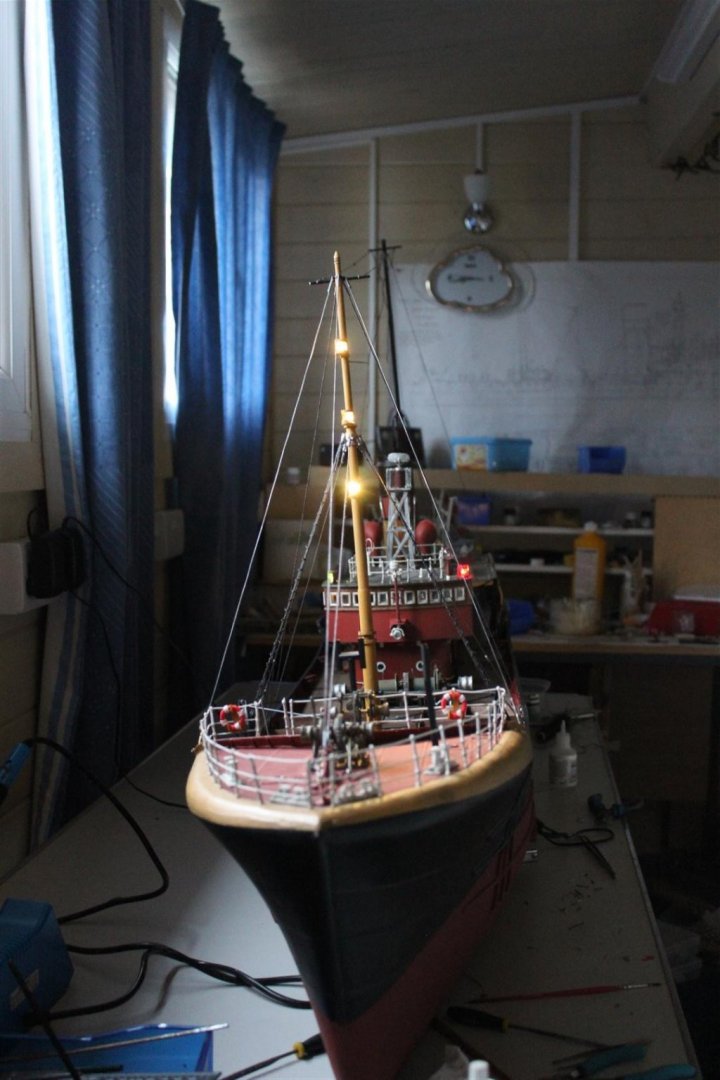
Good evening everyone well that's it, the trawler is finished, but that not the end of her, she will be going into a diorama at some stage in the future, i will at that time do any weathering i enjoyed a this build a lot, the instructions were poor, plans not much better, every bit of white metal required some attention, and i would do it all again tomorrow painting was mainly rattle can primer and acrylics left over from other builds large amounts of Red, white with Matt black were used i would like to thank everyone who has followed me , and for comments and likes, going to spend tomorrow cleaning up the mancave and get the next project on the go, see you all on another thread


- 337 replies
-
- 23
-
-

-

-
- finished
- mountfleet models
- (and 1 more)
-
there will always be nice people around, just the bad ones get the news
-
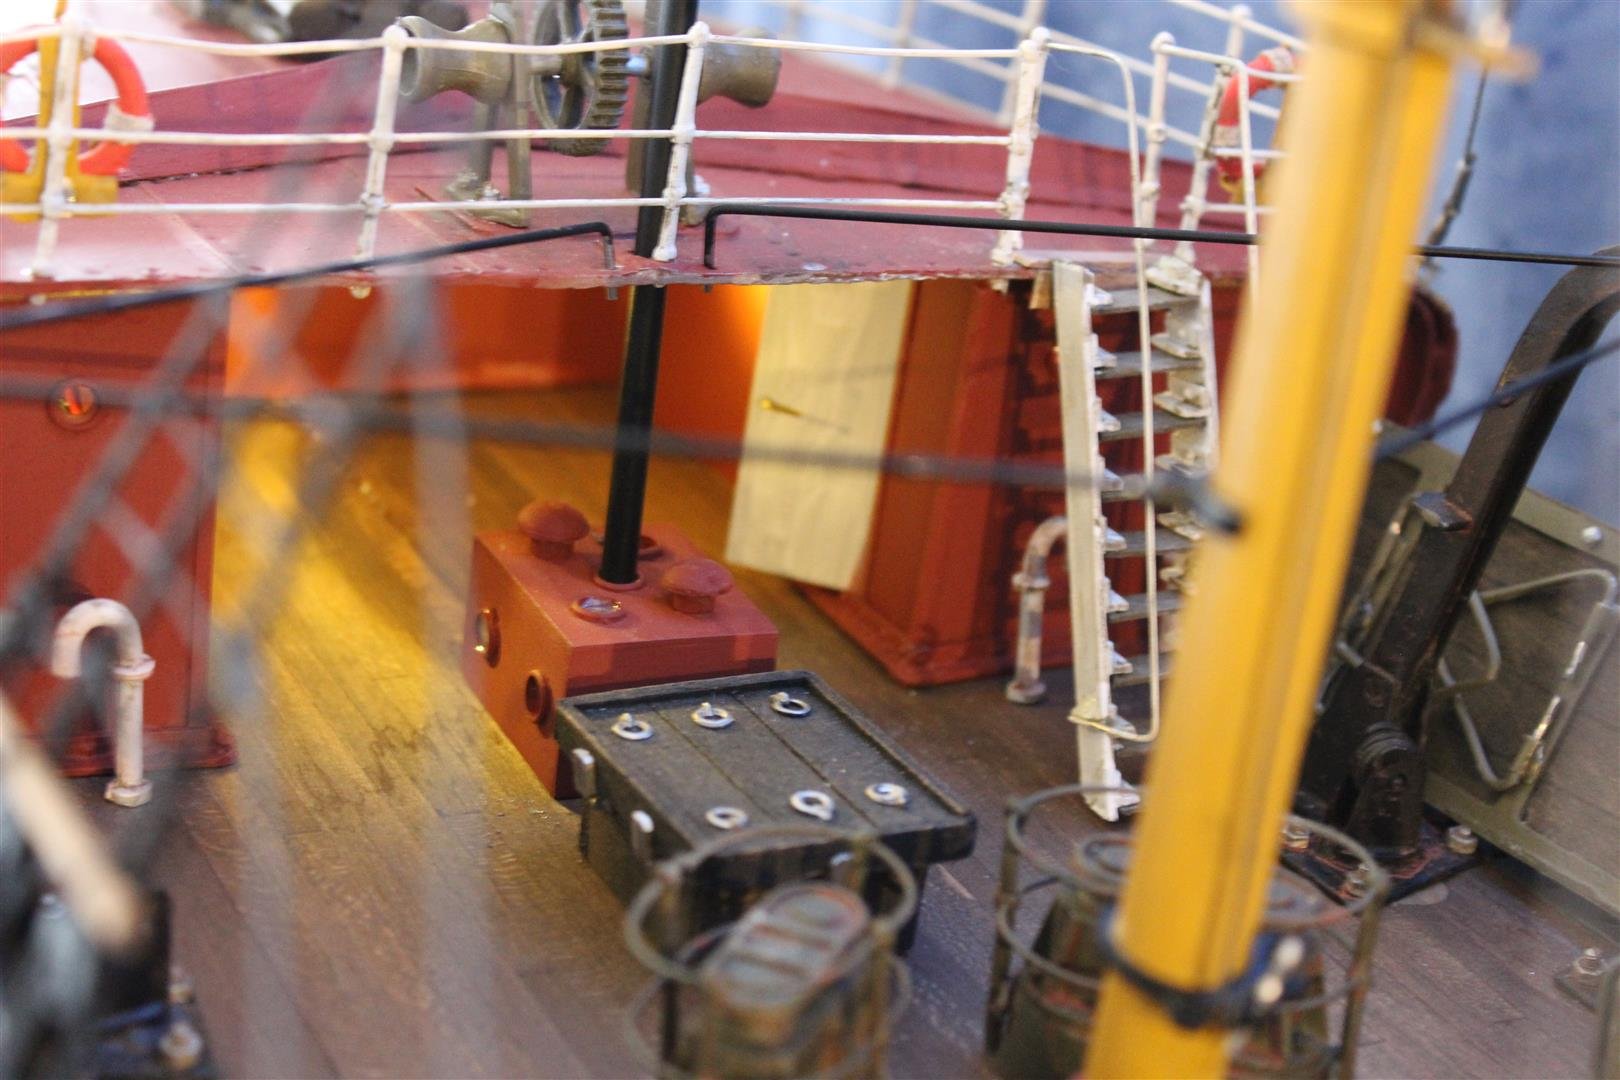
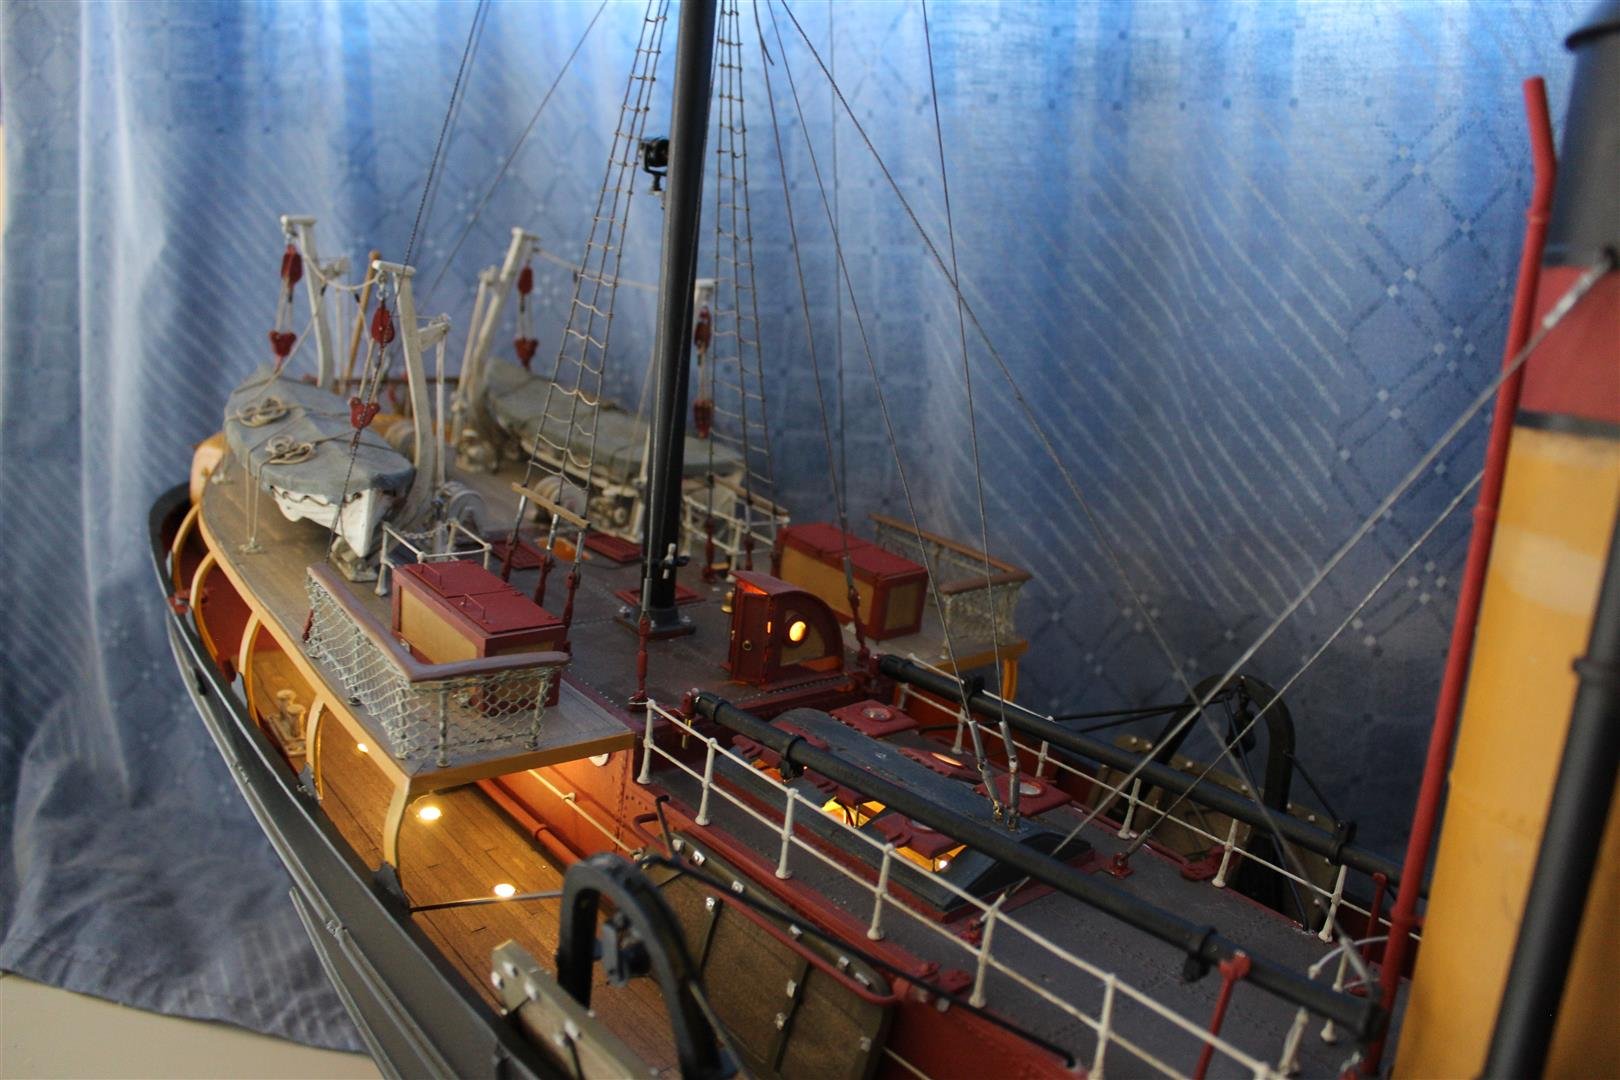
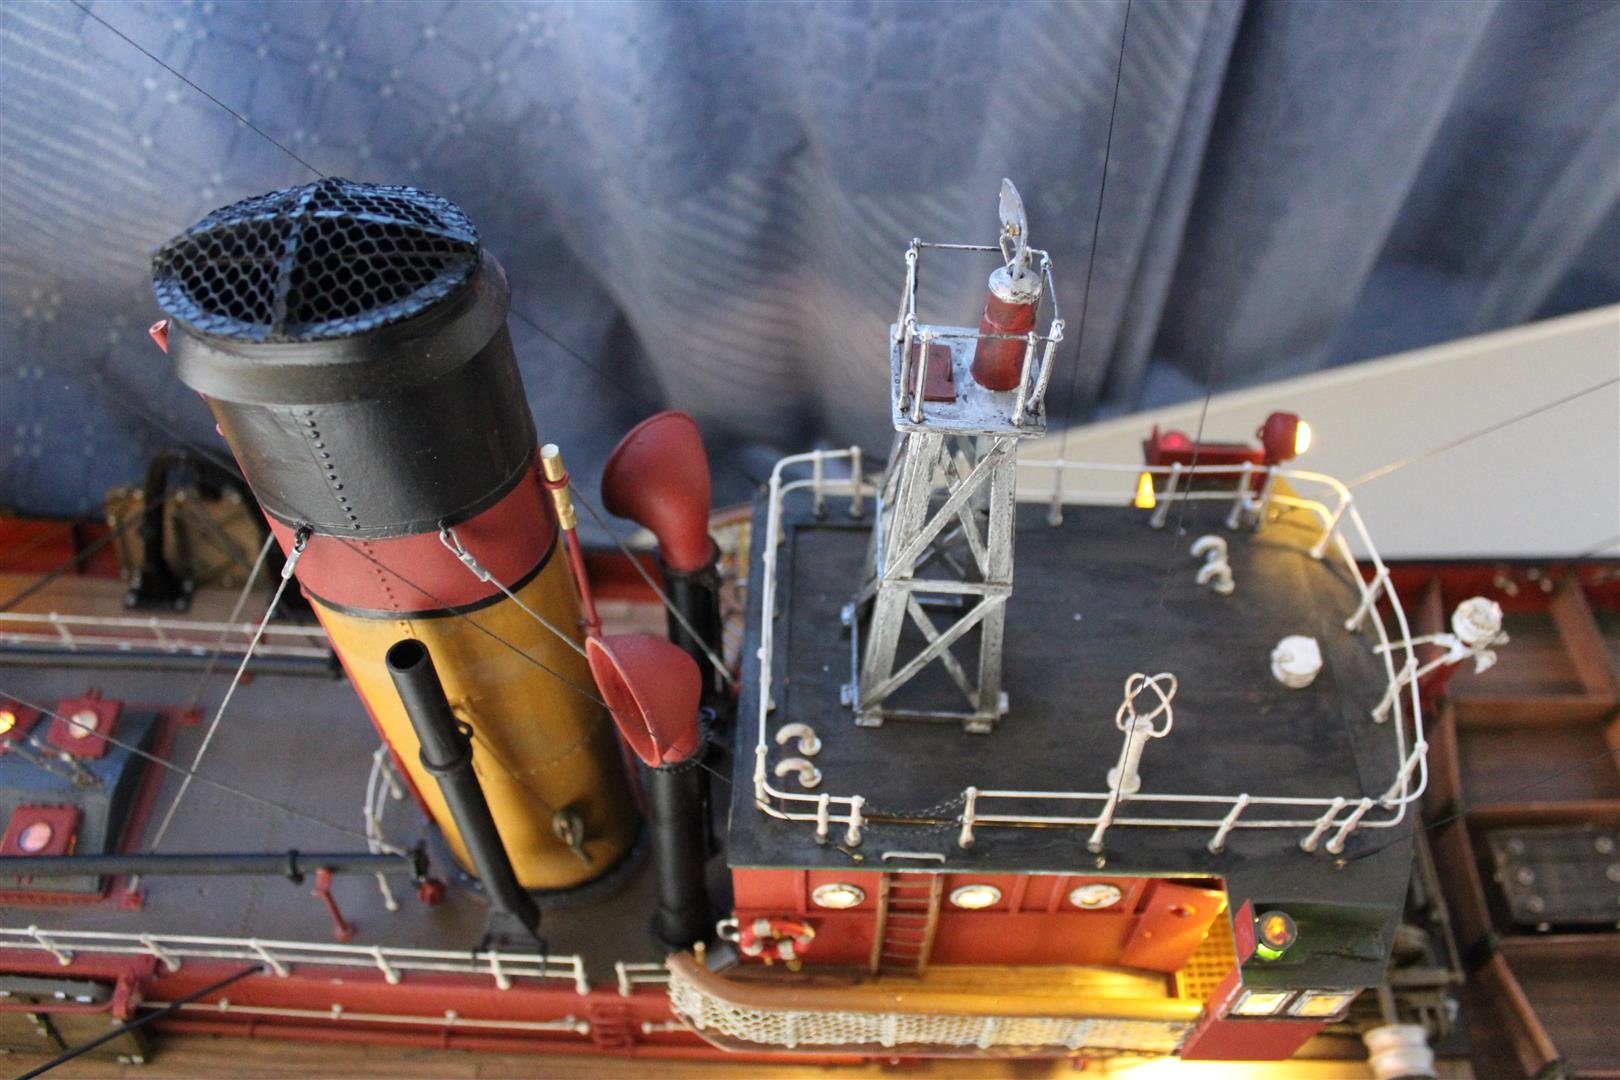
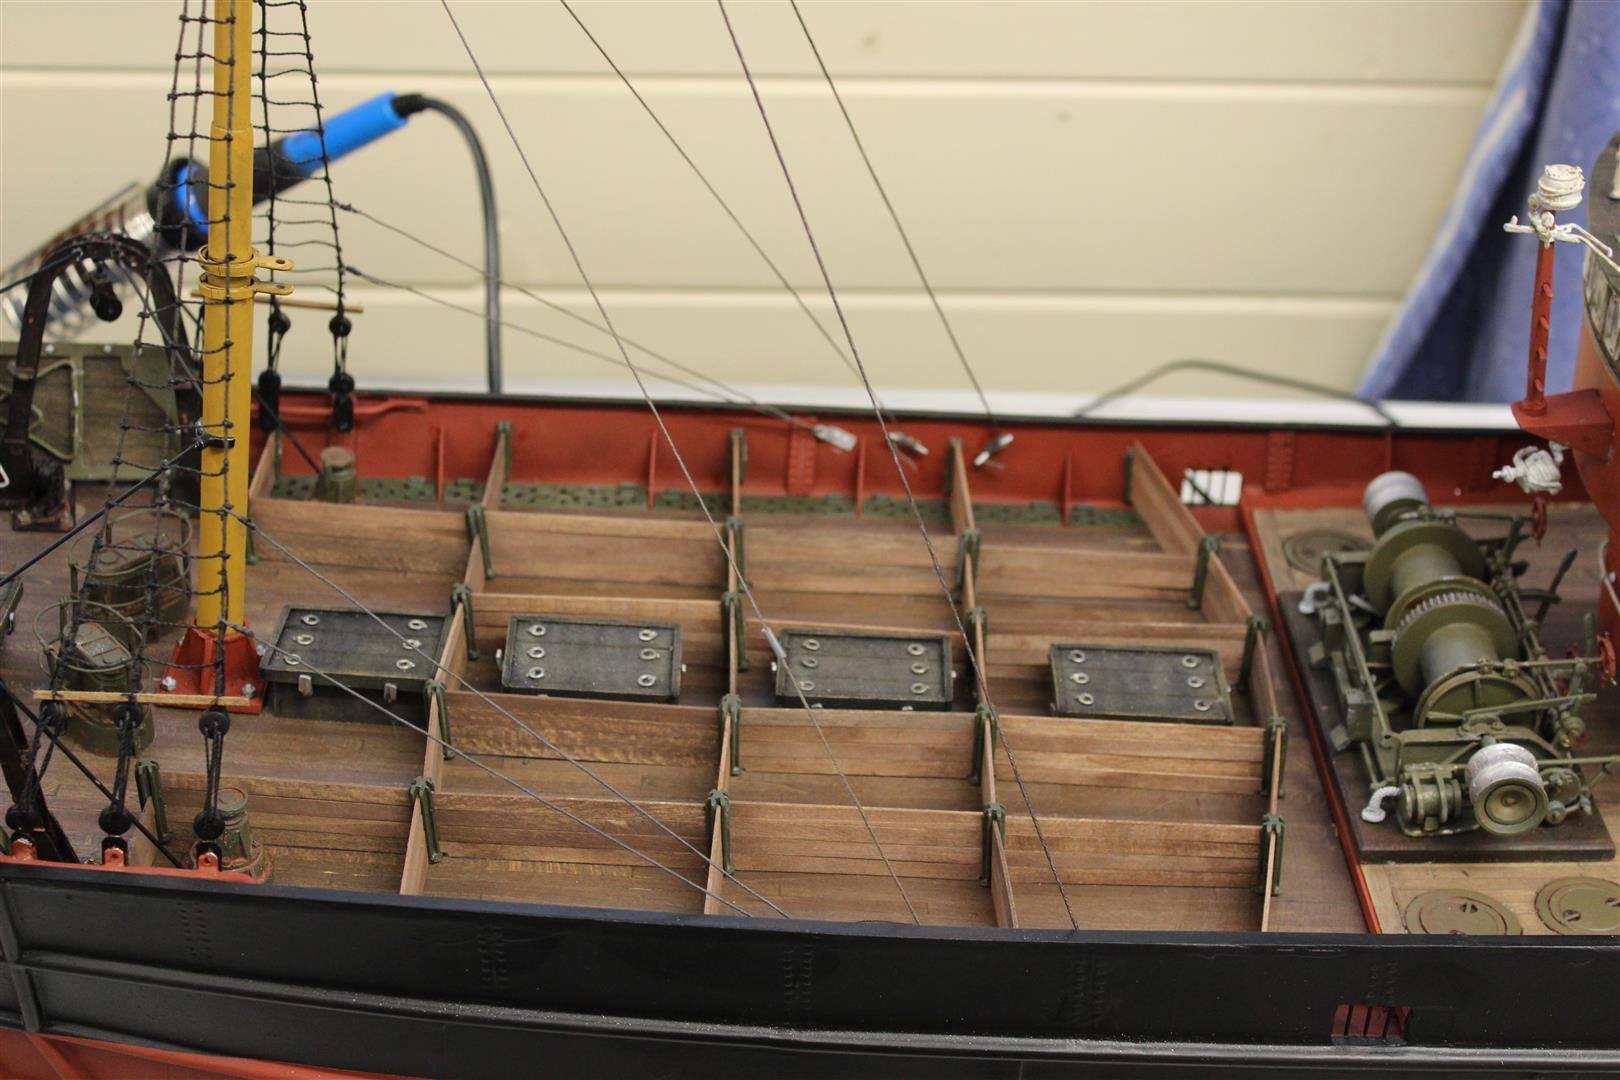
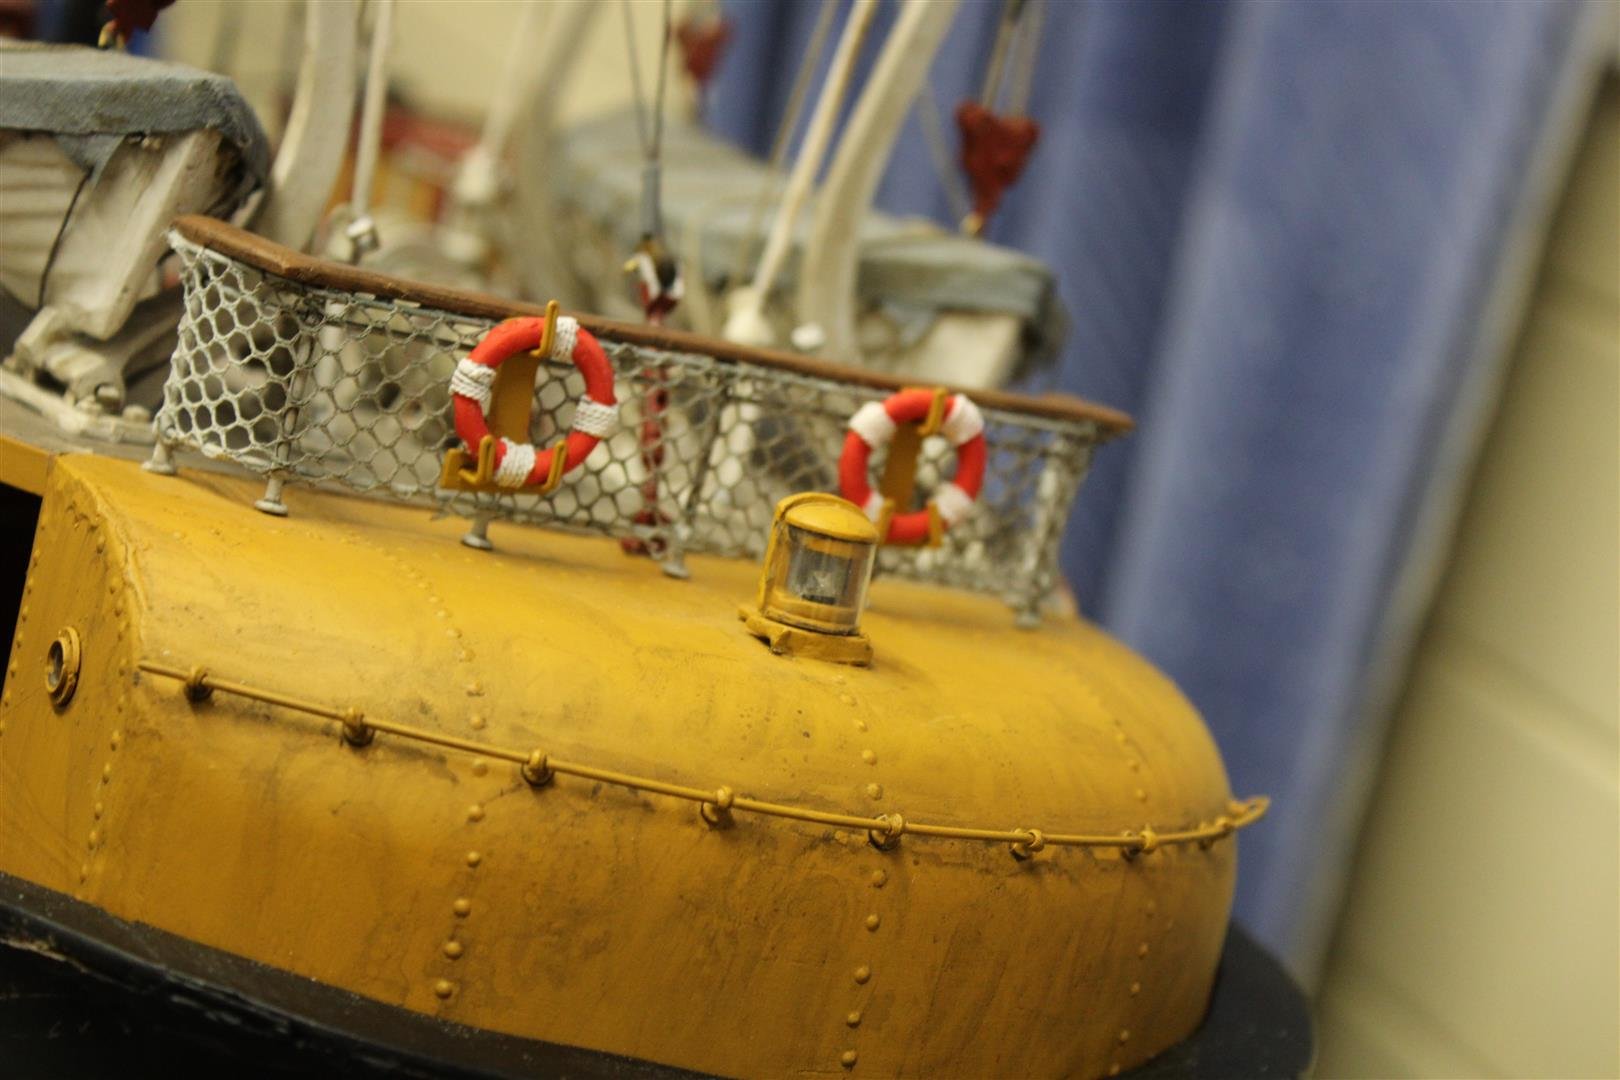
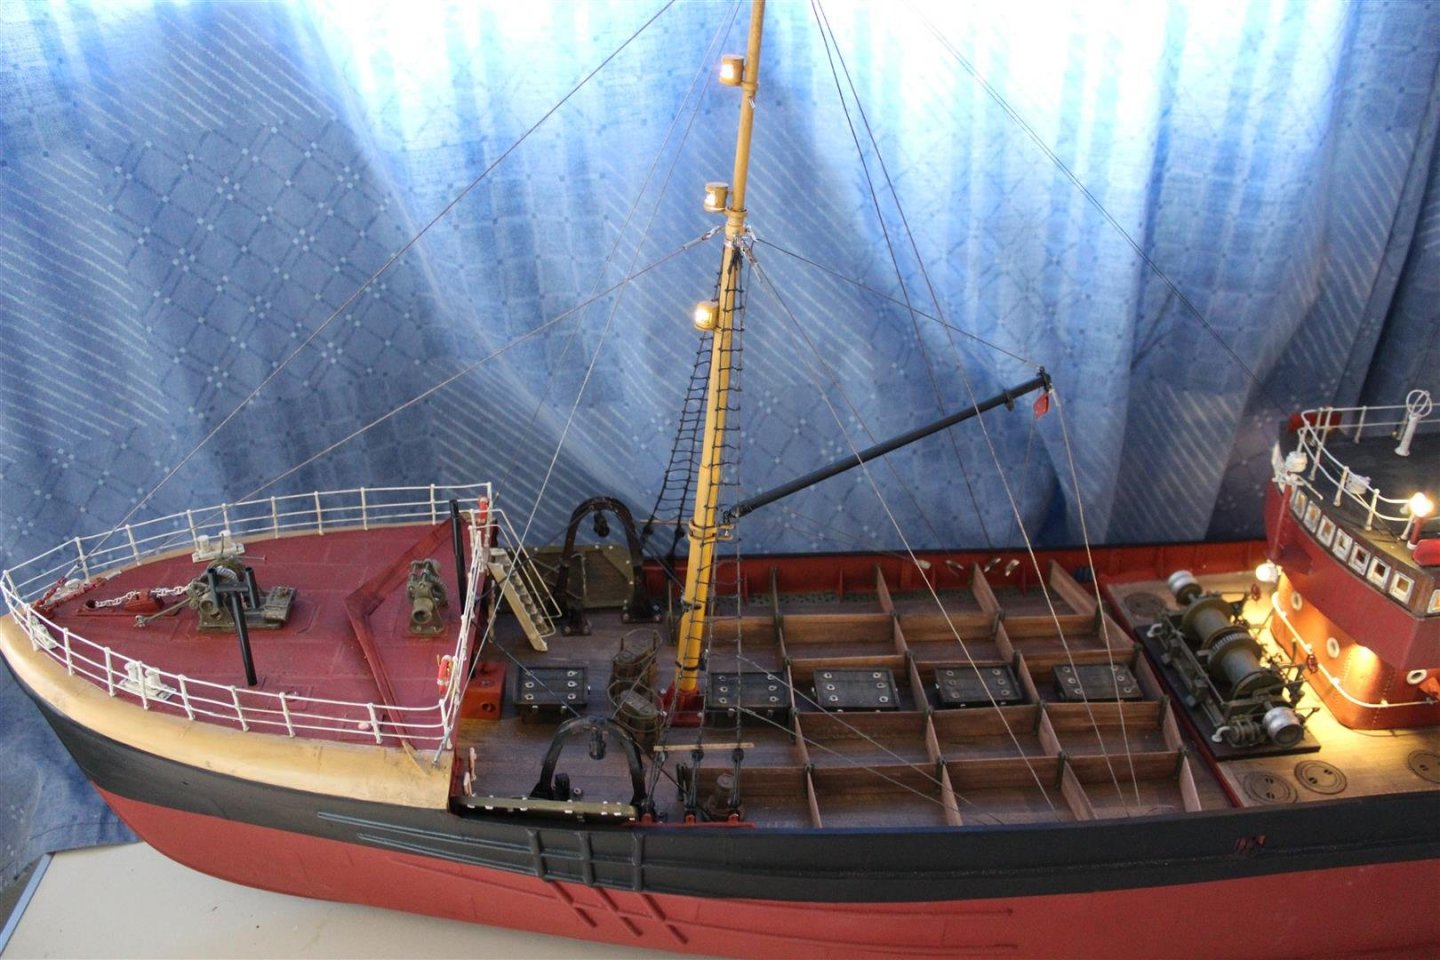
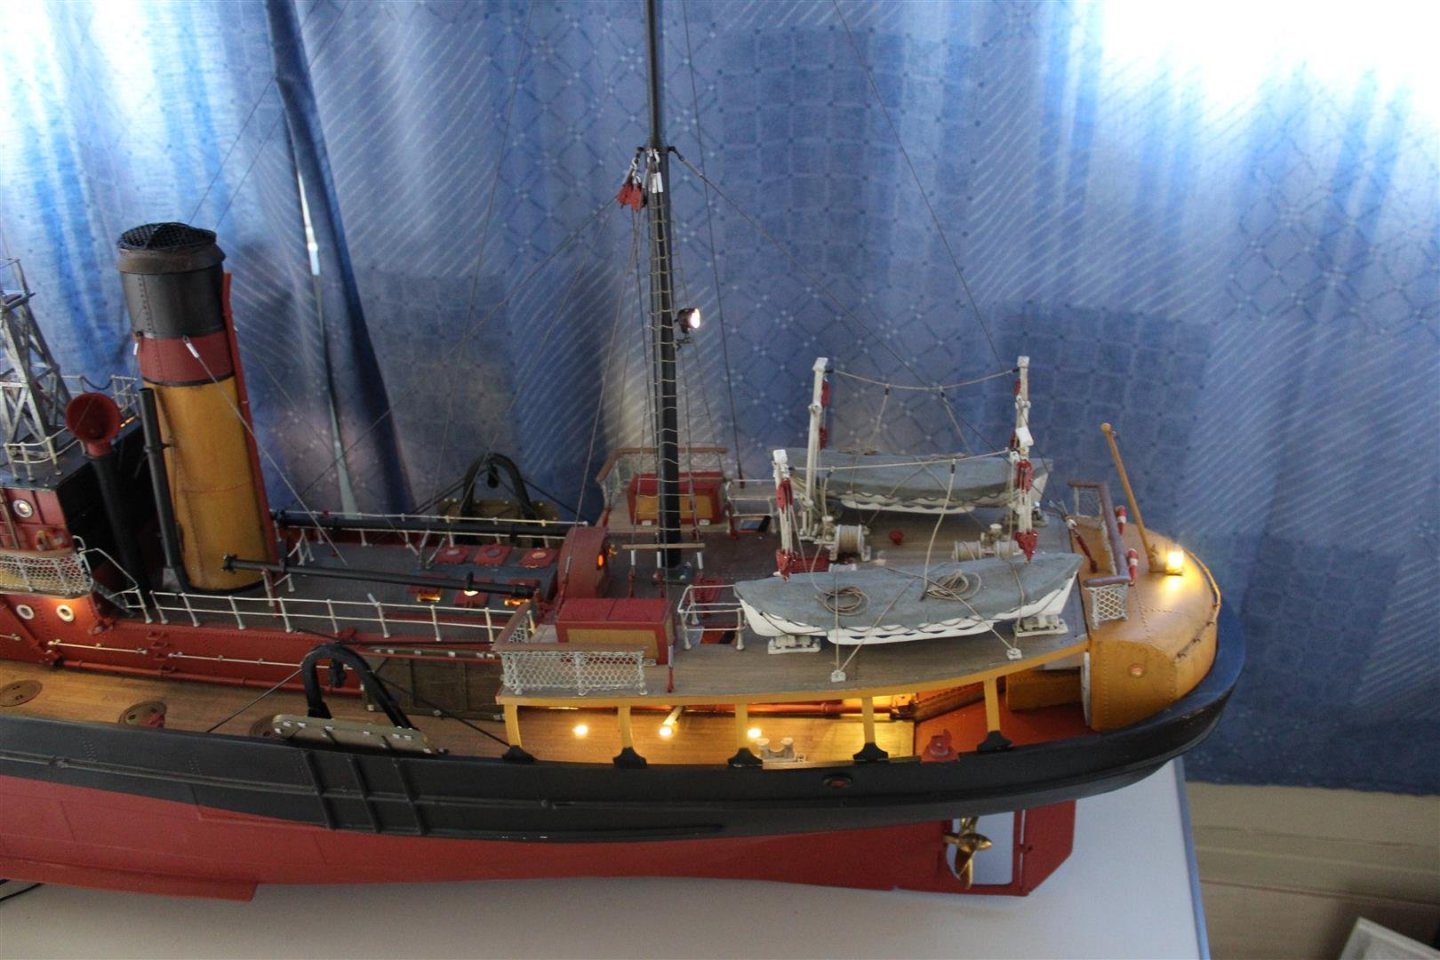
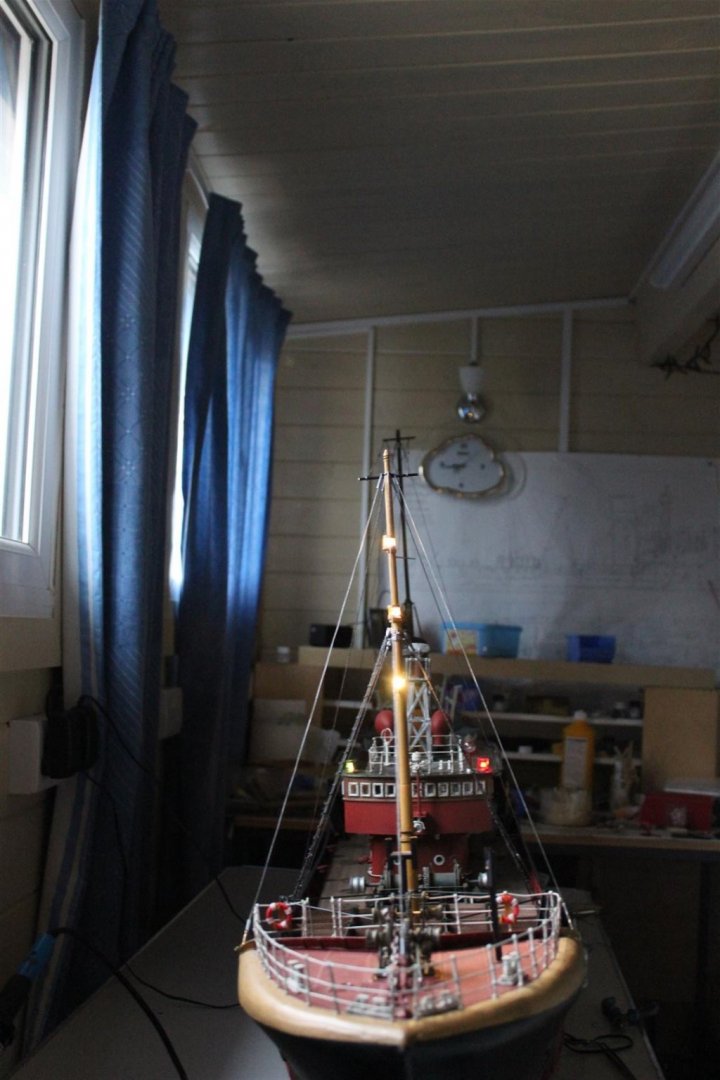
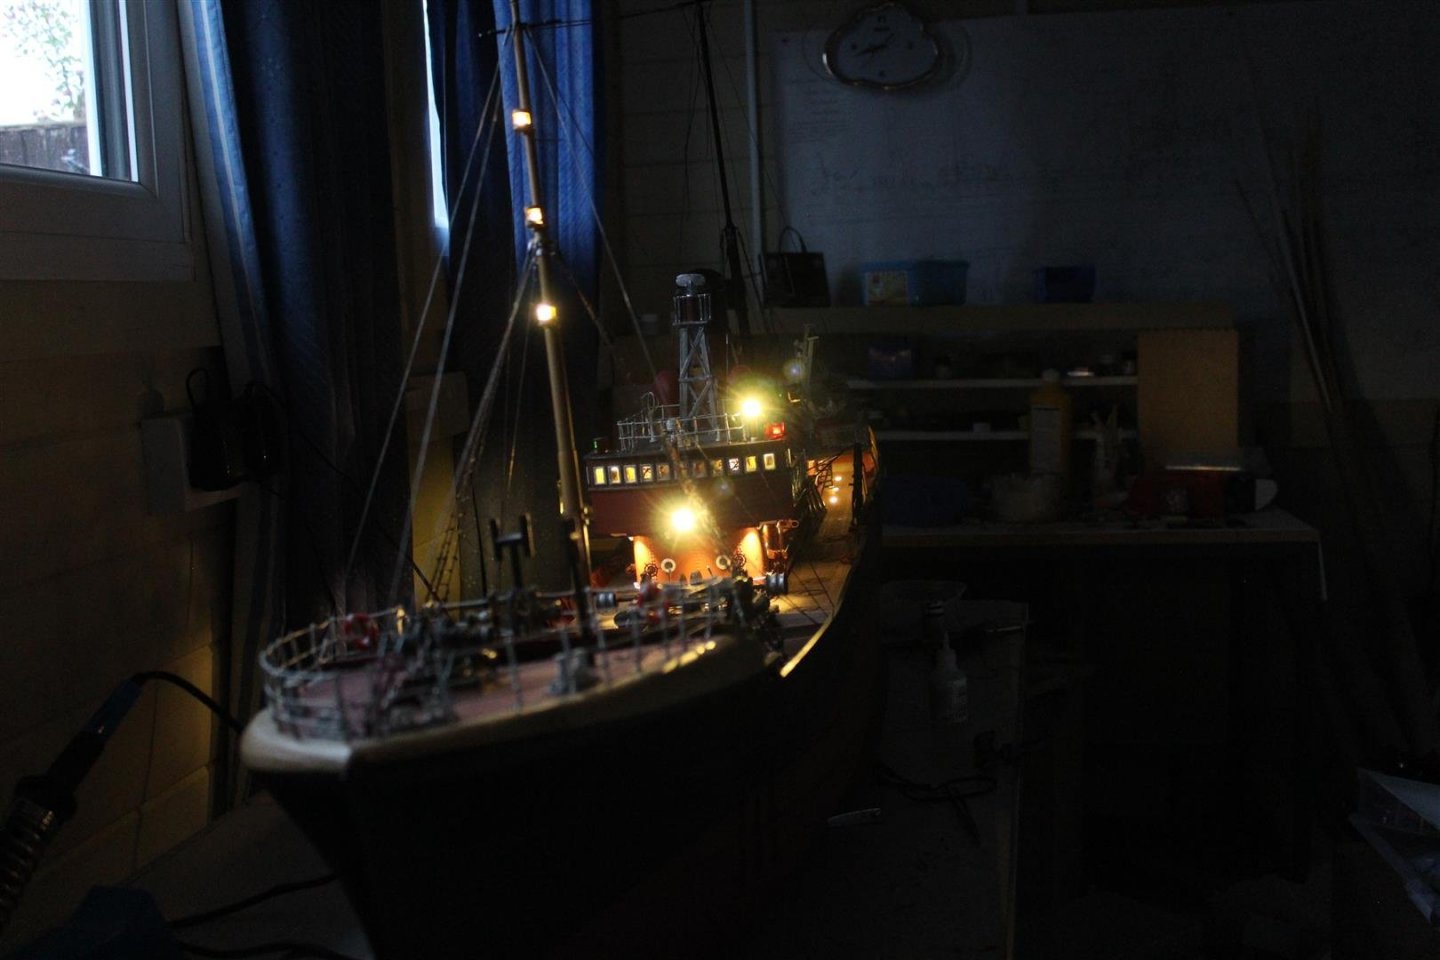
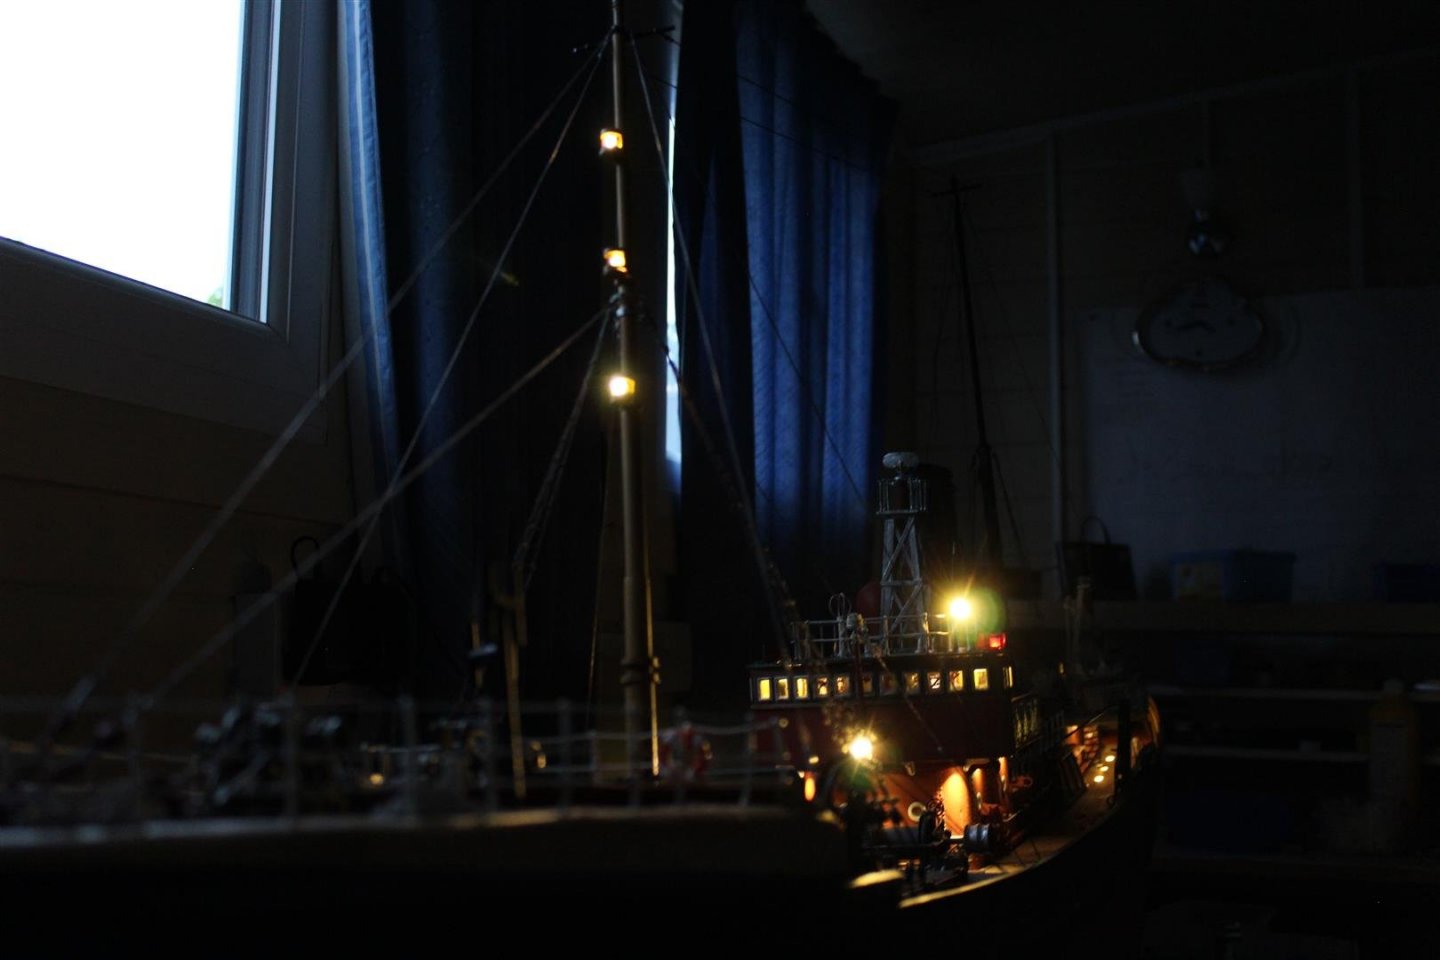
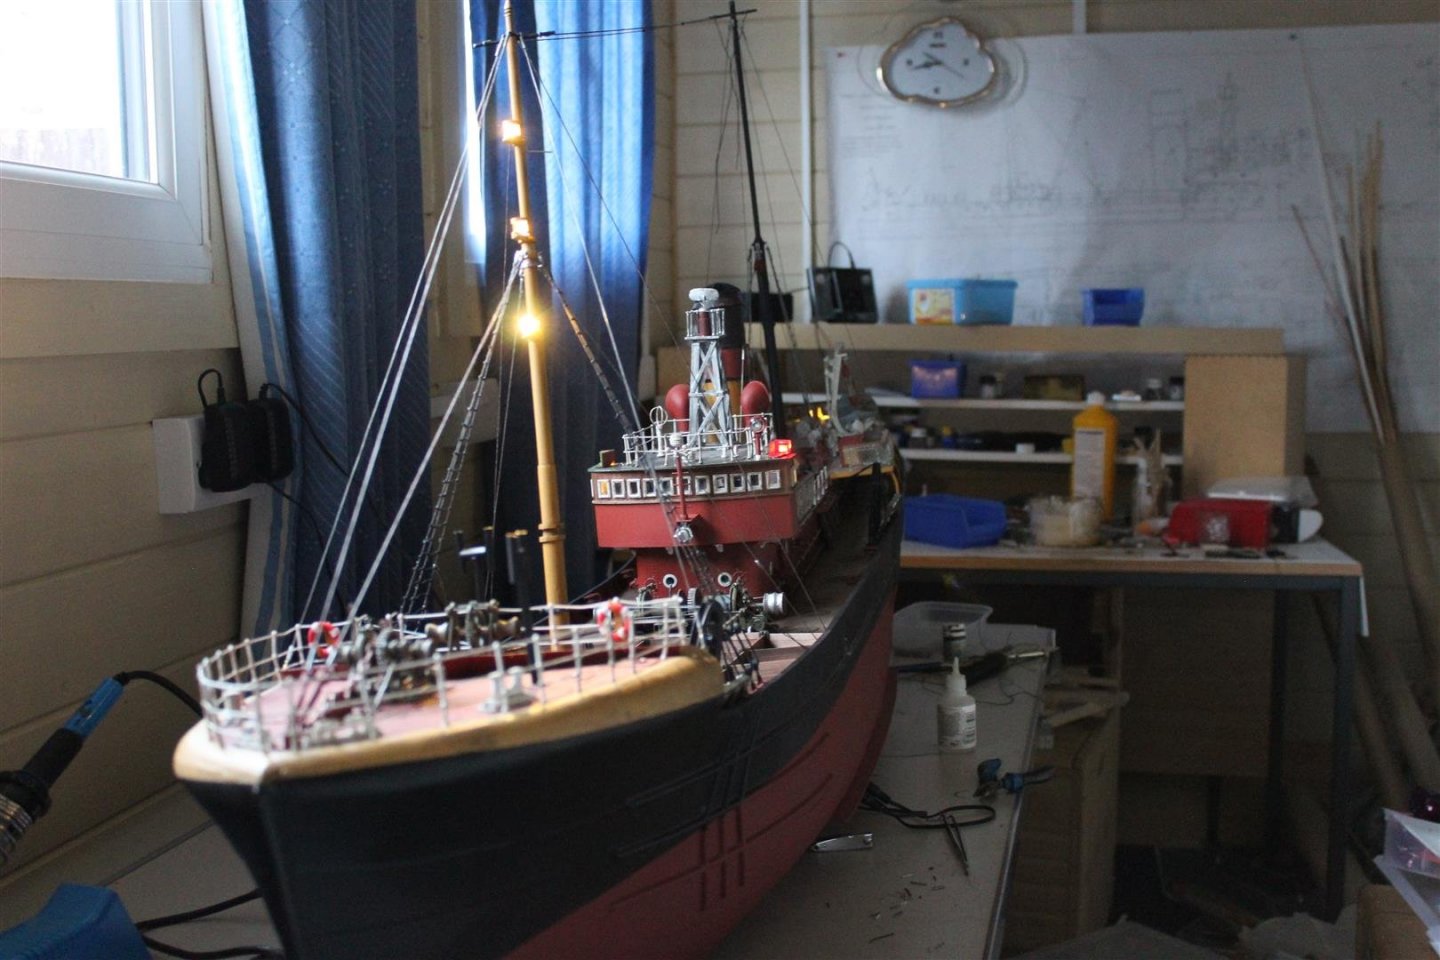
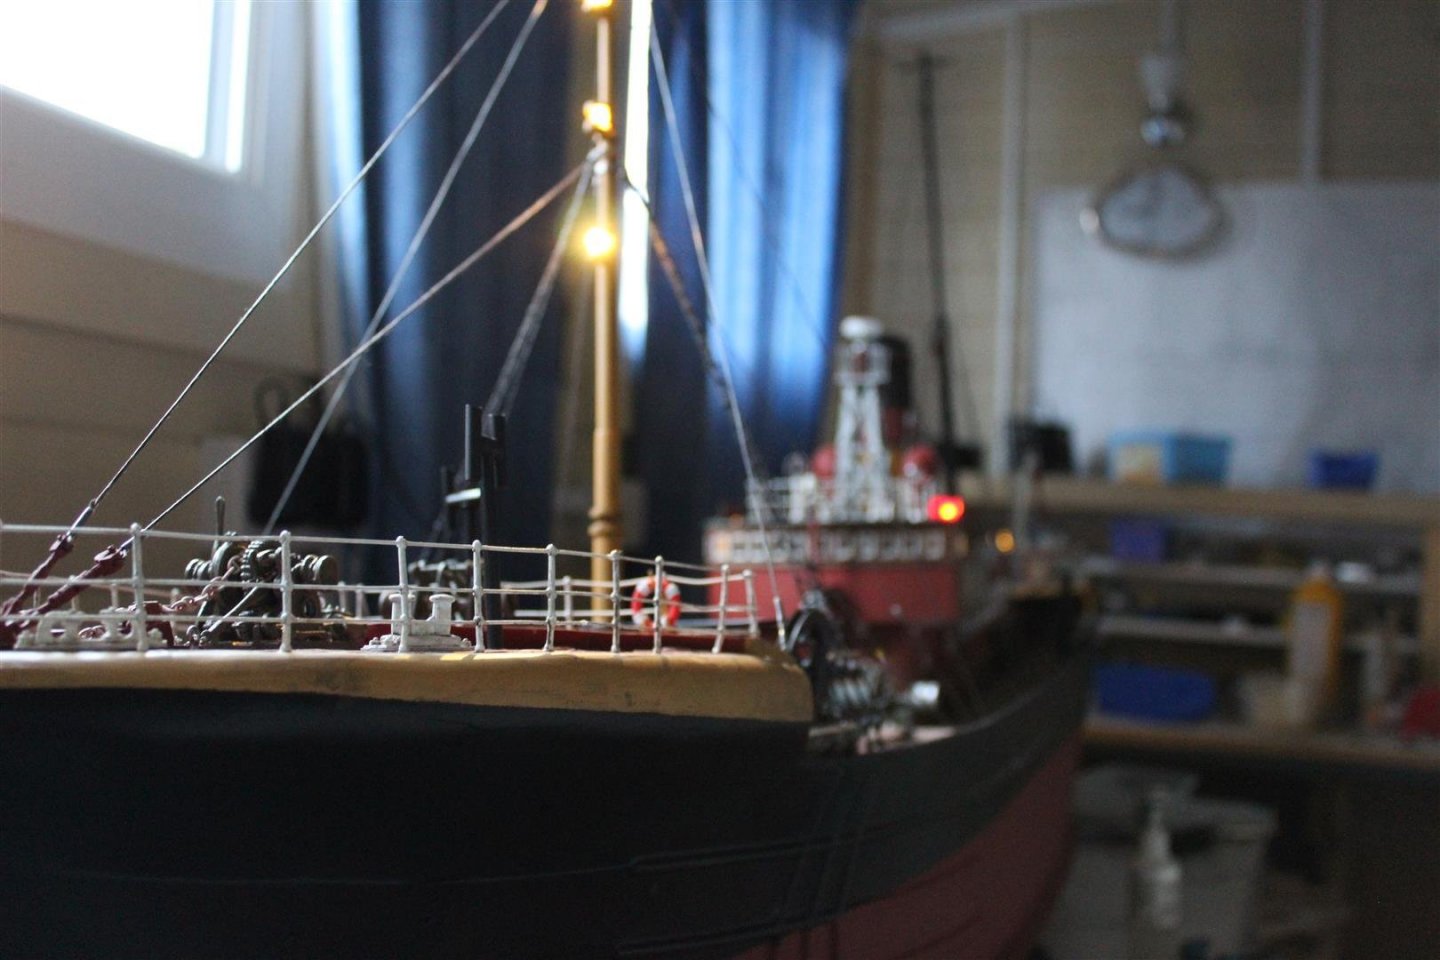
good evening everyone still never finished her today, but did get to season 5 of Game of thrones life buoys done, I only had flat white and flat red left, and i think its better than gloss, the fish ponds took ages to put back into position, 150 loose boards, i cannot secure them until im sure how the build is going to be displayed lighting tested and working, 2 circuits nav lights on one, everything else on the other


- 337 replies
-
- 17
-
-
- finished
- mountfleet models
- (and 1 more)