BareHook
-
Posts
430 -
Joined
-
Last visited
Content Type
Profiles
Forums
Gallery
Events
Everything posted by BareHook
-
How about: "Rigging Period Ship Models" and "Rigging Period Fore and Aft Craft" Both by Lennarth Petersson. I've been planning on getting these two. Ken
-
The above toothpick method reminds me of a similar method that was described. Drill a hole sized to the treenail diameter in the center of a brass dowel, to the depth you want for treenail length. Secure the brass dowel in a drill. While the drill is spinning, insert toothpicks or other wood to shave away excess material and create treenails.
-
I do a final finish on my deck with fine 000 steel wool after sanding and it provides a clean sharp finish. Ken
-
The Planking Inside
BareHook replied to Thom's topic in Building, Framing, Planking and plating a ships hull and deck
Good questions, I have guesses but want to see what the true answers are. I would imagine the inner hull planks would require a butt shift pattern similar to the outer hull, but the plank tapering would be different, they would probably be sized to fit in that particular decks space from deck to ceiling. If I had to guess, I would say the lower decks are not caulked unless there is some sort of drainage system to allow water to make it all the way down to the bilge, where it can be pumped out. Ken -
Hey Alistair, Is there any chance you can re-post the mini tutorial you created for rigging the anchor bouys? and also tyeing rigging line that you can slide it into position? Thanks Ken
-
Its great to see some of the AVS logs reappering. Ryland, Thanks for continuing your build log, I am slowly approaching the rigging stage, so it will be good to see you build progress through that stage. I was lamentibng the loss of all the logs, since this will be my first rigging experience. Ken
-
Yes, I just added a post with AVS tips and tricks that I could recall. The original was lost in the crash, but I reposted most of the photos. I also have a lot of build documentation I could email you. Ken
-
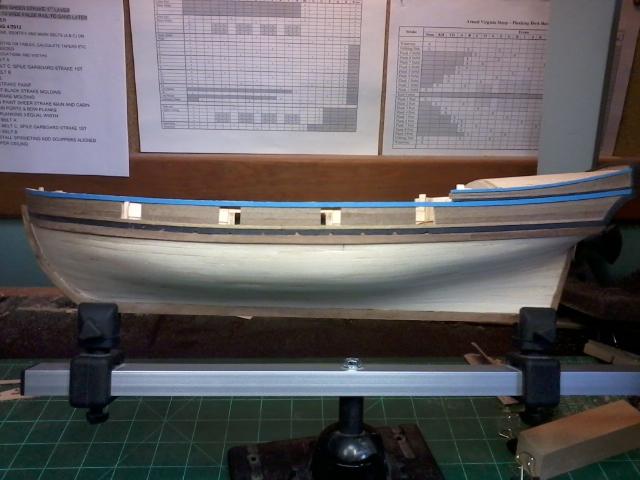
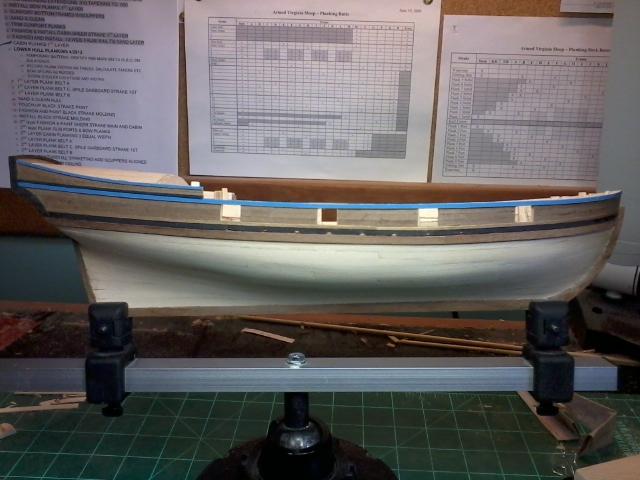
For anyone planning to build the AVS, I have planking spreadsheets and a lot of building documentation I can email to you. They were originally provided to me from Peter Jaquith, whose build of the AVS provided much inspiration to me. Ken
-
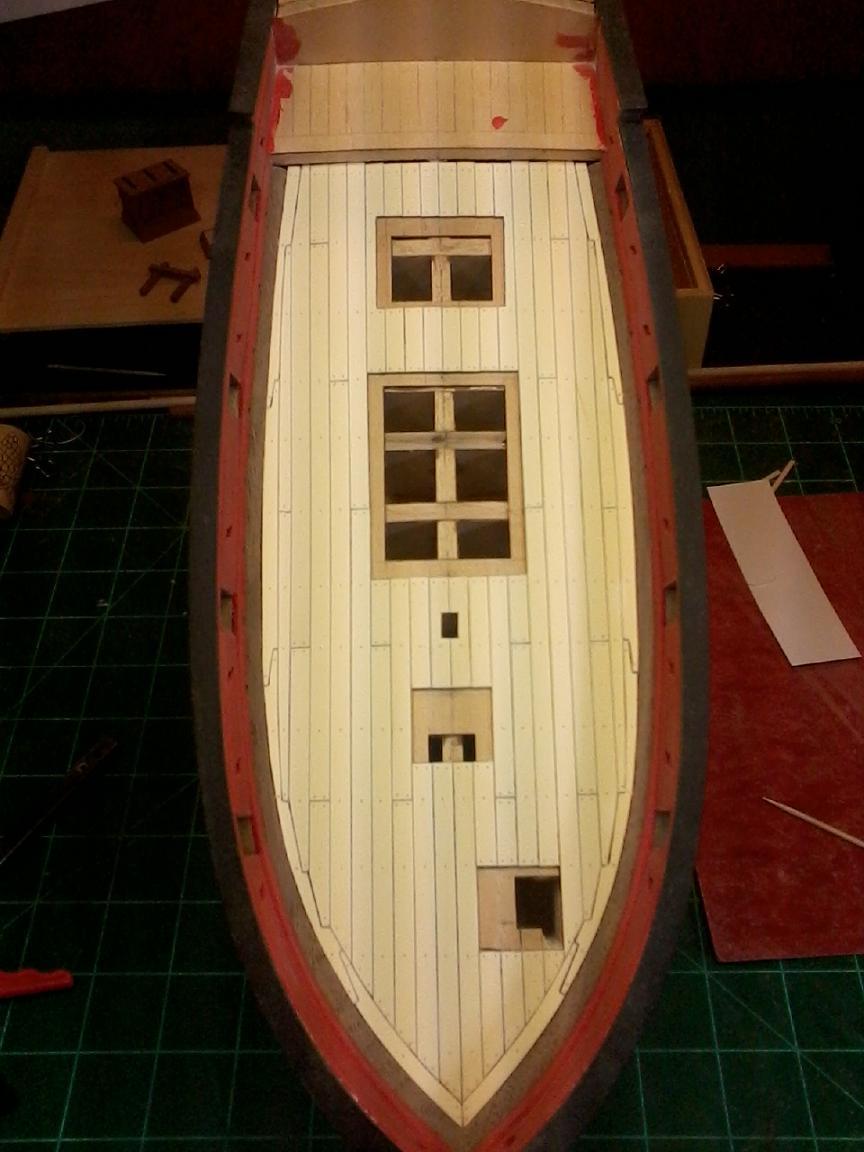
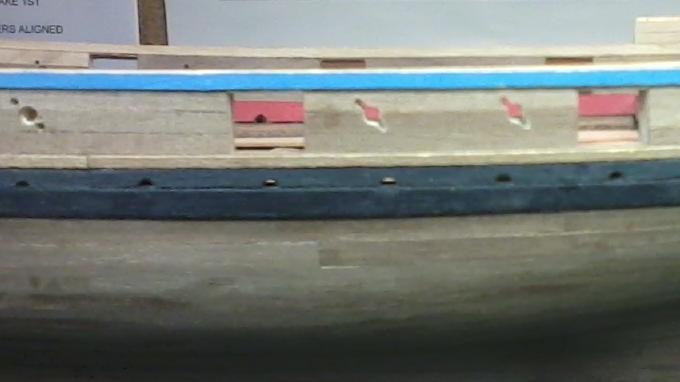
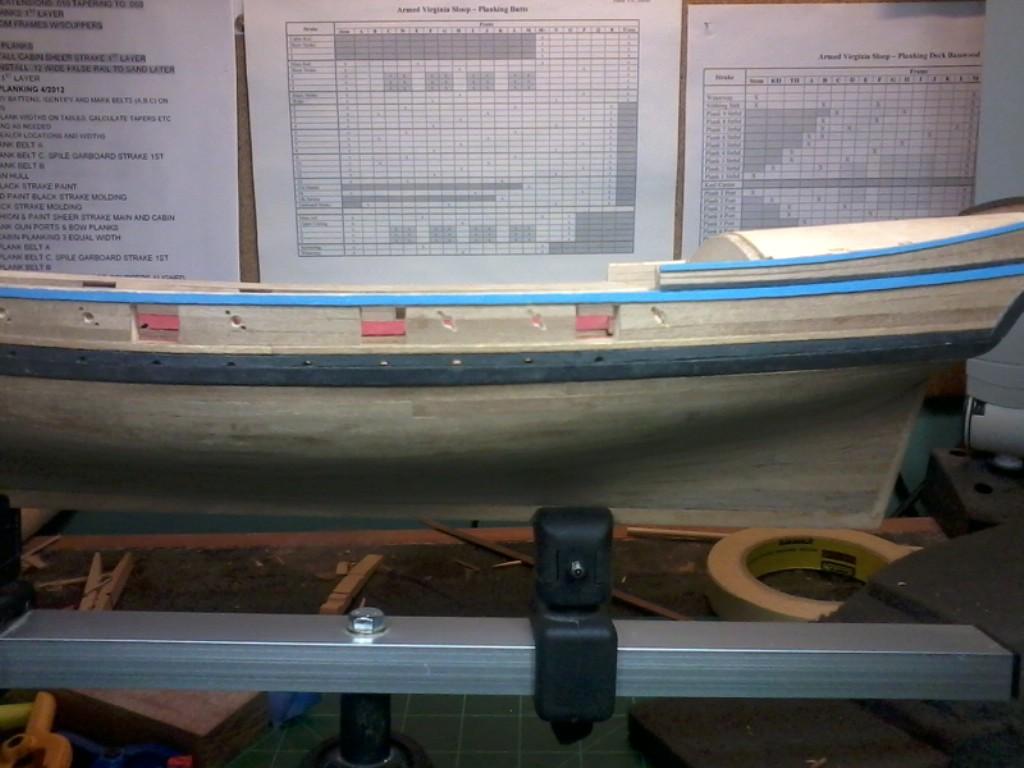
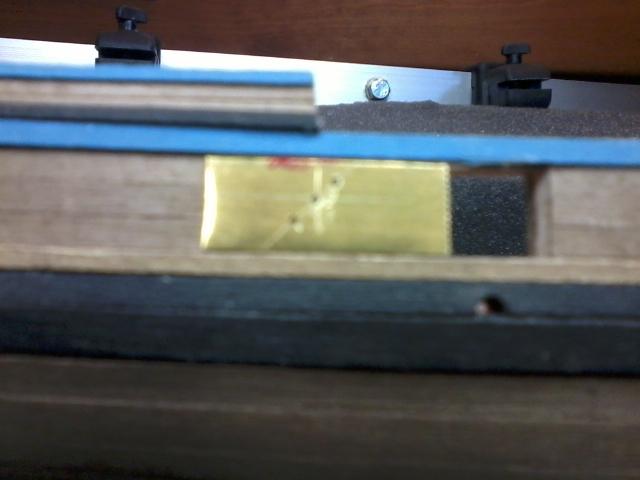
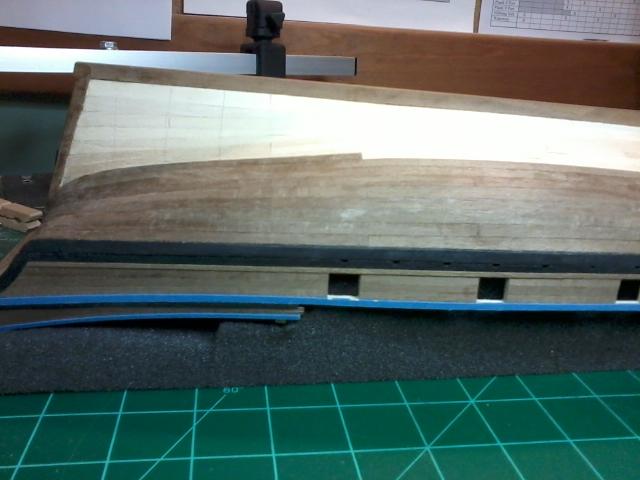
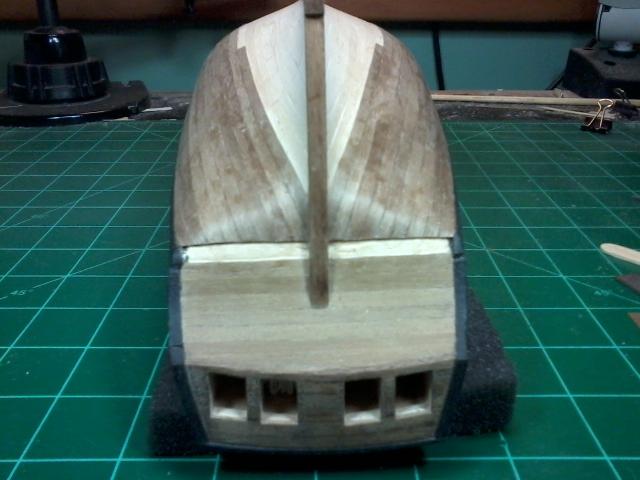
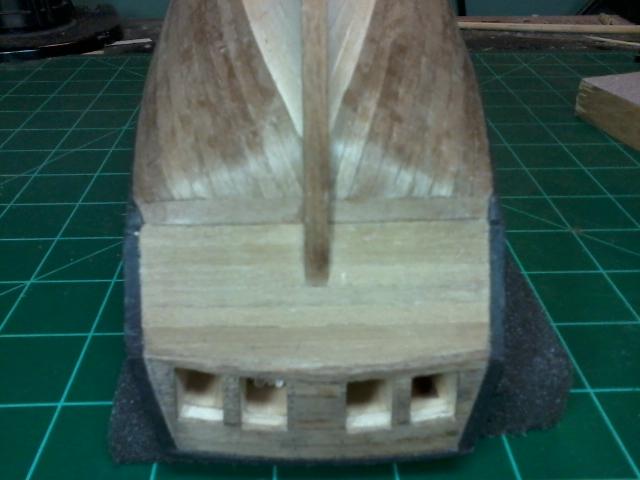
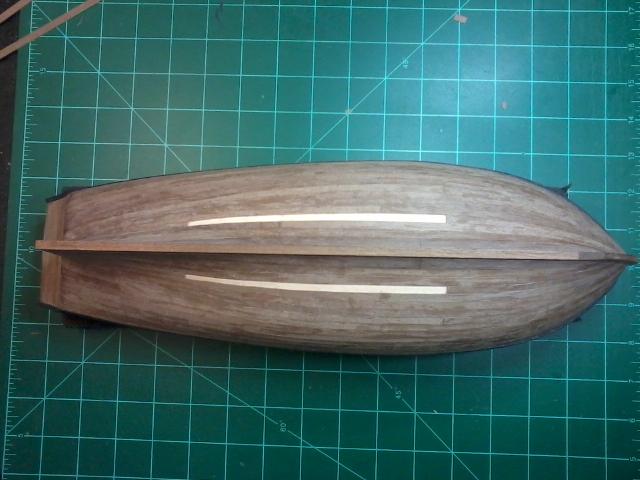
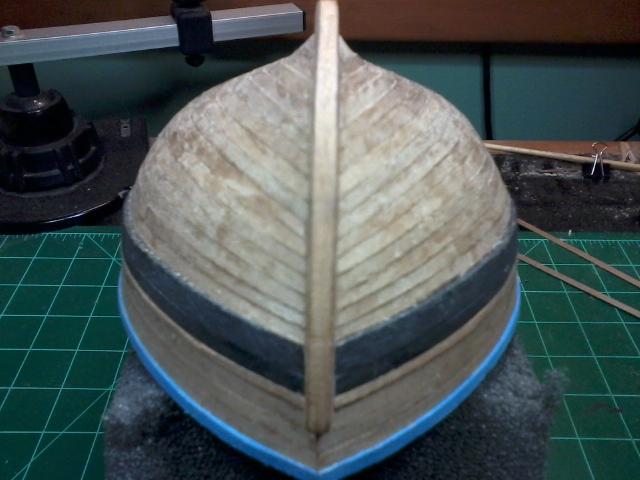
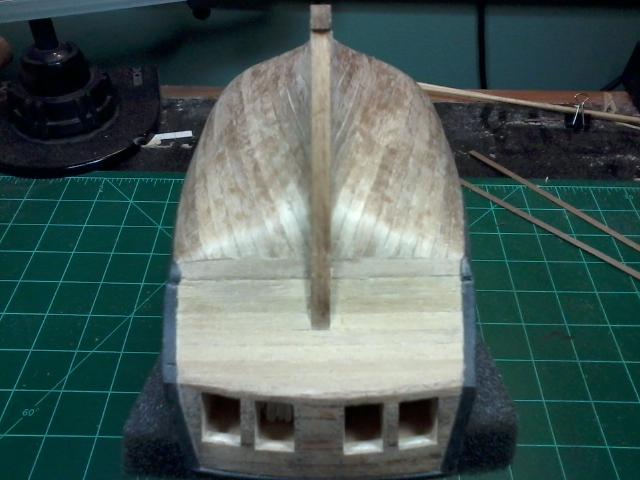
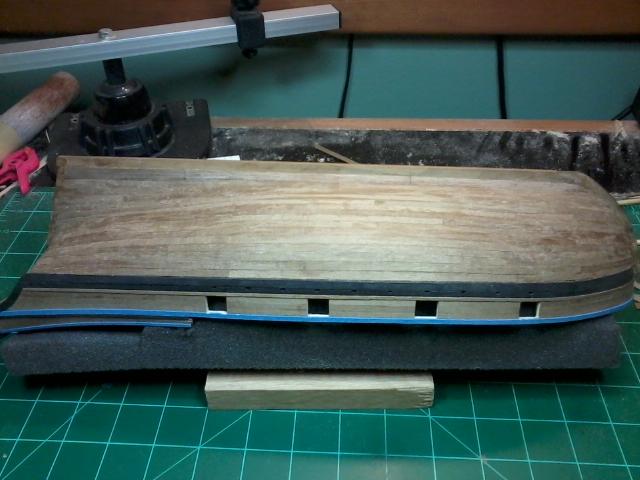
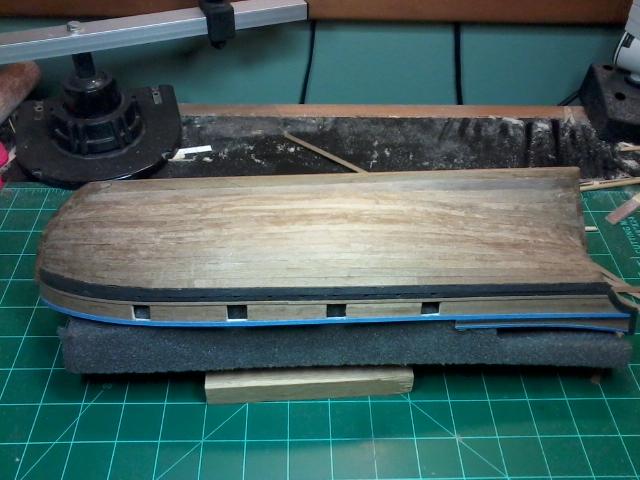
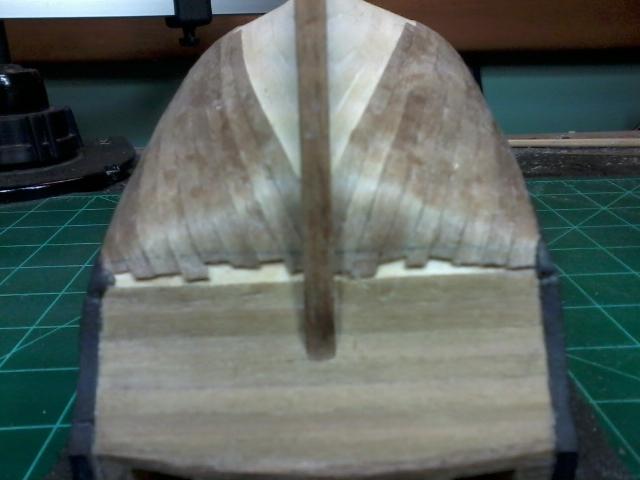
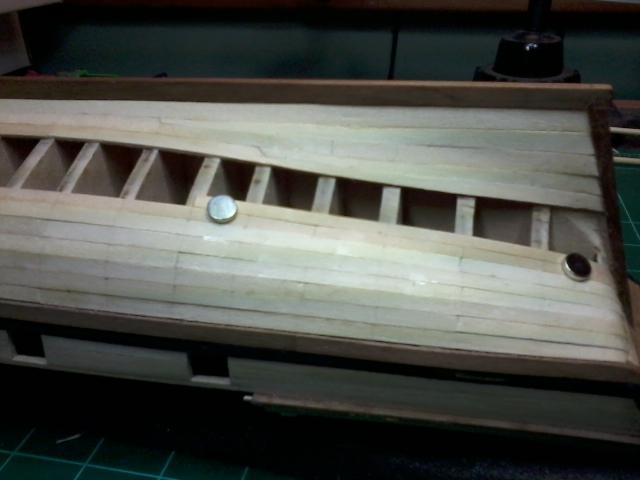
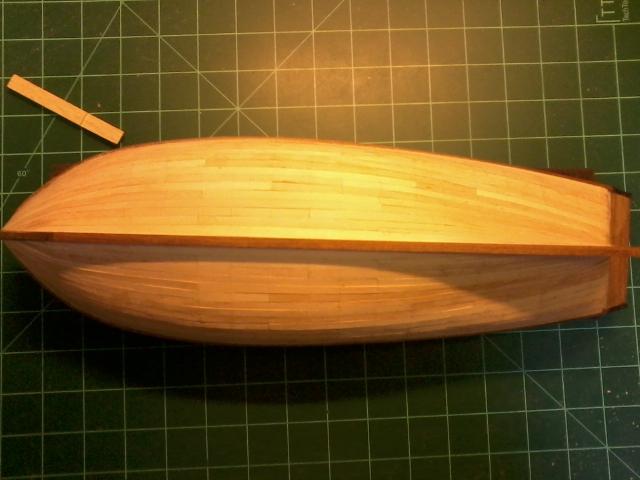
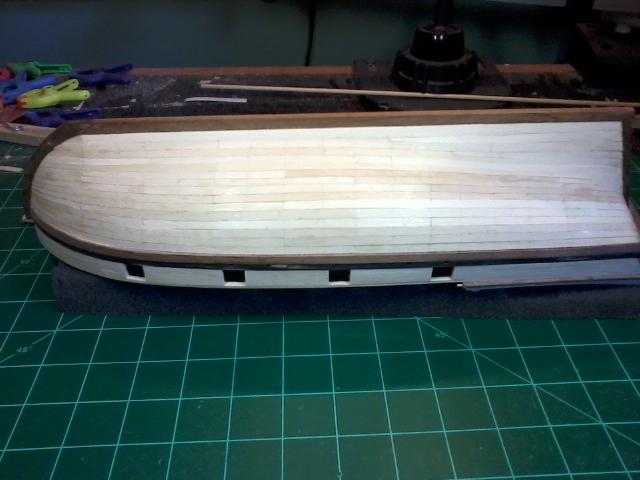
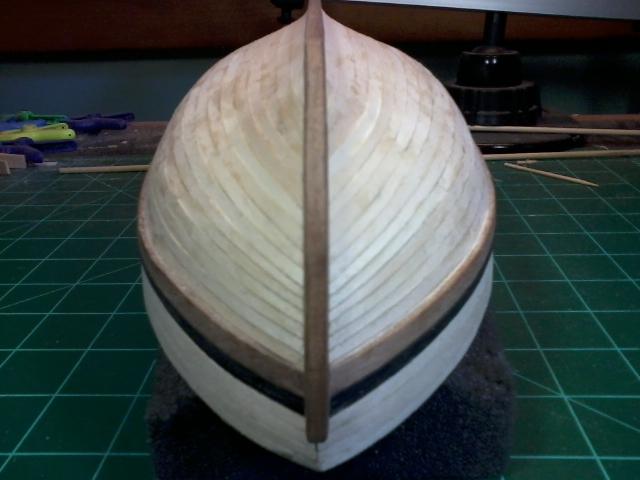
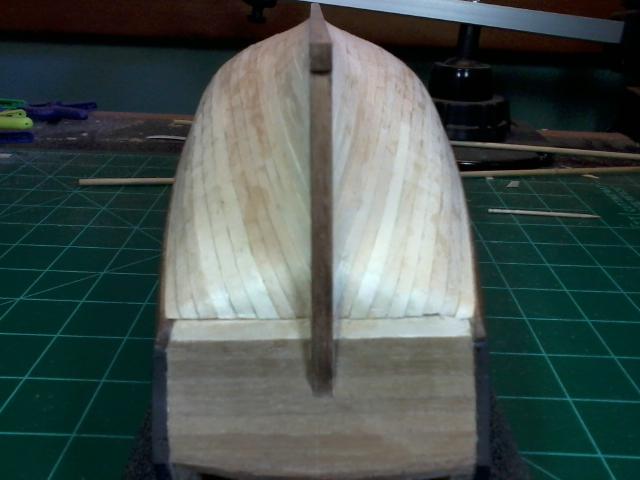
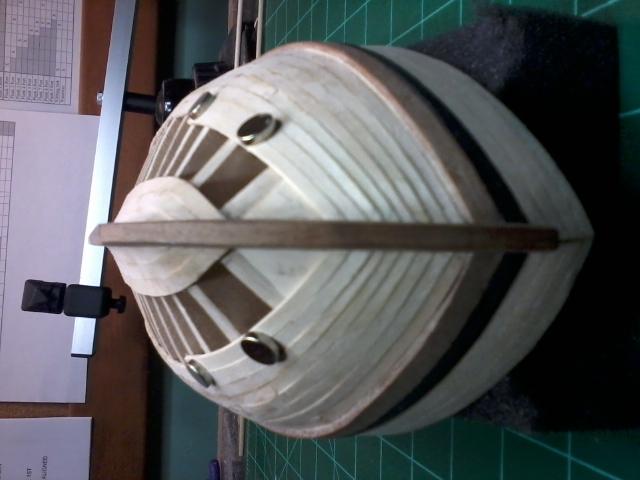
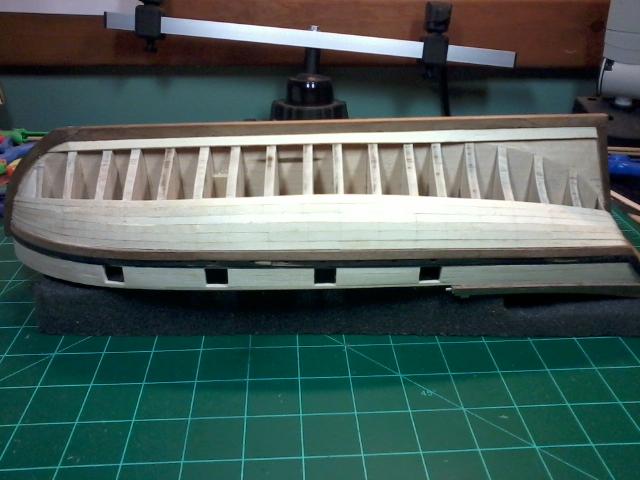
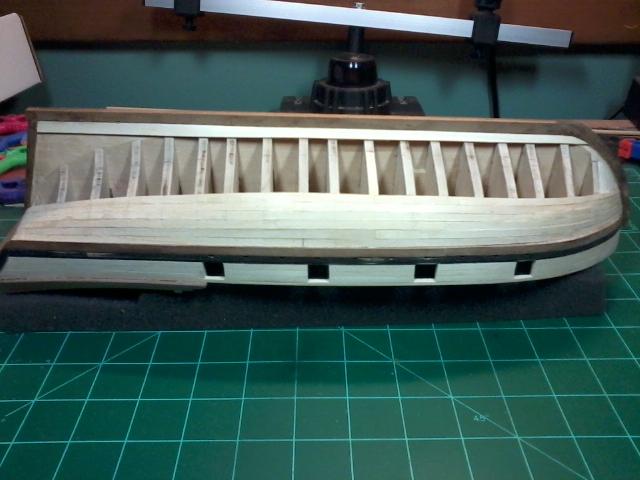
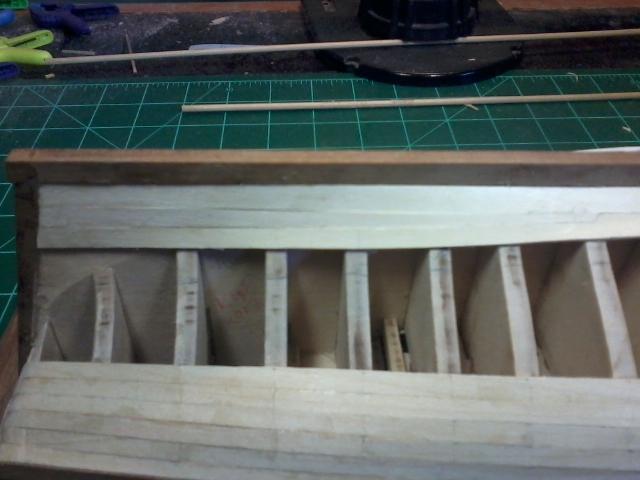
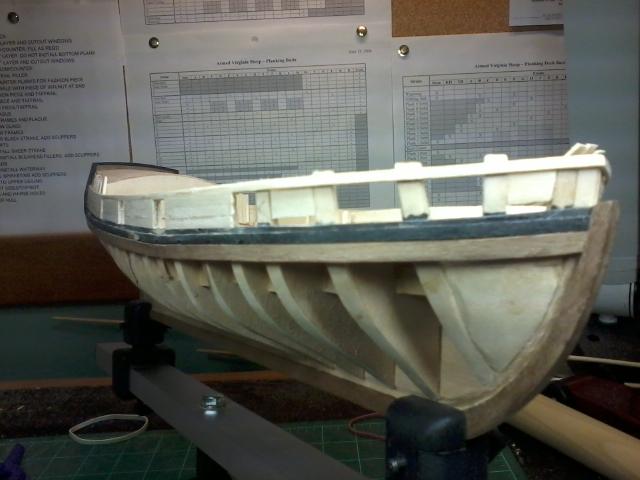
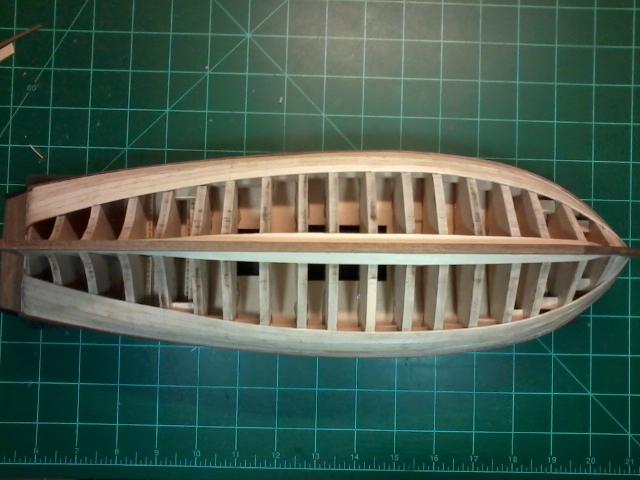
Thanks for the compliments! I've racked my brain a little and here are some AVS tips and tricks that I can remember. Framing: Use even spacer blocks bonded outboard between the bulkheads, this really strengthens and stiffens the frame assy. I cut the rabbet after installing the bulkheads and keel and seemed to work fine. Use Bow & stern Filler blocks. Spend extra time faring, I needed to add some shims to some bulkheads. Pay extra attention to the cabin framing, they have a slight angle for the window frames and is tricky. I ended up doing vertical widow sided with the top/bottom window angles aligning to the poop deck arc (not to plan) but am happy with the look. Planking: Buy some wider plank material for bow spiling. Use magnets to help hold planks in place Do not install final bottom counter plank until after the hull planks, allow the hull planks to extend into the counter and cut them all together, then install the counter plank. This creates a nice clean joint between these planks. Other deviations: For sweep holes, I created a drill fixture from brass shim for drilling the sweep holes (3 hole pattern), then drilled to larger sizes. I used a small saw blade to connect them then cleaned it up with knife blade and needle file. Was fiddly but cam out ok. For the windows, I radiused the frame edges and painted two-tone for better contrast blue outer and gold cross, then installed with the radius protruding instead of installed flush. I used Weldbond for the window glass. I didn't paint the framework black inside the cabin, windows were too small to see thru. I created a nameplate and named the ship after one of my daughters, future gift to decorate her home, plus gaurantees me at least 3 more builds to be done for the other kids I made wood handles on the cabin doors and companionway instead of metal. Thats it for now, coming soon... Pumps and ships wheel Ken
-
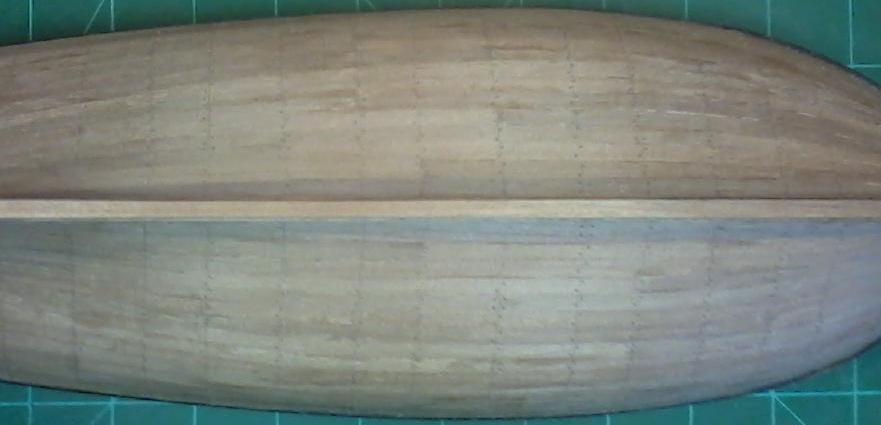
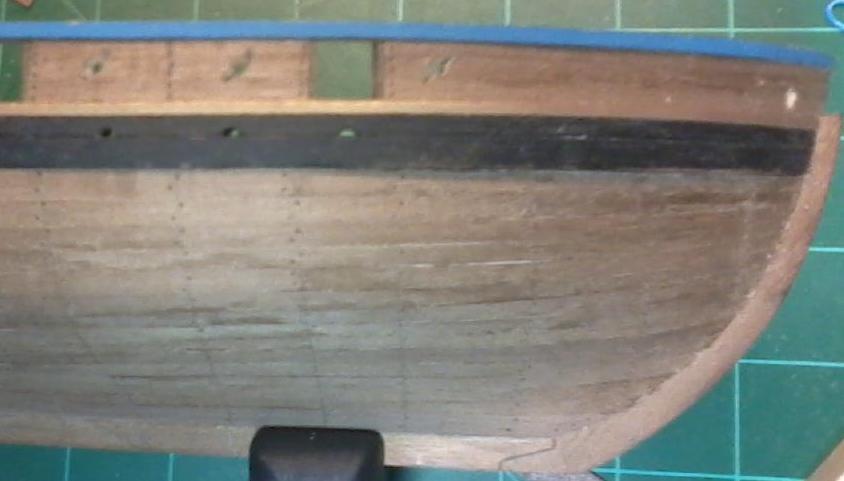
Lets replace all that missing info.... What are the most successfull methods of treenailing and/or making treenails? On my AVS being 1:48 scale, I could have fabricated and installed treenails, but opted for "False Treenails" using elmers wood filler in drilled holes. For a darker contrast on the walnut, I added some india ink to the walnut colored filler. For the deck planks I used a #78 drill which converts to about 1.0" diameter and the hull I used .7mm which converts to aprox 1.5" diameter full scale. I've decided for myself that any scale smaller than 1:64 is not worth the effort of doing treenails. I do plan to do fabricated and installed treenails in my future build of AL Independence scale 1:36
-
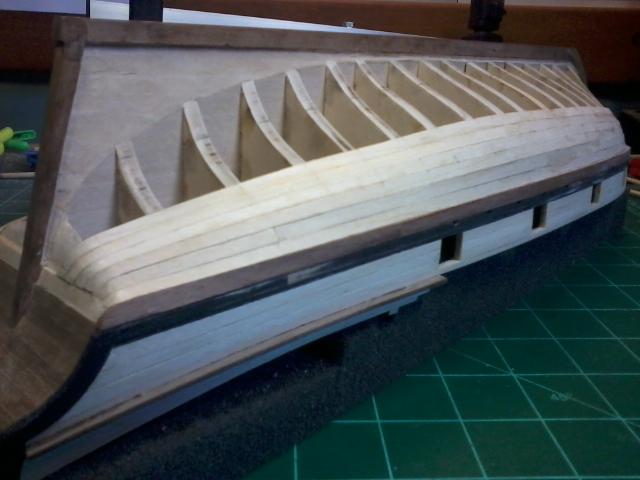
Agreed, As stated above, you need to order some wider material. I was able to utilize some wider basswood in my AVS kit that was meant for the nibbing strake, as I replaced my Basswood deck planks with Holly from Hobbymill (highly recommended upgrade). I managed the 2nd layer .020 walnut by spiling a 1/4 wide plank as much as possible and doing some lateral bending combined with brute force and adhesive (holding the planks flat in place until adhesive fixture cures, using low tack masking tape and fingers). Next time I plan to order wider planks ahead of time. Ken
-
Solder brass rod for deadeye
BareHook replied to cog's topic in Metal Work, Soldering and Metal Fittings
I think a small iron would be preferred, with a torch its difficult to create a clean precision joint (i.e. you can use the tip to manipulate the solder and rod. -
I've sort of planned out my future builds as training sessions to build up my skill level. I figure by the time I complete those kits, Jotika will release their Suprise kit and I'll have the skill level needed to complete the build. Ken
-
I started with it, the first chapter is a free sample, but then diverged to The Model Boatyard practicum by John H. Earl which is a free download http://www.modelboatyard.com/avs_articles.html due to being unable to afford the Lauck Street one. It is more general as a guideline, where the lauck street is very specific, but I have done ok with all the support at this website. Ken P.S. Please be sure to start a build log for it. There are a lot of modelers on this site who have already built this kit and can provide tons of info and suggestions. (i.e. The blocks for the cannon rigging are too big and should be replaced with 1/8" blocks)
- 110 replies
-
- 3
-

-
- armed virginia sloop
- model shipways
- (and 2 more)
-
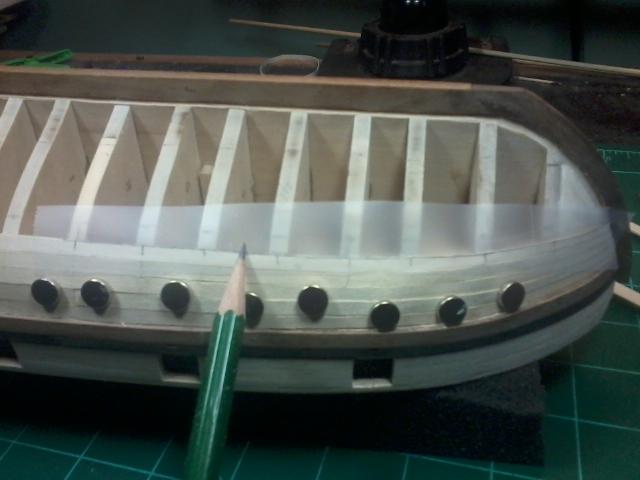
I use 4H and 6H pencils sharpened and honed to a fine point. I prefer the harder lead as it produces less graphite dust. I also use colored pencils for special markings such as planking butt joints on bulkheads, but they tend to be pretty soft and cant hold a point, so are only useful for reference marking, not precision marking. Ken
-
Furled , unfurled or no sails -Preference
BareHook replied to Canada Steve's topic in Masting, rigging and sails
I like the look of sails, but when I get to the point of having to fabricate and add them, it will come down to whether my sailmaker (wife) is able to sew them to the needed precision, plus the difficulty of installing them as I have not yet done any rigging. I hope they work-out but won't kill myself trying to make it work. Ken -
Excellent tutorial, I plan to use this method with my AVS Thanks! Ken
-
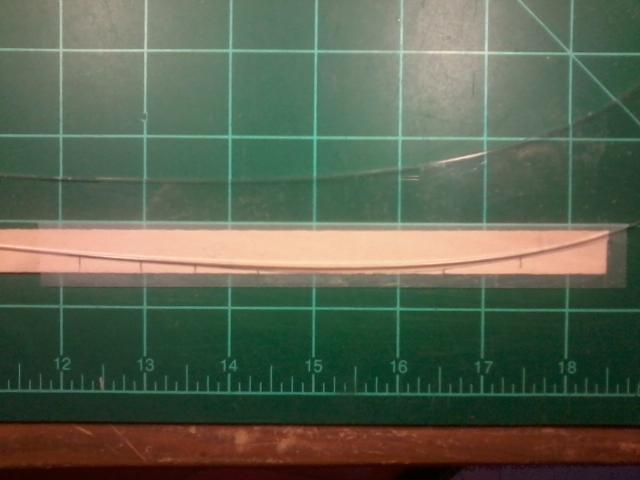
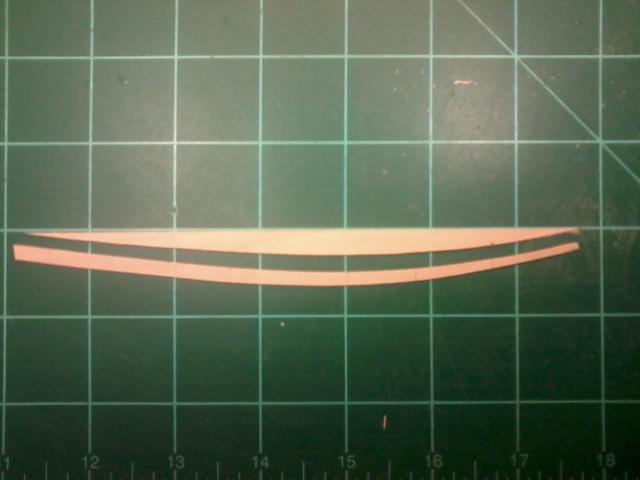
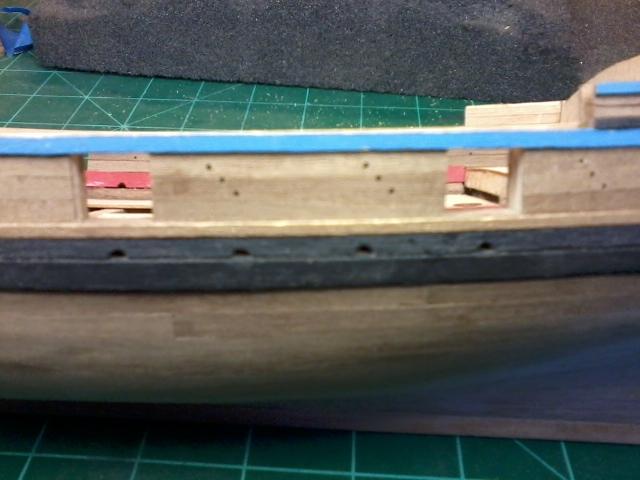
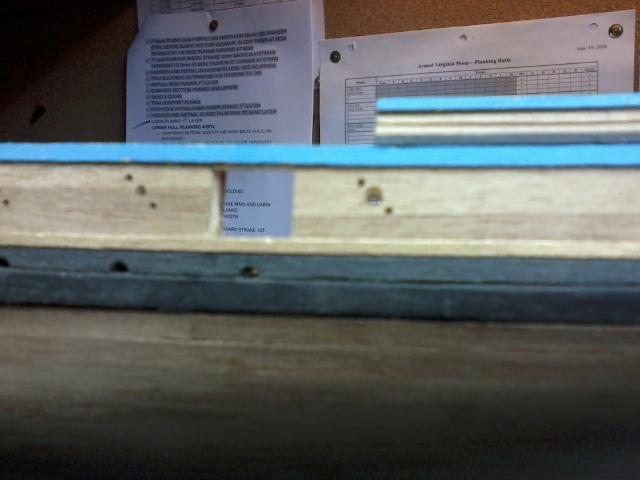
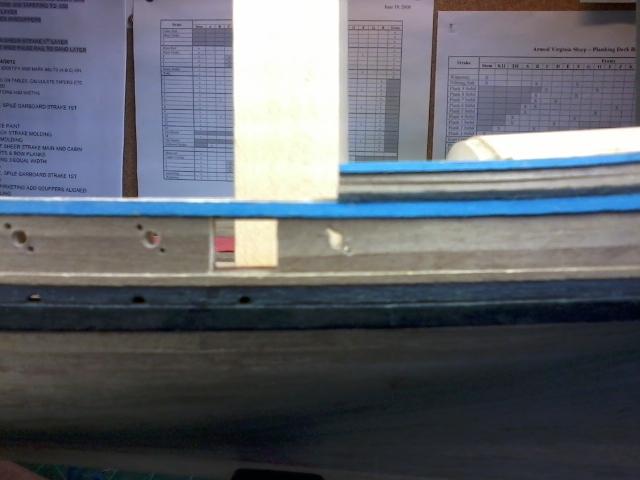
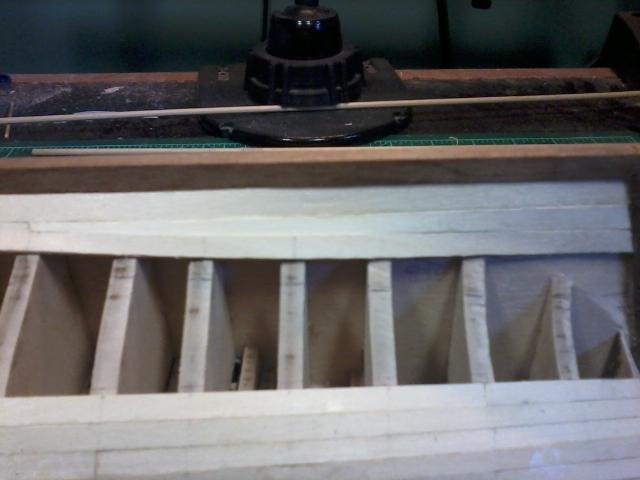
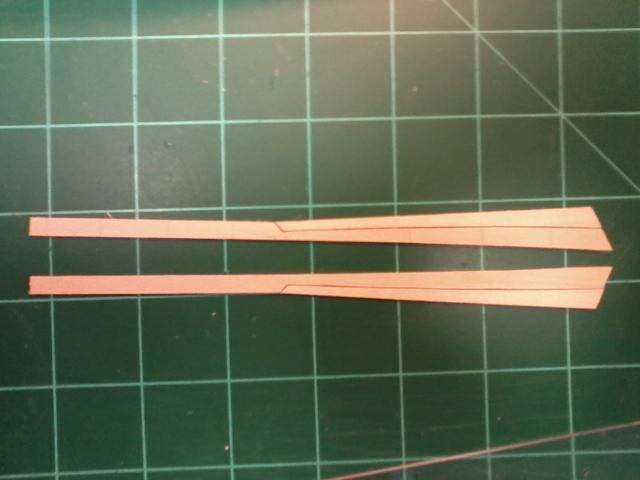
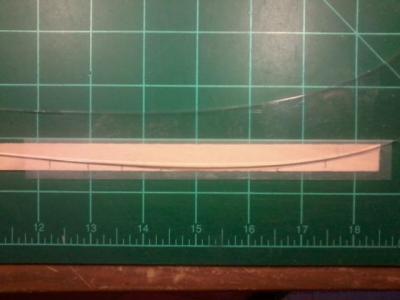
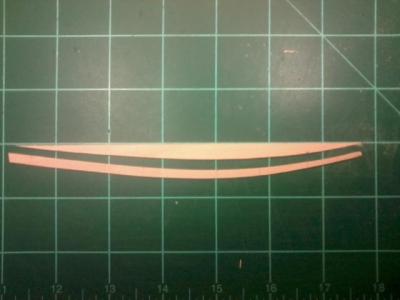
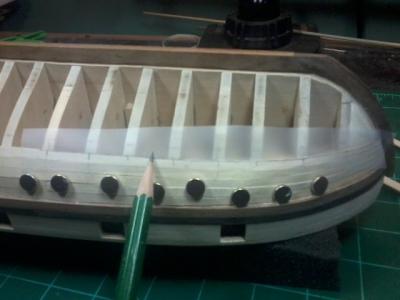
I thought this would be helpfull since there appears to be a number of new "plankers" posting questions An easy way to mark planks for spiling. Apply dull finished scotch tape along the edge of the next plank. Mark the start and finish butt points as well as bulkhead locations on the tape. Trace the edge of the plank onto the tape with a pencil. Remove the tape and apply it to a wide plank to be spile cut, this gives you the flat pattern of the curve. Cut the plank along the marked edge. Apply your plank width tapering from the cut edge. Cut the plank to width and cut to legth for the butt joints or taper into the rabbet on the keel. Clean up and bevel the edges for a clean joint. Test fit and install using preferred bonding method.
-
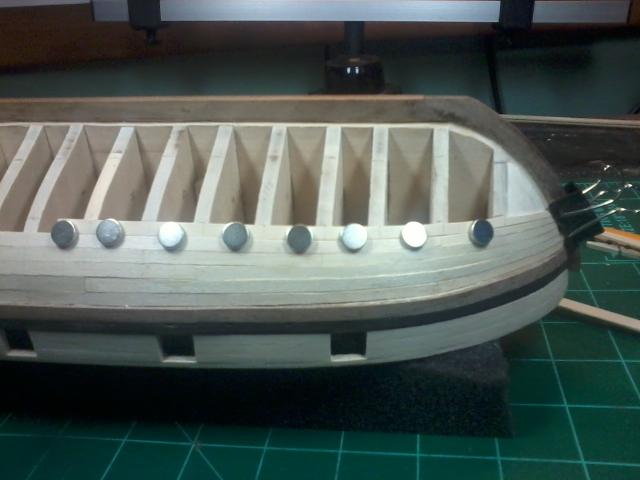
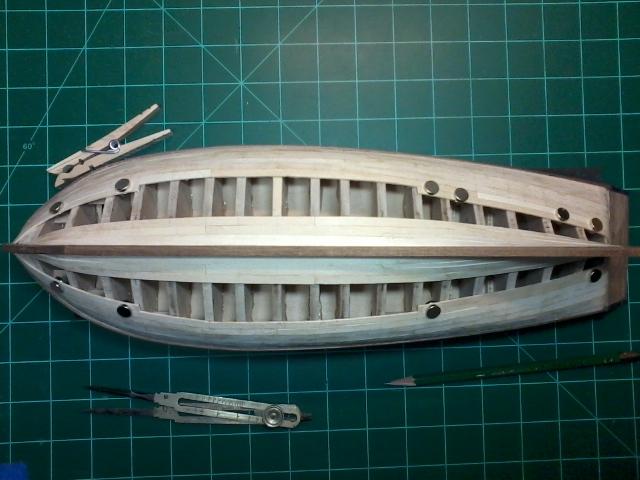
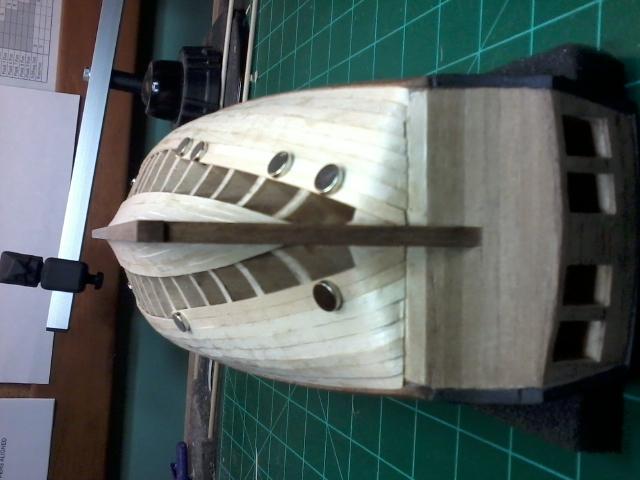
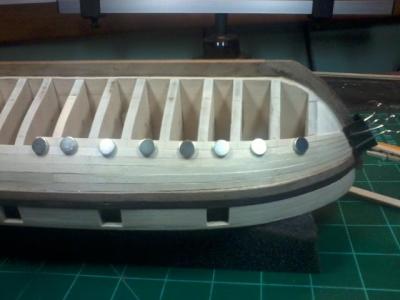
Jim, Yes they are magnets. I got the idea from the "Ship modeling for dummies" site. They are very usefull for keeping the planks aligned until the glue dries. Once you are down to the last couple planks, you can no longer use them as there is a mating magnet on the inside that must be removed. I found they were a lot easier to use than pins or clamps. I did all my planking with "Weldbond" and didn't have to use any CA ahdesive, which I preferred as it allowed me to do small adjustments before a fixture cure of the adhesive. All, Please feel free to ask about any previous steps or images and I can expand on how I did the process. Ken