HOLIDAY DONATION DRIVE - SUPPORT MSW - DO YOUR PART TO KEEP THIS GREAT FORUM GOING! (Only 13 donations so far - C'mon guys!)
×


fmodajr
-
Posts
868 -
Joined
-
Last visited
Content Type
Profiles
Forums
Gallery
Events
Everything posted by fmodajr
-
 Thanks Michael!
 -
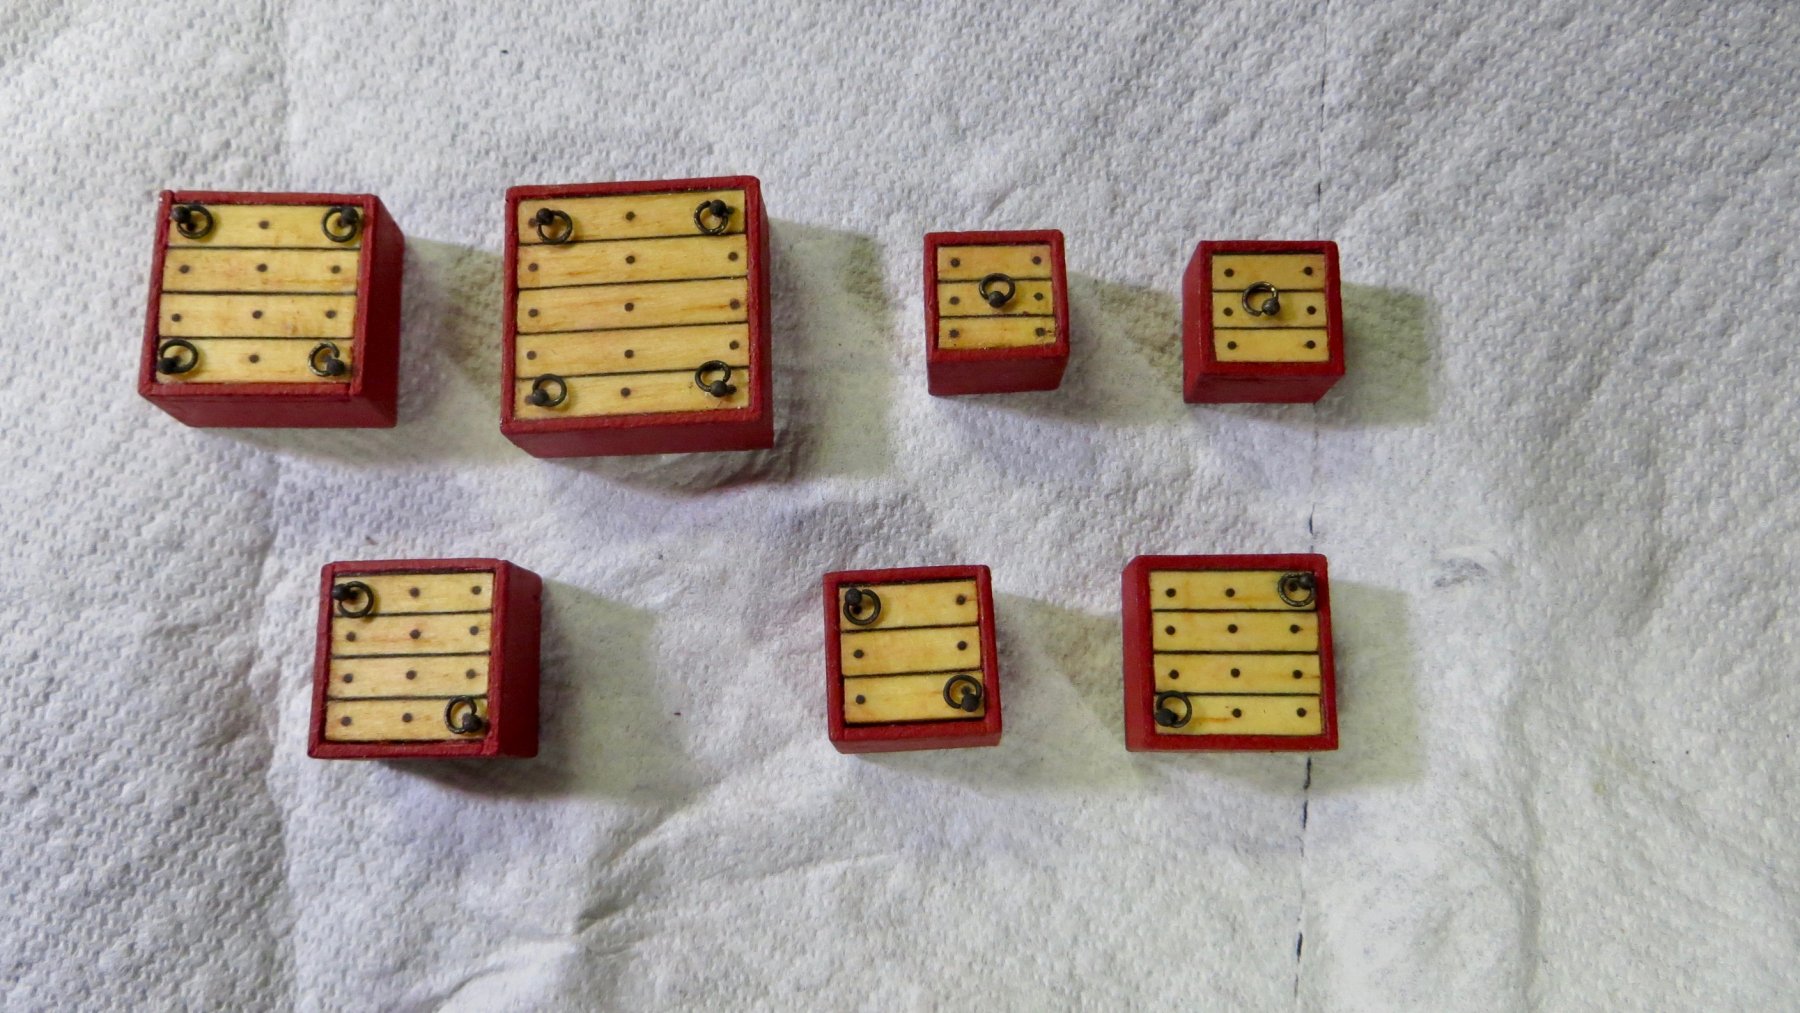
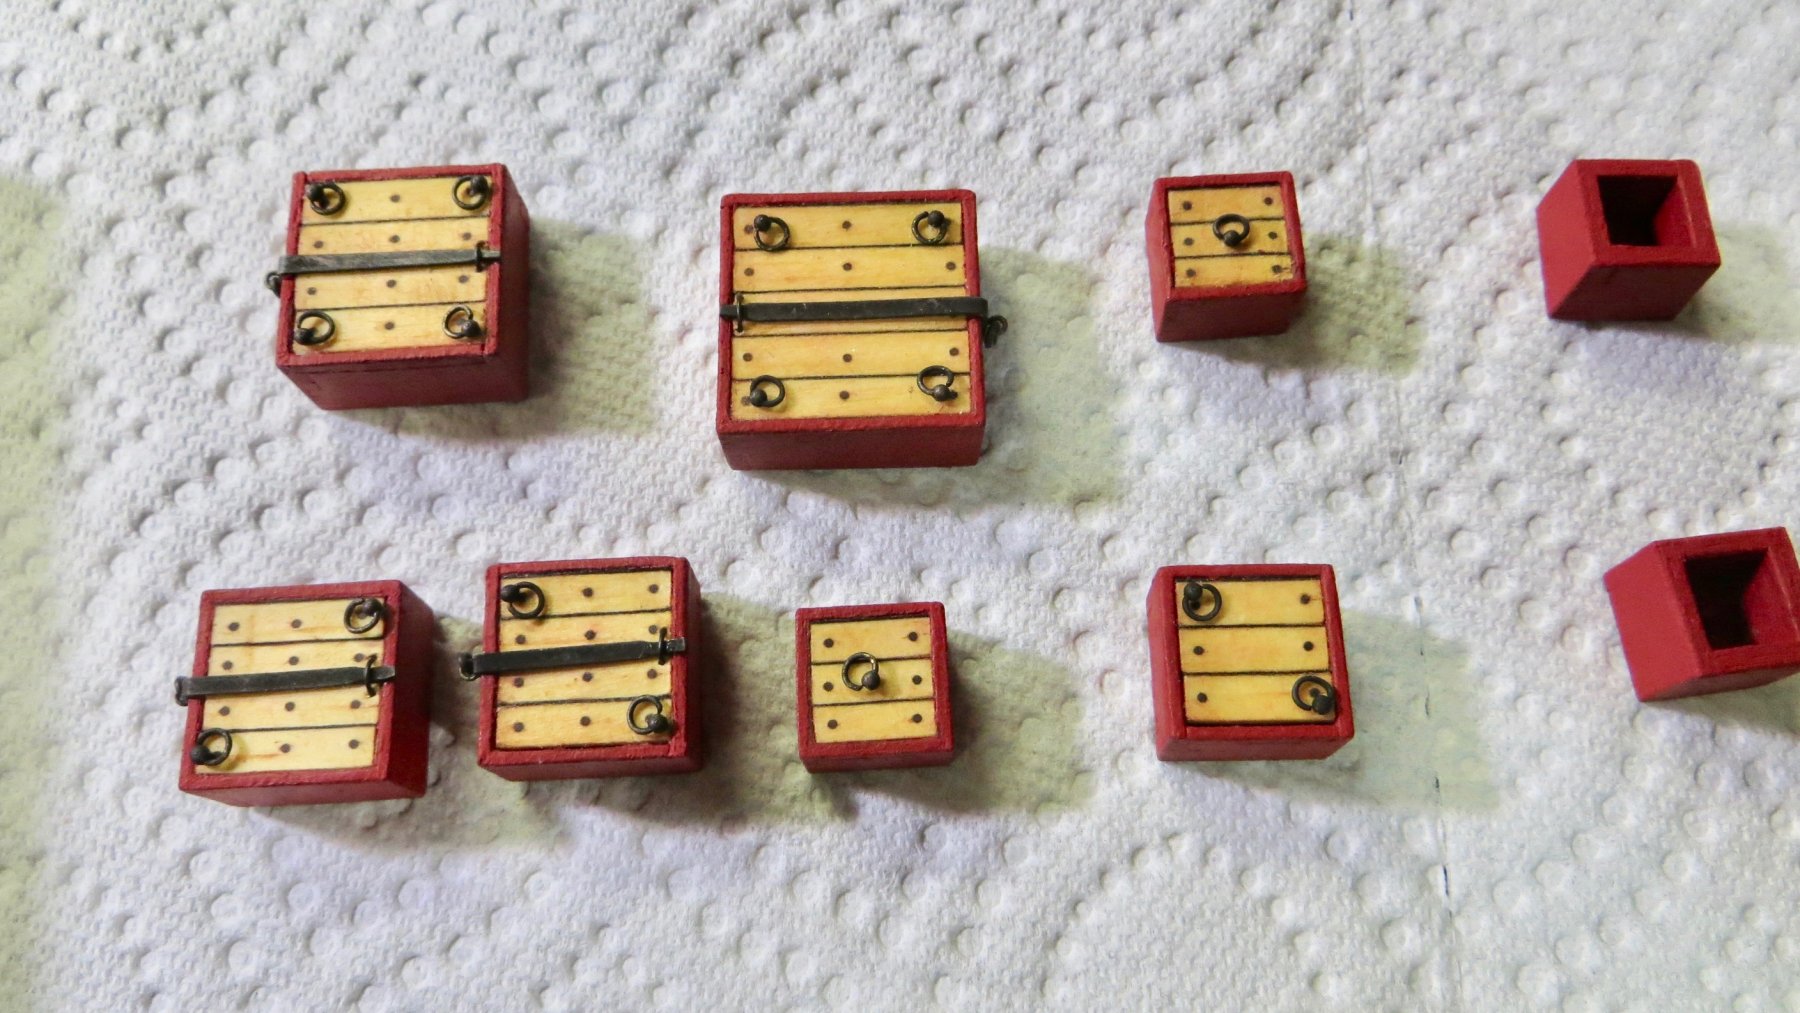
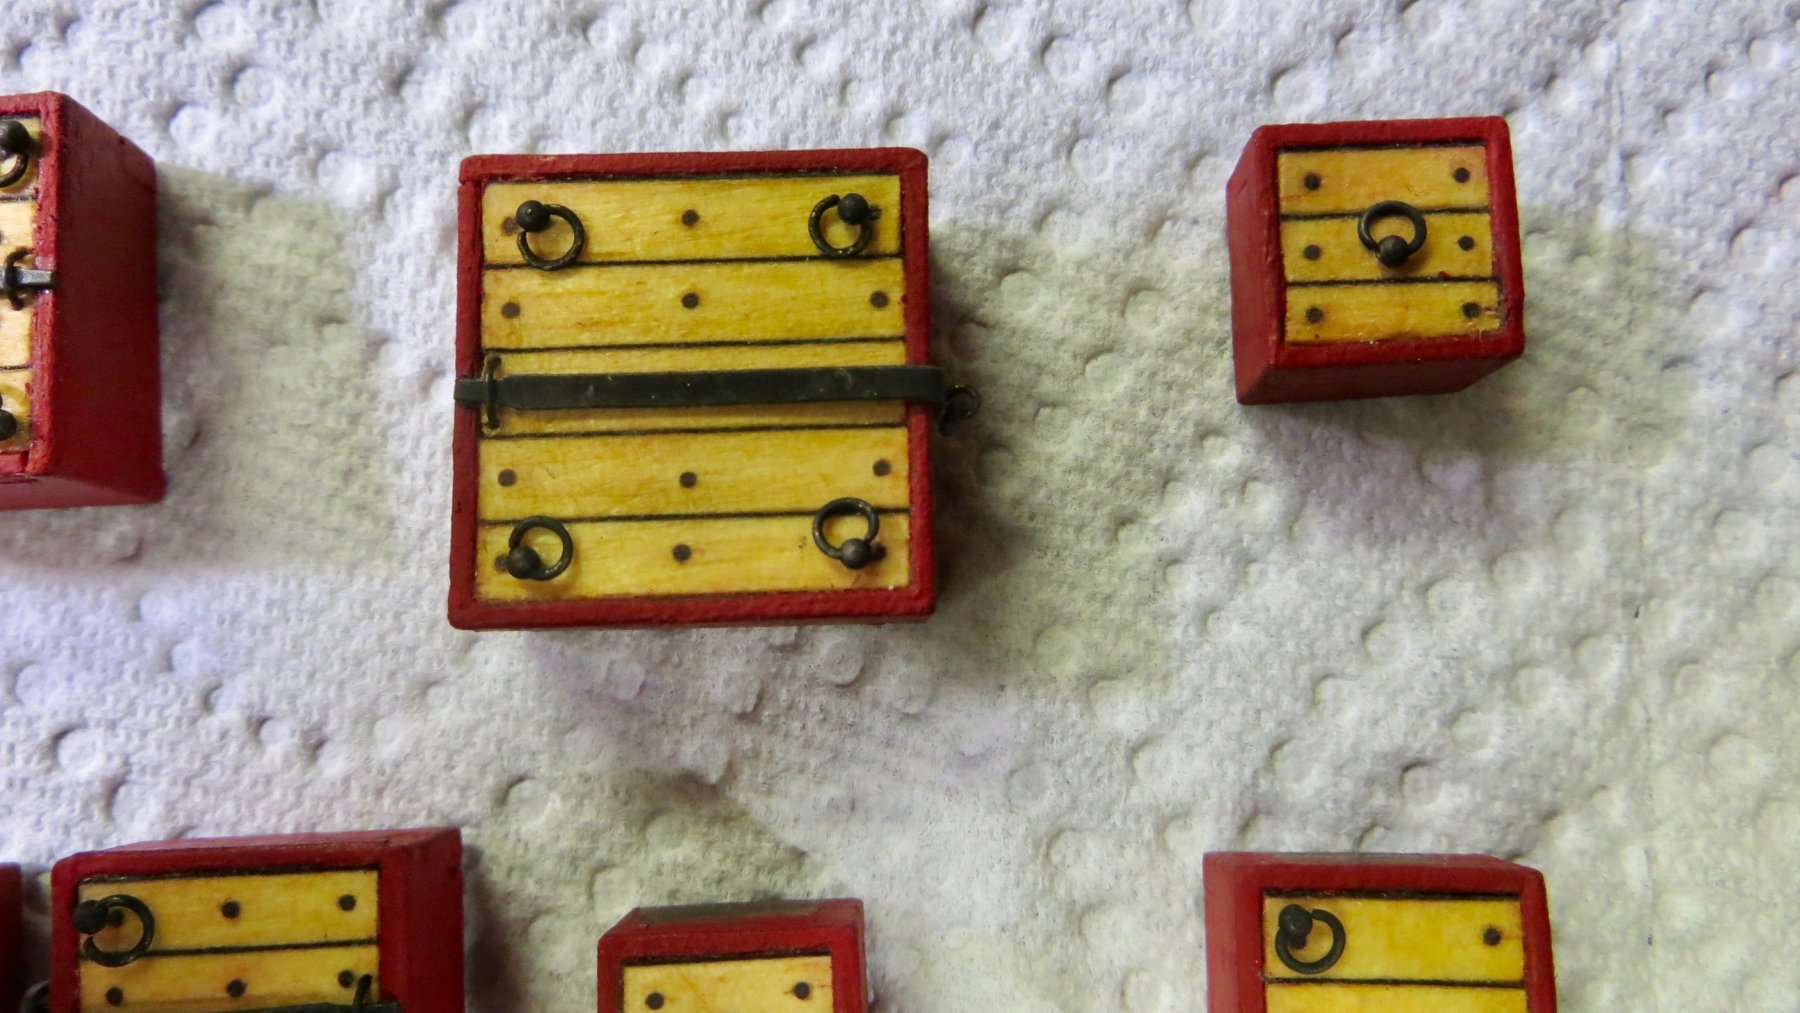
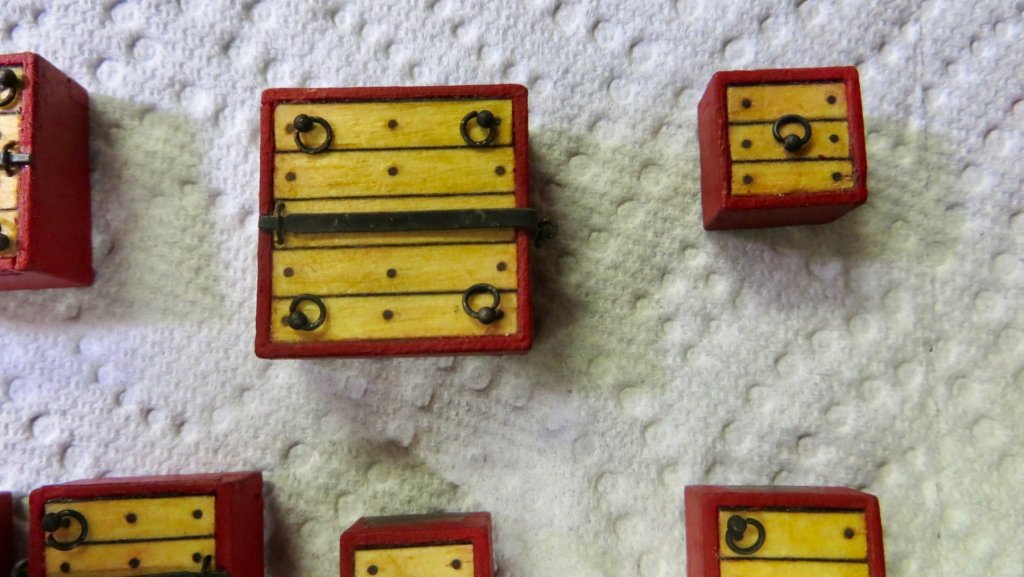
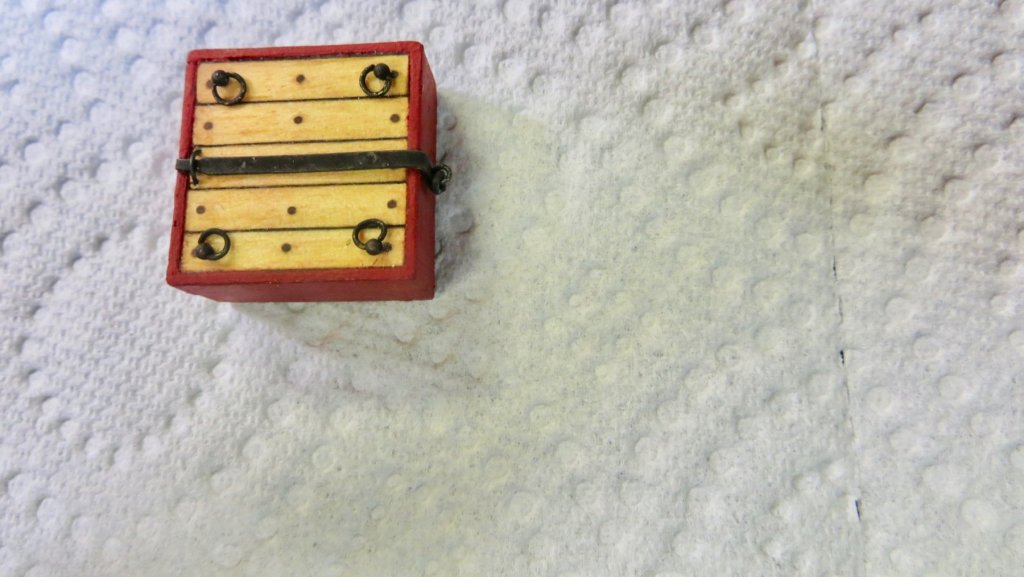
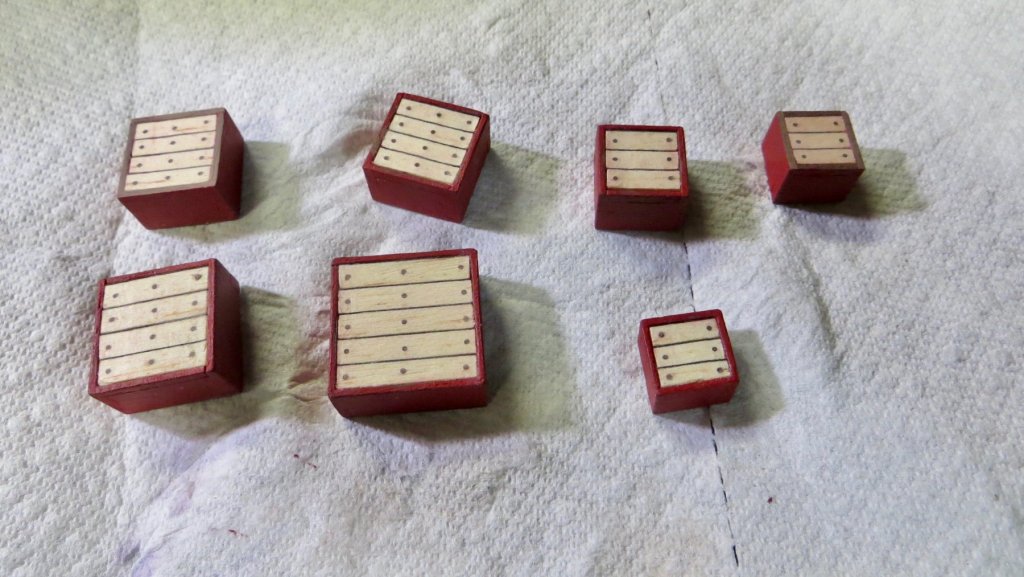
I then stained the hatch covers with a light Oak stain. Added lifting bolts. On the larger hatches, I added a bar to lock the covers, per the Fleur De Lis plans. In this photo, I show the round "handle" to the left of the bar, that the bar slides under. To the right side, the bar bends down 90 deg. and I created a eyelet and locking pin. The finished hatches dry fitted to the deck Now I can turn my attention back to finish tree nailing the deck and applying a stain. Thanks for visiting! Frank


- 510 replies
-
- 5
-

-
- reale de france
- corel
- (and 1 more)
-
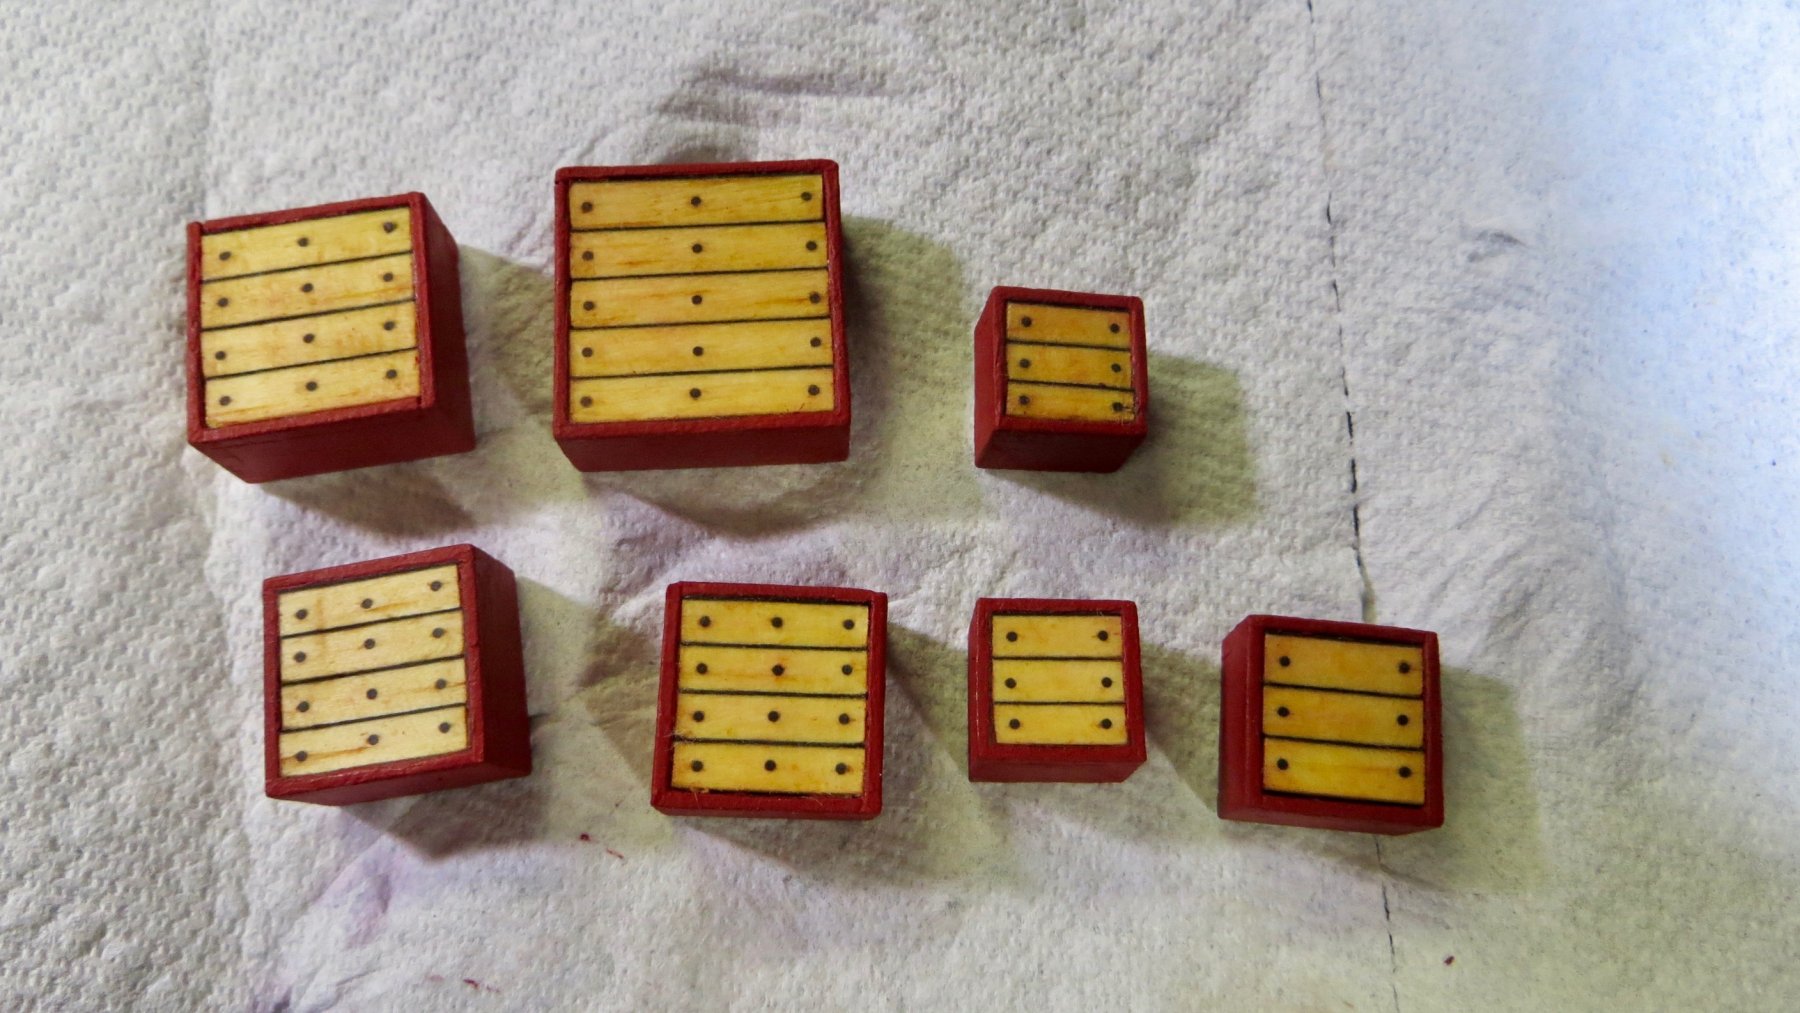
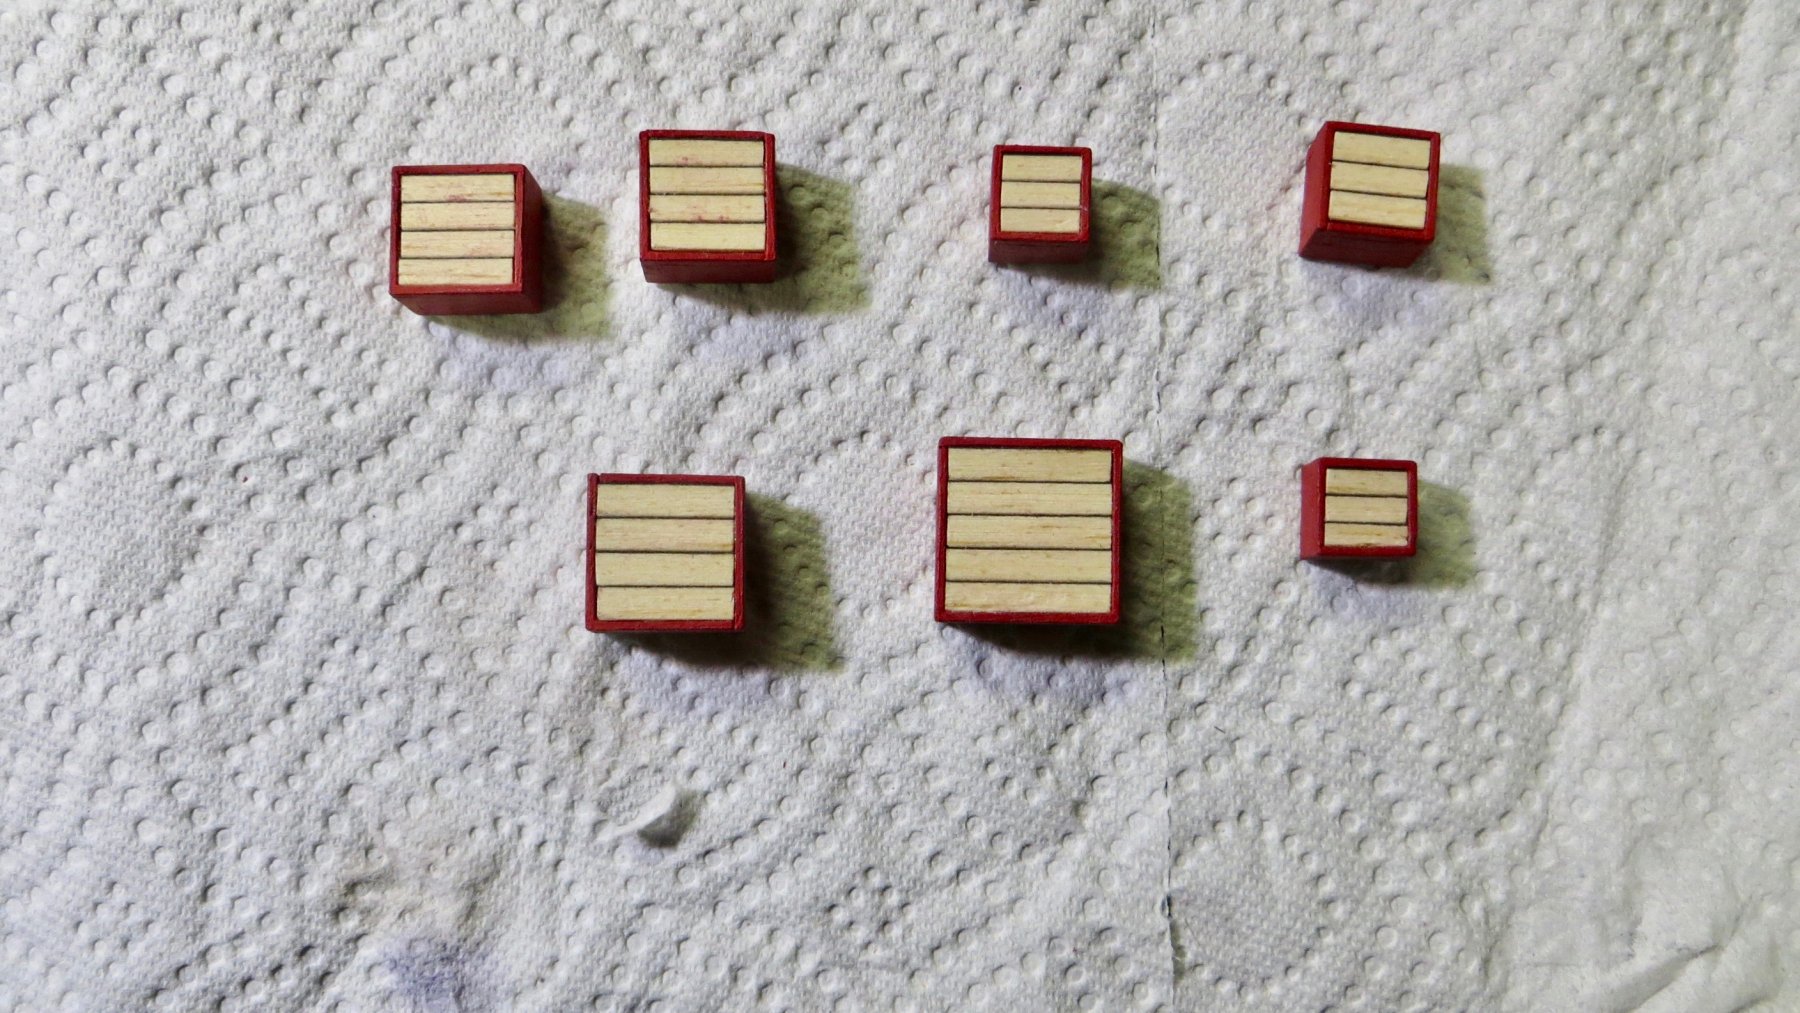
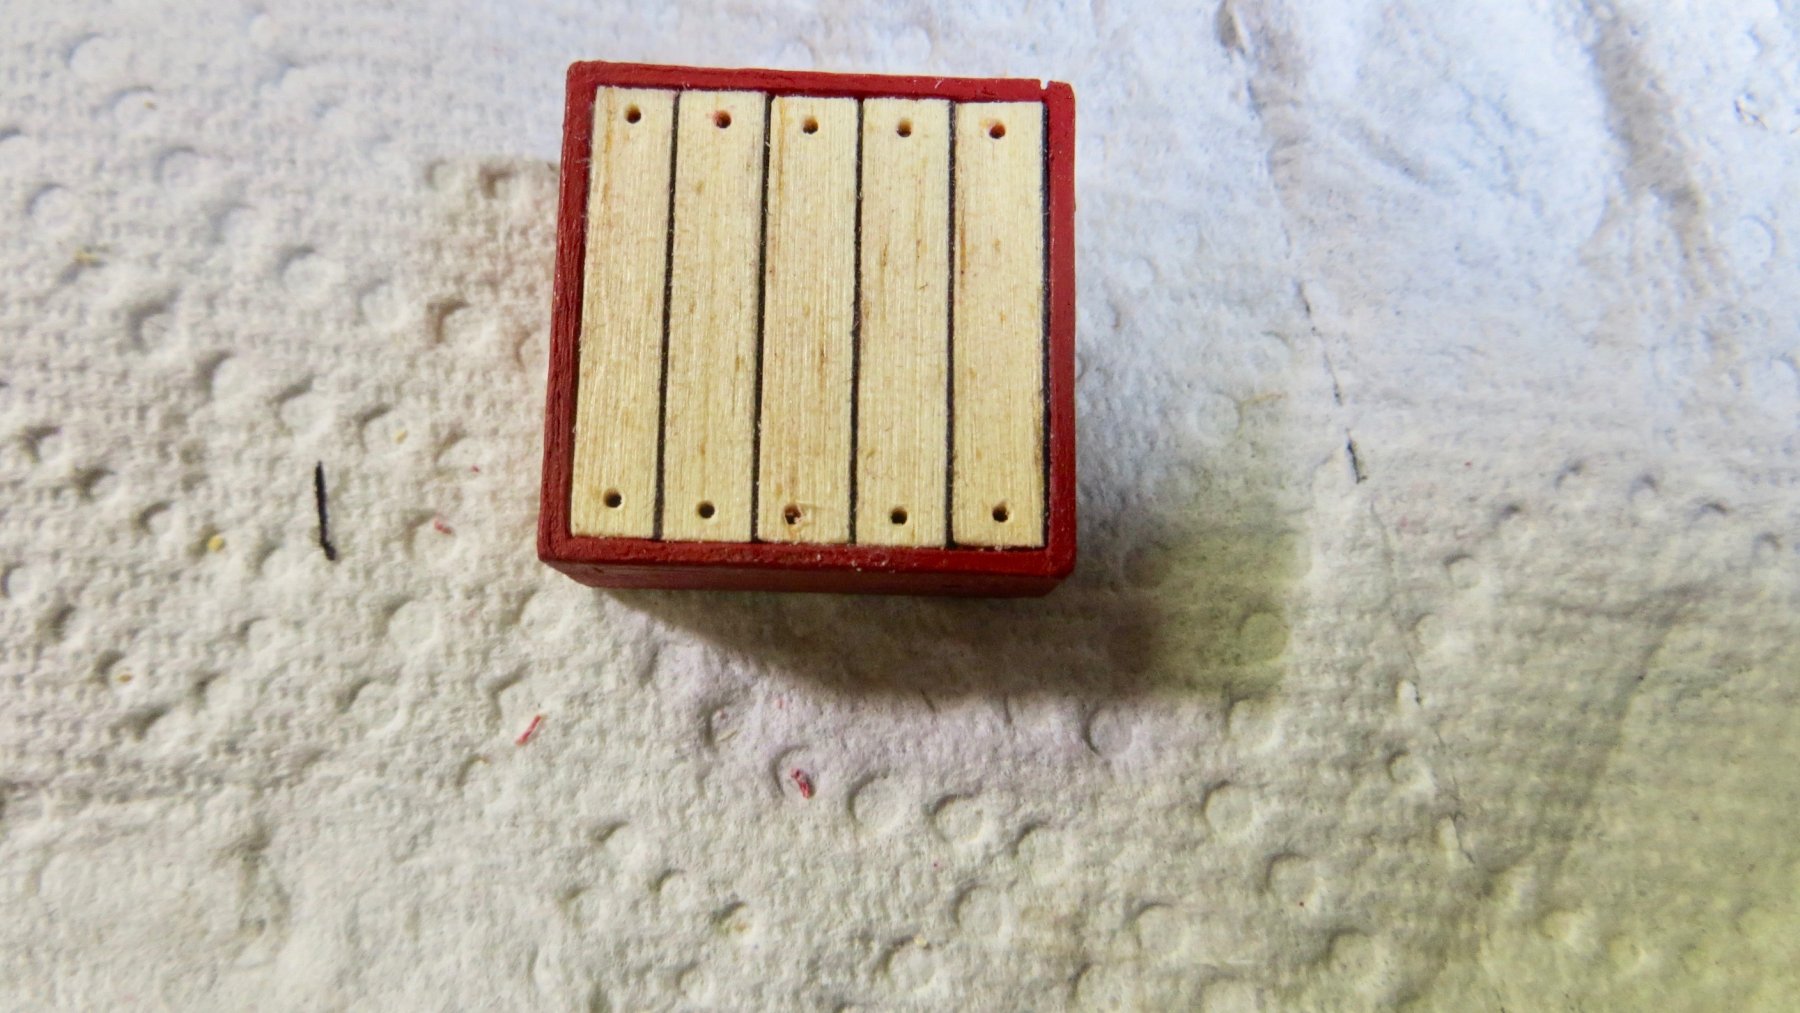
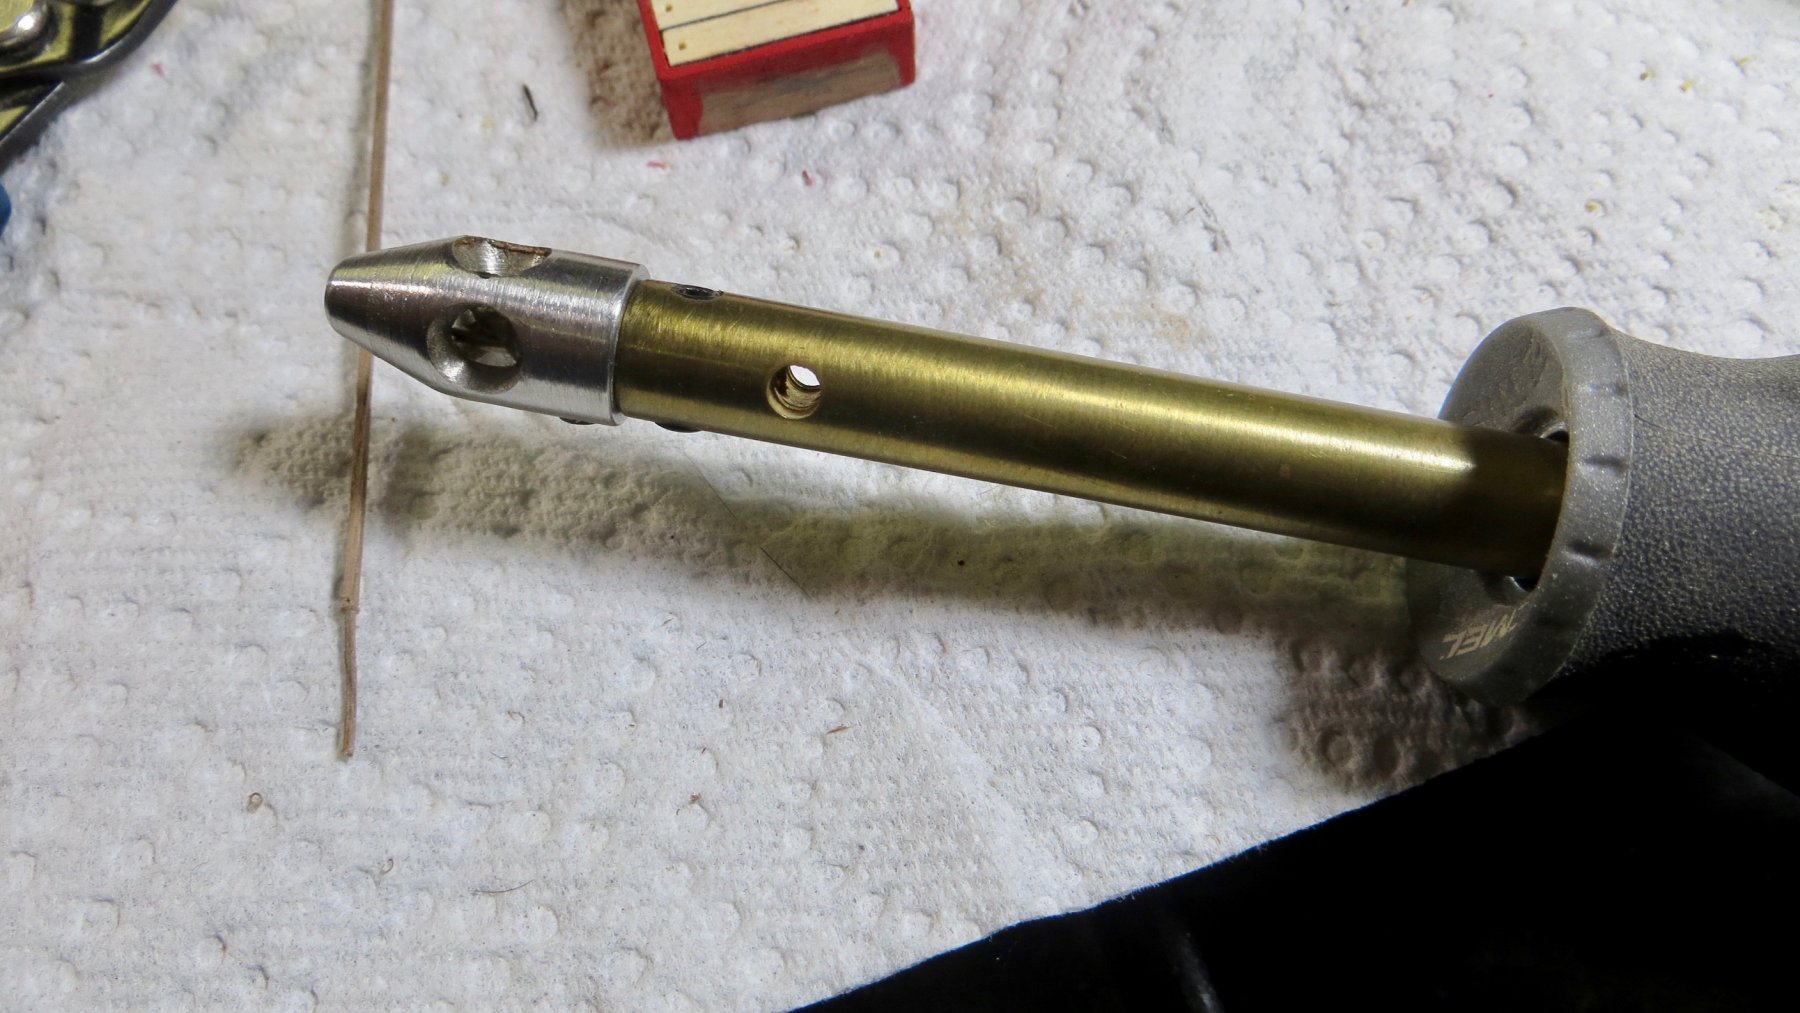
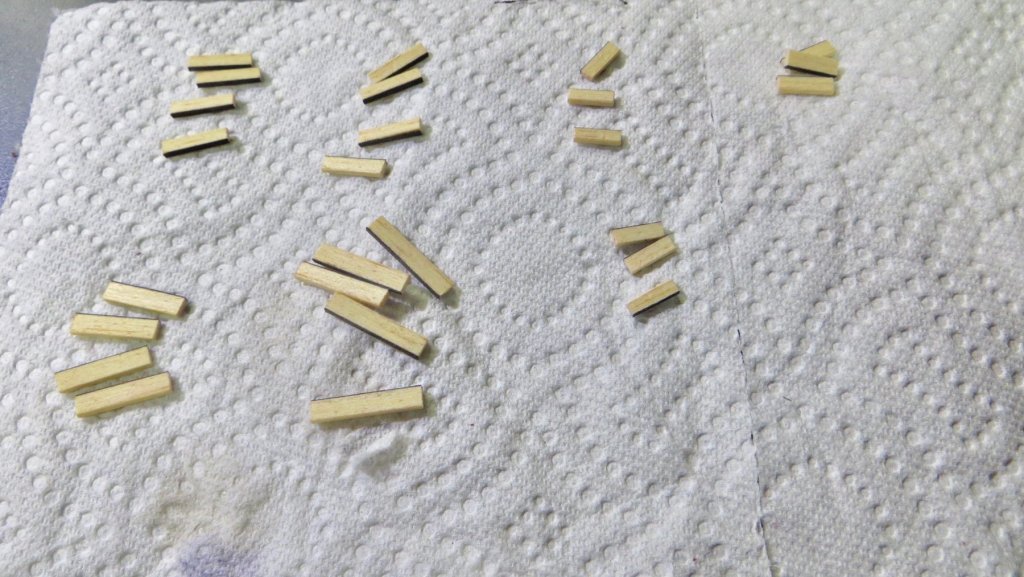
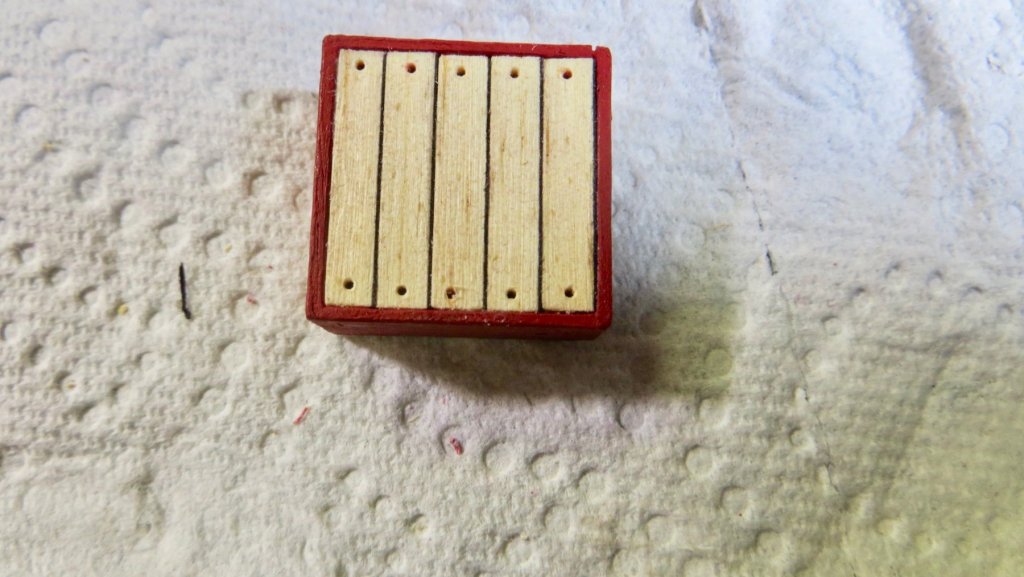
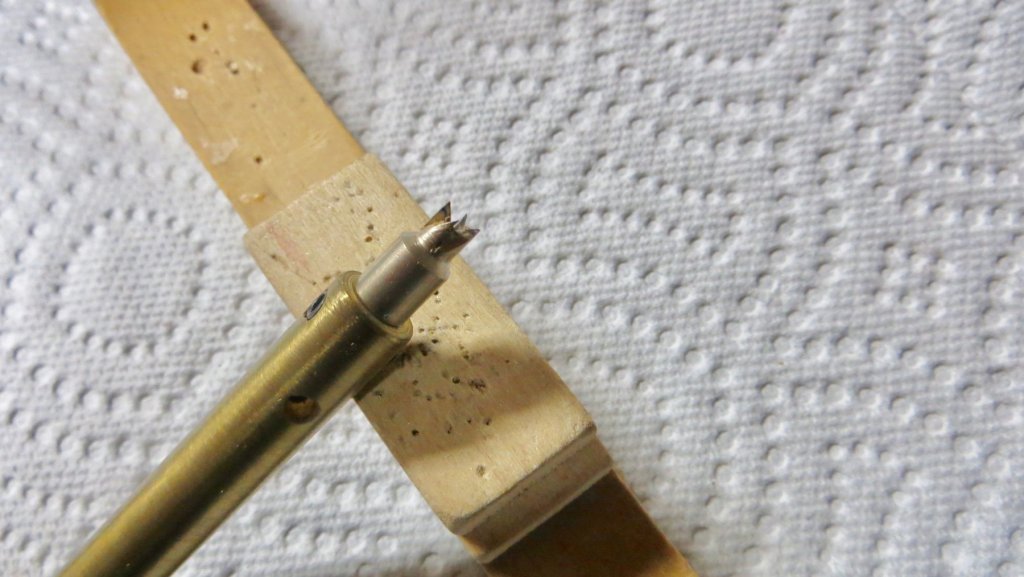
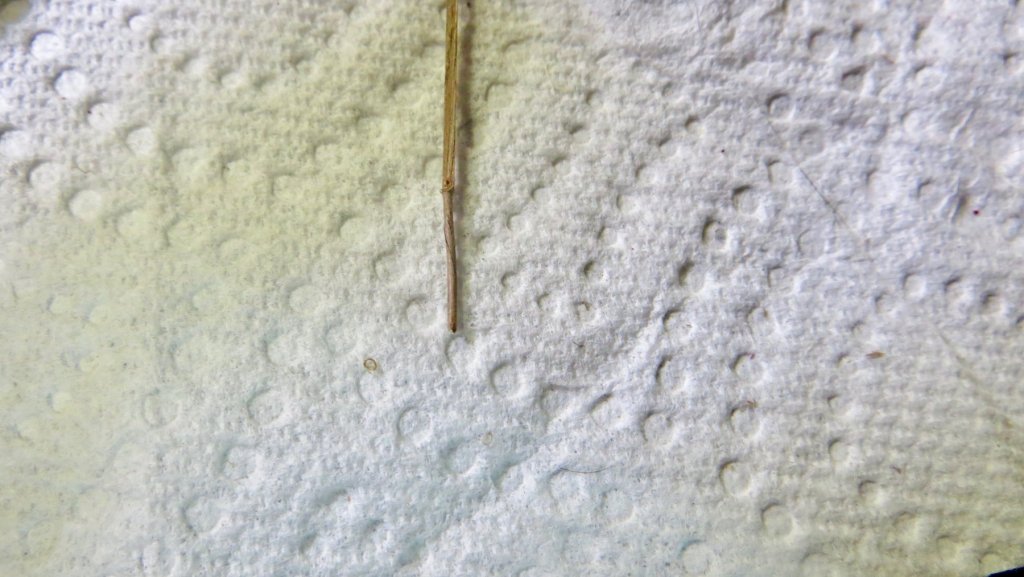
Hello, Continuing on, I finished the hatches. Here are some photos. First I cut up some more of the Eastern White Pine I used for the deck. I fit them and glued them to the top of the hatches from the previous post. (remember, I used the hatch plans from the Fleur De Lis as a reference, not the Corel plans) Next, I pre-drilled some holes to accept the tree nails. In my previous build log, Vasa, I talked about a tree nail making cutter that I have. I have three cutters for a .026 dia, a .035 dia, and one for a .047 dia tree nail. I used the smallest one I had, the .026 dia or .66MM. Here is a photo of the cutter. The company that made these is out of business. The cutter is attached to a brass extension tube to allow the wood to pass thru the cutter. The brass piece is screwed onto the Dremel drill. This photo shows a cover on the cutter, so that when I pass the wood thru, I won't cut my fingers!! I start by cutting small pieces of wood (.035 by .035) and feed into the cutter to produce the tree nail. I press the tree nail into the pre-drilled hole with some glue, cut and sand down.


- 510 replies
-
- 3
-
-
- reale de france
- corel
- (and 1 more)
-
Thanks Michael! I hope you are doing well! Frank
-
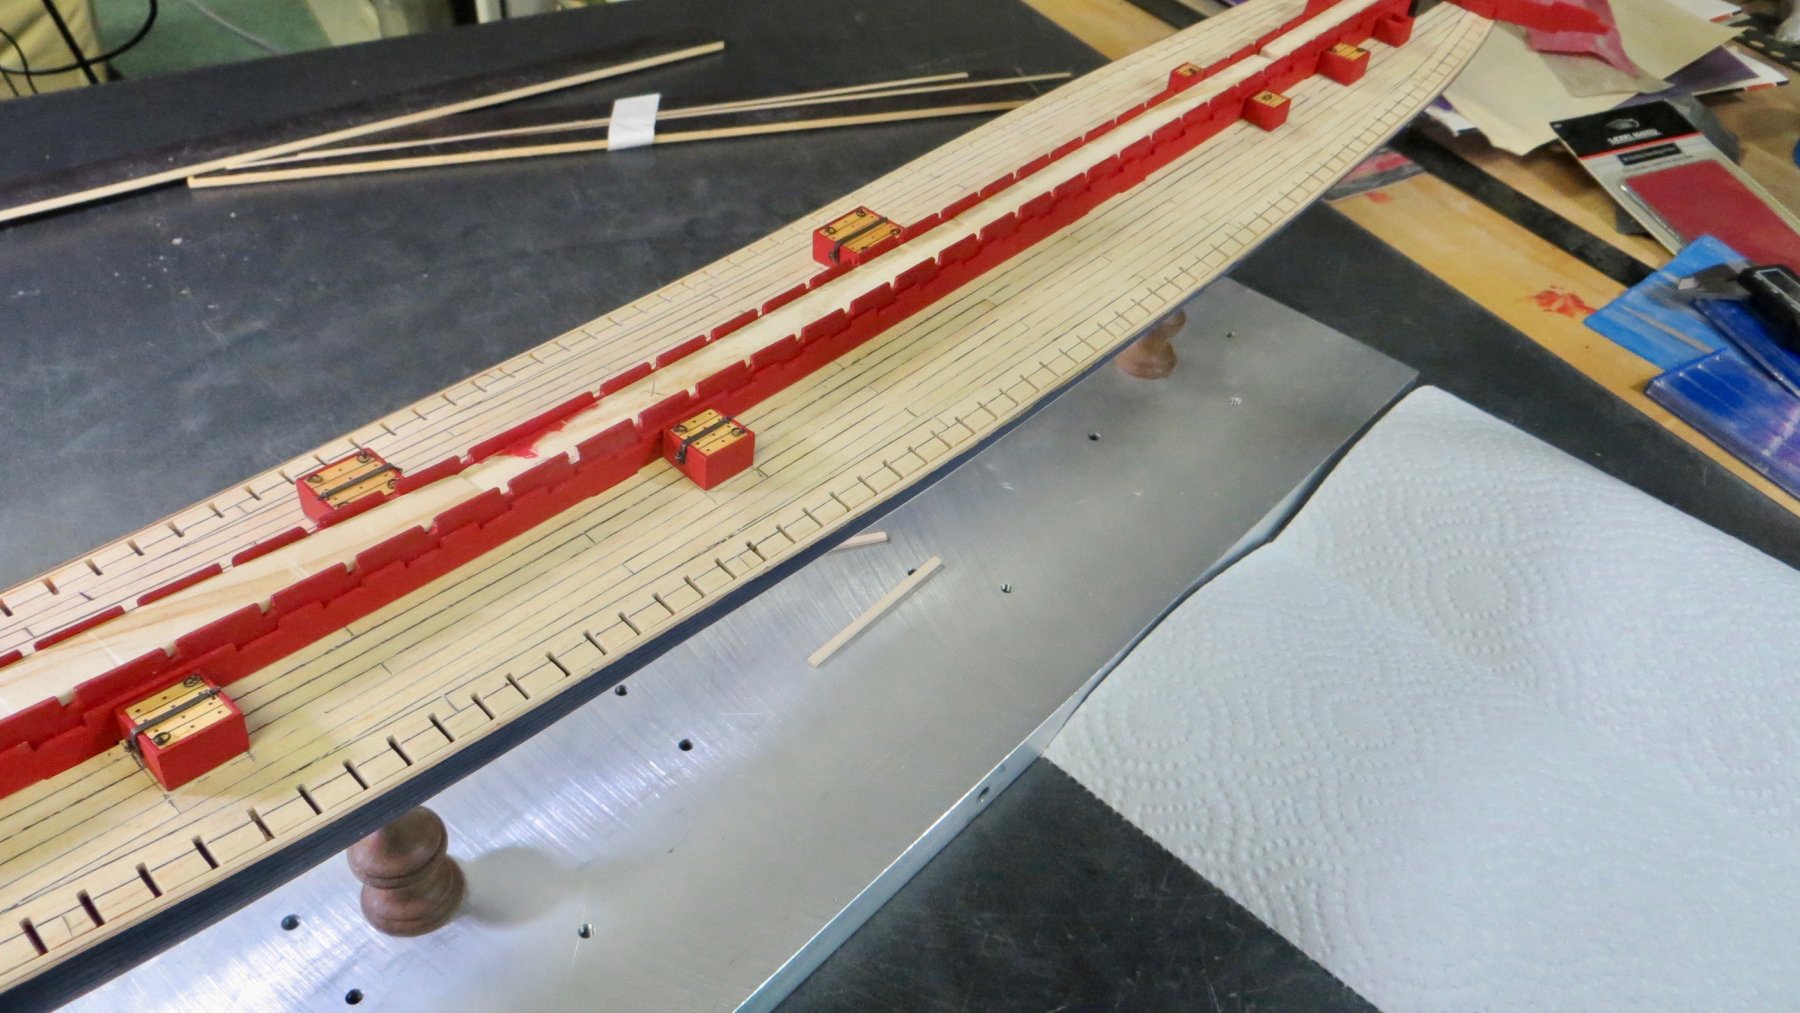
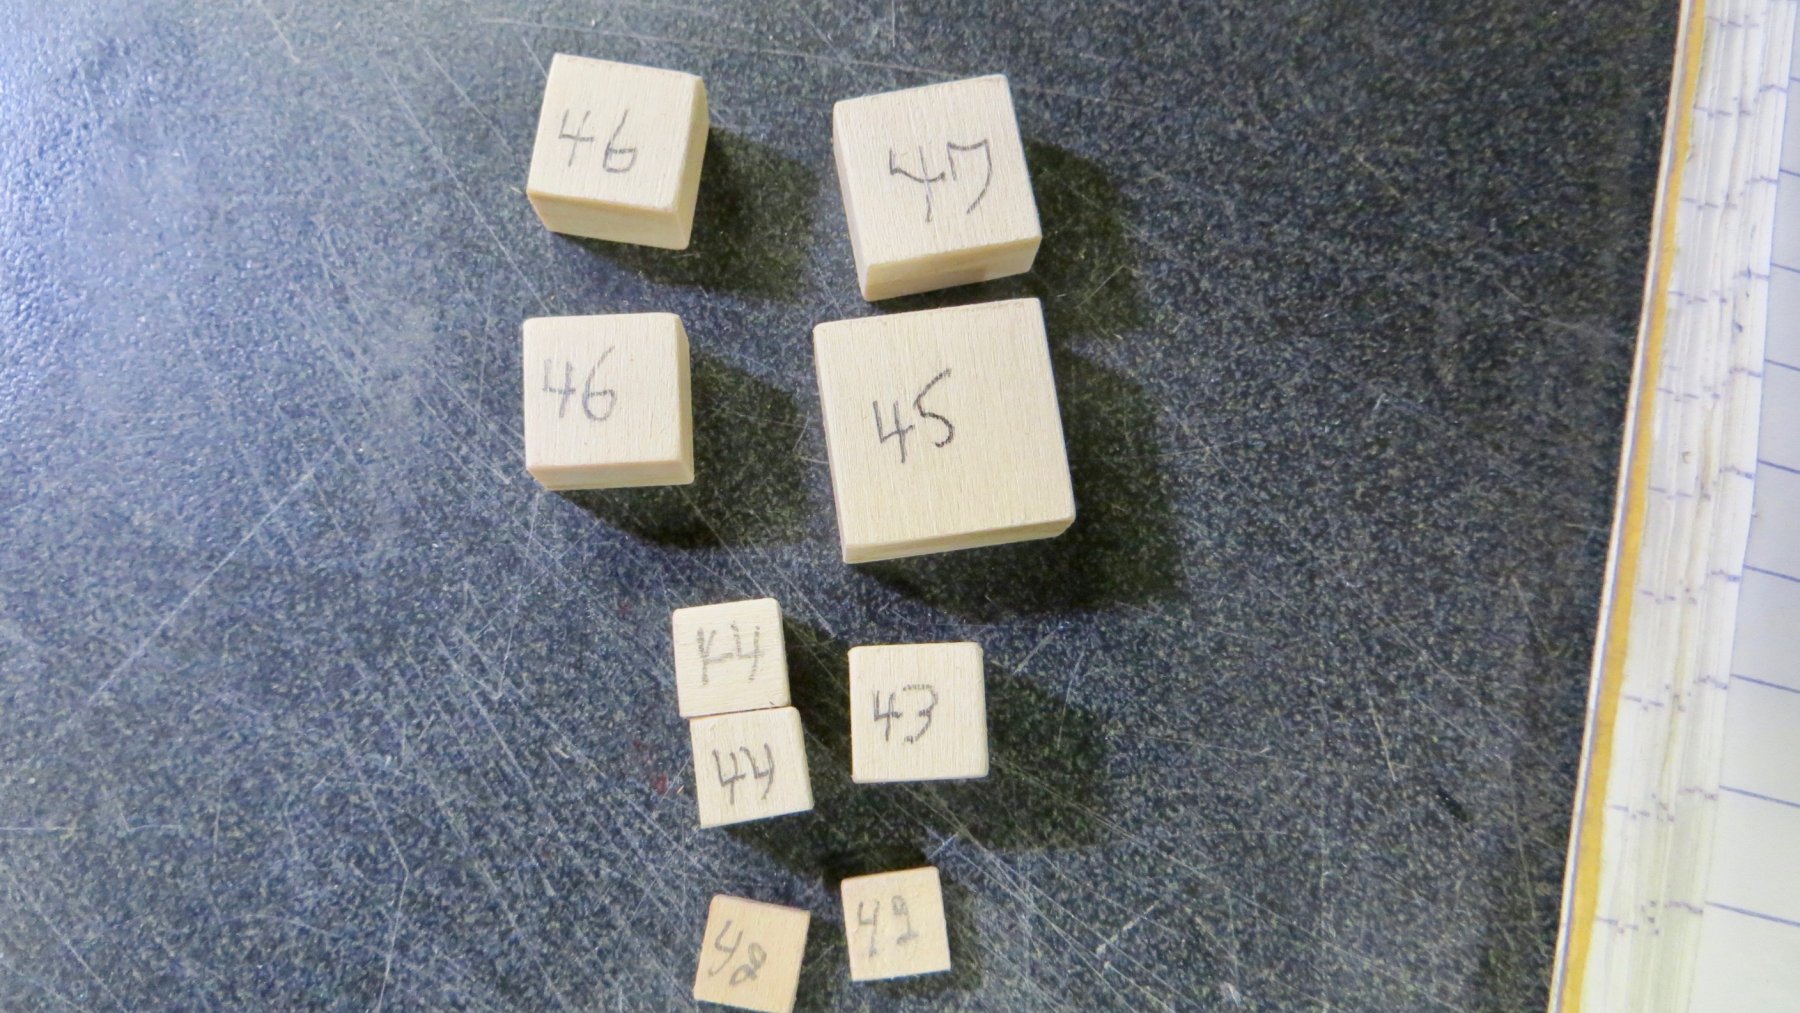
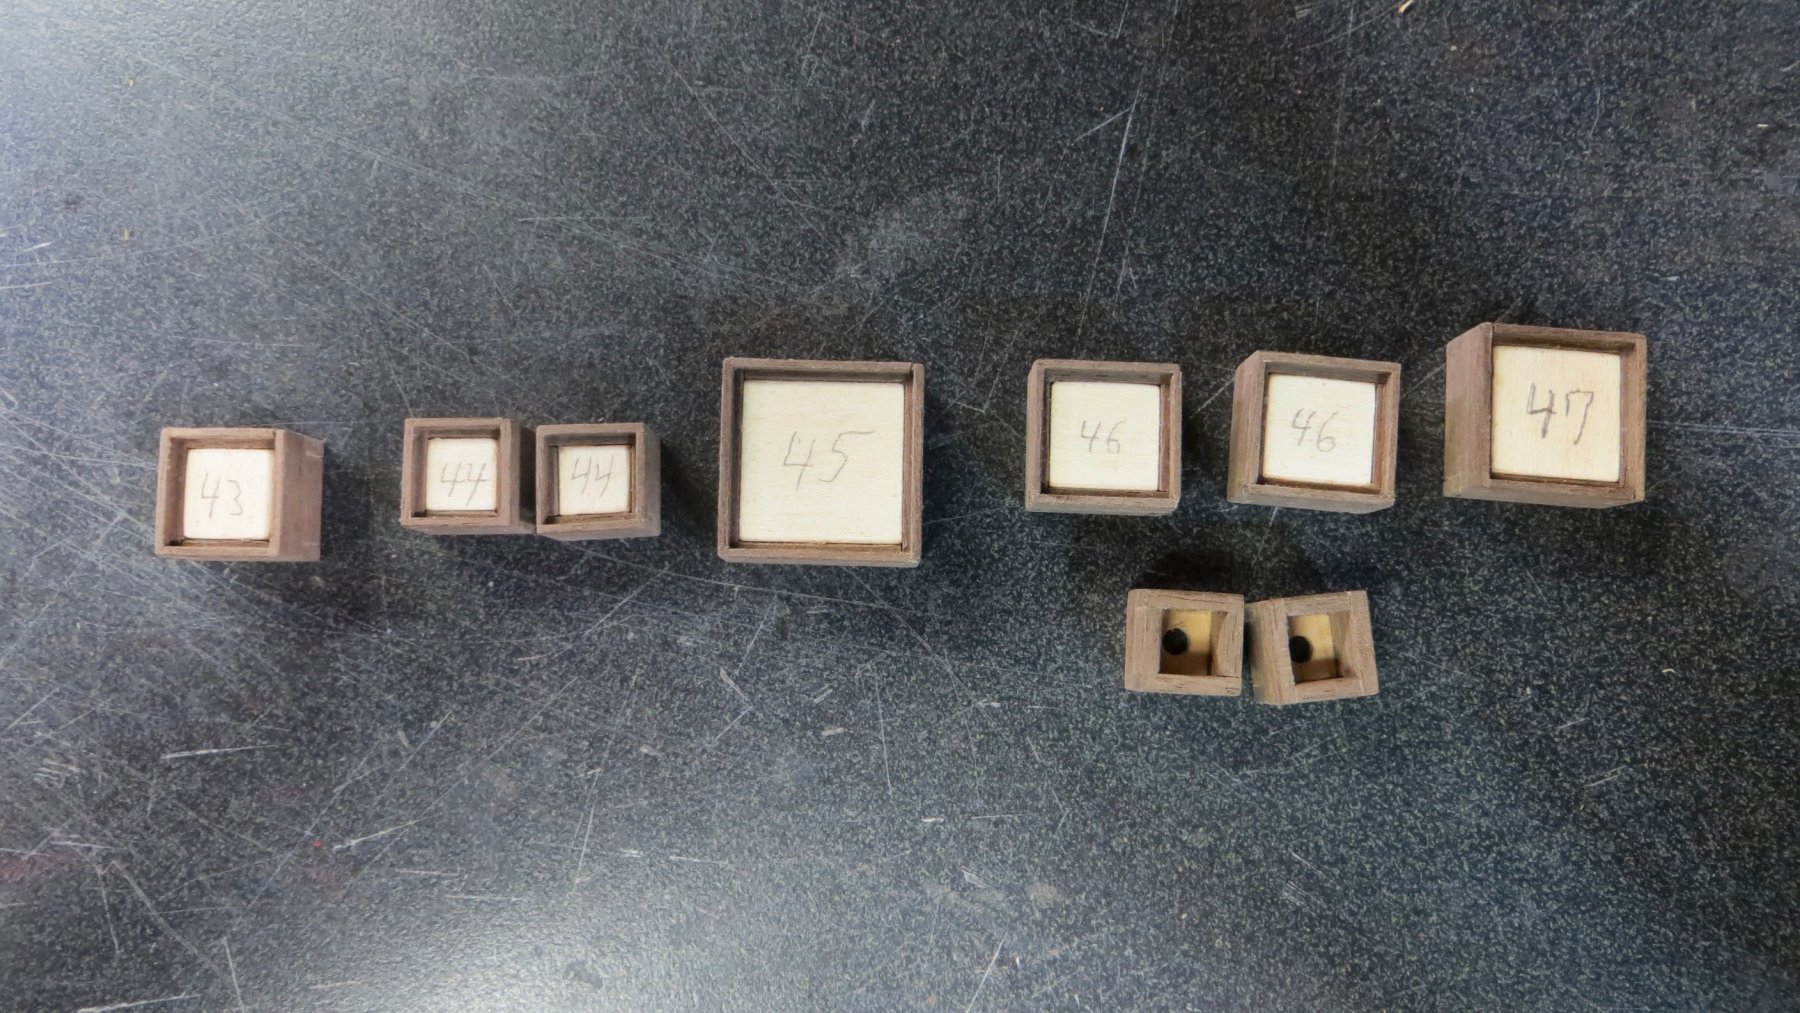
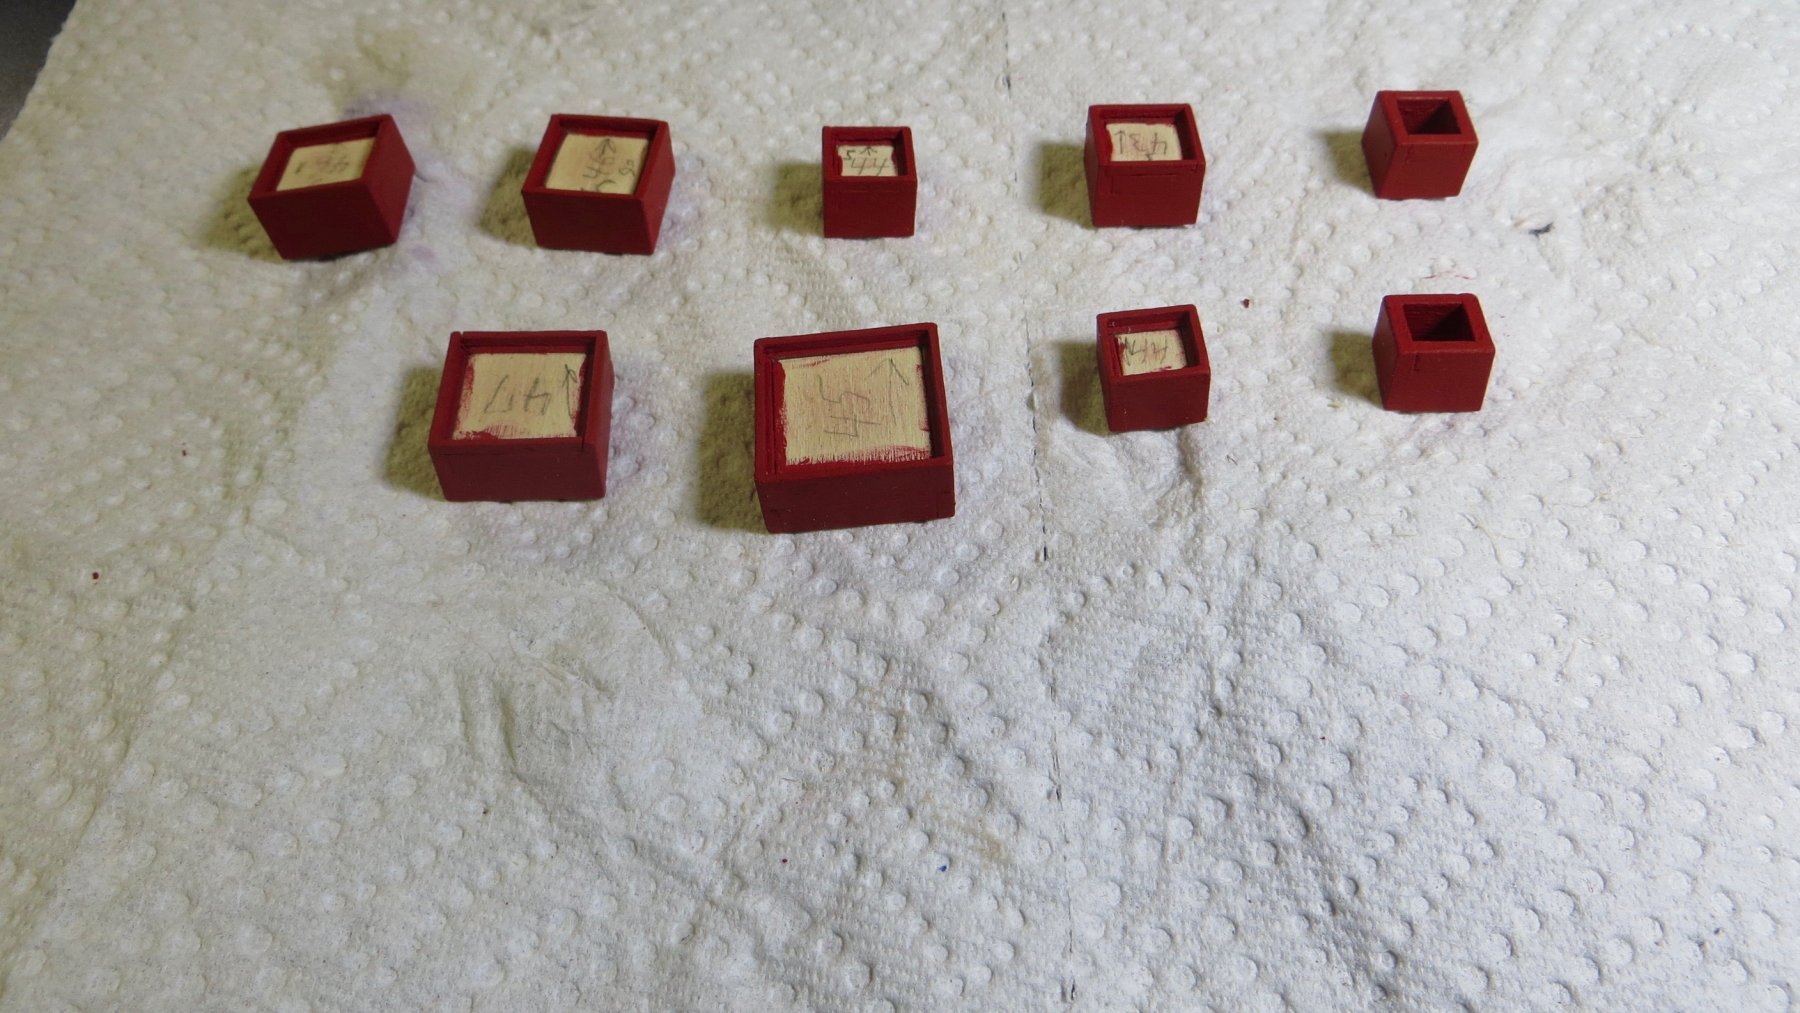
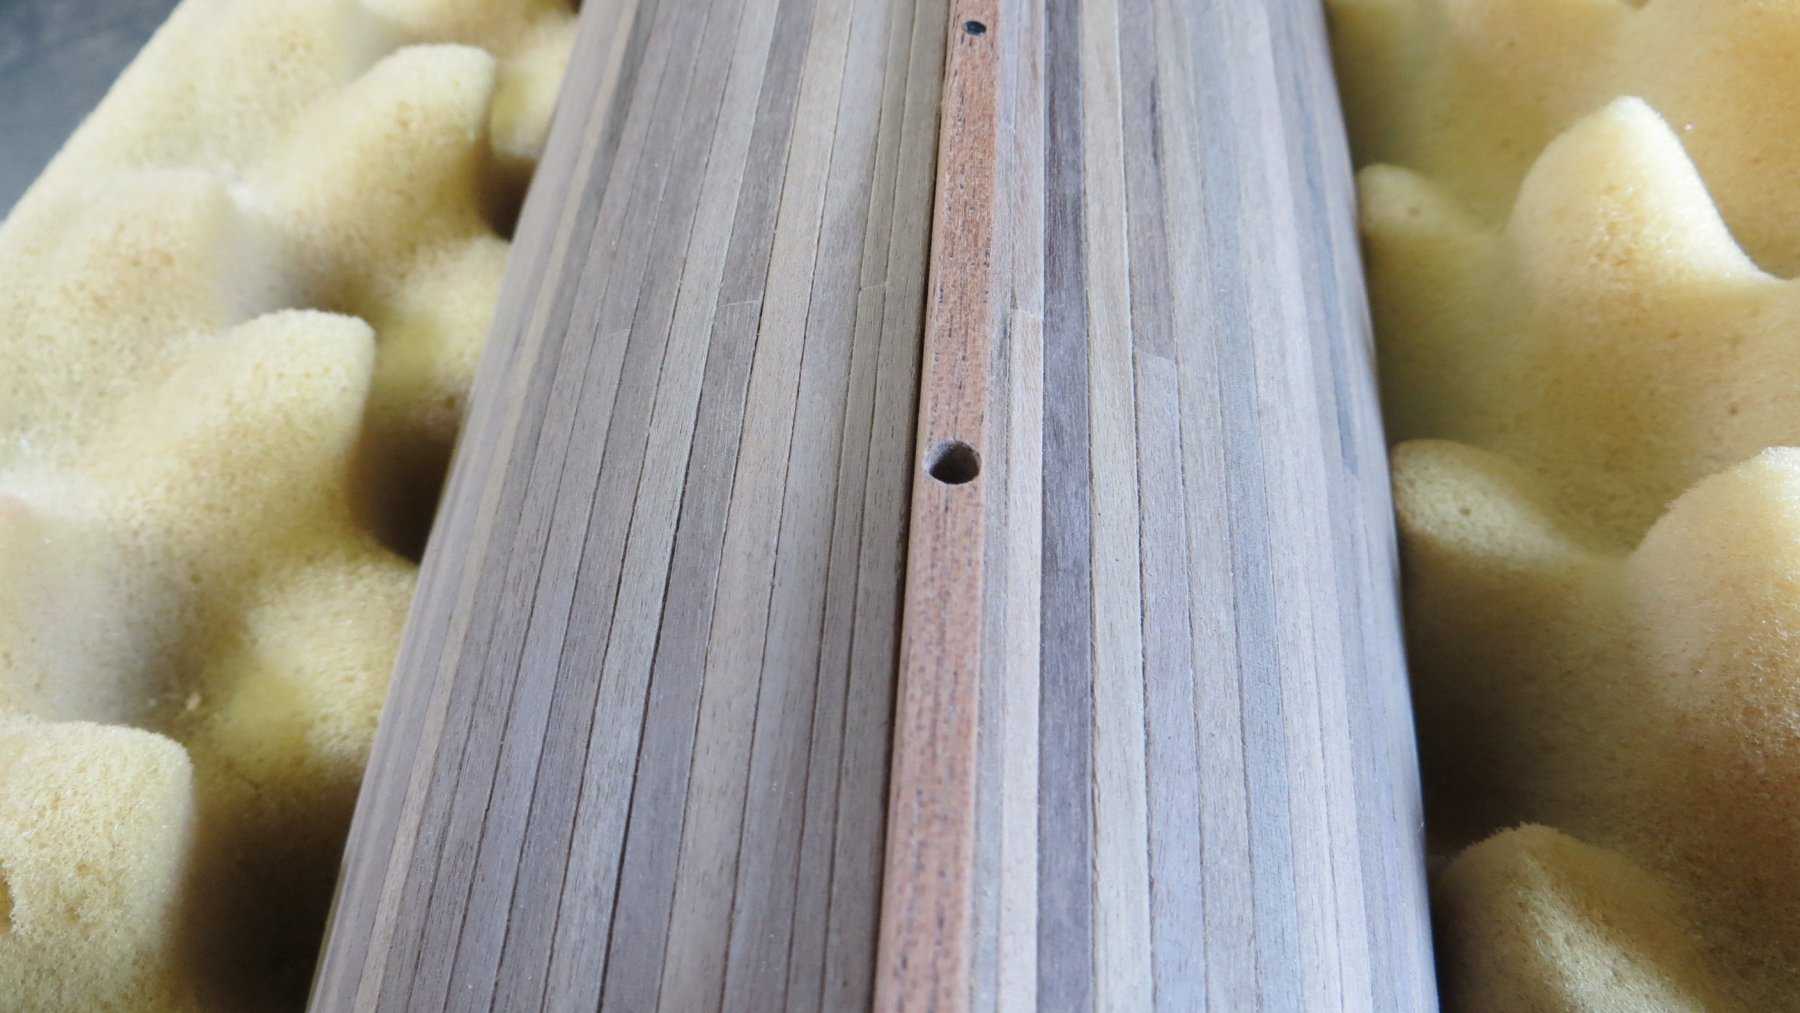
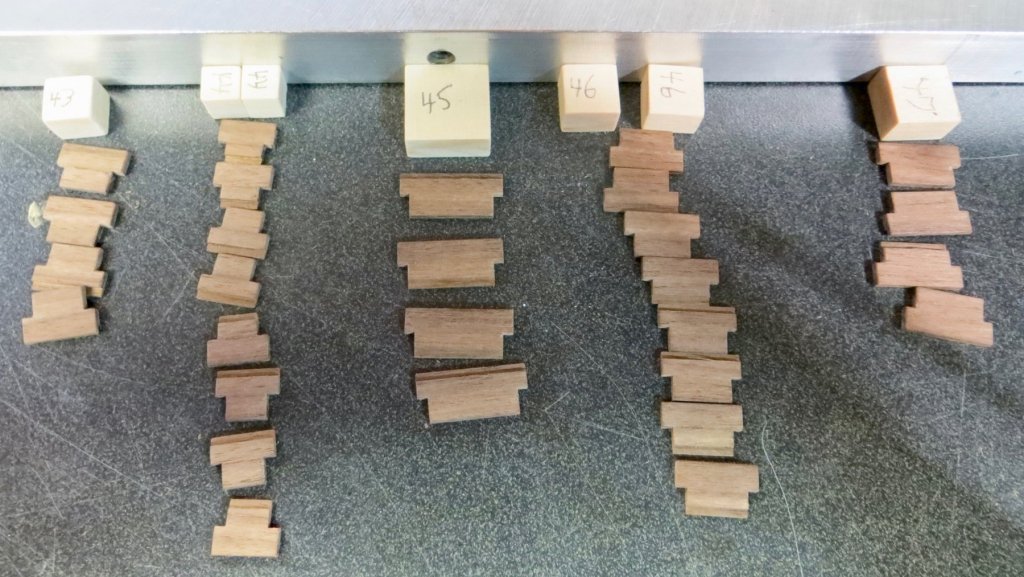
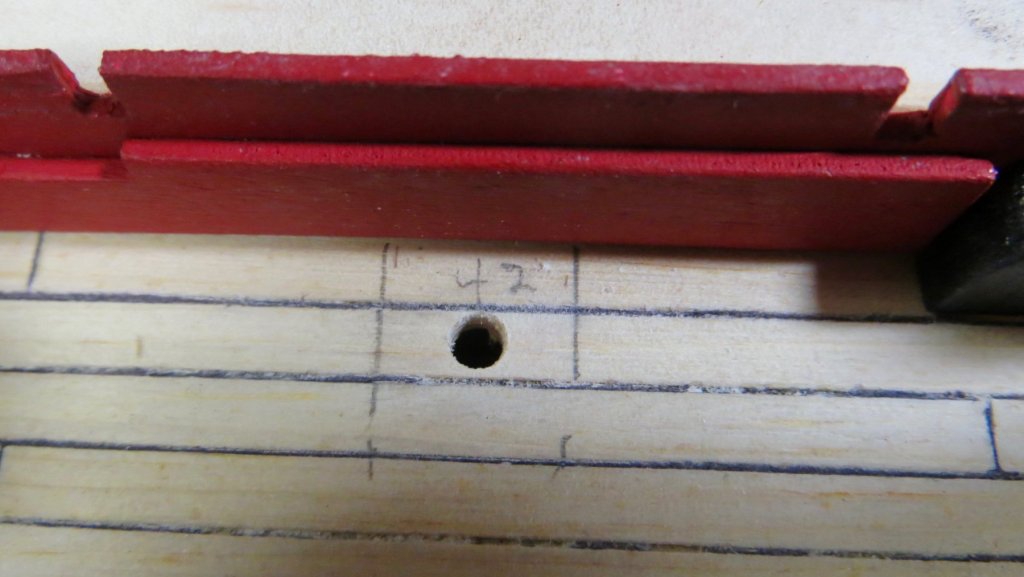
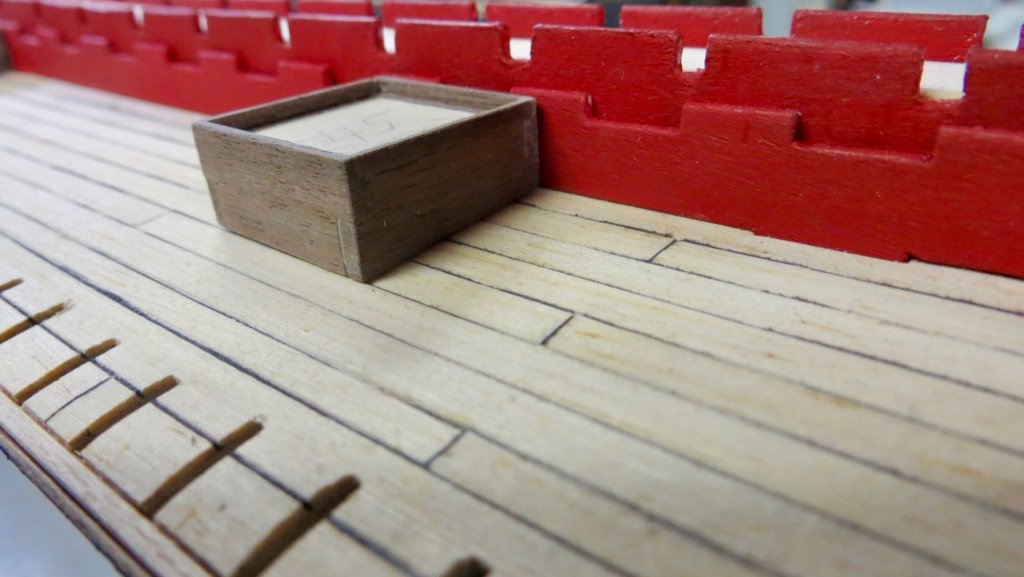
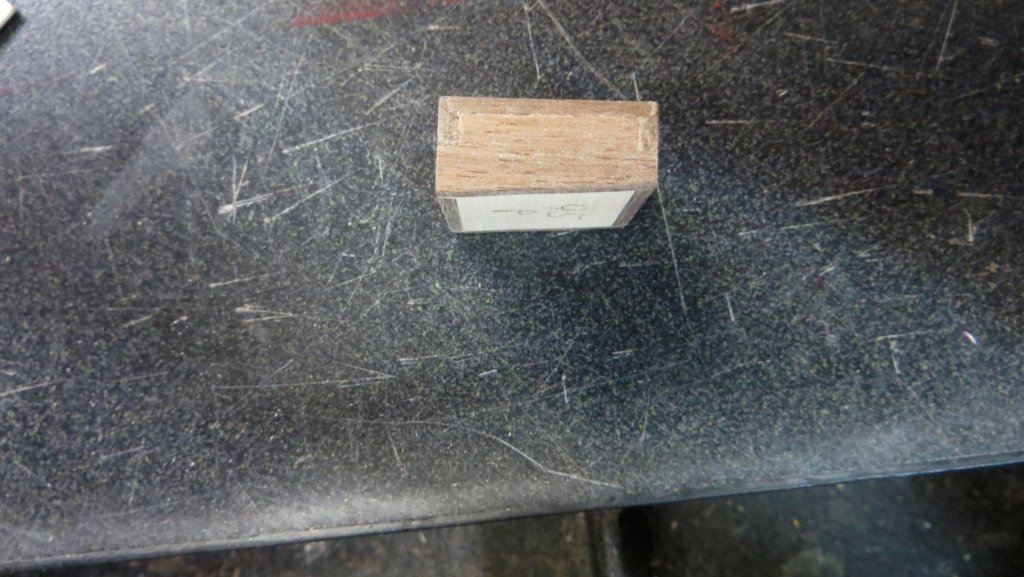
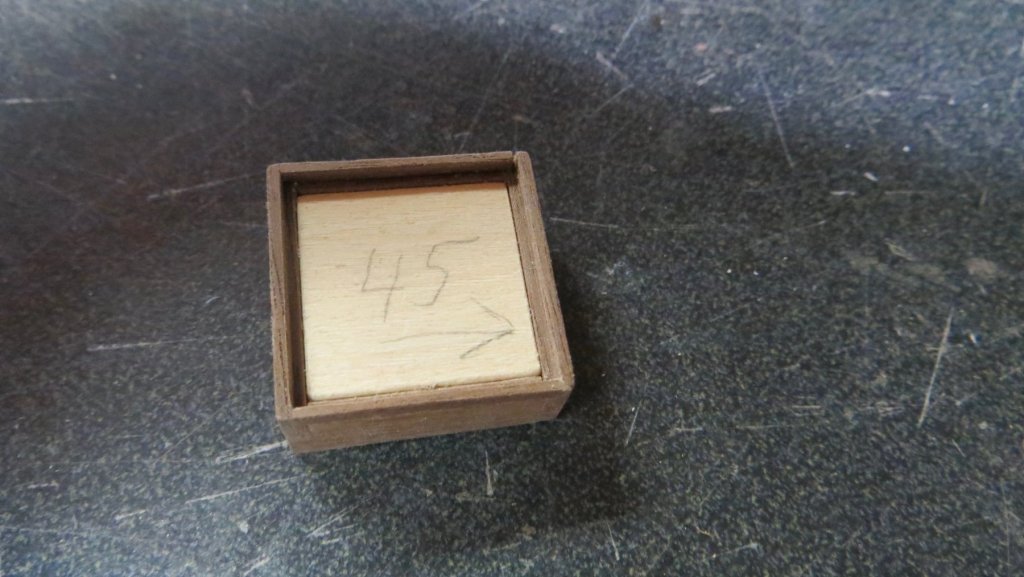
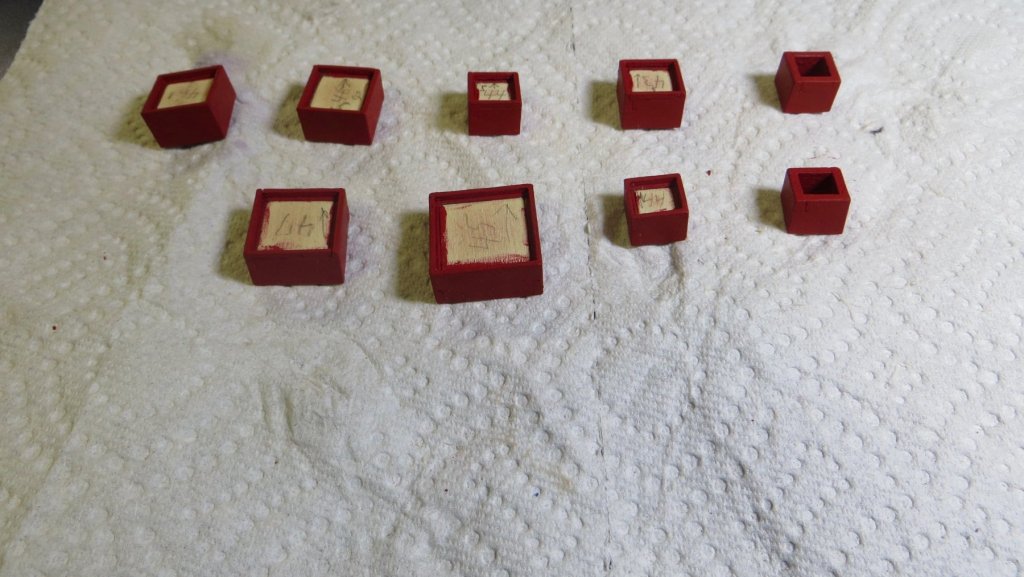
Hello, Before I finish stain the deck, I want to add the tree nails to the joints. Before adding the tree nails, I needed to layout where the hatches would be located, so I decided to go ahead and start work on the hatches. I noticed some differences in the Corel plans for the "Reale" and the "La Fleur de Lis" plans. The covers for the "Reale" hatches are recessed down in the hatch. On the "Fleur de Lis" plans, the hatch covers are almost flush with the top of the hatch walls and they show lifting rings and a locking bar across the larger hatches. So I decided to try and make the hatches this way, (more detail) but I kept the dimensions (LxWxH) of the Corel plans, so that I won't cause myself any problems later! I re-made the inside spacer blocks higher, (so the hatch cover can sit near the top). I also reduced the length and width by 2 mm (1mm each side). The "Reale" plans call for the hatch sides to be 1 mm thick. I made them 2mm thick instead (stronger to work with) and I milled out a 1mm step at the top. This photo shows the hatch walls with the 1mm milled at the top. I also created a joint step at each corner, instead of making a 45 deg joint that the Corel plans call for. I also made the 2 boxes that the main anchor lines go down into. (The line goes thru the hole into the deck.) The hatch walls assembled around the filler block Hole drilled into deck, where the anchor line will go into. Another minor complication. The deck is not flat, but pitches from both the bow and stern towards the center and down from the center to the edge (camber), so I had to grind the bottom of the hatches to fit properly An assembled hatch, with 1mm step milled out, ready for the hatch cover. Painted hatches and test fitted to the deck Now I will begin to finish the hatches by making the top covers, staining the covers, and adding some hardware. Thanks for stopping by, Frank


- 510 replies
-
- 5
-
-
- reale de france
- corel
- (and 1 more)
-
Michael, Glad to hear your wrist is back to normal and your back at work on your model. Love the work on the hammock. I'm always learning something by viewing your log! Frank
-
Yikes! Wow! Mark, How do you keep the dust off of them???? I hope you don't have a cat Frank
- 331 replies
-
- 2
-
-
- nuestra senora del pilar
- occre
- (and 1 more)
-
Thank you for your kind comments. I would love it if you followed along and any suggestions would be most welcome. I am currently working on the deck hatches and I hope to post my updates early next week! Thanks to everyone for visiting and the "Likes"!!! Frank
-
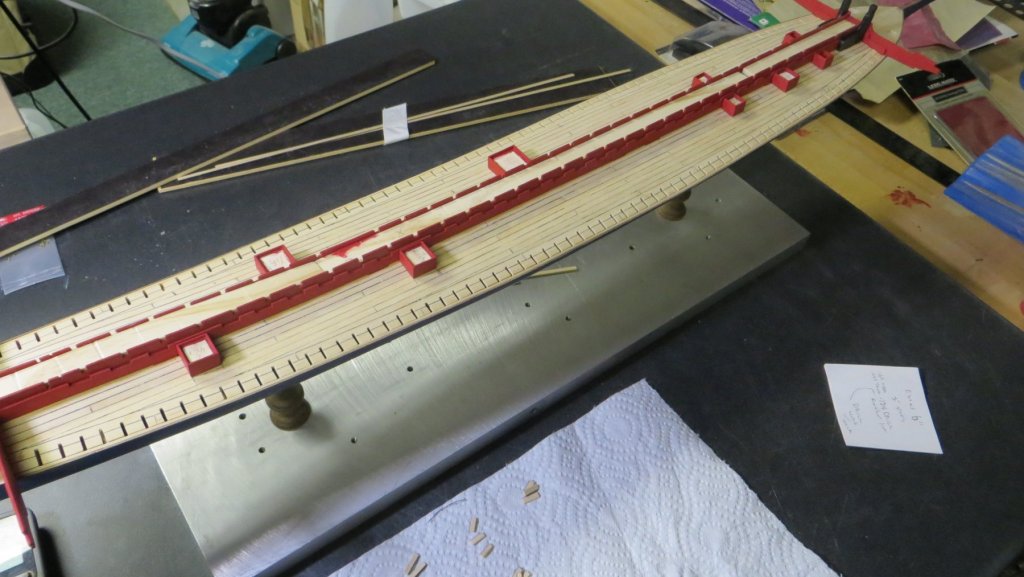
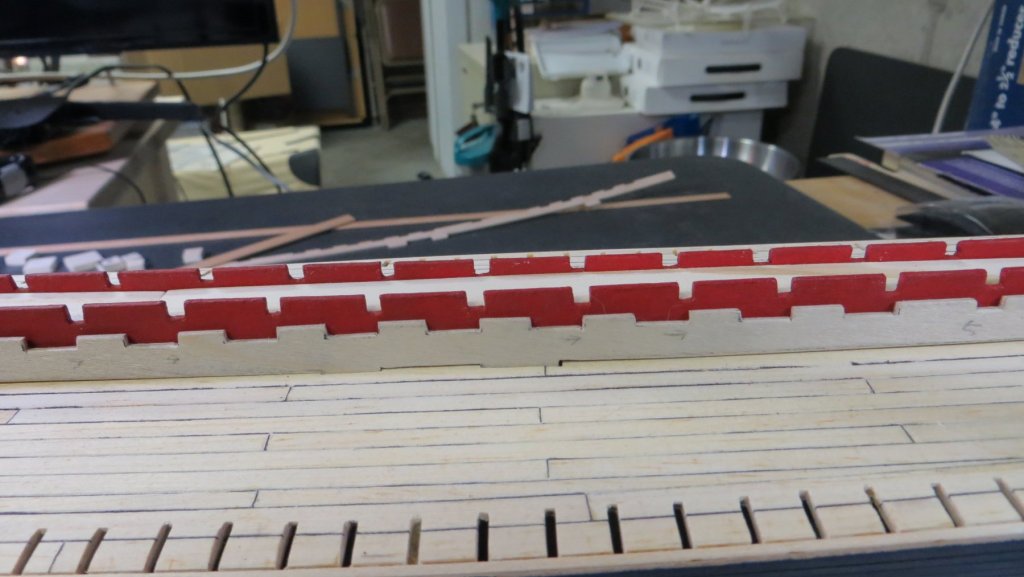
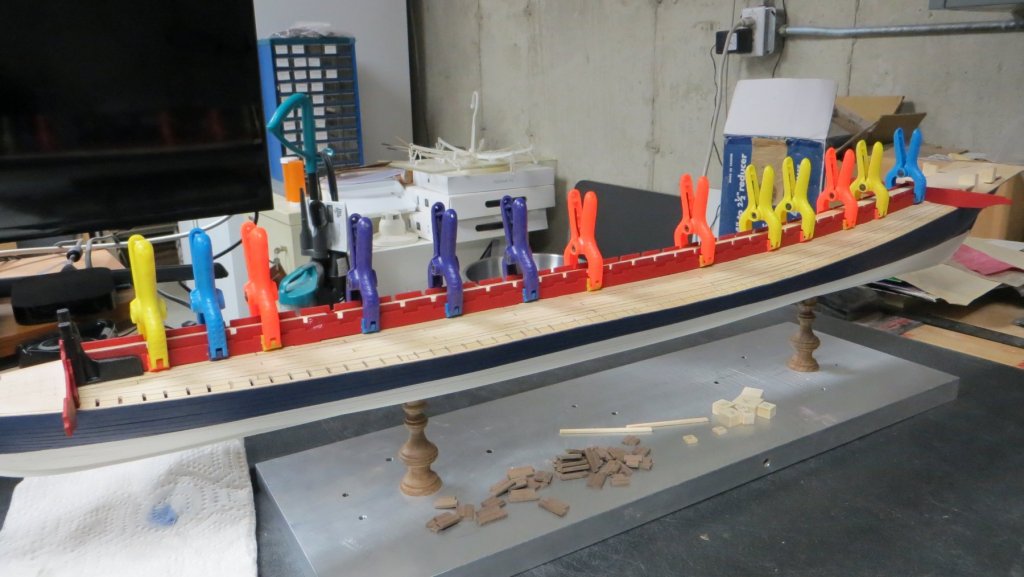
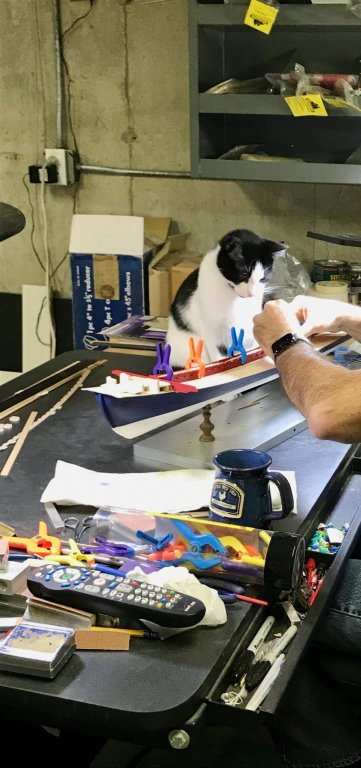
Continuing on, There is a long thin notched plank that lays against the taller plank already installed. these are the supports for the seats that will be installed later. I had to file and shift this piece so that the seat notches aligned properly to the upper notches in the taller piece. Han Solo very interested in my work!! Thanks again for the likes and for visiting, Frank

- 510 replies
-
- 6
-
-
- reale de france
- corel
- (and 1 more)
-
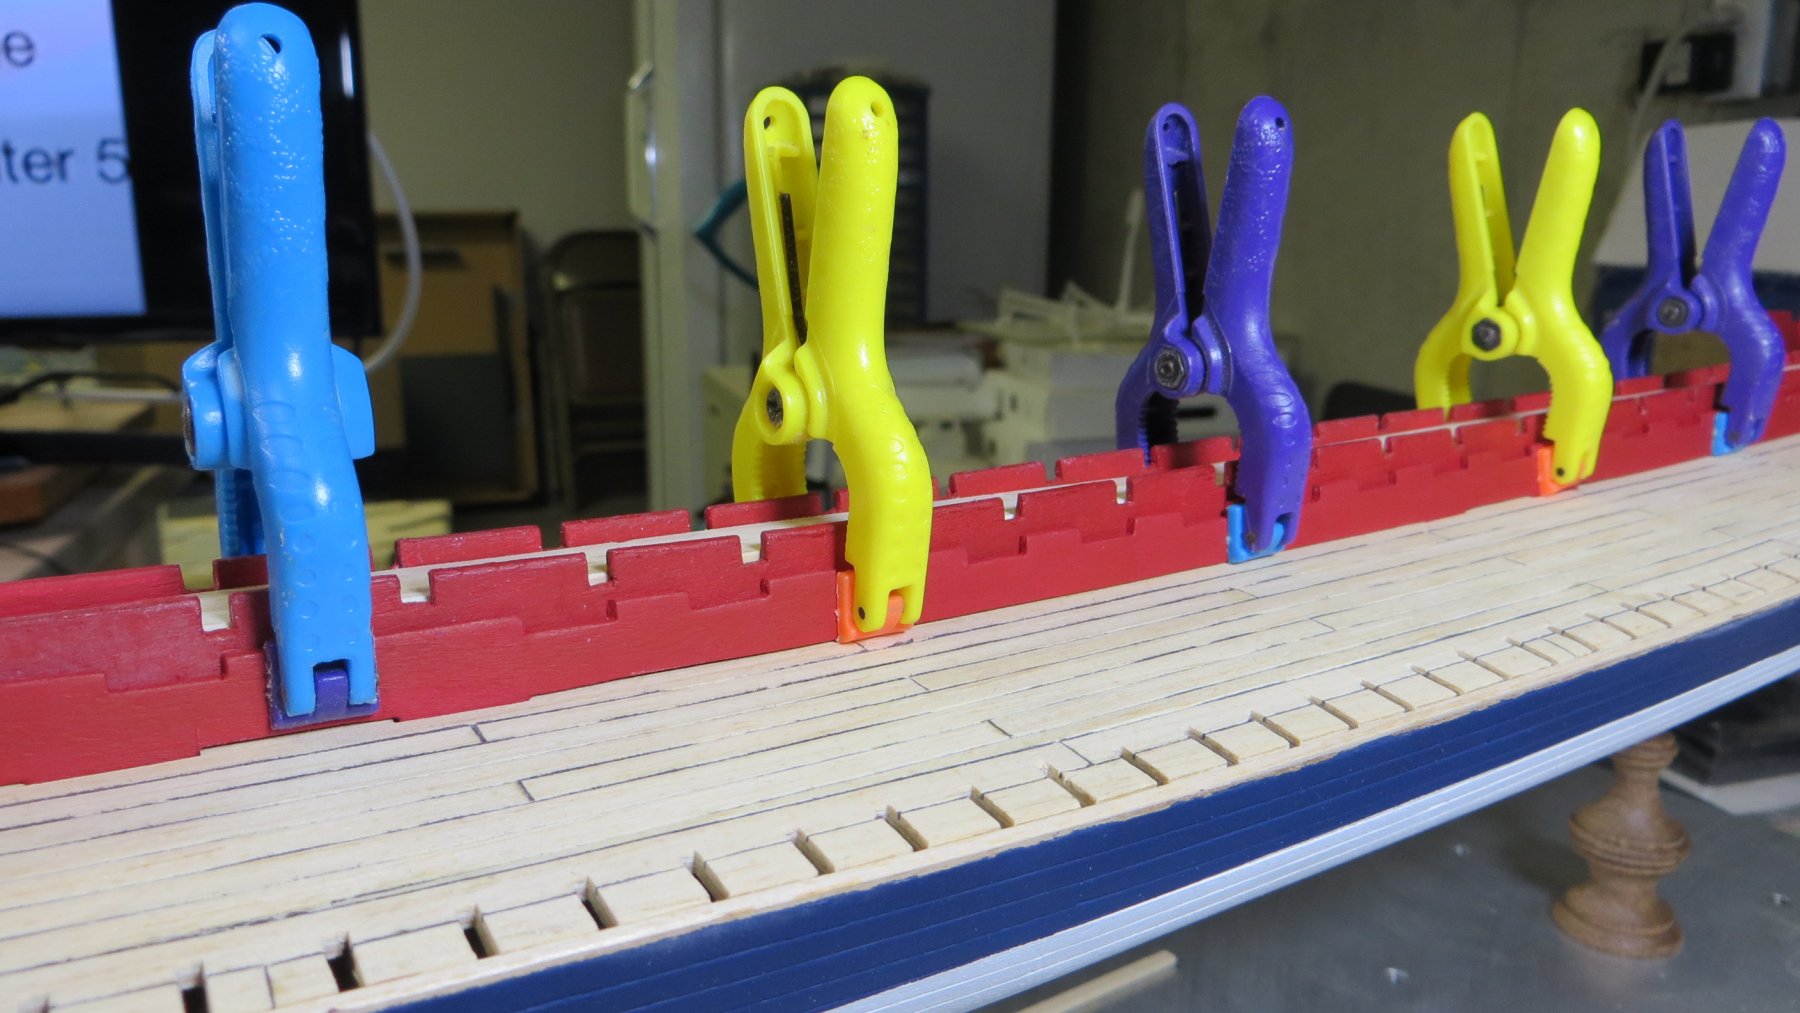
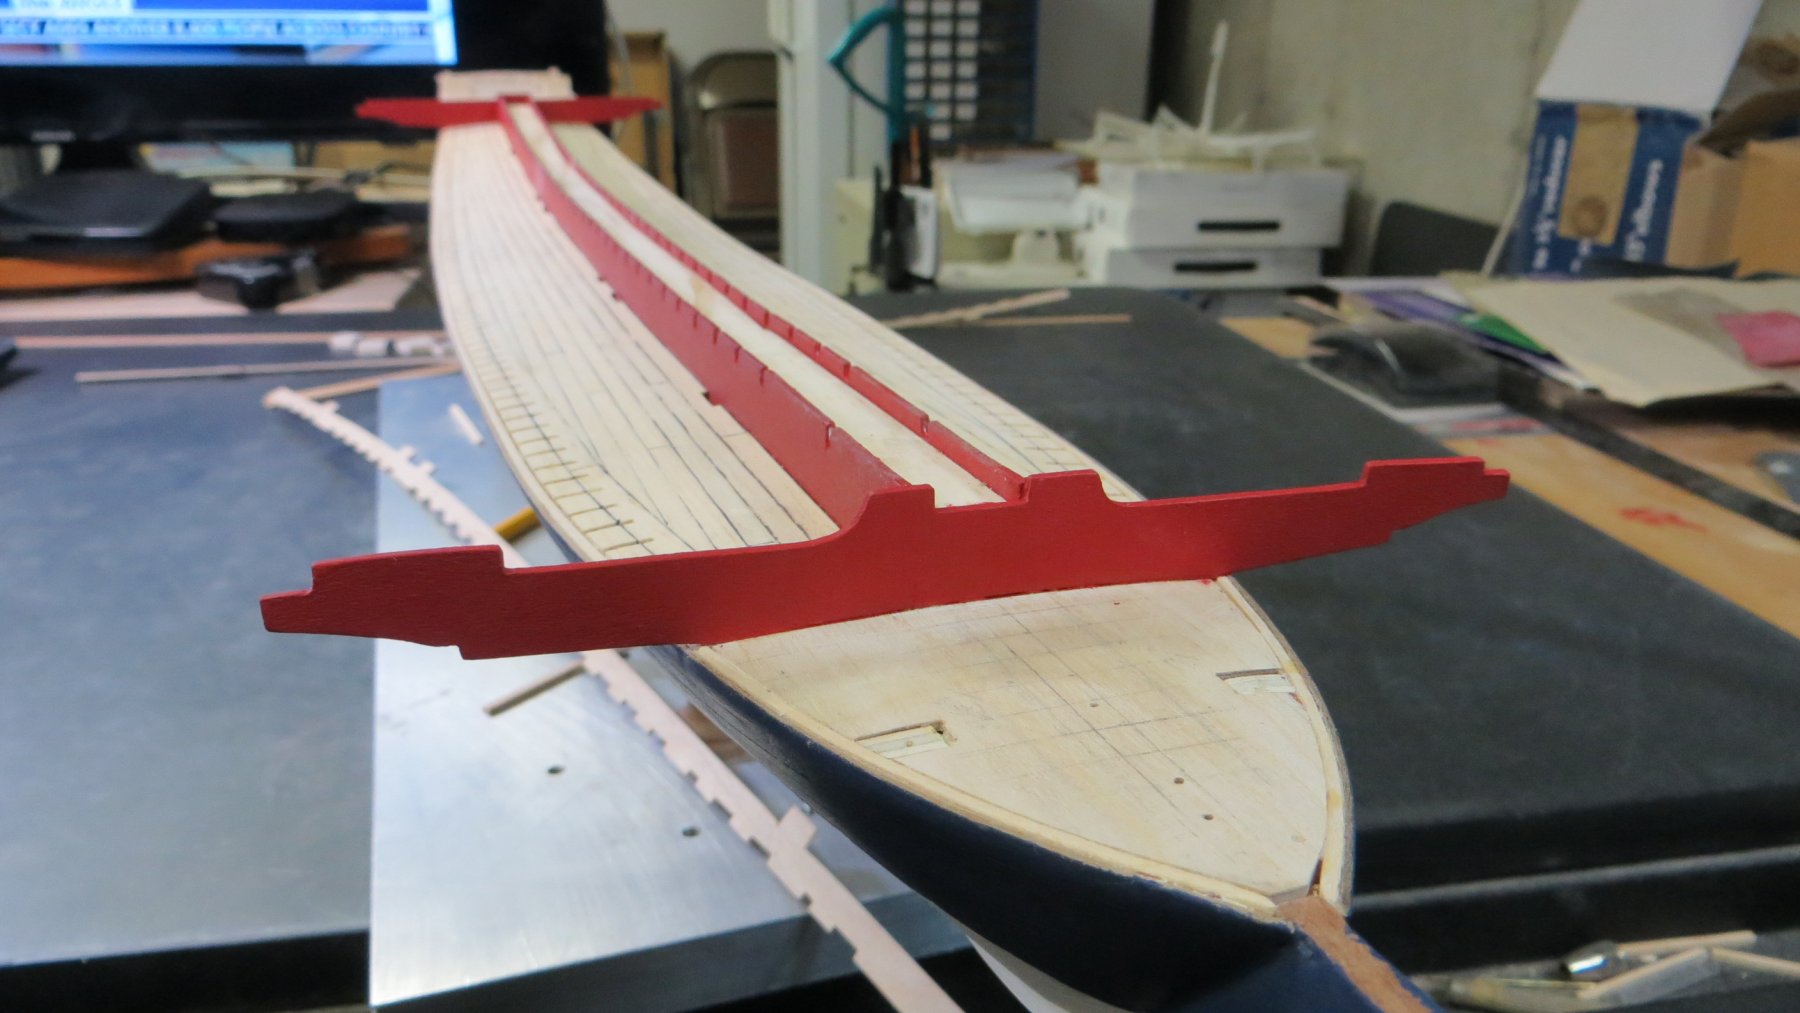
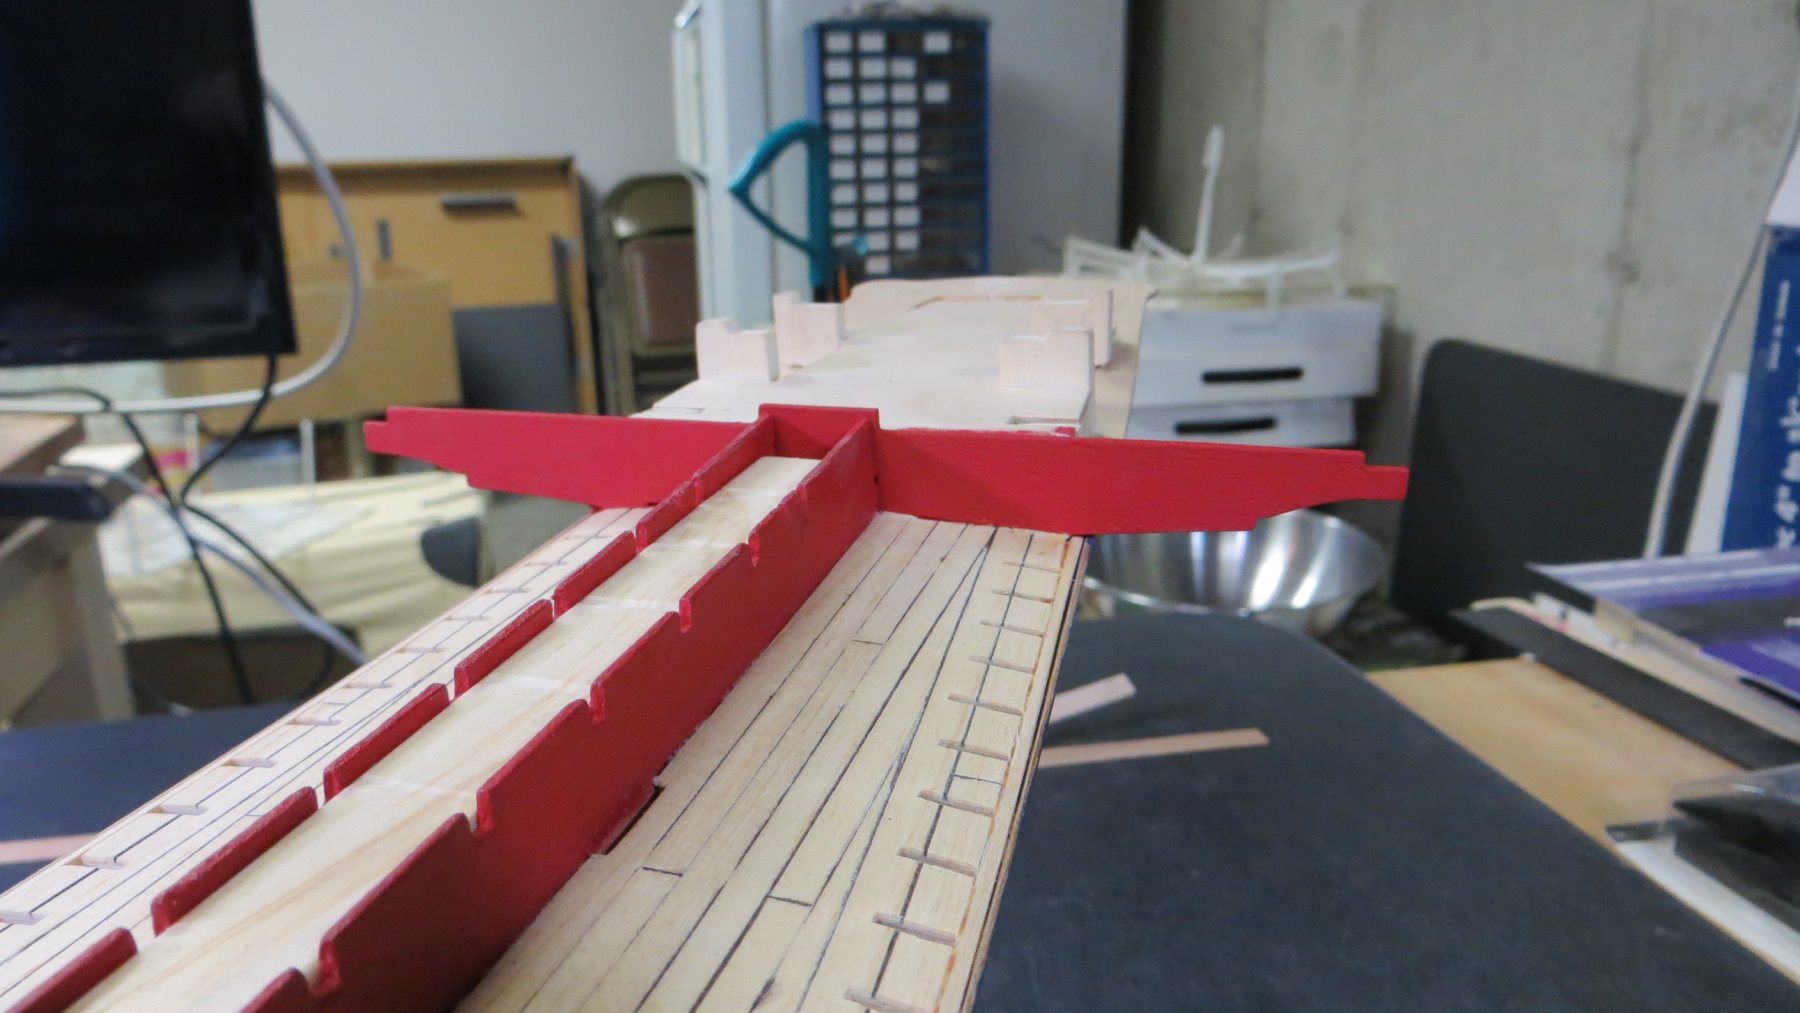
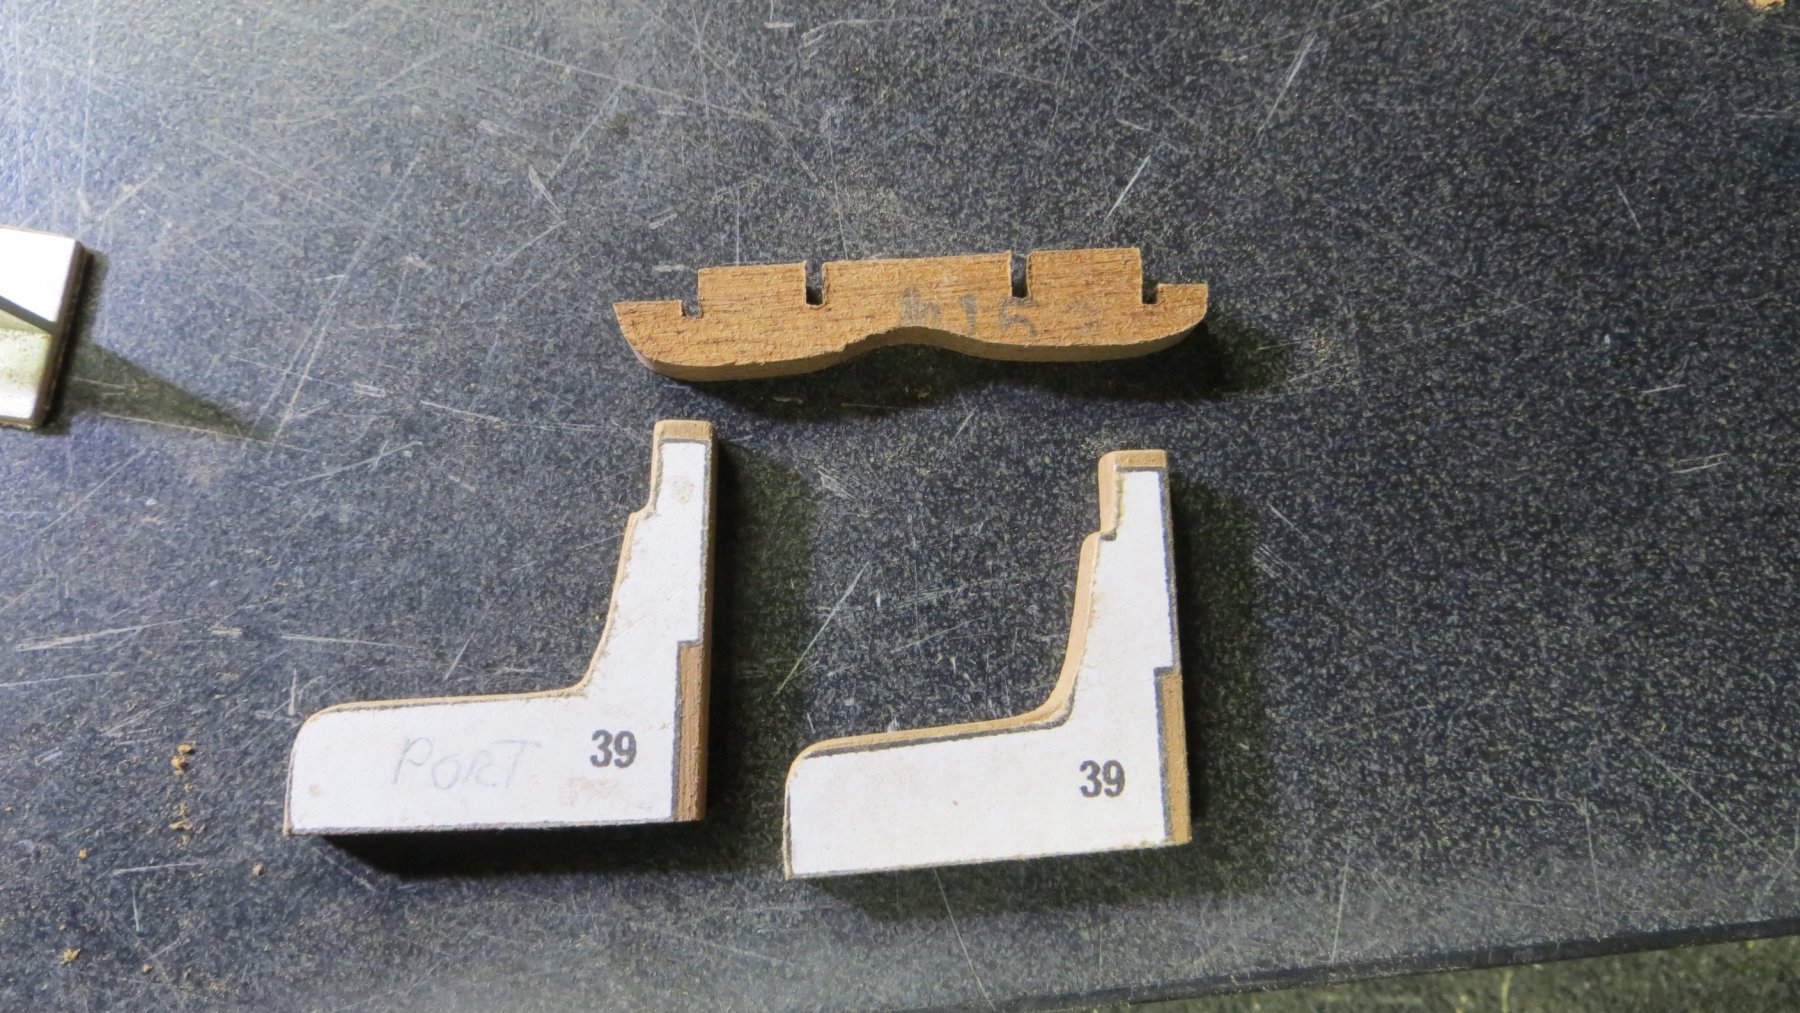
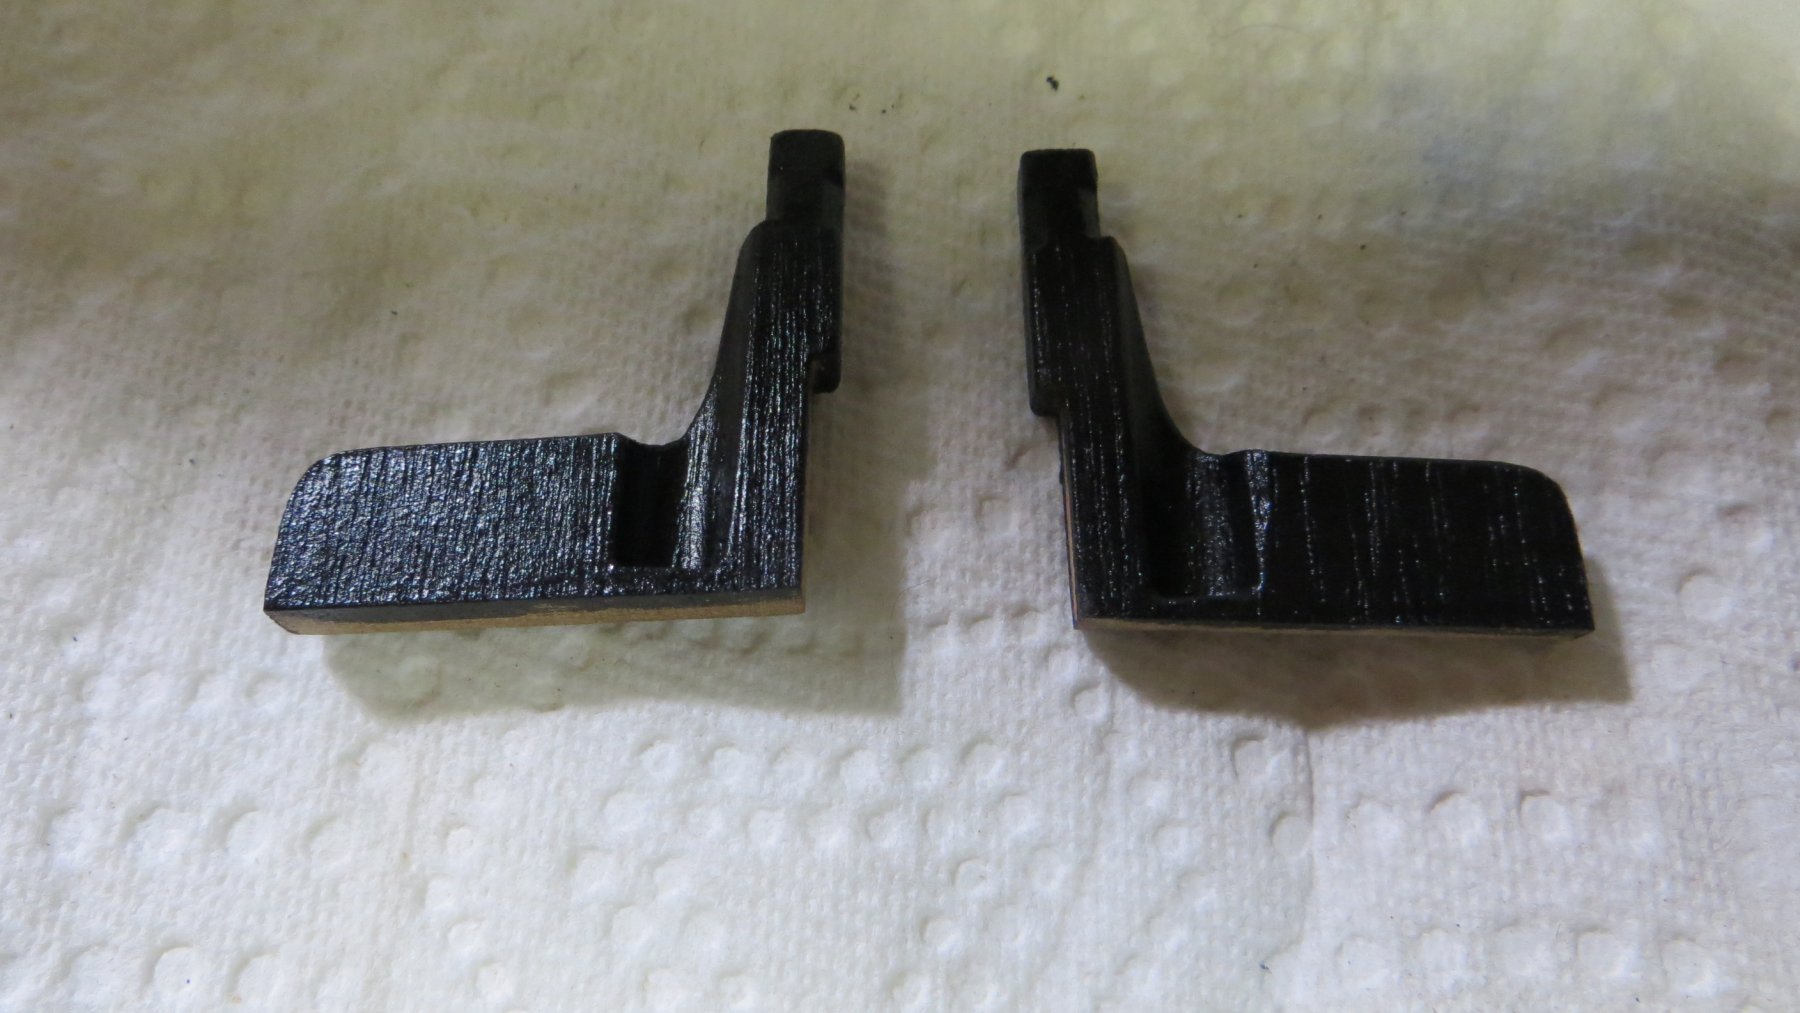
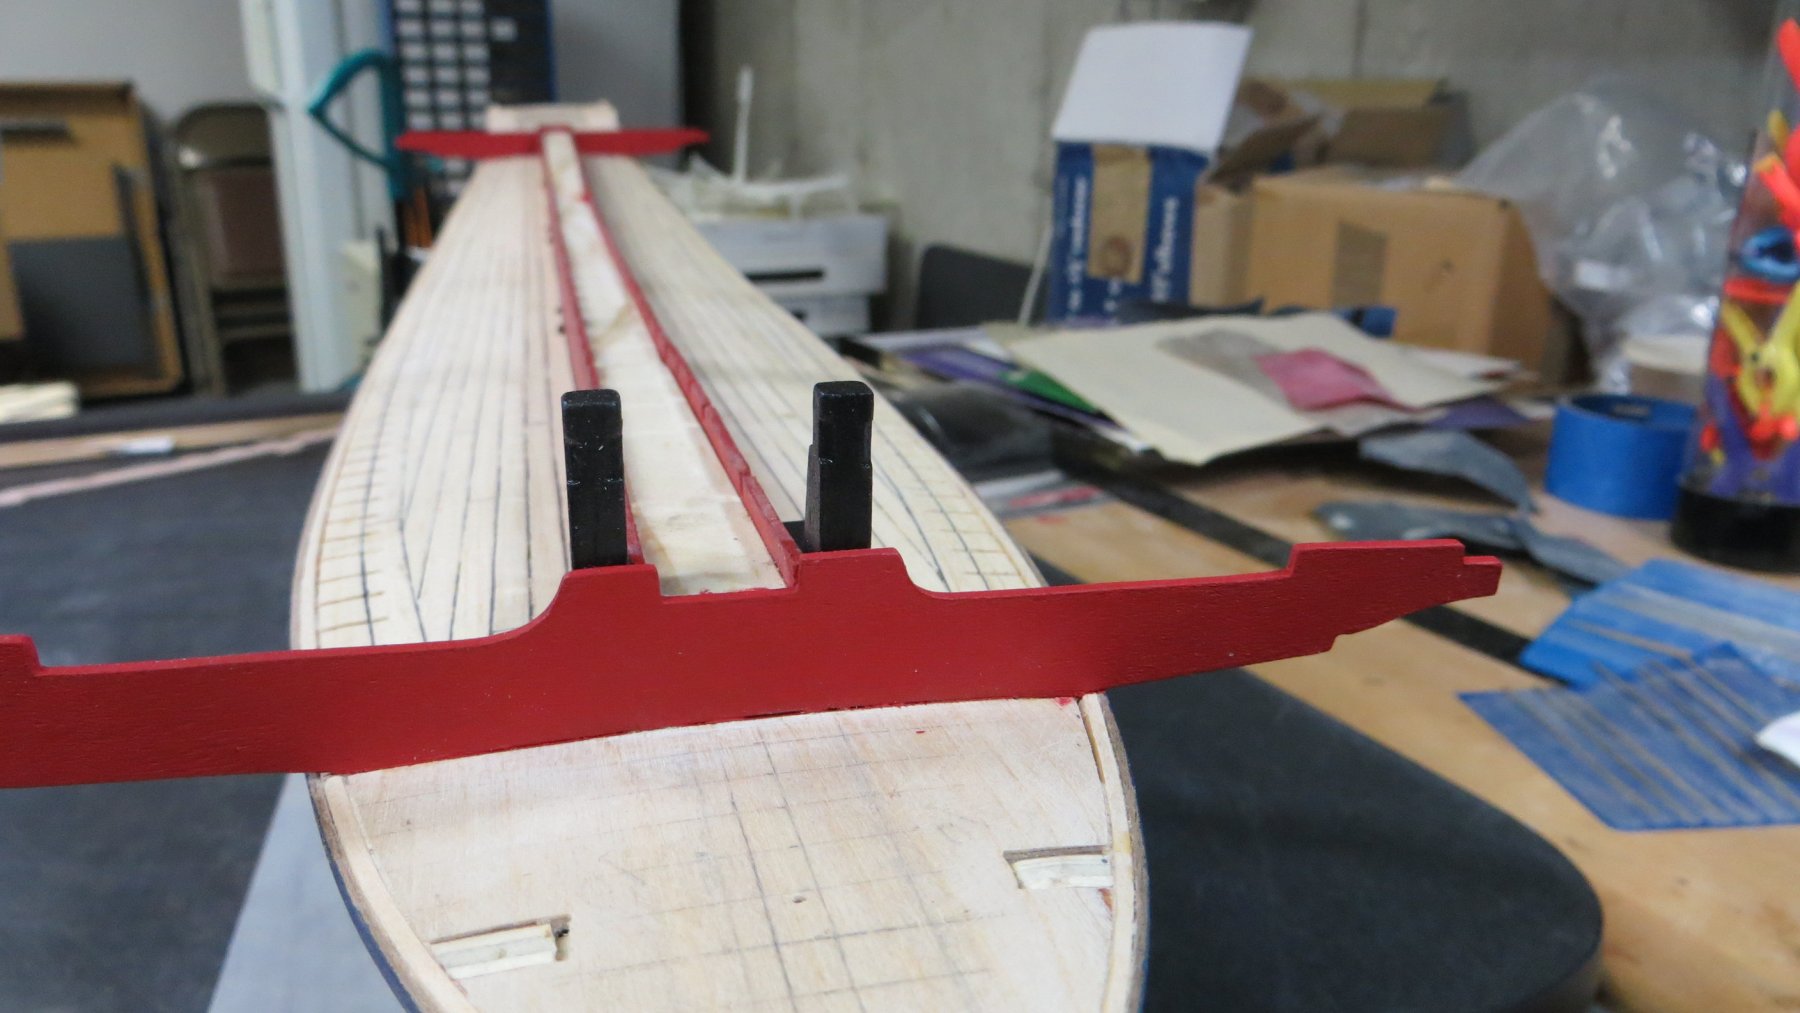
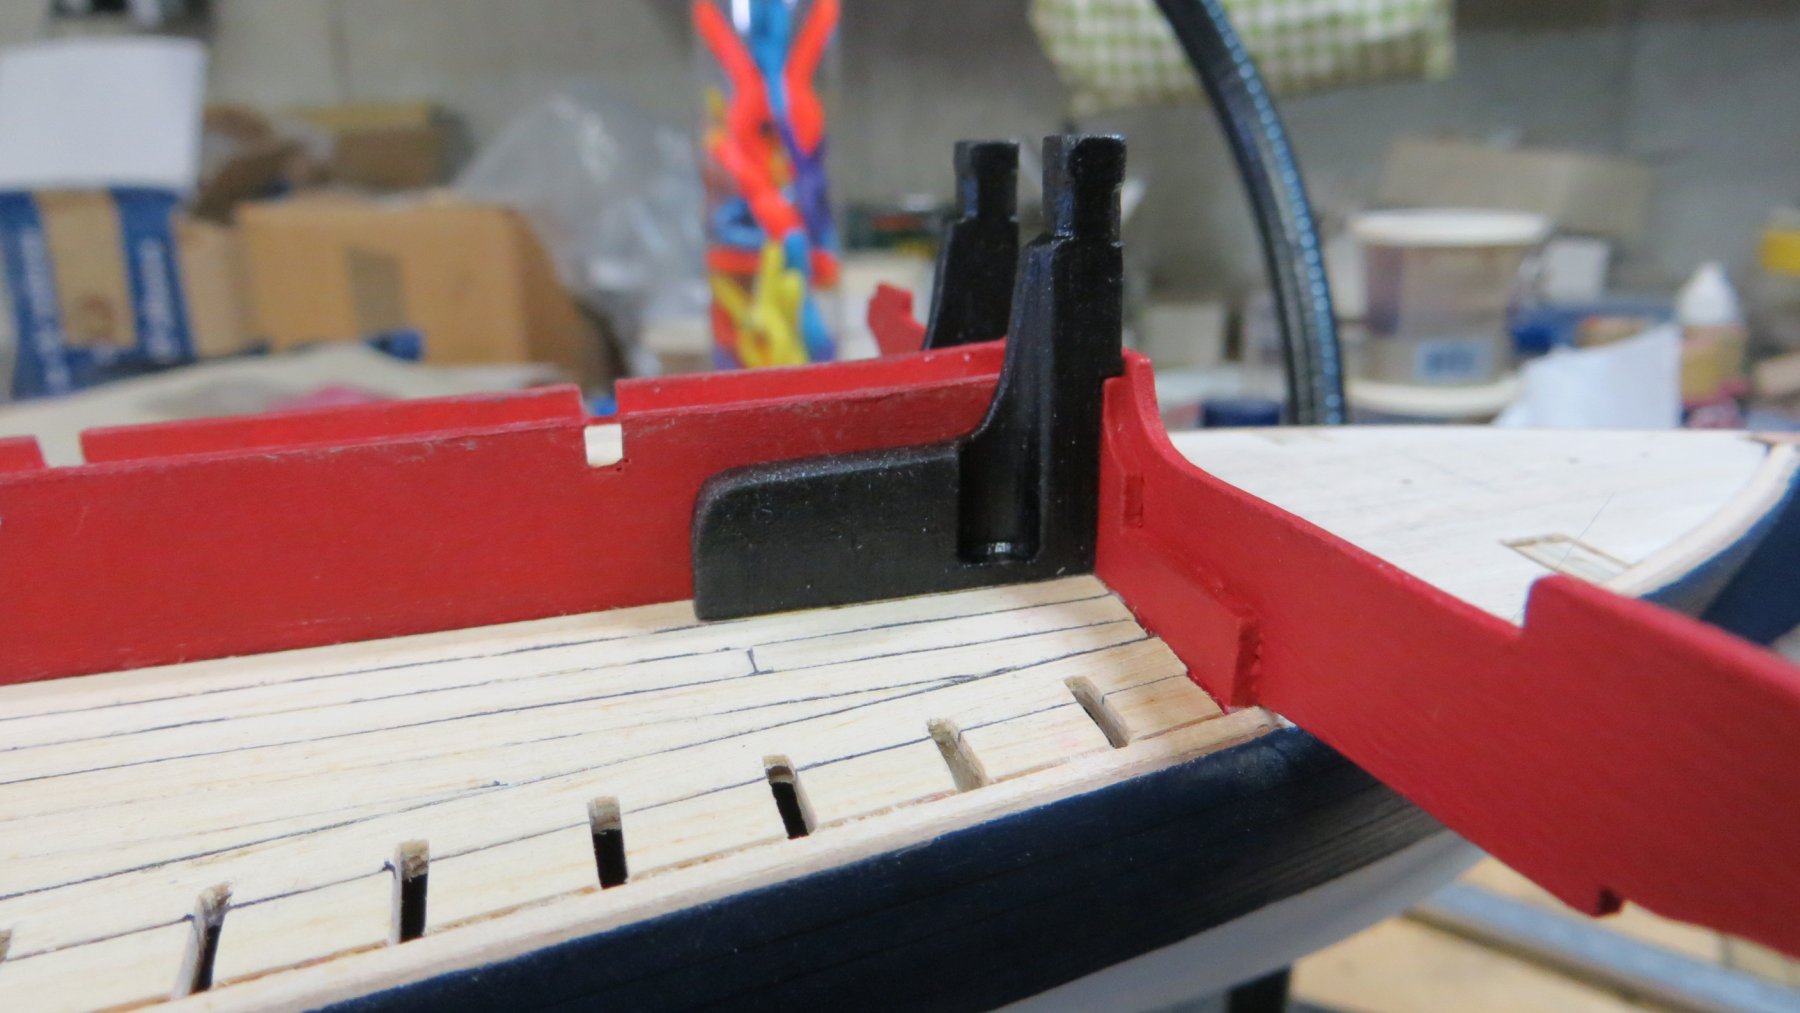
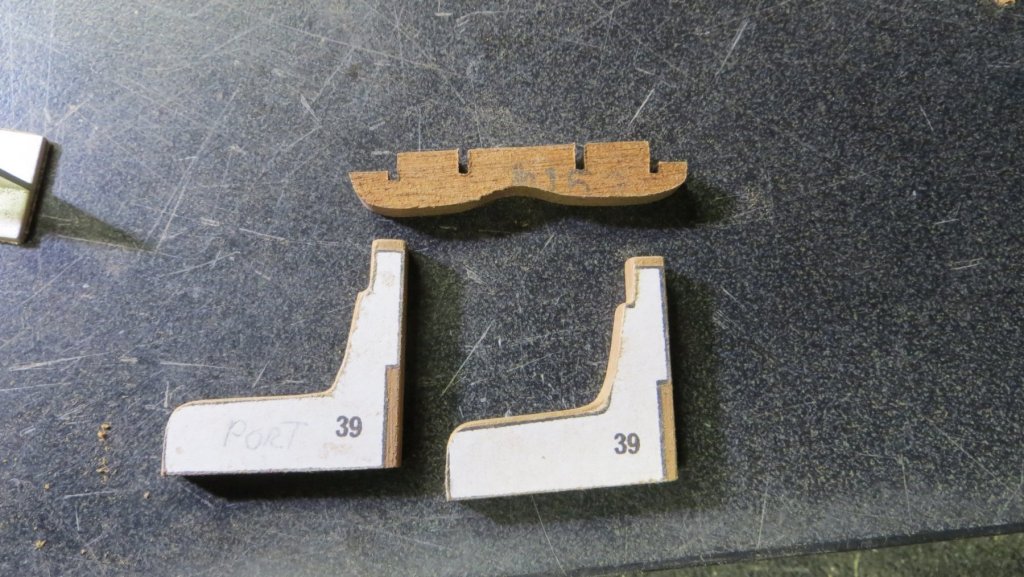
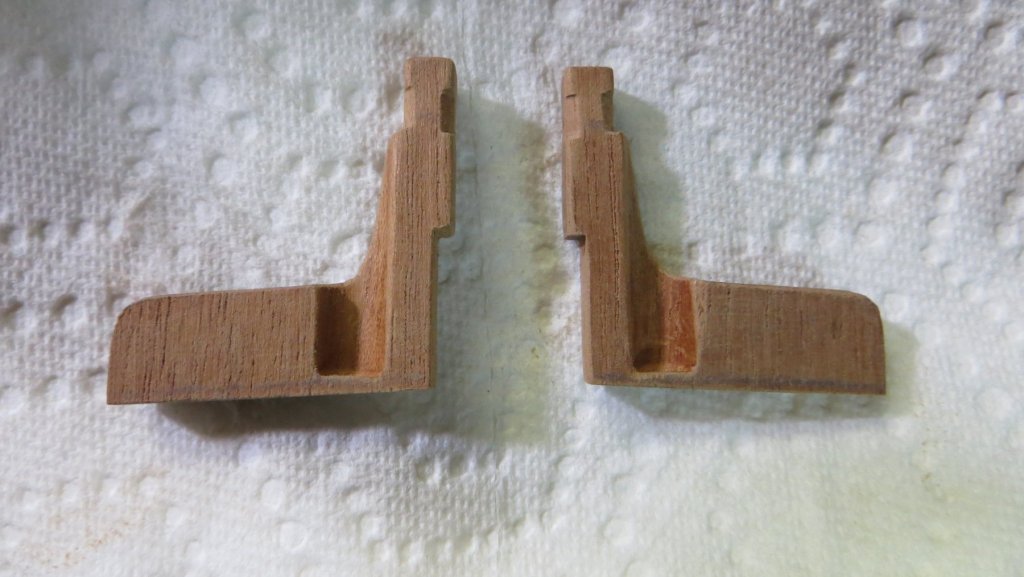
Hello! I have started work on the main deck. First was to install the forward and stern yokes. Getting these two pieces right is important, I feel, because all the other deck supports will be positioned and aligned between these two yokes. Trial fit of the fwd yoke Trial fit of the stern yoke Painted and installed yokes Next was to make and install the 2 bitts near the bow. The Corel plans show the beam in the photo below just laying on top of the 2 bitts. This didn't look right to me. I check the plans on the Fleur di Lis (Gerard Delacroix) and it showed that the bitts were stepped into the upper beam. So I left the bitts 2 mm higher (as shown in the photo) and I will later notch that upper beam to accept the bitts Finished Bitts, Painted and Installed. Thanks for visiting, Frank


- 510 replies
-
- 3
-
-
- reale de france
- corel
- (and 1 more)
-
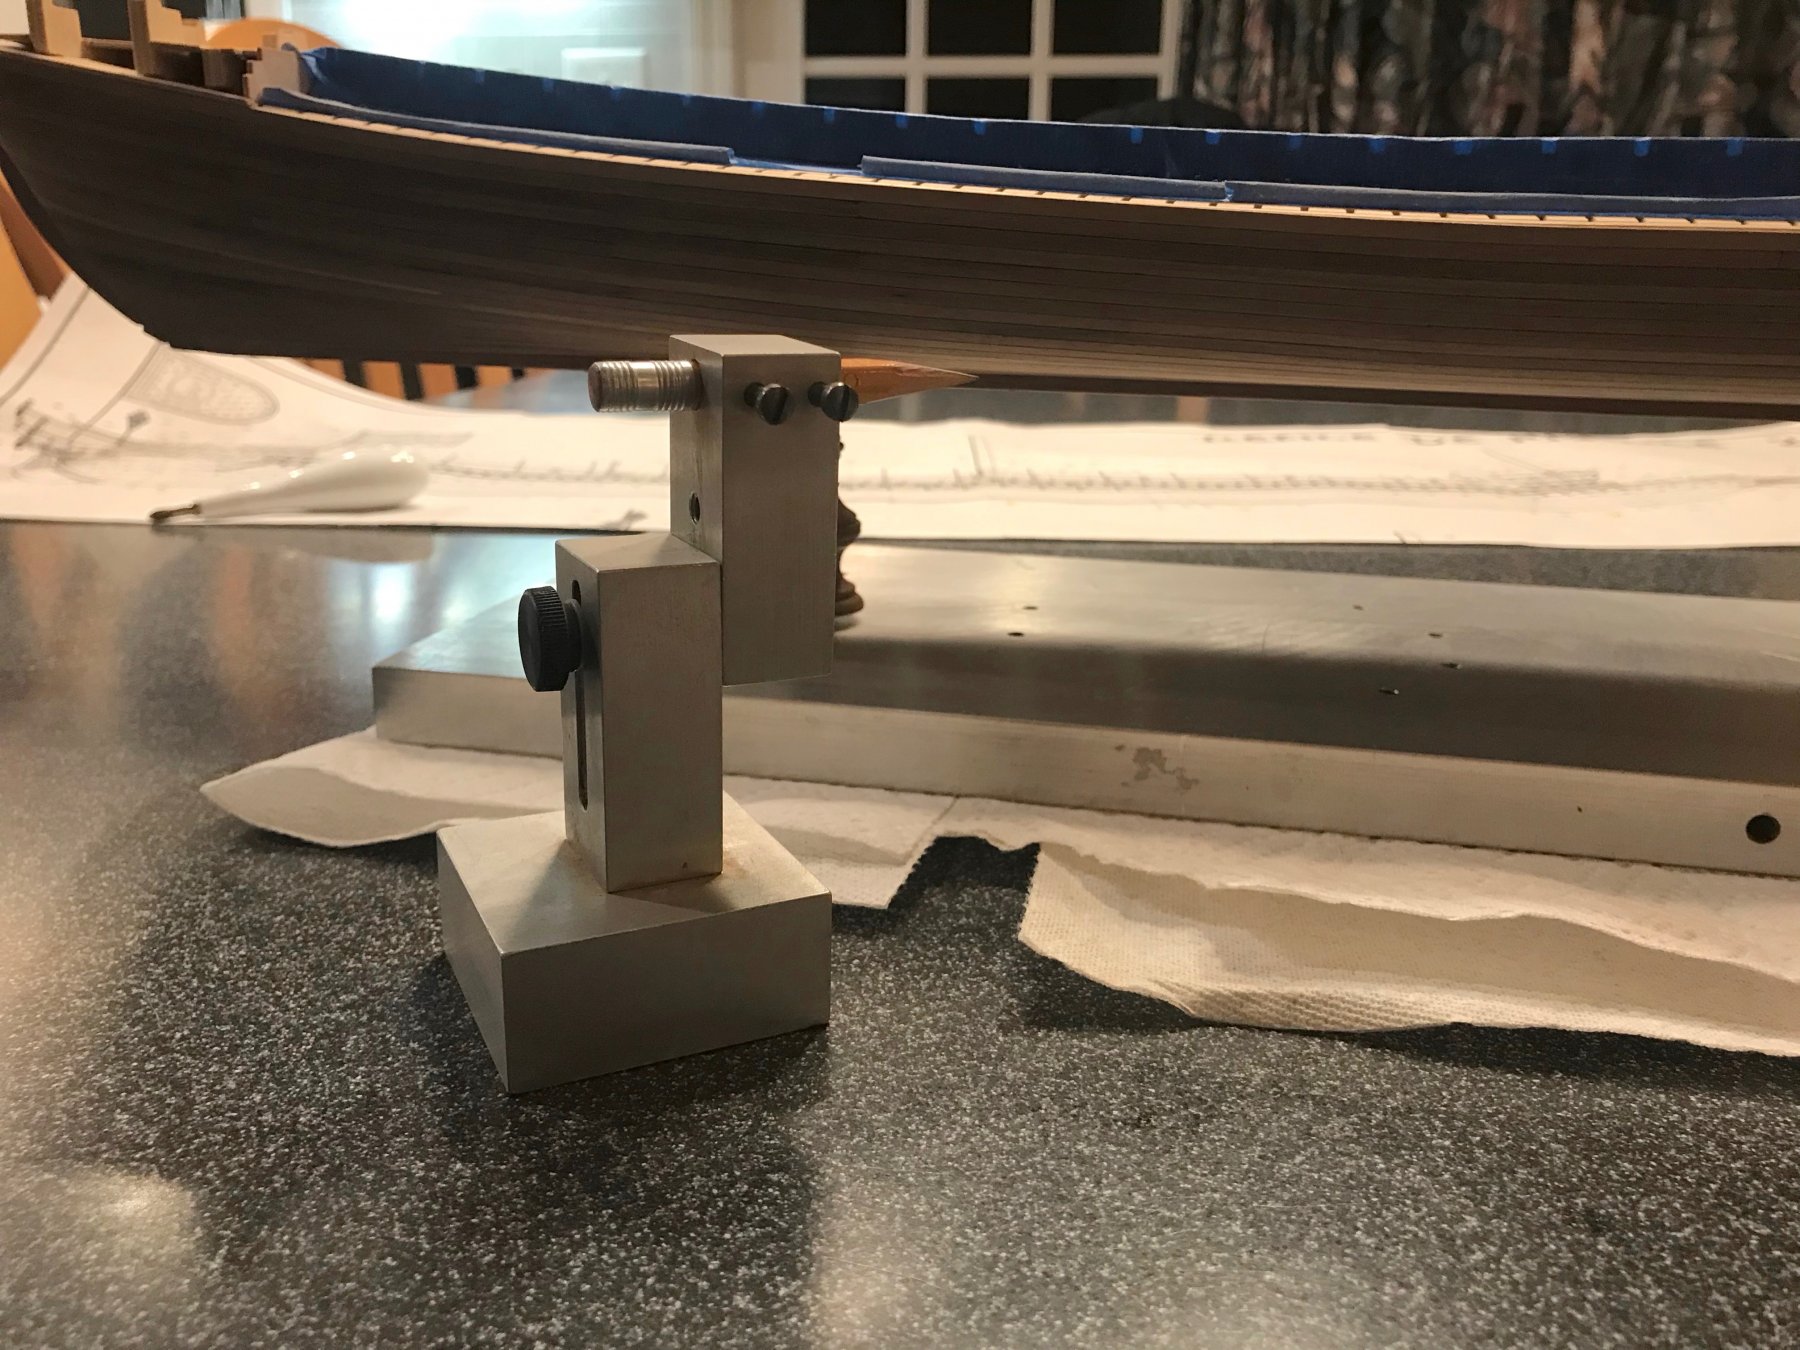
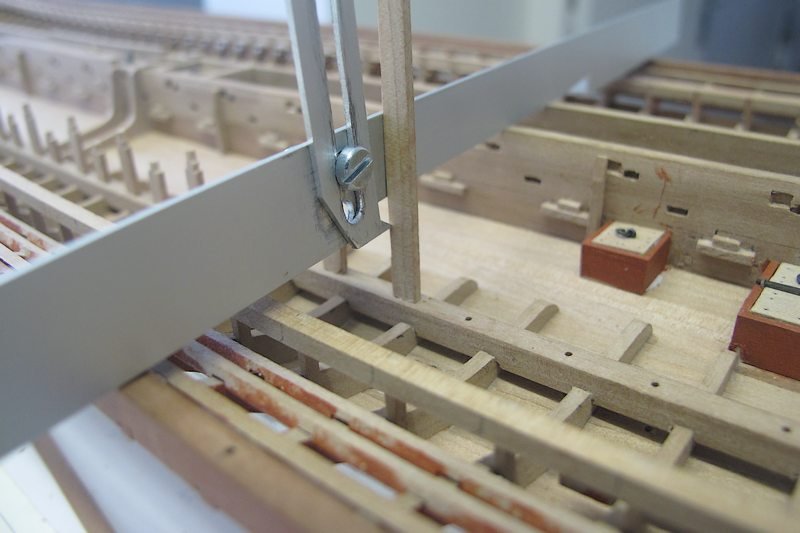
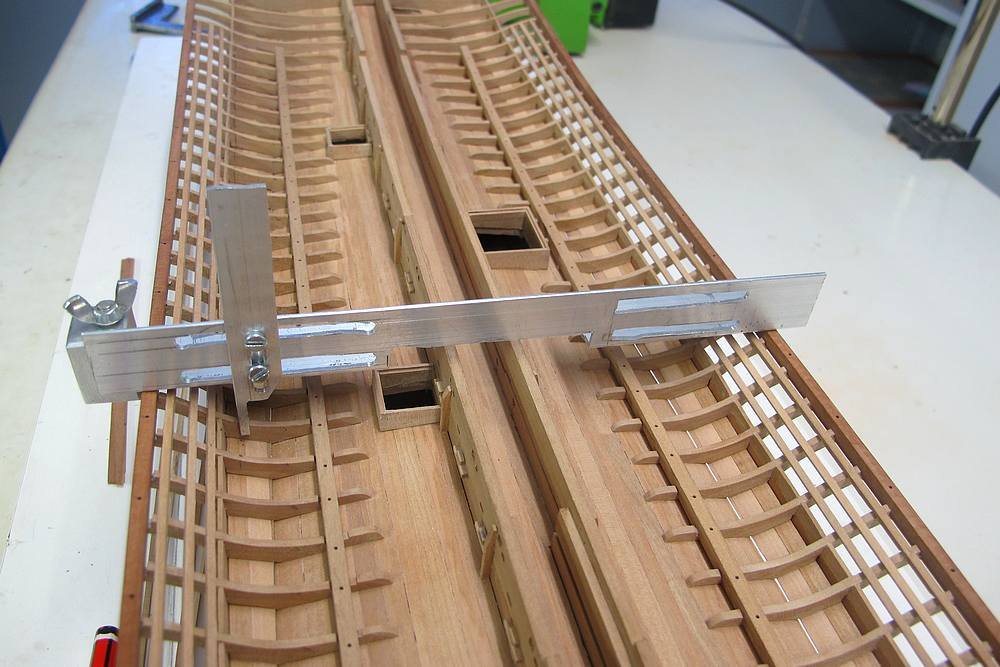
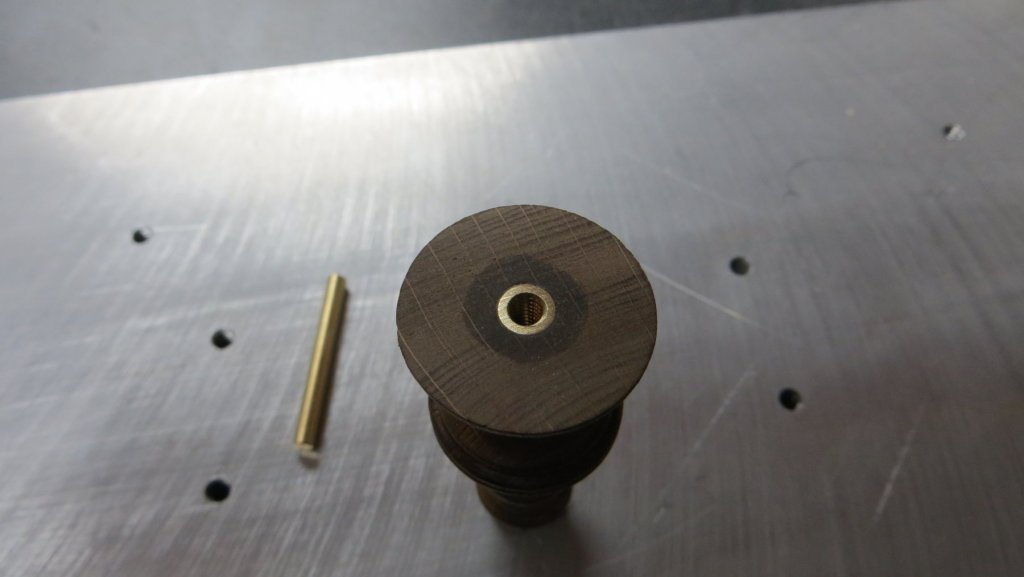
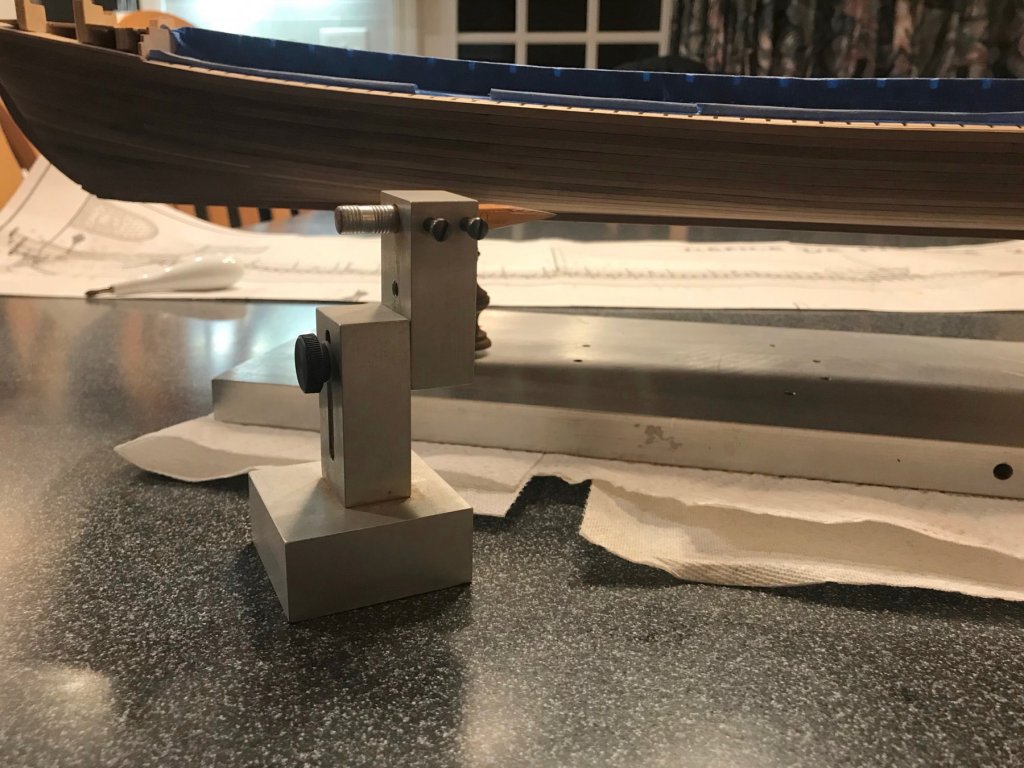
A question for anyone that could help. I came across these photos on the web. Does anyone know what this tool is called? Or where I can buy one? Maybe it was home made? I think it would be very useful in making sure both sides of my model is aligned correctly. Thanks, Frank
- 510 replies
-
- 1
-
-
- reale de france
- corel
- (and 1 more)
-
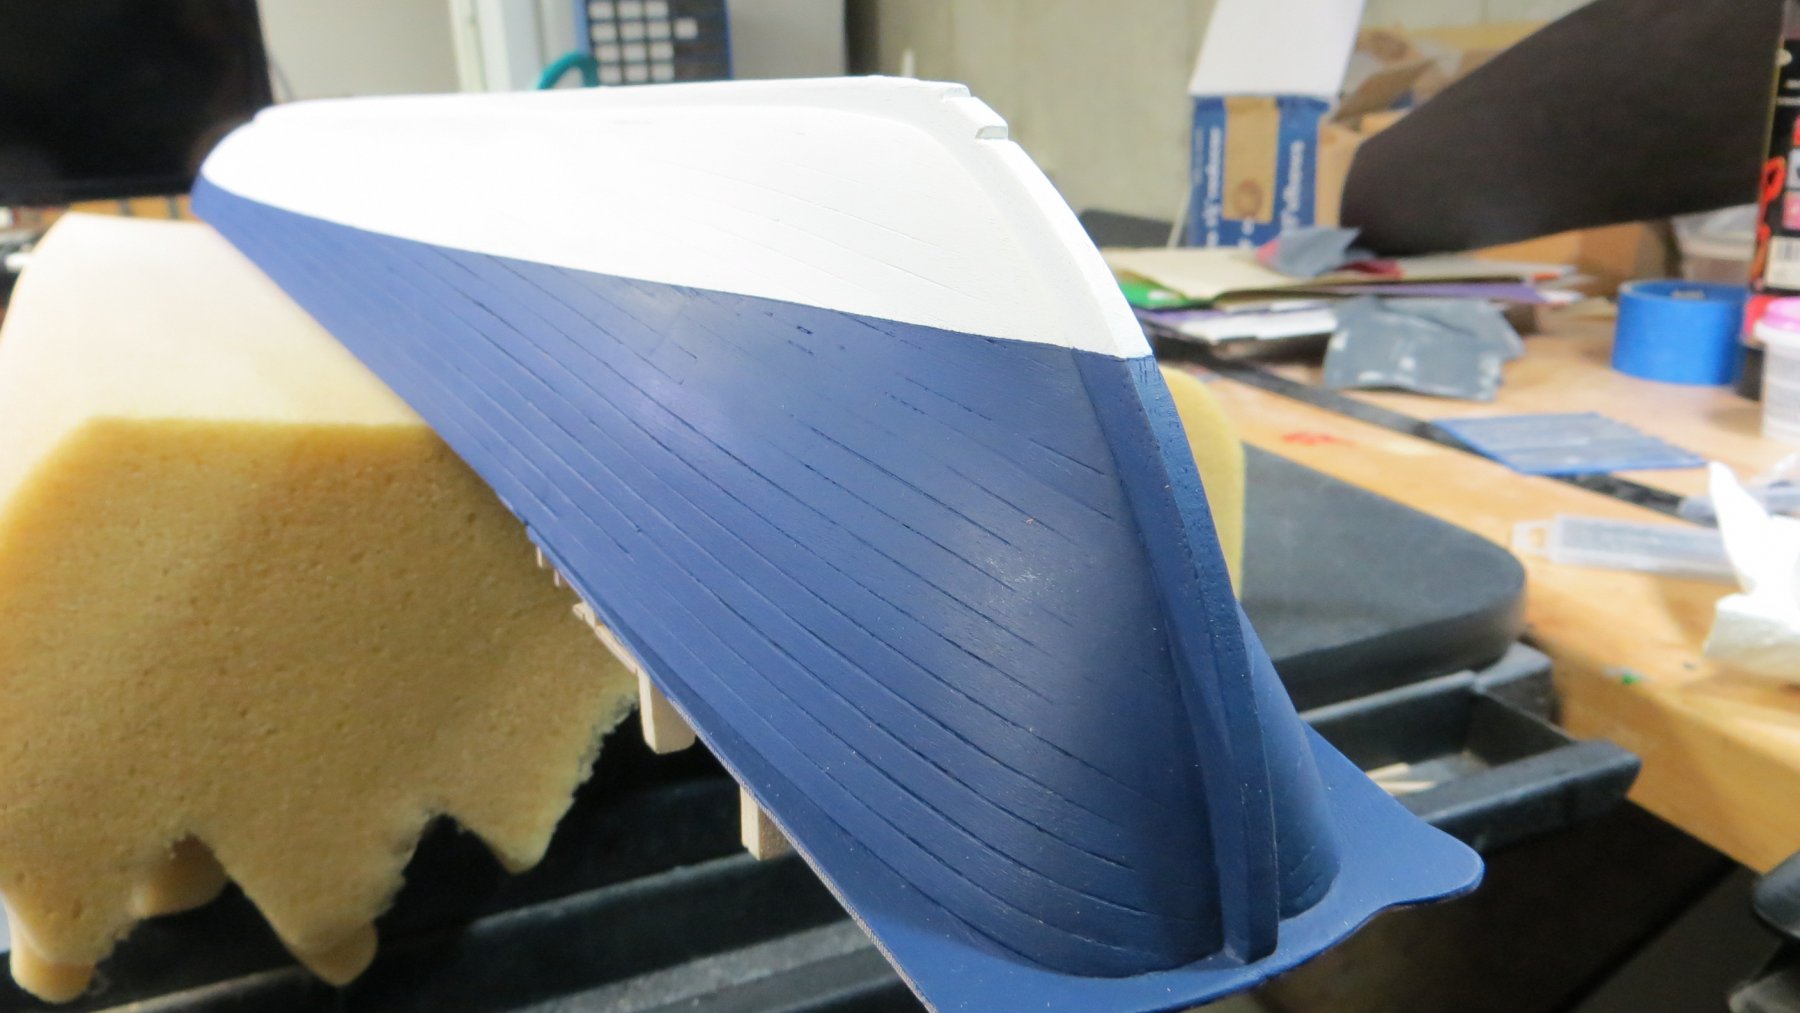
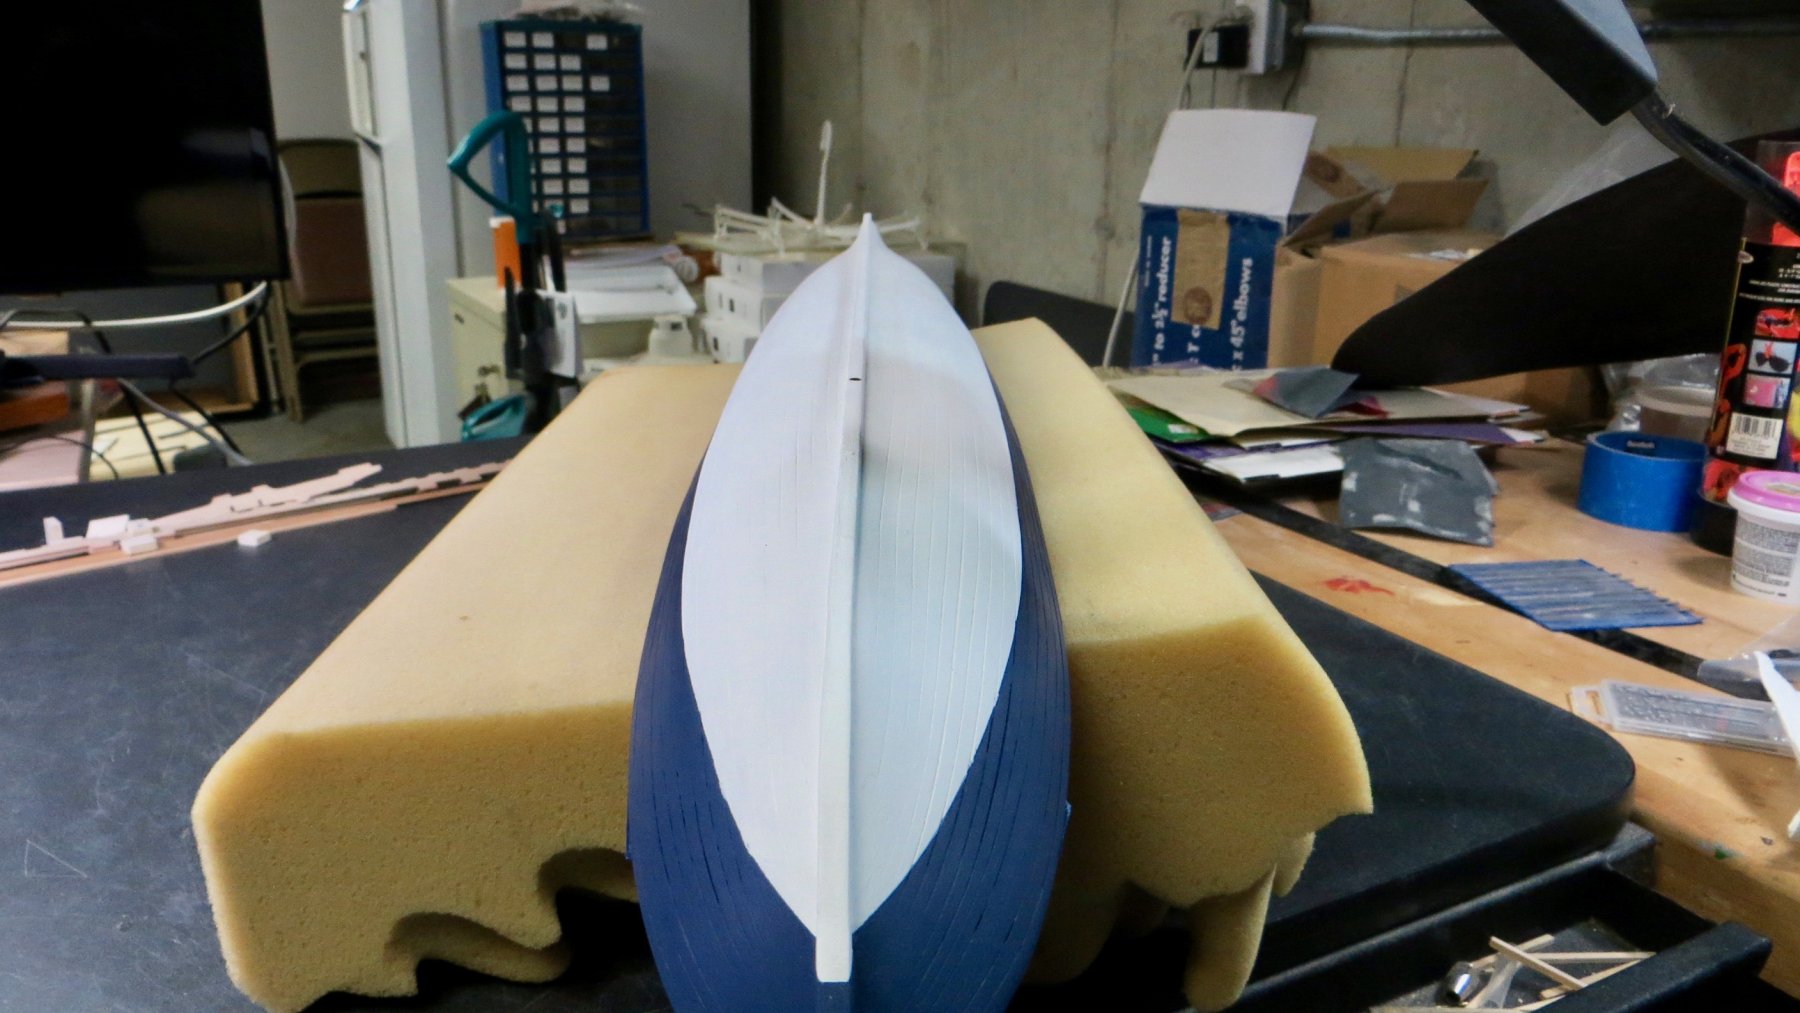
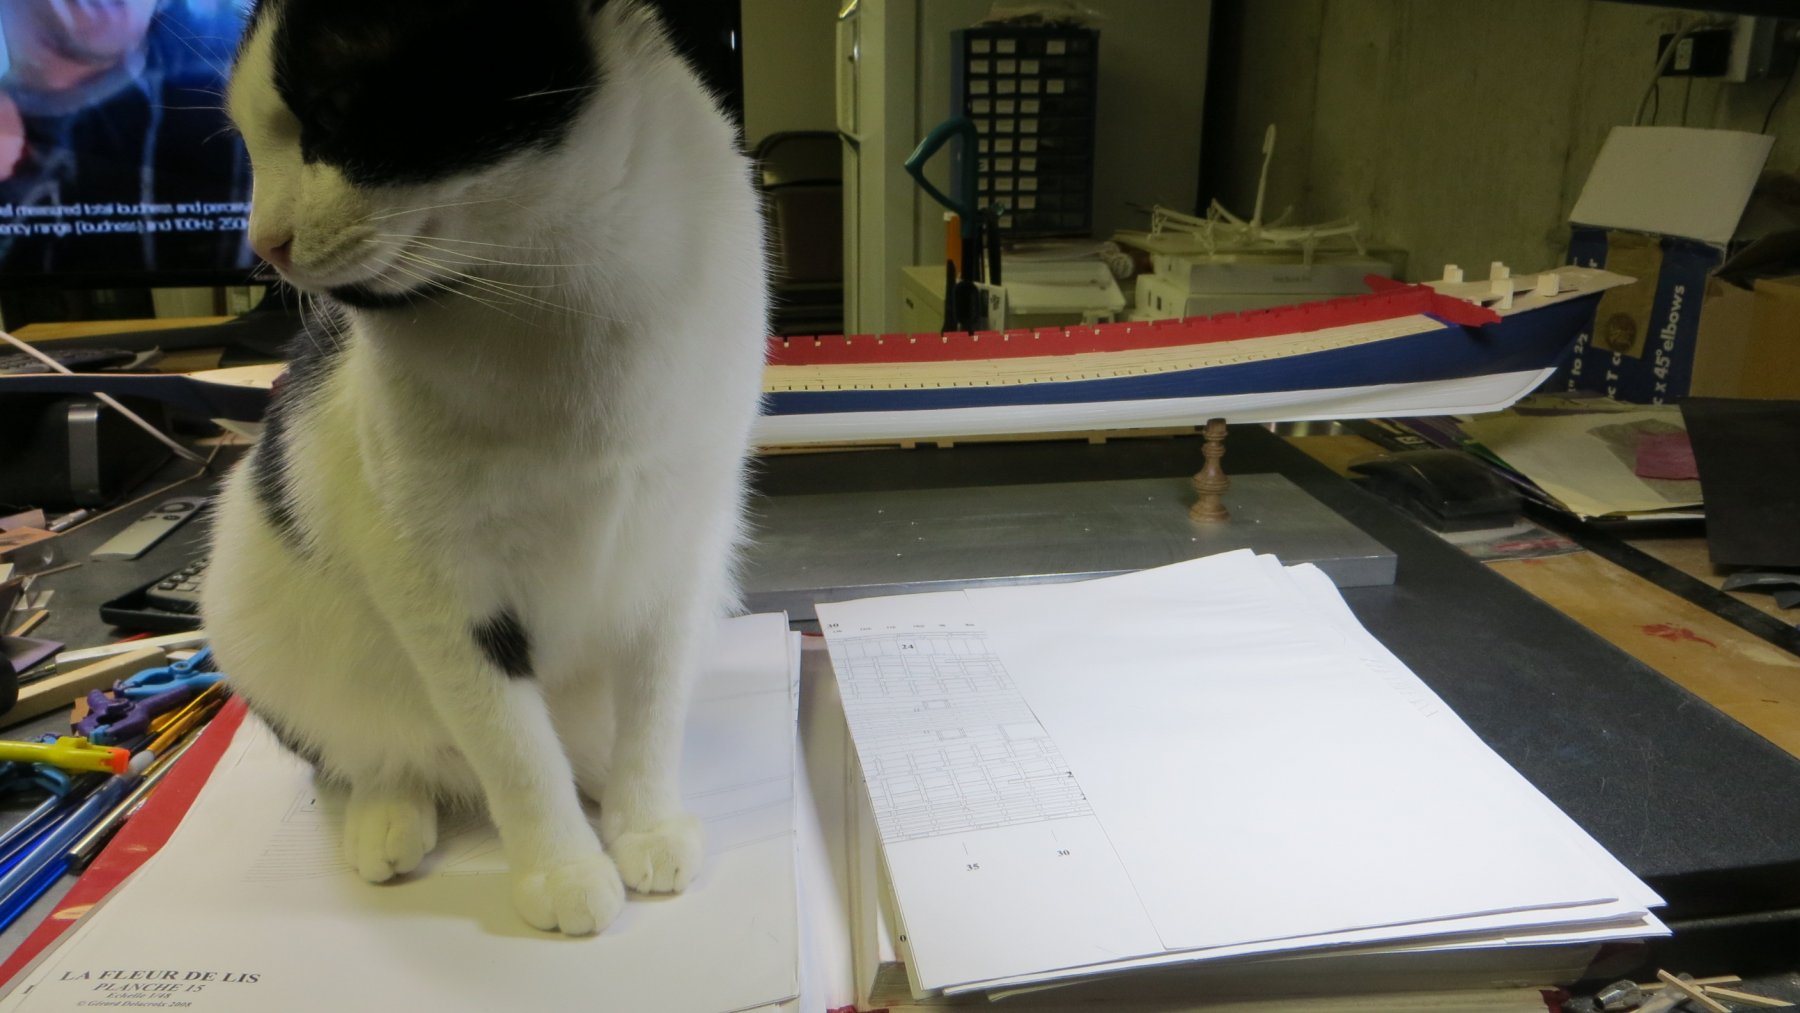
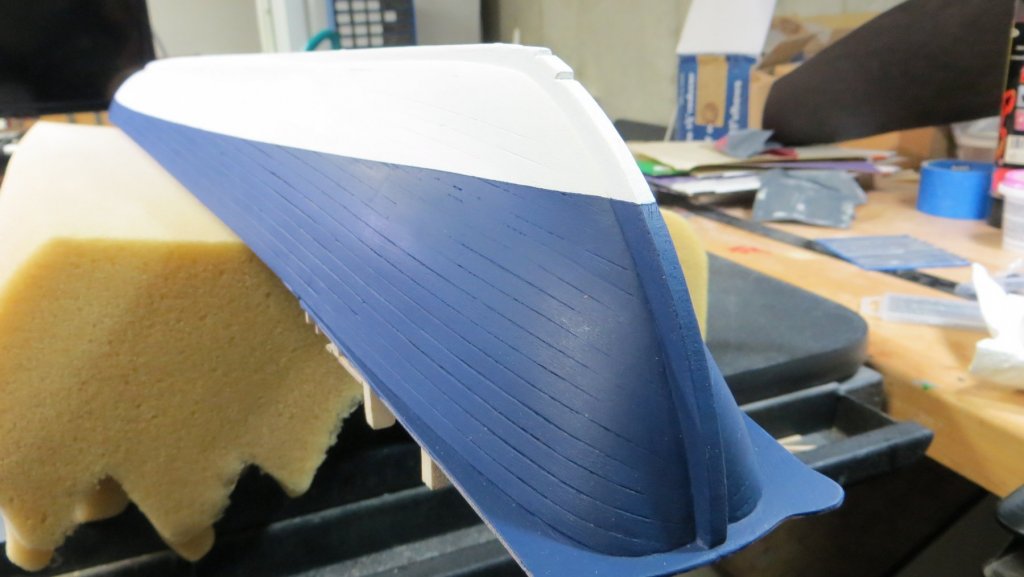
Hello and thanks for all the "likes". Continuing on: I masked off some more of the model in preparation of the painting above the waterline. After trying many samples of different shades of blue, I settled on a blue called "Thunder Blue" The color is actually a little bit darker looking than what came out on these photos. The red shown here is actually darker and richer than the photo shows and feels right alongside the Thunder Blue. (The photos seem to make things brighter!!) The model is back on the temporary stand and I'm excited to begin working on the topsides. My first mate (Han Solo) making sure I study the "Fleur De Lis" plans more closely before I continue! Thanks, Frank


- 510 replies
-
- 6
-
-
- reale de france
- corel
- (and 1 more)
-
Nice paint job! You sure have a lot of patience!! lol! Frank
- 146 replies
-
- 3
-
-
- deagostini
- vasa
- (and 1 more)
-
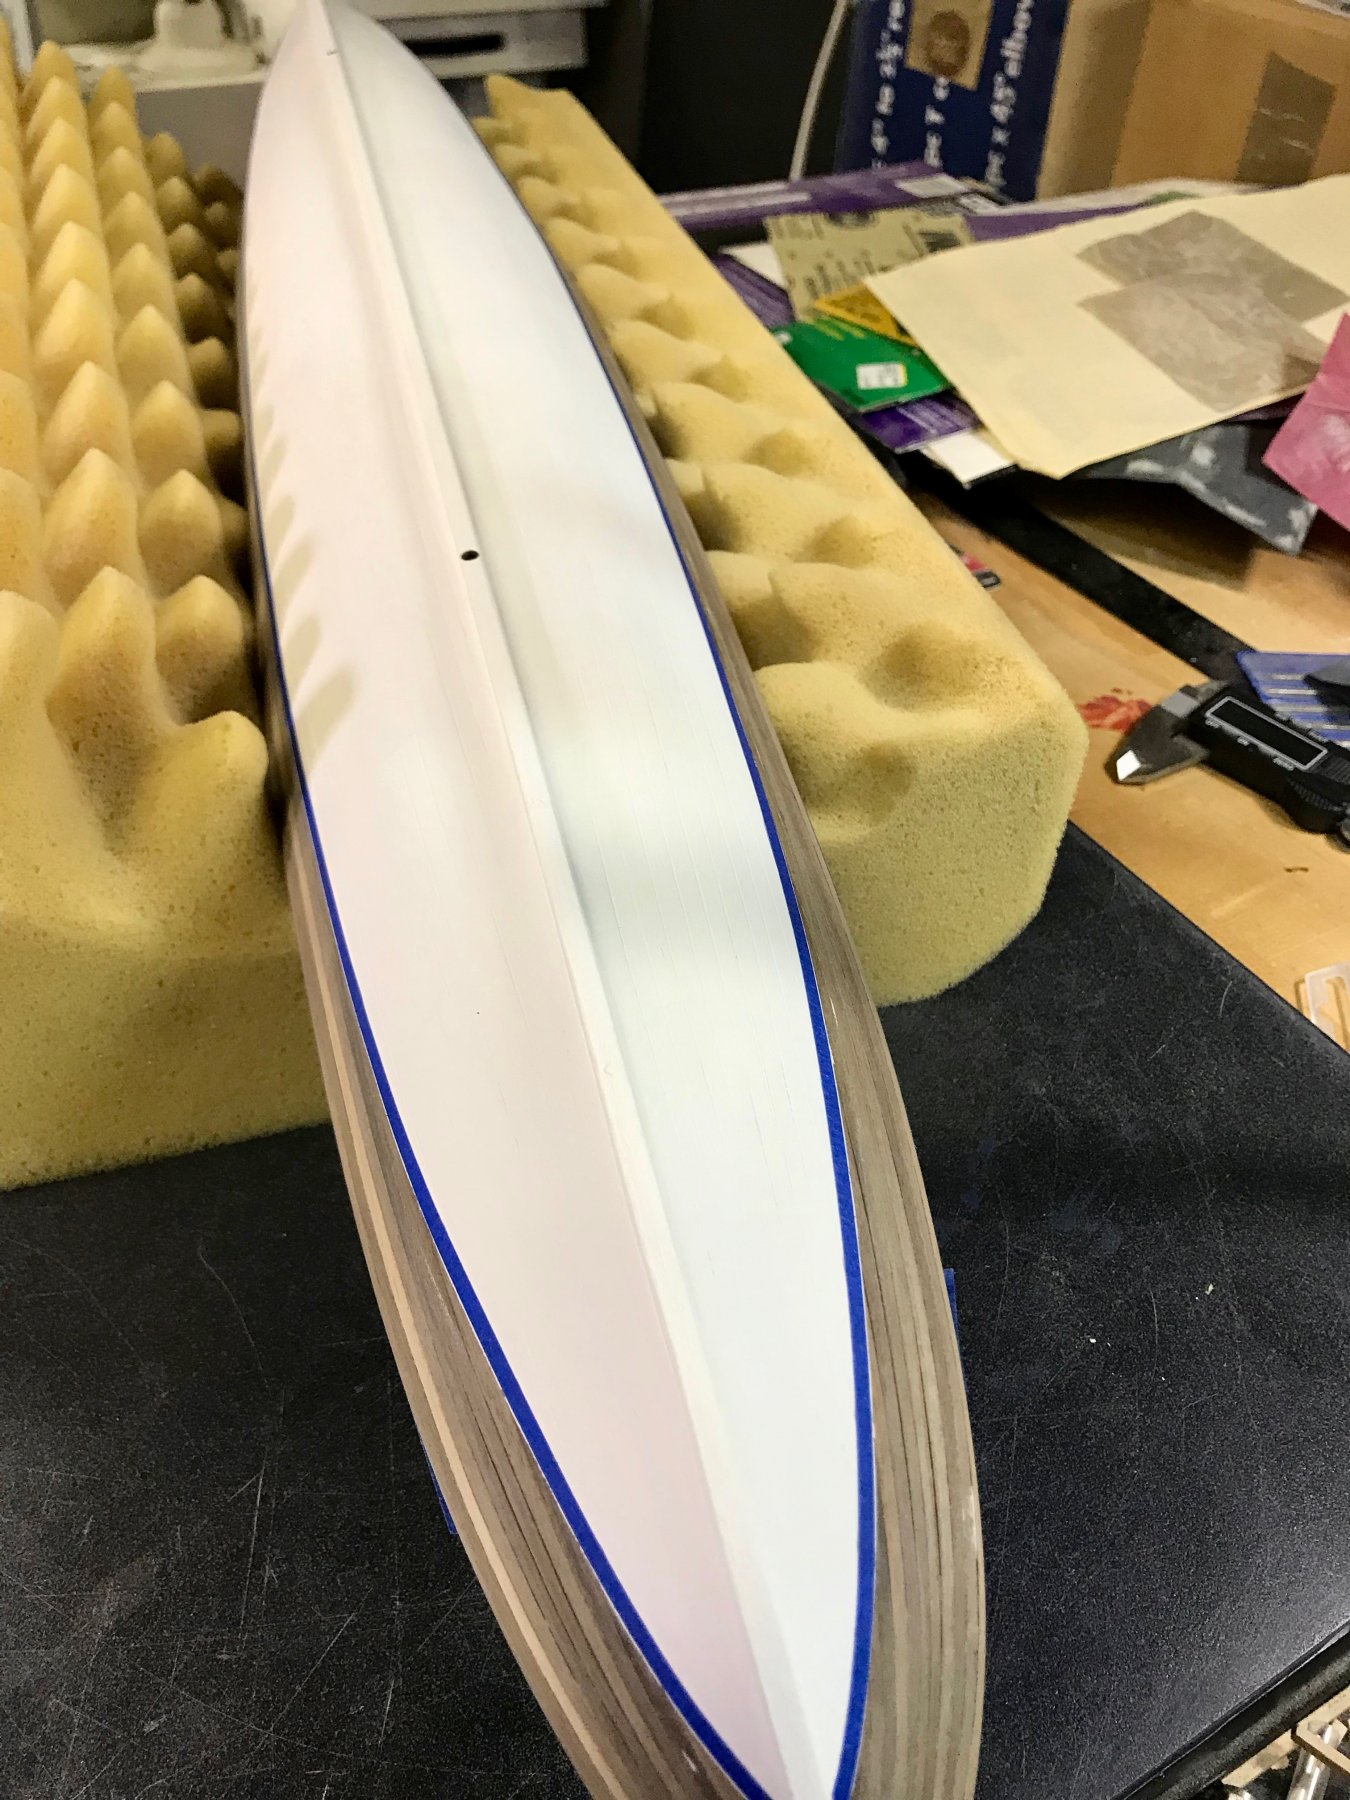
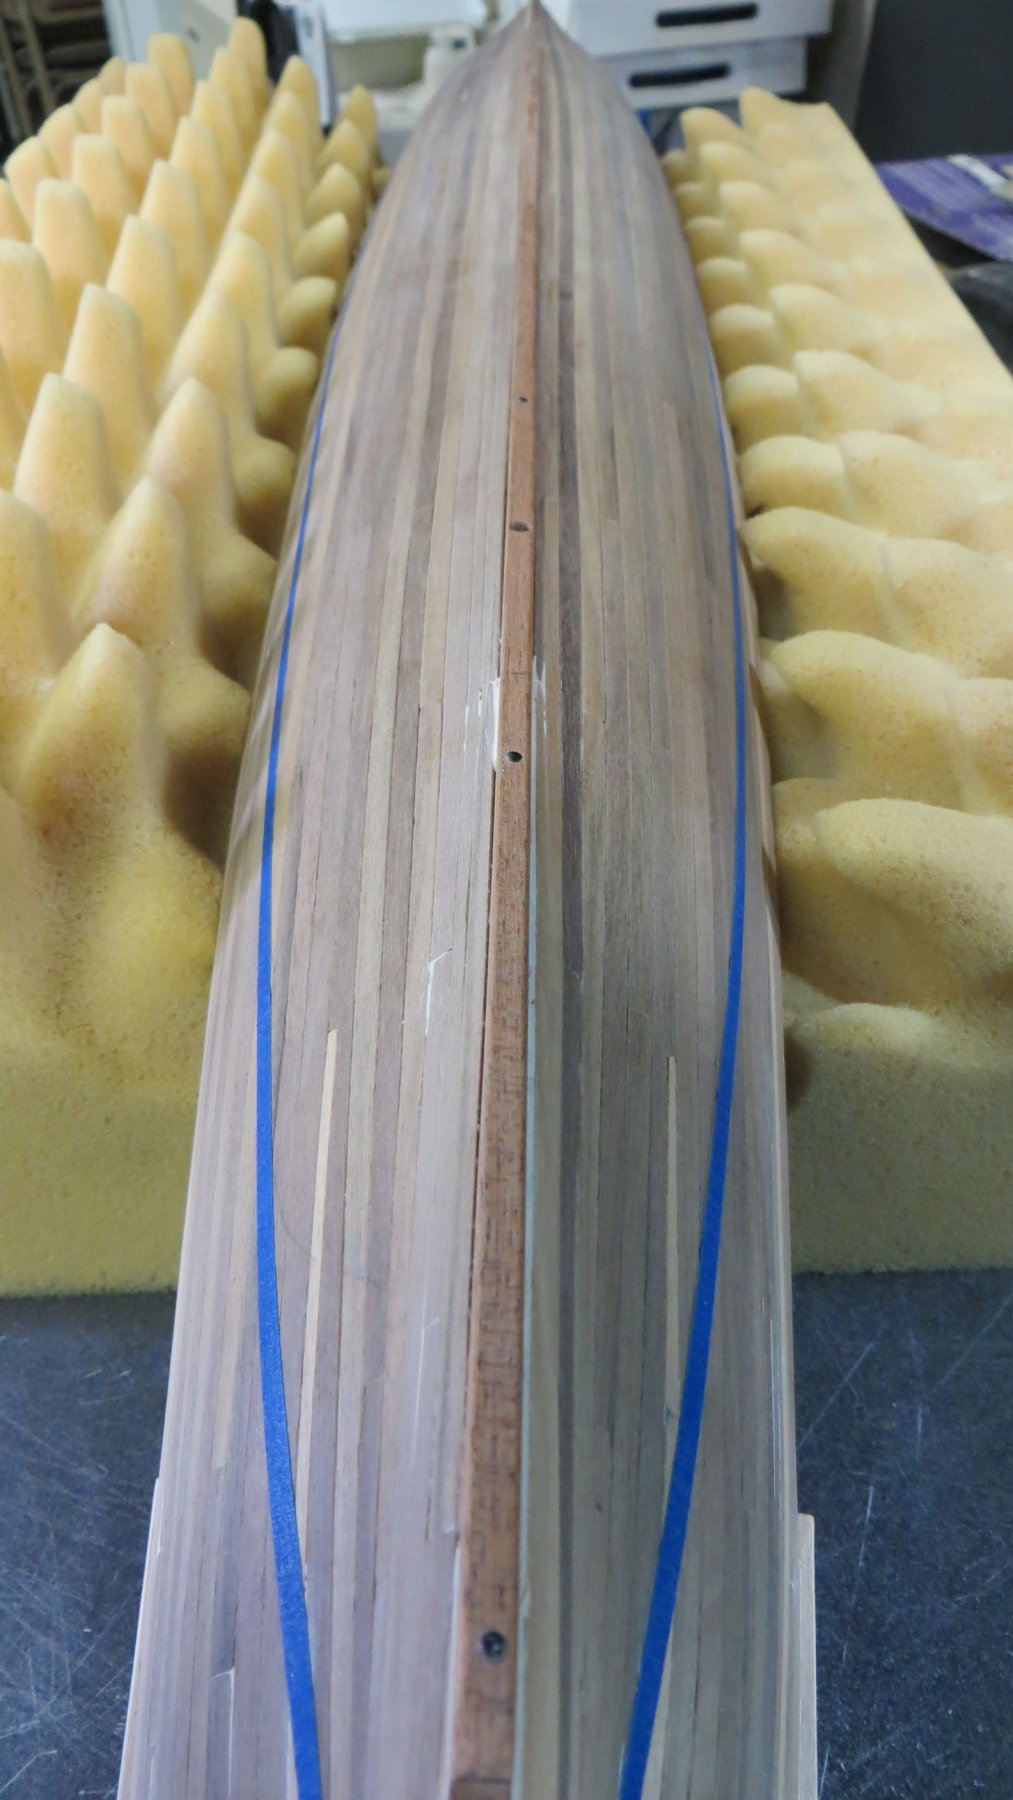
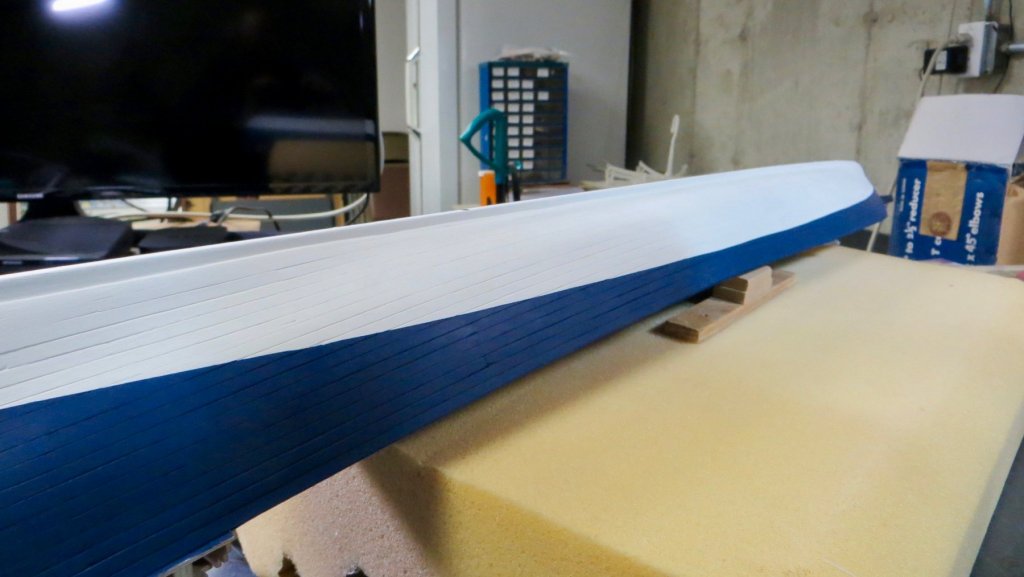
Hello, Just a small update. After figuring out and drawing the waterline, I taped up the line in order to paint the hull. I mixed up some Titanium White and Warm White (about 50/50) and painted below the water line. (4 Thin Coats) As usual, i'm sure that the photo's don't correctly show the color result of the mixing as it actually is, but it is pretty close. (Someday, I'll need to take a photography course!!) My next step will be to mask all the deck areas and the water line and paint the blue I have selected above the water line. (The Blue, White, and Red of this ship is supposed to represent the colors of the French flag) Thanks for visiting, Frank


- 510 replies
-
- 5
-
-
- reale de france
- corel
- (and 1 more)
-
Hello Gimo! Thank you for your post and for pointing me to your excellent Reale de France scratch built model. It is beautiful. It will be nice to have another reference to follow and get ideas from as i progress. Thanks again for your help Frank
-
Hello Fabio! Thank you for the museum photos above and I am looking forward to you posting your photos on your log. thanks for all the help, Frank
-
Ciao Luponero, piacere di conoscerti e grazie per la visita. Mia moglie ed io siamo stati a Firenze due volte. È una bella città. I miei genitori sono nati e cresciuti a Orsogna, una piccola città vicino a Pescara in Abruzzo! Mi piacerebbe vedere alcune delle tue foto e mi piacerebbe molto imparare da te quali sono gli "errori" nei piani del kit Corel, in modo che potessi provare a correggere questi errori, prima di arrivare troppo in là costruire. Il tuo aiuto sarebbe molto apprezzato. Spero che questo post si traduca in italiano correttamente per voi da capire! grazie, Franco
-
Ciao Luponero, pleasure to meet you and thank you for visiting. My wife and I have been to Florence twice. It is a beautiful city. My parents were born and raised in Orsogna, a small town near Pescara in Abruzzi! I would love to see some of your photos and I would very much like to learn from you what the “errors” are in the Corel kit plans, so that I could try to fix these errors, before i get too far into the build. Your help would be greatly appreciated. I hope this post will translate into Italian correctly for you to understand! thanks, Frank
-
Nice job on the ratlines Mark! I think you are spot on with the scale of the ratline line vs the shroud. Sorry, I can't help you with the issue of topgallant shrouds ratline or not. As you point out, i've seen many ship models without. thanks, Frank
- 331 replies
-
- 1
-
-
- nuestra senora del pilar
- occre
- (and 1 more)
-
Katsumoto and Gimo, Thank you for your kind words and for visiting my log! And everyone else, thank you for the "Likes" Frank
- 510 replies
-
- 1
-
-
- reale de france
- corel
- (and 1 more)
-
Thank you for your kind words Reed! We adopted Han a year ago. He was an abandoned cat. He always hangs out with me while I work on my model in my work room. He stays out of my way while I'm working, but after I call it quits for the night, he has to walk around my work table inspecting my progress!! Lol! The Real de France is a beautiful ship. Hopefully I can do it justice! Thanks for visiting, Frank
- 510 replies
-
- 1
-
-
- reale de france
- corel
- (and 1 more)
-
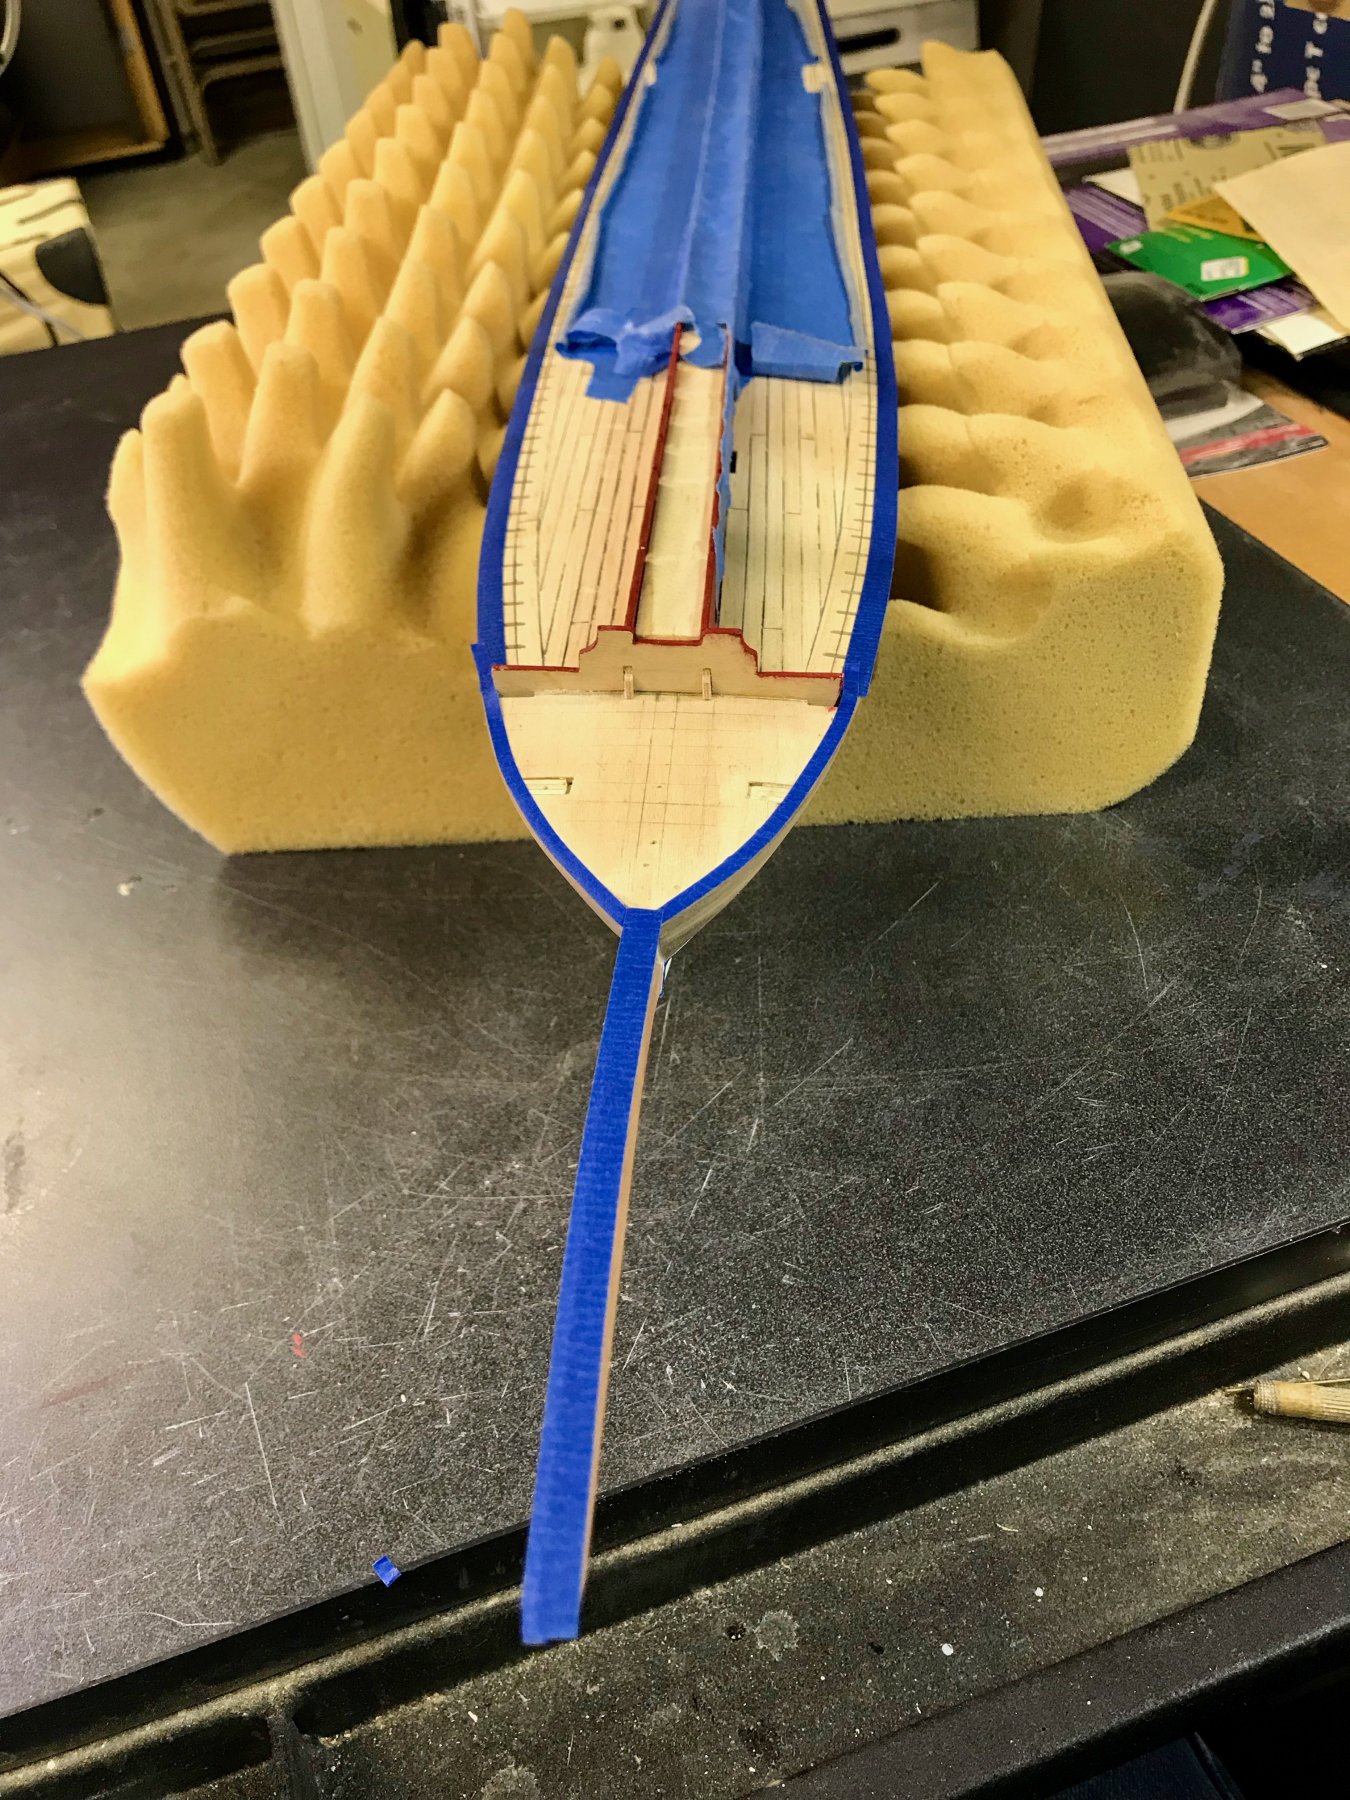
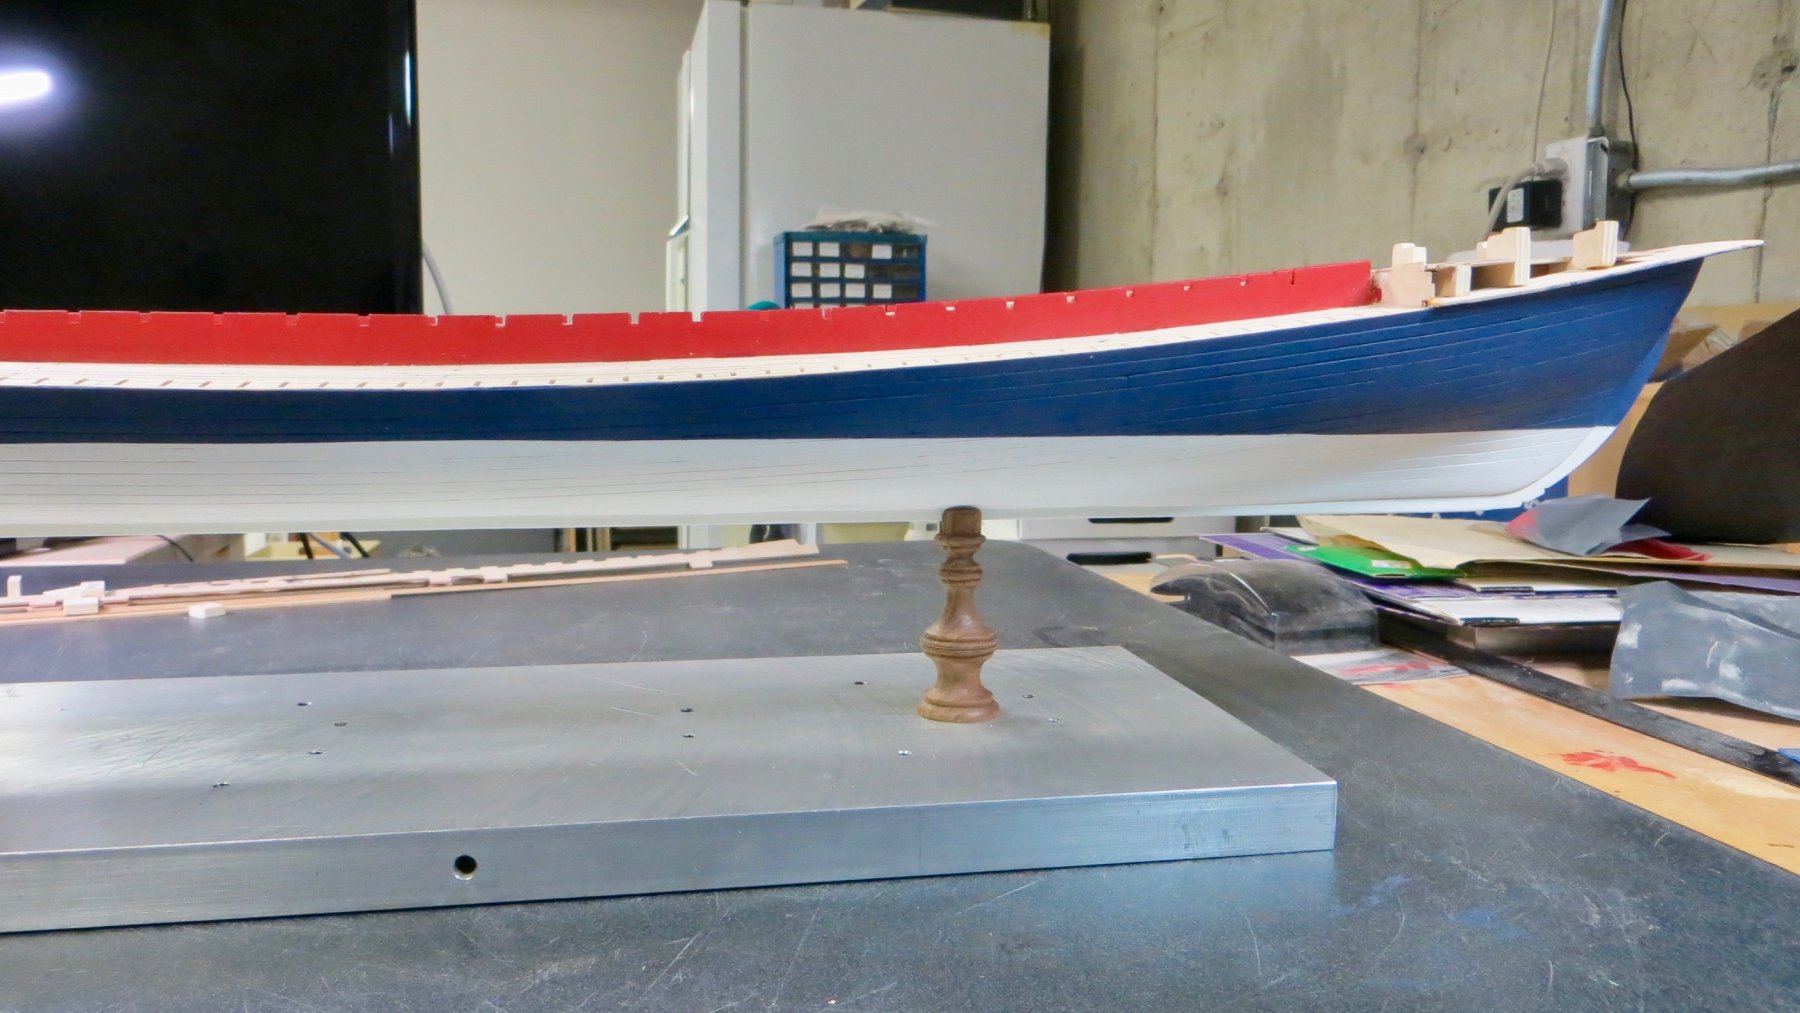
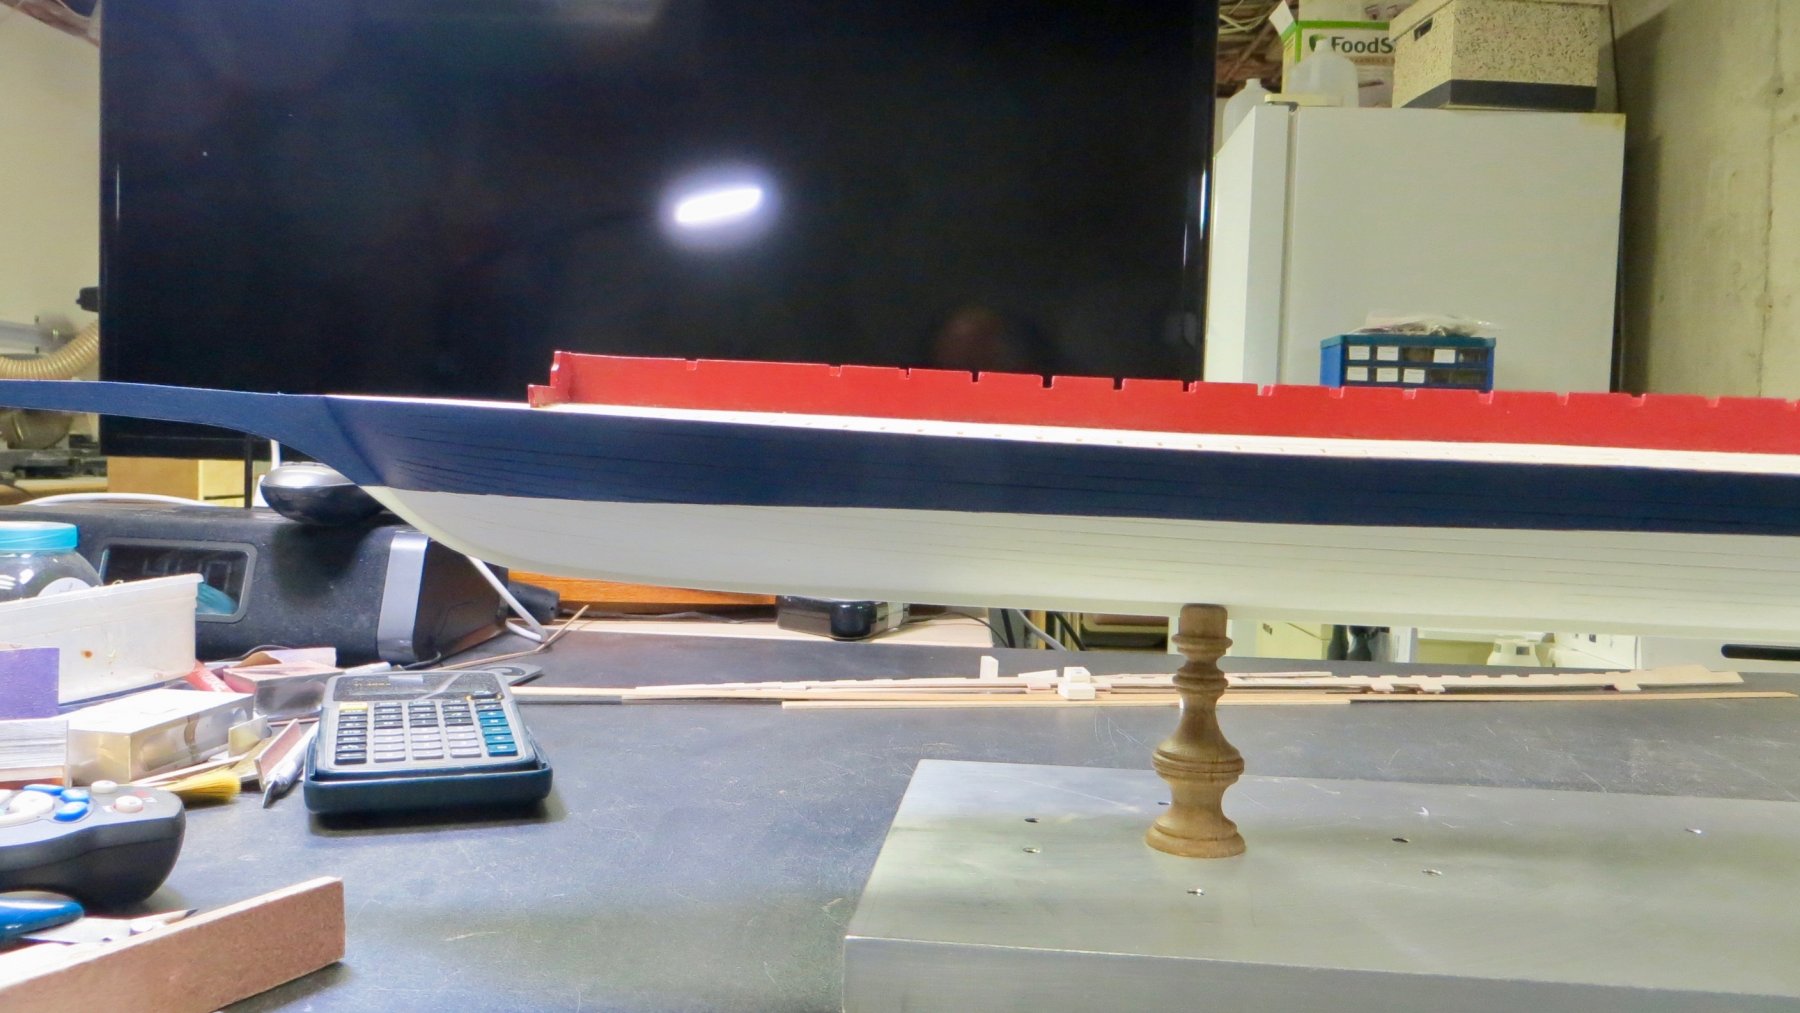
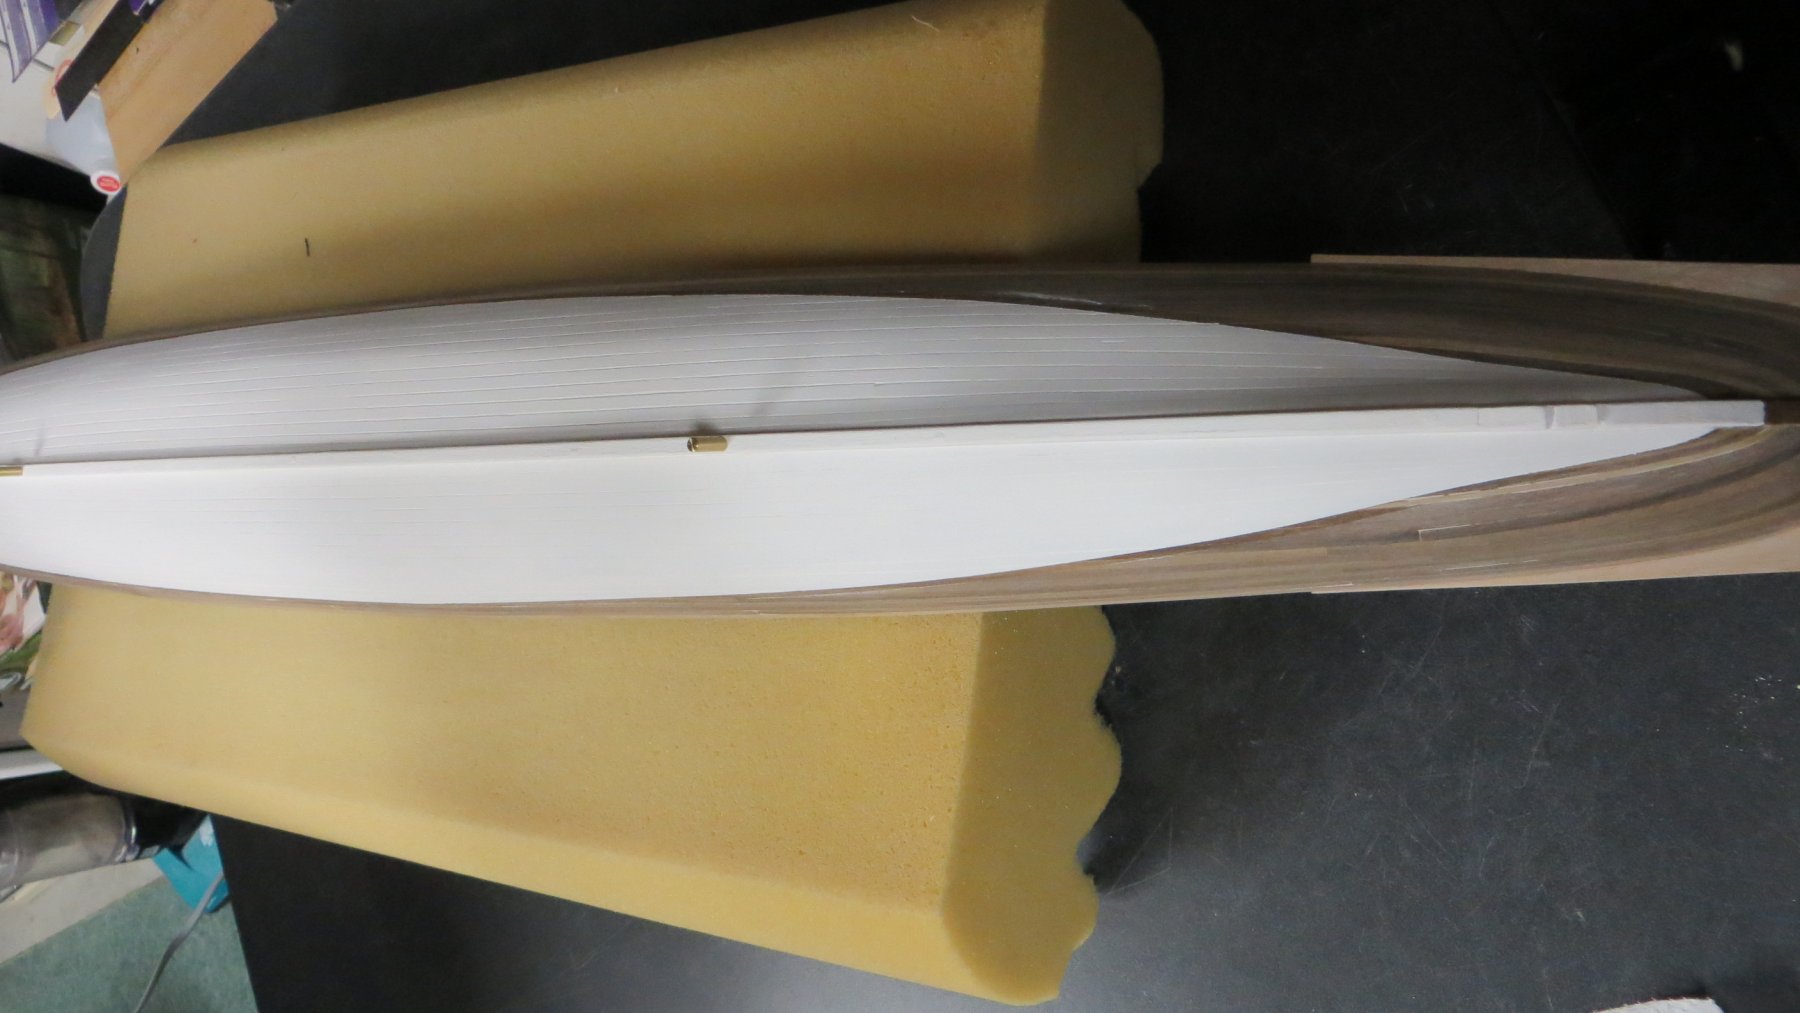
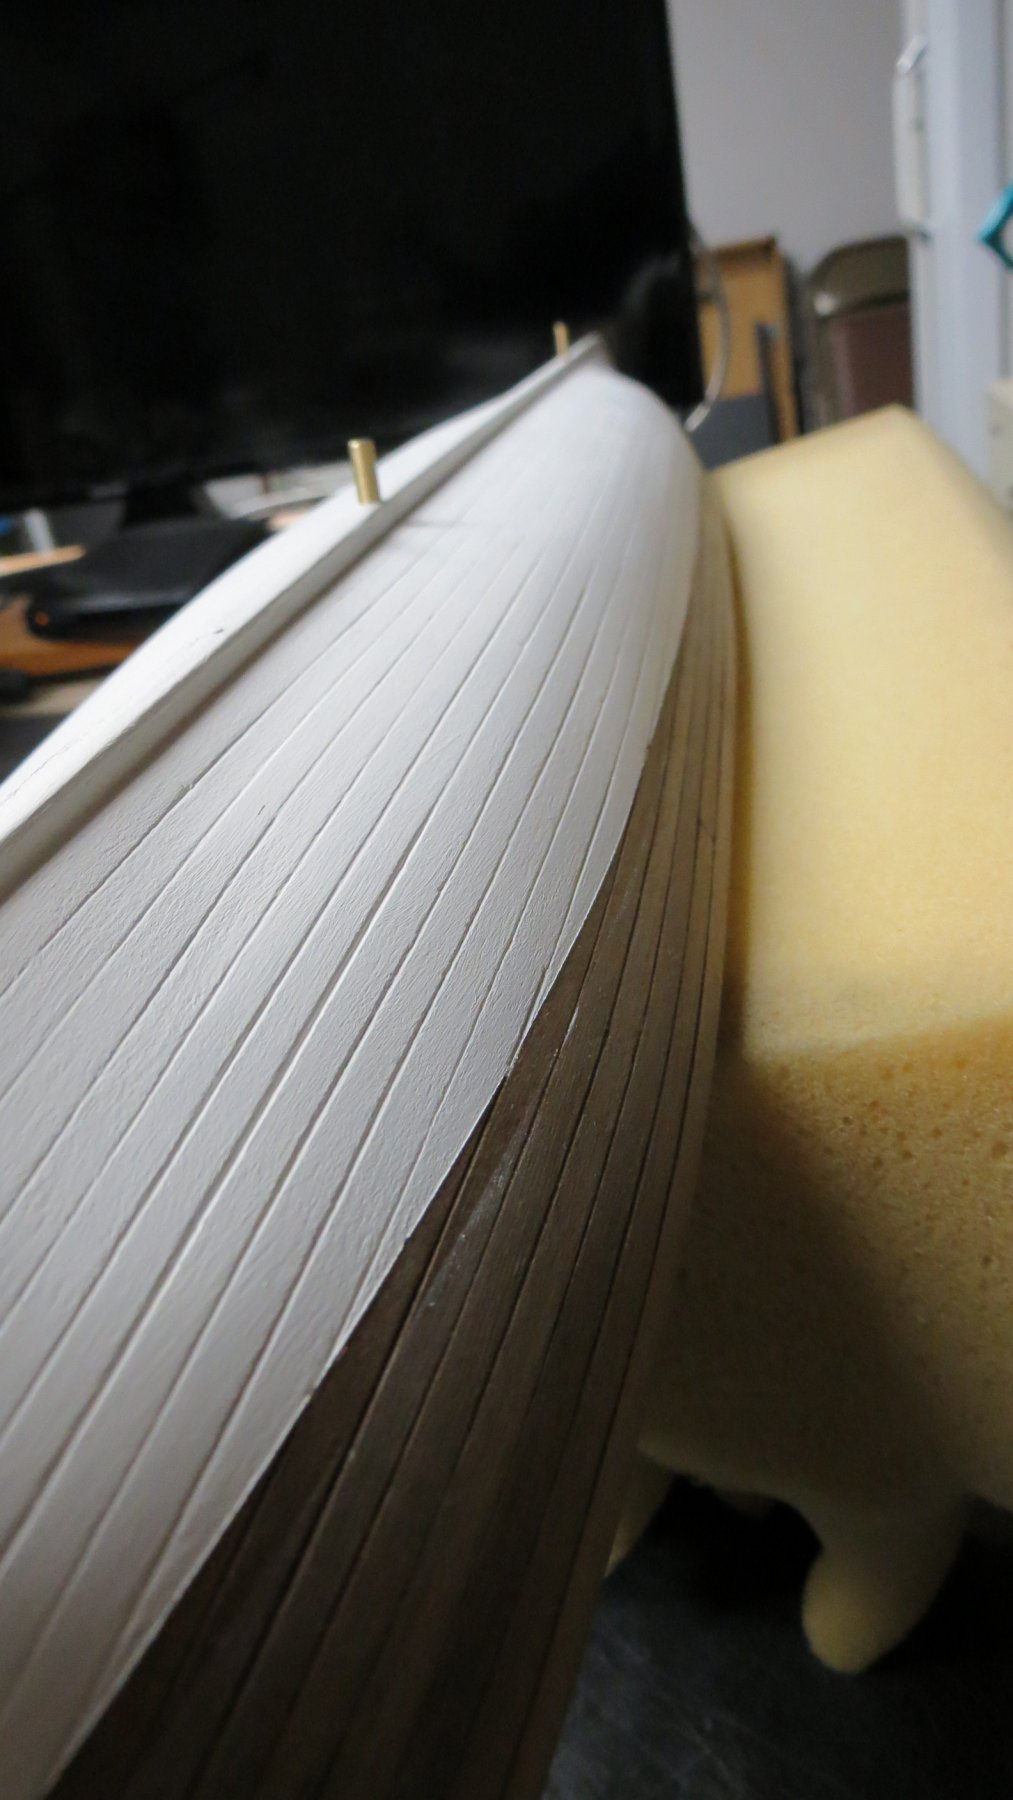
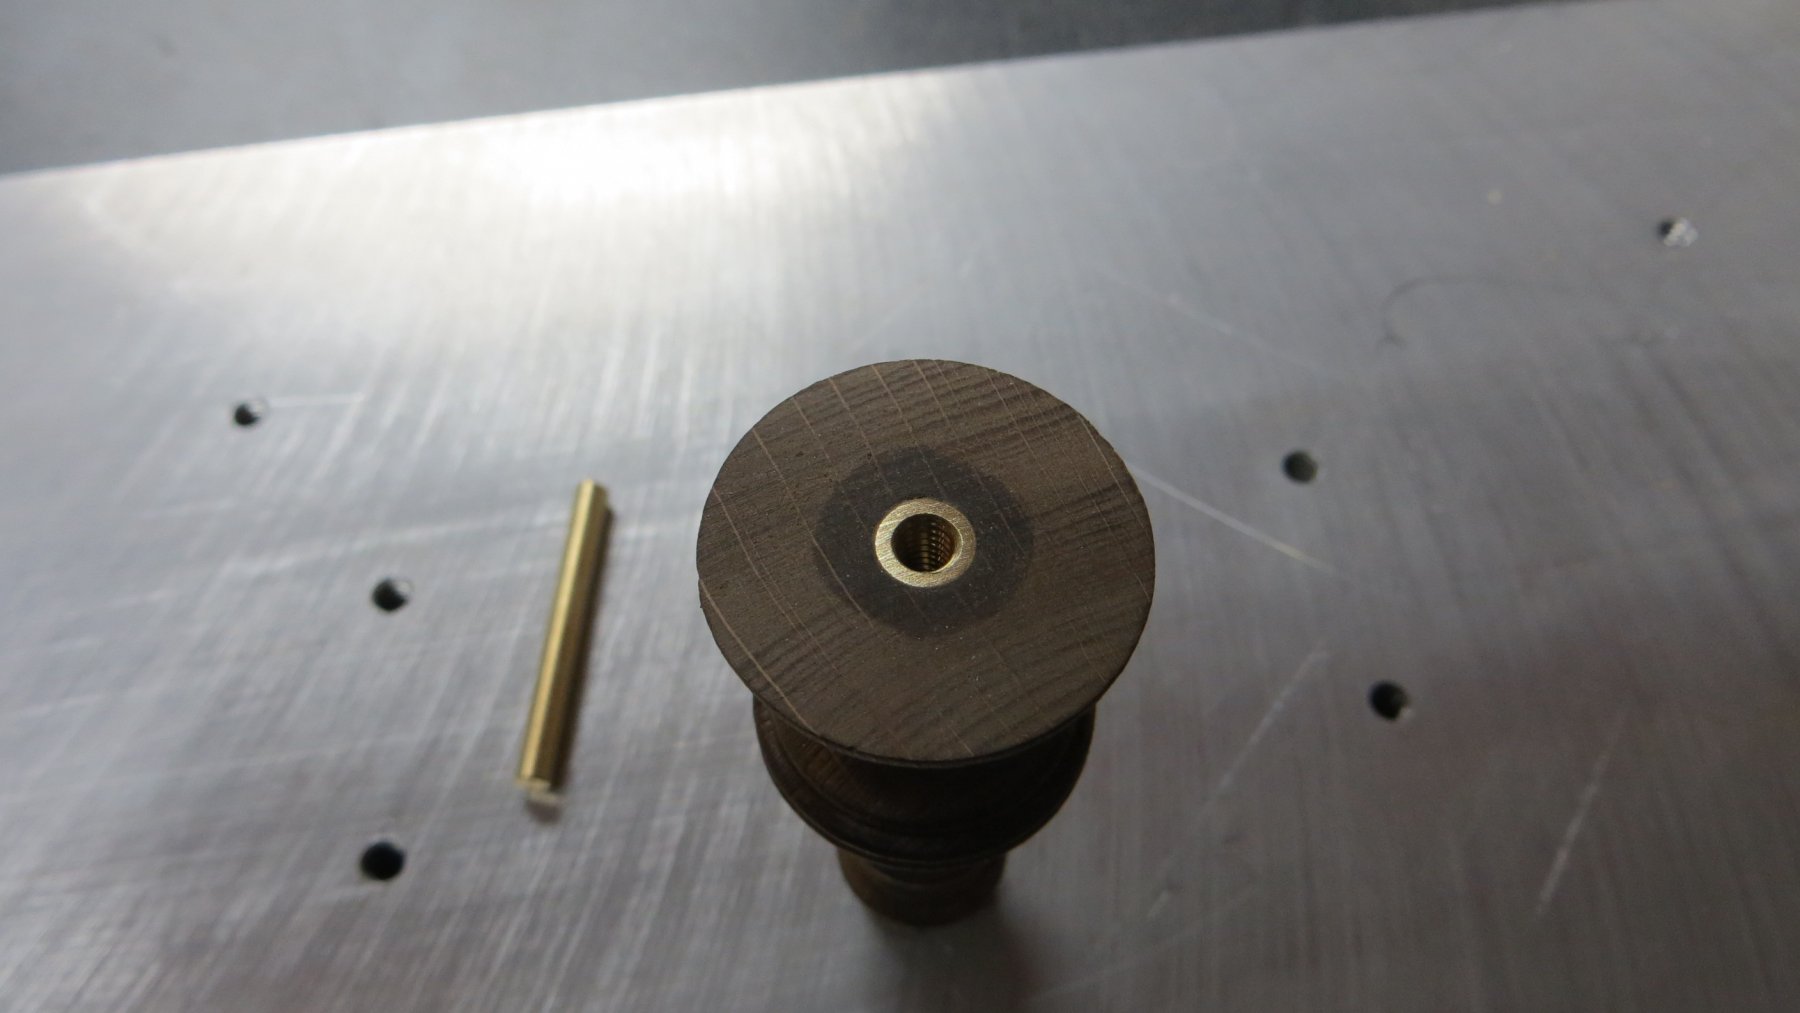
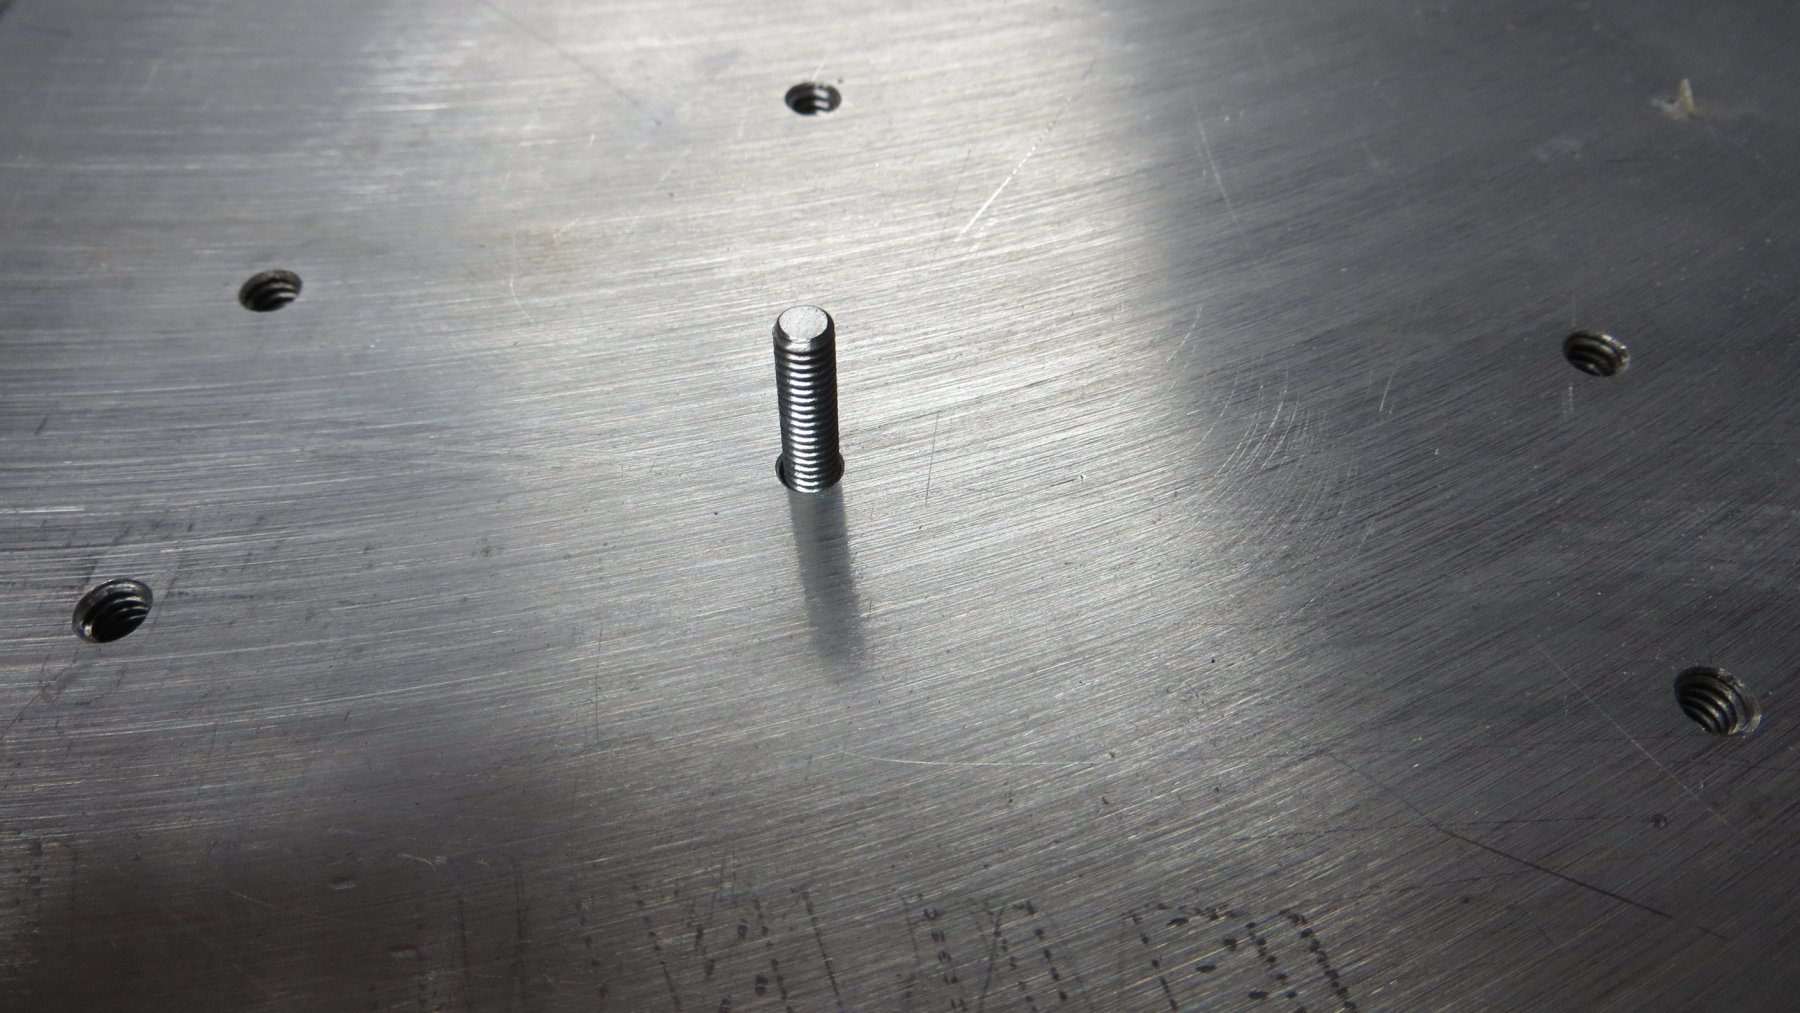
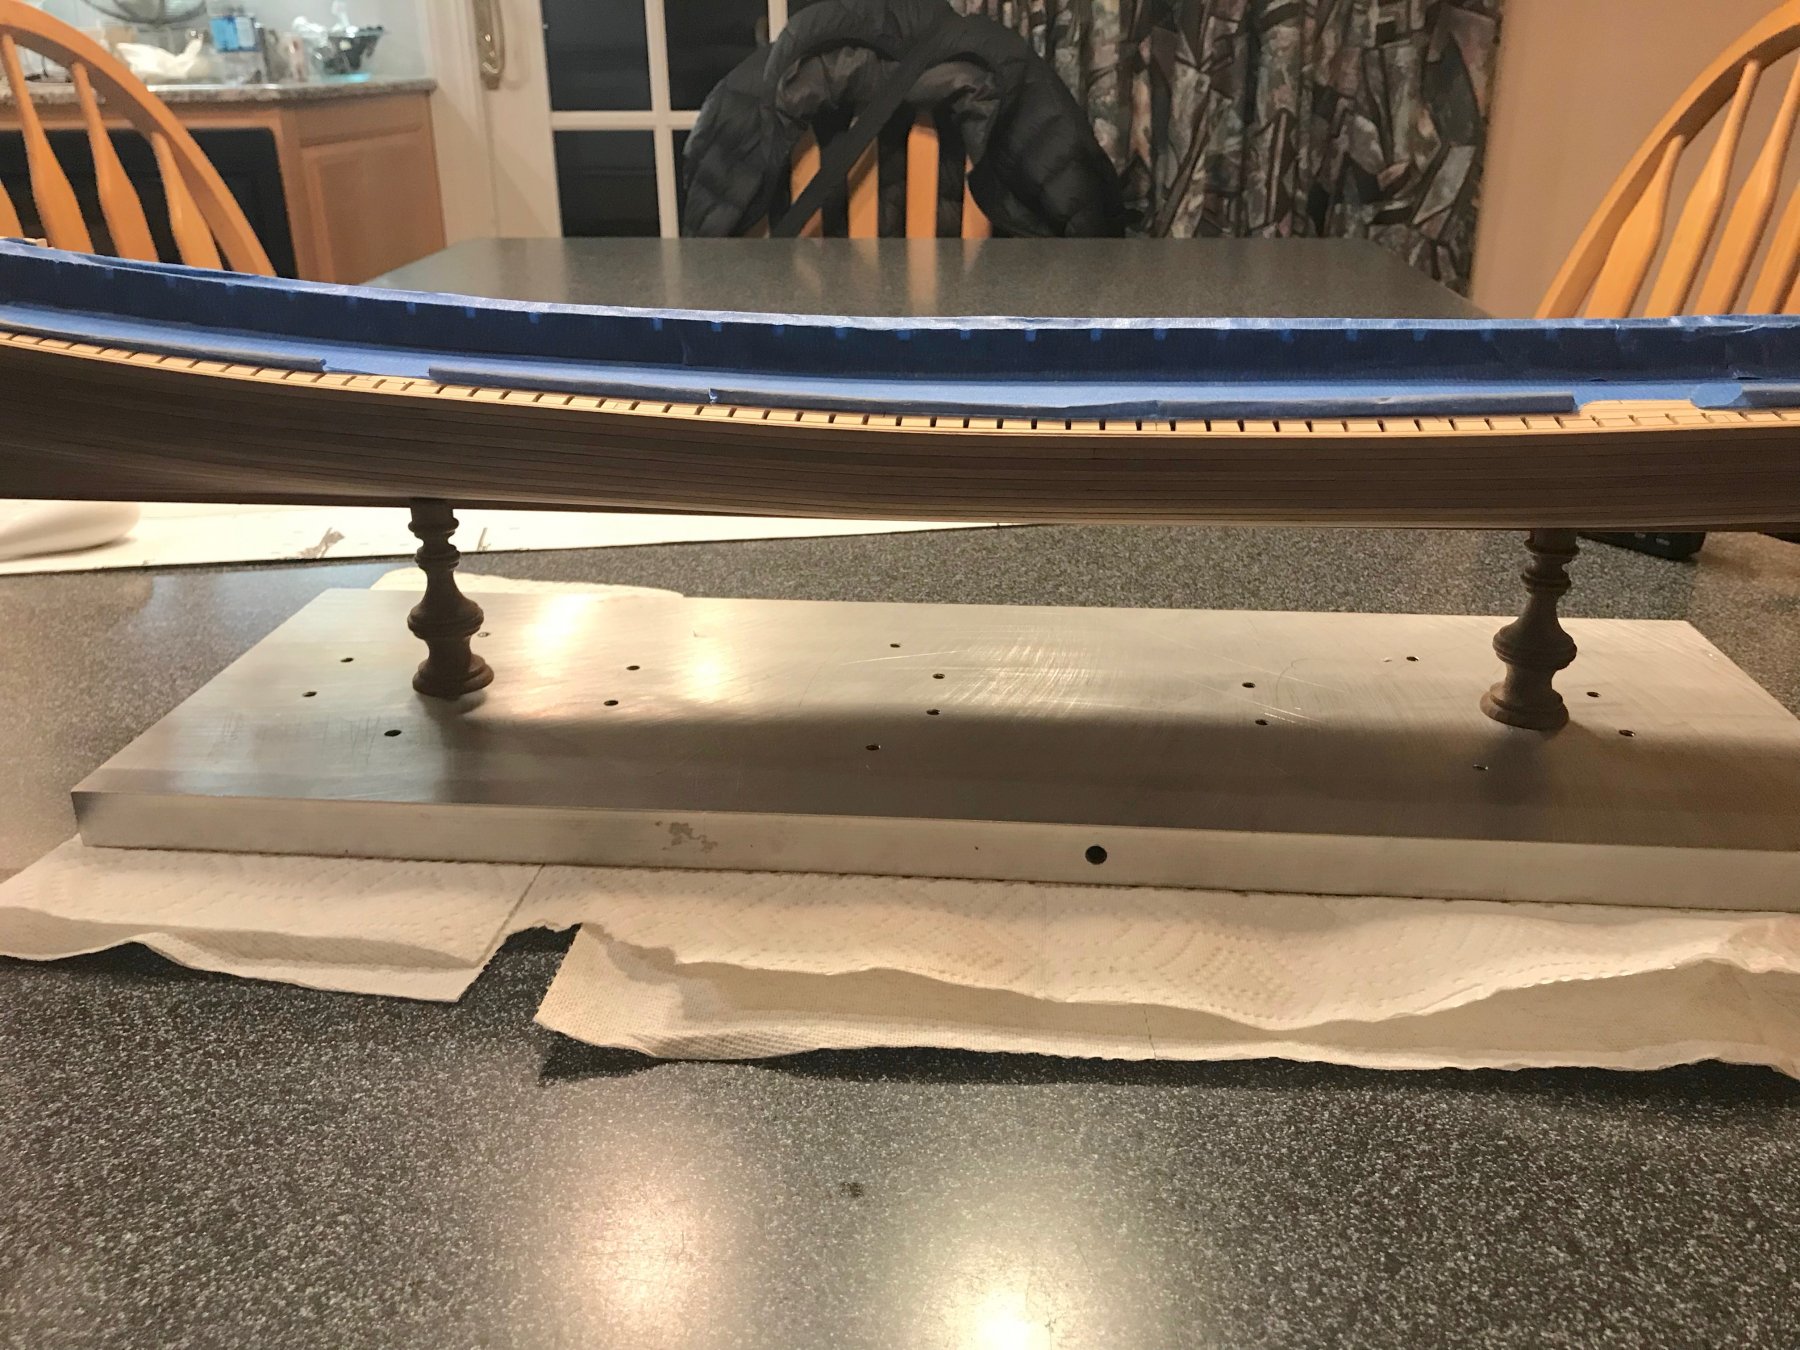
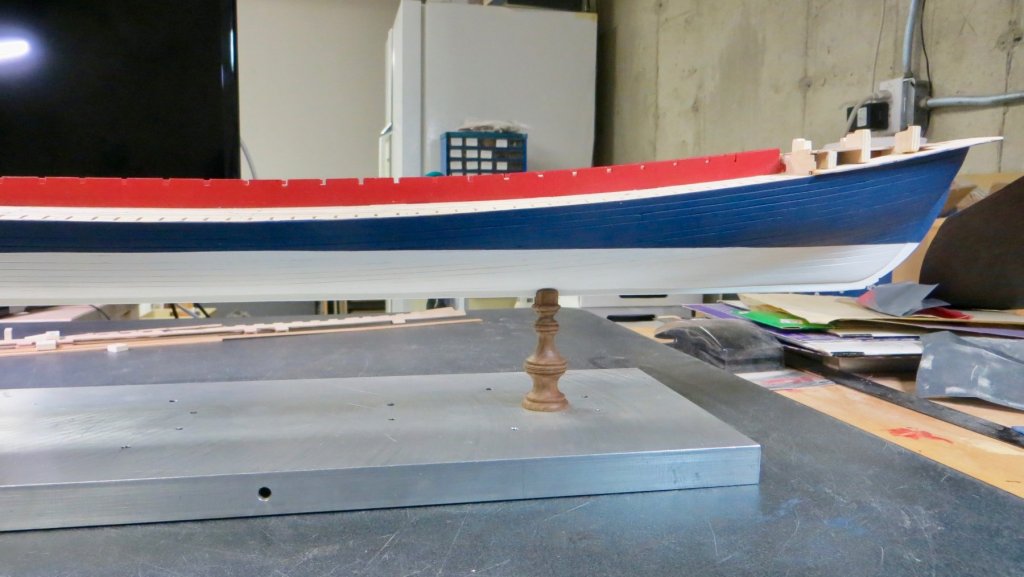
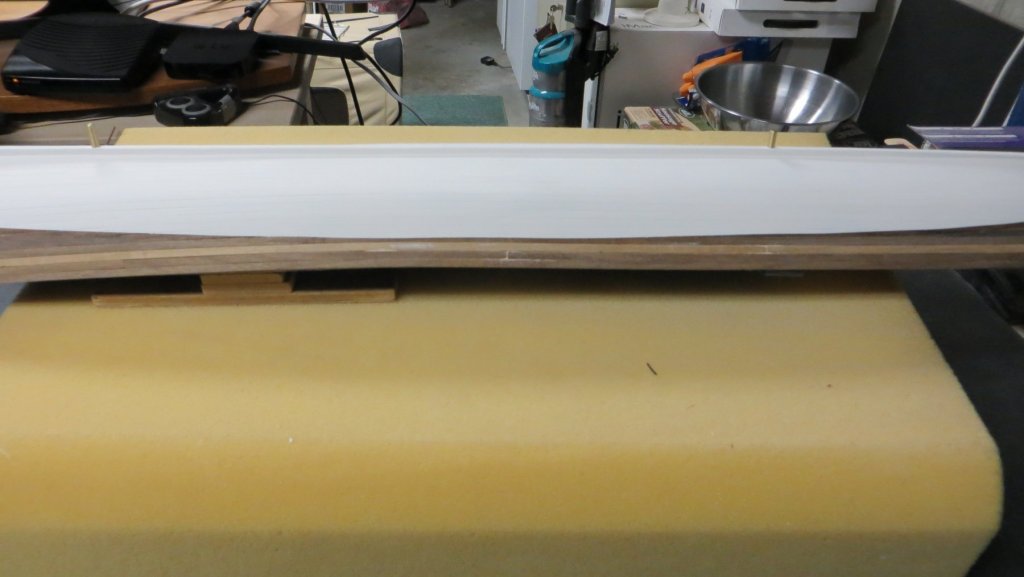
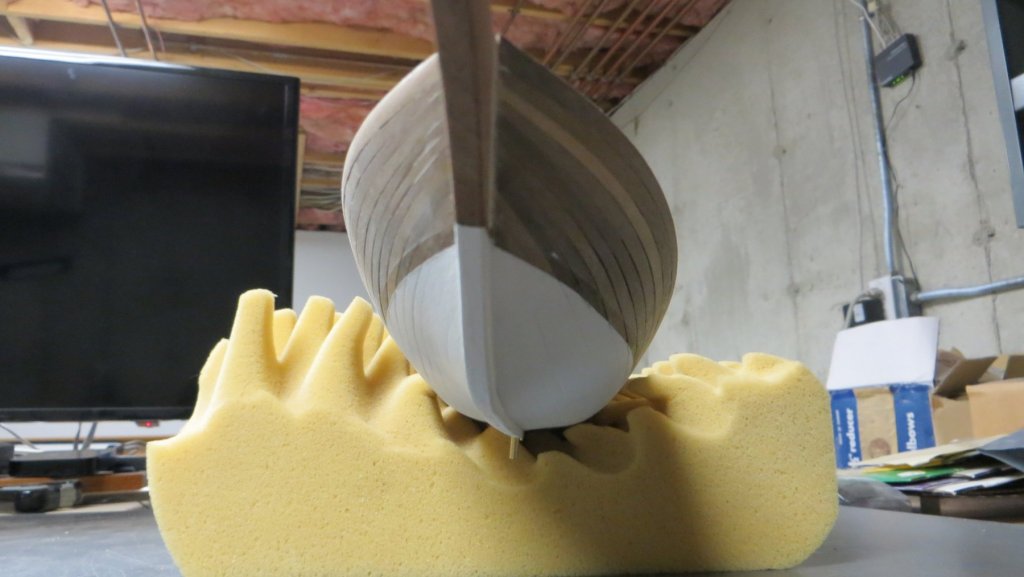
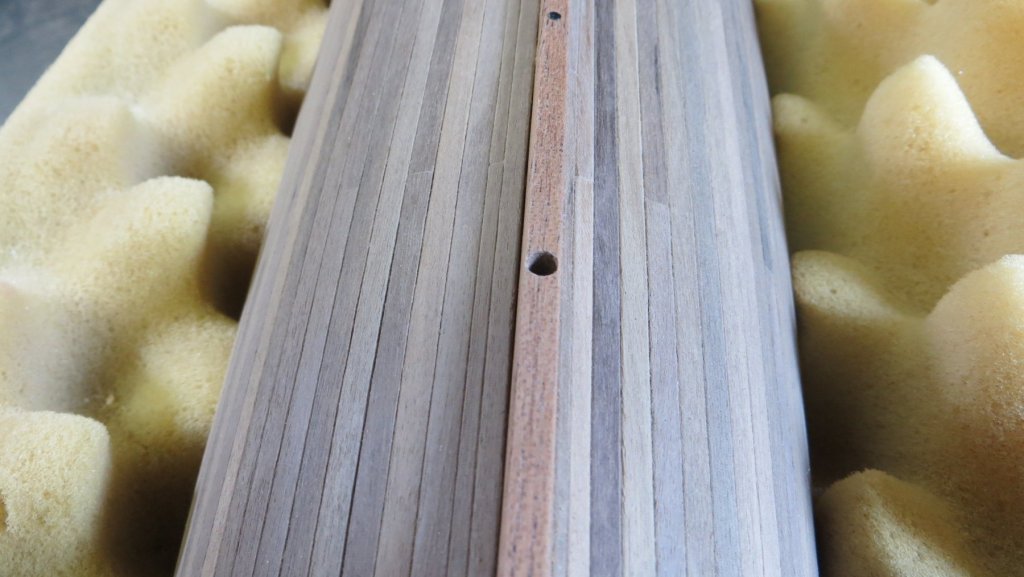
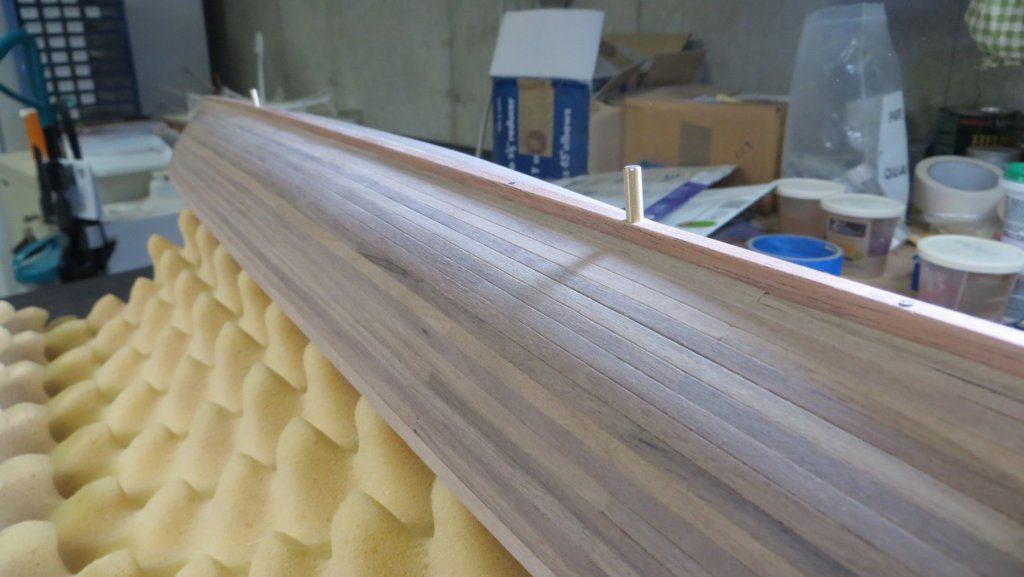
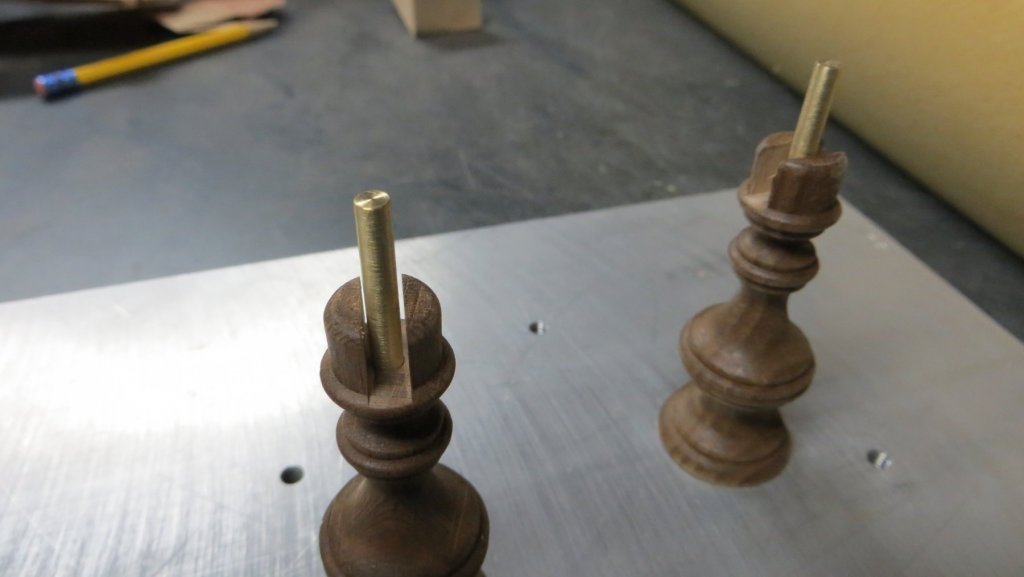
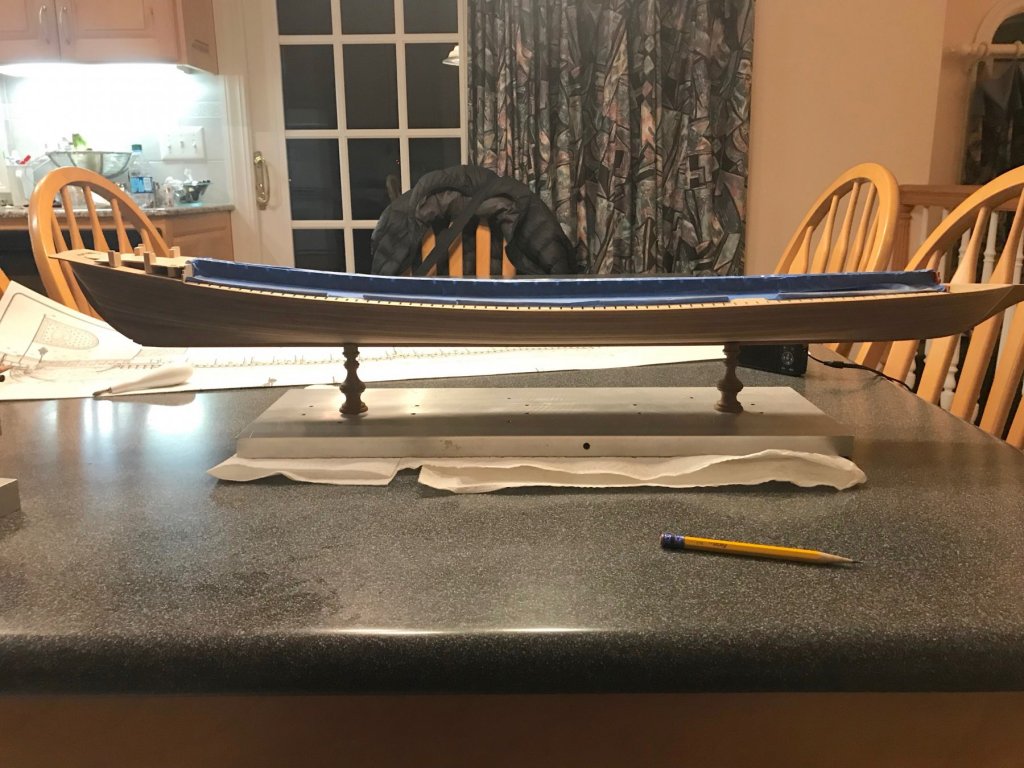
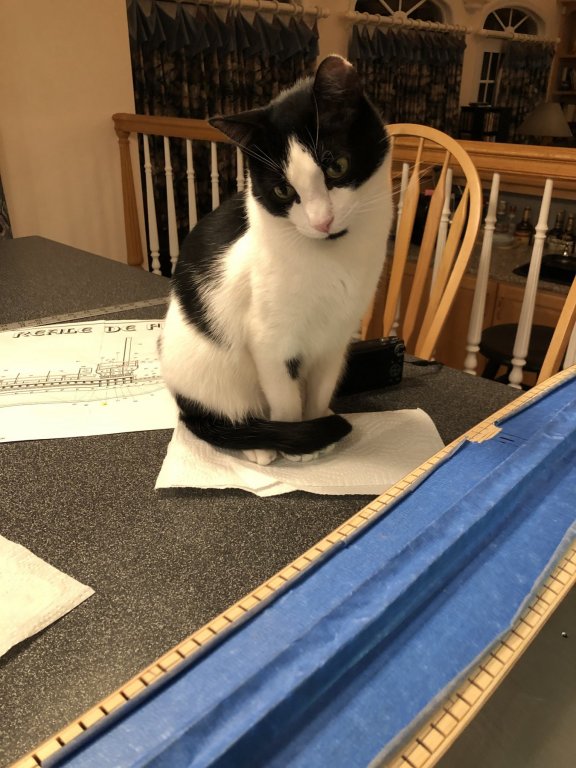
Thanks for all the "Likes"!! I wanted to make a temporary stand for the Reale that I could use while I worked on the rest of the model. I also wanted to make sure that whatever holes I put into the keel would be the same holes used for the finished display stand I would make at a later date. In addition, I wanted this stand to be sturdy enough to make sure that both sides of the top deck of the model were level. The first step was to counter bore 2 holes into the keel, so that a brass pin would fit tightly. Next, I counter bored the same size hole into two pedestals that I purchased. On the bottom side of the pedestal, I drilled a hole that fit a steel insert for a threaded screw. (A friend of mine had these) I then drilled a clearance hole into a nice heavy aluminum base that I had. I screwed the pedestals into the base and slip fit the top onto the model with those brass pins. The model can still be lifted off the pedestals if needed. While I had it on the kitchen table, I set the height for the waterline and drew it on both sides of the hull, using this home made tool My first mate, Han Solo, keeping an eye on me making sure I did a good job on the water line!! My next few days will be spent sampling different shades of paint for below the water line and above. Thanks for visiting Frank


- 510 replies
-
- 5
-
-
- reale de france
- corel
- (and 1 more)
-
Thanks Mark! I'll probably give the hull another sanding pass before painting!! Frank
- 510 replies
-
- 1
-
-
- reale de france
- corel
- (and 1 more)
-
Very Nice! Seems to be a very well thought out kit! Very interesting seeing you build the bow section separately and then attaching to the model later! Frank
- 146 replies
-
- 3
-
-
- deagostini
- vasa
- (and 1 more)