HOLIDAY DONATION DRIVE - SUPPORT MSW - DO YOUR PART TO KEEP THIS GREAT FORUM GOING!
×


fmodajr
-
Posts
868 -
Joined
-
Last visited
Content Type
Profiles
Forums
Gallery
Events
Everything posted by fmodajr
-
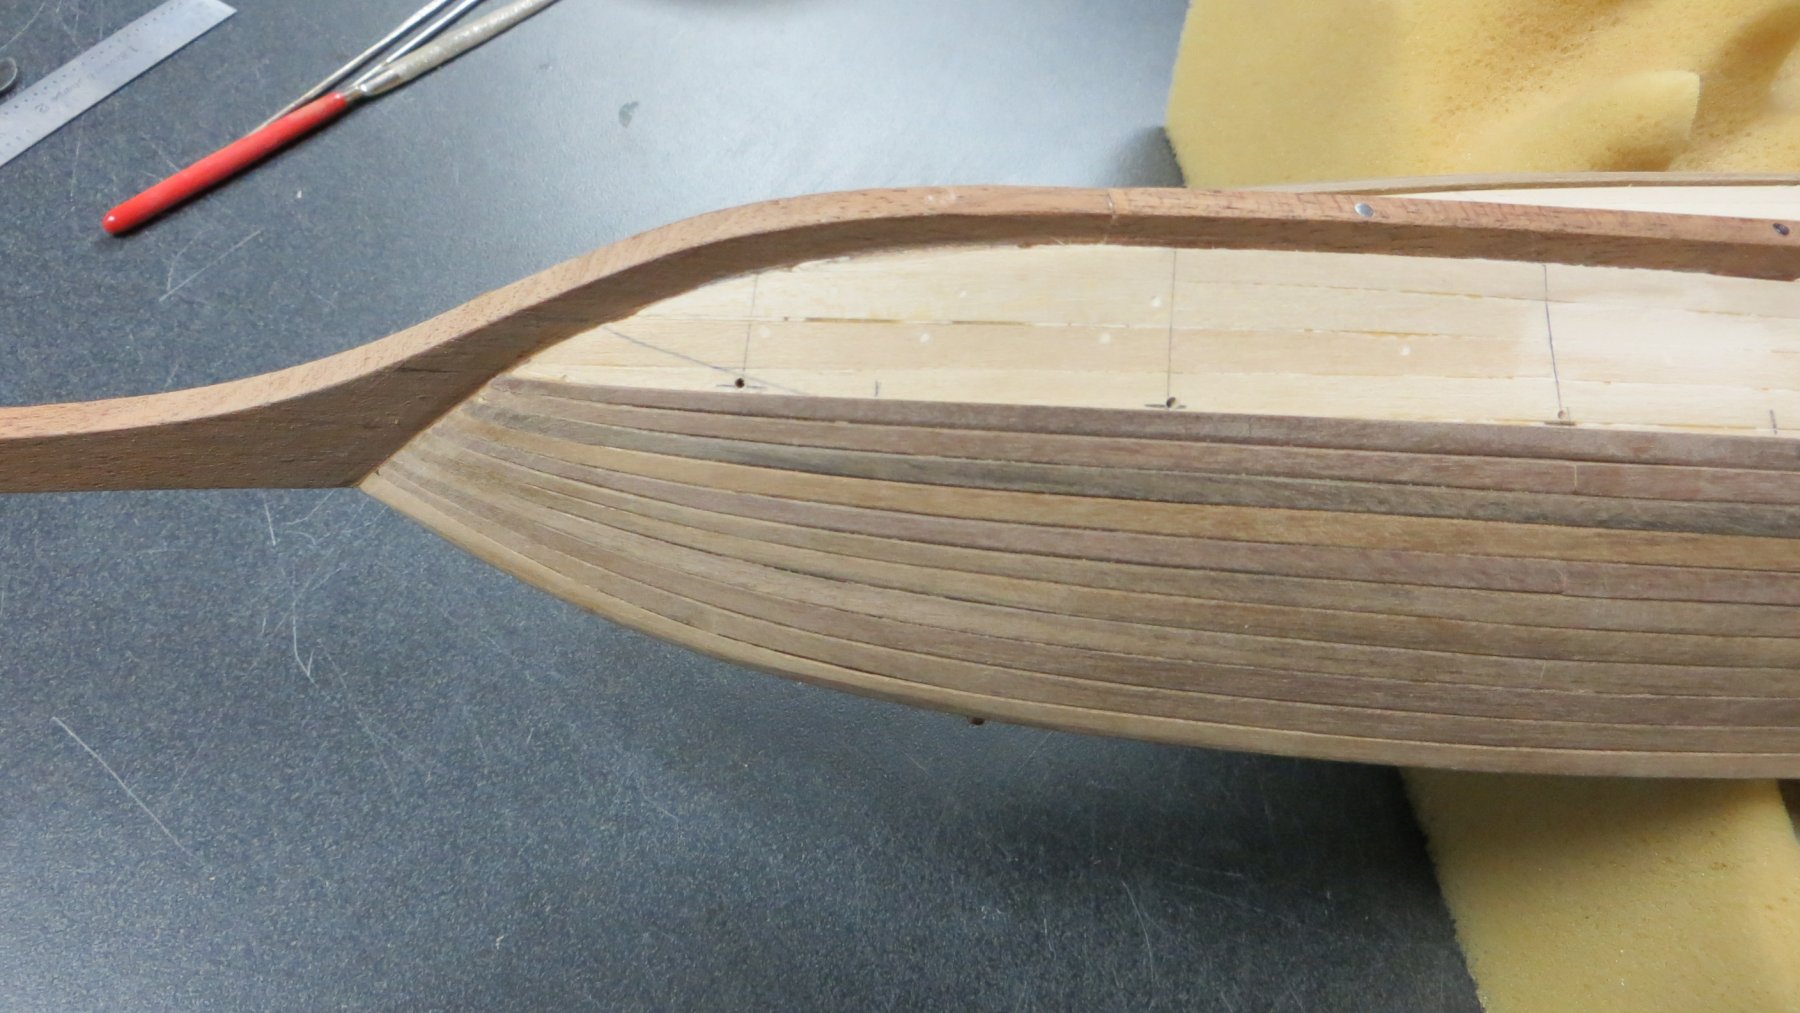
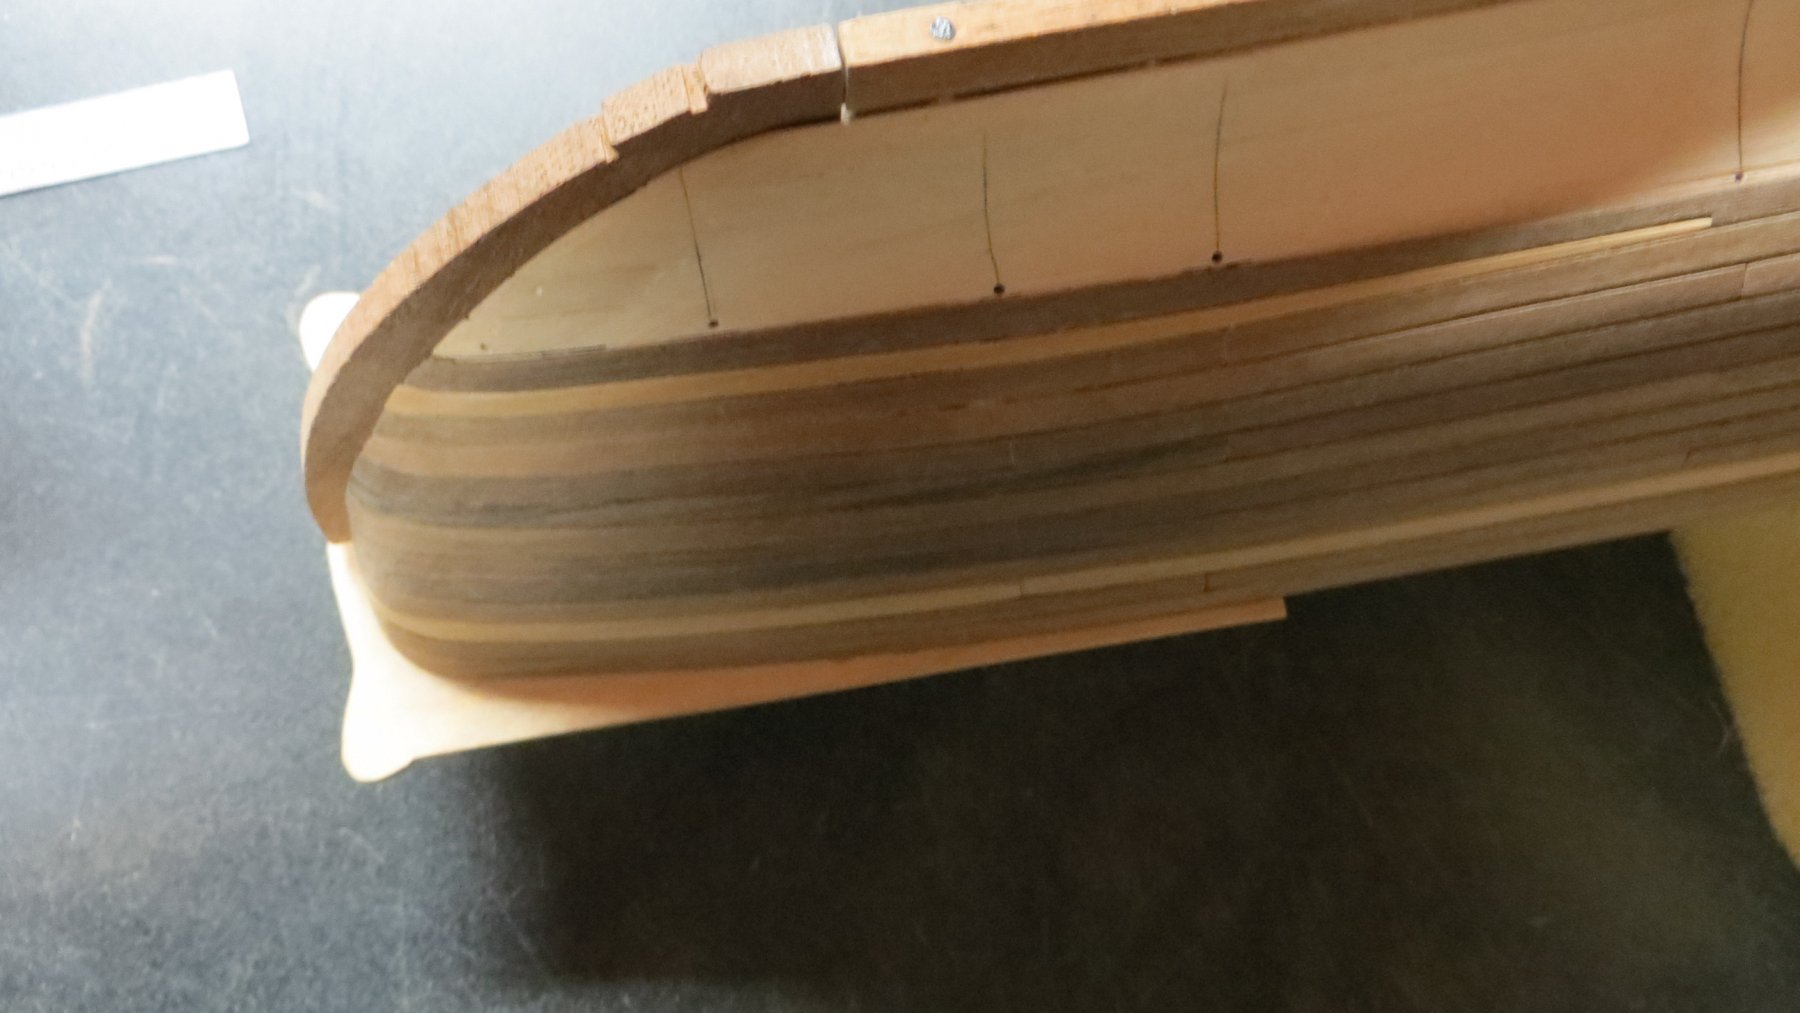
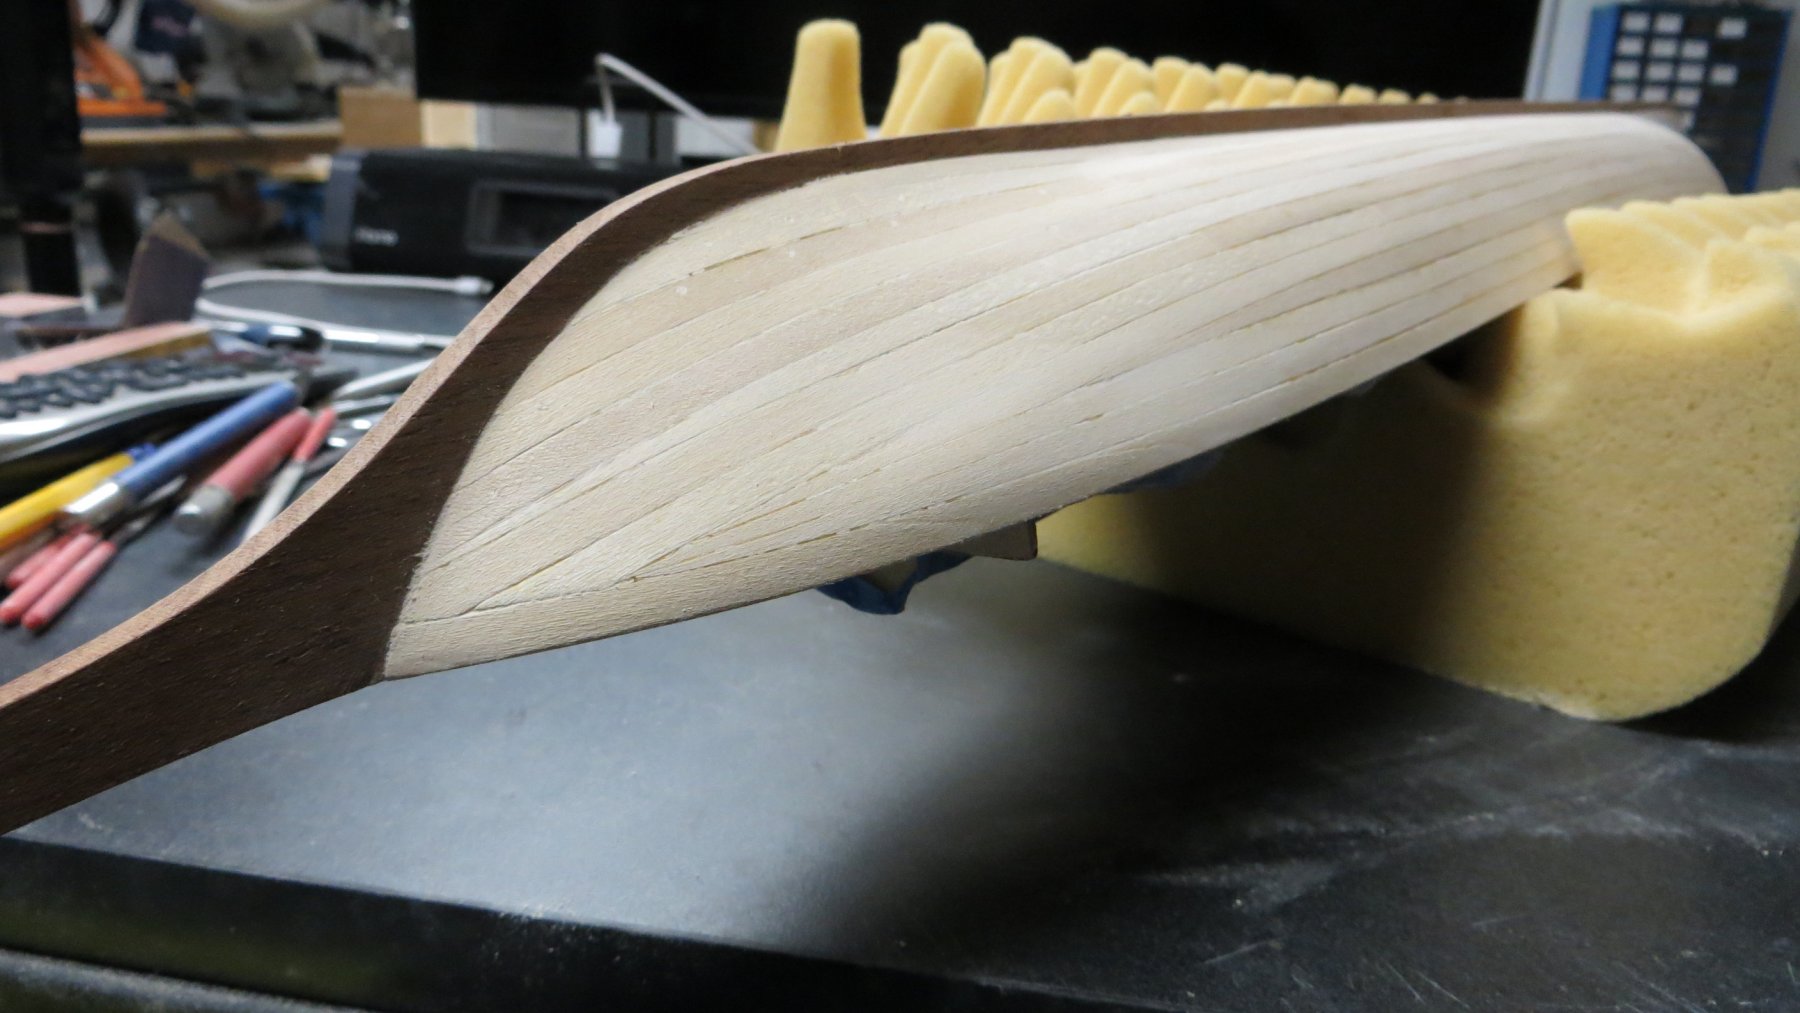
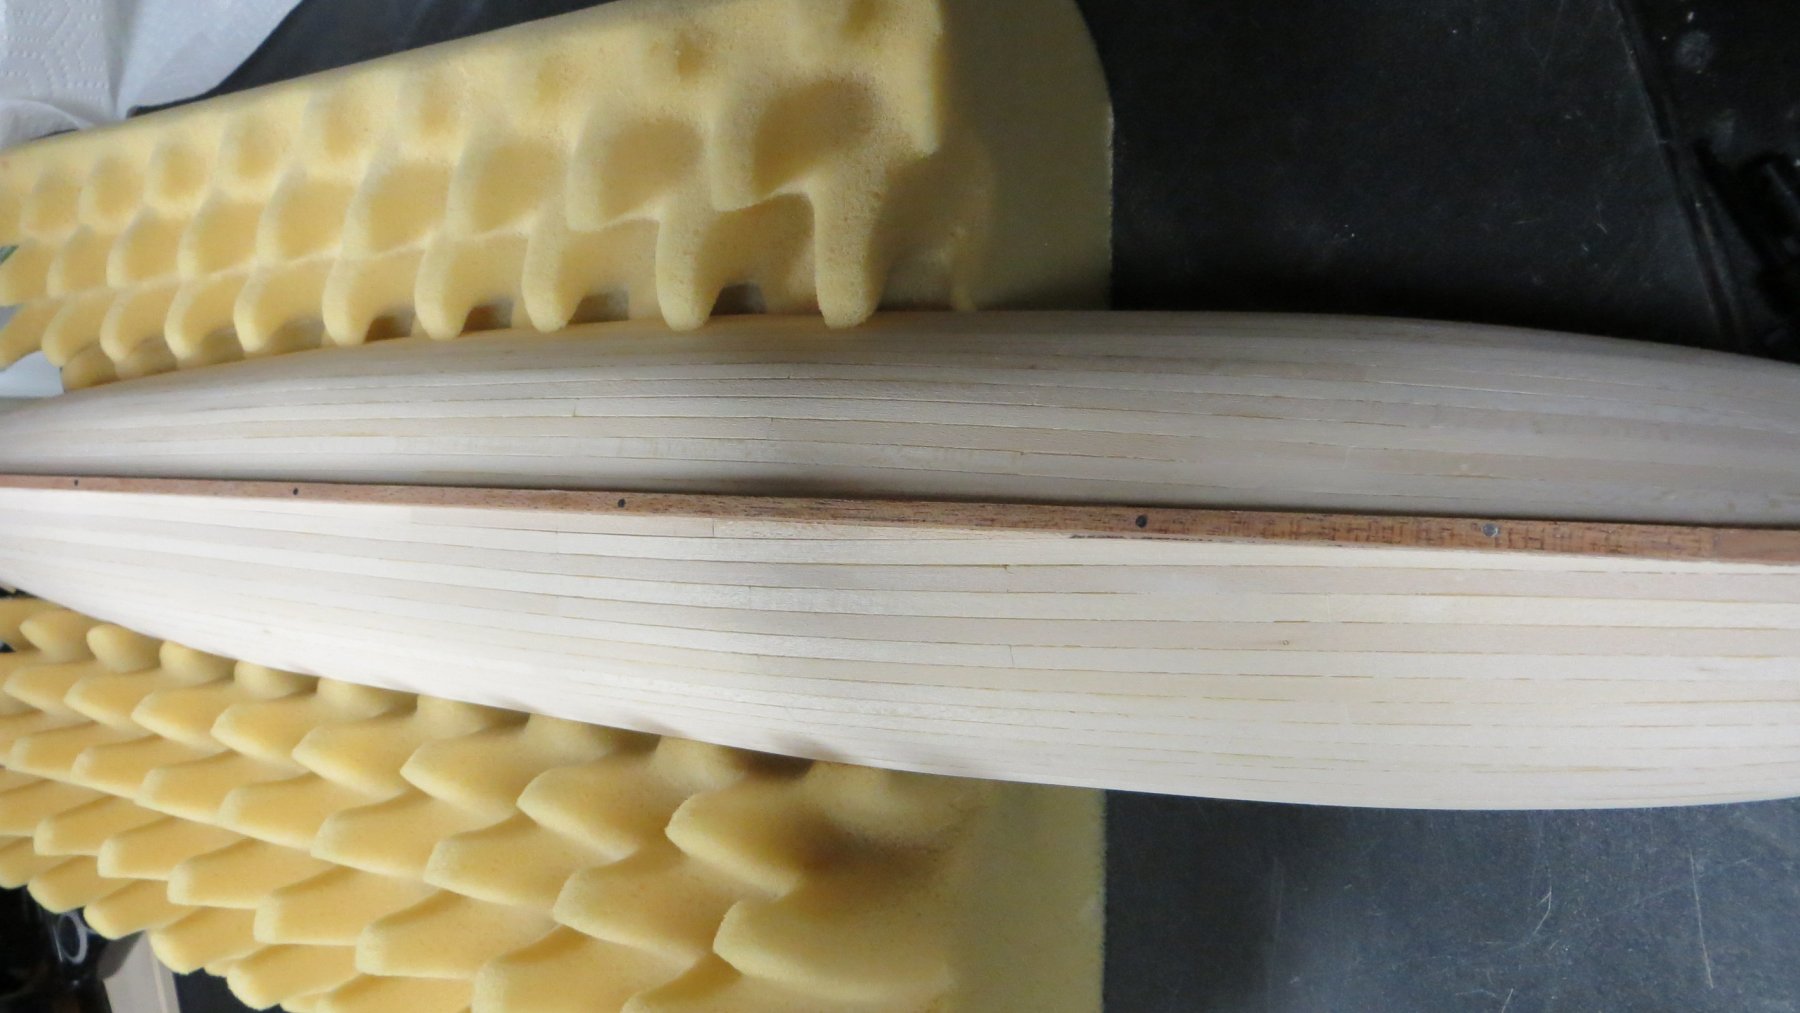
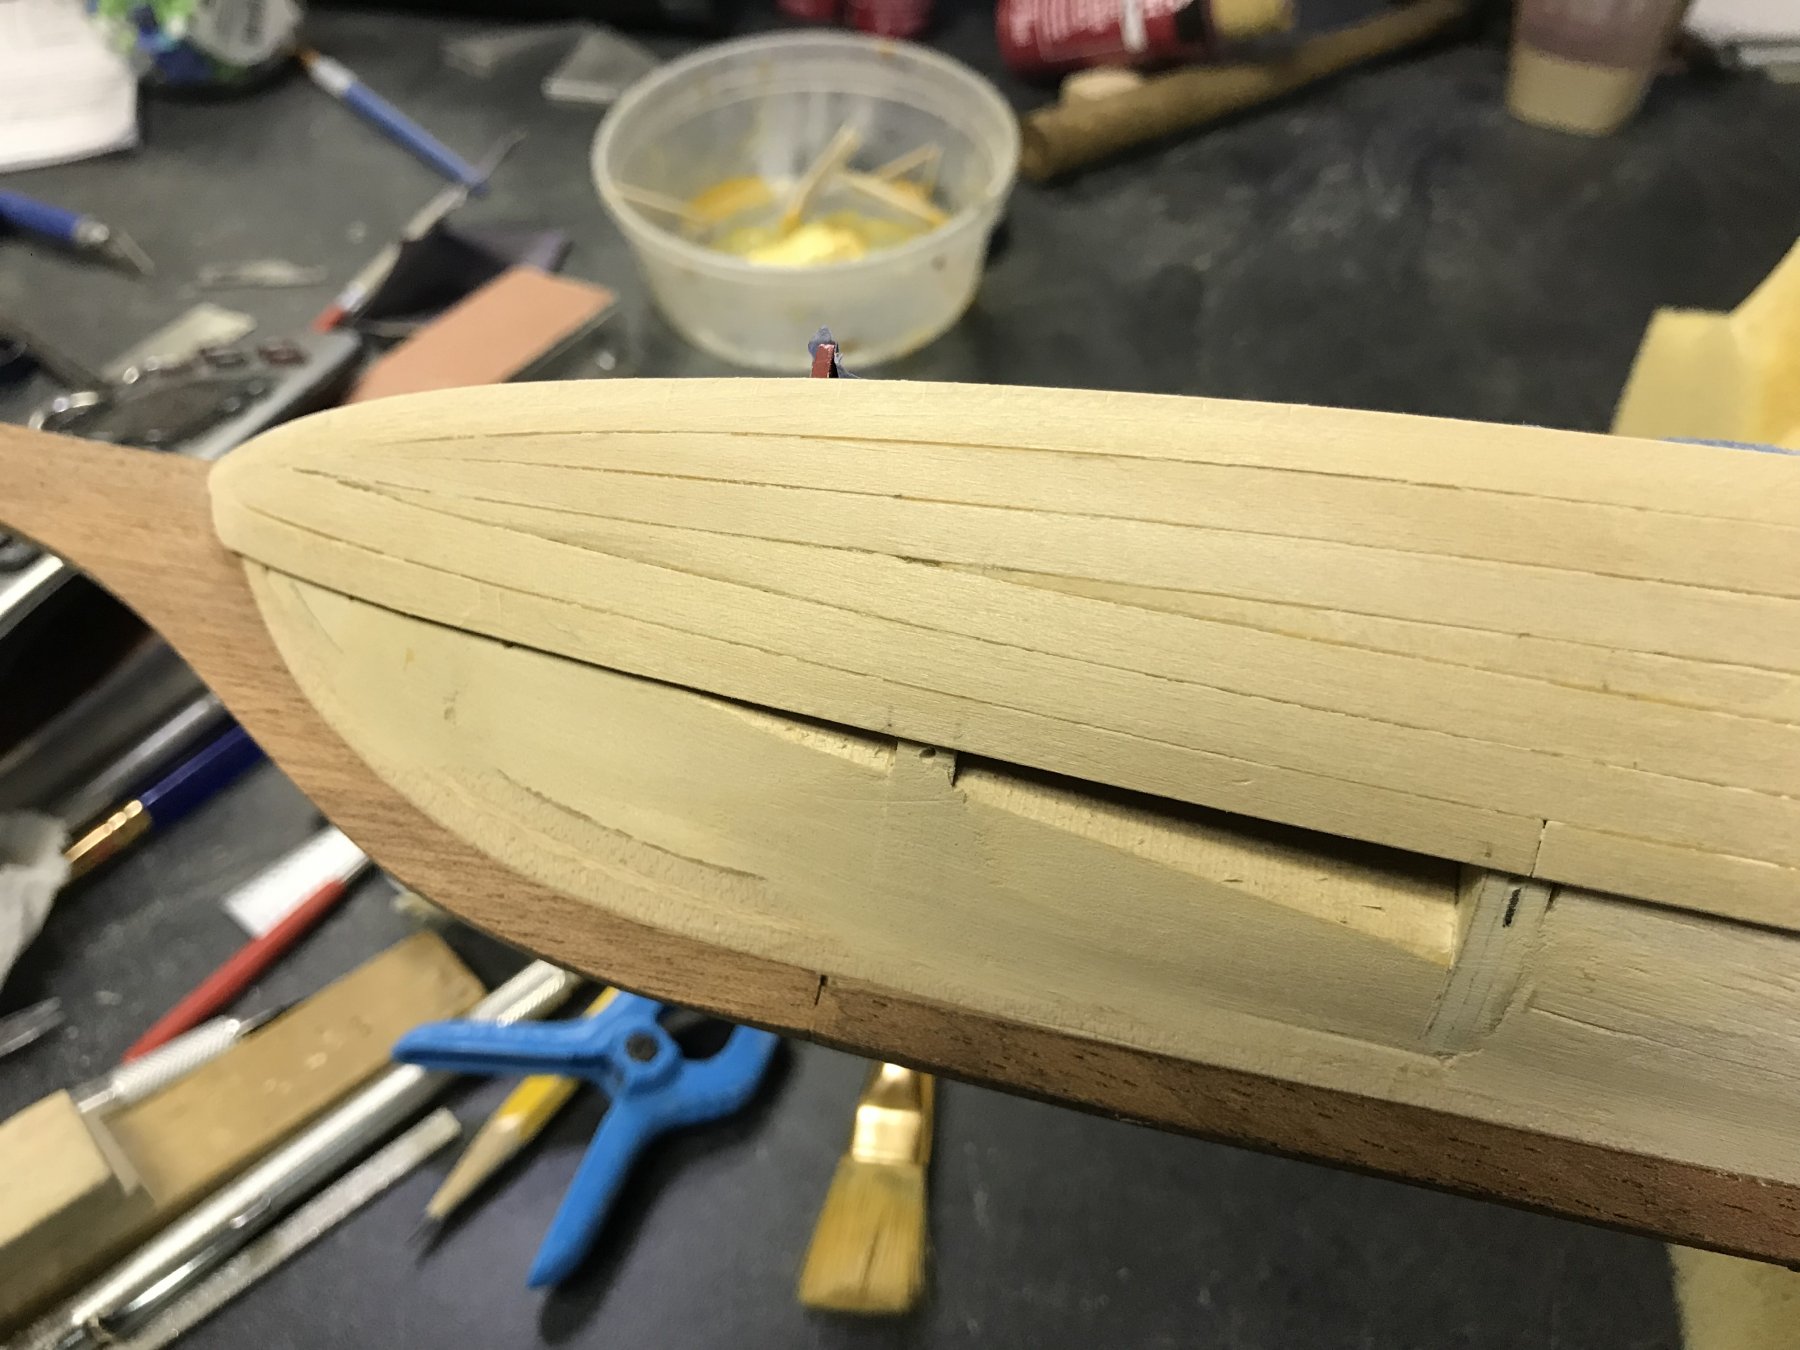
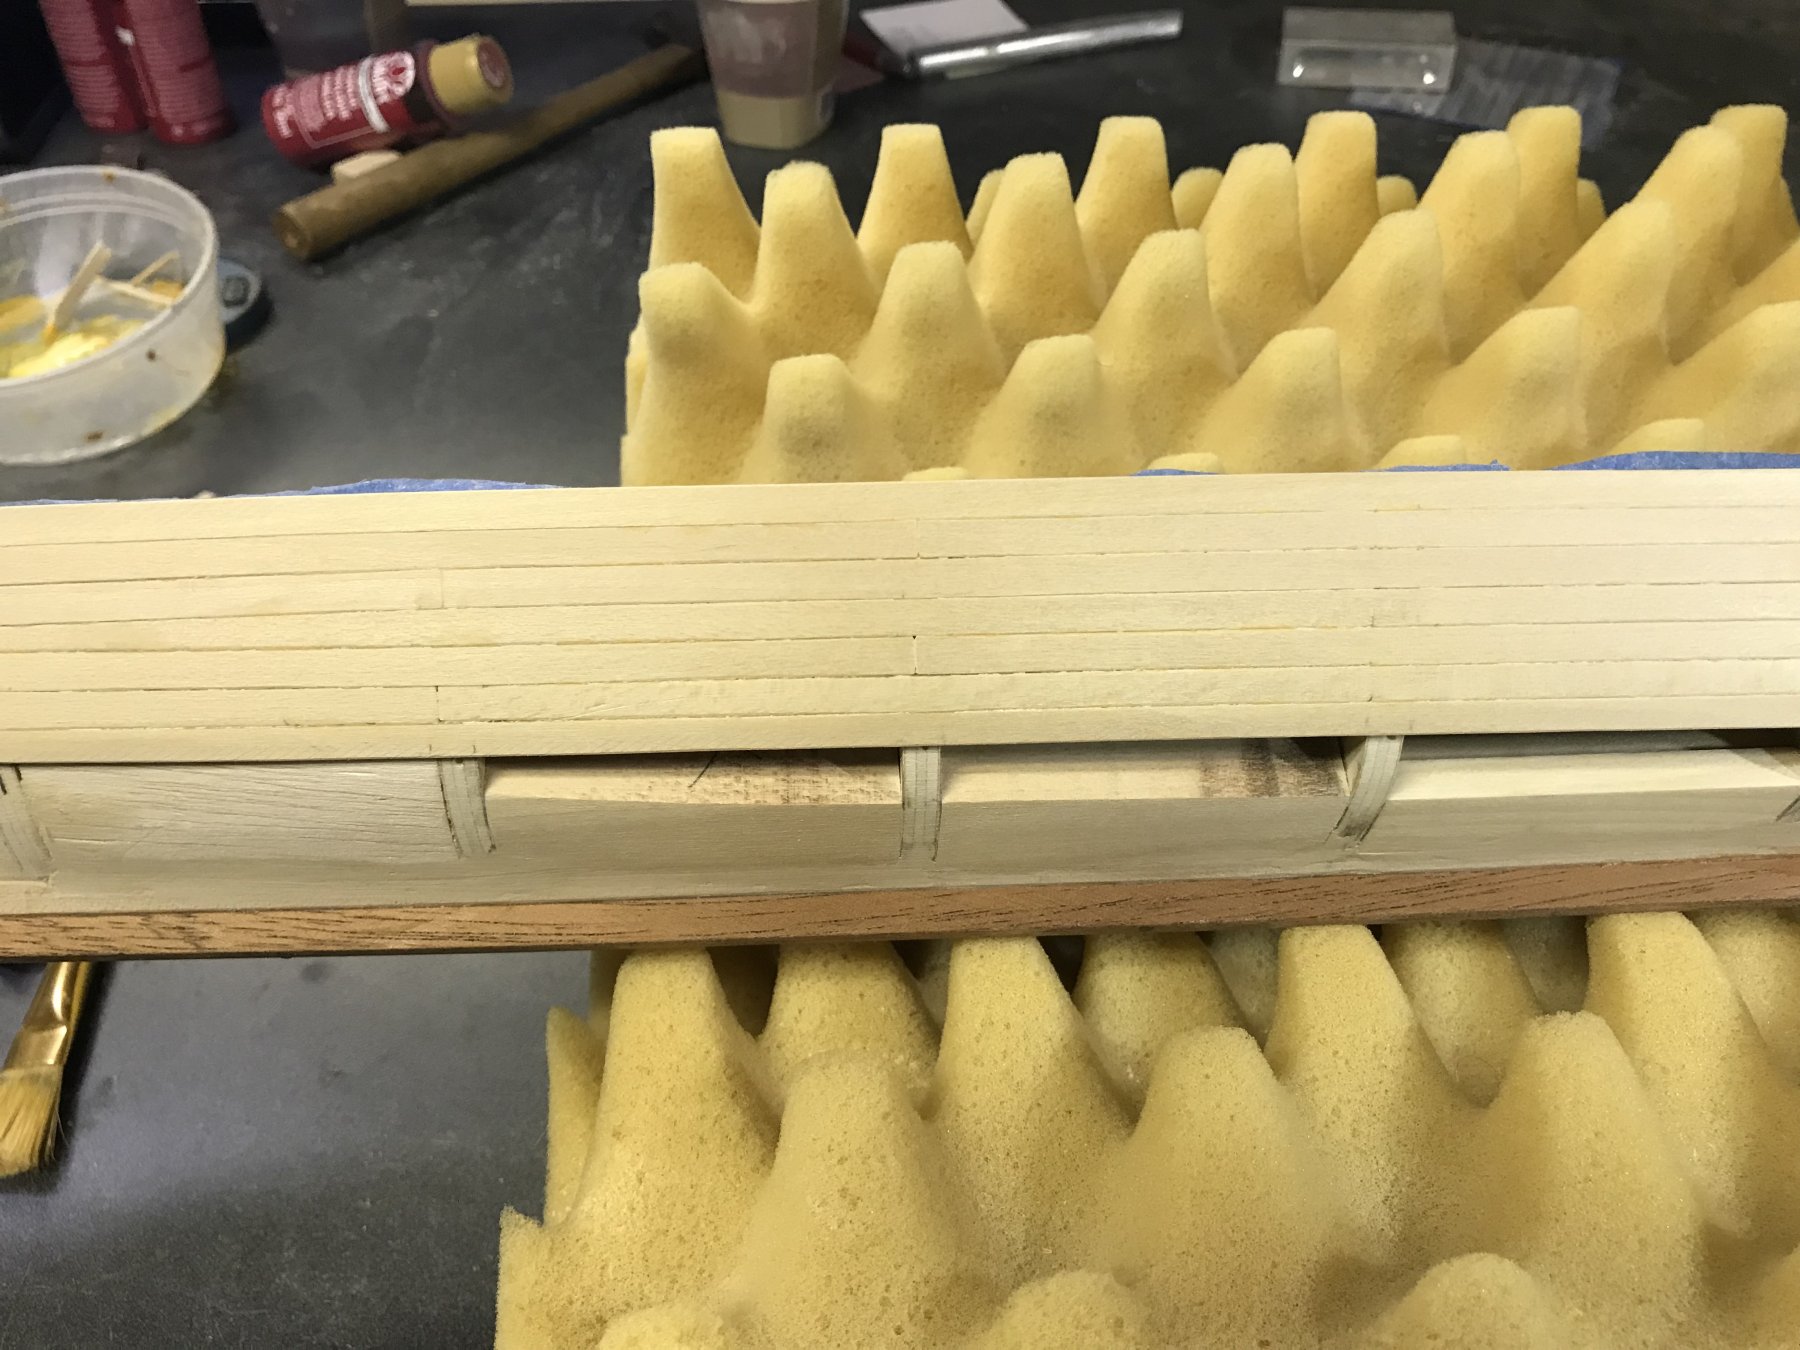
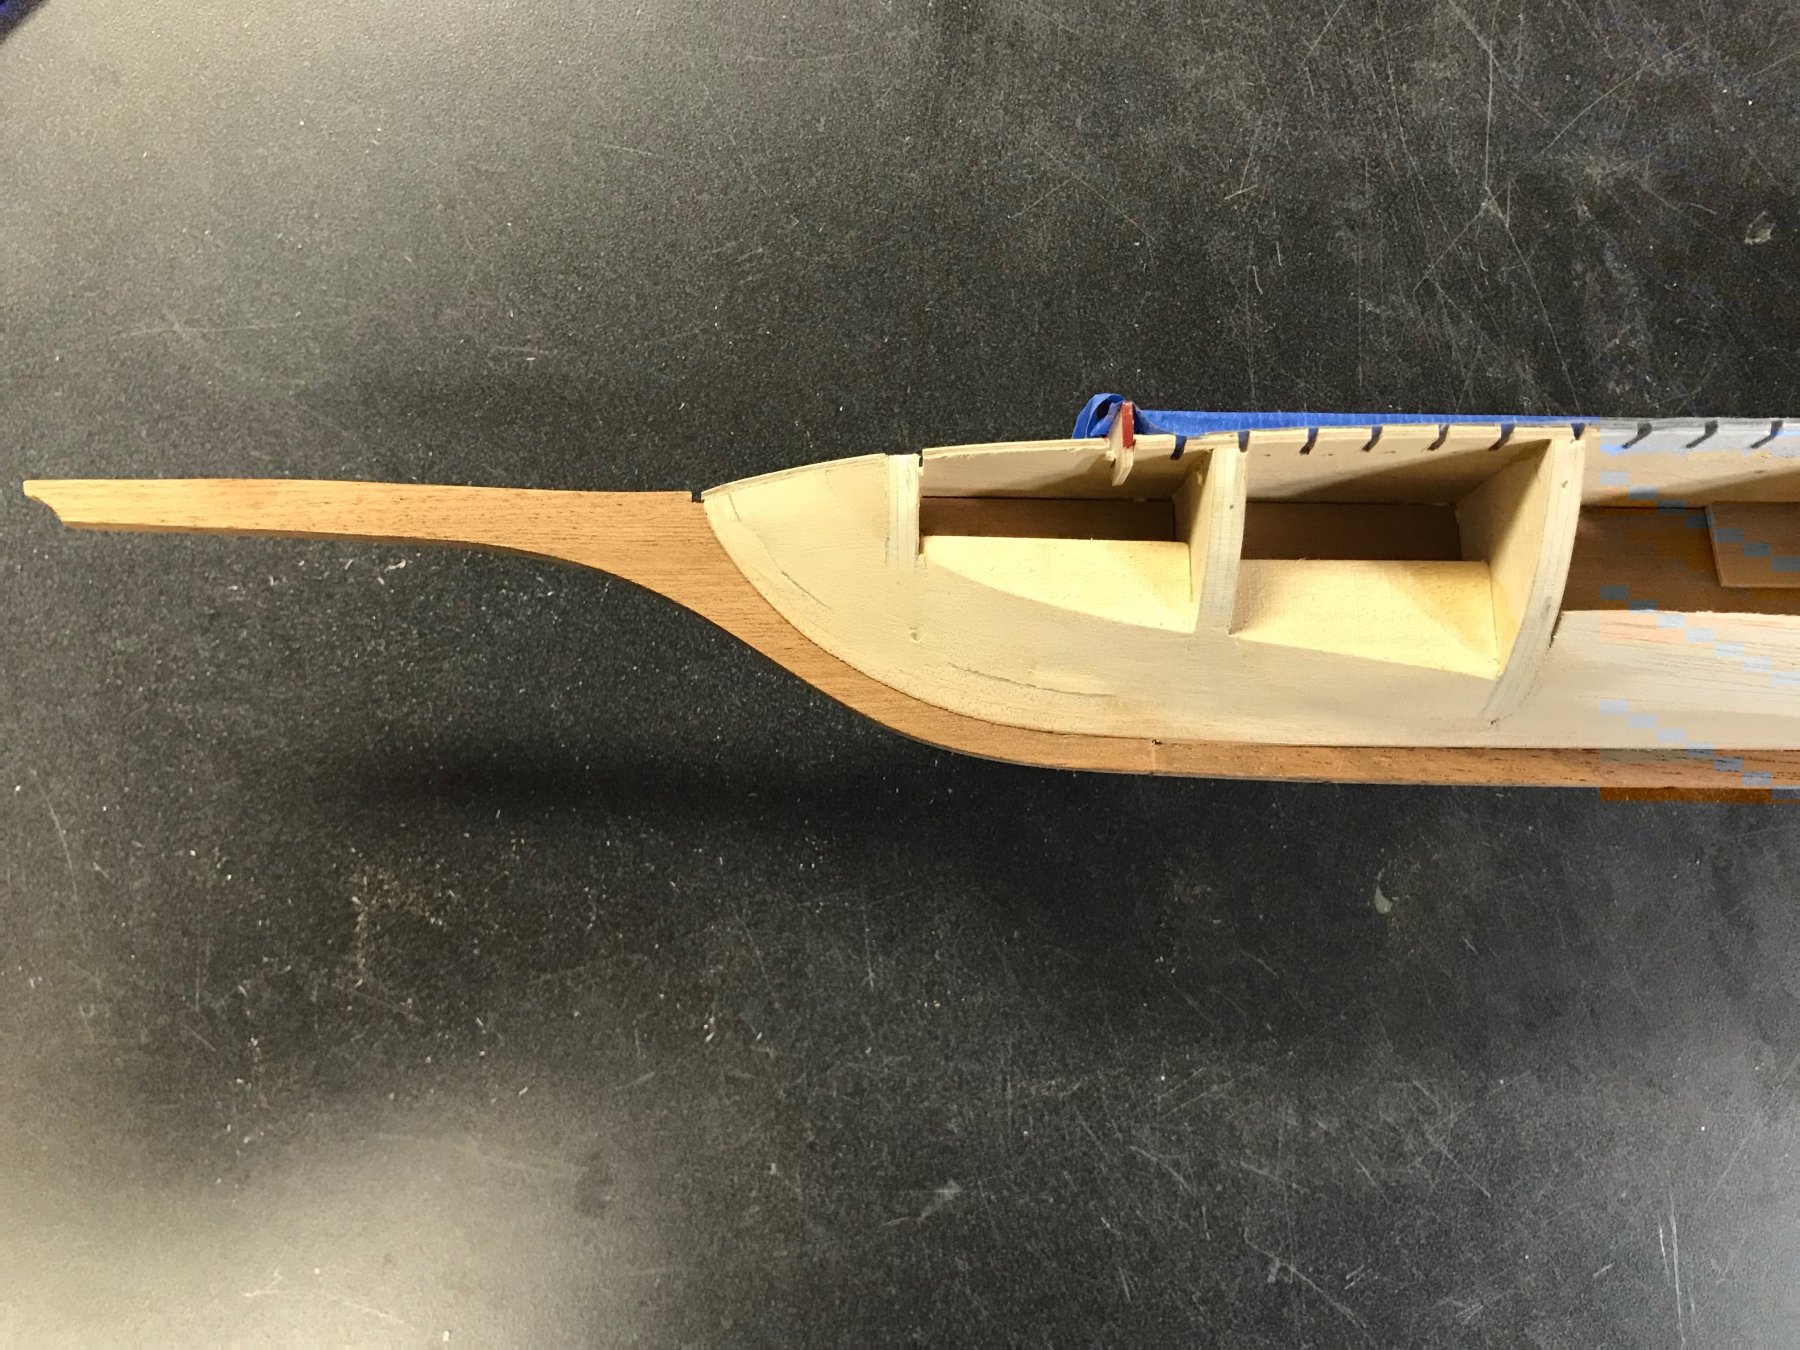
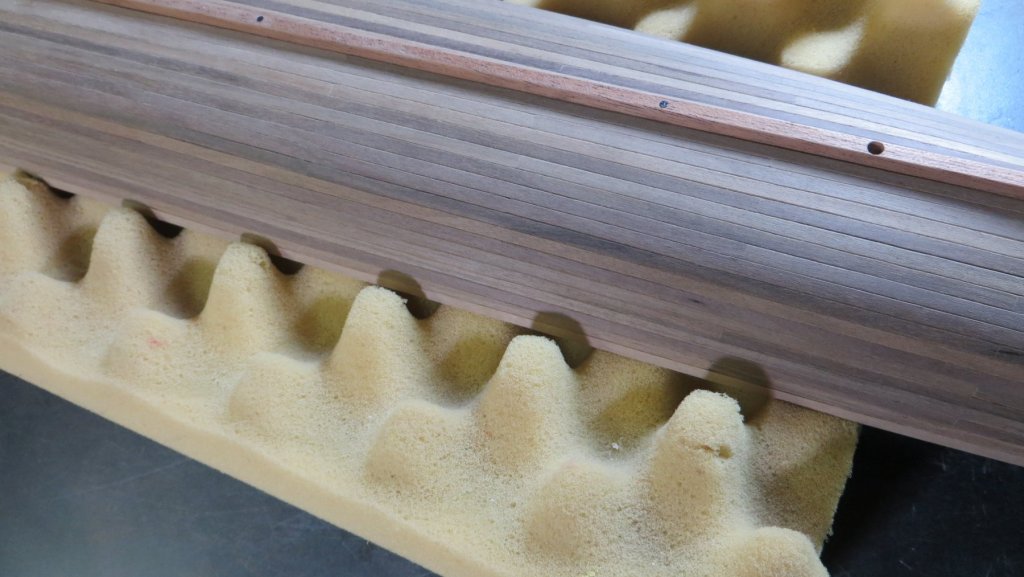
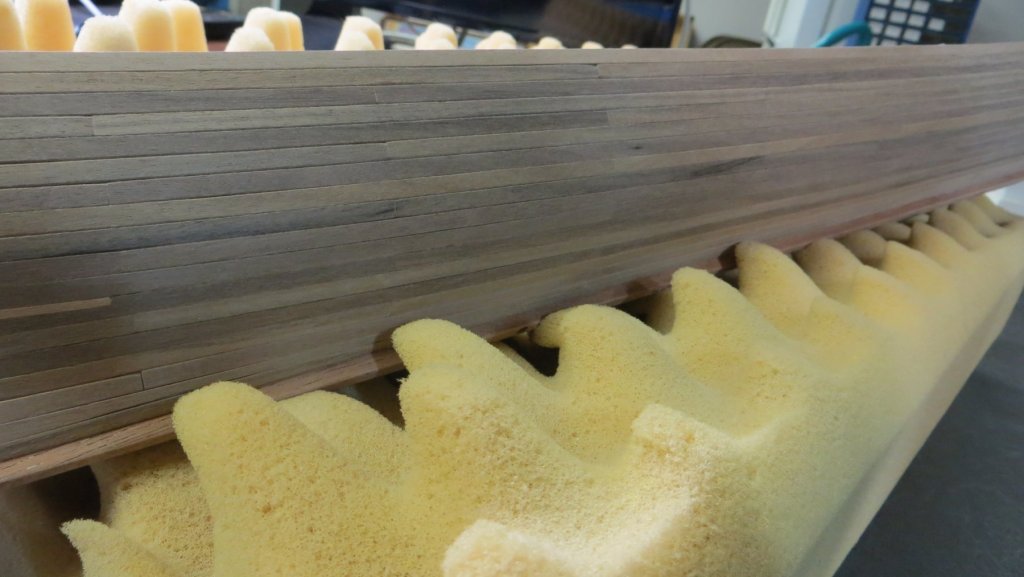
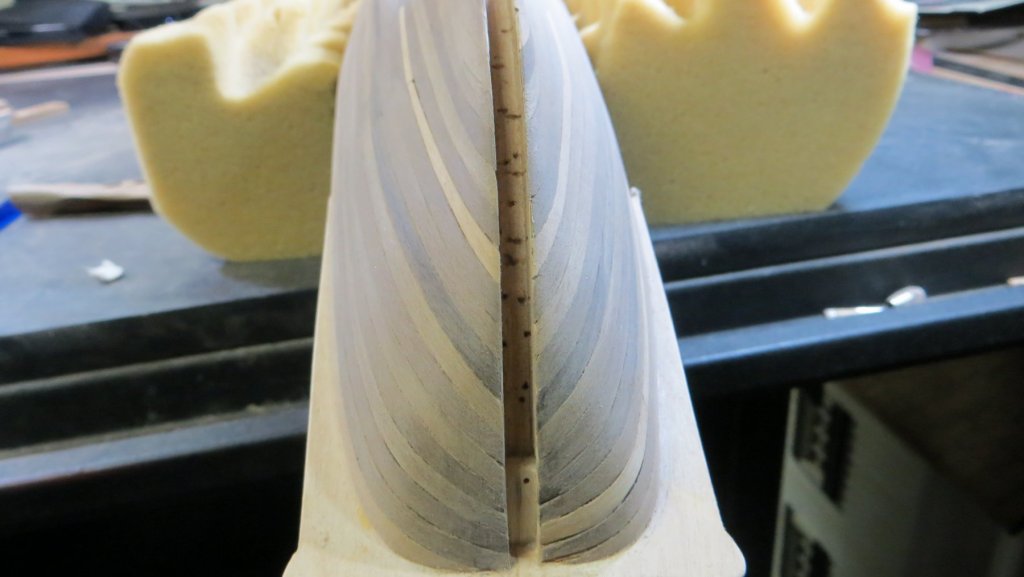
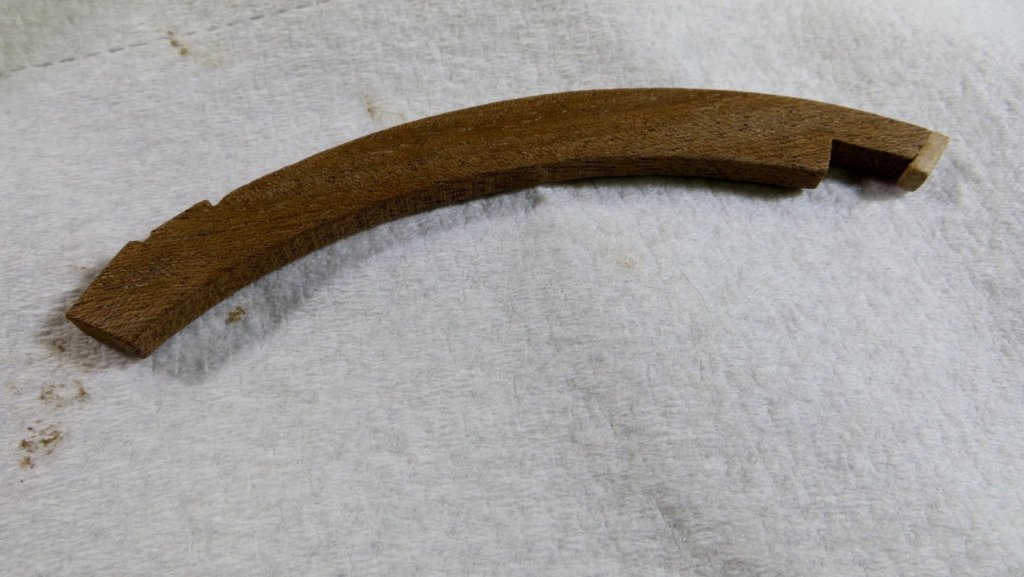
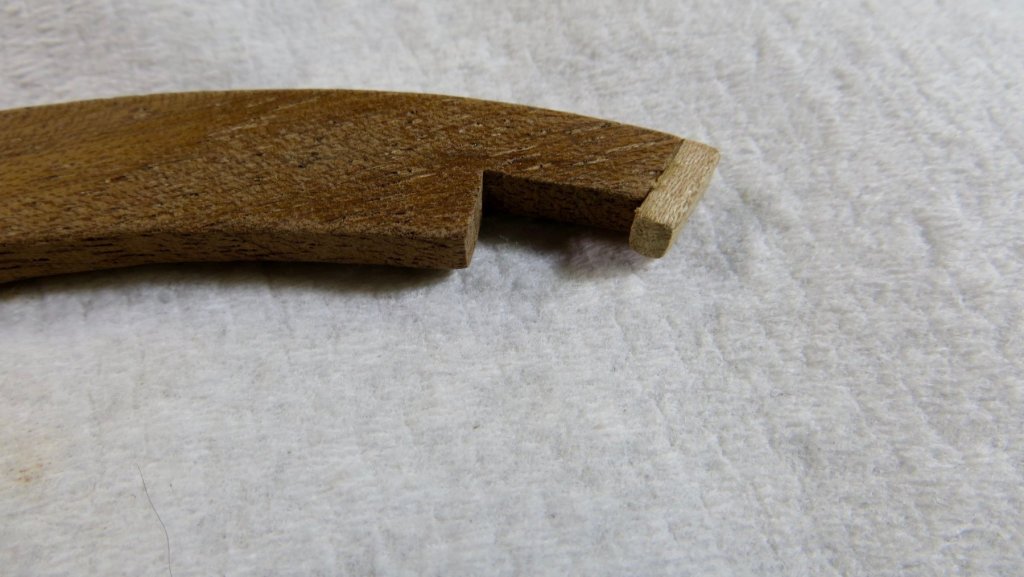
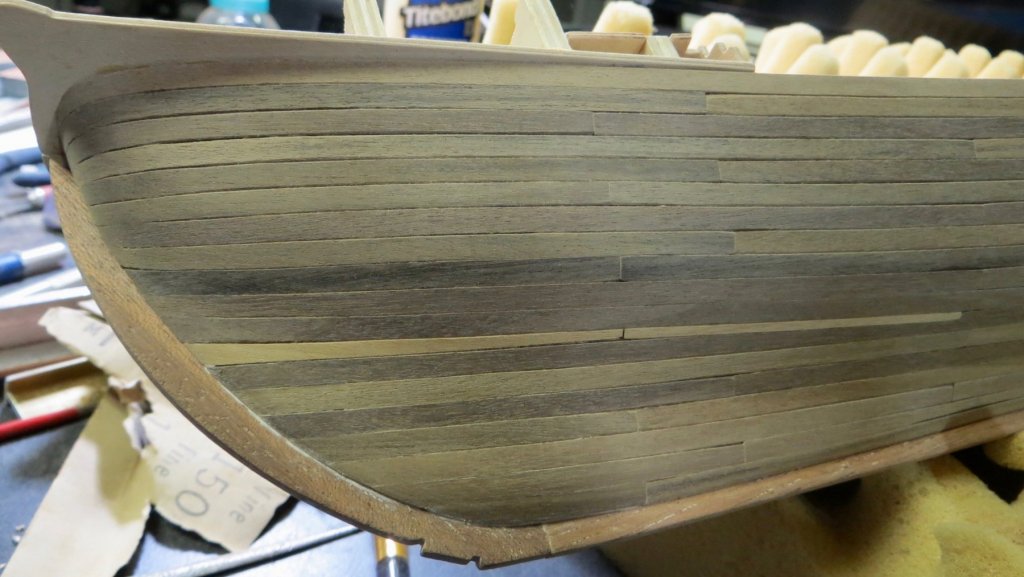
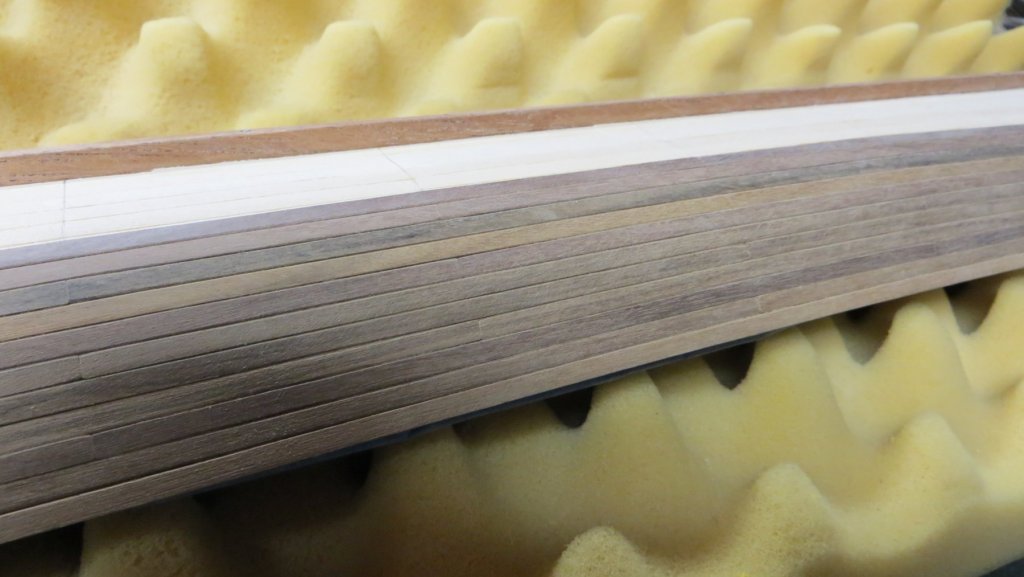
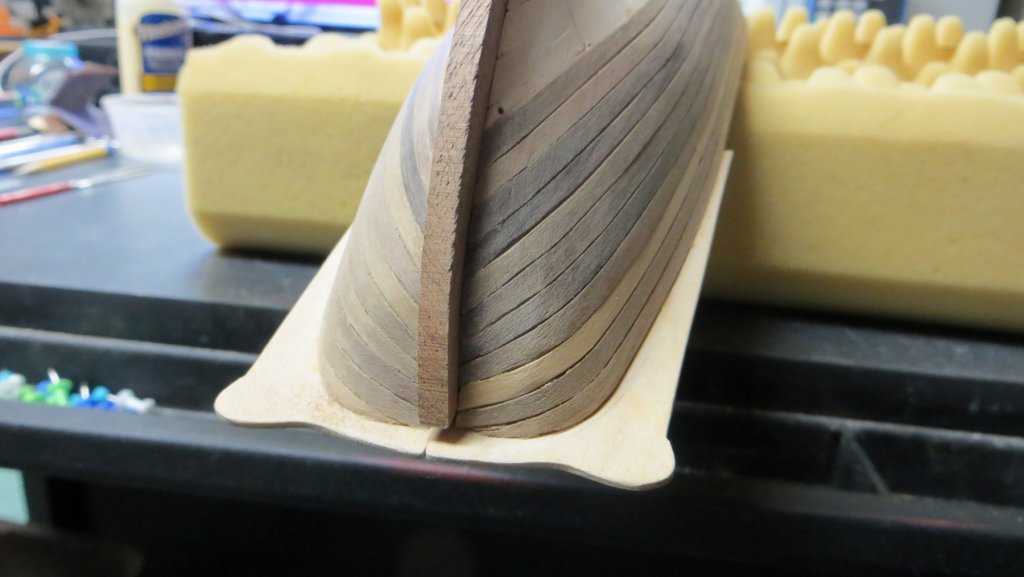
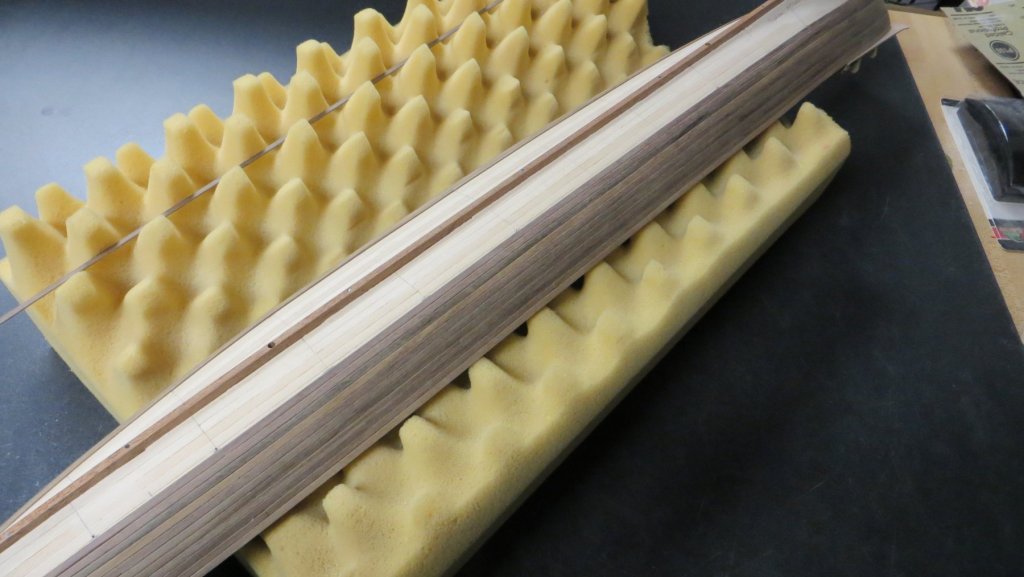
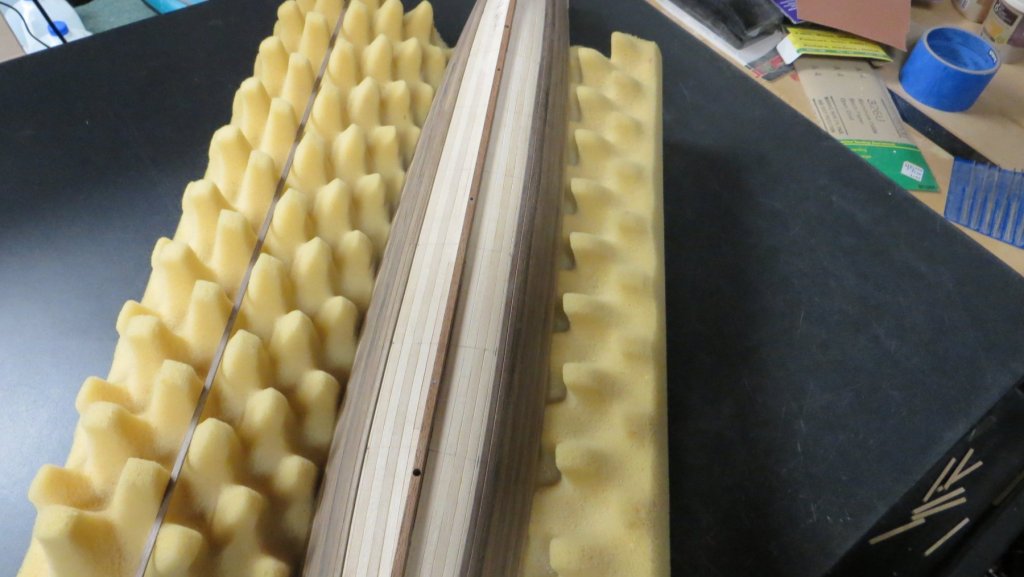
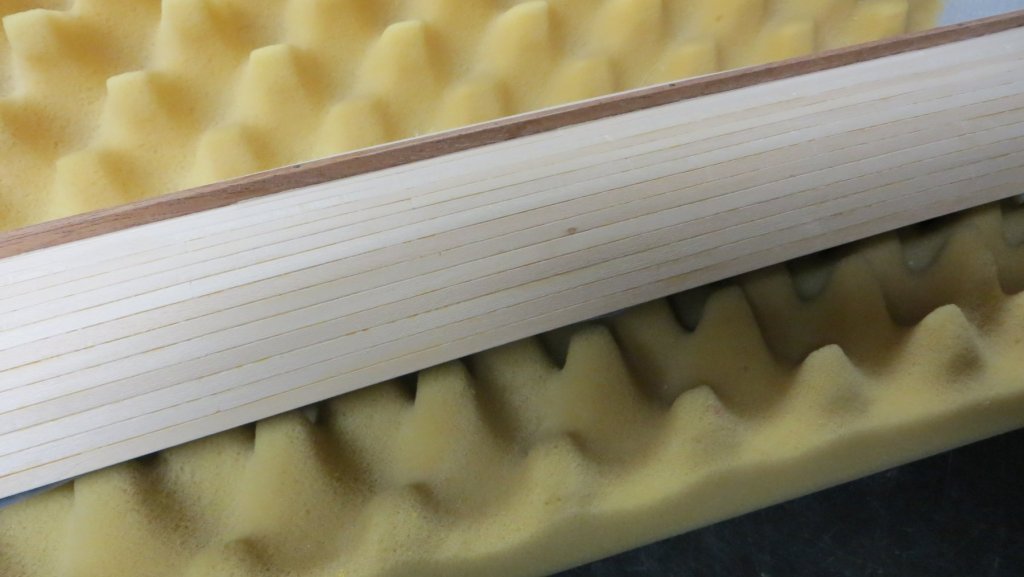
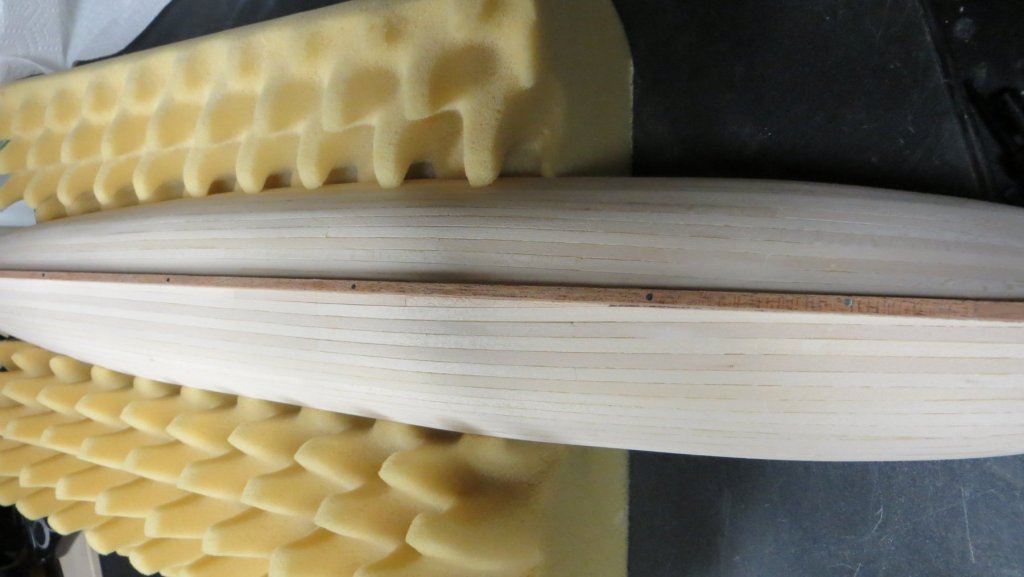
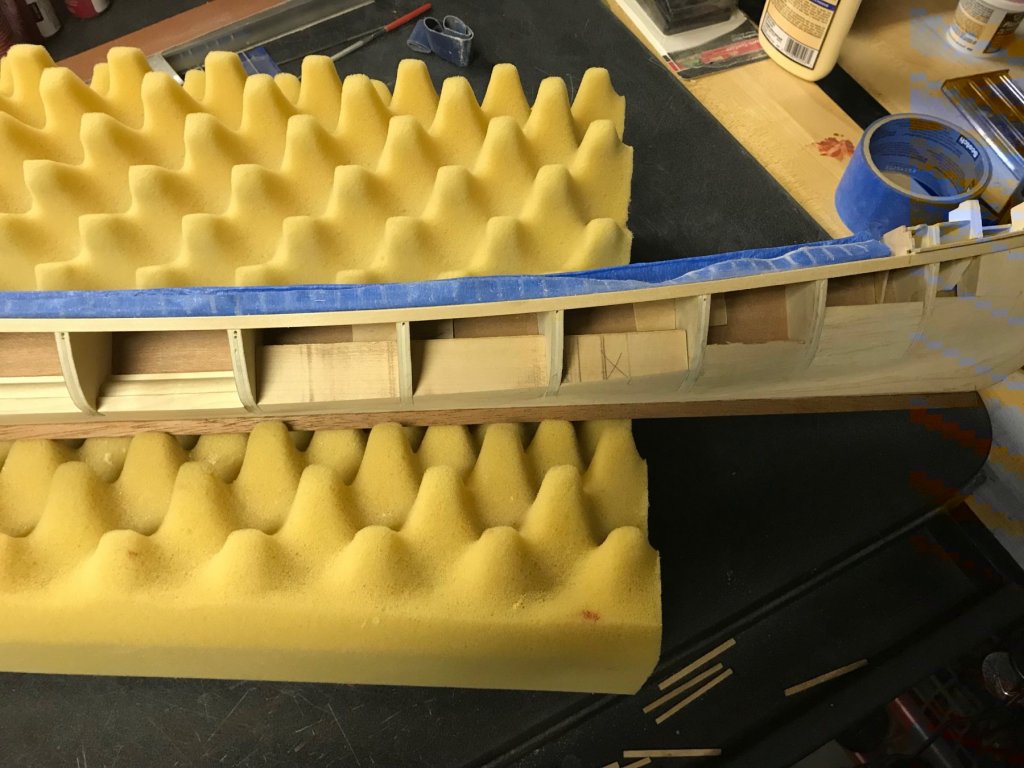
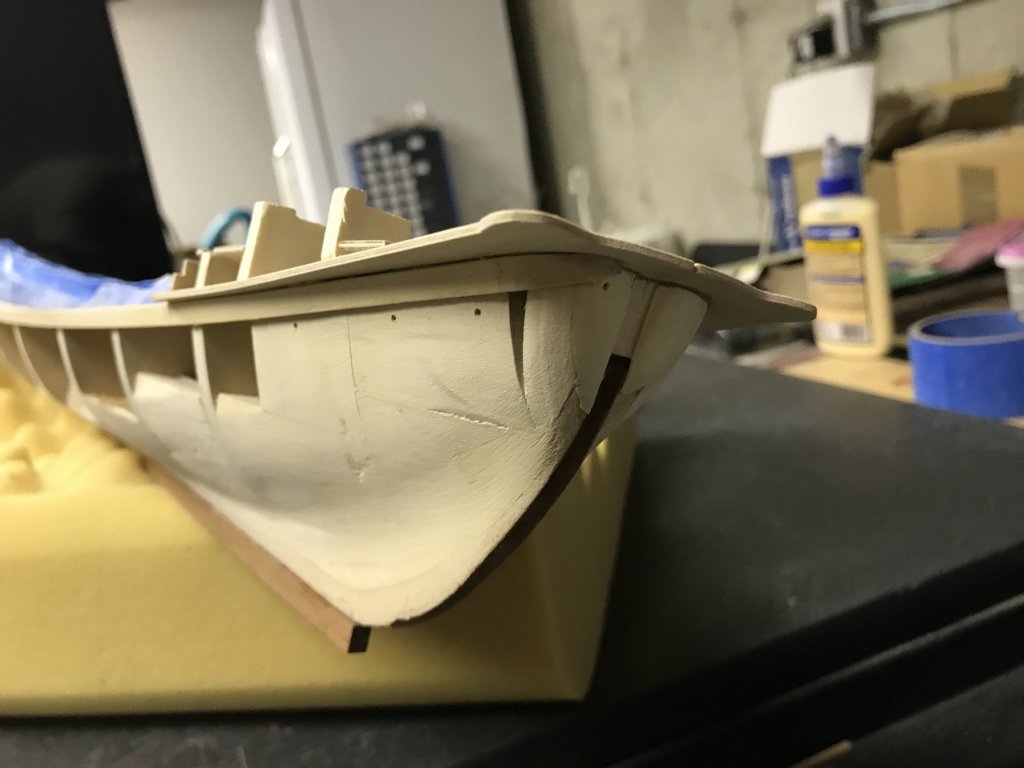
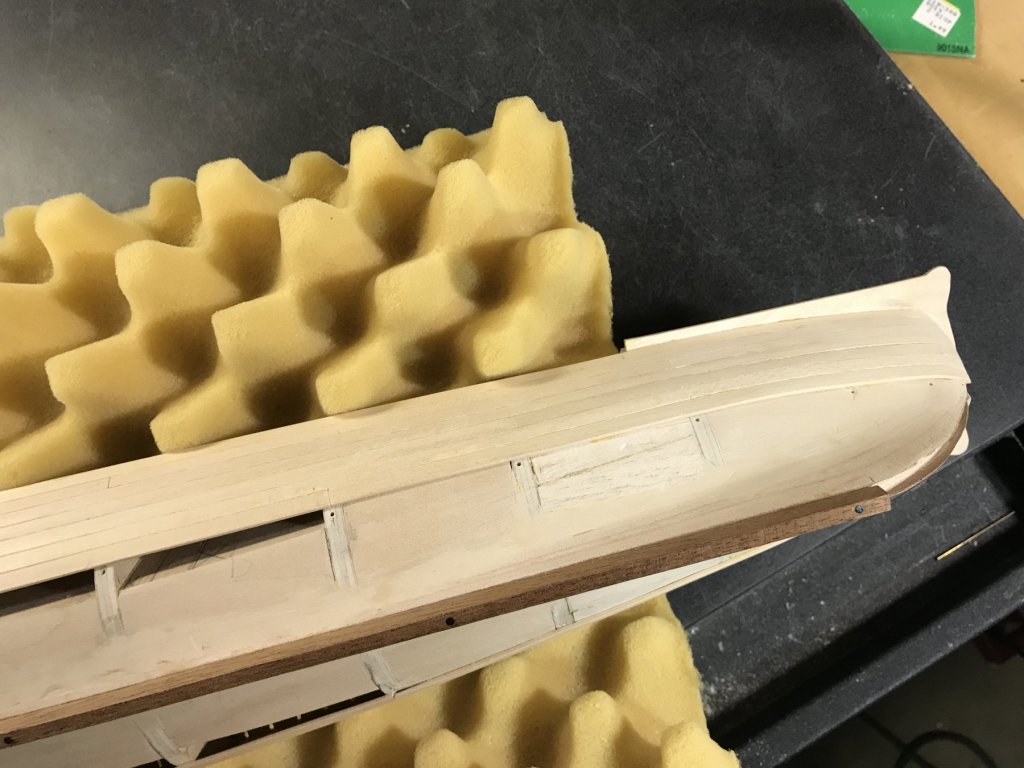
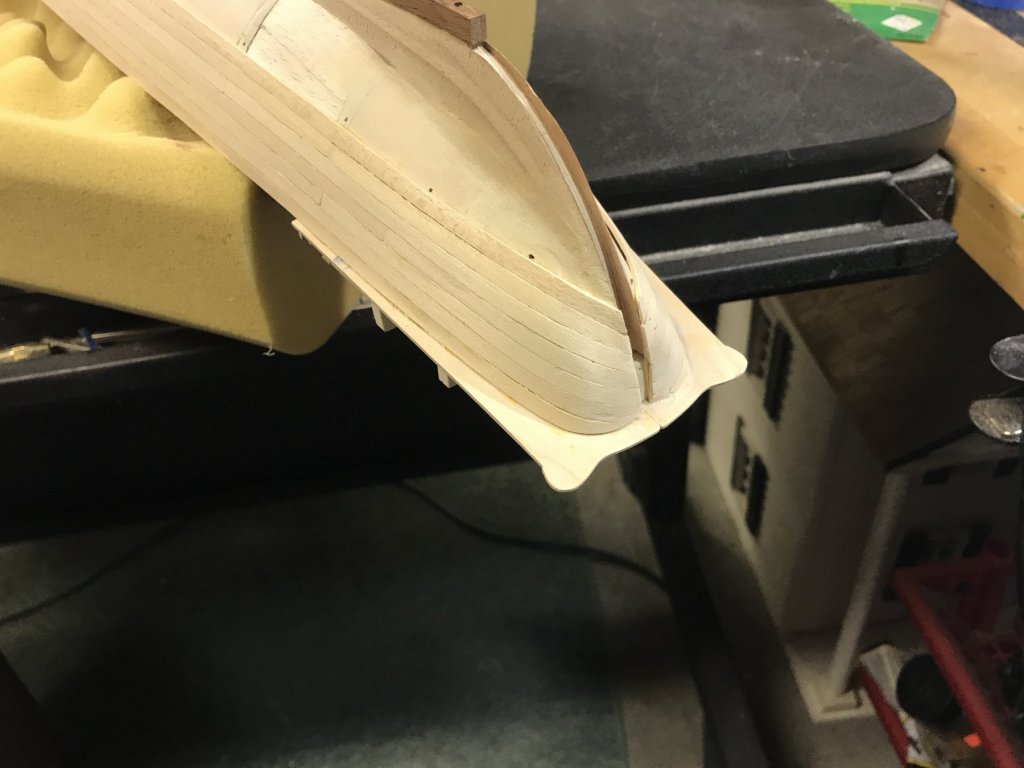
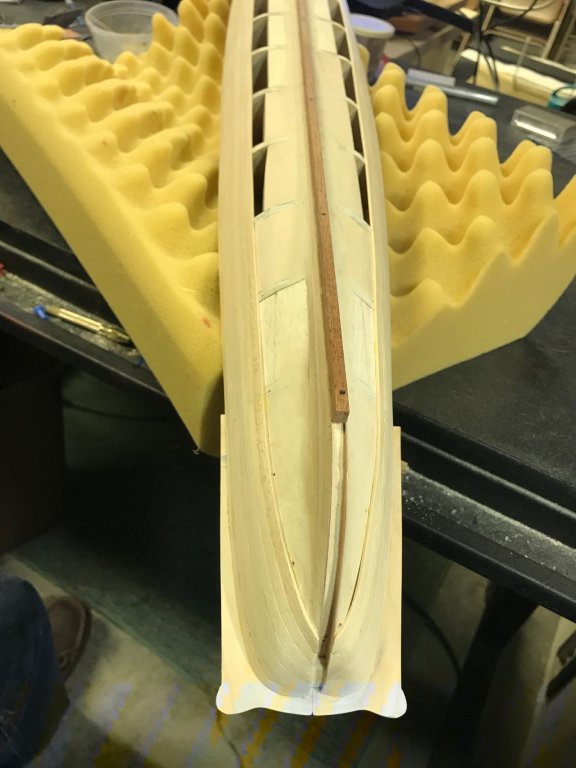
 Hello, I finally finished the second layer of planking. I am in the process of sanding down the planks, but I am nervous about sanding it too much. This hull will be painted (an off white below the waterline and a dark blue above). I am worried that if I sand too much, I will lose the edge detail of where a plank abuts another. I did chamfer the edges of each plank, so hopefully when I paint, I will not lose the planking detail. When I went to glue the stern stem piece to the model, I noticed that the stem didn't extend all the way up to the underside of the upper deck, so I fitted an extension piece. Stem attached to the stern of the model My next step is to get the model back onto a temporary stand, draw the waterline and paint the hull. Thanks for visiting, Frank
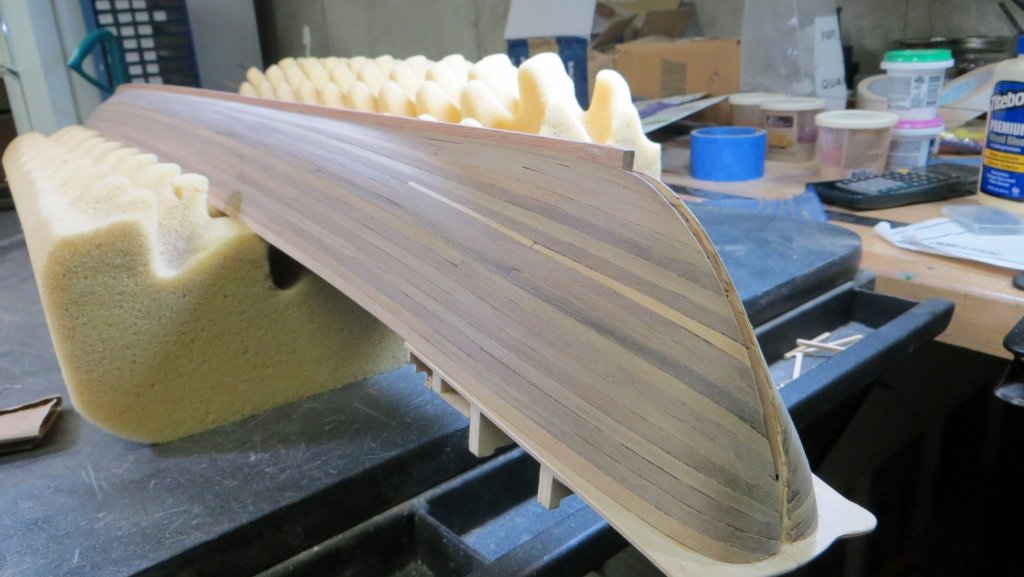

- 510 replies
-
- 5
-

-
- reale de france
- corel
- (and 1 more)
-
Hi Michael, Thanks for your input! I will let you know about the chisels when I have a chance to use them. Frank
-
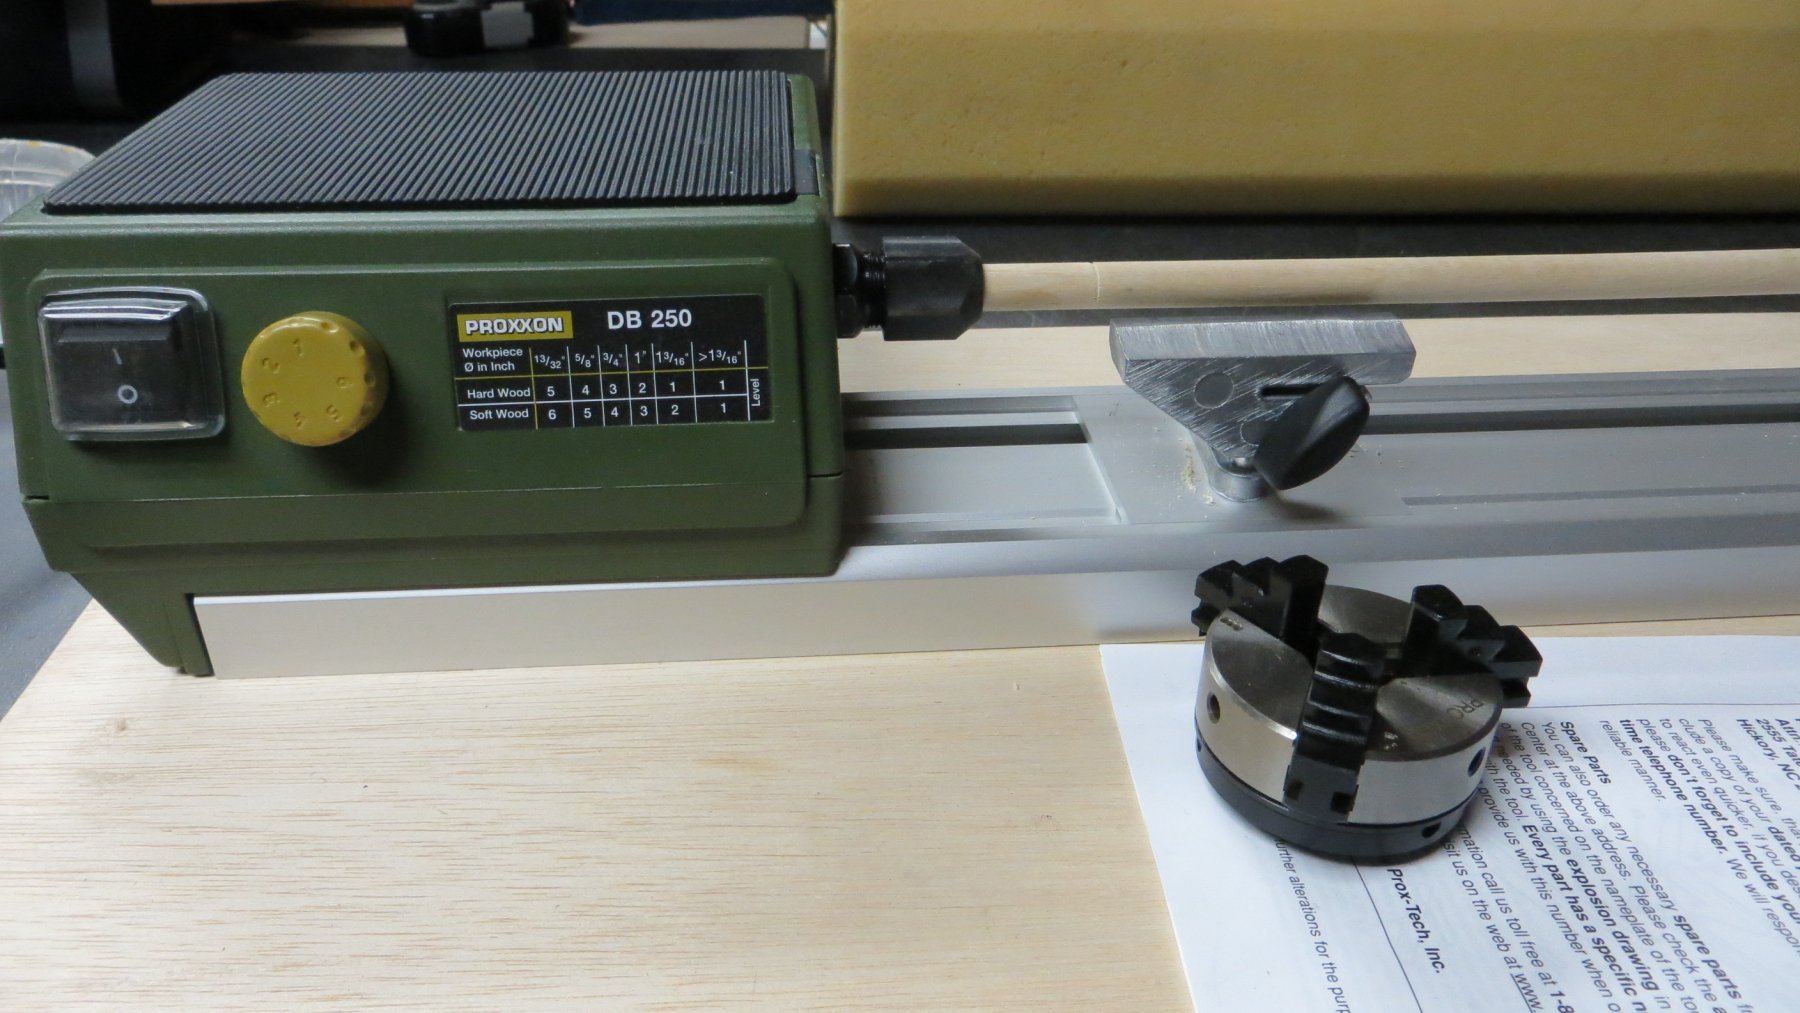
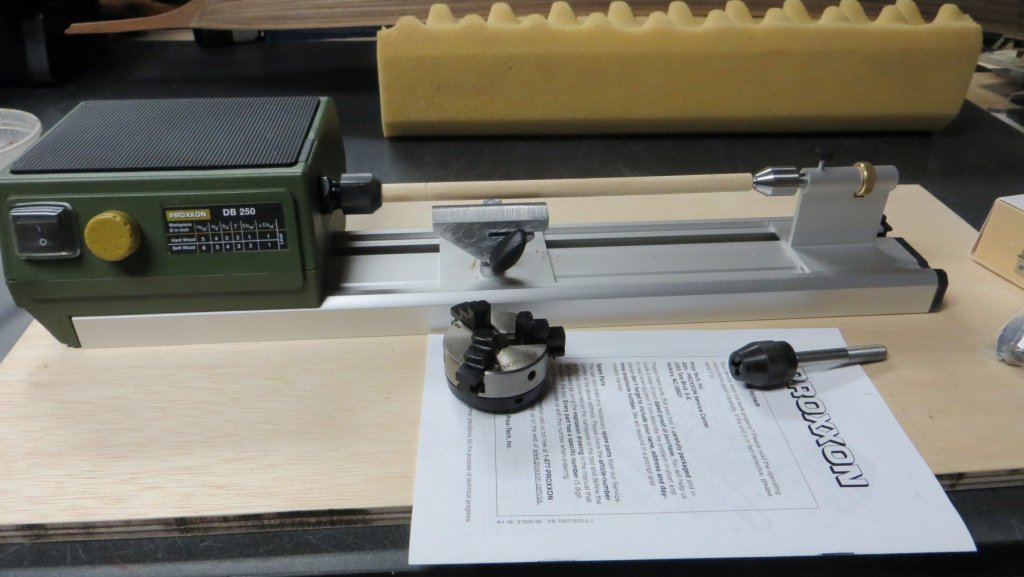
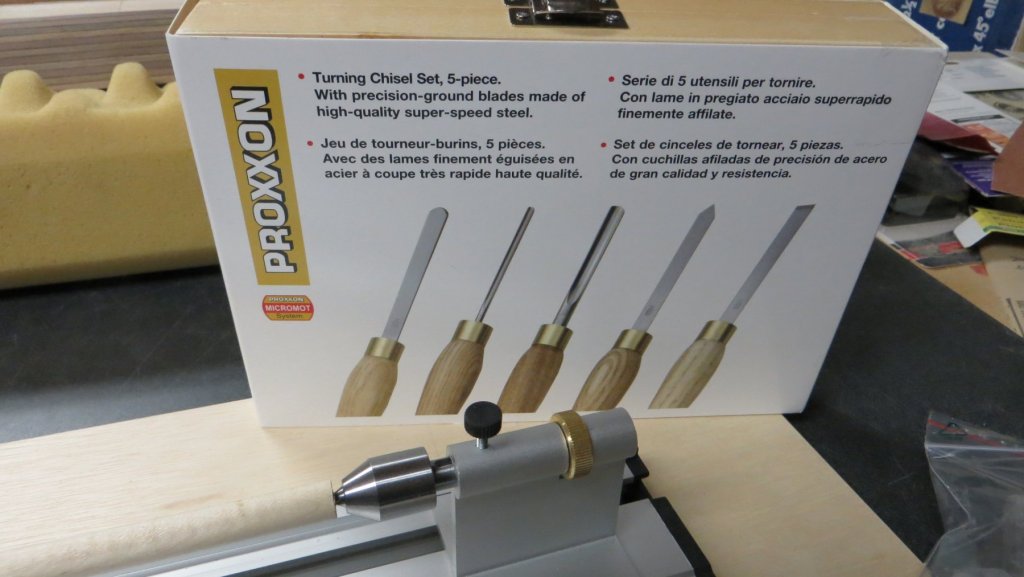
On a side note, My wife gave me a nice Christmas gift to add to my workshop. A small Proxxon Lathe! I'm excited to try this out. She also added on some accessories; a 3 jaw chuck, a drill chuck that fits on the tailstock, and some chisel tools

- 510 replies
-
- 3
-
-
- reale de france
- corel
- (and 1 more)
-
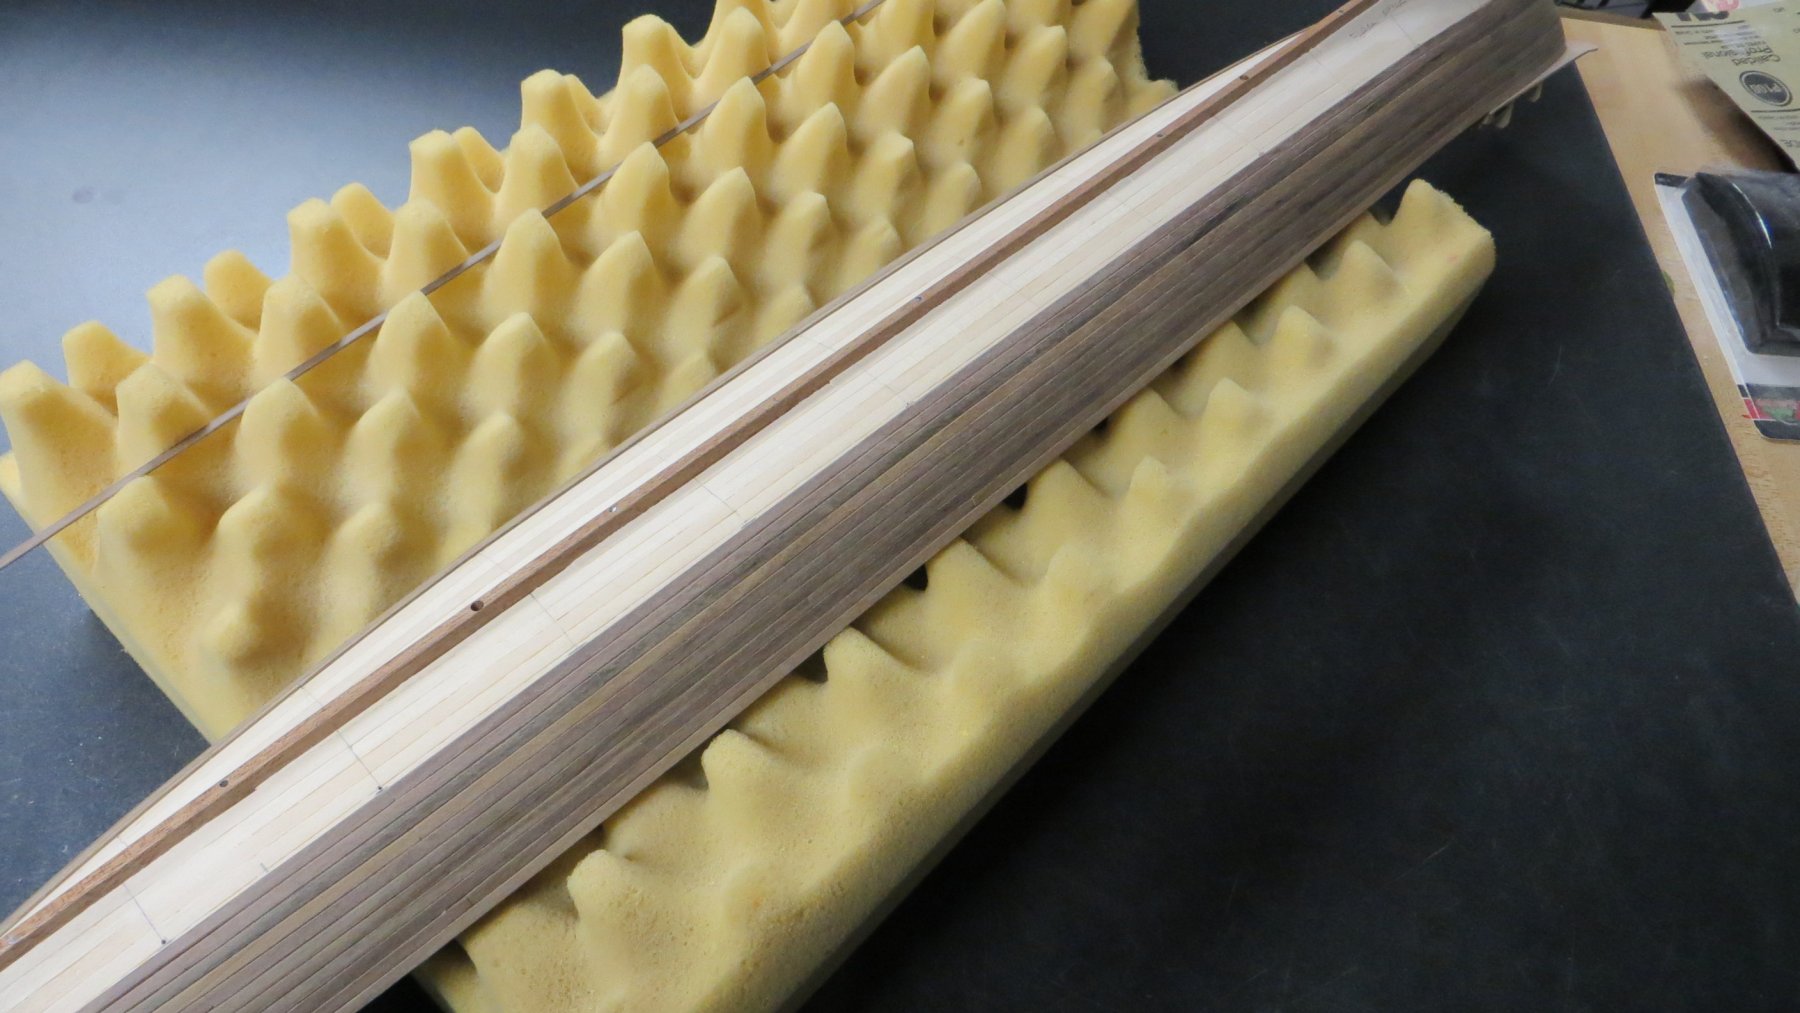
Hello, Happy New Year! A small (perhaps boring ) update. I'm in the middle of the 2nd planking layer. So far so good. I'm only able to get 1 plank on each side done per evening spent on my model. Slow going, but almost done! I will do the final sanding after all the planks are in. Thanks for visiting! Frank


- 510 replies
-
- 3
-
-
- reale de france
- corel
- (and 1 more)
-
Great idea for that tool! I will definitely keep it in mind for me in a future build. Thanks for sharing. Frank
- 91 replies
-
- 2
-
-
- deagostini
- vasa
- (and 1 more)
-
Nice job on the platform!! My wife bought me the same Proxxon lathe (for Christmas) that you show in the photo above. How do you like the lathe? Thanks, Frank
-
Nice work Mark! Now come the dance to make sure the bowsprit doesn't get knocked when you rotate the ship (One time my wife tried to surprise me by cleaning my work room and buying me new lamps for the room for my birthday. She accidentally snapped the bowsprit. She was horrified and has never set foot in my work room since!!!) Frank
- 331 replies
-
- 2
-
-
- nuestra senora del pilar
- occre
- (and 1 more)
-
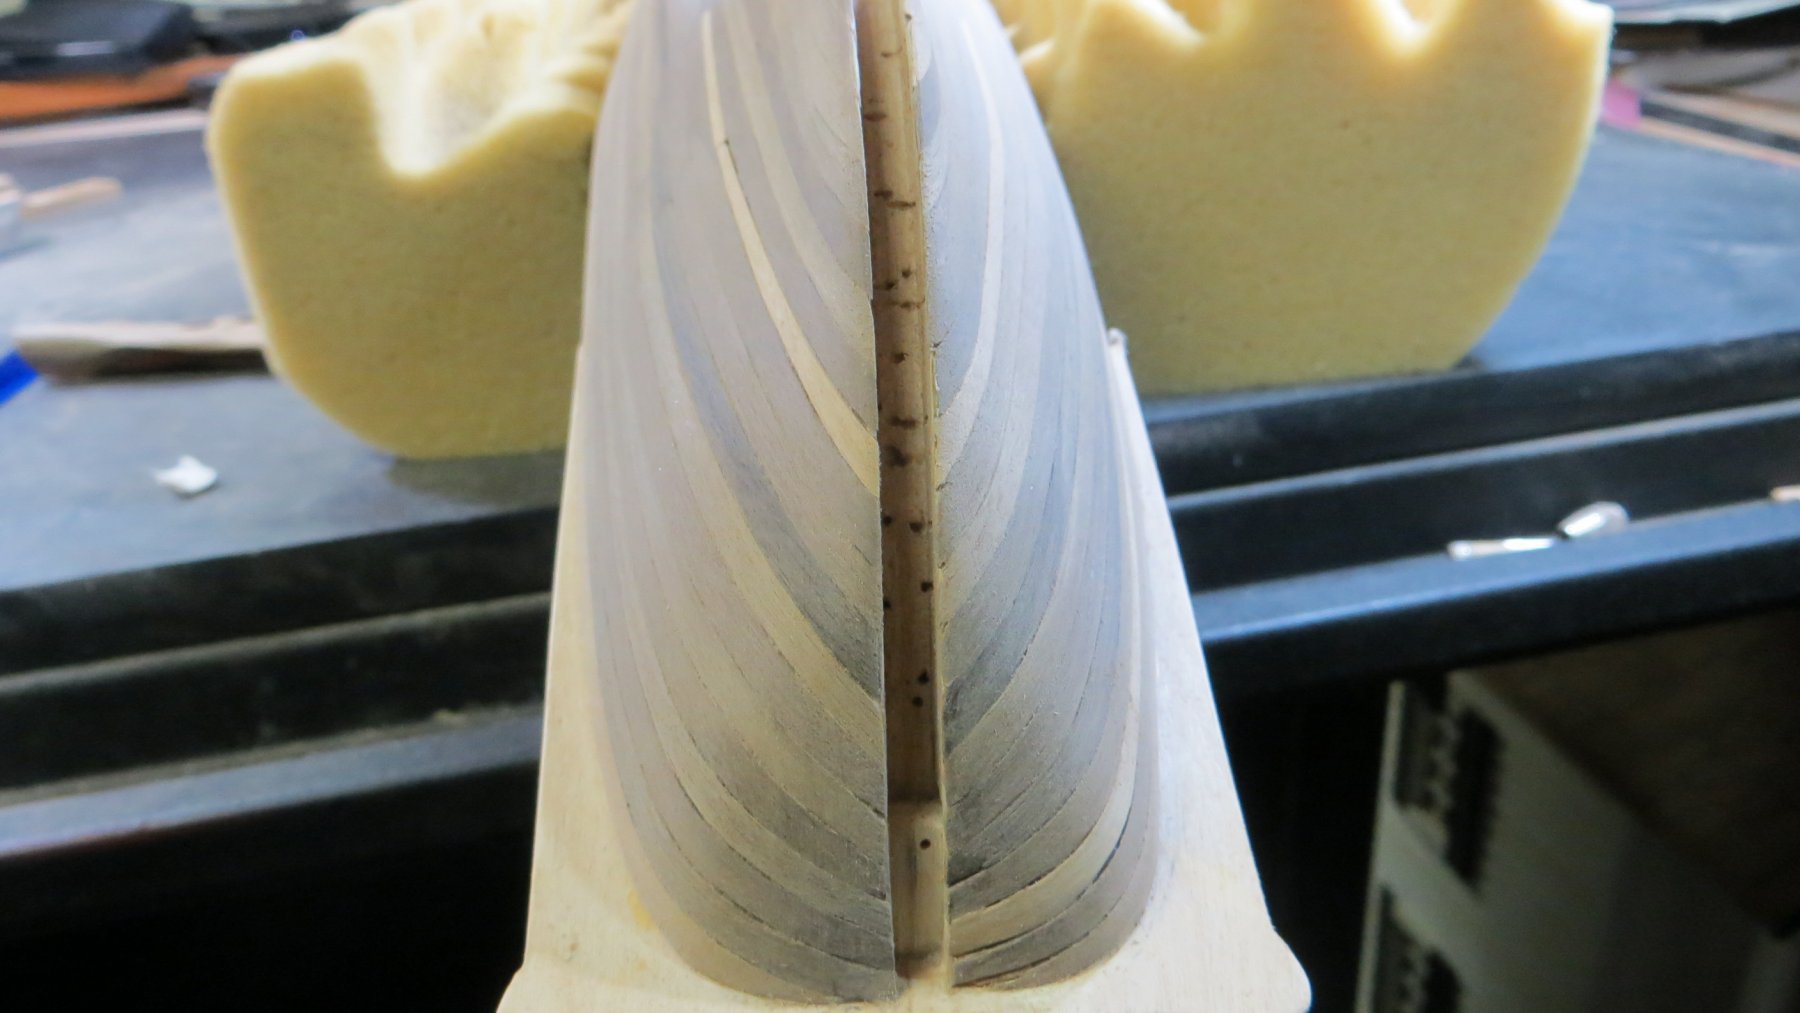
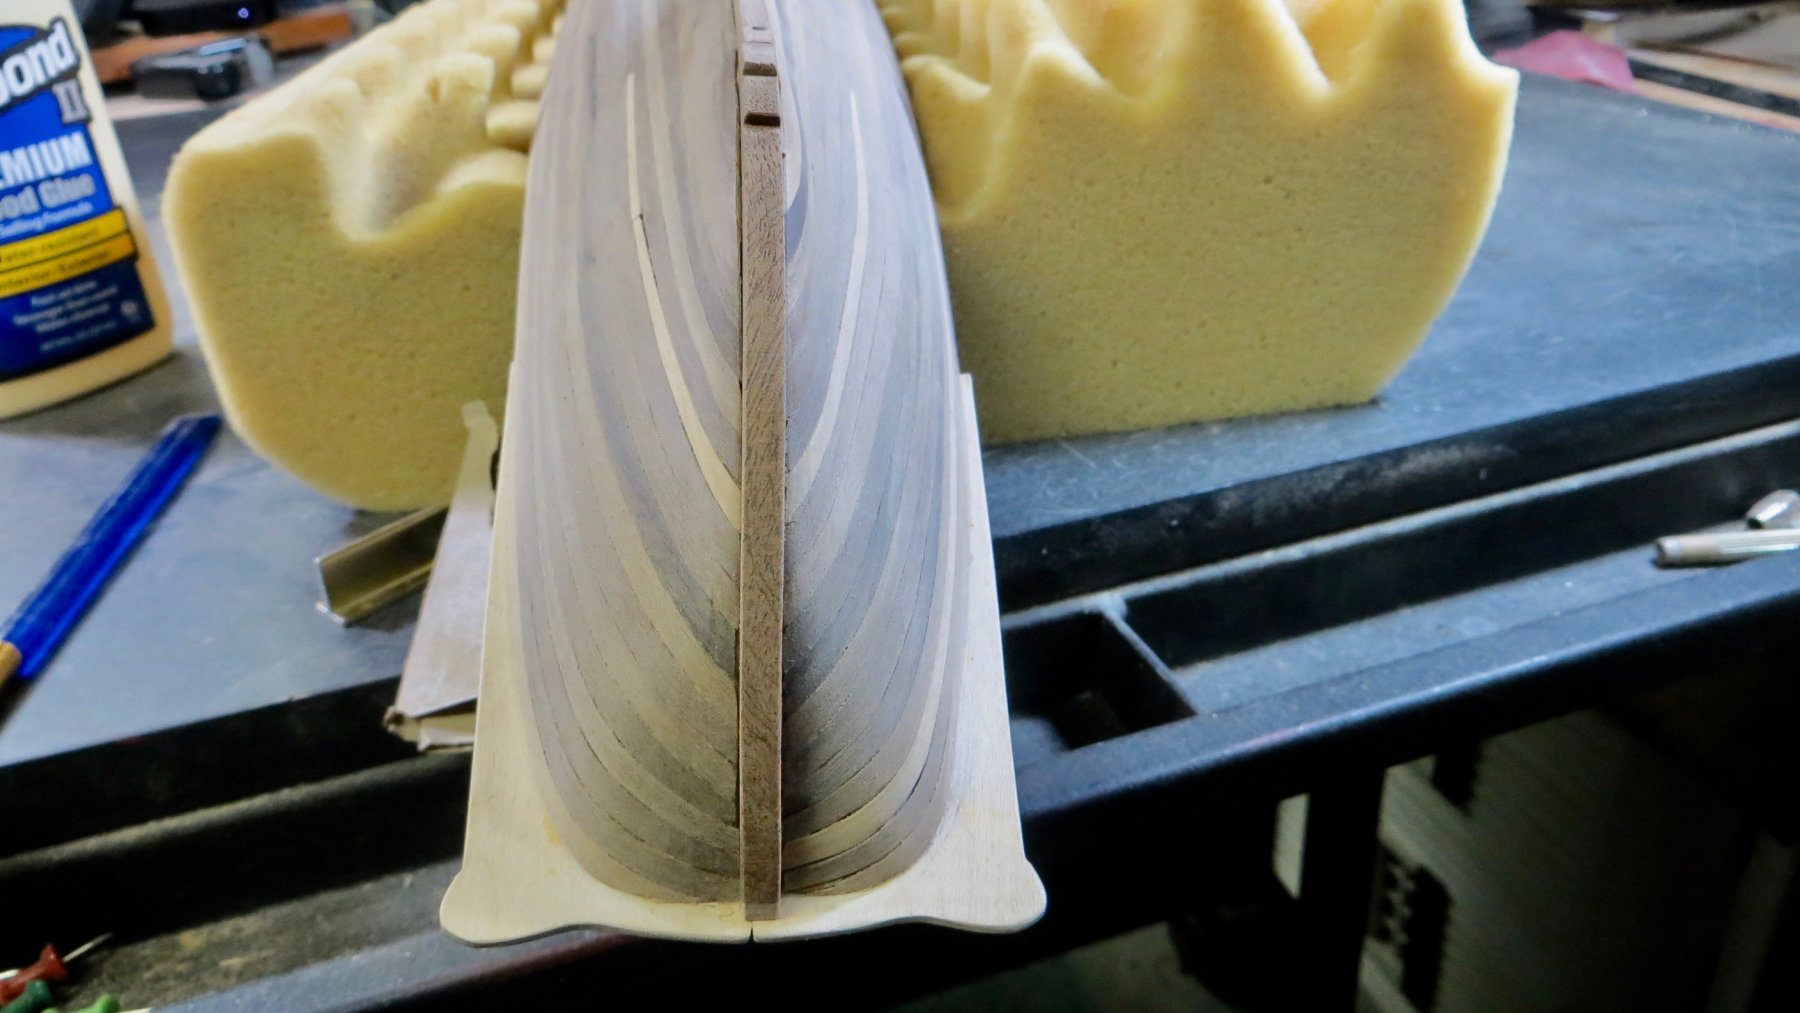
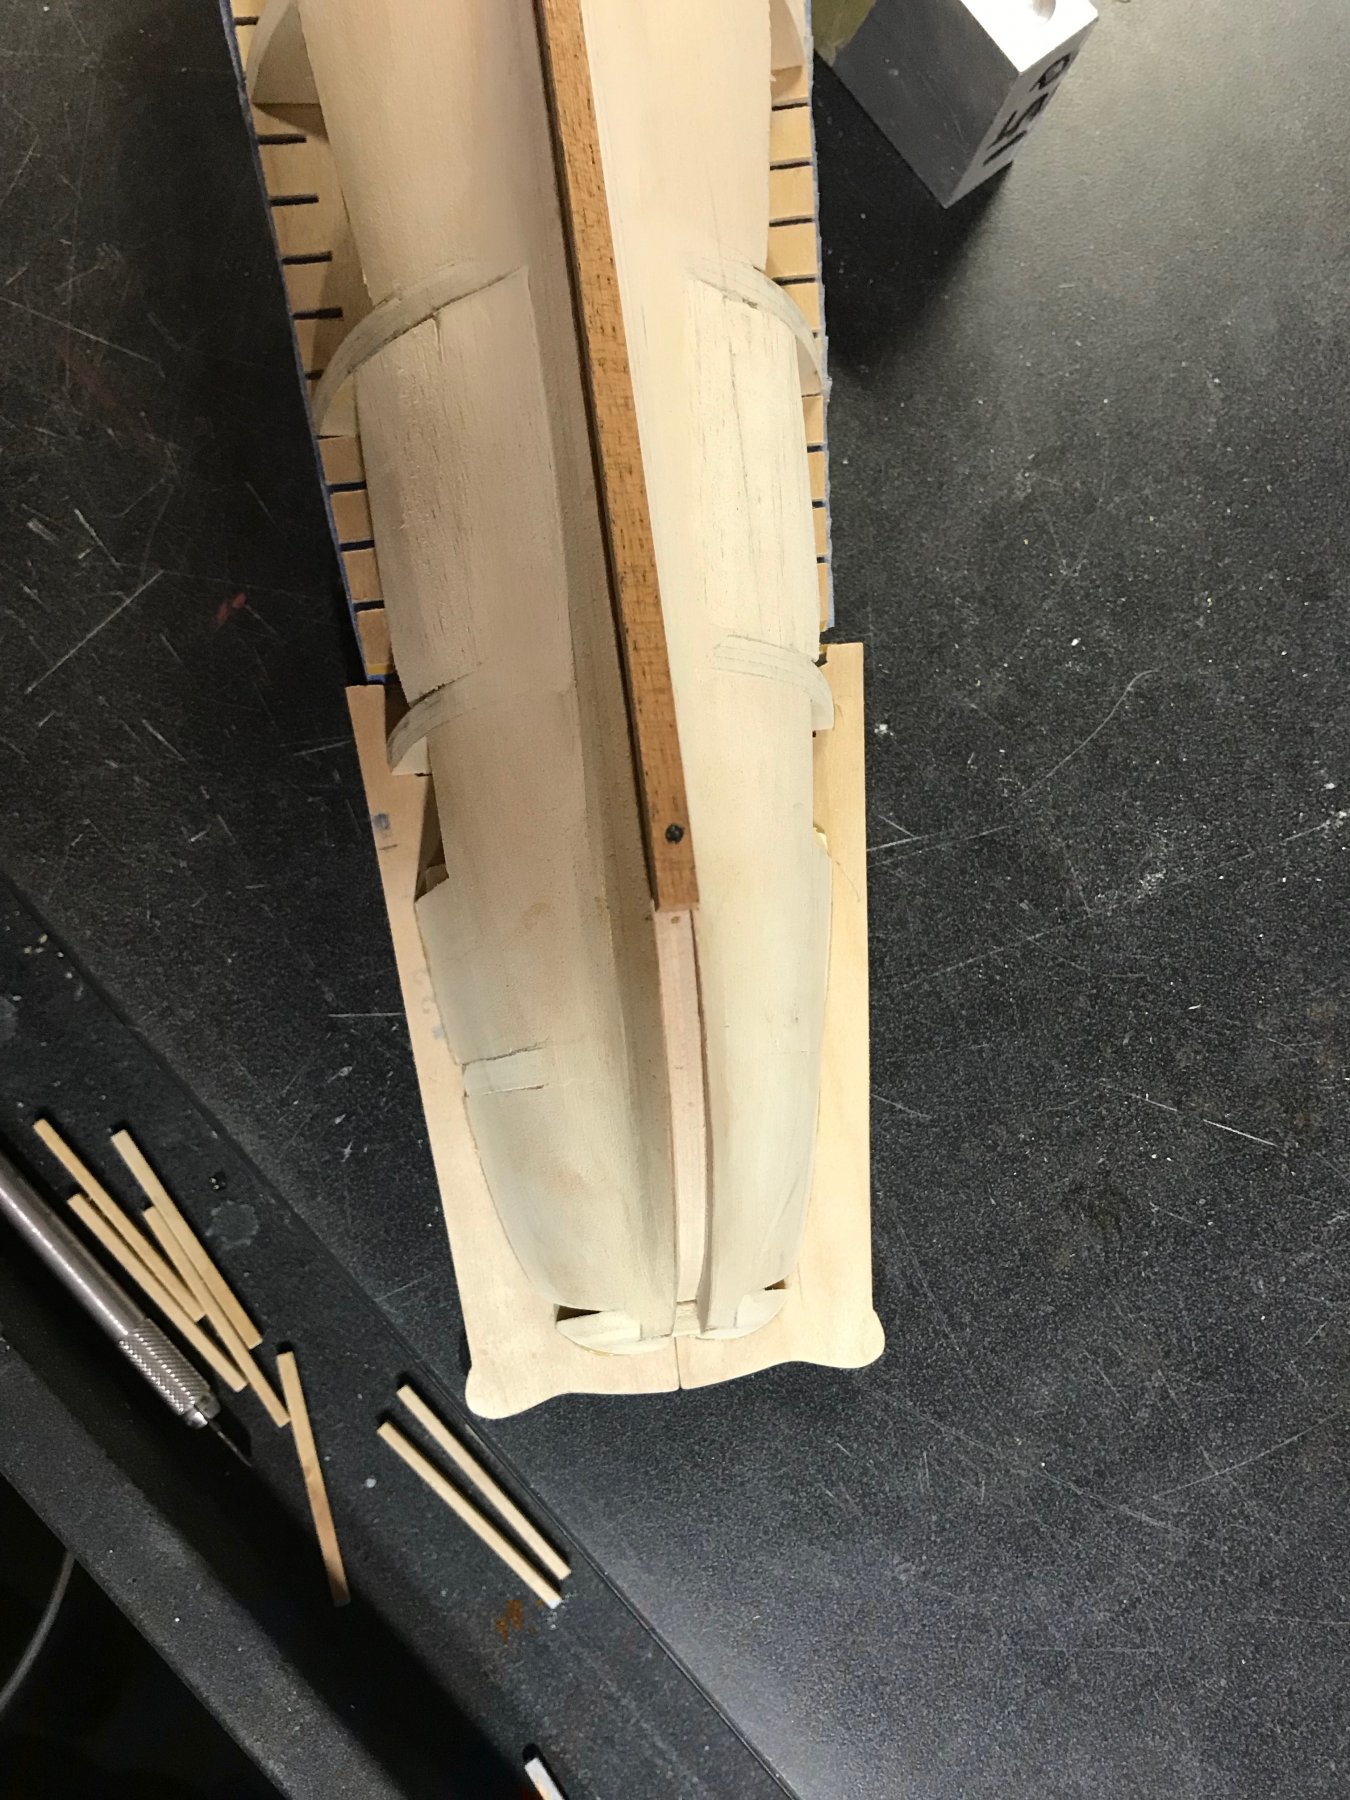
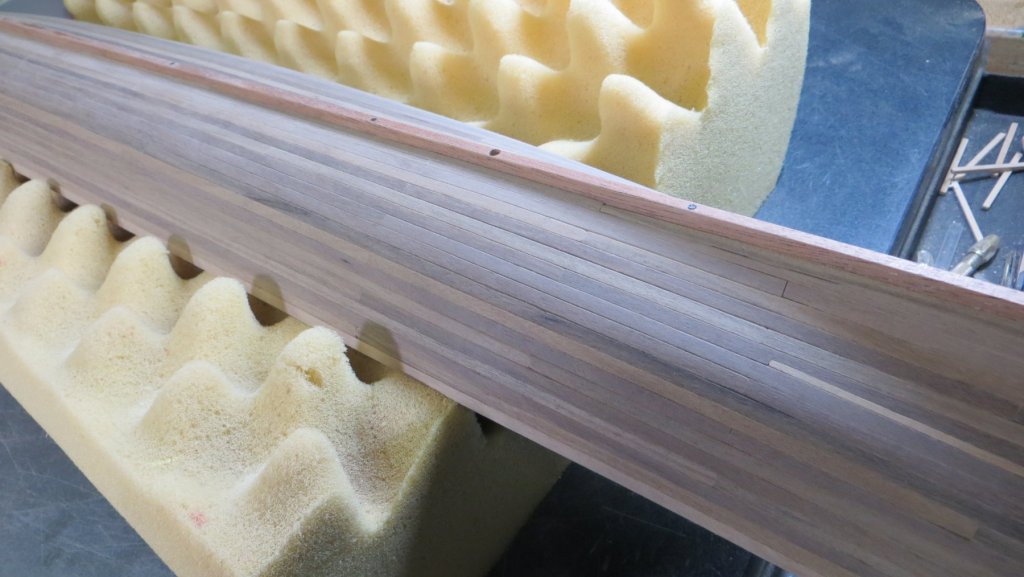
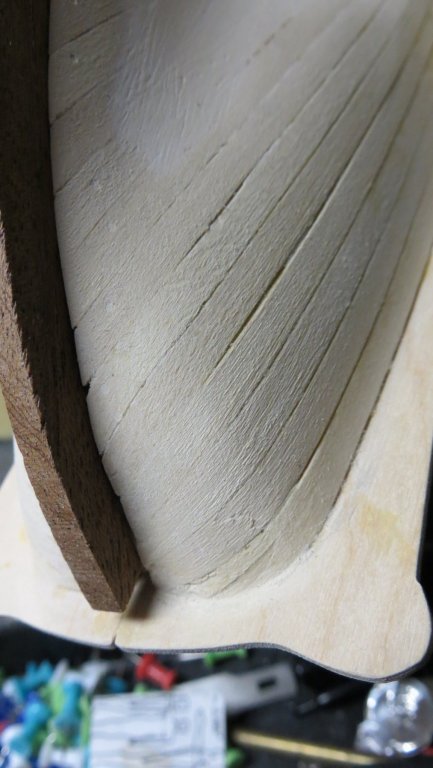
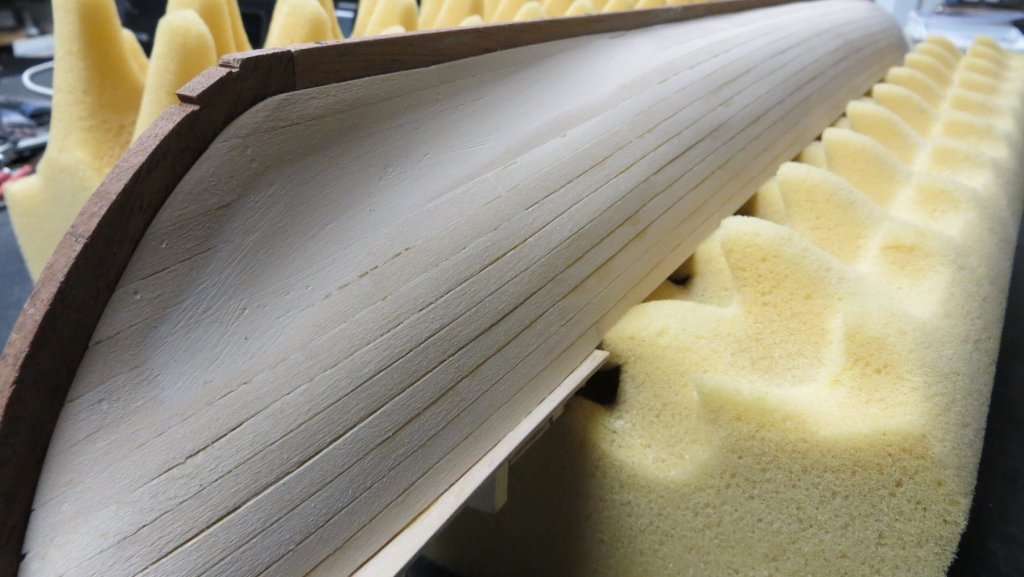
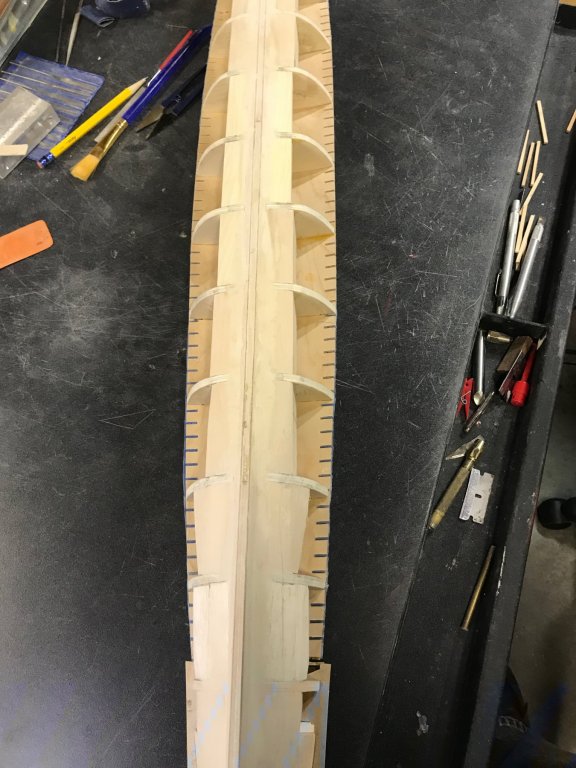
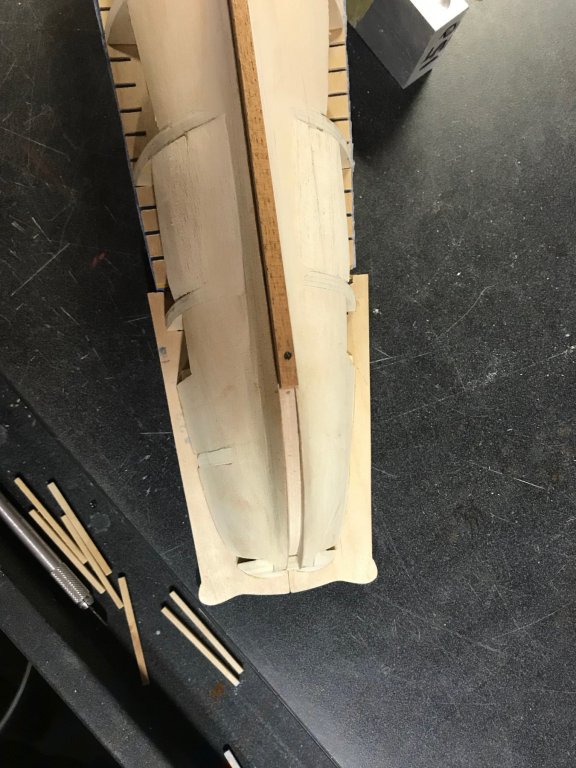
Hello, I finally finished the first layer of planking! I am happy with the way it turned out. I found that both the starboard and port side planking were nearly identical to each other (when I arrived at laying the last planks near the keel, the width of the last plank on both sides were nearly identical), which I guess is a good sign After I finished the first layer, I copied and cutout the cross section patterns, from the plans, at the various points on the hull. I found that I had to add a small amount of wood filler near the stern to build up the area where the curved section of the hull met the flat area. (See photo below). Aside from this touchup, I like the way the hull came out. Again, as stated earlier, I am glad I added the filler wood at the various points near the stern and bow. It made the planking so much easier. After a little tidying up of my messy work area, I should be good to go to start the 2nd planking layer. Bow Section planking into the keel Middle area was easy to plank! Both sides came out pretty even. Stern area bending was the most difficult (The stern keel (stem) piece is not glued in. I found it easier to over extend the planks and then file down until the stern stem fit in tight. I will do the same for the 2nd layer of planking) Area of hull where I had to add a little filler on both sides. Thanks for visiting and for the "likes" Frank


- 510 replies
-
- 5
-
-
- reale de france
- corel
- (and 1 more)
-
Nice job Mark! Did you make the sails or did they come with the kit? If they came with the kit, are you happy with the scale of the cloth? Thanks, Frank
- 331 replies
-
- 3
-
-
- nuestra senora del pilar
- occre
- (and 1 more)
-
The cannon doors look terrific. Nice paint job on the lion faces!! Frank
- 146 replies
-
- 3
-
-
- deagostini
- vasa
- (and 1 more)
-
Michael, Great looking model! Nice job on the cannon door tackle and I love the lights!! Frank
-
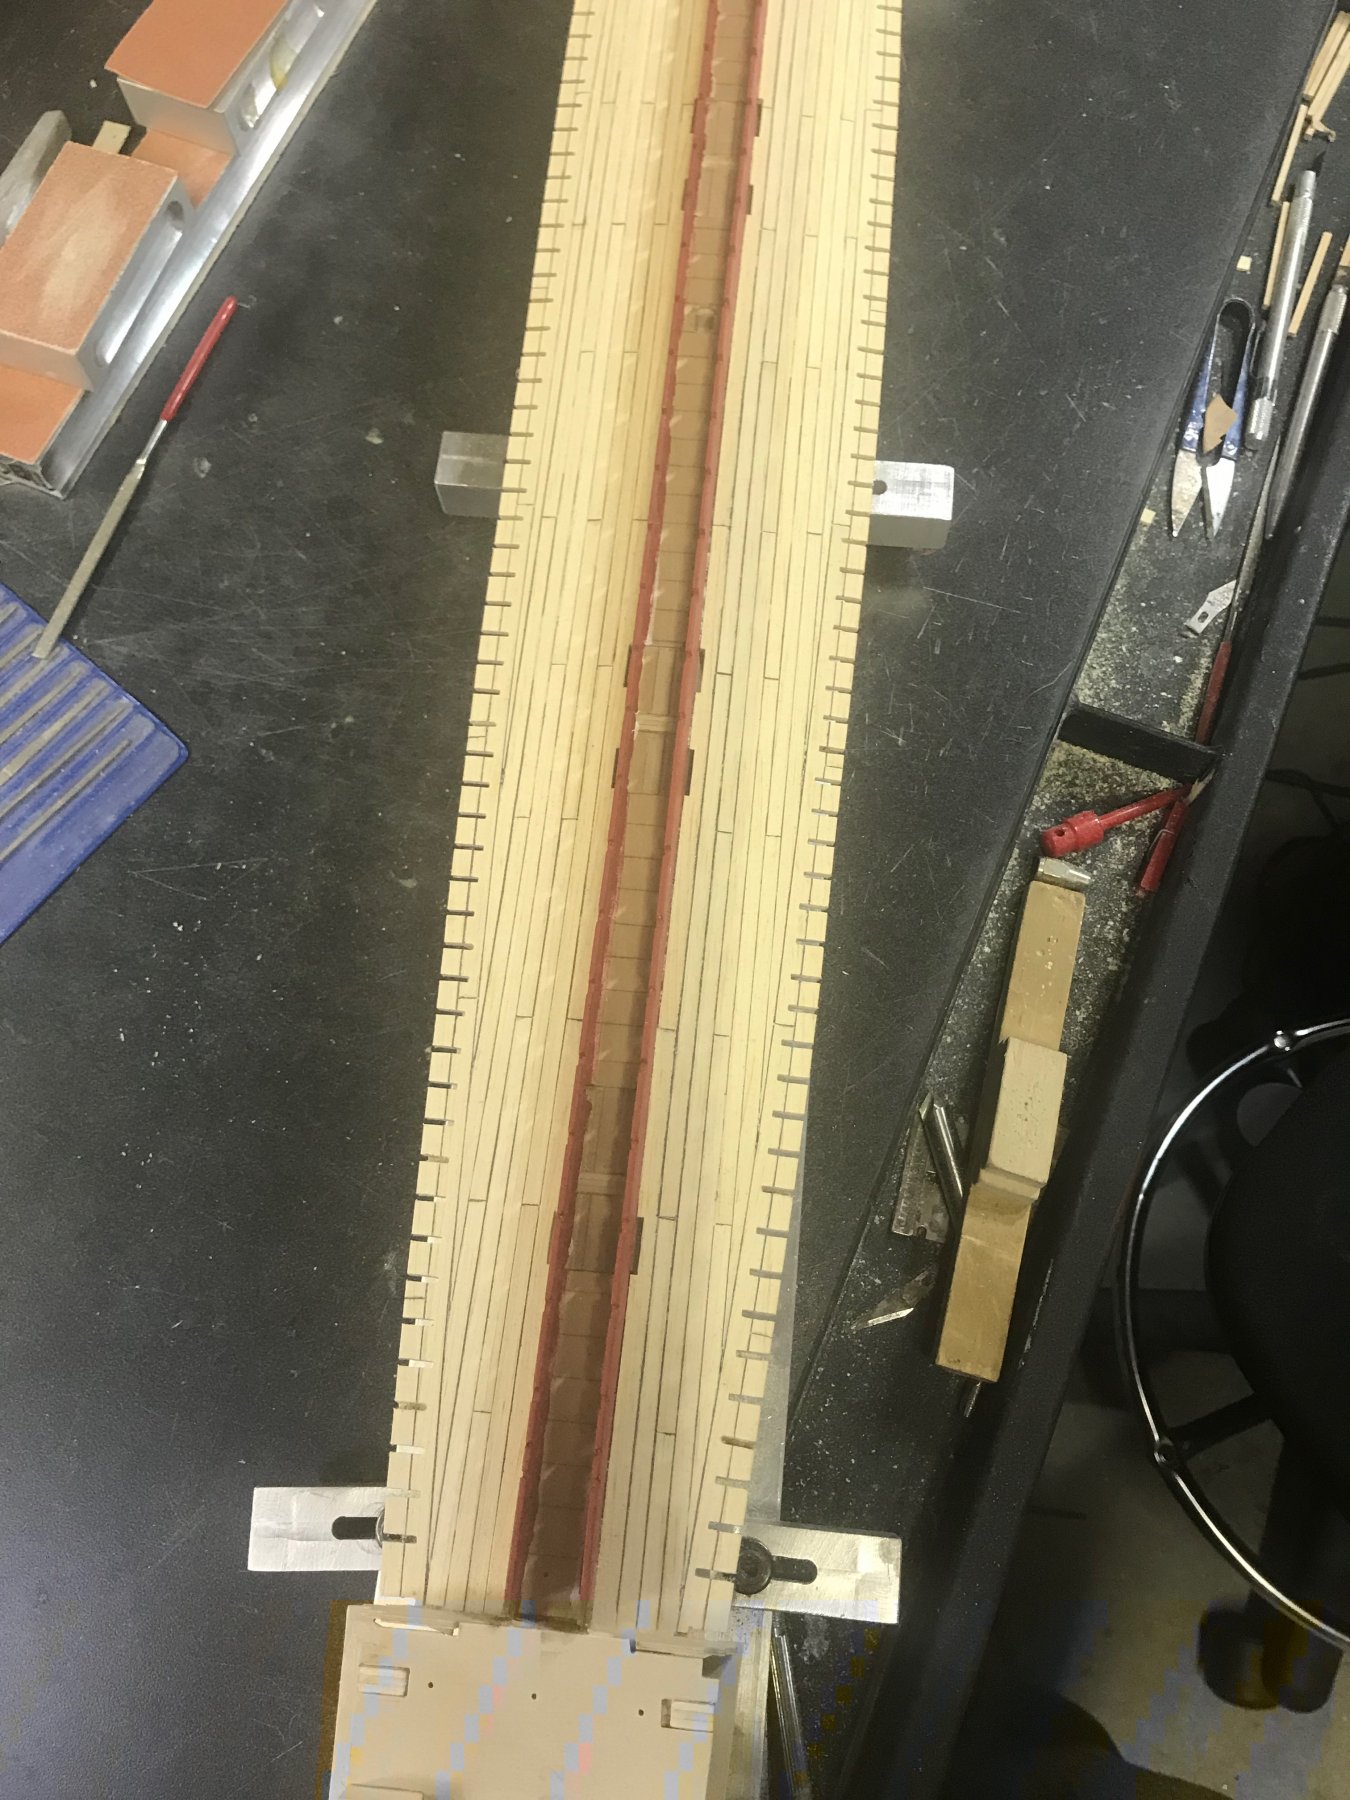
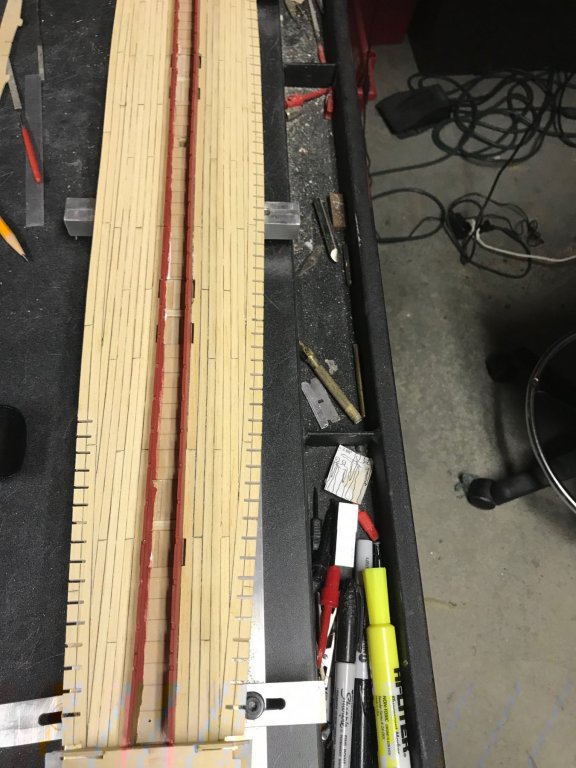
Hi, Some small updates: I have started the first layer of planking on the model. The first plank on the ship was the most important, in order to set the curve, and the one on each side took me 3 hours each to put in place! I have made it about halfway thru the first planking layer. A couple of comments: 1. I like the wood the Corel kit supplied for this first planking. The wood is soft and easy to sand down. 2. I am happy I took the time to put in the filler blocks, especially in the bow area and stern area. It has definitely made the planking easier. The stern area has some severe bends. I have been successful in bending the planks, by soaking them in an ammonia and water mix and then applying heat with a round hair curling iron (that I confiscated from my wife ) Now to finish the rest of the first planking! (Still trying to figure out why the grey stripes are appearing in the photos) They only appear when I upload them to the log. I don't see them on my computer, oh well) Thanks for visiting, Frank


- 510 replies
-
- 4
-
-
- reale de france
- corel
- (and 1 more)
-
Thanks for visiting Wallace (Mark) and for the kind words. I just visited your log on the Corel Victory. Good luck! You are lucky in that you seem to have some fine historical books on the Victory that should help you get by the deficiencies of the Corel instruction booklet and translations. Thanks, Frank
-
Hi Mark, LOL! Yes, a lot of slots. What's worse is something goes into every one of those slots Thanks for visiting! Frank
- 510 replies
-
- 1
-
-
- reale de france
- corel
- (and 1 more)
-
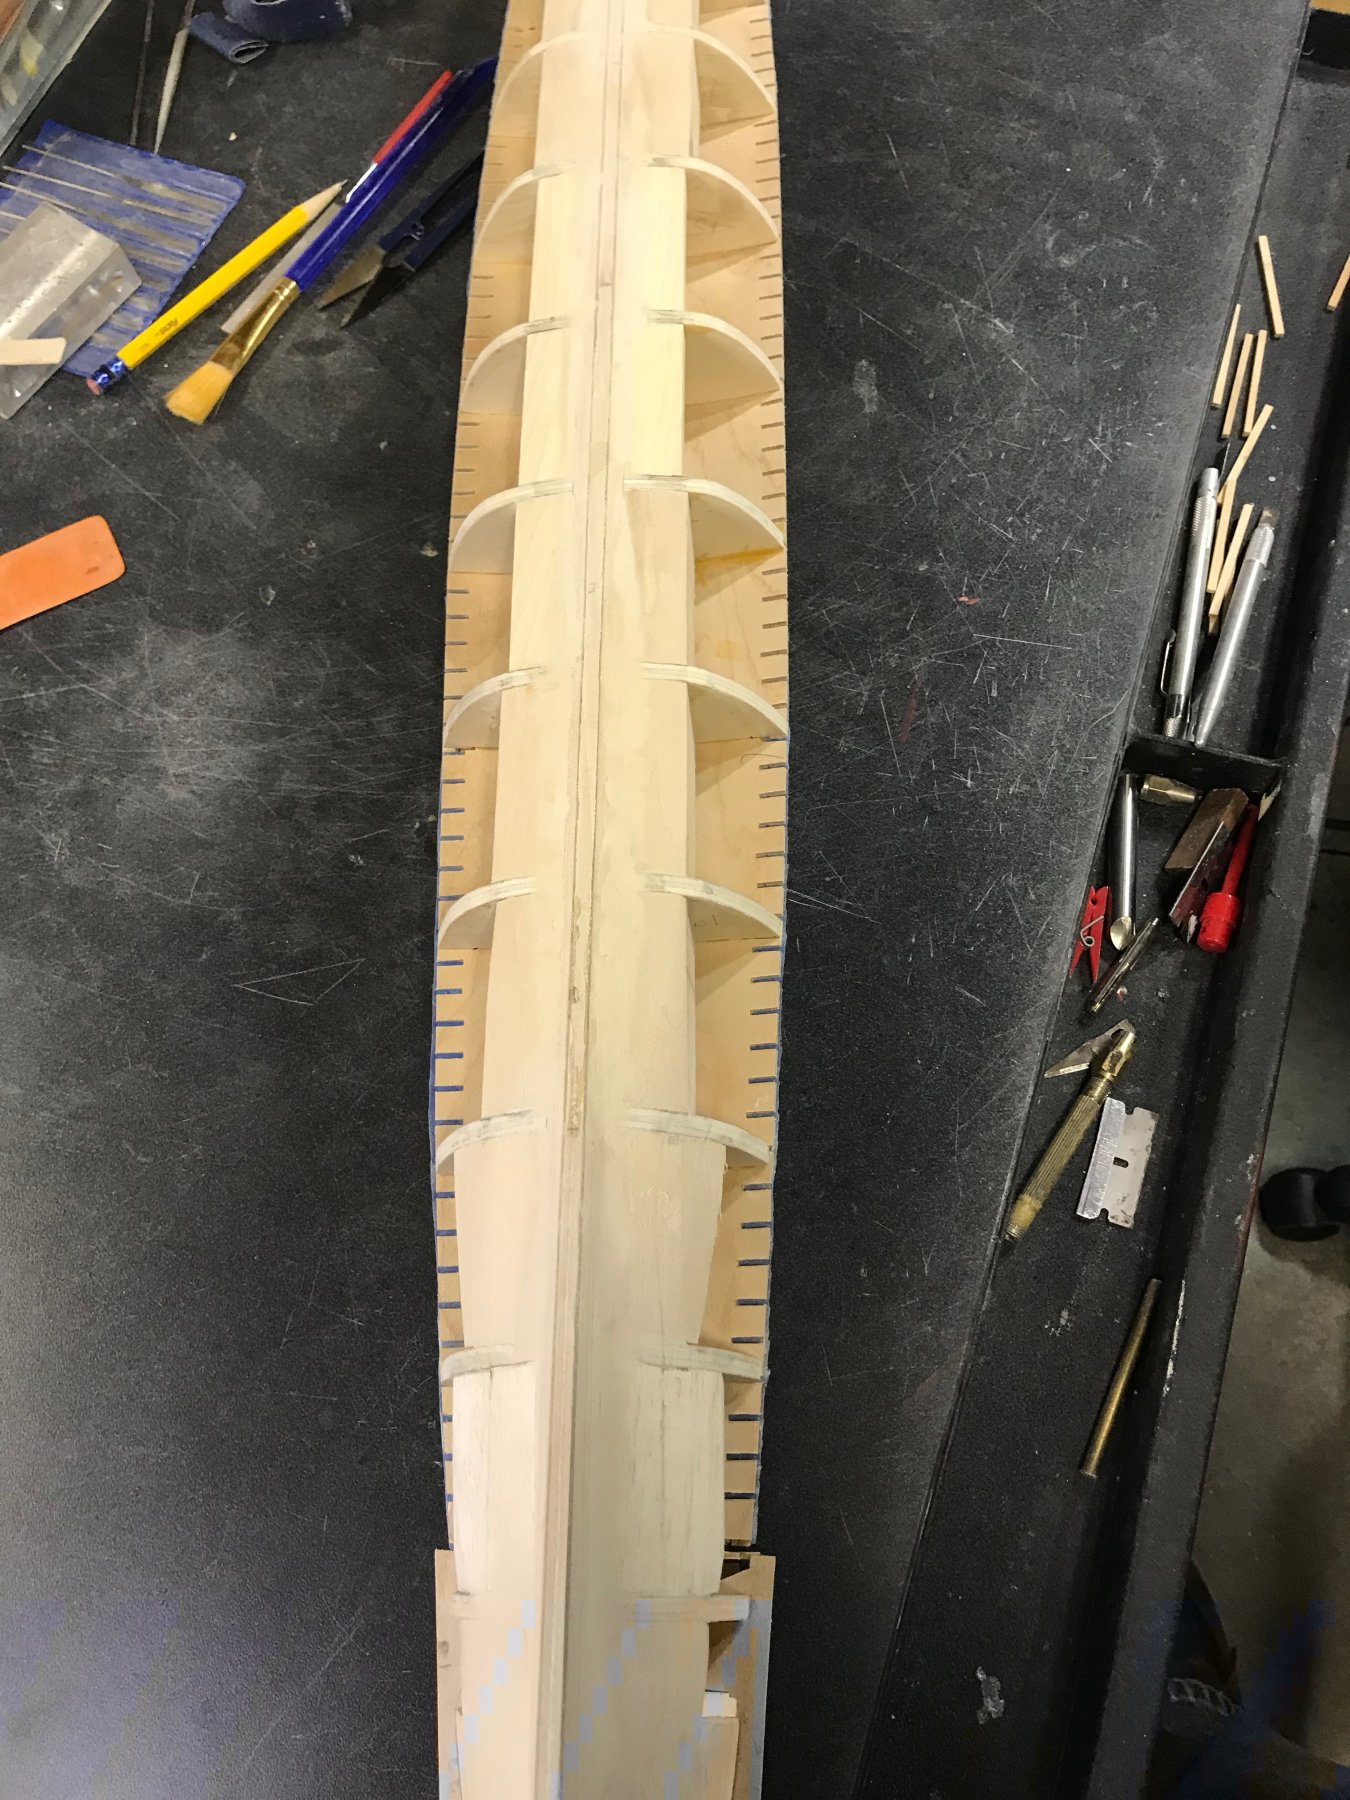
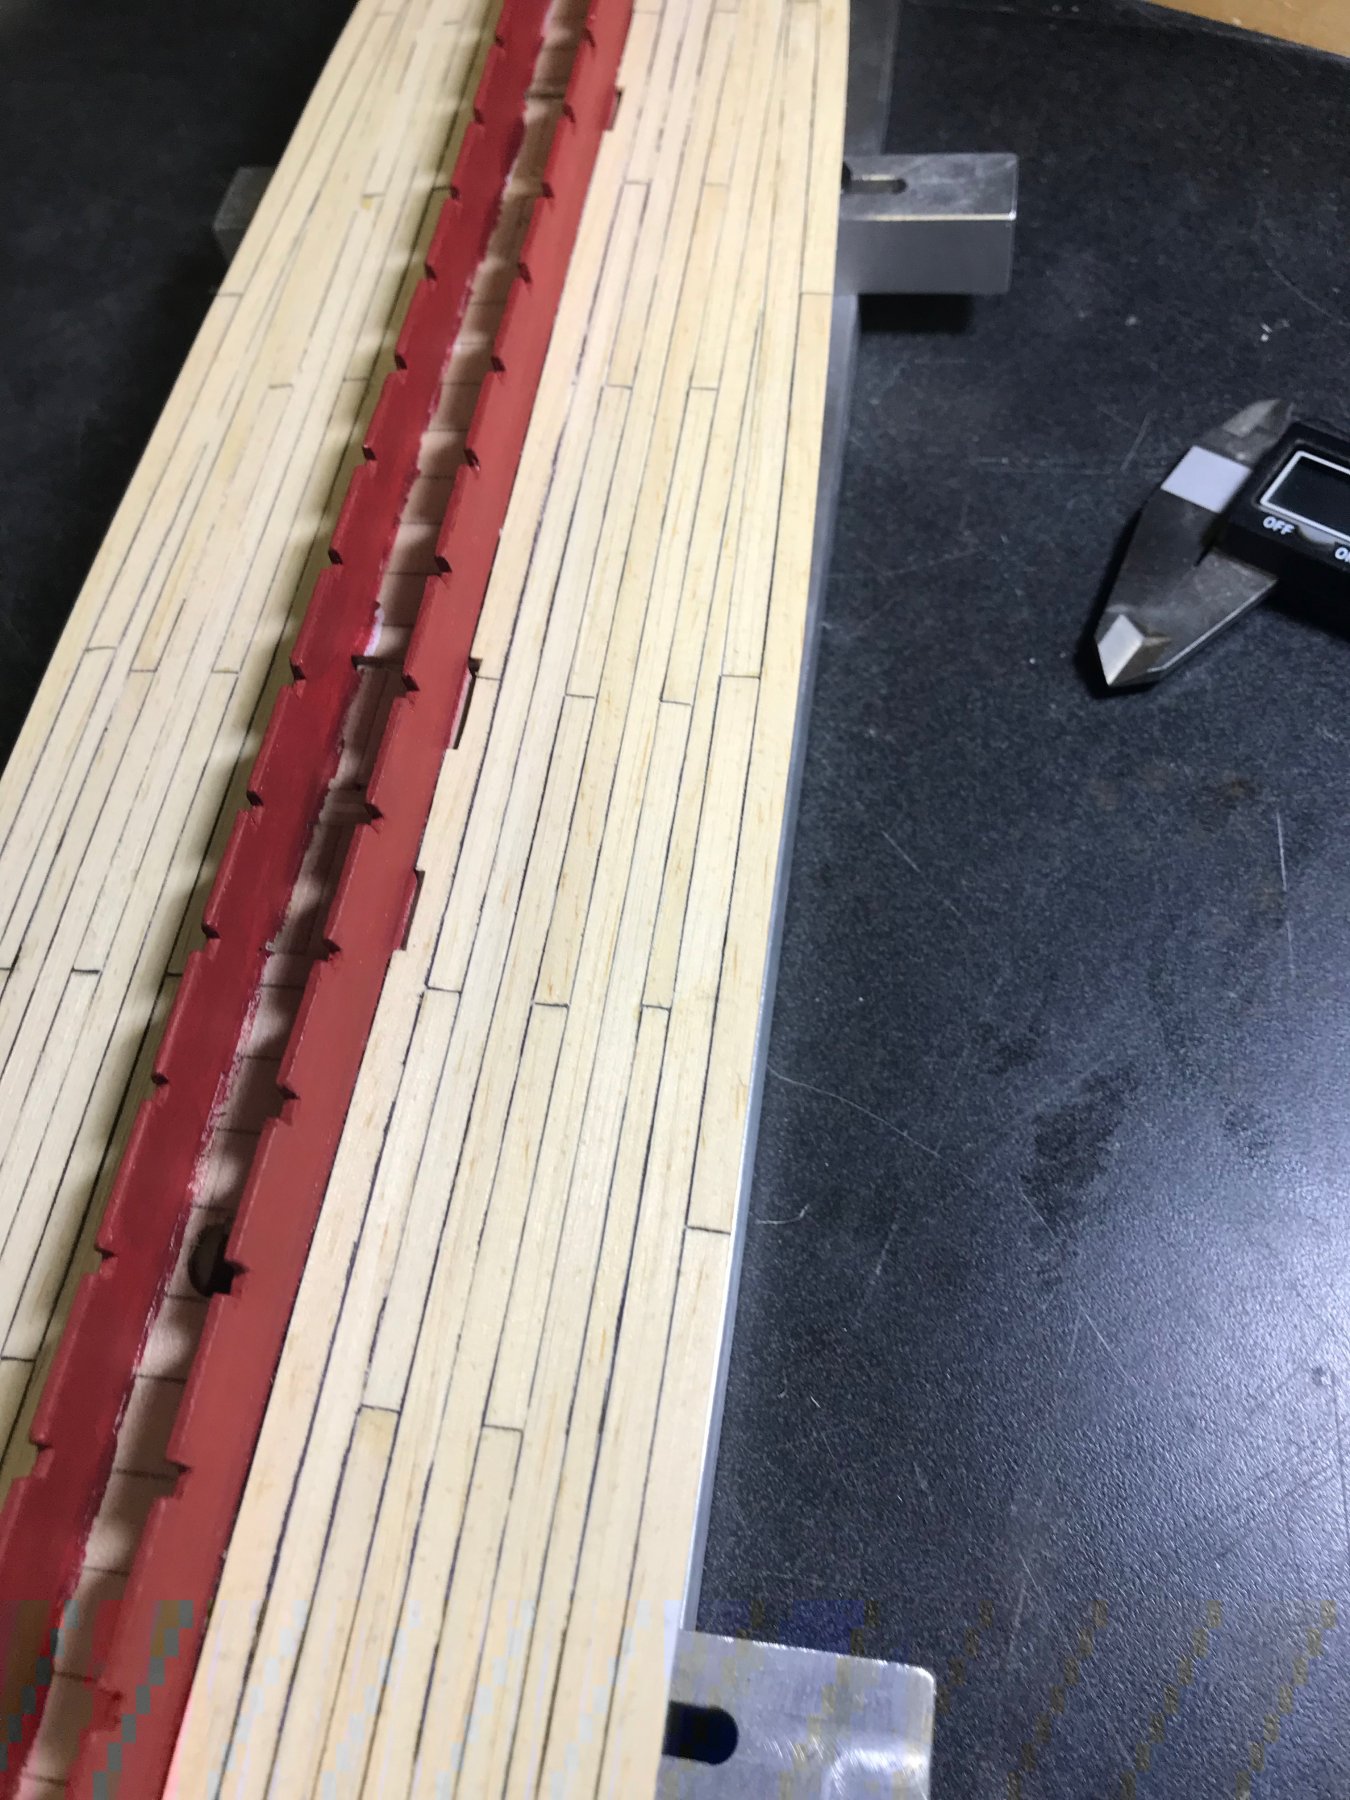
Hello, Another small update on my build. Finished slots on the port side of the model. Removed the model from the fixture and finished adding the spacer blocks that I had previously left off (for the clamping of the model to the fixture) I gave some more thought as to whether or not to add the keel before or after the planking (see our discussions earlier in the build log) I decided to add the keel frame in the bow and along the bottom, before starting the planking. I did, however, leave off the keel piece on the stern, The planking near the stern will have some severe bending, and I feel it will be easier to bend and clamp in place without the piece installed. Now I will start the first layer of planking! Thanks for visiting, Frank


- 510 replies
-
- 5
-
-
- reale de france
- corel
- (and 1 more)
-
Hi Michael, watching your build, I’m learning something new every day! i think Paul above has made a good point. looks like there would have been a lot of chafing if the rope had to bend 90 degrees around a corner to the side. Tackle on the ceiling seems to make more sense! ill have to check the Constitution next time I’m in Charlestown, Ma. nice job, Frank
-
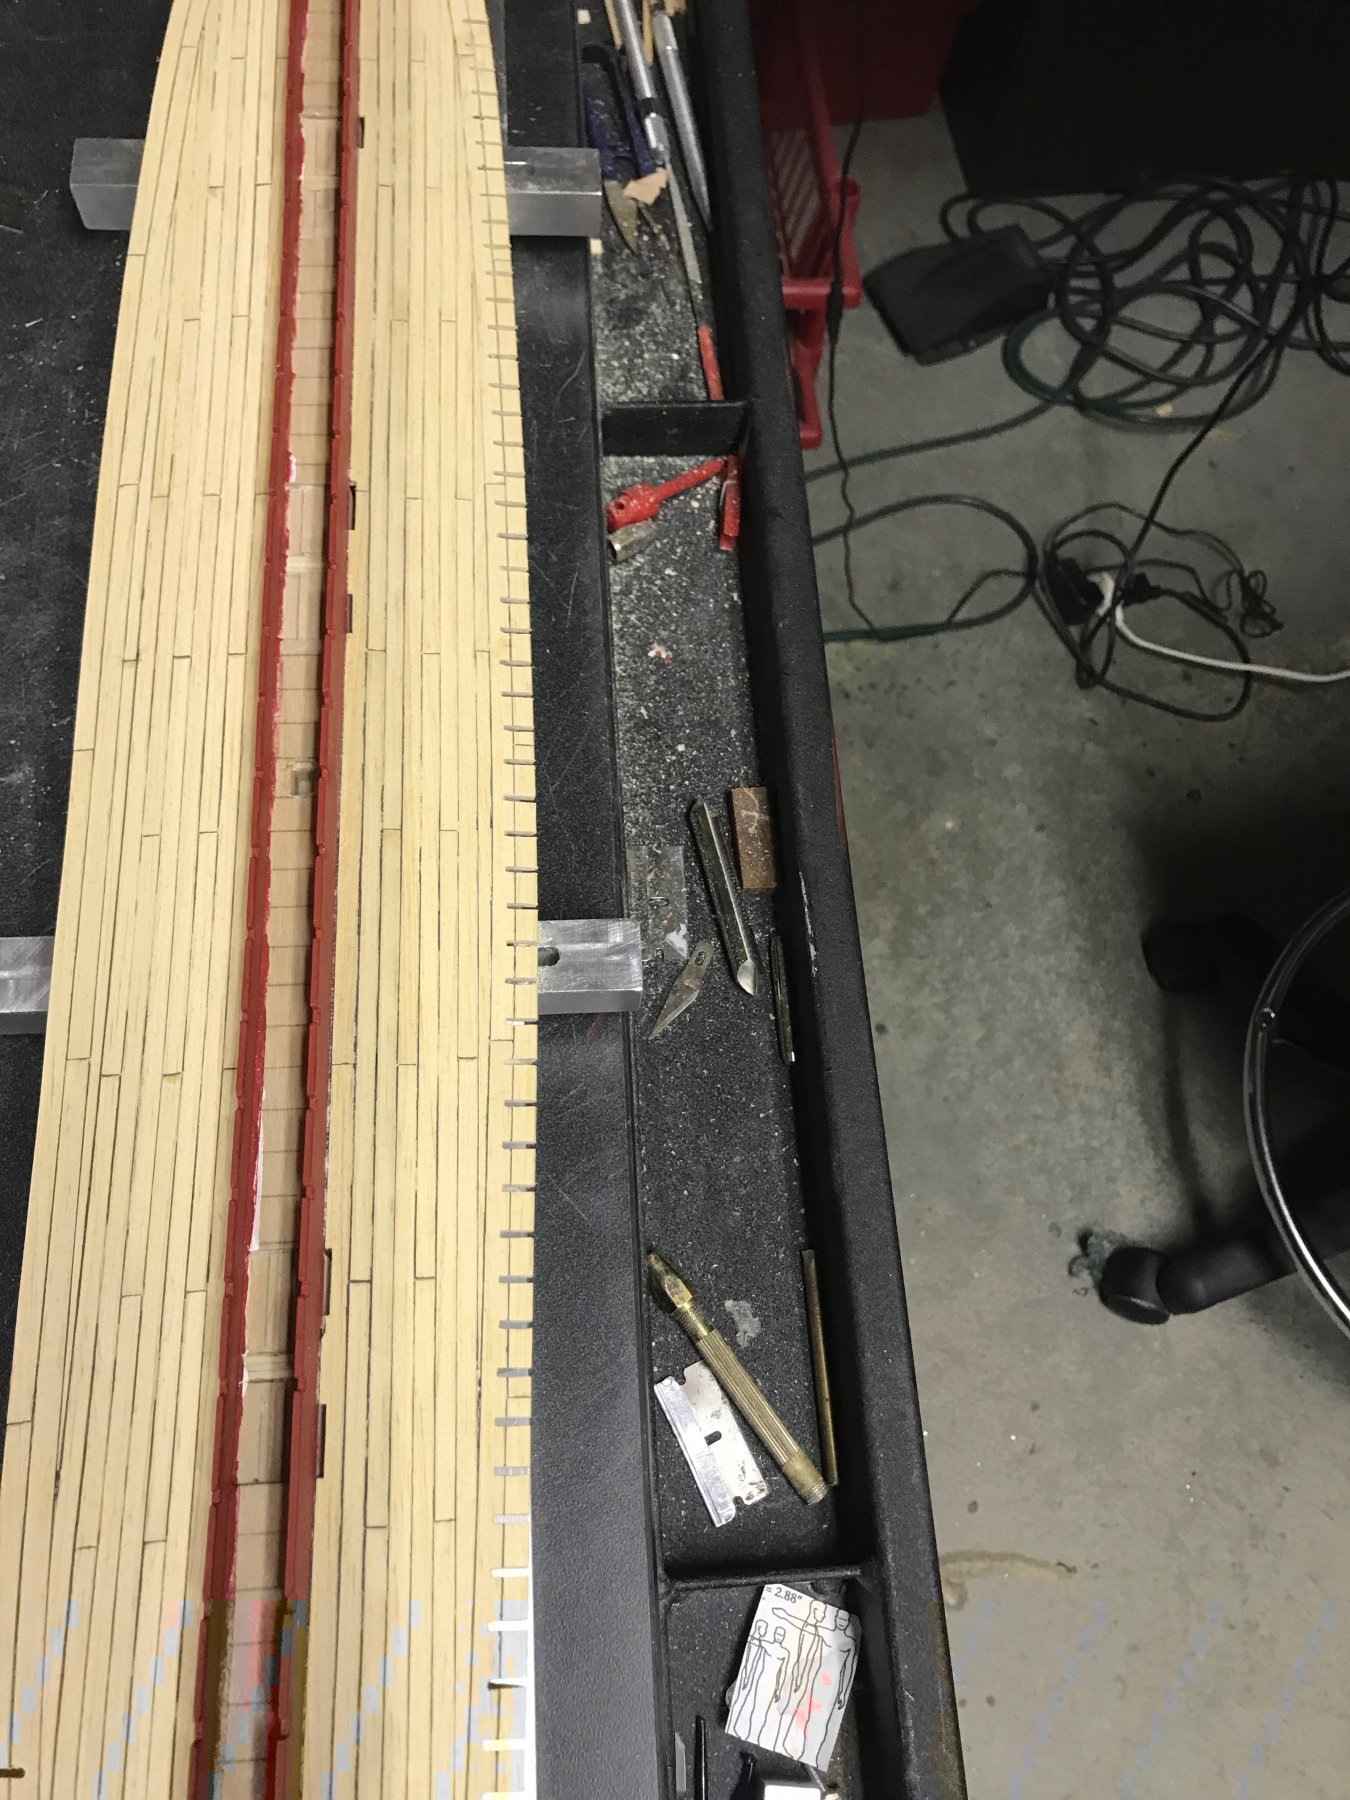
Hello! Thanks for the likes! Just a quick update: I haven't had much time for the model the last couple of weeks (Just sold a vacation home and busy cleaning it out!) I finished the slots for the upper deck supports on one side and I am starting the left side now. When I finish the slots, i'll be moving back to the underside and starting the planking of the hull. (I don't know why I'm getting the phantom grey lines on the bottom of the photos. I hope my camera is okay!!) Thanks, Frank

- 510 replies
-
- 5
-
-
- reale de france
- corel
- (and 1 more)
-
Hi Michael, i like the lights. Nice touch. do they run off a 9 volt battery? Nice looking model! Frank
-
Hi Mark, Yikes! How did you drill thru that wire? The hammock cranes look real nice. Do you plan to install any hammocks in the holders? The model is looking terrific! Nice Job. Frank
- 331 replies
-
- 2
-
-
- nuestra senora del pilar
- occre
- (and 1 more)
-
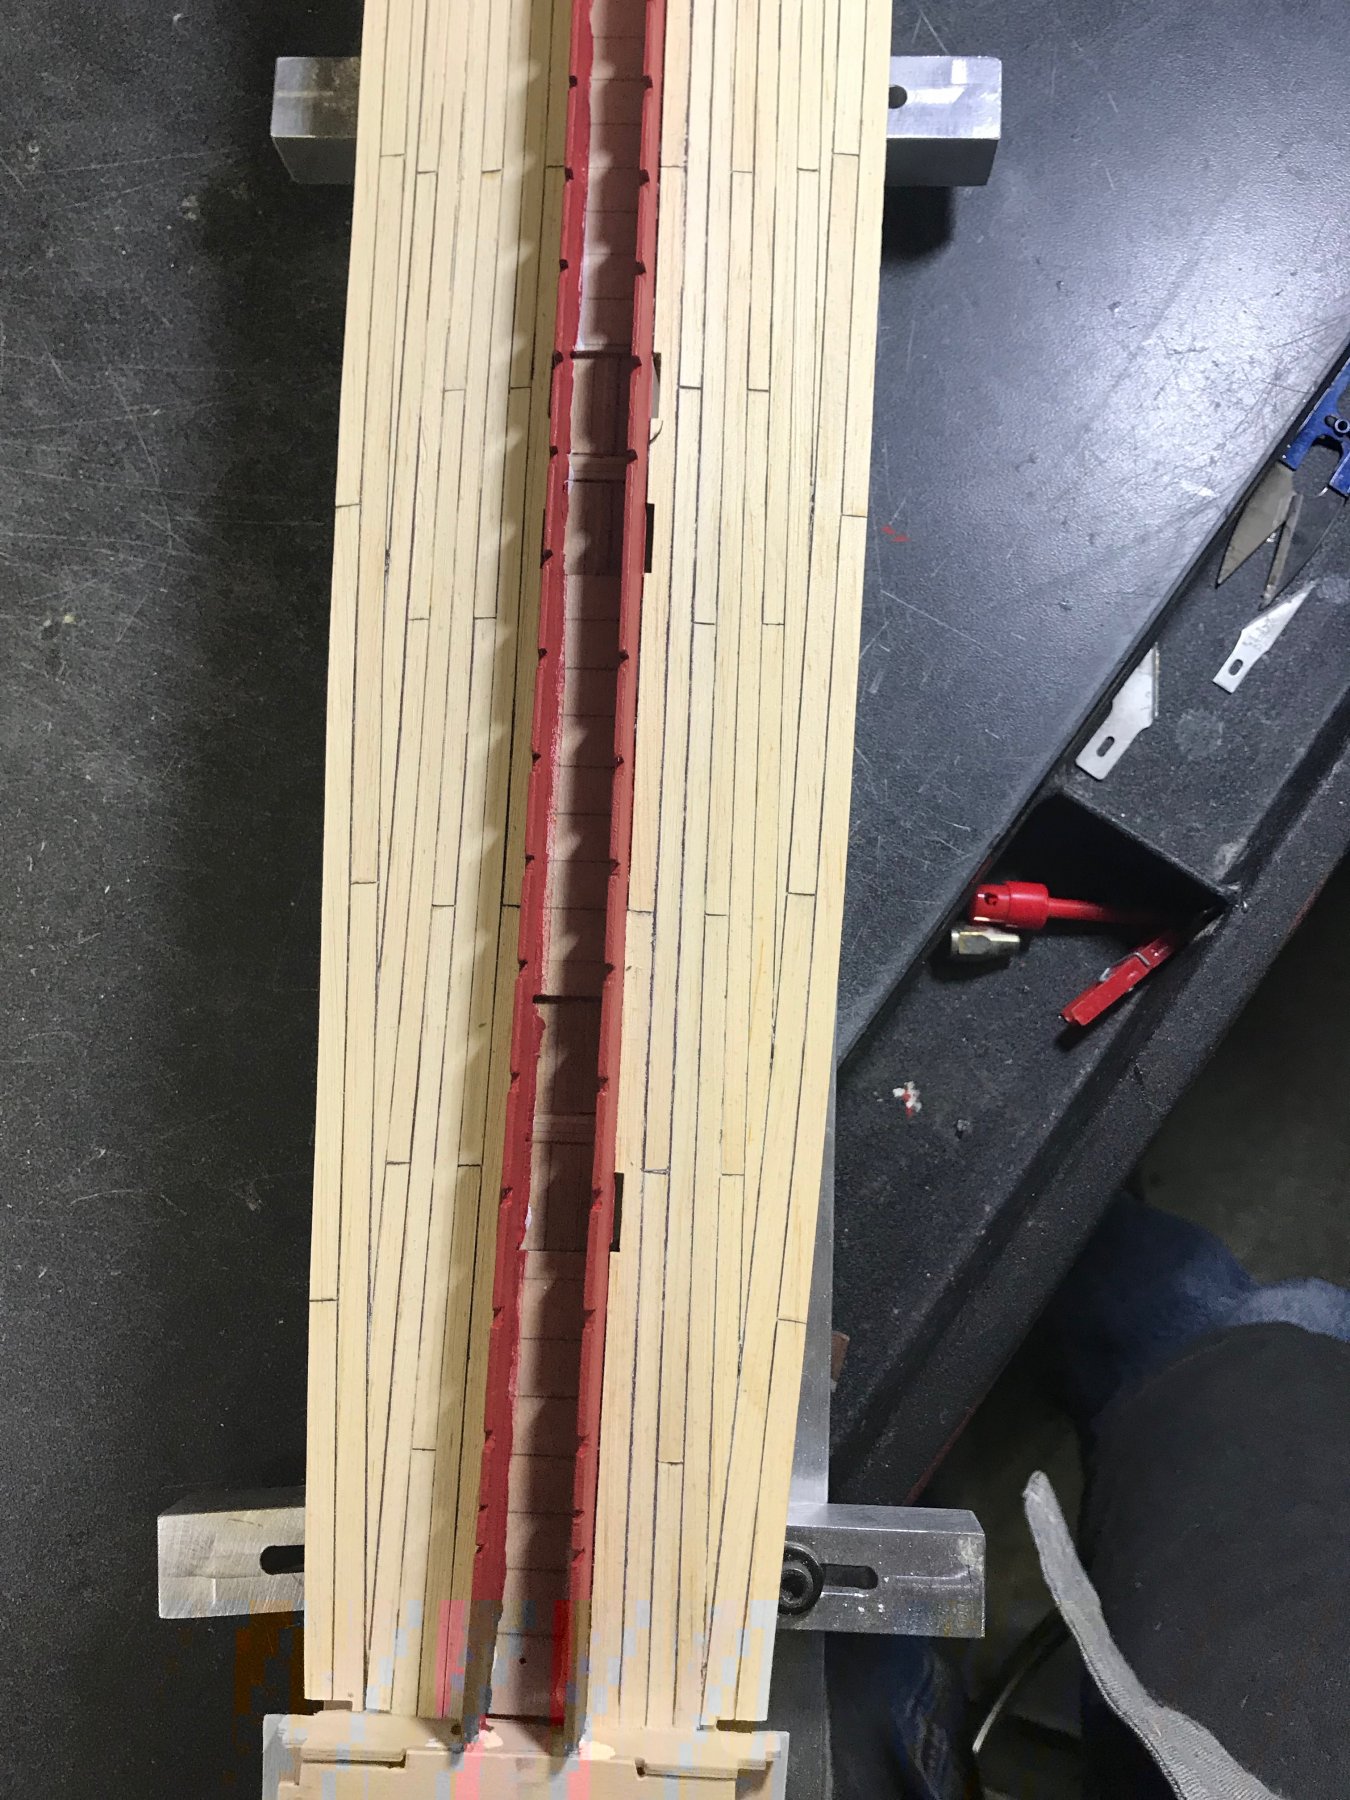
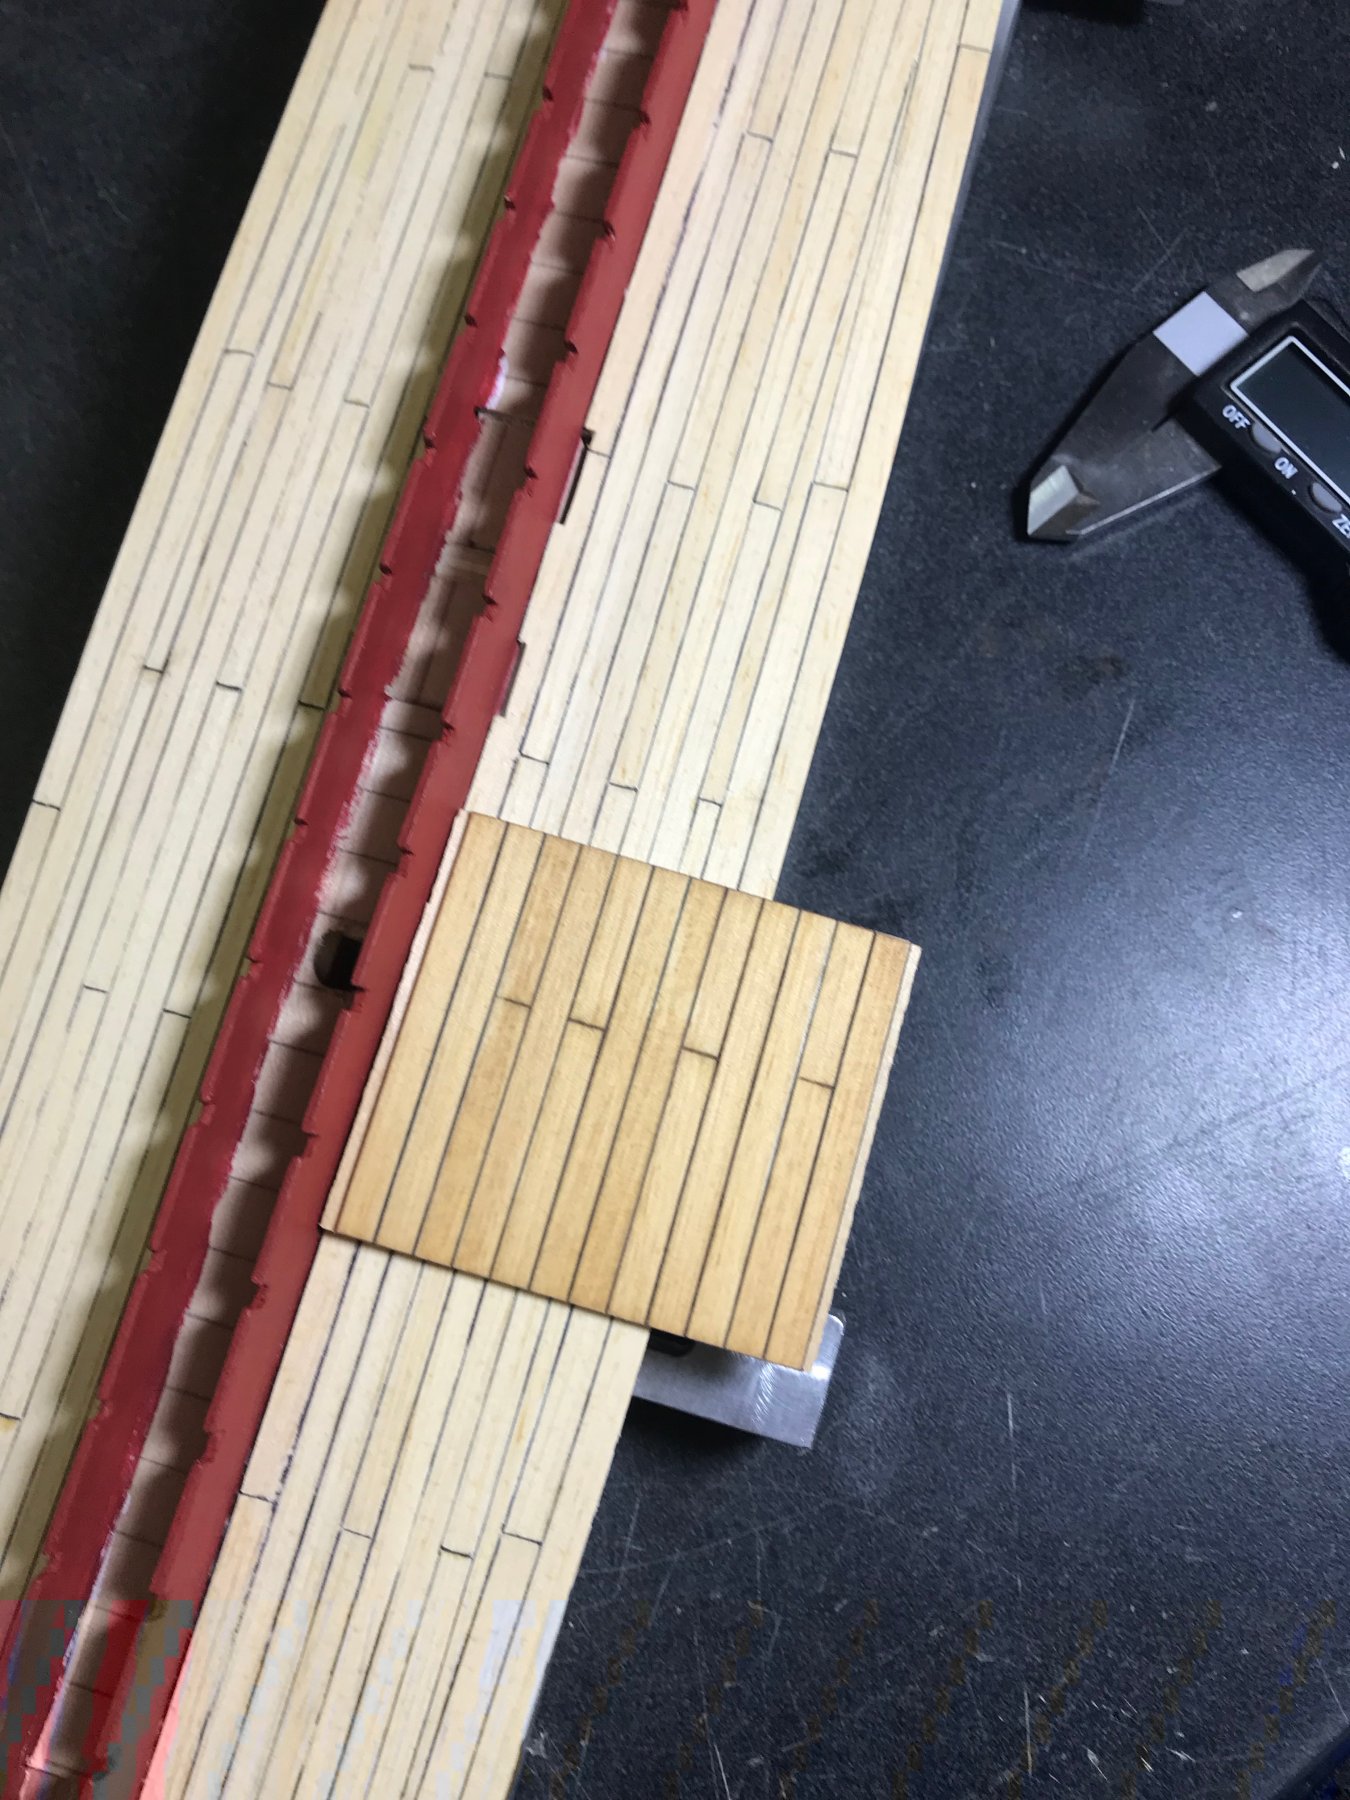
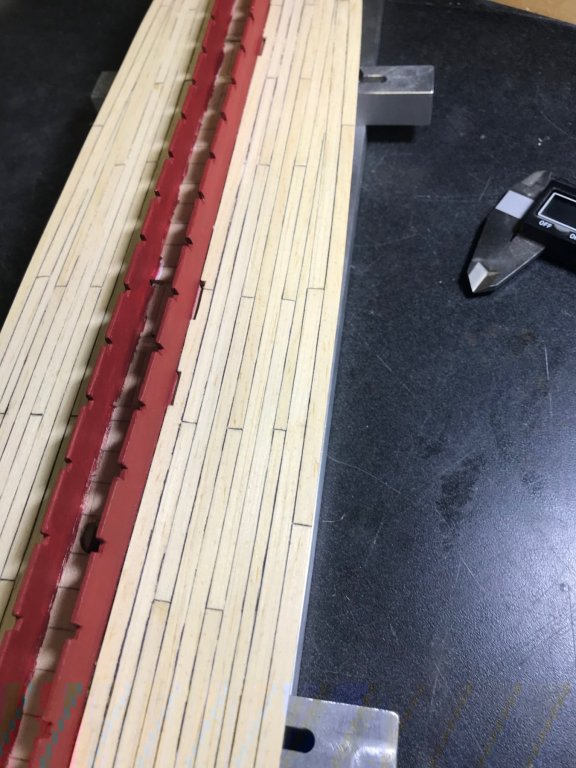
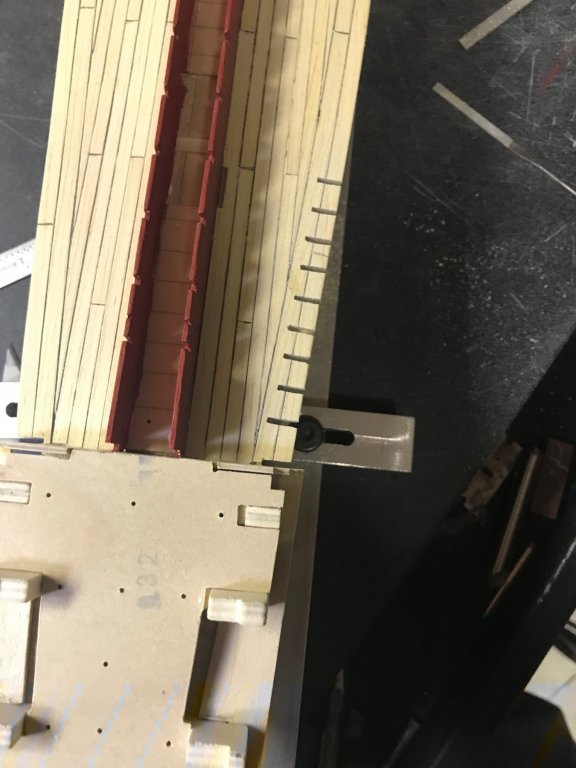
Hello, I've finished up the planking on the main deck. I am holding off on the tree nails until later (when i finish building the deck hatches and pinpoint where they will be located on the deck) Later, after I install the tree nails, I will be staining the deck with an oak stain, so it will be much darker. Now I have started cutting out the slots for the upper deck support. Thanks, Frank


- 510 replies
-
- 7
-
-
- reale de france
- corel
- (and 1 more)
-
Michael, Nice Job! Tell me more about those curved pliers. What brand? Model? Any other uses? Thanks for the help, Frank