Shipyard sid
-
Posts
1,106 -
Joined
-
Last visited
Content Type
Profiles
Forums
Gallery
Events
Everything posted by Shipyard sid
-
 Hello dragzz Those beams cannot be correct from what I can see. Do the instructions tell you to shape them . Do any have a curved top???? DAVID
 -
Hello Patrick Everything is looking as as good ever, and as I said earlier the glazing is excellent. At least the bits breaking loose are no prob, it's the bowsprit area that seems to suffer the most breakages. Mine has been broken twice. Thanks a lot for your post. Keep enjoying your build DAVID
-
Hello dragzz While you are waiting you can fit out the lower deck, there should be a bit of work there to do, and it will prob need doing first. Catch you later DAVID
-
Hello Glenn Thanks a lot, I just posted to your log. James cook ???? He had a ship. No north tees. Keep up your good work ...DAVID
- 439 replies
-
- 1
-

-
- victory
- caldercraft
- (and 1 more)
-
Hello Glenn Well done , your planking looks like it's coming along very well. I think it may soon start taking a different direction if you follow, but tell you what it doesn't look like you are going to have any prob with smoothing it all off. Keep having fun ..DAVID
-
Greetings Thanks a lot Kevin, Daniel and Derek . Well half way through the sheets and clue lines, and another early finish . Just a couple of photos from the sheet and clue line on the main mast, which I shall finish tomorrow. I am not tying off any of the rigging now as you can see, as it looks like there will be lots of adjustments to be done once the braces are fitted.. Well that's my lot until next week as hospital treatment intervenes . A few more photos. Thanks a lot everybody. DAVID
- 439 replies
-
- 1
-
-
- victory
- caldercraft
- (and 1 more)
-
Greetings derek Well your are really moving on with those yards and will soon have them all fitted. Then it's back to the front again. Well done derek it's looking good, and nice to have you back.... Regards. DAVID
-
Hello derek Hope all is well. I don't really bother with cleaning the dust off. I will wait till it's finished. It's best not to tie some of the rigging off yet. I have found that when I fitted the sheet and clue lines, the lifts need to be adjusted, and then the braces have to be fitted. So it looks like there will be quite a bit of adjustment needed when the rigging is all finished. Time for you to post Derek.....DAVID
-
Hello dragzz Why has your ship got a billing boat warranty??? Are billing and corel the same ship kit ??? Or does any body else reading this know DAVID
-
Hello again Jerry I do not think the pendants are used at all. I will have a look again . I am on page24 of the rigging manual and they have not been mentioned yet, so if you read on to the start of page 29 you can check it out, as that is the final page of the rigging.....DAVID
-
Greetings Jerry Well Jerry you seem to have had very few problems with the shrouds and you are still buzzing along, and have also got the flags out again. The best of luck with these 2.5mm deadeyes, and I surmise it those clove hitches next. DAVID
-
Greetings all Well a bit more progress tonight. Fitting the sheet and clue lines to the fore top gallant yard, which completes the fore mast work on this stage of the build, So it's on to the main mast for the sheet and clue line next. I have posted only one photo as they are becoming very monotomus. . Thanks for viewing everyone DAVID
- 439 replies
-
- 5
-
-
- victory
- caldercraft
- (and 1 more)
-
Greetings I have finally finished the mizzen mast , which brings the instructions for the lifts , buntlines and leechlines to a close. ( I hope).... I am now directed back to the bows and firstly the bowsprit rigging. I had added the rigging for the bowsprit earlier as I started the rigging out of sequence, but I only fitted it using the drawings and rarely used the instruction manual. Unfortunately I did not have a clue what a buntline clue line or leech line were, and when I had a read of the rigging instructions for the bowsprit which I should have read earlier they were mentioned. So I had to retrace the rigging on the bowsprit to check all was in order. Ok I have now started the clue lines and sheets as per instructions and working from the foremast back to the mizzen. All I have done tonight is the two sheets and clue lines on the top mast yard which is the first in the sequence. So I am off and running on this stage which leads on to the next stage which will be the braces. Thanks once again for comments and for viewing. A couple of photos of the last work on the mizzen lifts, and the rest are the sheets and clue lines on the foremast. Here we go. DAVID
- 439 replies
-
- 6
-
-
- victory
- caldercraft
- (and 1 more)
-
Greetings dragzz Don't put the nails in to deep, make sure you can pull them out later . The ones that are in now will need to be tapped in deeper. Try to get some plastic headed pins they will help a lot. Good luck, and just enjoy yourself......DAVID
-
Hello dragzz Looks like you are enjoying yourself. I would leave the pin heads proud so you can remove them later, or you will be sanding metal when your first planking is finished. DAVID
-
Hello Jerry I did not answer your question fully. I just measured my deadeyes by eye, and some of them are not to good. Having said that the small ones are very good apart from one. You have waxed your thread and it is the thinnest , so just fold it in comparison to the first one you do and the fold will stay in. Once the deadeye is located into the fold you won't be far out of level, and will need very little adjustment. Give it ago you can only fail, and there's only eight to do. DAVID
-
Hello Jerry The thread goes through easy , just harden the end . It's no prob. Bed time here. DAVID
-
Greetings Jerry Well things are really going well, and you seem to have had no probs with the small dead eyes. The very small ones are a nightmare. I lost a lot in the carpet, and had to order more from CMB. There's no need for a needle threader, ( the threader will not fit through the holes in the deadeye) it's easy to thread the lanyards, the prob is fitting the deadeye to the shroud, as you know. I ended up putting Tanya tape round my finger like a Elastoplast and stuck the very small eyelet to the Tanya tape and found it easy to attach the shroud with a bit of practice..... Good luck. DAVID

-
Greetings Glenn Good luck with your second planking. I planked straight down to the keel , I could not see a reason why not. DAVID
-
Hello derek Thanks a lot derek. I have made the davits for two of the boats , but need to sort the others later, and I don't fancy one hanging off the back end. It looks like it's going to be a while before I get there and I haven't even thought about making the boats. There's still a lot of rigging and loads of repair work to do. The rigging is getting to look like a cobweb. Anyway it's about time you posted now you have been given the all clear. DAVID
-
Greeting Jerry Well aren't we doing well !!!!!!! You have done a cracking job on those shrouds and deadeyes. It looks excellent. And soon the clove hitches !!!. Keep up the good work and stop scratching your head, there's dandruff on the channels.... DAVID
-
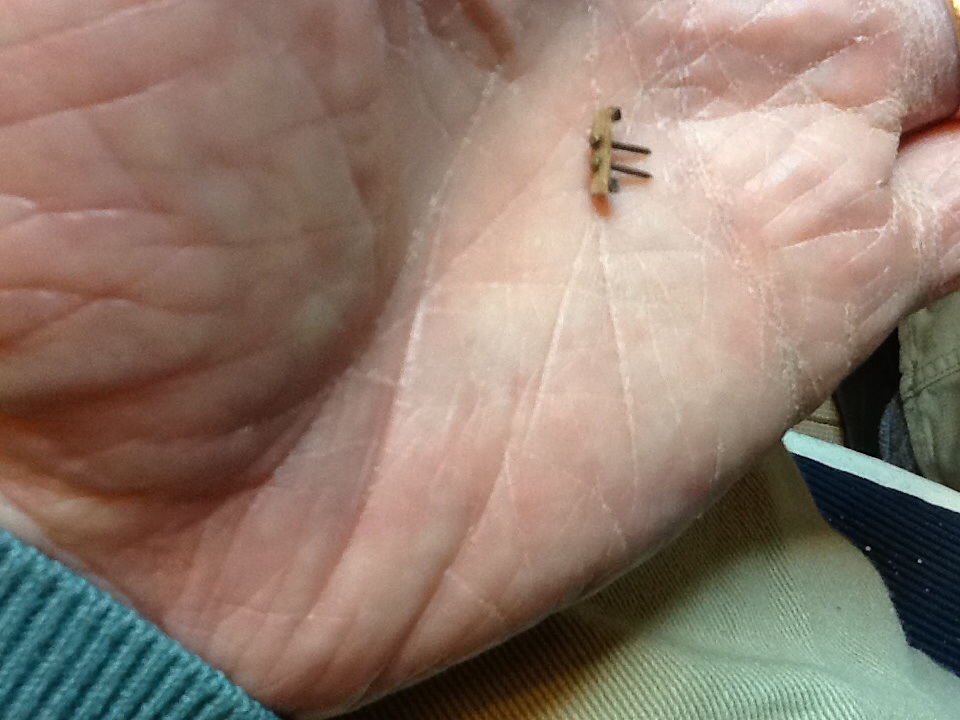
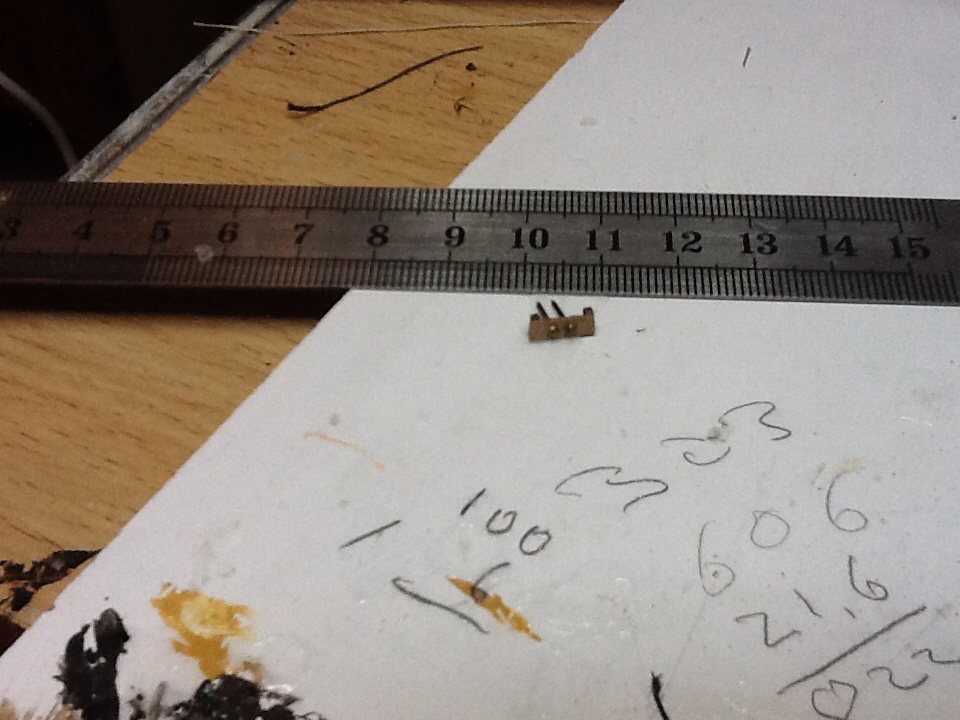
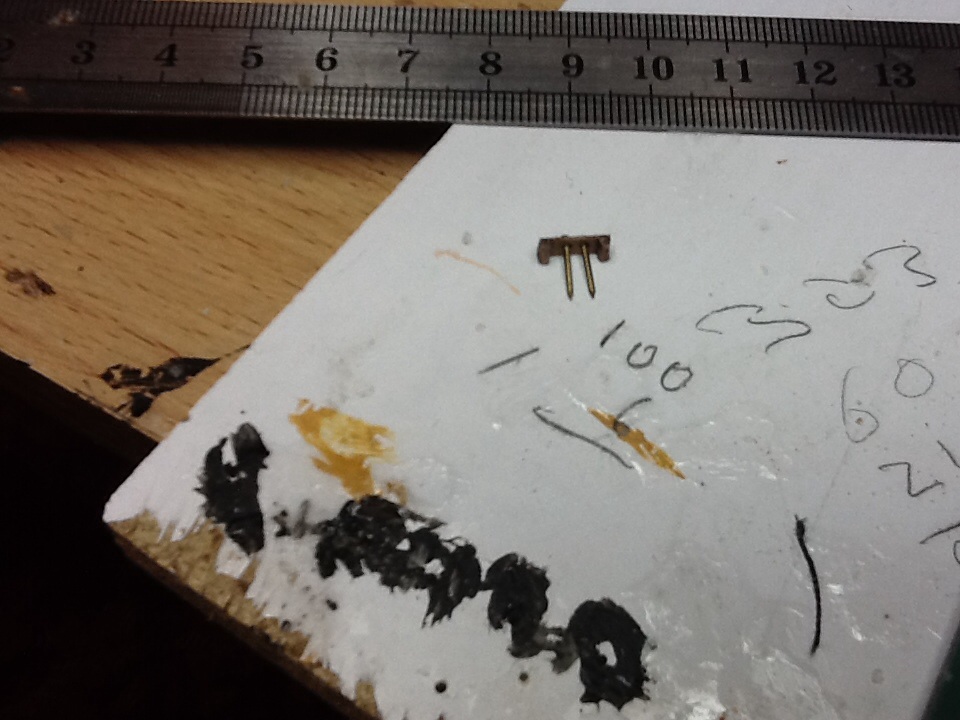
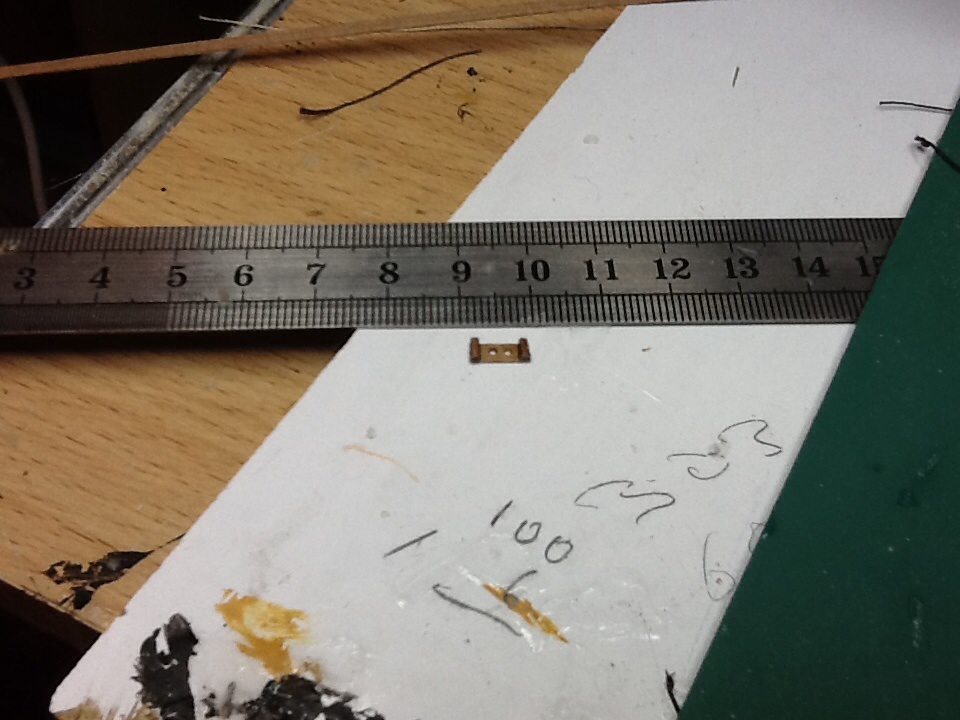
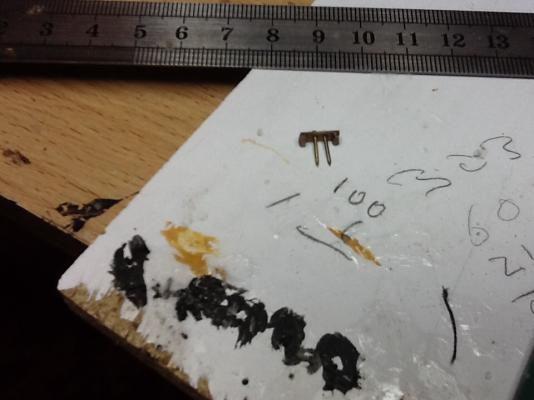
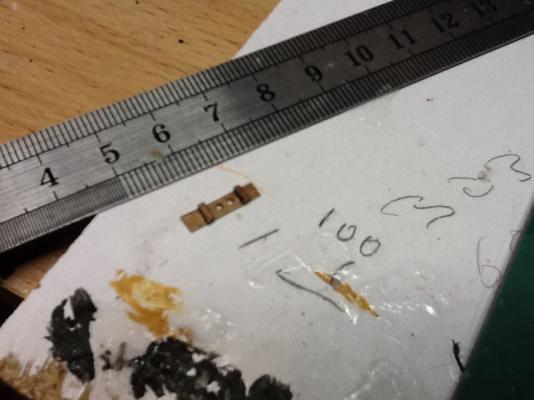
Hello Bill I have just made the sheaves I forgot to make earlier . I said I would show you them in the event it may help you. I used .5 mm x 3 mm strip and glued thin strip across to make the frame. It is about 1.5mm square. I drilled two holes for dome headed pins. I will glue the frame to the square section on the mast, then shorten the pins so they just enter the mast when fitted. I think the photos will make more sense . DAVID The photo are in reverse order


-
Hello Glenn The micro glaze looks very good on Patricks screen windows, and I reckon it would give a nice effect on the galleries. It is available on amazon . Keep up the good work . DAVID
-
Hello Gary Well done with your first planking . Keep up the good work , and just enjoy yourself . You are doing fine. Regards.... DAVID
-
Hello everyone Early finish tonight, got a bit frustrated so walked away. I have finished the mizzen apart from the top gallant which I intended to fit tonight. So only rigged the cross jack yard and the mizzen topmast lifts and buntline. There are a few cleats to fit on the mizzen shrouds plus I am short of a few belaying pins. So soon back to the bows. It's the sheets and cluelines next, and it looks like a good read of the instructions first, which tell me to work backwards at times.That is belay the thread first and work back to the blocks which I am told is the easiest way. Ok photos of the mizzen lifts and buntline. Thanks a lot. Here we go...........:DAVID
- 439 replies
-
- 5
-
-
- victory
- caldercraft
- (and 1 more)