


Ulises Victoria
-
Posts
1,790 -
Joined
-
Last visited
Content Type
Profiles
Forums
Gallery
Events
Posts posted by Ulises Victoria
-
-
I have copies of Fred Hocker's "Vasa A Sweedish Warship" and Erling Matz & the Vasa Museum's "Vasa 1628". I am looking for more details and photos of the actual ship instead of more about the history and recovery of the ship. Is the "Vasa 1" book going to provide that or is the 2nd book the one that I'll want? Thanks for any help.
Hello Buck.
You can go to this forum and ask directly Dr. Fred Hocker, Director of Research at Vasa Museum.
No one better than him to answer your question, since he is directly involved in the making of these books.
http://warshipvasa.freeforums.net/
Hope this helps.
-
Very nicely done! I recommend you to make your own ratlines and sails (they are much more realistic than the plastic ones in the kit) and to improve the windows in the transom with styrene wire. You can weather the hull using pastel paints or by using the dry brush technique -apply some occre, rust, black, brown and green- to simulate old wood or copper, and the same effect can be achieved by soaking the sails (fabric ones, cut from an old t-shirt) in watercolors and then rubbing them with ground coffee. Here is my own version of the same model, which I modified to be the French frigate Guerriere:
Nice job, Paisano!

-
Hello Matti. As always, a pleasure to look at your work.
Those pictures of the real Vasa show something that wasn't in my plans and I just noticed: The way the main stay goes around the foremast and attach below the bowsprit.
If I start modifying every detail I see that's wrong in my kit, I will never finish

Cheers!!!

-
-
Hello Vivian:
Wow... you are doing a terrific job. Your model is coming a little big masterpiece. Your attention to detail is what makes it so well done. Please keep posting photos of your advances.
Tu amigo: Ulises
-
Well Amazon has one (and I mean "one unit") of a Vasa Documentary selling used at 127 dlls, and filmed in 1996. I don't think is the one linked here.
-
Matti. Is there a DVD available? Where???
-
OMG. Is this a public event??? When I retire I will attend one of these!!!
-
Thank you all. Your words are very encouraging. I'm almost done with the standing rigging. Working on shrouds and ratlines with about 80% of advance. Will load some more photos soon
Mike: No clews in my sails this time. But after seeing your post on how you do your sails I will surely include them in my next build.
-
After much searching I have found a source of the correct diamond pattern Hammock Netting for period model ships, I was looking in a store called Spotlight for those in Australia and NZ, not sure if they are in other countries but I'm sure there are similar haberdashery, craft type stores. The material is Mosquito Netting and found in the curtain department, it comes in a range of colors but most importantly cream and black it cost $4.99/Metre, enough for a flotilla. Hope this benefits others.
Can you post a picture of your product? Is it something like in post #19 above? I bought about a 1mt. of this material and have enough for a lifetime.
-
Excellent post, Mike. Too late for my Vasa, but certainly will check it out again in my next build. Furled sails is my favorite method of doing my ships.
Thank you!!!
- Landlubber Mike and robnbill
-
 2
2
-
-
JanV and S. Coleman
Thanks for the kind words!
DiKri, Yes I was worried that with all the wonderful Wasa logs on this Web site, I would not have much to add! Hopefully I can.
Thanks,
Frank
I wish you had started your Vasa before I did mine, so I could learn from your build. Seriously.
Respectfully.
-
Try here.
http://www.bestrc.com/constructo/contact.html
A search in Google for "constructo ships" took me there in less than 5 seconds!

-
Ulises,
If I recall correctly, it was viewing your detailed log that reminded me to add and rig the block before closing the deck!!!
Thanks,
Frank
Very likely. I made emphasis on that step! Great idea that of the gun carriages. Why didn't I think of that???
Best wishes!!!
-
-
Found a passion, or it found me. Already got 3 more kits on e-bay - Cocca Veneta by Corel, Chinese Junk and San Francisco II by Artesania Latina. Hope I get better in each one I build.
Vivian. One of the major pleasures in my life is to open the box of a new kit, peruse its contents, and then go to my neighborhood Starbucks one Sunday morning with the plans and instructions, and build the ship in my head over a nice latte. You have 3 coming up!
Out of question, though is to fix the hull, making new holes - it would be a risky work with new planking that I´m not in the mood to do. If I build, they will come -

This is perfectly OK, as long as you learn something out if it
Best wishes
Ulises
-
Thank you Jim. Sorry I have another question. Can some type of "dressing" be used to prevent slipping of the O rings? Something like described in post #121 above? Your last answer makes me think the problem may be in the inner belts.
-
Oh my! I always thought I have too many tools... and I was right.
-
Jim. First of all, I wish you a very Happy New Year and thanks for your answer. I did not know that DC motors turned in steps. So then the motor is OK. Lesson learned.
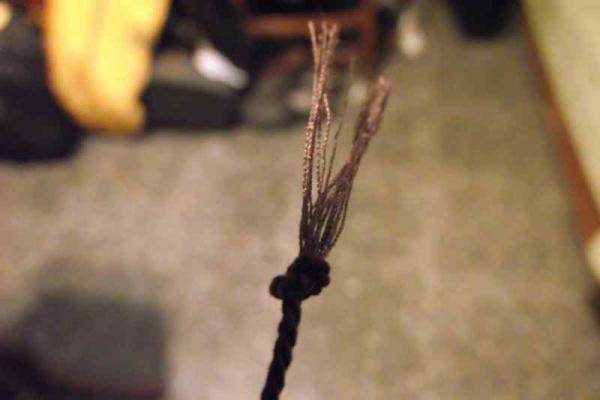
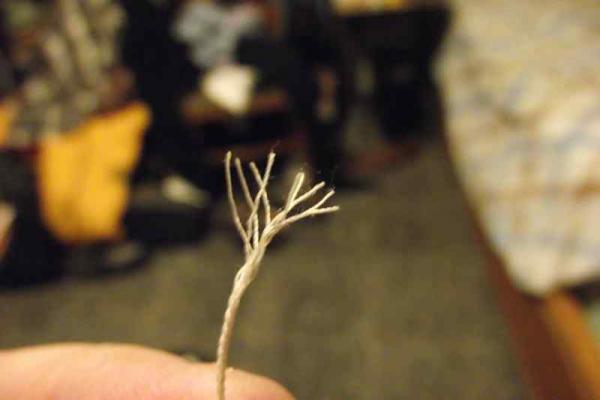
Jim: The way I make heavier rope is by using 2, 3, 4, strands per spool. I have made up to 7 strands in your machine with very satisfactory results.
I am uncertain then why now I can't have good rope out of 2 stranded spools. May it be the cracked belt?
Are your belts "belts" or very large O'Rings? A friend of mine told me of a place where I could get O'Rings of very large sizes. I'm wondering if they may work?
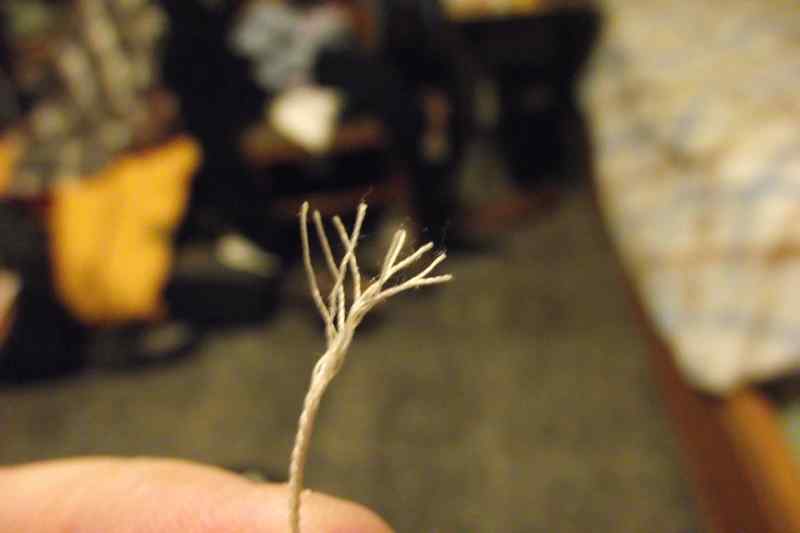
Edit: Last two photos show the 2 stranded rope I made before, and lately.


-
Thanks for the link Matti. It was really interesting. Will keep an eye for part 2.
-
Vivian. It's coming along really nice. The weathered-dirty look on your hull is just right. Congrats! Keep on it, girl !!!
-
Update
I tried to make some rope these last few days. I needed 2 strand rope, (two threads in each spool) which I have made before without problems. This time, I made about half spool of rope and I don't think any part of it is usable. There is un-even portions everywhere. When I turn the big wheel by hand very slowly, it feels it moves in steps, with a little continuous bump every second. I took off the main belt and turned by hand the rod that comes out of the motor and drives the wheel. It felt exactly the same way, so that unevenness comes from the motor. The motor does not spins smoothly. I even disassembled the motor and lubricated the bearings with DW40. Nothing changed. So my conclusion is: I need a new motor.

Lets see what Jim has to say about this. I know he is a very reasonable man.
-
The price of 2,850 $ cannot be correct as you can see here:
http://www.cornwallmodelboats.co.uk/acatalog/corel_wappen.html
Well... ME still shows that list price for that kit, as you can see here:
http://www.modelexpo-online.com/product.asp?ITEMNO=SM28W


Jim Byrnes Model Machines
in Modeling tools and Workshop Equipment
Posted · Edited by Ulises Victoria
Update:
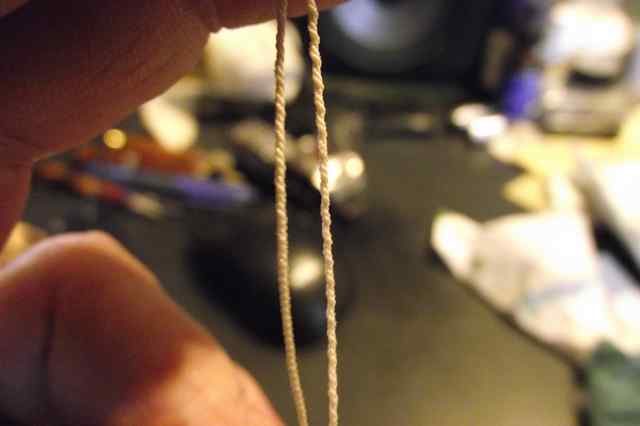
I ran out of ropes to finish the shrouds on my Vasa, so there was no option: I HAD to make some more rope. So I took my regular dark brown thread and partially loaded 3 spools with 2 strands each of thread. This time I put more attention on the tension at which I loaded the threads in the spools. Then I started the machine at 0 speed and crank it up just a bit. The rope came out very nice and even. I was very pleasantly surprised! With this successful attempt, next day I went to make the light tan thread I tried to make a few days ago with no success.(Post # 129 above) I did the same things about the tension and the speed, and this time I got a more than acceptable 6 strands light beige rope.
I'm posting this only because I think is the right thing to do to give Jim's machine it's credit back.
My guess is that the number one problem was speed. I have not changed belts or put belt dressing... yet.
FWIW.
Best regards.