


Ulises Victoria
-
Posts
1,790 -
Joined
-
Last visited
Content Type
Profiles
Forums
Gallery
Events
Posts posted by Ulises Victoria
-
-
Wow! I would love to go to one of those contests and see all the ships. I wonder if they have any in WI.
Kimberley
You'd be disappointed, Kim. Ships are so very few in those contests.You will see hundreds of cars, airplanes, tanks and just a handful of ships.Even rarer are sailing ships. You can feel lucky if there are 2. Last contest in San Antonio TX in Feb. there was a single wooden HMS Surprise, and was beaten as the "best ship" by an English destroyer or something like that.

-
-
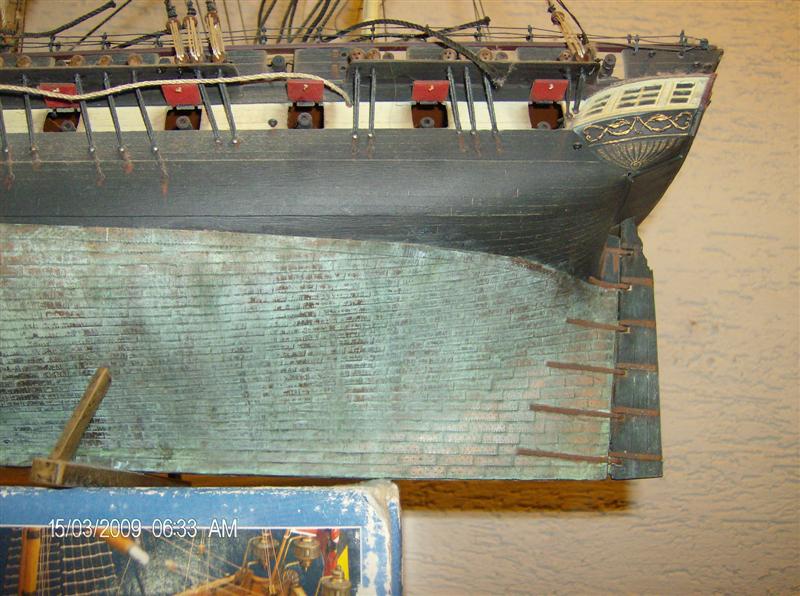
Another option may bye just to dry brush some green/white color over the copper plates. Never tried it before over actual copper plates, but over copper color paint on a plastic ship. It worked very nice, although maybe what I did was a bit overkill. You can do it more subtle. Just stop sooner.


-
Thank you very much, demonborger. Good info!
-
demonborger.
Have you done some research regarding if the hull of the 1780 Royal Louis was coppered or just protected with that anti-foul white stuff?
I have tried to find info, but all I got was that coppering started around 1700 in England. Says nothing about French vessels
Thank you.
-
-
Excelente Heinz!
You are doing a terrific job. No doubt this will be a masterpiece.
Felicidades!
-
Hello Michael and thank you for asking me these questions, although my answers may be ambiguous. This because I may have not the same measuring units as Syren.
The way I measure my lines is by means of how many threads I put per spool in my rope walk machine. Thus my "measurement units" are like "1x3" which means I used one thread per spool or "2x3", two threads per spool, etc. For my shrouds I used a 7x3 rope and for the main stays I used a "3x3x3" which means I made a considerable length of "3x3" rope, and then used that to make another rope. I hope this is not confusing, although I doubt this information will be useful to you. The answer to your question about how many meters is also vague. Actually I have no idea how many meters I used. I didn't measure the length of the ropes I made, so I have no idea how much I used, however, by measuring the length of the shrouds and multiplying that for the number of shrouds, I roughly estimate about 8 mts for the main and fore lower shrouds only, plus some extra for tying, handling, etc. These were the thicker ones. Mizzen has thinner thread and the uppermost even thinner. So I actually used 3 different diameter ropes for all the shrouds.
I hope this is of some help to you. Don't hesitate to ask again if needed.
Best regards!!!
-
Hello Stuntflyer.
It's all relative to the size of the real ship and the scale of the model.
Of course the bigger the scale, the bigger the parts are and the easier they are to handle.
Think of a 100 mt ship in 1/100 scale. The size of the model would be 100/100=1 mt.
Now think of a part, lets say a plank, that in the real ship measures 1 mt. At that scale the part will measure 1 divided by 100 = .01 mt or 1 centimeter.
But if the real ship was 50 mts, then the part would be .5 centimeter.
So, the bigger the ship and the bigger the scale, the bigger the parts. Hope this makes sense.
Take also in account that 1/50 is bigger than 1/100. This is somehow confusing to some people for obvious reasons.
-
-
-
-
Captain Steve. Thanks for your comment.
The way I did it in my Vasa was to attach all stays first and the shrouds and ratlines last. After ALL the standing rigging was done, I started the running rigging. Only exceptions were a couple of shrouds that had to be in place to support some other lines attached to them, but no ratlines yet there. I really don't remember having particular trouble with the ratlines at the top of the shrouds, because at this stage almost no running rigging was in place yet. however... since I consider rigging the upper part of the ratlines the most difficult to do, because the shrouds are tighter together, I start the ratlines from top to bottom. That way I feel that the more I advance, the easier it becomes. Believe me... it makes a difference.
I don't think that making the shrouds and ratlines has to be the very last step in your rigging job. Just the last in your STANDING RIGGING part. They still will interfere some when attaching the running lines, but this is just the way I do it.
Edit: about tying off lines to belaying pins: DON'T
You don't need to.Use my method of just inserting the line in the hole, and then "plug" it with the pin or a temporary tooth pick. This will allow you to make adjustments later with no trouble. When everything is like it should be, just dip the tip of your pin in diluted white glue and attach it. This "cheat" will be covered later with a coil.
 See the bottom of post #8 of page 1 of this build log, or post #44 here:
http://modelshipworld.com/index.php?/topic/4679-the-kit-bashers-guide-to-the-galaxy/page-3
Hope this makes sense and helps.
- Karleop and CaptainSteve
-
 2
2
-
Way to go Kim. A finished model is a great accomplishment by itself.
Don't be afraid of the rigging. Like everything else, it just takes practice and patience.
I've built the 1/96 Connie 3 times, which means, I really enjoyed doing it.
My advise is to replace the plastic sails with fabric and the plastic deadeyes, shrouds and ratlines with wooden and thread. It will be more work, but believe me, well worth it.
Cheers!
-
Agreed demonborger.
Hey I see you own Mamoli's Royal Louis. Any idea when you will start that one?
That's the one I have as next build in my list.
Edit. Never mind. I saw you started a build log already.I even had posted there. :mellow:
-
Thank you all. Your words are encouraging.

-
I am assuming you drill holes first or because the bristles are of such a small diameter, you push a pin to make the holes.
I would love to know the process, as this is something I want to do in my next built.
Thanks,
Marc
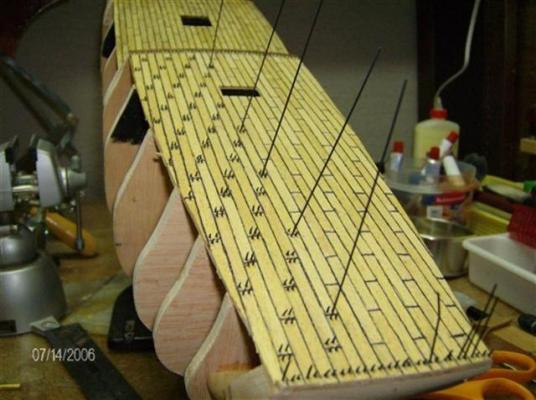
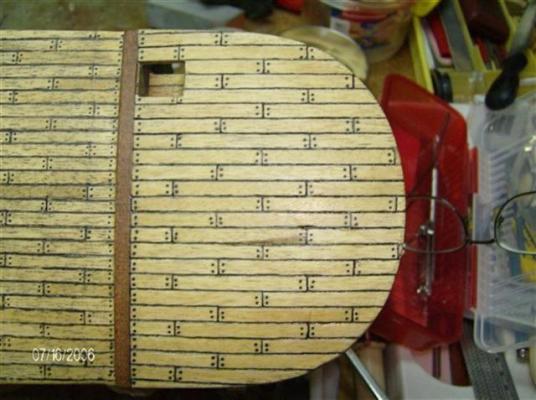
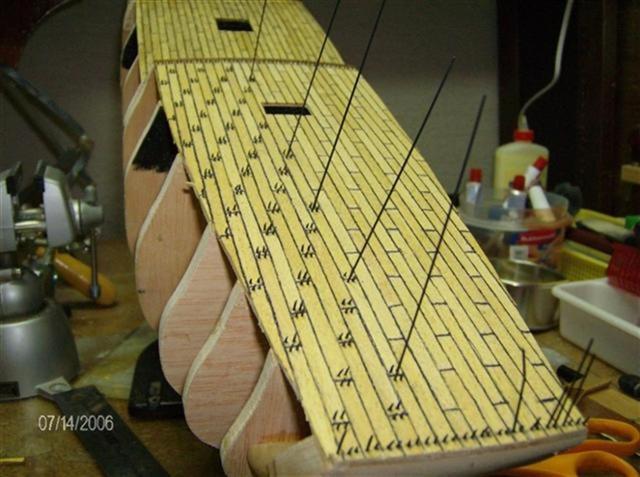
Hey Marc. Yes holes are drilled. They usually go all the way through the planks and the false deck.
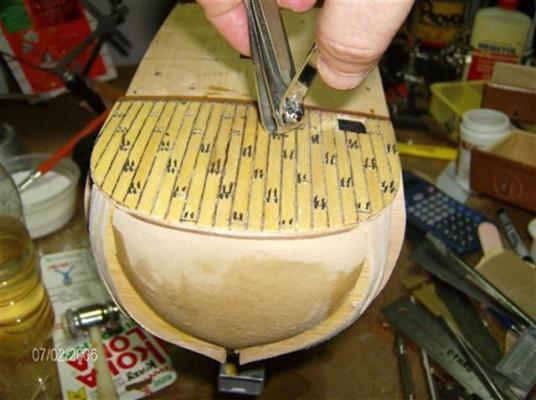
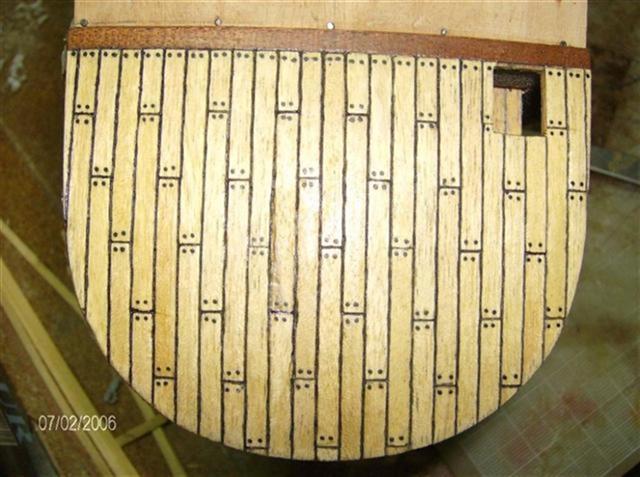
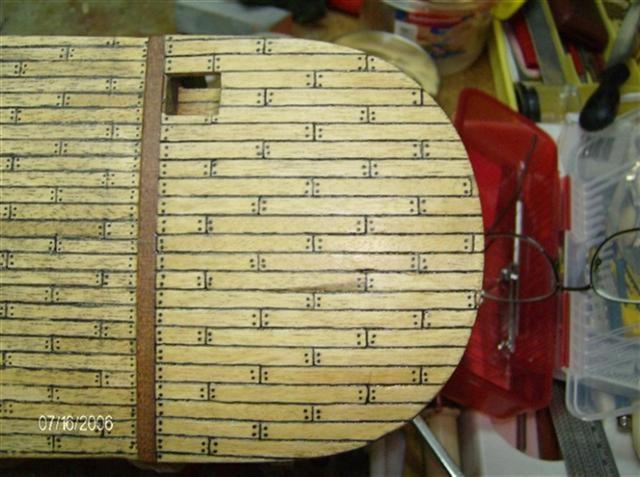
Find a suitable drill, about the size of your bristles. Drill several holes and then dip one end of the bristle in CA and glue in the hole. (This is one of those very rare occasions in which I use CA.) Once glued, snip them at an angle (see second photo) so you have a sharp point to insert the next time. I usually use a toe nail clipper, the kind that has a straight edge, to snip them flush just before sanding.
To be honest, I now lean more towards using toothpicks instead of bristles. Wood to wood adheres better and the contrast is more subtle, but that's just me.
Hope this helps.
-
Thank you Matti!
Jan V. Rigging a ship is the only kind of nightmare I really enjoy!
I will buy the Vasa II book when it comes out, but by then my ship will be hopefully finished.
Still, I think it will be an interesting reading and a definitive valuable addition to my stash of nautical books.
-
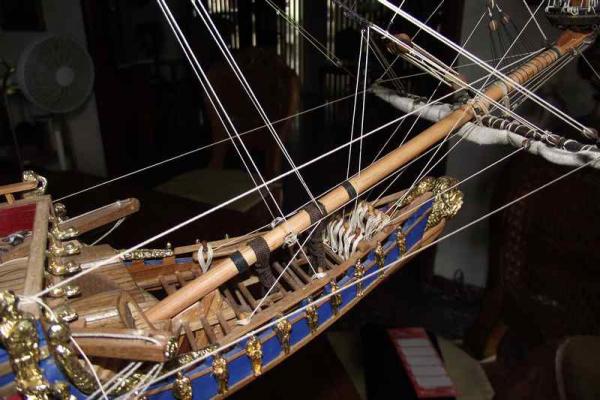
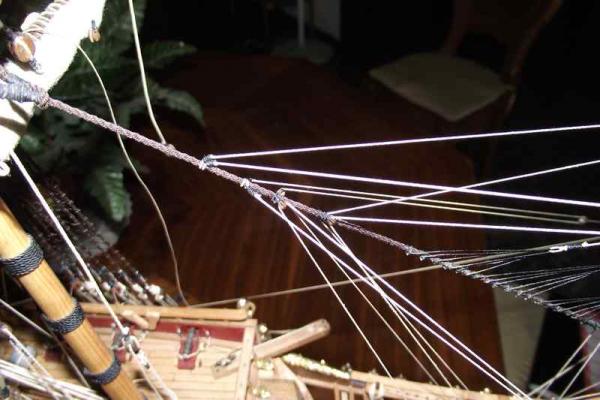
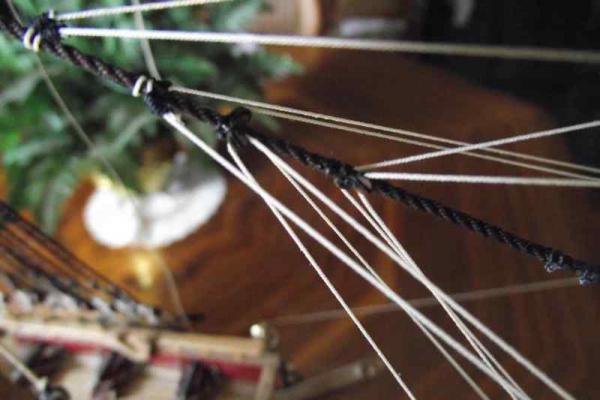
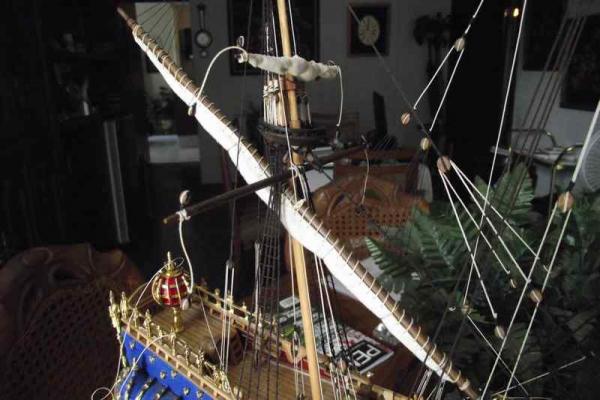
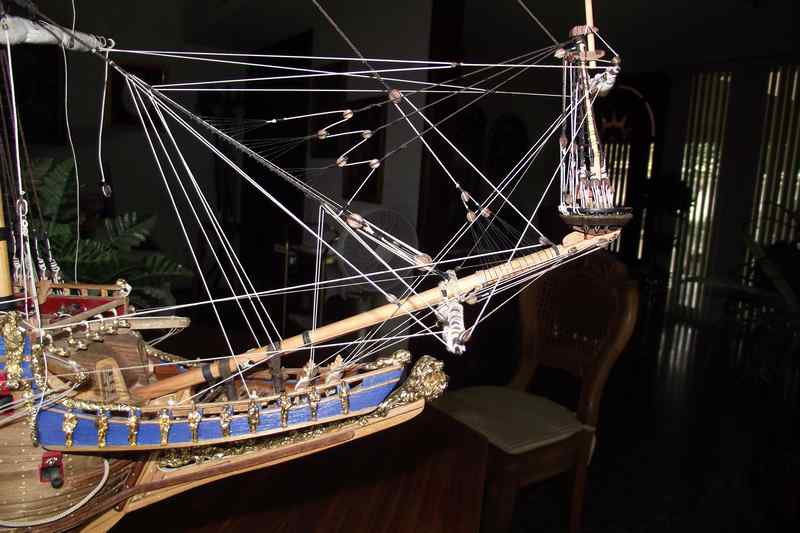
Update: Feb 21 2014
The area of the bowsprit is finished, coils and all. Only thing missing is the flag.
Thanks for visiting!!!
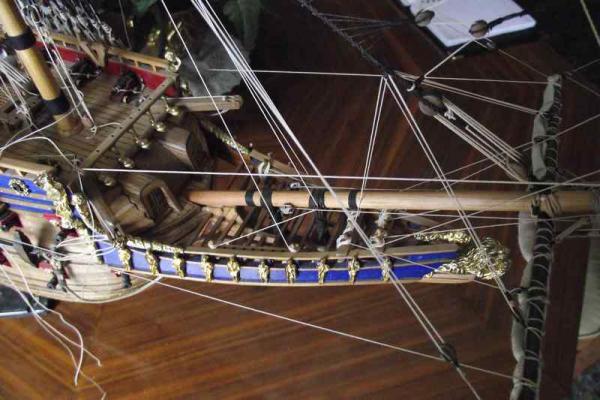

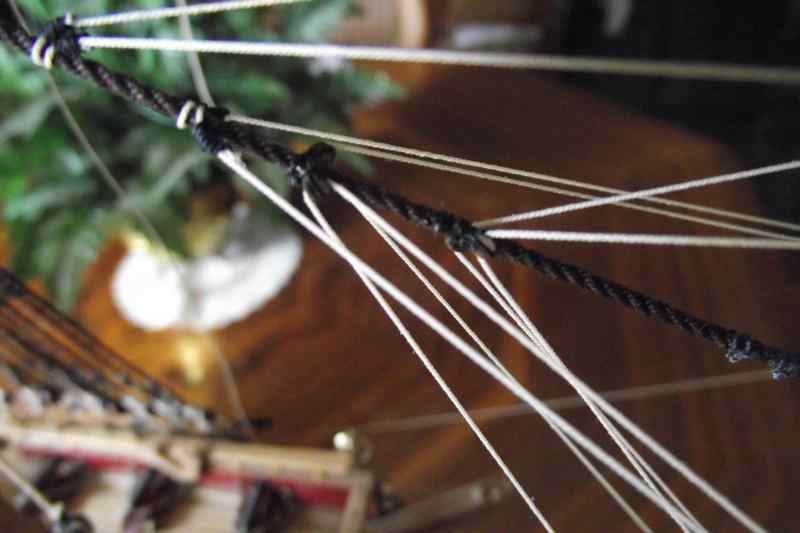
There are some 2mm blocks here. Can you see them? They were a nightmare.
BTW, there was a sail in this mizzen lower yard. (see previous page) According to Vasa Museum plans there was no sail there,
so it had to go. I'm glad the sail went off without major consequences.
I'm surprised no one catch that mistake before!!!

- Aussie048, Sjors, marktiedens and 4 others
-
7
-
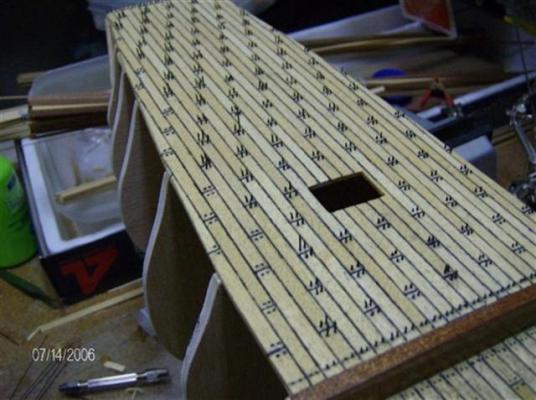
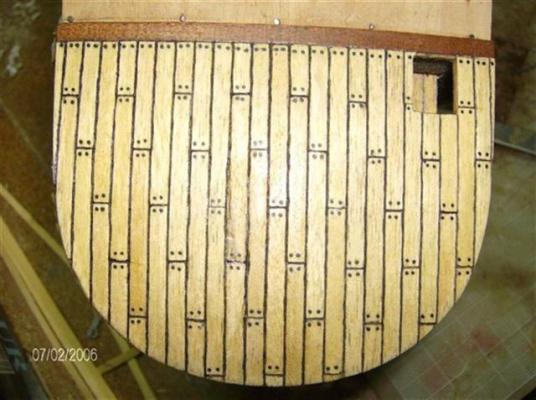
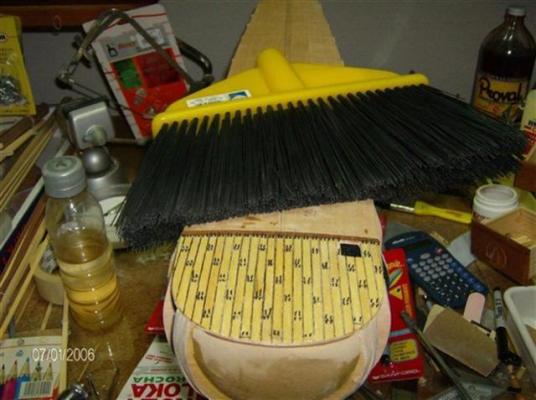
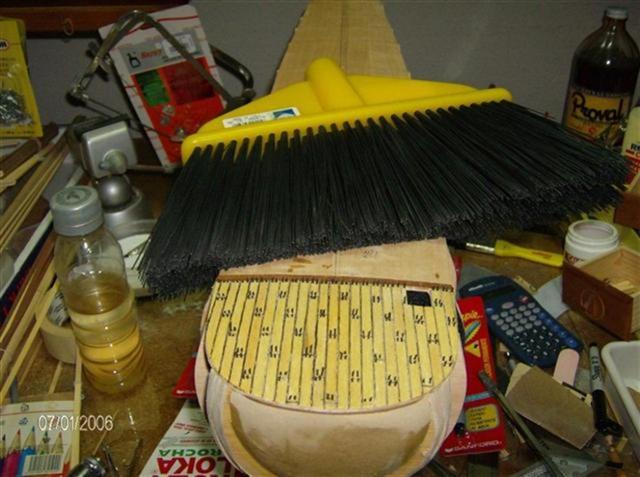
BROOM BRISTLES FOR TREENAILS
I got a broom with plastic black bristles and thought about this for my ships.
I used this in my Endeavour.


- jdbradford, CaptainSteve, Ian B and 7 others
-
10
-
I think the Admiral might have something to say about the bald patch in her broom

But that is a good idea
No Admiral here whatsoever. Broom is all mine.

-
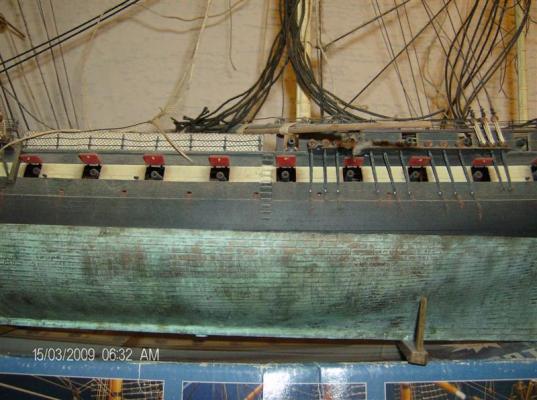
In my scale it is impossible ( for me) and not in real ship.
Somewhere ( maybe in MSW ) I had seen very interesting technique, but if it fits to your scale
Drill little holes for "nails", bye thinnest possible black plastic guitar string ( or black, also thinnest possible, fishing line), cut little pieces, glue them in holes, and when glue dry, sand deck. Effects are marvelous
Do some tests.
Also try BEFORE planking to make planks, drill holes, paint them ( not whole plank) with thin acrylic, and after drying, sand to clear wood. Painted holes stay
In picture above you can see "weathering" effect of sanded acrylic paint on veneer. Try to imagine your holes painted and sanded
I once used bristles (sp?) from a broom to simulate treenails for my Endeavour


-
Wow Michael! I just can't believe this is the same kit I am building! Do I have things to learn!
Hats off!!!
-
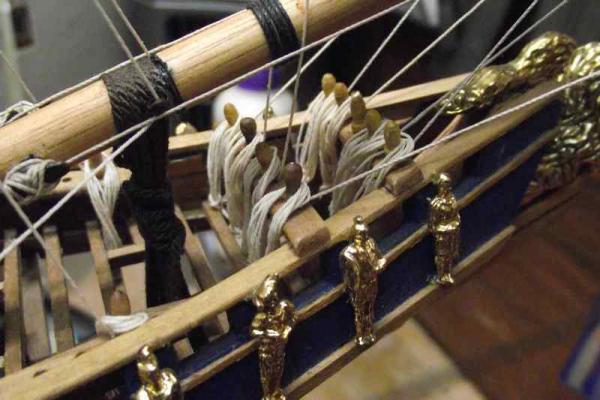
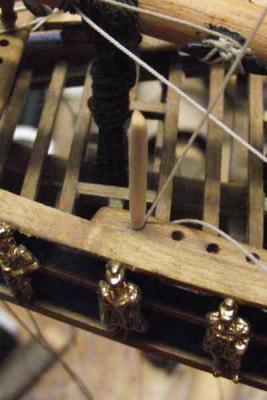
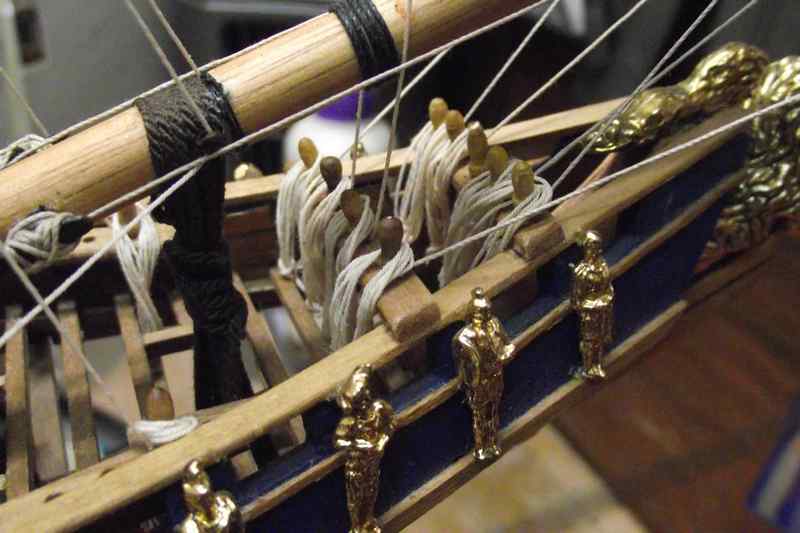
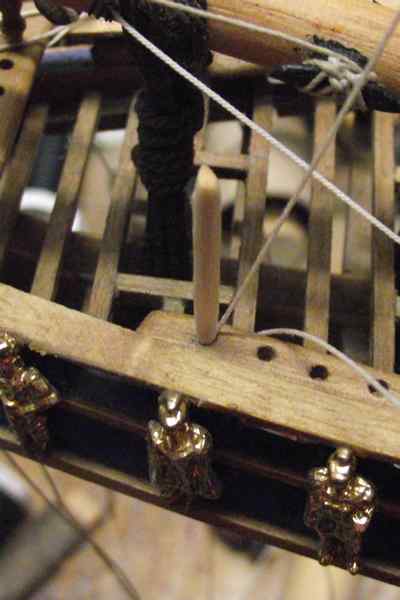
ROUND TOOTH PICKS (Yet one more use)
As "plugs" to temporarily fix the line in their belaying pin holes, while making adjustments and making sure everything is as it should be.
I use these instead of the actual belaying pins as these are easier to handle, and if one is lost, it really doesn't matter.
Once I'm sure everything is OK I glue the definitive pin in the hole, and add the coil. Photos of this last step later.


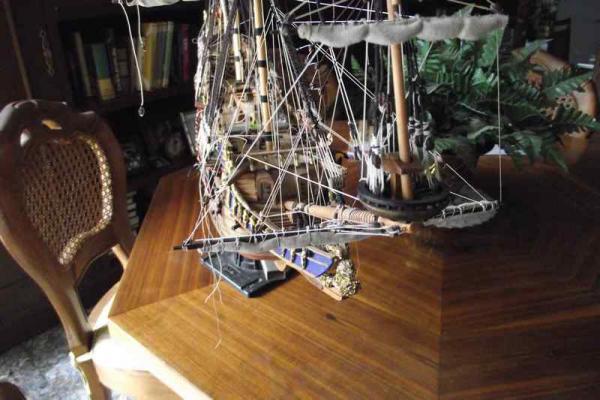
Vasa by Ulises Victoria - FINISHED - Corel - Scale 1: 75 - Royal Ship
in - Kit build logs for subjects built from 1501 - 1750
Posted · Edited by Ulises Victoria
Kim. Check the IPMS (International Plastic Modelers Society) site and check if there is a chapter near where you live. They allow wooden ships in their contests, but plastic are most welcome!
http://www.ipmsusa.org/