


Ulises Victoria
-
Posts
1,790 -
Joined
-
Last visited
Content Type
Profiles
Forums
Gallery
Events
Posts posted by Ulises Victoria
-
-
Sorry can't help. I just want to comment that that's silly indeed. There are many easy forms to test for human input.
-
-
Awesome Chris. I'm glad you had a safe trip back. And as I said in a previous post, there's no other thing they can do bu love your model.
I know I want this kit. I don't know if I will ever build it, but I want it!
(Just kidding... I know I will build it as long as I have life and capable fingers
 )
) -
I am still not sure why I need putty, but I am really glad you gave me an extreme warning on it. Now I am not even sure I want to ever use the stuff. I guess one of these days I will figure out why I need it. Edward thanks for the tip on the tape. Here is where I am with the deck. I am even painting everything.
I am being very meticulous on this one.Hello Kim... One example where you may want to use putty, is the joint between your two hull halves. When looked from the front you will see a line where the parts joined together. That is something that for example, in a contest, will disqualify your model in the first round. I know you will tell me you have no plans to enter a contest
but as I said before, anything you can do and start to learn to improve your models, will have a reward in your future builds. (And BTW, entering contests is the best way to learn and improve your models. At least, it was for me. )Again, I congratulate you for your effort. Keep posting photos and above all have fun!!!.
On a side note, I have used putty extensively during my plastic building years and had no negative effects at all. It's all about using common sense when using it. And some kind of filler you will have to use in the future if you want to make better models, so why not start now?
:) -
Kim: I hope I am not too late here .You should glue the two hull halves first, then use a fine jeweler's file to make the seams disappear, and then paint the hull. Always try to glue first and then paint components that form a single unit, that way you will make a more even paint job. If you paint and then glue, some glue will be pressed out and ruin your paint. Always try to make glue joints disappear, like those where the two hull halves meet or when masts come in two halves. Try to get a plastic filler to do this. After gluing, put some filler, wait for it to dry, then file with a very fine file or sand paper until you see there is no seam. The paint should cover the filler smear and leave no mark. This is a technique that requires a lot of practice and care, because you can ruin a part if you file or sand down too much. Maybe I am getting you into too deep waters, but hey.... all this is what differentiates a good built model, from an outstanding one.
 Hope this helps.
 -
Kim:
As a quick answer I would say YES!.... BUT... plan ahead. Mostly everything has to be painted on the tree, and when you snip the piece off, a small retouch may be needed where it was attached. In other occasions, you will need to scrap off the paint, if its on an area that has to be glued. THIS IS VERY IMPORTANT! Glue will fail if placed on paint. You can paint your pieces by sections. Let's say you are working on your deck, paint all the pieces that belong to the deck. Study your instructions and build the kit in your head several times, if possible. Many times you will see that it will be better to deviate from the instructions to make some steps easier. There is no absolute way to do things, and many times you will get 5 different answers from 5 different people, and all of them may be valid. These are only some guidelines, but the best way to learn is by doing it. "A wise man (or woman) learns from his mistakes, a wiser man learns from the mistakes of others"
Oh!, and the most important advise: Have Fun!!!
-
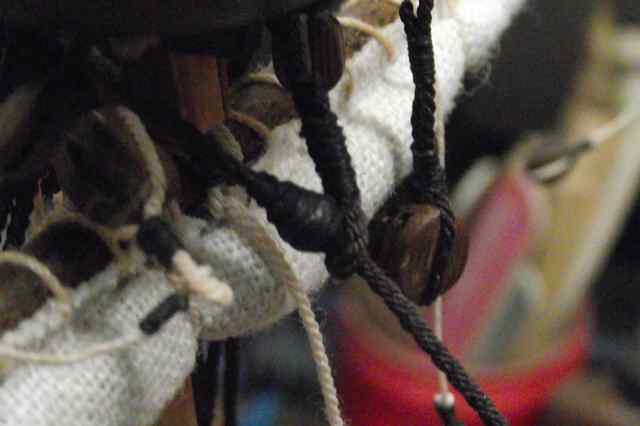
...its been a real pain on ratlines as they just open up continually as you work up the mast even a few days after application.
Norman
For your ratlines, may I suggest you go to a music store and buy a cake of rosin. It's the stuff violinists use to rub their bows with so the hairs get a "grip" on the strings to produce sound. Pass your ratline thread over it 2 or 3 times and your knots will never open up. Hope this helps.
-
-
Kim:
I would use a pin or a very small wire (heated or not) to punch the holes in your sails. The smaller the hole the better. Its even better if the hole is not seen.
I suggest you use a light brown or yellow acrylic paint to wash your sails. A wash is a mixture of water with just a little paint which you spread over your surface. How much water/paint is hard to explain, you need to experiment. If you don't like the result, use a cotton with alcohol to clean up and start again.
About the order, I may not follow the prescribed order, but I always do the hardest things first. That way, as I become tired, things start getting easier
So, with the sails, I would start from top to bottom. But that's just me. Hope this helps.
-
Kim: You will when you get there...
-
Yes. Whenever possible.
-
To me it depends on the model. I have not painted at all any of my previous ships. (San Juan Bautista, Endeavour and Bounty) I painted a few parts of my present build Vasa, and I think I will paint a part of the hull in my next build, the Royal Louis. I have no absolute preference over one way or the other. Just a matter of mood.
-
-
Thanks. I see it now.
-
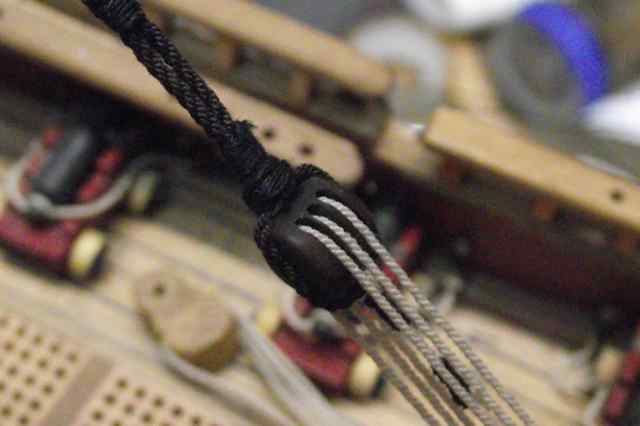
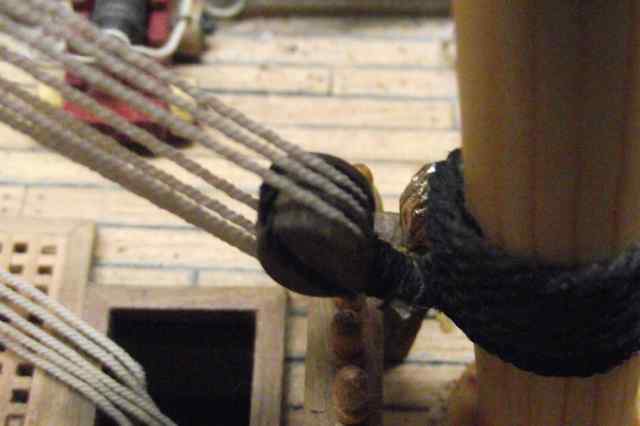
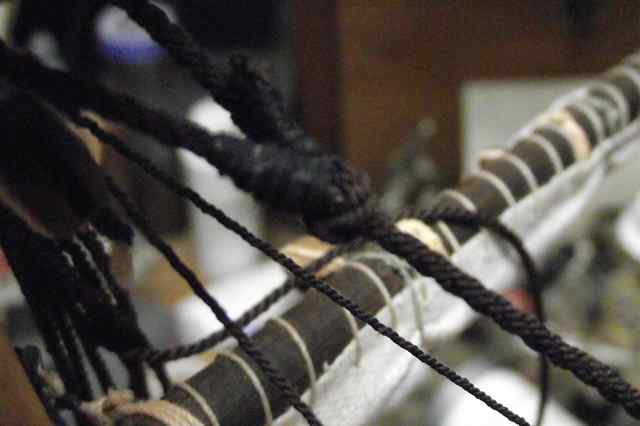
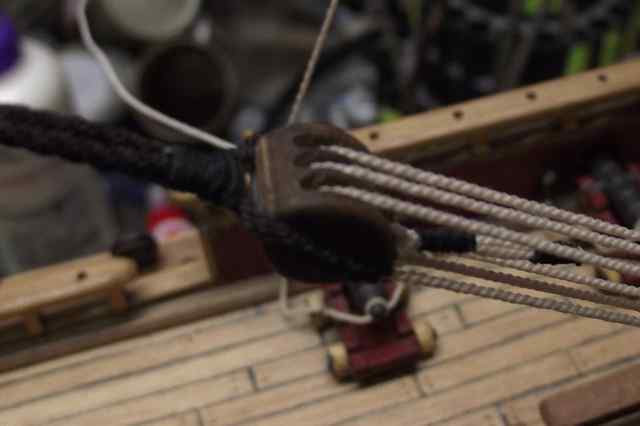
Interesting! Would it be too much to ask to see photos of the knot used in a practical application, such like those you describe?
Thanks in advance.
-
Hello Federica.
I missed your previous post and the start of your build. May I offer a late welcome to the wonderful world of ship building.
You are doing a terrific job with your R.C. I will be following your build with interest. Your planking job looks so neat and clean.
Its good you don't allow your pets in your work shop... you don't want them trying to land on your rigging lines, when you get to that stage.
-
Ulises,
Did you do a base coat then several "washes" of differnent shades of browns and black? Kimberly, this style of painting is a lot of fun.
Hello. Please see this thread where I explain some things. Thank you.
http://modelshipworld.com/index.php?/topic/3962-how-to-make-plastic-look-like-wood/#entry114022
-
I have seen several mentions of a CD. My kit didn't come with a CD. Is there a way to get it somewhere, or maybe someone would be so kind enough as to send me a copy? We can arrange some form of payment for the work and postage. Thank you.
PS I have a shipping address in Texas, BTW.
-
Green with envy. I build in a closet!!! I have about 1/10th of the room you have

-
I often come across teh term 'dry brush'.
Can you elaborate a little bit?
Jan
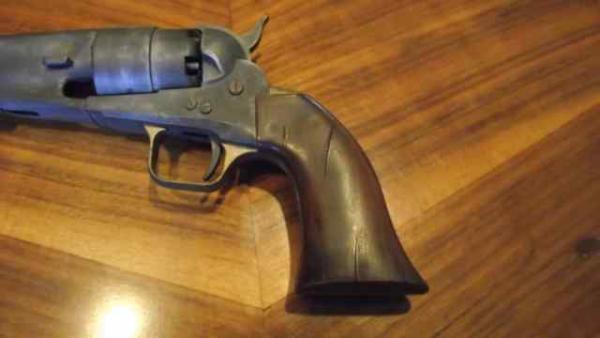
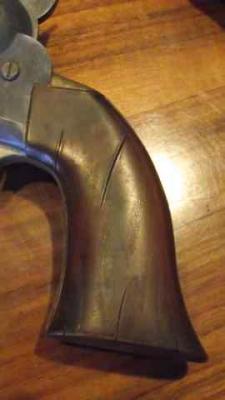
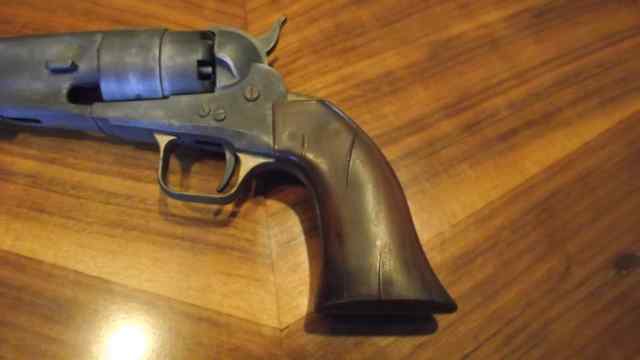
Dry brush is a technique where you dip the brush in paint, and then pass it over and over on a paper towel until you see that the brush leaves no more paint on the paper. You then start passing that "dry Brush" over the area you want to enhance. At first you see nothing happening, but as you keep doing it, you will start seeing a very thin layer of paint to appear. This is useful especially when trying to enhance raised details. The most common mistake people make when applying weathering with the dry brush, is that they start seeing some results, and think that by doing it more it will improve. WRONG!!! The secret is to stop when you start seeing results. Here less is better. Weathering applied with dry brush has to be "perceived" not seen, although exceptions exist, obviously. The "metal" in the revolver above, is accomplished by painting with flat black and then dry brush lightly with silver or aluminum paint, putting a little bit more on edges and raised details.
Hope this helps.
-
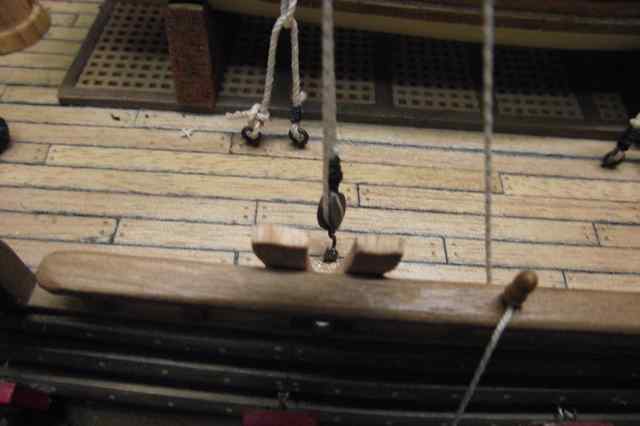
OK a few more examples.
First remember that wood wears to clear.
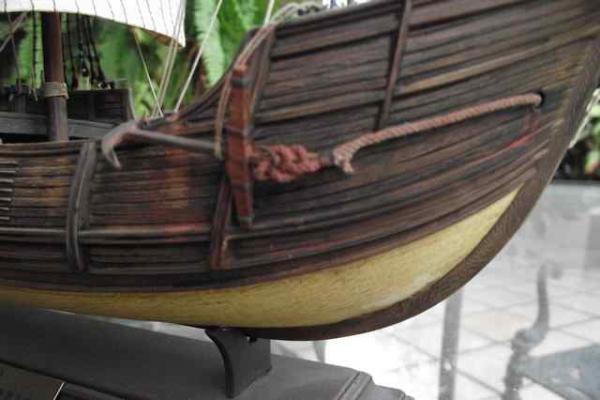
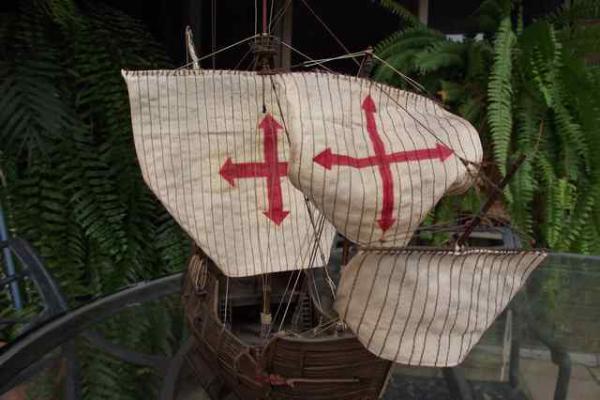
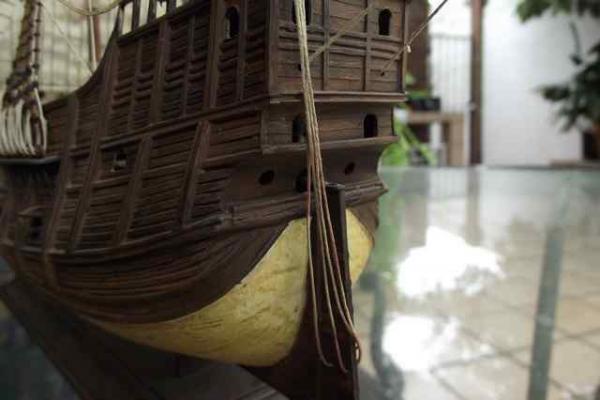
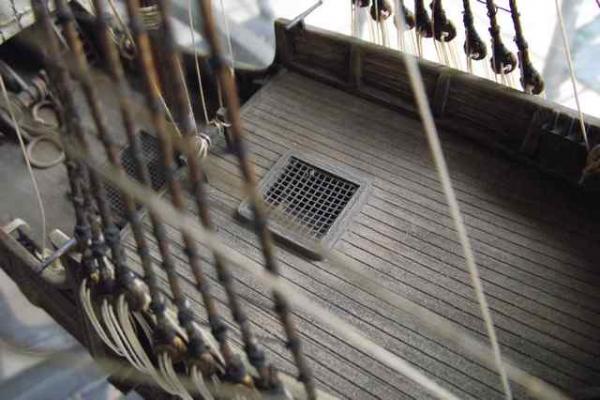
If I remember correctly, On the Santa María I first applied a coat of light wood color, then over it, a coat of acrylic darker color. Then using a cotton swab, very lightly moisten in alcohol, rubbed the darker color off. On the decks, a very light coat of clearer brown color using the dry brush technique, where traffic or rubbing of things was evident.
Using the dry brush technique with different shades of colors gives the appearance of uneven wear and dirt, which is what you are looking for.Use clear where you want wear, and darker where you want dirt. For the rust in the anchors, Micro-Mark sells several kits to simulate this.
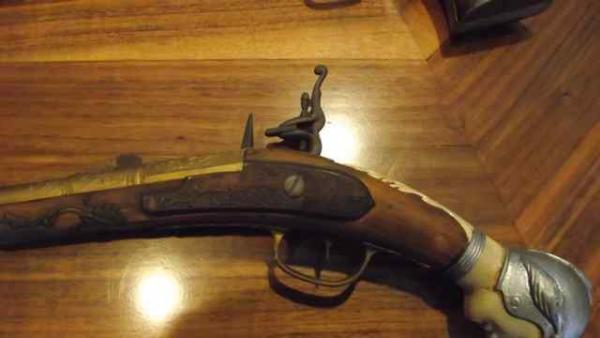
In the pistols I used a more orange-ish color as the base. Then dry brush darker colors where you want to see dirt or clearer colors where you want to see wear. Brown india ink is great to simulate streaks, just brush it until it starts to dry, using a toothbrush or thick bristles brush. Even things out with a swab very lightly moisten in alcohol.
I spent many years trying to imitate wood on plastic. When a friend of mine, which I consider a Guru in plastic modeling, asked me if what he was seeing was wood or plastic, that's when I decided that my mission was accomplished, and started building actual wood models.
Thank you all for your interest. I just give you above a few guidelines. It's impossible to tell exactly all the process as every thing is different. Experiment! You will see results.


-
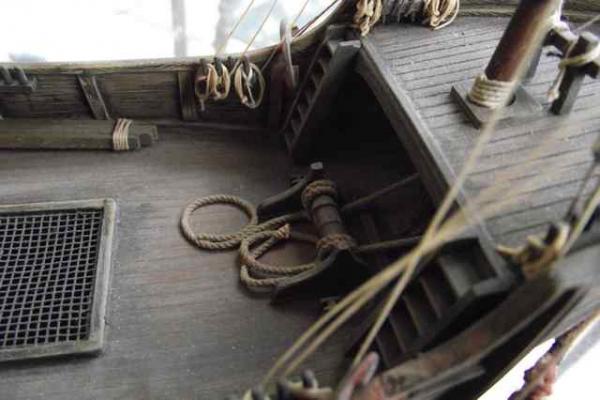
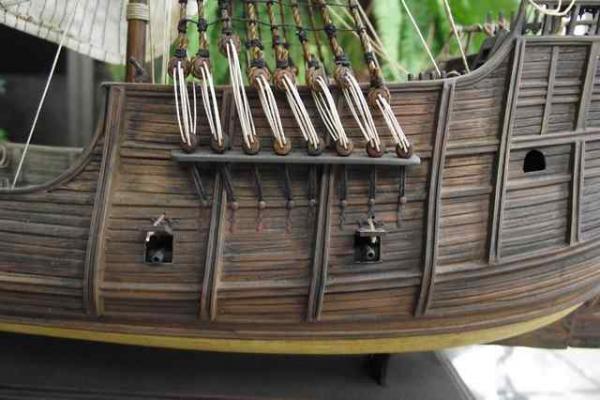
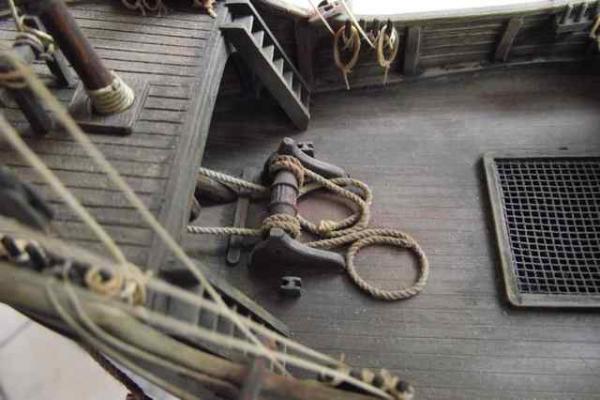
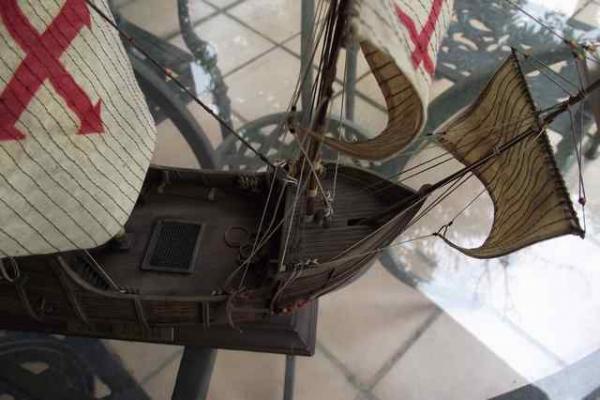
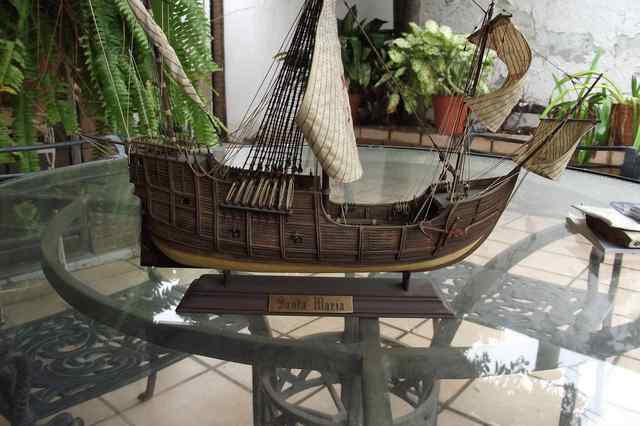
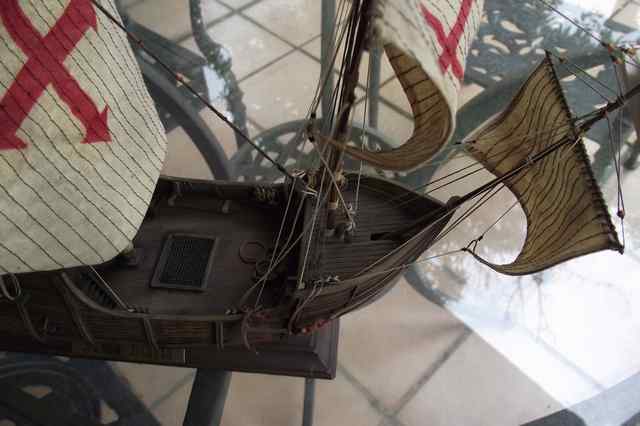
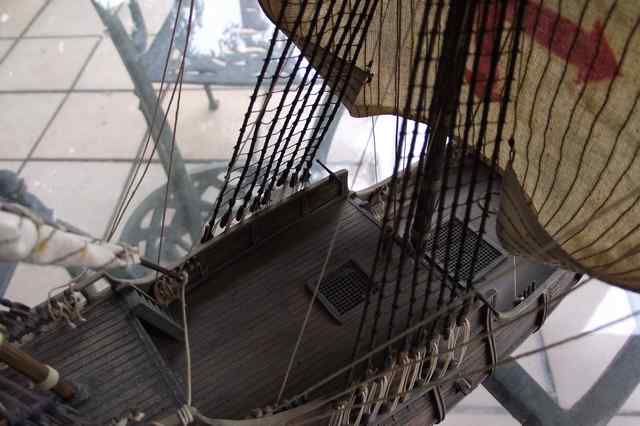
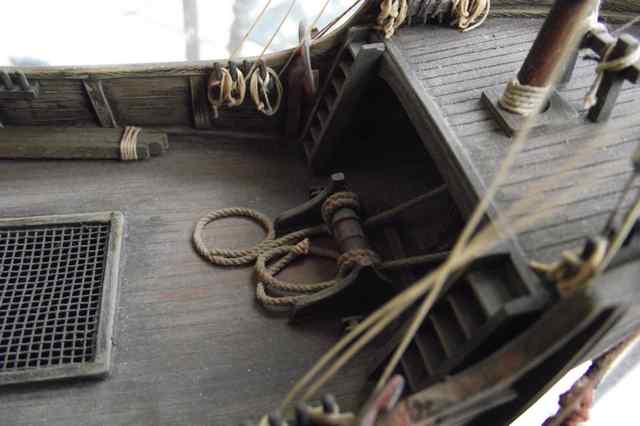
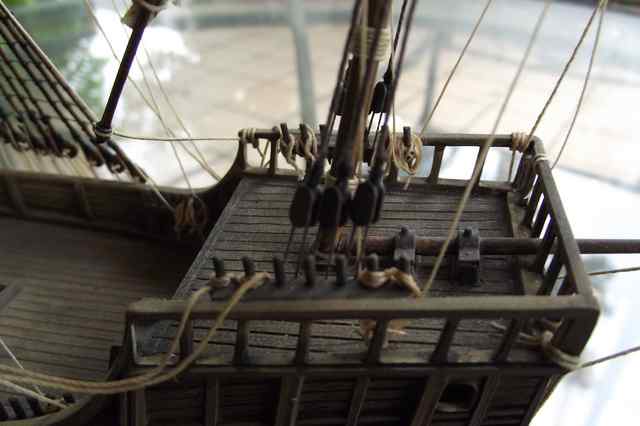
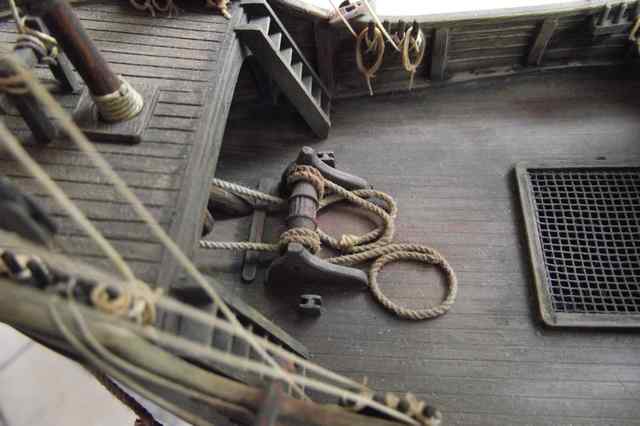
Hello. I just posted some photos of my Santa Maria in other thread. Is something like this what you are looking for?
This is Heller's 1/75 SM kit.


- tradewinds, dafi, tasmanian and 4 others
-
 7
7
-
Kimberley: Here are some photos of my Santa maria. I hope you can find something useful in them. This is the Heller kit in 1/75


-
Thank you Sjors and Kimberley.
Kim: I started like you, only younger. I was a kid when I started building ships, but there weren't things like this forum to learn things, so it was harder. I'm 65 now. Hang in there and soon you will be a master.


Royal Louis 1759 by Demonborger - Mamoli - 1:90 - French Ship of the Line
in - Kit build logs for subjects built from 1751 - 1800
Posted
Congratulations. I will be following your build log with great interest, as this same kit is most likely my next build, once I finish my Vasa.