Chidokan
-
Posts
61 -
Joined
-
Last visited
Content Type
Profiles
Forums
Gallery
Events
Everything posted by Chidokan
-
its been a while since I posted on this.... since then all cannon are complete and most of the hull has been planked up to the potential extra decks.... I have calculated adding the next decks and put in a couple of ribs to see what it might look like... and it doesn't look too bad I have stuck to the plans for the mast heights, and they look right compared to the Anthony roll. I was hoping the MR museum would have raised more from the seabed by now, hence the delay, but they just don't have the cash to do so... So more pics shortly on progress, and I think I will just crack on with the extra decks.
-
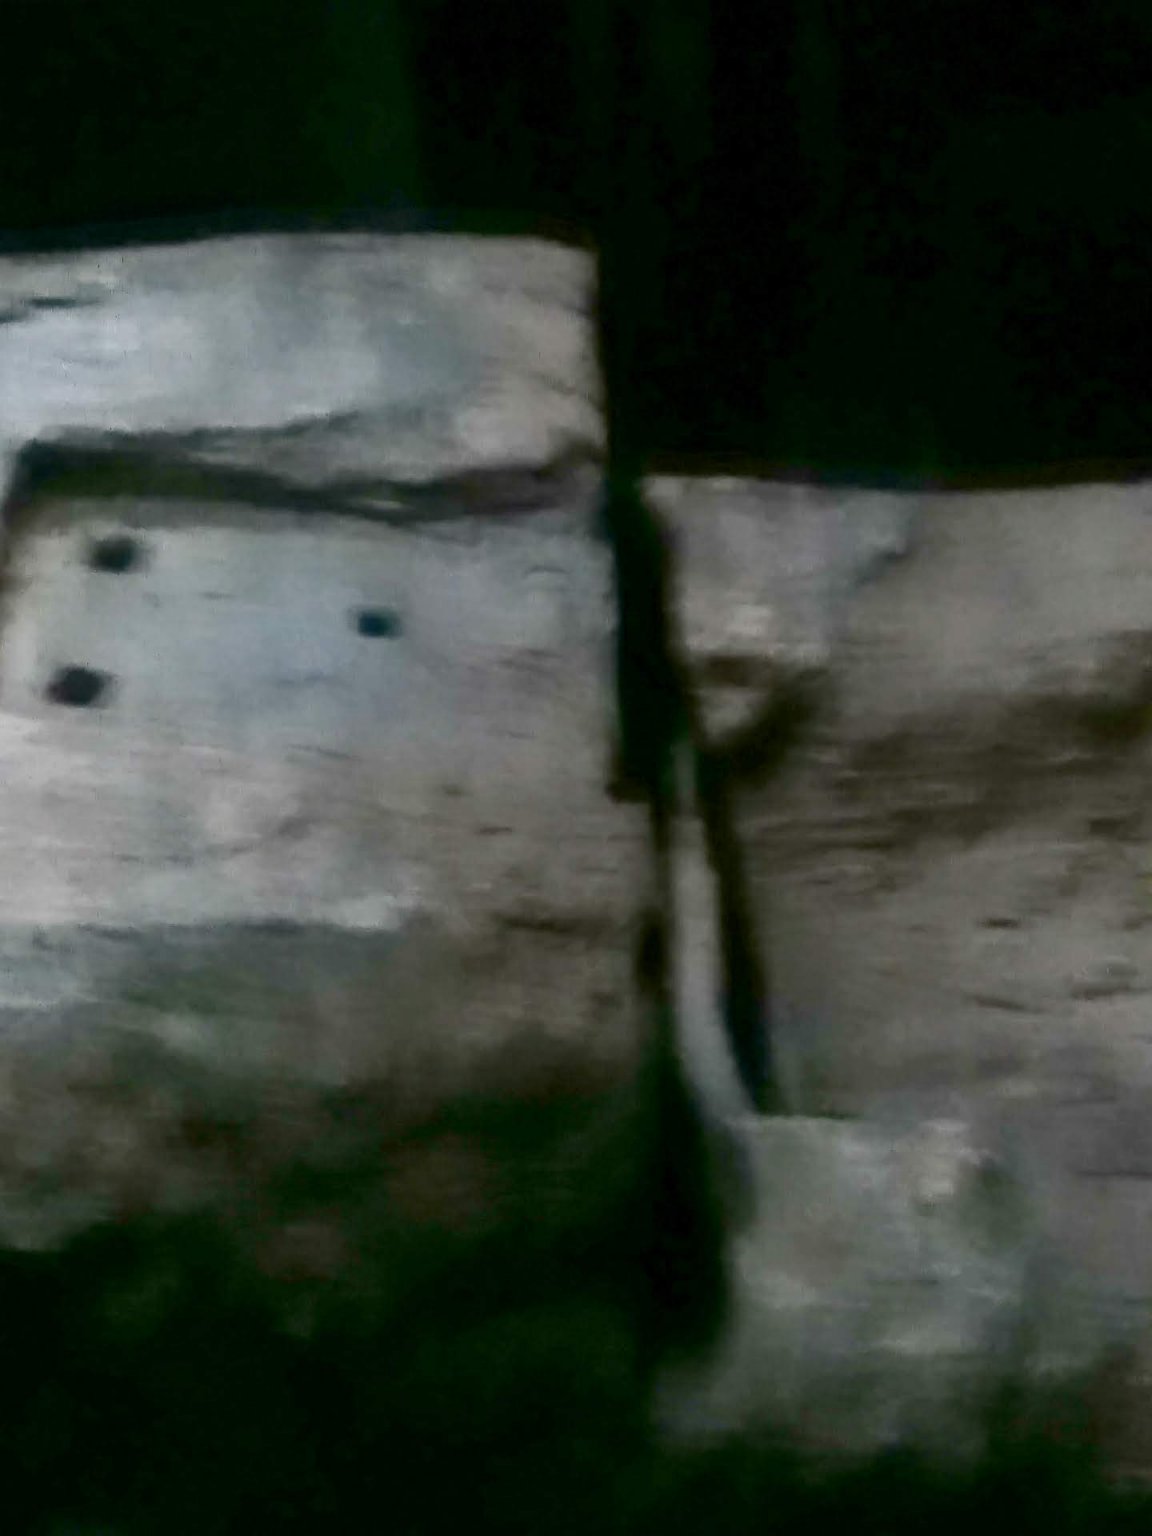
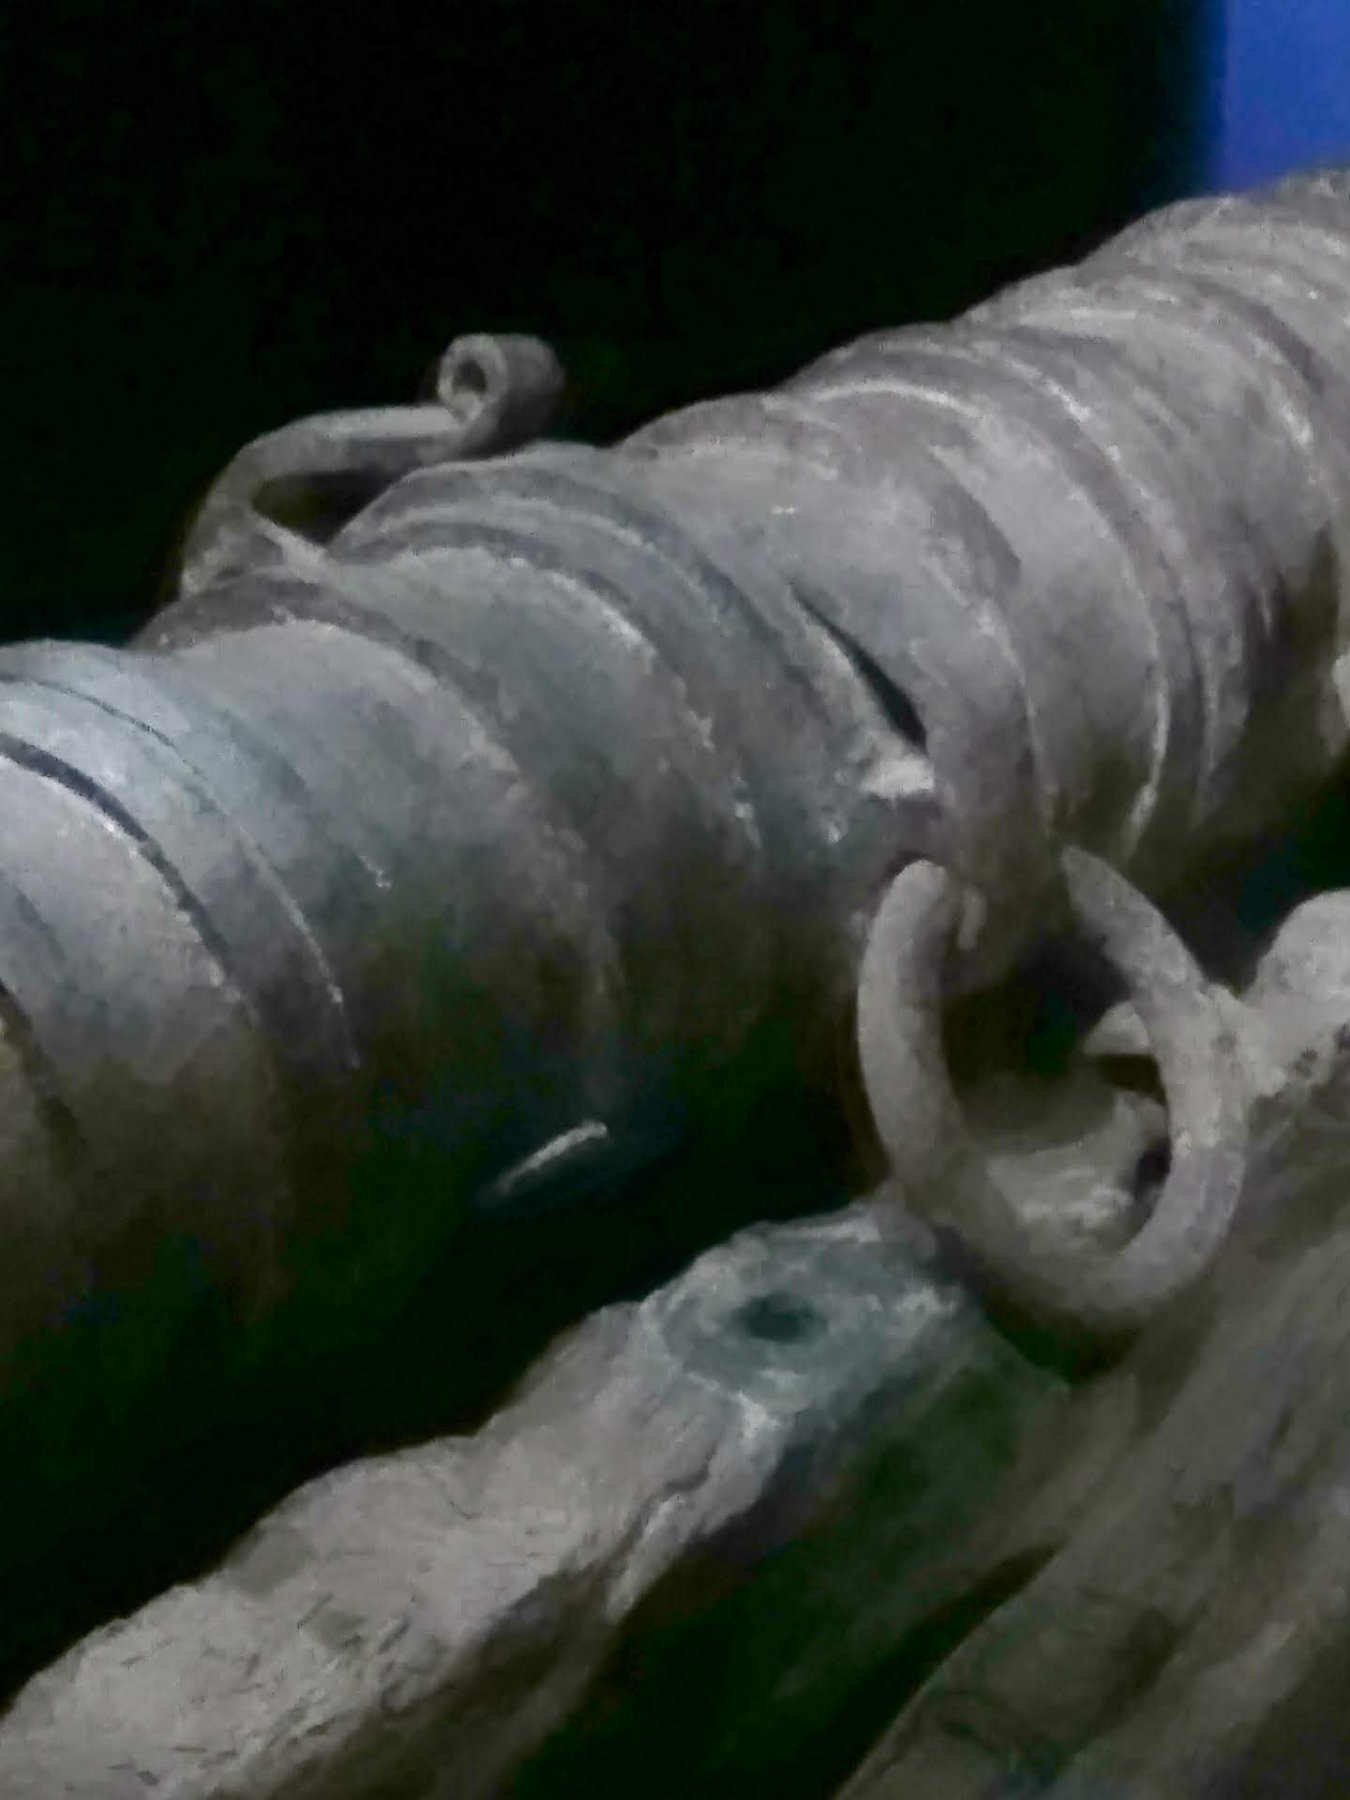
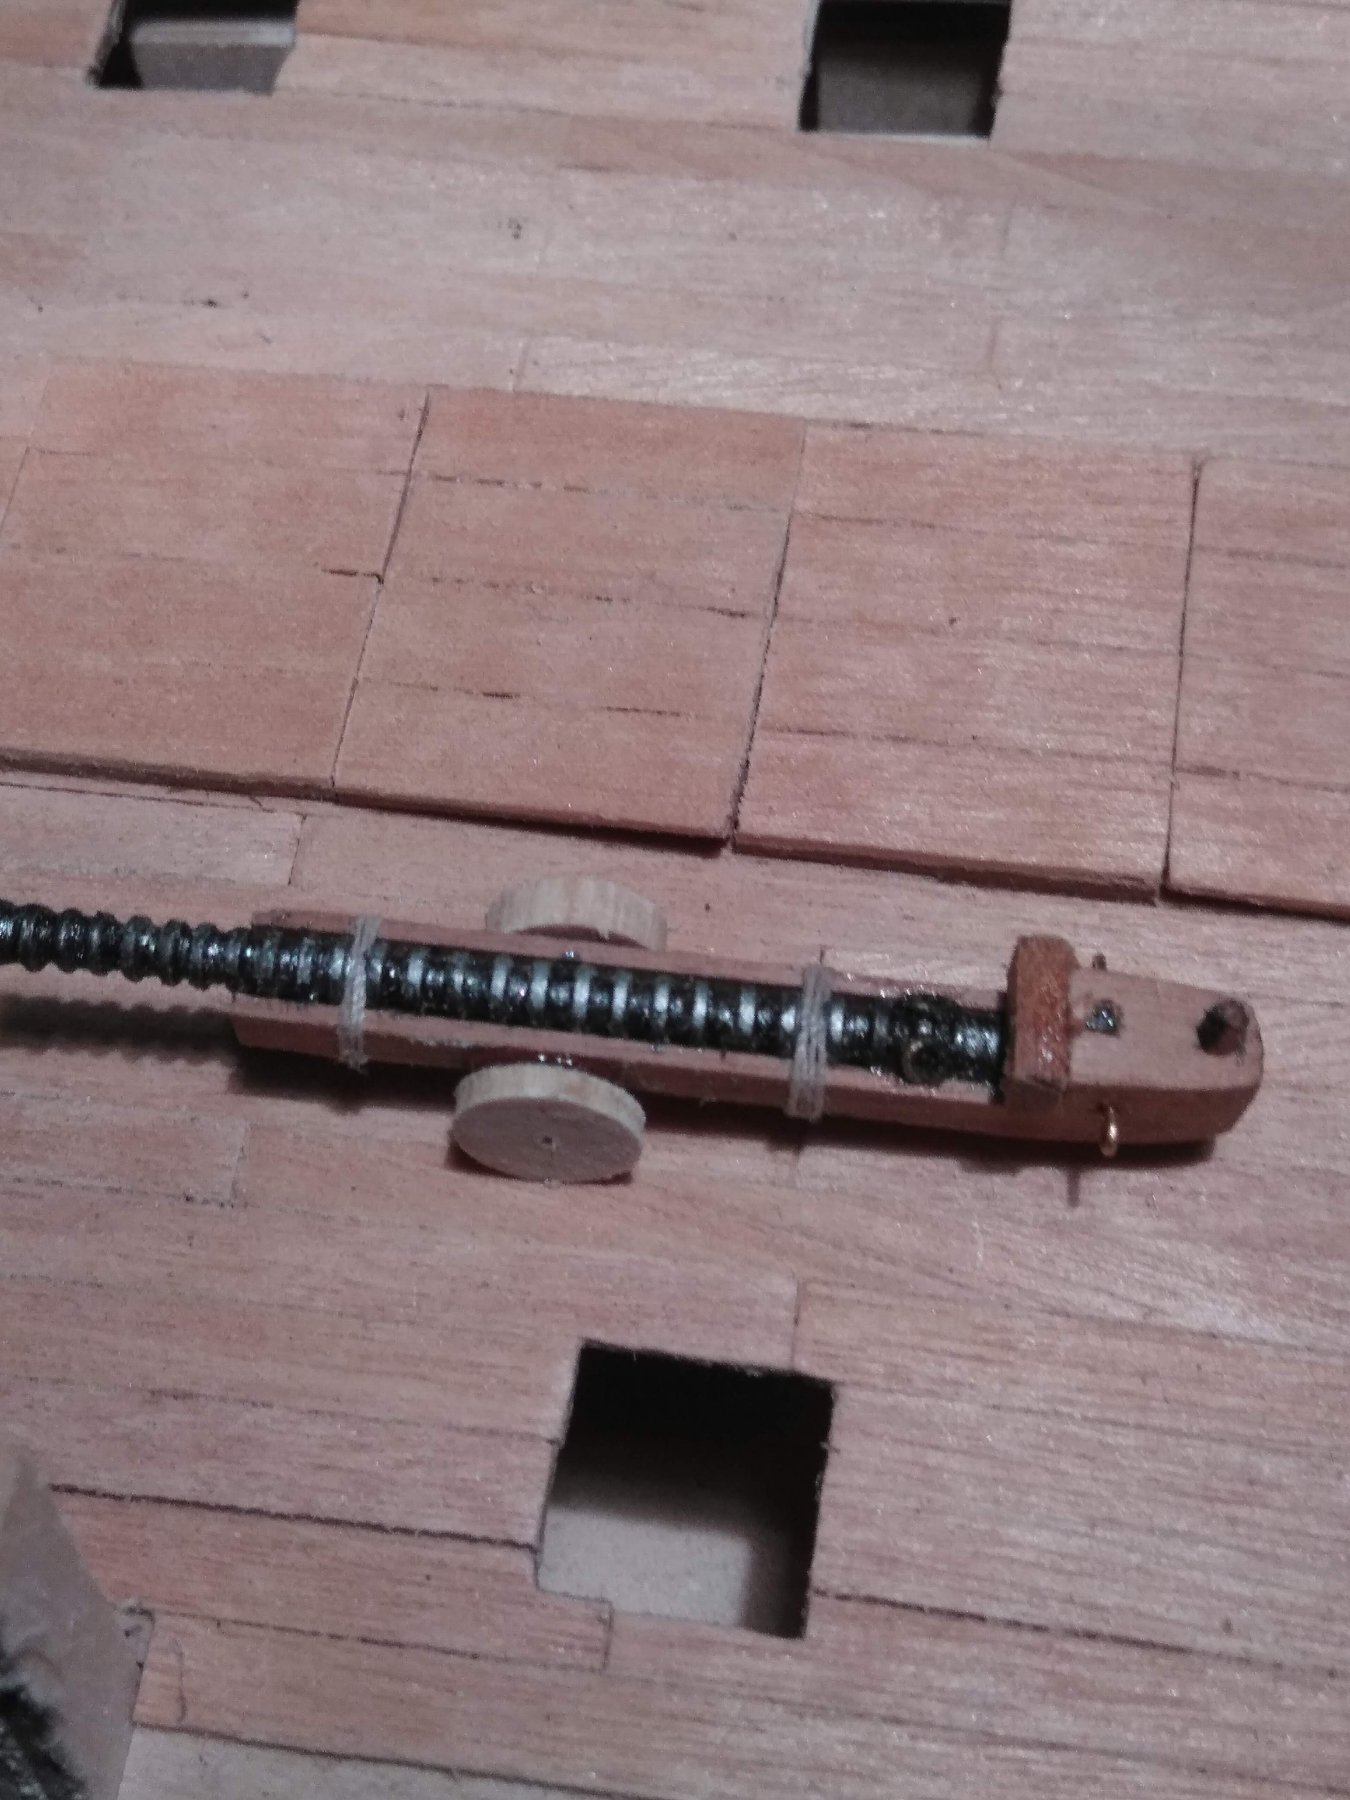
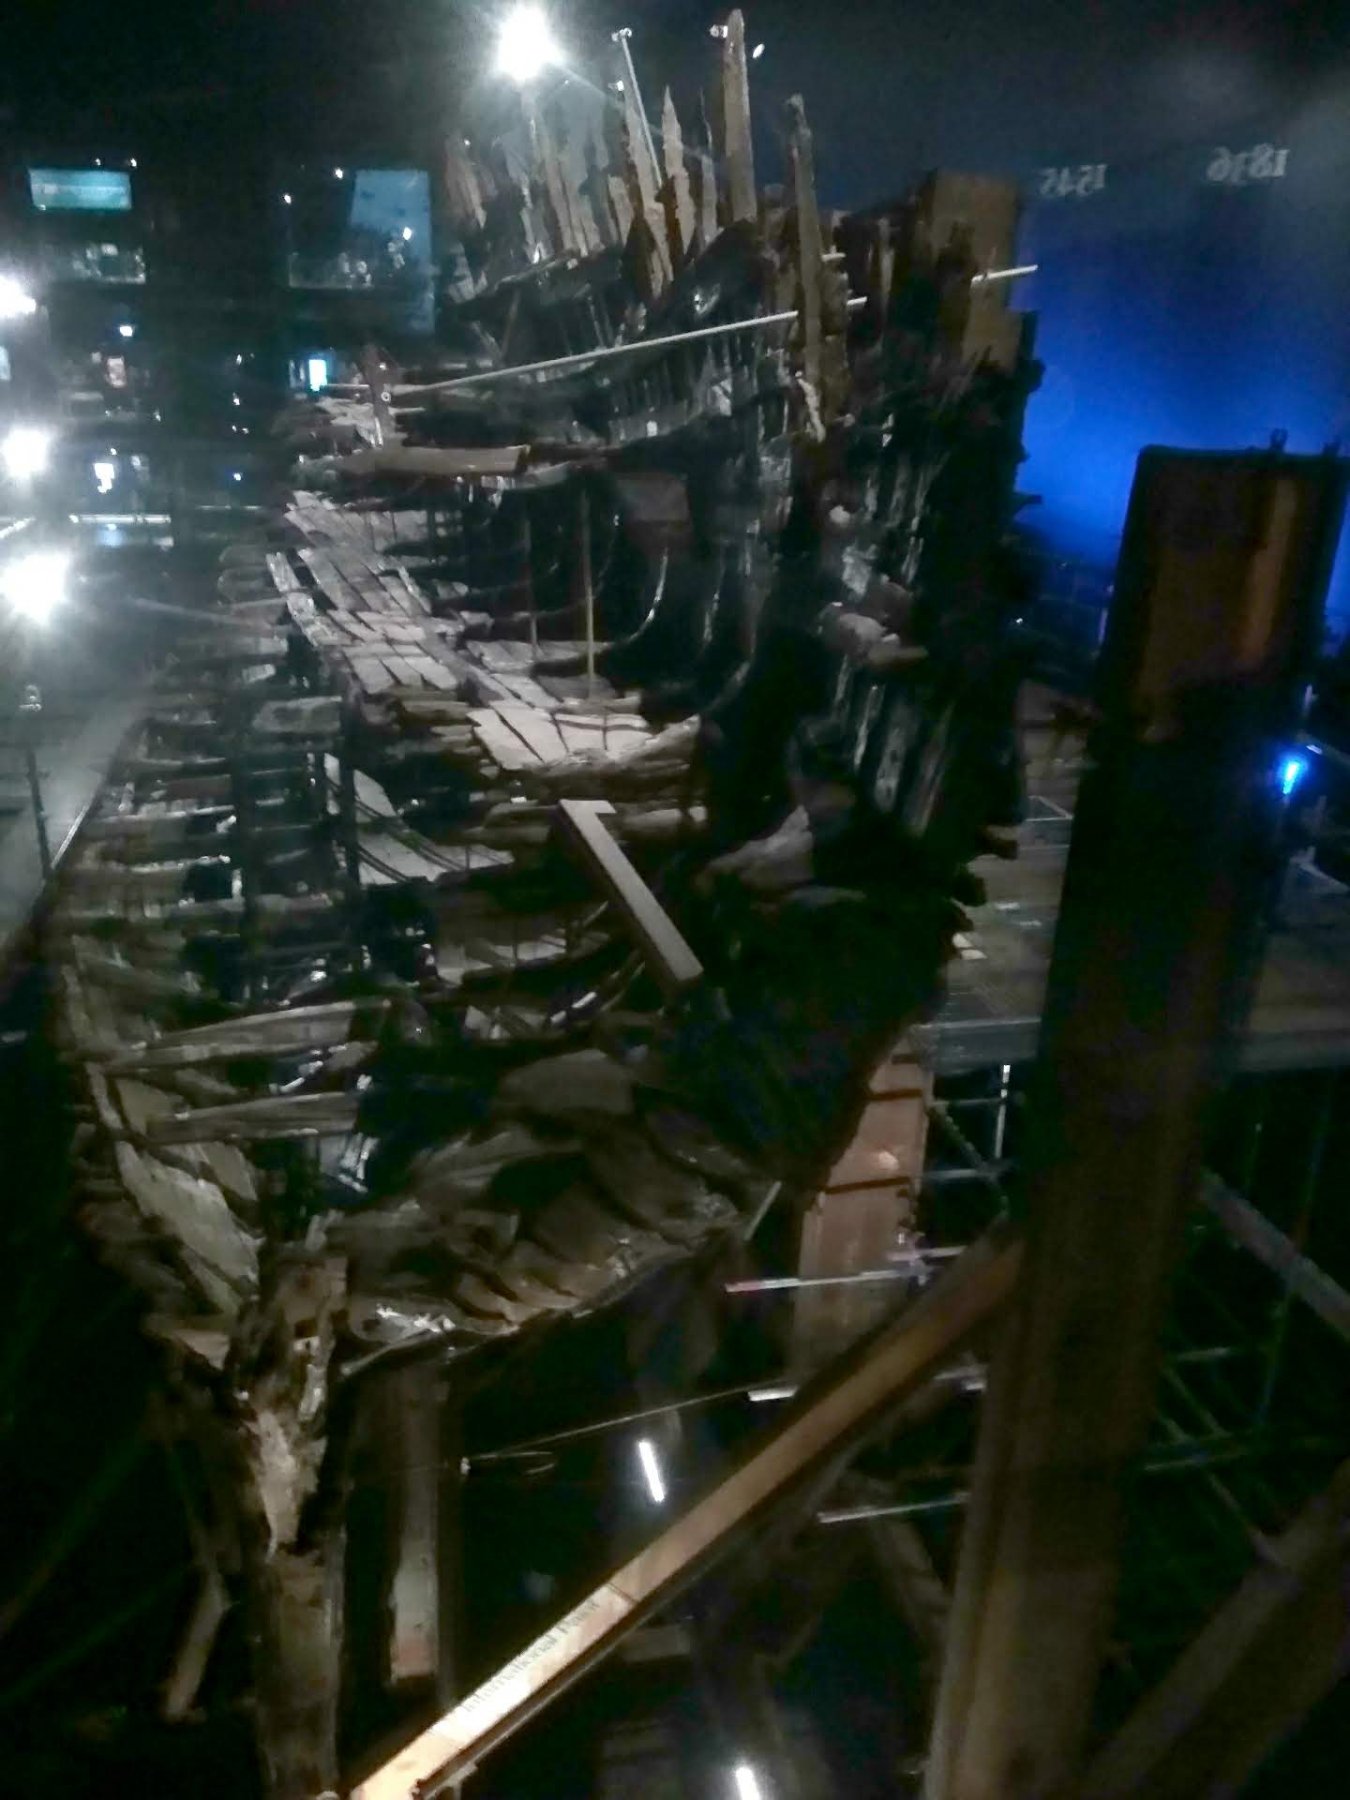
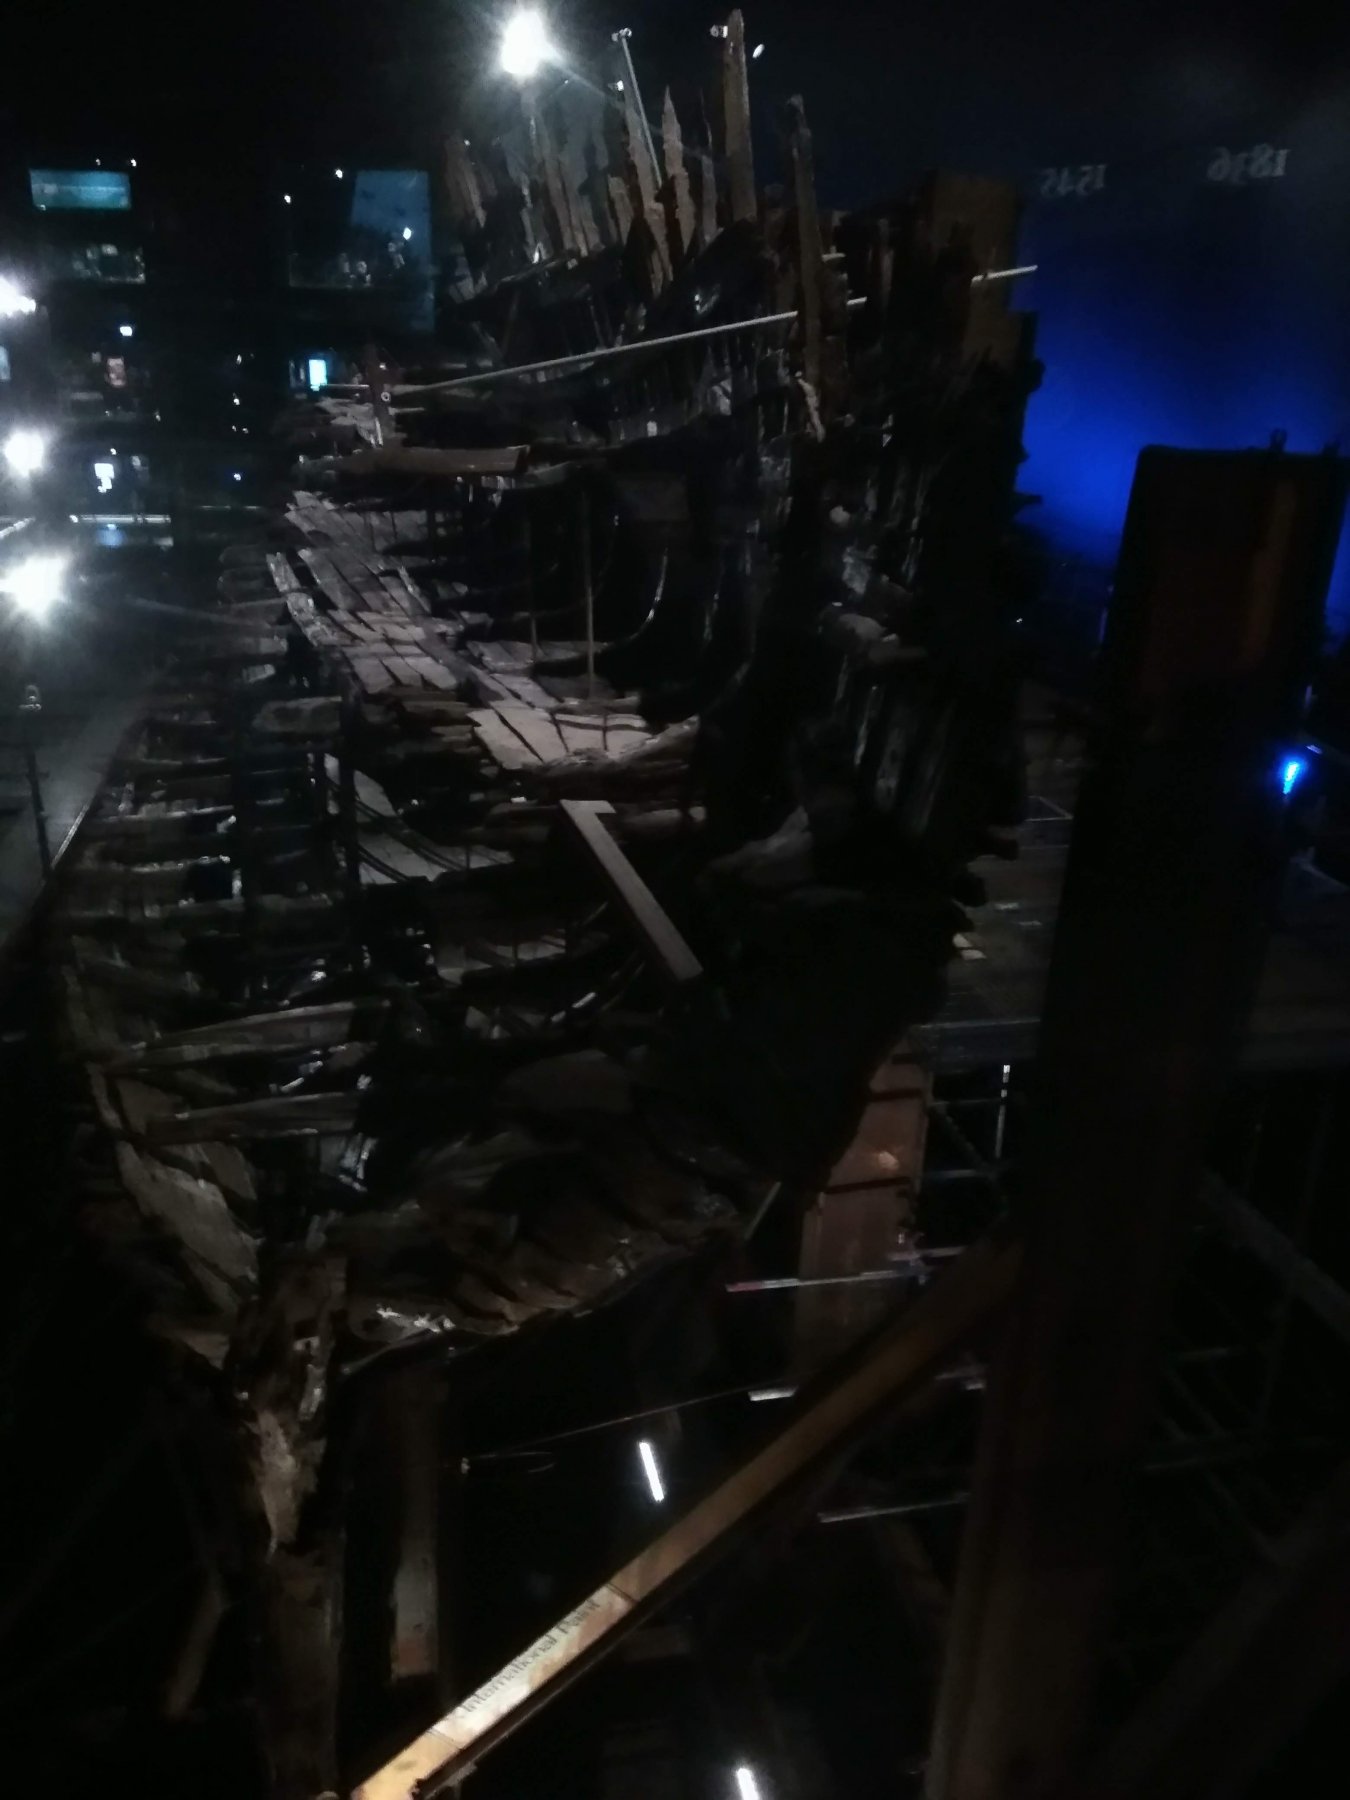
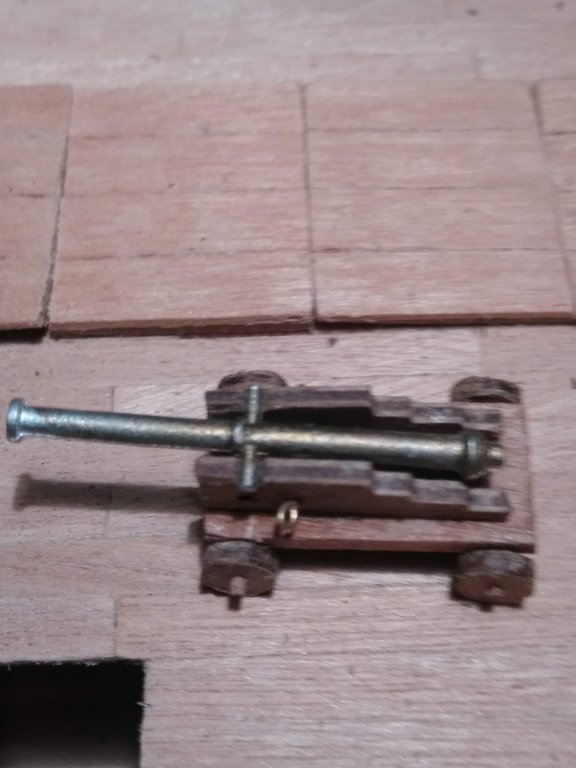
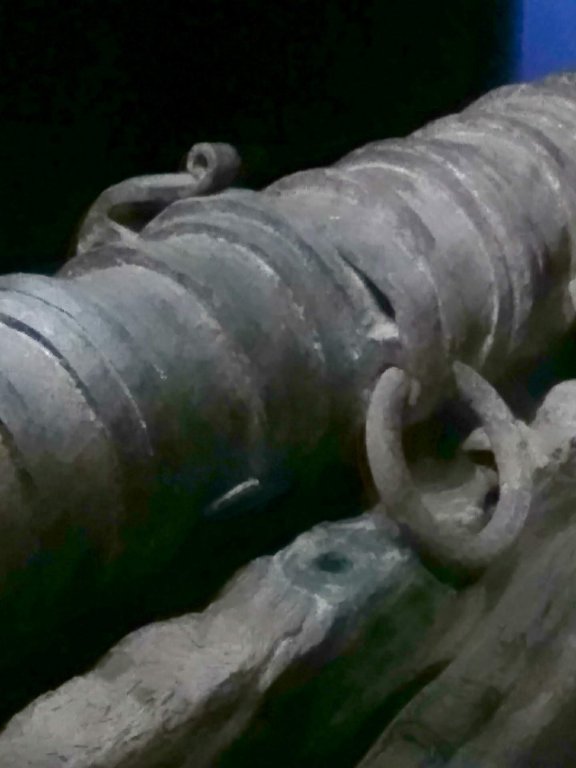
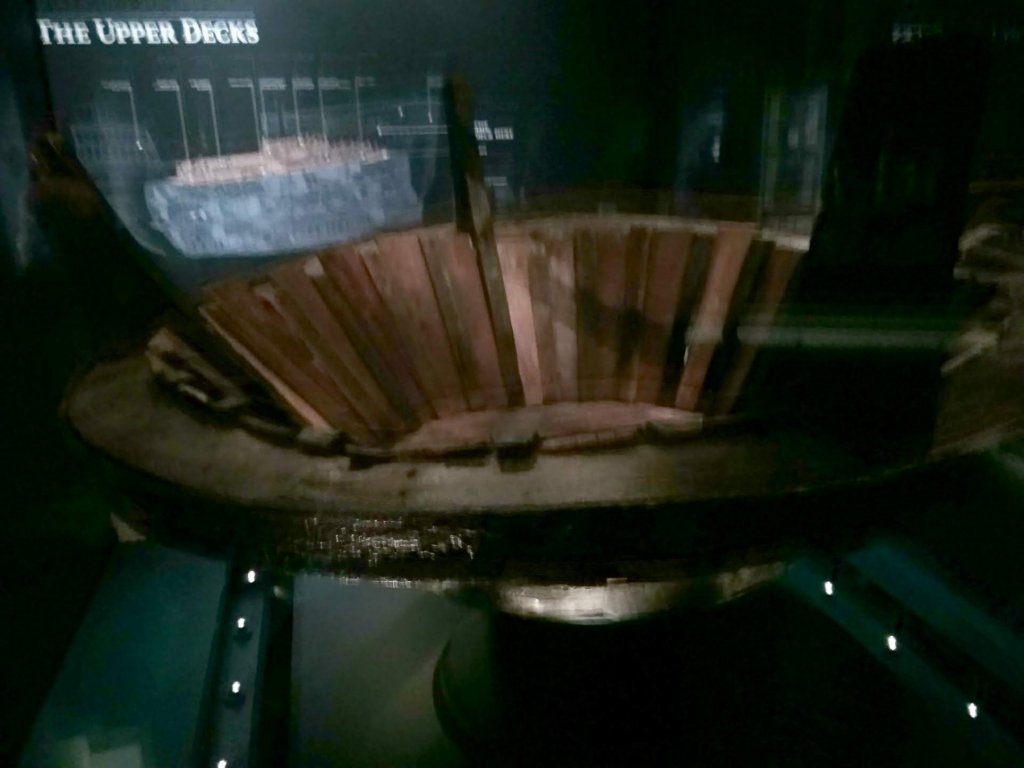
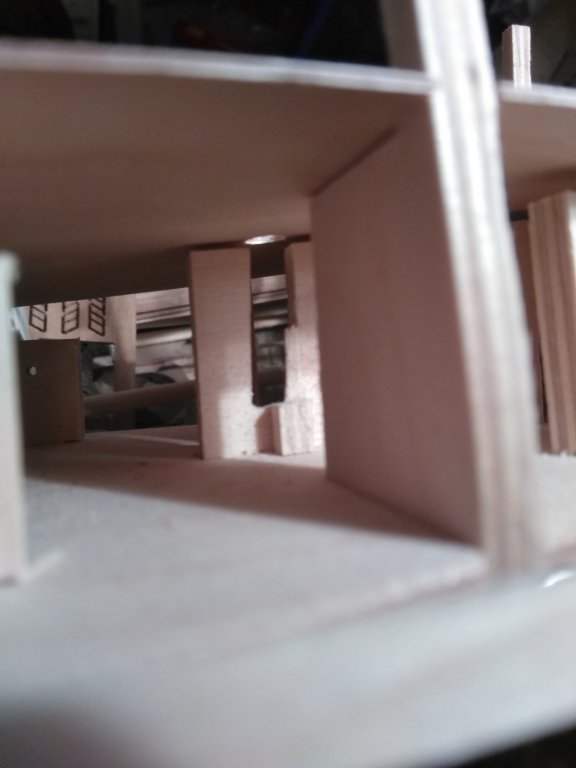
I am stuck on the mary rose as well.... so went to the museum to look and see if I could find any holes near the ship gunports that would suggest an attachment for ,say, a pulley system. Nothing obvious from the viewing gallery even when I zoomed in with the camera.... The guns however show a big variation of 'missing stuff' where there's holes in the carriages, so obviously had some ironwork to stop the guns flying around when in a rough sea, and perhaps also for running in and out. What was also interesting was the damage behind the cartridge area on breech loaders, see the photo... some were just damaged, some had obviously had a metal plate to prevent the wedge damaging the main carriage. The anatomy of the MR books suggest a ring on each side with rope being fixed directly to the deck and not adjustable. This would be ok for breech loaders, but I am still bothered about opening and closing the ports, as surely you would want the muzzle outside so the hull isn't filled with smoke? I have added some rings on my model (above) in the position of the holes I saw, and think I will be doing a simple pulley system each side. Plenty of other pulleys on the ship, so it would be 'in period' to think they would want to adjust the position of cannon, and pulleys would make it quite easy compared to brute force manpower only...


-
for Napoleonic figures, try a firm called Historex… parts are capable of mixing up and its quite easy to knock up a ships captain with not a lot of work... WW2 you can get Italeri crew for German, USA and British navy. Masterbox and others do mechanics etc that would convert nicely if you wanted to do a port scene... I managed to get some figures for my Victory x-section cannon crew in 1/96 from a wargames figure supplier, close enough in 15mm. I just wish the manufacturers would stick to a set scale, as otherwise its not a viable commercial venture to produce figures for many periods in so many different scales!
-
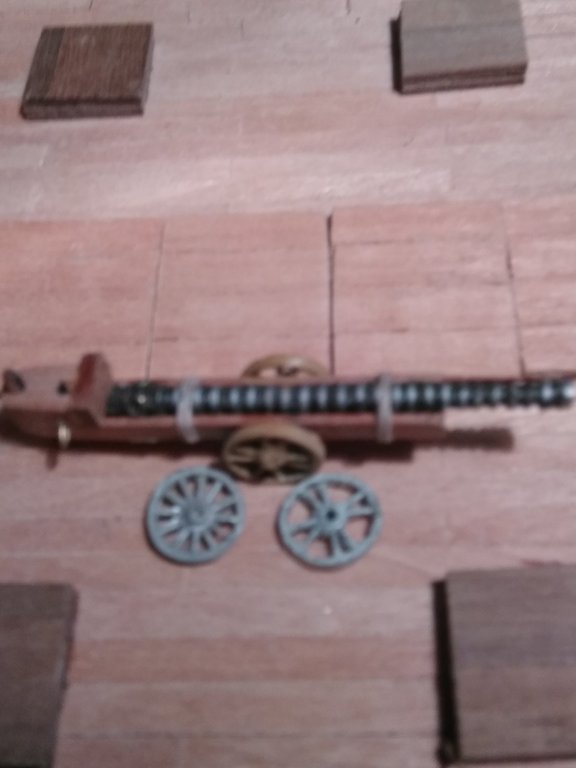
Found some suitable wheels on a 15mm scale cannon model. Now modified down to eight spokes, so have a nice variety of cannon to match what was found. Next is lower hull outer planking, while I play around with the castle decks....😀
-
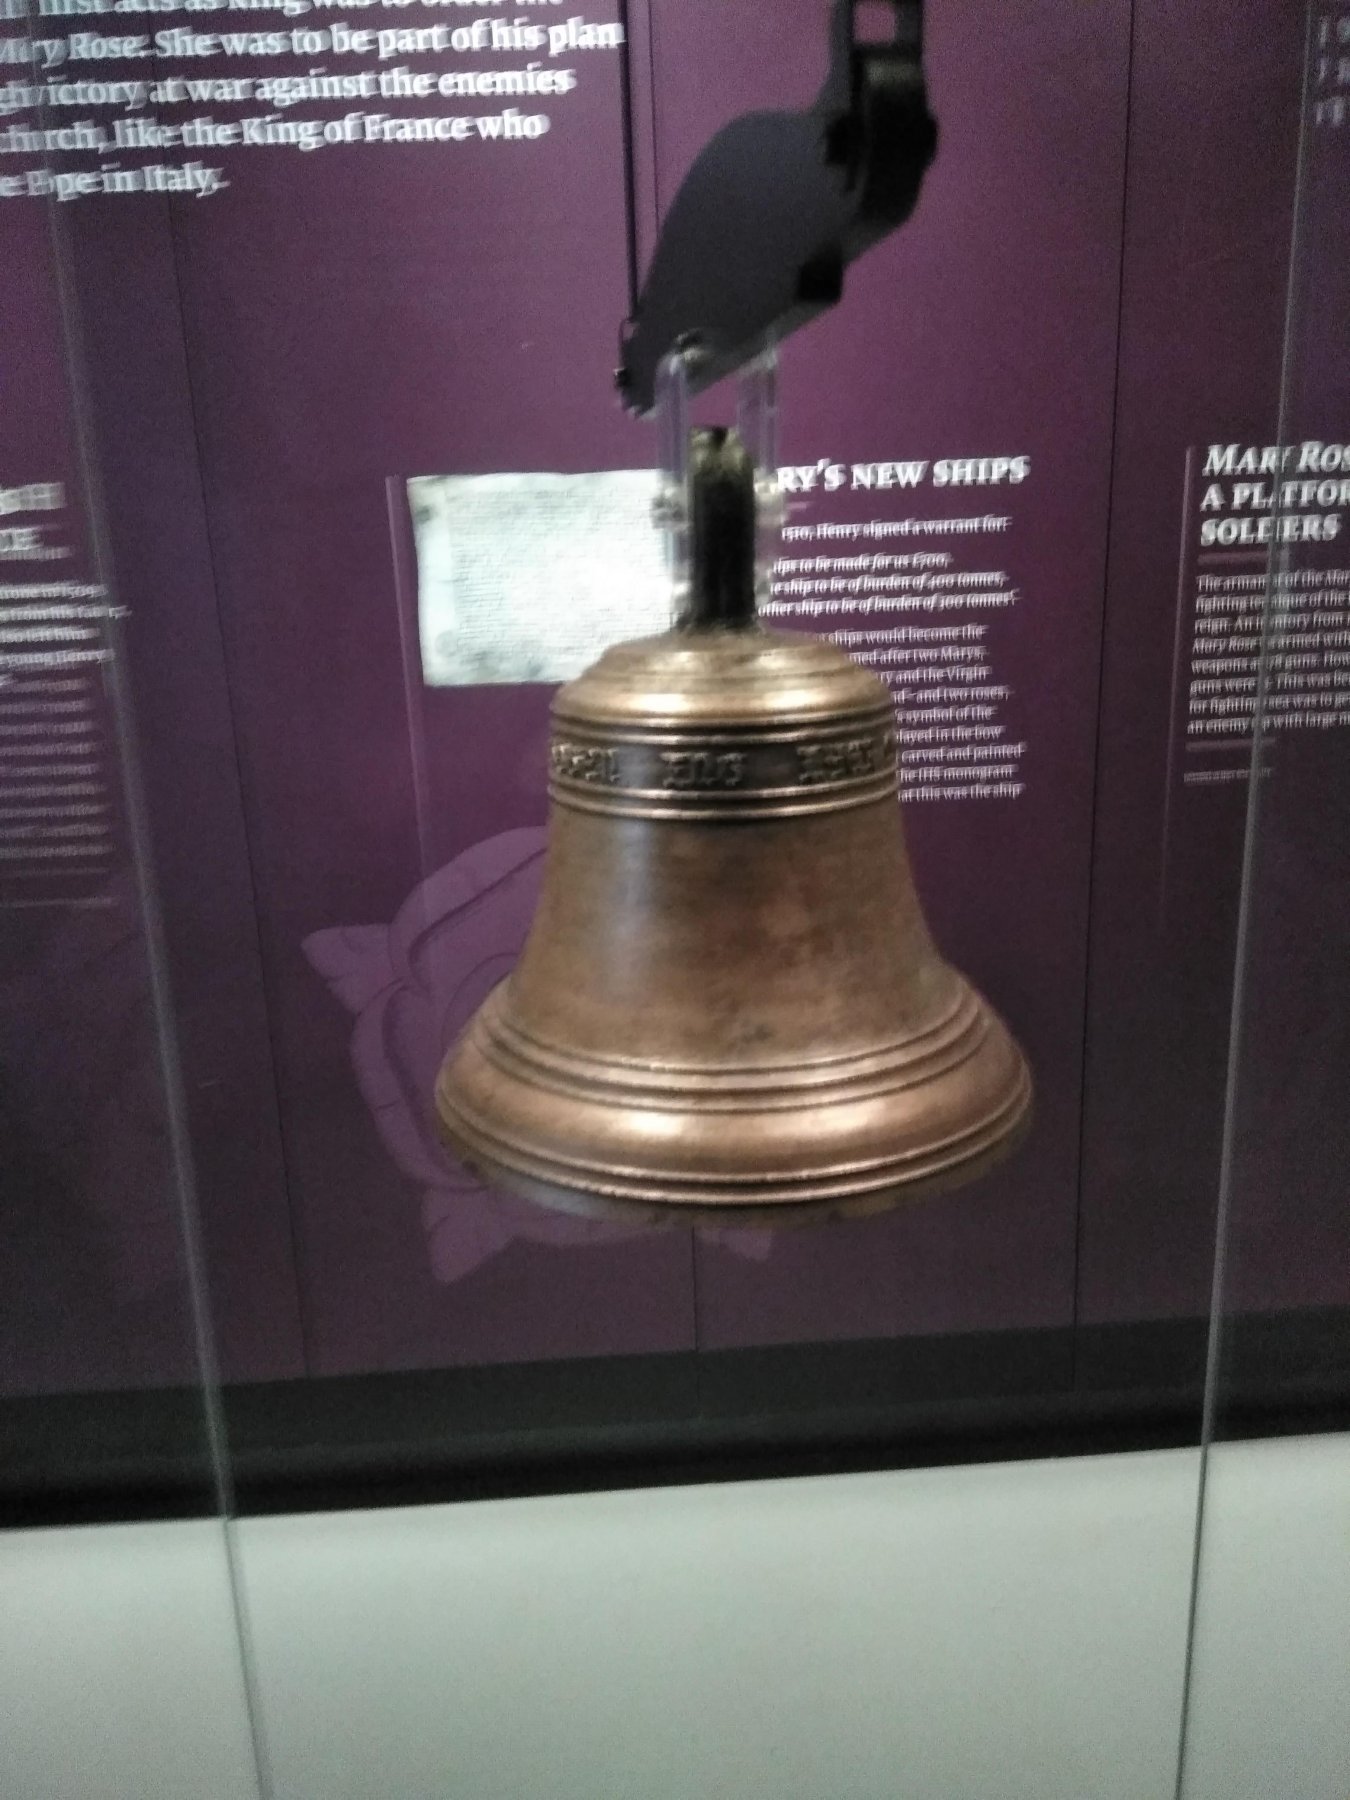
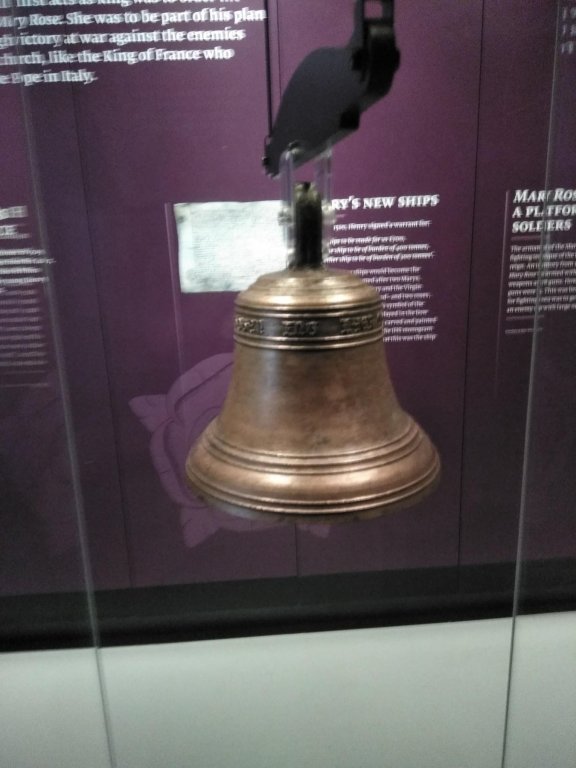
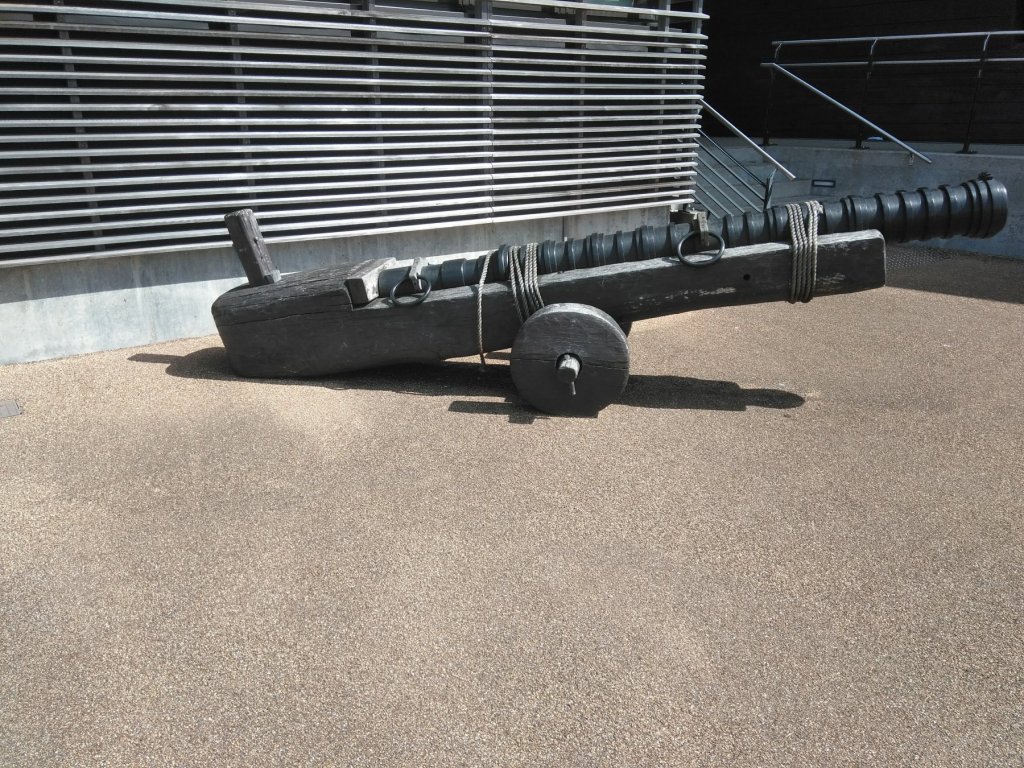
first layer of planks fitted up to the main deck.. I started to plank the deck and add the stairs to realise one of the bulkheads stops the stairs fitting, so managed to get a drill down to clear out the offending wood... A visit to the museum last week straight after a tour of the Victory showed the planking was... waney edged.... no straight lines on any deck plank, unlike Victory! Trenails were random, almost as though they were only used when needed. The same applied to the guns on show, no two carriages alike! However I did spot some holes where the metal had gone, which suggested ropework to secure them, as well as a missing plate where no doubt wood had worn away when fitting a wedge to secure the breech to stop gasses escaping. The hard part will be making a few spoked wheels in 10mm diameter, so far my attempts have been miserable failures, so if anyone knows of a source of eight spoked wheels, help! The solid wheels in kit are plywood, and have a dark centre, so have decided to replace as per the iron gun model below. The brass gun carriages have no clamps or holes above the trunnions, just deep cuts, although there are holes just below... no cross beam there, so perhaps they were roped down like the iron cannon??? who knows...maybe the deep cuts were enough... I noted the kit has open framed fighting tops, however the existing one is fully planked, so will do them all like this when building the masts. The bell is not supplied in kit, but I want to add one. One thing not mentioned is a steering method, the rudder is there, but no ships wheel etc. Presumably this would have been on the main deck near to the bell? Now starting to produce framework for the upper castle decks, and realise if I do this, the masts will look short... and I have already cut the lower sections to make deck hole locations... need a trip to the model shop....


-
Fortunately spotted this before planking, bulkhead 11 has its slot mixing up with the mast slot, and I didn't think the mast would be very stable, so added a filler block. Plan sheet 2 suggests a cross member for what is currently the top rear deck, but no parts or listed in the guide. This may be because there is a hatch and ladder close by and it may be in view, but as I intend to add more decks, I have made up one to help stabilise it. Might keep the hatch and ladder there and make another couple to come down from the other decks.
-
I have had a couple of kits now and they have a rather poor cradle supplied (plywood) which I am not going to use....I have some nice oak and can rout up the edges, but does any kit supplier give a nice base with their kits? I wouldn't have thought this would cost a lot extra to add in....
-
hopefully I will be able to get dimensions on this, photos in the article suggest about 3 feet long by about 18 inches. I will be bashing the forecastle as I prefer the Anthony version to the one in the kit, although that is supposed to be exaggerated by an extra deck... https://www.telegraph.co.uk/news/2016/07/19/the-real-rose-mary-rose-ship-emblem-discovered-500-years-on/ There is also a suggestion that the ship may be longer than thought... hopefully not as I don't fancy trying to lengthen the kit! http://news.bbc.co.uk/1/hi/england/hampshire/3552860.stm One thing is not obvious from my sources though, which is how the guns are secured.... presumably tied to the hull or they would be rolling all over the place in a heavy sea! I was thinking the breech loaders could be permanently placed as you wouldn't worry about needing a recoil to help sponge out the barrels and reload, just change the breech and clean it later in port...
-
build log started... the new museum is brilliant, worth a trip as its all dry, with the ship on one side and what was found in each area more or less opposite, nice cabin representations of the carpenter and purser from memory ( which is why I am going again...)
-
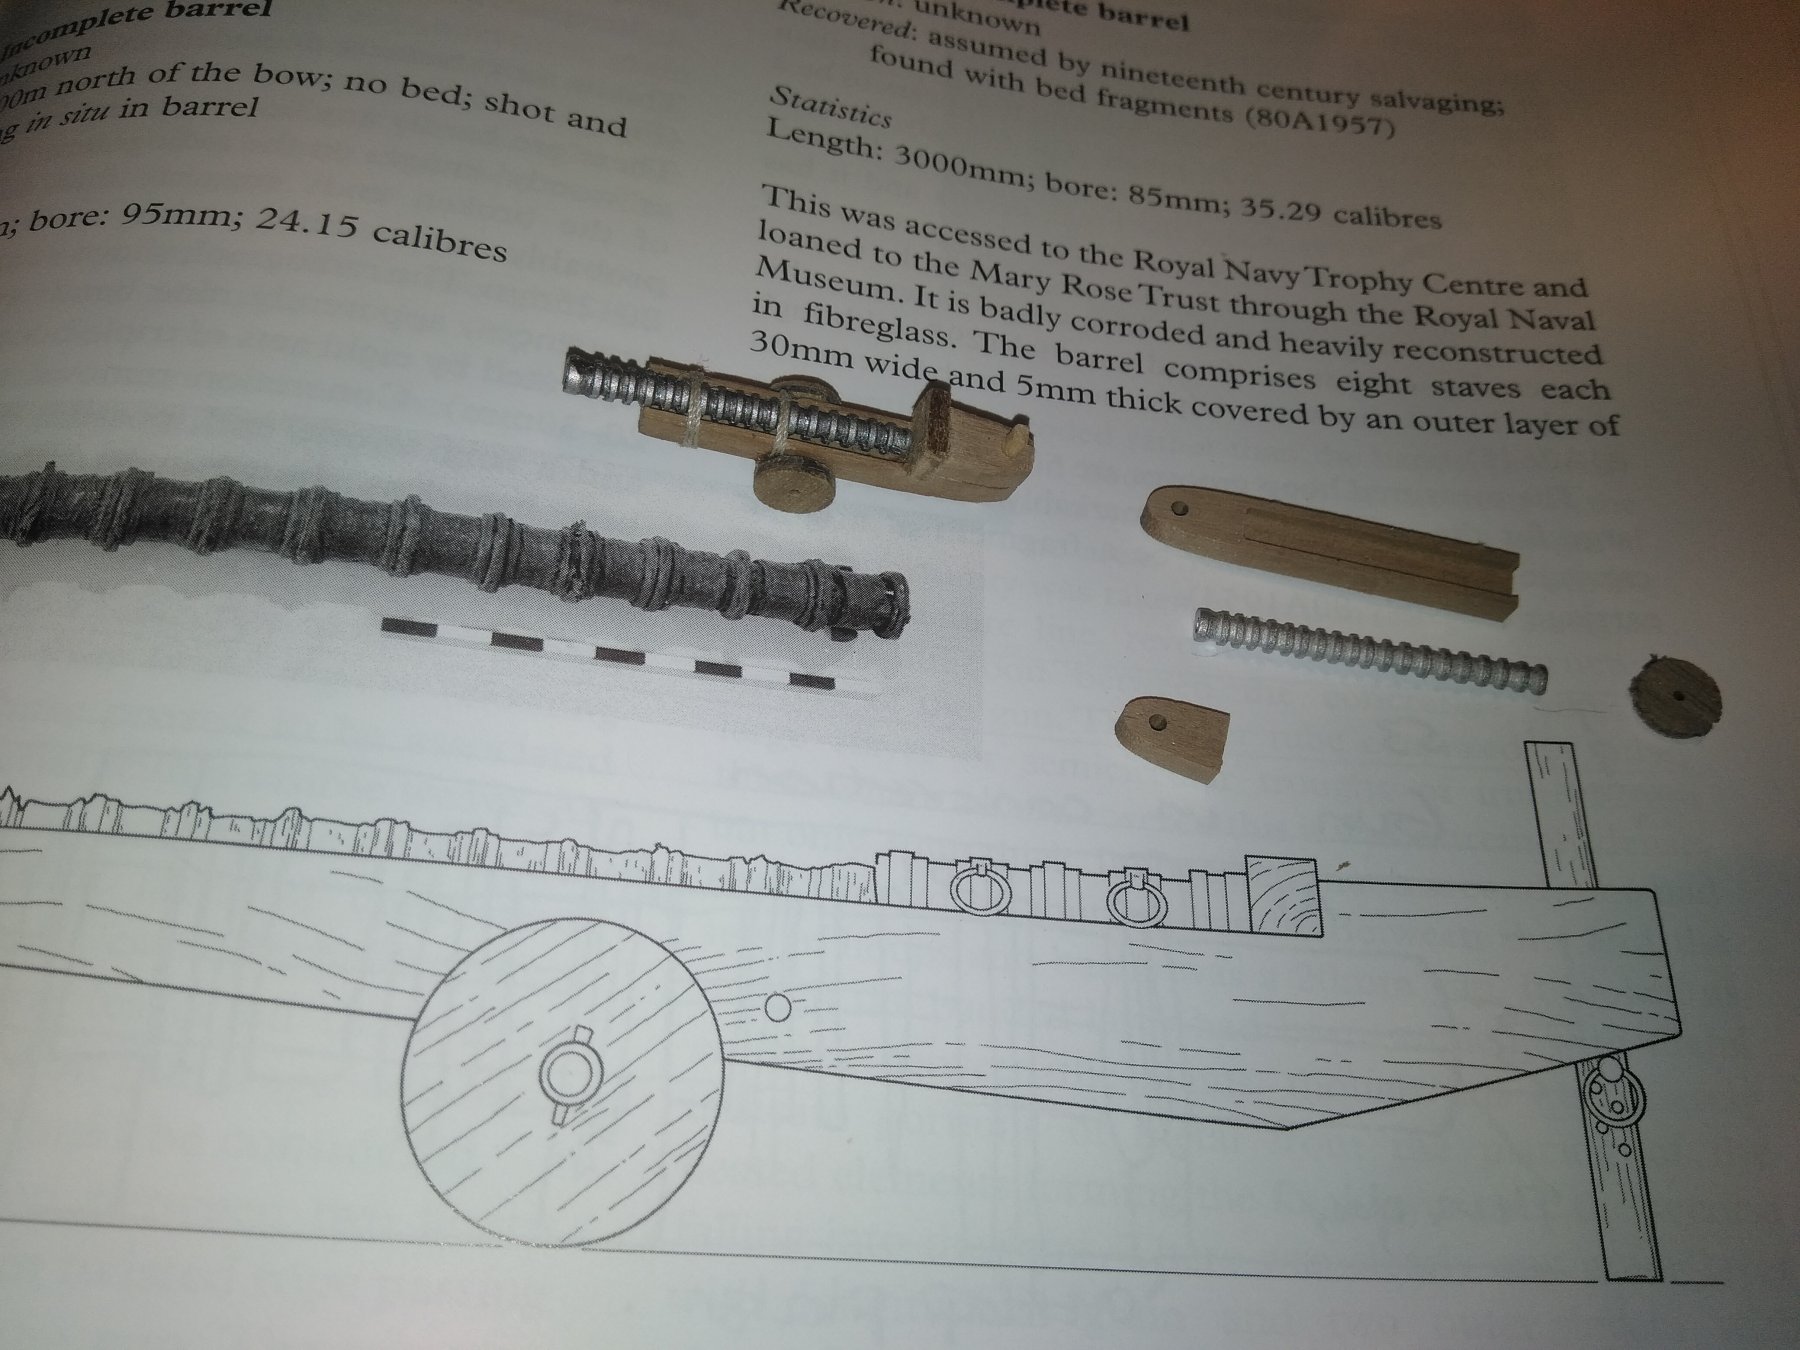
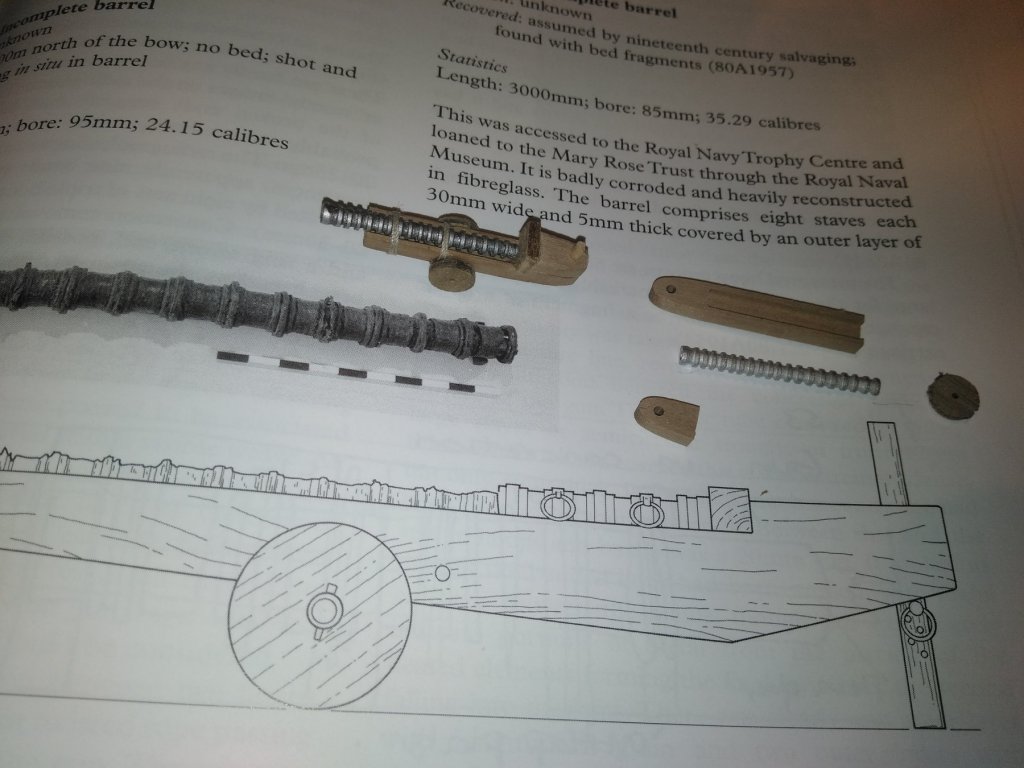
hi all, this will be my first ship log, so be gentle with me! The reason for the build is a fascination with the ship, which I saw raised from a long distance many years ago and was better to see on tv that evening! Opening the kit, I found an error in packing, two of one sheet and a missing one, (easily done I guess) a quick call to Jotika and Stockton Modeller got me the sheet on the way, excellent customer service gentlemen, despite the kit being five years old apparently! I am building to the volumes published by the trust, and using the Anthony roll etc as further references. Off to Portsmouth for a visit to double check on some of the gun carriages and take a look at the recently raised 'tudor rose' figurehead. Hopefully the kit will not need too much modifying to match the archaeology. One thing I noted during a dry run on the bulkheads and lower deck guns is that the stern ones are angled and appear to go through the rear bulkhead... need to take a look at this before the glue goes on! Forty gun barrels in the kit, the Anthony roll lists seventy guns, so will need to work out if the 'missing' ones are just handguns of some description...or were on the top deck and helped sink the ship! This weekend I will start on the frame and get some photos up... will need some fine wire to add the lifting rings to the barrel, photo shows original parts and (nearly finished) smaller iron gun. The carriage parts have a rounded end, so squared them off and added a profile to the bottom of the carriage as per the book..
-
I am in Portsmouth as of 19th May, so will be at the museum to check up on gun carriages etc... if you want any info whilst I am there give me a shout on here.. Before I start my build log, I spotted a double sheet of ply for one deck and the rear deck sheet missing... I would like to thank both Jotika and Stockton modeller for an extremely fast response to get me the missing sheet. Can't beat a good customer service! I have started building a cannon or two to stave off the boredom, and got the frames dry fitted together until the last sheet arrives. the rear gun support seems to direct the false cannon barrel through the rear bulkhead, need to take a look at that..
-
I have the kit and a lot of the reference books and was hoping that the forecastle would be raised before I started... having waited far too long for that, I will be joining you in making a start!
-
My First Attempt At Metal Blackening
Chidokan replied to Osmosis's topic in Metal Work, Soldering and Metal Fittings
one method I use for blackening iron sword guards is to apply shoe polish then put over a gas ring. I am lucky enough to work in a forge part time, so can use that for larger objects, but would think the best bet would be to use gun blue as a base and work from that? -
I find the best thing I use is the spools for leader material... I store my rigging rope on them. The serrated scissors they supply for cutting deer hair seem to cut better when trimming off ends near blocks. The rest of the tools I wouldnt use, although a cheap vice, not the spring type, is useful for holding small detail parts when doing carvings or similar. Best thing I have is actually a spring grip probe from an oscilloscope... brilliant for getting in to pick up the end of short lengths when they are hidden inside other rigging!
-
I fancy building a rope walk.. where did you get the gears from? I certainly would like to see this as it goes along, so keep posting...
-
two things for me.... I live within driving distance of whitby and hartlepool, and we have local famous boats like Endeavour (done already) and the Redcar and Whitby lifeboats, along with Trincomalee. I wonder if the linked shops would do well selling replica kits, especially the lifeboat? I did think that the RNLI could make money from this if they did a series of early lifeboats, same at Trincomalee museum? Would you buy one? One of these days I will get around to modelling the Zetland, kit available or not...
-
from my friend in Korea.... Anyways, this is one good website I found: http://xn--v69ass944a3gcpygusa09vqud1t9b.kr/3story/story_01_2.html Also, you have found more useful pictures when using Korean to search on google. Please try this: https://www.google.com.sg/search?q=%EA%B1%B0%EB%B6%81%EC%84%A0&espv=2&biw=1152&bih=592&source=lnms&tbm=isch&sa=X&sqi=2&ved=0ahUKEwiq-NahqNfRAhVMM48KHQG2BHcQ_AUIBigB#tbm=isch&q=%EA%B1%B0%EB%B6%81%EC%84%A0+%EB%8F%84%EB%A9%B4 If this does not work, try copying and pasting this into the search bar: 거북선 도면 It translates as “Geobukseon drawing”, Geobukseon is basically the turtleship. from the links, looks like this ship is the equivalent of the mary rose! If you use google chrome, it will translate into english (badly, but you get the drift!) http://www.geojenews.co.kr/news/articleView.html?idxno=8300 This has internal shots... I like the hats hanging up! Hope it inspires you to get back to the workbench! http://blog.daum.net/_blog/BlogTypeView.do?blogid=03c63&articleno=13225556&categoryId=559478®dt=20071109213722
- 99 replies
-
- 3
-

-
- turtle ship
- korean
- (and 1 more)
-
The engine is a Cummins VT8-370-M, built at Columbus engine plant on 28th July,1966. (and yes you can still buy parts for it... )
- 162 replies
-
- 5
-
-
- dirty dozen
- fishing
- (and 2 more)
-
thanks for engine info, can let you know shortly.... I was thinking of doing 3D models of the engines I make in 1/72, as there is a couple of boats in that scale.... I repowered an old MTB a couple of years back and airfix make the kit, so would like to make it for my desk at work.
- 162 replies
-
- 6
-
-
- dirty dozen
- fishing
- (and 2 more)
-
just walking past a desk at work today and spotted a turtle ship in a case (will send a pic later) that looks like the kit you got... A chat revealed STX, a Korean shipbuilding customer, helped build either a replica or rebuild ( we didnt know which). It may well be the one in pics on internet. I have a couple of contacts there, so will see if I can get some pics of the build.... however unless you intend to copy the modern one exactly, I dont think you need to fit a Cummins K19 engine, which is what they have done to avoid using the oars! (reminds me of the 'Endeavour' copy at Whitby )
- 99 replies
-
- 2
-
-
- turtle ship
- korean
- (and 1 more)
-
are you making the engine? Reason I ask is that I have worked at Cummins in the marine section for over 30 years and am wondering which one it is!
- 162 replies
-
- 5
-
-
- dirty dozen
- fishing
- (and 2 more)
-
I would like to see 'crew members' so as to help give a clue as to scale.. I find some on wargames figures websites, but the general kit scales do not often match these... be nice to have sailors looking like they are altering rigging etc.
-
hi Klimi, I bought the book and my kit has very little similarity to it for the upper deck, so I am going to copy the book, and also throw away the stern section as it is not even close to the shape in the book! I think the mast holes in the deck are about correct, but I also have a 'spare hole' that does not relate to a mast or hatch...fortunately the deck planking can cover this. The kit guide does not show enough detail, so thanks for the advice about buying the book.
-
Caroline's bottom
Chidokan replied to GrantGoodale's topic in Building, Framing, Planking and plating a ships hull and deck
and you can still buy pease pudding.. as per the nursery rhyme.. Pease pudding hot, Pease pudding cold, Pease pudding in the pot - nine days old. Some like it hot, some like it cold, Some like it in the pot - nine days old.