Thunder
-
Posts
536 -
Joined
-
Last visited
Content Type
Profiles
Forums
Gallery
Events
Everything posted by Thunder
-
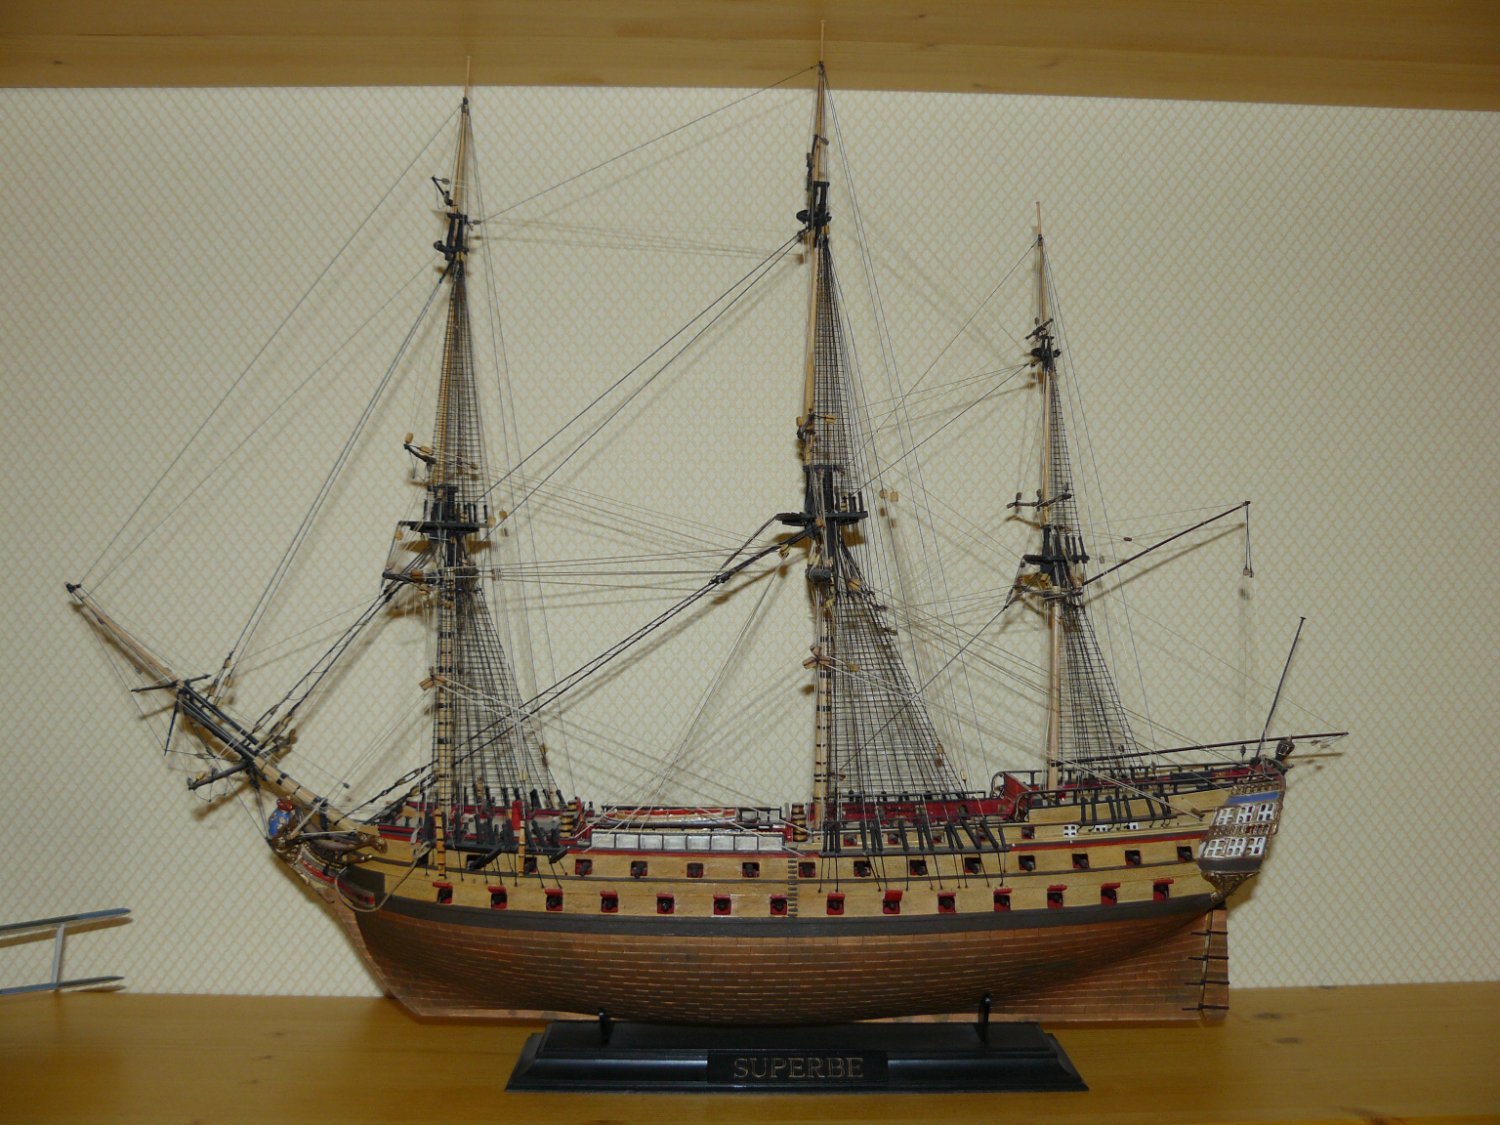
Hi, when the masts are tending to bend i would rig temporary stays, pulling forwards to the correct tension to stop the mast pulling backwards as you progress with the shrouds. Below is my Superbe, she has suffered a little with thread shrinkage over the years but is still on show after 25 years.

-
This is a delightful little model that does not get the attention it deserves. I built this and was one of the most enjoyable builds i have completed. Hope you enjoy as much as i did.
-
Always concerns me, with regards to attention to detail, when the kit company does not realise what way the flags would be pointing when under sail!
-
If you are going to do frames at least make it look something like. Those frame spacings would probably be ok for a merchant man but no ship of war had spacing like that.
-
Hi Tim, Mine had the leading edge angled for a third then the centre portion rounded if that makes sense. Rudder slightly tapers aft but only the lower, wider section. The top section is the same thickness through out. As shown, the rudder does not reach all the way down to the bottom of the keel, believe to try to prevent being unhinged if the ship touched the ground. sorry for slow reply. Adrian
-
I have kept this class of vessel in mind since 2003 when model boats magazine issued free plans of 'Blazer' drawn by Peter Danks. Looks like a great kit
-
I think that will look better than the regular spaced shrouds and have seen exactly like that in some sources. I would always try to get the straps down to the wale if possible. I would still say that this is a good representation of speedy. Items of rig would change through a ships life as captains changed things to try and get a better trim and improve sailing quality.
-
Remember the shrouds do not have to be equally spaced, the first one should be in line with the mast but the others would be spaced tosuit the gunport so can make that gap larger if necessary if would interfere with the gunport lid.
-
Thanks all, great information. I have the same issue on my Proxxon FET and assumed it was a fault of the saw. However, practice cuts with lime and oak were fine. When started to cut the boxwood, brought specially for my build, had horrible issues. I did make a blade change which helped a little but am limited with choice of blades with the Proxxon.
-
Hi, I am thinking that could possibly get away with just moving the belaying racks and then making sure you space the shrouds / deadeyes so they do not end up in front of the gun port. Looking at mine those belaying racks look a little forward anyway. The cutter is a nice rig to complete just worth noting that Bill Shoulder got the bowsprit rigging incorrect, i think i mentioned it in my log.
-
Hi Tim, Finally caught up with your build, and it is looking great. However, just wanted to jump in to avoid a potential issue regarding the gunport positions. Are you going to make the deck layout match the gunports? My concern is that the position of the belaying pins is arranged either side of the gunport. You will have to move these aft to match. If you have to do the same with the chain plates, external to the hull, then this will effect the shrouds. You will then have to move the mast back to match. It does then mean the bits and gratings at the base of the mast will need to move. Just wanted to make sure you considered this now rather than find it when you get to the rigging stage.
-
Proxxon --- as far as I know don't offer a sliding table. I made one and the slot is the width of the blade so no tear out, no backer board needed. I would love to see your sliding table, can you do a feature on it please?
-
Perhaps we should take into account one or two critical factors. Where you live, where kits have come from and where stored. If you consider i have not been able to cut the lawns since September due to it being wet then you could imagine that the atmosphere is damp and wood unlikely to dry out.
-
Hi, i have a thing for buying old kits, if you check out my Speedy build this was a kit from the early 70's. It was actually the best strip wood I have worked with so far. The bulkheads were awful, but not due to bad wood, they were poorly cut. On the other hand i have many new kits. Caldercraft's Chatham's wood was excellent, Caldercraft's Pickle was awful. They replaced the deck planking but the hull planking was brittle and did not hold an edge. To be fair to them, their advice was not to store in a central heated home and have an open source of water in the room for humidity if room is heated. Not sure yet if this helps but had no issues so far with kits since putting an open water bottle in my store. Of the old kits that i thought the planking was awful, I have looked in the new versions and found not much better. Therefore agree, the choice of wood species is the main issue.
-
Looking for Aeropiccola Serapis instructions
Thunder replied to pinel's topic in Wood ship model kits
Hi, As regards the instructions they are limited as a separate booklet, most are on the drawings, but in Italian. What there should be is a little book which was described as a nautical dictionary. If read it will find it has all the translations from Italian to English of the comments on the drawings. I disagree with Jaager in a lot of what he has said. The wood is all lime and generally good in all my three Aeropiccola kits. They were, and older kits still are, designed as single planked hulls. Consequently there tends to a be a greater number of bulkheads than you would get with another manufacturer that has designed the kit with second planking. With their Nonsuch kit they also provide preformed bow sections to aid planking. They also had other innovations such as cutting a rabbit at the bows and strengthening rods through the bulkheads for strength and ensure alignment. Yes, some of their kits were poor but from what i have seen of the Serapis, the Indiscret and Nonsuch these could build into great models, with some care. They do not compare with what Chuck has created recently or with Vanguard models but for their time were ground breaking. -
Hi Hamilton, just catching up with your build and wondered what you had decided regarding the stern. Was thinking would be difficult to modify now that the transom lower horizontal moulding is in place. I know this will sound drastic but i would consider cutting the first planking back to the next bulkhead. Then instead of repeating the removed first planking install two solid blocks to the correct shape. This will make an even better base for the second planking. Looks very difficult to shape that last bulkhead now with your transom in place unless do carefully with a rotary tool. Enjoying the build so far, looking good.
-
Forgot to mention, Keith Julier did do a review of the Amati kit, may be worth getting a copy of that.
-
Surprised no one has answered you to date, perhaps Bounty is no longer that popular. Your best bet would be to review builds here before making a decision. One thing i would say, not knowing your level of experience, is that the Bounty hull is not builder friendly. Having looked quickly for images of both that the Amati version looks more realistic. I have only built one Mantua kit and was not impressed. Have you considered the Jotika / Caldercraft kit? May be worth a look at. I have this in my stash of kits to build and looks to be a good kit.
-
I am building the caldercraft Diana at the moment but i would not advise it as a second kit. If I had not already of had it in my stash I would of gone with the Sphinx from Vanguard models. It is still rated as an experienced builder but the build methods and instructions have improved dramatically since the Diana kit was designed.
-
Hi Jobbie, was a little confused for a moment as you mentioned 'lifts' which go to the yard arm ends and are combined with the t'gallent sheets. You are working on the 'tyes', (which were used to lift the yard up into position, just to confuse things). Just a point but i am sure the trucks were provided in my kit of HMS Supply. If not i tend to use glass beads which can be brought in black at different sizes.
-
I wouldn't be disheartened, don't you think that we have all been here. You can use the fill and file method as Roger suggests but depends on what you want to do. If you do that you will be in a similar place on your next kit or use it for learning, post on here for each stage and questions, make this kit great and then the next even better. Look at it this way - twice the value in one kit.
-
Decision is, of course, yours, but the best way to use this kit for learning is to make it how you want it rather than just except what you have already done. I think, for the cost of some replacement wood, it is worth stripping and rescuing. Then you can be proud of what you have achieved. I looked over your build and saw the below: Looks to me that kit bulkheads wanted some work and did not help you from the start. The second and fourth being either placed too high, in wrong place or too short.

-
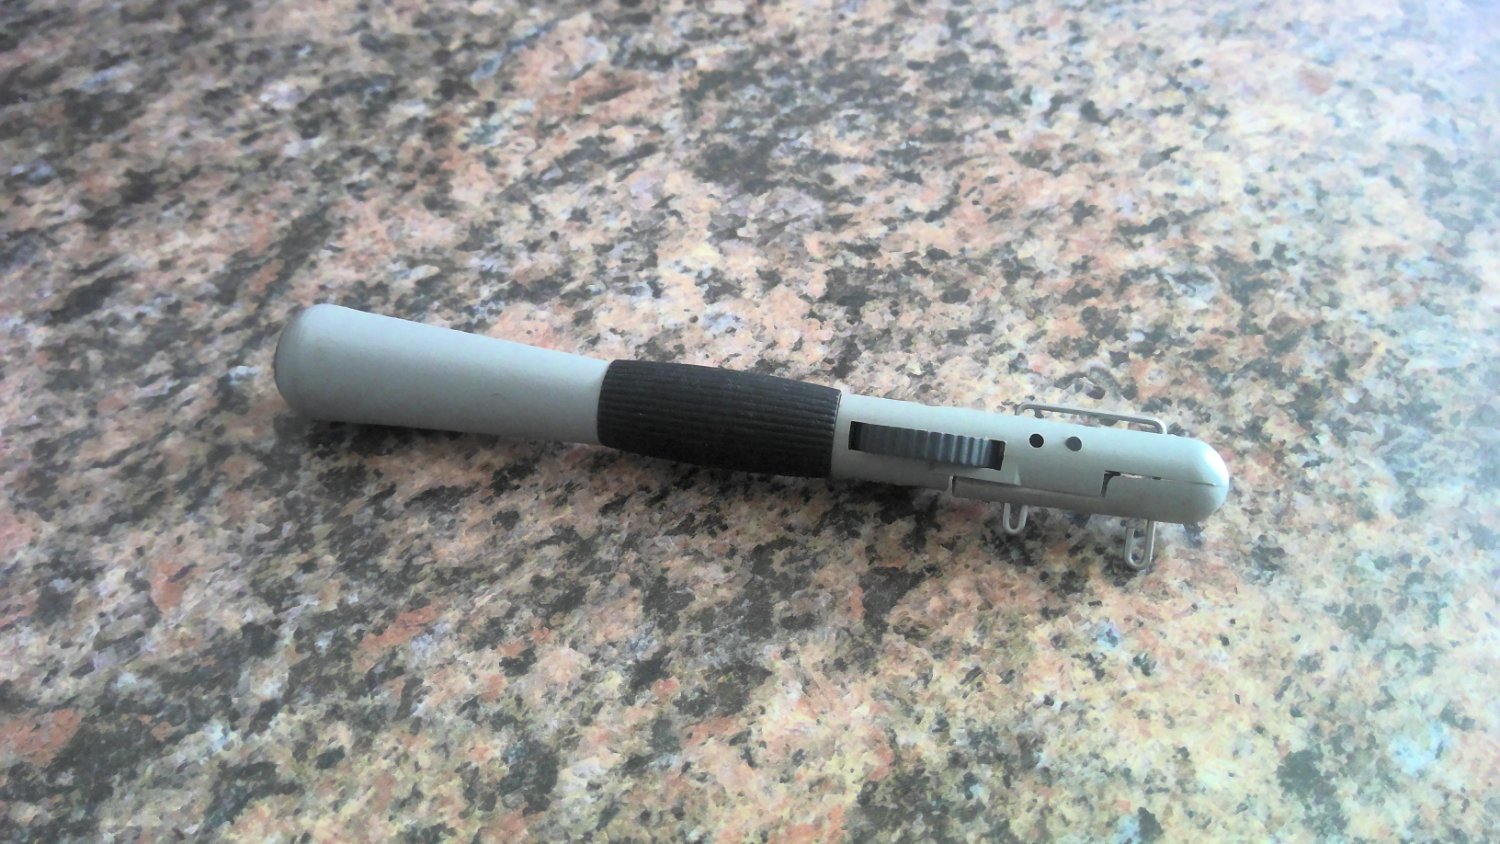
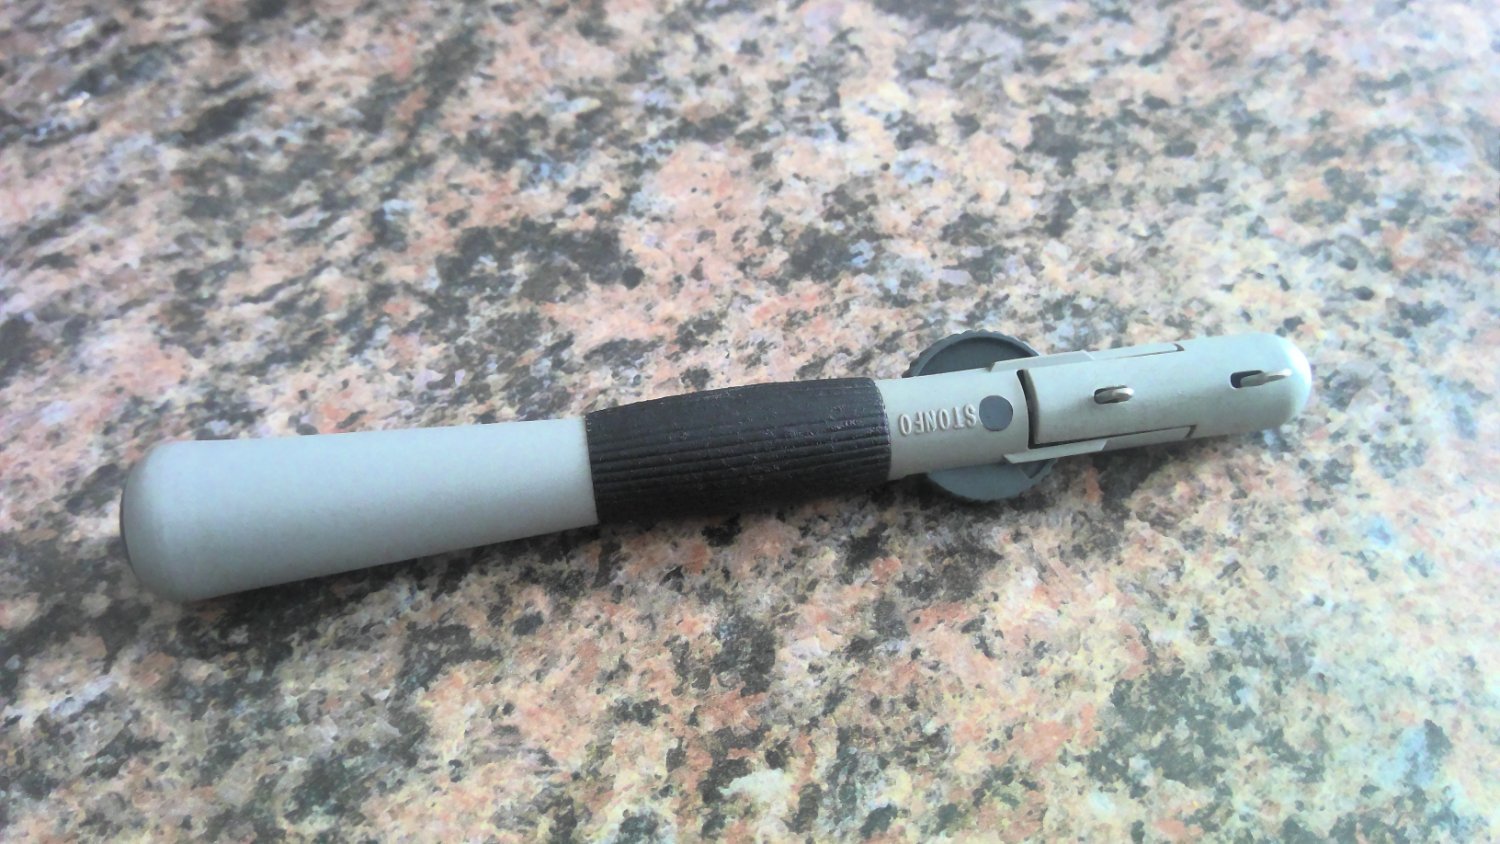
Interesting knot tying gizmo.
Thunder replied to Bob Cleek's topic in Modeling tools and Workshop Equipment
Hi, why have i never thought of this, I have three of these that i use for angling. Use them for tying on spade end hooks. You can get much smaller ones than those shown here that might be better. They are sold in any angling shop in the uk. The 'Stonfo' version has a much better thumbwheel position and handle is free rotating so easier to hold hook and turn device round.

-
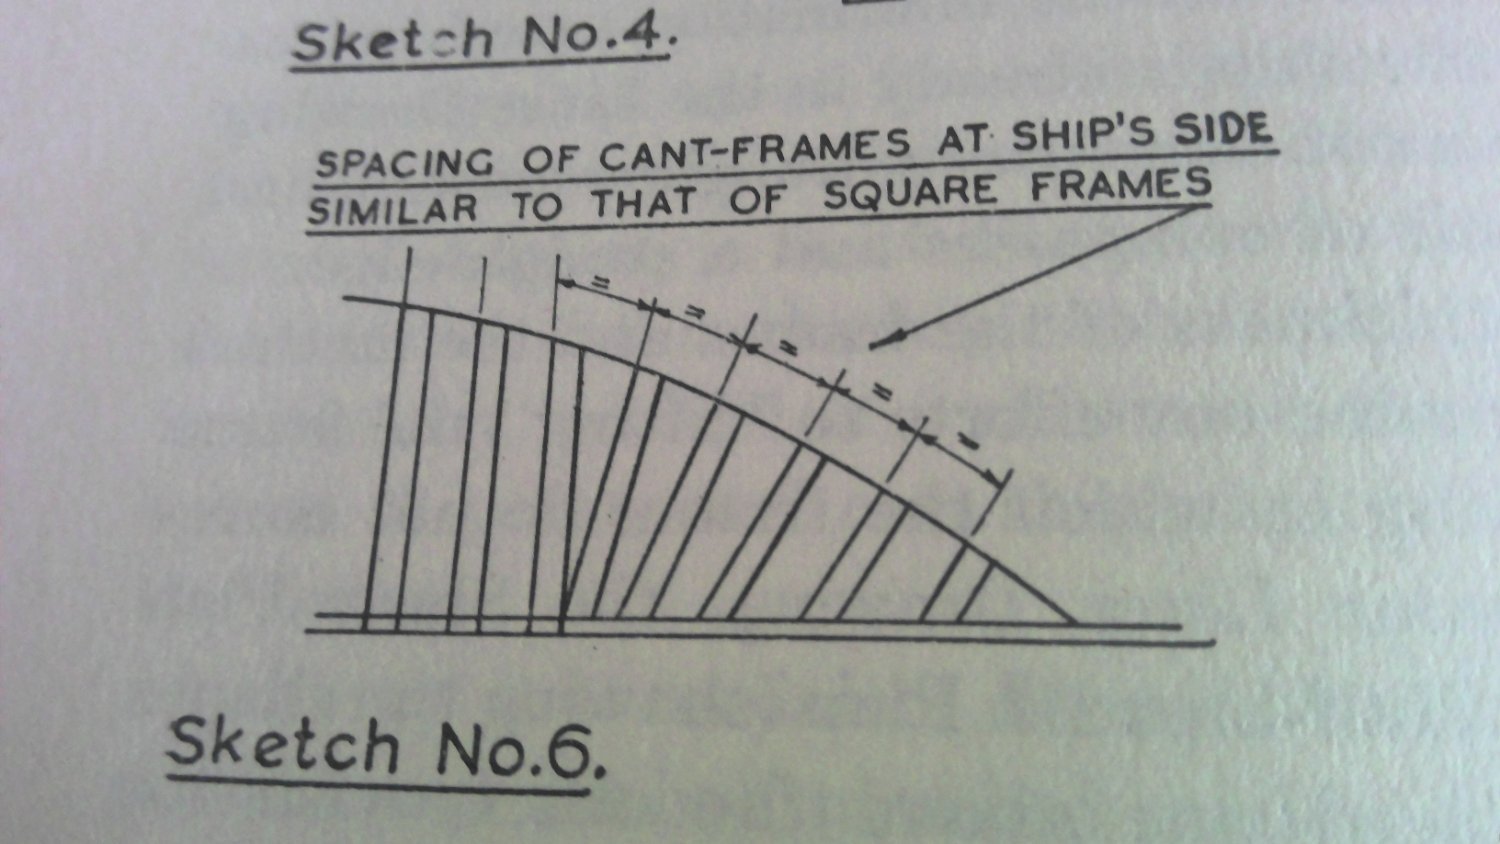
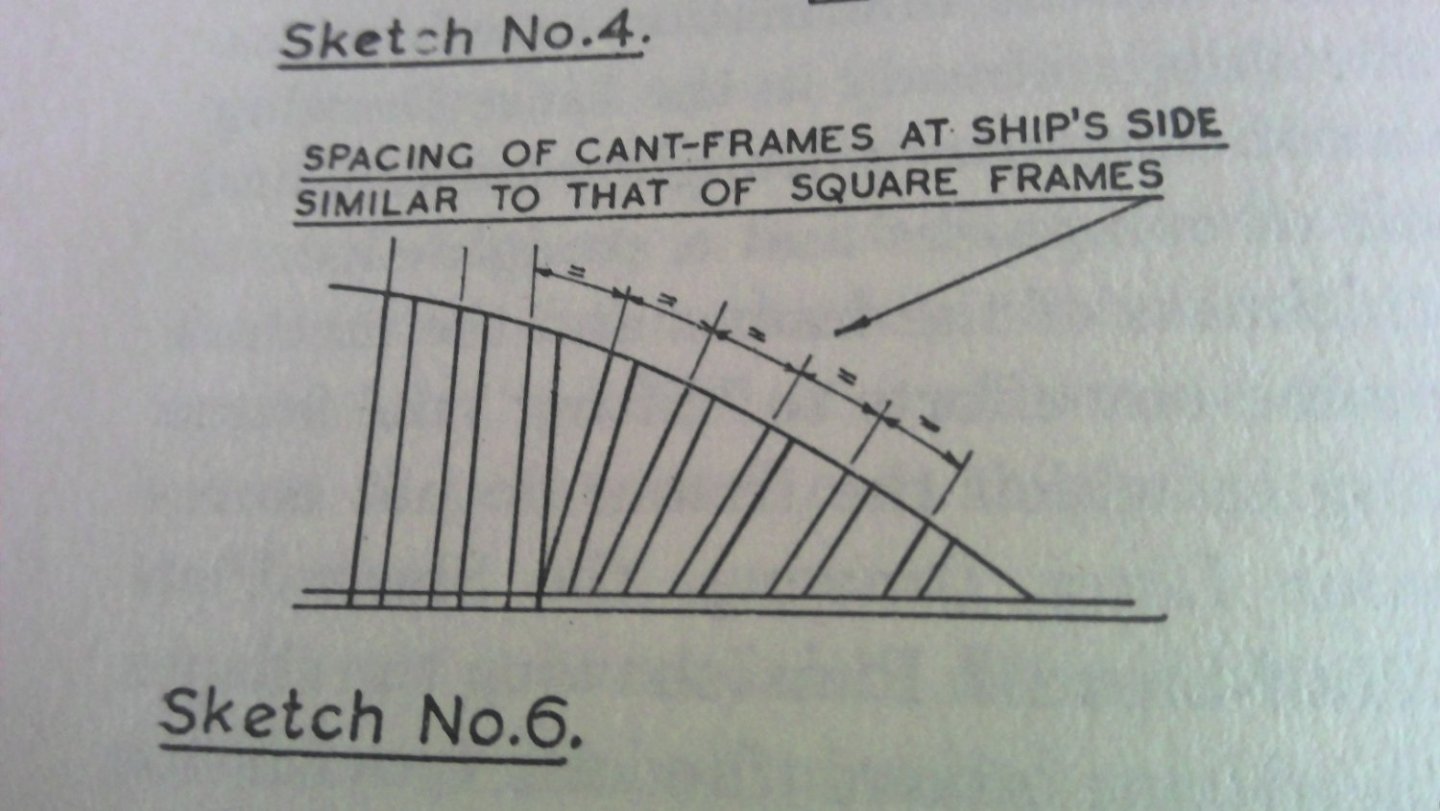
Hi, the bevelling, dependant on hull shape, can, on occasion, need to be quite severe. If the bulkheads have no char i will make the edge nearest the centre of the hull with black marker pen. This is a great 'tell tale' that you have not taken too much away and altered the bulkhead shape. Worth remembering that on a real ship the bulkheads at the bow, and sometimes stern, would not be set square to the keel, but be at an angle, called cant frames, therefore, on real ships, would not need the extremes of bevelling you do on a model. If you look at the above and imagine the cant frames as square to the keel, you will see how much bevelling you actually need to do. If you have not bevelled at all then your planks are on point contact and that will be why they are pulling off. Whether i soak the wood will depend on the degree of curve required and the wood's flexibility. I generally, taper the planks, soak, clip in place, let dry, glue in place. I only normally put a taper on the edge, along its whole length, for the second planking. Some times i will soak for a few minutes, shape with a hot iron, which also drys it, and then glue in place.
-
Hi, think might of been better to remove the pins before applying filler. Going to make it difficult to sand.