popeye2sea
-
Posts
1,935 -
Joined
-
Last visited
Content Type
Profiles
Forums
Gallery
Events
Everything posted by popeye2sea
-
The laniard is started with an eye spliced through the heart. In practice as each turn was hove taut it was nippered or seized to the previous turns and additional turns were taken until the laniard was expended with the end either made fast around the stay or the collar. Another way to secure the end was to seize it to one of the turns.
-
 Here are the flaked coils that will go on the port battery cannons. Since it is much easier to make coils off the ship, I am making these first. The long tails will be rove through the blocks, adjusted for length and then bent to the becket on one of the blocks. The whole assembly can then easily be hooked to the eyes on the gun carriage and gunwale.
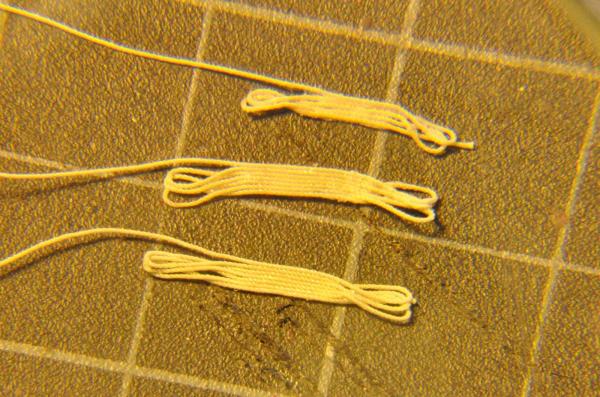
- 196 replies
-
- 8
-

-
- plastic
- soleil royal
- (and 2 more)
-
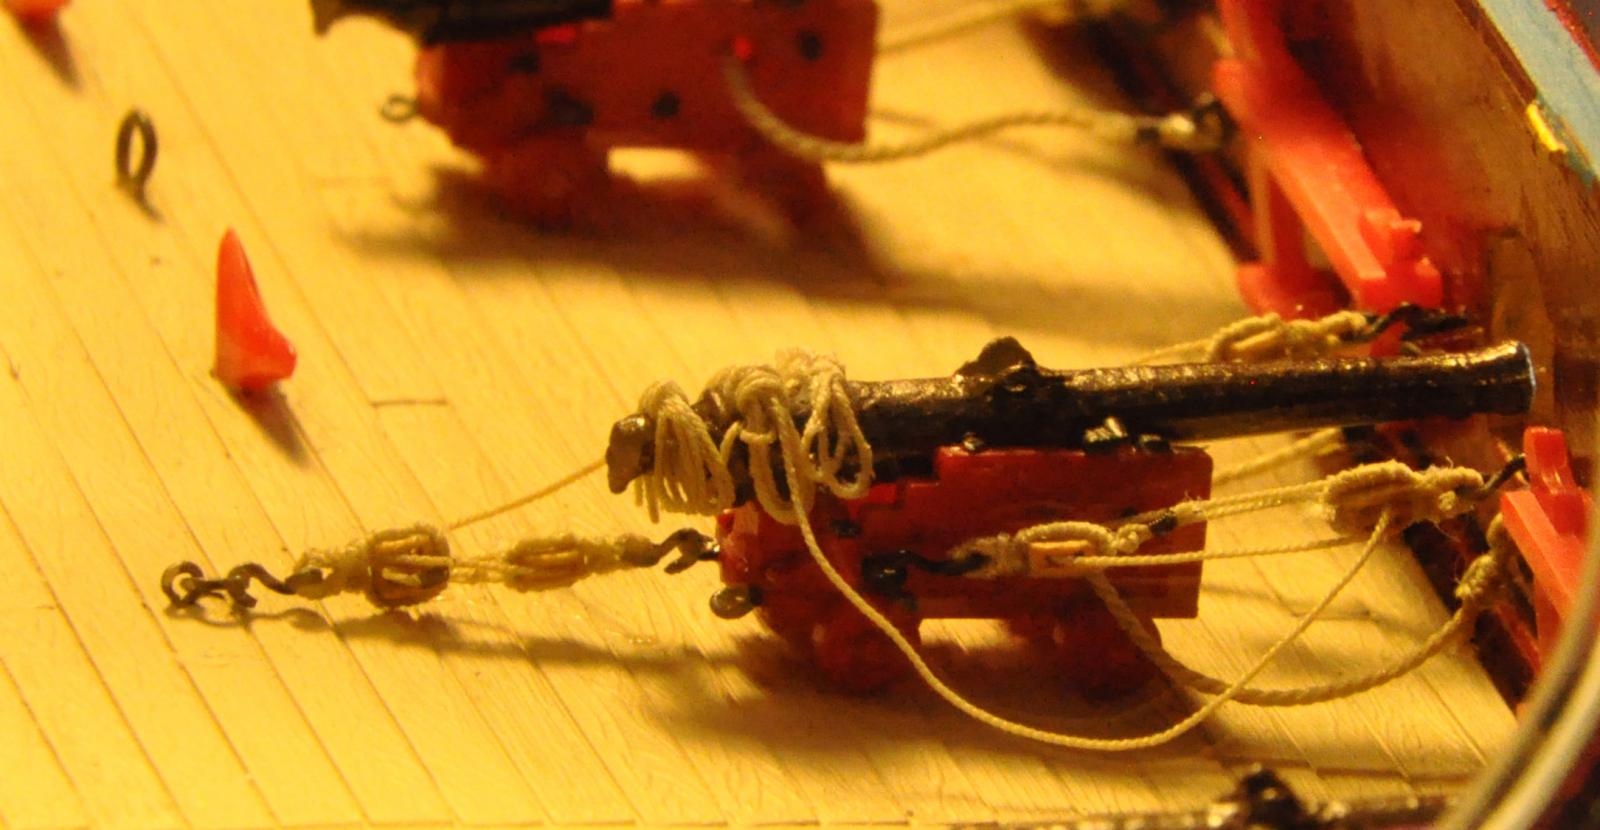
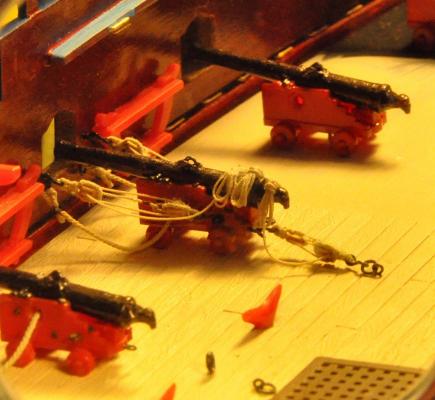
OK, so I want your opinions. I am rigging the cannons in one of two ways, depending on which side of the ship. The starboard side will be run in and standing by while the port side will be run out and ready to fire. Below is a picture of one of the starboard battery guns. The question is this, do you think this is a reasonable depiction? Should I change the way the tackles are coiled and stowed? I also added to my collection of specialty blocks with the clew garnet. The clew garnet is the clew line block that is lashed into the clew (lower corner) of the fore and main sails. This block was made by cutting one of Chuck Passaro's 3mm blocks in half and gluing those halfs onto each side of a 3mm block. This forms the cheek at the upper end of the block. Some filing and sanding and drilling of a hole through the cheek to take the strop completes the block.


- 196 replies
-
- 14
-
-
- plastic
- soleil royal
- (and 2 more)
-
Small bits of flesh and blood?
-
Was not sure if my saying that would be taken as a bit off-putting. Sometimes it is hard to know if one is crossing a line or not. But it really makes a big difference in appearance.
- 1,756 replies
-
- 1
-
-
- constitution
- constructo
- (and 1 more)
-
The braces were not spliced to the stays. They were seized. There is a difference. Splicing involves tucking individual strands of the rope under and through the strands of the stay, while seizing involved lashing an eye in the end of the brace to the stay. Each gives a much different appearance to the finished work.
- 1,756 replies
-
- 3
-
-
- constitution
- constructo
- (and 1 more)
-
You should make your hole diameter 6.4 or 6.5 mm, based on the drawings you have shown above. The variation in the width of holes depicted in the drawings is due to perpective only. Notice that the vertical positions of the holes does not change relative to the line of the plank strakes from one drawing to the next.
-
I wish I had known about these before I undertook making my own. What a pain in the butt that was
-
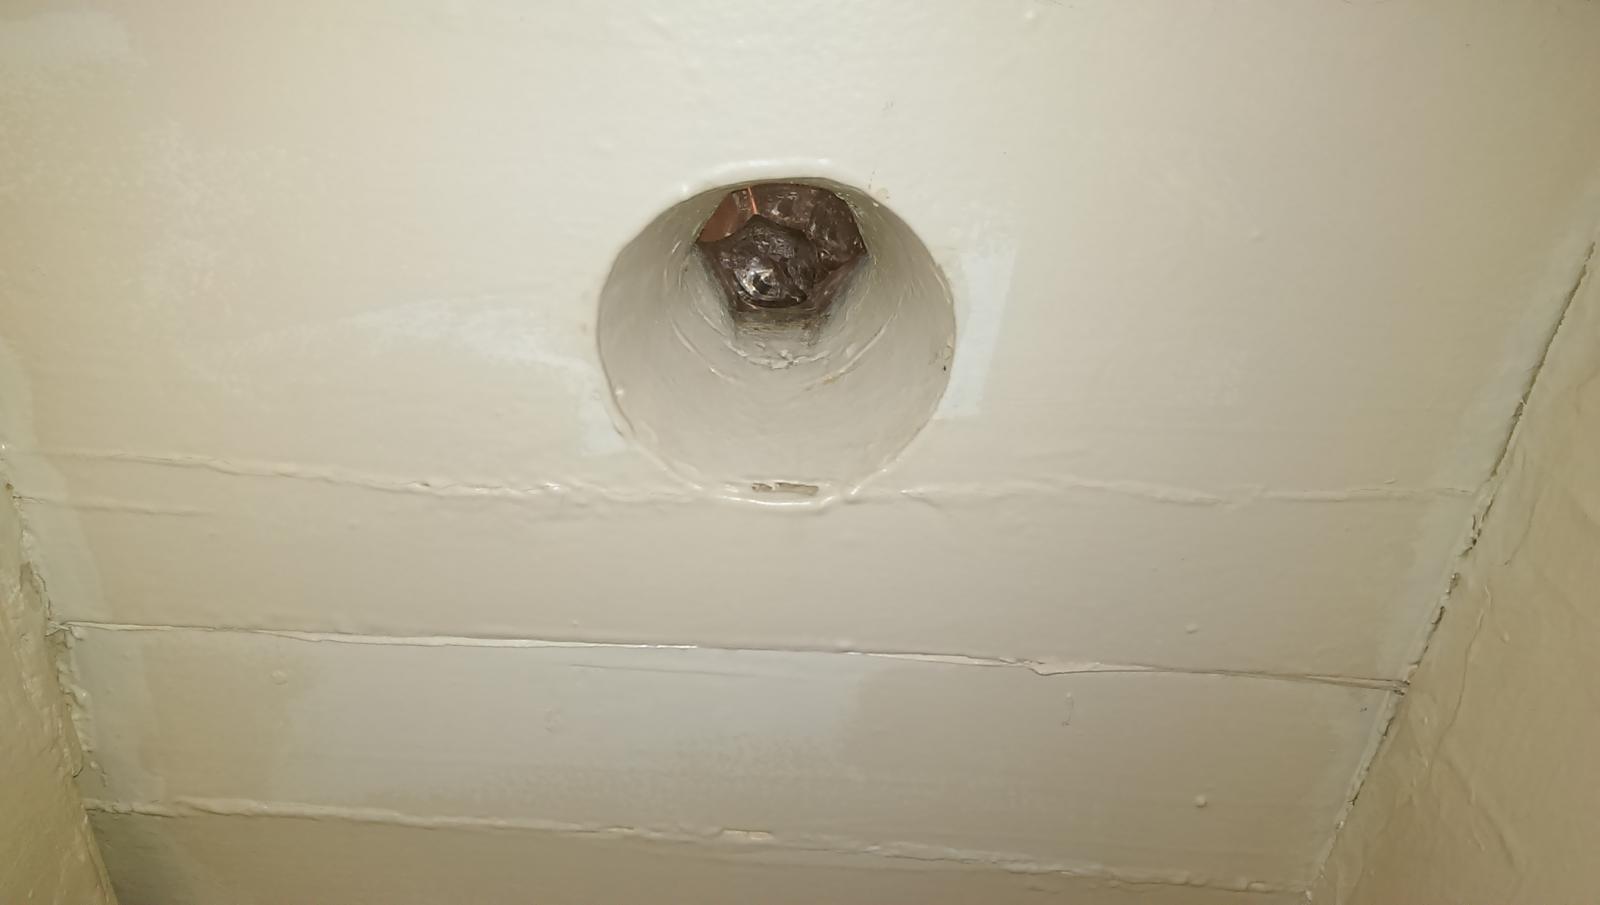
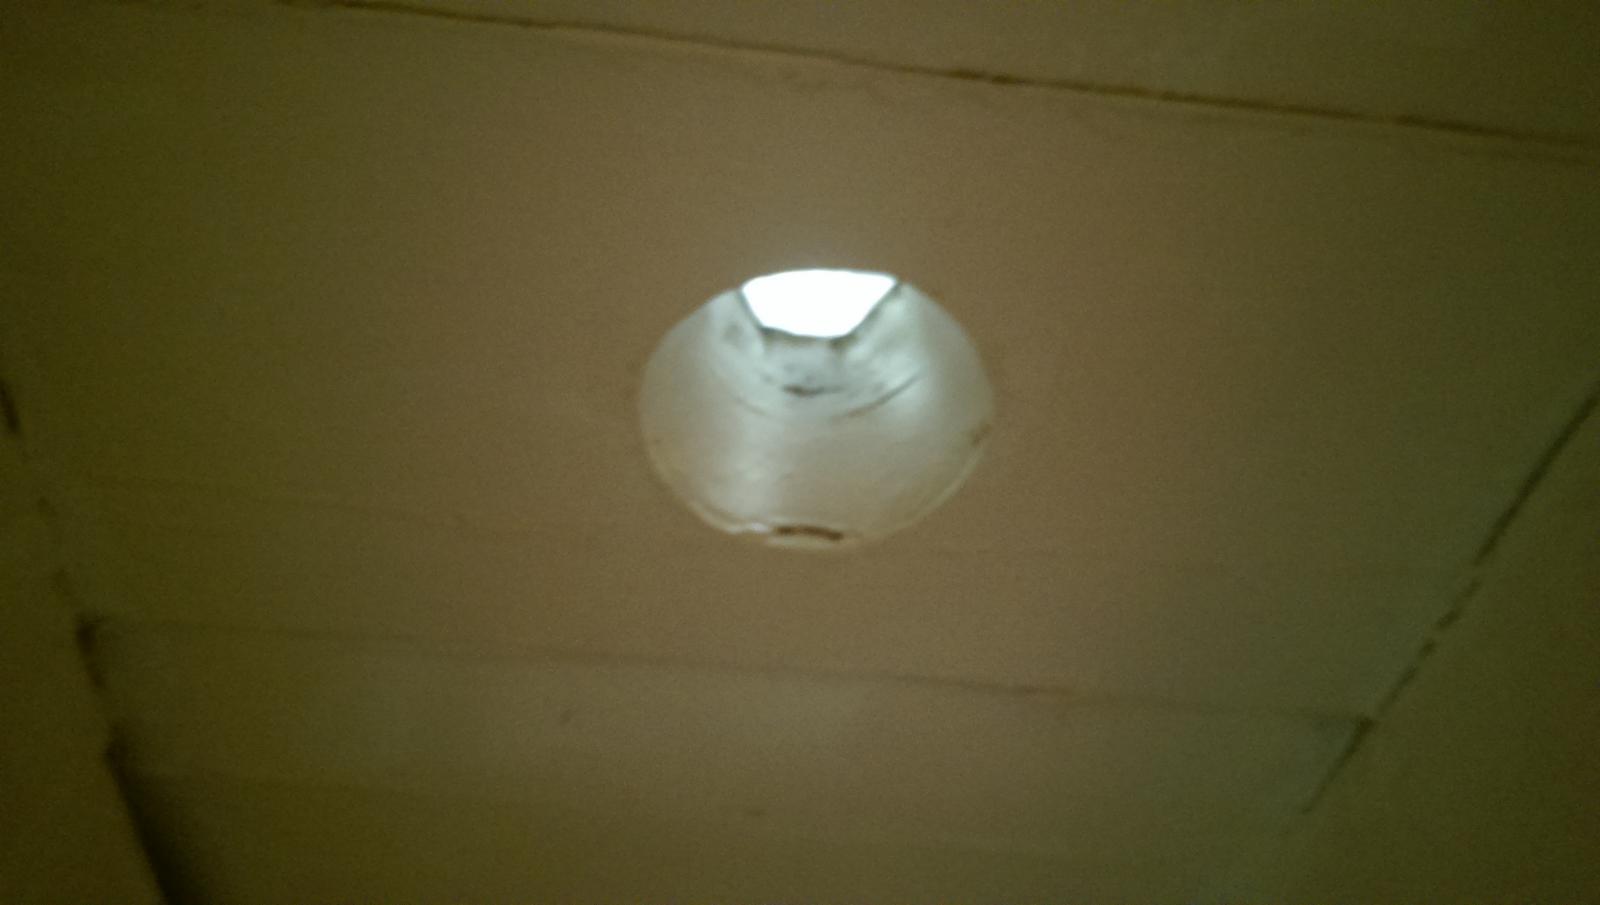
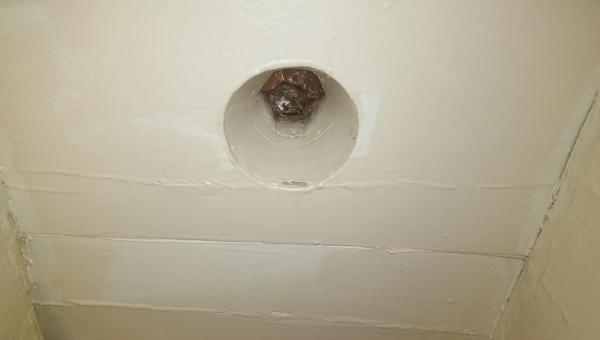
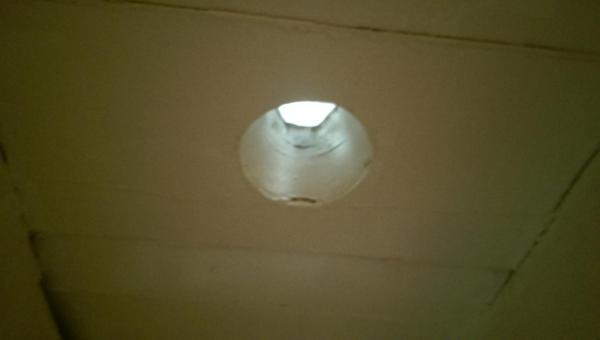
The light they provide is really not much. Look at my two pictures from below the fitting. The first was with the camera flash and the second without. You can see that there is a definite glow from the prism. But, considering that they are the only source of light other than a lantern, I think they do an admirable job. Regards,
- 16 replies
-
- 1
-
-
- USS Constitution
- Old Ironsides
- (and 2 more)
-
Wow, truly extraordinary and elegant. A most fitting display.
- 335 replies
-
- 2
-
-
- Constitution
- Mamoli
- (and 3 more)
-
The english equivalent to what you describe is called a fascine. Pretty close to vasa, I would say.
-
The case looks superb. A fitting display for a beautiful model. Regards,
- 335 replies
-
- 2
-
-
- Constitution
- Mamoli
- (and 3 more)
-
Rich, It's not all that difficult. Once you figure out one yard the rest are the same. You need something to hold the masts up: shrouds, stays, and backstays You need to raise the yard = halyards or jeers You need to hold the yard in to the mast = trusses or parrels You need a line to control moving the yard horizontally = braces You need a line to control the yard vertically = lifts You need to hold the corner of the sail down = sheets and tacks You need to haul the corner of the sail up = clew You need to gather the foot of the sail up for furling = buntlines You need to gather the sides of the sail up for furling = leech lines There are variations in style and detail from era to era but the basics stay constant. Fore and aft sails are slightly different: Hoist the sail = halyard or uphaul Lower the sail = downhaul Hold the corner of the sail down = sheet Some stay sails were trapezoidal so they had another line at the lower front corner = tack Regards,
- 1,756 replies
-
- 7
-
-
- constitution
- constructo
- (and 1 more)
-
Not having seen the plans, I really could not say. But I do think that problems arise with the rigging if people are not sure of the purpose of each line. The rigging of these ships is actually very straightforward and logical if you think about what is needed to control each yard and sail. For instance, look at the various rigging plans that omit the sheaves or holes for the tacks and sheets, or have them leading in on the wrong deck. The tacks and sheets are coming from points far outboard of the ship. It would be a very poor lead to bring them directly over the gunwale to a cleat. Therefore they must come through the hull at some point. Also, on the Constitution at least, there were no lines worked from the gun deck so plans that show them leading in there are incorrect. Now, you may notice that the tacks and sheets seem to rub against the shrouds at times, but consider that they would only do this when the course was clewed up or furled and therefore there would be no tension on them. When these sails were set the tacks and sheets would run far enough outboard to clear everything. A line called a "timenoguy" was sometimes rigged from the top of the anchor stock to the side of the ship to keep the fore tack from falling behind it and getting fouled. That would be the closest thing in concept to what was described in the posts above. Any line that does not give a fair lead for it's intended purpose is probably wrong. The Bo'sun would probably flog the sailor that did that.
- 1,756 replies
-
- 2
-
-
- constitution
- constructo
- (and 1 more)
-
My apologies, but I do not believe that your descriptions of the rigging in these pictures is accurate. The braces run as you described (from the ends of the yards aft. In your pictures you can see the cluster of three blocks at about the midpoint of each side of the yard. The upper one is the clue, the lower forward is the tack, and the lower aft one is the sheet. The sheet runs down and aft through sheaves in the hull, while the clew runs up to the yard through another block inboard and then down to the deck at the base of the mast. The curious tackle hanging from a very long pendant attached at the yardarm and guyed in by a leading block attached to the shrouds I can only describe as a yard tackle. It really has nothing to do with sail handling and would be rigged as such to lift objects on and off the ship.
- 1,756 replies
-
- 2
-
-
- constitution
- constructo
- (and 1 more)
-
I have some timber from USS Constitution that were removed from the ship in her 1970's and 1990's refits. I have no idea when they were originally installed. A few MSW members are recycling pieces of the ship into their builds. I am really looking forward to getting some of the white oak plank material for the next refit. Regards,
-
Cutting Board question
popeye2sea replied to hornet's topic in Modeling tools and Workshop Equipment
I have one manufactured by the Alvin company, 18 x 24" It is double sided, one side is green the other black and it is printed with a 1/2 inch grid, 30 - 60 and 45 degree diagonals, and ruled on the horizontal and vertical to the 1/4 inch. I have owned it for a while now. If the first side wears out I'll just flip it over. -
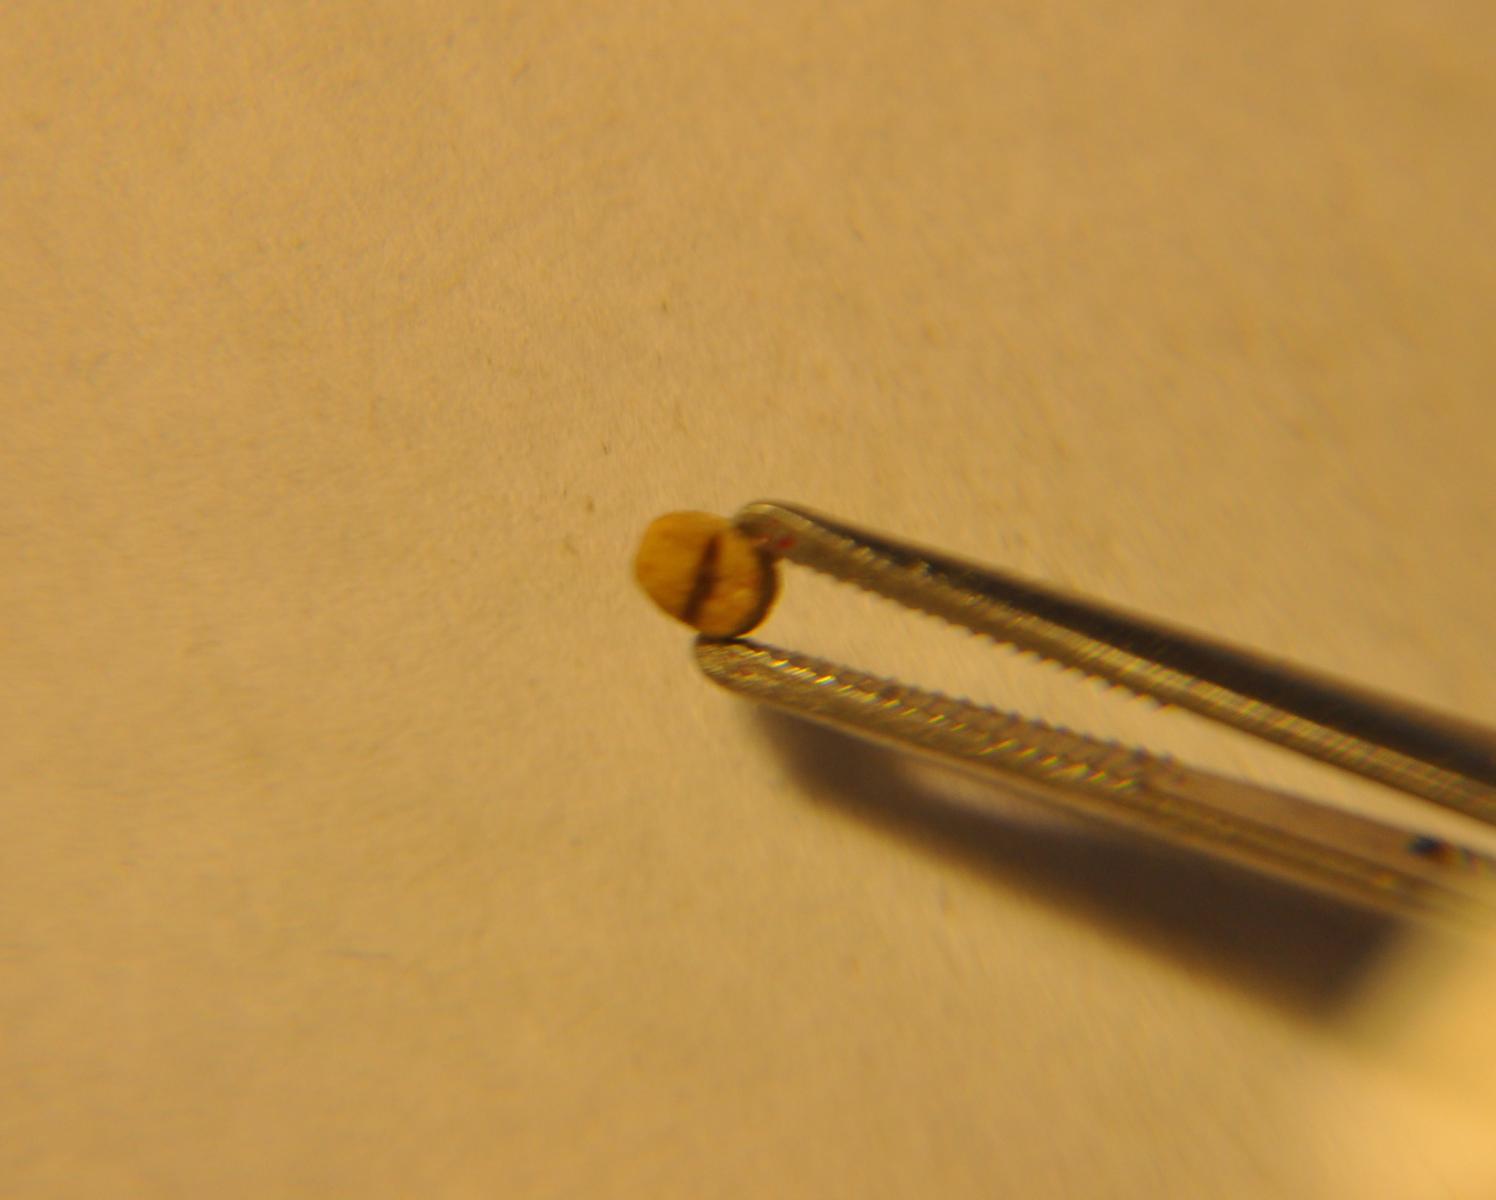
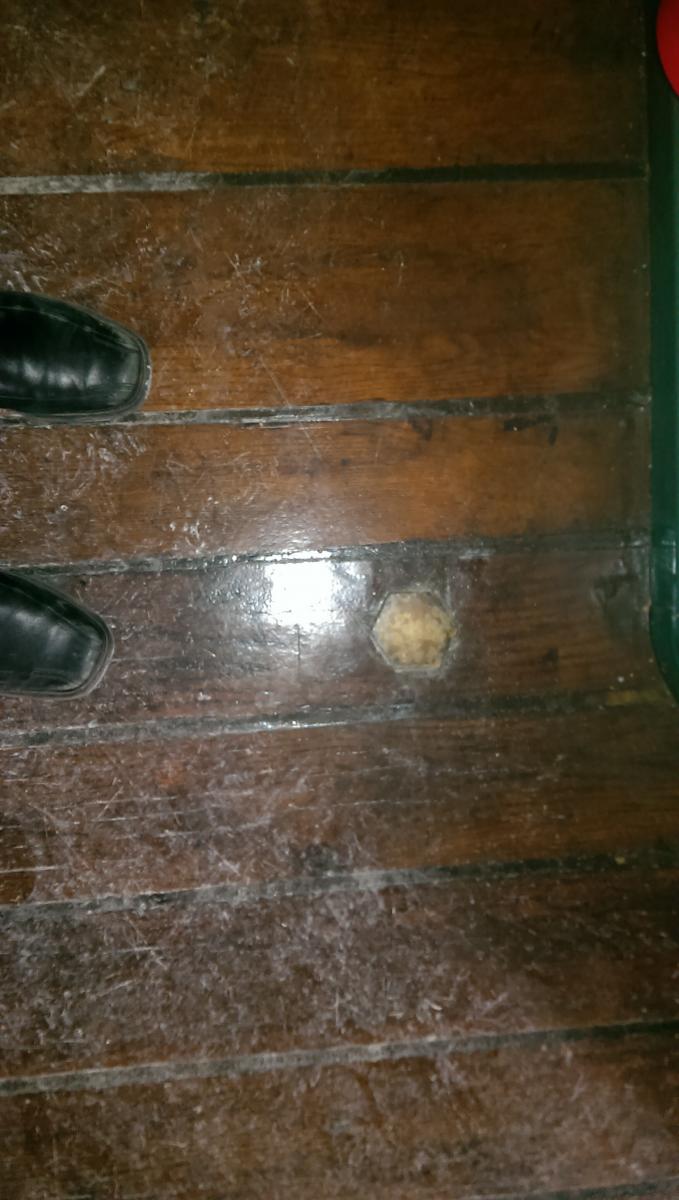
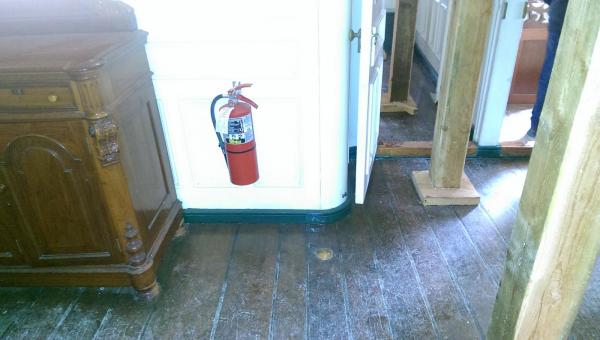
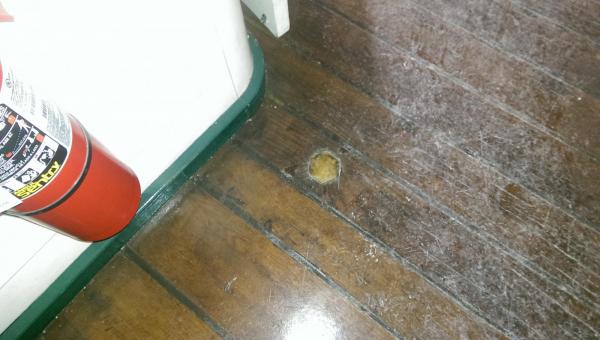
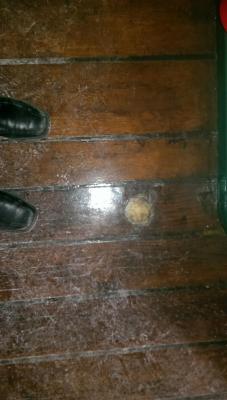
I went aboard the ship today to search out the deck prisms. These are let into the gun deck to focus light down into the berth deck. There are a few of them located in the officers berthing area (ward room) aft on the berth deck. As you can see they are hexagonal and flat on top and shaped like a prism from below. By the way the extra shoring beams are there in preparation for the upcoming dry docking. Here is the top of one on the gun deck just forward of the Captains cabin. And here is from below: Regards,
- 16 replies
-
- 5
-
-

-
- USS Constitution
- Old Ironsides
- (and 2 more)
-
The dry dock is the second oldest in the country. Constitution was the first ship in.
- 16 replies
-
- 2
-
-
- USS Constitution
- Old Ironsides
- (and 2 more)
-
Because of all of the weather delays the scheduled March 20 dry docking has been pushed to April. She is going to be there for three years. I say "there" like it is so far away, but in reality the dry dock is just on the other side of the pier from where she is now. So far the Navy anticipates the ship will stay open for visitors depending on the scope of work going on at the time. Obviously, there are safety concerns with a ship being worked on over a 40 foot deep hole in the ground.
- 16 replies
-
- 3
-
-
- USS Constitution
- Old Ironsides
- (and 2 more)
-
If there wasn't so much snow around here I'd go take a picture for you.
- 16 replies
-
- 3
-
-
- USS Constitution
- Old Ironsides
- (and 2 more)
-
How to avoid table saw fuzzies?
popeye2sea replied to Keith_W's topic in Modeling tools and Workshop Equipment
I think Mark is right. You are getting chatter from the unsupported piece passing between the blade and the fence. -
Of course, here in Boston color is pronounced "cullah" while coller is pronounced "collah"
- 732 replies
-
- 2
-
-
- constitution
- model shipways
- (and 1 more)
-
Attaching / bending Sails to Yardarms
popeye2sea replied to fxitgood's topic in Masting, rigging and sails
I think you have to remember that those yards were not small. A person could easily walk out on one of them. Especially since there are plenty of things to hold on to: studdingsail booms, lifts, etc. Next, bringing the sail up to the spar was pretty well accomplished by hauling the clews, leech lines or martinets, and bunt lines. Then, at sea the gasket was very long and one started from the yardarm. Passing it in spiral fashion in from the yard arm it would gradually gather up even more of the sail. You would only have to deal with a lot of bagging to hand up at the middle of the yard. Last, when the sail was furled under the yard there was not much concern with getting that tight roll that we are used to seeing when the sail is furled on top. The sail hung in irregular bags and sags. Top gallants and royals were relatively light and could be furled with only a couple of men. Once the gasket was worked in from the yardarm on a top sail the rest could be accomplished from the top. The courses were the only significant amount of canvas to be handed. Rolling the sail on top of the yard inside of a tight skin of canvas was an innovation that came about because with the sail hanging more loosely under the yard the wet could get into the folds, bags, and rolls of the canvas. Jack stays were another innovation that came about because with the downward pull of the sail and its gear gaps and sags would form at the head between the bolt rope and the yard. Most of the the rigging that seems logical to us today was the result of someone having an ah-ha moment and finding ways to make it better. Reefing sails and all the attendant changes to the yard was one of those. -
Attaching / bending Sails to Yardarms
popeye2sea replied to fxitgood's topic in Masting, rigging and sails
Here is what I have found out about this matter. The change from the sail hanging from the base of the yard to hanging in front of the yard corresponded with the advent of reefing. Prior to the practice of reefing sails (late 1600s) sails were bent to the yards with long robands that passed entirely around the yard. The sail hung from under the yard. A perforated bending strip was nailed under the center portion of the yard in order to pass robands so that they were clear of all the slings and halyards. Also linked to this time period was the fact that there were no foot ropes on the yards and the studdingsail booms were lashed abaft the top center of the yard. Sailors straddled or laid down on the yards to furl the sails. Sails were also furled under the yard. An interesting note: topsails were furled around the mast because, the geometry of the sail being much broader at the base, caused a lot of material to be gather up at the center of the yard. Once reefing started to come into vogue foot ropes were added to the yards. The topsails were the first sails to take reefs. Also at this time the studdingsail booms move towards the front of the yards to accommodate the sailors using the footropes. Jackstays, initially of rope then metal, started to be used around 1800. At this point the sail was bent to the jackstays and hung before the yard. Shorter robands were employed, sometimes they were fixed to the head rope and sometimes they were stapled to the yard. Also at this time sails were furled on top of the yards making a much neater and more water resistant bundle. By the way, the English adopted reefing prior to the French, so Hermione may in fact be correct.