the learner
-
Posts
757 -
Joined
-
Last visited
Content Type
Profiles
Forums
Gallery
Events
Everything posted by the learner
-
 Yes once I have finished the keel (head and stem) I will start on the framing from the first dead flat frame back...I think I said that right!
 -
Rummy, if you want I can send you additional pictures on the sander if you are going to convert it Guy
-
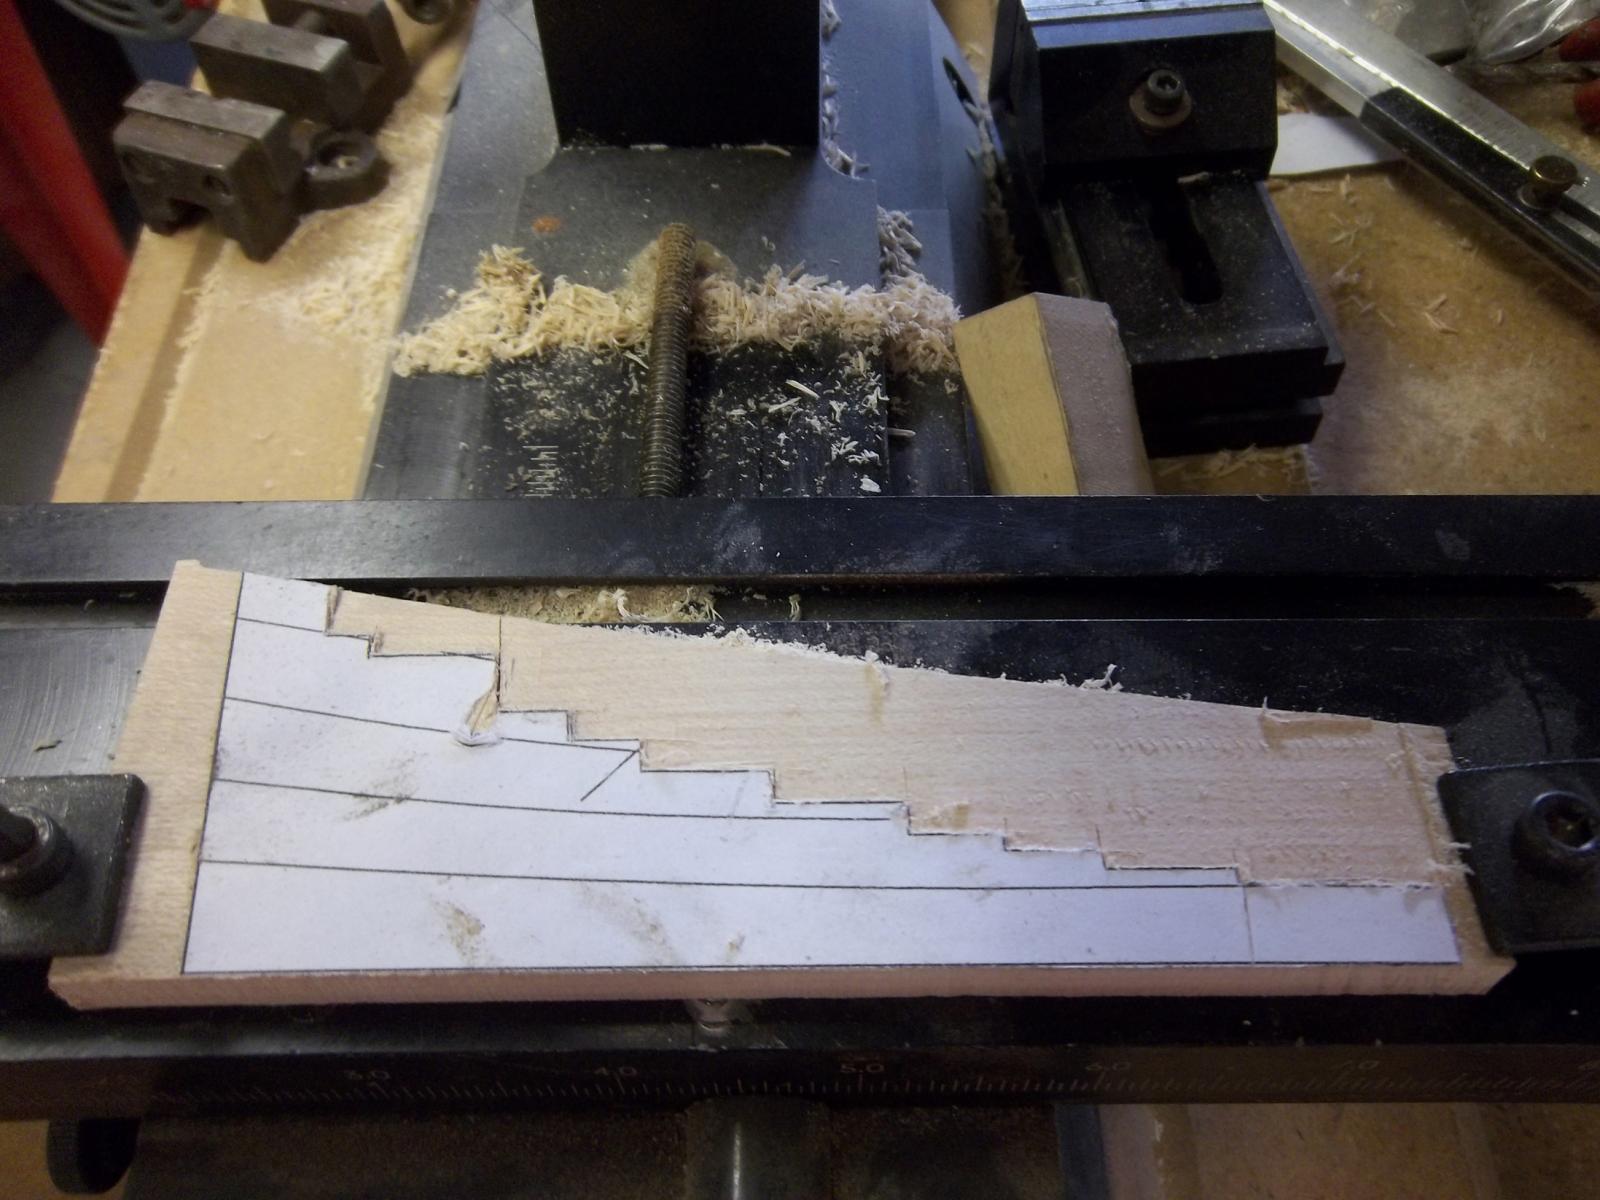
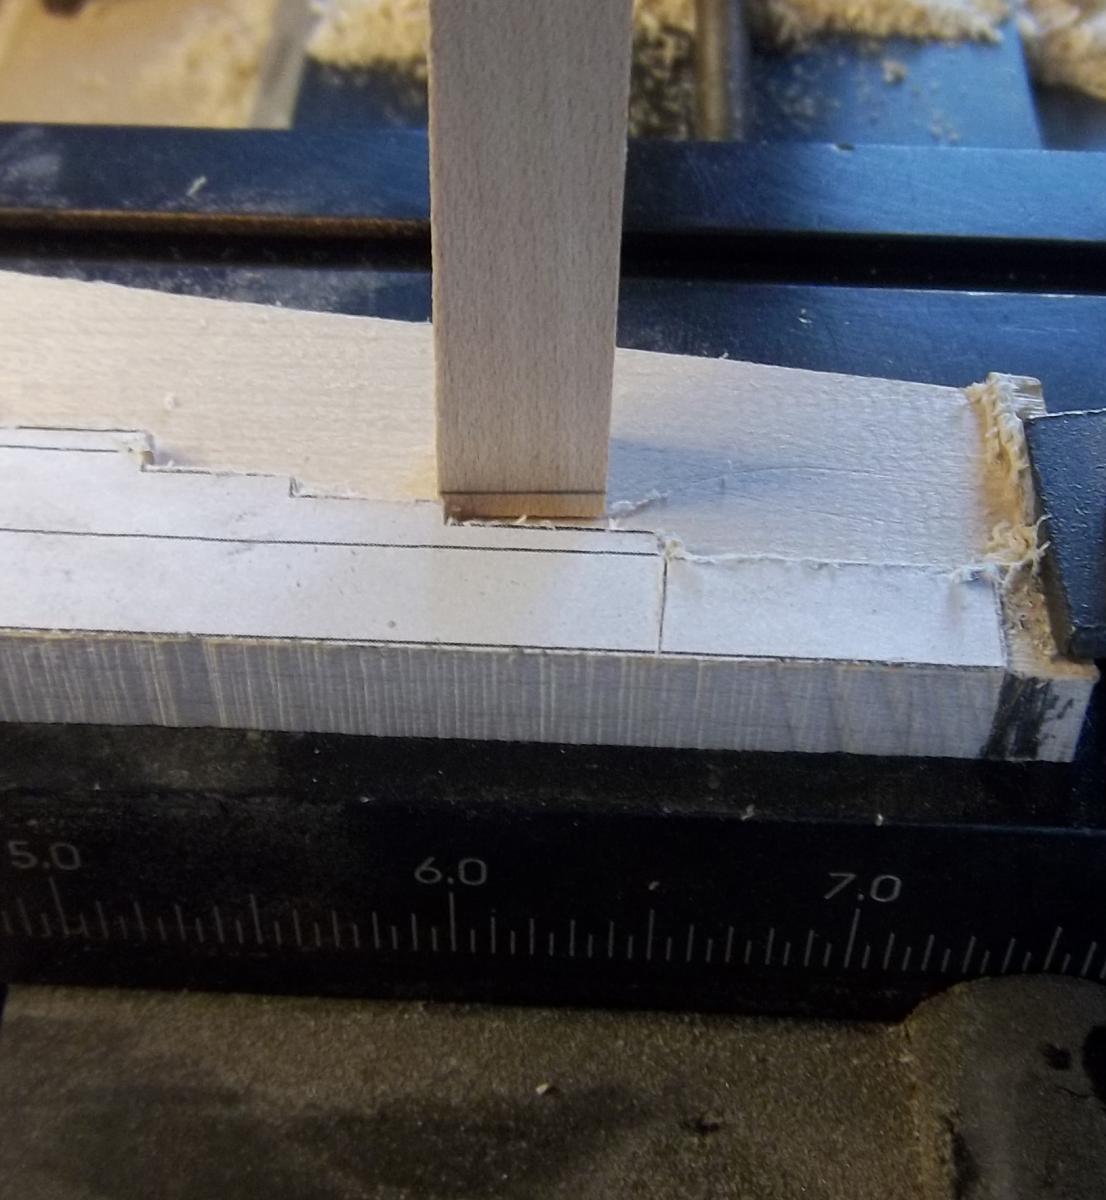
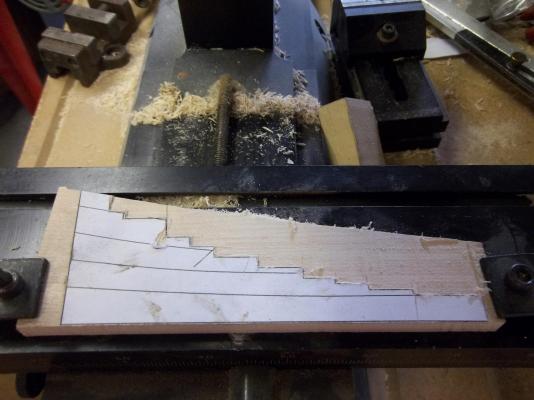
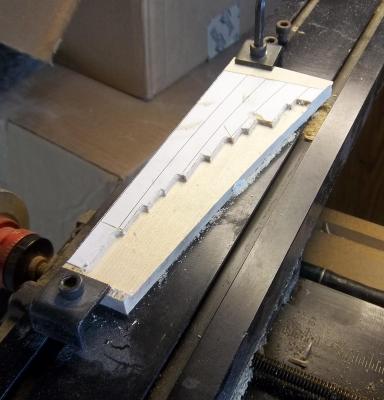
Ok here goes this is my second attempt at milling the deadwood and as I said it is in one piece only but will definitely try to put all the pieces in the next time! Here the first side has the first cut made The final depth has been achieved, now I will turn over and apply the second pattern that I have electronically inverted and using register marks from the first side will glue the new pattern on My depth guage ...Yes I have better depth guages but this works! once I learn to use the mill it will provide all that for me. Attached to the keel piece and the stearn post added along with the first section of inner keel added Photo removed because it shows section of copyright plan in the background I actually enjoyed using the mill.........More to come
-
The reason I asked I grew up in Northern IL in my later childhood years and was close to the WI border, made many trips up! good luck on the deadwood! I know mine is not perfect but will get in to it on anouther build! the importance it is the method of the build! I will post pictures of it tonight or tomorrow morning Guy
-
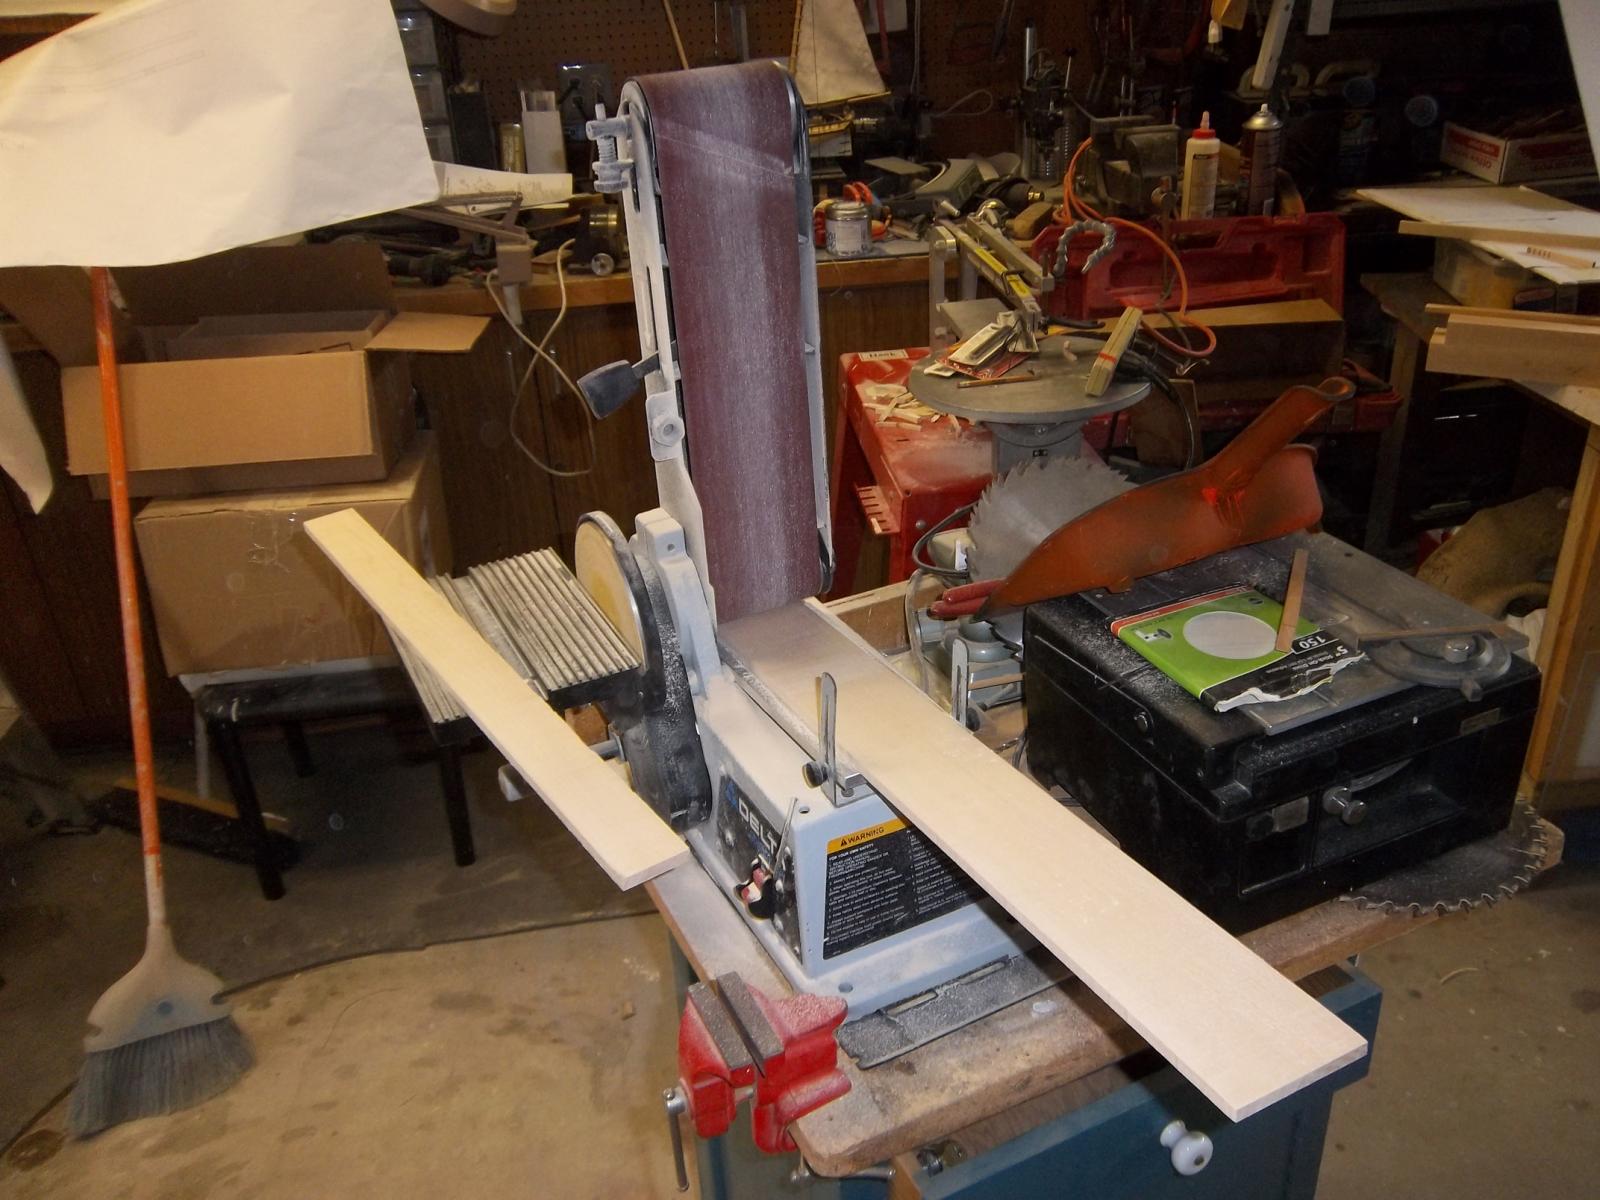
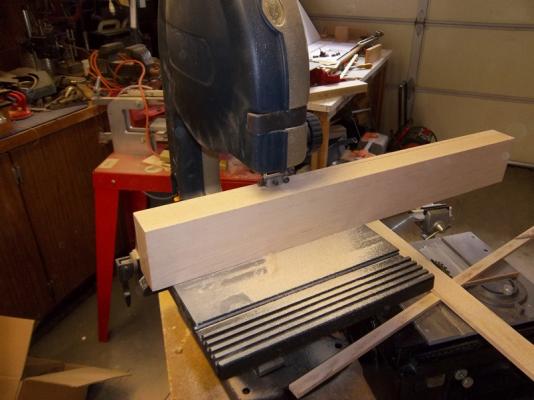
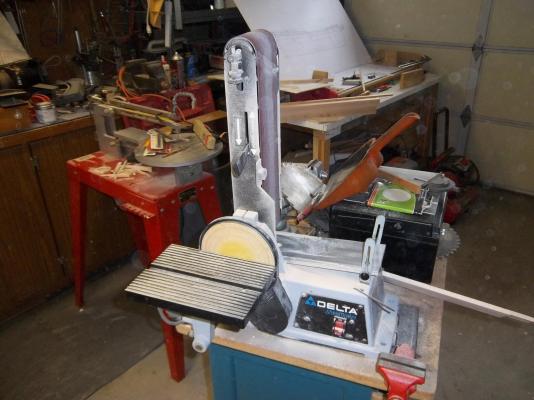
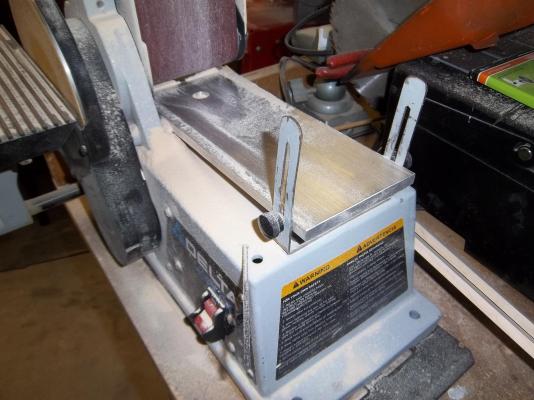
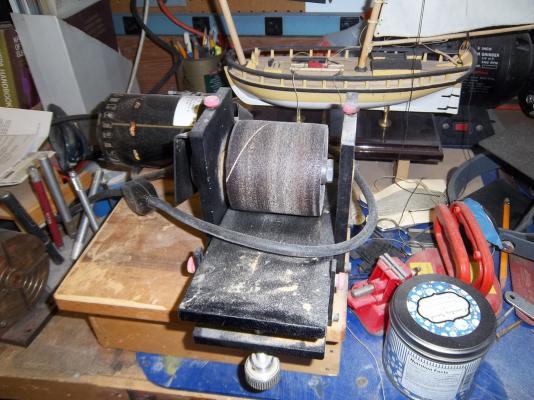
Ok time to start posting some pictures! I have started using the mill but after the fiist several attempts I had to stop and mill some wood as I had used all I had cut for the keel. My Process using the Ryobi saw does limit me to the height but the right blade makes cutting quite easy I then run them through my thickness sander to bring it to the nominal size. Looks familiar? it works fantastic and I can really push the stock through at a much greater clip than my comerical hobby thickness sander and it required minimal modification to construct as you can see by the pictures. I do need to add a finer adjustment method and it will be almost perfect. Changing belts is also a dream as you do not have to tear your sander half apart to change the drum paper! My Commercial Hobby sander, I am sure all of you who mill your own wood have one! Enough for now off to work I must go! Guy

-
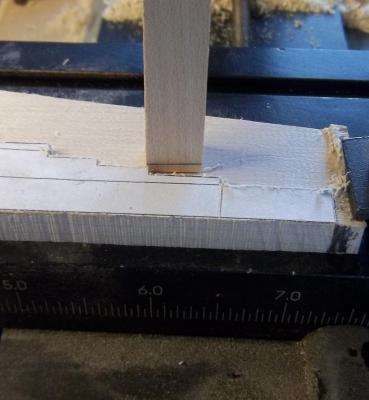
Rummy, see Russ's post #42 above, the 3" measurement is the thickness of the plank and the taper of the deadwood that would allow for this thickness at the keel and stearnpost. I think my taper is a little off but I do not think that I will do any planking in this area. Where is Roberts WI at? I use to live in northern IL Can any one tell me if I attach the stern knee to the deadwood/inner stearnpost at this time or after the frames have been attached?
-
Thanks guy's I will be posting some pictures tomorrow...not perfect but I think it will work for 3" thick planking. This will be a good study on the shape of the deadwood area in diffrent eras and on diffrent types of vessels but later.
-
Thanks Russ, I will add your listed measurement specifications to the notes in my build! I also found this to help http://modelshipworld.com/index.php?/topic/2041-building-a-deadwood-from-3-layers/?hl=deadwood Posted by AnobiumPunctatum as a separate item and good pictures. I think I can safely use the deadwood I cut however I used only one piece of wood, sorry guys. I have also posted this in PDF of AnobiumPunctatum's post above for any one who wants to put in their files for future refrence also this posted in the builders log of the HMS Fly by AnobiumPunctatum http://modelshipworld.com/index.php?/topic/149-hms-fly-by-anobiumpunctatum-scale-148-pof/page-3?hl=deadwood Constructing a 3 piece deadwood with steps.pdf
-
Randy can you post pictures of your deadwood construction? I am most interested in the taper of this deadwood area The plans do not specify how much and what shape the taper should take. I see that you lost most of the pictures of your build but if you could of pictures of this area I would appriciate it. Thanks Guy
-
Perhaps a decent picture? will keep looking
-
Does or has any one drawn the profile lines at each station for the stern deadwood and stern post? I have finally figured out how to mill the upper part but I am not happy with the taper section below. I will go back through the drawing and see what I can find today
-
Richard, Looking forward to your build! I like cutting logs, its fun. where did you aquire the russian olive? can you post a close-up picture of it?
-
Again Good start Aldo, Look foward to seeing the frames in place!
-
Will you please post the drawings for the group when you draw them out? Guy
-
Yes there are drawings for Fore Deadwood, Fore Pieces - side view,and Keelson pieces - side view. all the rest will have to be taken from the keel plan. I am glad tosee so much interest on this subject from China and the world for that matter
-
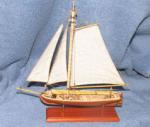
The bow and stern are looking great! yes what a cute little boat that will make!
-
The Captain will soon have his ship! Good build I will try and follow
-
Gary, thank you for reposting these pictures on the stern deadwood
-
Yes I have a deadline for two bathroom remodels that I have to keep and I am behind! so have a lot of time to make up but I have been working on my building board and have prepared the material for the stern deadwood.
-
I discovered that you can print out just a section of a PDF file by using clipboard and only printing out the section selected. Go to edit select take a snapshot click OK on pop-up and select print and it will only show the selected section! click print. I wanted to print only the Stern Deadwood and this scaled out perfectly. [No copyright plans attached to any posts please - Matrim] Matrim, does that mean any pictures that have images of the HMS Triton on or in them can not be posted? this post only showed a section of the plan and in no way identified it as to being part of the Triton plan and it was a very useful section that can be used by others as it is not represented separtly in the build plans. I am a little confused but in the future will refrain from taking photos with any of the plans in the background nor will I post any pictures on the plans or parts of plans when I might have questions on a specific section!
-
Looking Good! EdT can you tell us about the small camera you are using between decks? The pictures are fantastic!
-
Great start! I like your 3 piece method
-
Have done some additional work on the building board but real busy on my job, will try and post some pictures end of week
-
I see you have the upper building board attached, do you feel that this board was necessary or can construction be accomplished with out it? can you repost some earlier pictures of your build? Welcome Back!
-
Still figgiting with the stearn deadwood on milling the steps! Have been real busy with the job, have a finish date of April 30th and a lot of work to do to accomplish this. Sorry about not adding any post on my Triton