jwvolz
-
Posts
979 -
Joined
-
Last visited
Content Type
Profiles
Forums
Gallery
Events
Everything posted by jwvolz
-
Art, In my humble opinion you really only need a good photo-etch set. When I built the kit I used this one: http://www.goldmm.com/ships/gms3njss.htm It's not crazy expensive and provided everything I needed. I used some aftermarket chain for the anchor chain and aftermarket decals as well. I can't seem to find the photos from my build other than the dead links to Photobucket on this thread on another modeling site: http://www.arcforums.com/forums/air/index.php?/topic/172054-tamiya-battleship-uss-new-jersey-bb-62/&tab=comments#comment-1597532 Any questions as you go I'd be glad to help.
-
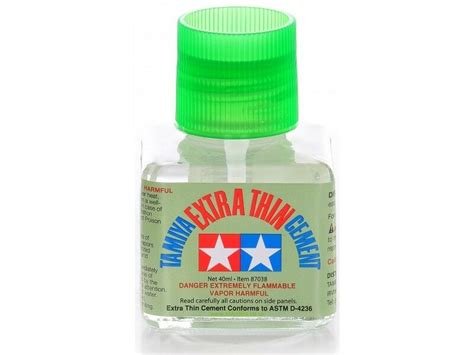
Absolutely, one bottle should be fine Art.
-
You can make a great model right out of the box, it's a Tamiya kit after all. In fact speaking of Tamiya, their extra-thin cement is a fine choice in terms of glue. I absolutely swear by it, and it has a very thin applicator brush so it is easy to control.
-
Astounding price. I built the New jersey about ten years ago, and I think I paid around $135 at the time. Good luck, hope it works out!
-
 I had something else on my mind. Fixed... 😲 The quarantine is messing with my head!😀
- 421 replies
-
- 1
-

-
- caldercraft
- granado
- (and 1 more)
-
Looking great Bob!
-
Ha! I wish. It's easy when you mask everything. Freehand is where the real fun comes in. It's all about balancing paint viscosity and air pressure. I've been airbrushing plastic a long, long time.
-
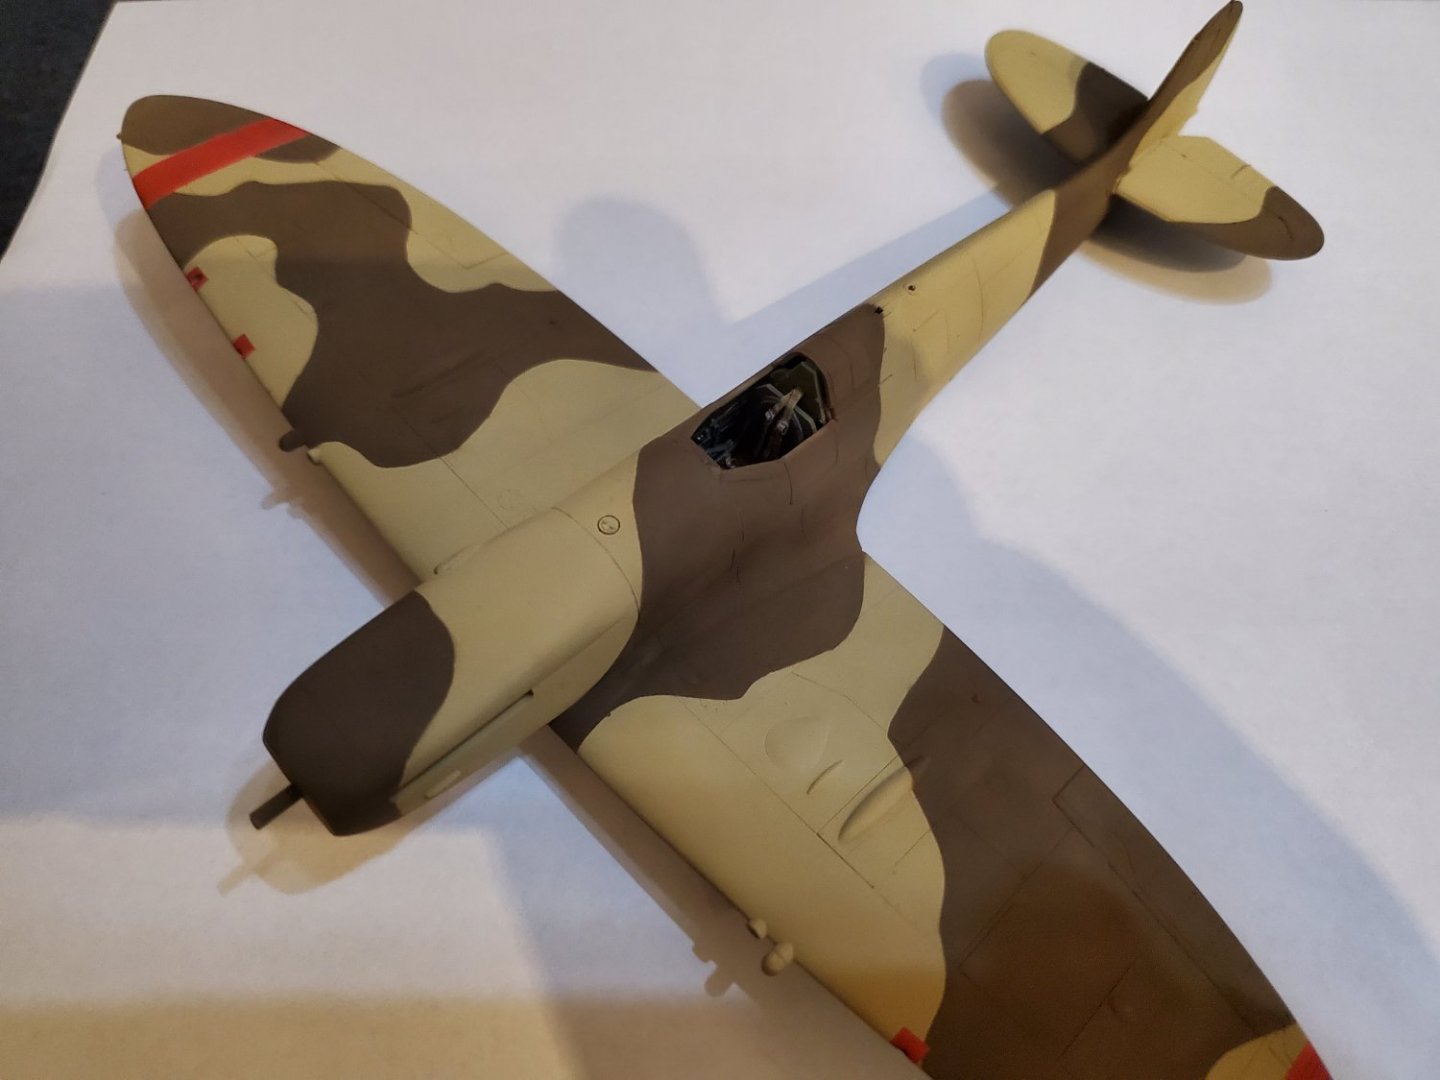
Main painting is complete, done with the airbrush. The paints are combination of Vallejo and Tamiya. I did not have RAF Dark Earth, so I mixed that one up myself. Now for a gloss coat in preparation for decals.


- 55 replies
-
- 13
-
-
Another one, nice!
-
Thanks. I taped the top of the rail and airbrushed the vertical surface. Used Tamiya tape, which is really good stuff, been using it for years.
- 140 replies
-
- 2
-
-
- benjamin w latham
- model shipways
- (and 1 more)
-
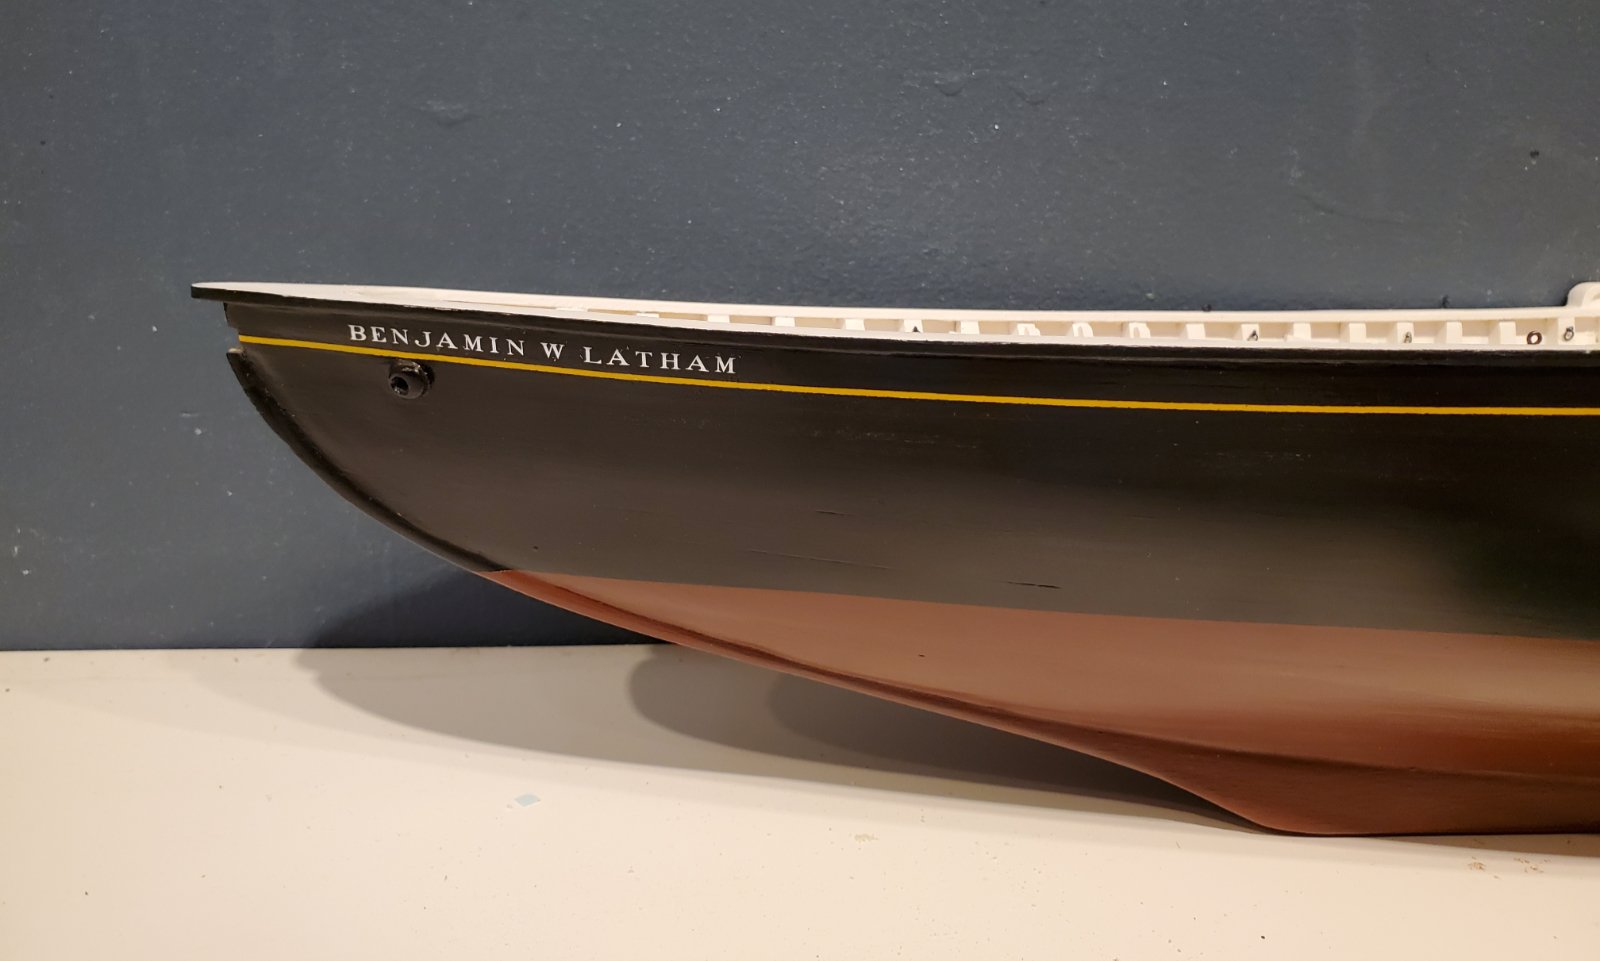
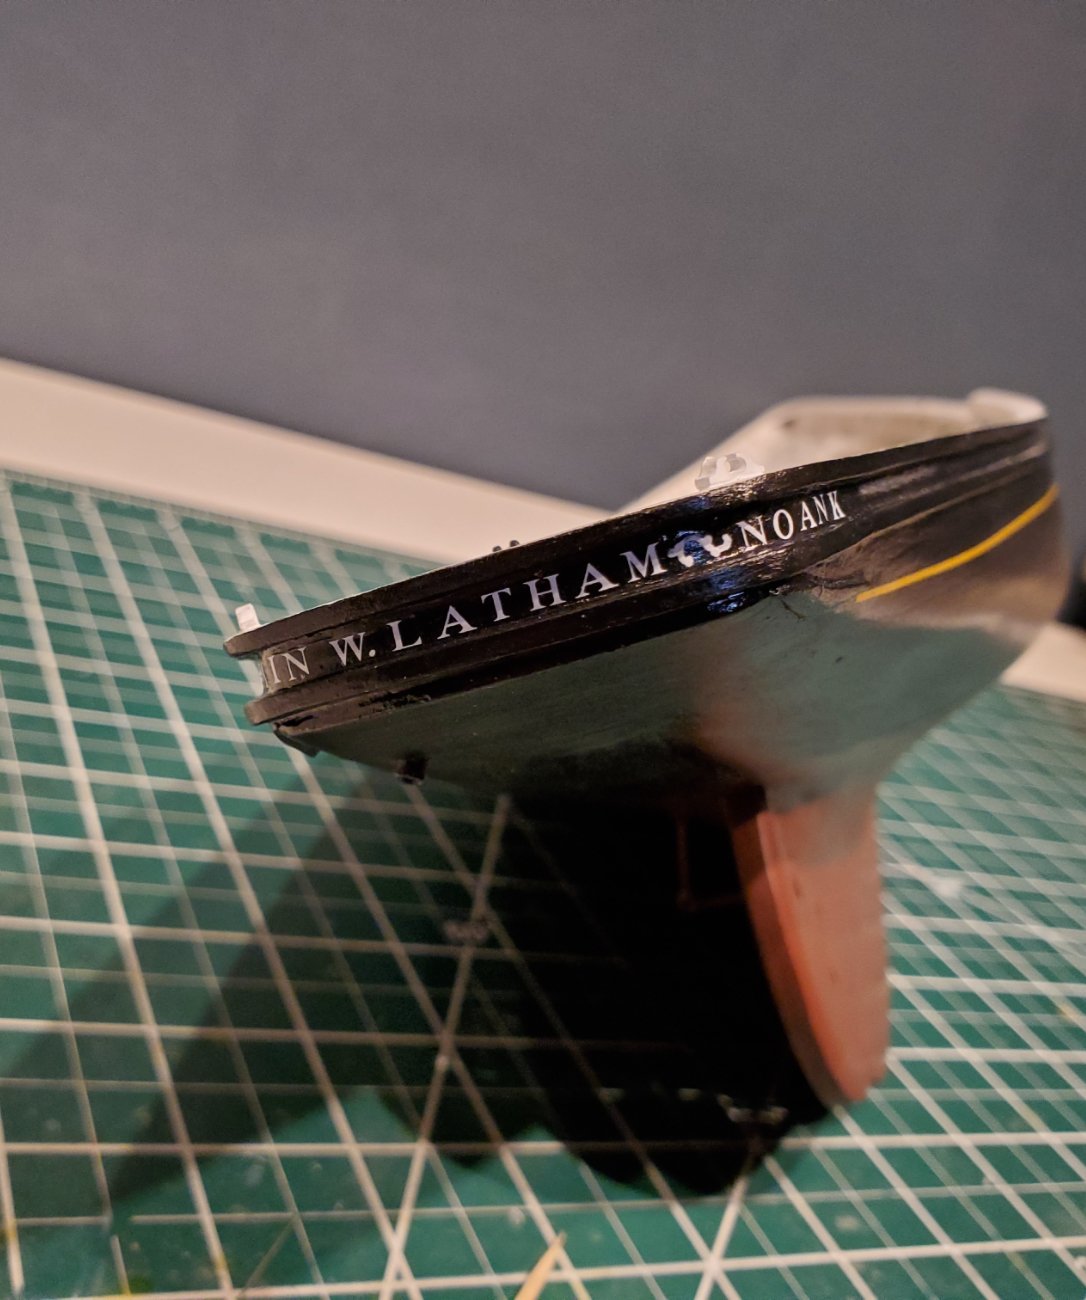
I'm currently working on some plastic models as well as the Latham, so things aren't proceeding as rapidly at the moment. I did get the cap rails installed and the hull painted. Hull was painted with the airbrush. I was going to scribe the cove as per prototype, but tests showed that was not going to work very well in the basswood so I decided to just paint it on, which turned out much better. I used water slide decals from Microscale for the name. I couldn't find gold in the font/scale I wanted so had to use white.


- 140 replies
-
- 20
-
-
- benjamin w latham
- model shipways
- (and 1 more)
-
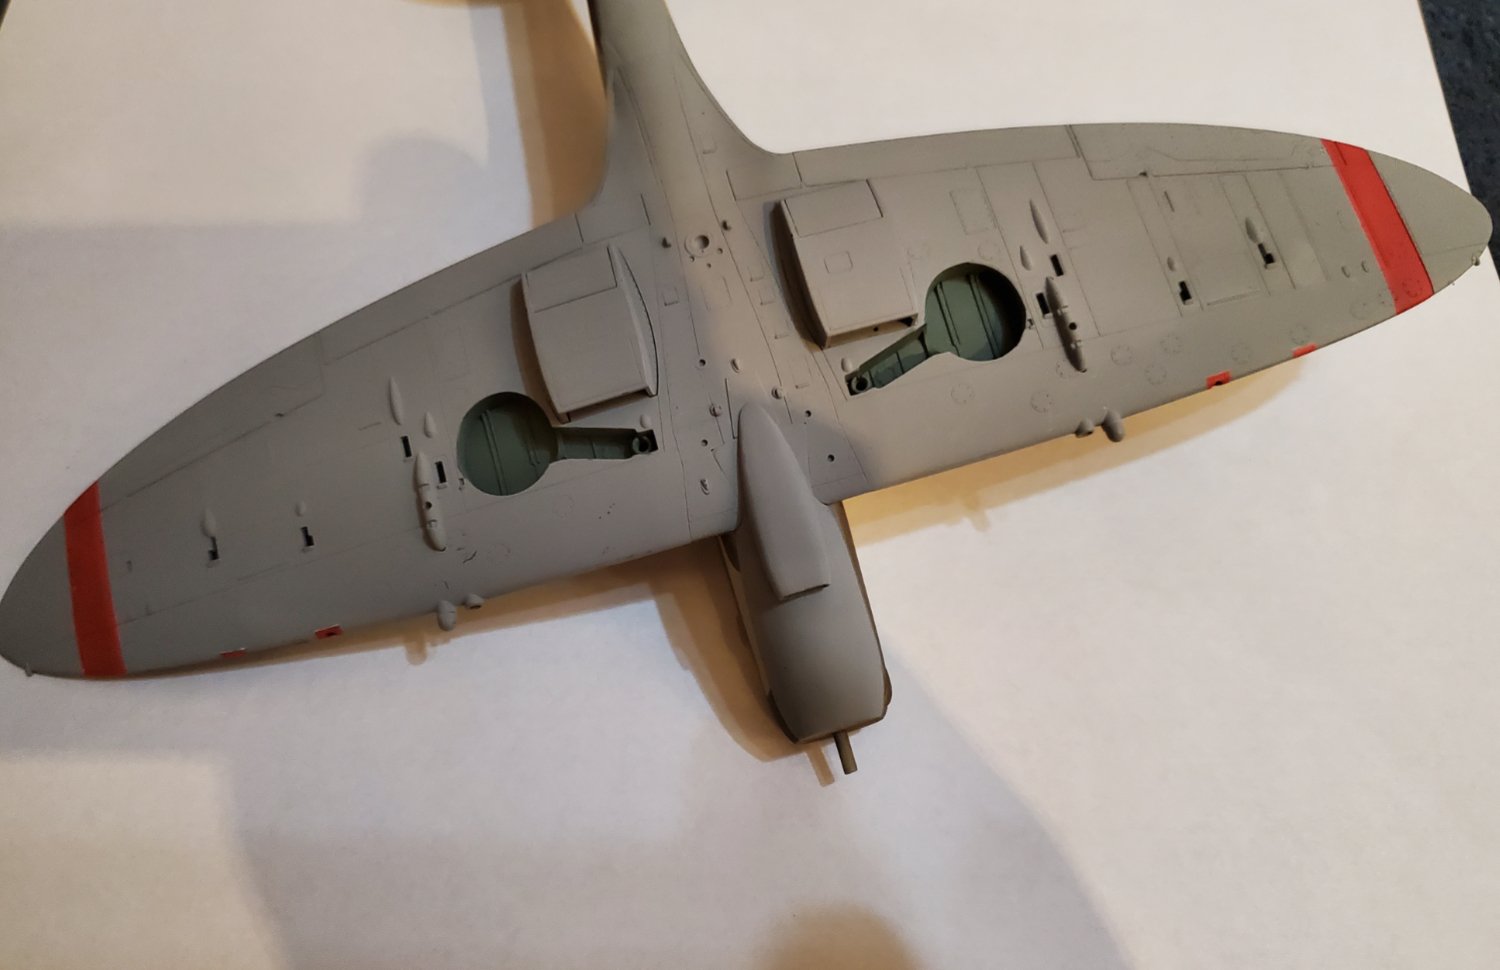
Actually yes OC I do. I have and Argentinian Hasegawa A-4Q Skyhawk in progress. Didn't start a thread for it since it is already a ways along. It's in primer so, about the same point as the Spit. I'm going to try to finish the Spit first though. When I was a heavy plastic builder I always had two kits going at once. I found I was much more efficient that way as I always had something to work on while things were drying on the other.
-
Thanks. The kit is from 2001. There was a little gap at the wing root area, but other than that the fit was great. I know there has been some knocks on the kit for the fuselage being too short, but it was in the stash so it gets built. I've ceased being hung up on those things too much.
-
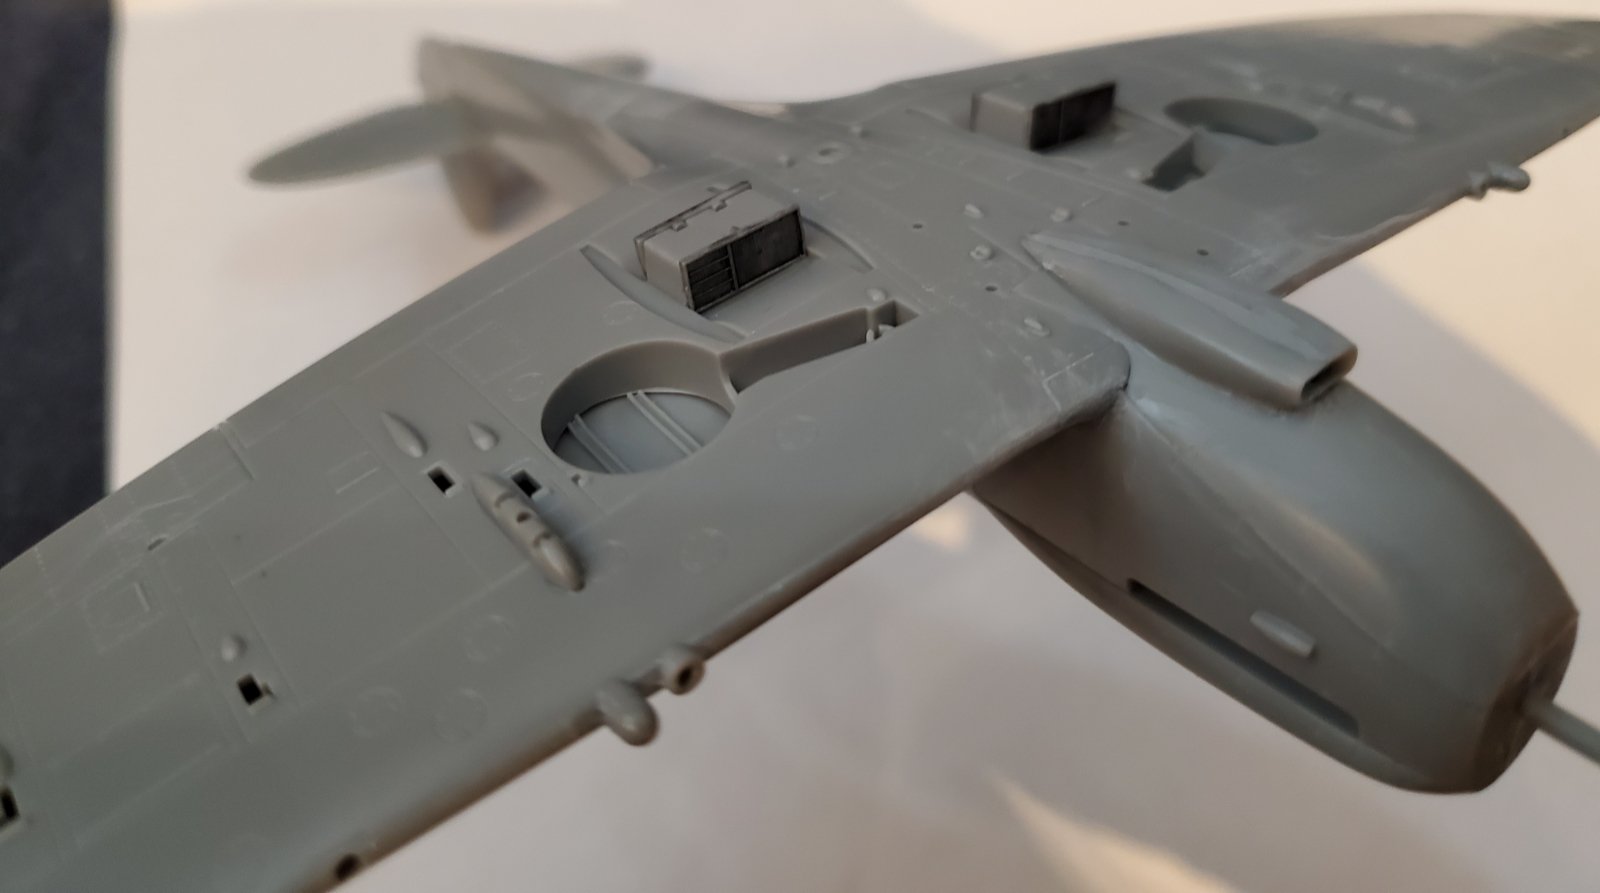
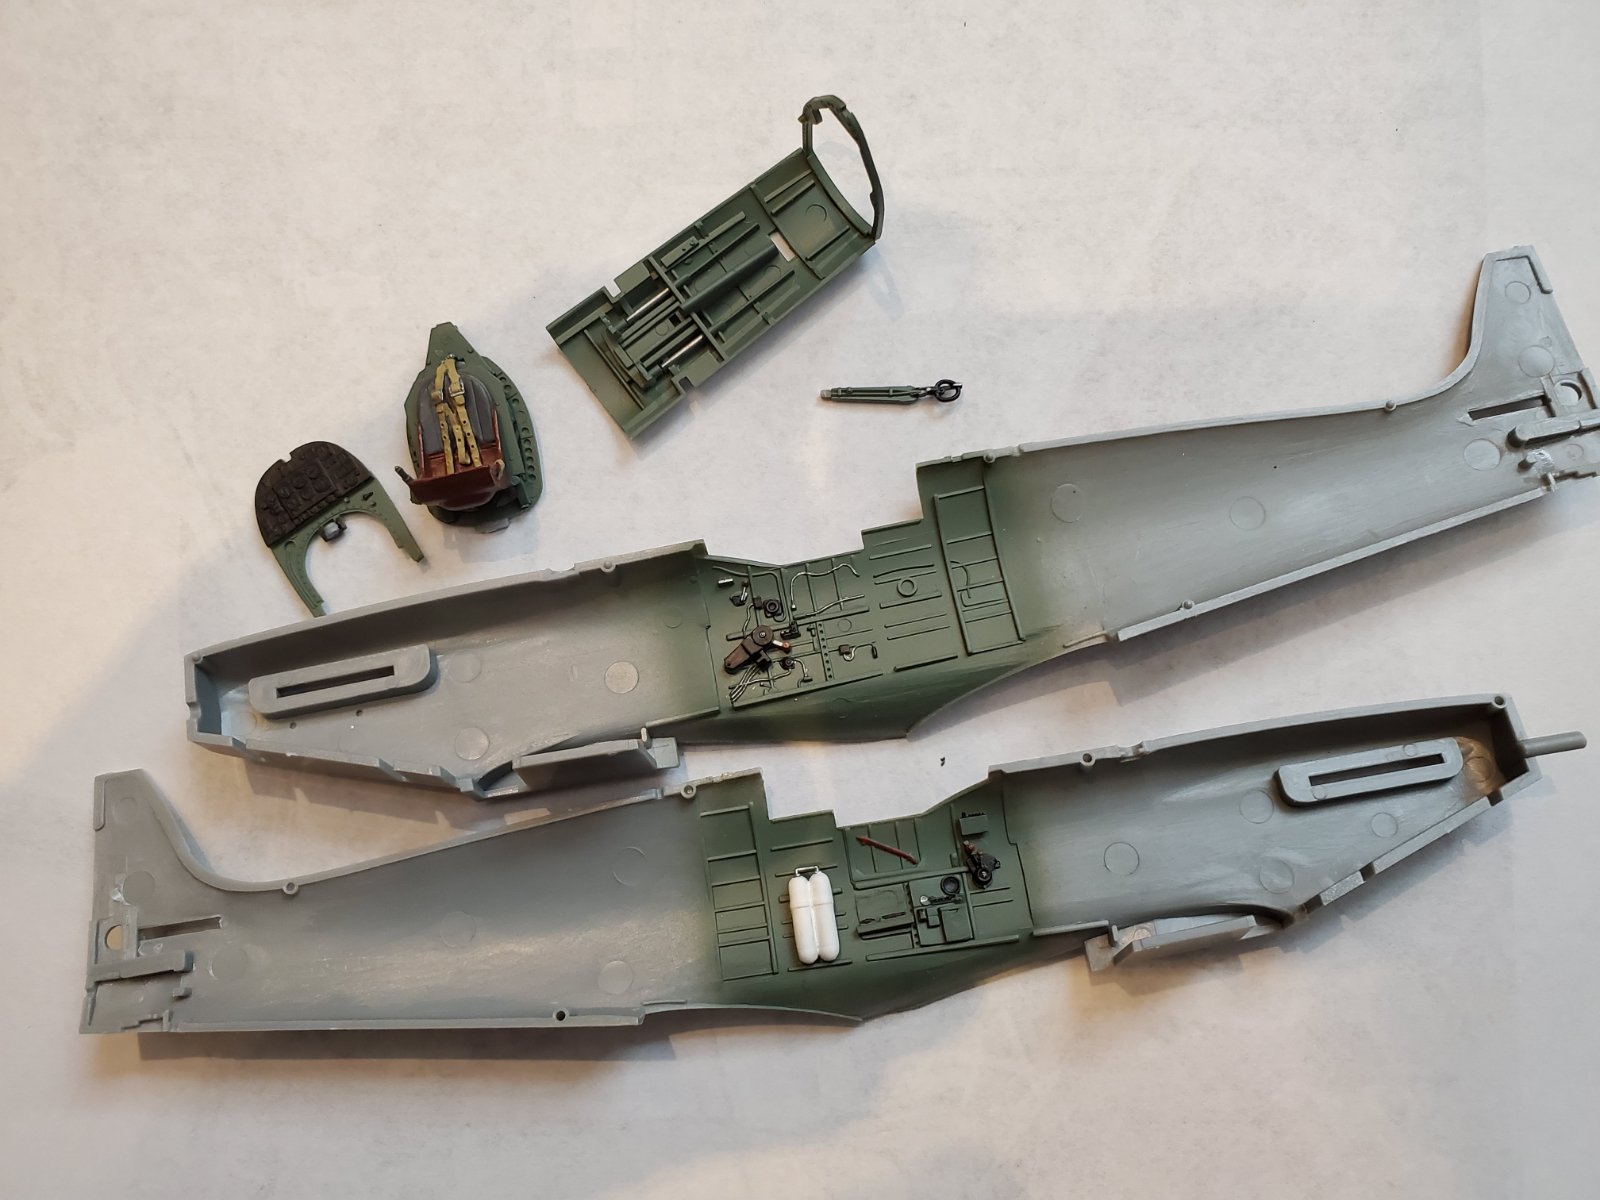
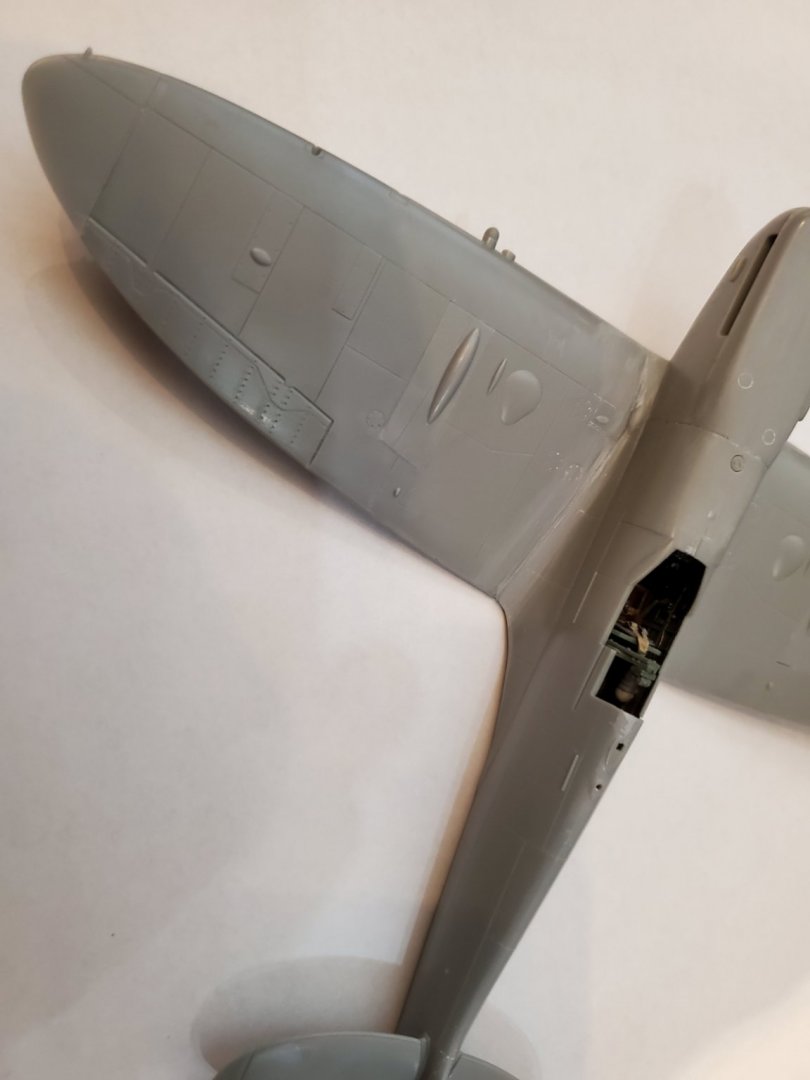
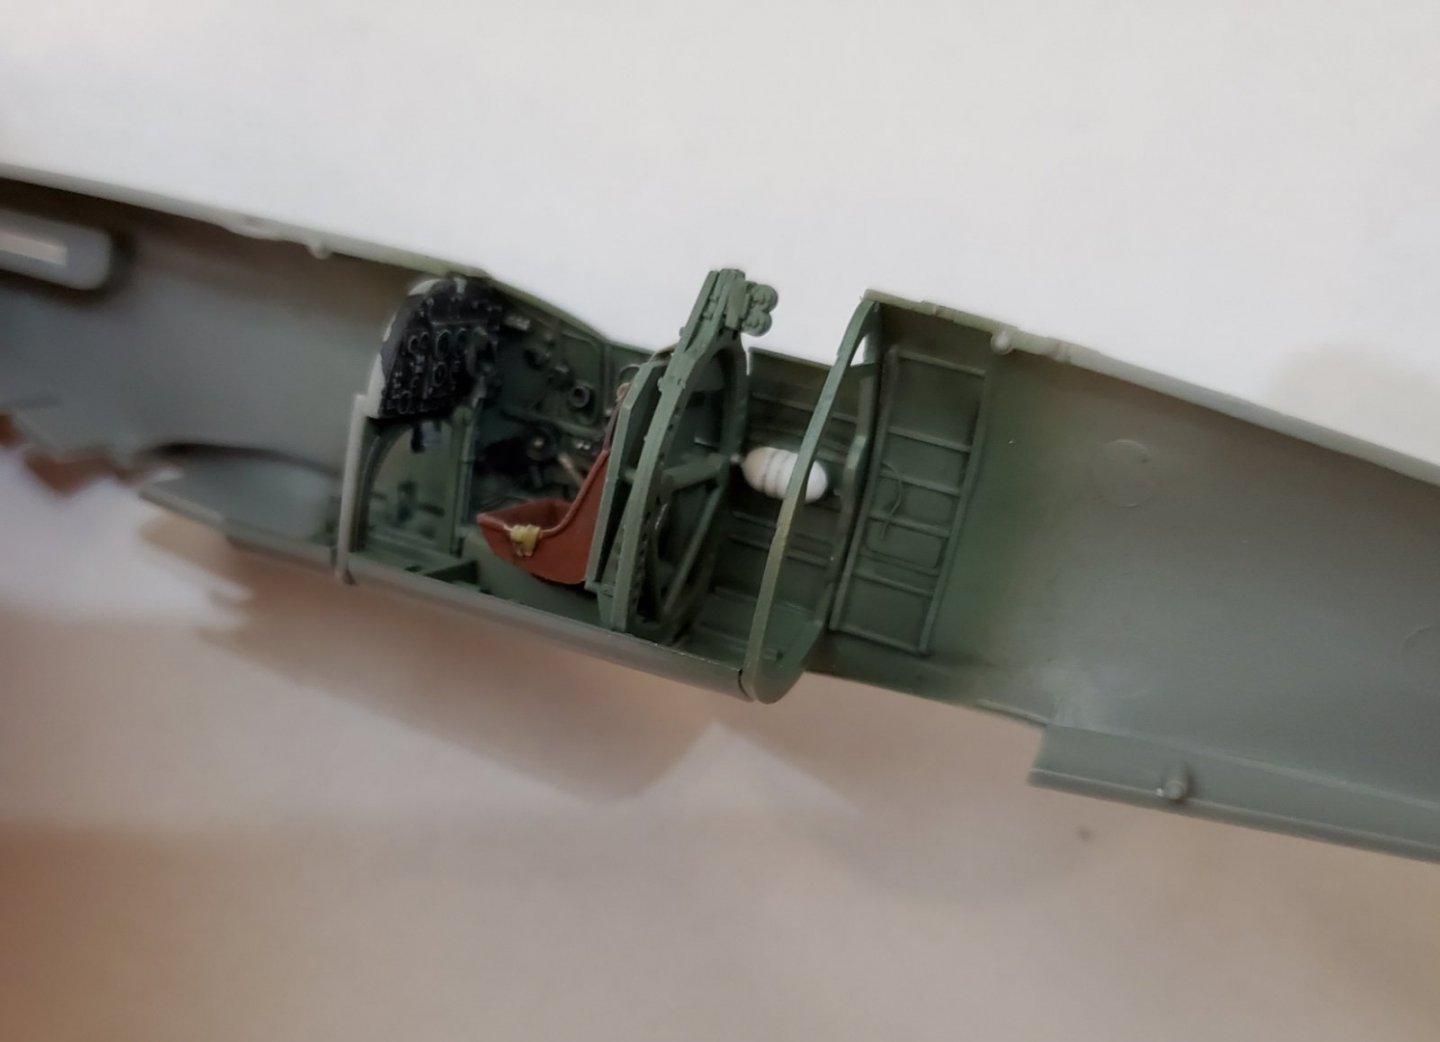
Did I mention in my original post I'm a very fast builder with plastic?? 😀 So I worked on a lot of the sub-assemblies and such while various steps of the cockpit were drying. The fuselage is assembled and ready for paint. As I mentioned, this is my first Hasegawa Spitfire and fit was very good overall with just a few touches of putty. The radiators were painted now as they'll be inaccessible once their covers are installed.

-
Those are nicer than the ones in the Hasegawa kit, which are solid, and they'd be a real pain to hollow out evenly. I'd have to go resin to get that look.
-
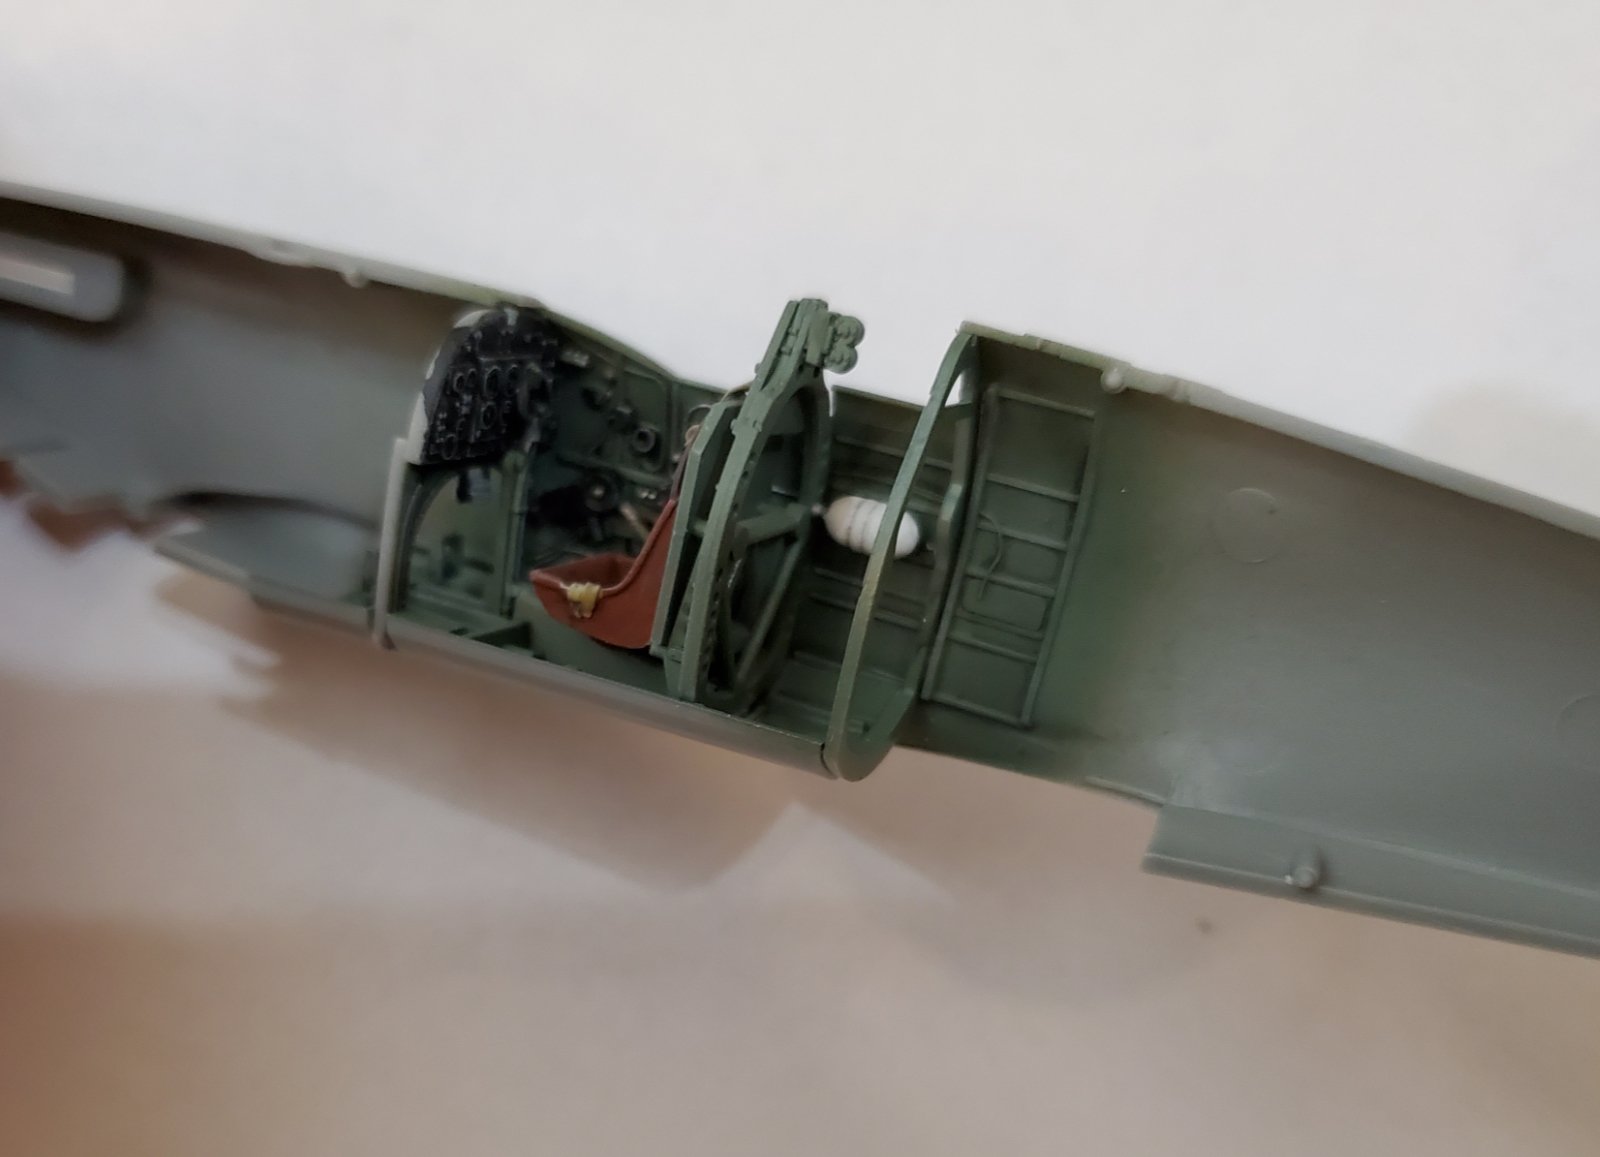
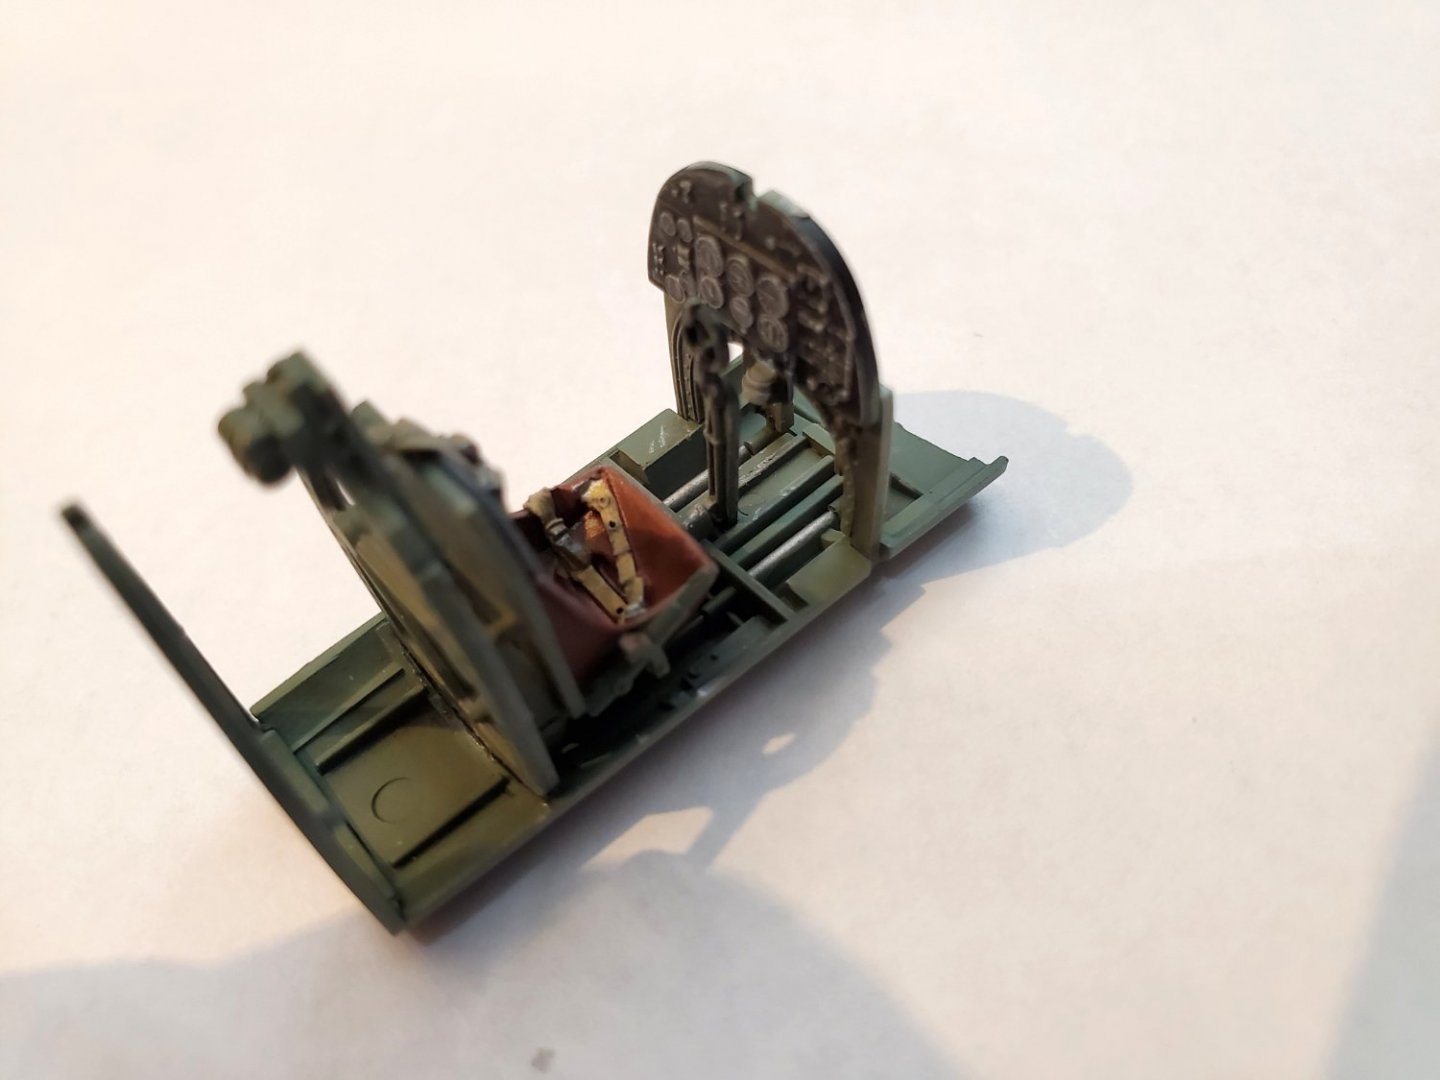
Work on the cockpit is complete. After the wash had dried I sprayed Vallejo matte and proceeded with drybrushing and minor paint chipping. It's hard to see in the photos but the instrument faces each received a drop of gloss coat to represent the glass. Ready to install and seal up the fuselage halves.
- 55 replies
-
- 10
-
-
Looking good!
-
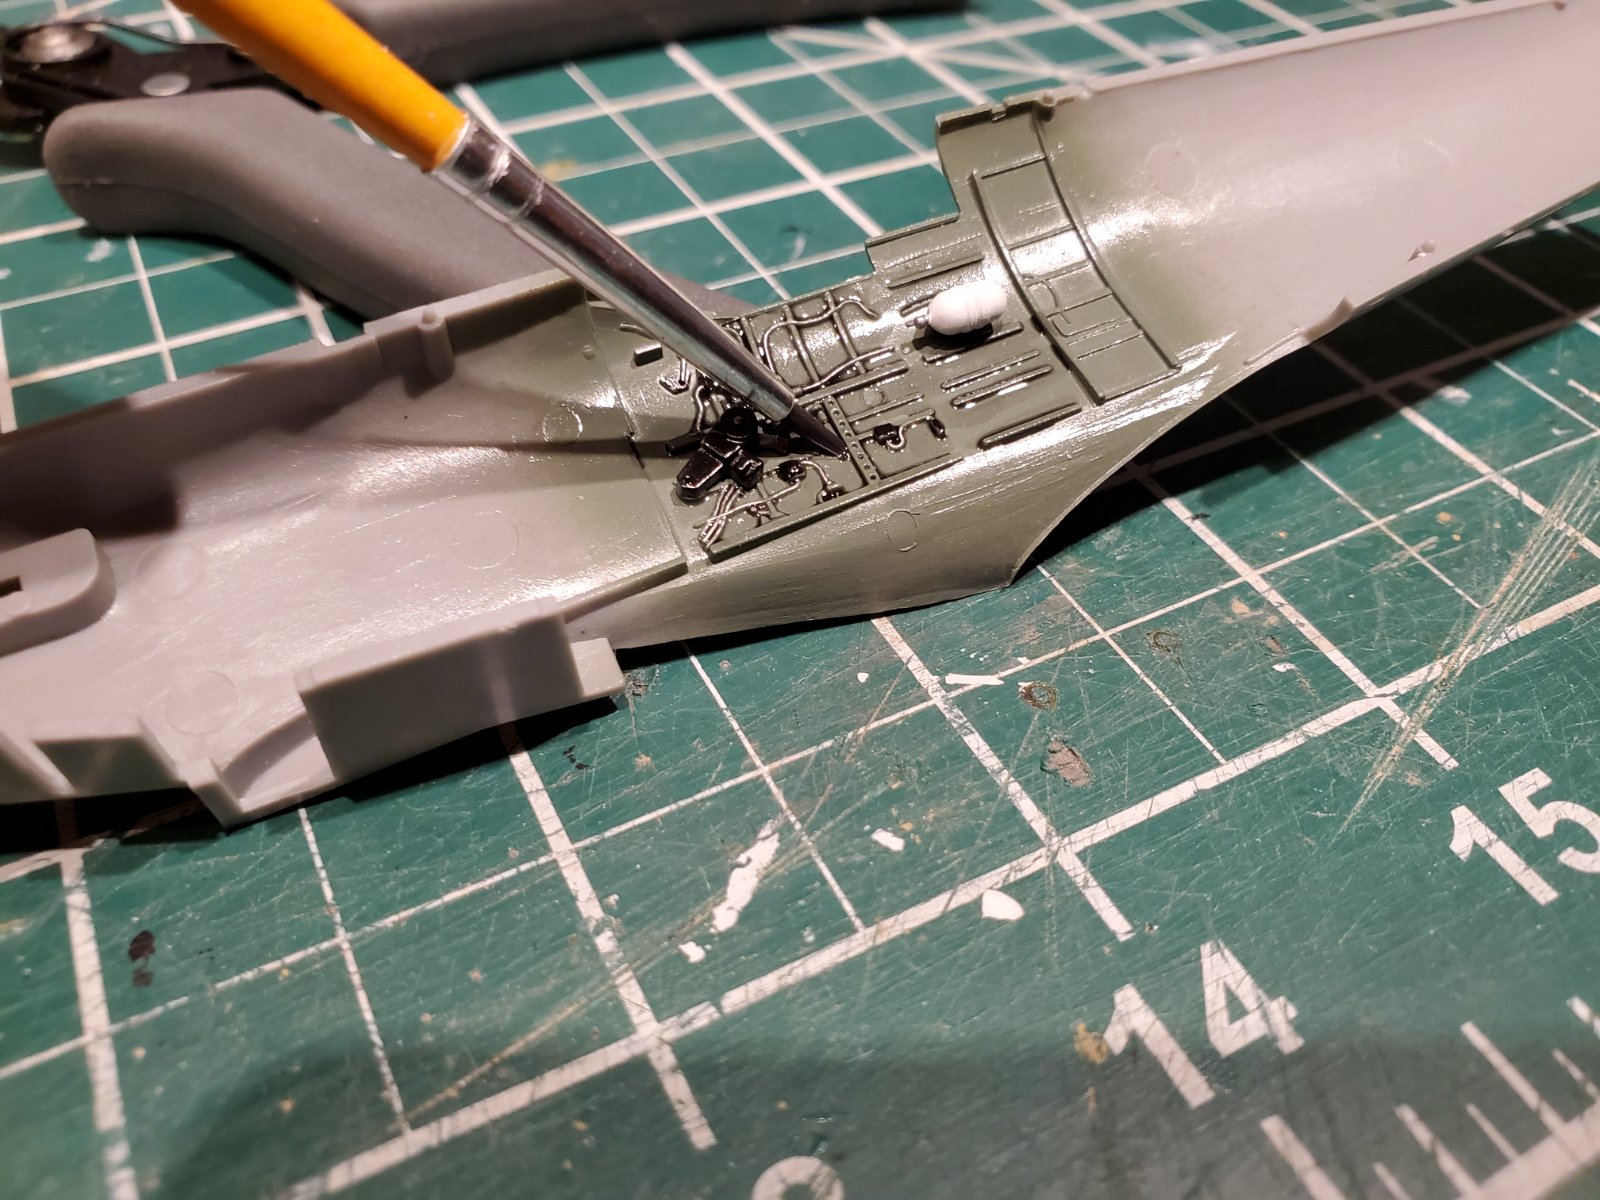
Applied a wash of thinned artist's oils to all of the cockpit components. I wait about 30 minutes and remove the excess, and allow to dry. Once everything is fully dry I'll apply a matte coat and move on to drybrushing

- 55 replies
-
- 13
-
-
Thanks Richard.
-
Just catching up Andy. Very cool build, and great work so far!
-
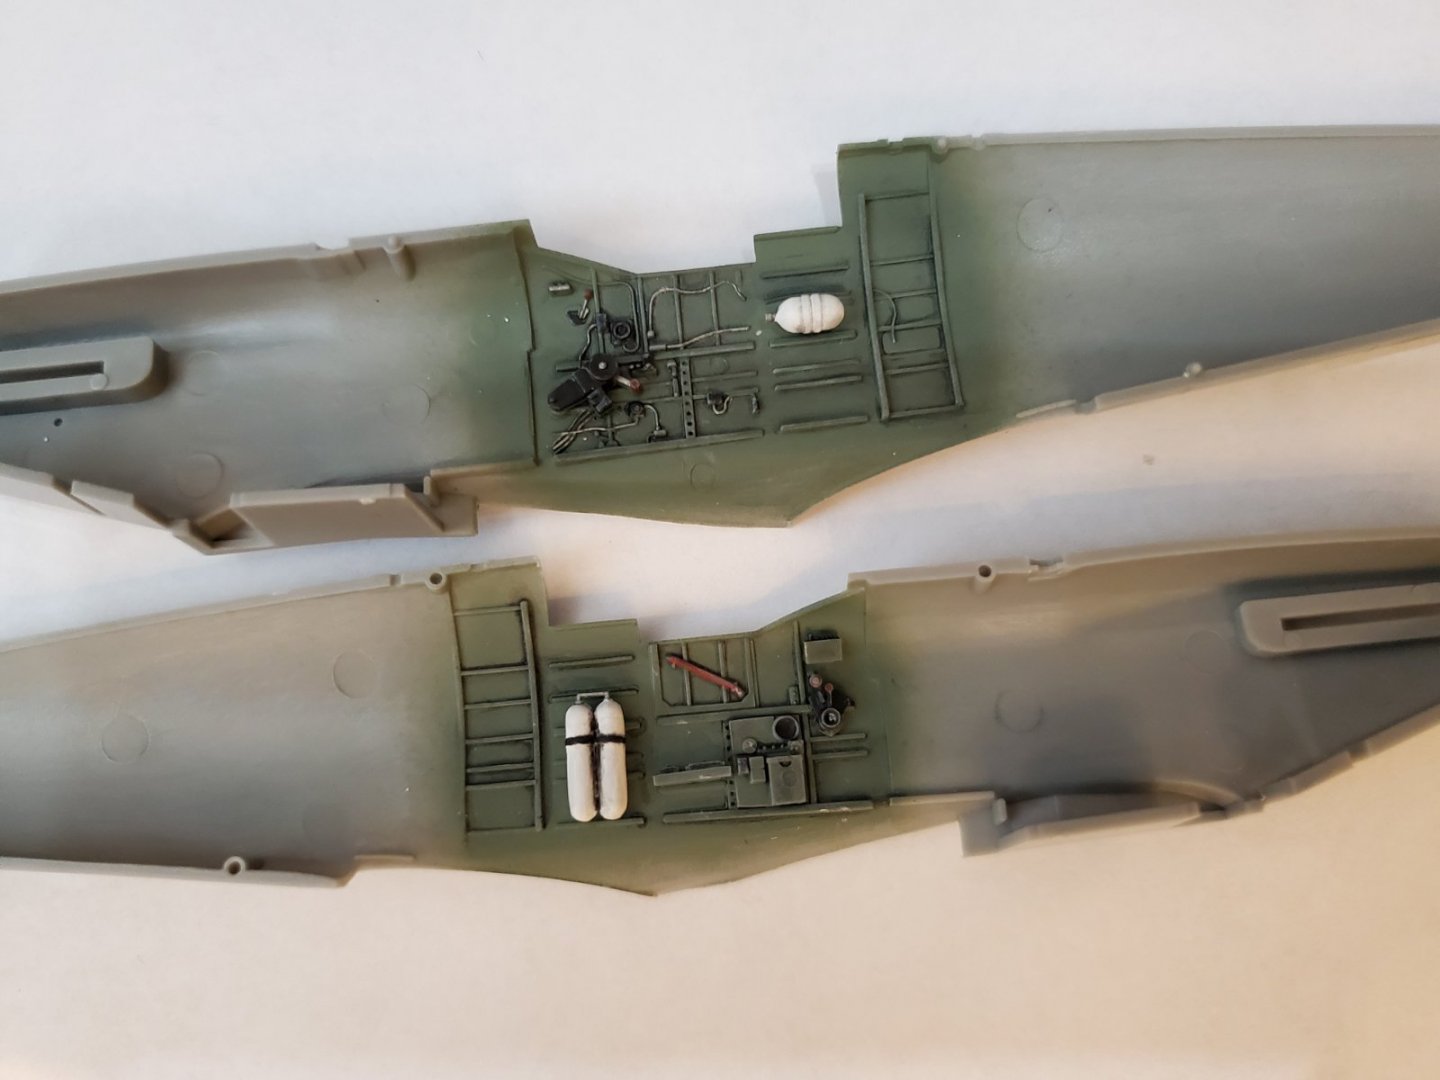
Cockpit has been painted. I am out of British Interior Gray Green, and no stores are open to buy it, so blended my own and airbrushed that. I think it came out darn close. I replaced the seat with a resin one from Ultracast. Aside from that it will be just kit parts other than decals. Next I need to gloss coat all of this so I can apply a wash.

- 55 replies
-
- 14
-
-
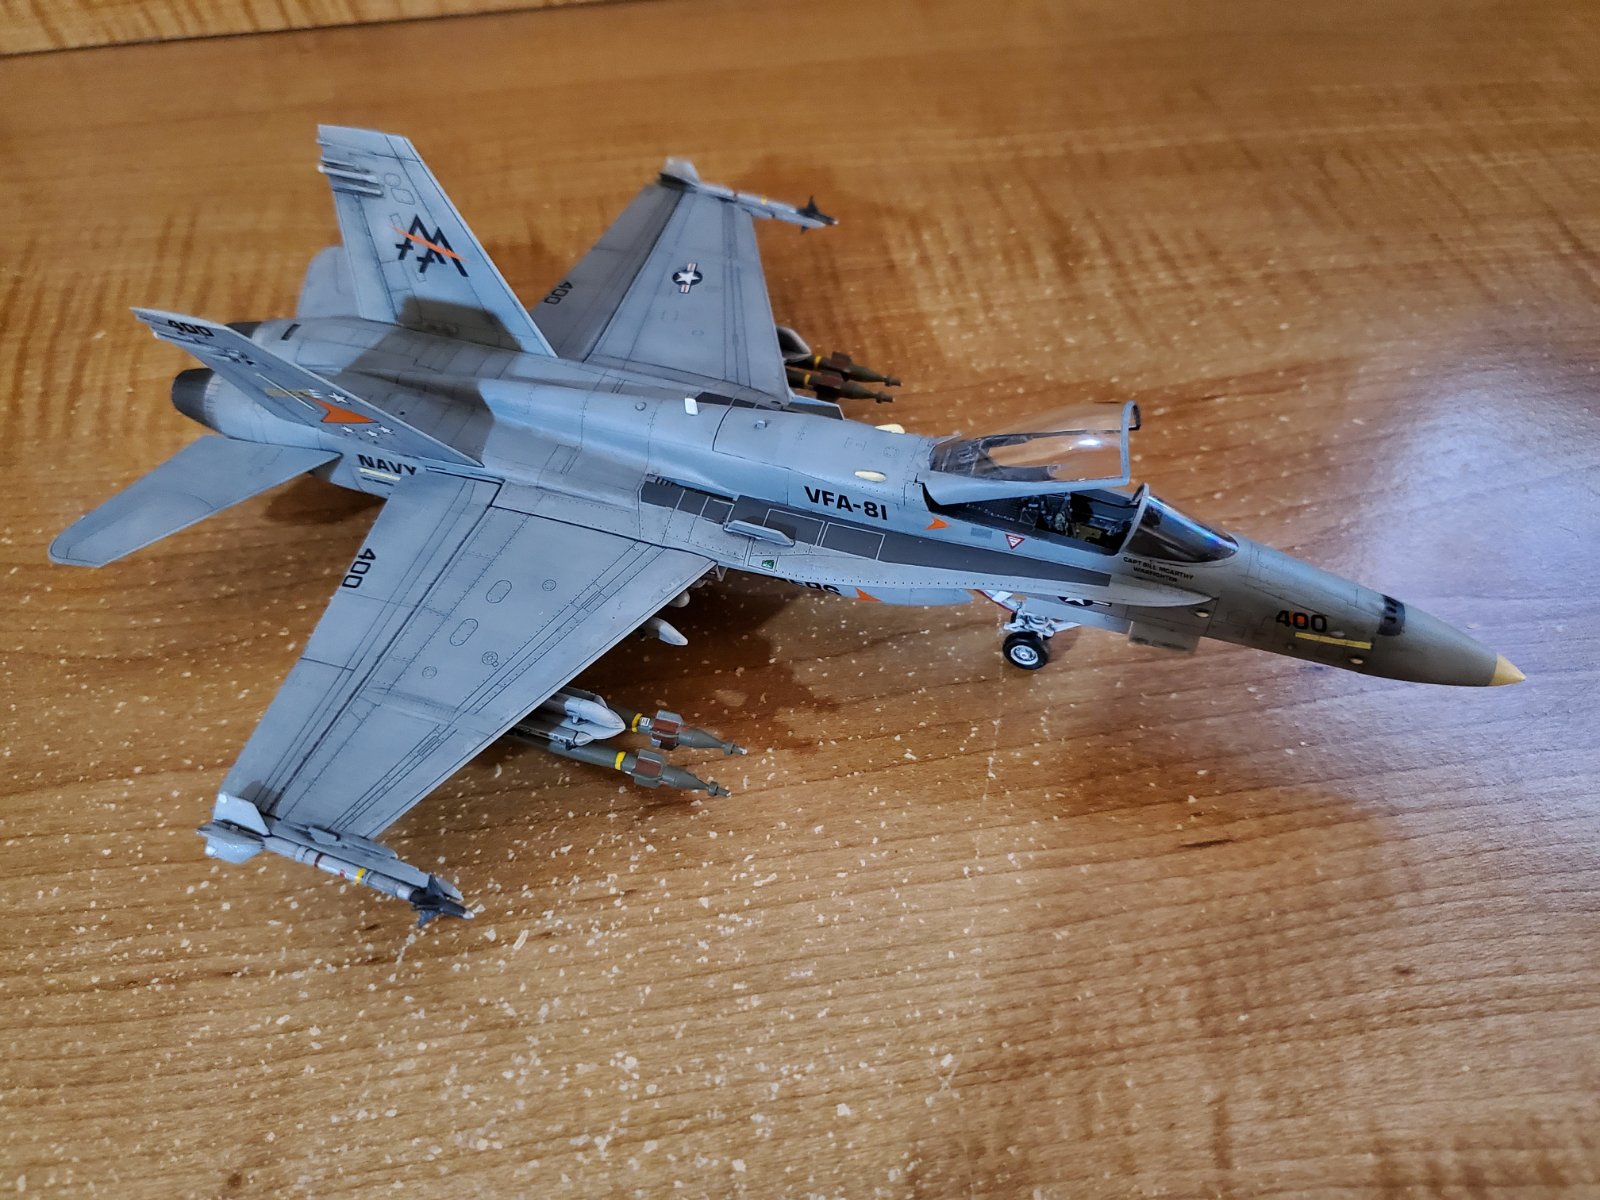
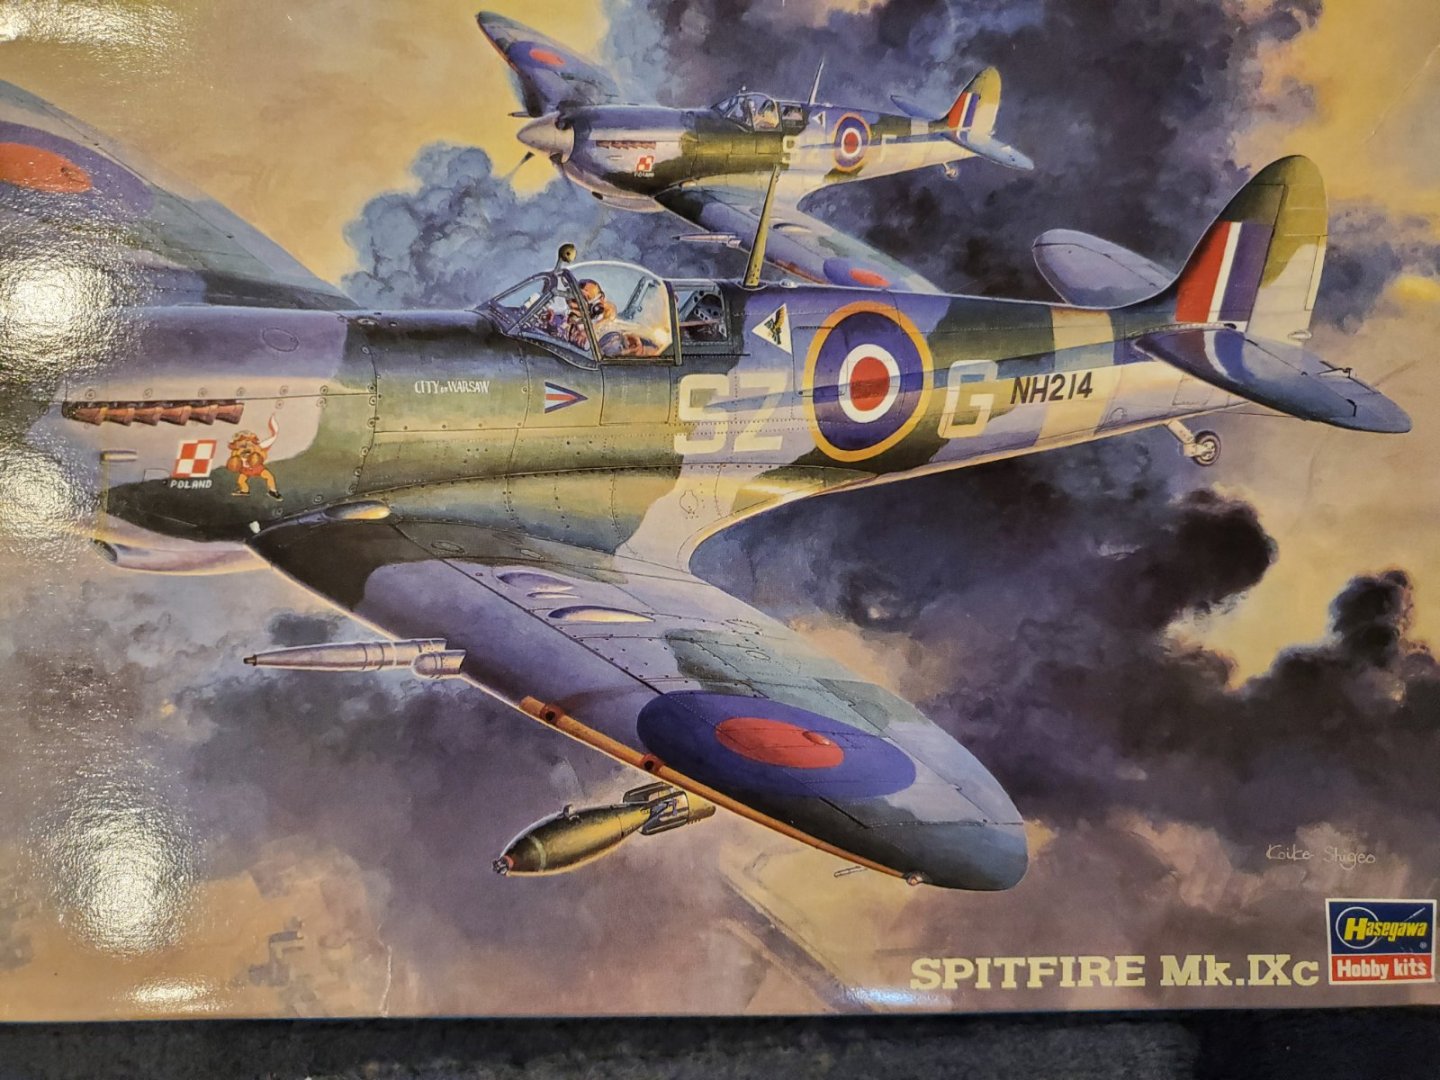
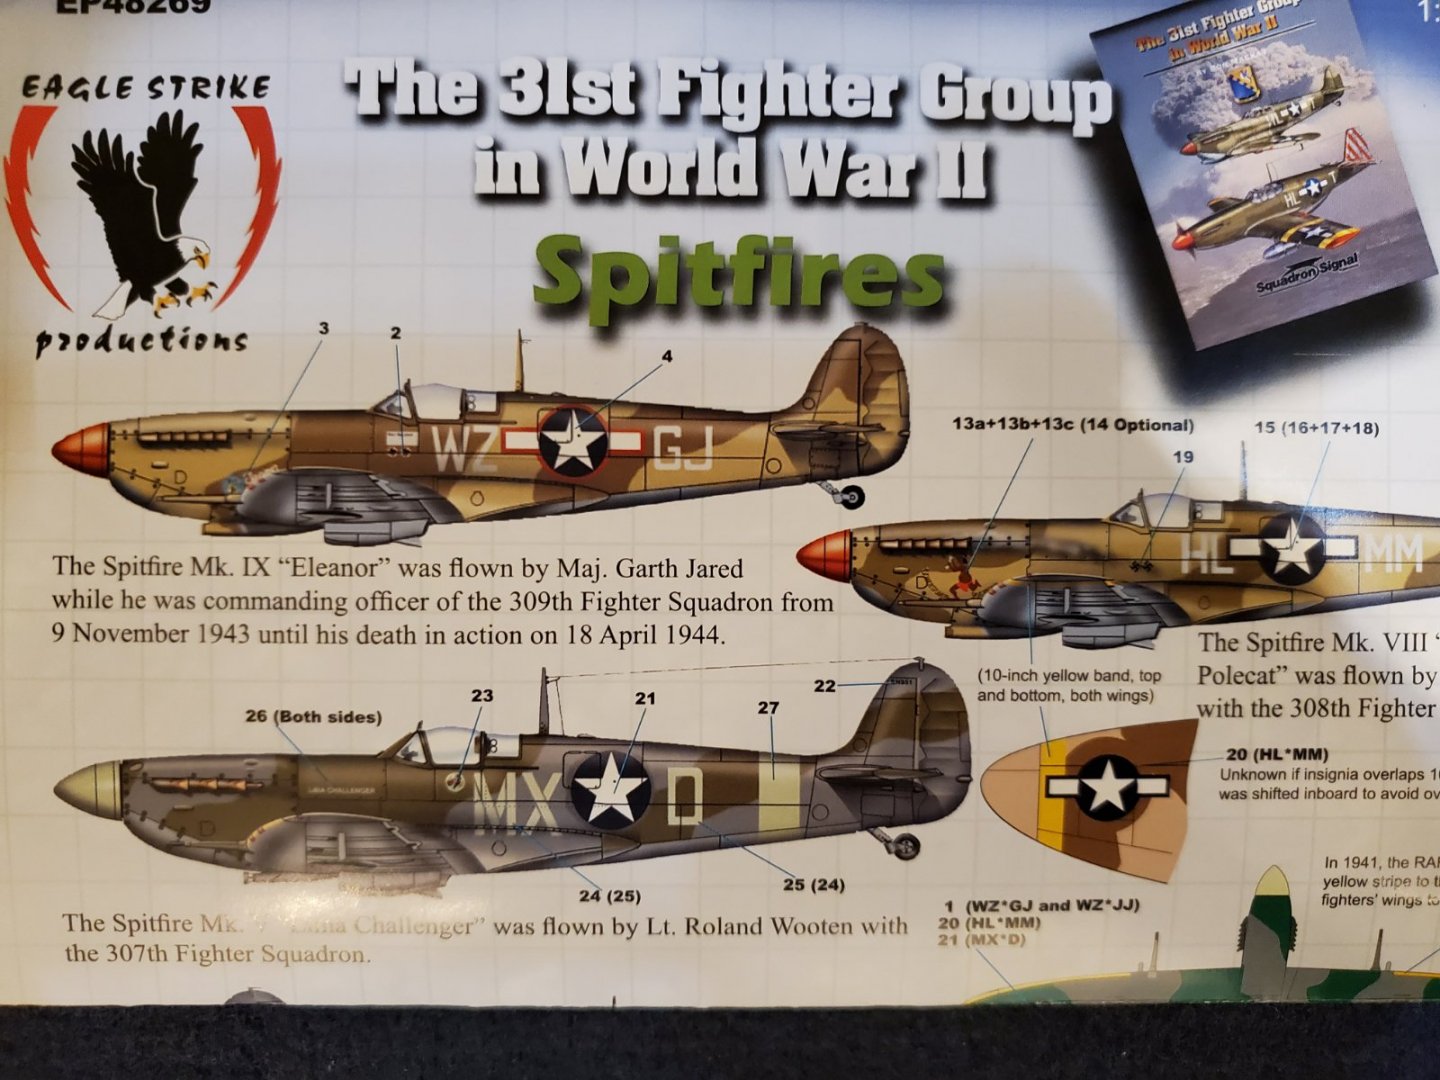
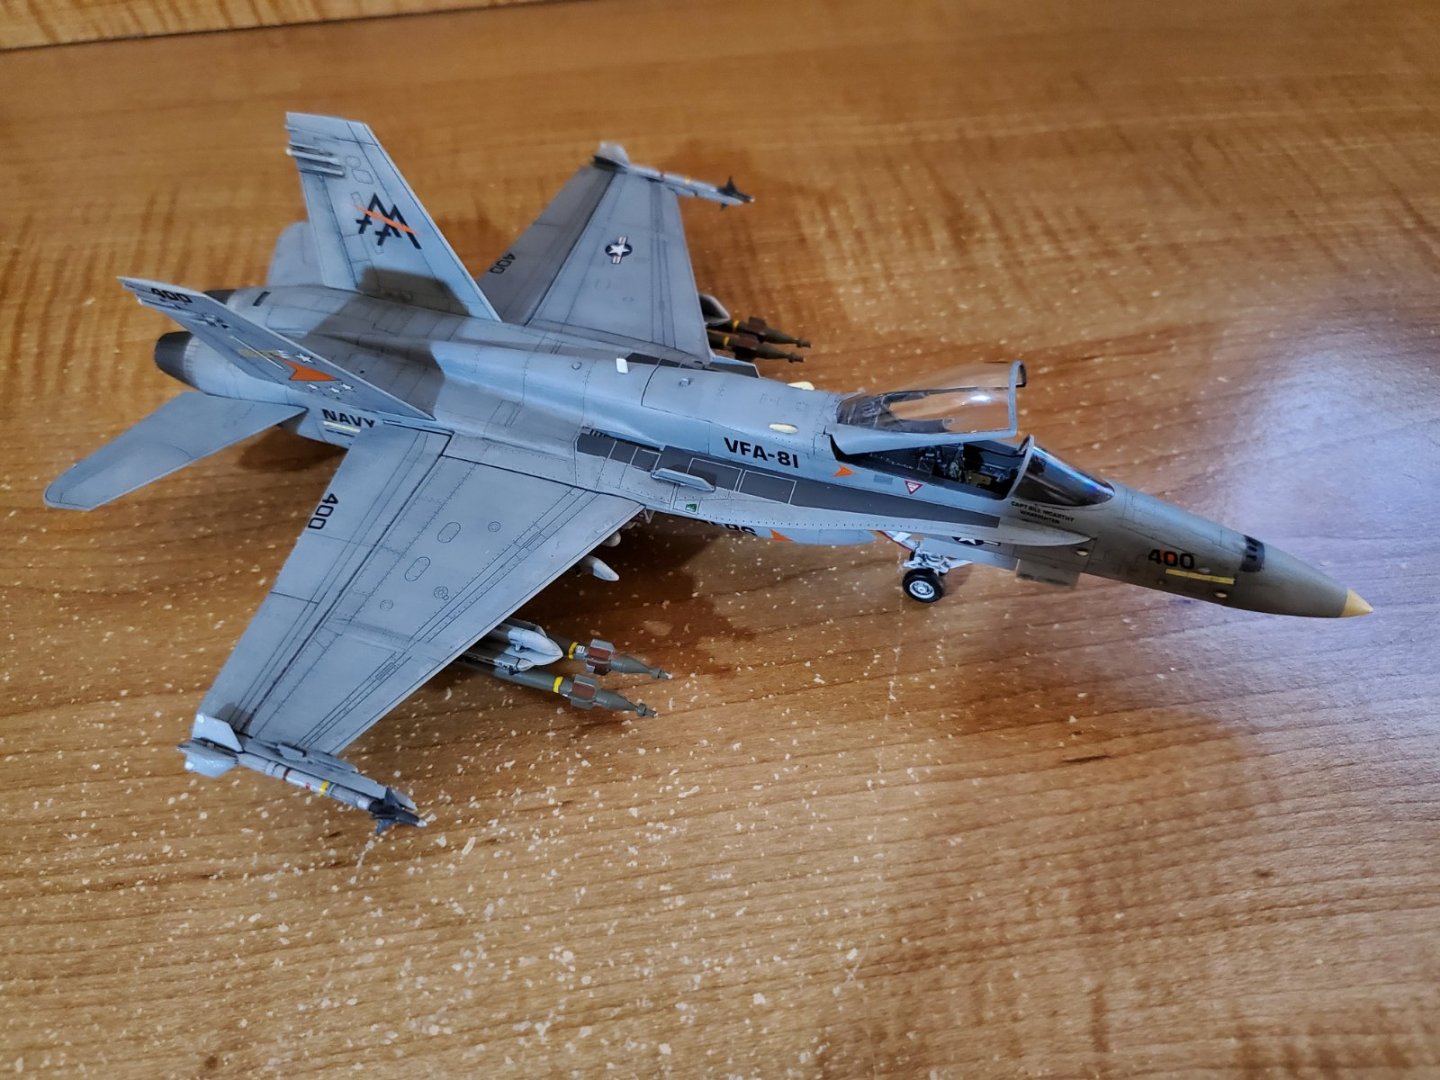
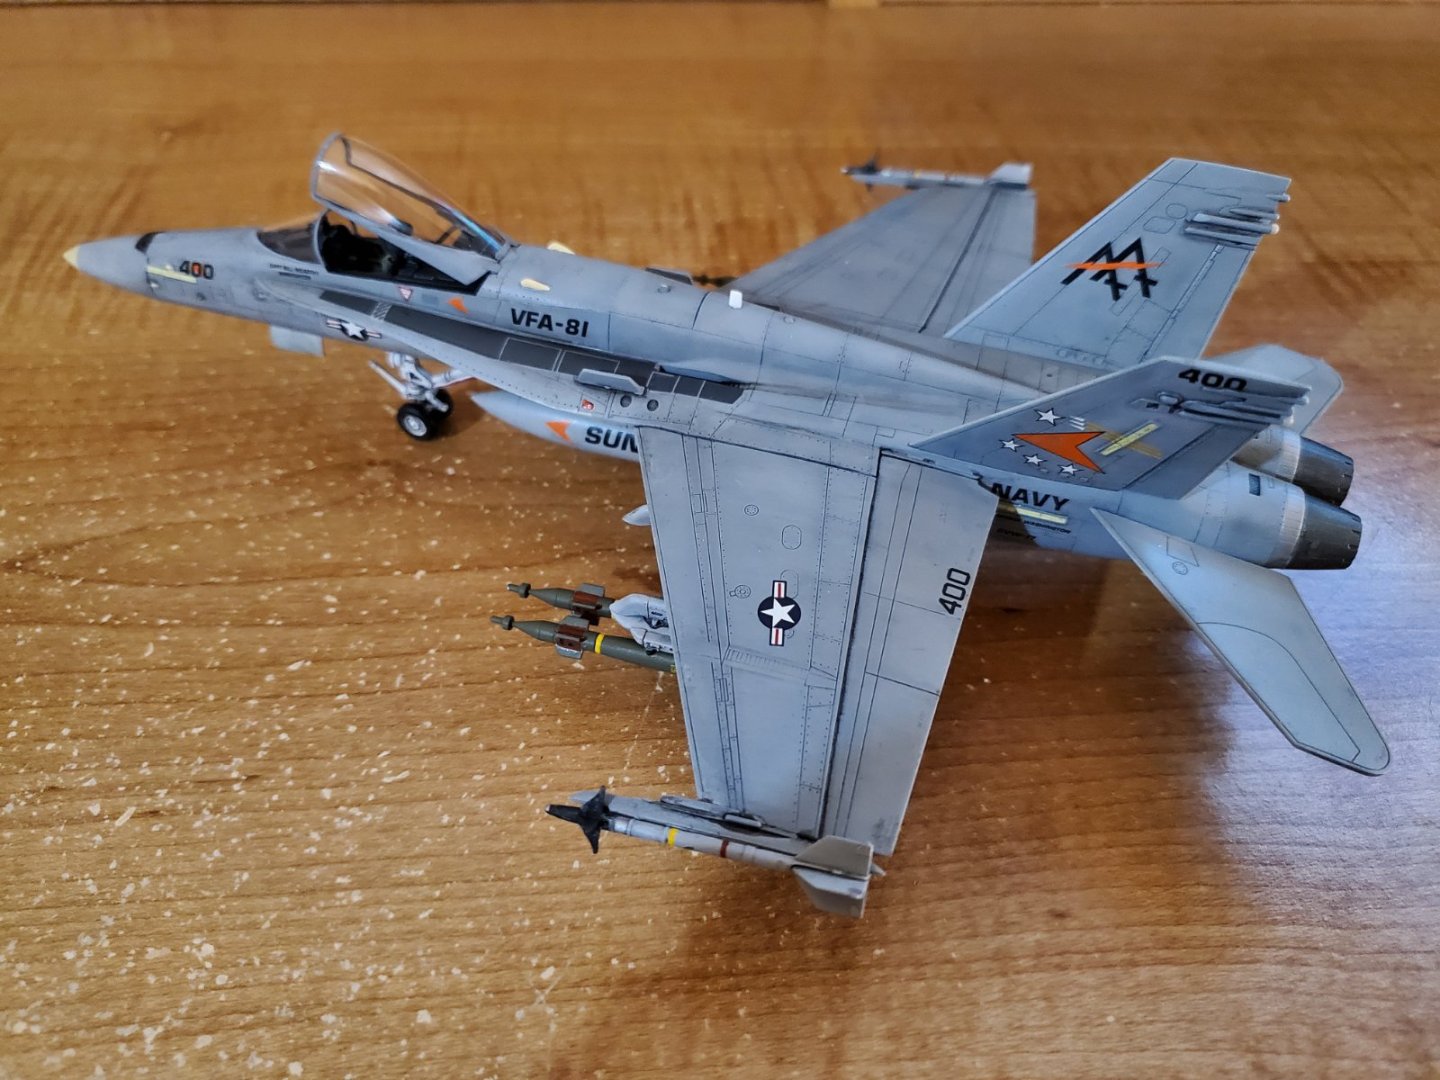
Well, I've been on a bit of plastic kick of late and the Spitifre was getting near the top of the "to build" pile. Old Collingwood's build of the Mk IX inspired me to get started. First, here is the Academy 1/72nd scale F/A-18C Hornet I just wrapped up. Added a resin seat and some aftermarket decals, but otherwise straight out of the box, as it's a very nice kit. On to the Spitfire. I am using the Hasegawa kit in 1/48th. I've built my share of Tamiya Spitfires but this will be my first Hasegawa version. I am going to do American markings for the 31st Fighter Group as shown on this Eagle Strike deal sheet. I am generally a very quick builder of plastic, and this is a straightforward kit so I don't see this build taking super long, especially with things as they are in the world.
- 55 replies
-
- 14
-
-
I shall for sure. Just have two jets on the bench to finish before then. One should be done today.
-
Nice work so far OC. I have been back on a plastic kick a bit of late and there is a Mark IX creeping close to the top of my "to do" pile in my stash.