jwvolz
-
Posts
977 -
Joined
-
Last visited
Content Type
Profiles
Forums
Gallery
Events
Everything posted by jwvolz
-
I simply used two brass rods through the keel. It is plenty strong enough and I think it looks good.

-
 Great work so far, especially all the metal work. I like what you did with the siene boat and the dory as well. Mine is long finished but I never did complete my log, including finished pictures. maybe you've inspired me to do so...
 -
That's fantastic Richard.
-
Thanks Bob. She's actually finished, and has been for a couple of months. I just need to get this log caught up.
- 139 replies
-
- 2
-

-
- benjamin w latham
- model shipways
- (and 1 more)
-
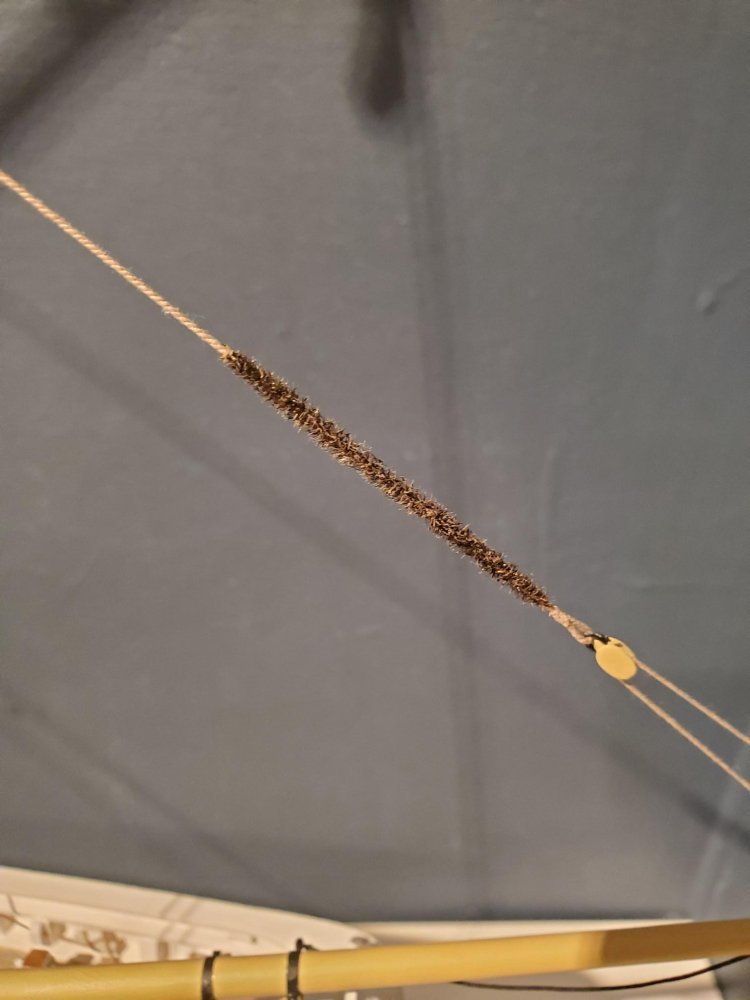
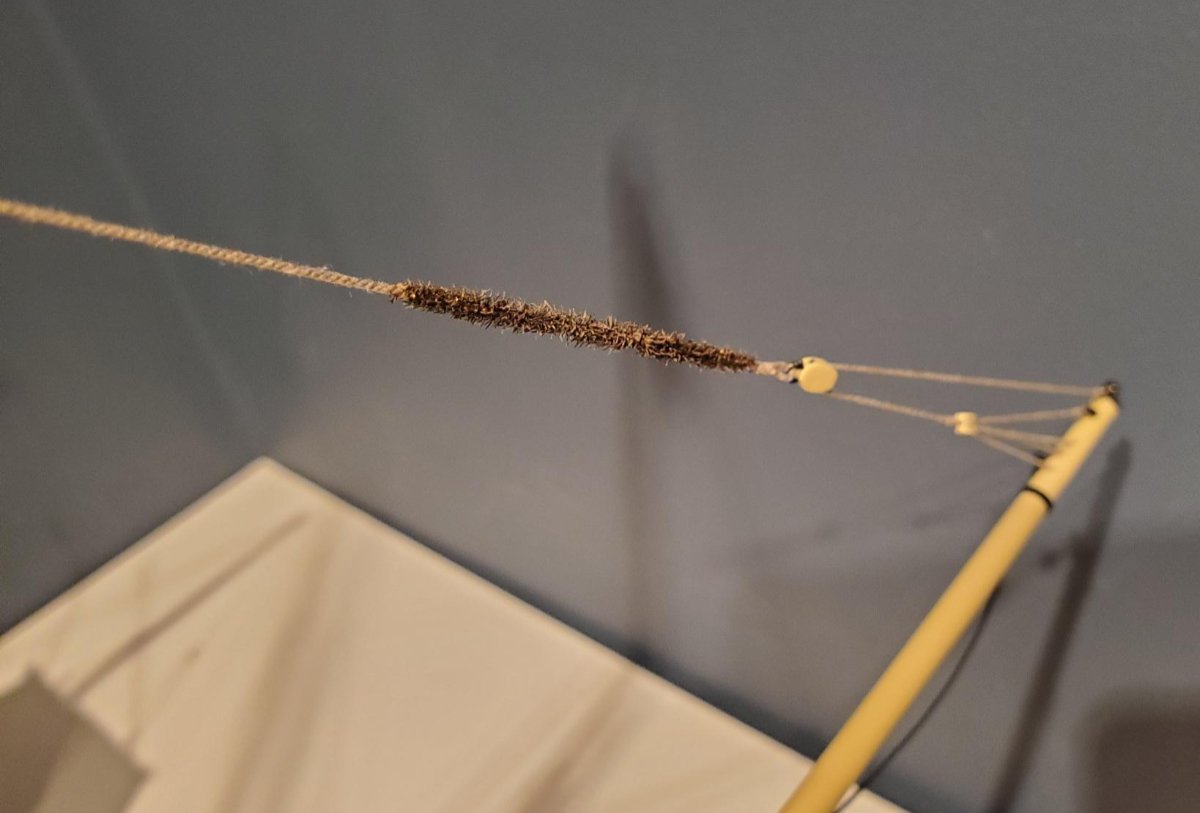
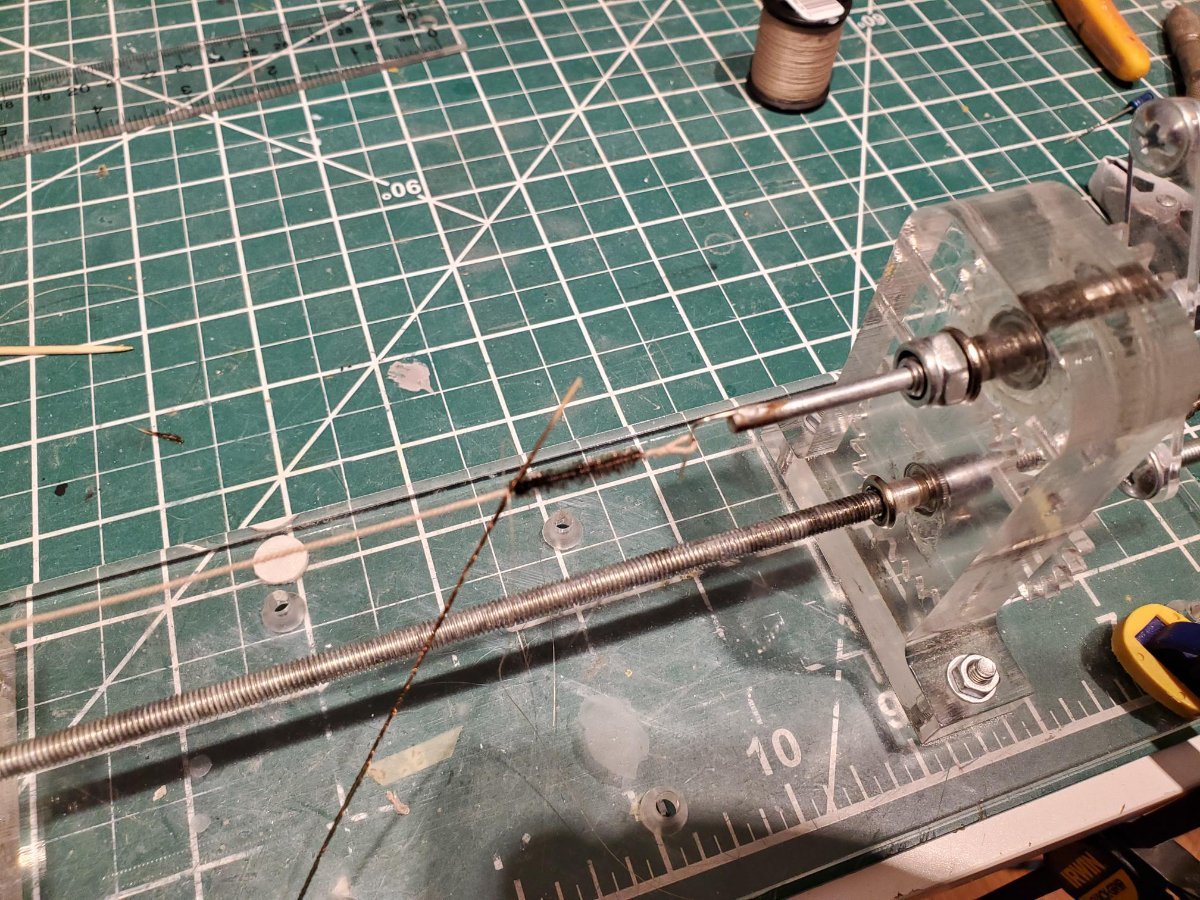
Richard, Thanks. The rope is Syren. For the baggywrinkle I simply placed the appropriate length of rope in my serving machine, and then attached the piece of the peacock hearl with fine thread. I then wrapped it around the rope for the distance necessary and seized it off on that end again with fine thread. Final step was to paint with diluted tan acrylic paint. It's actually incredibly simple.
- 139 replies
-
- 2
-
-
- benjamin w latham
- model shipways
- (and 1 more)
-
Welcome Doug from a fellow Pennsylvanian!
-
Thank you Jim.
-
Just caught up Eamonn, congratulations on a fine build.
- 1,039 replies
-
- 1
-

-
- ballahoo
- caldercraft
- (and 2 more)
-
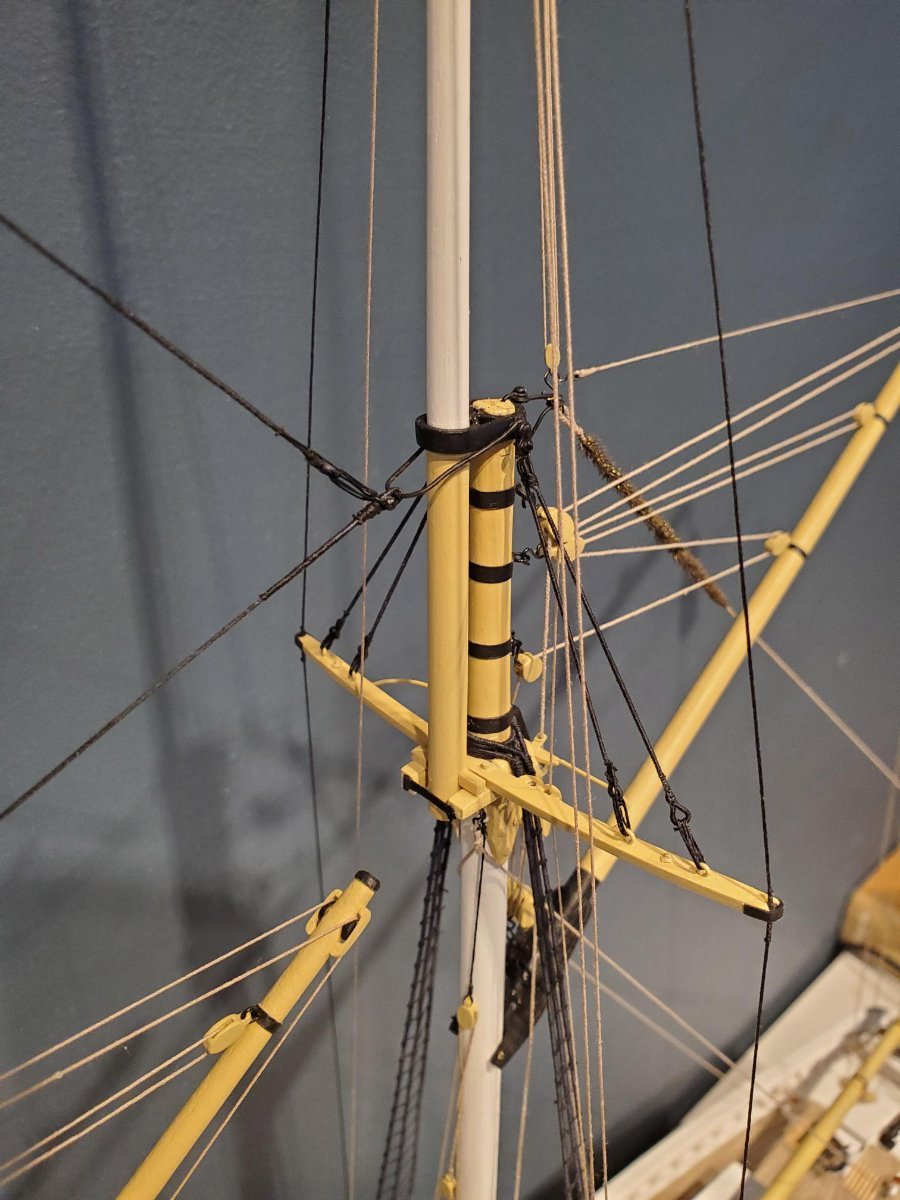
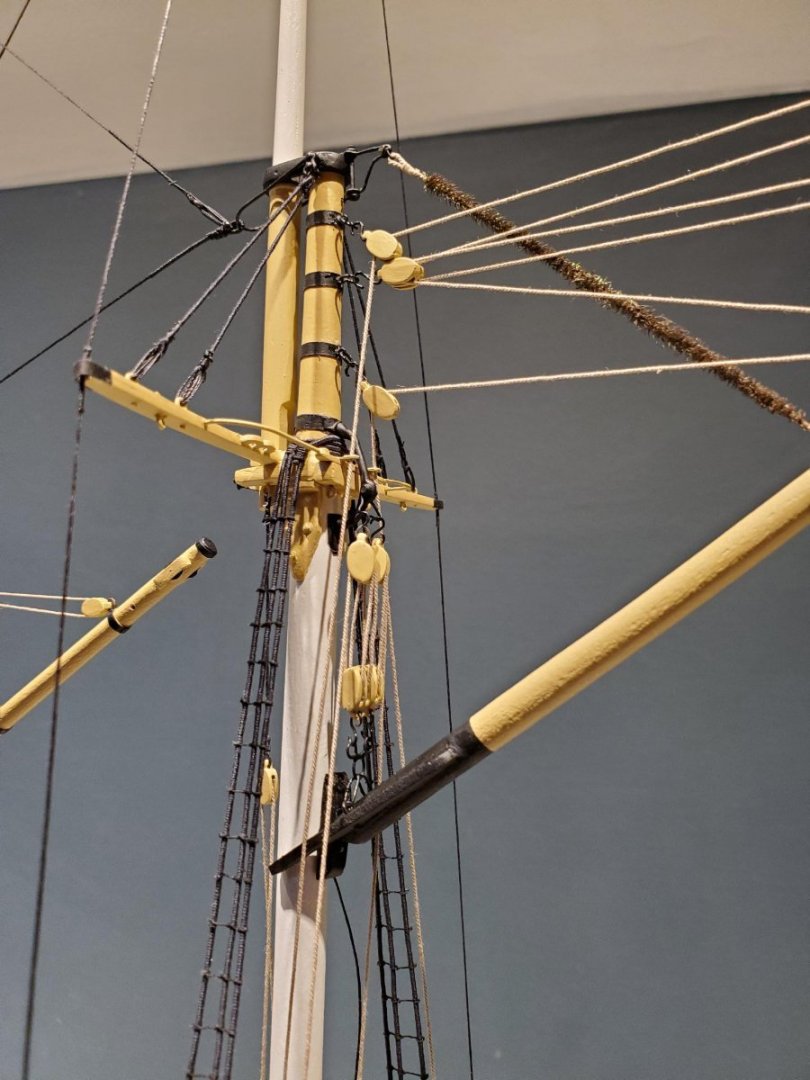
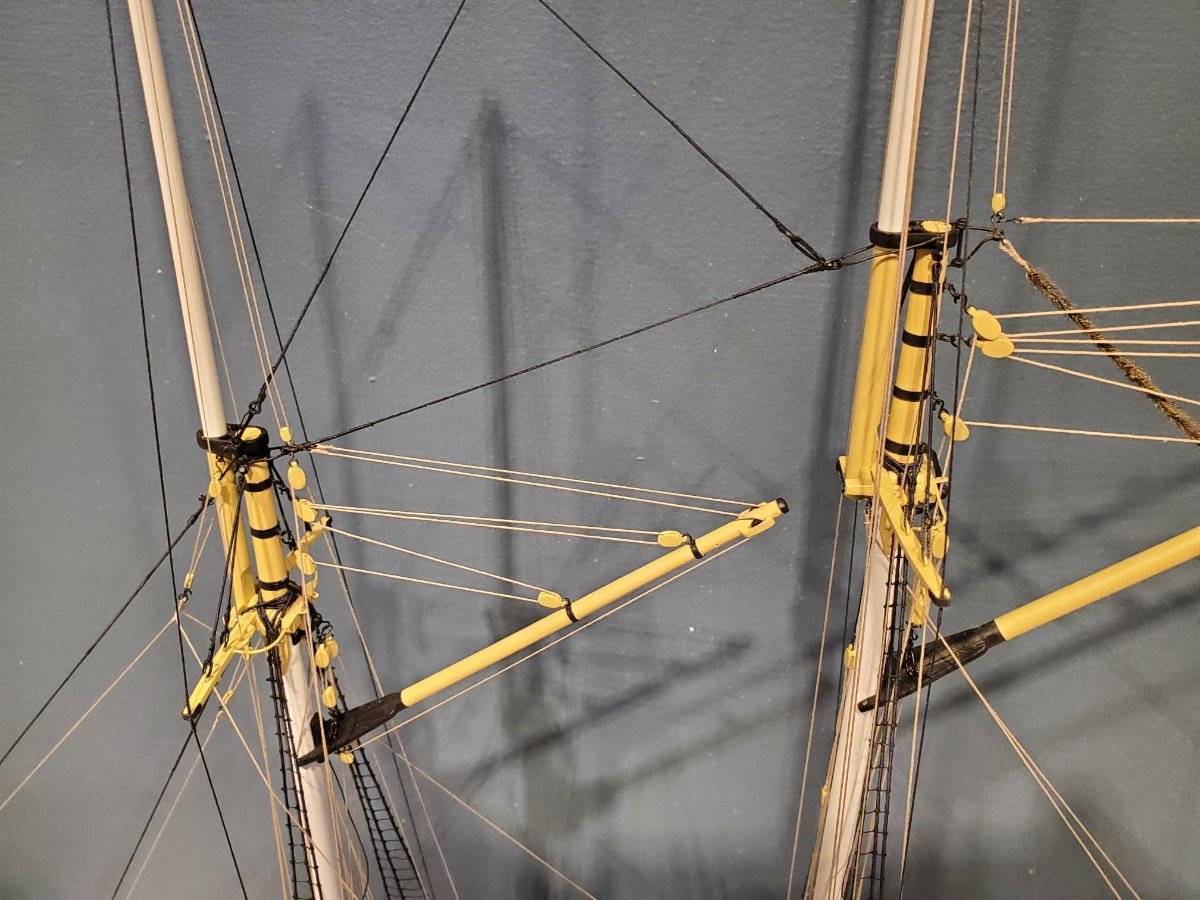
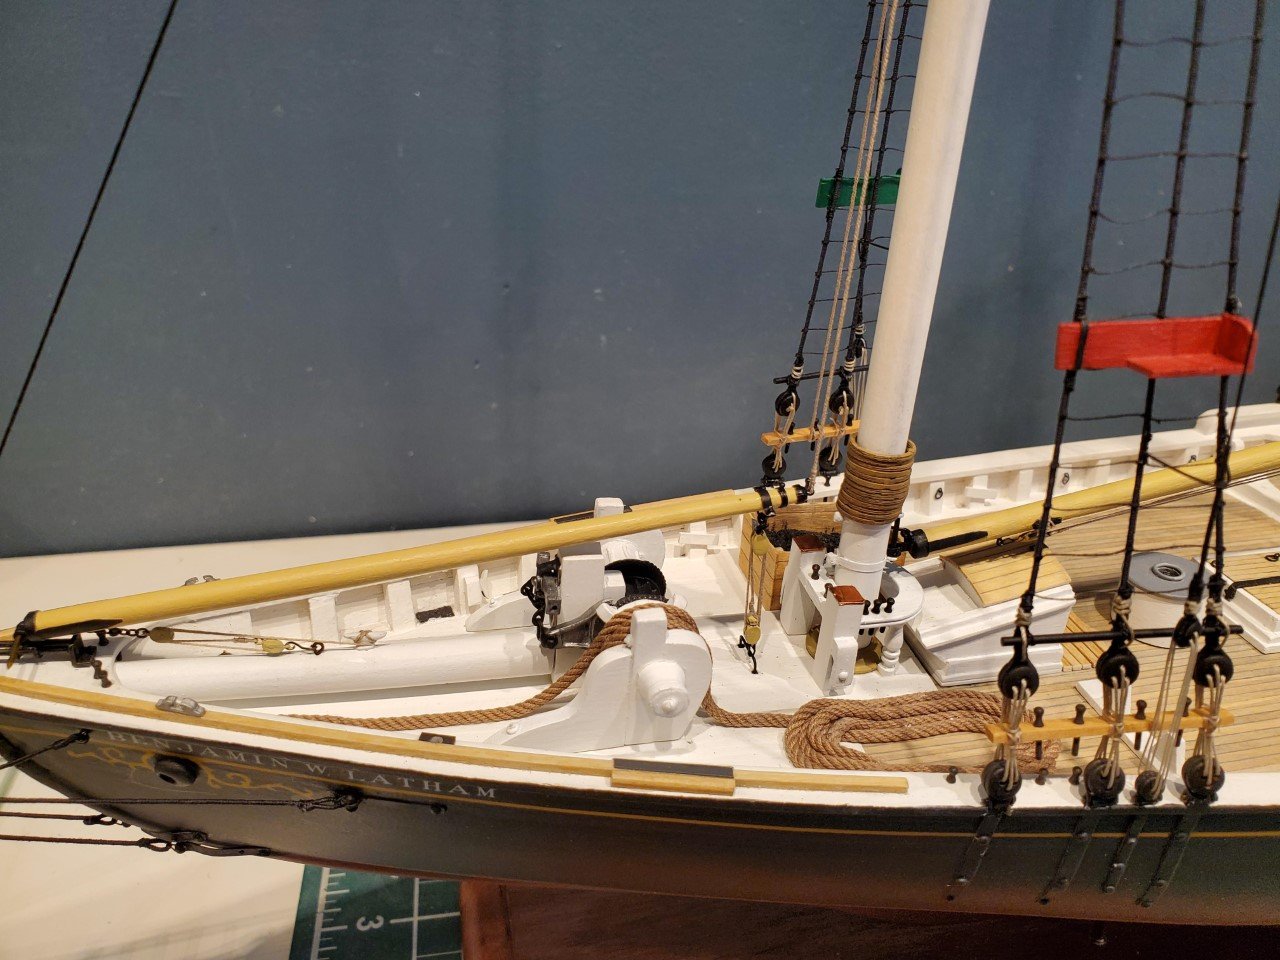
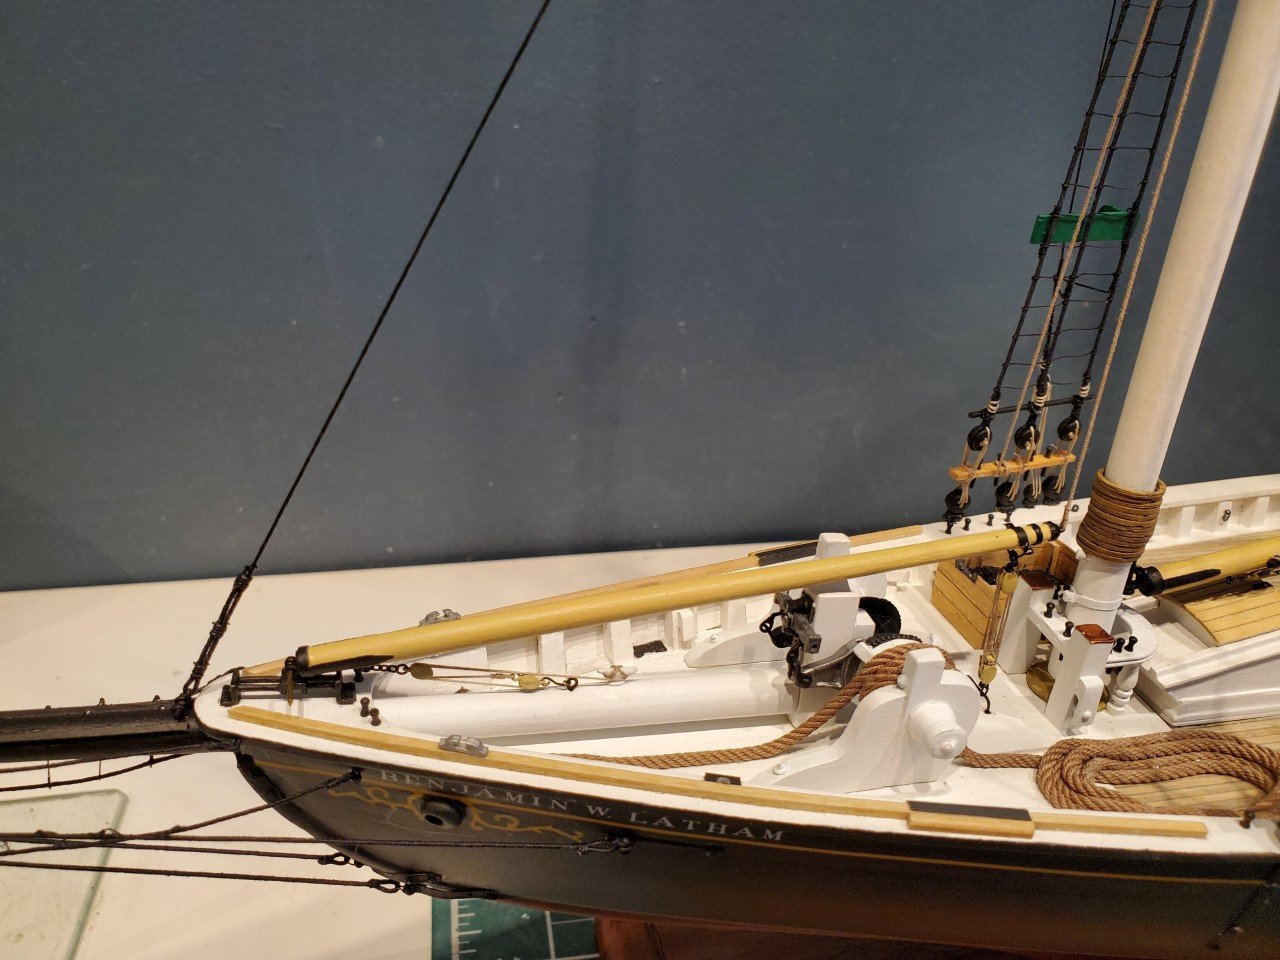
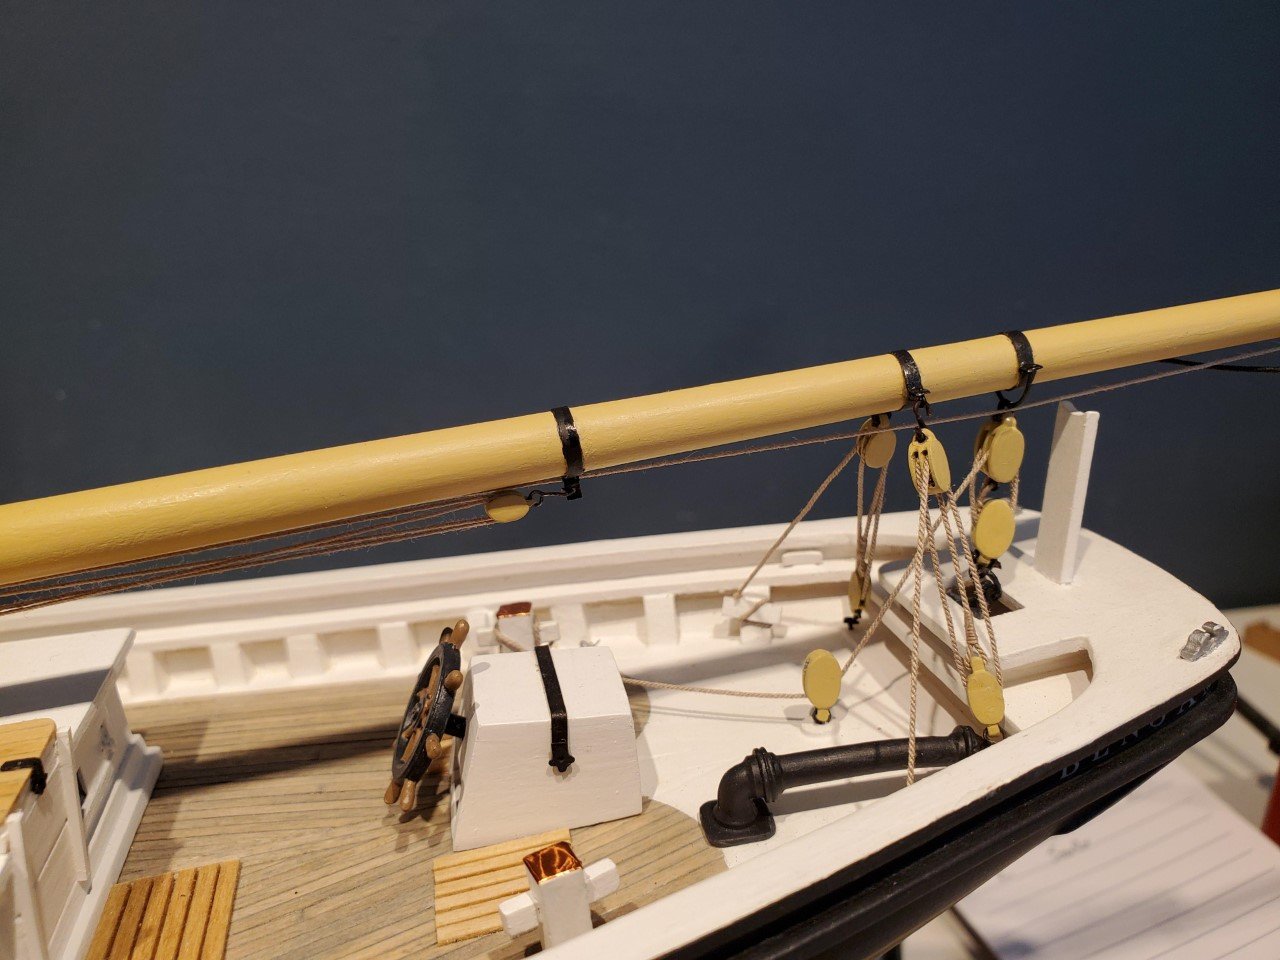
More update photos as promised. These show the gaff rigging and some of the topmast rigging. As mentioned earlier, these are Bluejacket blocks and Syren line.

- 139 replies
-
- 17
-
-

-
- benjamin w latham
- model shipways
- (and 1 more)
-
Thanks Mike! Wish those pics were better...
- 139 replies
-
- 2
-
-
- benjamin w latham
- model shipways
- (and 1 more)
-
Well, bit of a long overdue update. I've been super busy at work, spending time outside over the summer, then I had Covid. So even though I've worked on the model a fair amount I haven't posted anything in quite awhile. Here we go. I've completed nearly all of the rigging on the Latham. One thing I wanted to touch on first was the baggywrinkle. I puzzled long and hard over how to make this neatly and in scale. I am a fly fisherman/fly tier and it eventually hit me to use peacock herl, which is used for certain fly bodies. I used my serving machine to wrap it around the rigging line, and then subsequently painted with tan paint. Really happy with the way it came out. I'll have more updates over the coming days.
- 139 replies
-
- 14
-
-
-
- benjamin w latham
- model shipways
- (and 1 more)
-
Looking very nice Ron.
-
Thanks Richard. Getting close...
-
Looking good Richard.
-
Just spent some time pursuing your log, what a fantastic build Mike. I love the final presentation. Fantastic!
-
Good to hear Mike. It does look good. The difference could lie in that I used copper tape vs. the plates. Mine therefore had a bit of stretch/flexibility that the plates don't have.
-
Good start Mike. When I did Cruizer (same hull) I did one belt and then a one row belt at the waterline. It worked out well with no issues, looks good and would certainly be easier. That drawing is a two-decker so deeper hull, which would likely have a different run than a brig. There are some pictures in my build log.
-
Thanks Jason and Jeff, I appreciate it. I am really enjoying this build.
- 139 replies
-
- 1
-
-
- benjamin w latham
- model shipways
- (and 1 more)
-
Thanks for linking my build in here Bob, I appreciate that.
-
Good question actually as it did take some effort. Each loop is individually glued down with white glue and then a weight was put on until dry. I repeated with each subsequent layer. Wouldn't stay put otherwise and gave much better control of the lay. Thanks to everyone else as well, and the "likes".
- 139 replies
-
- 2
-
-
- benjamin w latham
- model shipways
- (and 1 more)
-
I have completed the ratlines on both masts, which really wasn't too bad with the limited number of shrouds. Lantern boards were built and painted and secured with thin brass brackets seized to the shrouds per the plans. I also soldered up the topmast spreaders from brass wire and seized those to the shrouds as well, to keep the stay clear of the lantern boards. I didn't really document the booms being fabricated and assembled/painted, but their installation has begun. The hardware was made from various brass strips and wire. Their rigging has also begun with sheets and topping lifts run. I am using Bluejacket blocks, as Latham had internally stropped blocks, and Syren line for the running rigging.

- 139 replies
-
- 17
-
-
-
- benjamin w latham
- model shipways
- (and 1 more)
-
My eyes are crossing just looking at that Mike. Nice job!
- 179 replies
-
- 8
-
-
- hatsuzakura
- pit road
- (and 2 more)