jwvolz
-
Posts
980 -
Joined
-
Last visited
Content Type
Profiles
Forums
Gallery
Events
Everything posted by jwvolz
-
 Looking fantastic Richard. All that metalwork is going to be "fun" for me when i get there. Not used to doing it, as I've built exactly one ship past 1815, and that was quite a while ago.
 -
Not a big update, but bulwarks planked to the main rail. Now working on the deck.
- 140 replies
-
- 14
-

-
- benjamin w latham
- model shipways
- (and 1 more)
-
Thanks guys. Building a fishing schooner is a nice change of pace from the warships.
- 140 replies
-
- 1
-
-
- benjamin w latham
- model shipways
- (and 1 more)
-
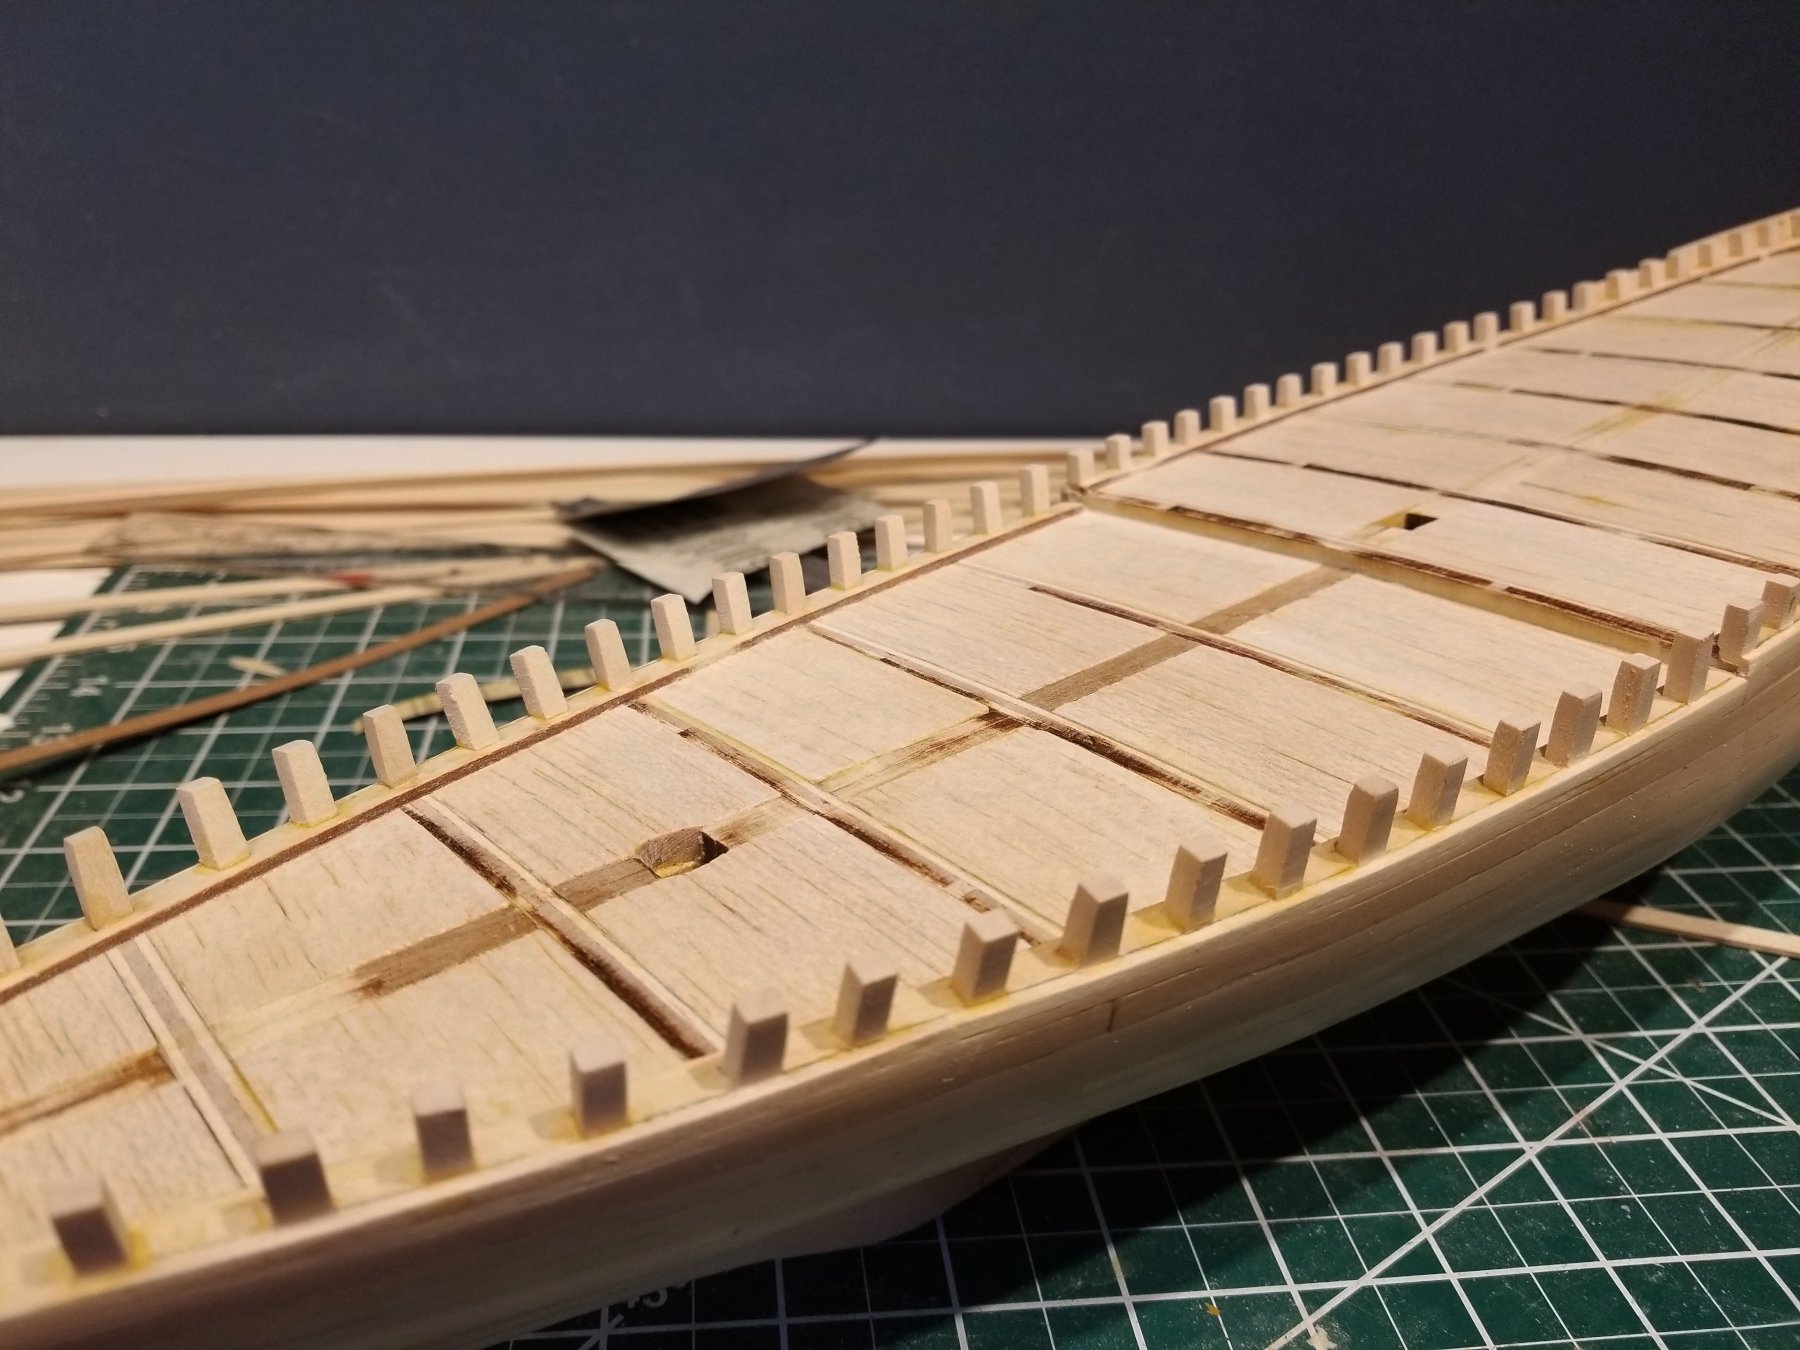
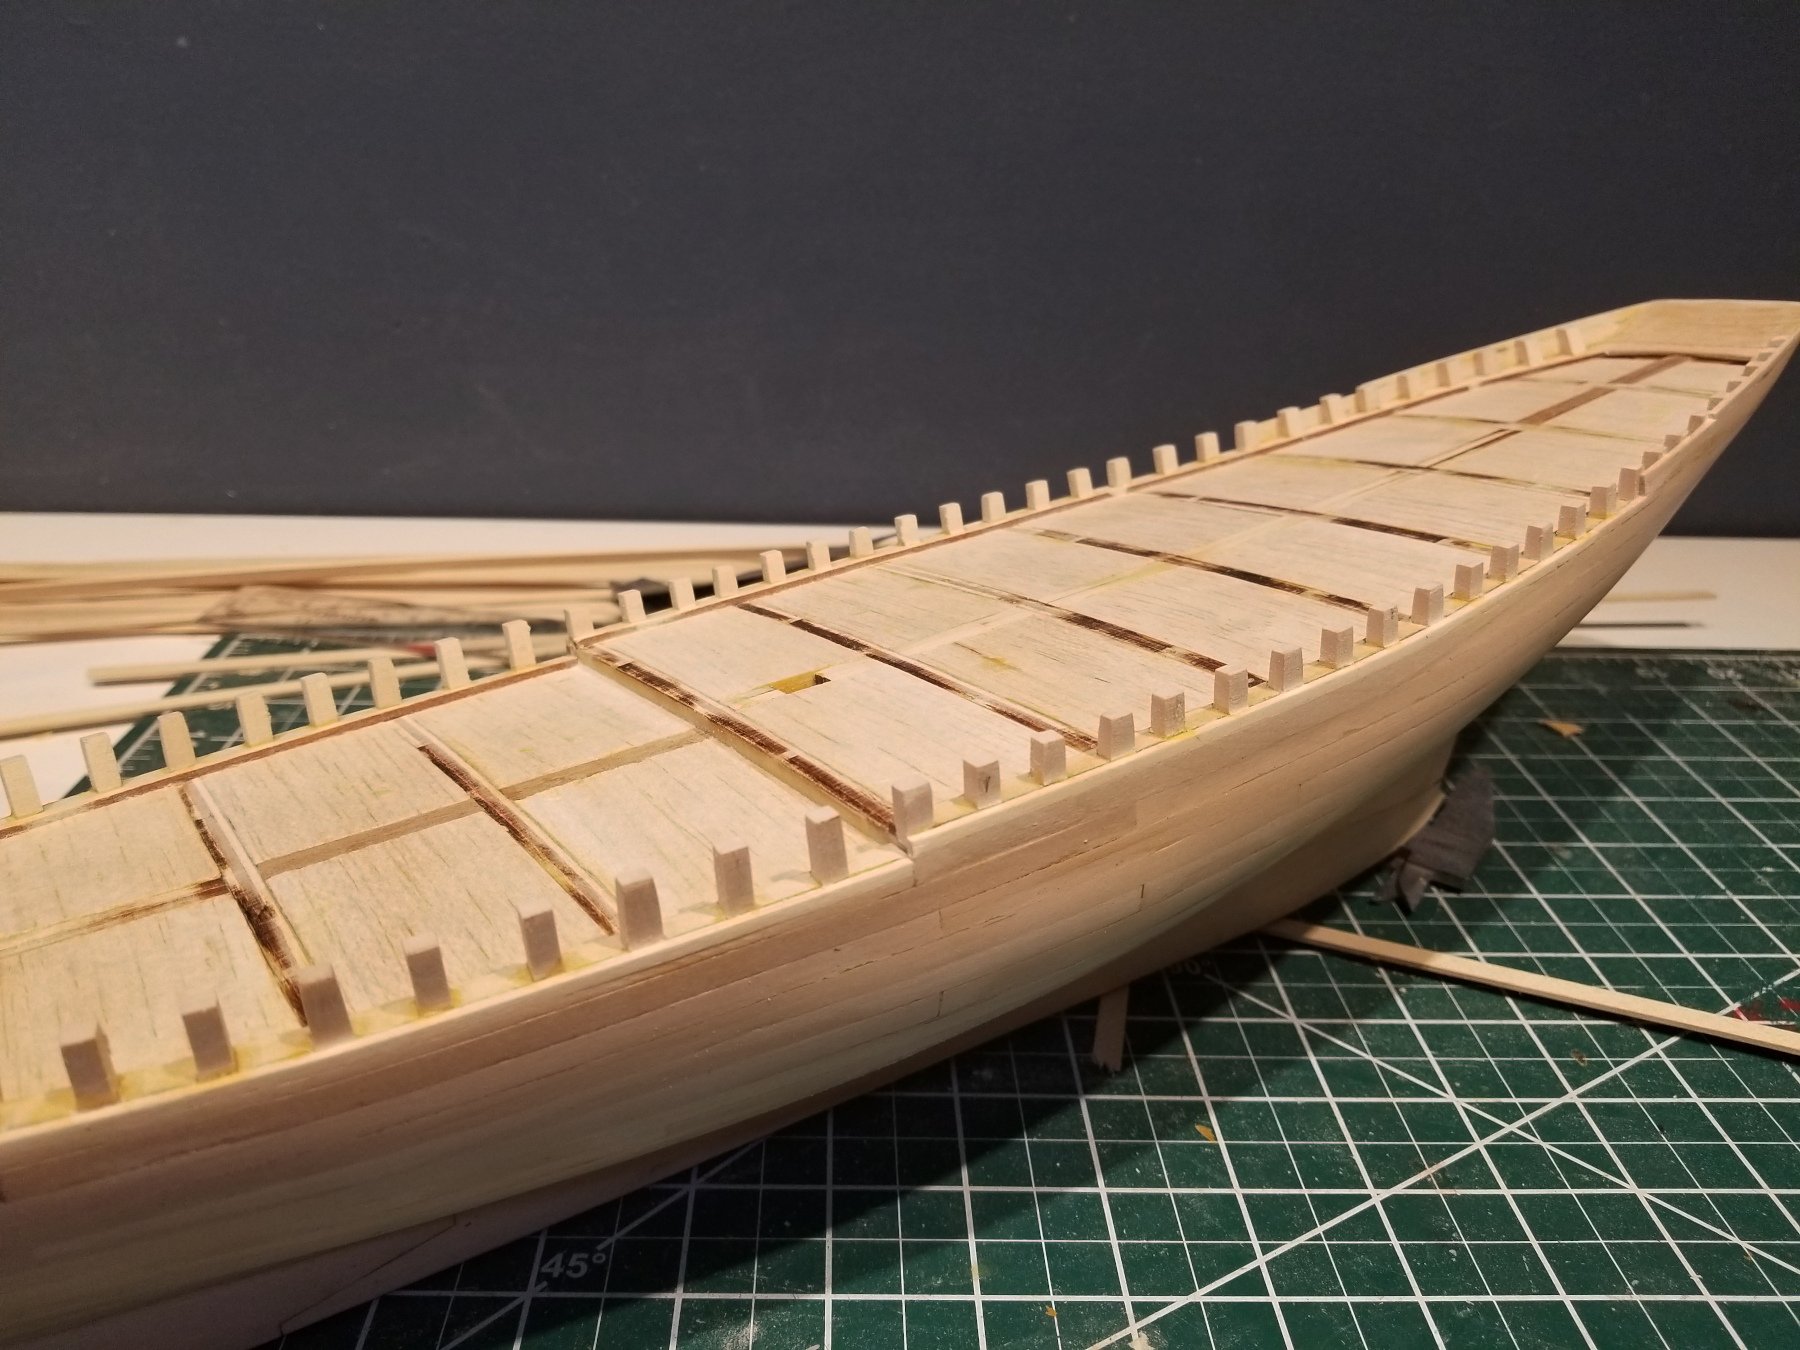
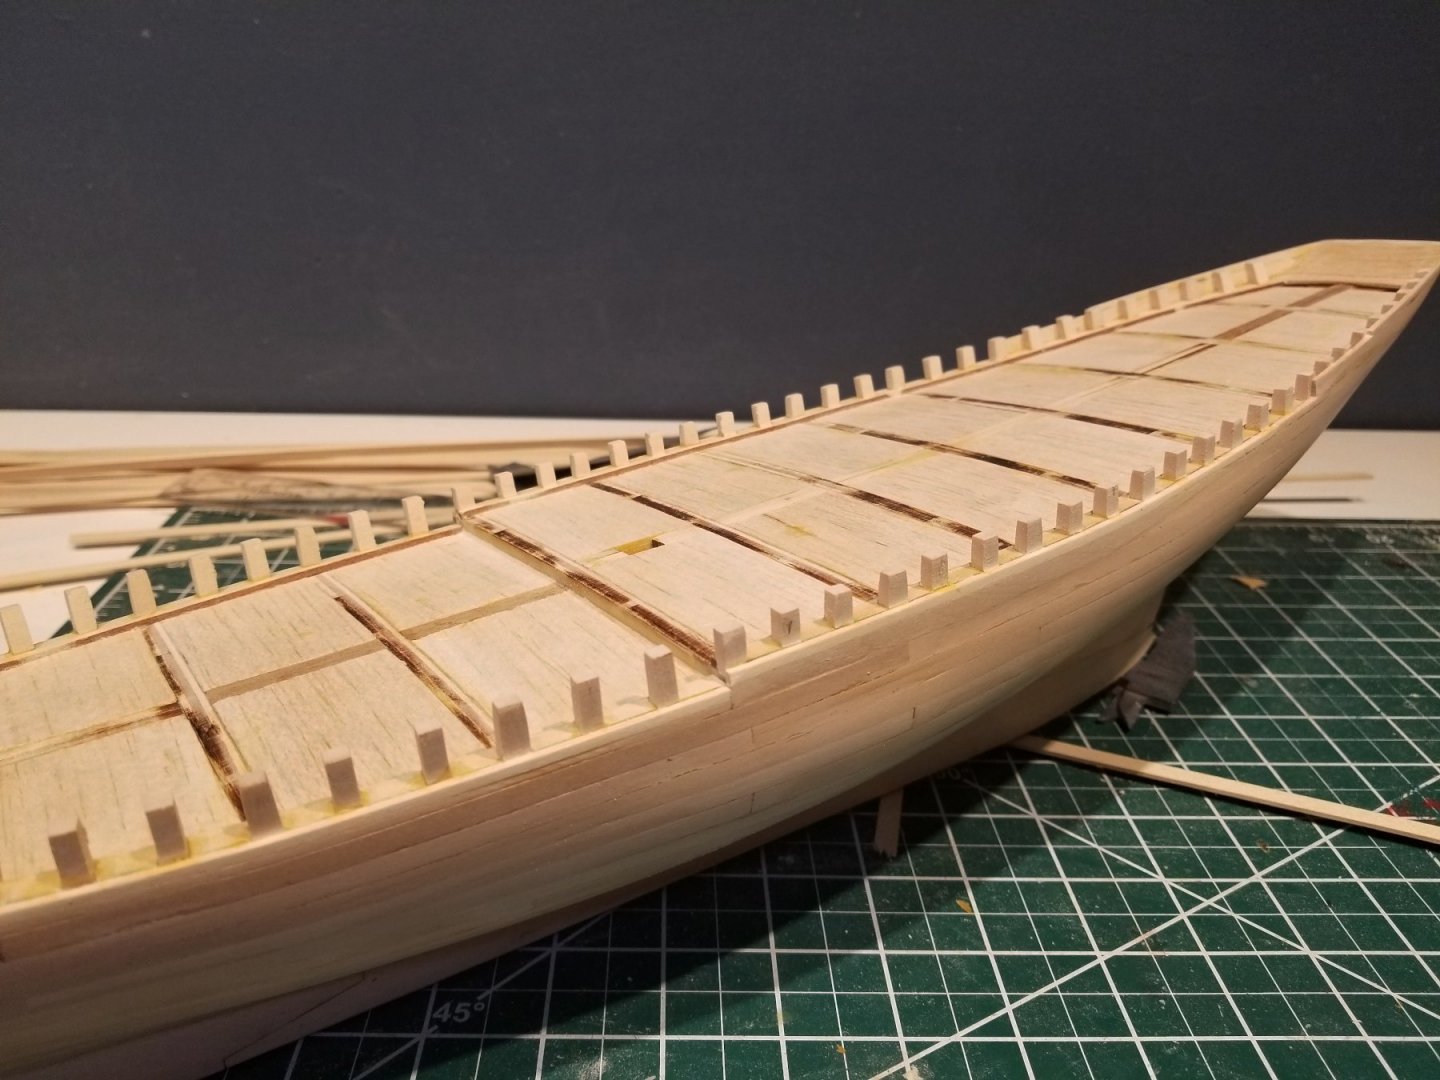
The false stanchions are complete. They're a bit time consuming, as each has a different inboard and outboard shape to follow the curve of the hull. Next to plank up the remaining area of the hull tot the top of the extensions.


- 140 replies
-
- 17
-
-
- benjamin w latham
- model shipways
- (and 1 more)
-
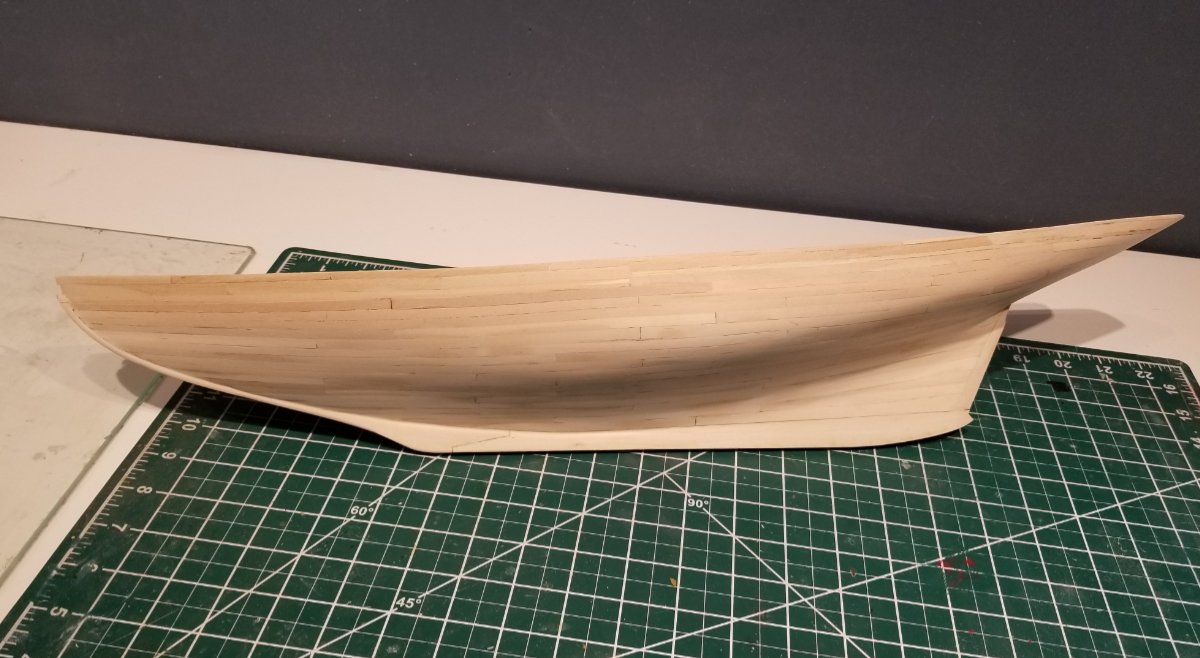
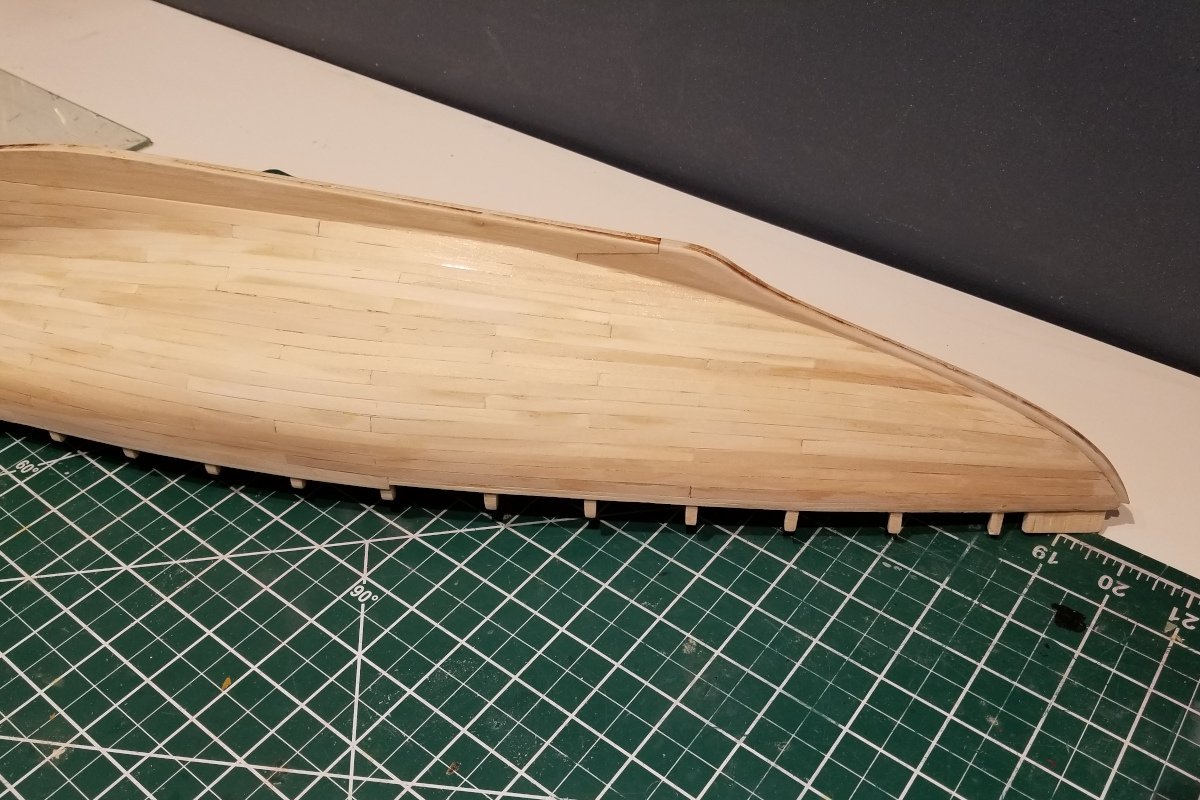
Hull planking is complete to the level of the main deck. I did edge bend where necessary, and the basswood is quite compliant in that regard.
- 140 replies
-
- 16
-
-
- benjamin w latham
- model shipways
- (and 1 more)
-
Poly over acrylic paint????
jwvolz replied to CPDDET's topic in Painting, finishing and weathering products and techniques
The paint underneath was definitely not dry. When I used to build plastic aircraft models I (and many others) swore by Future as a gloss coat over flat acrylics to provide a proper surface for decals. I always waited a week before applying it and never had a problem, and I only used acrylic paints (Tamiya, Polly Scale, Vallejo etc...). For final flat coat I typically used Polly Scale flat, but if you wait long enough and apply light mist coats with an airbrush you can even apply lacquer based Testor's Dullcote over acrylics. -
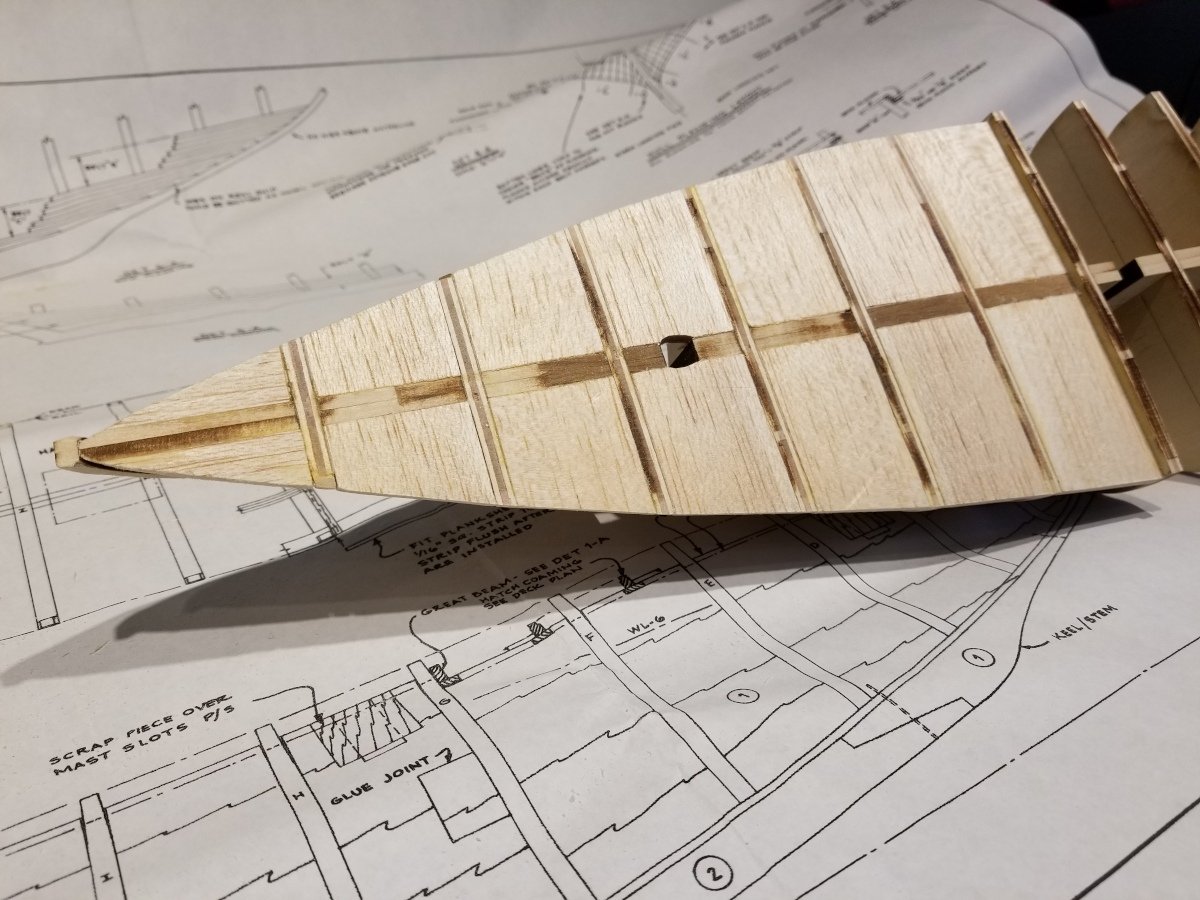
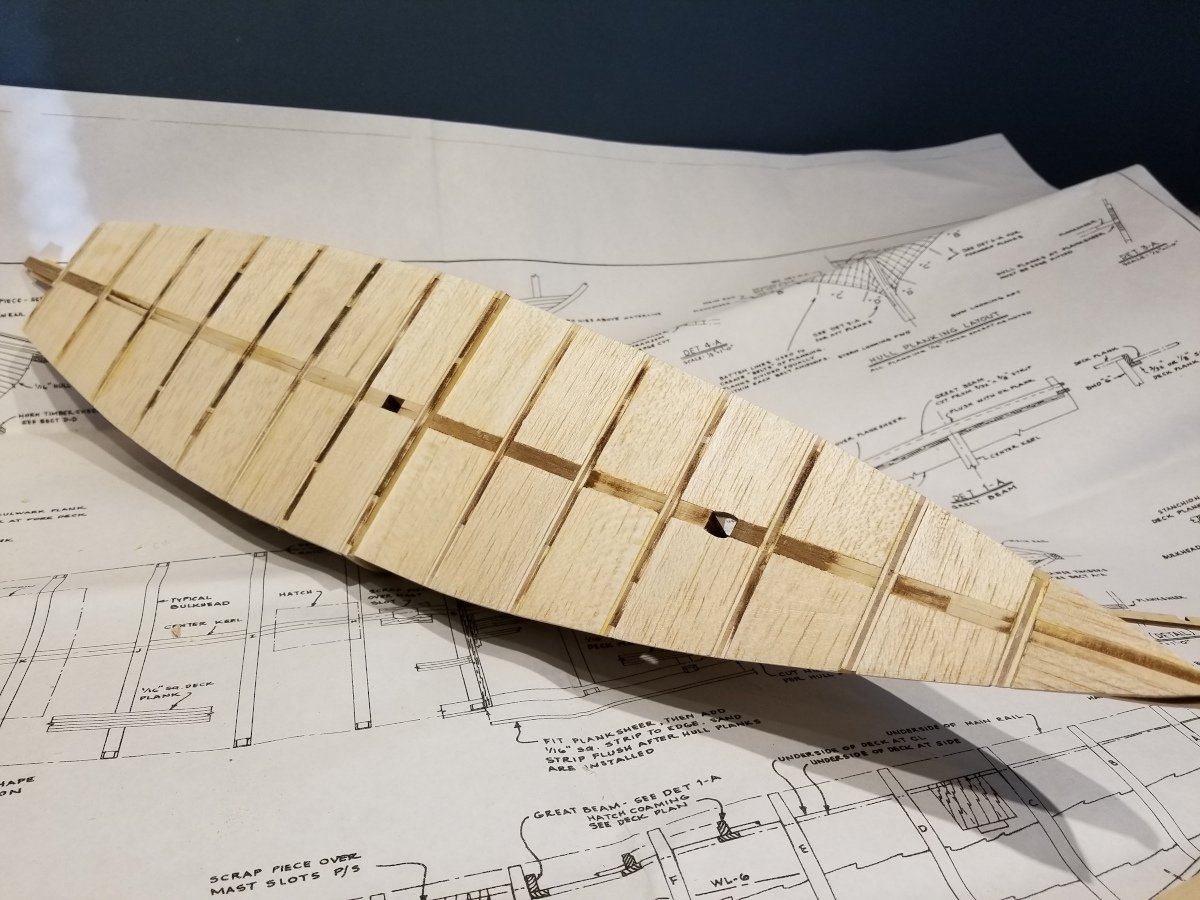
Planking has begun. Nothing too exciting really. The schooner hull makes things easier here at the bow for sure,, and there are a good number of bulkheads. I'm not planning to be super anal about the planking, since the hull will be fully painted.
- 140 replies
-
- 13
-
-
- benjamin w latham
- model shipways
- (and 1 more)
-
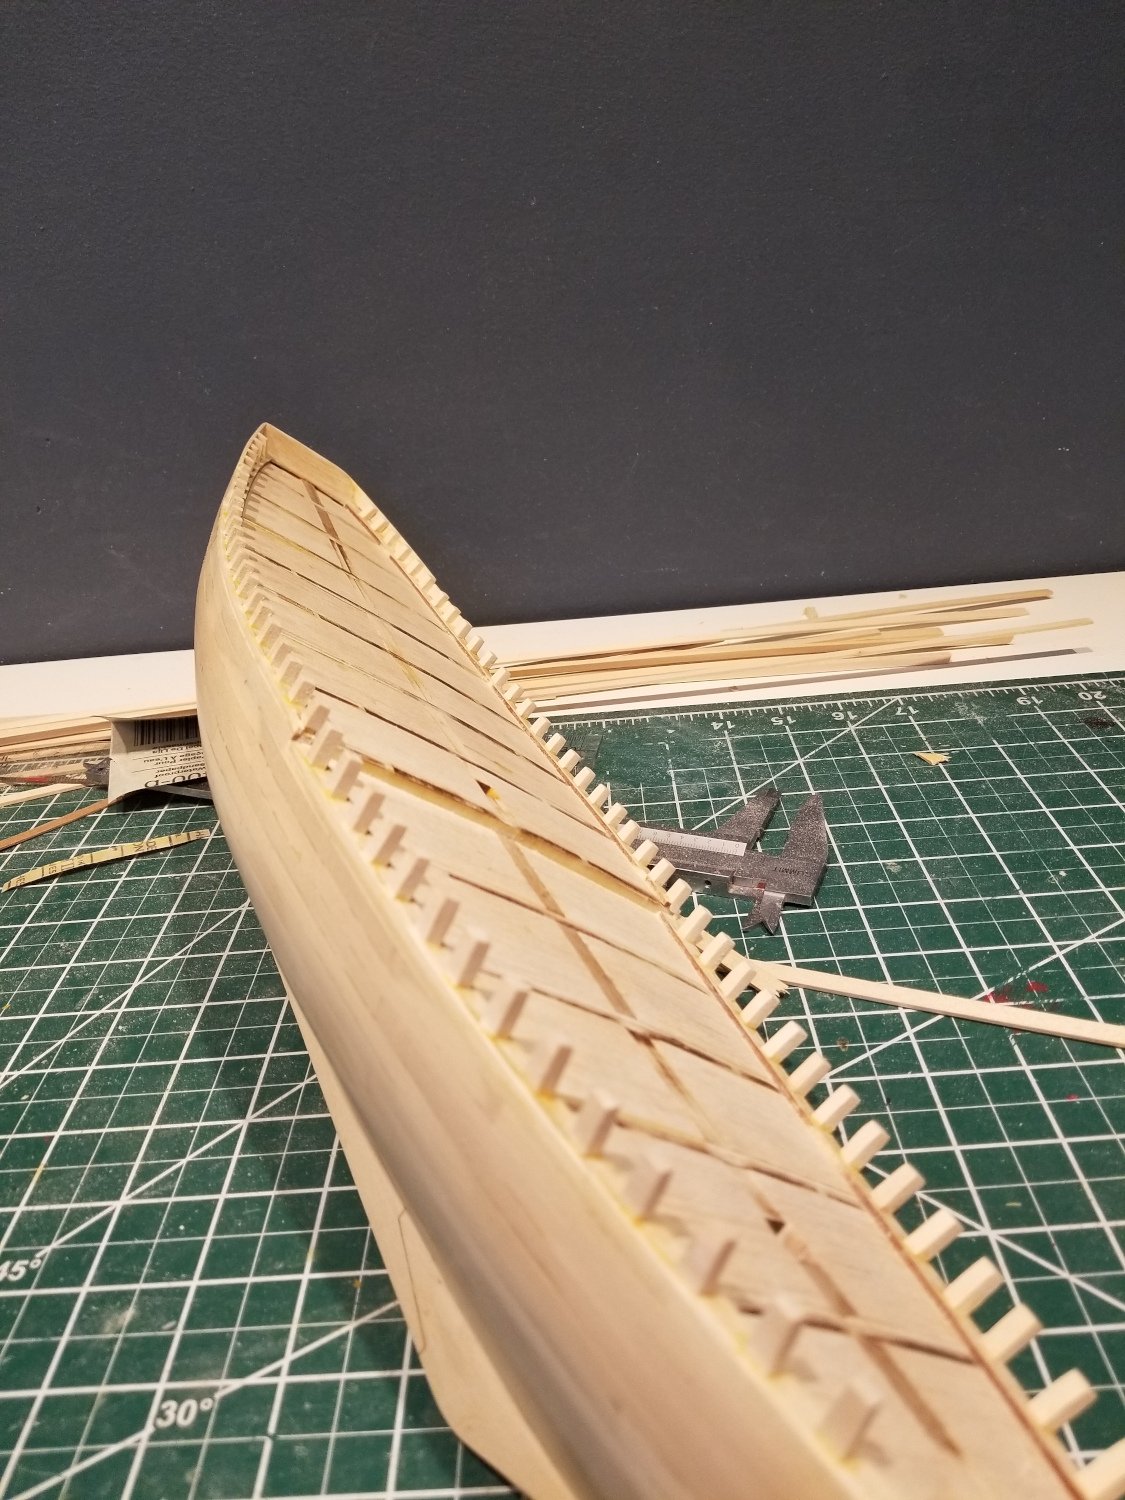
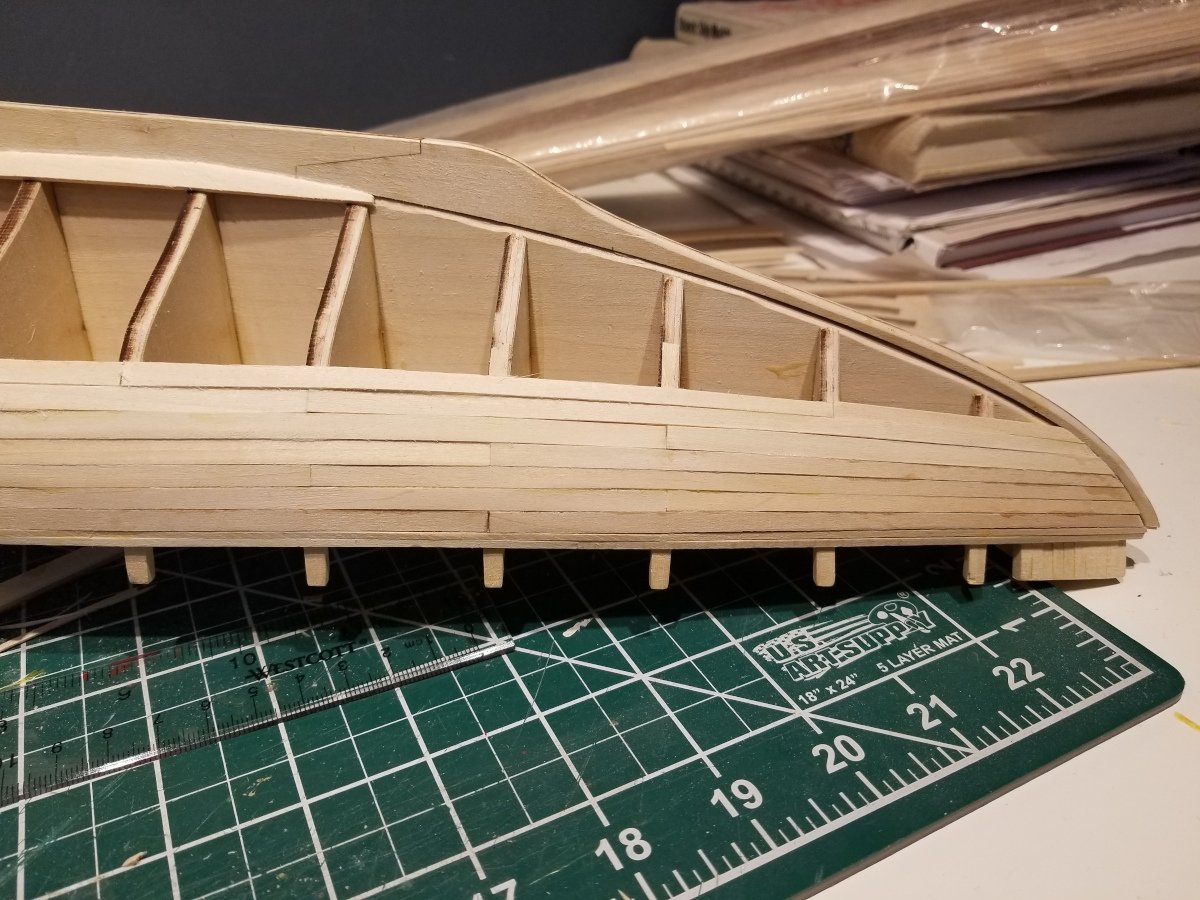
Planksheer outer strip is installed and the bulkhead extensions that were previously removed have been replaced and shaped to follow the curve of the hull, both inboard and out. Next up will be fabricating the false frame extensions that go between the ones shown here. There are two between each bulkhead.

- 140 replies
-
- 14
-
-
- benjamin w latham
- model shipways
- (and 1 more)
-
Good start. You may however want to re-think using those dummy barrels in the ports under the quarterdeck. In all my research building Granado I found she originally had eight six-pounders all on the main deck, and this was at one point increased to ten, with the additional two placed in the bridle/chase ports. Original documents cited in the Anatomy of Sail book back this up.
-
The Syren rope and blocks look good; fine choice. I was wondering how you were going g to get shrouds and stays installed with the masts fully assembled...
-
Thanks Richard (and the "likes"). They are beautiful vessels. Following along on your build as well.
- 140 replies
-
- 1
-
-
- benjamin w latham
- model shipways
- (and 1 more)
-
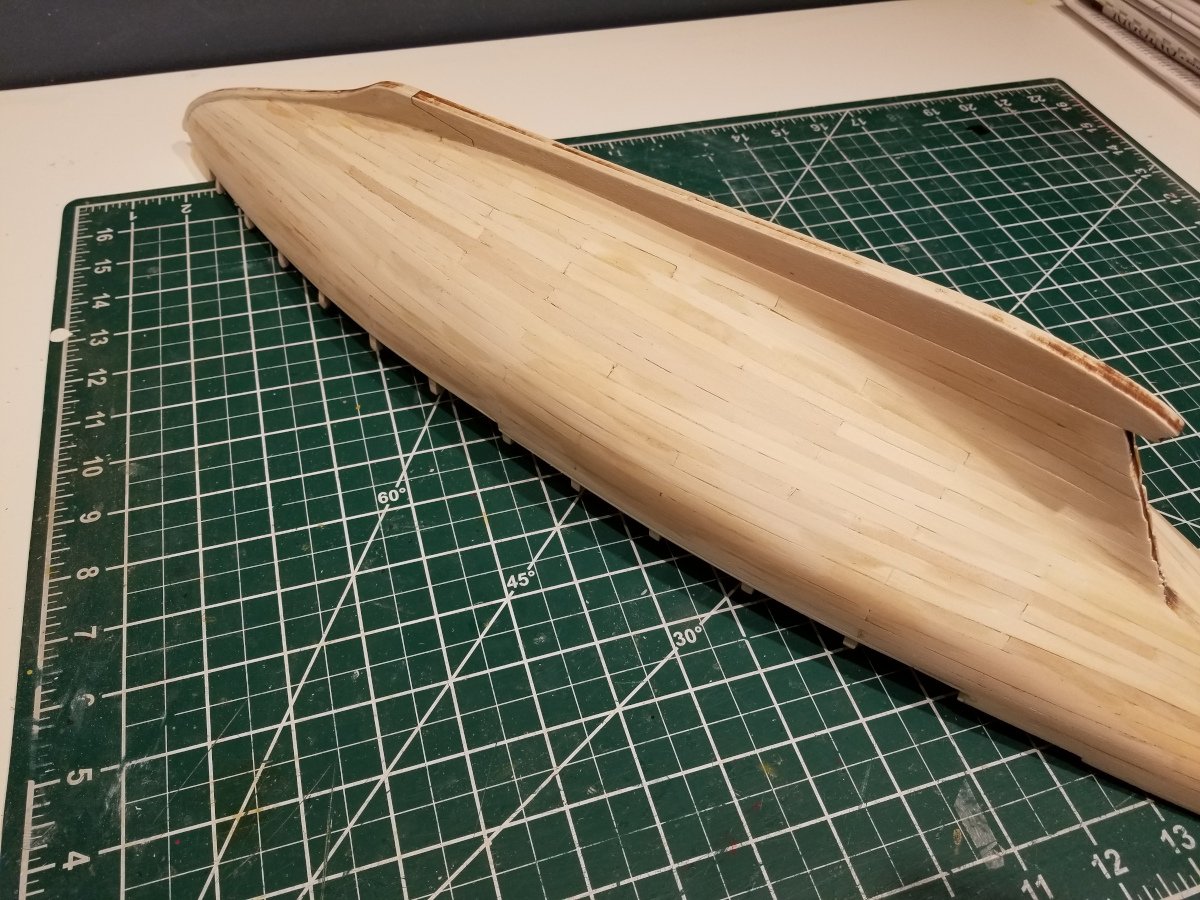
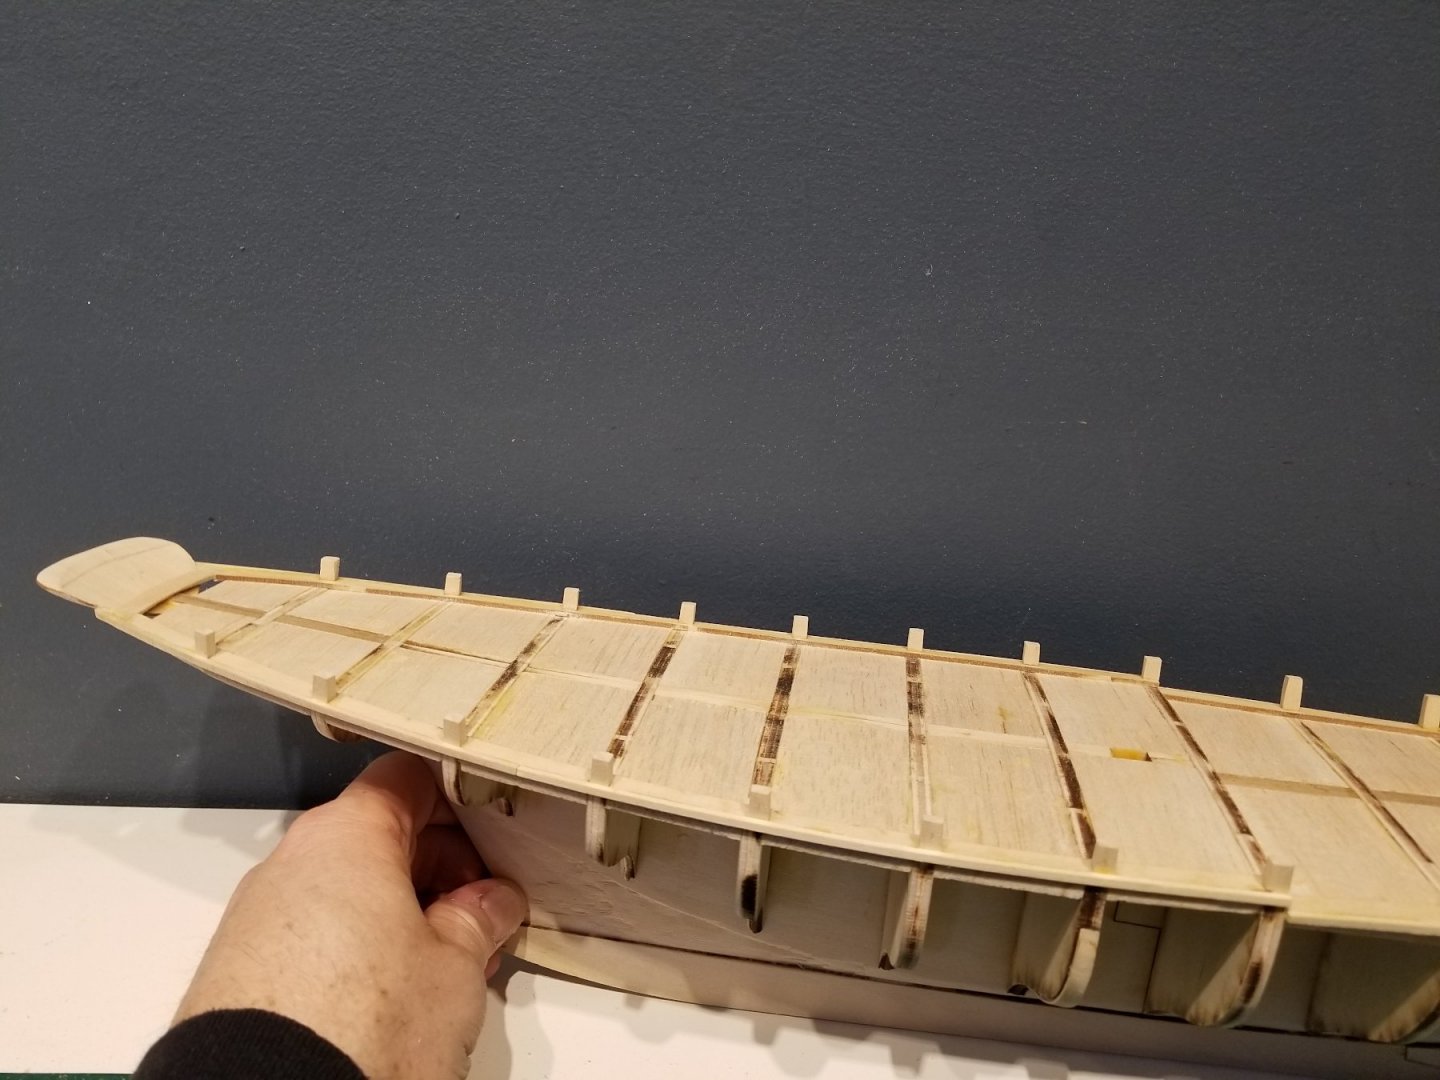
Planksheer and transom installed. I think my decision to remove the bulkhead extensions was a good one as it made getting the planksheer installed much easier. From the look of things a few of the extensions would have had to have been removed anyway to get it to fit. The transom is a tricky piece to get shaped correctly and installed at the proper angle. The plans are good though and it matches up well in that regard.

- 140 replies
-
- 17
-
-
- benjamin w latham
- model shipways
- (and 1 more)
-
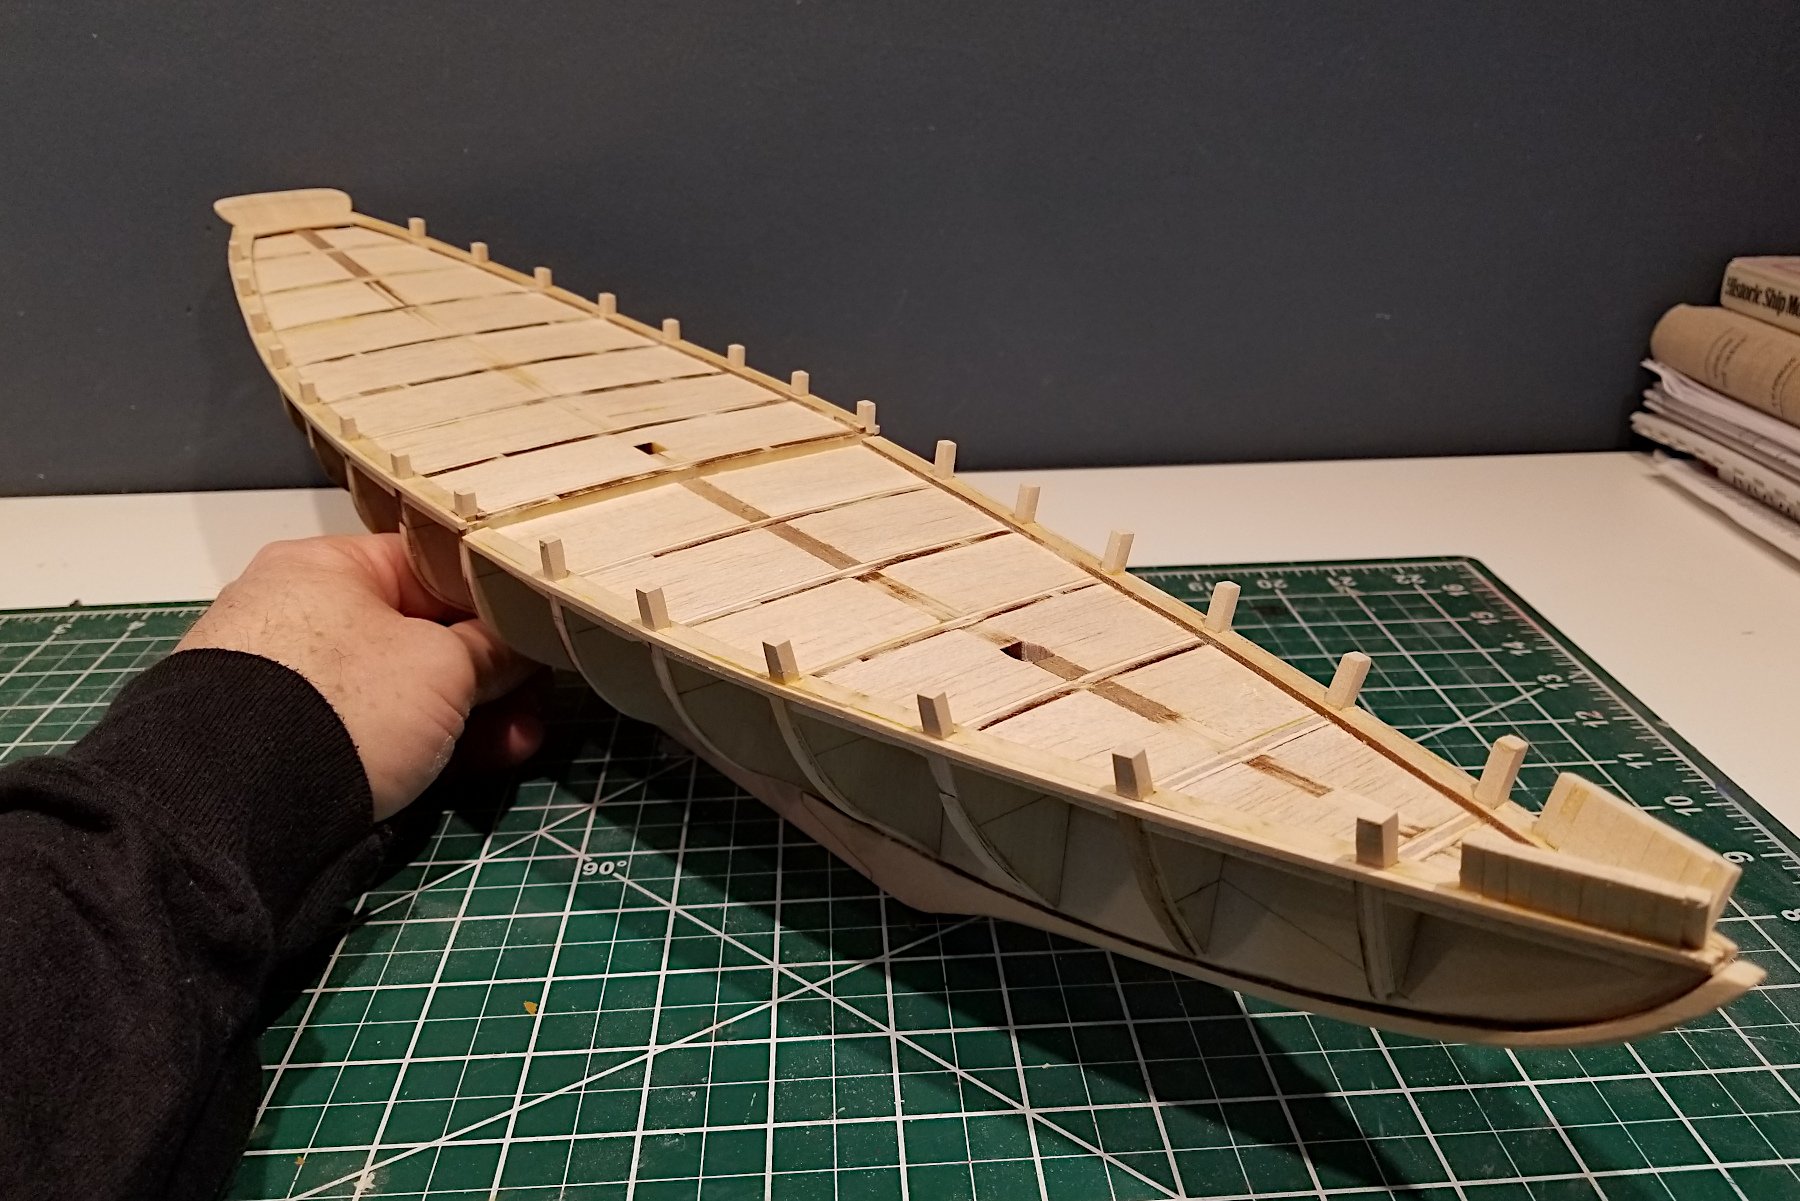
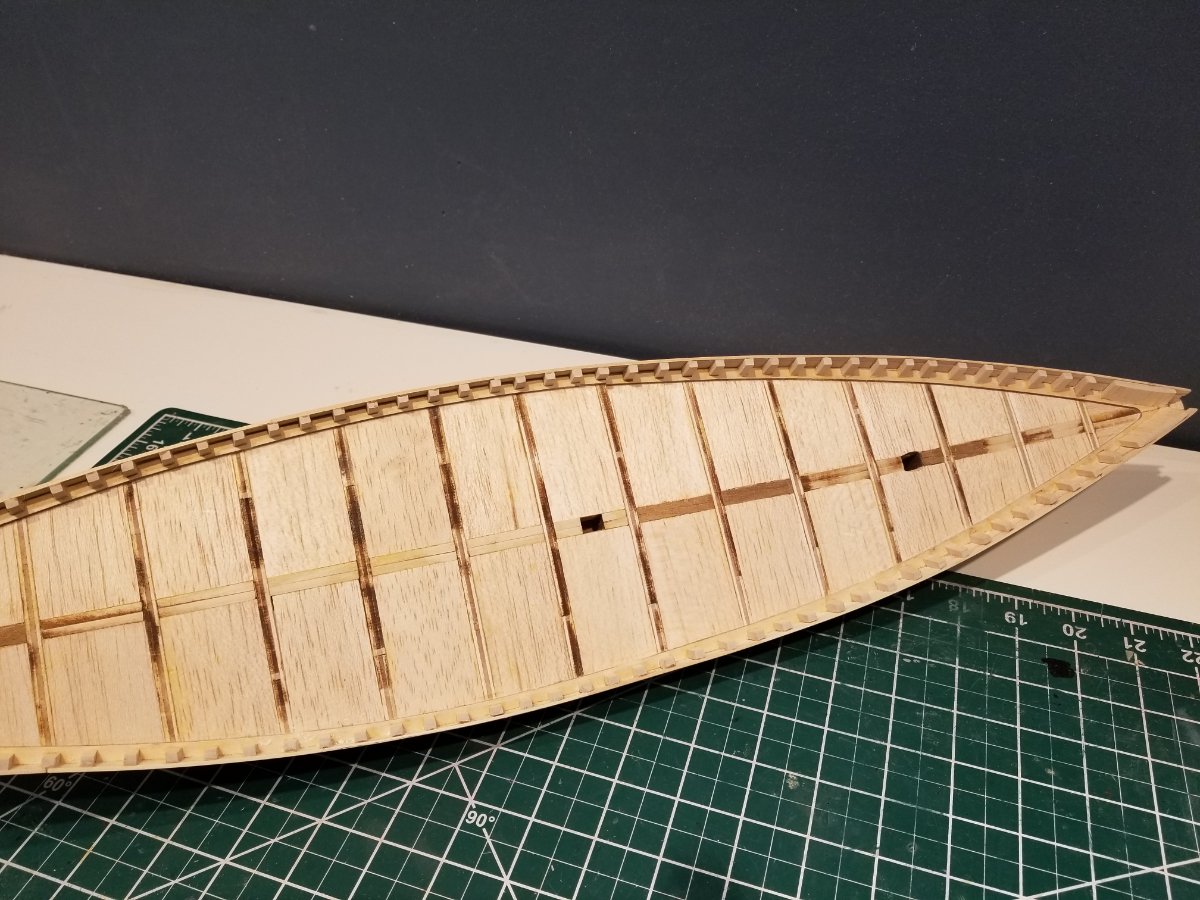
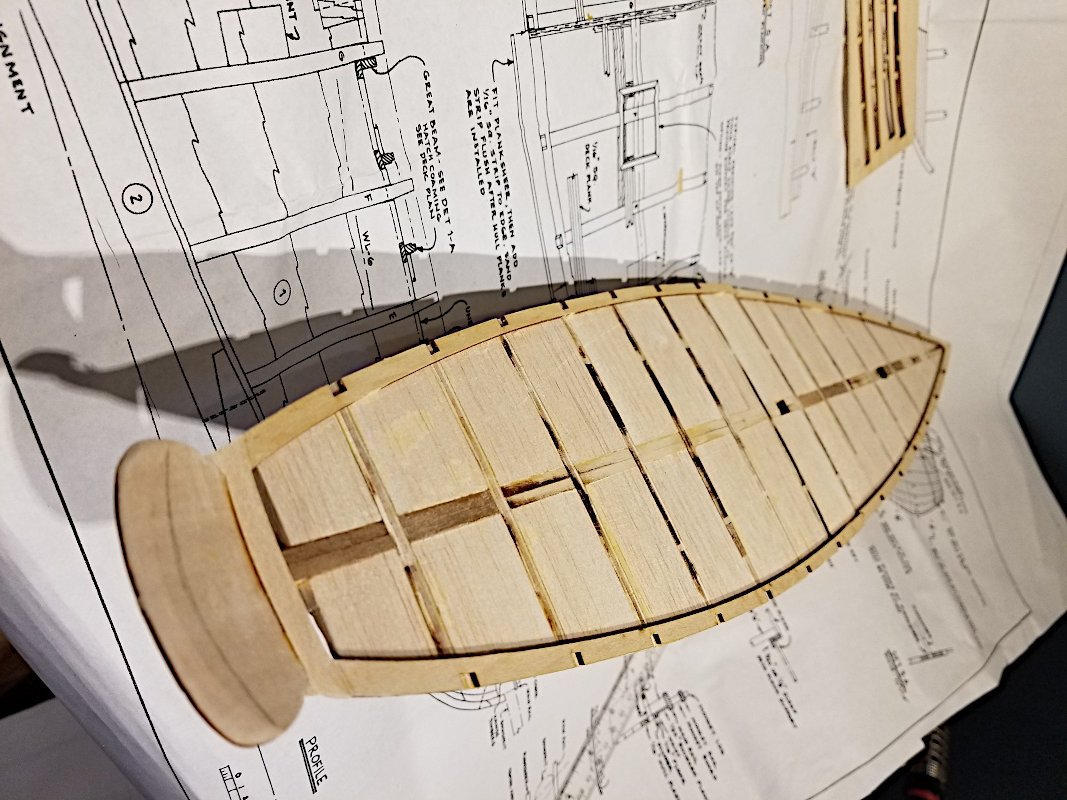
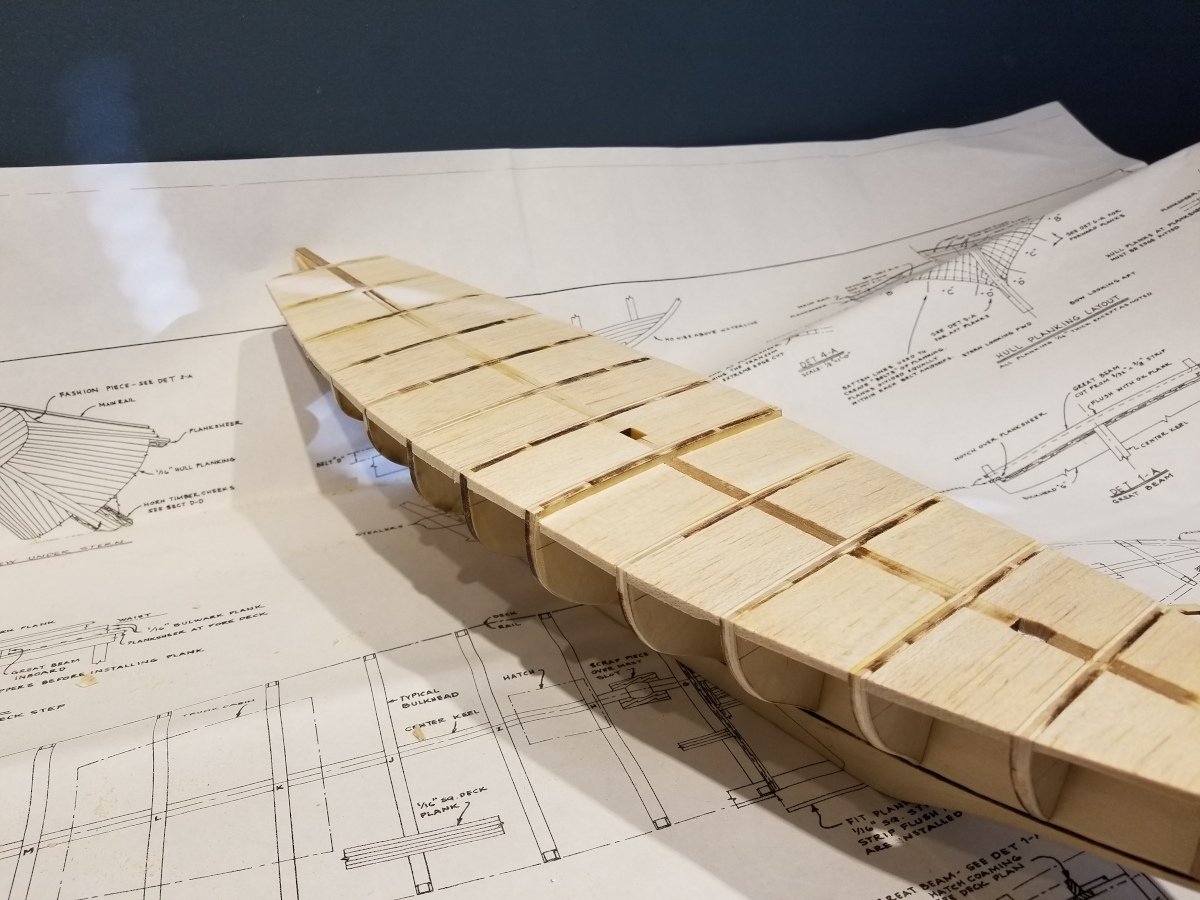
With the deck planking being 1/16 x 1/16" strips there is a definite need for a sub-deck to avoid sagging between bulkheads. Balsa pieces were cut to fit between the bulkheads and this should give a much better base for the narrow strips. I have also decided to trim off the bulkhead extensions from the plywood bulkheads. They are very hard, yet crumble easily. I figured with them having to be shaped and beveled on both sides it will be easier to replace them after the planksheer is installed. This will also give me some wiggle room in placement of the planksheer.
- 140 replies
-
- 12
-
-
- benjamin w latham
- model shipways
- (and 1 more)
-
Ha! Thanks Jim, as well as the "likes"
-
I agree on the super glue, and only ever use diluted white glue on rigging. Not my video, just a good visual on it.
-
I began the Latham build a few weeks ago, and have posted a Build Log. Link to that in my signature for those interested.
-
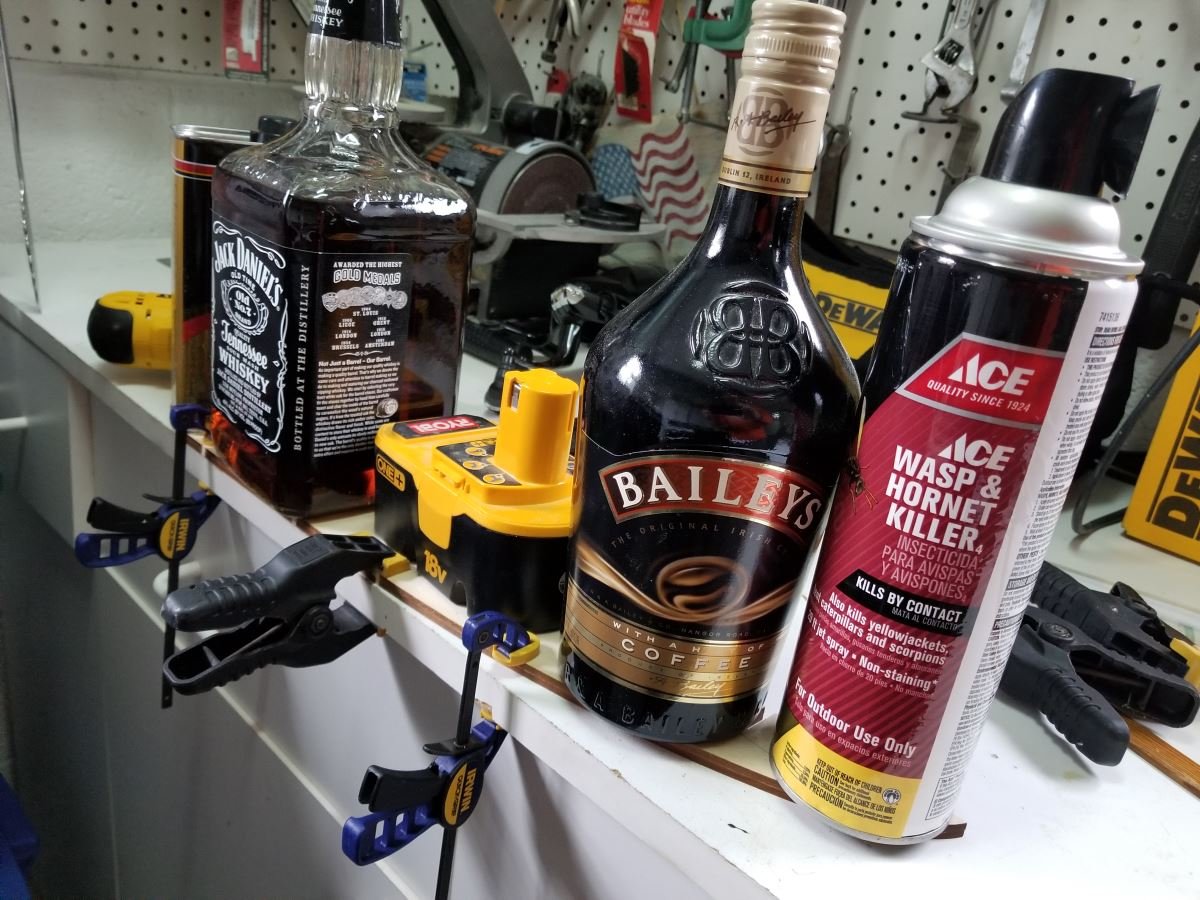
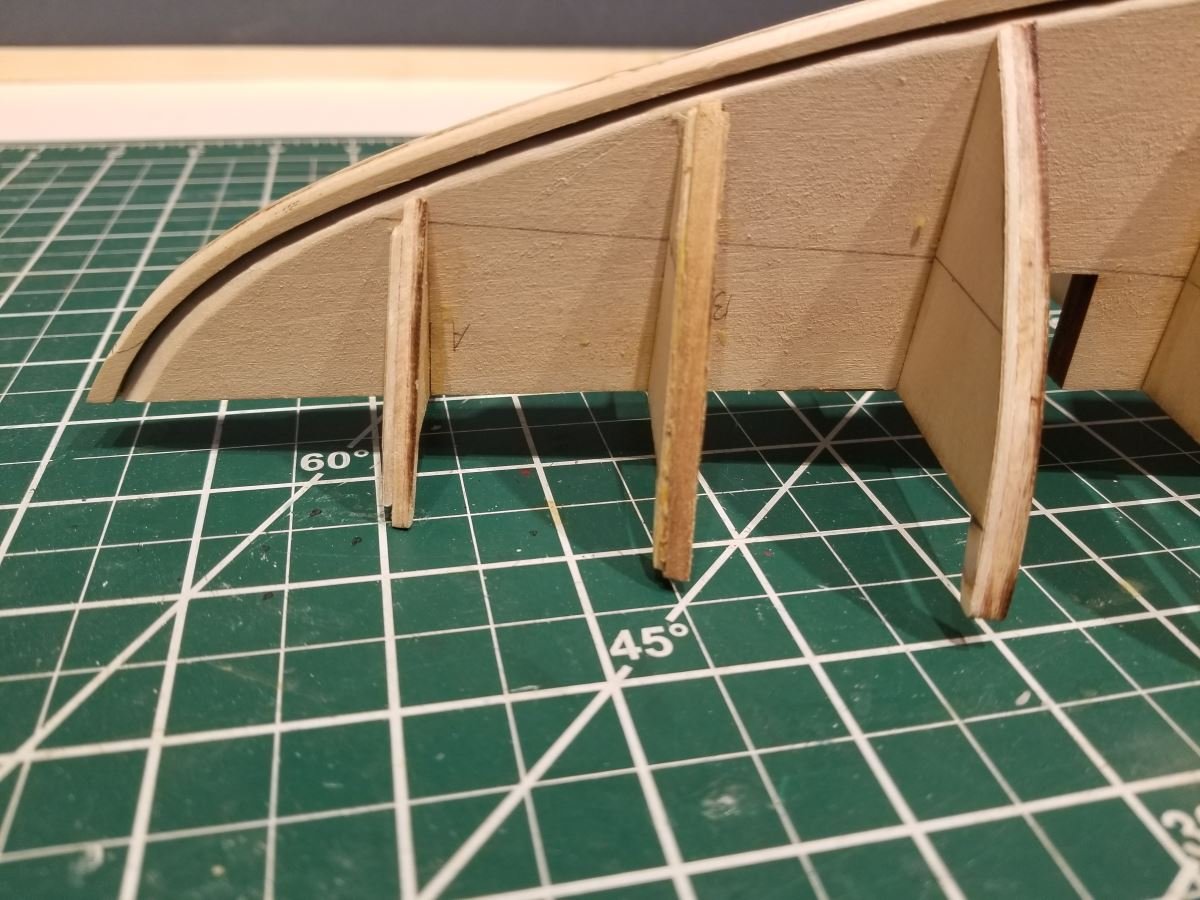
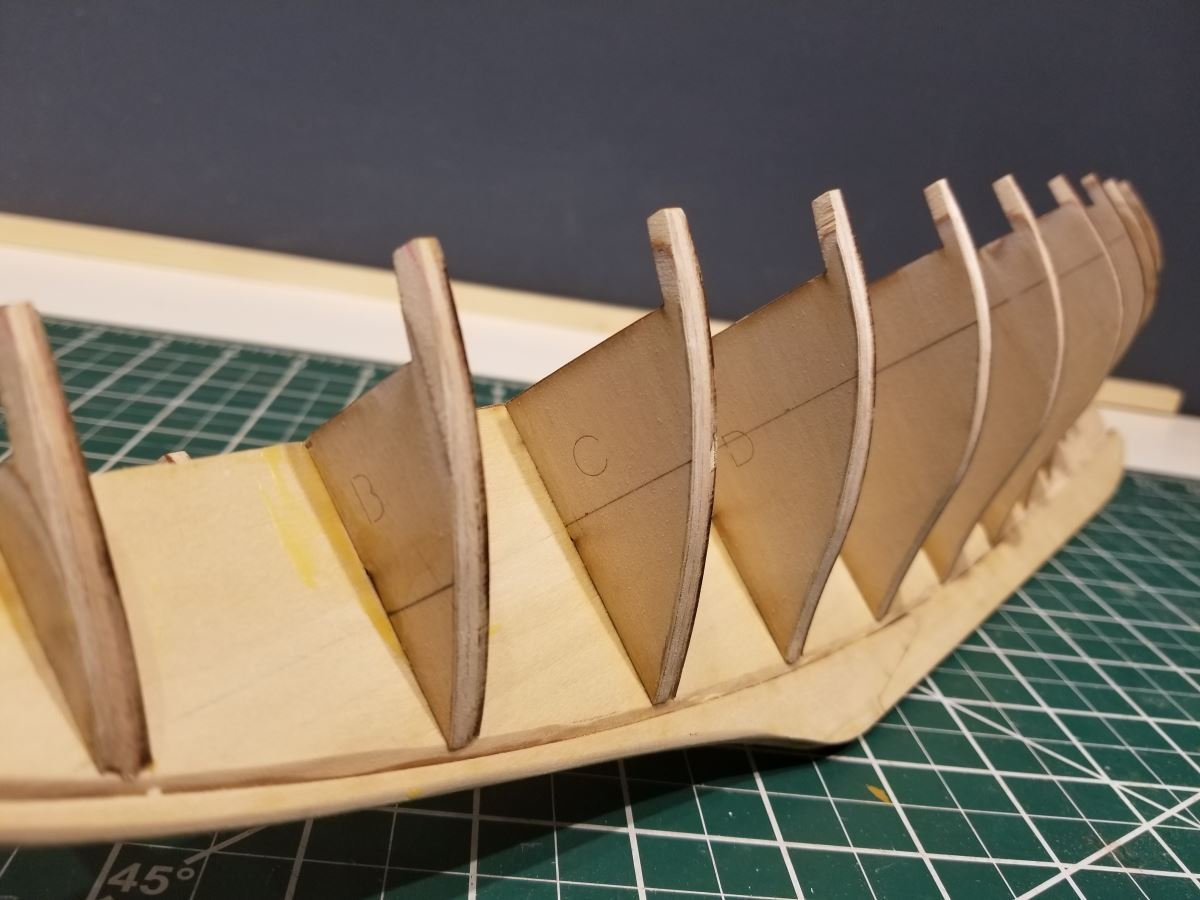
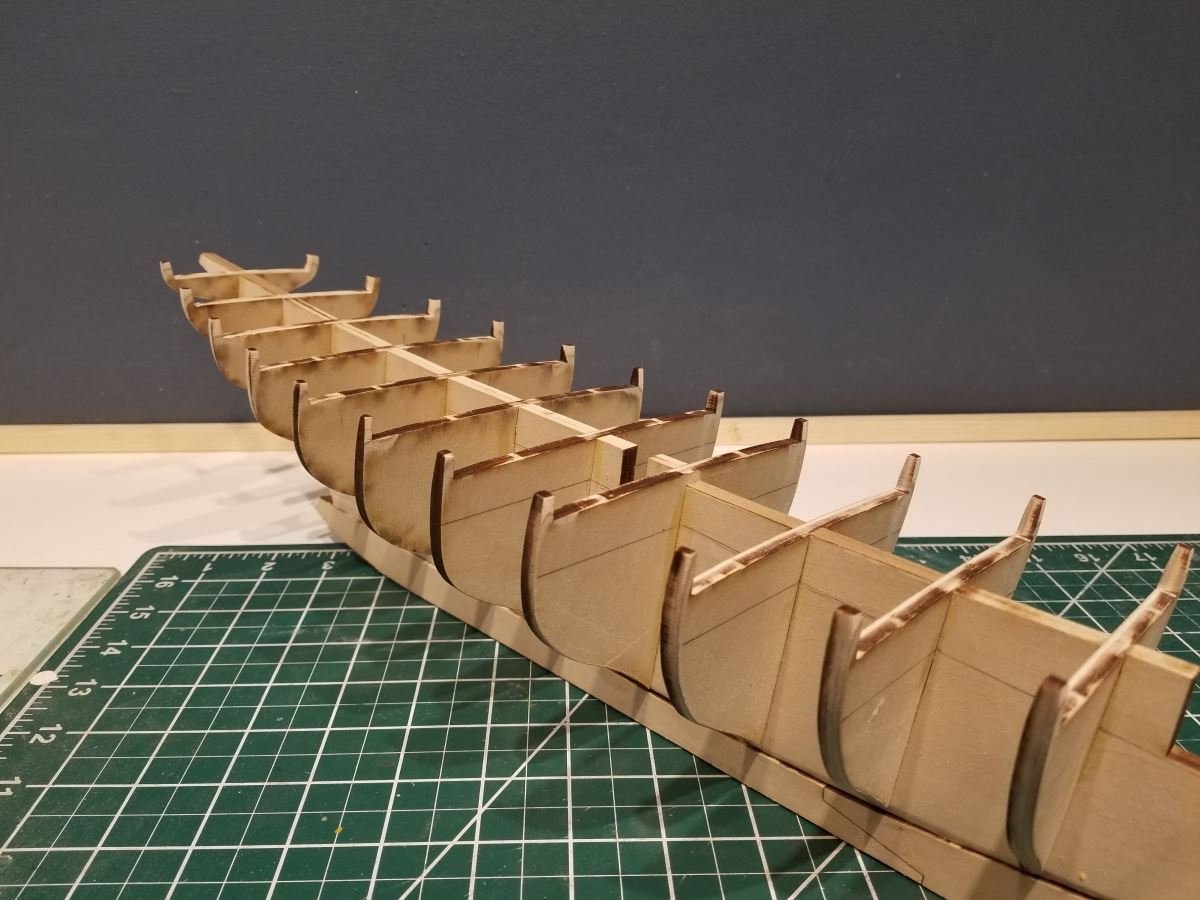
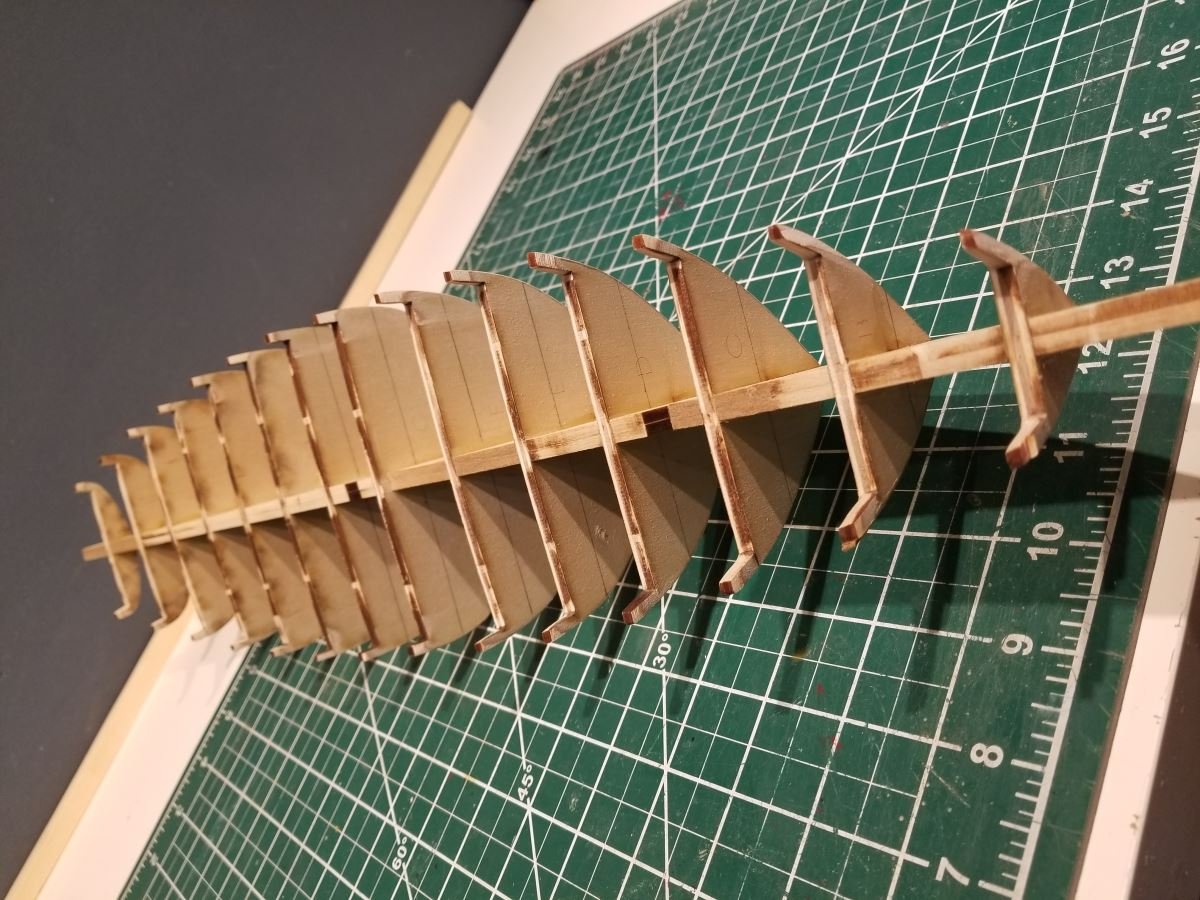
With summer at an end work has begun on the Benjamin W. Latham kit. With the large 1:48 scale I hope to add a nice bit of super-detailing, and I'm especially intrigued by the seine boat, a whole separate model unto self. Fittings are decent, though I may end up replacing some with scratch-built items. Plans are very nicely done other than the rigging sheet. I haven't done a ton of soldering on past kits, but that will certainly change on this build with all of the ironwork. The keel is a sandwich of two thicknesses of laser cut parts, and mine was just slightly warped. You can see below the eclectic collections of weights that happened to be nearby in my laundry room to help hold it down after wetting and clamping... It came out nice and straight. Rabbet was cut and reference lines were drawn on keel former and bulkhead as per the plans. First dry fitted and then subsequently glued in place. The bevels are on the plans and I did a large amount of pre-beveling with the Dremel and a sanding drum attachment before installation as the plywood bulkhead are very hard. Less prone to damage this way.

.jpg.38fe4302b577fa51fdd29cdab206de94.jpg)
- 140 replies
-
- 17
-
-
- benjamin w latham
- model shipways
- (and 1 more)
-
Thanks Vane. Any questions as you progress, just ask!
-
Here's an easy method and it is similar to how I do them, and the video is easier than me trying to explain it. Should give you the look you want. A key aspect in my opinion is using finer diameter seizing thread than shown in the video to help keep things in scale. https://www.youtube.com/watch?v=nzDl5MYOgmQ
-
I had to cut my bulwarks on Granado as well. Should be no issue.
-
Fantastic work, especially considering your first effort Candice. Your planking came out particularly nice.
-
Good luck with your build. I built the Caldercraft version and will be interested to see the differences in the Victory Models version.
-
Looking forward to your take on the POB David. She's been on my radar for awhile. Good luck with the build.
-
Good start and excellent photography Arthur.