Jörgen
-
Posts
243 -
Joined
-
Last visited
Content Type
Profiles
Forums
Gallery
Events
Everything posted by Jörgen
-
 Hi again and a small update. The build is slow because hard to find time to sit down and build. Real life with work and small children takes its toll However here is what I have done. I constructed the two front gunport lids and lids for the oar ports. All of these will be closed. Then I put one layer of tung oil on the hull for protection (and it looks better for me when I am sitting and build). I am very happy how the tree nailing looks under the oil layer and I think it was worth the effort. They are quite "funny" because you can't see them if you don't look on them strait on. This makes the tree nails to blend in perfect on the hull and just adds details for the eye. Then I started to create the fancy rails. I used a 2x2 mm list instead of the one supplied in the kit. In the DeAgostini Vasa kit so were there supplied this template in photo etch for these type of work so I didn't have to create it by my self. The strips fancy rails will be 2 mm wide instead of the 1.5 on the kits drawings but it will look better because they will be the same size as the channel (i think it is called). However 2mm will be to deep so I sanded them down to 1 mm in my own "thickness sander. Here is the result I soaked the strips in water and put them on the hull wet. The drying will give them the proper shape and it will be much easier to glue them on place. This is all for now. I will add two phots over other project that I have finished. I hope you don't mind that I put them here. The wood and plastic model building complement each other because for me they are so different. Plastic is more or less glue and paint but the in the wood you have to think much more and figure out how to construct the parts Best regards Jörgen
 -
I found this on youtube https://www.youtube.com/watch?v=tgCMsSqfR1A
-
I will fit them Tony, I use Sherbourne for practise after all:). Then I probobly close the forward ports. But I think it is little tricky to get the right fit.
-
Small update. I have done hawse plates for my Sherbourne. I added them for two reasons, i wanted to have it since i think it looks nice and I needed to cover some damages I done :). They can not be seen on the drawings for Sherbourne so i tataly made them up bymyself. I wasn't sure if i like the look of them. Think they are little bit big so I started to thinking of take them of and reshape them but that wasn't a good idea............... So I decided to keep them as they are . The drawings (as I have seen in Gregor and Tonys buildlogs) so are there two hawse holes on each side so I decided to do that. Then I did the holes for tree nails. I just made up some pattern that I liked. The hawse holes are 2.5 mm in diameter and the tree nails are done by 0.8mm drill. Some trre nails were done and glued in. Sanded them down and I am quite happy with the result. I think they don't look to big now. I think everything will blend in nice when the oil is added and the havse plates will just add to the "buisinees" in the front. Actually they look little oversized on the photos but that is the mobile camera that "create" that. They look better in reallife. I can't make up my mind on what to do with the two foremost gunports. I don't just want them emty so either have closed gunportlids or add two extra guns here. According to wikipedia so was Sherbourne build as a 10 gun Cutter (the kit instructions says 8 but there are 10 gunports..) so maybe it is not wrong to put "full" arnament even if she never seems to have it.
-
I have done exactly what you did and I also ended up with the Vallejo flat red:)
- 574 replies
-
- 2
-

-
- cheerful
- Syren Ship Model Company
- (and 1 more)
-
Hello Here is a link to all my photos during construction for my Endeavour https://photos.app.goo.gl/WCx2CpbjPsztBhzb9 Best regards Jörgen
-
FINALLY!!!!I never thought this time would come! The tree nailing is finished. Sherbourne is a hedgehog. And then all is sanded down and dissapear for now.... It looks little weired in the sharp light for the photo all the dust is reflecting the light. I think it will look quite good when the final oil layer will be applied. But now I can start to build again:)
-
This gold is done with AK Extreme metal. The best is that the color is very resistans when dry. No problem with masking etc. You will love them. No, i used thinned tamiya X1 black. Check the link in my signature to DeAgostini Vasa. Its in there (at the bottom since this is when I repainted the parts, I was not happy with my first trial). Also when you are doing the metal finishes, use different shades on a lot of panels. The effect is unbelievable.
-
This gold is done with AK Extreme metal. The best is that the color is very resistans when dry. No problem with masking etc. You will love them.
-
Hello As for metal finishes I can highly recommend AK Extreme metal colors. Very easy to spray and perfect result every time.
-
Hi again. It is almost one year ago since i did some update here. To be honest so did I lose the mojo when I started to do the tree nailing. And then came spring and I started to build a new garage to our house so i forgot Sherbourne. I started to modeling again this autumn but it was most plastic 1/48 aircrafts (here is a link to my latest build if someone is interested. It turn out really good i think https://photos.app.goo.gl/K8Xd3N8ZvhoA7NxdA ). But my mojo for Sherbourne just came back so i have continued the build! As you can see on the photo below so have I continued with the tree nailing. One thing that make it much easier sine last year is that I increased the hole diameter from 0.5 to 0.6 mm. This make the production of the tree nails so much easier because they don't split so often. The foto below show how I am doing the tree nailing. Also one one plank has been replased as you can see in the upper part of the photo. Now have i drilled all the holes and I have a big blister on my finger..... Sherbourne is not so seaworthy at the moment This is all from me for now. I felt it was a good thing to start the build log again. Best regards Jörgen
-
But I must say that the metal parts that arrives every month is very good:)
- 305 replies
-
- 2
-
-
- deagostini
- vasa
- (and 1 more)
-
I also have parked my build until all parts arrive. It pointless to build according to deagostinis instructions. Especially if you plan to replace materials.
- 305 replies
-
- 2
-
-
- deagostini
- vasa
- (and 1 more)
-
Proxxon Micro MBS 240/E Band Saw Review
Jörgen replied to Blue Ensign's topic in Modeling tools and Workshop Equipment
Mike Y, I am interested in this saw. But since you live in Sweden you probably know that Biltema also have a band saw for the same amount of money. The Biltema saw is bigger but I doubt little bit on the quality of this. Have you any experiences of this? Also it is possible to use the proxxon band saw to saw lists for planking (doing the same job as the small table saw and scroll saw)? -
I love the color of the wood in the model. Can I ask what wood and what finish you are using on the different parts? I'm about to start the Billing Vasa and have already started the Deagustini Vasa bu I can't stand the plywood and the planking material. I also can't find a nice stain or something that I like. and ofcourse congratulations on this wonderful build. Br Jörgen
-
Stain
Jörgen replied to Jörgen's topic in Painting, finishing and weathering products and techniques
Thank you Michael for the explanation, I will do this. Still need to test out the water or the oil:) -
Stain
Jörgen replied to Jörgen's topic in Painting, finishing and weathering products and techniques
Thank you Mickgee and Mog. Think i can skip laquer Based then. Will by water and oil to make some testing. Mickgee, are you staning second planks before you glue them in place? How about sanding then? Mog, a very beautiful ship you have there. -
Stain
Jörgen replied to Jörgen's topic in Painting, finishing and weathering products and techniques
Thank you for the answer Jaager. It is not quality wood but just very light (second planking material delivered in DeAgostinis Vasa kit) and I want to make it oak like so I will go for stain. I still have to choose between oil based or lacquer based. Think I have to buy them both and test them out. -
Hello all. What is the best stain to use on bare wood (for example on the planking on billing boats Vasa). Is it varnish based stain, oil based stain or water based stain? Jörgen
-
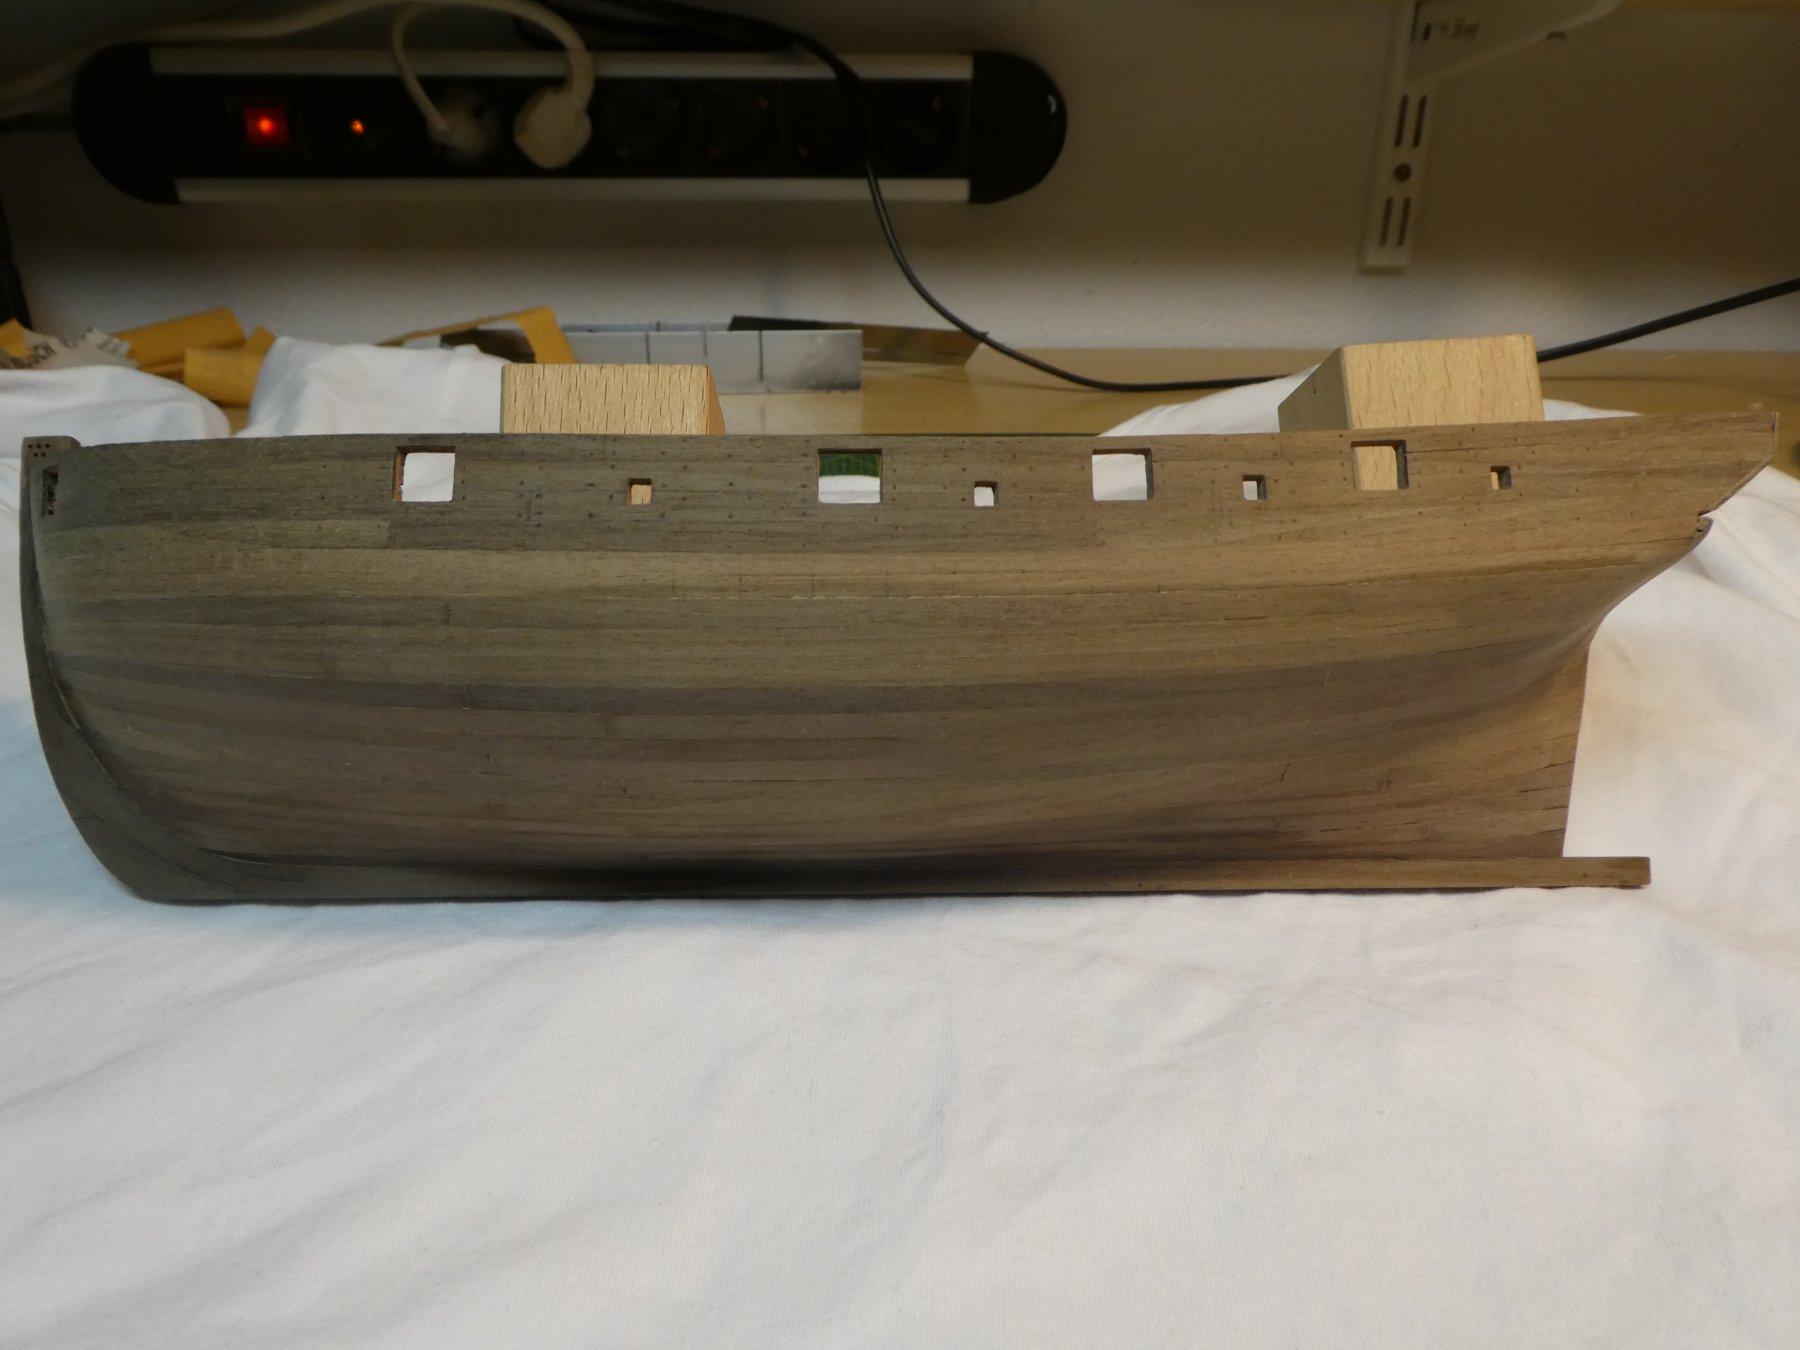
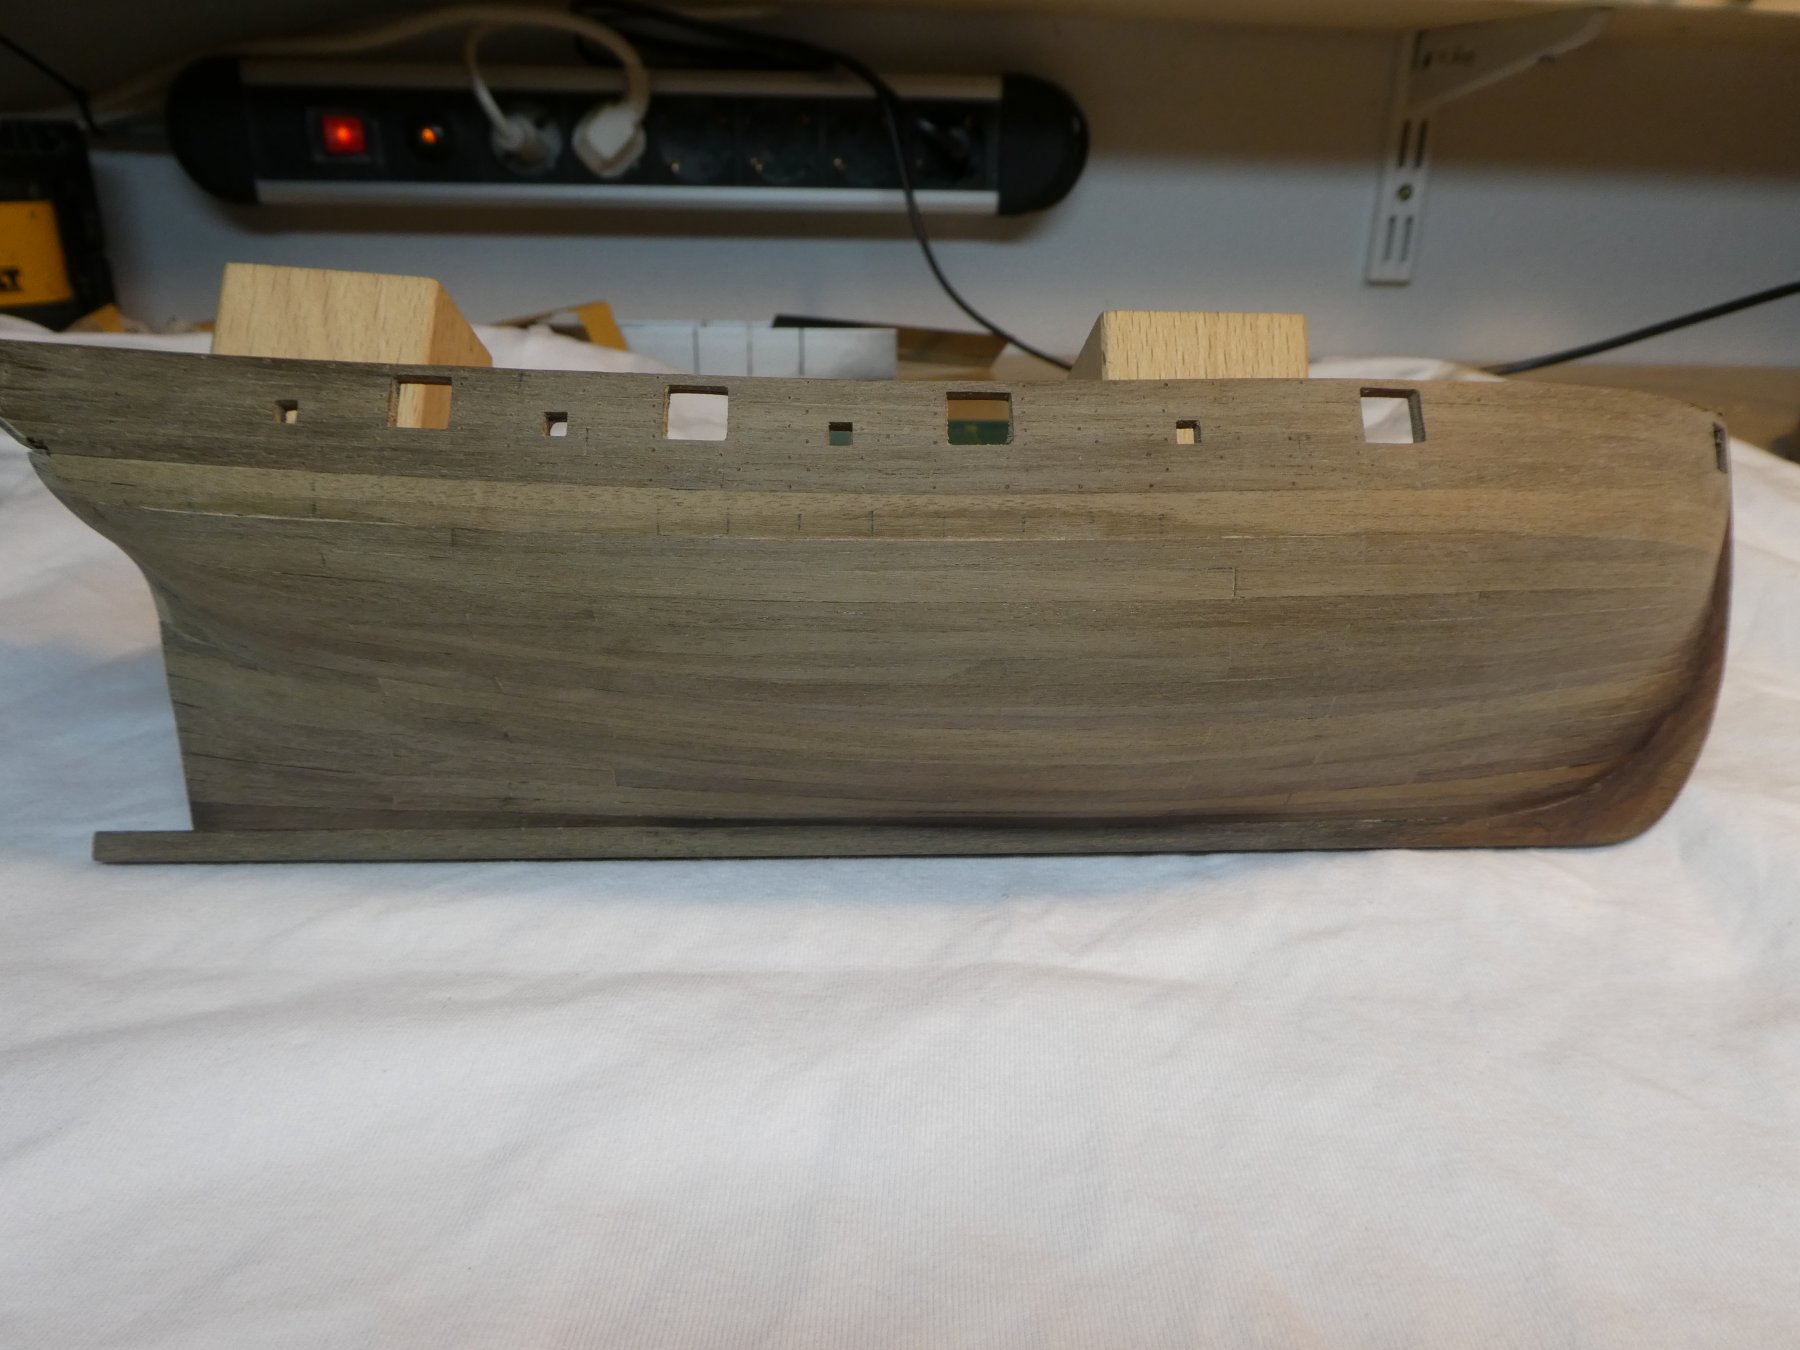
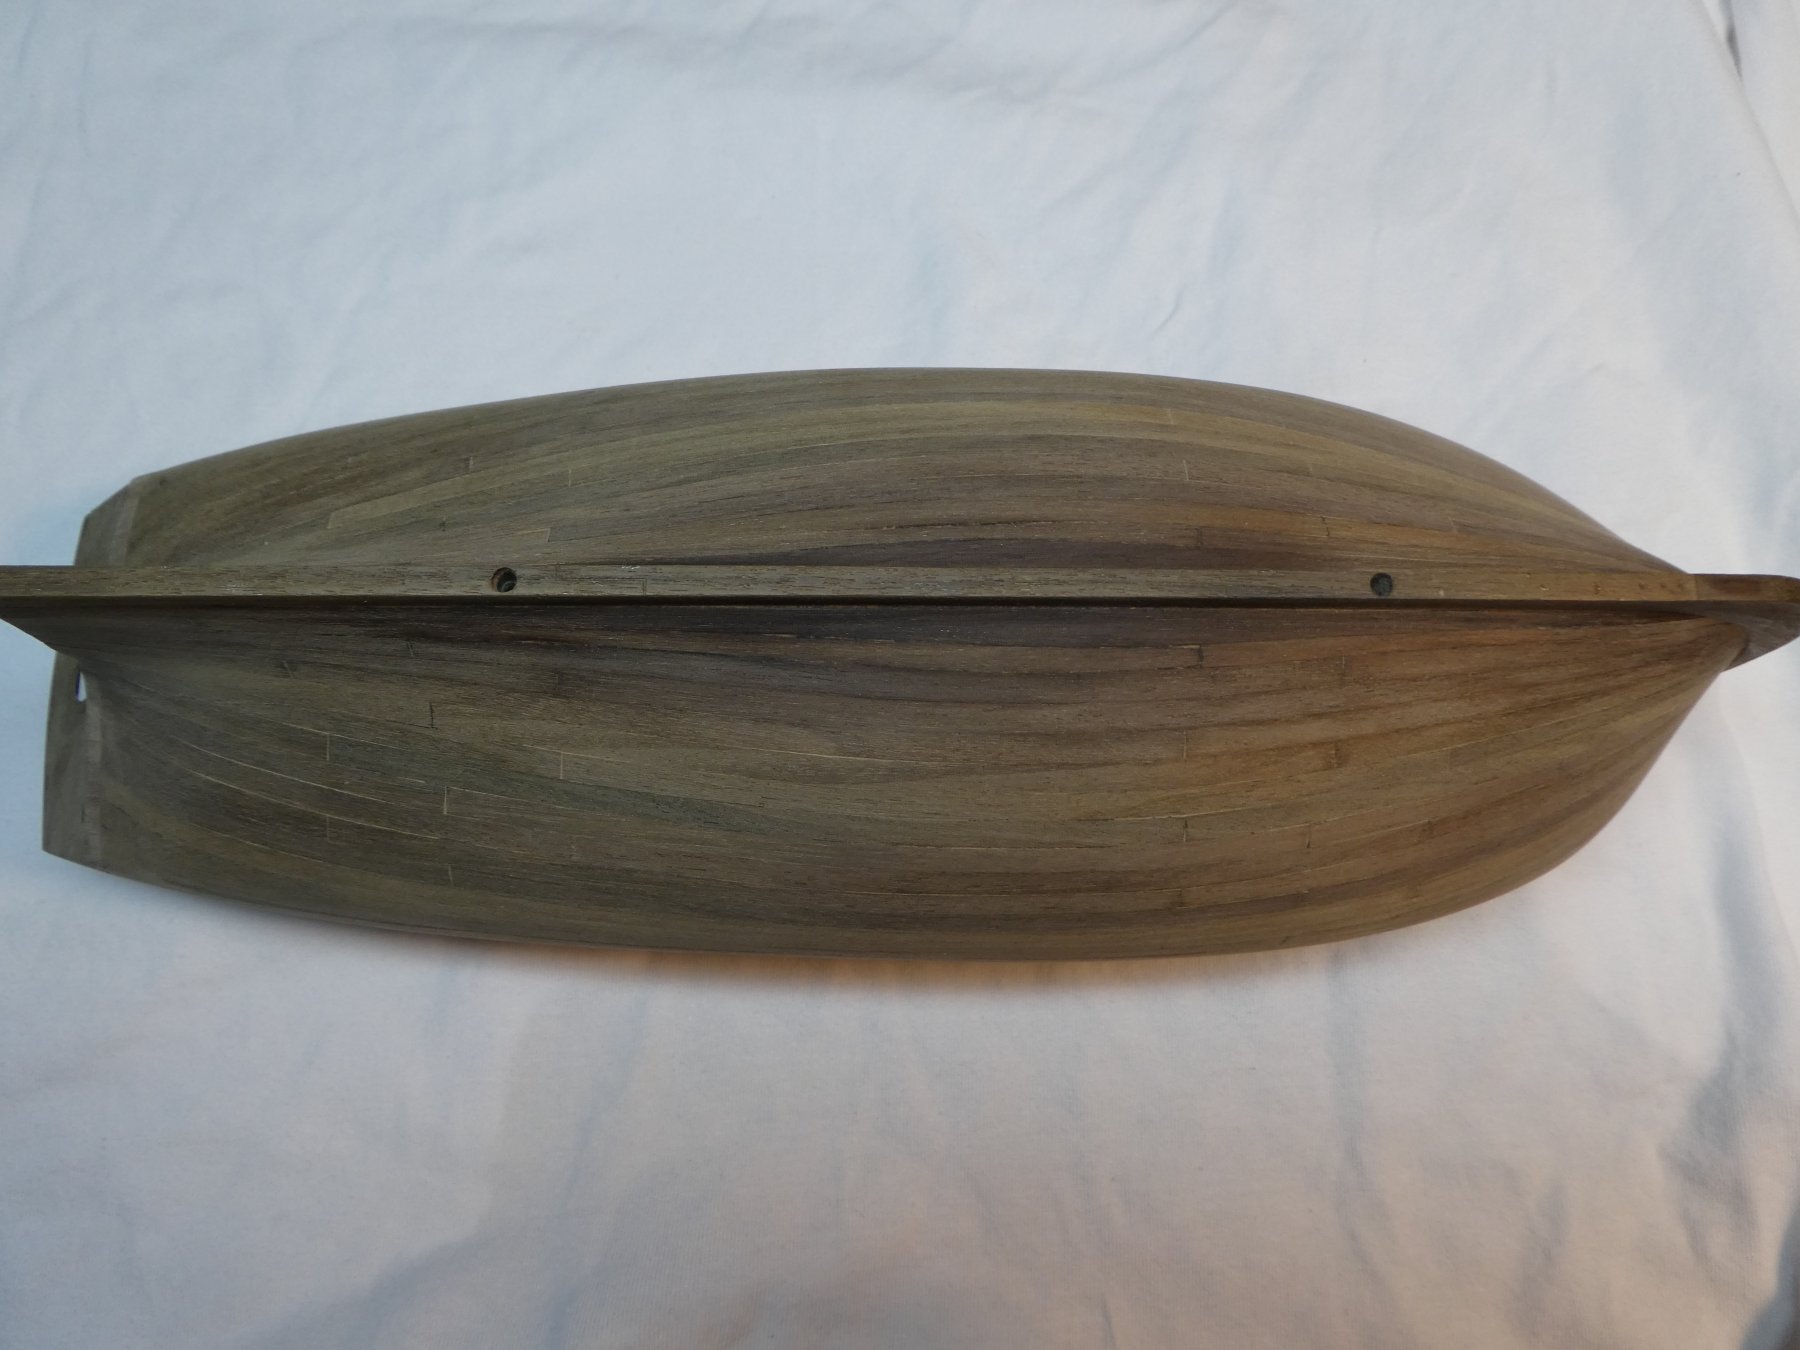
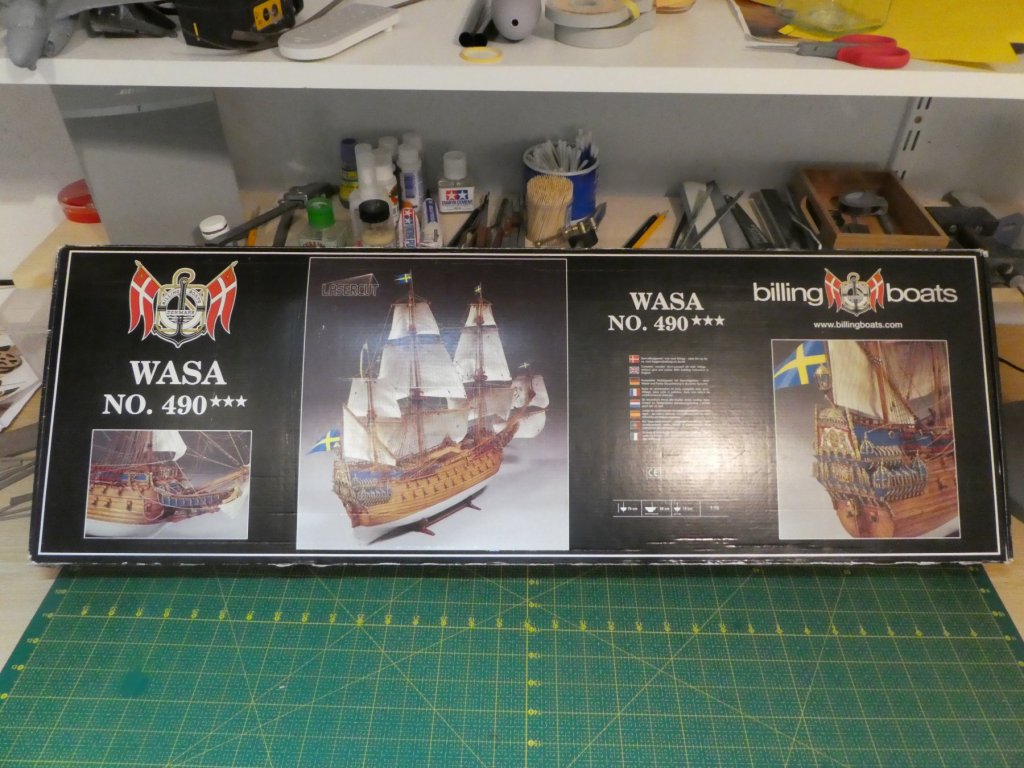
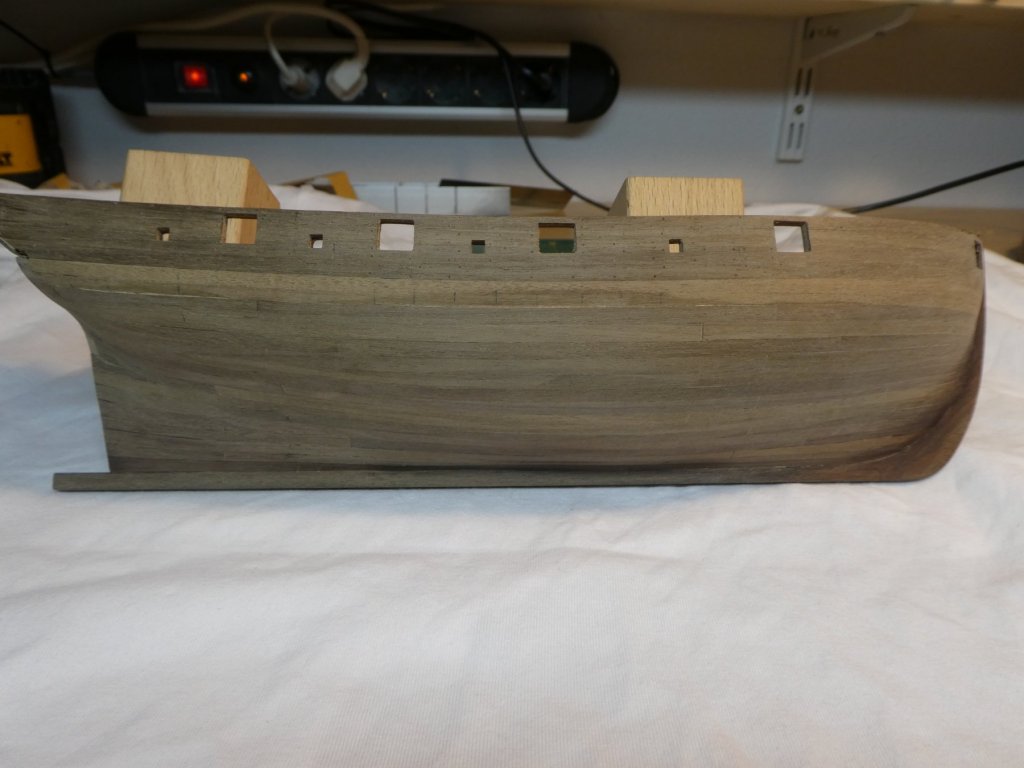
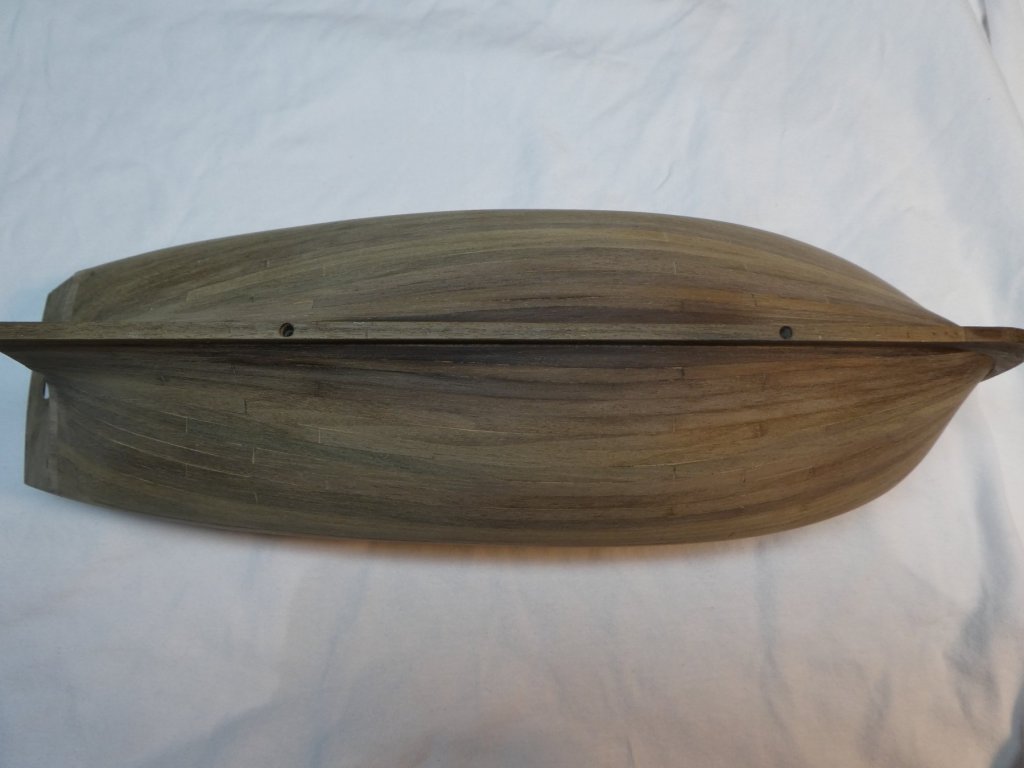
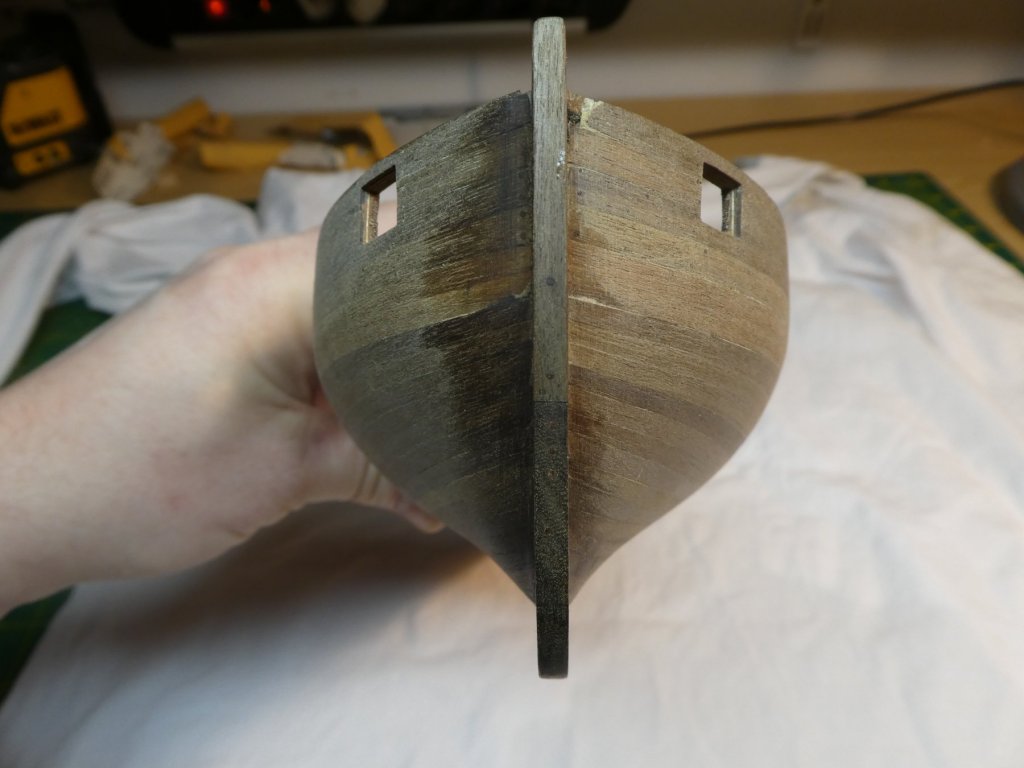
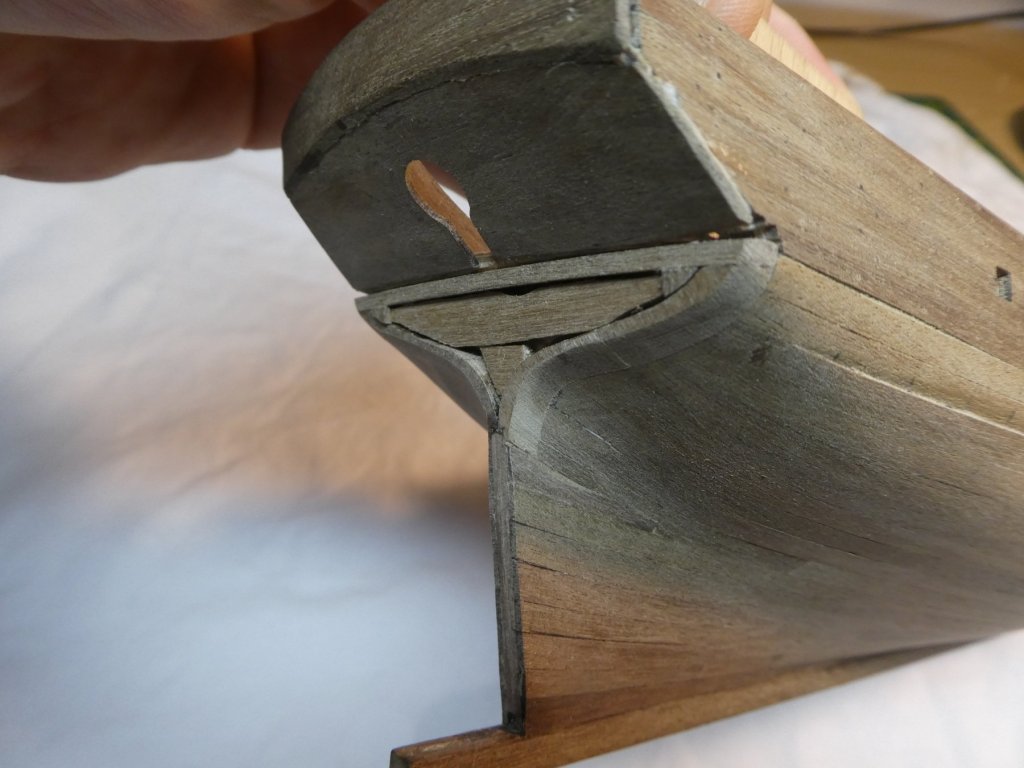
Hello all, it was a while ago. I haven't build on the Sherbourne for some time because life get in the way. I have also done some other project like this:) However I have now start to build on the Sherbourne again and I have just finished the planking. It is far from perfect but since this build is to learn the different technics. Lessons that I have learned is: Use more time and make better planing and drawings at the beginning. Now that I have done it the first time I know how the outcome will be so the planing will be easier. Plank in smaller belts so it is possible to correct the lines between the belts. Not afraid to use a sharp knife to correct planks that already is glued in place. Start with the garboard strake and plank upwards since I don't like at all the fit in plank between other planks. You will then always have a plank to press against. Be careful with needles since they make mark in the planks even if you put them at the side of the plank to hold it in positioning. Be better to use rabbet and this most in the steam. Be very carefully with superglue since in "paint" the planks dark. Try to avoid water as much as possible when bending planks. It takes to long time to dry them before it is possible to glue them in. I have start to Use Chucks method with hairdryer. But ends............. How bad I was on lining up the but ends. The reason was actually laziness. From now I will put much more attention to this. The result is below. Now it is time to continue with the stern and tree nailing.... I also have to announce that I will start on a new project as you can see below. I already build the new DeAgostini Vasa but since I also have the Billing boats Vasa so think I it is a very good idea to build them at the same time so people here can see the differences between the kits. I am planing to build the Billing Vasa strait from the box as a relaxed build since I will put all effort on the DeAgsotini Vasa since it is so much better in details. The Billing Vasa will also have the "old" painting scheme since i like the colours:) Jörgen


-
You can thin it lesser and higher the air preassure instead for the airbrush. Just test it and don't pay so much attention to the "milk consistens".
-
I will also follow:) Were did you found these screw in clamps? Or have you done them by your self?
- 421 replies
-
- 3
-
-
- caldercraft
- granado
- (and 1 more)
-
I also build the kit. At the moment it is on hold since i just collect the parts. I want to build it in my way and not according to deAgostinis weird approach. I think it is worth the money (still very expensive) but the decorations are beautiful. I will put more money on it since I want to replace the second planking layer. The quality of the wood in that case is a negative part of the kit in my opinion.
- 305 replies
-
- 3
-
-
- deagostini
- vasa
- (and 1 more)
-
Nice job Pucko. Is it the Postnord that is failing again? When I looking on your build I get more and more convinced that it is better to wait for the parts and build it in your own way and just skipp Deagostinis weird approach.
- 305 replies
-
- 4
-
-
- deagostini
- vasa
- (and 1 more)