Jörgen
-
Posts
243 -
Joined
-
Last visited
Content Type
Profiles
Forums
Gallery
Events
Everything posted by Jörgen
-

Airbrush
Jörgen replied to Mike Dowling's topic in Painting, finishing and weathering products and techniques
Thank you James. I have learned it on Flory Models And i also use MRP paints and Mr leveling thinner. Works perfect. -
Airbrush
Jörgen replied to Mike Dowling's topic in Painting, finishing and weathering products and techniques
I use Harder & Stenbeck revolution silver line with 0,2 needle. Very good airbrush and very easy to clean. Take any colour and mix it more or less 50%50 and it should work perfect. Or no dilution if Vallejo Model air is used. And to lubricate the needle and triggers the best thing is Iwata Super lube. Jörgen -
Vasa by Jörgen - DeAgostini - 1:65
Jörgen replied to Jörgen's topic in - Kit build logs for subjects built from 1501 - 1750
Yes it is weird with those short planks. Will see what I do in the first layer. If they works I will use them. But I am thinking of replacing the second layer (I hope they do it in that way, I will even if they don't) with some quality wood. See what I can buy and the price for it. I really want to do it in Swiss pear if I can. I hope it is possible to buy in Europe so I don't have to buy in us since shipping is expensive. We will see, maybe DeAgostini surprise me... -
Vasa by Jörgen - DeAgostini - 1:65
Jörgen replied to Jörgen's topic in - Kit build logs for subjects built from 1501 - 1750
Thank you all Rossi46 I want t have better metal shine and if I use gloss black as primer, I will get it because it will be a mirror effect. I will show you photos on it later. -
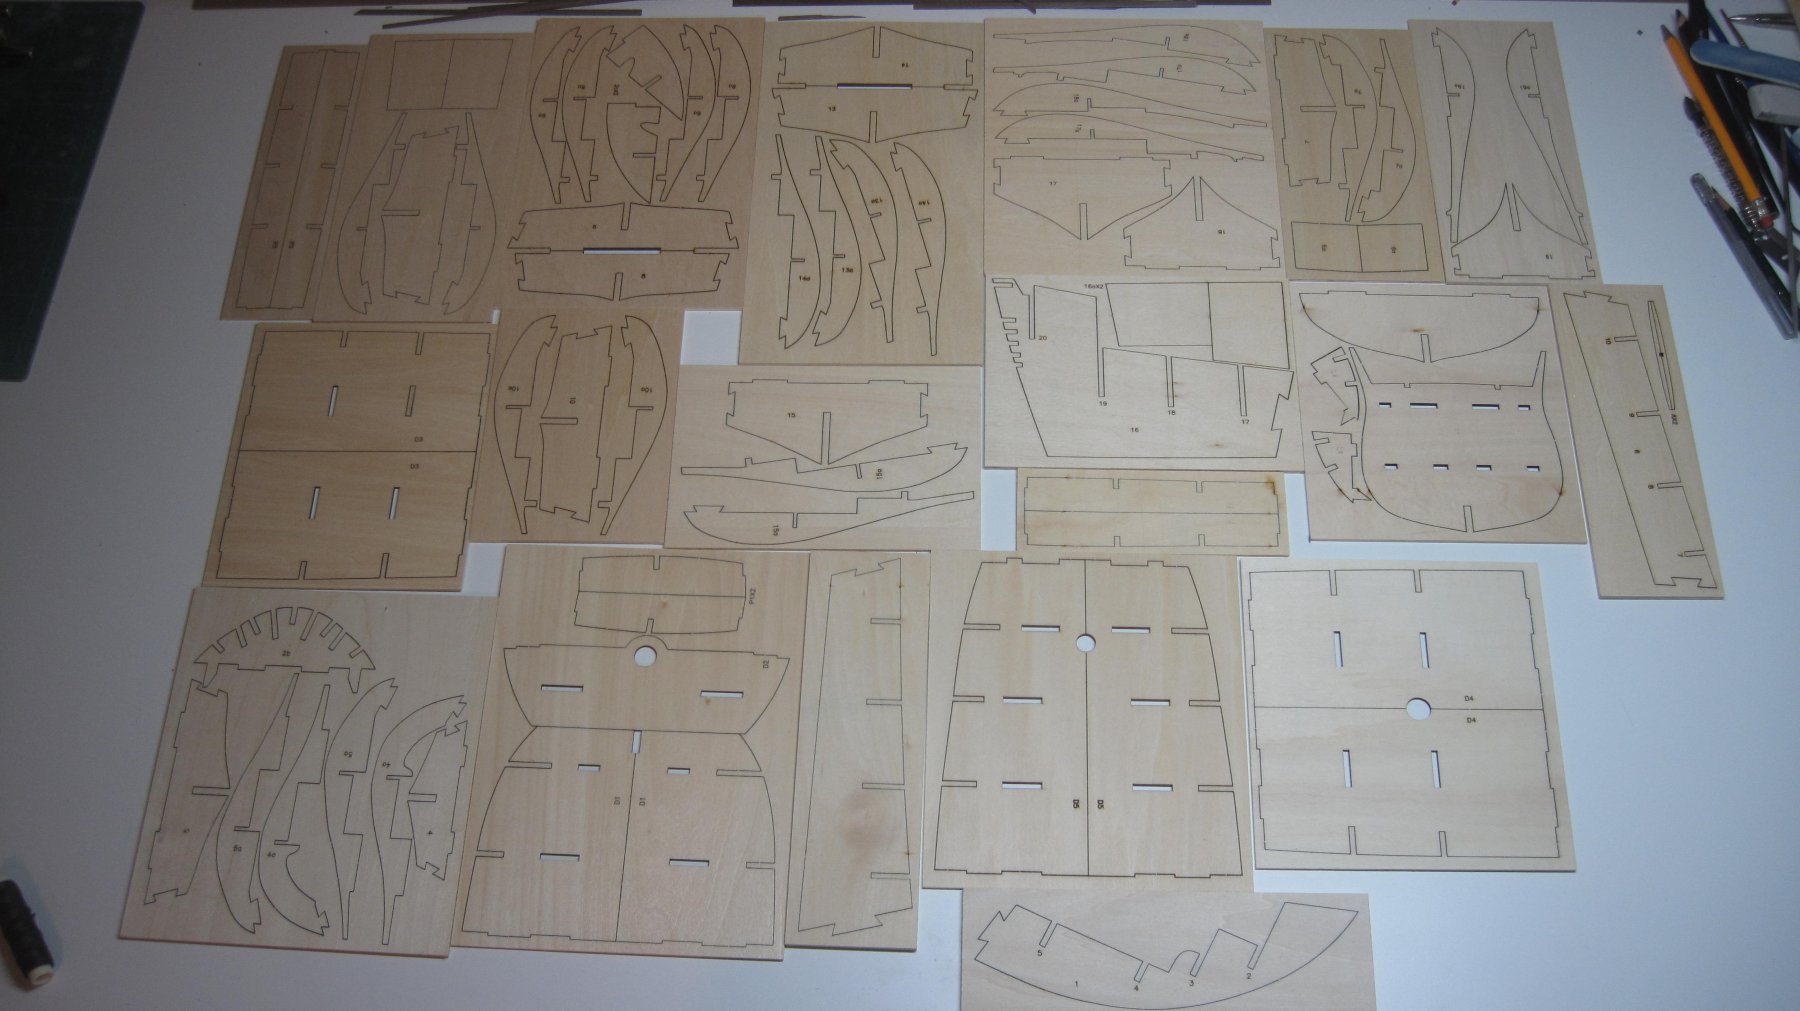
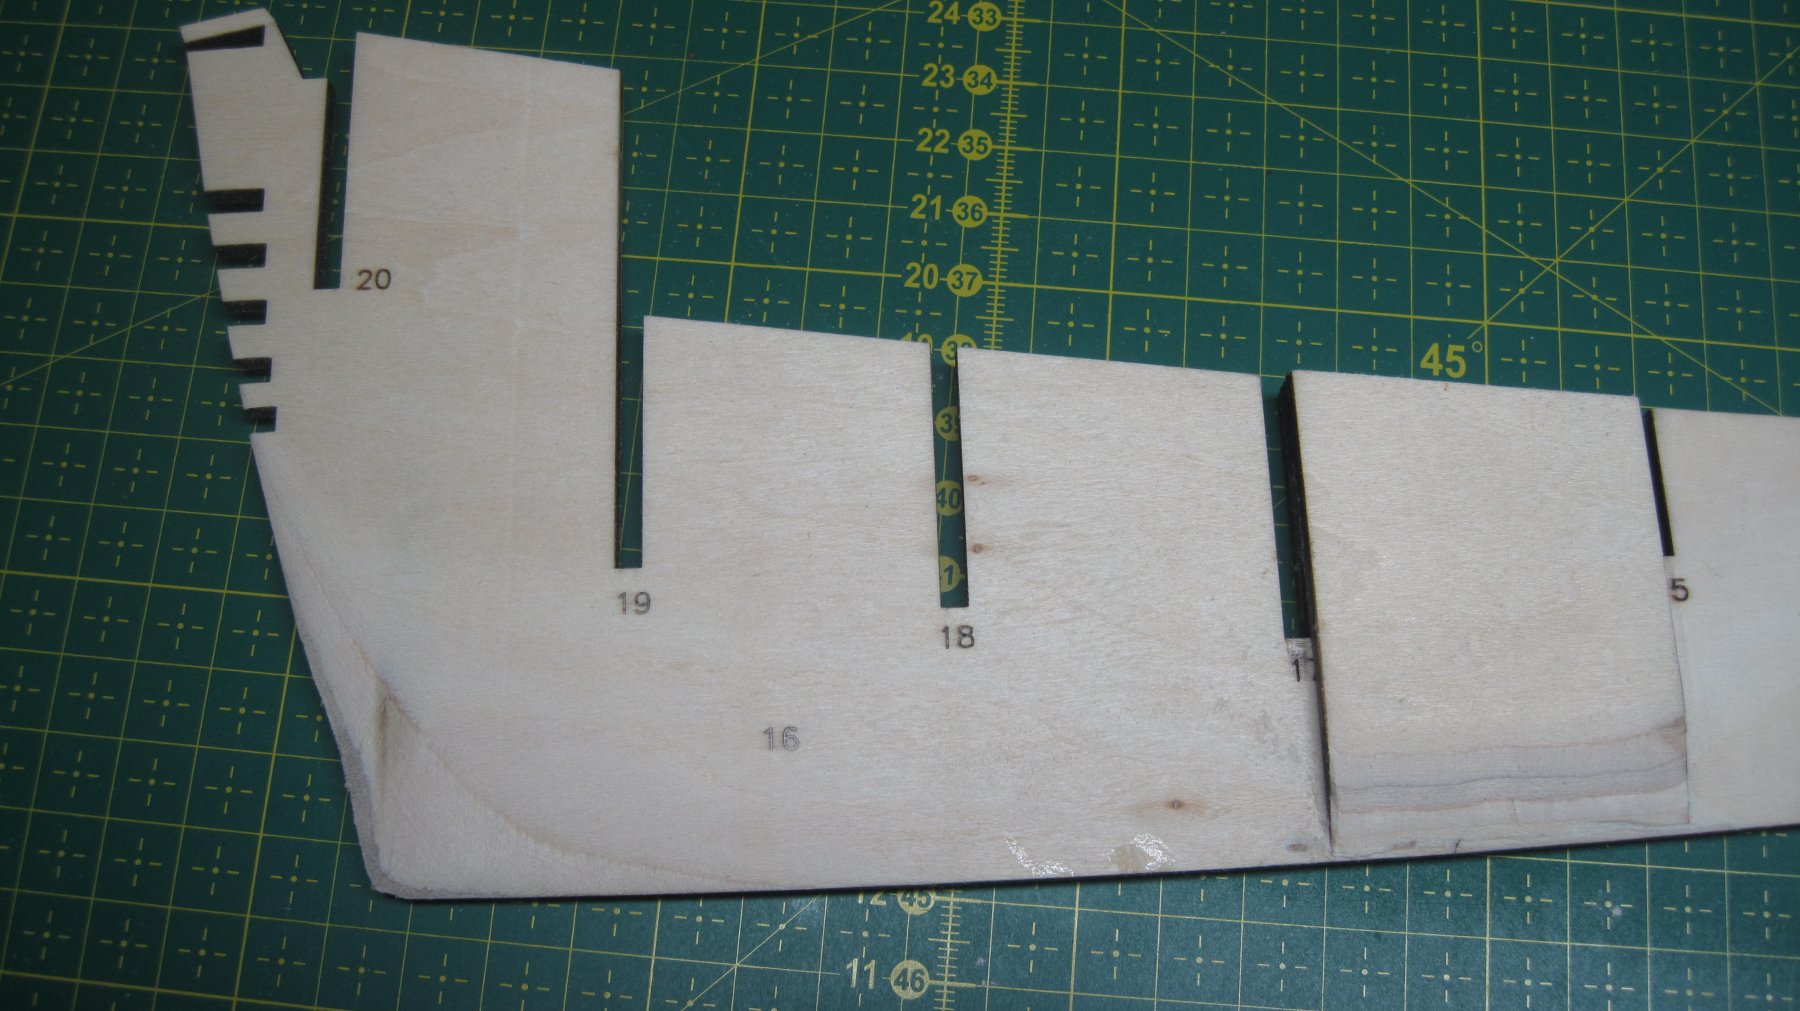
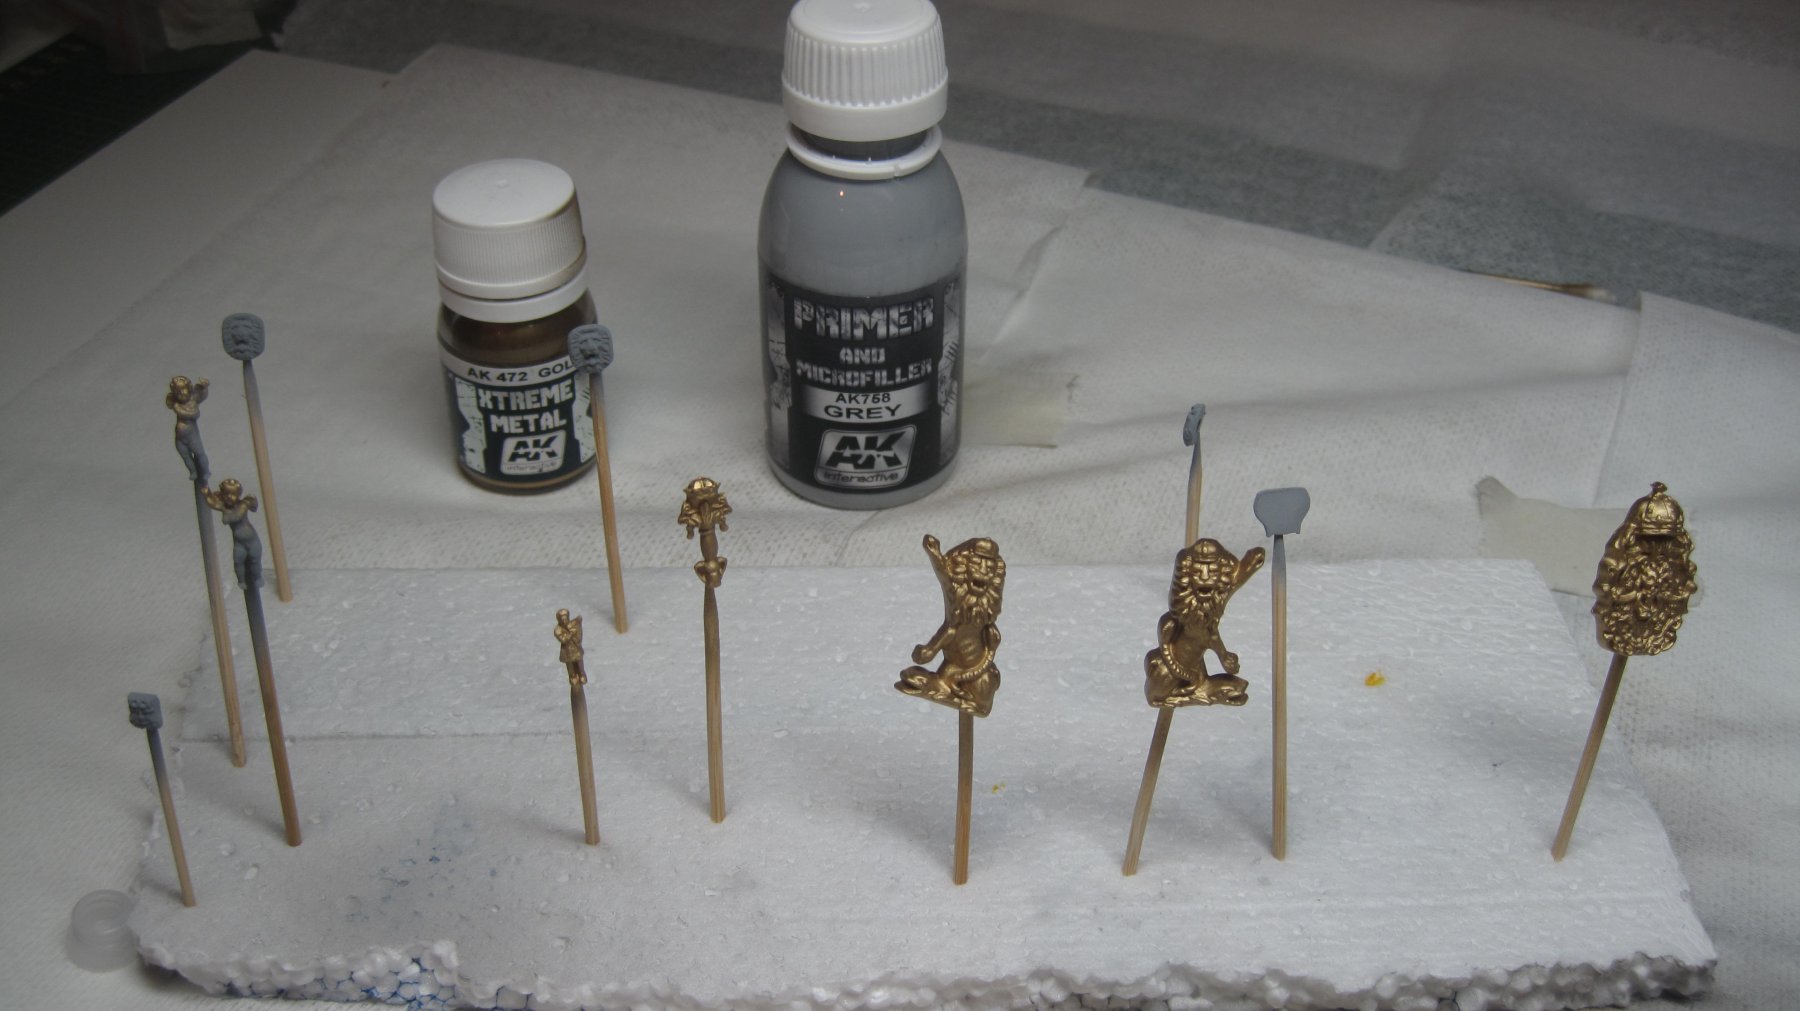
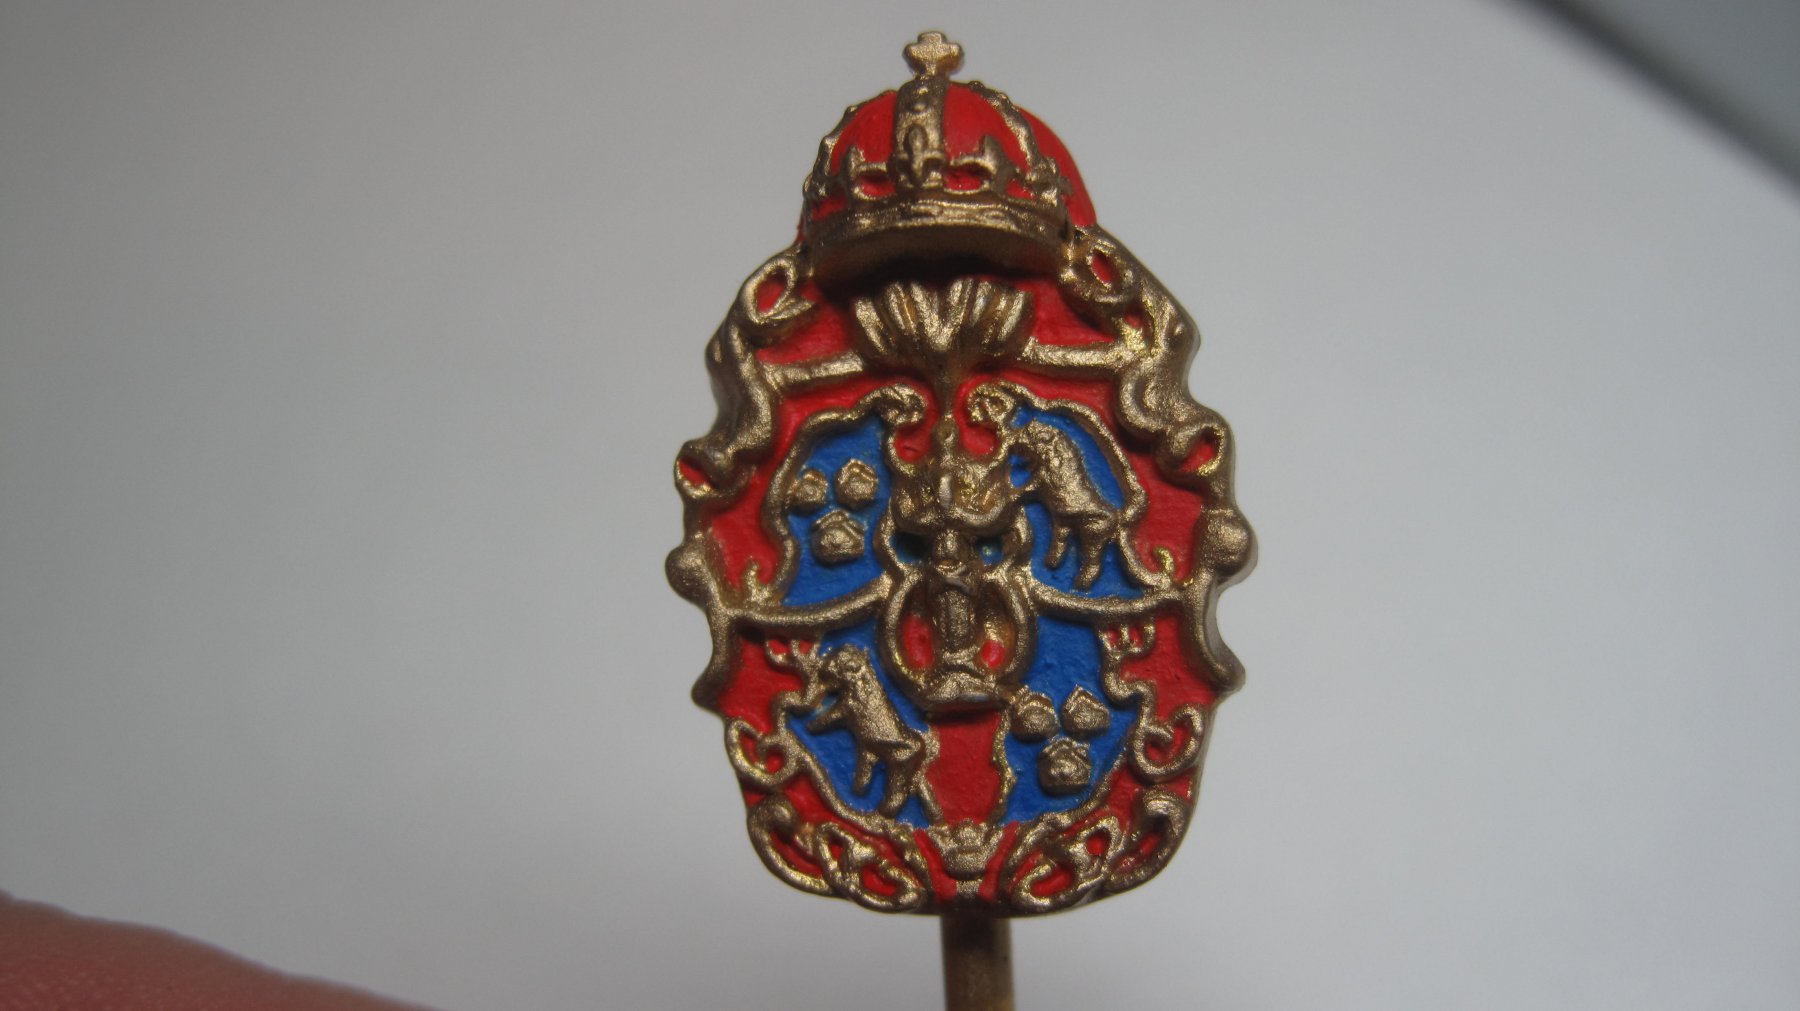
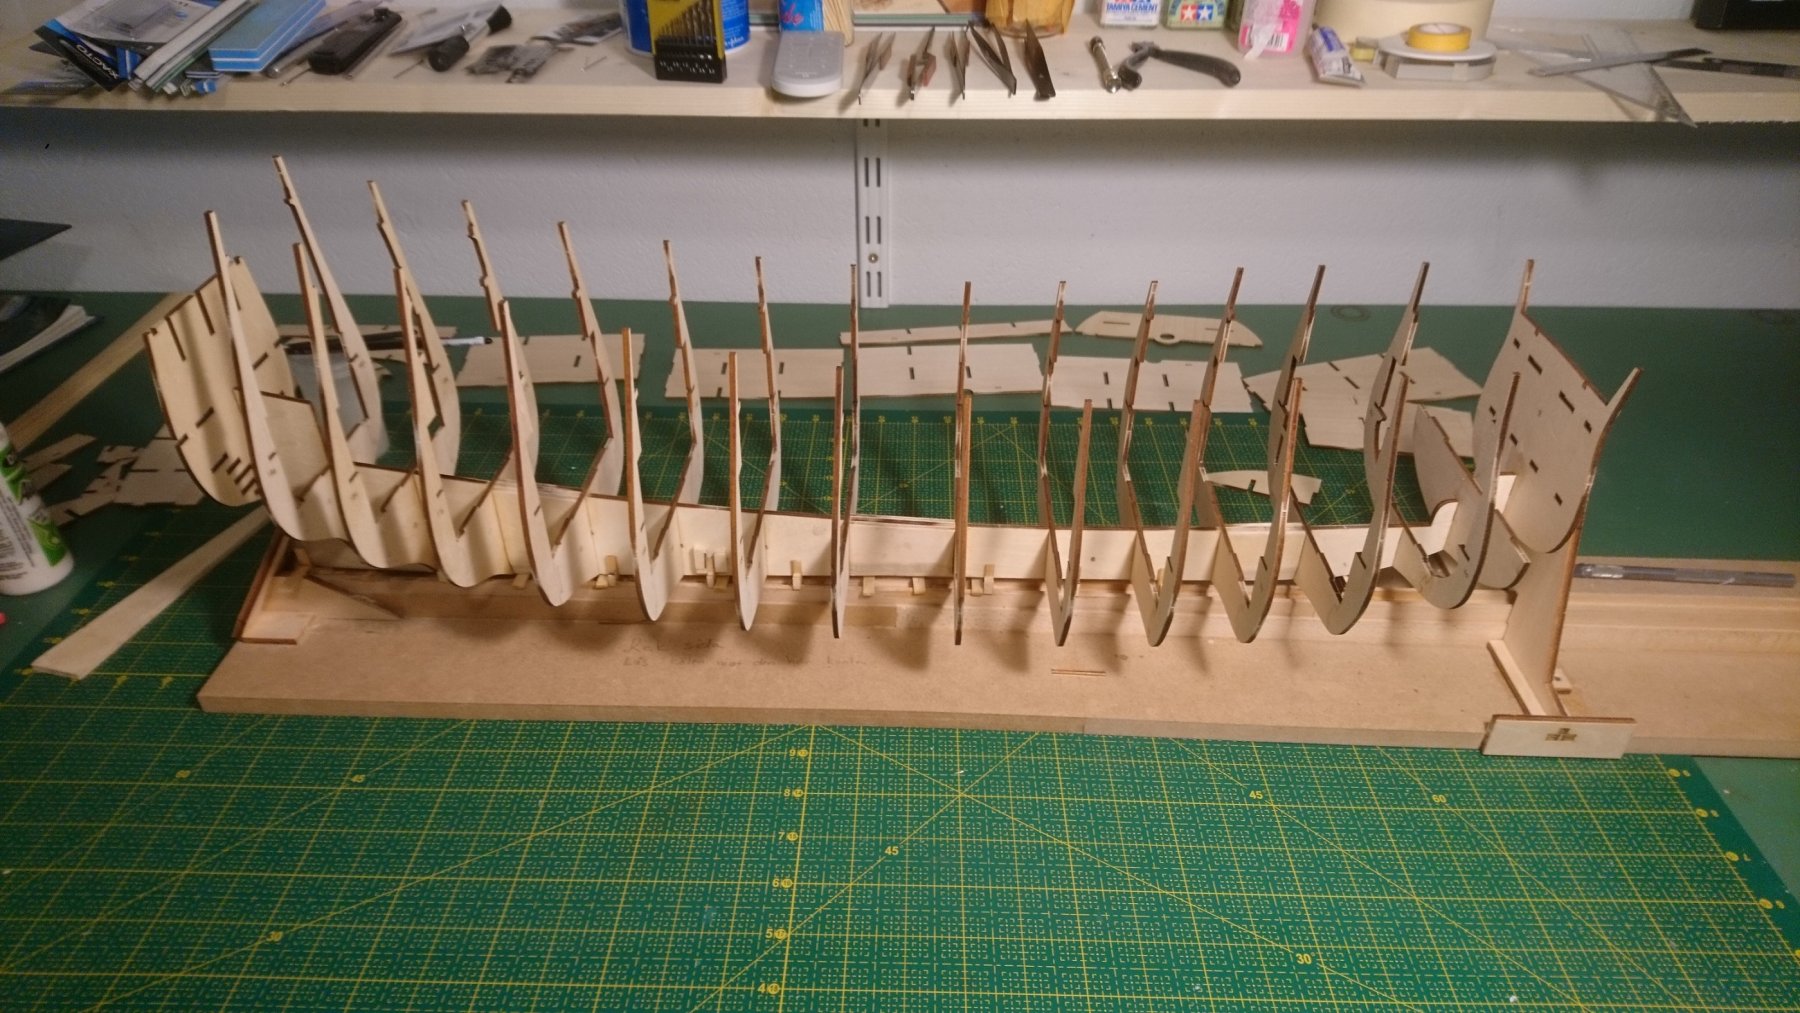
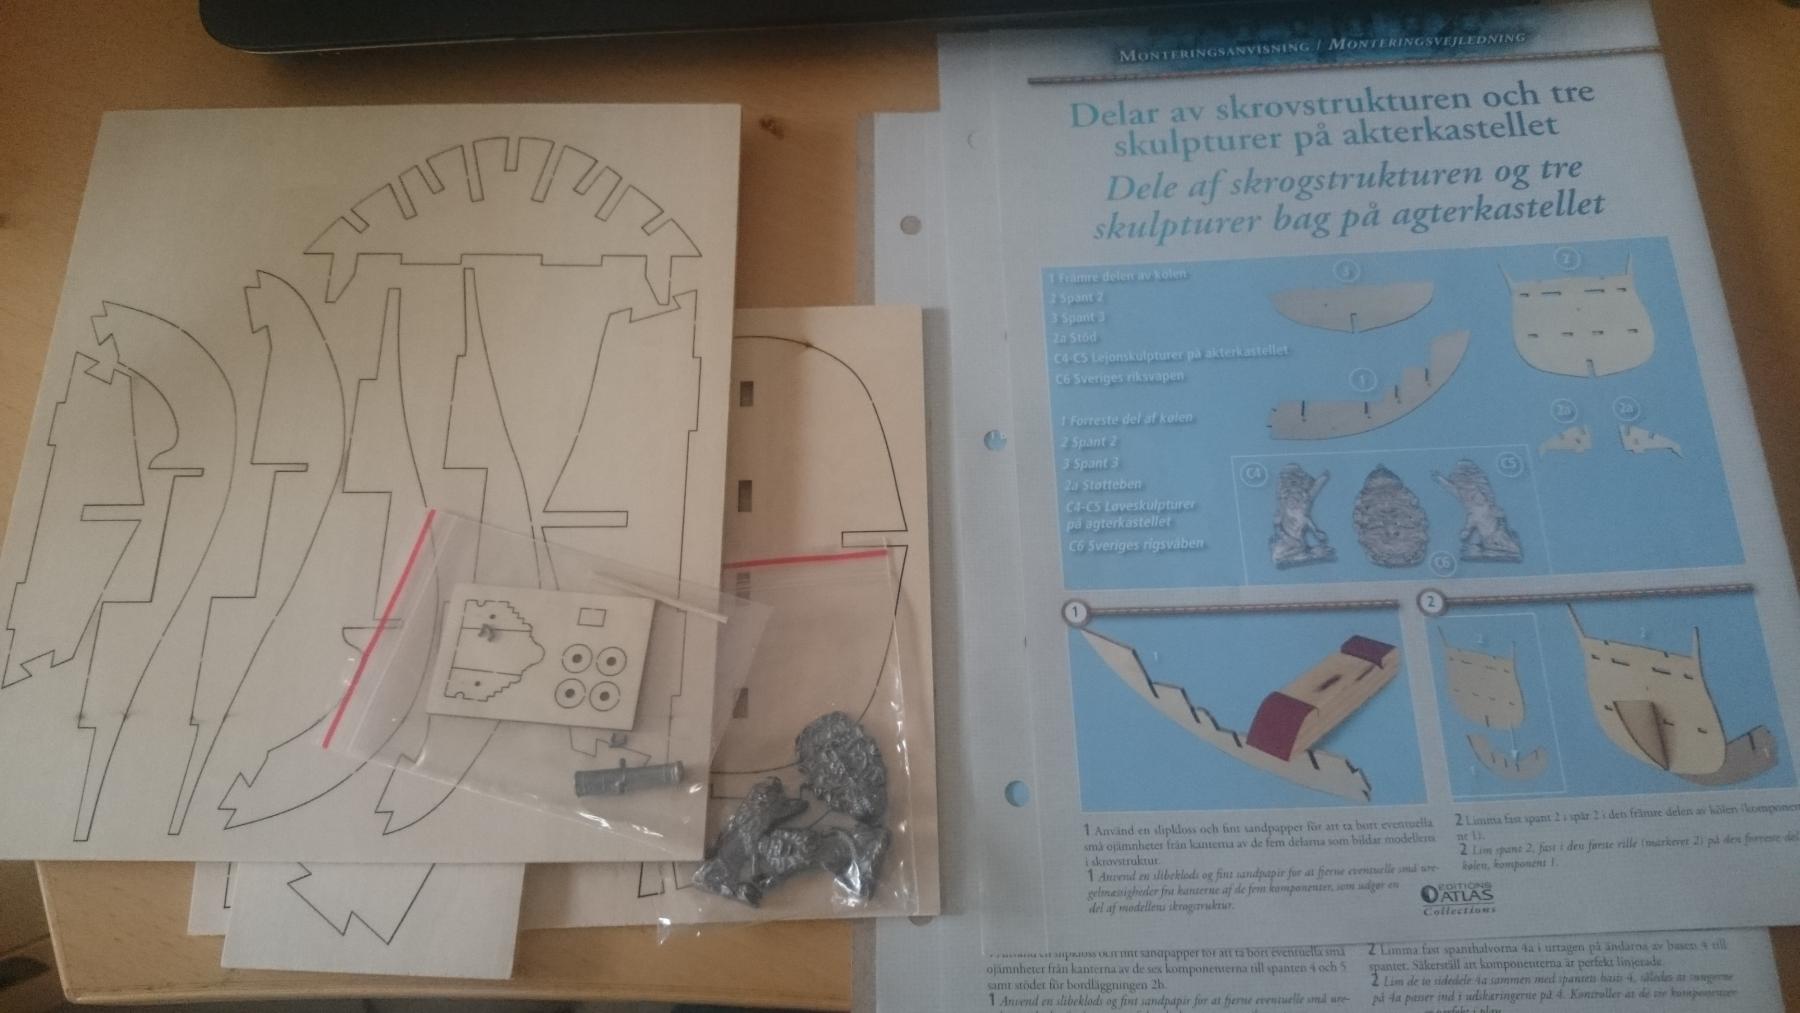
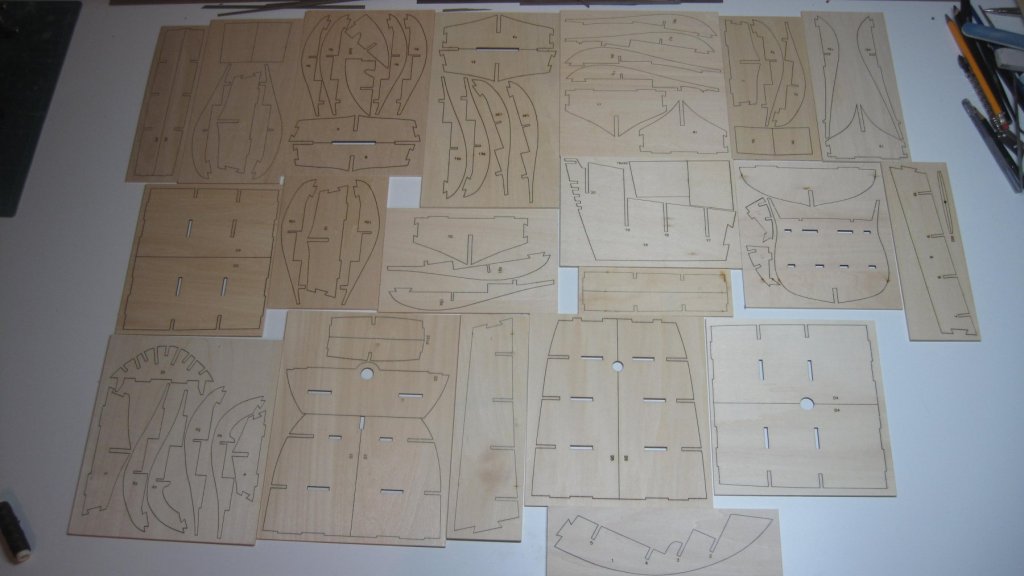
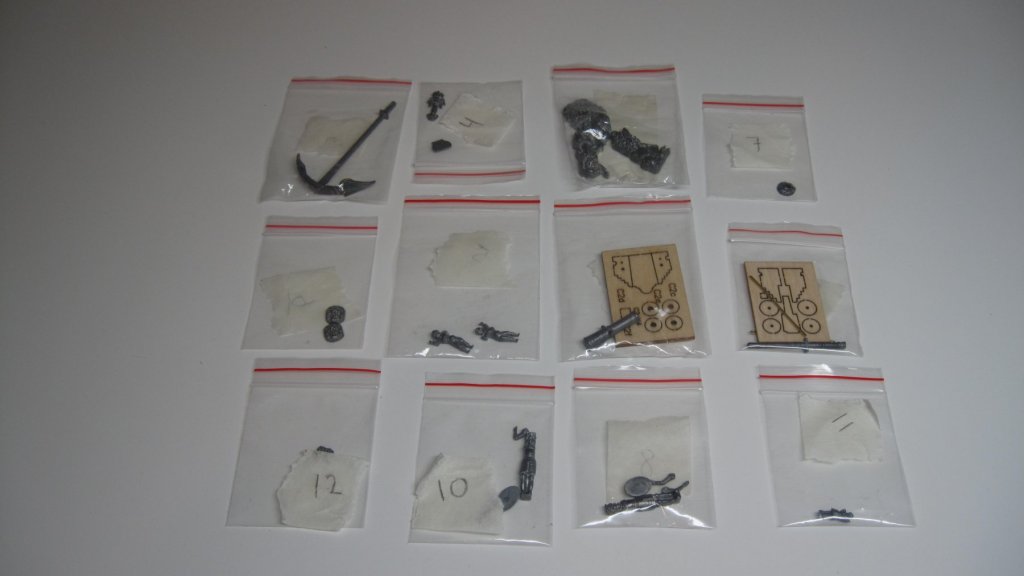
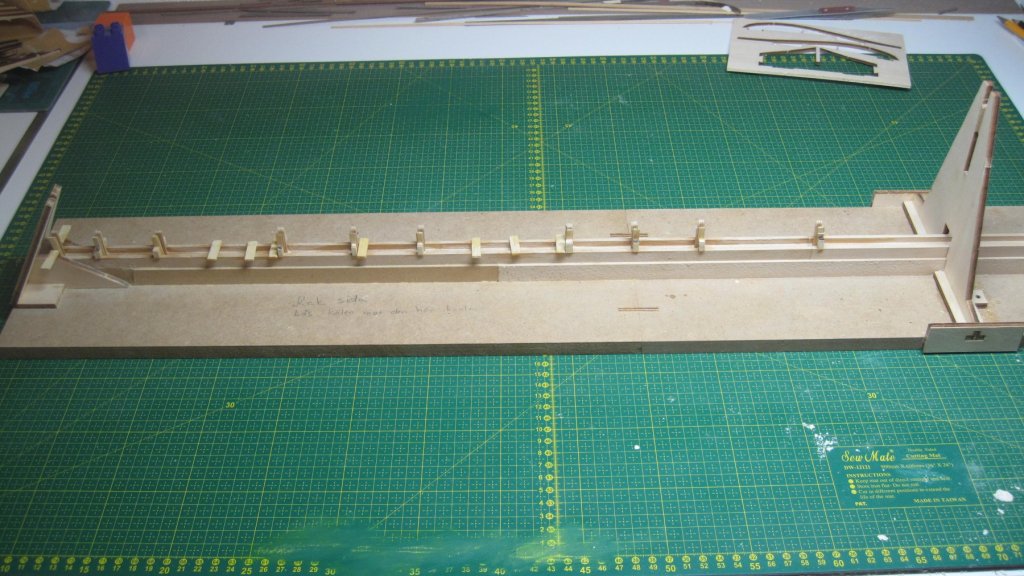
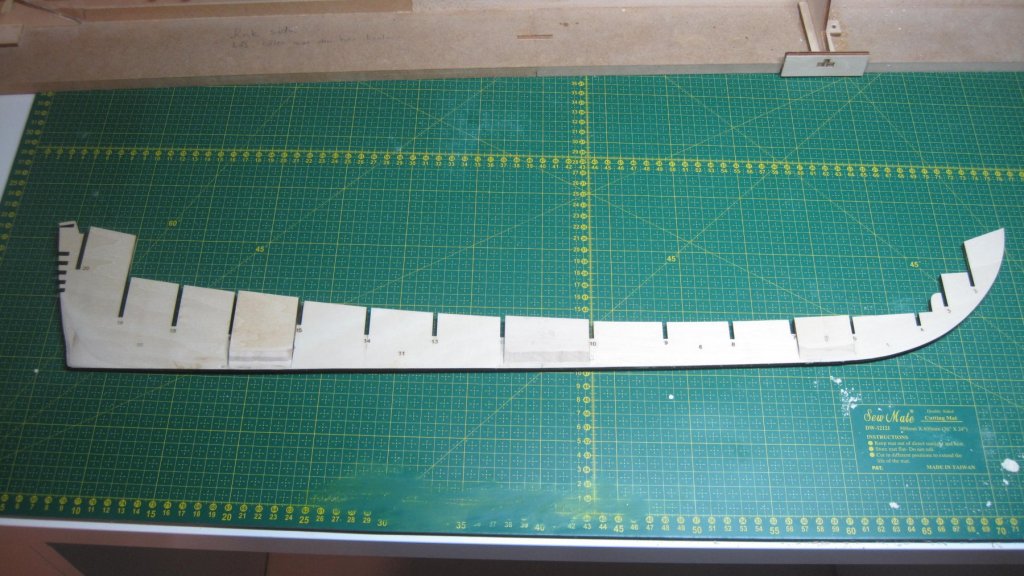
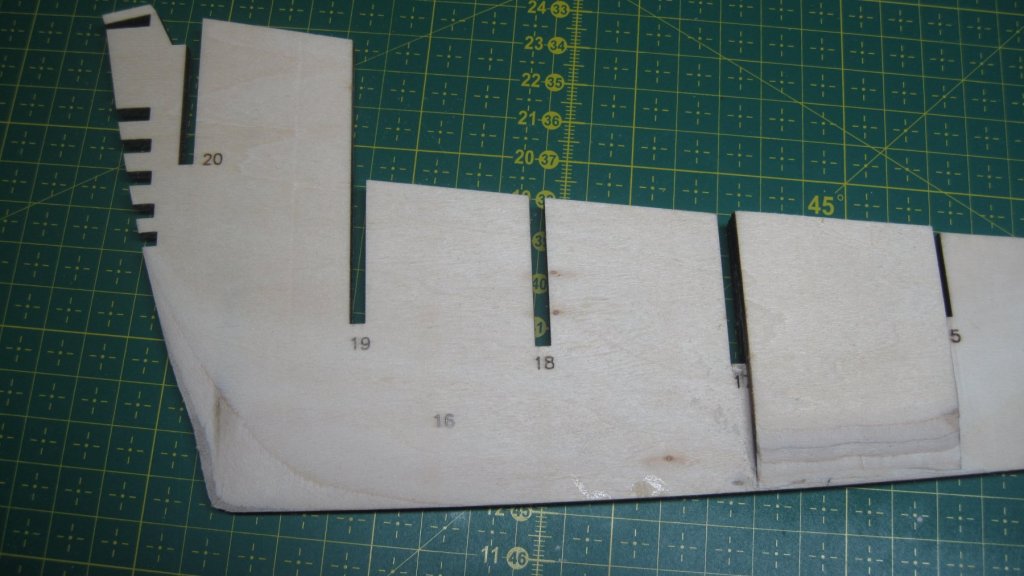
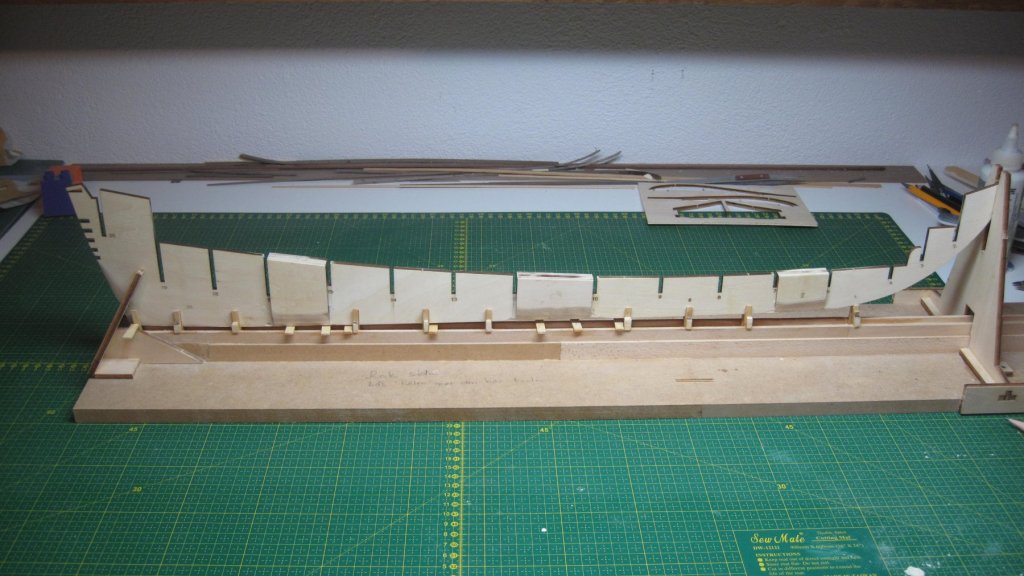
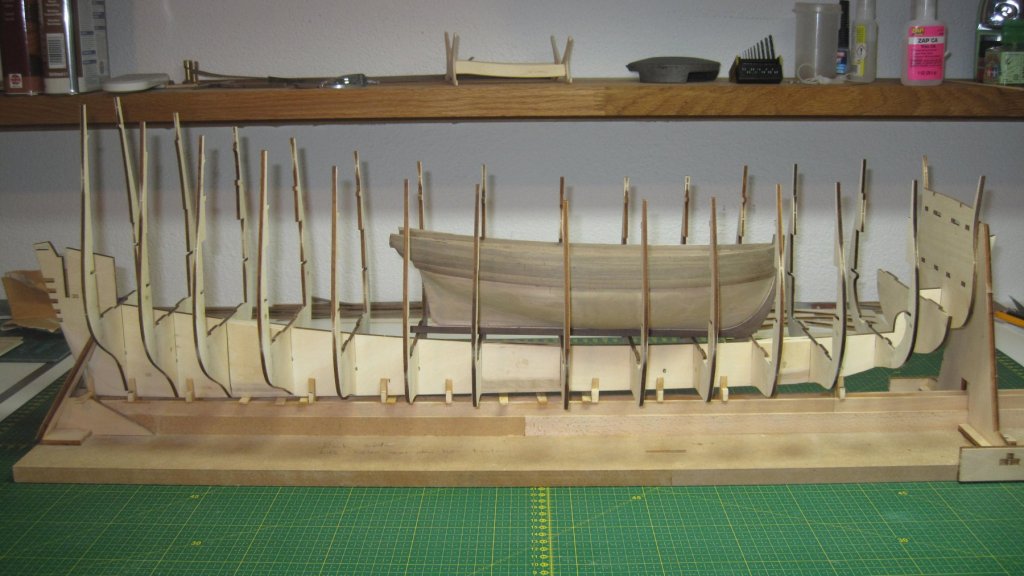
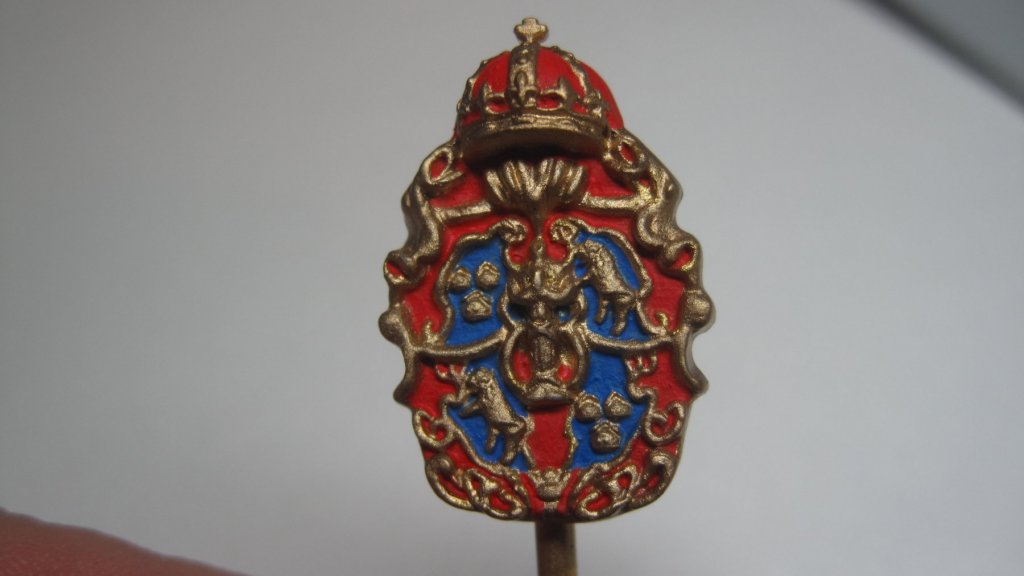
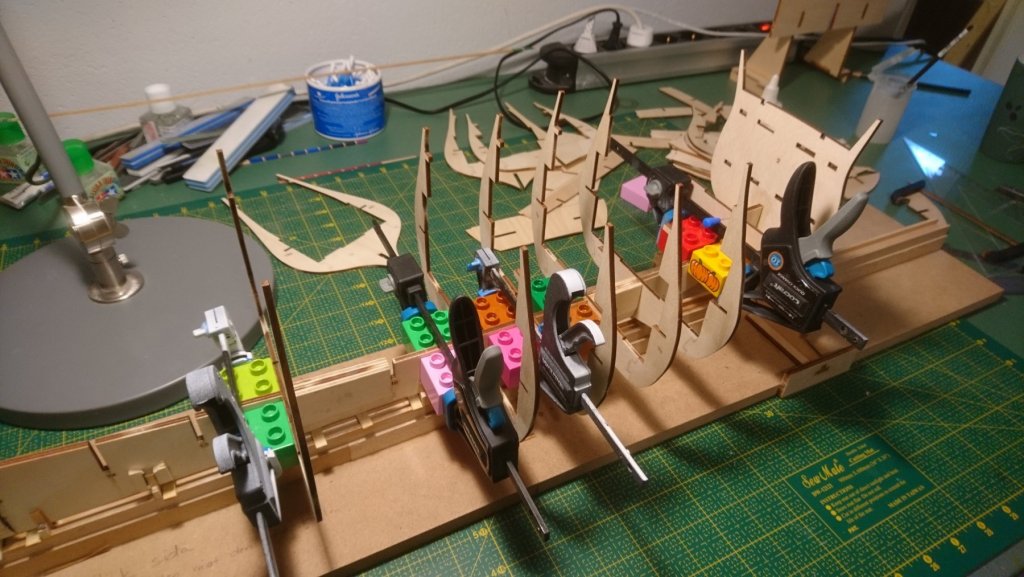
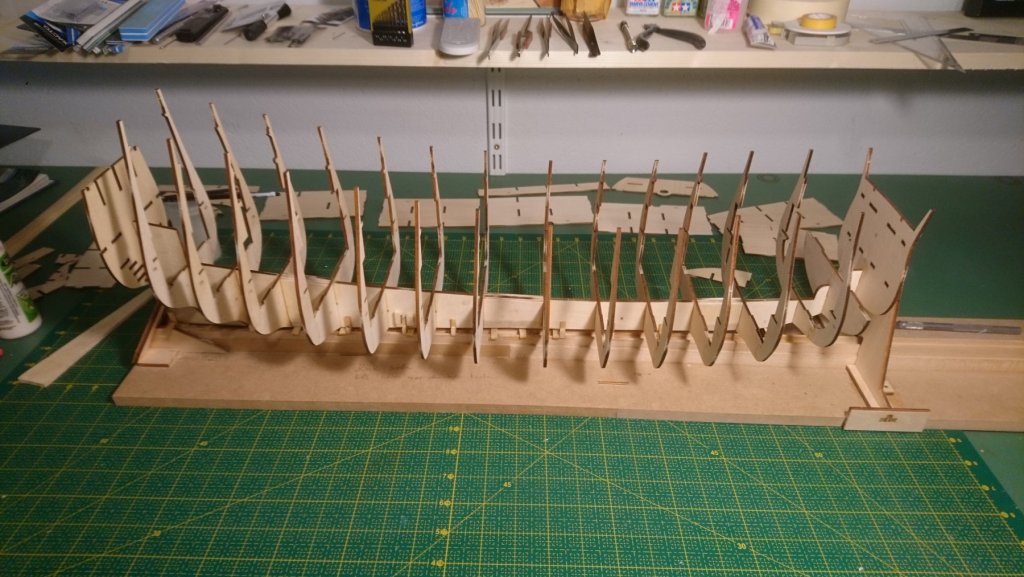
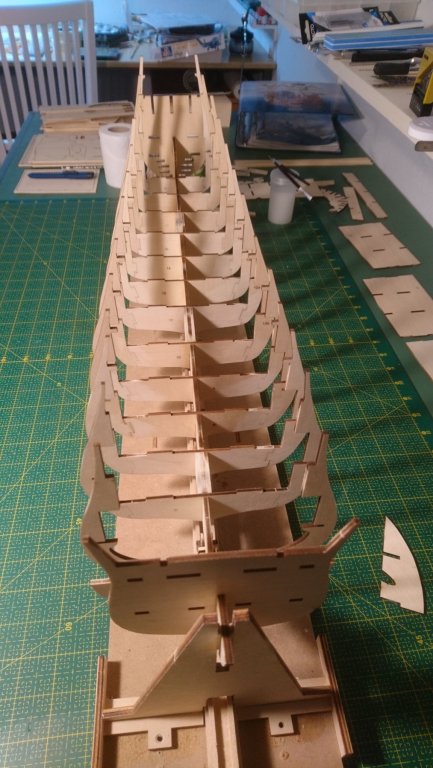
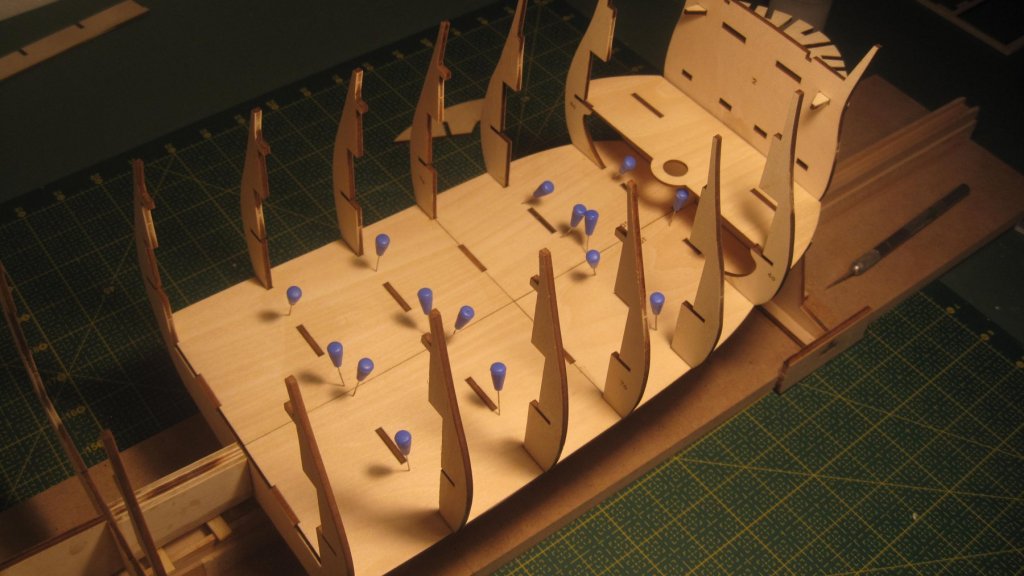
Hello all Ever since I was a child and start modelling I have the dream to someday build the Swedish warship Vasa in wood. Early attempts were the Airfix plastic Vasa and the not so good Igra Vasa (See this link http://modelshipworld.com/index.php?/topic/14339-help-to-identify-vasa-kit/ ). Non of them were finished and the Airfix Vasa exploded by a fire cracker if I remember right and the Igra kit was actually never started. My wooden kit building started when I was working in Russia some years ago. In a very boring moment I actually ordered the Billing Boat Vasa but when I come home it ended up at the shelf since I realised it was totally over the top for me at the moment. So I bought and build the J-Class Endeavour instead just to learn (link in my signature). This build really got me hooked and I started on Sherbourne (other link in signature) to learn building period ships. It was then it come, the DeAgostini Vasa as a Monthly subscription. At the beginning I hesitated since no finish models exist but after following Puckotreds Vasa ( http://modelshipworld.com/index.php?/topic/13616-vasa-by-puckotred-deagostini-scale-165/ ) I was convinced. I haven't started it until now since I was waiting for all the parts for the false keel. However I have start the build now and I will post the photos below to show how far I have come. I also must say that the quality so far, especially the figures is very good. I hop you will enjoy the build and have patience since it take 3 years to get all the parts. I will also not post a photo over every delivering since Mr Pucko does that. The wooden parts I have so far. And the figures. This is Billing Boats stand for building. Little bit modified... This was what I was waiting for. To be able to glue togheter the false keel part and get it straight. Some initial sanding just in case Mounted on the building stand..... .......and test fitted with the Sherbourne Inside (same scale more or less) First painting of figures. I will redone this since I have learned that a black gloss coat as primer is way better for the metal look of AK extreme metal. I will show the difference later. Too bad that I will remove the colour and repaint it. But it shows the detail of the metal parts. And now the building starts (2 days ago). Lego Duplo is so good to use for framing The result from the side...... .....and from the front. Really nice fit of everything. And this photo is from yesterday. The fit is perfect. And this is how far I have got at the moment. Best Regards Jörgen

- 50 replies
-
- 10
-

-
- vasa
- deagostini
- (and 1 more)
-
And he have a video build over revel Iwo Jima 1:350. Very good tips how to paint a large grey ship
-
If you want to learn airbrushing I can highly recommend to check out Flory models. There are so much to learn there. The link is http://www.florymodels.co.uk I follow him as often I can.
-
Oh not really an answer on the question.. But I also used the modelling paste on the first planking to prepare for second planking. Didn't liked it and to be honest, after it was done it was actually not needed. Now I use normal wood putty if I need to fill anything.
-
When I did my Endevour (see link in signature) I first use modelling paste. Didn't liked it. Then I used sanding sealer as base and after this a lot of Tamiya plastic putty and Tamiya primer. This were on the upper part of the hull to get the high gloss shiny steal hull (not easy with wooden planking).
-
Hello I have this kit (not built it). Bought it as a kid on the Swedish post order company "Hobbex". They sold a "Sir Francis Drake Revenge" also. When I bought it it looked so different compare to the airfix plastic models I built then. But when I look at the kit today it is very clear that it is bad quality. The Revenge looked good but the Vasa kit is not even close to the original. I should say no to use 60 dollar on it but that is my opinion.
-
I agree with Cobr@ above. I also use water to help the planks bend better but I never glue them wet. Better to take the extra time for it.
- 25 replies
-
- 2
-
-
- finished
- sherbourne
- (and 1 more)
-
Hello Nice to see another Sherbourne on the building table and it is fun to see that we are at the same stage:). I will follow along.
- 25 replies
-
- 2
-
-
- finished
- sherbourne
- (and 1 more)
-
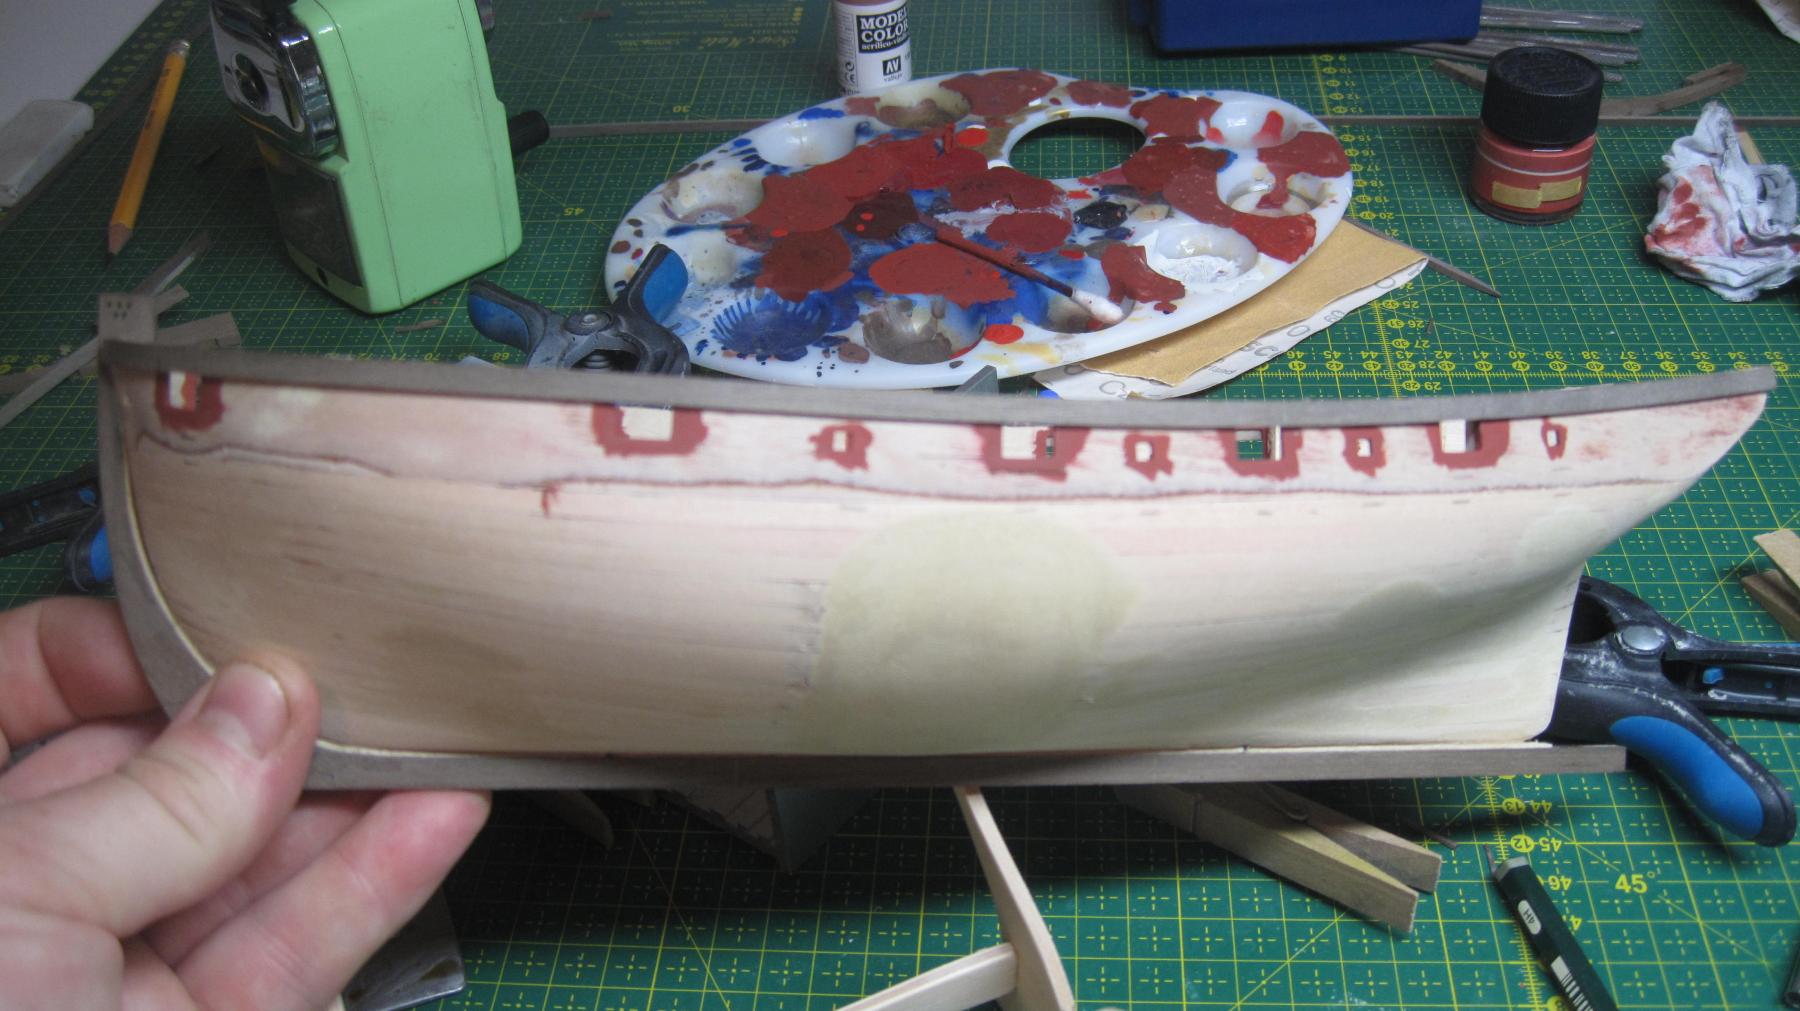
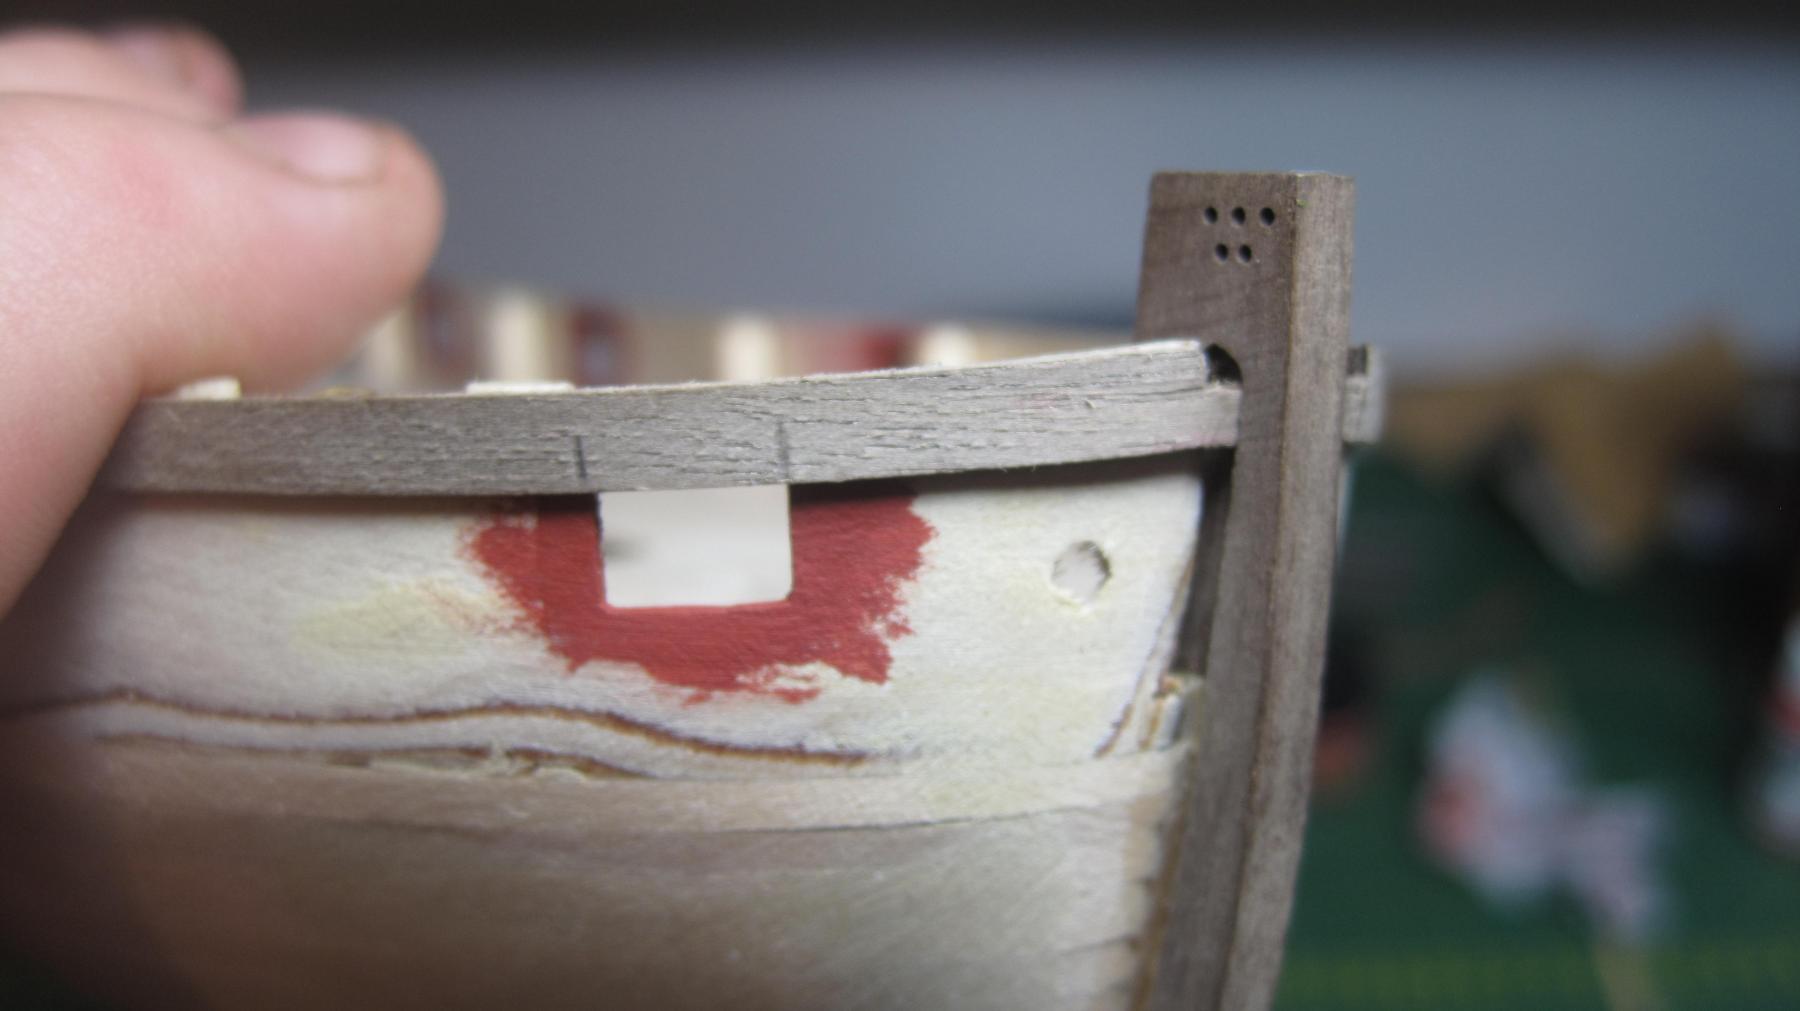
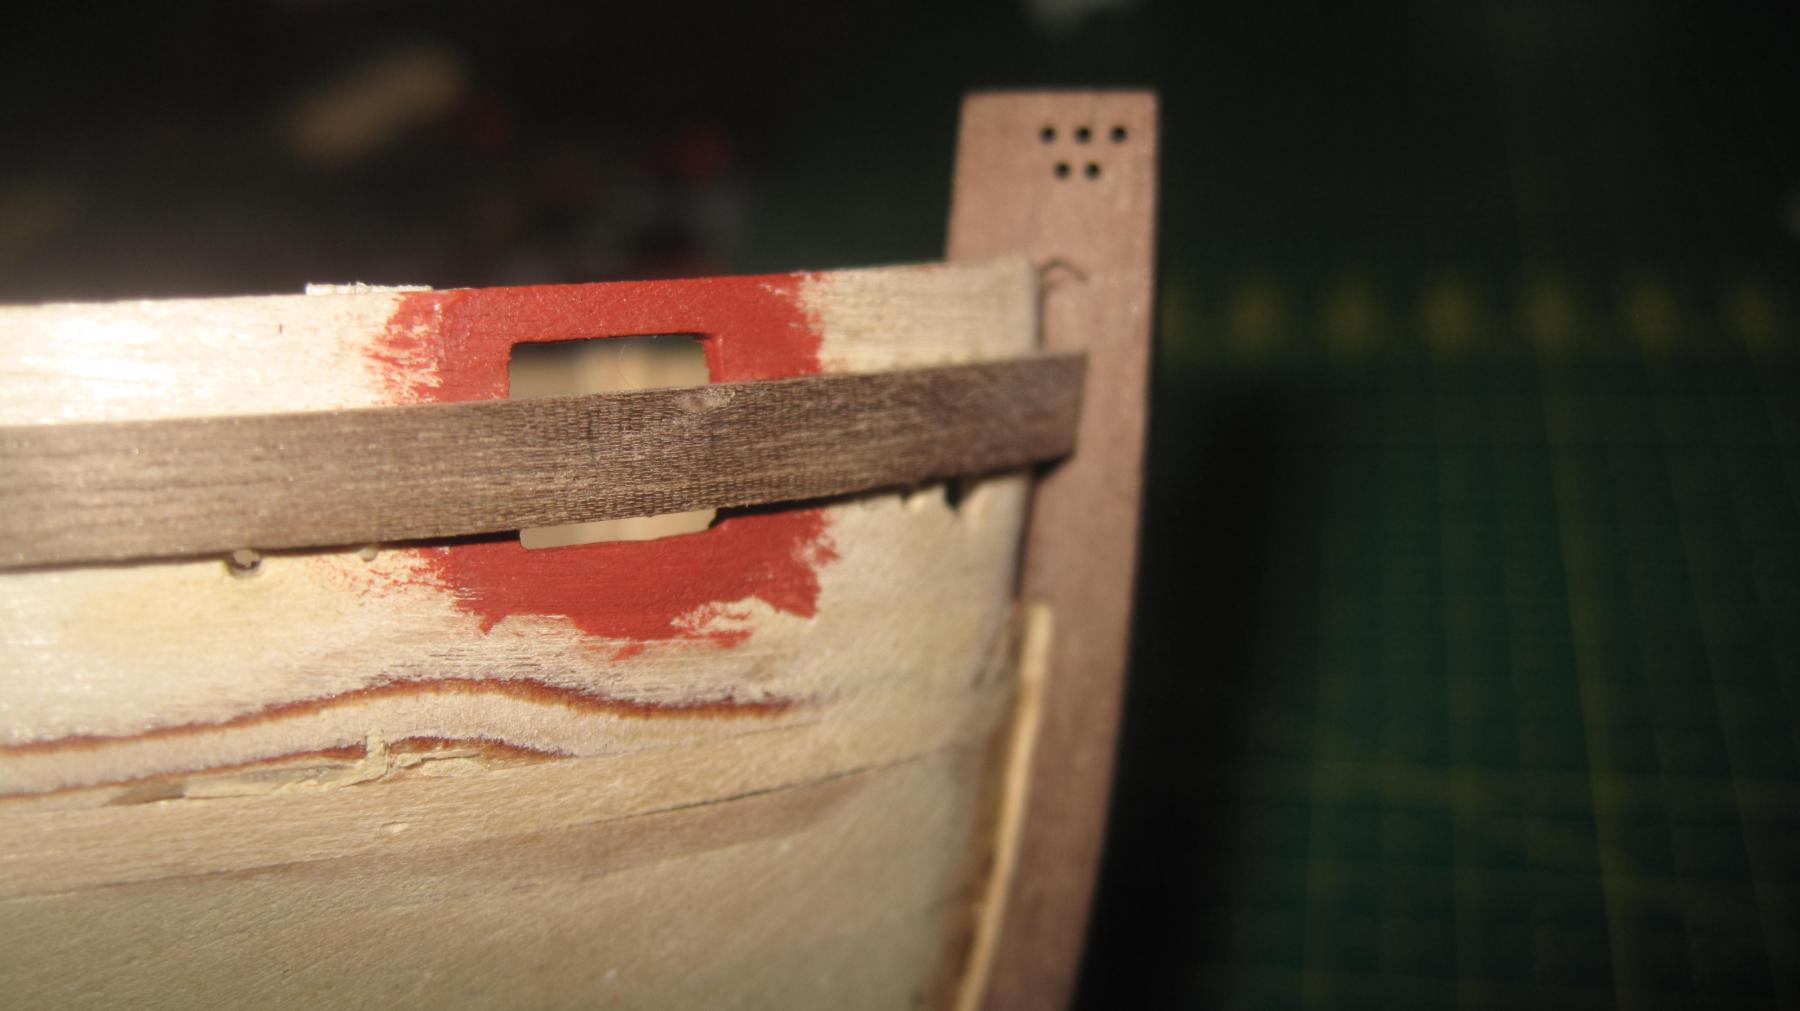
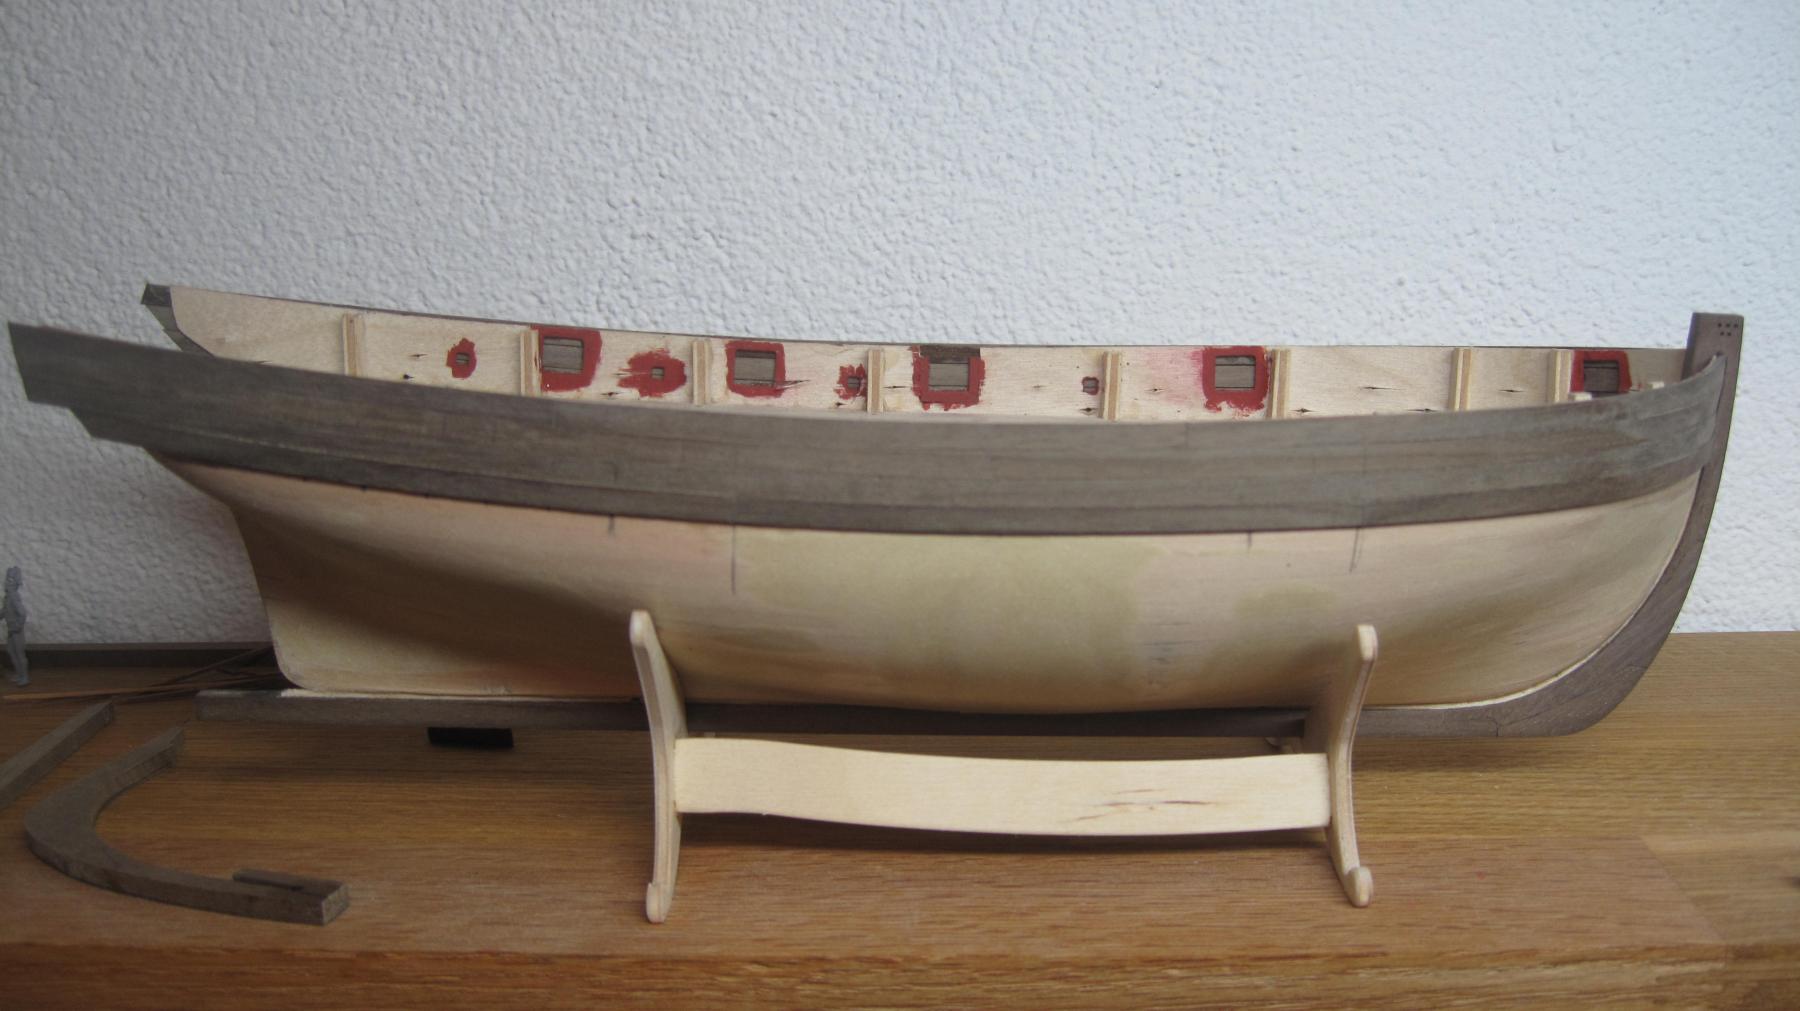
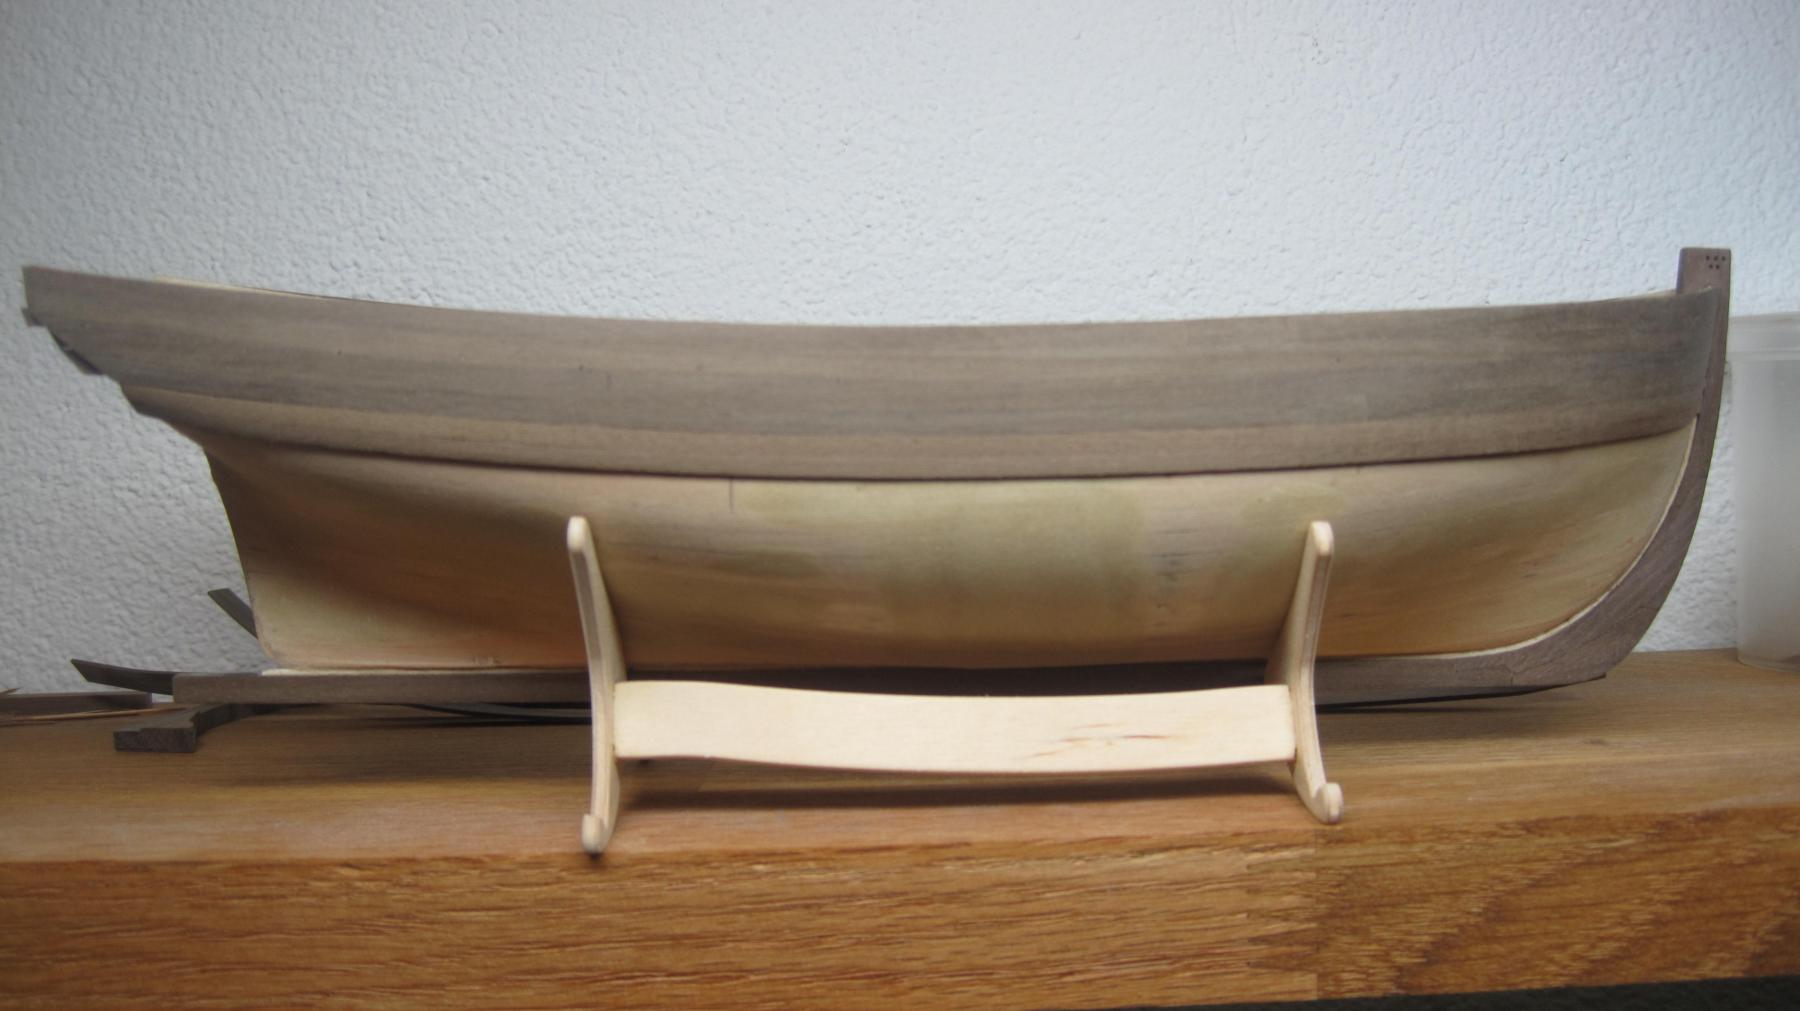
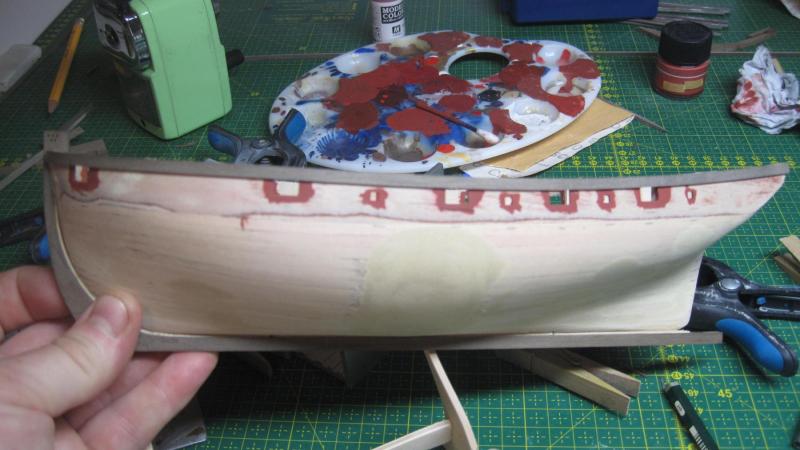
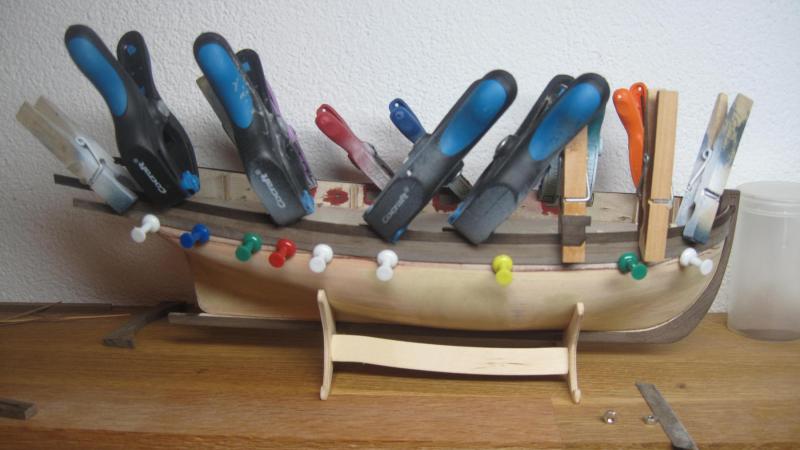
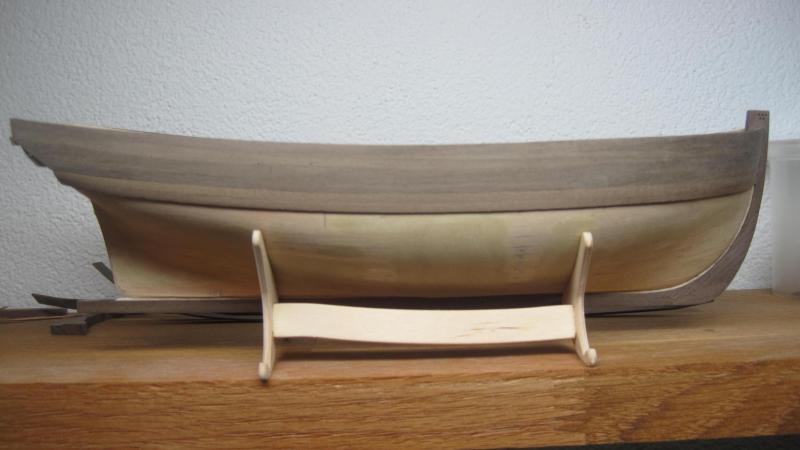
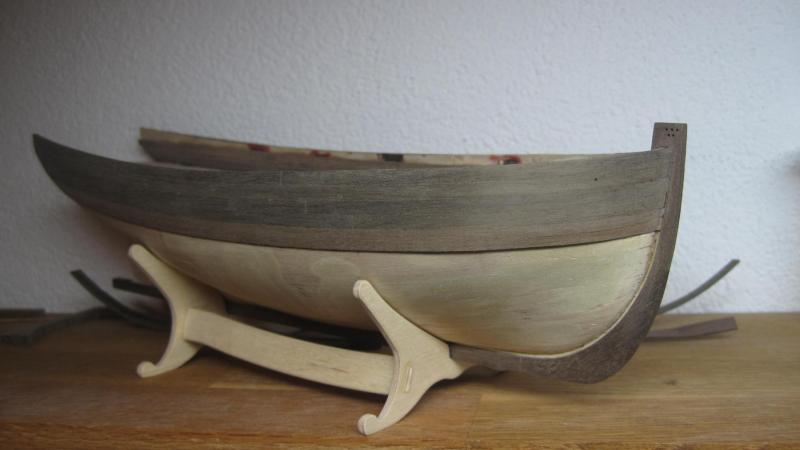
Hello all. Have been a slow start for me since the summer holidays. But here is an update on how far I am at the moment. The red is the paint I mixed together with Vallejo colours. It is not bright red but I really like it since it looks old and used. I started with the top plank as a guide (just carefully glued it on so I could move it later) and then attached the others. The two lowest on each side are the planks under the whale and these will be covered later. I really looking forward to how this wood will be when pure tung oil is added Ps. I can say that I don't like the pre-cut plywood parts for the gun openings, they make more mess than they are helpful. Also it adds to more plywood edges that needs to be covered (I just hate to have visible plywood on a model).


-
When I do raised seams I use stretched plastic. You know, take a bit from the moulding frame, heat it with a lighter and stretch it. I make them very thin and then glue them on with tamiya thin cement (that one you have). When doing this on tanks so can you push on the half melted seam with a hobbyknife and get a nice welding effect. Ofc this is not the option in 1:350
-
They have just released German Battleships. Need I say more? .
- 305 replies
-
- 3
-
-
- deagostini
- vasa
- (and 1 more)
-
I build my Sherbourne also . But tbh I only now have returned to the building table since the summer break. And I am also too much fan of playing World of warships on the computer at the moment........
- 305 replies
-
- 3
-
-
- deagostini
- vasa
- (and 1 more)
-
Looks very good:) You are 2 shipments in front of me now...I am waiting for the last part of the keel before I start to build.
- 305 replies
-
- 2
-
-
- deagostini
- vasa
- (and 1 more)
-
Agree with KenthW. It inspire me too start a build log over my revel Bismarck when I get home from summer holiday. Also have some nice extra photo etch wood deck and brass guns.
- 75 replies
-
- 8
-
-
- scharnhorst
- dragon
- (and 2 more)
-
Beautiful. Very nice details. I think the 1:350 scale is perfect for these warships. Good detail, not to big, not to expensive and lot of aftermarks.
- 342 replies
-
- 6
-
-
- dreadnought
- zvezda
- (and 2 more)
-
Johann, Thank you very much for a lovely build and lovely guide. It is art on very high level. May I ask what you use as finisher for the wood, Is it oil? Best regards Jörgen
-
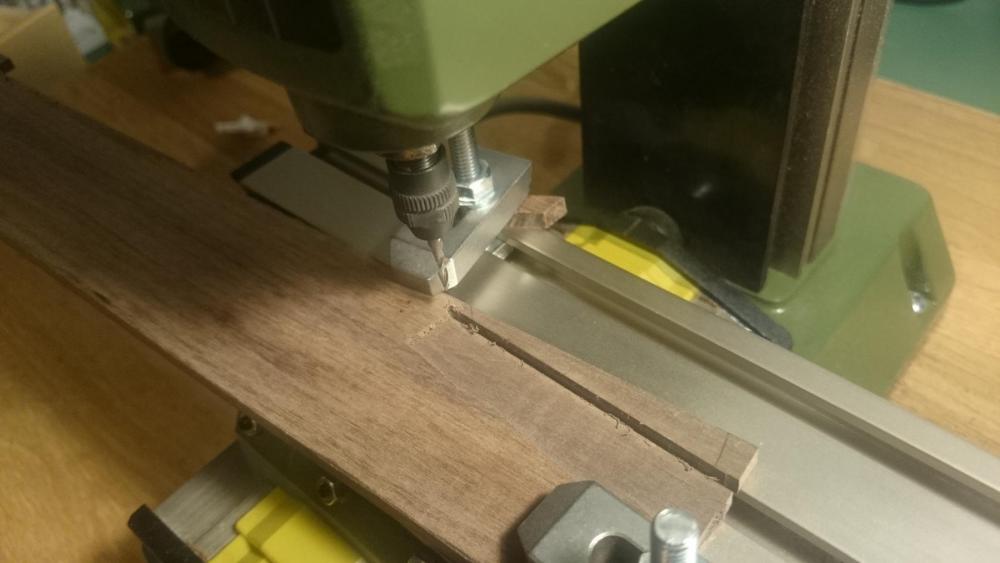
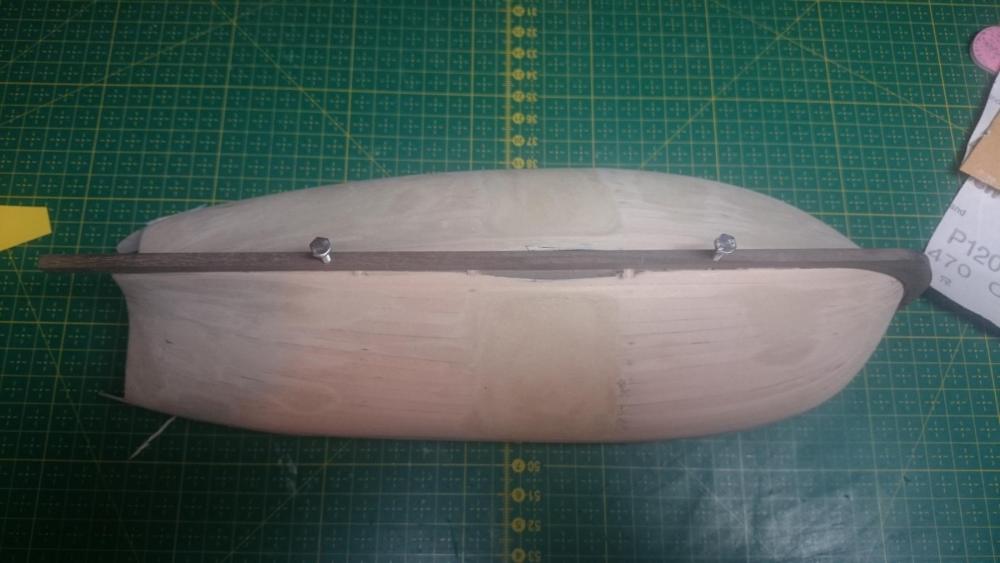
Small update. Cutting out some parts for the stern with the milling machine and drilled holes for stand screws. The milling machine is so fun to work with . Also received the first delivery of the next long time project and the parts looks very good. I will have a pause in the workshop for some weeks since we are traveling to my wife's parents in Russia. 3 hours flight and 18 hours by train...... I have time to figure out how to make the stern on Sherbourne. Maybe do as on Cheerful? Have a nice summer!

-
Beautiful Tony. I hope my sherbourne Will be as good as your. And your building guide will help me very much.
- 269 replies
-
- 1
-
-
- Caldercraft
- First build
- (and 3 more)