
FrankWouts
-
Posts
541 -
Joined
-
Last visited
Content Type
Profiles
Forums
Gallery
Events
Everything posted by FrankWouts
-
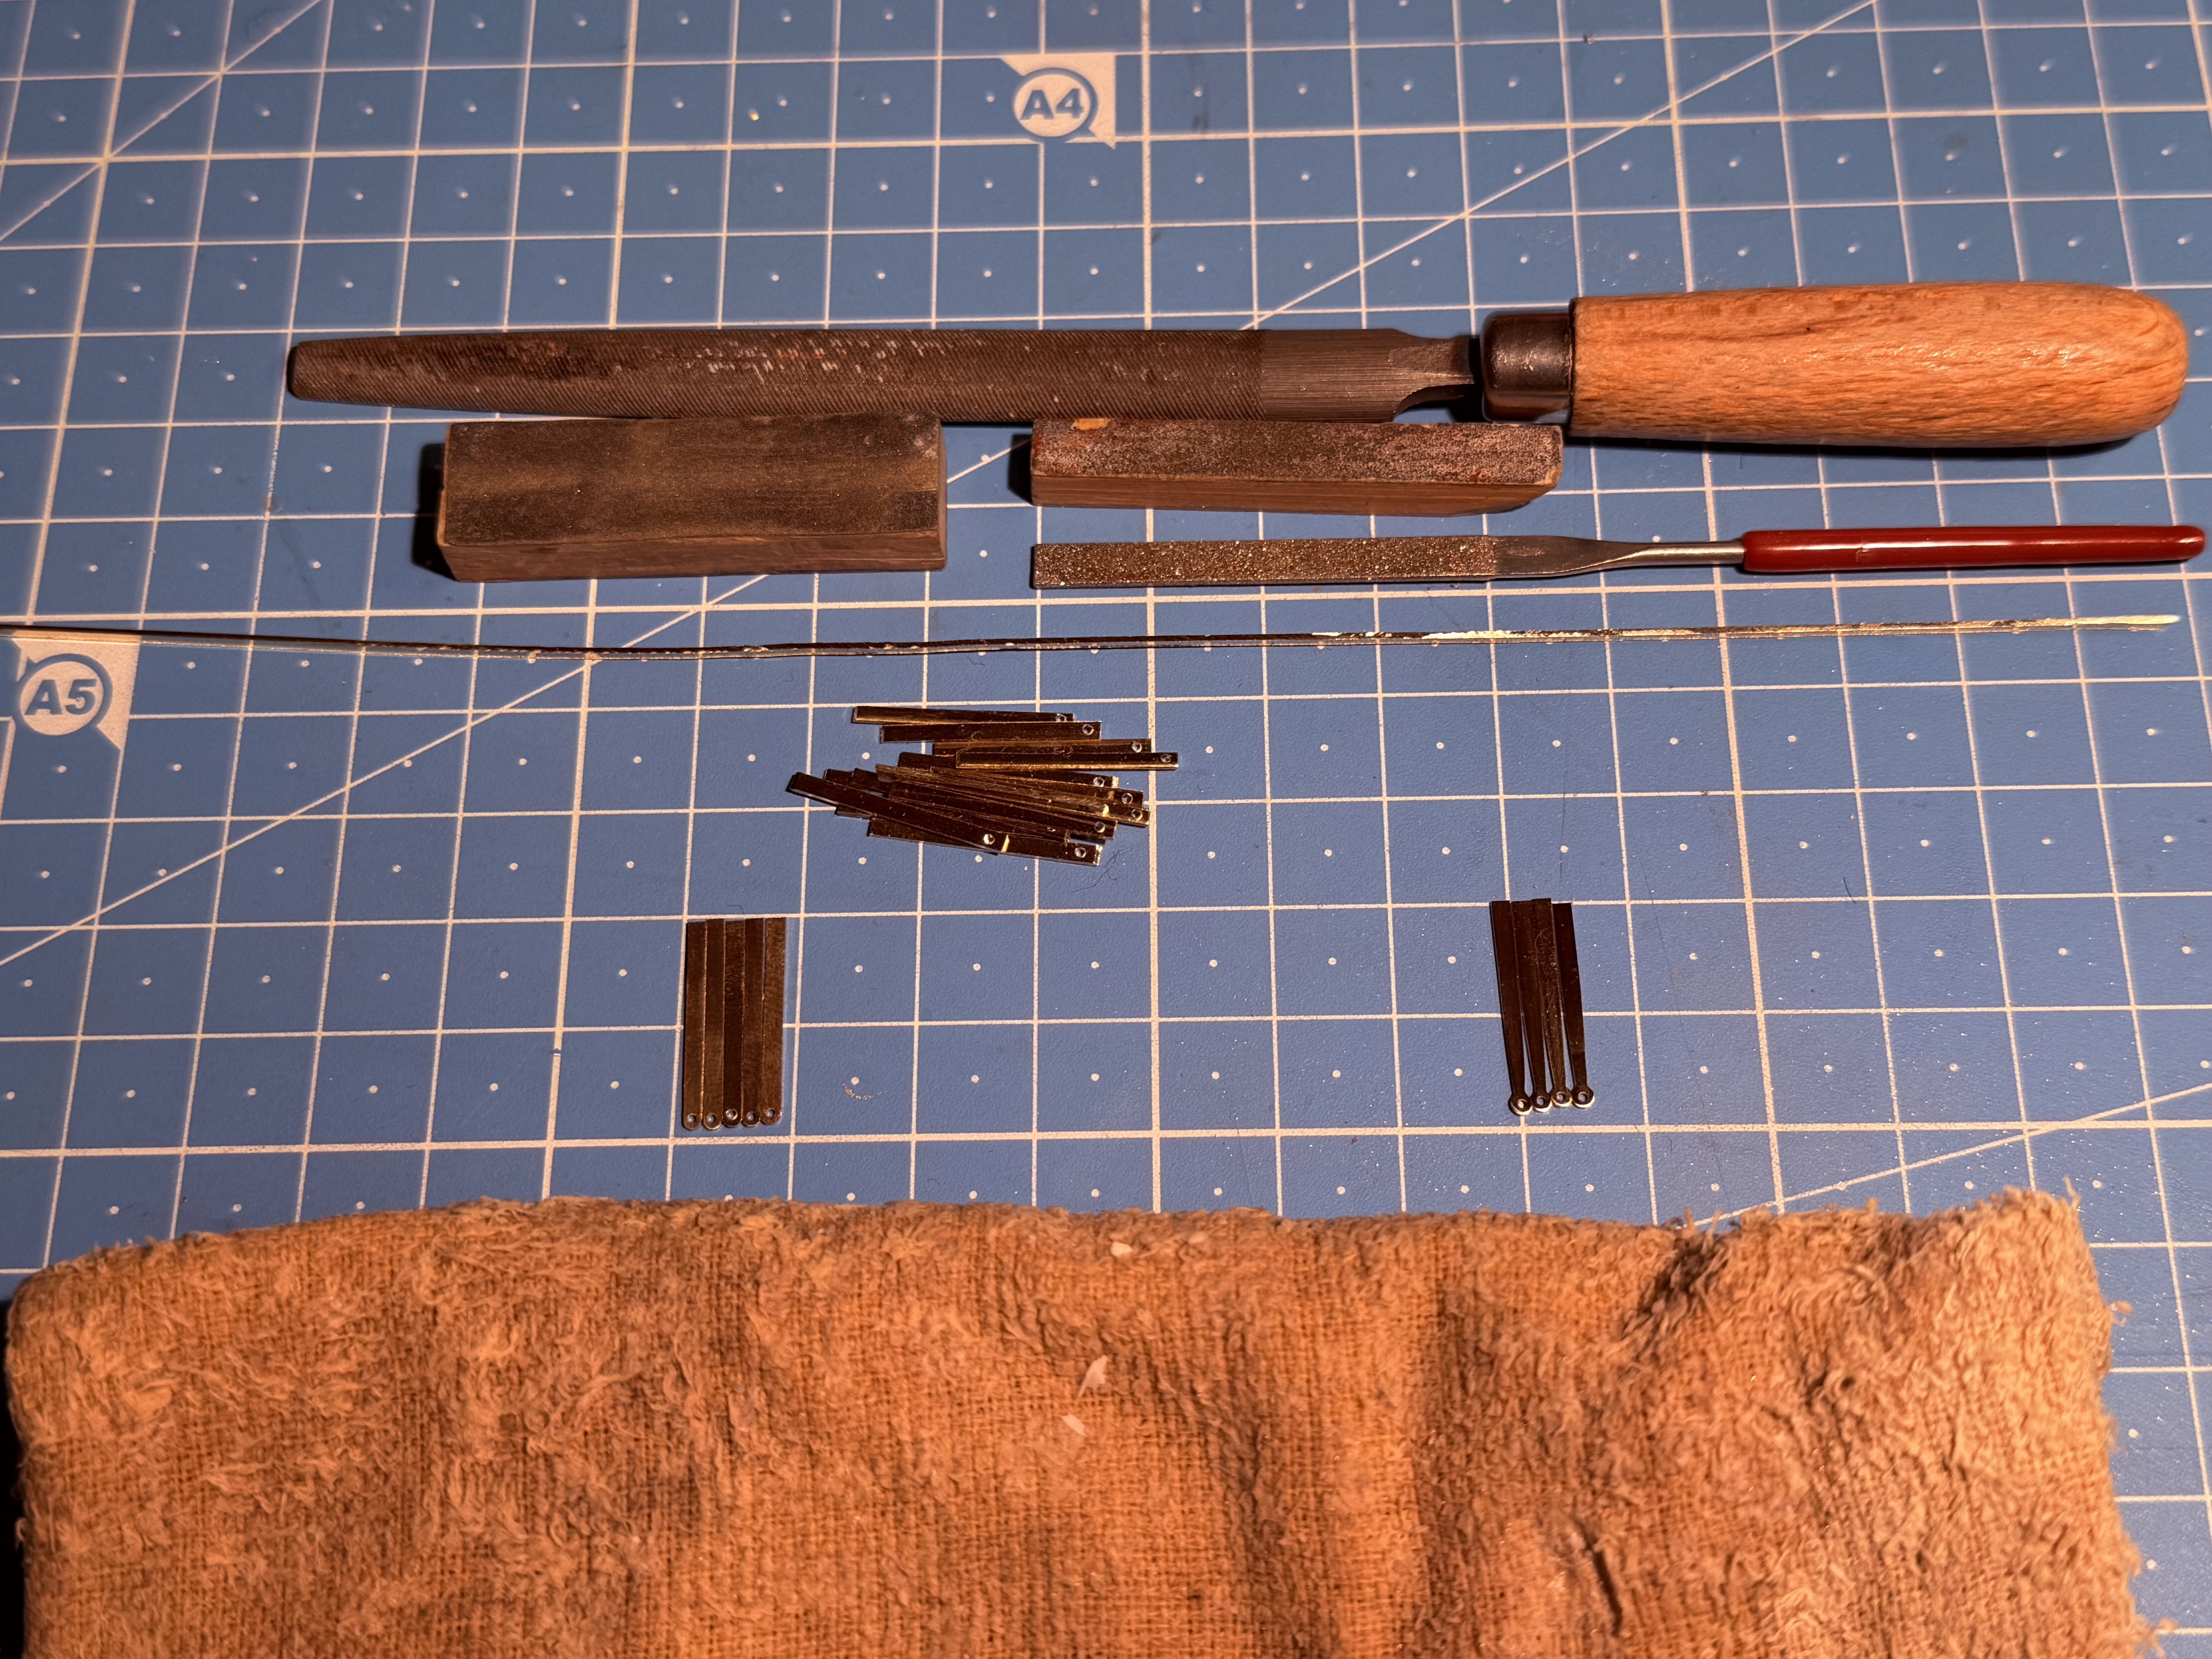
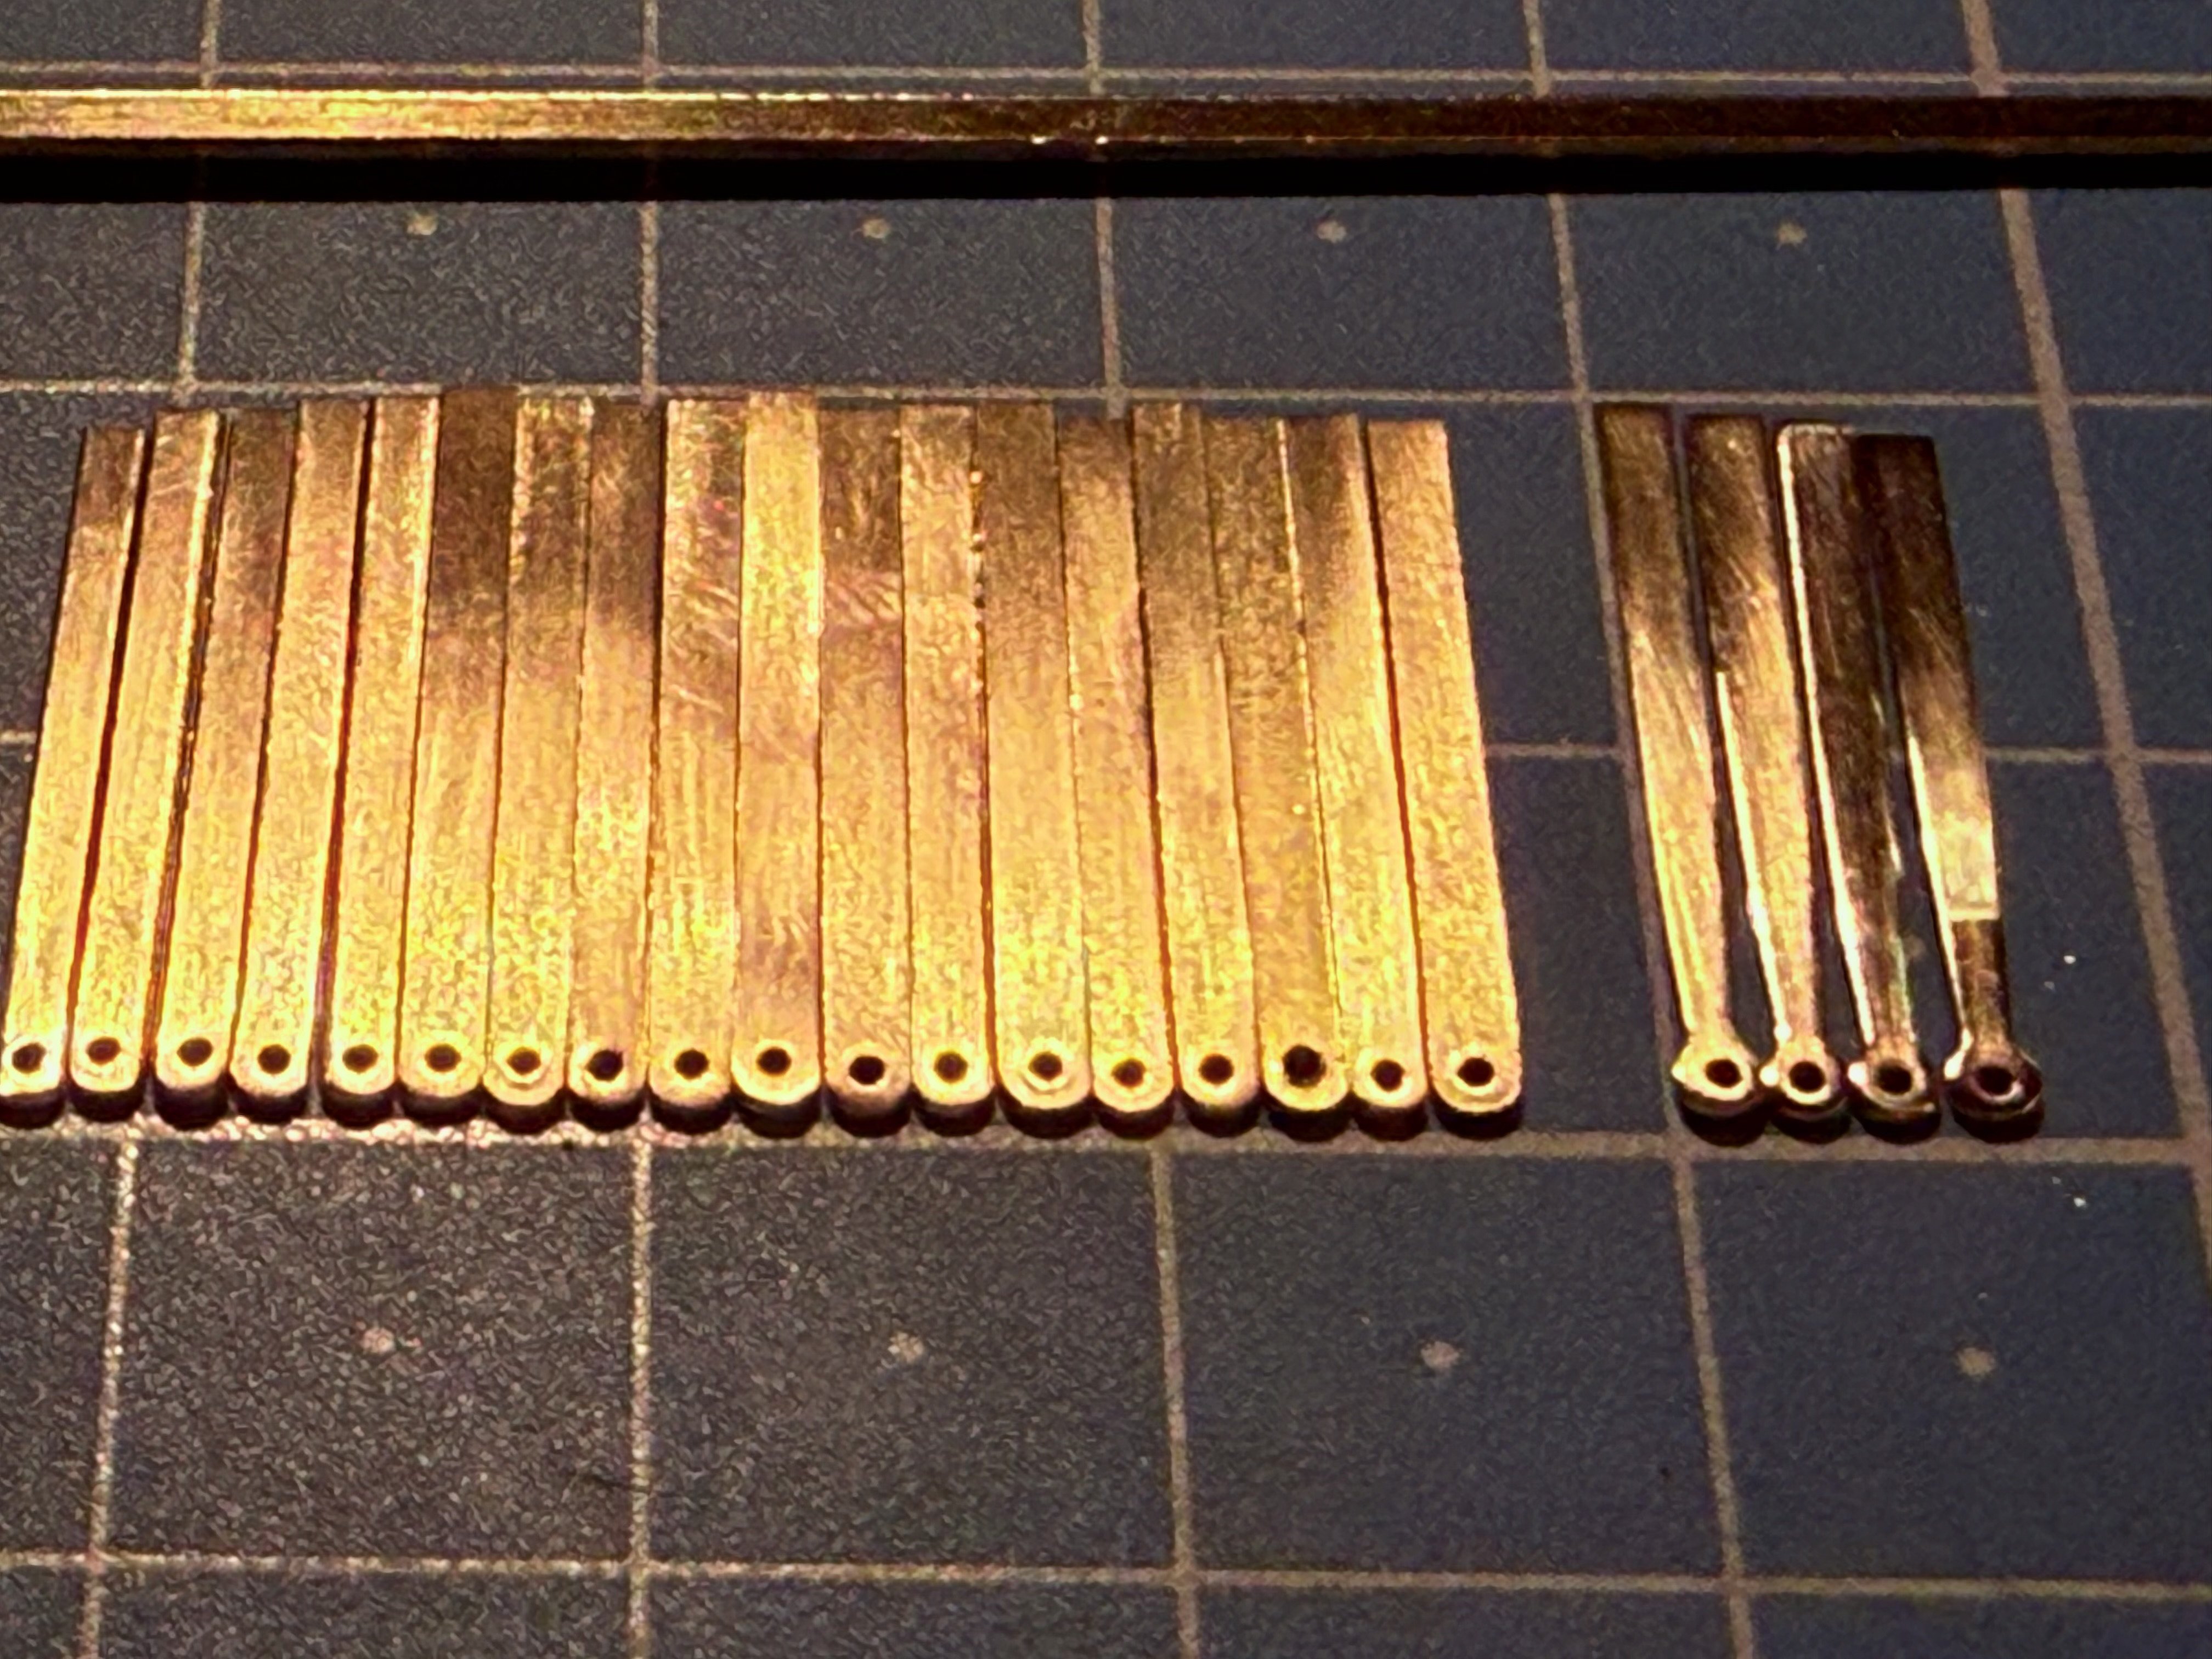
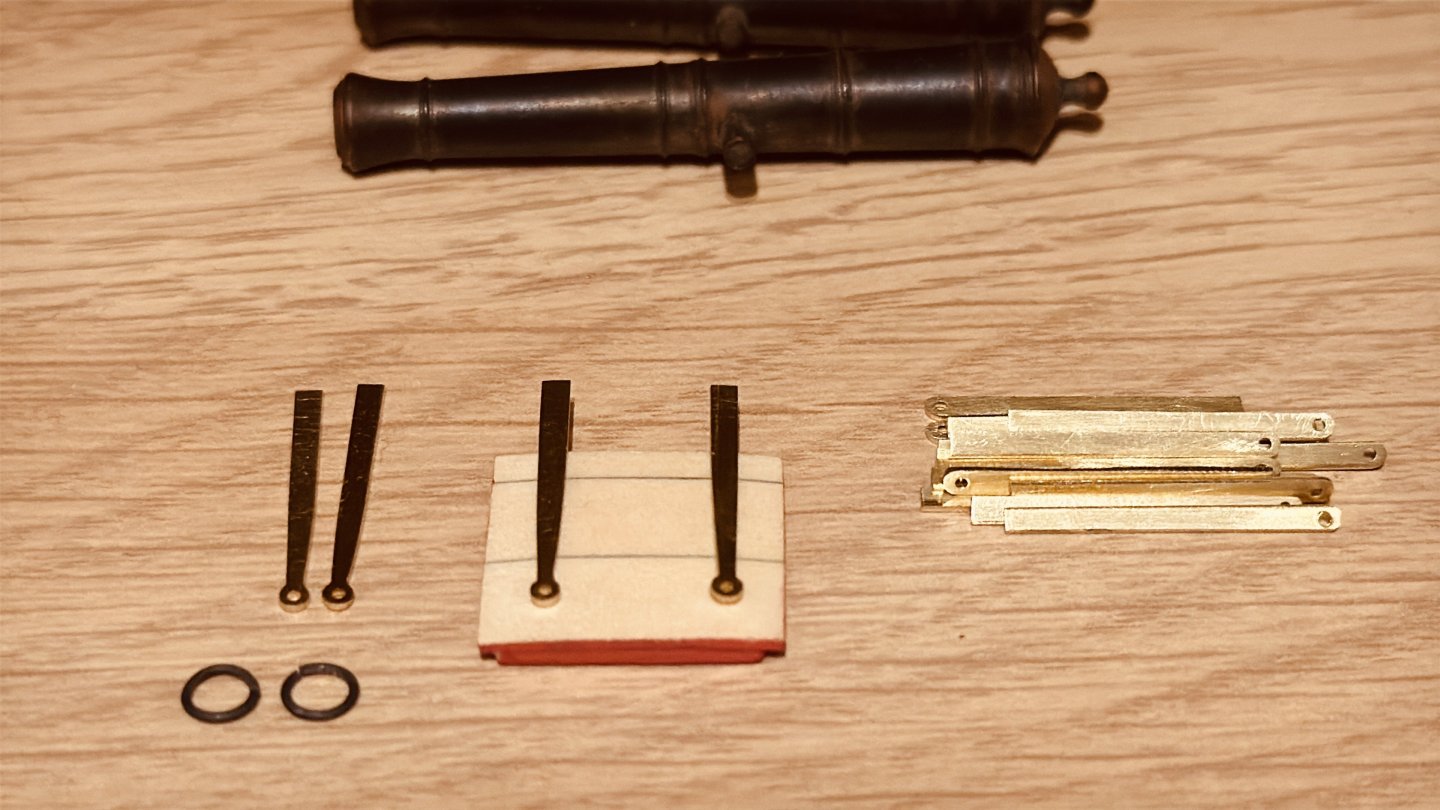
 Learned something new the last days and made my first gun port hinges, eyelids and split rings ever! Thanks for all support and info! Happy Holidays! Frank.


-
That looks like a very thorough, orderly, safe and clean start for sanding and shaping the hull! Good luck, take your time and be patient. Looking forward to seeing your results. Frank.
-
Nice progress Greg and alignment of the gratings and other deck furniture is looking very good! I’m looking forward seeing how your deck planking will turn out! Should be lovely as well I reckon! Merry Christmas! 🎄🍾🥂 Frank.
-
Thanks Chuck and Scrubby! Happy Christmas Everyone!!! 🎄🍾🥂

-
Looking good and very nice progress Steve! Very well done! Frank.
-
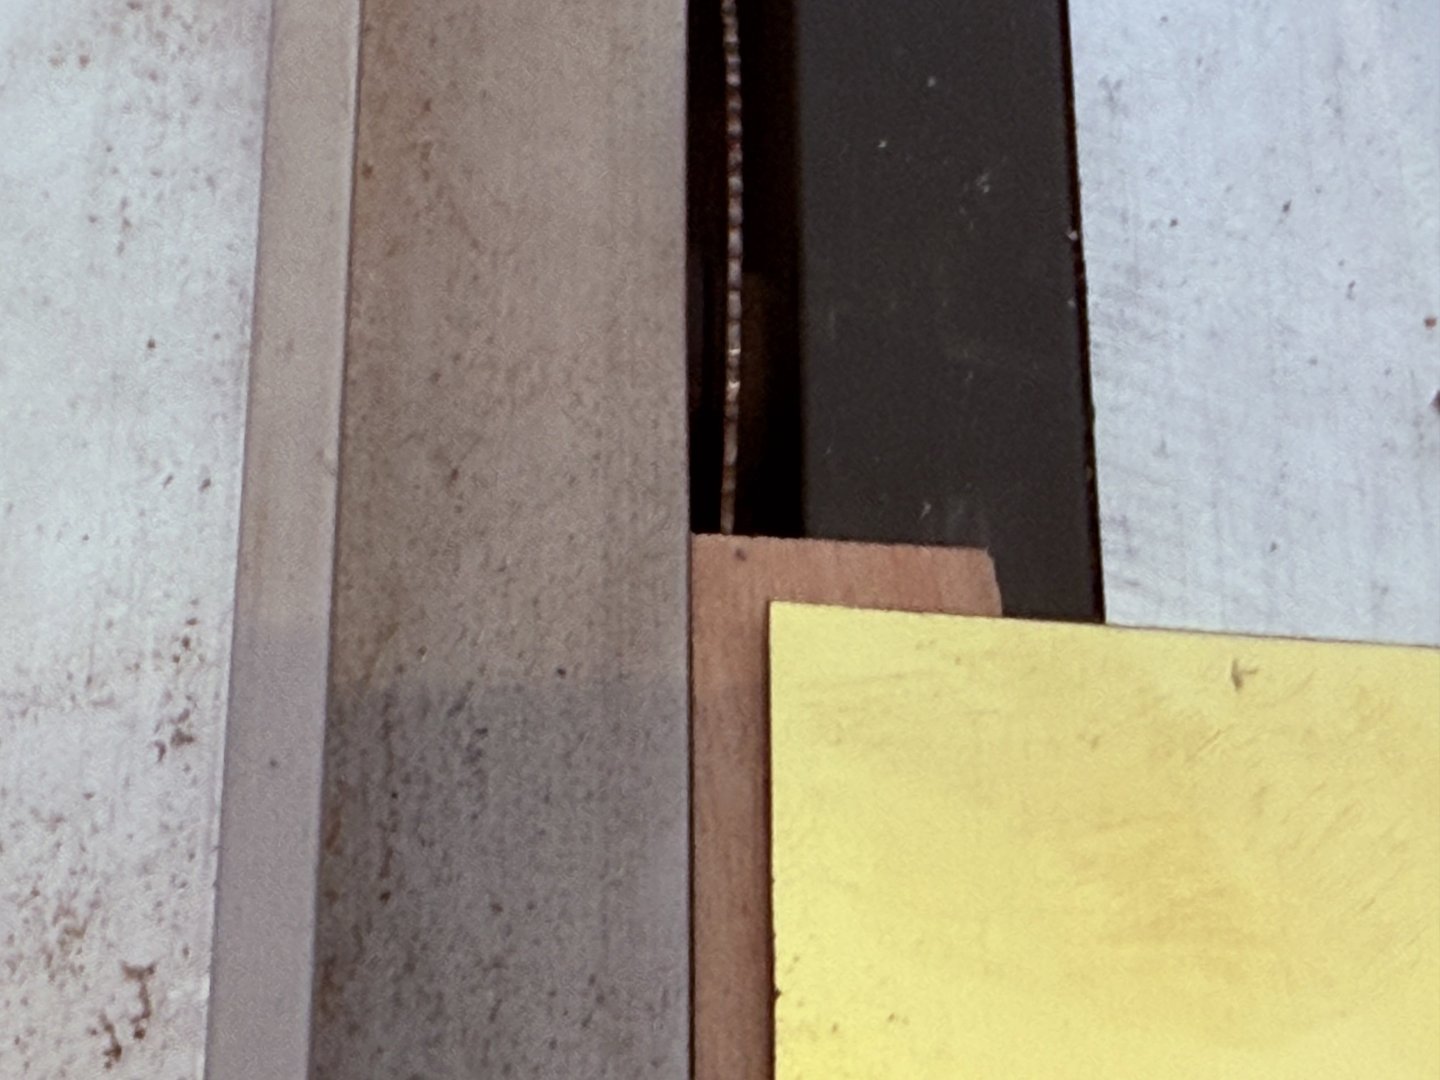
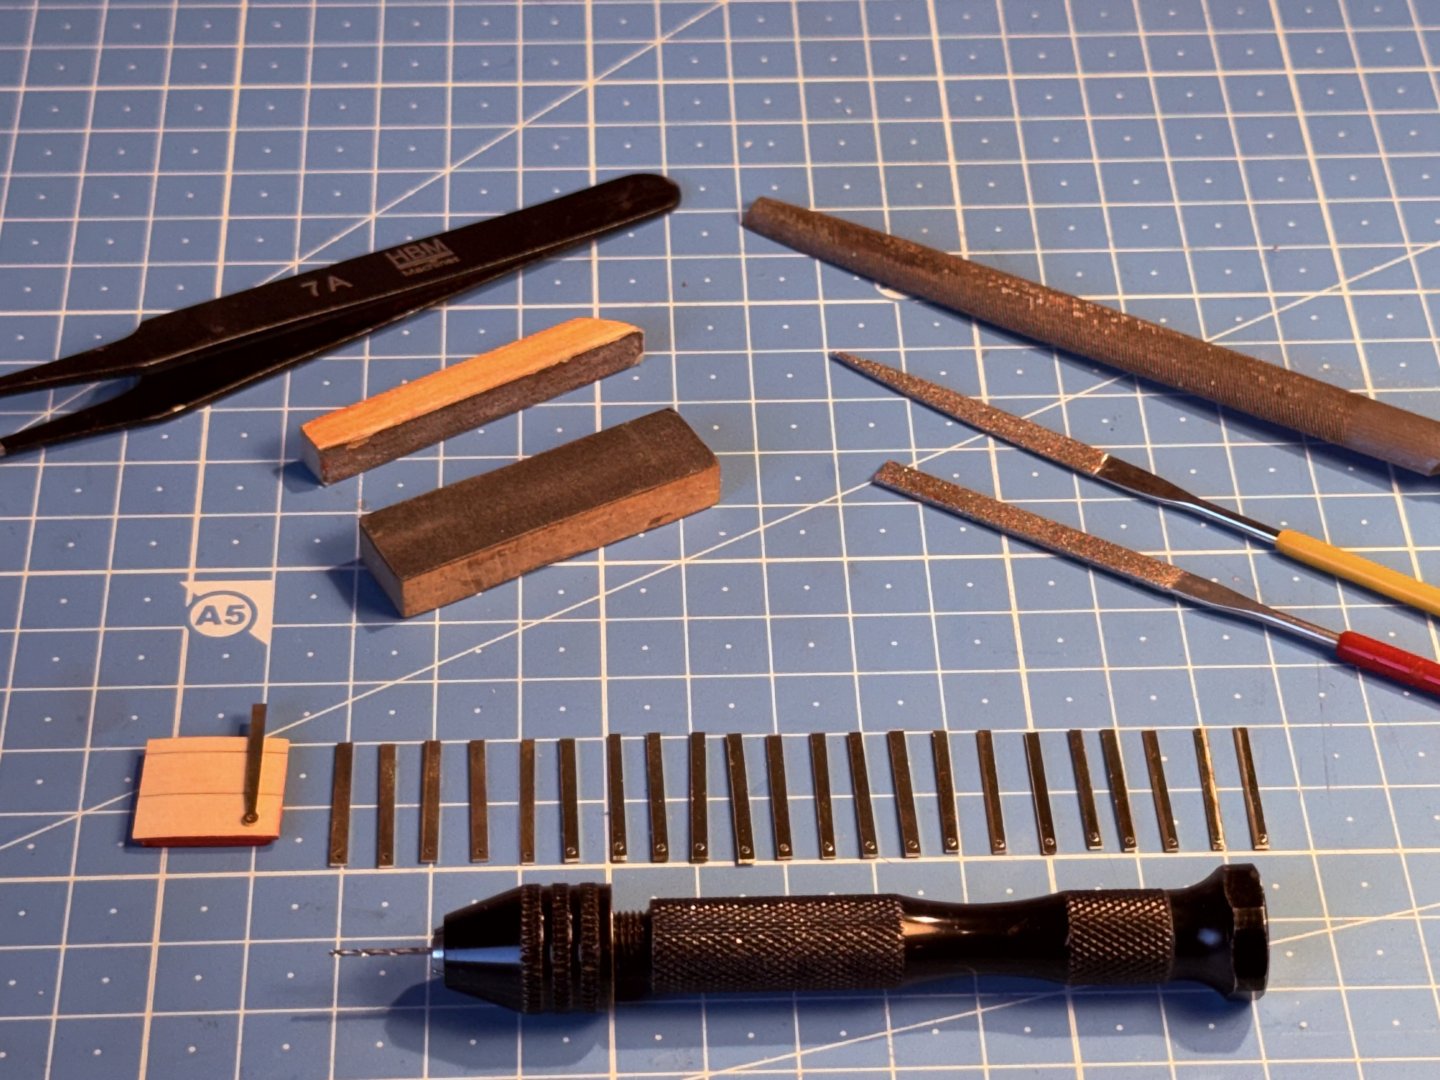
Today I made a start with the hinges for the gun hatches. With a strip of wood under a 20x40cm 0.4mm thick piece of brass it can be cut in strips of 1.6mm wide. Without the wood the brass slams hard under the saw and bends in an ugly way…the scratch piece of wood underneath it prevents that. After that cut the strips in the length of the hinges as found on the plans and reserve 4mm for the curled hinge piece. More tomorrow… Frank.

-
Thanks Glenn, I'll give both a try, can you advice me on the best brand and type you use? Thanks!
-
Thanks Chuck! That was a real quick response! Now I only have to look for such a Japanese saw... or try to use my Dremel motor tool and the tiny and ultrathin Chinese disk sander with which I made my scraper profiles might work as well? Frank.
-
Hi, I need help. I have two questions: 1: It's not explained how to make the eyebolts that are drilled into the lid through the lid hinges' hole. Is there a tutorial how to make these and how big should they be made with the 28 gauge wire? Is it just a ring that let's the 24 gauge wire split ring go through with a little pin on it to be glued in the drilled hole in the port lid? 2: Where can I buy this Japanese saw like the one Chuck uses to saw his split rings that go on the cannon port lids? Thanks, Frank.
-
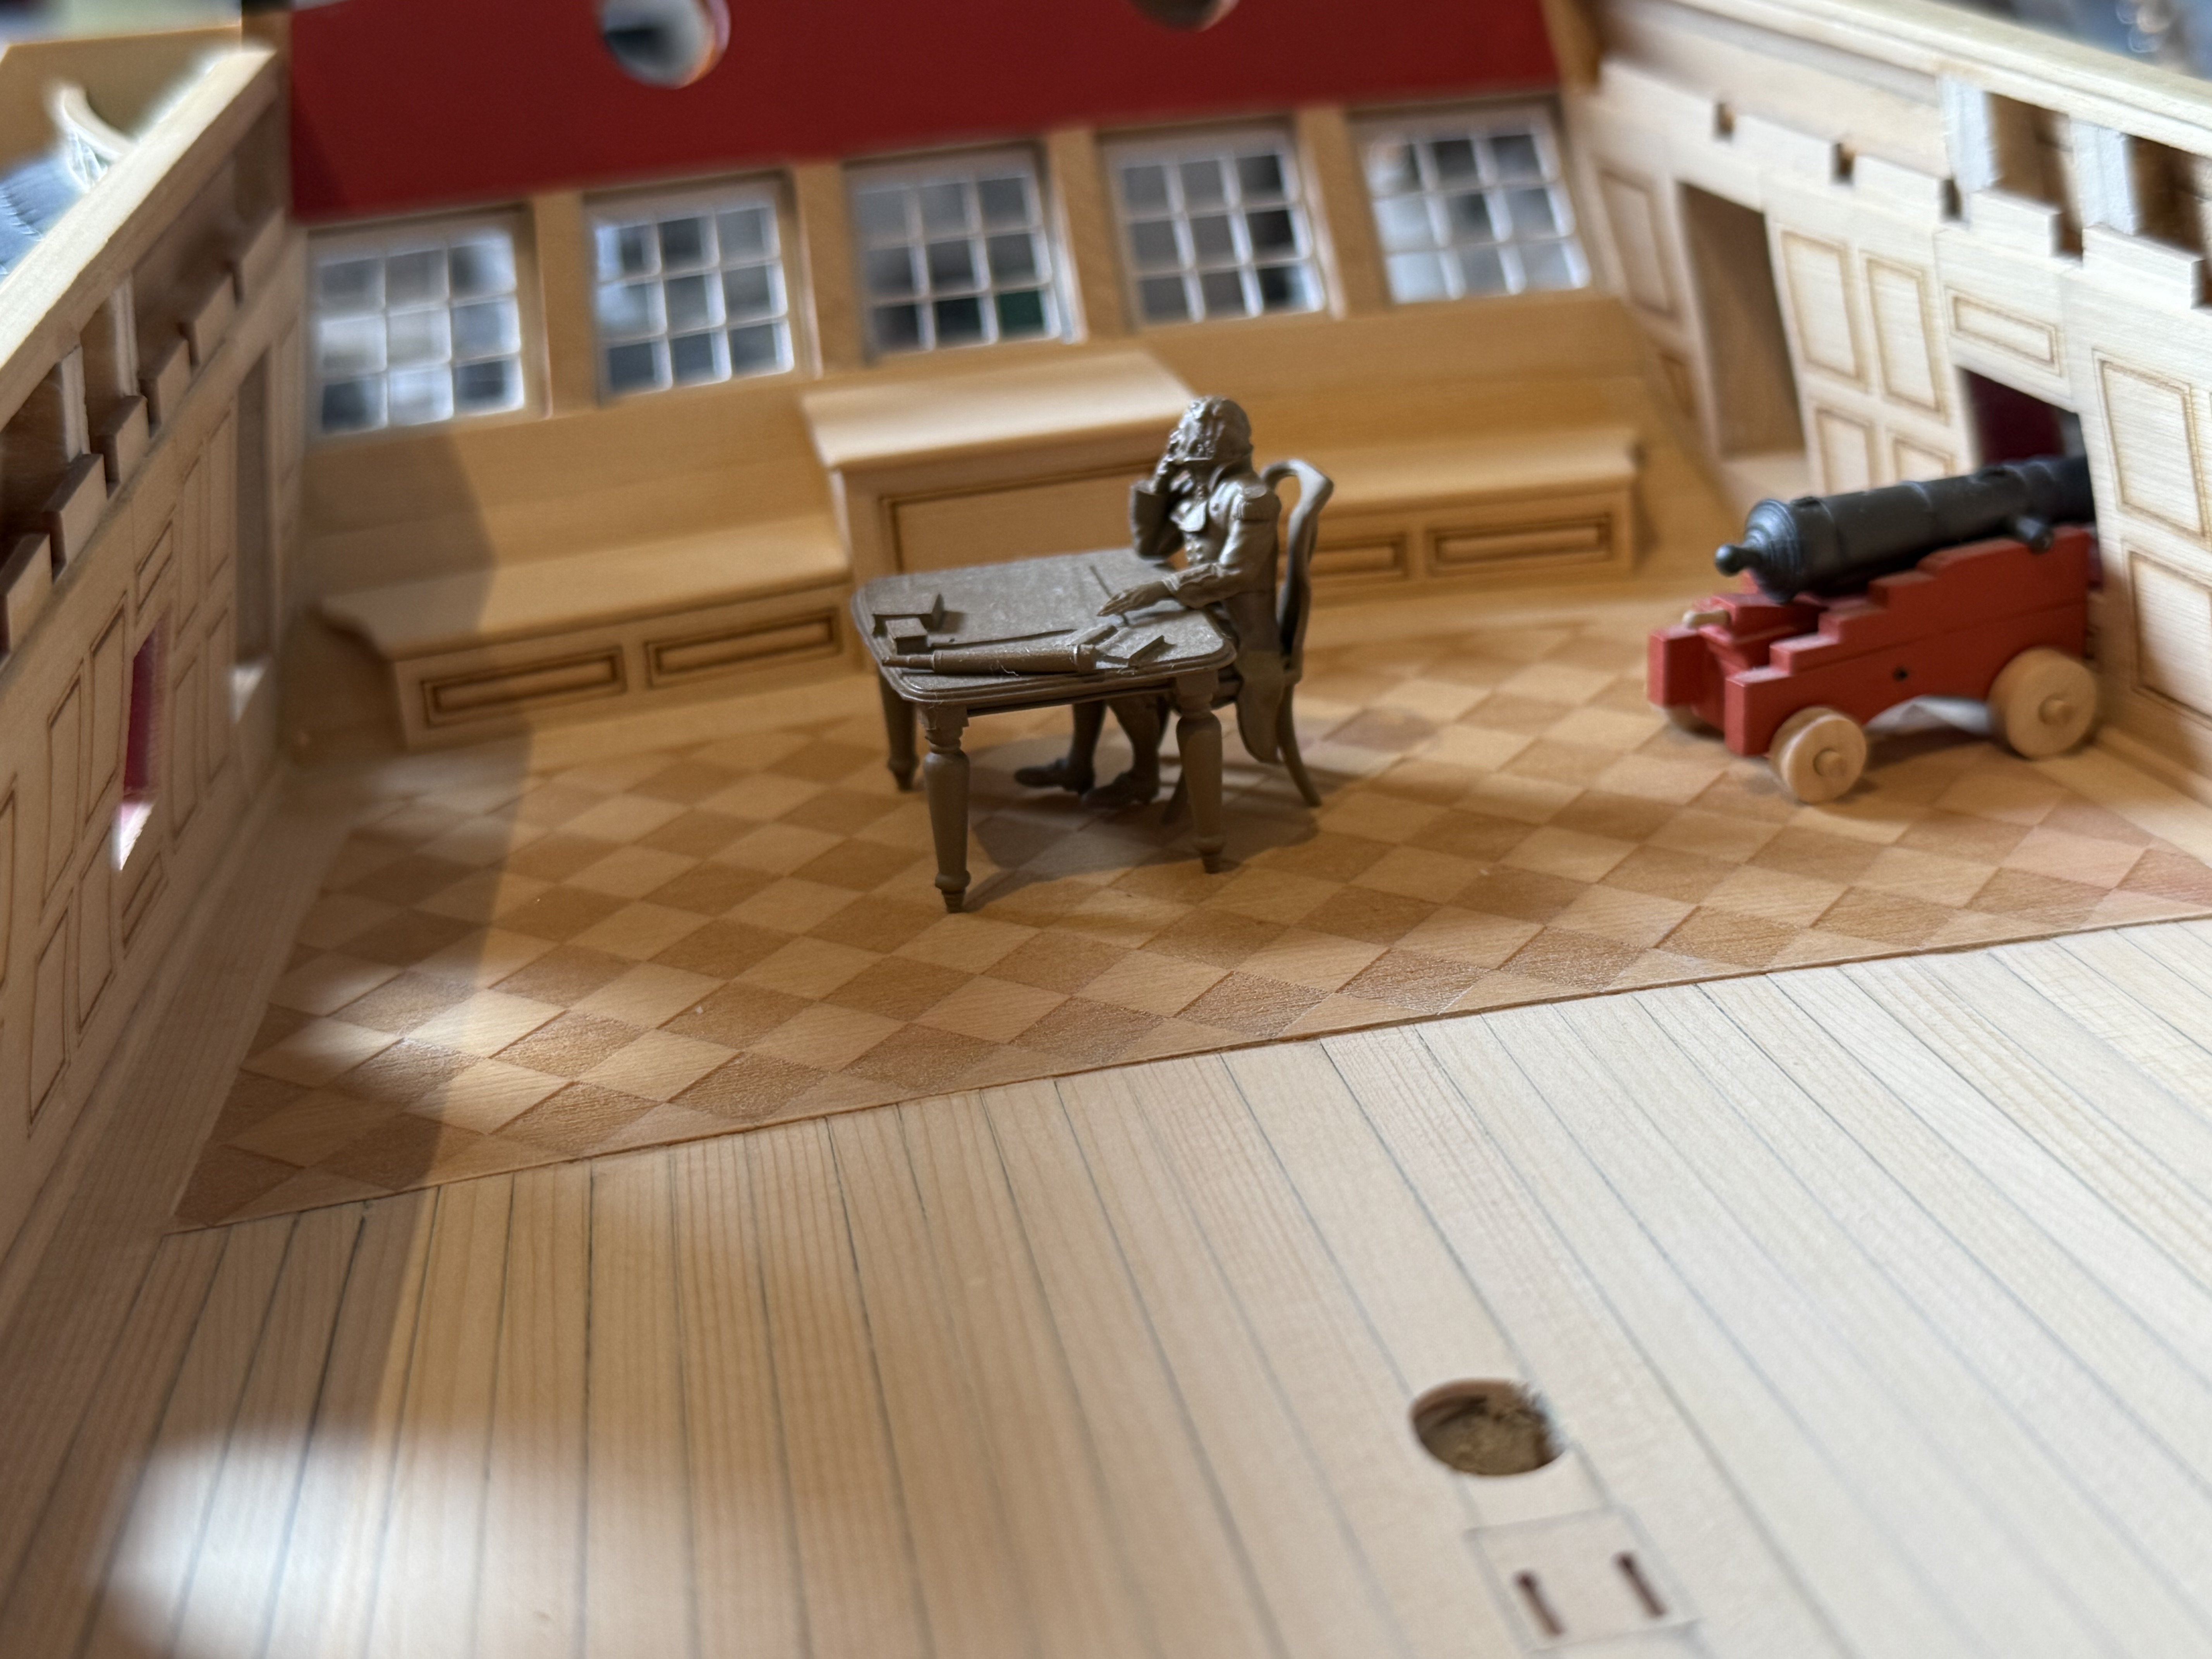
Thanks! I bought them at Chris Watton’s webstore Vanguard Models. Though I don’t see these figures and table anymore…maybe and hopefully temporary out of stock… https://vanguardmodels.co.uk/collections/figures Frank.
-
You’re making good progress Greg! Keep up the good work. you Winnie is coming together lovely! FrankZ
-
That’s some real nice and lovely progress Steve! I love your scraped fancy moldings, they’re formed beautifully and are very crisp and clean! Also you mixed the exact right teint of greenish blue paint on the transom matching the prints! Superb! Very well done and a treat for one’s eye. Frank.
-
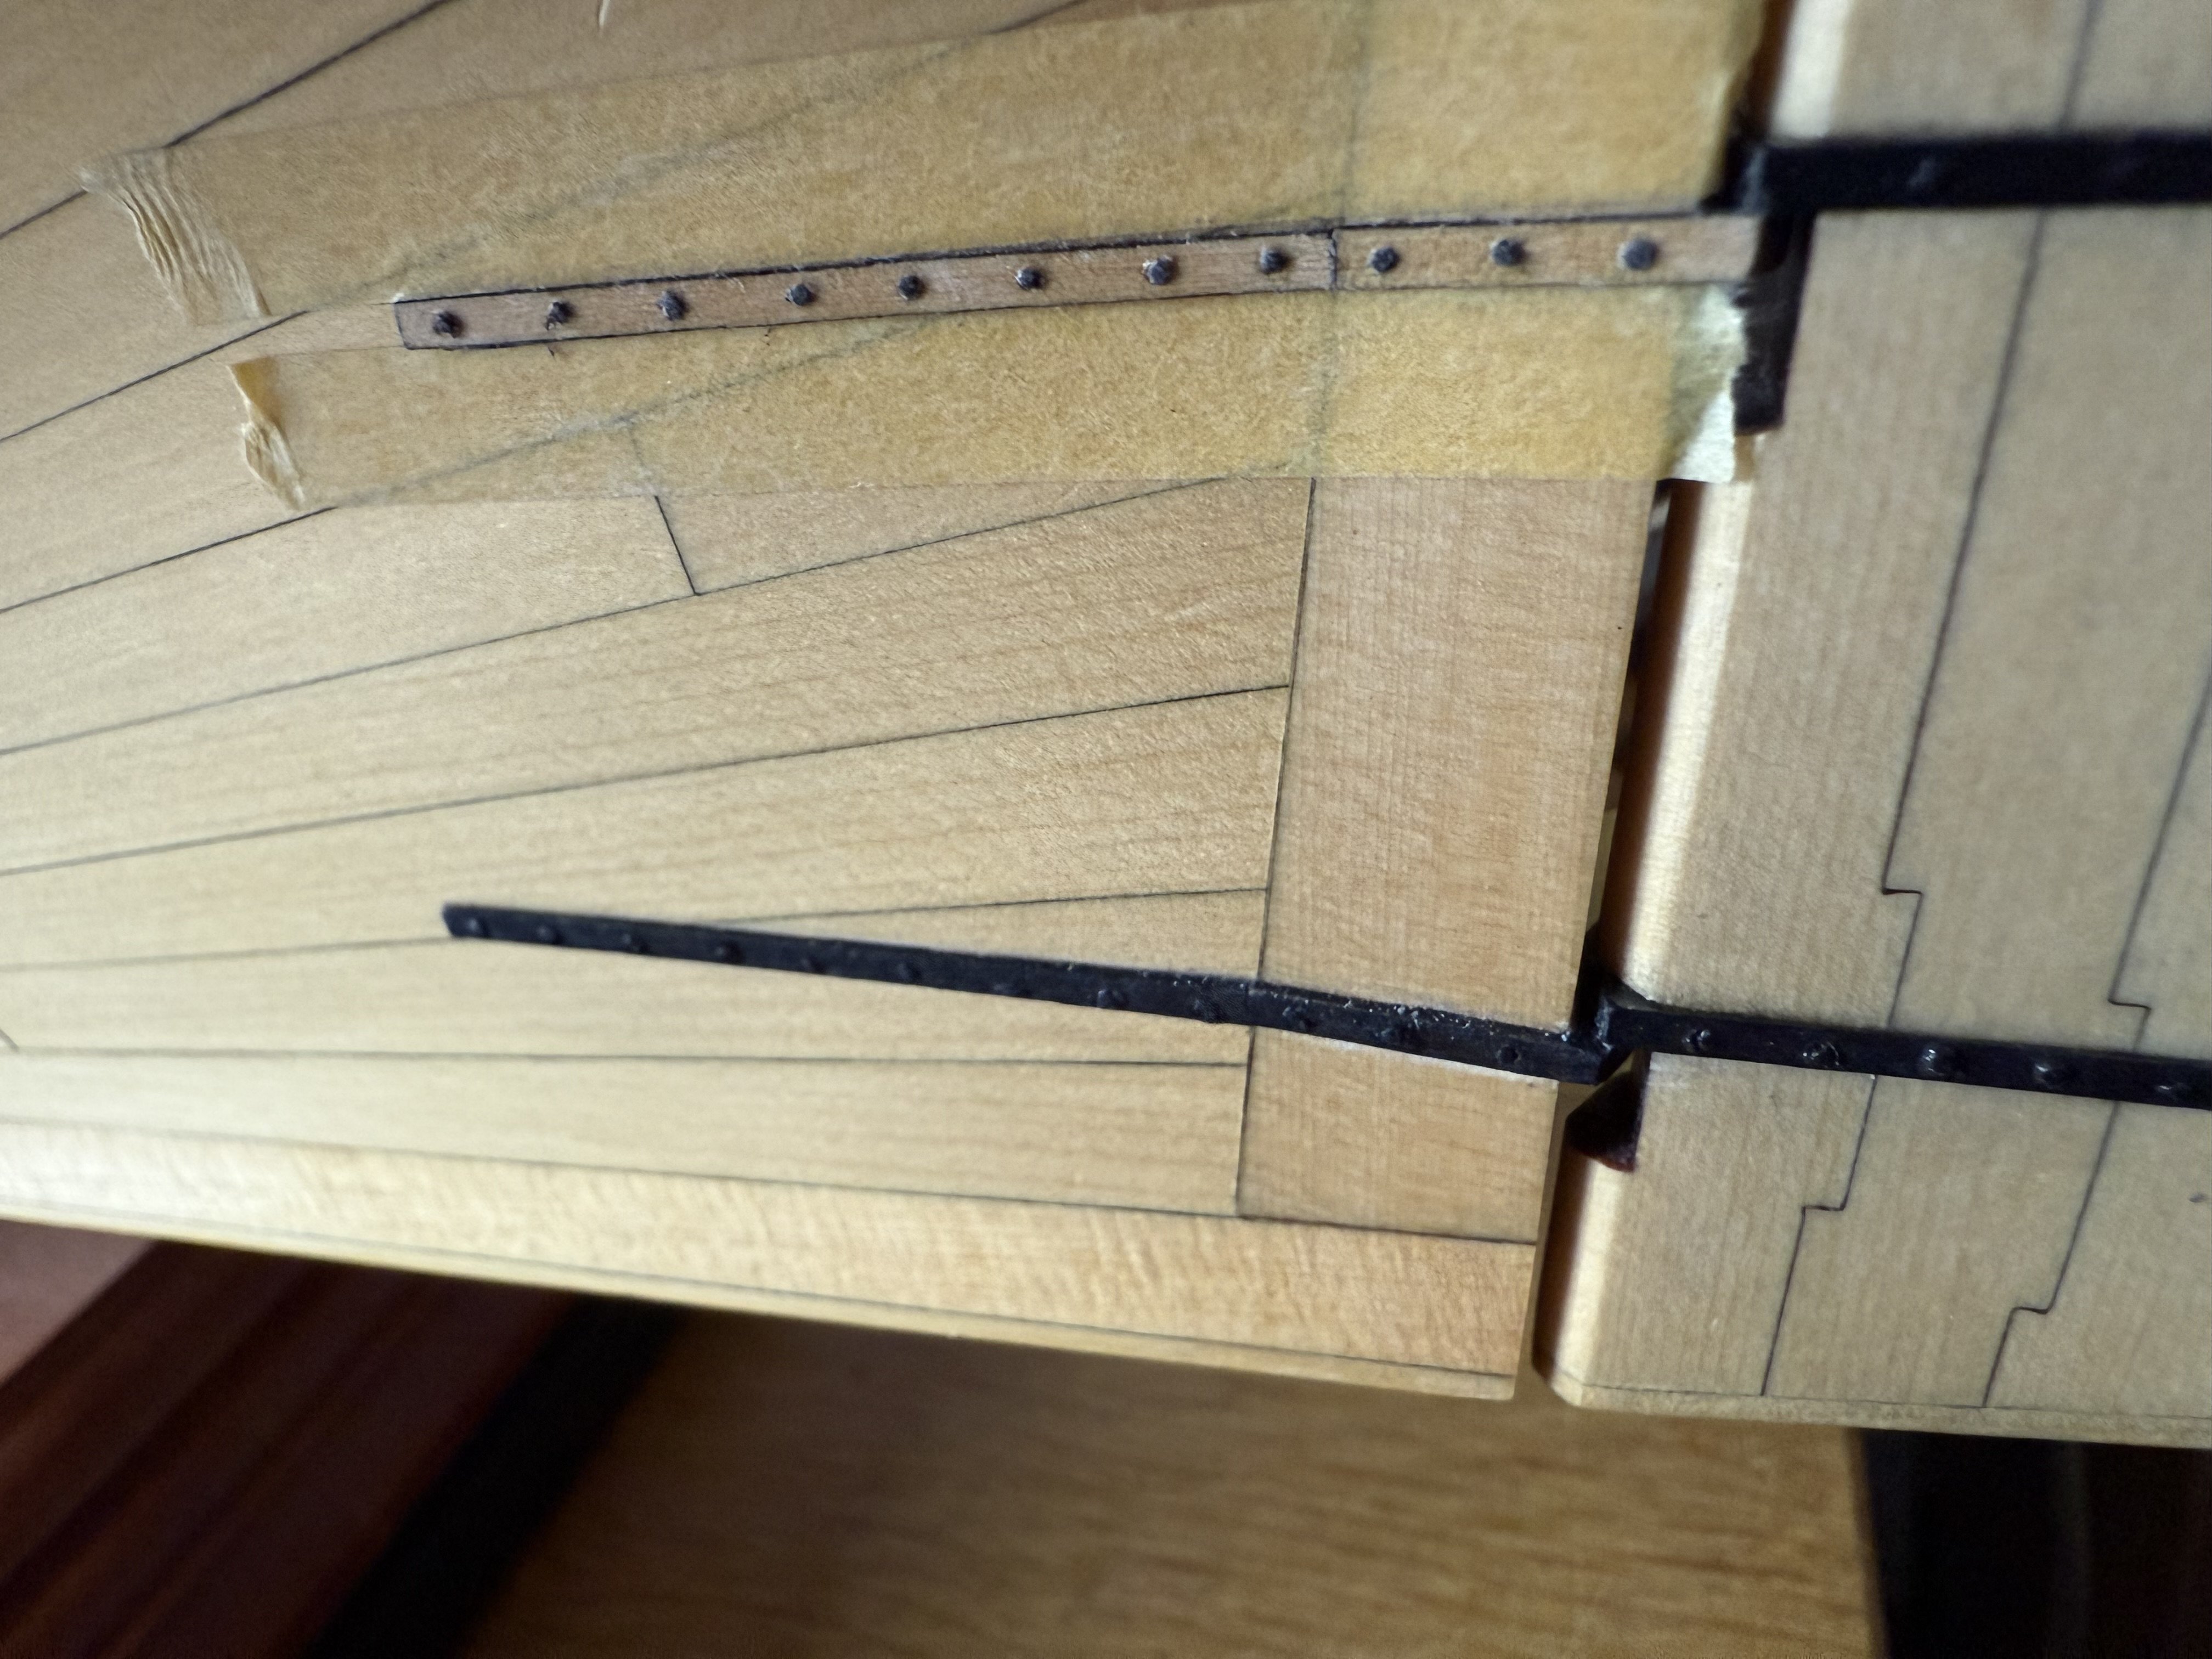
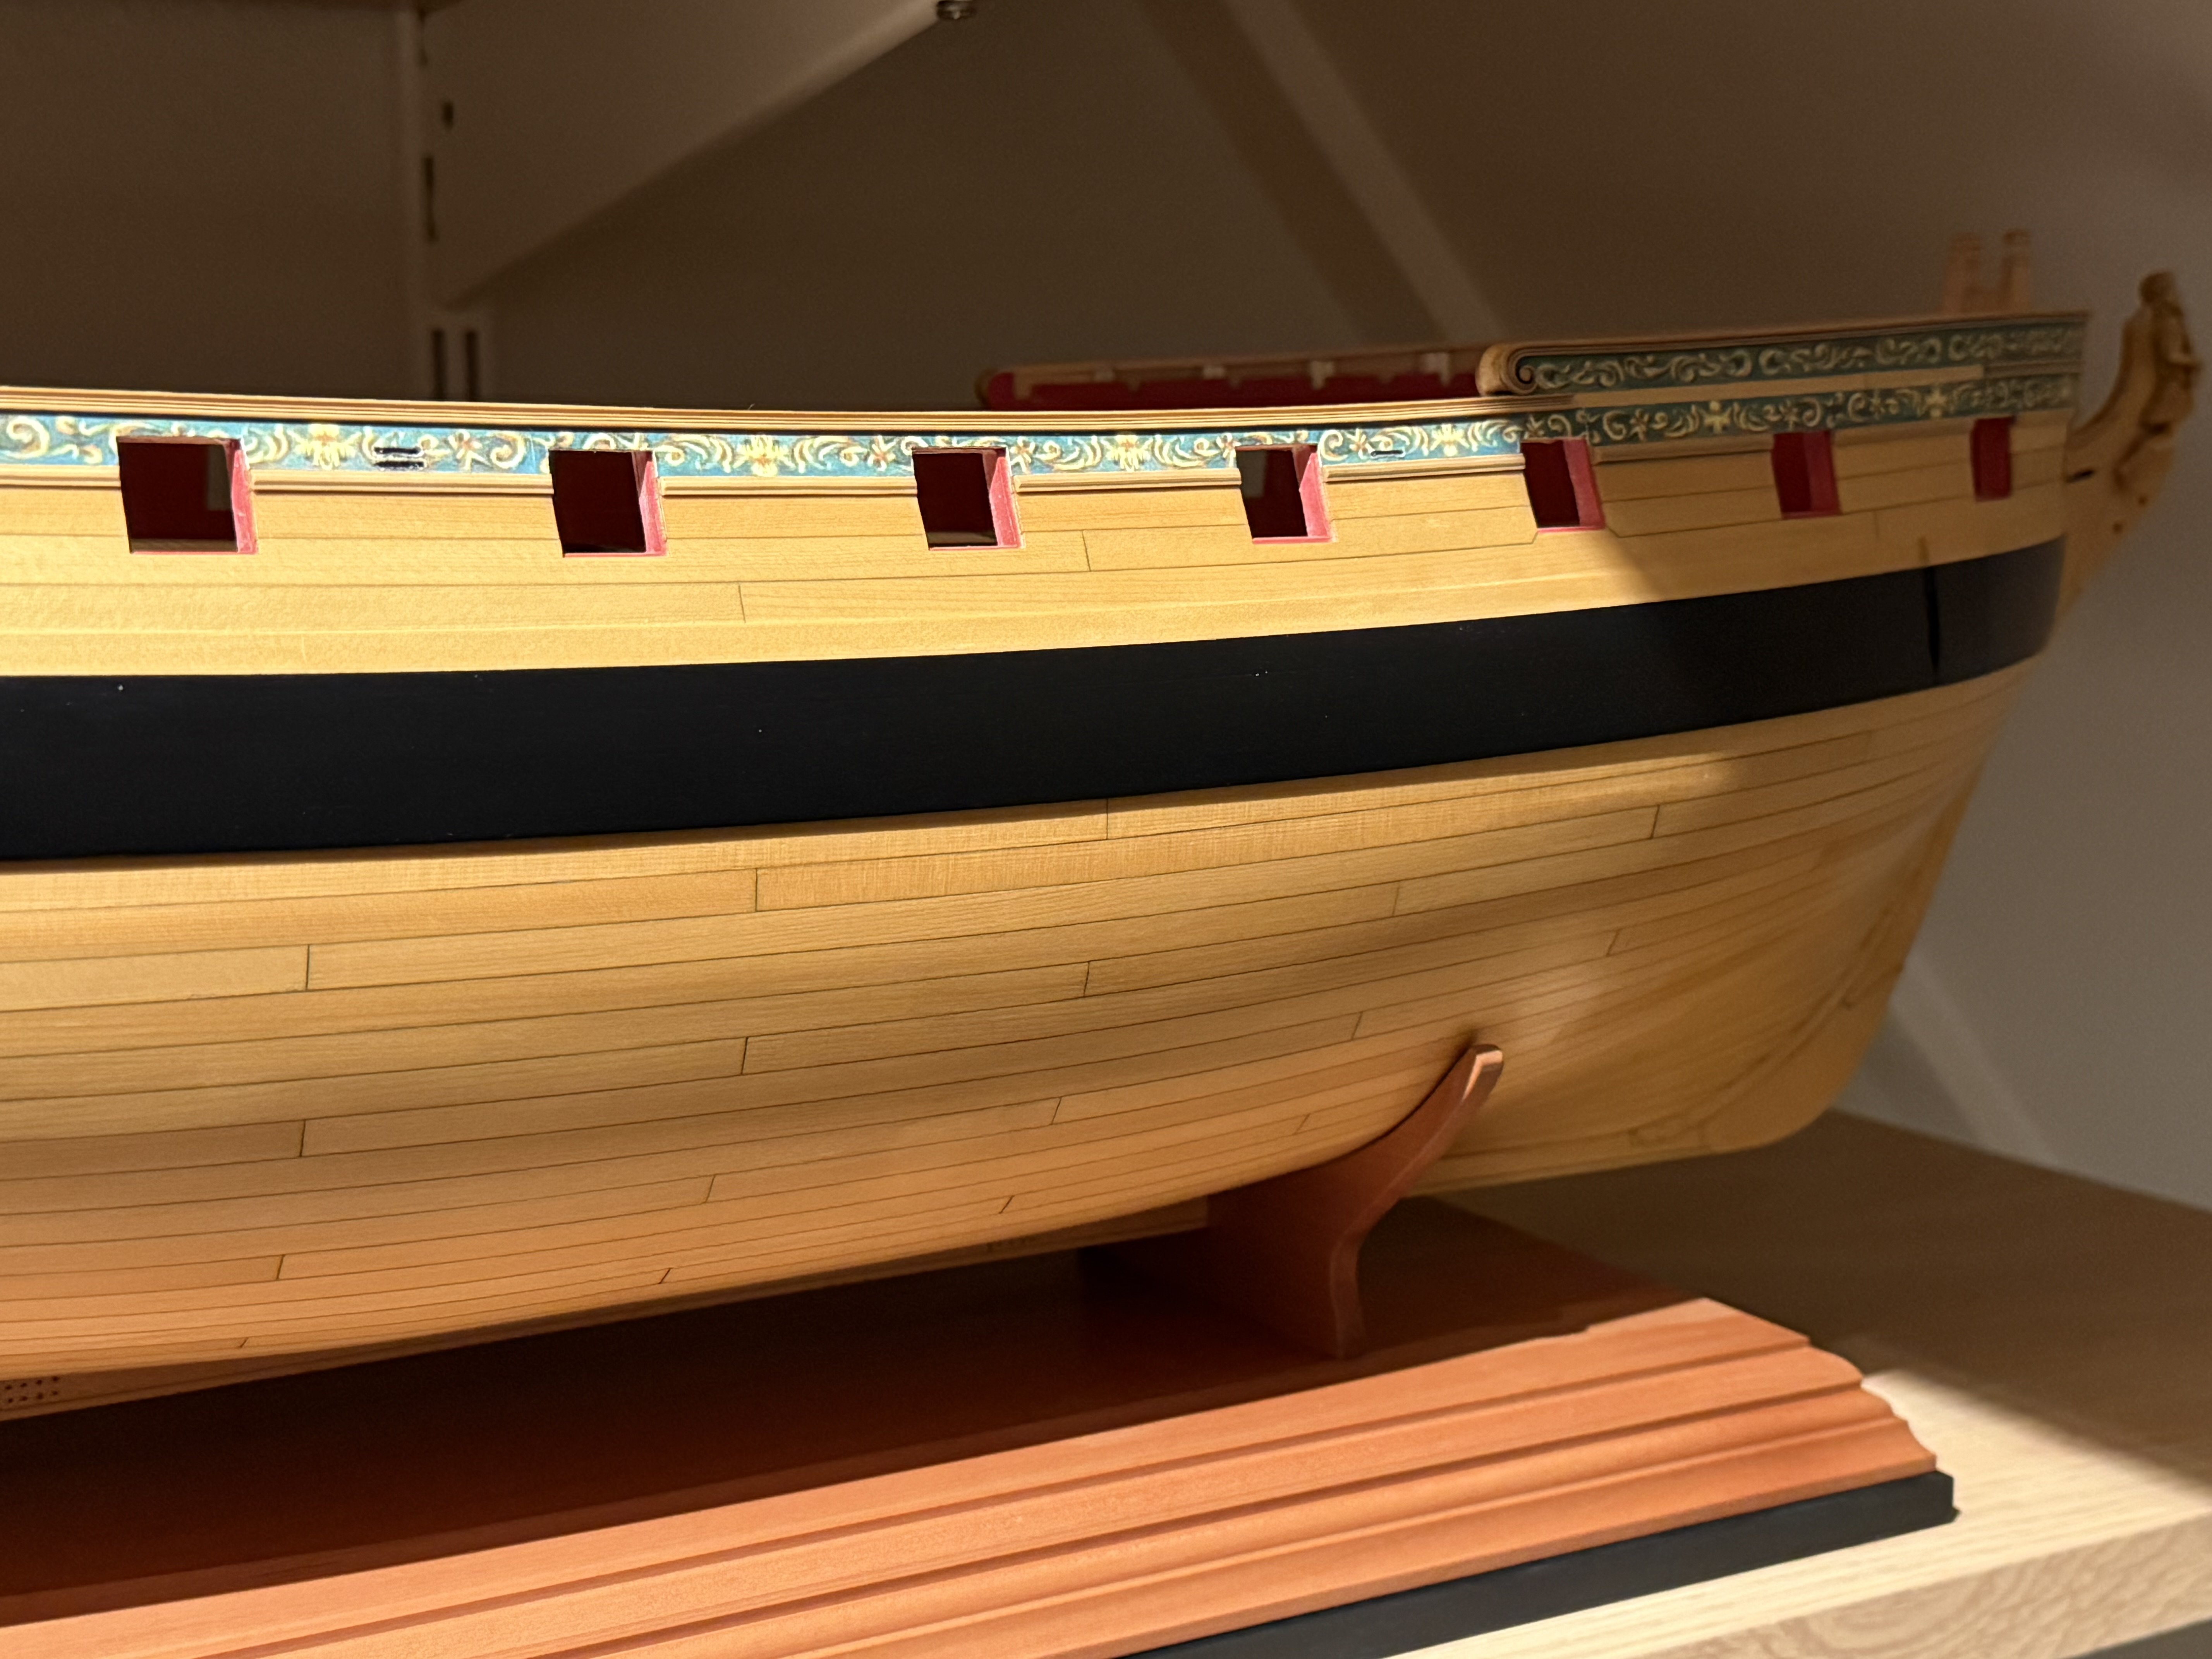
Thanks Ronald, Steve and the likes, Just finished fitting the first four port lids. It’s 20:00u in Holland, so I call it a day now. Frank.

-
Thank you Steve, Yes I’m afraid I have that detail, fit & finish syndrome which slows me down a lot, but only then gives me full satisfaction. Lots of techniques and detail also is new to me, so I’m also very careful not to ruin Chuck’s lovely parts. Today, Sunday, I have some time to make some progress in chapter 5 again. I’m now at making the port lids fit… Frank.


-
Very impressive and beautiful work.... Frank.
-
Lovely work and dito pictures! Some with the light from above make me feel like being on a frigate in the West-Indies in the 18th century... Frank.
-
Lovely work! Thanks for your update. Frank.
-
Congratulations on finishing your planking job! Very nicely done, you've done a great job! Frank.
-
Looking very good woodartist! Nice and steady progress also. Thanks for your update. Frank,
-
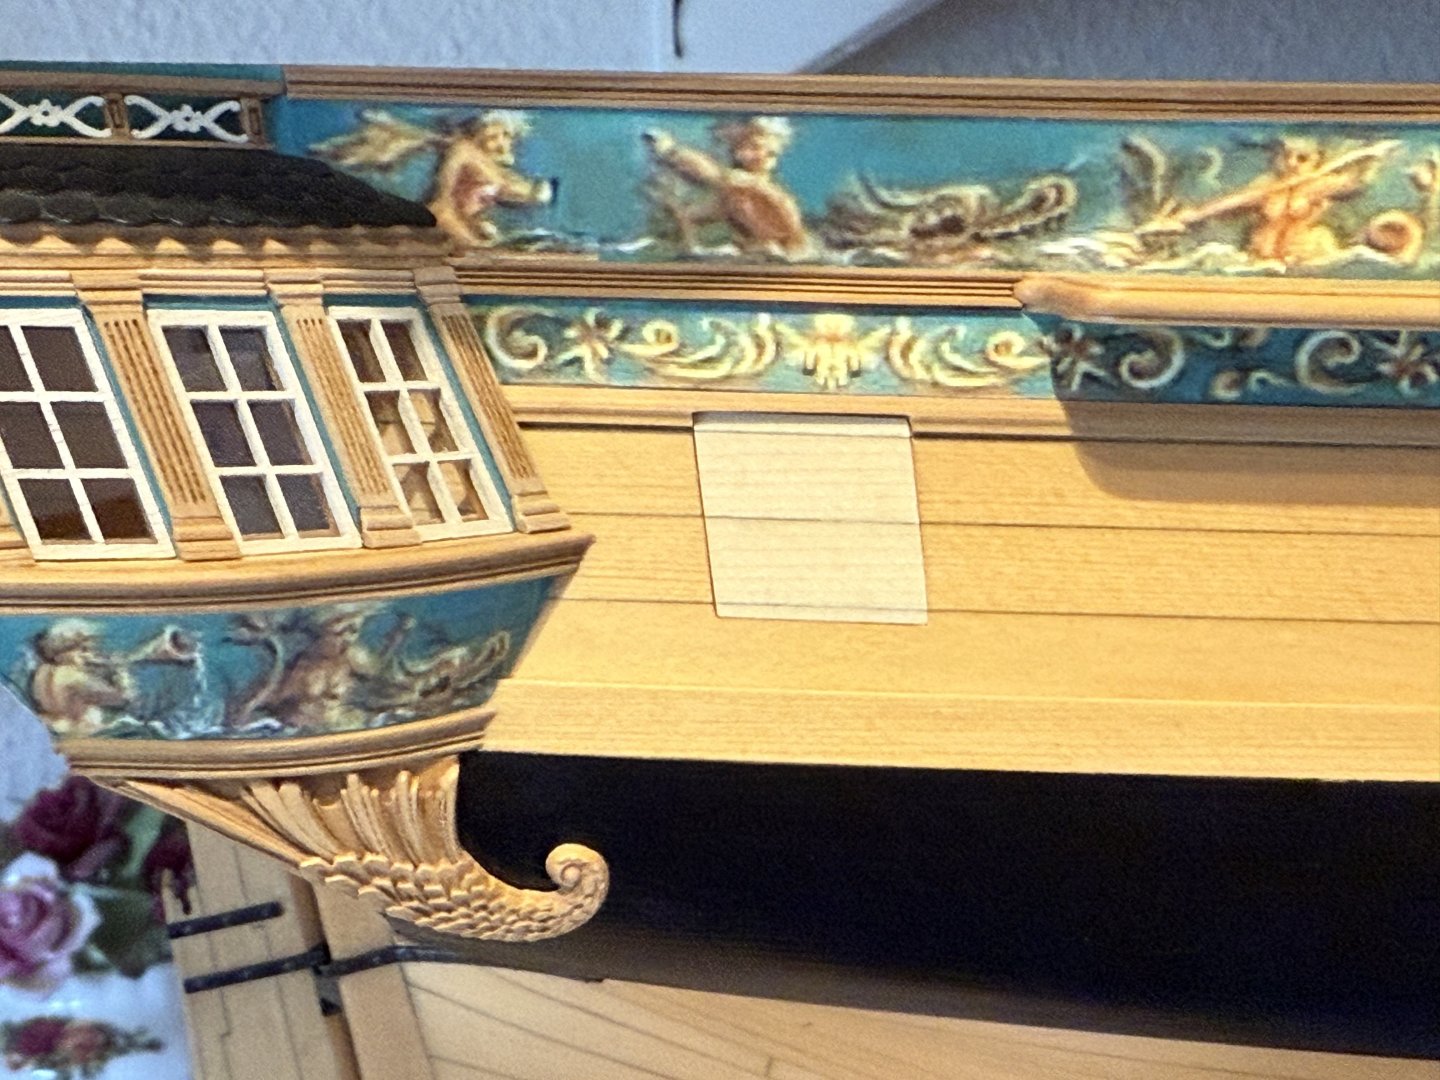
Beautiful work Ronald! Your pear planking is not only near perfect, but also very warm and beautiful to the eye! I'm curious if you're going to paint the freezes or use the etched metal? I'm thinking of painting my freezes on Winchelsea too, but haven't got the nerves to do so till now... Ofcourse I could use the printed papers as a template and glue them on later when they're allright, but then I'll have two layers of paper, or I will have to remove the existing freezes. You could paint the freeze white over blue, spray or paint the bleu again using the etched metal as a template and then fill in the left behind white 'negative' forms with darkened (with brown?) yellow ochre, yellow ochre and lightened yellow ochre (with white?)? Frank.
-
Thanks Steve, yes that’s exactly my intention! Frank.
-
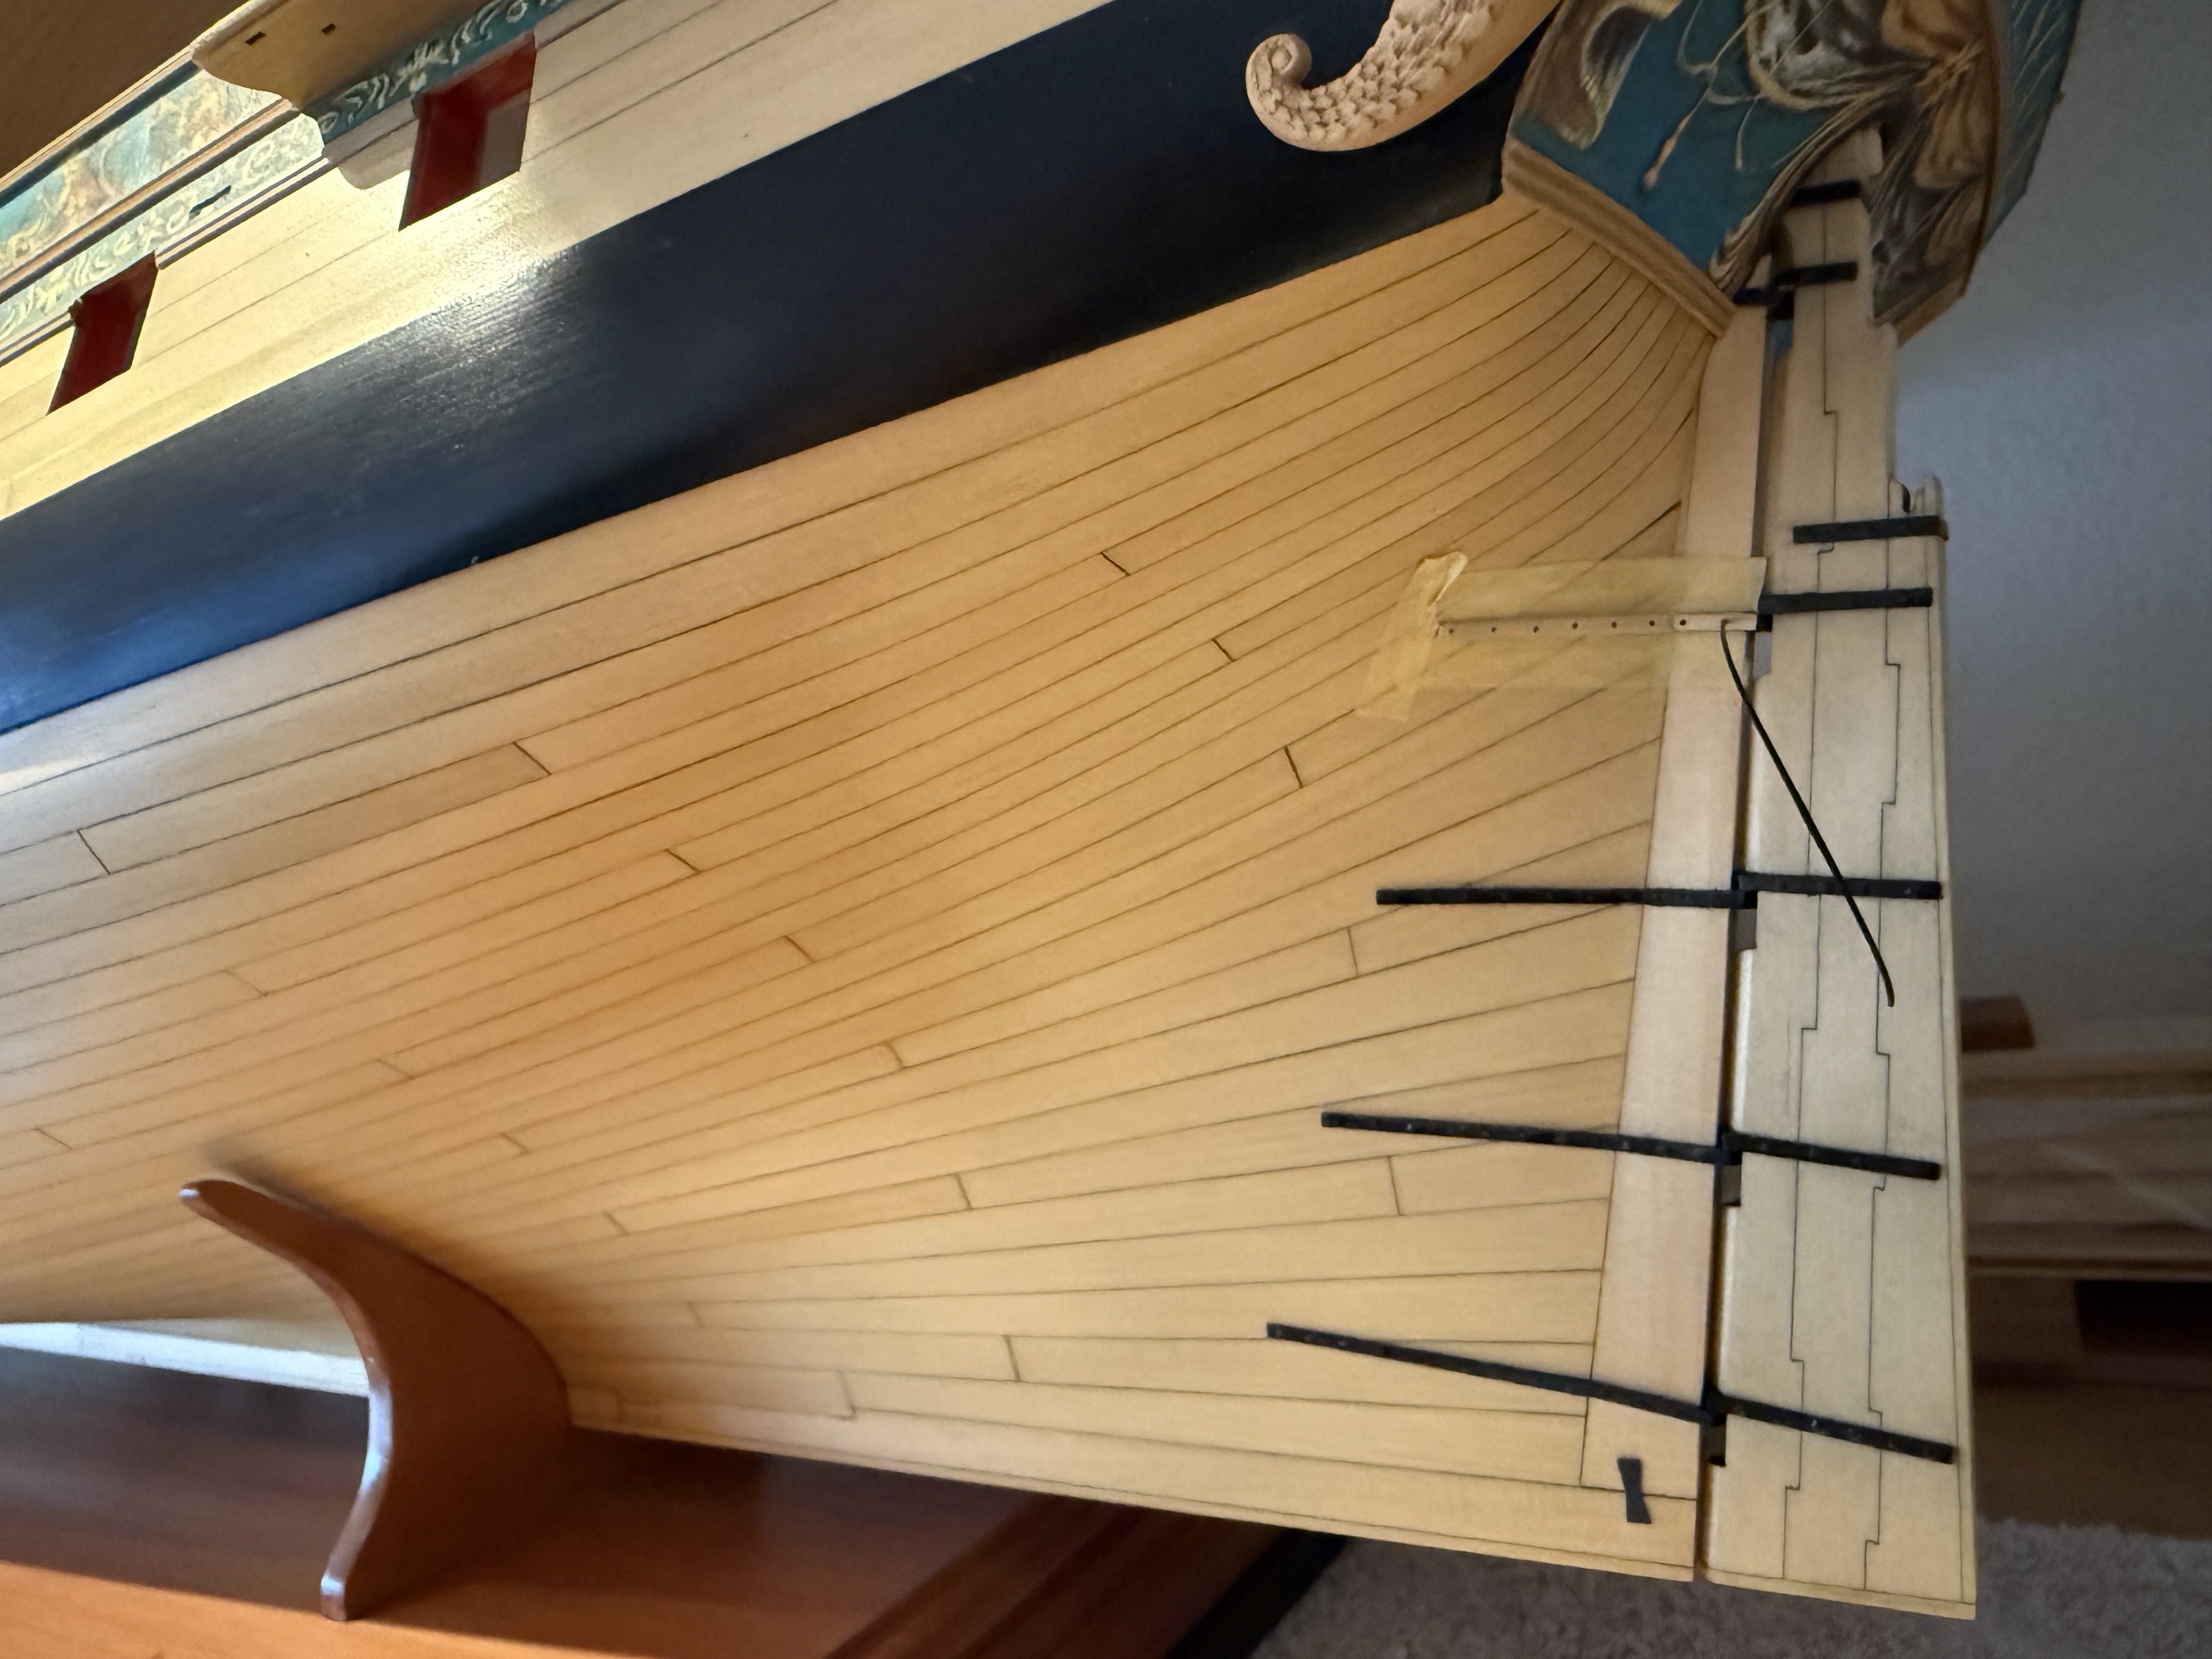
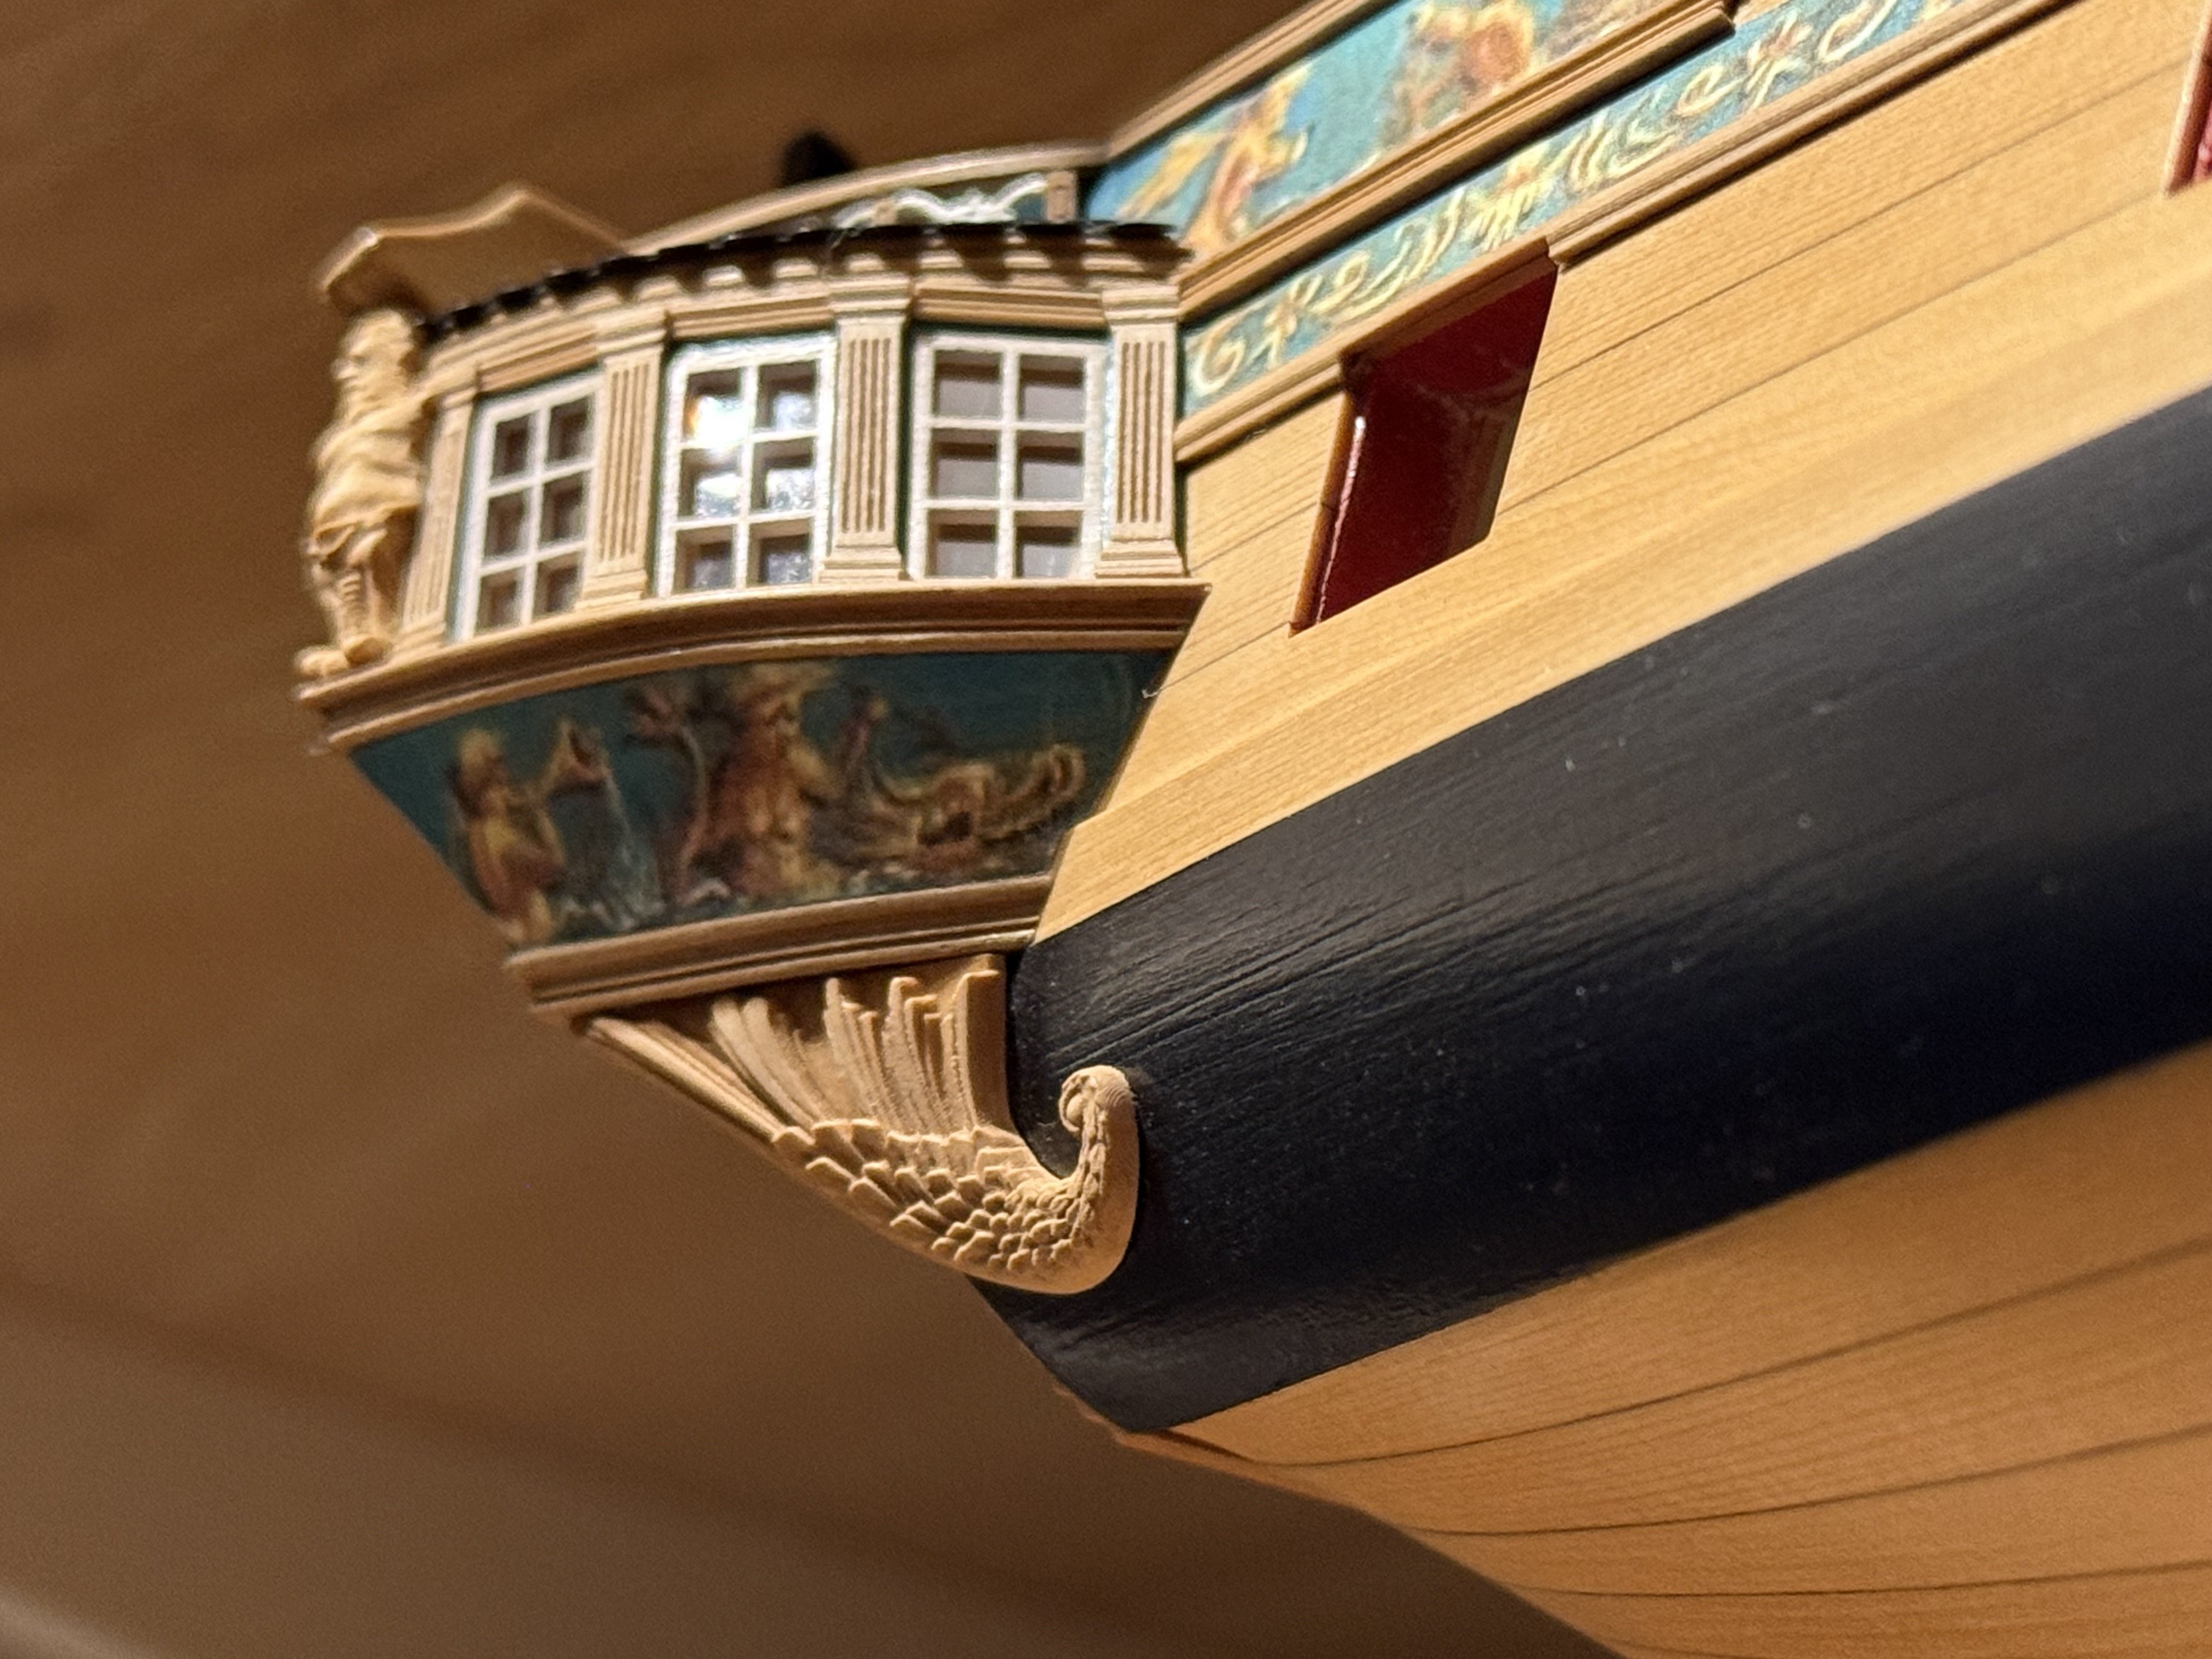
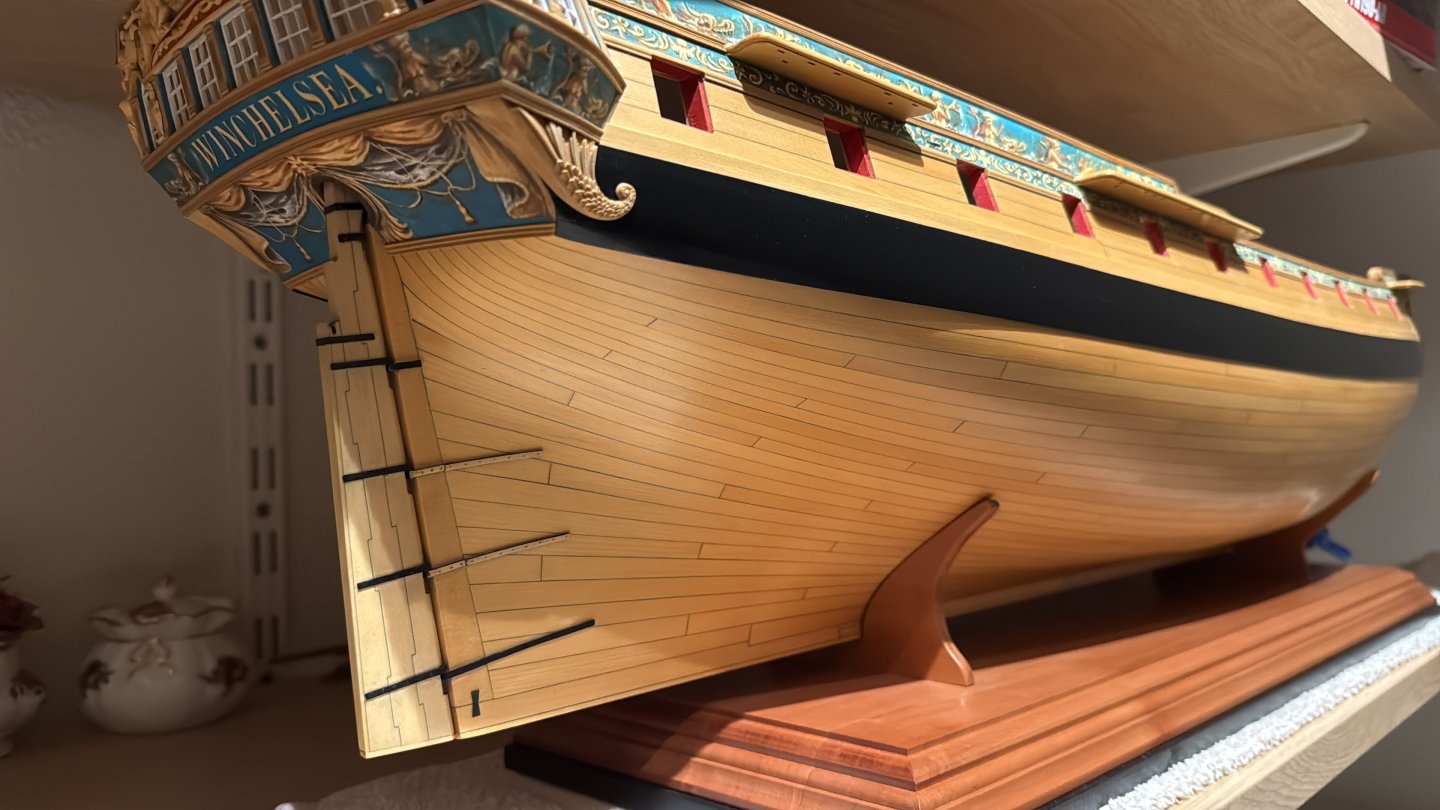
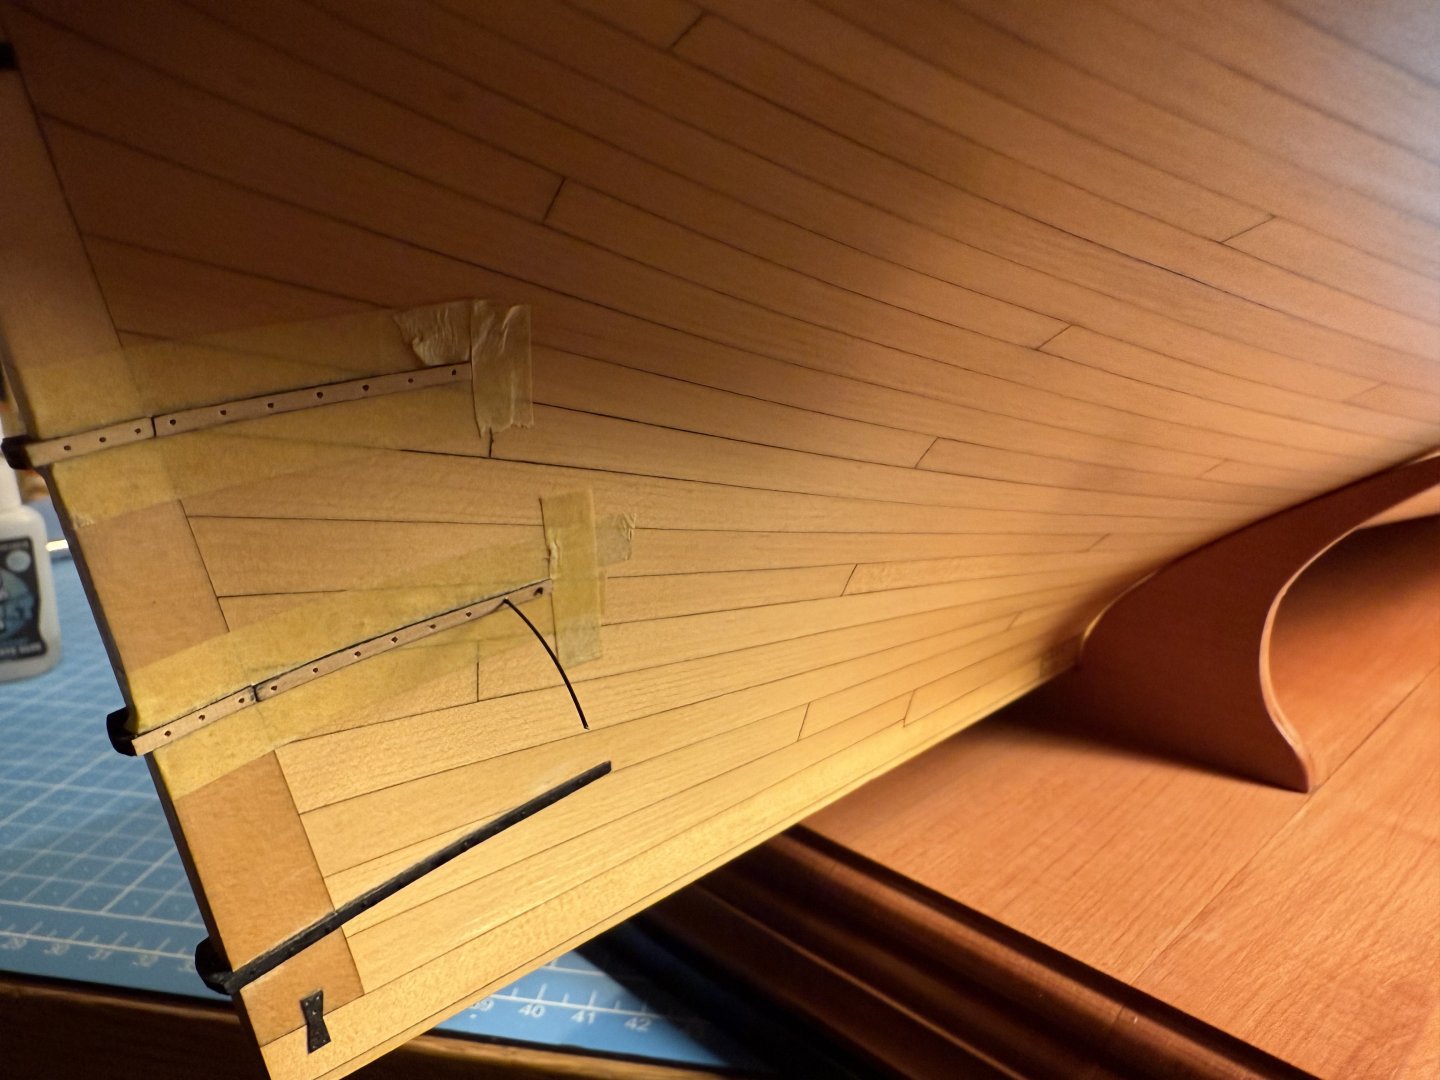
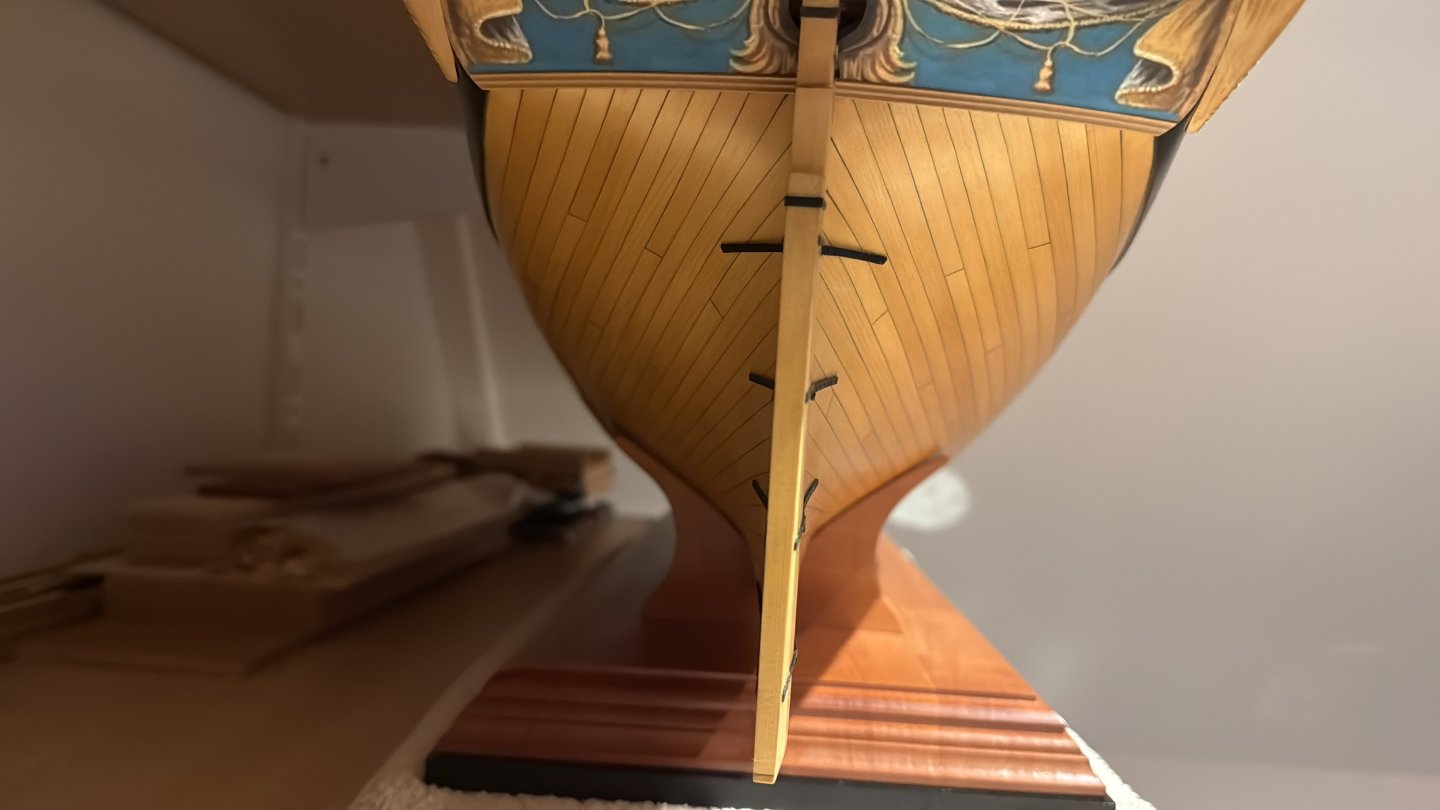
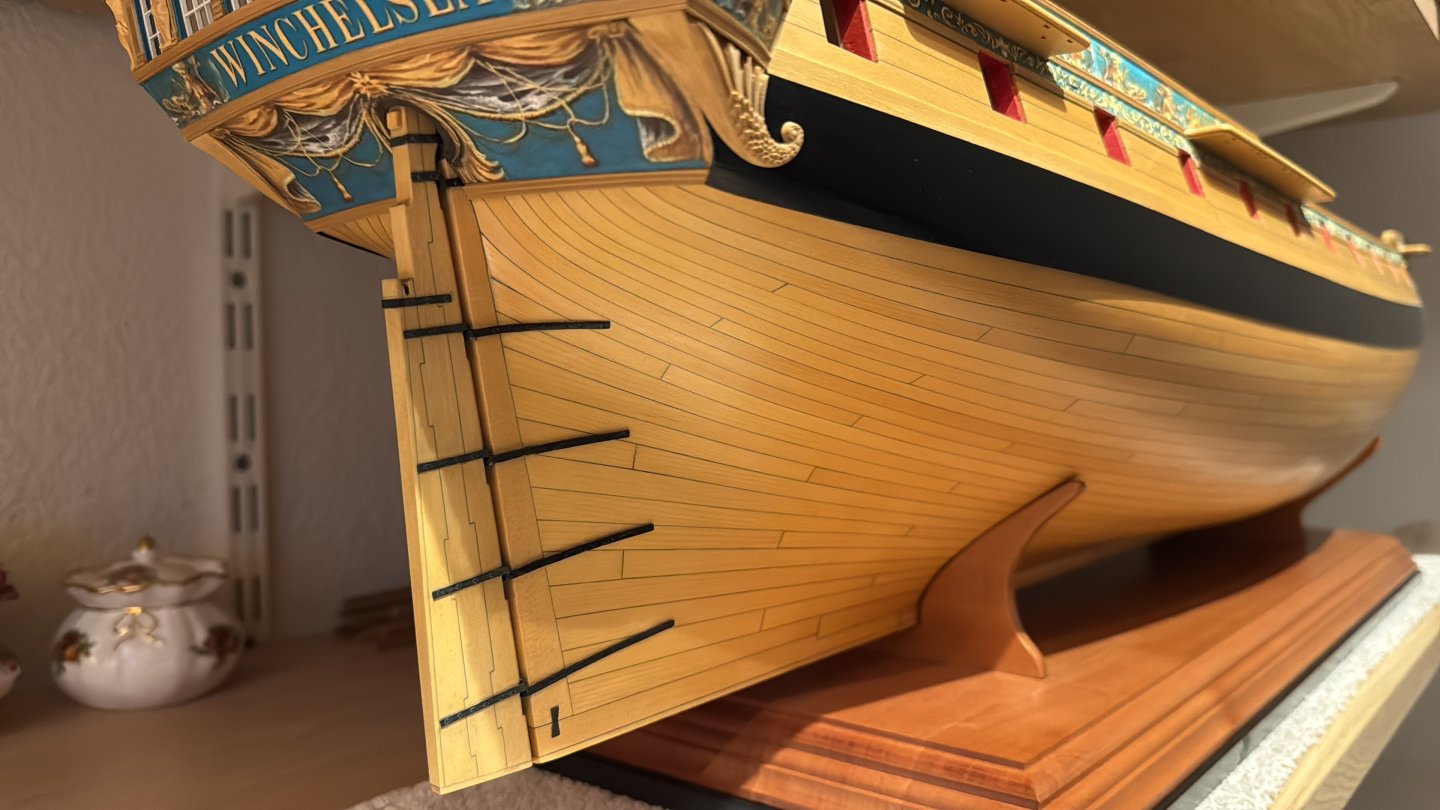
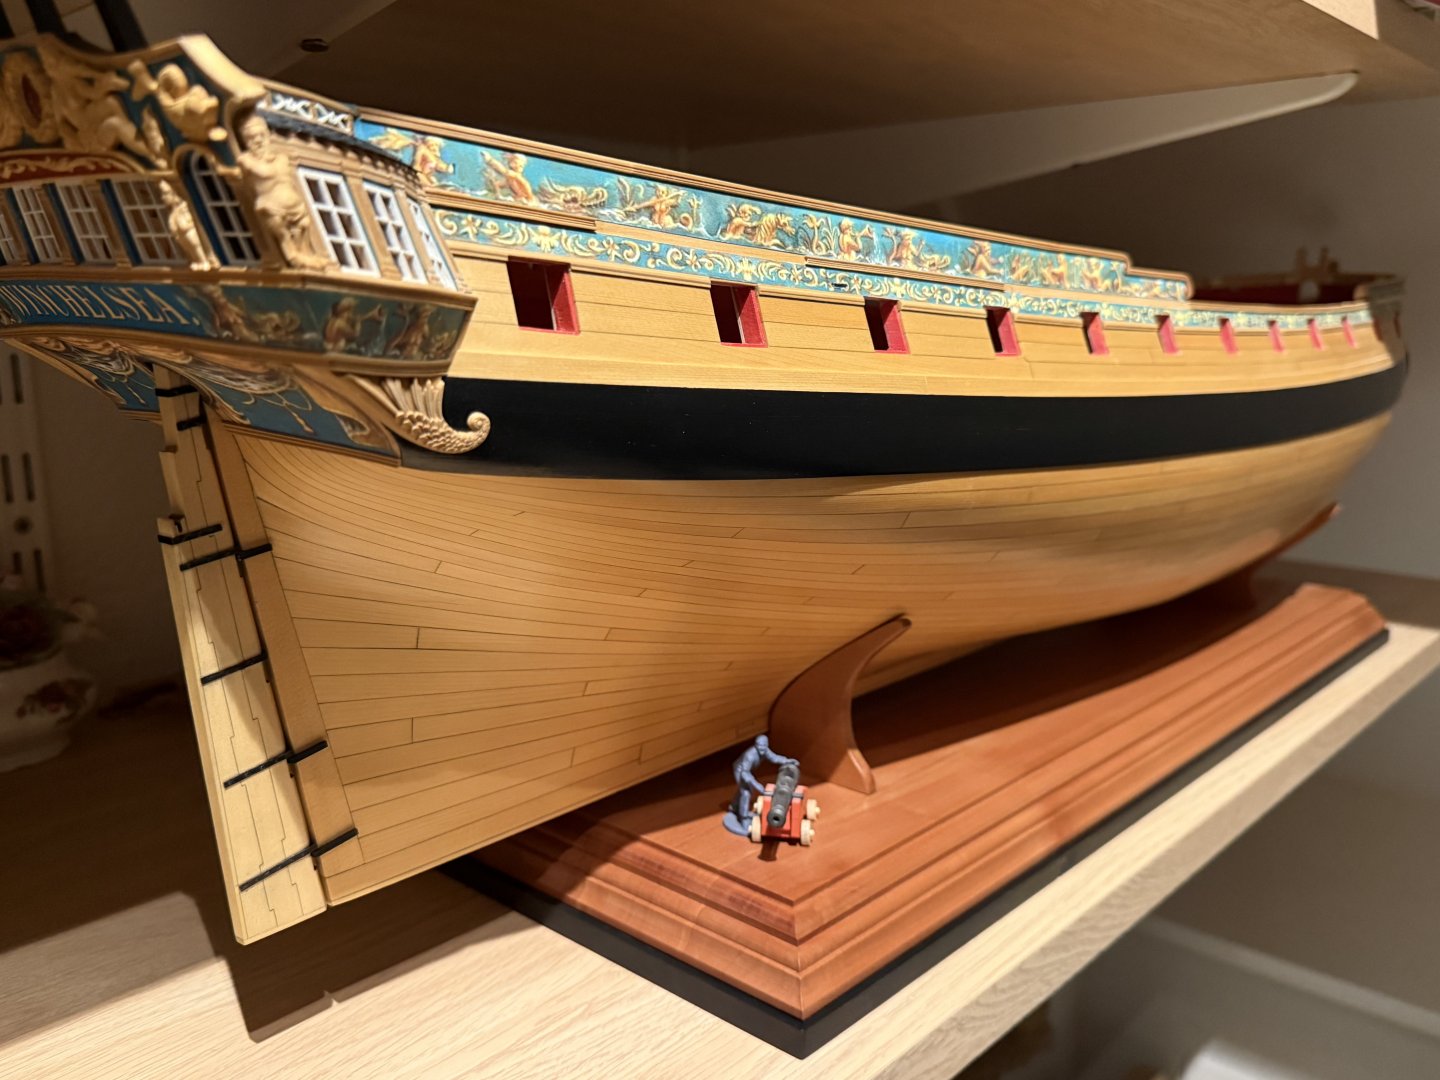
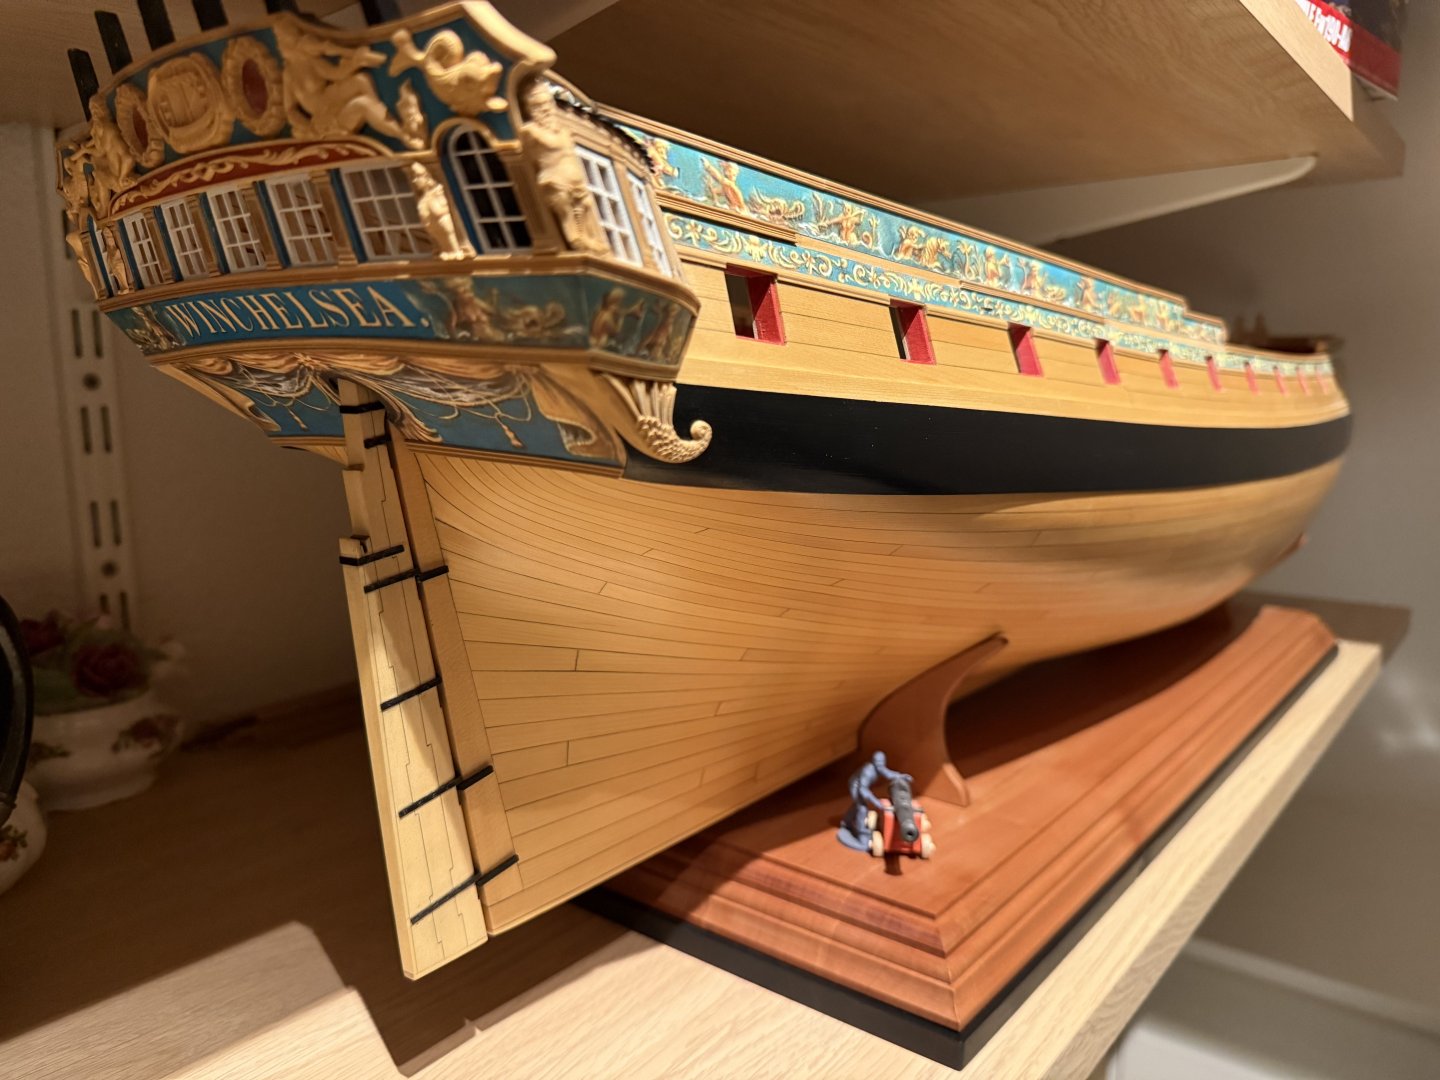
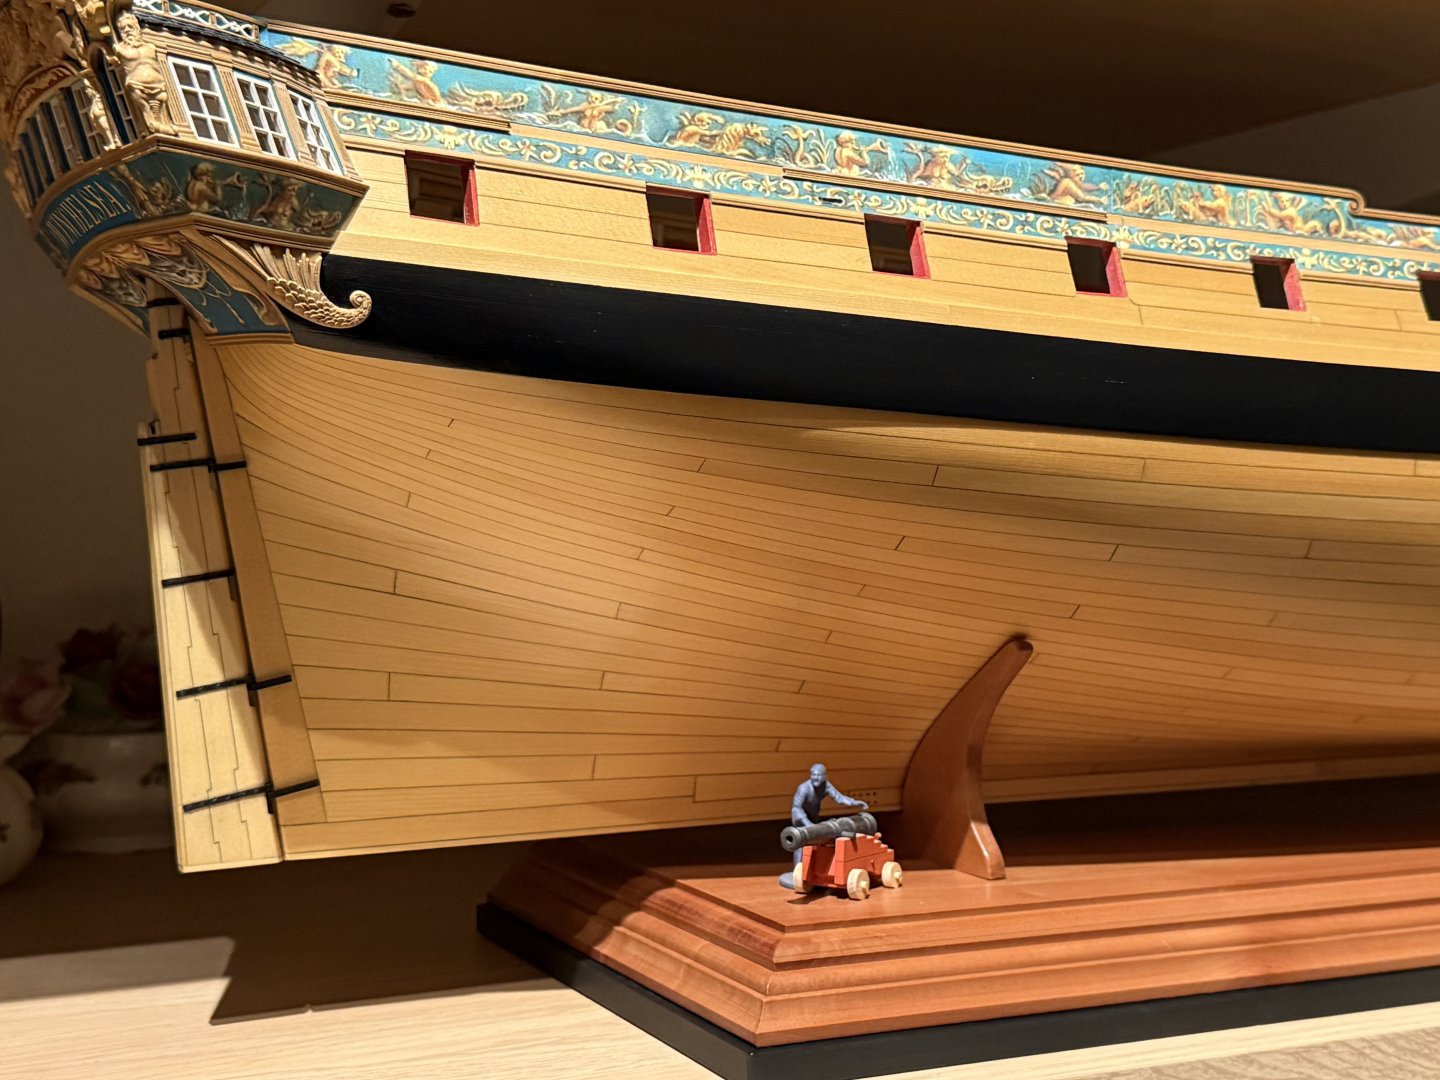
Thank you all for the kind words, these are really appreciated and inspiring! I’ve been busy making my stand fit to the hull and put some WOP on it. The lowest edge had some ugly spots so I decided to paint it very dark brown, almost black to cover that up. With a last layer of WOP this will look very natural I hope. Also I finally put the glass behind the windows on the sides of the quarter galleries. The rudder section is not yet finished as you can see ofcourse. Frank.


-
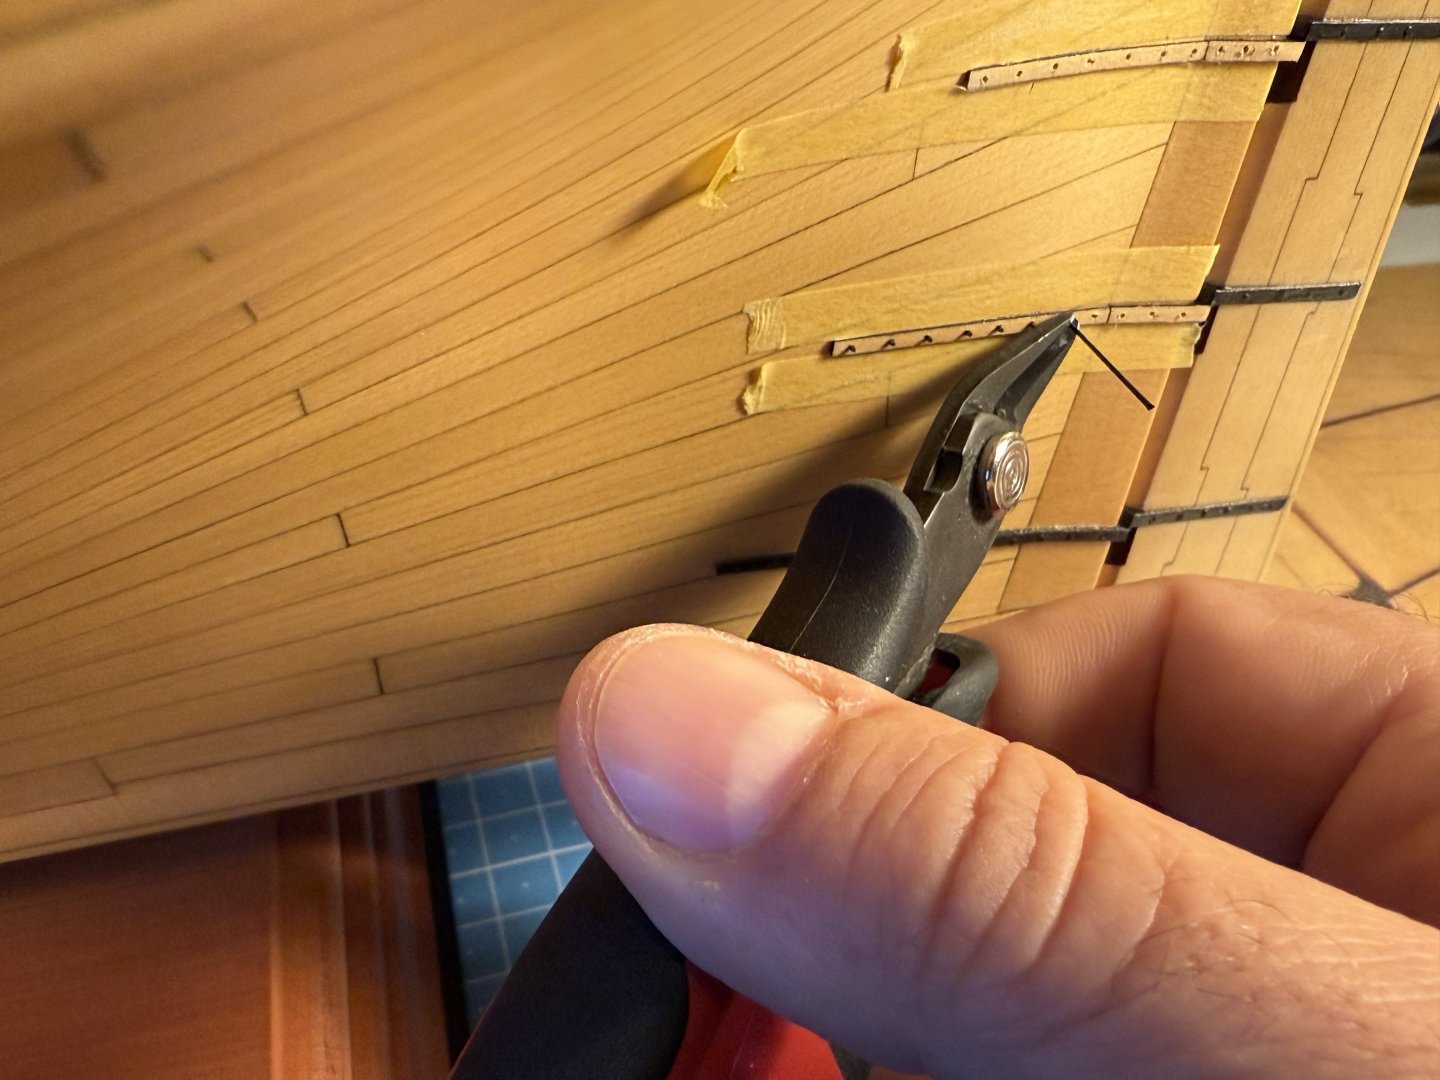
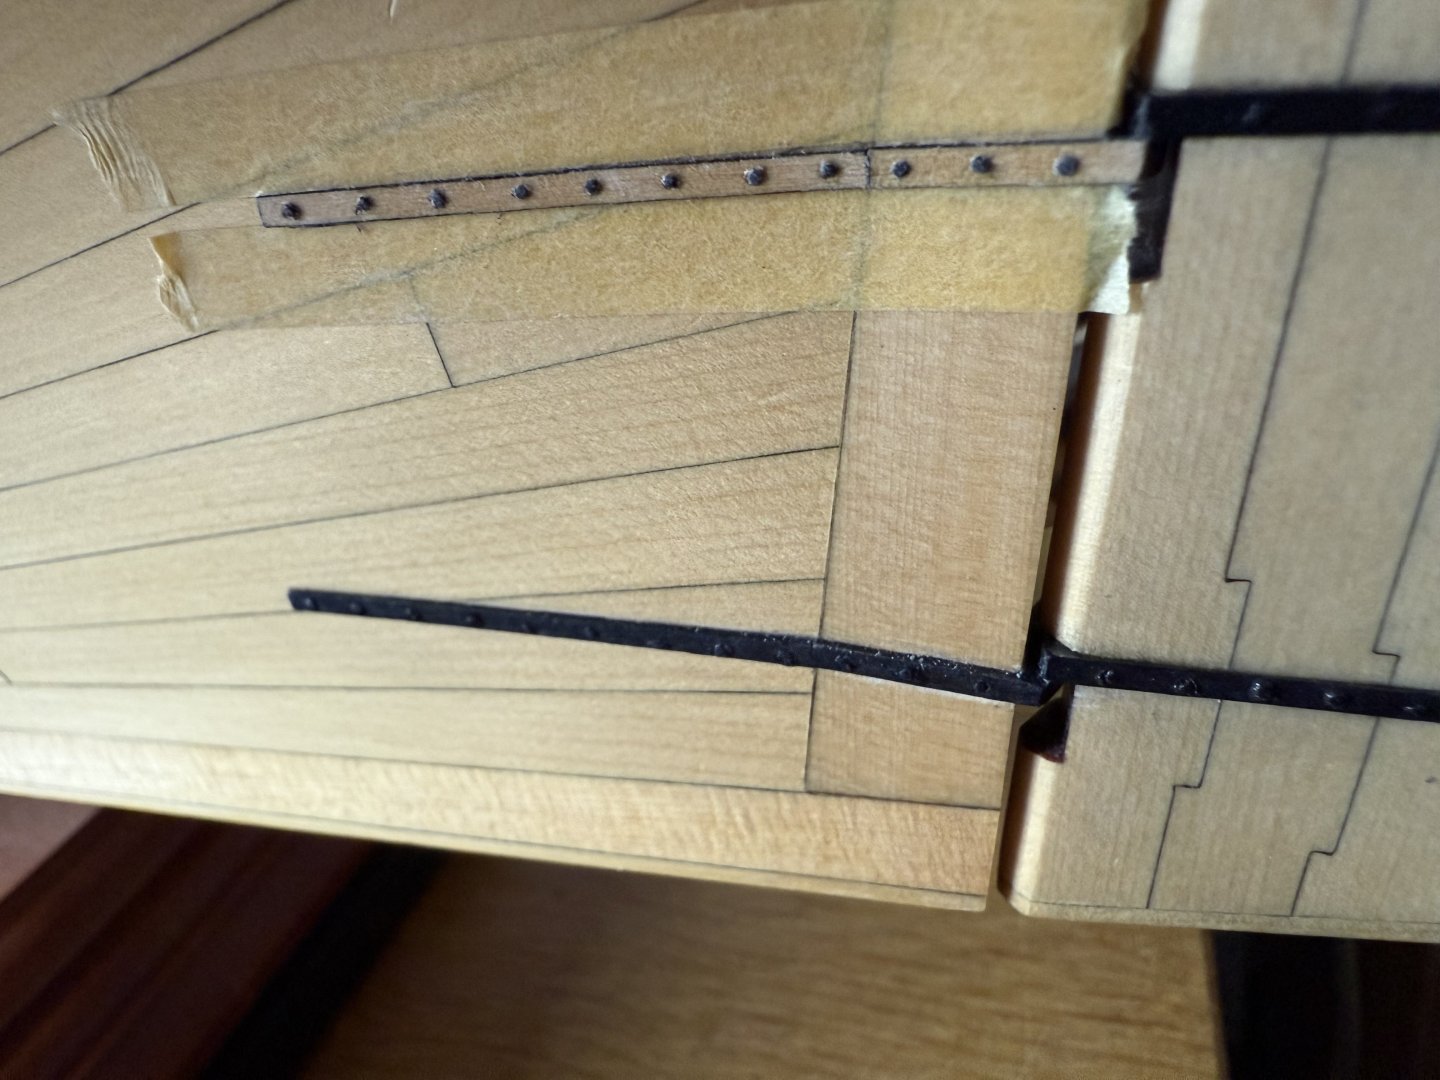
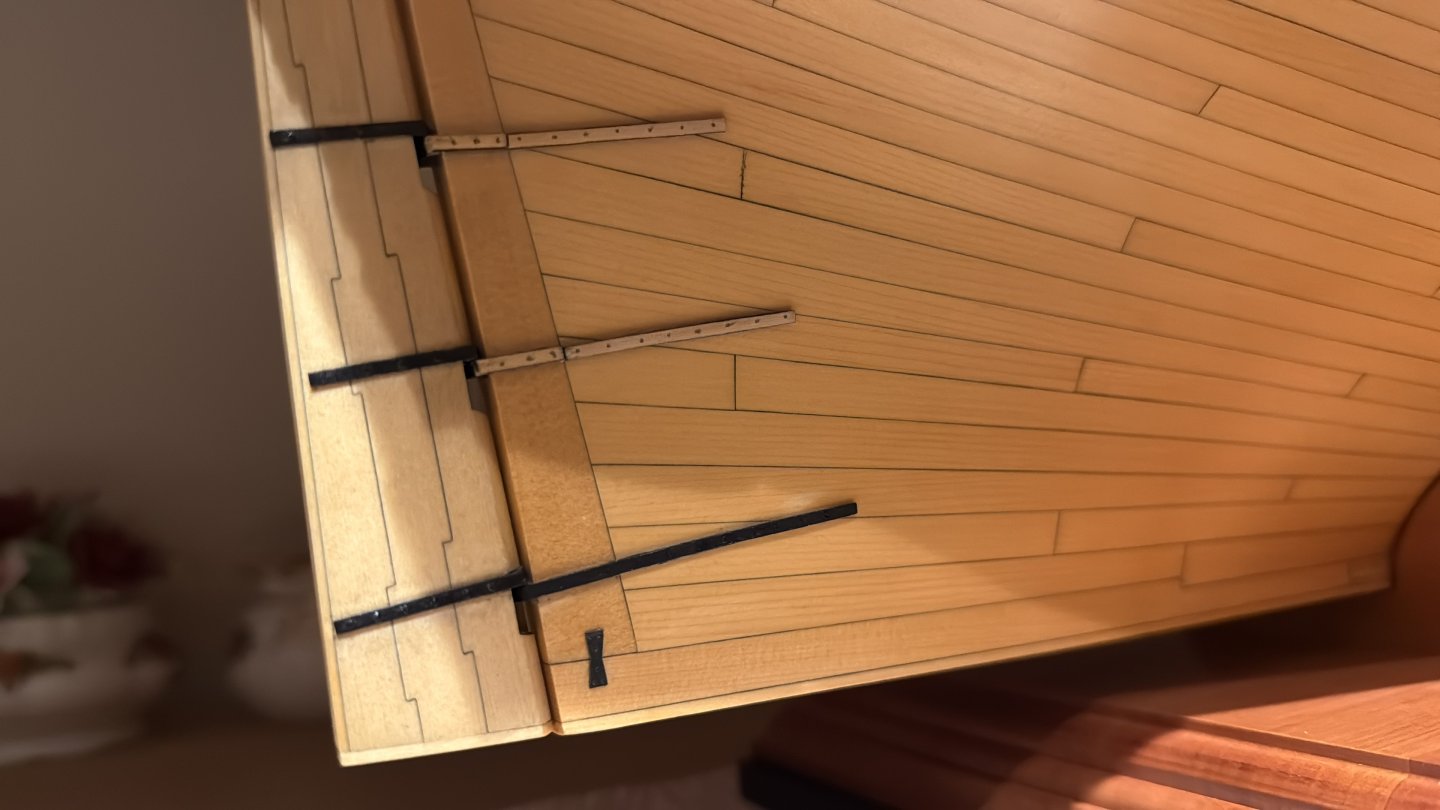
Finally some quality time for the rudder. I started little too conservative with the rudder hole… Tomorrow the hinges to the ship. Frank.


-
Thanks Edward! Frank.
-
Can it still be bought without the complete wood package, as earlier provided as by hobbymil.eu also? That would make a big difference in custom duties. I see they offer it still on their website: https://www.hobbymill.eu/products/wood-packages/cutter-cheerful-1806 Thanks, Frank.
- 1,051 replies
-
- 1
-

-
- cheerful
- Syren Ship Model Company
- (and 1 more)