HOLIDAY DONATION DRIVE - SUPPORT MSW - DO YOUR PART TO KEEP THIS GREAT FORUM GOING! (Only 13 donations so far - C'mon guys!)
×

FrankWouts
-
Posts
535 -
Joined
-
Last visited
Content Type
Profiles
Forums
Gallery
Events
Everything posted by FrankWouts
-
 Yeah, nice milestone to put the figurehead on for a picture Steve! Well done and nice hard work! Frank.
 -
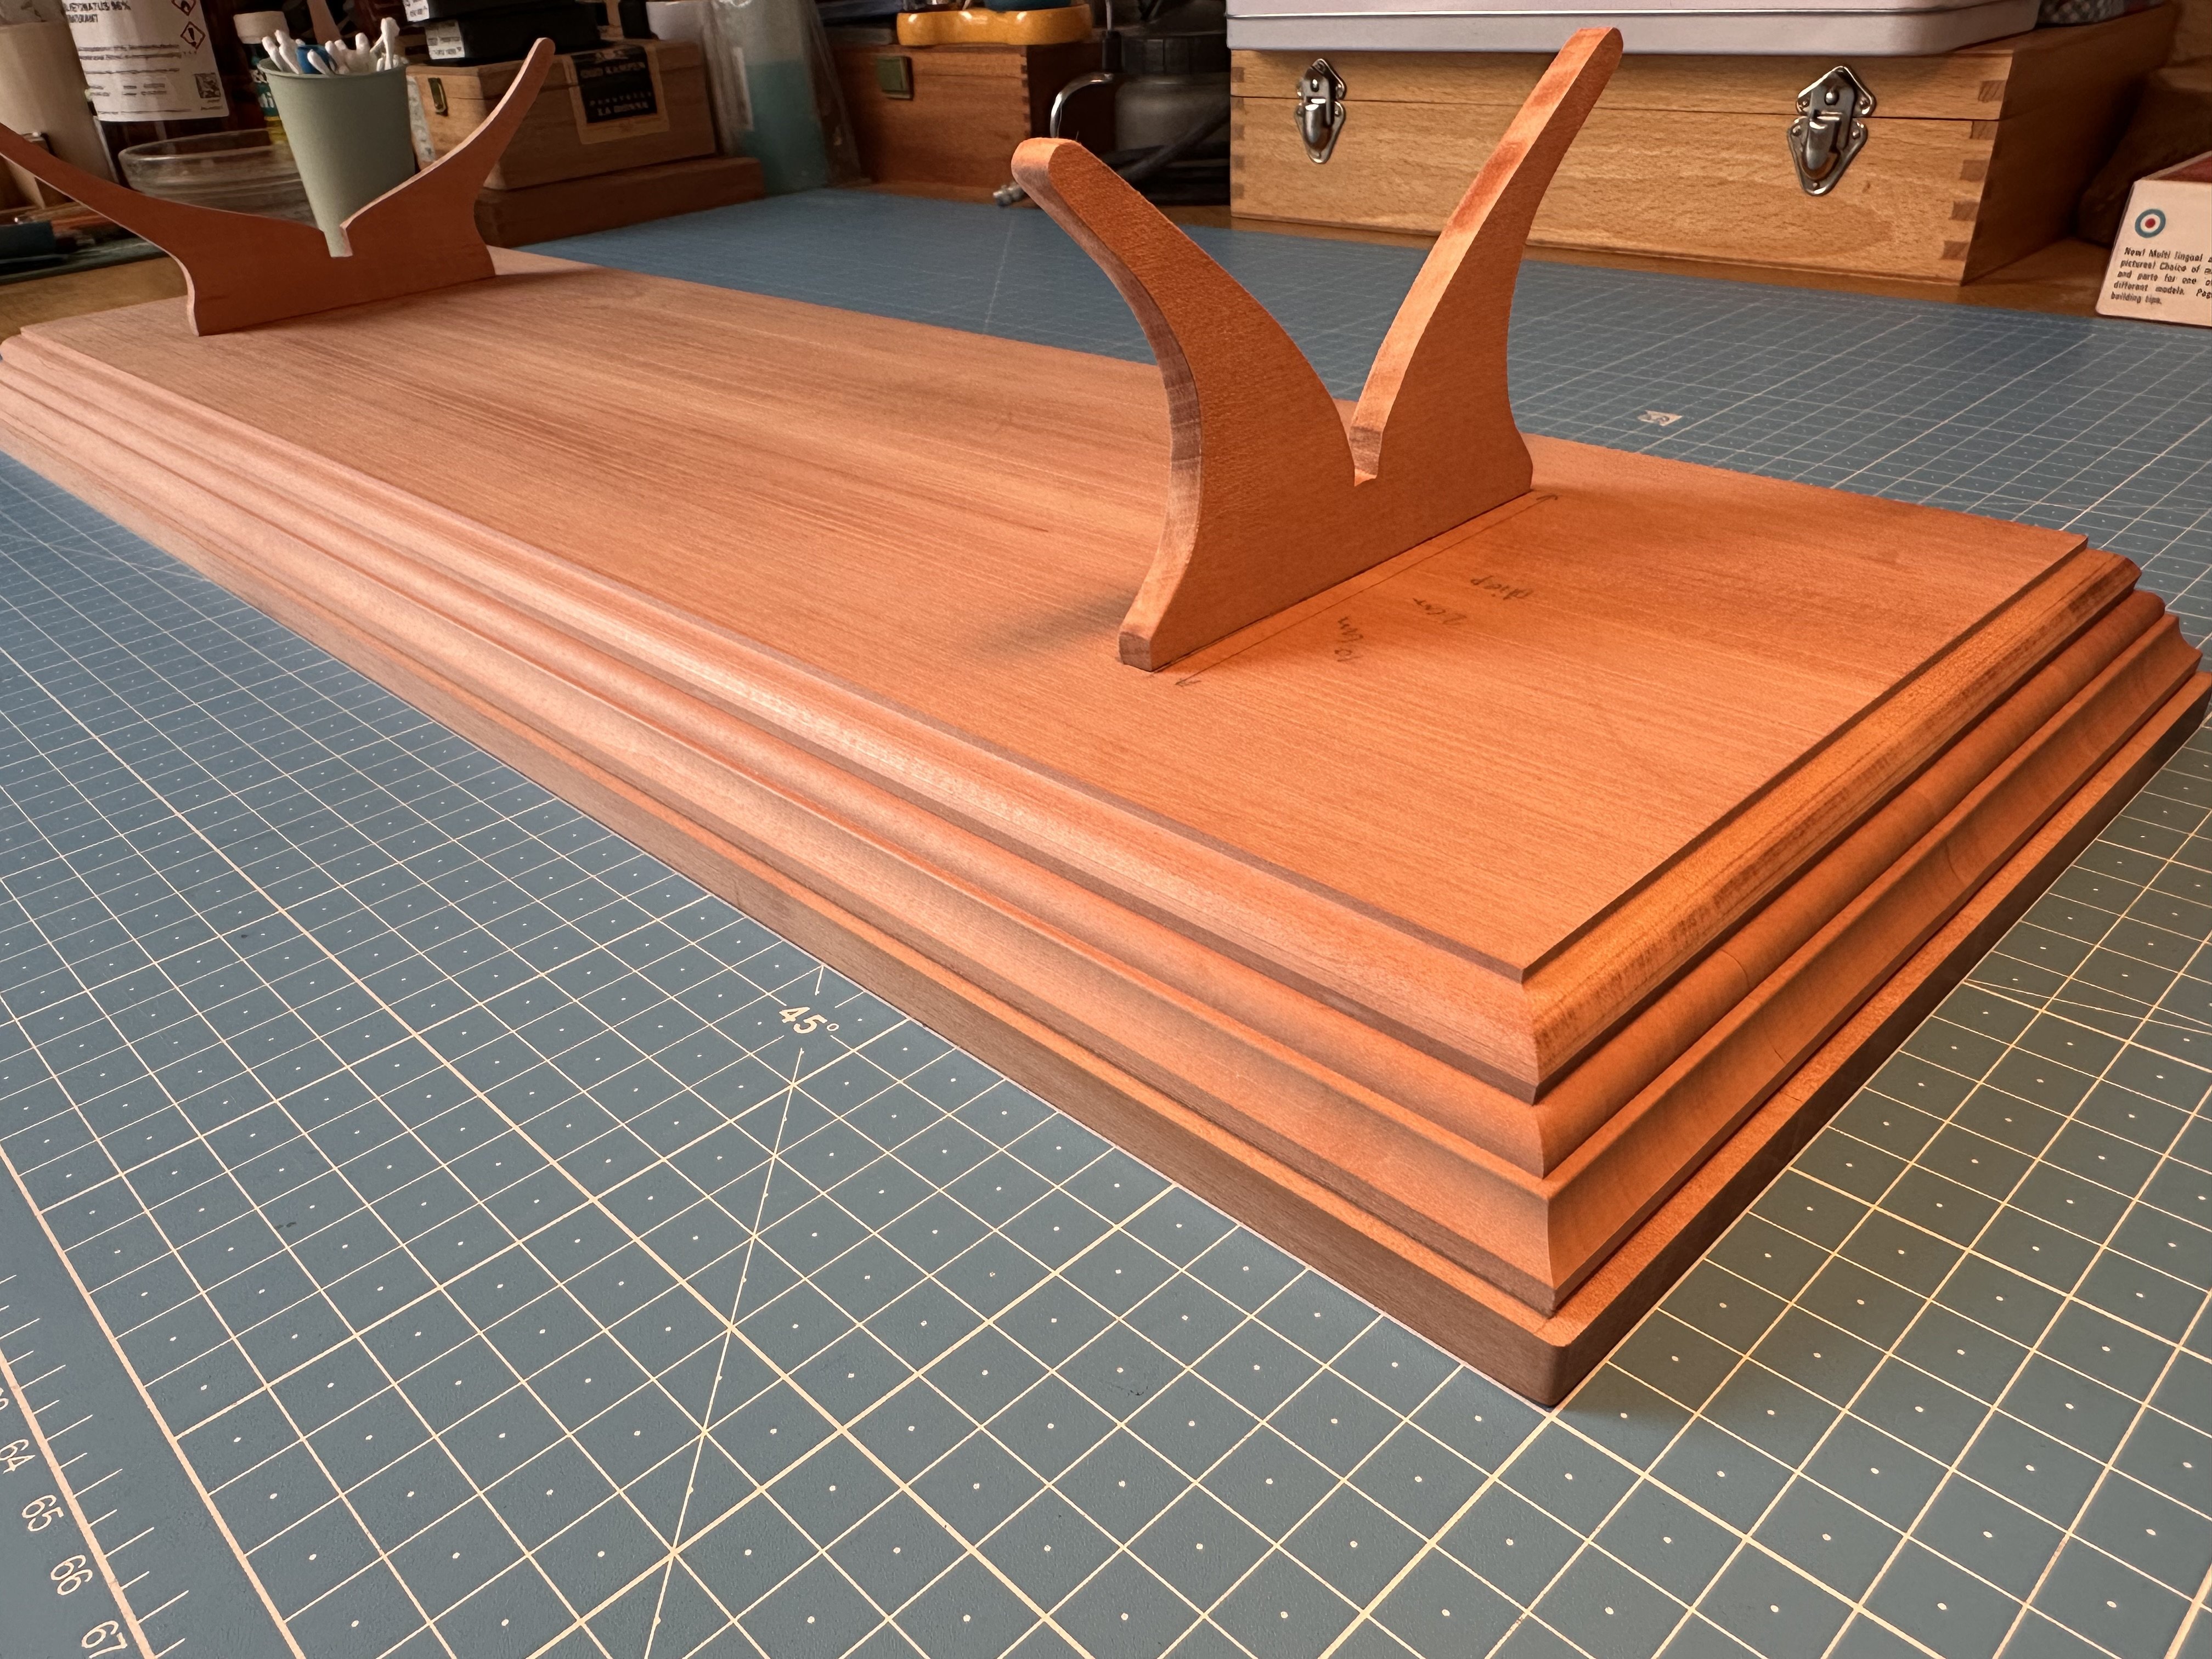
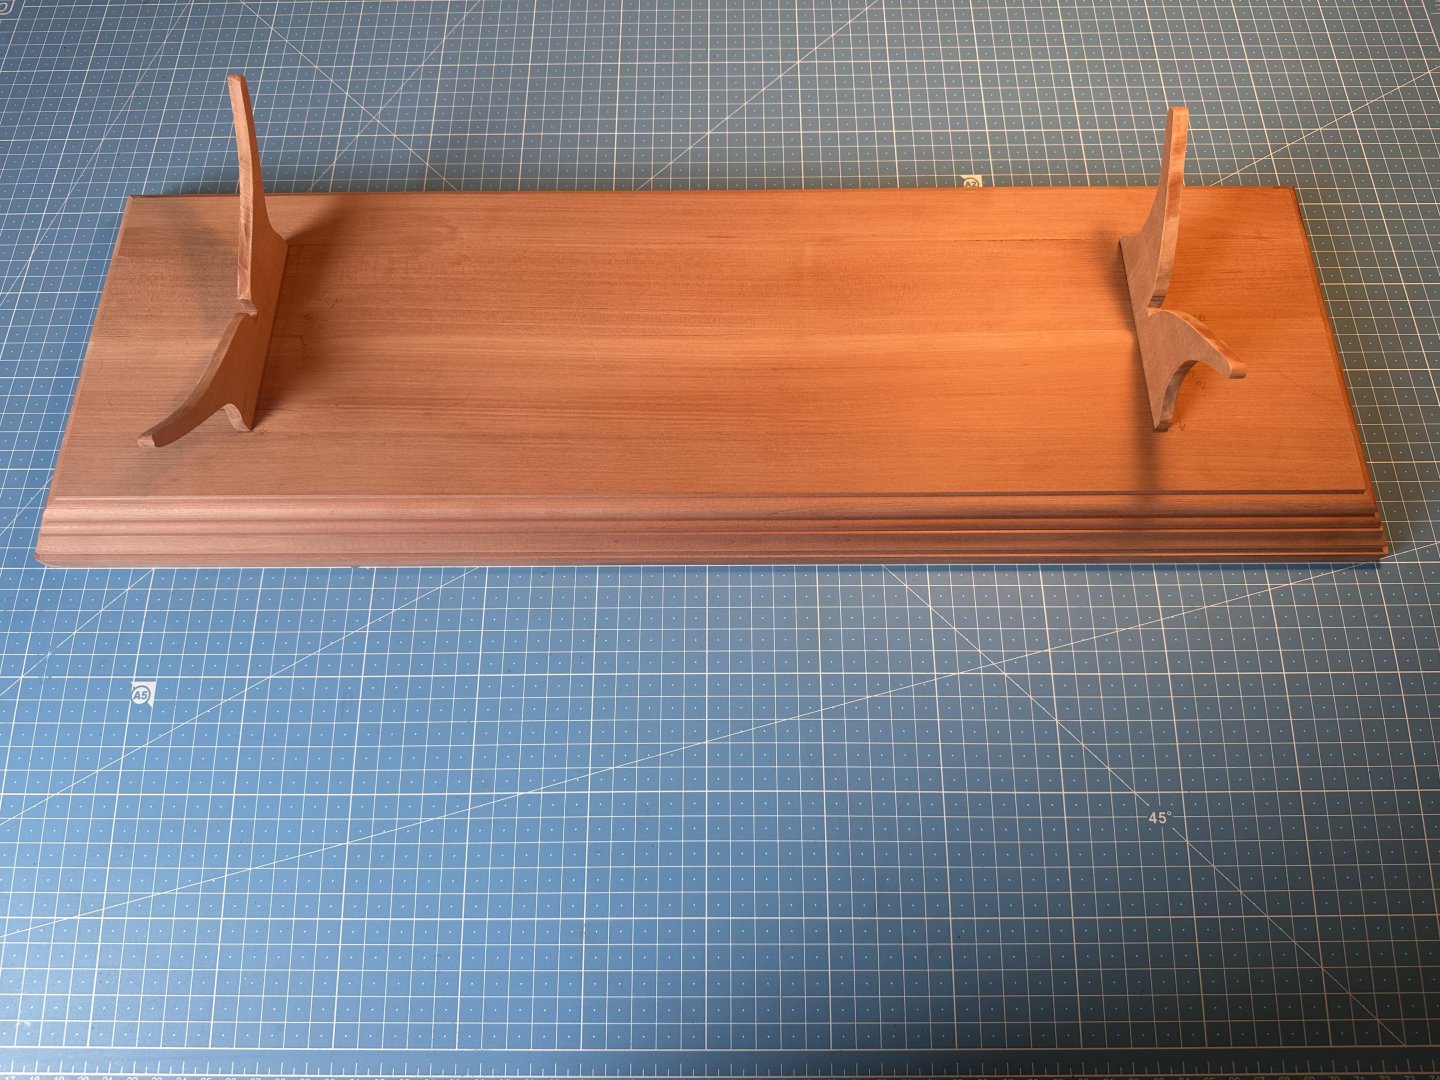
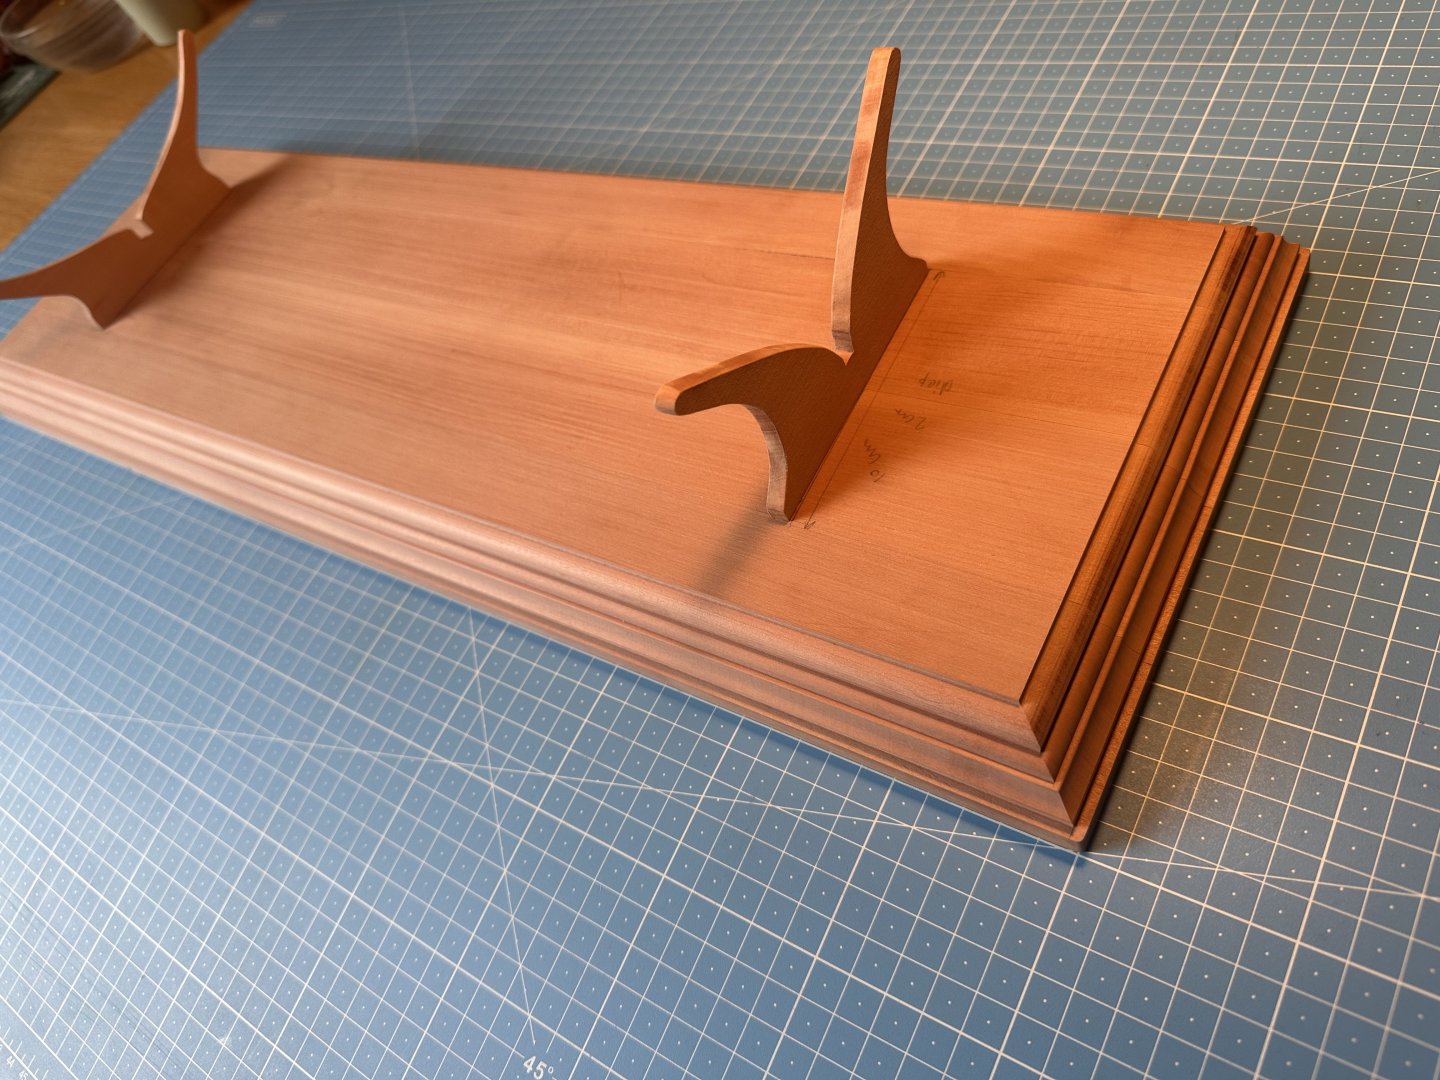
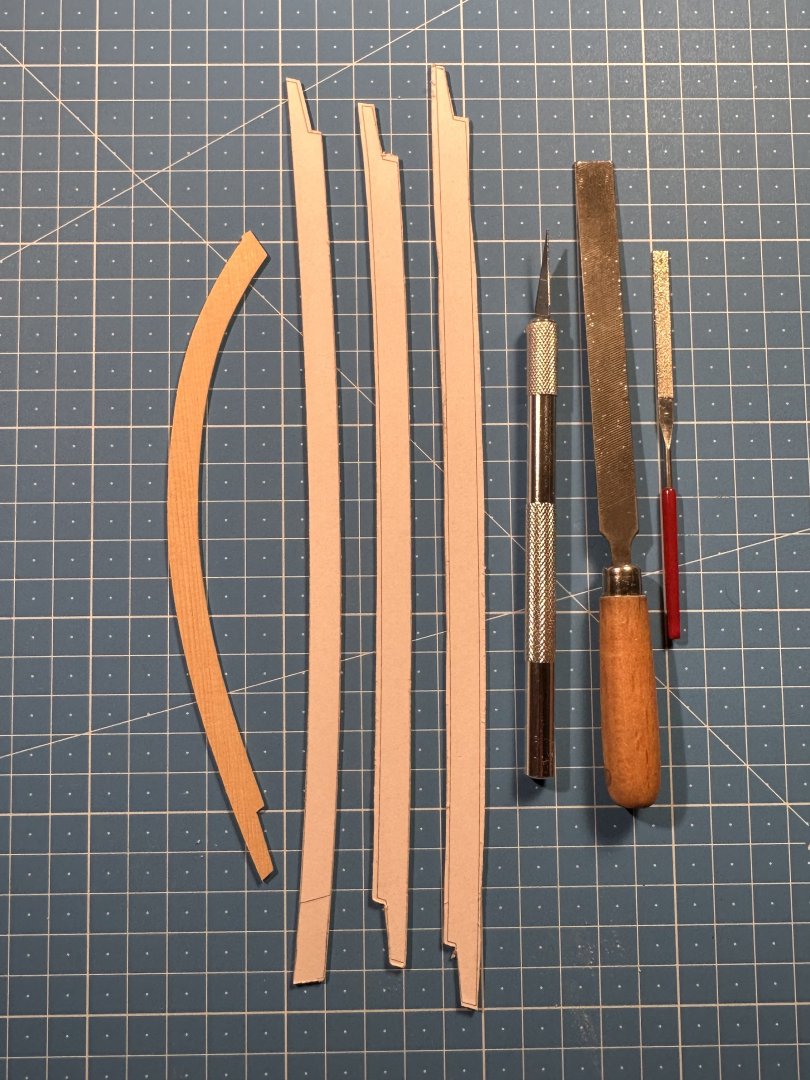
While my Winnie is going to stay upright forever soon, before I continue planking the deck, I first shifted my attention making a nice stand for it. It’s 200X600mm. A friend made and milled the lovely edge to the pear plank in four passes... The pear is beautiful wood, but I doubt if it will match the Alaskan Yellow Cedar when treated with whipe on poly… I’m also thinking of painting it black, as it shouldn’t be a distraction from the model. What do you think? Hope to post updates on the deck planking soon! Frank. E6E5691D-1888-43ED-AE26-DD7ED0C6863B.mov


-
Looking good! Great to see you pushing ahead! You inspire me to get my b*tt in my hobby attic as well this weekend! Frank.
-
Great job again Edward, you inspire me to free my agenda this weekend for some progress on Winchelsea! Frank.
-
First of all welcome to the Winchelsea build group John. Very nice to see another Winchelsea being started! Aren't you afraid that further down the line, things will not fit 100% when experimenting with letting your pieces cut by various laser cutting shops? How much off are the two different sets of pieces you already have now compared to each other? Apart from the few cut away corners you showed, are the pieces the same size and consistent in shape, etcetera? I wish you lots success and most of all much fun building your Winchelsea! Frank.
-
Nice progress and very good looking gun ports and planking Steve! Frank.
-
Beautiful work Edward, I'd love to see some updates again of your build. Cheers, Frank.
-
And have you sanded it away already Matt? I'd love to see that your correction and repair has worked out well... Frank.
-
I fully agree with Chuck. We all know the feeling, but: you've had the skills and great strength of character to come this far on your Winnie, so I'm sure you you will finish it beautifully as well! The final outcome of a Winnie build shows a man's endurance, character and inner spirit here. Some are too careful, precise and thereby slow (like myself), some have given up, others are fast ánd precise (can't understand how they do it (;-)), others are masters and relatively quick and we have everything in between in these build logs. We all have minor or maybe even major spots we would and could have done better. But that's for all of our next models to improve... As long as you have fun, pleasure and enjoyment building and keep getting and being inspired here on Modelshipworld, that's gold and everything is allright! You should really feel good and be proud of what you have achieved. I'm sure when fully finished, everyone visiting your house will look with great interest and admiration at your model! At least I know I do! So keep up the good and beautiful work and you'll feel really proud in the end as well! Cheers, Frank.
-
Thanks Matthias, Me too, I was so busy working past months that until now that the holiday period is imminent I'm getting some time off again and maybe am able to do some work on Winchelsea and post some updates again! Cheers, Frank.
-
A late welcome from me as well Steve! You've made some beautiful progress already! I'll keep following your build from now on. Cheers, Frank.
-
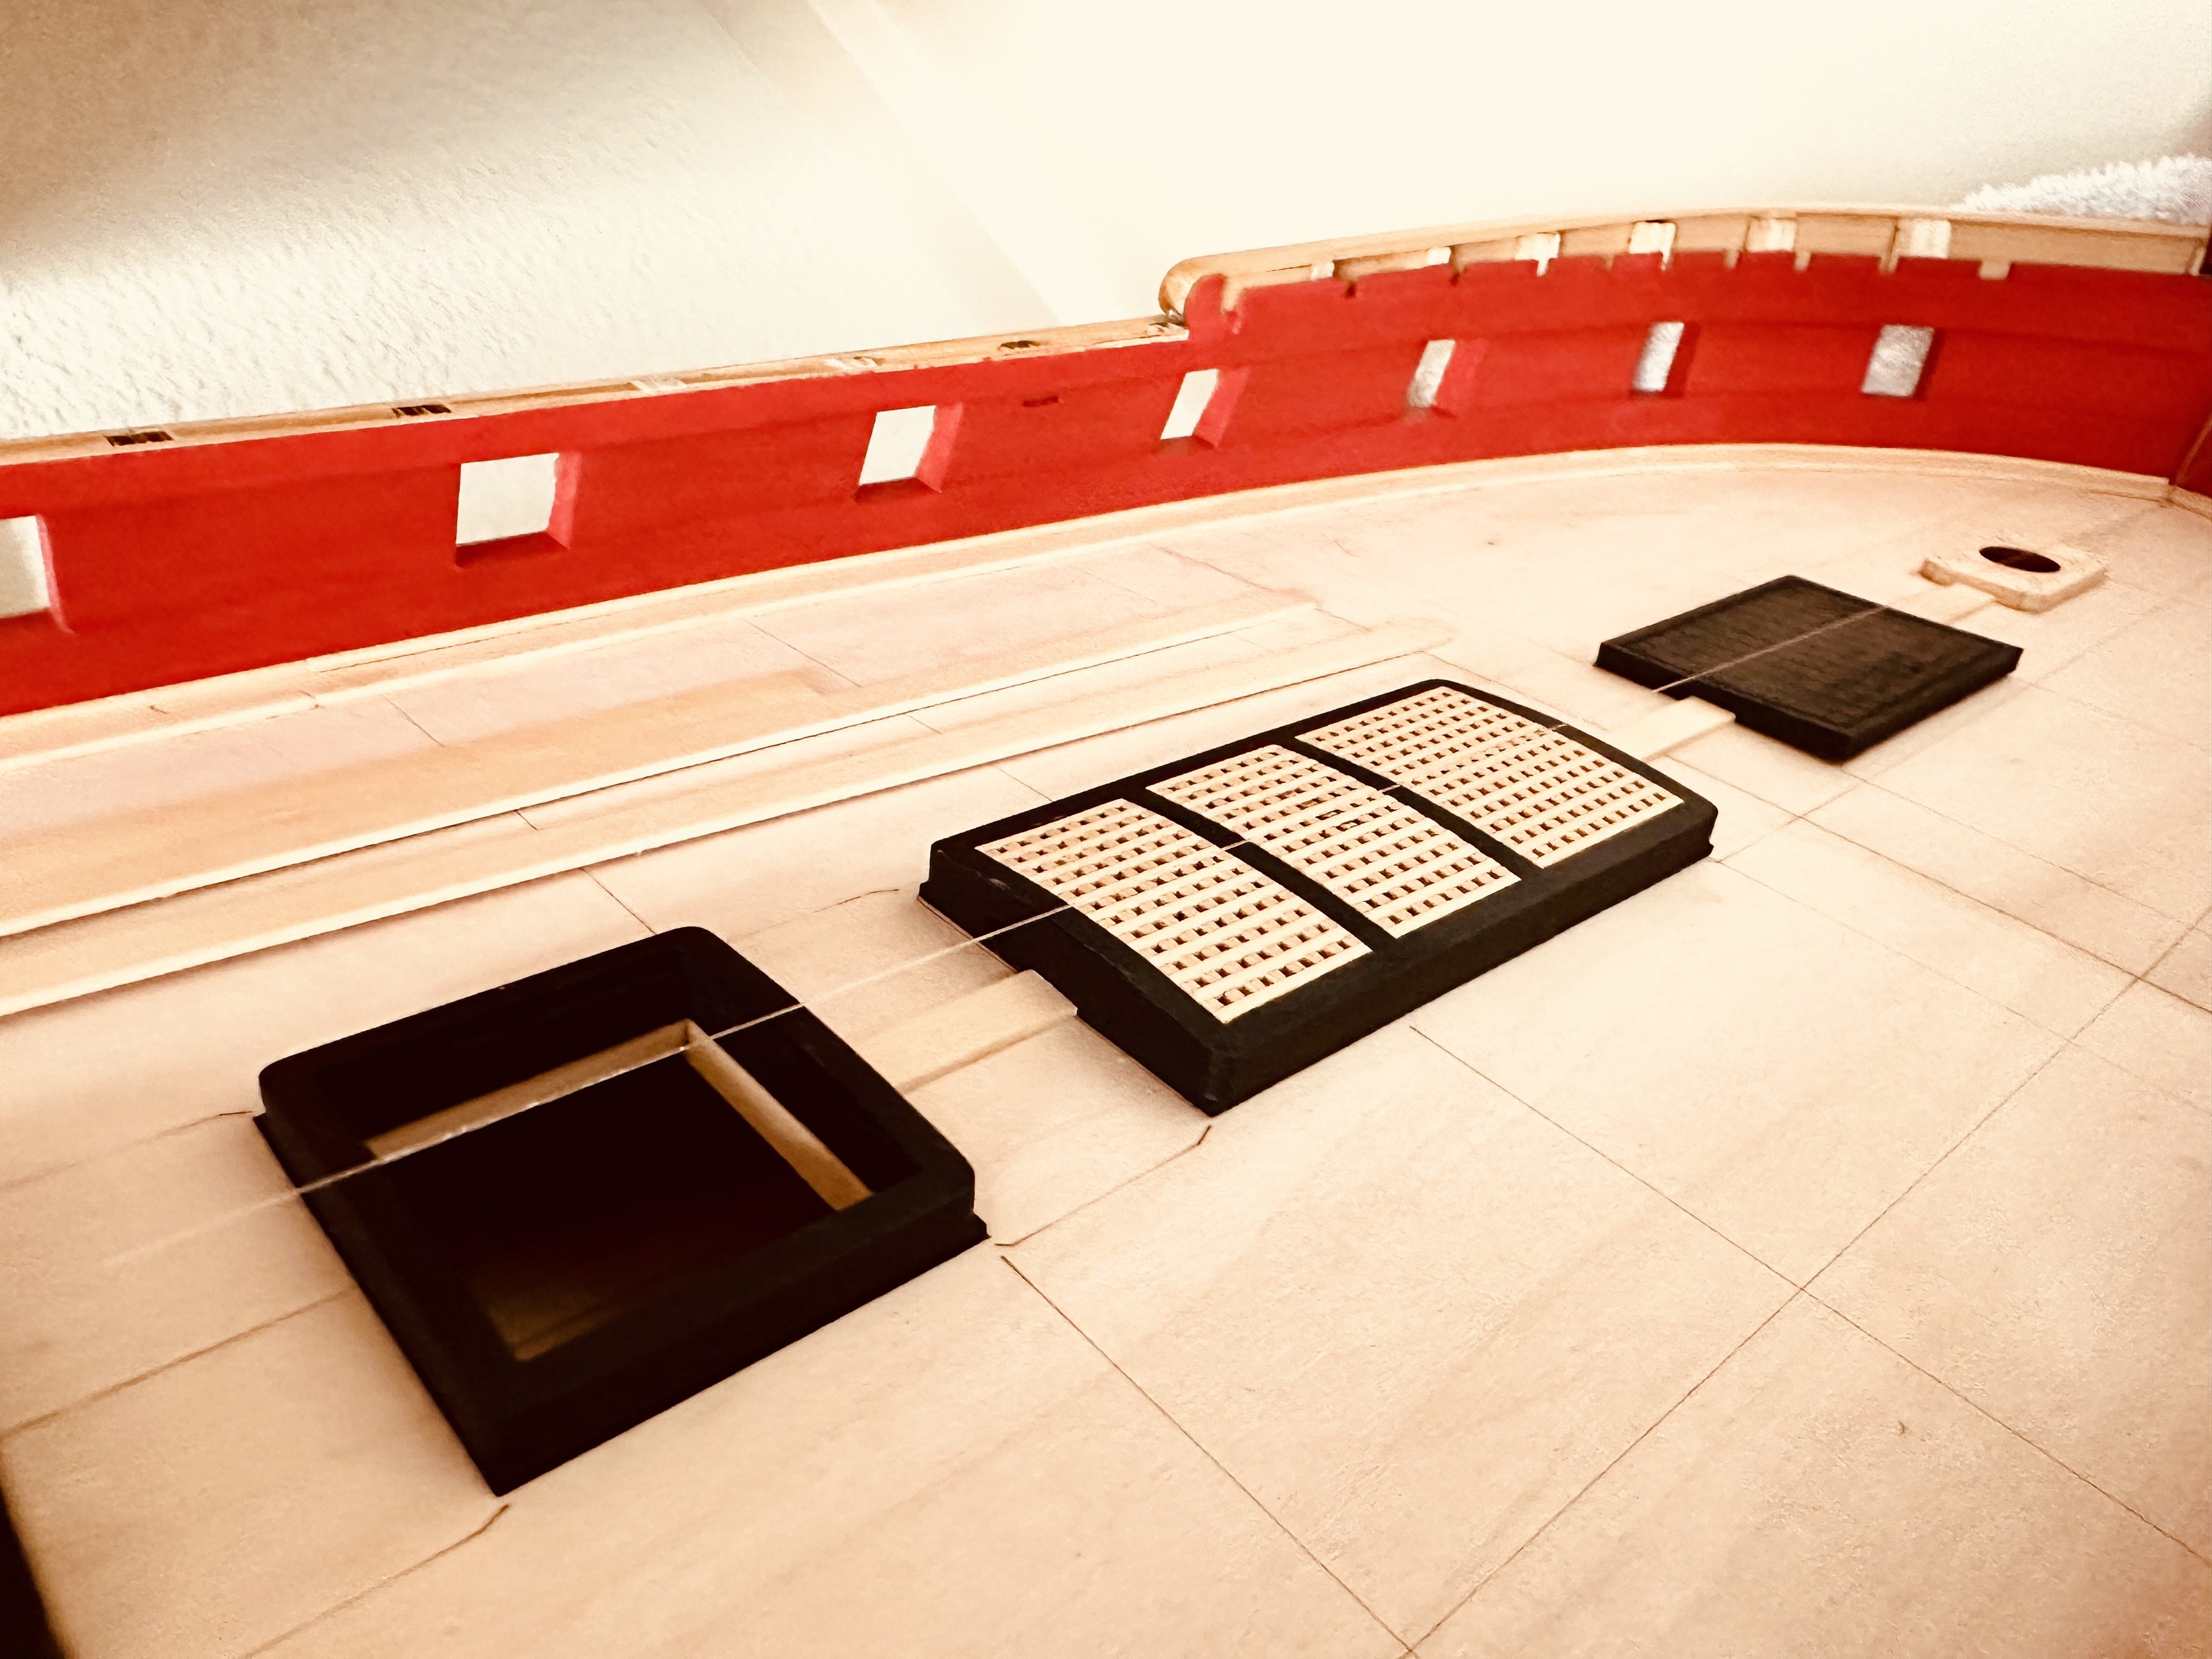
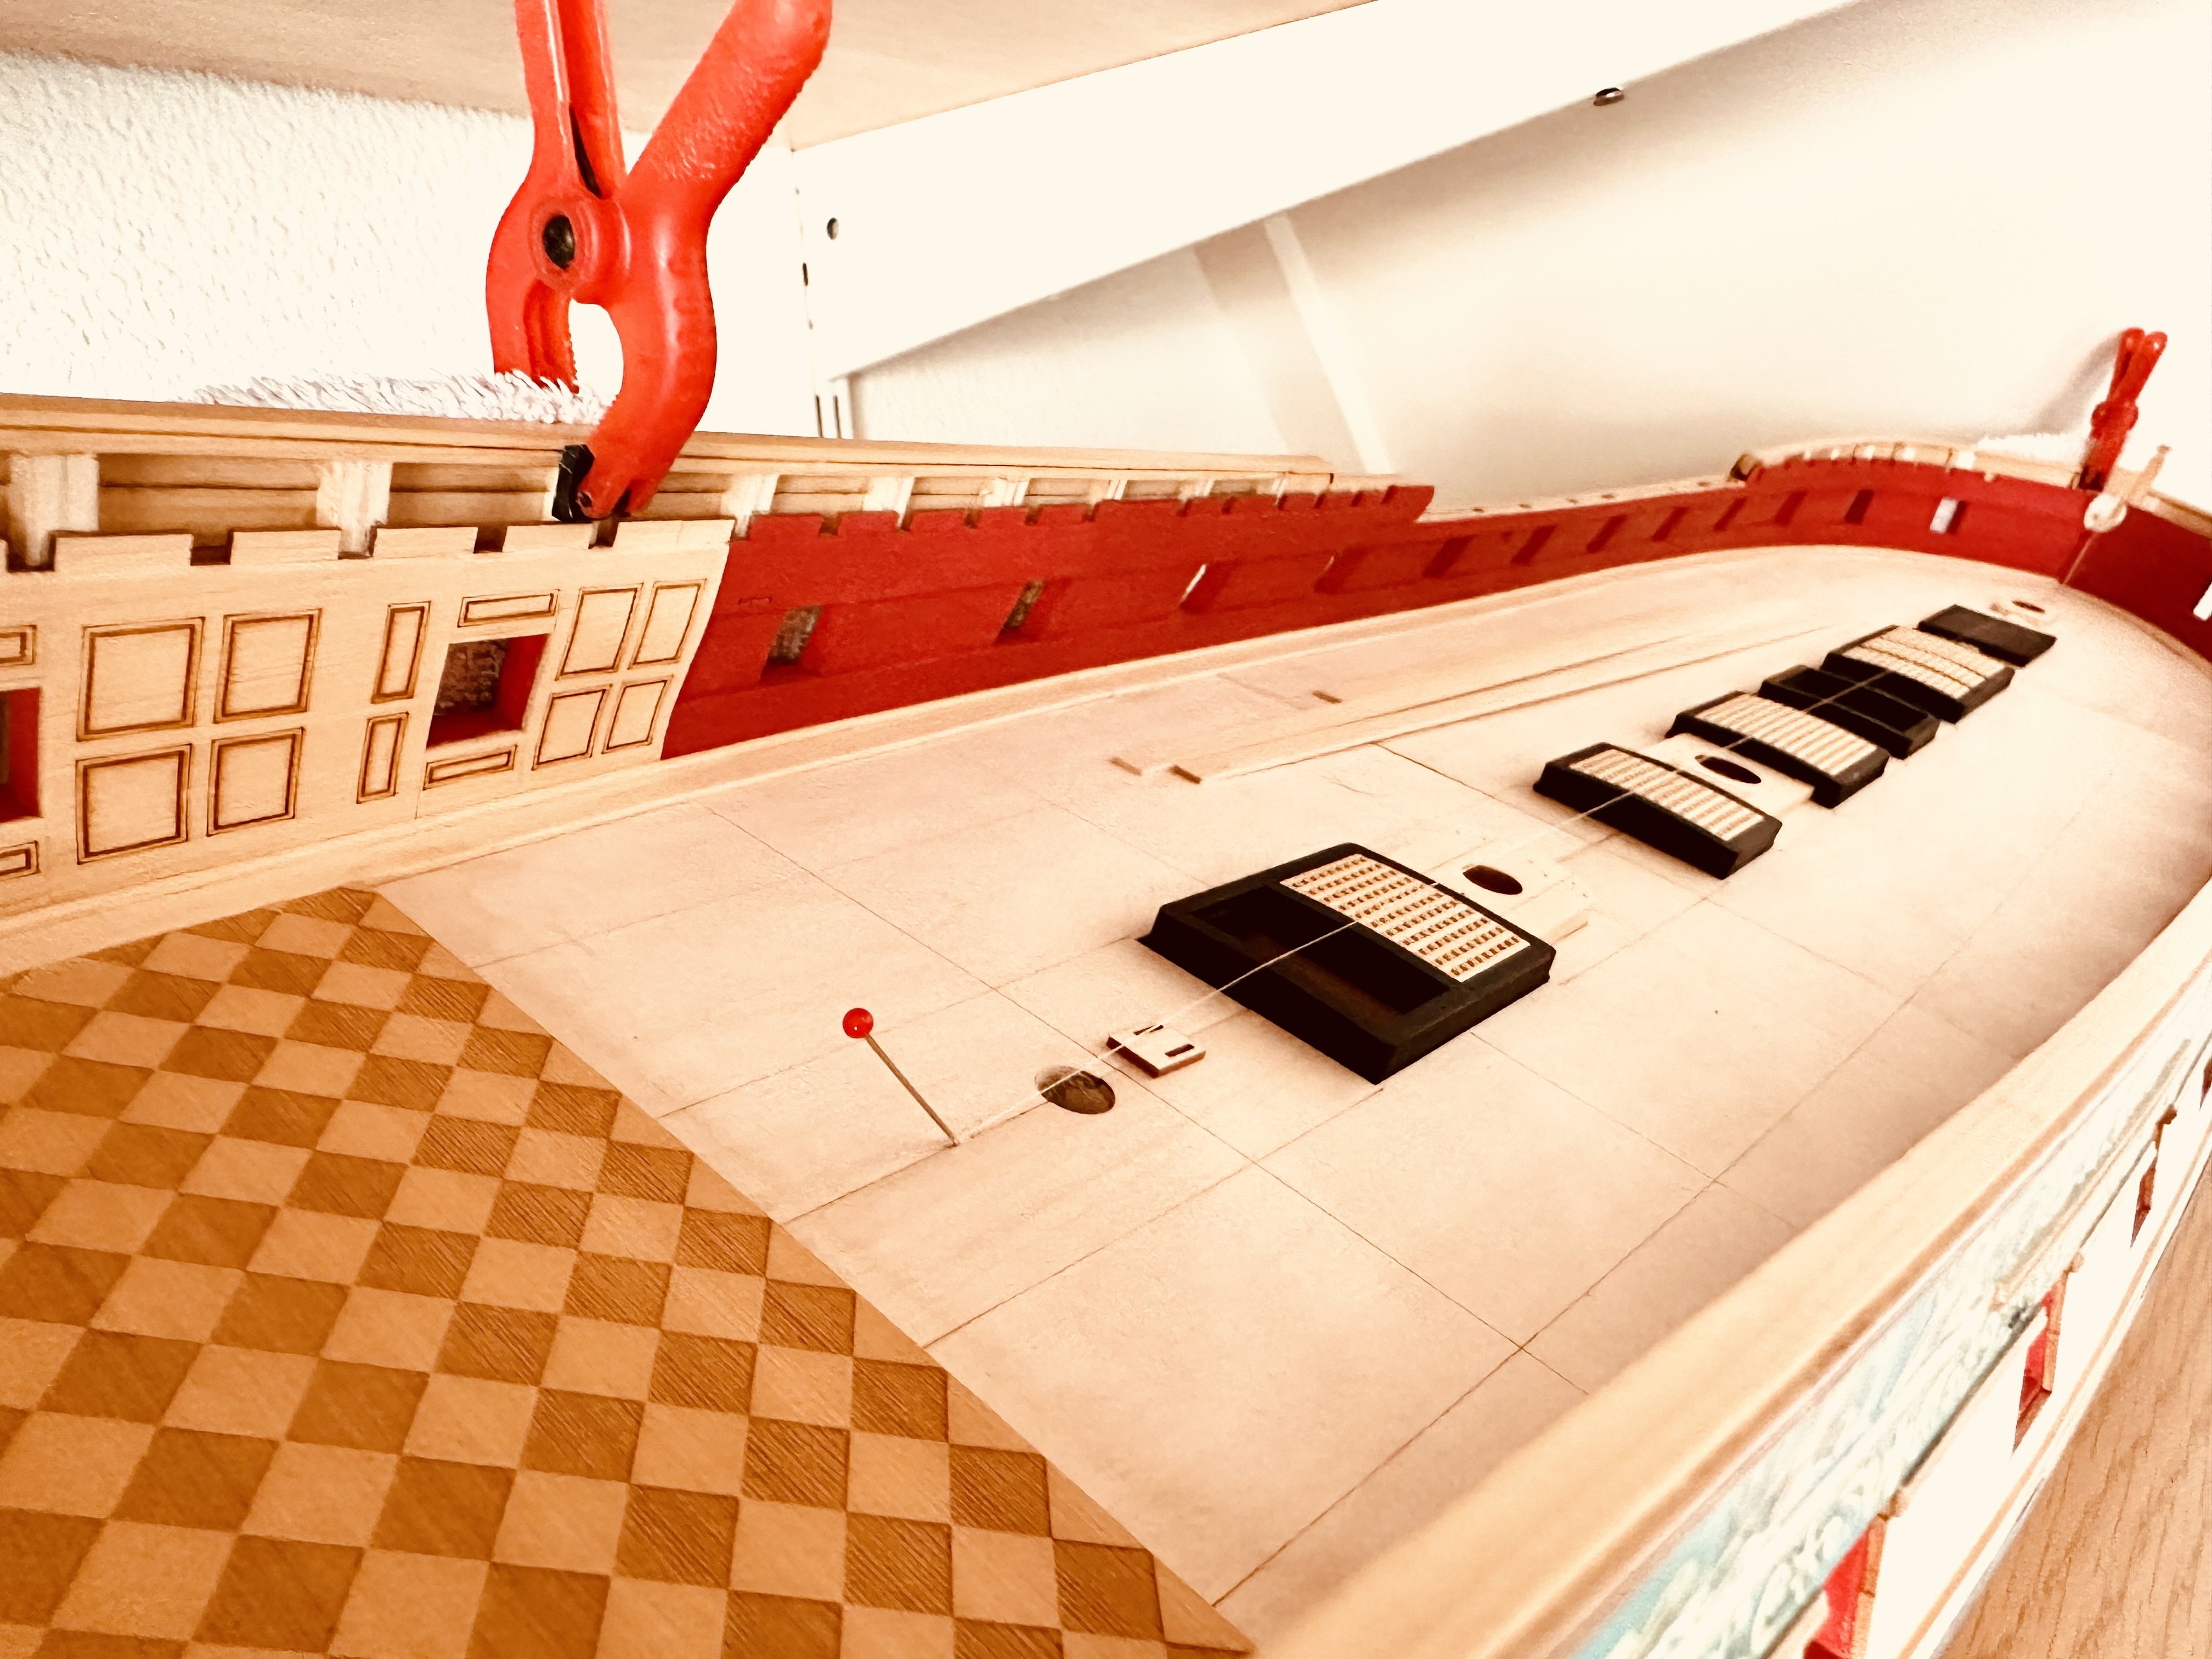
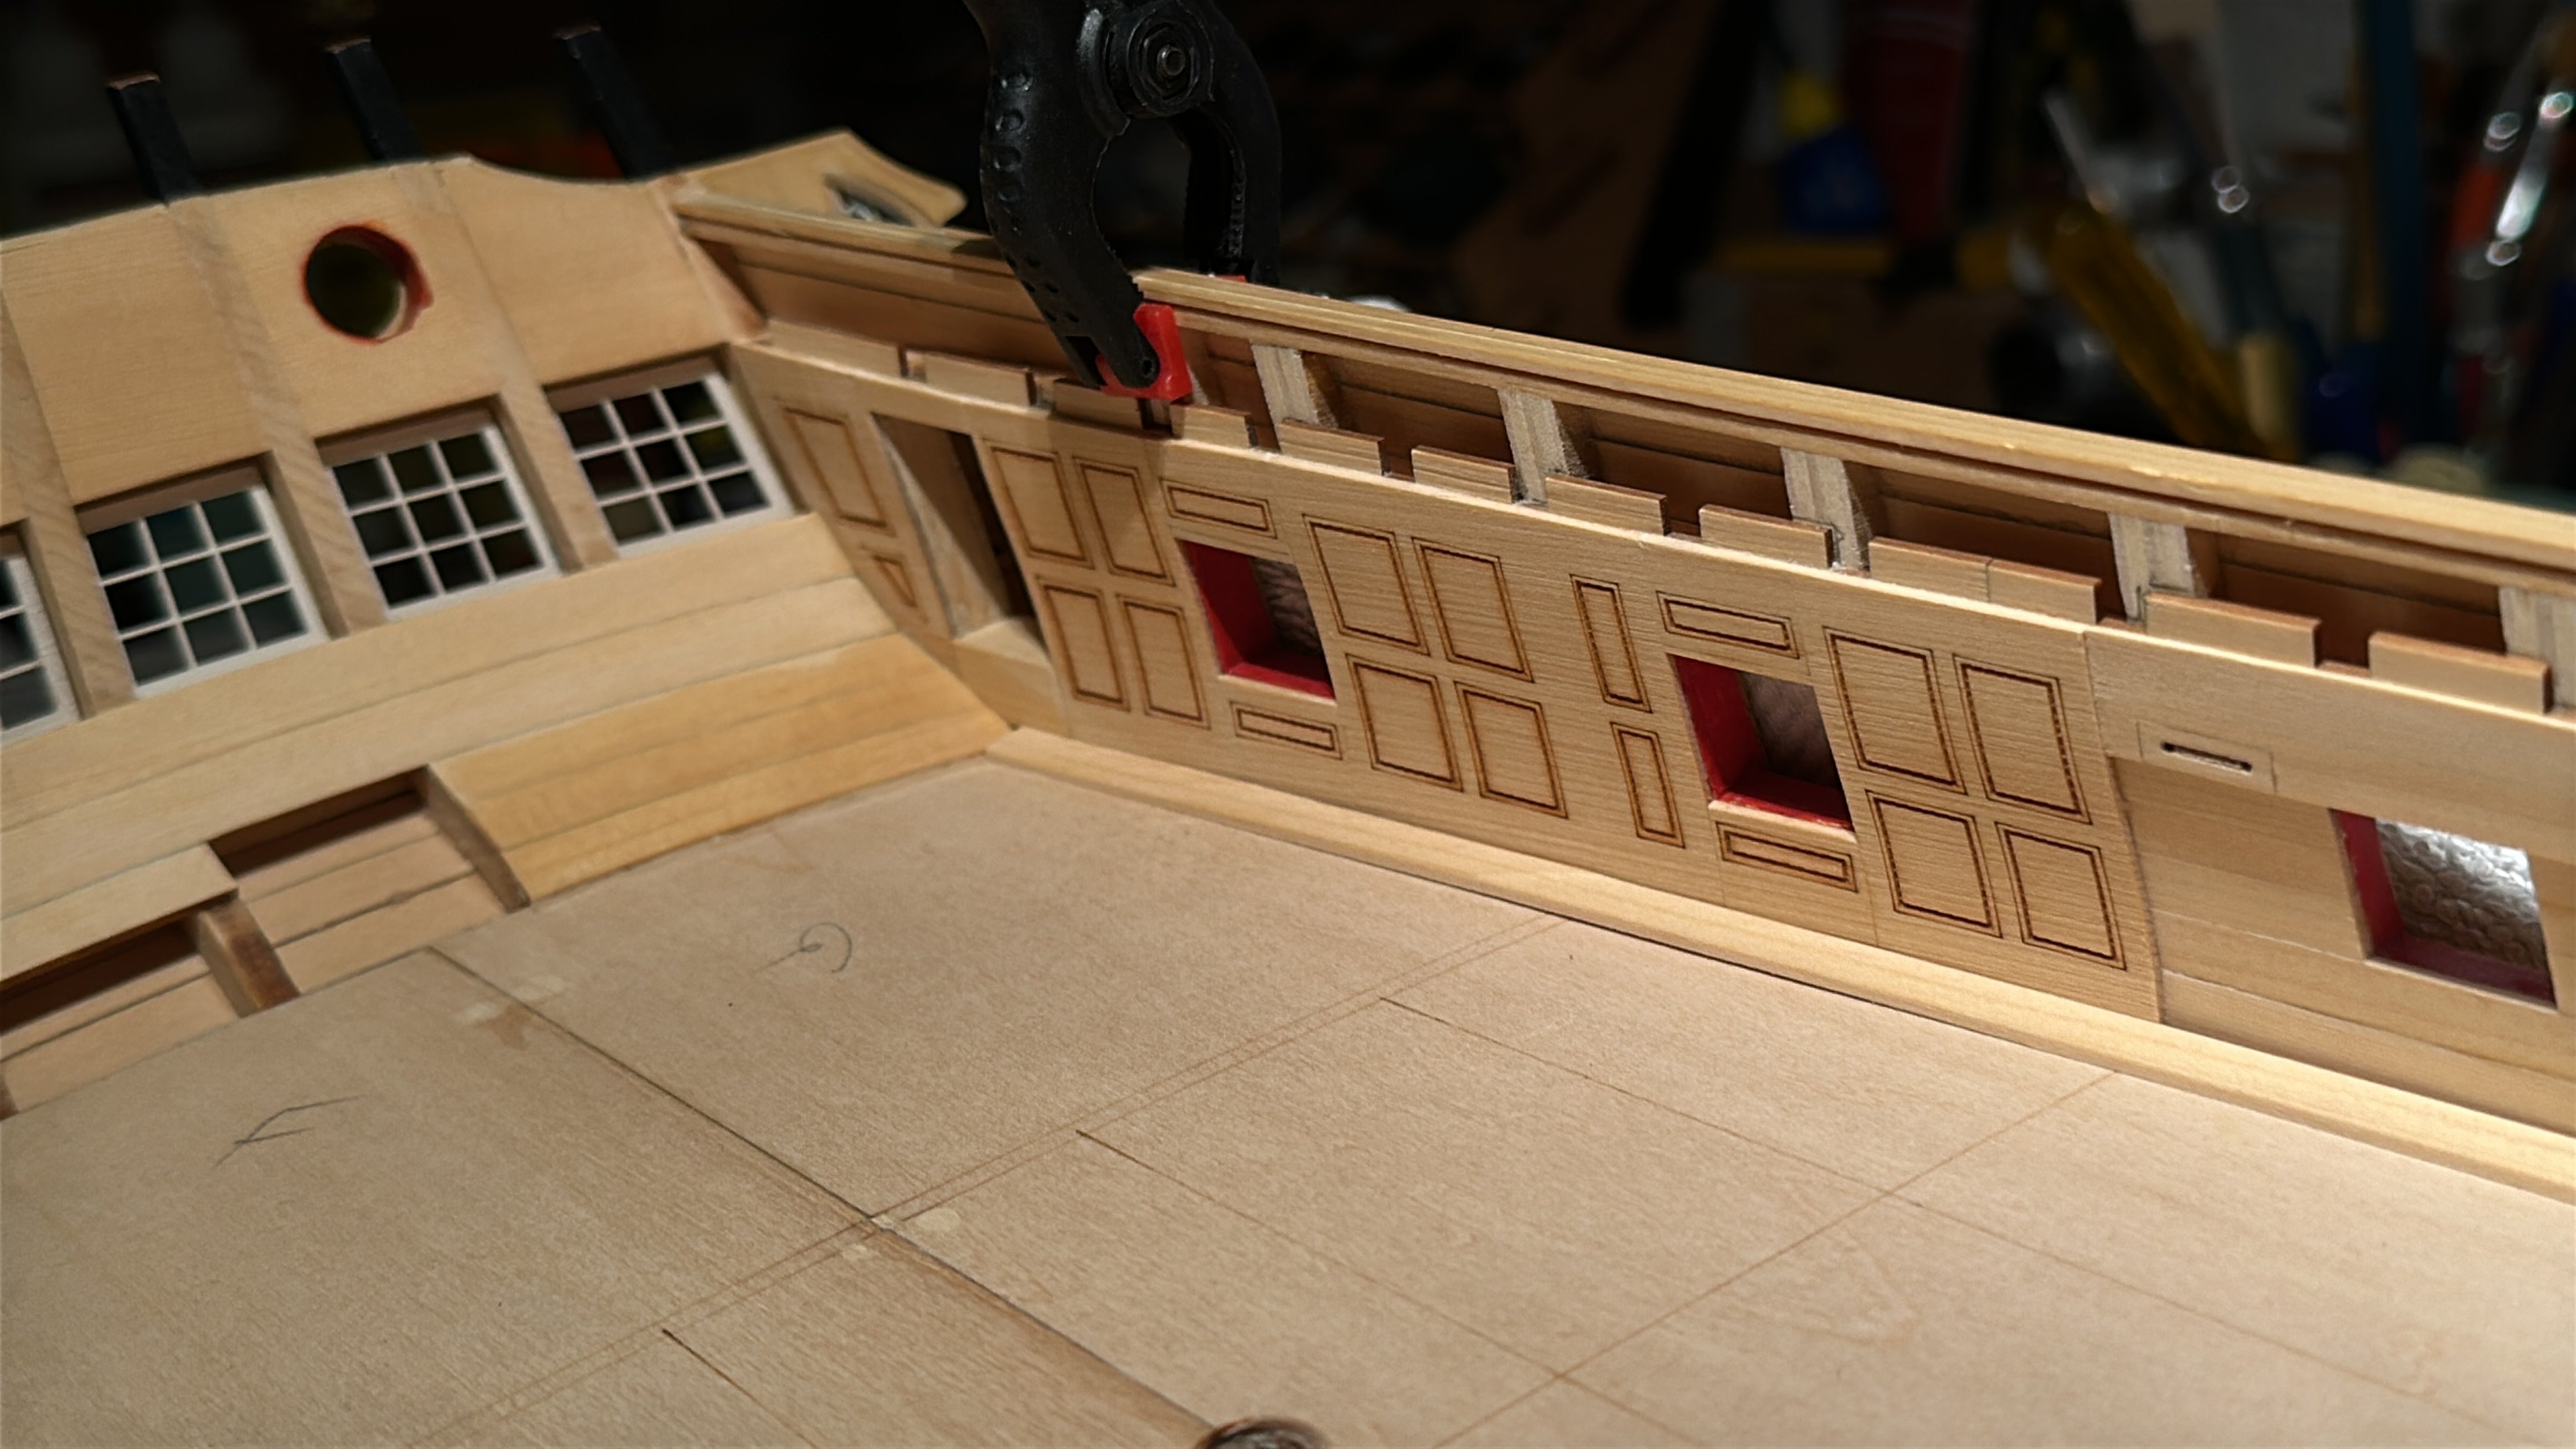
Some minor progress again last weekend. But finally starting planking the deck now! Frank.


-
Thanks for your kind words JJ, very much appreciated in these awful times! Frank.
-
Hi Matt, Any updates? Let's keep the Winnie build log alive, also for newcomers!? Cheers, Frank.
-
Any updates on your stern woodartist? Cheers, Frank.
-
Any update JJ?
-
Hi Joe, It's exactly as Glenn says, nomodel is perect, no part you make is perfect, but when good enough put it on and carry on. In the end you'll have a fantastic model to stare at and enjoy with a noce whisky or thea! But ofcourse, it's your model, do as you please, either way I'll be interested to follow! Frank.
-
Hi Scott, Exactly, and as far I can see, all that's broken now, won't be visible when finished, but try to repair in a good and qualitive way, so take your time to do that correctly and thought through, important for sturdiness later on. Good luck, I think you'll be good! Cheers, Frank.
-
Thanks Rusty, I made some more progress, pics soon to be followed! Frank.
-
Hi, a small update on this thursday… Frank.


-
In my opinion do not see anything that cannot be repaired with some replacements... I would go for a repair, as you have come so far already and which is just all fine! Frank.
-
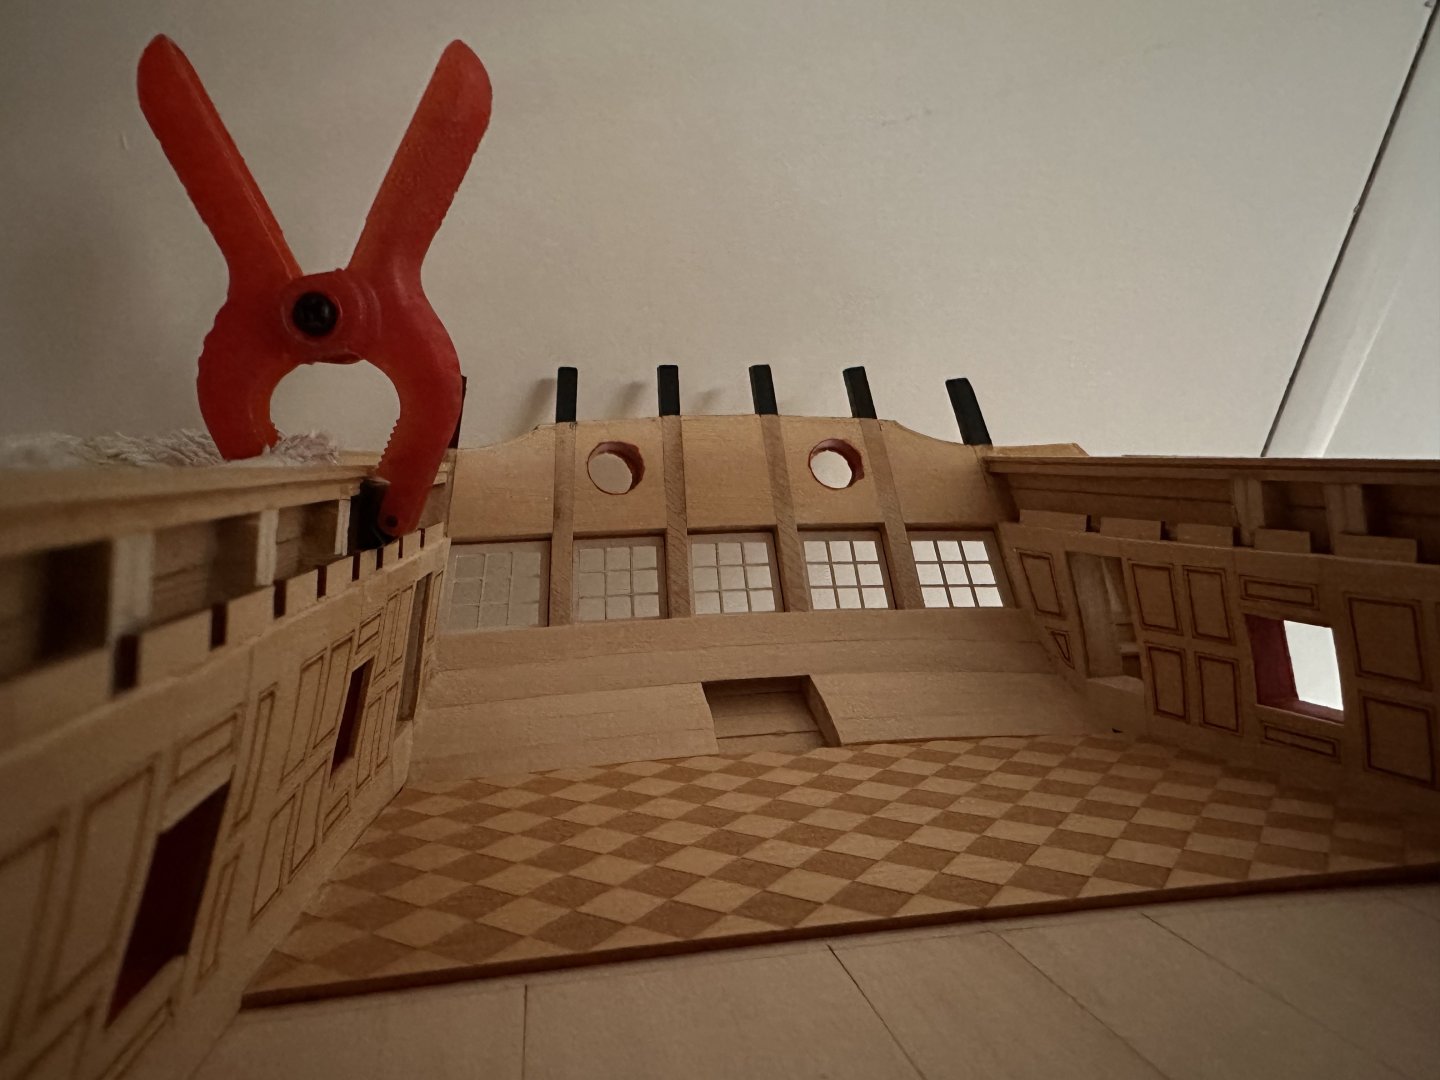
I need a sentinel under my Winnie as well! 😄 🦾 👍 Very nice picture!
- 399 replies
-
- 1
-

-
- winchelsea
- Syren Ship Model Company
- (and 1 more)
-
Congratulations on finishing your superb model of HMS Winchelsea 1764 Glenn! Your build log was and still is an inspiration and a true benchmark for me. I don’t have as much time and your experience clearly not only shows in your building skills, but also in your fast work pace… Once again congratulations and I’ll be following your next project with great interest as well! Cheers, Frank.
- 840 replies
-
- 1
-
-
- winchelsea
- Syren Ship Model Company
- (and 1 more)
-
Happy New Year Edward, Any updates building the cannons? Cheers, Frank.
-
Congratulations Ben, A big achievement and she’s a real beauty! I love the case as well. Minimalistic is my approach to that as well, not drawing attention away from the model! Five years, I think that will be about the time needed for me as well. Cheers, Frank.
- 399 replies
-
- 1
-
-
- winchelsea
- Syren Ship Model Company
- (and 1 more)