

FrankWouts
-
Posts
451 -
Joined
-
Last visited
Content Type
Profiles
Forums
Gallery
Events
Posts posted by FrankWouts
-
-
Great the chimney is safe now Rusty and great tip keeping the inner curvature of that deck planking the same and symmetrical while adjusting the outer curvature to the inner bow.
I spent most of my time measuring to keep as symmetrical possible portside and starboard...but in fact when getting the micrometer at it, our wooden models
are asymmetrical wonders (they're not plastic kits as Chuck said)...and yet they're beautiful, specially yours with these warm pear tones and teints of red...
I love your build!
Frank.
-
-
Thanks all for the compliments and likes, it makes me feel good and eager again to carry on!
I've set myself a hopefully realistic goal to have it planked sometime around Christmas, New Year's Eve.- Rustyj, westwood and scrubbyj427
-
 3
3
-
On 9/29/2022 at 6:32 PM, dvm27 said:
We all know about the major sea battles but I believe I read somewhere that most of these vessels spent the majority of their careers without engaging in active battles.
Beautiful work Glenn!
Mostly blockades or sieges of harbours, effectively enough...though I believe Toulon could be recaptured on the English/Spanish in 1793 by good old emperor Napoleon without firing a single shot at any English ship in harbour....so no harm done then to any mouldings too, which was a good thing!
- hollowneck, dvm27 and Dave_E
-
3
-
Beautiful work Glenn!
I'm again astonished how you can keep up this pace of working and still deliver such quality work!
You much have six fingers on each hand....
Frank.
- Vladimir_Wairoa and Dave_E
-
2
-
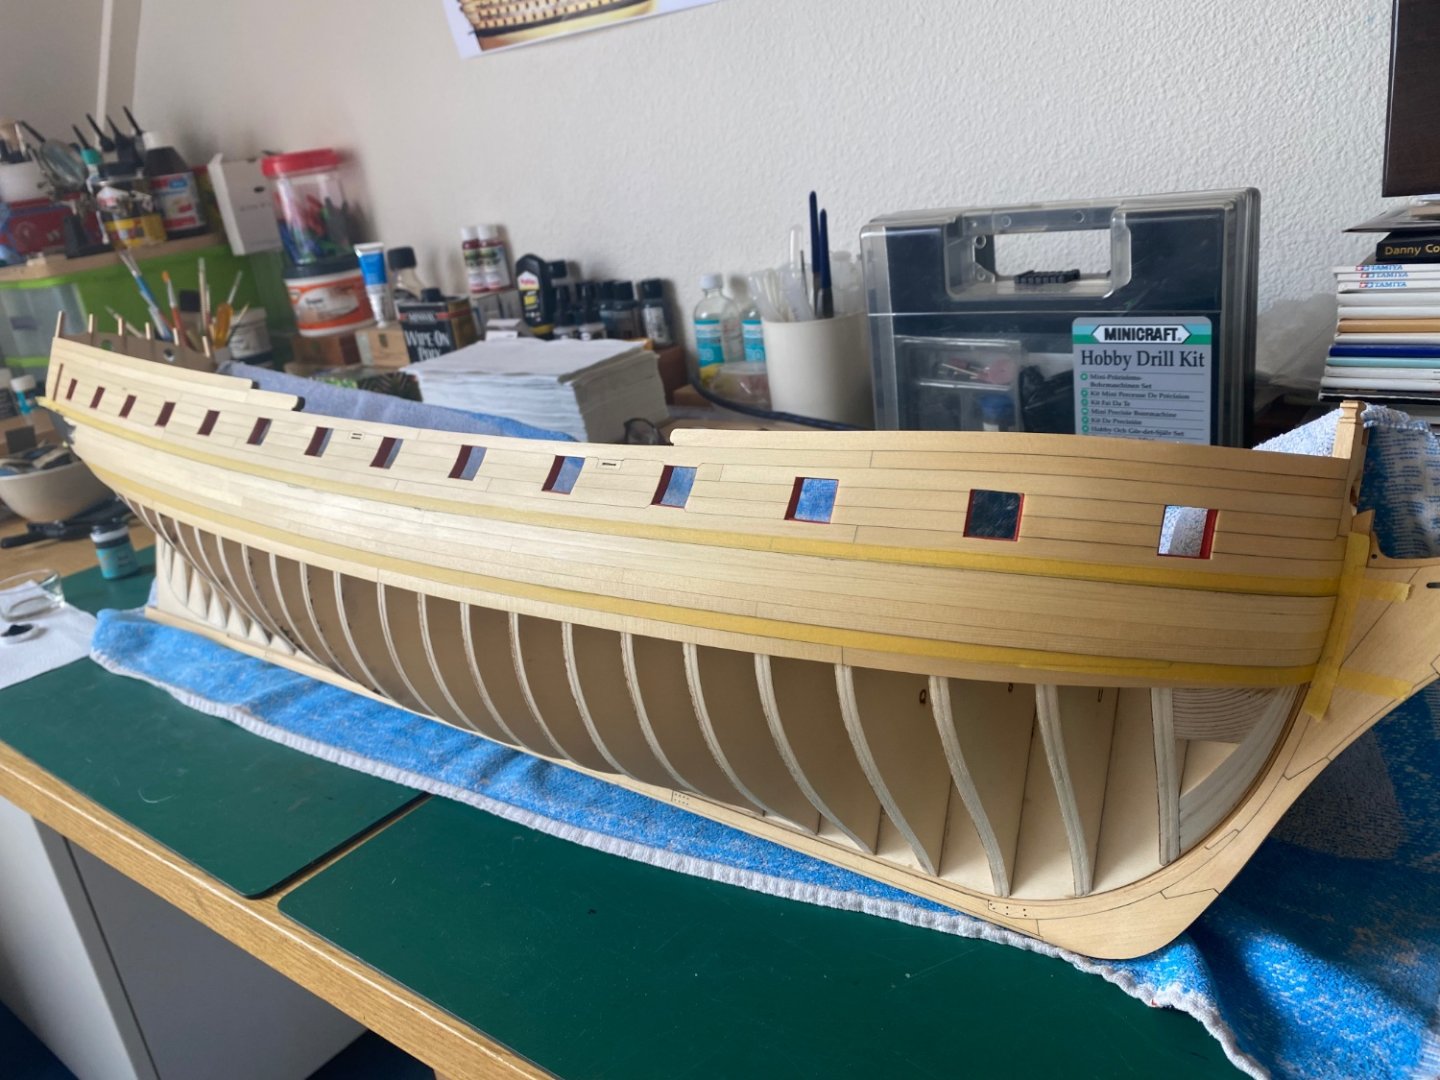
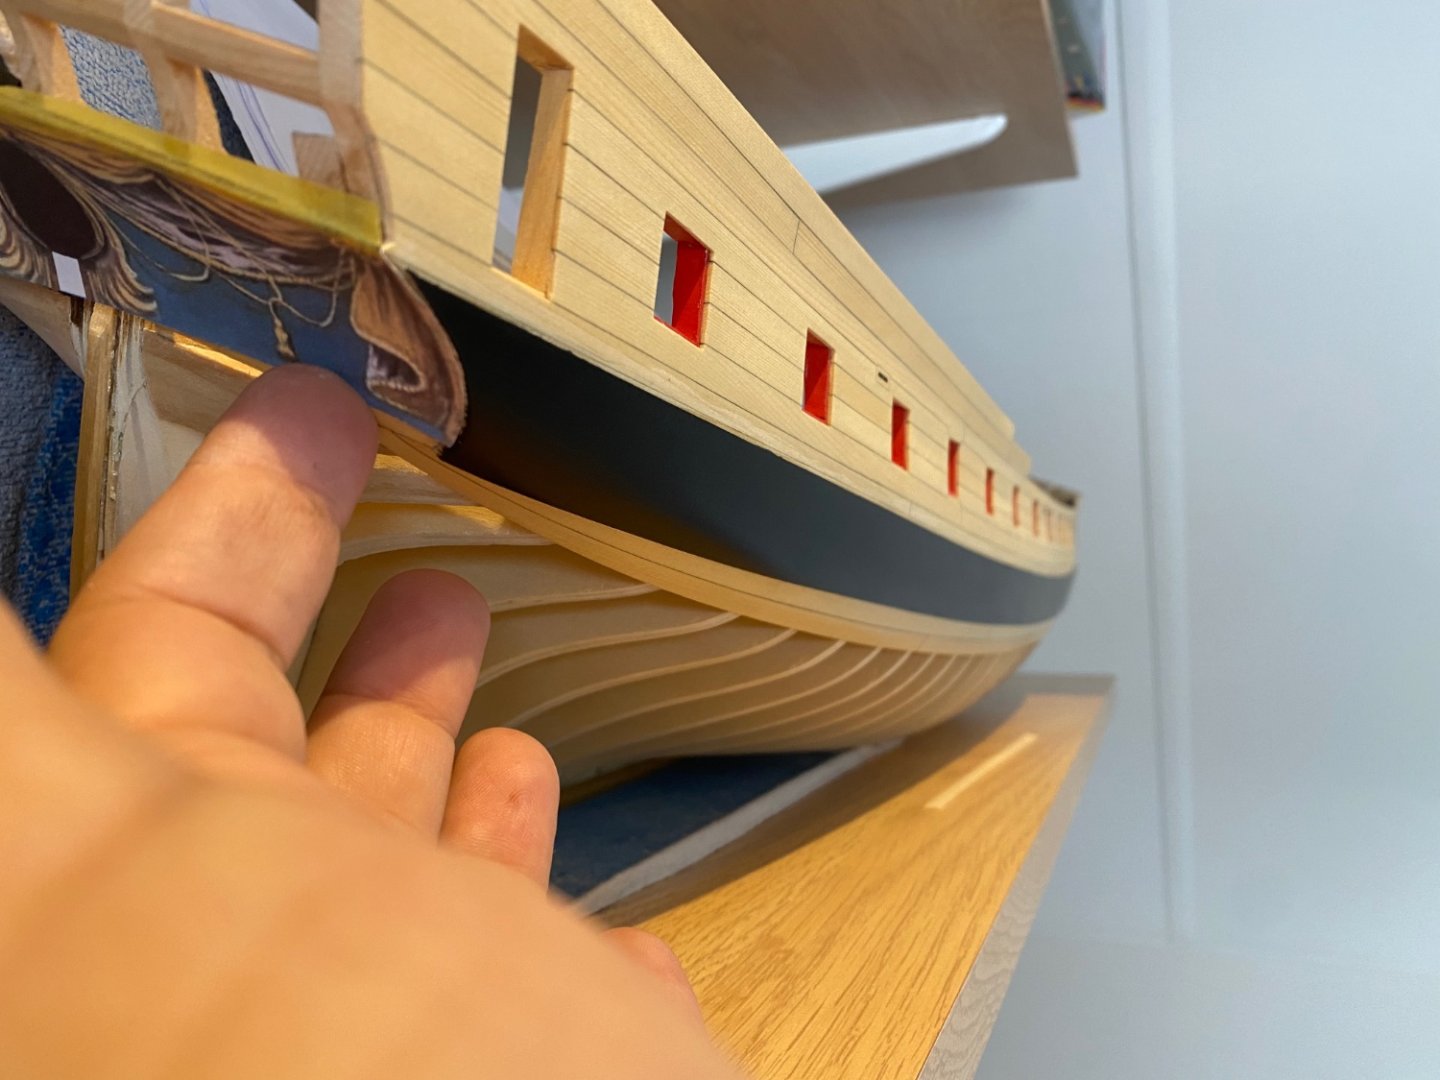
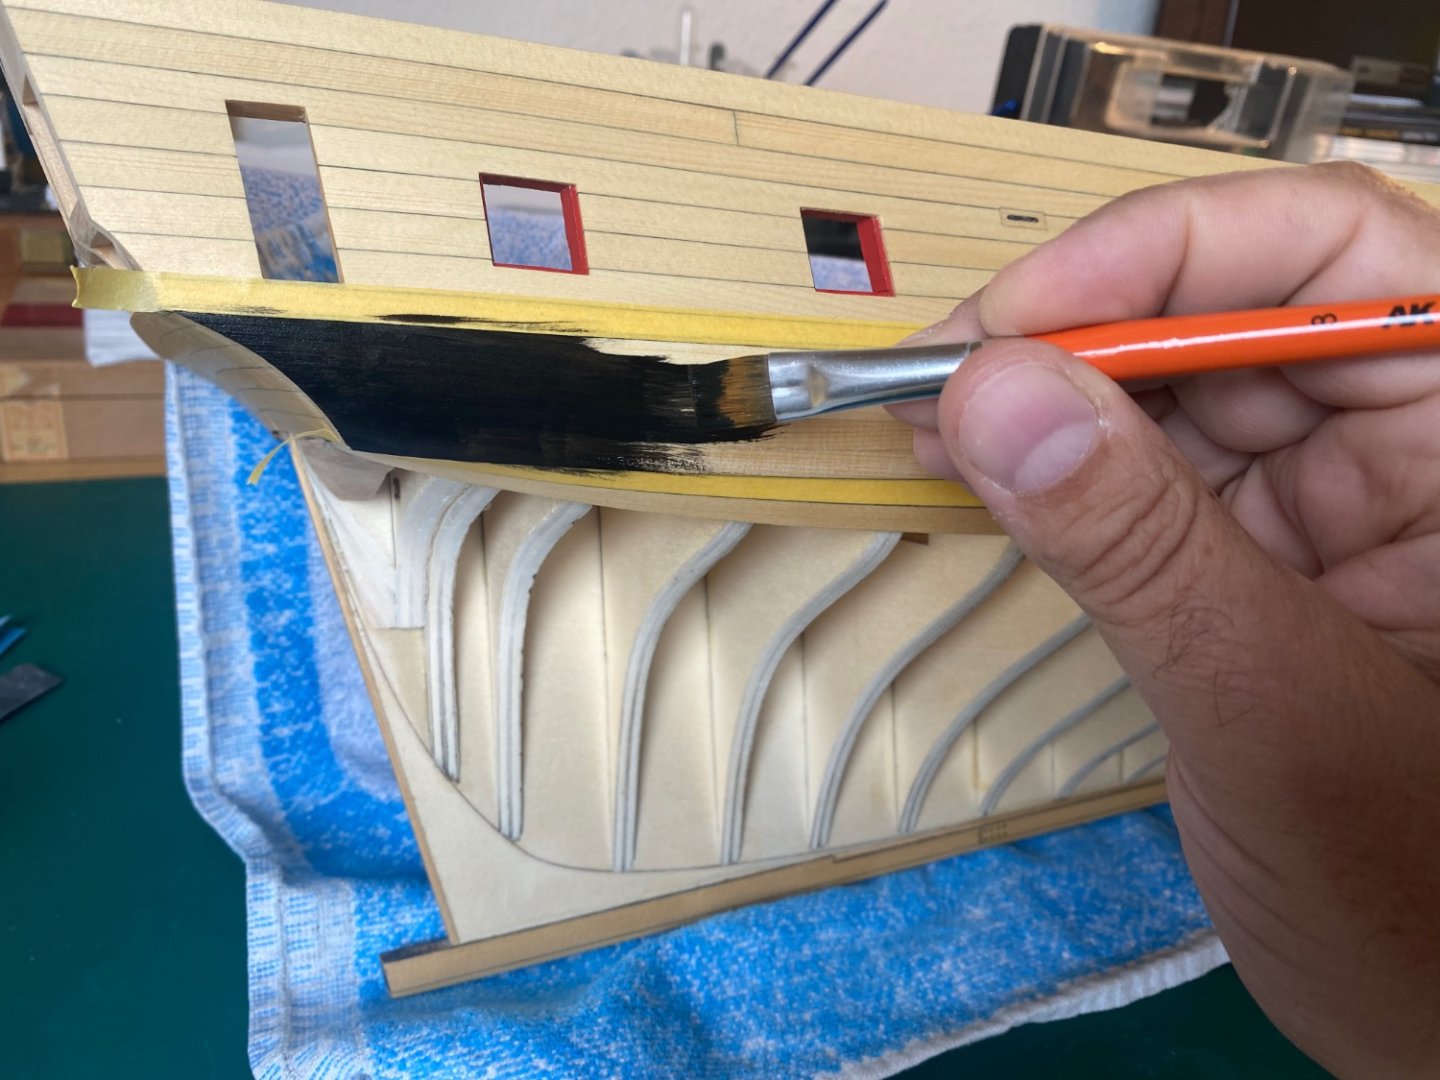
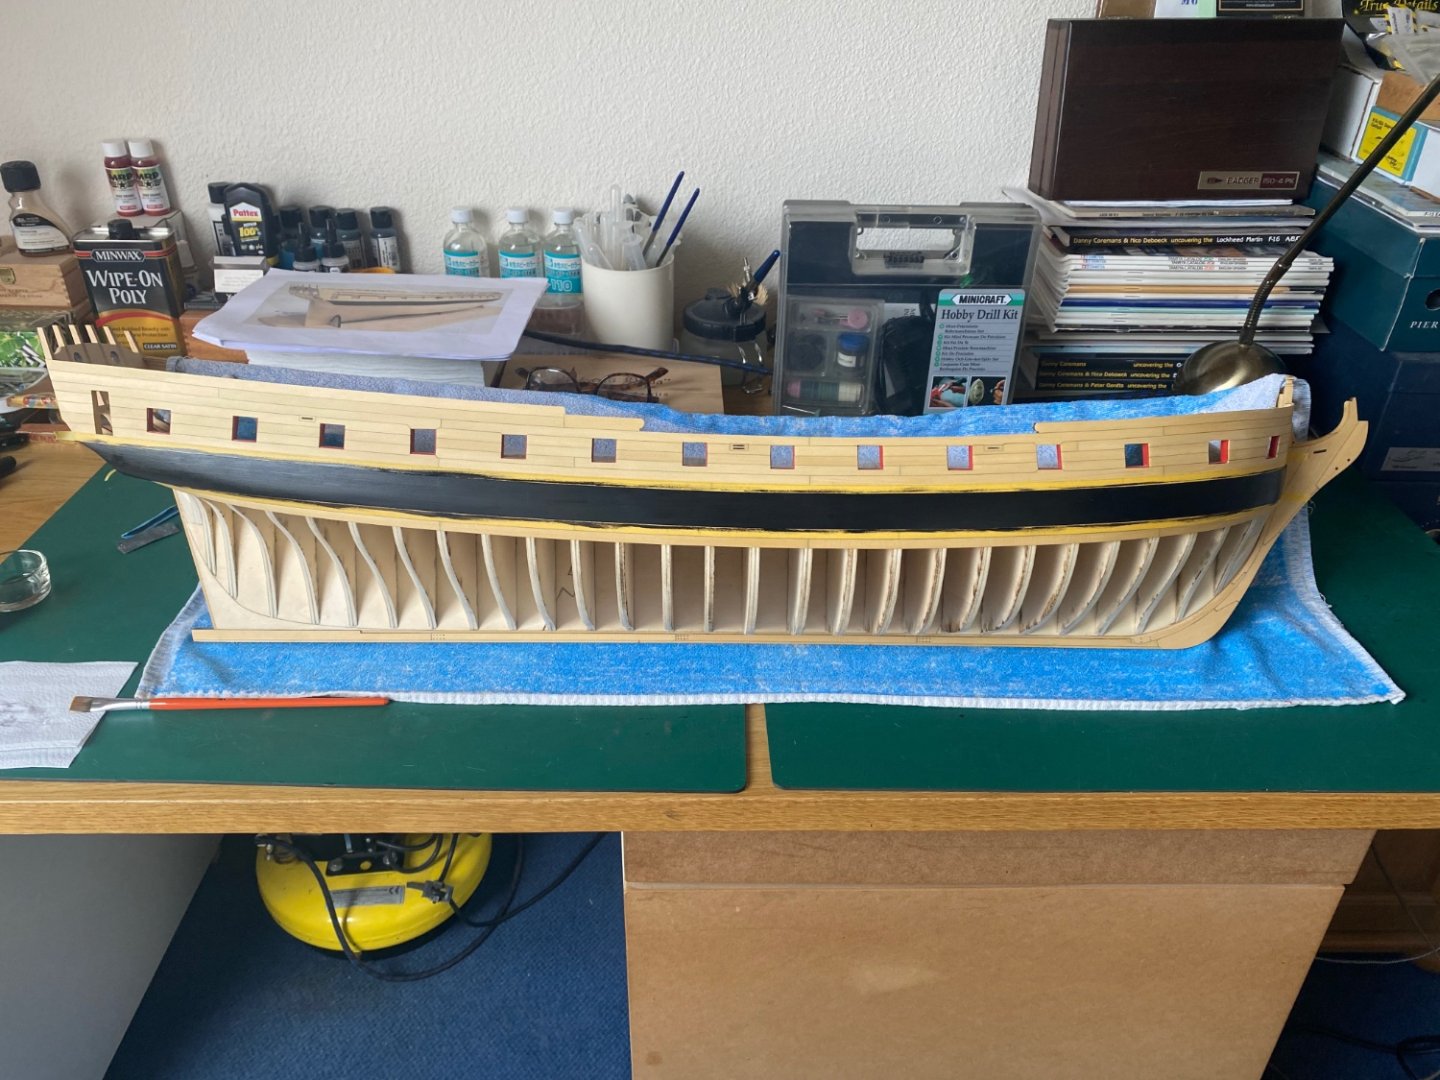
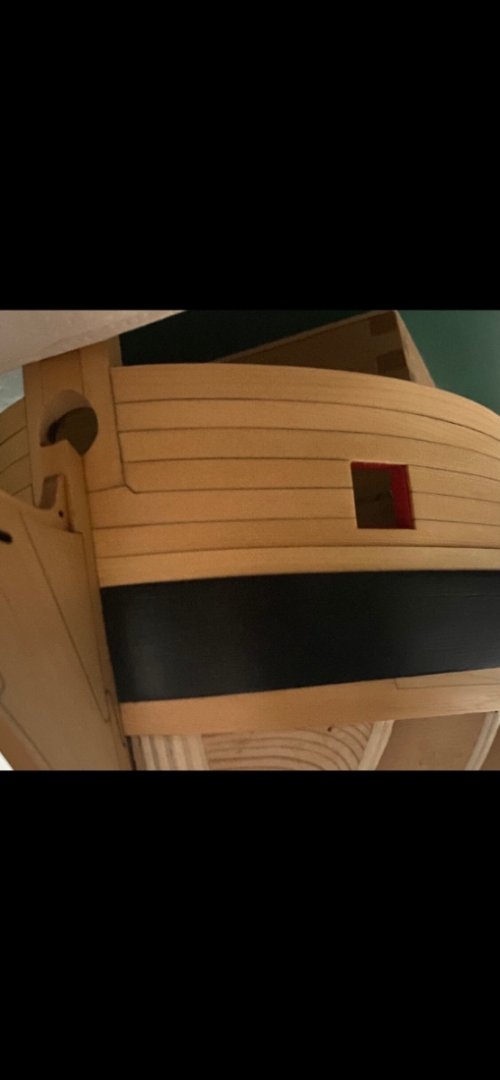
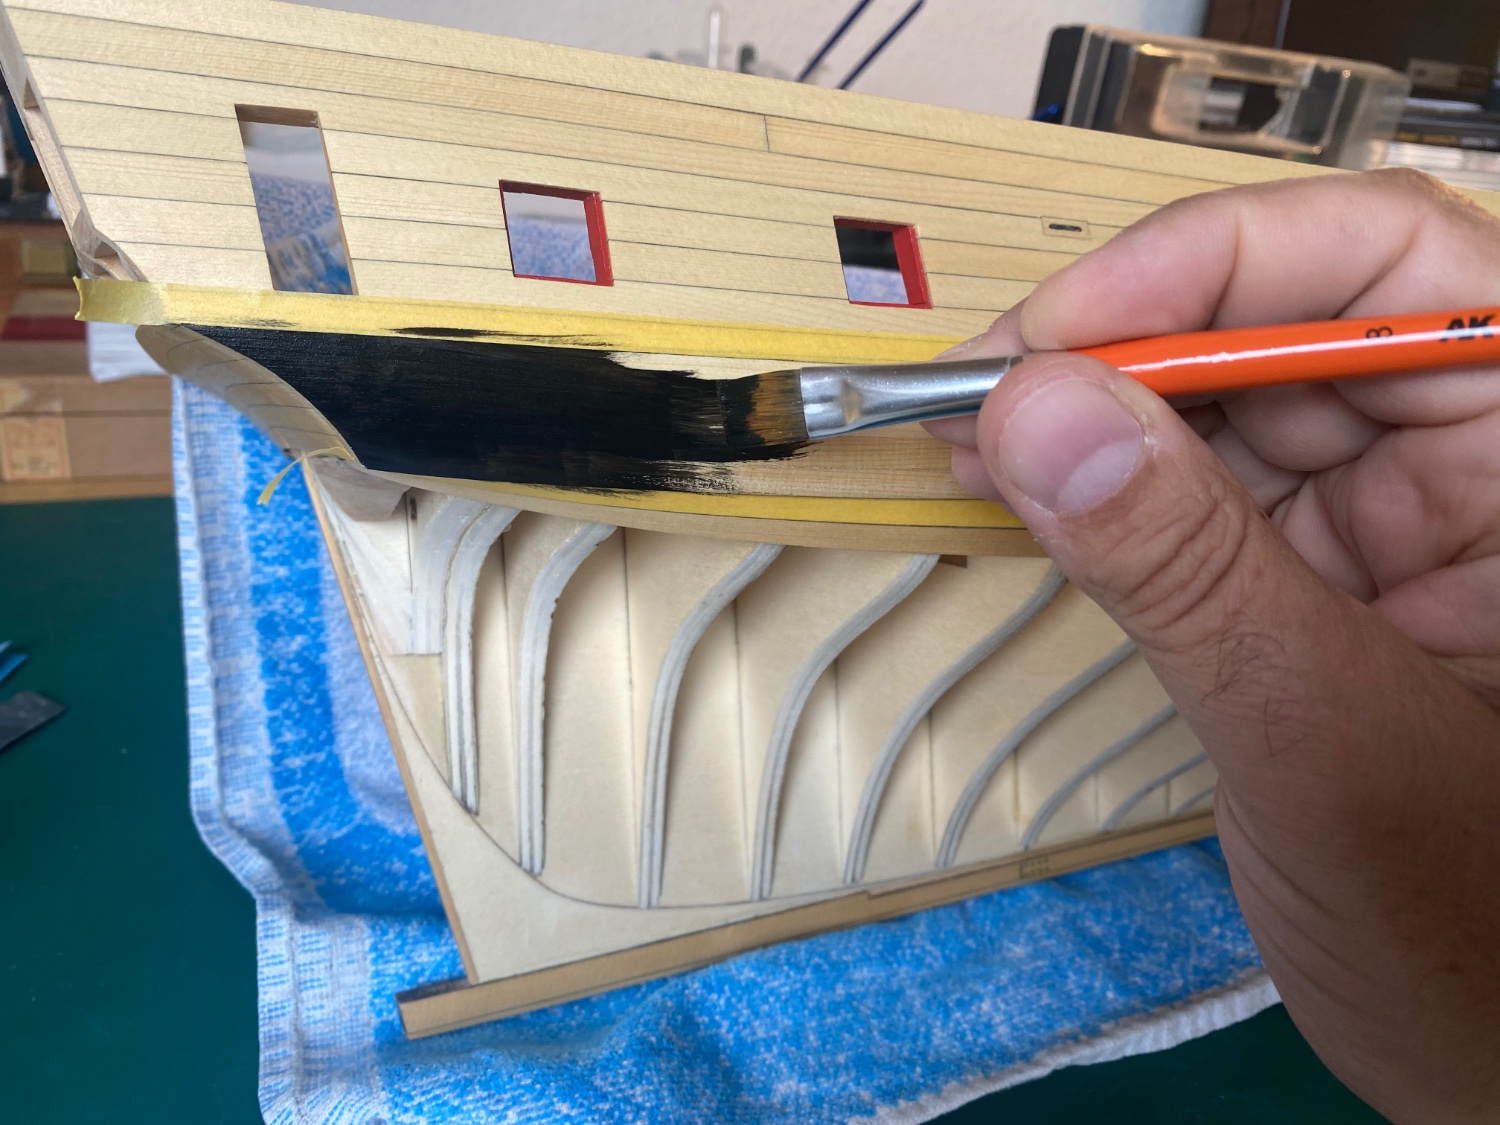
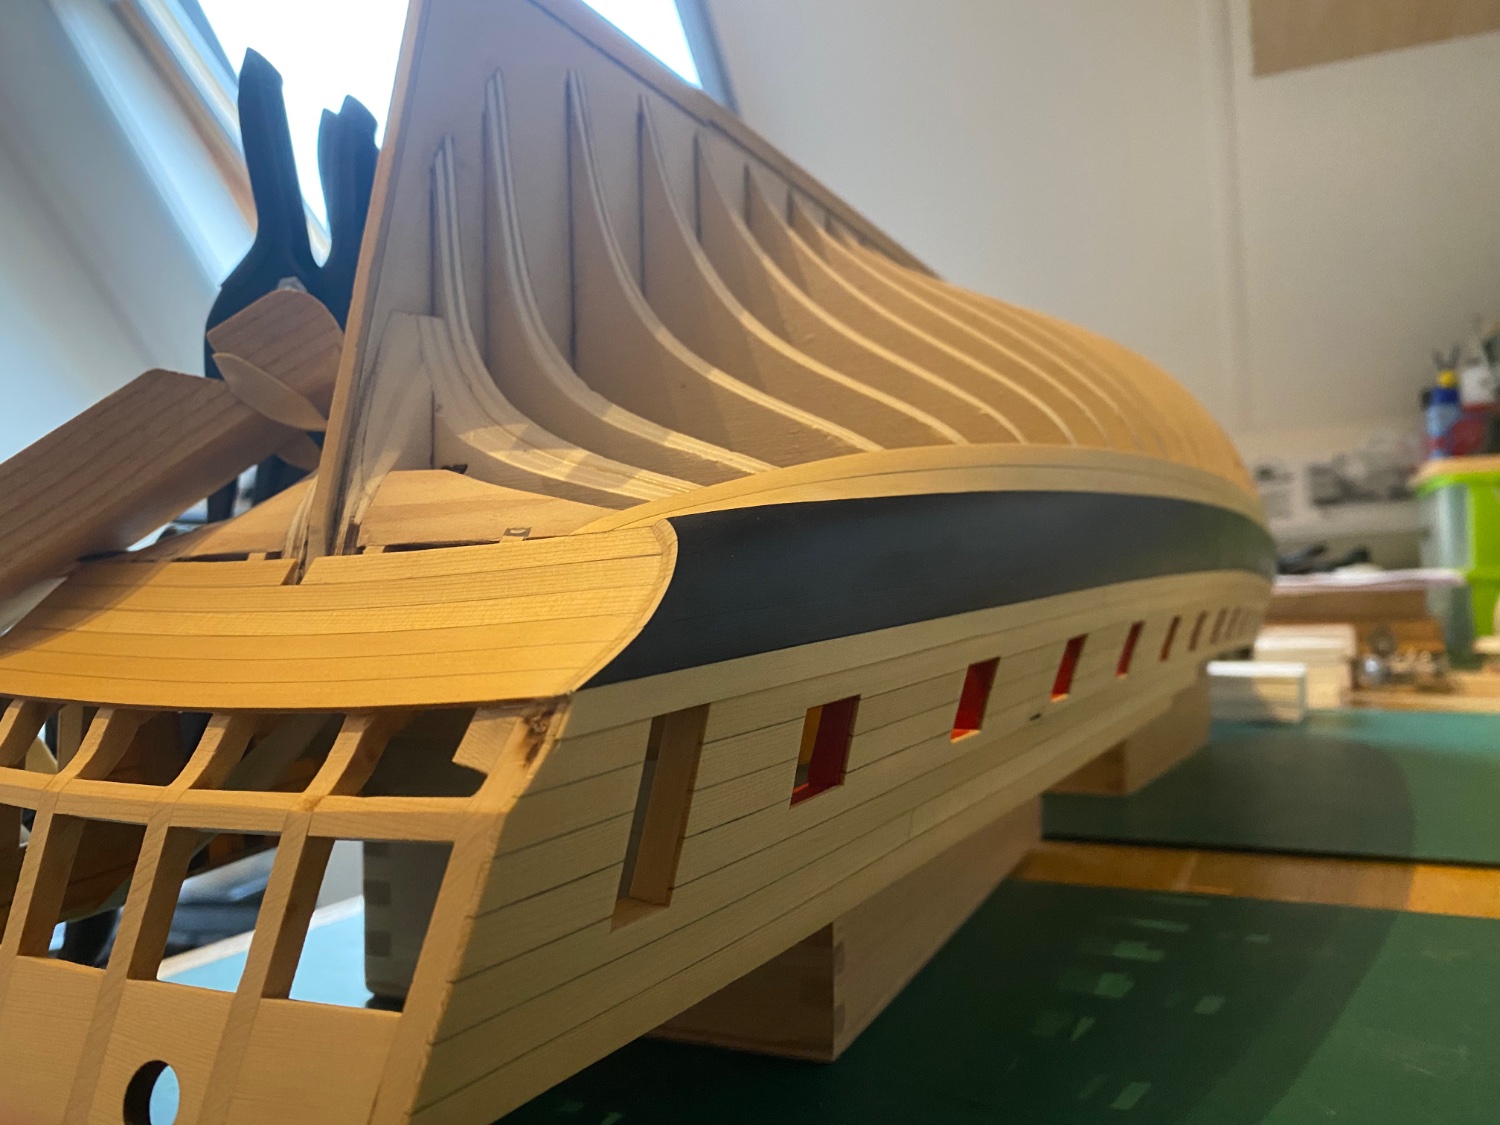
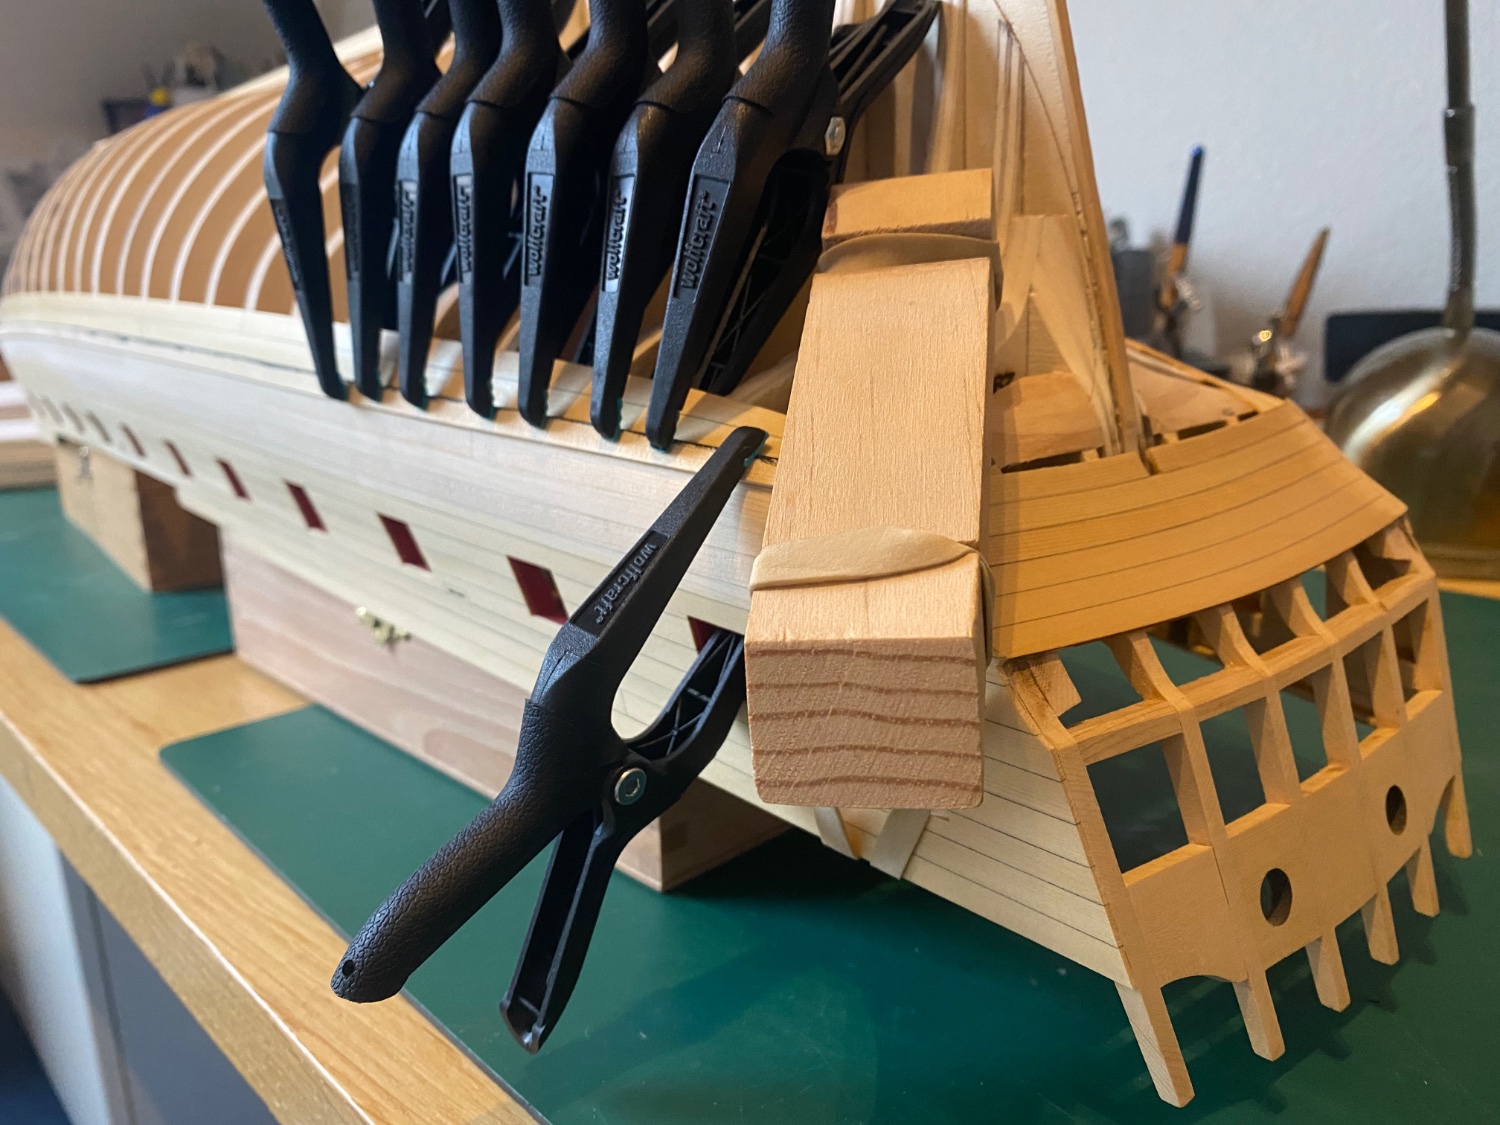
I’ve been away for a while with work, family, holidays, but am still very much committed and finally have some spare time to pick up my Winchelsea project again. First learned to use my Byrnes thickness sander, switch sandpapers with different grid and how to sand sheets and strips to the correct thickness without shooting sheets and strips through the room….I learned this by experience ofcourse…
Both starboard and portside whales finished and painted now.
Only portside blackstrake still has to be and will be done this week.
Frank.


-
-
Hi Gary,
I may understand you wrong, but are you going to paint the first layer of whale planks black? That's not necessary, you only have to paint the second layer of planks.I think it's more necessary to sand the two outer stern frames thinner at the top, check the dotted lines on the plans of the stern framing.
It might be the picture, but in the picture the top of the outside of the outer stern frames seem a little too thick still. This will give problems with the positions of the outer two stern windows as I understand.Frank.
-
Beautiful work Rusty,
I love the warm colors on your Winnie, and on such an exact and clean build they're a treat for the eye!Frank.
- hollowneck and Rustyj
-
2
-
-
Hi Gary,
Beautiful clean build and very inspirational the way you used the balsa fillers.I'll be following your build with great interest.
Frank.
-
Hi Joe,
Great to see you tackled the transom in the right angle and curvature.
Your clear picture says more than your 1000 words! 😉
Frank.
-
-
The thin window templates numbered 1 to 5 are a help for the stern fillers and window sills to line up exactly from left to right, so that your windows will fit exactly and line up nicely both horizontaly and vertically. The templates 1 to 5 are exactly the same size as the windows.
Try placing them now, and most import: before you test fit the windows. You might have to chisel a bit away form the fillers and / or the window sills, as the line from left to right where the top and bottom of the windows will touch are not in line exactly thusfar to my eye, but this could be the picture perhaps.
I found this the most difficult part, to both have a rounded stern with the six stern timbers, placed in the correct angle and distance when viewed from the sides, while a the same time line up the fillers and sills where the windows will come inbetween...
I'm sure you'll do great, as everything looks very, very good and clean on your build!
-
Welcome to the group and enjoy your build. That's some superb preparation!
-
21 hours ago, cdrusn89 said:
Thanks for the "comeback" Frank.
I have been considering using balsa for the fillers but am not sure how far up the gap I should carry them. I saw that you stopped at about the lower mark on bulkhead W. I was thinking about going all the way up to the top of the bow fillers/bulkhead W deck level but am not sure if that will cause some problem later.
From the deck downwards, there won't be anything in the way when I look at other build logs. No special reason or logic: my left over piece of wood just wasn't bigger than this... Balsa would be fine I guess, though it sands away more easily than the plywood sides ofcourse...so take care there won't be bumps in your fluent 'flow'....
-
Hi all,
Is there finally any news on a release date?
Frank. -
On 6/21/2022 at 3:31 PM, cdrusn89 said:
Thanks Frank.
I saw from your build log at you added additional fillers at the bow. Did these work out? I am considering doing the same.
Hi Gary,
Yes, at least for me they worked out, as I could not imagine exactly how the curving should diminish from being round at the top of the bow to sharp and almost hollow at the bottom.
I've tested this gradual transition from top to bottom with some leftover scrap planks and I should be okay and have a nice gradual flawless transition when planking further down to the bottom.
Very experienced builders could perhaps make this transition when planking, but I though I could not do that and perhaps have ugly bumps in my bow.I'm not experienced.... I build a Corel victory 30 years ago and never was able to finishd it (though I still have it).
With all the flaws and not having all parts from the kit anymore I don't feel like it as well...I'll start a new one some day in the future, perhaps the coming 1:64 Amati one...
Frank.
- Oldsalt1950 and cdrusn89
-
2
-
Hi Joe,
When you inspect my build log on the transom you'll find I had to do some acrobacy with clamps and long strips to keep the right position on the middle two transom frames to get it right and get that gentle curve in the transom...
It came out fine in the end, so if I can do it as a beginner, I'm sure you'll do a very fine job.
Frank. -
That's some very nice fairing and refined steady hard work!
Frank.
-
Hi Joe,
That looks really great! It's great to look, read and learn in this build group I think. Though you might be much more experienced than me ofcourse.
I'm slow as well with little build time per week due to work and family obligations (three daughters)...Frank.
-
-
-
Brilliant those quarter deck railings!


HMS Winchelsea 1764 by Frank Wouts 1/48
in Member Build logs for the HMS Winchelsea
Posted
Thanks Fred, I’m glad it looks that way to you, but I know it’s not ofcourse, every hair of an inch that’s not the same height, width or length portside compared to starboard I can point out…
I’m my own worst critic too…
Frank.