HOLIDAY DONATION DRIVE - SUPPORT MSW - DO YOUR PART TO KEEP THIS GREAT FORUM GOING! (Only 24 donations so far out of 49,000 members - C'mon guys!)
×


steamschooner
-
Posts
369 -
Joined
-
Last visited
Content Type
Profiles
Forums
Gallery
Events
Everything posted by steamschooner
-
 Eric, I think you nailed it on the deck planking, looks great! Steve
- 599 replies
-
- 6
-

-
- sidewheeler
- arabia
- (and 4 more)
-
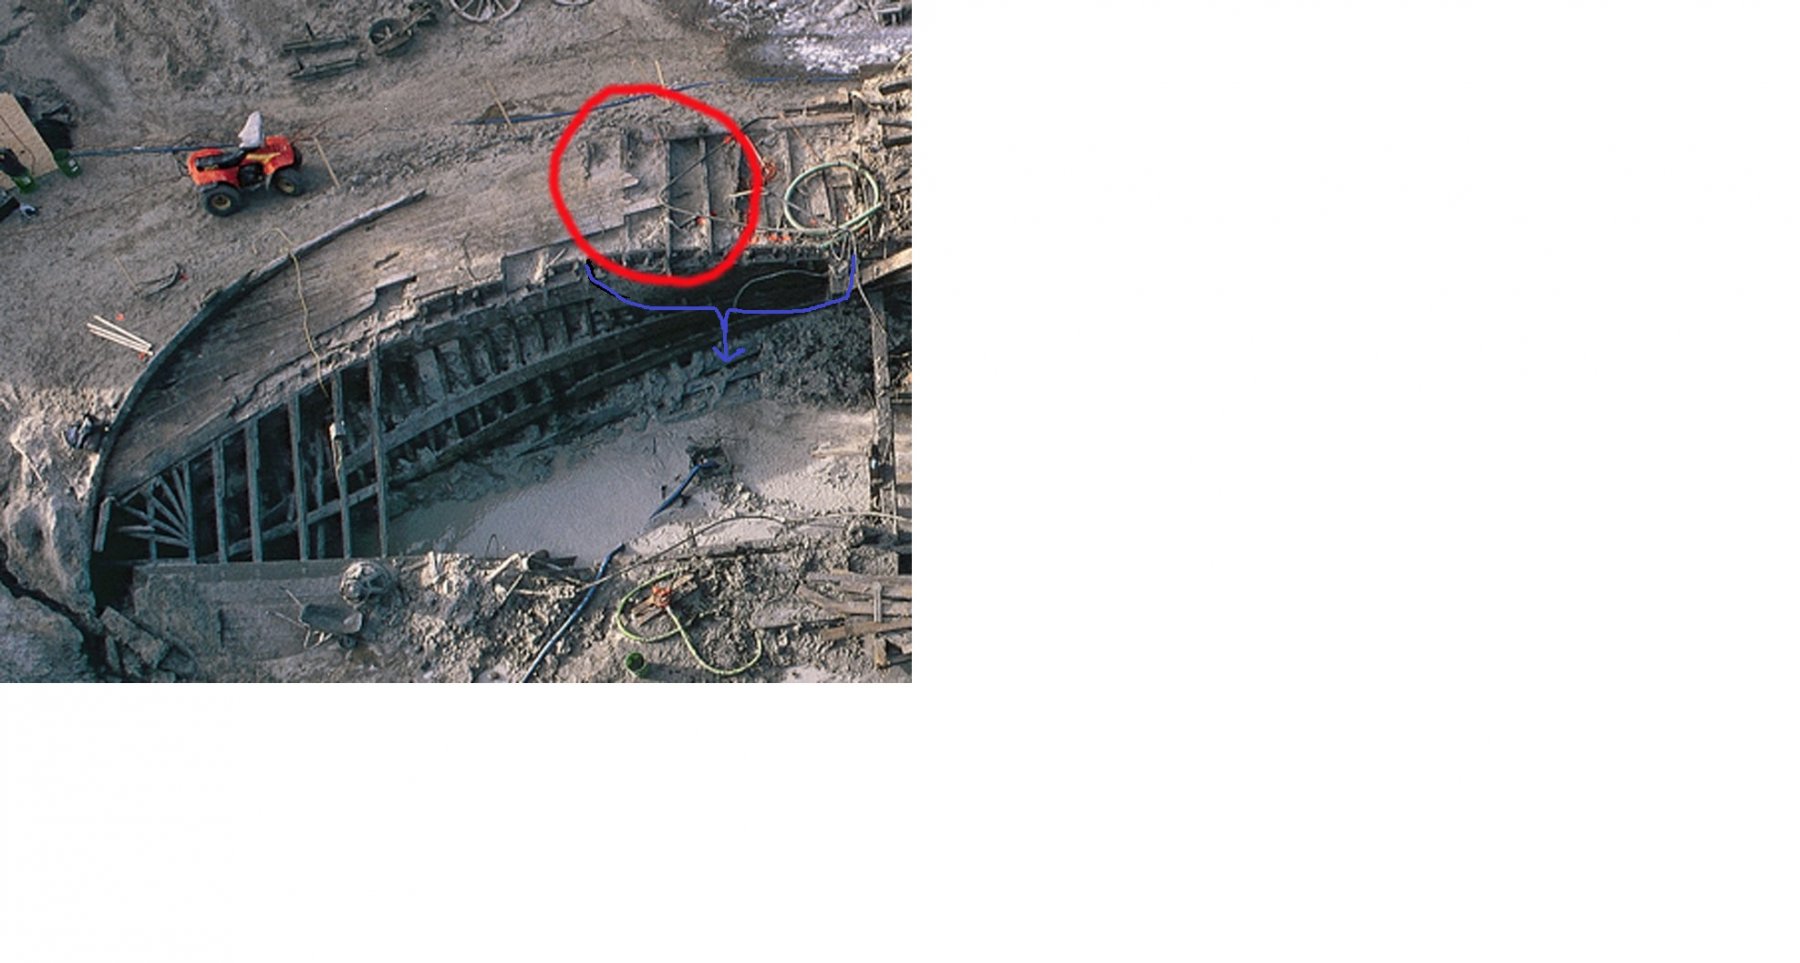
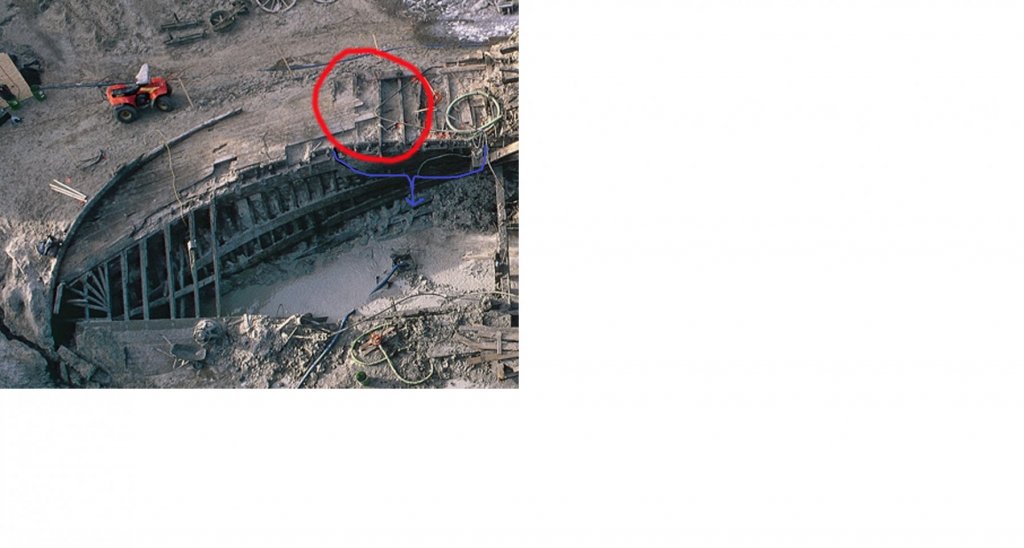
Eric, I was thinking the area in blue looks like it has been pushed in somewhat. More so on the right near the paddle box. Planking would still be at a angle on the guard timbers. You are right that it seems to be a unusual way to plank.
- 599 replies
-
- 5
-
-
- sidewheeler
- arabia
- (and 4 more)
-
Eric, It also looks like the hull is pushed inward at the paddle box making it look like the decking would need to change direction. But if paddle box was pushed back out the remaining decking would line up fairly well. From what I can see in the wreck photo the planking at the stern looks like they used wider planking with narrowed ends with a fan shape. steve
- 599 replies
-
- 4
-
-
- sidewheeler
- arabia
- (and 4 more)
-
Eric, Did the missing deck planks straighten out or did they continue at that same angle? Its looks like a short run to the paddle box so keeping the planks angled should not have been much of a deal for the builders.(Just my 2 cents worth) Steve
- 599 replies
-
- 3
-
-
- sidewheeler
- arabia
- (and 4 more)
-
Lady Washington Brig pulled out
steamschooner replied to rwiederrich's topic in Nautical/Naval History
I worked in the Grays Harbor area when they were building her and would often stop by and see her coming together.- 16 replies
-
- 6
-
-
- brigs
- sailing ships
- (and 1 more)
-
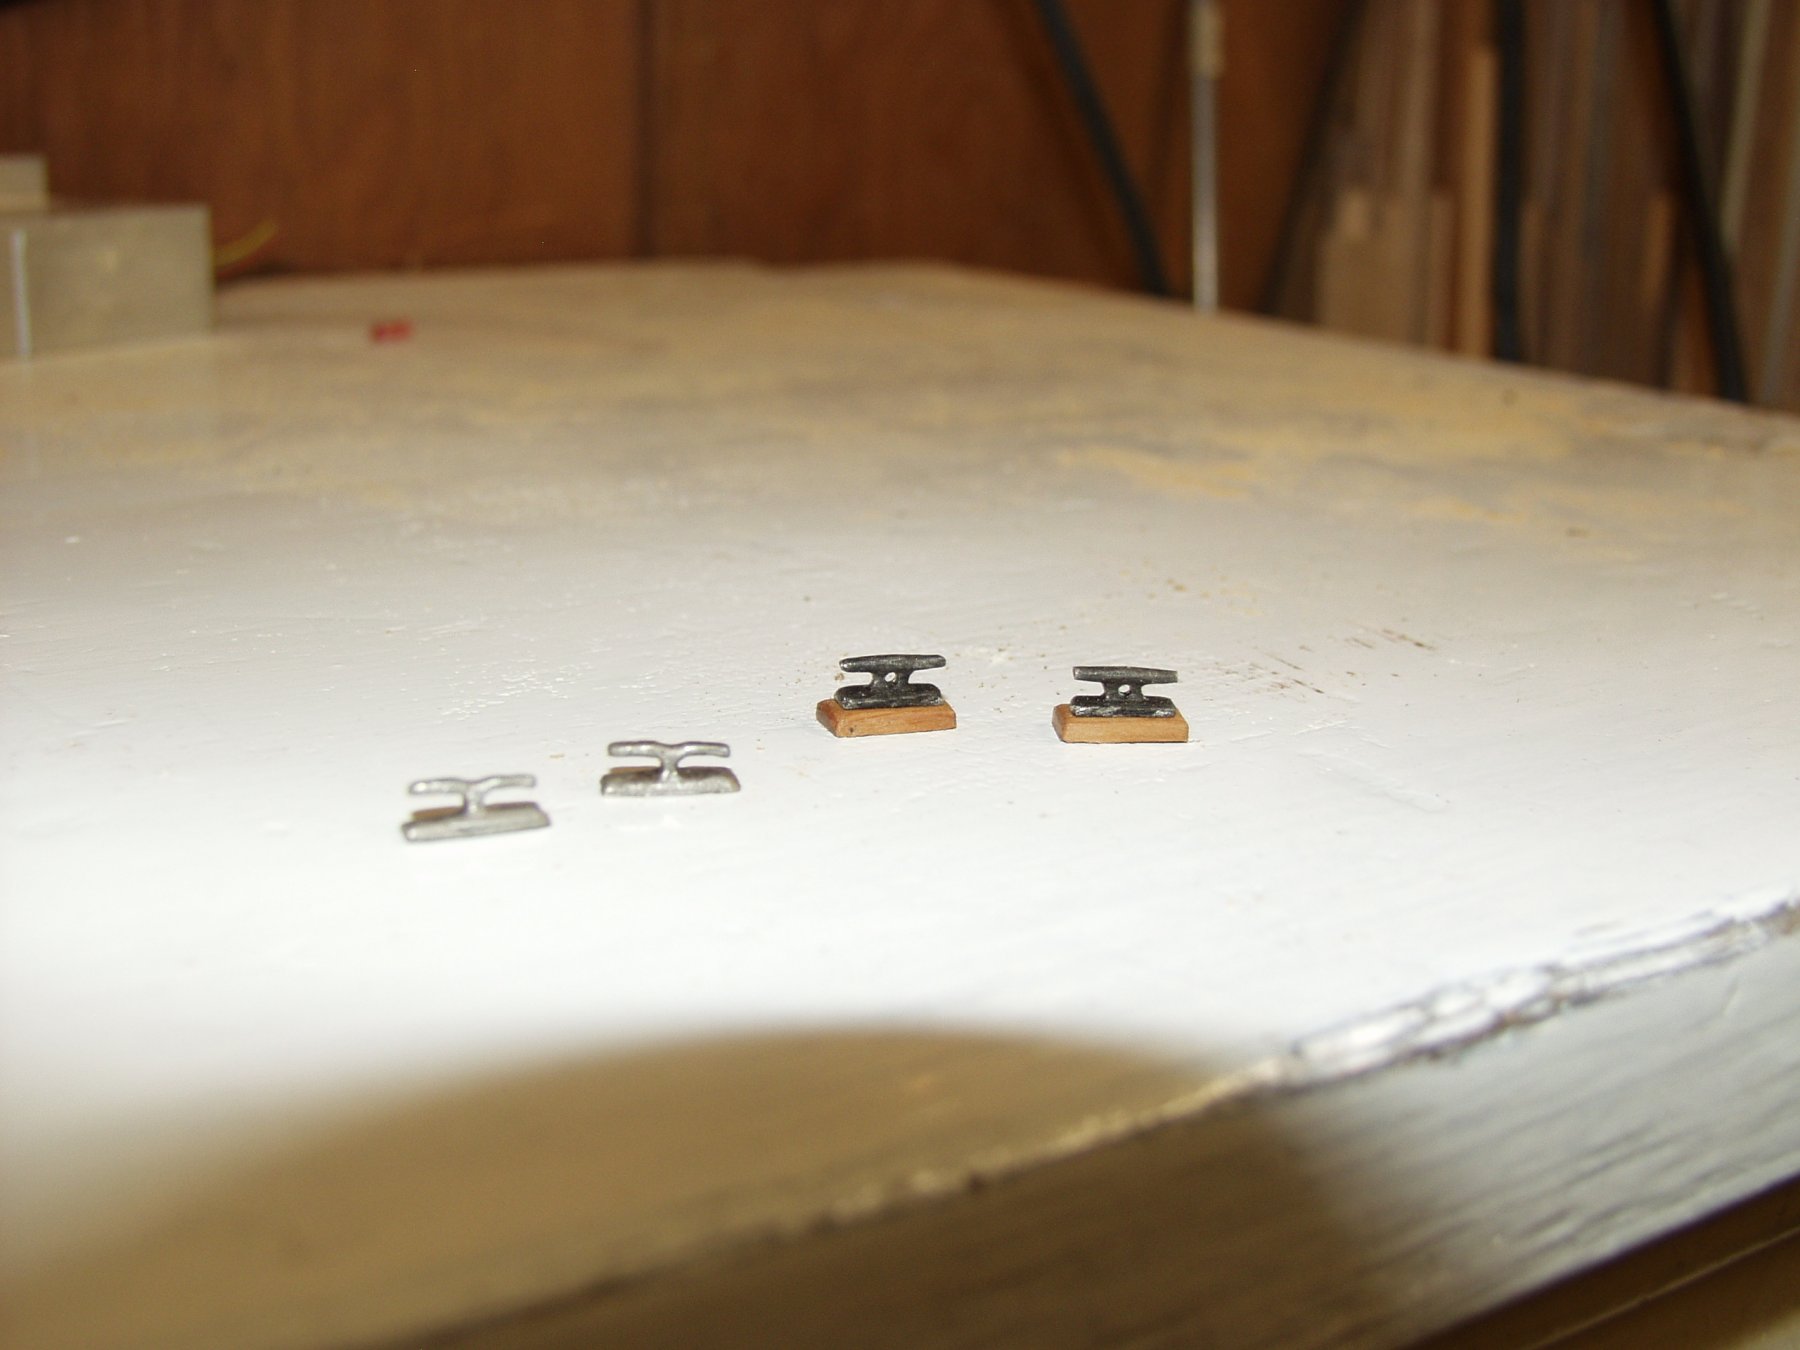
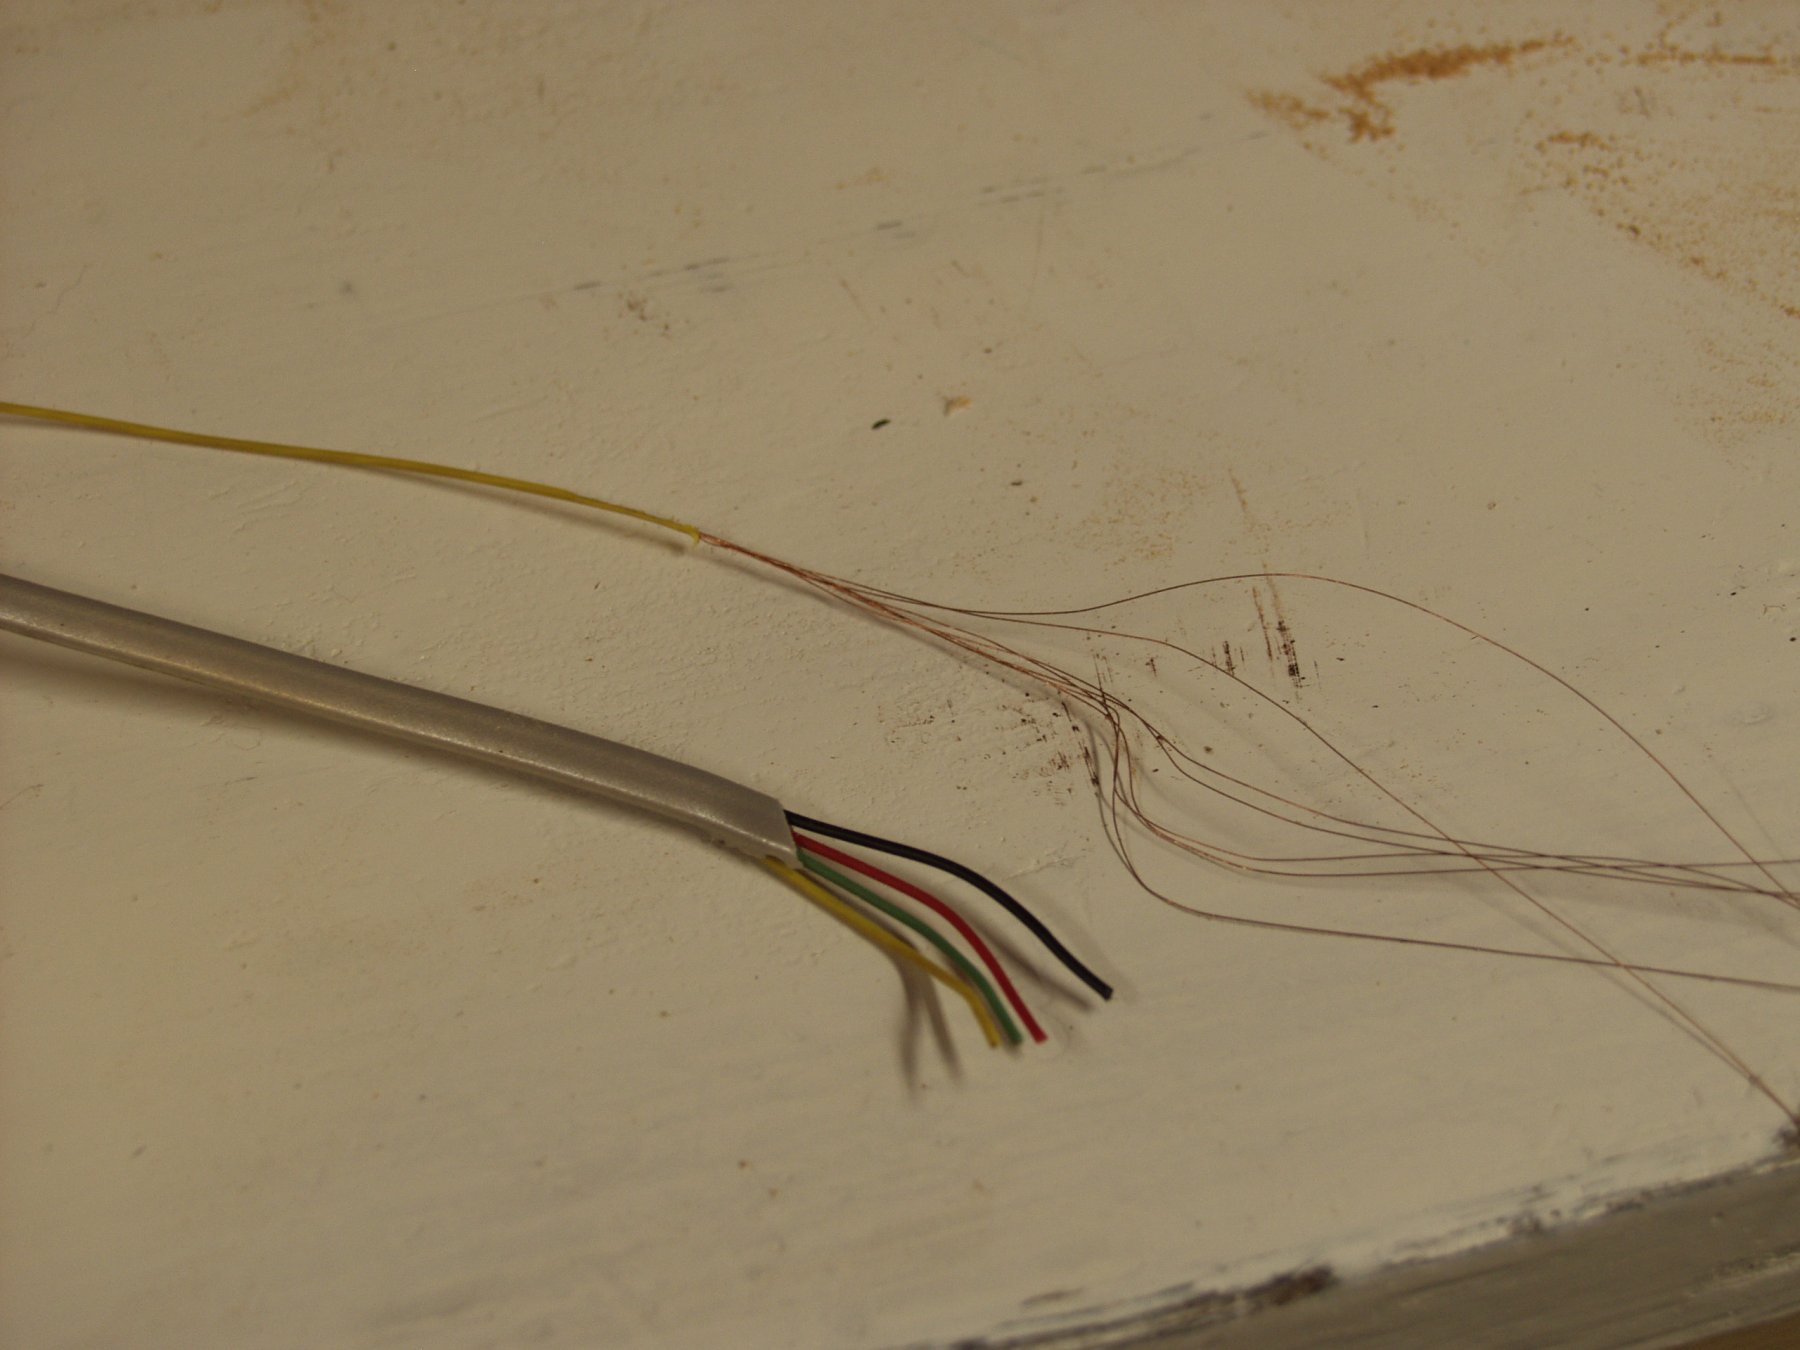
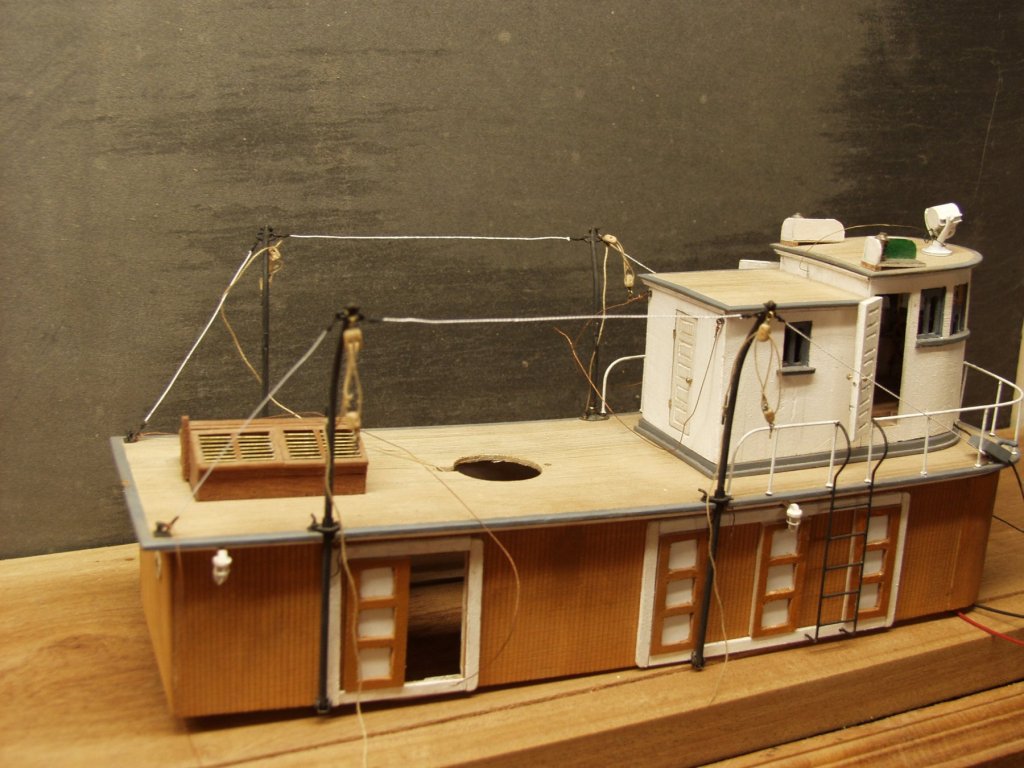
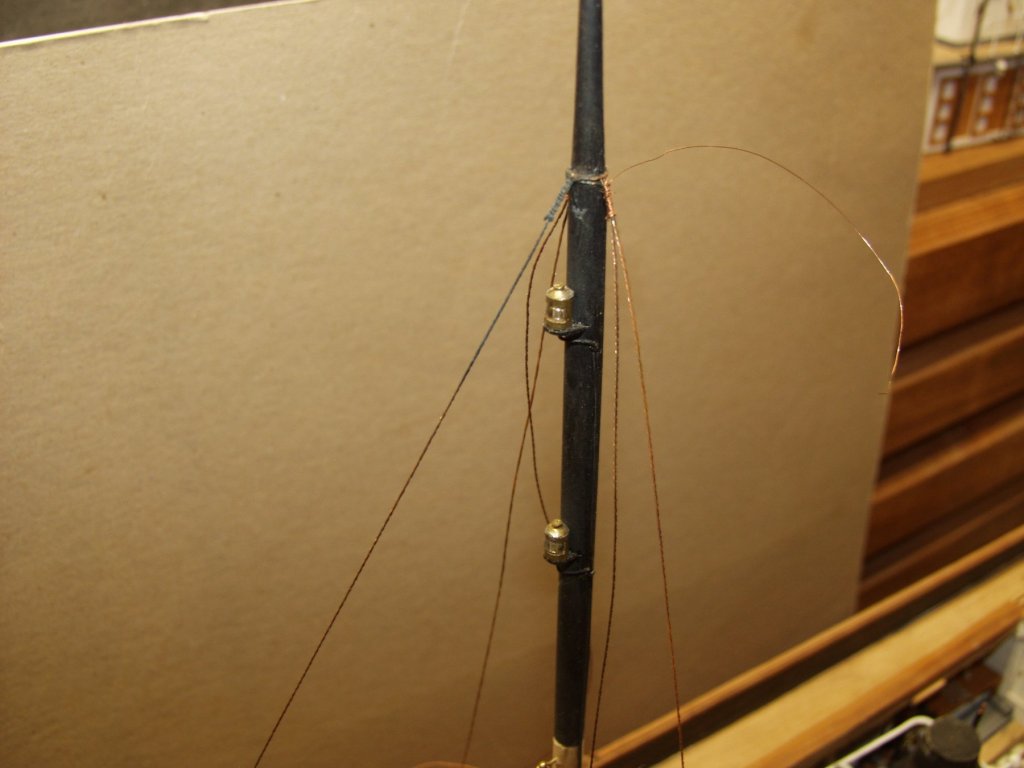
Just so you all know I do work on my model from time to time. Like most I have many spring and summer things to do and do not get to spend much time in the shipyard. I have managed to cast some deck cleats( twice ) The first ones I ended up not liking, in photo on the left. The second ones are more correct with the wood block base as I have seen examples locally. For my stays and shrouds I used some telephone wire That had four coated strands and each strand has 7 small copper strands. After cleaning the coating from the wires I separated them and twisted up 3 strands for my davits and stack stays also aft mast shrouds. For my main mast shrouds I twisted up 7 strands. I used a single strand as whipping to tie off eyes. the copper wire will take L.O.S. nicely.Now on to the shroud bars/ladder.


- 208 replies
-
- 8
-
-
- john cudahy
- finished
- (and 1 more)
-
moxis, Do overs are the norm around my shipyard, sometimes more than once. Railings look super!
-
Eric, Your hull looks very good, I wonder did they paint the bottoms on these early riverboats or use some sort of tar or pitch mixture?
- 599 replies
-
- 4
-
-
- sidewheeler
- arabia
- (and 4 more)
-
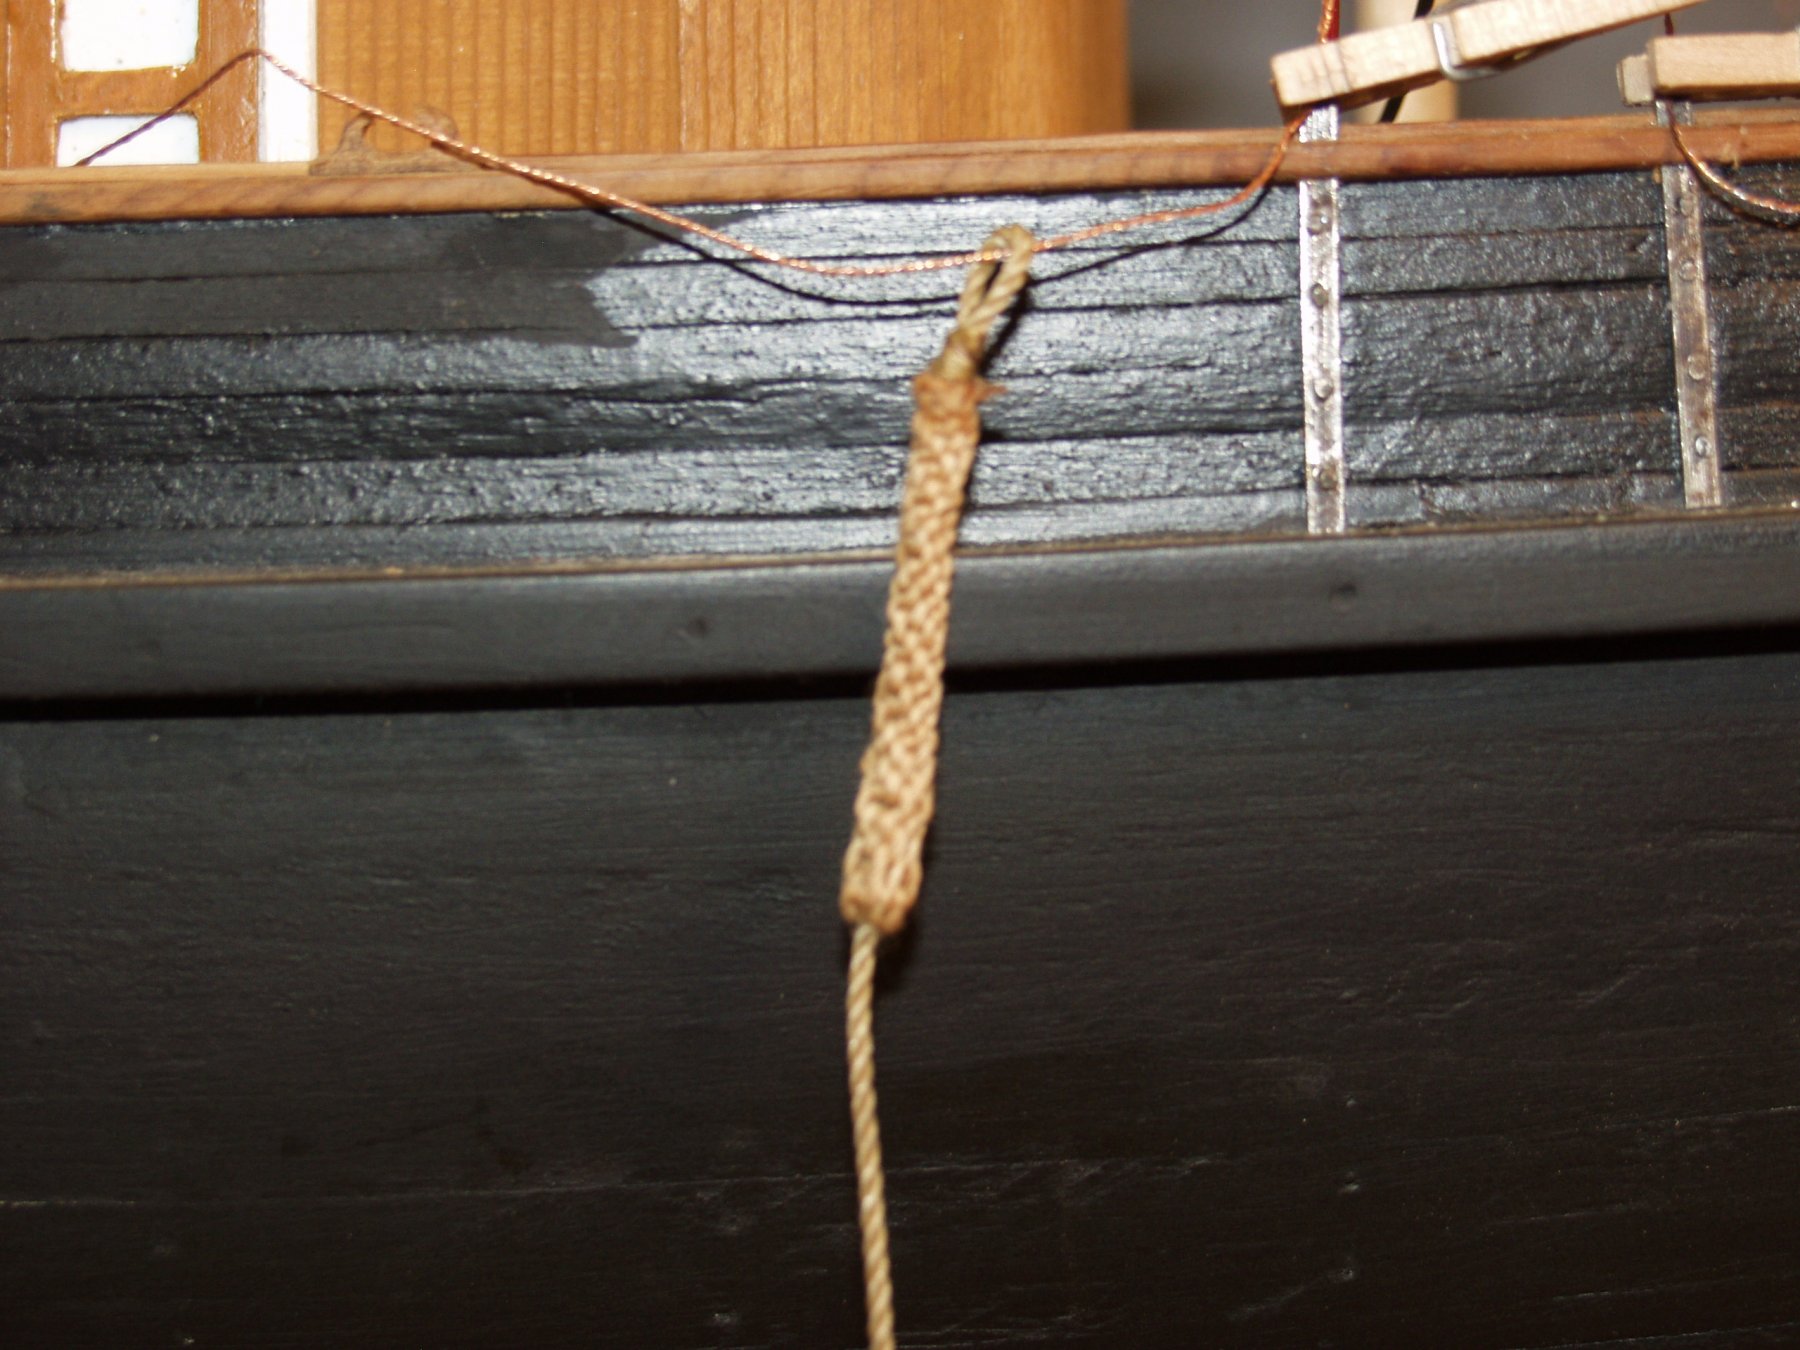
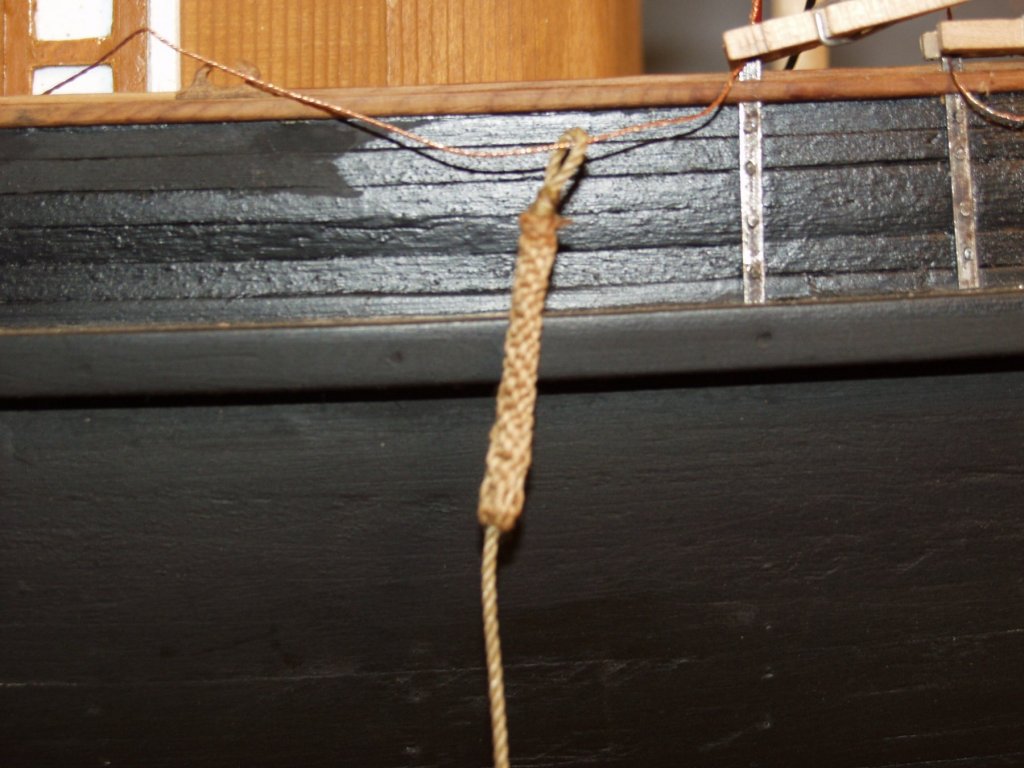
Patrick, I have been at the bench just not alot to show for it. I did manage to get these little buggers made. Two on left the line was to heavy and they came out a little big for scale. I liked the color though. Middle ones are cotton string which was the right size scale wise but the color needed help. I colored one on the left. The three on the right is also cotton string that I found in my line stash. It had a reasonable color and the scale size worked out. Still need some triming and maybe a little coloring/weathering. Now it's on to the bow fender..... oh boy!!

- 208 replies
-
- 7
-
-
- john cudahy
- finished
- (and 1 more)
-
Eric, The planking is looking very nice. Since no body knows how it was planked who's to say you are wrong in doing it the way you are. Like my project there is alot of best guess when working out construction. For me that is part of the appeal of building a boat/ship that has not been modeled before. The few photos I have show no planking on the bottom side of the guard timbers( later boats )
- 599 replies
-
- 4
-
-
- sidewheeler
- arabia
- (and 4 more)
-
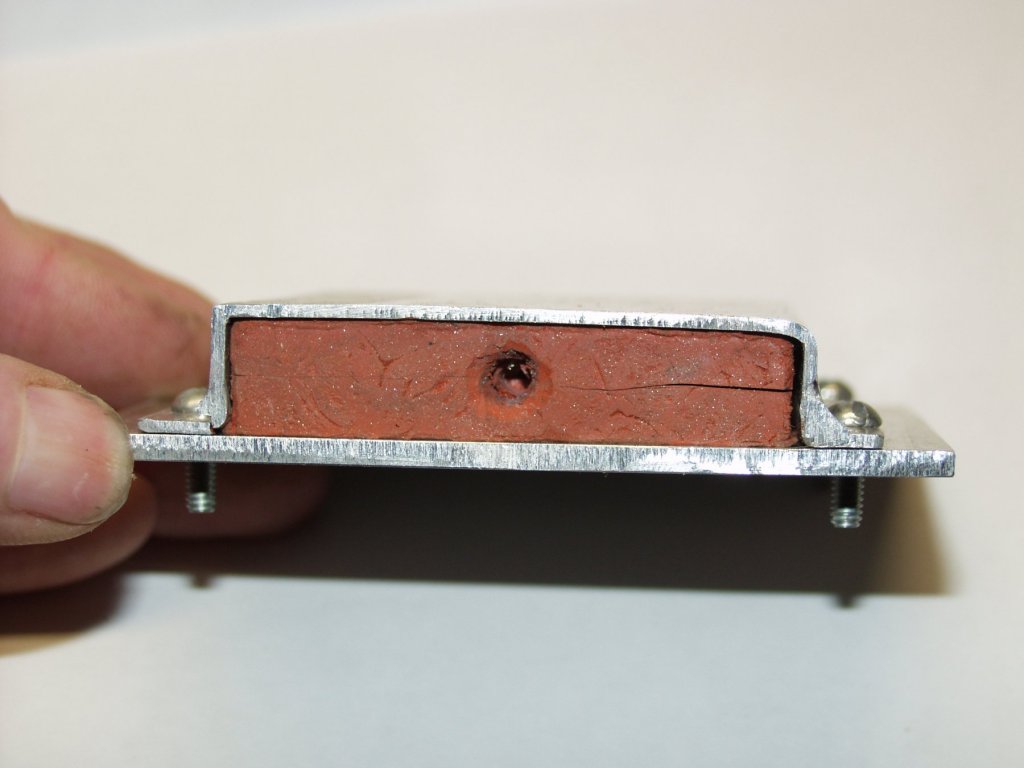
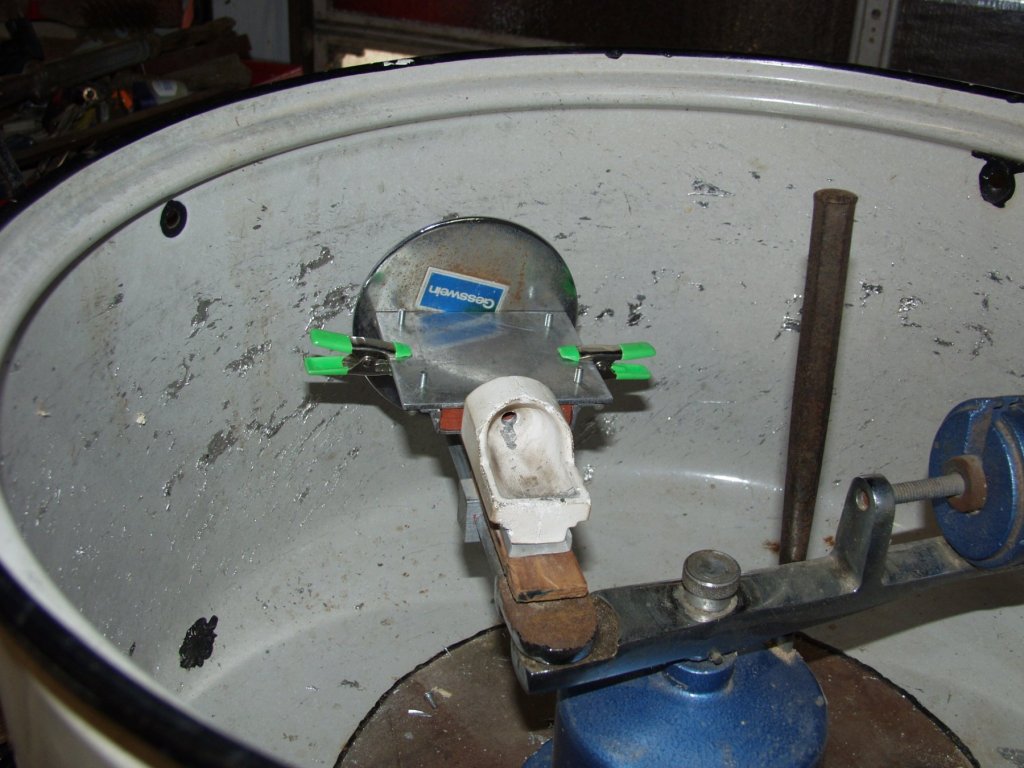
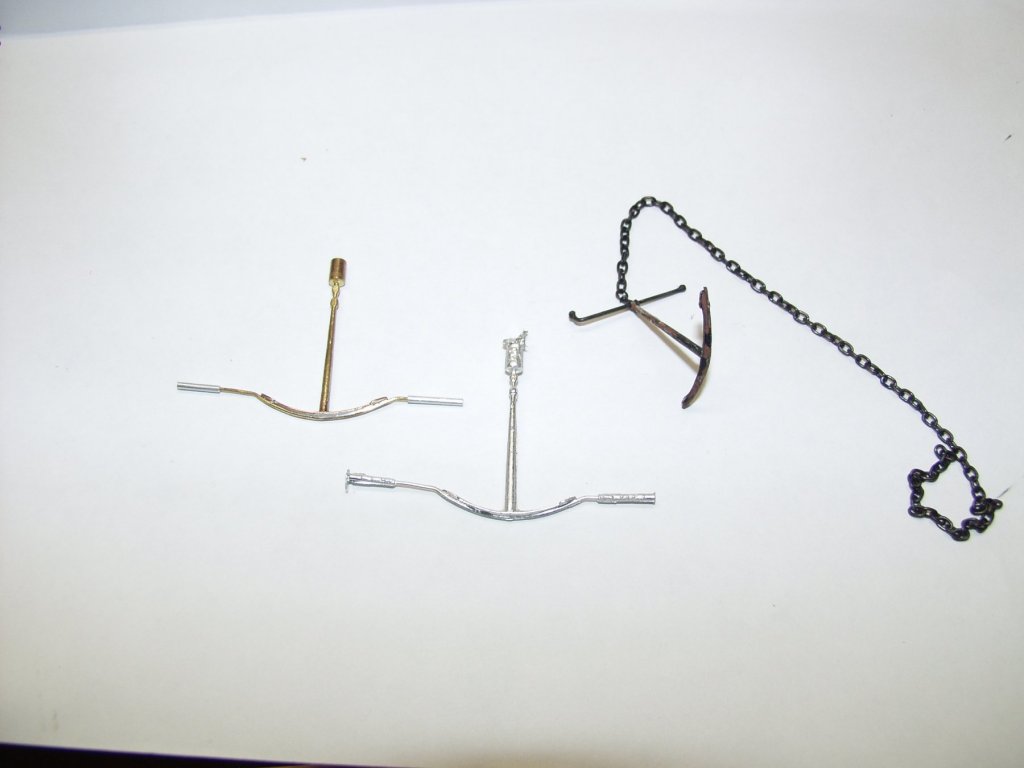
It's been awhile since I posted on my build. As some of you know I have been casting parts for my build. These are the latest, some anchors for the fore deck. I made up a master out of brass and copper. Made a vulcanized rubber mold to fit a tray a friend made for me. Spun up some anchors and added a cross arm made from copper wire with a small copper ring soldered on for a stop along with a couple small blobs of solder for the balls on the ends. Lightly sandblasted and drilled for arm, chain ring with a little color added.
- 208 replies
-
- 7
-
-
- john cudahy
- finished
- (and 1 more)
-
Eric, How do you plan to form the transition at the bow? Will the planking butt together on the center of the keel? or will there be a plank that runs the length of the keel? (which you can see in the recovered stern, tiller photo ) I wonder if in real construction if they used chine logs at the point where the side planking meet the flat bottom planking. Putting some blocking between bulkheads, or moving the ones there will give you some backing for those drop planks. At some point in the future I hope to build a stern wheeler from this area so I follow along.
- 599 replies
-
- 4
-
-
- sidewheeler
- arabia
- (and 4 more)
-
Moxis. Are two decks and cabins going to be removable as one piece to get at the gear in the hull? The deck looks very nice!
-
Eric, I thought maybe what I had said made you take things apart. Glad to see your fix, it looks good!
- 599 replies
-
- 4
-
-
- sidewheeler
- arabia
- (and 4 more)
-
Eric, I don't remember what scale you are working in but are your planks to scale? Do you know the sizes of the planks on the recovered stern? Comparing the photo of the stern and your model It looks like your last bulkhead is shaped differently than in the photo. Since most of the bottom will not be seen and most likely painted matching the original is not as important. My 2 cents
- 599 replies
-
- 4
-
-
- sidewheeler
- arabia
- (and 4 more)
-
Moxis, I also like steamships so I will be watching your project come together. I'll sit next to Nils.
-
Patrick, Not sure whats next I have some ideas. Maybe finish up one I have on the shelf.
- 208 replies
-
- 3
-
-
- john cudahy
- finished
- (and 1 more)
-
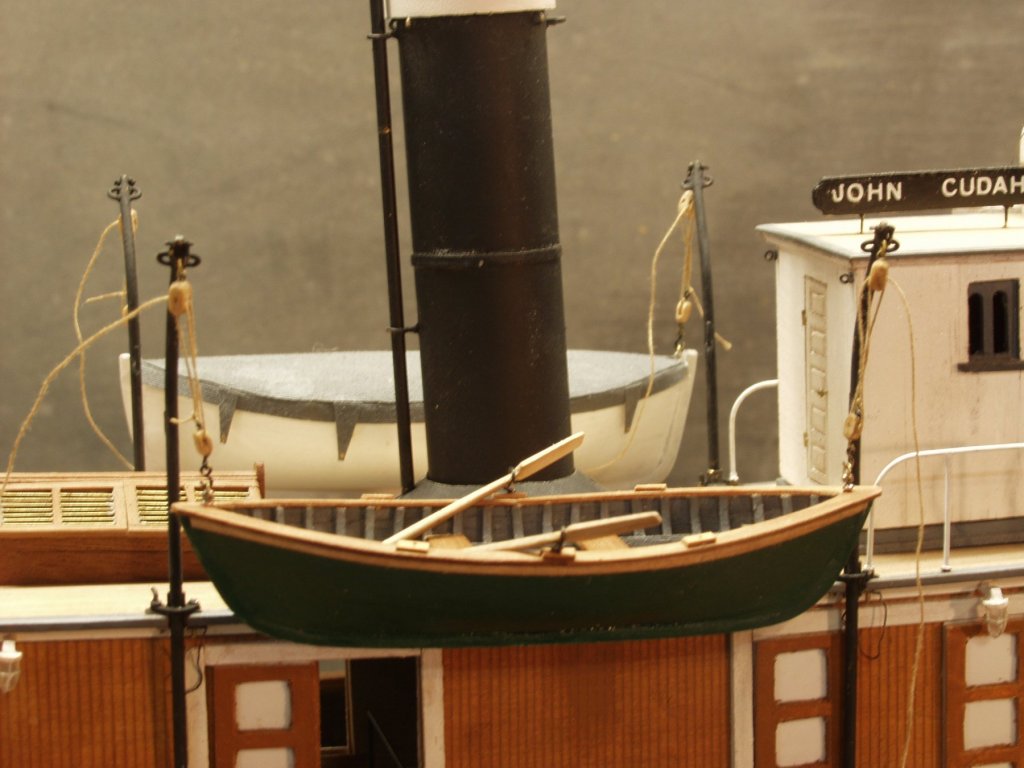
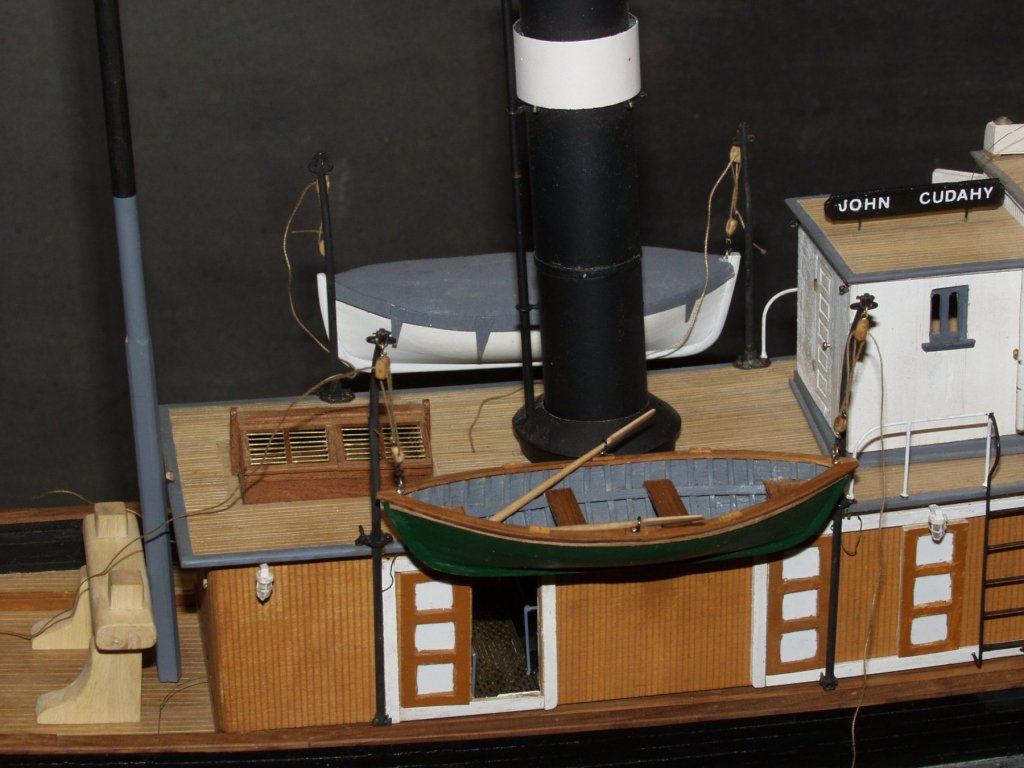
Well I have gotten a little more done, Now have boat tackles made,name board on cabin top, oars for open boat.
- 208 replies
-
- 3
-
-
- john cudahy
- finished
- (and 1 more)
-
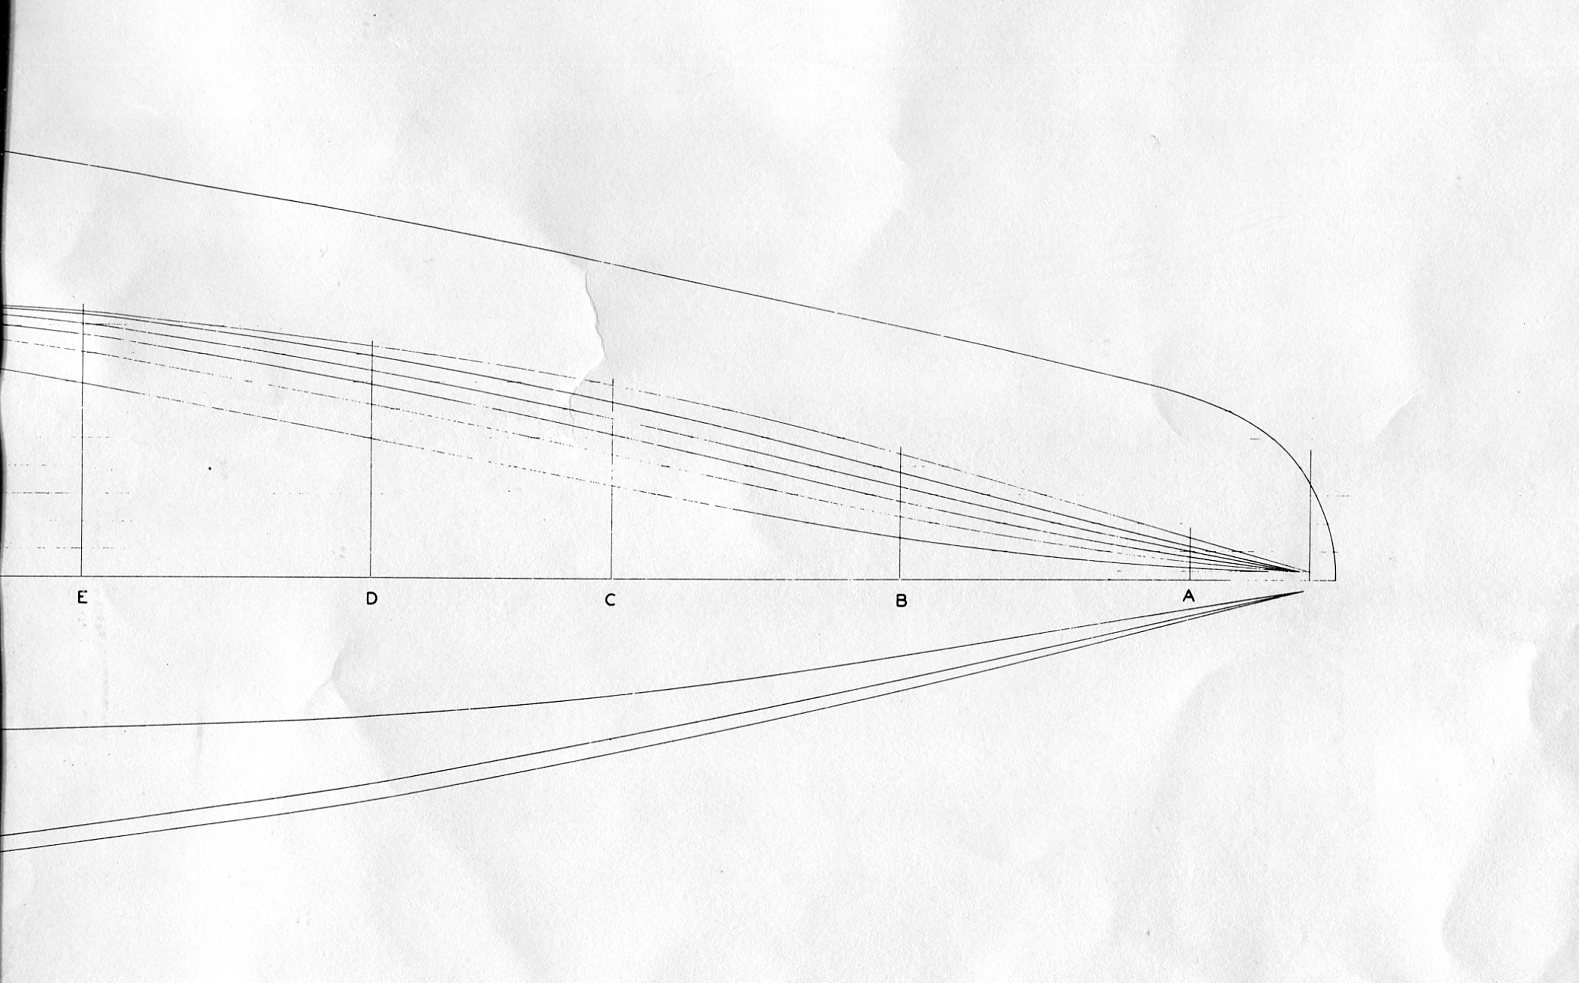
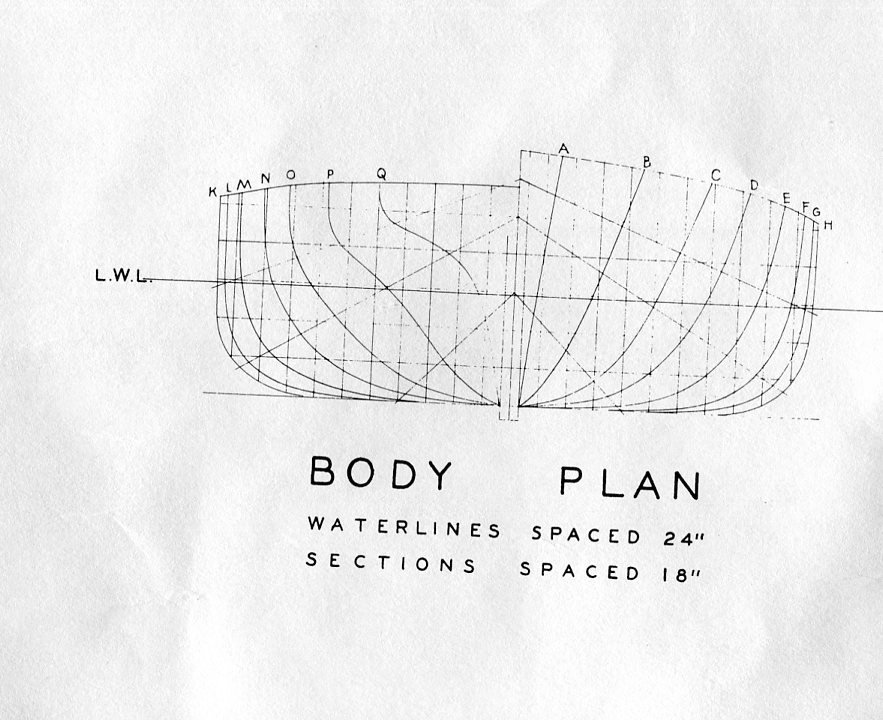
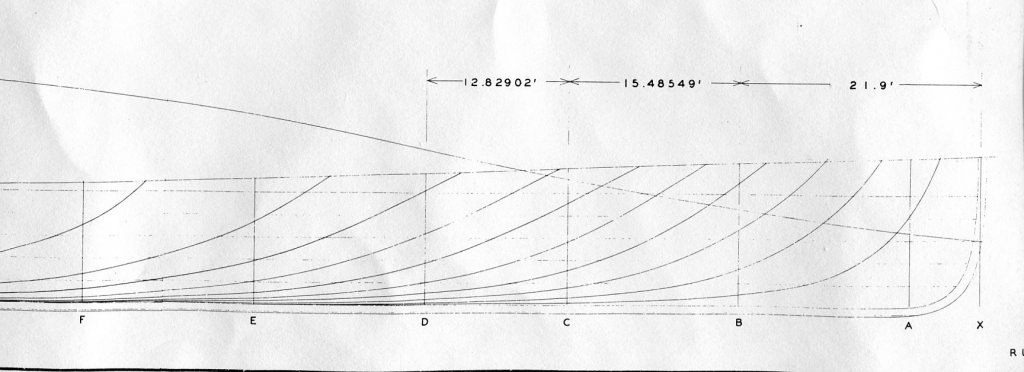
Eric, Here are some scans of the James M Donahue of 1875, hull lines, body plan and the bow area if you want the stern lines I can scan those also. Hope they are of some help.

- 599 replies
-
- 6
-
-
- sidewheeler
- arabia
- (and 4 more)
-
Kurt, I believe that the flaired collar was like a rain cap to shed rain water off. Under the collar had open holes/slots for venting heat from the engine room. The wood cabin top needed clearance from the stack. The stack would get very hot with the boiler going.