Moonbug
-
Posts
1,028 -
Joined
-
Last visited
Content Type
Profiles
Forums
Gallery
Events
Everything posted by Moonbug
-
 Thanks so much Pete, Craig and Andrew. Pete - Don't know how I lived without it before. My prior method was dabbing some CA on a toothpick and laying it out where it needed to be - but it often dried too much by the time I got pieces in place; forcing me to rush sometimes. Ugh. Loving the applicator brush. @AJohnson - You and Craig are correct - the instructions say the bottom is to be a false keel (as with other builders on here) and that's probably still going to happen. My main purpose in using the foil all along the keel was to keep my options open, and also provide a backdrop so if there are/were any little gaps or inconsistencies one sees copper instead of wood. Mostly because I wasn't sure how the coppering was going to go. That said - I also follow my own personal three tiered decision making system: Choice #1: Accurate & Looks cool - a.k.a. "Whatever Dan Vadas did." Choice #2: Not 100% accurate, but looks cool/clean Choice #3: Accurate, but looks a little funky 😀
- 419 replies
-
- 3
-

-

-
- Victory Models
- Pegasus
- (and 2 more)
-
Hey Tech, thanks for looking in. I aligned my plates based on the direction in the plans, and they provided for a slight overlap while still allowing the rivets to be prominent - this shows up in my post #96. You're def right in that there needed to be some overlap to get them to align. Thanks for the tip on Protectaclear - I've never heard of it. I haven't yet contemplated how I'll maintain the hull, but I am going for the 'straight out of the dockyard' look rather than weathered with the this gal.
- 419 replies
-
- 1
-
-
- Victory Models
- Pegasus
- (and 2 more)
-
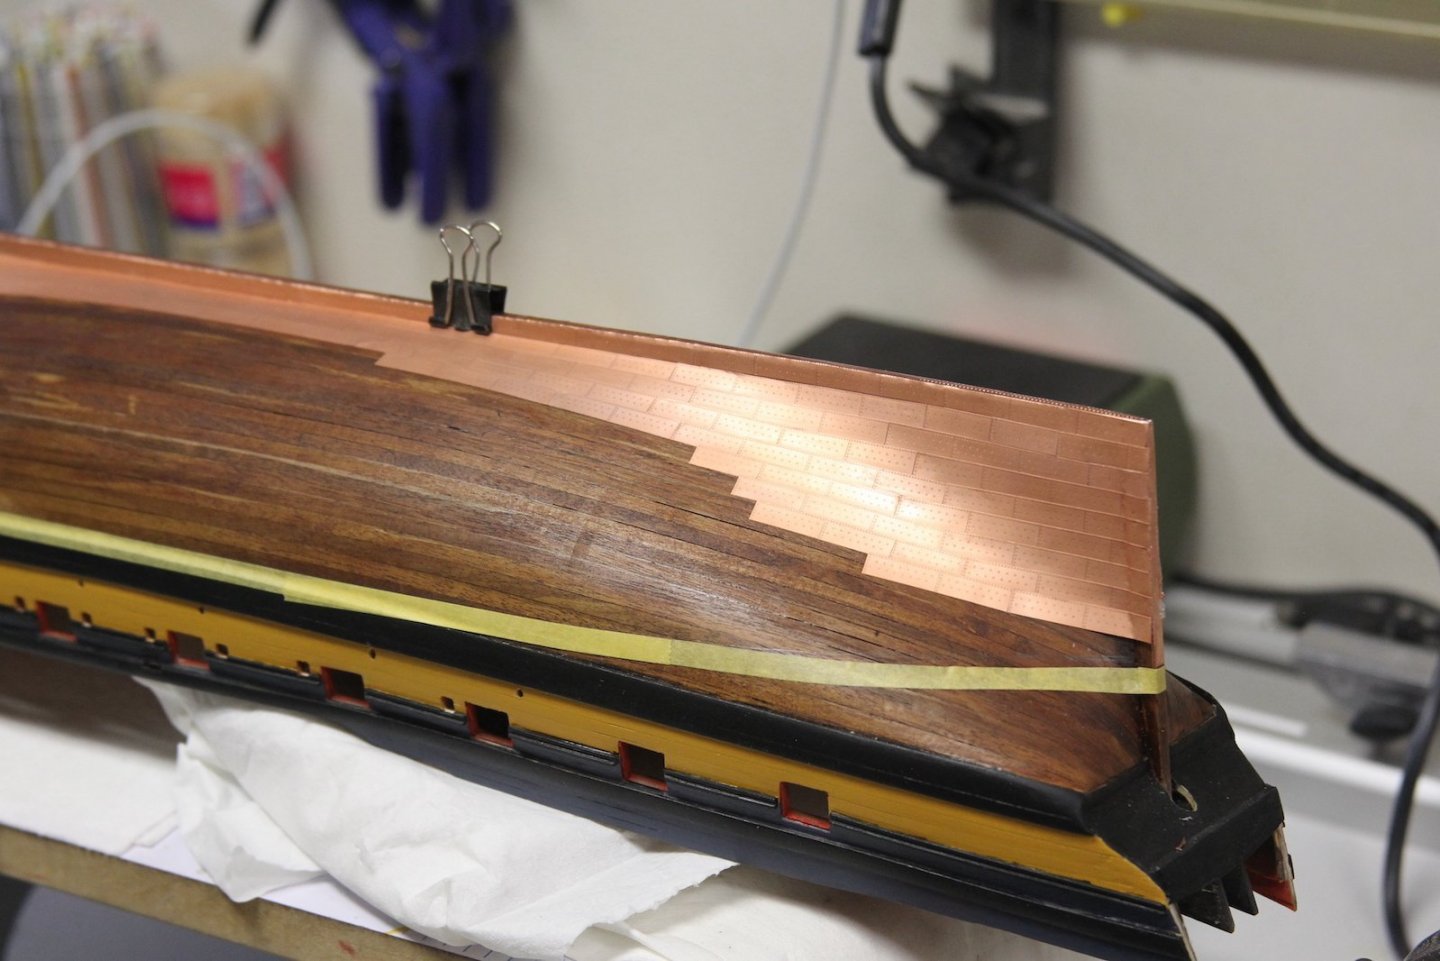
Halfway done - woot woot! Also - I've tried at least a half dozen CA glues during this process, and this gorilla glue with the brush is by far the easiest. It's liquid enough to spread on evenly with the handy brush but also enough of a gel to stay tacky and allow for a little bit of adjustment to the copper plate before it dries. Really good stuff.
- 419 replies
-
- 10
-
-
- Victory Models
- Pegasus
- (and 2 more)
-
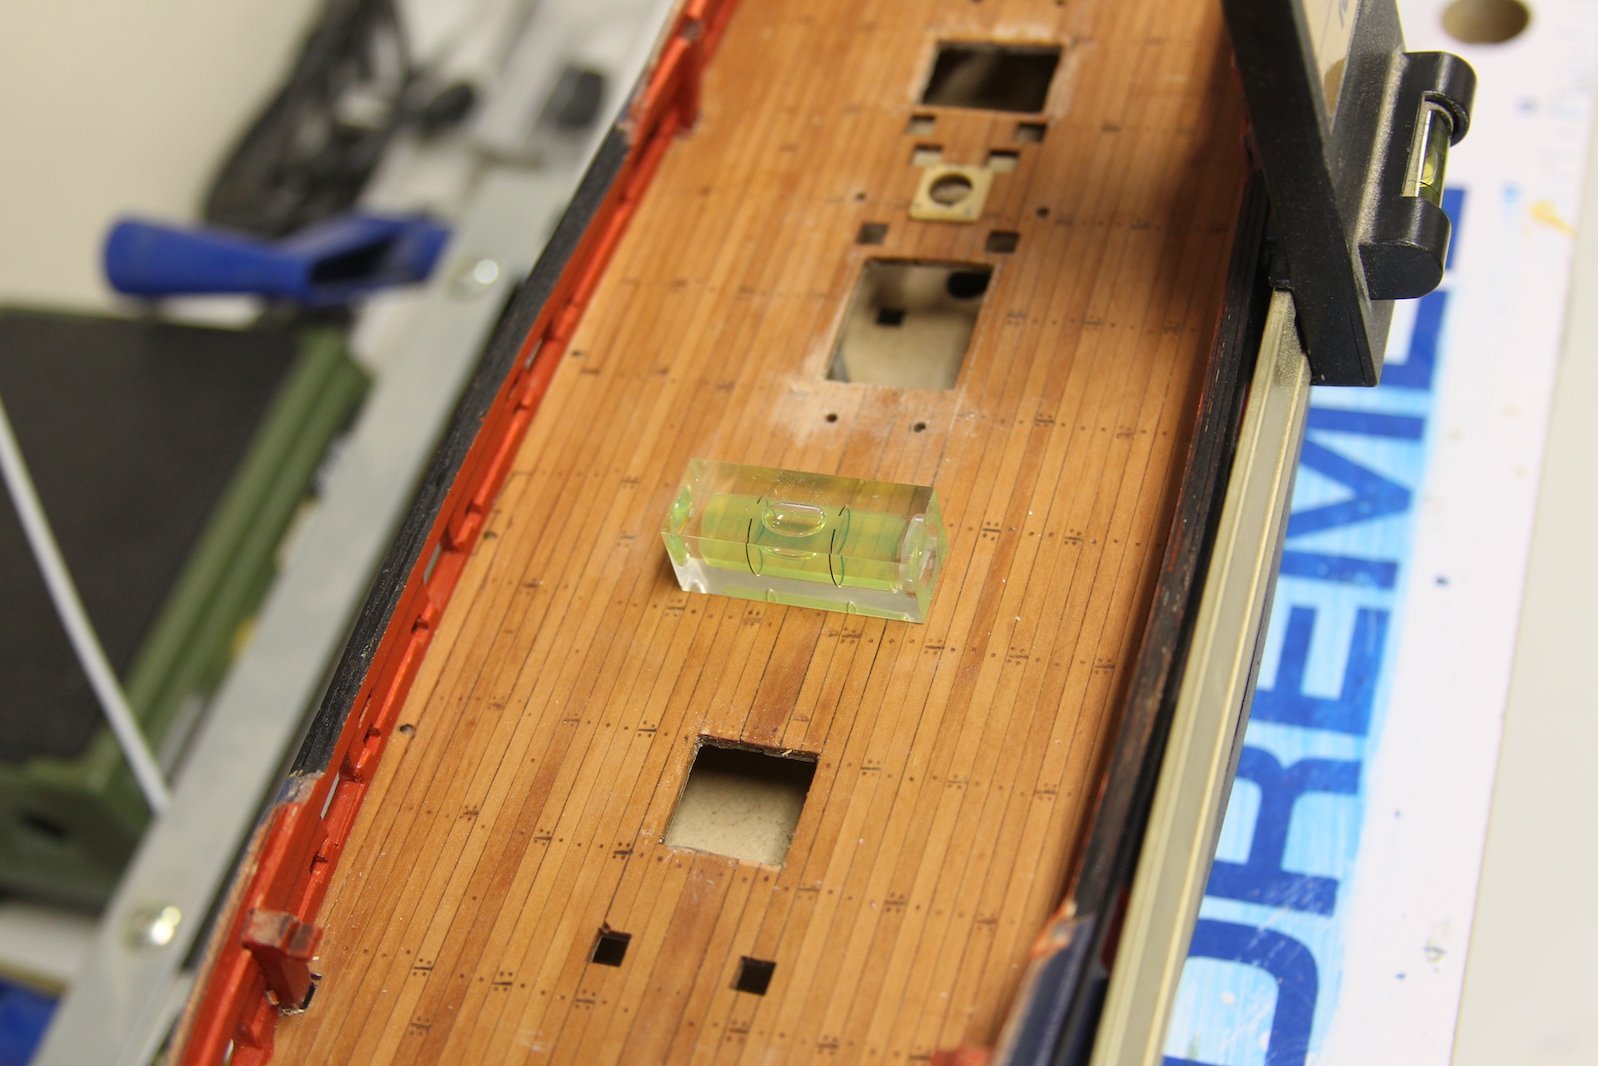
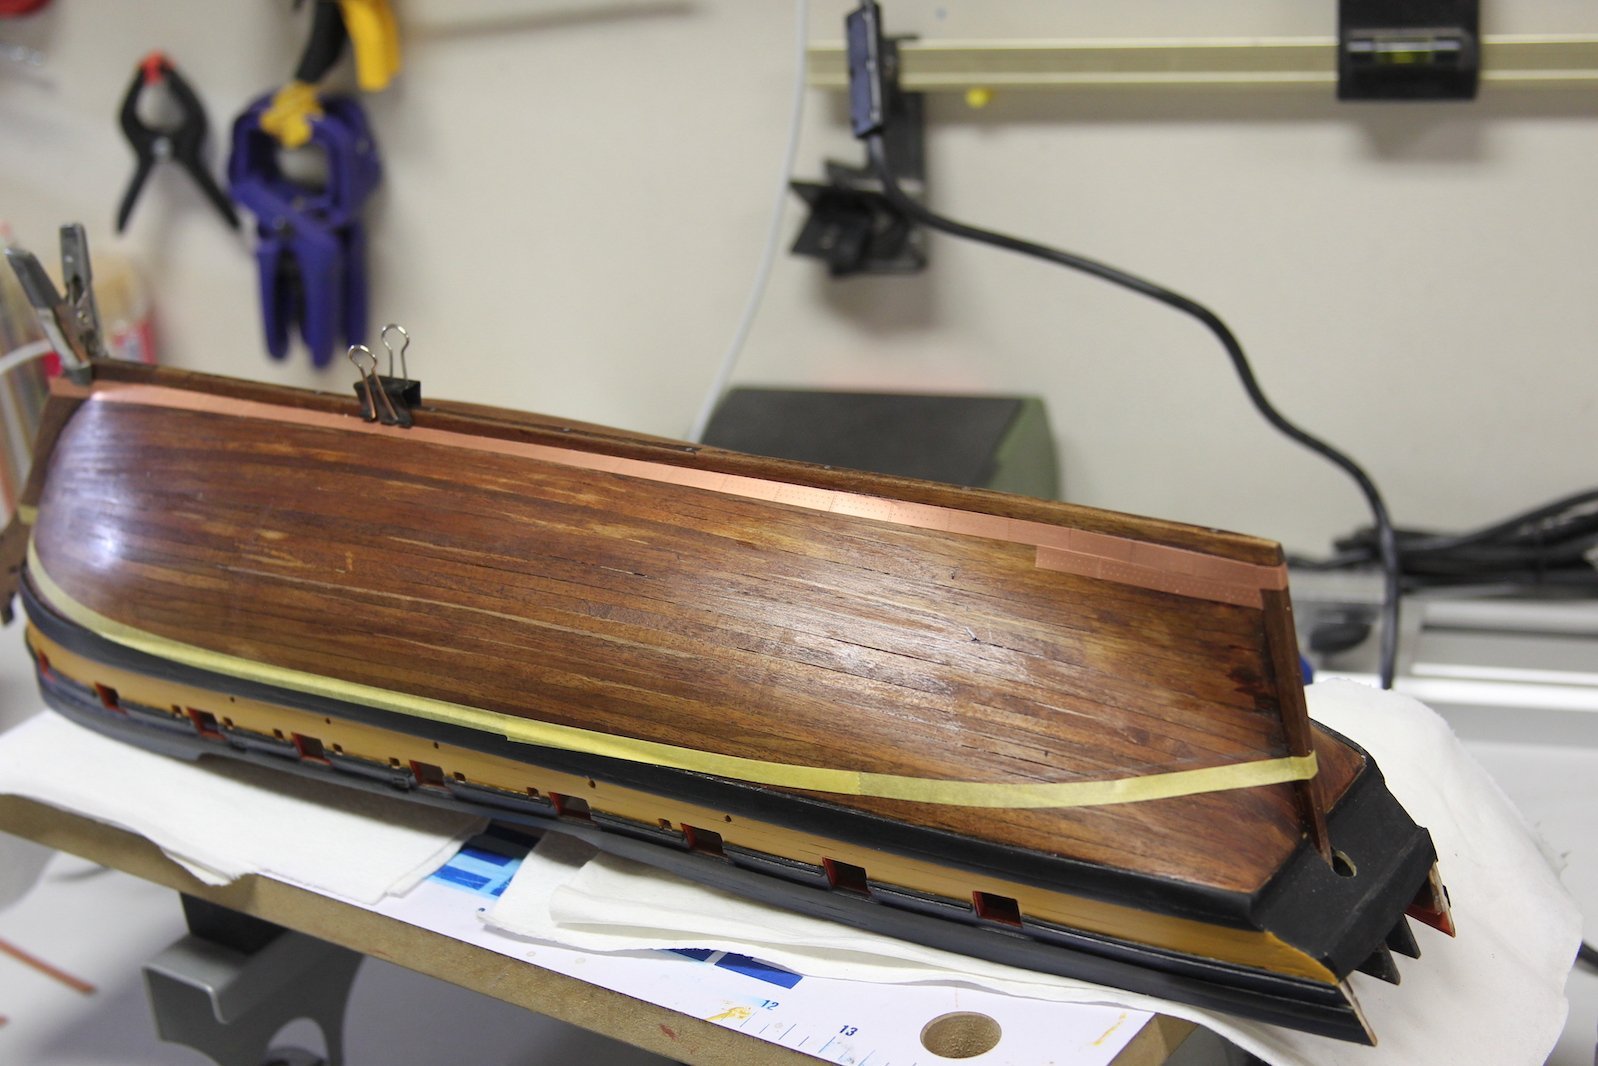
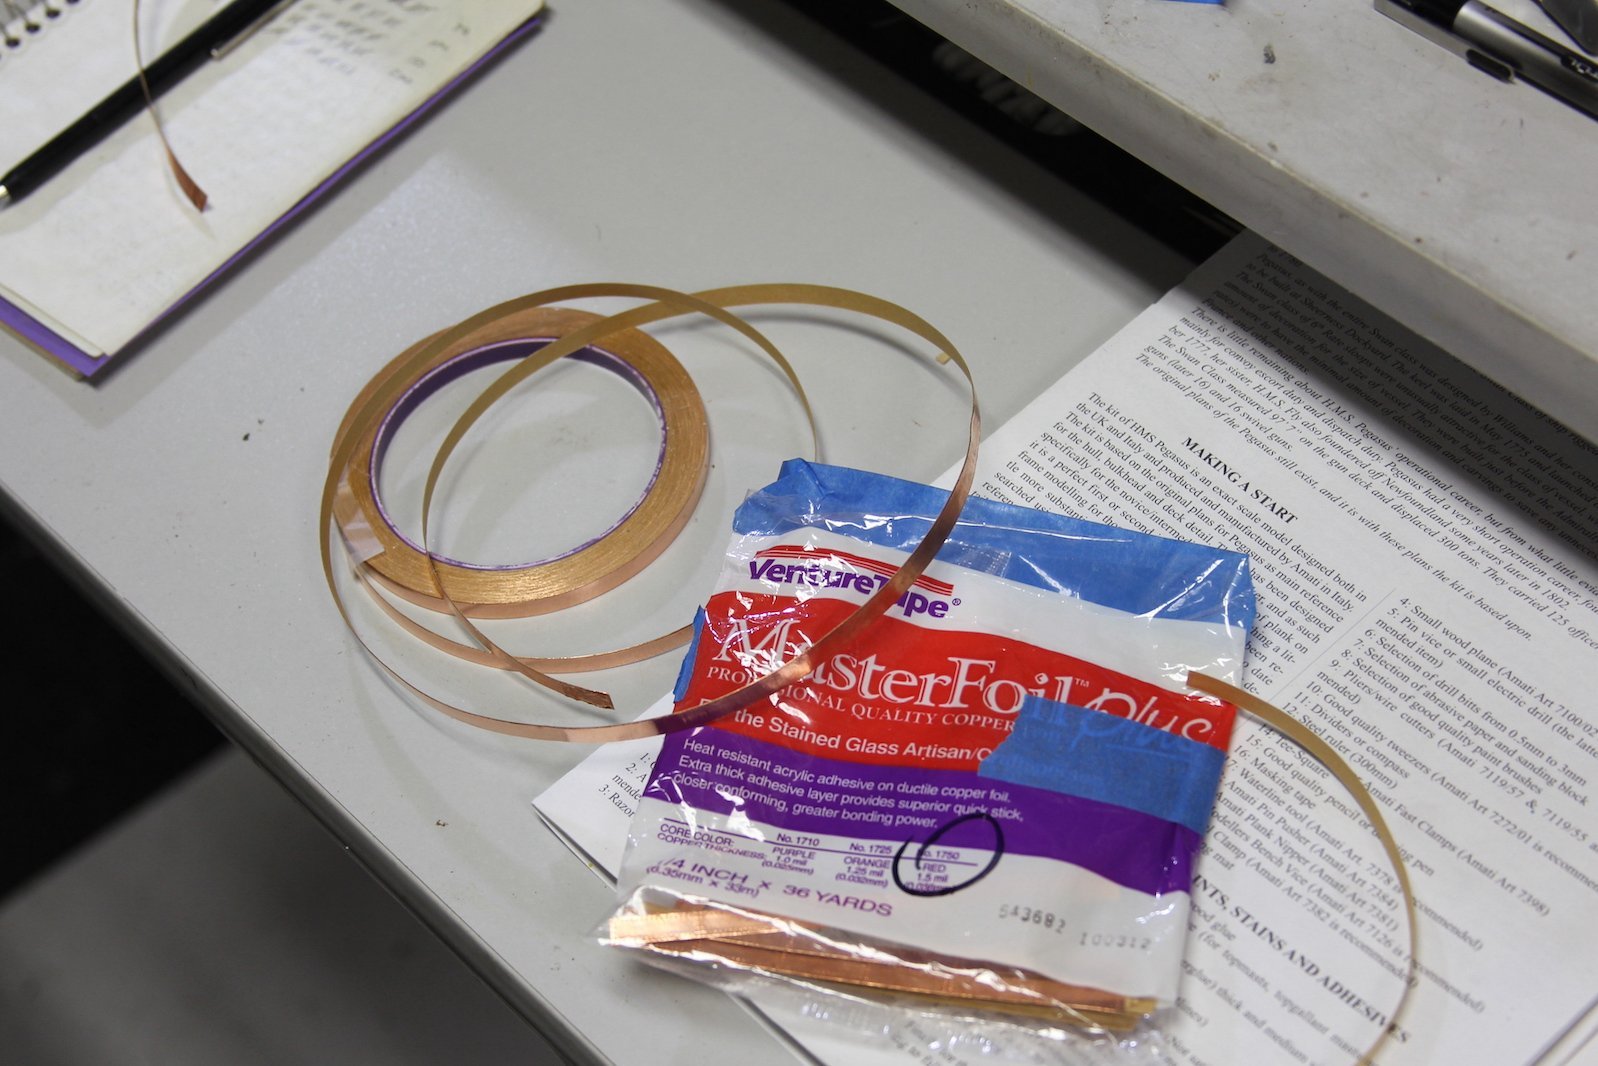
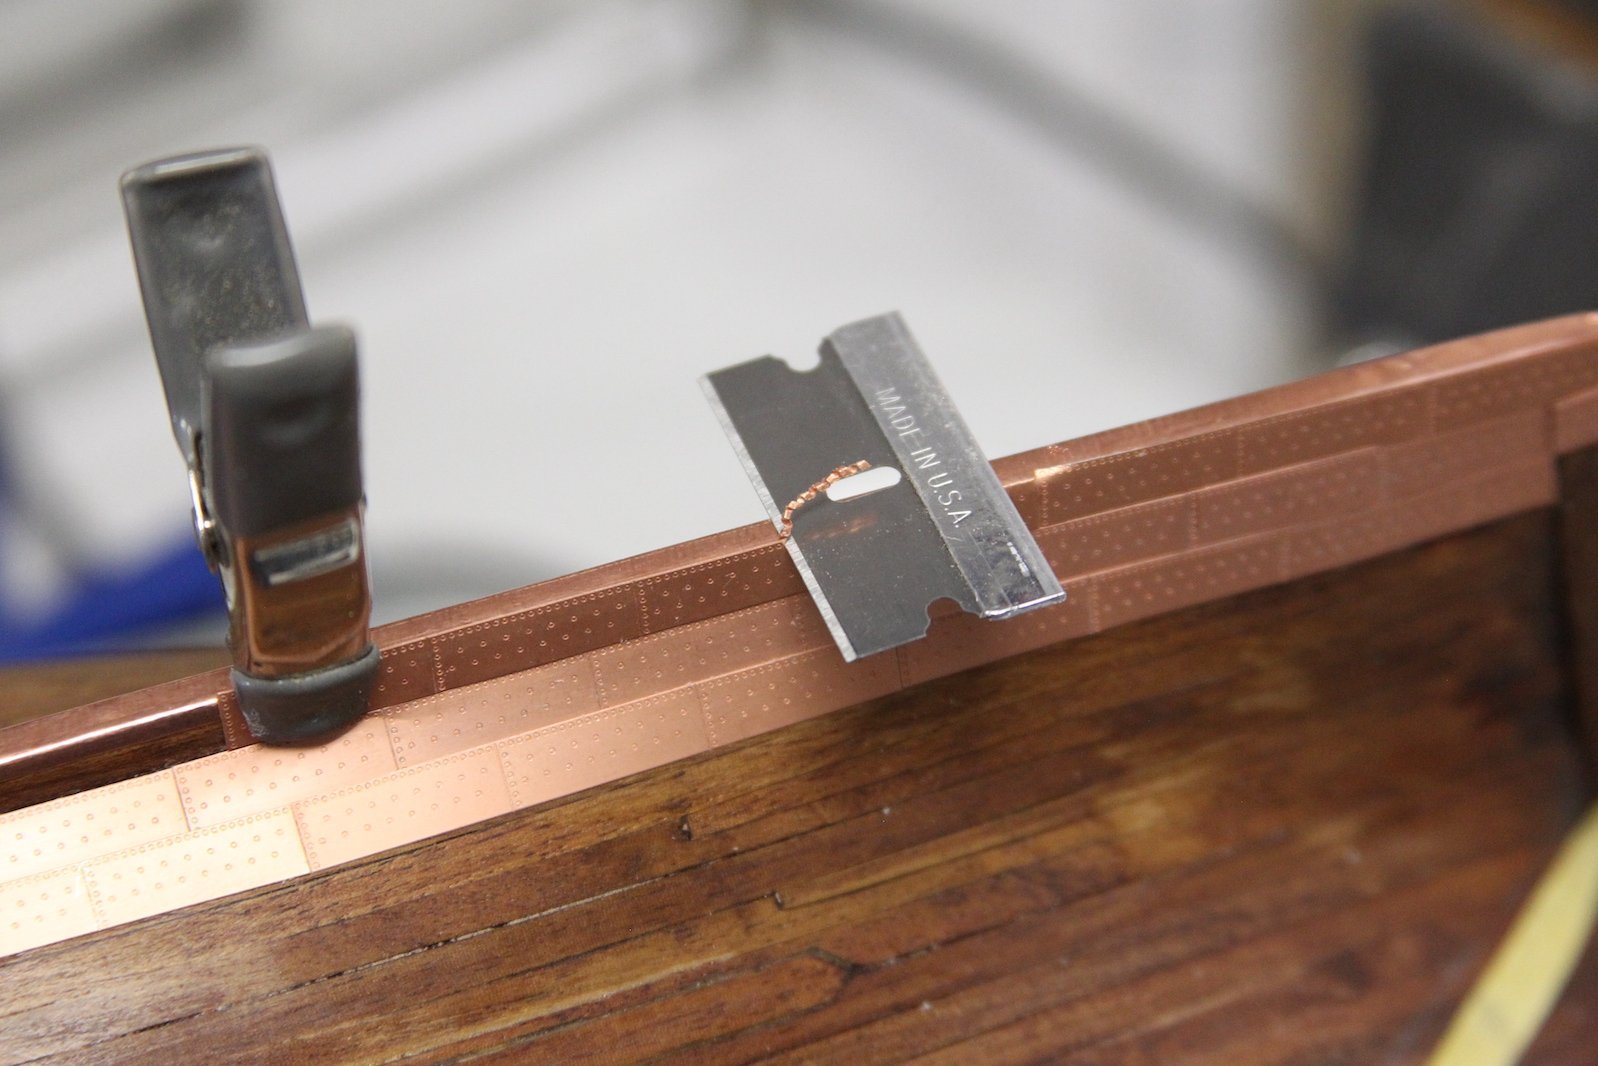
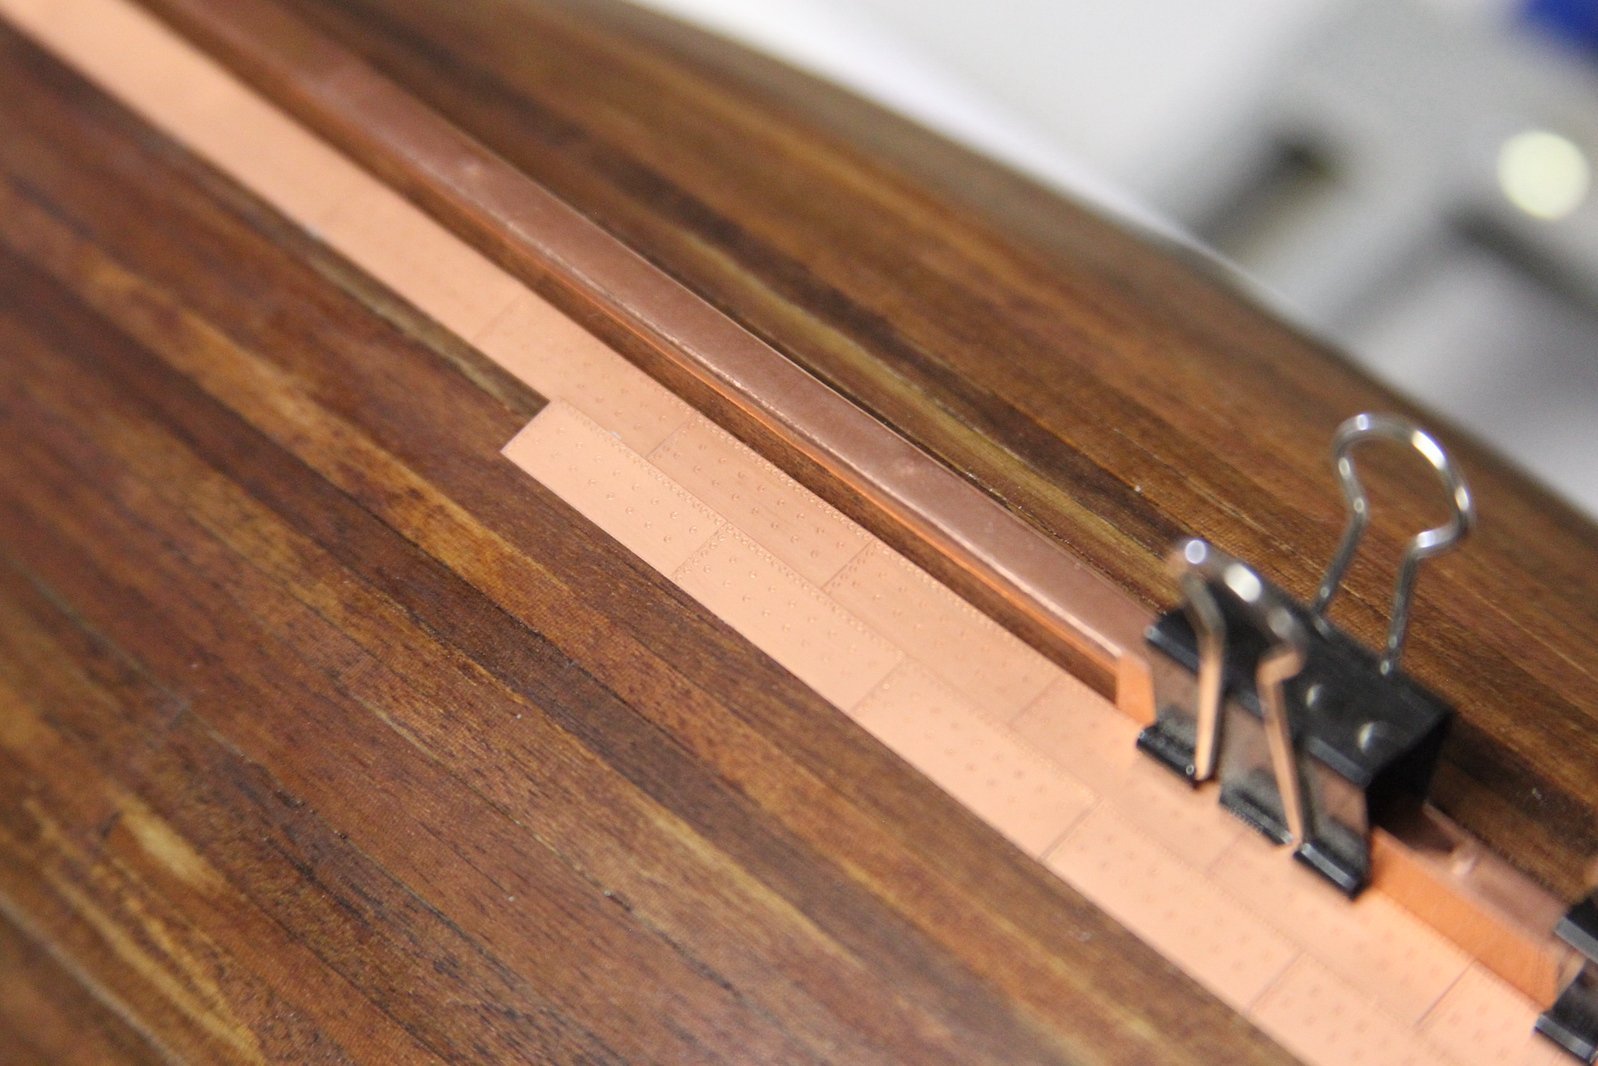
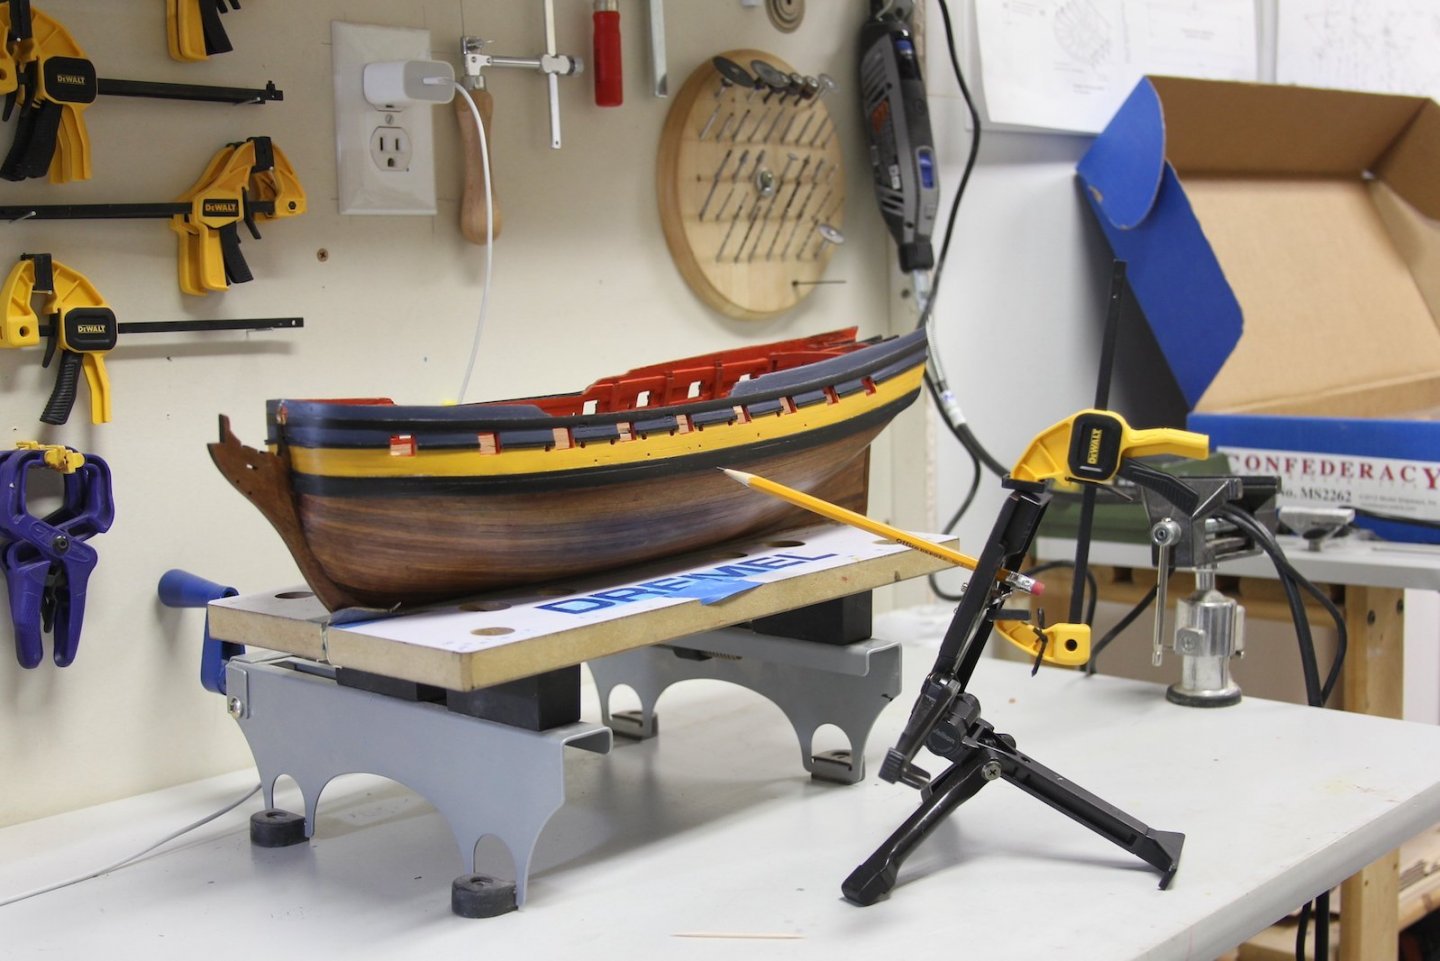
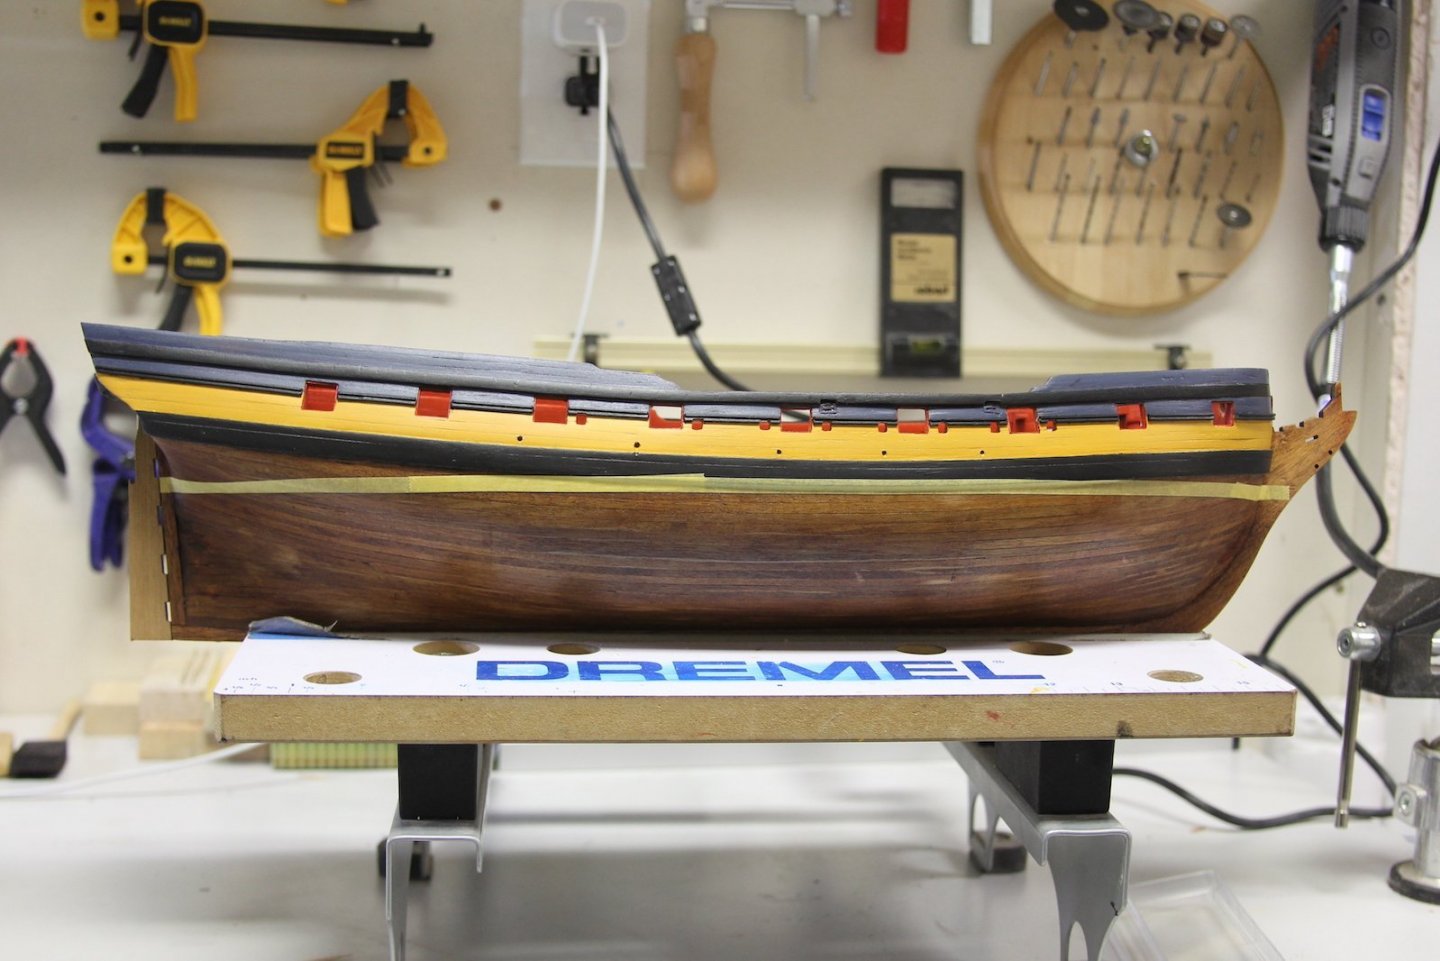
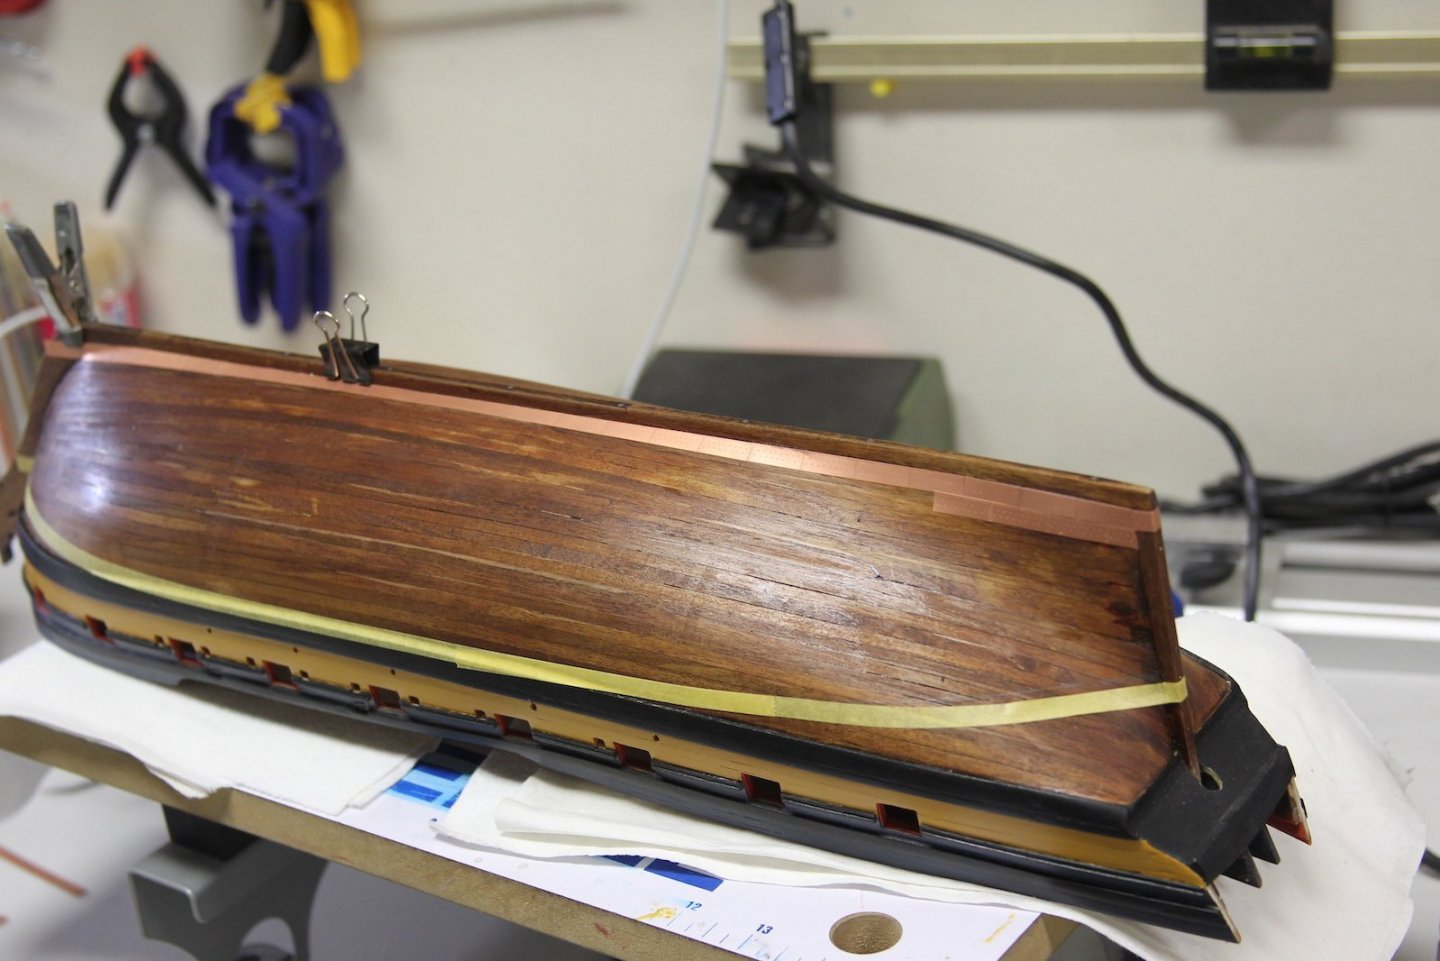
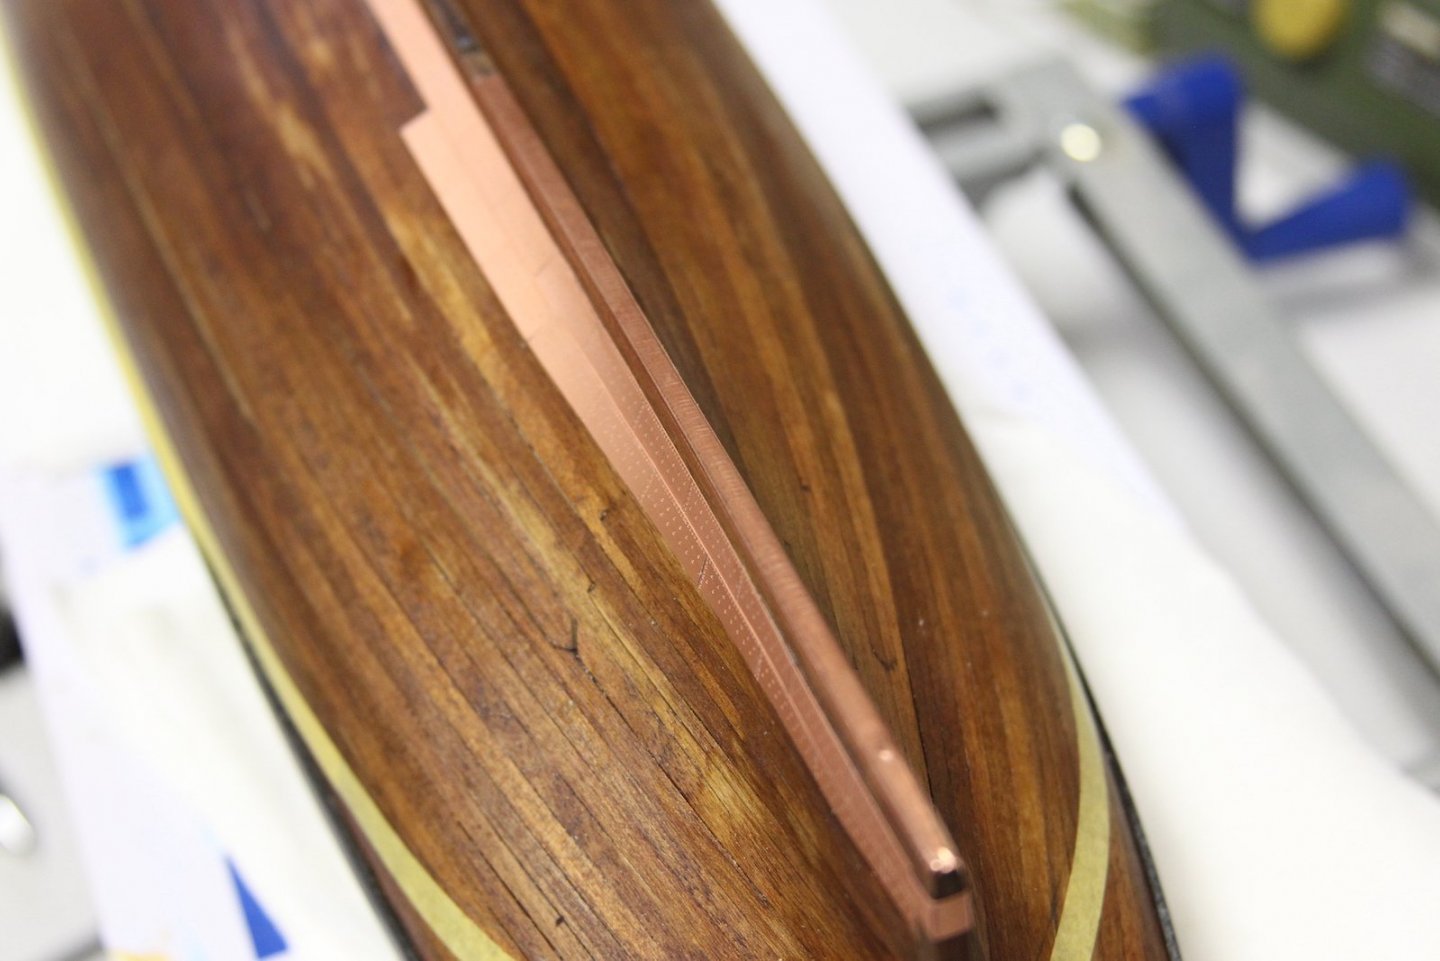
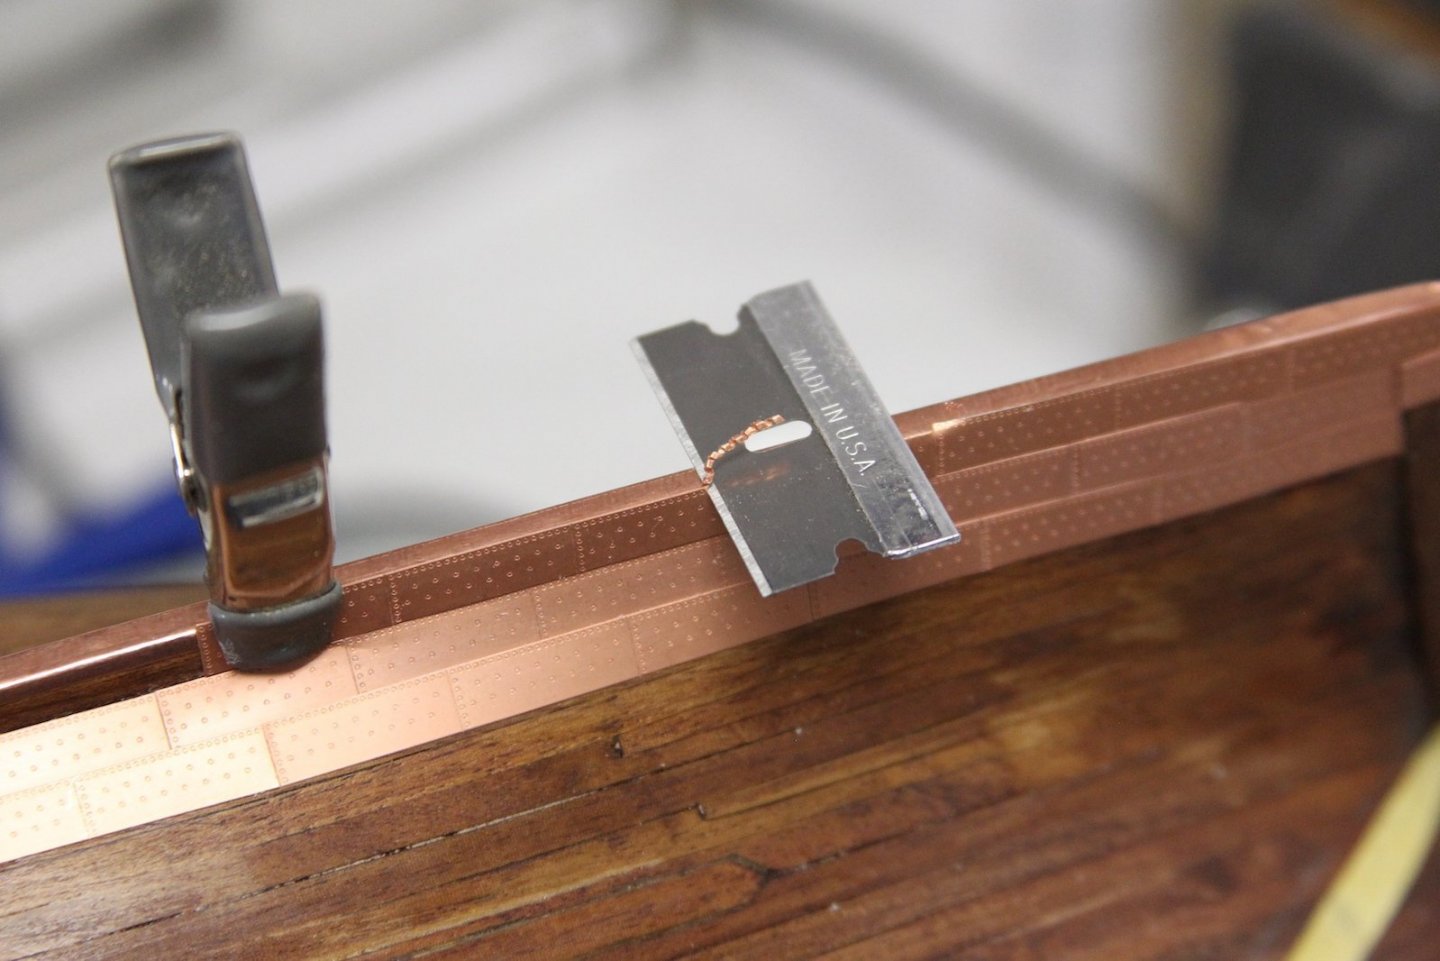
I've been both anticipating and procrastinating this next bit for a while now - but it's come time where I've got to get it done before I can move on with the build. I'll be honest - I'm kinda freaked out by coppering the hull, mostly because I've never done it before, but also because it seems like an area that has little tolerance for mistakes. That said - I've done a fair amount of research and looked and looked and looked at build logs so I can go into it with at least a little confidence. I started by using a couple of different levels to get the ship straightened out before marking the waterline with my home-made waterline marker tool derived from one of the weird tripods I have sitting around. Once the line was marked, checked, marked, checked, adjusted and checked again on both sides, I taped it off with Tamiya masking tape. I also checked the different set of copper plating about four times before labelling them as Port and Starboard. As others have mentioned, then bolt patterns are different. I started at the stern and worked my way along the keel. I'm glueing down either one, two or three plates in a row depending on the situation using CA glue. I put a couple drops on the back of the plate, then spread it out with a toothpick before putting it in place. With the CA spread out that thin, it dries super fast so it's a quick and sketchy process getting the little buggers in place properly. I'm glad others have mentioned that there are a handful of extras... cuz I've definitely mangled a few. For the keel - I remembered that I have this snazzy roll of copper tape sitting in a drawer from when I acquired a bunch of Augie's supplies after taking over the Confederacy. I'm using the copper tape to cover the bottom of the keel, then as I plate along the sides, I can trip the plates nice and tight and get a clean look. I'll go through and mark a bolt pattern on the tape later. After looking at a handful of different builds, I decided it was appropriate to overlap each layer the very slightest amount as I worked my way up from the keel. This provided much cleaner lines, and also gives me just the tiniest bit of wiggle room to adjust as I go along. Which was totally necessary as I got near the bow. I also decided to work down from the stern so I could plan out and visualize the path of the rows; knowing it's going to get a little wonky as I work across the middle of the hull. In the meantime - slow and steady and hopefully minimize mistakes and/or fixes.


- 419 replies
-
- 9
-
-
- Victory Models
- Pegasus
- (and 2 more)
-
Welcome aboard - along with the build logs and things others have mentioned, there's not shortage of tutorials as well - especially as it relates to planking., Have fun, and ask a lot of questions!
-
Thanks @allanyed. Sometimes I have to remind myself of why I started doing wood ships: after a high speed military career, I wanted a way to instill the idea that taking as much extra time as necessary to do something properly pays off big dividends in the long run. I still forget that pretty regularly, and sometimes get caught up in wanting to finish an aspect rather than savouring the process - so refreshers are always helpful.
- 419 replies
-
- 3
-
-
- Victory Models
- Pegasus
- (and 2 more)
-
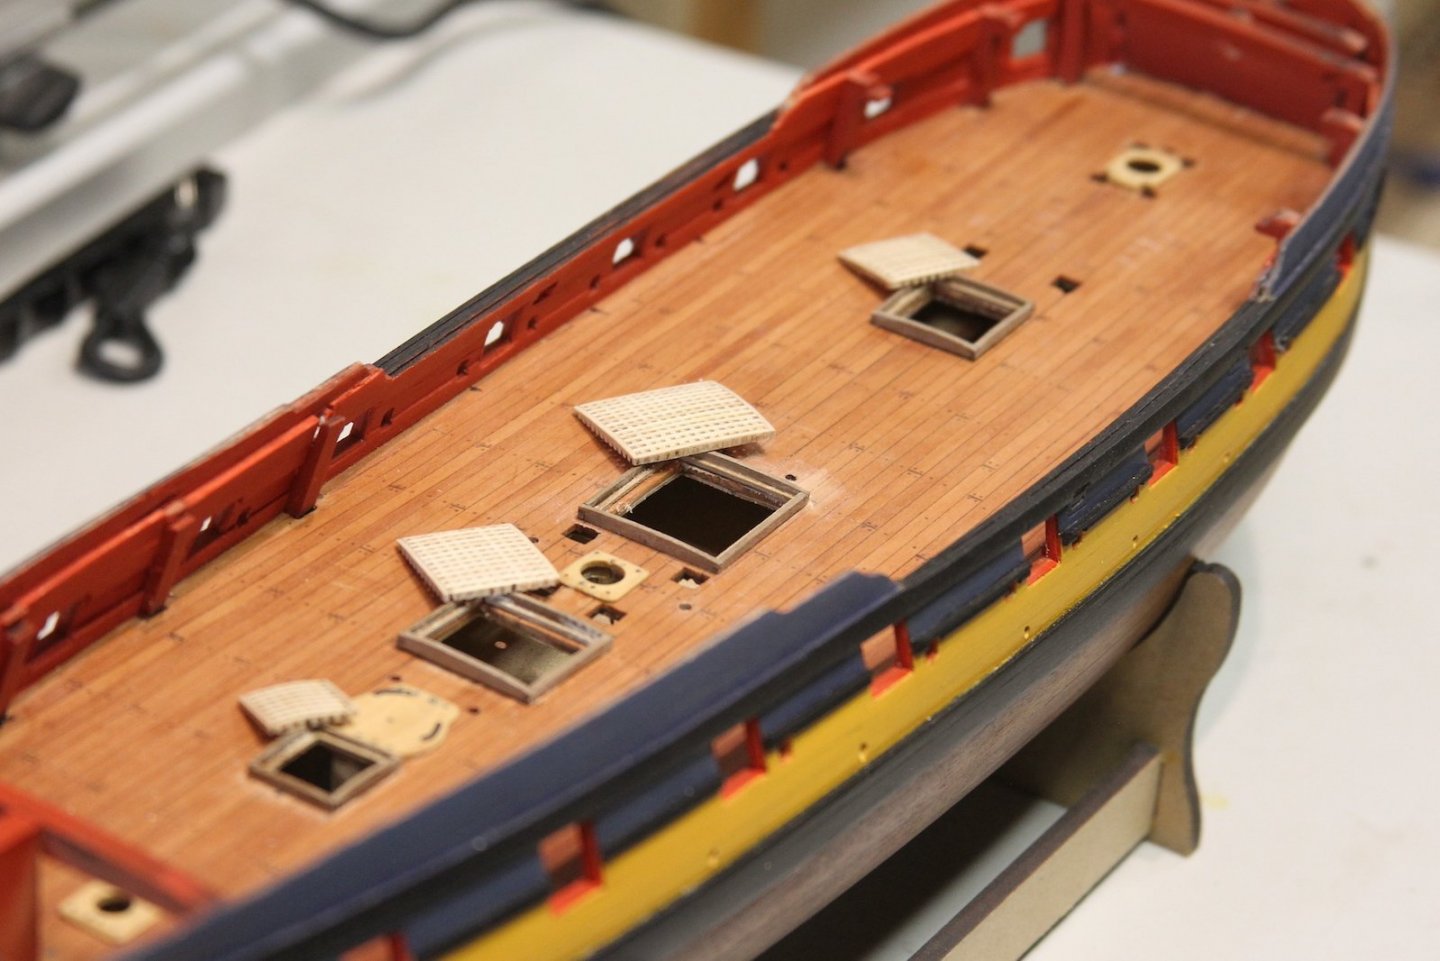
Thanks for the all the input and references folks. After doing a little followup on my own of course, I spent yesterday upgrading the coamings, battens, and hatches. Obviously a much better result.

- 419 replies
-
- 10
-
-
- Victory Models
- Pegasus
- (and 2 more)
-
Thanks BE - much appreciated. I'm pretty happy with the way they turned out. I feel as though they look even better in person; which is good I guess. Sometimes macro is a little TOO close... 😜
- 419 replies
-
- 2
-
-
- Victory Models
- Pegasus
- (and 2 more)
-
That’s cool Cato - I was a journalist for the military and Zama was my “beat” at one point. My last visit was in 2017 when I took my daughter back to show her where she was born 18 years prior.
-
Hey Cato - I spent seven years at Yokota Air Base, just outside of Tachikawa.
-
Good morning - Thanks Andrew and Peter - I appreciate the look-in and comments. And no worries @flyer - not nagging to me at all, but rather much of the purpose of being part of a forum such as this. Grates are a nuisance to me for the most part - yet, always one of the THE most visible portions of a deck, so definitely worth taking another look and noodling through an improvement.
- 419 replies
-
- 3
-
-
- Victory Models
- Pegasus
- (and 2 more)
-
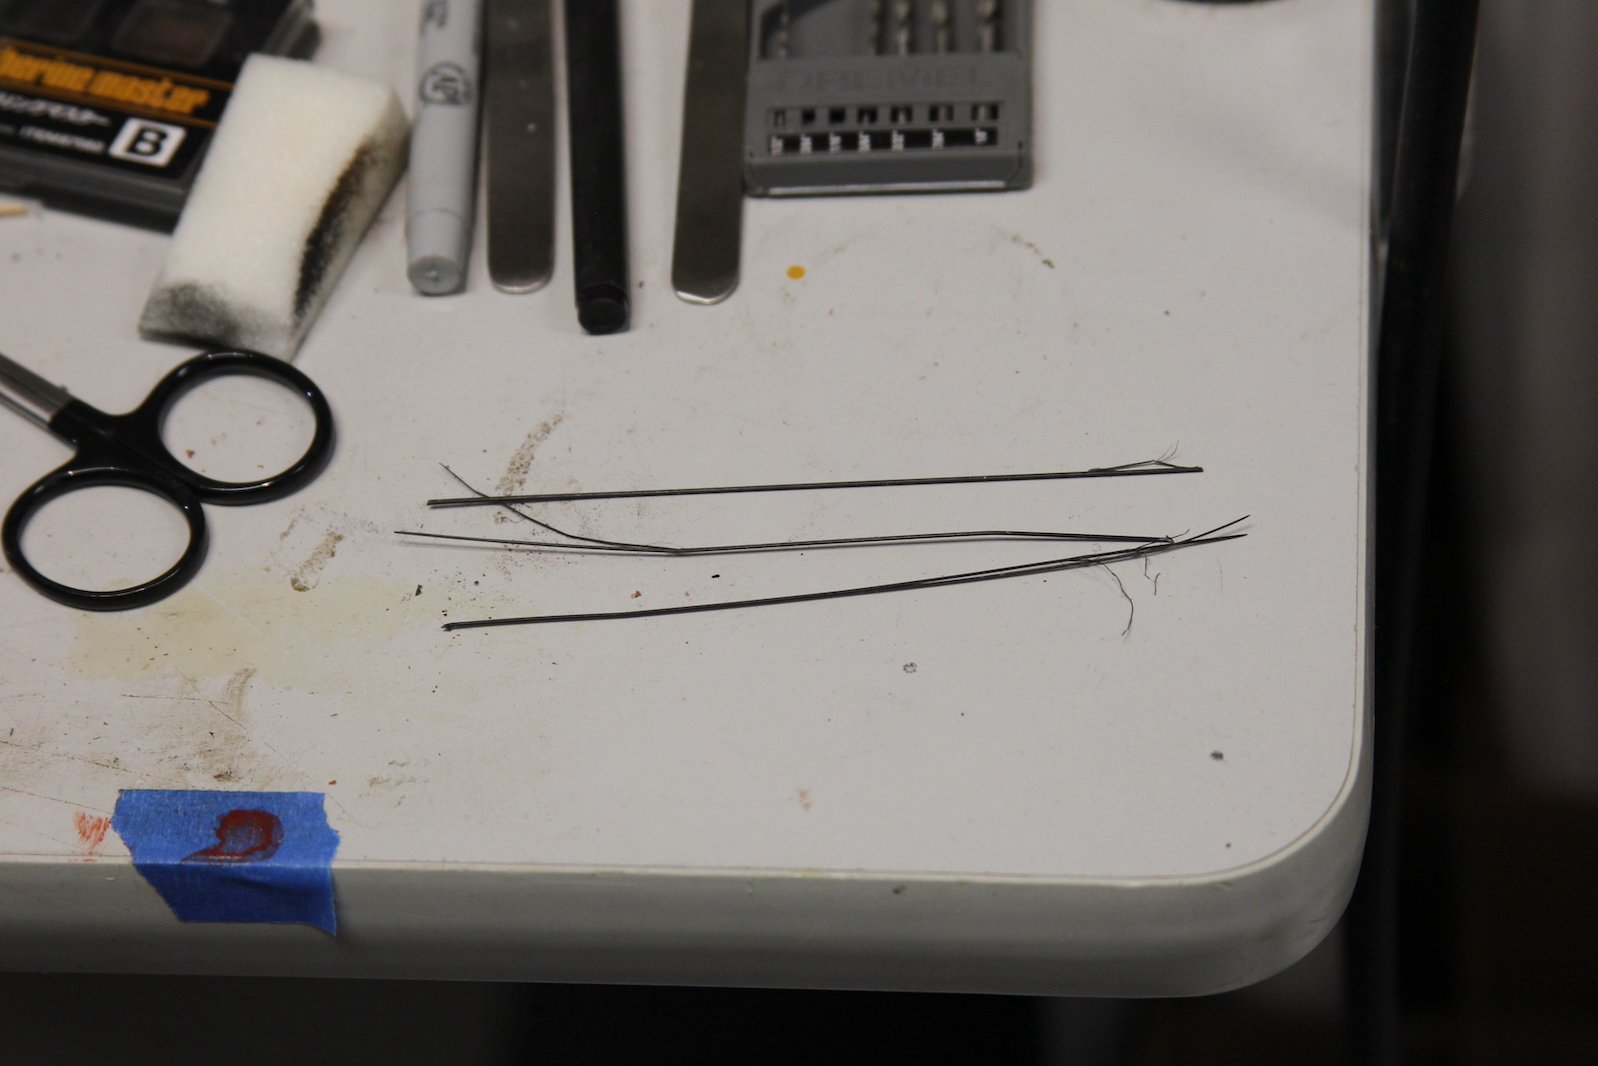
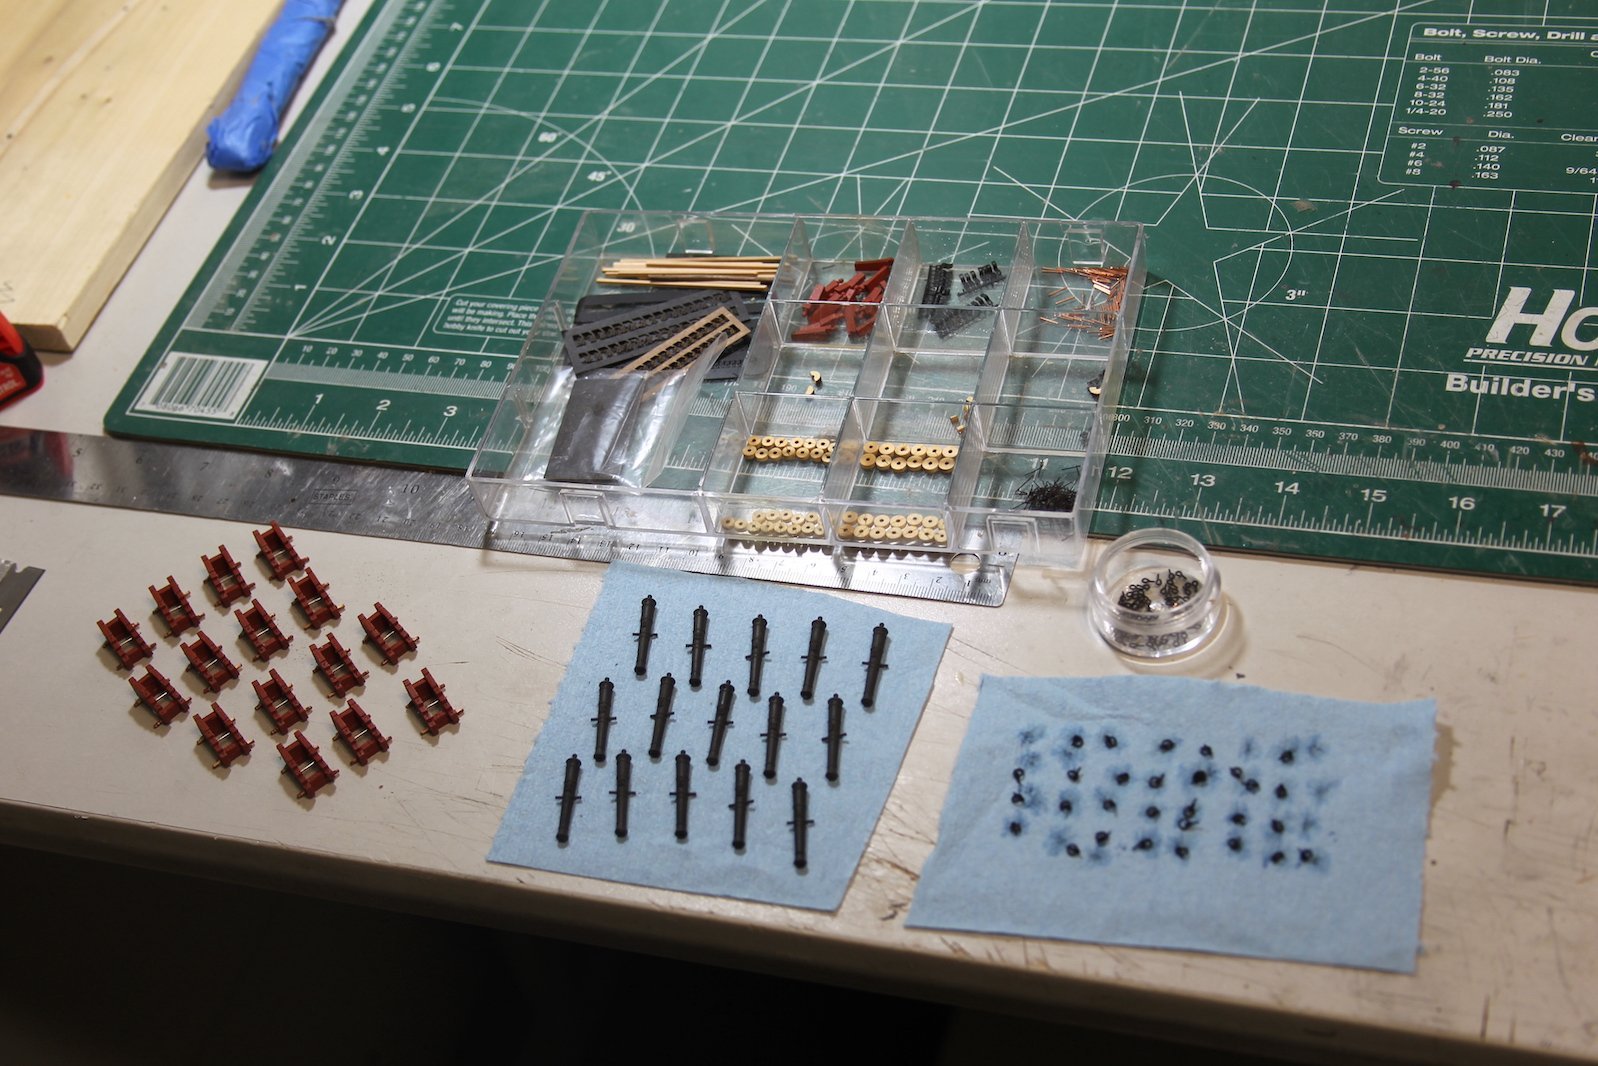
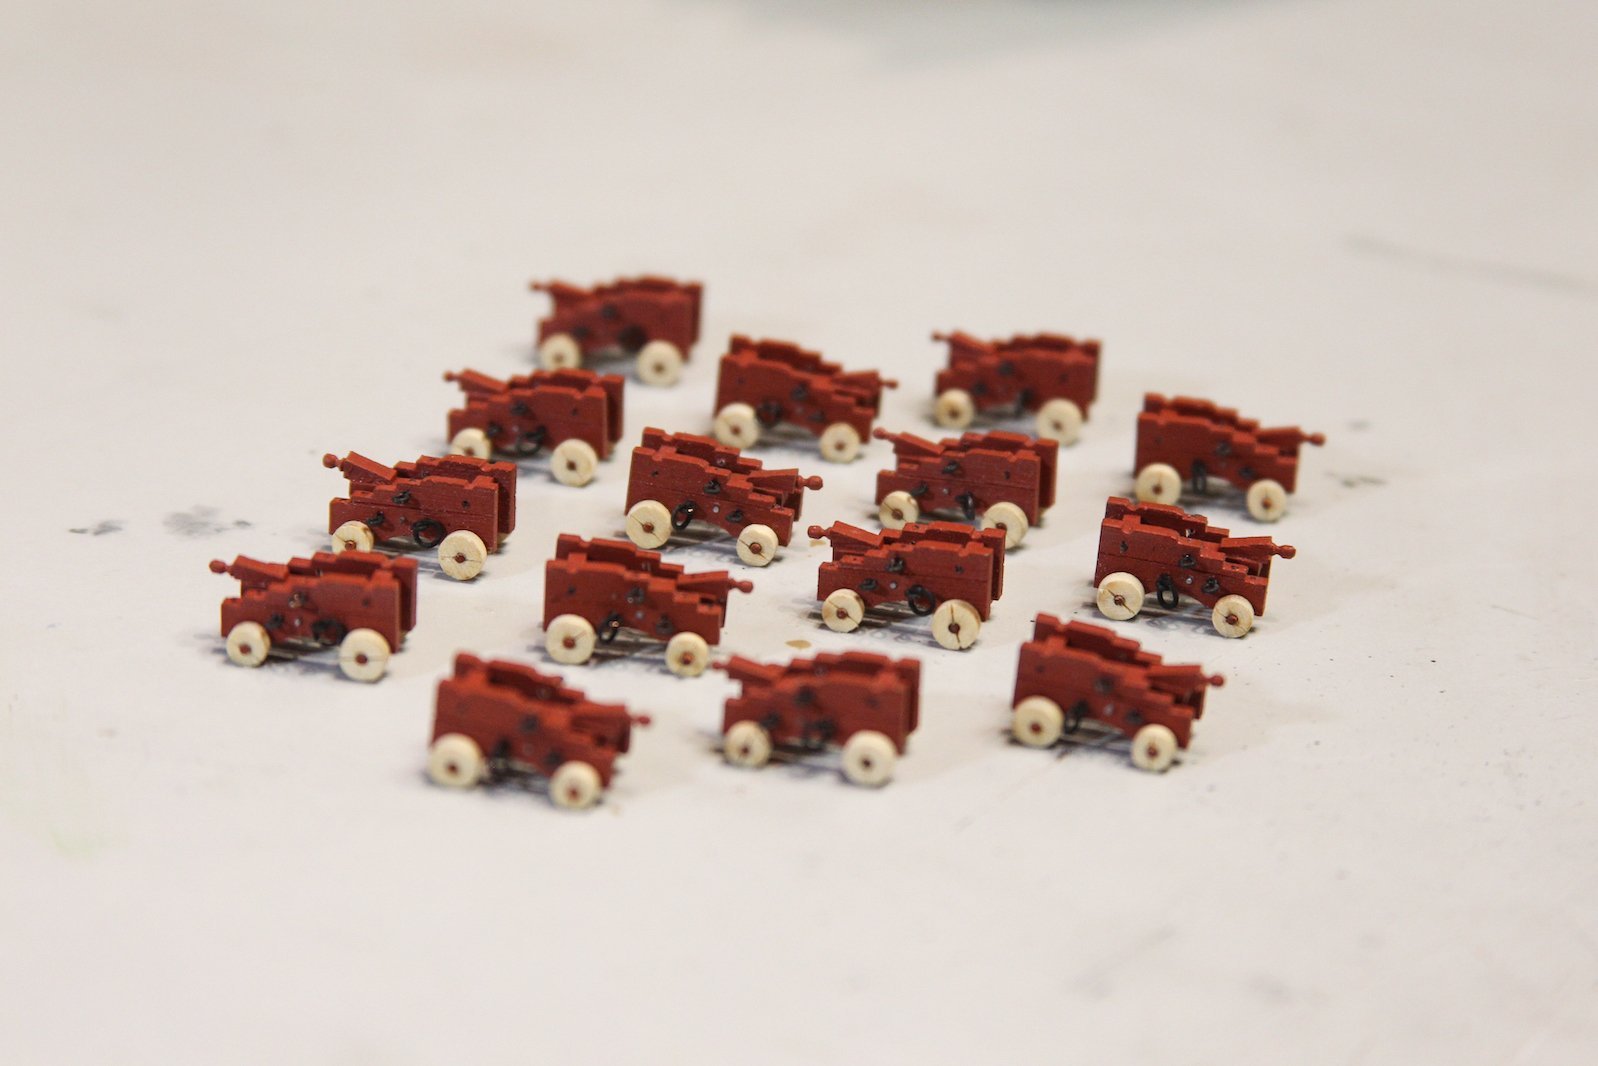
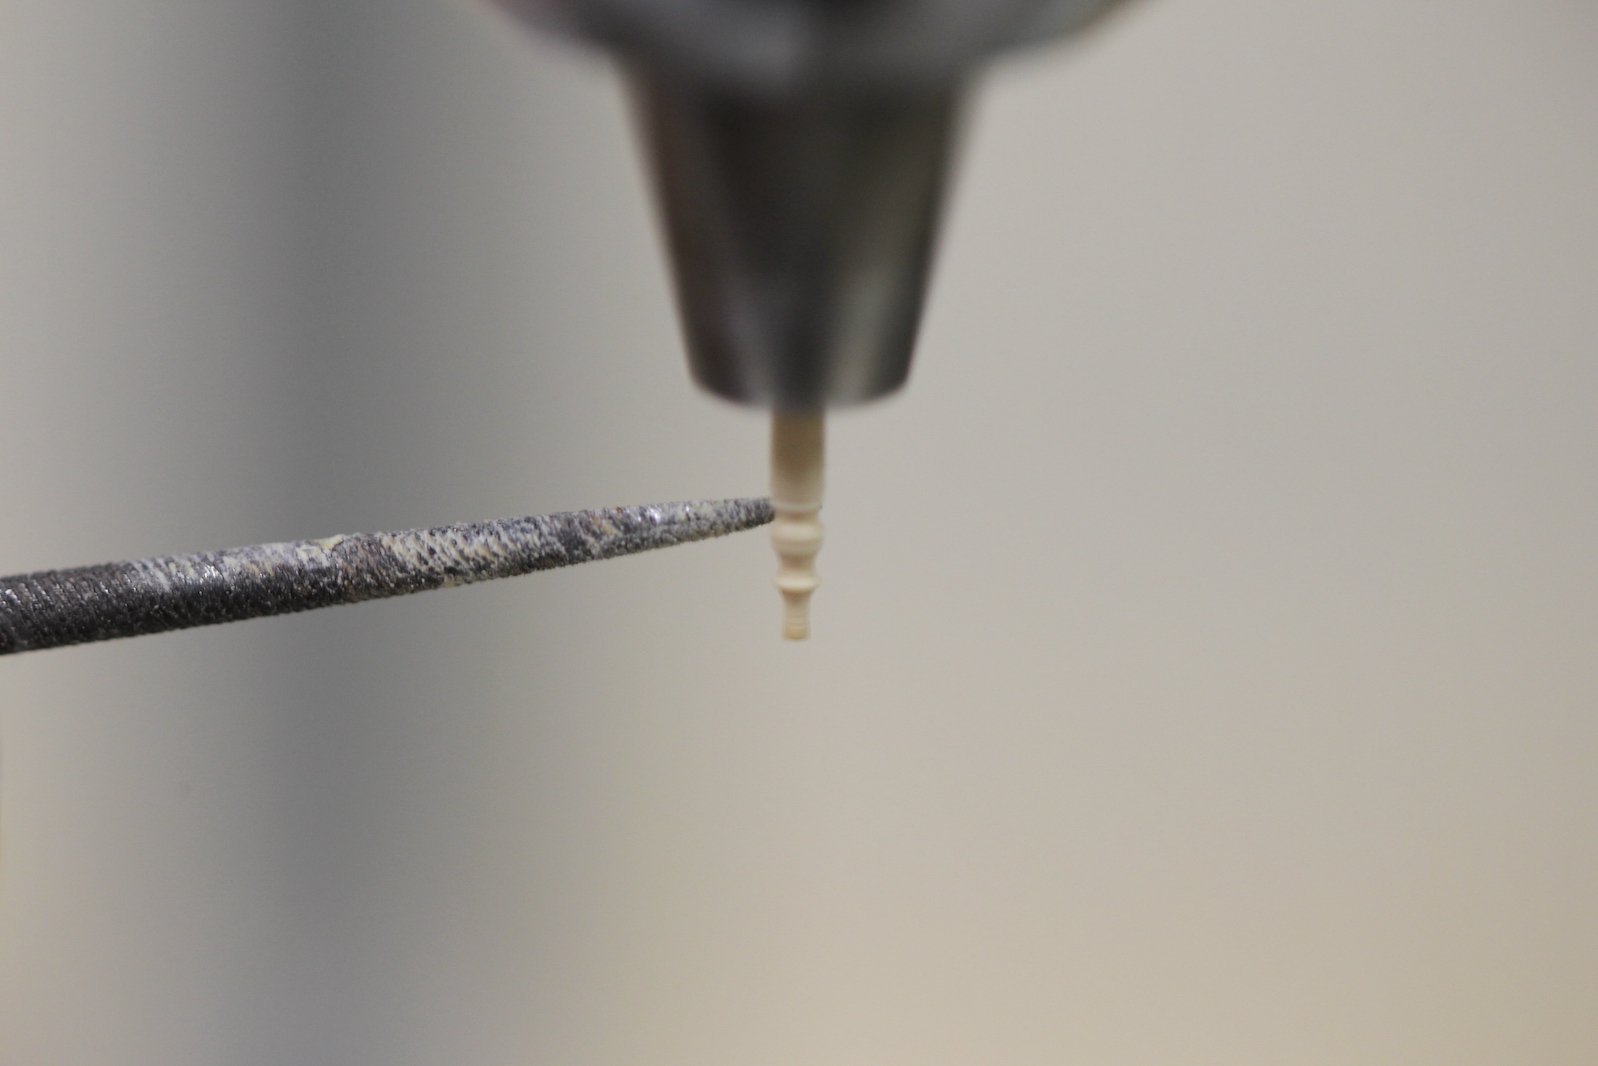
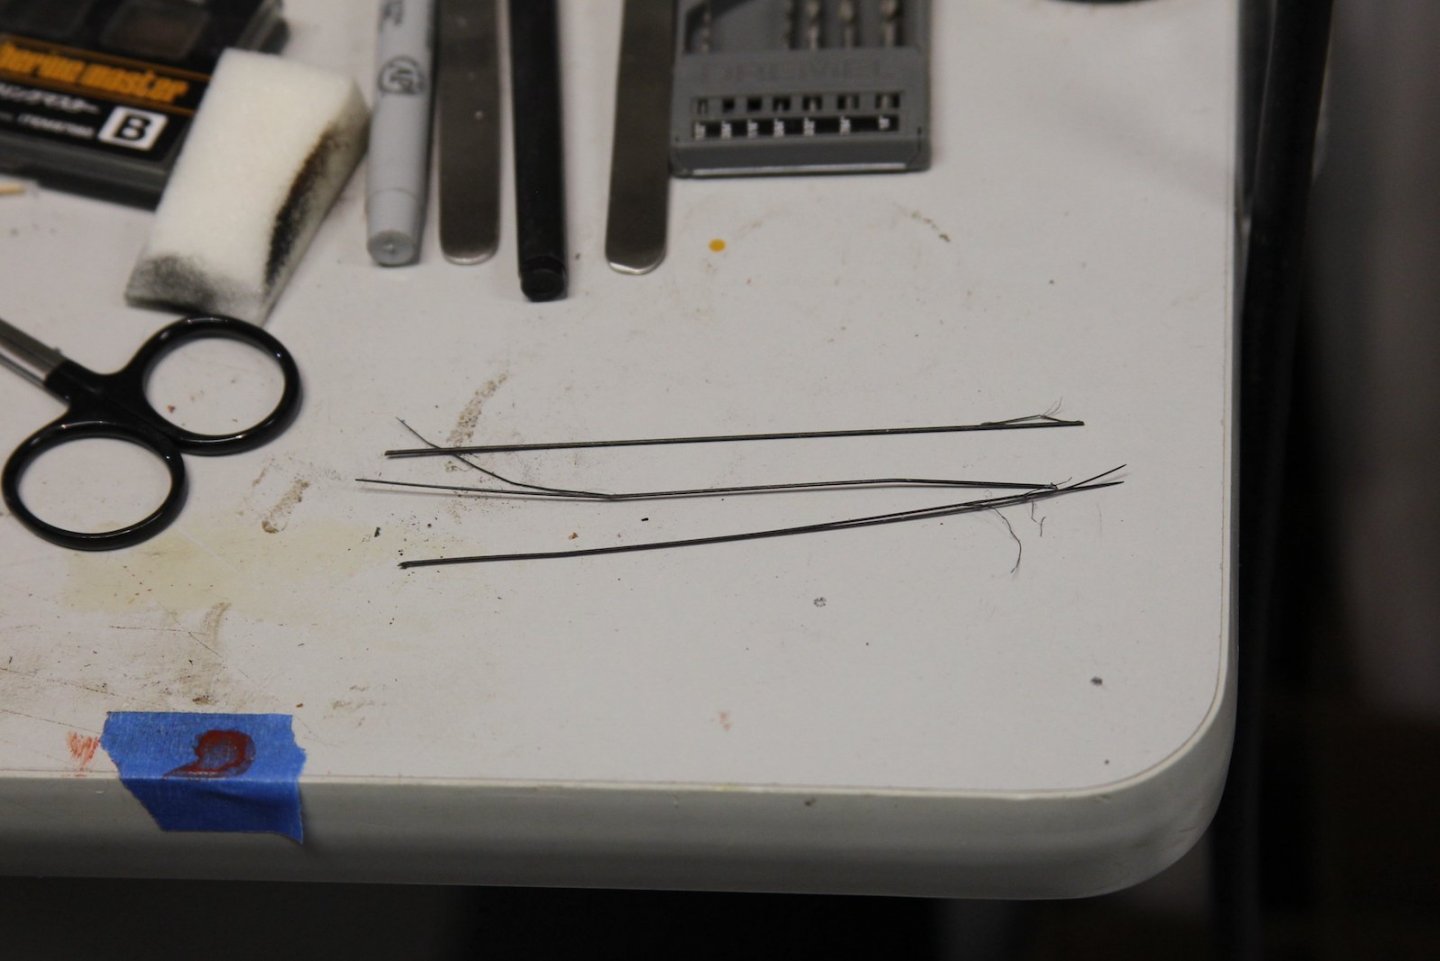
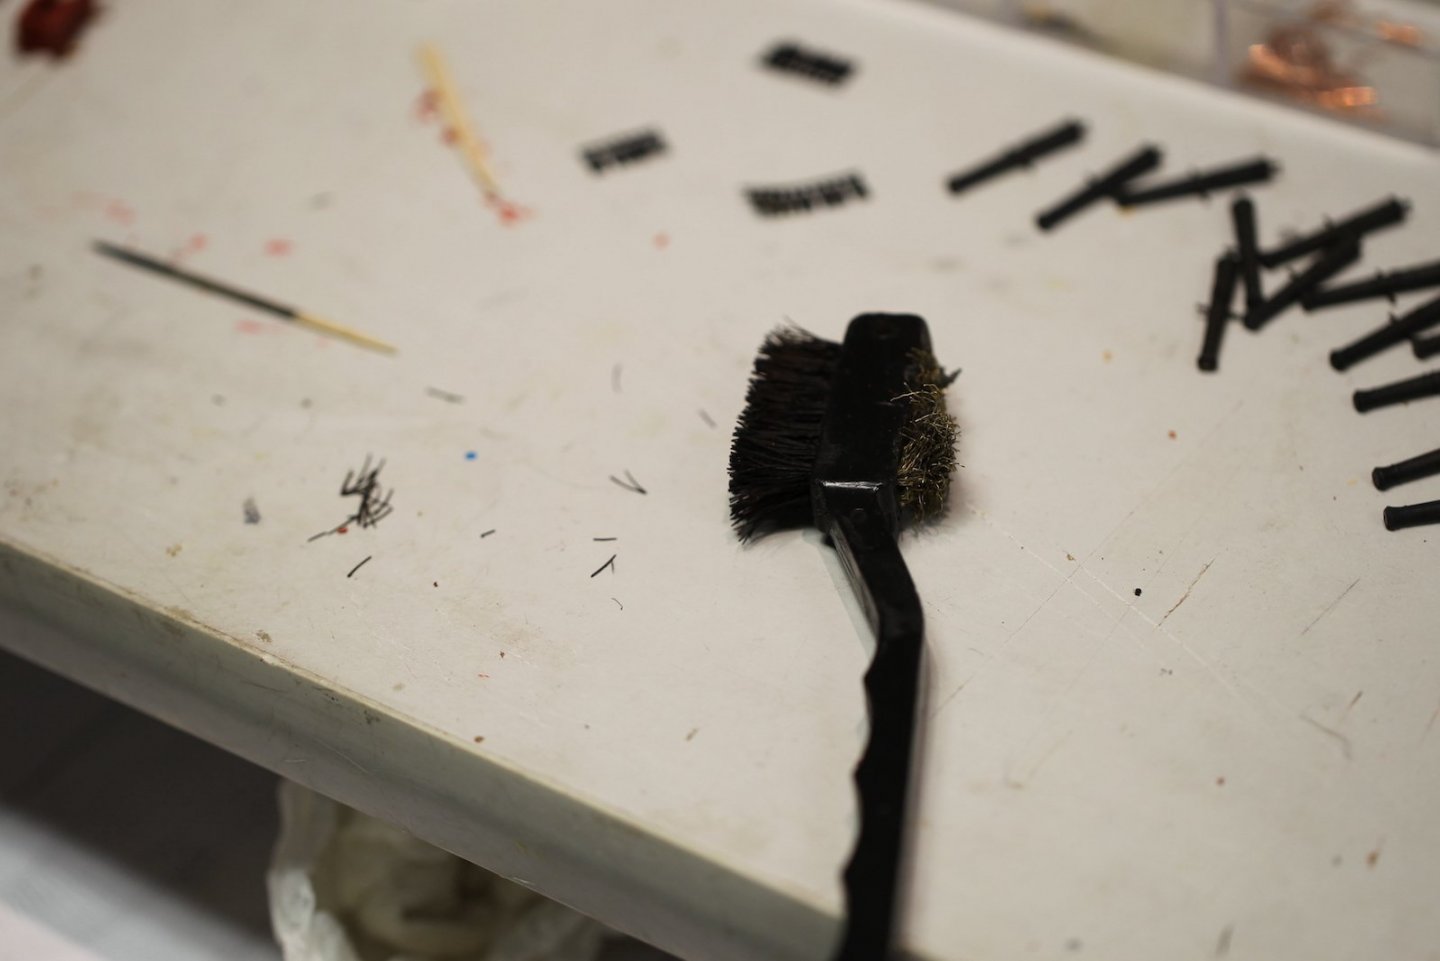
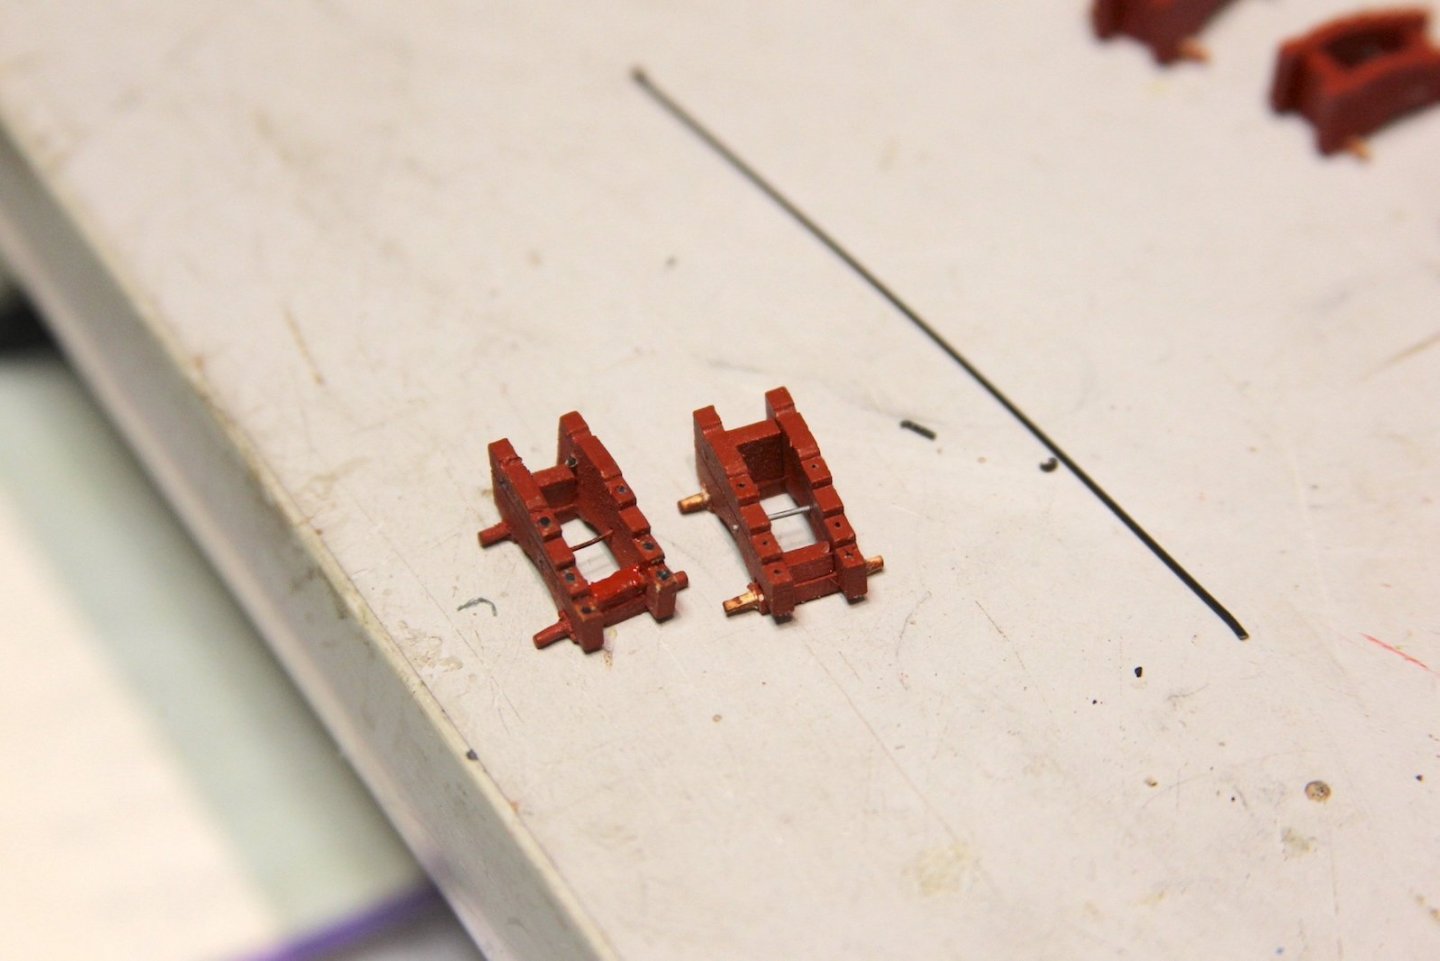
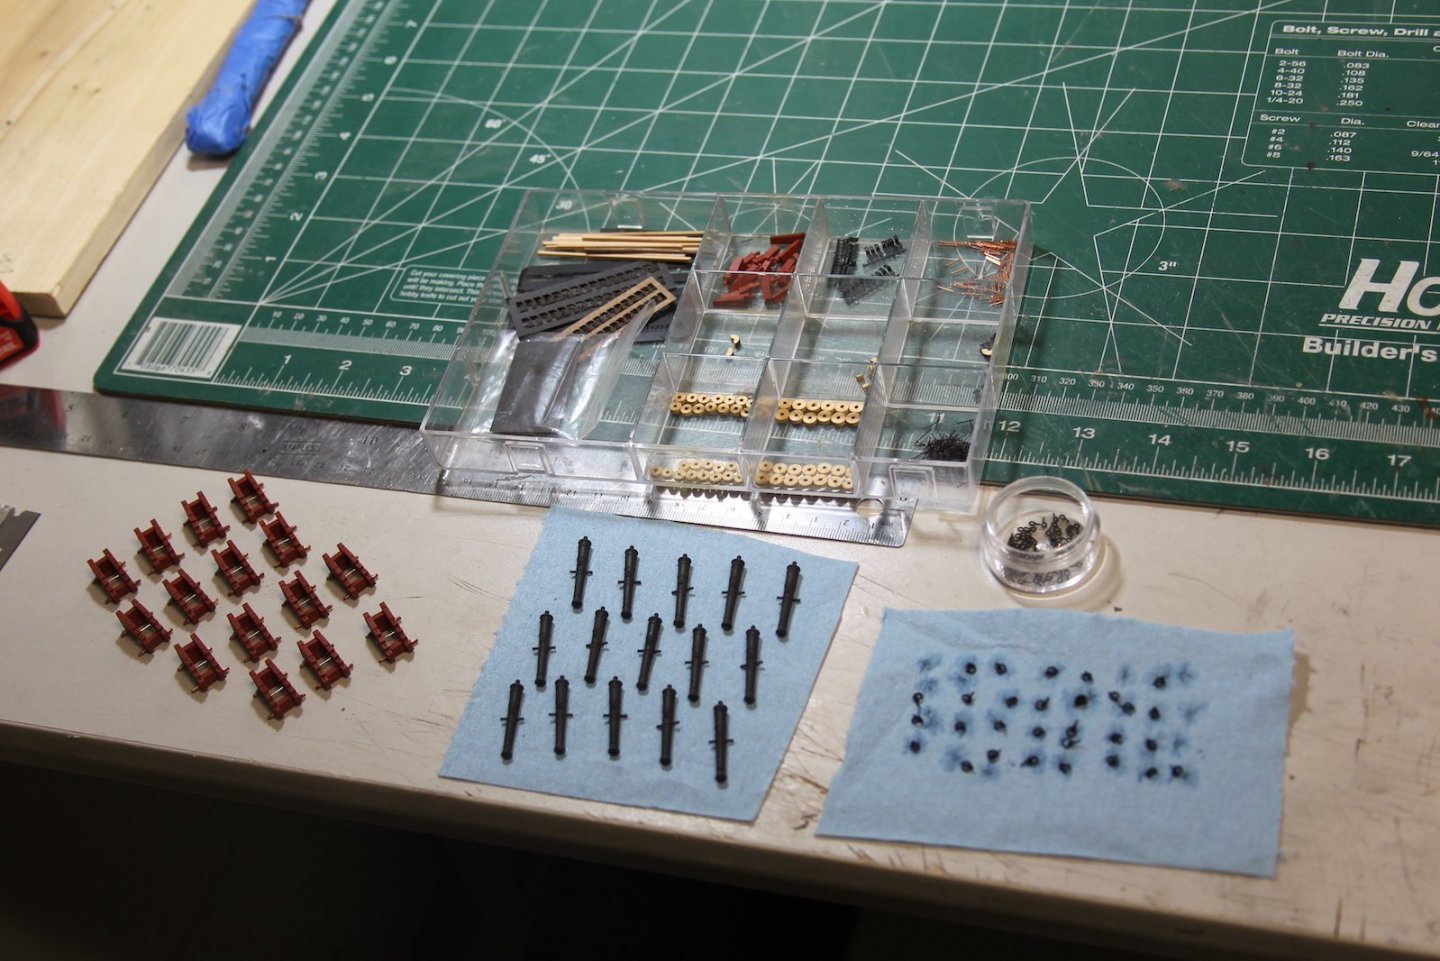
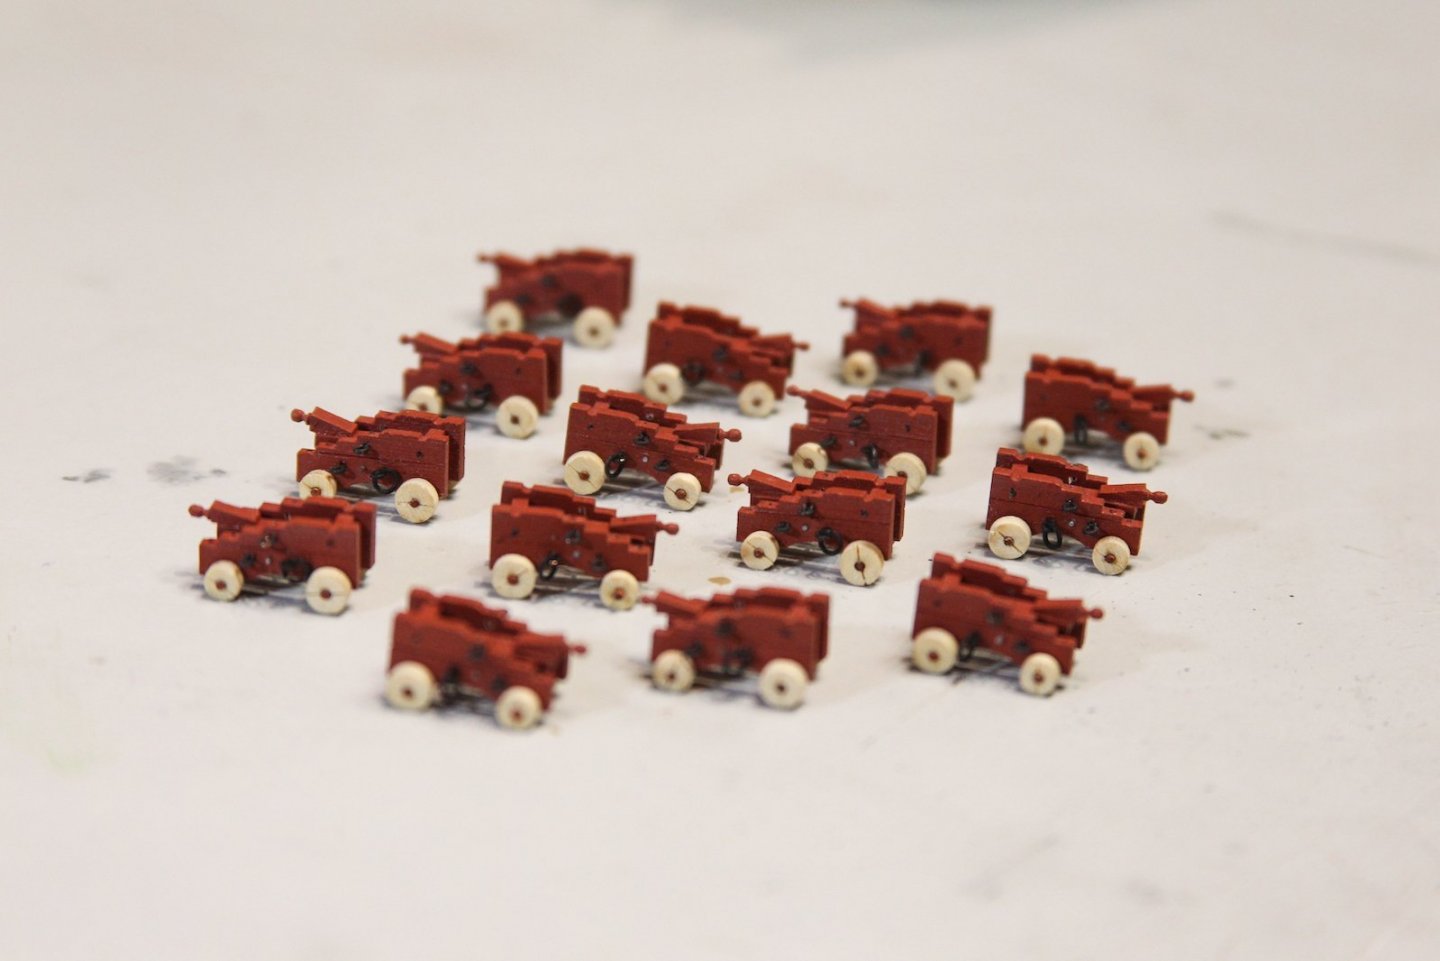
Continuing with the Guns and Carriages - I was trying to decide what kind of monofilament-esque item I'd used as nail/bolt fillers for the carriages. I started with a few strips from an old broom in the garage, but it ultimately felt too large and out of scale. Then I tried some bits from an old golf club brush I found sitting around. Here's a side-by-side comparison - the latter definitely a much better fit. I drilled out holes, filled them in, then shaved them off with a razor. From there, it's back to the assembly line. I did all the hole drilling, quoin affixing, and eye bolt mounting prior to adding the wheels so they weren't handled too much. Guns were added to carriages after the wheels were mounted. Still a bit of touching up to do to the eye bolts, rings and some edges of the guns - but I'll wait until I work some of the rigging and do it all at once before they're mounted on the deck.

- 419 replies
-
- 11
-
-
- Victory Models
- Pegasus
- (and 2 more)
-
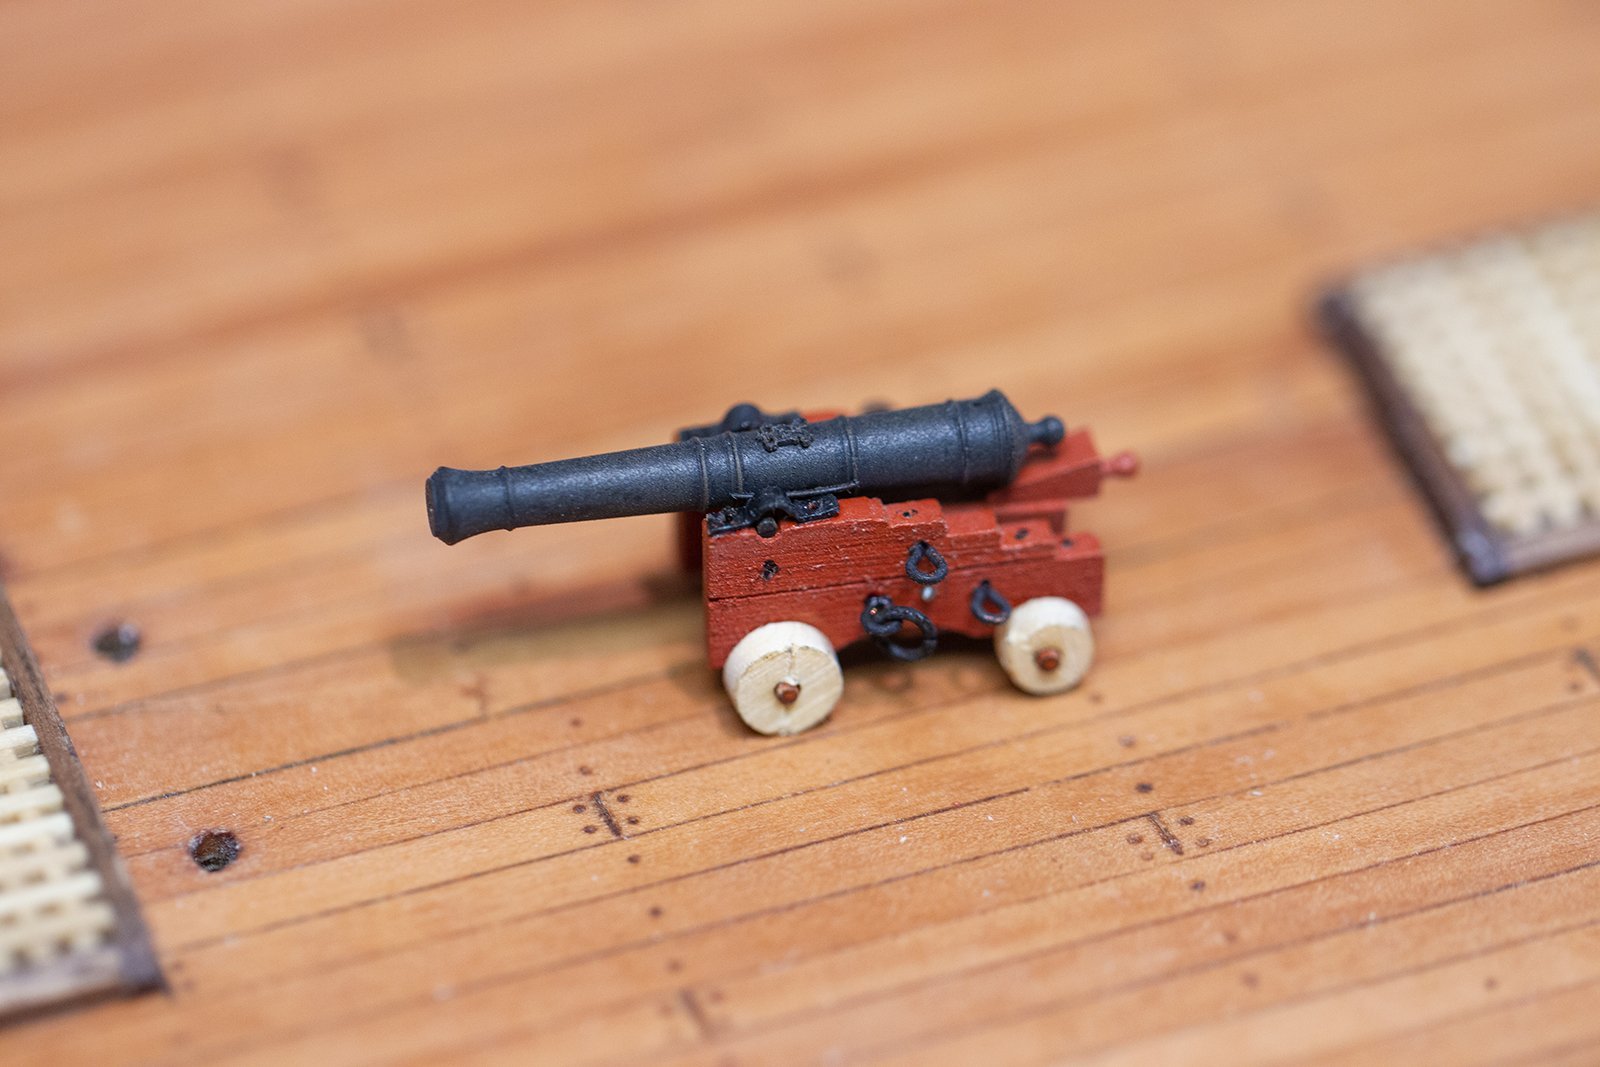
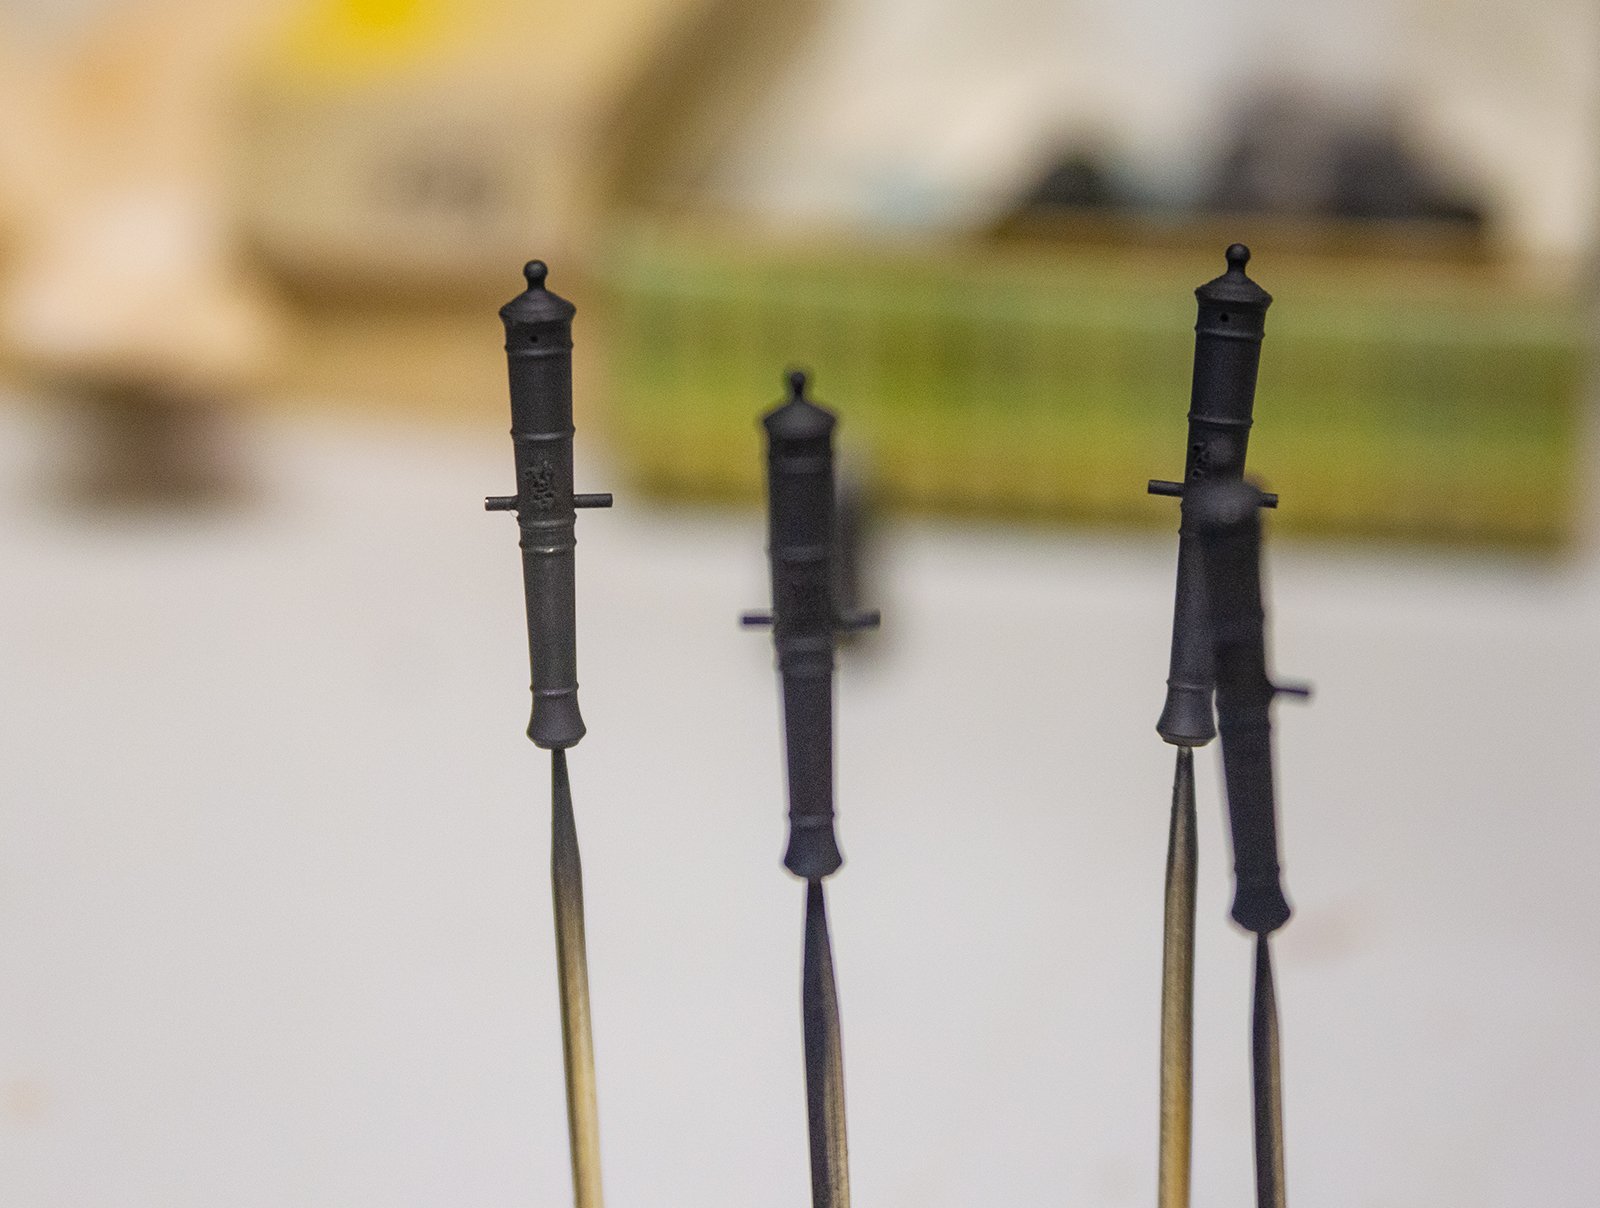
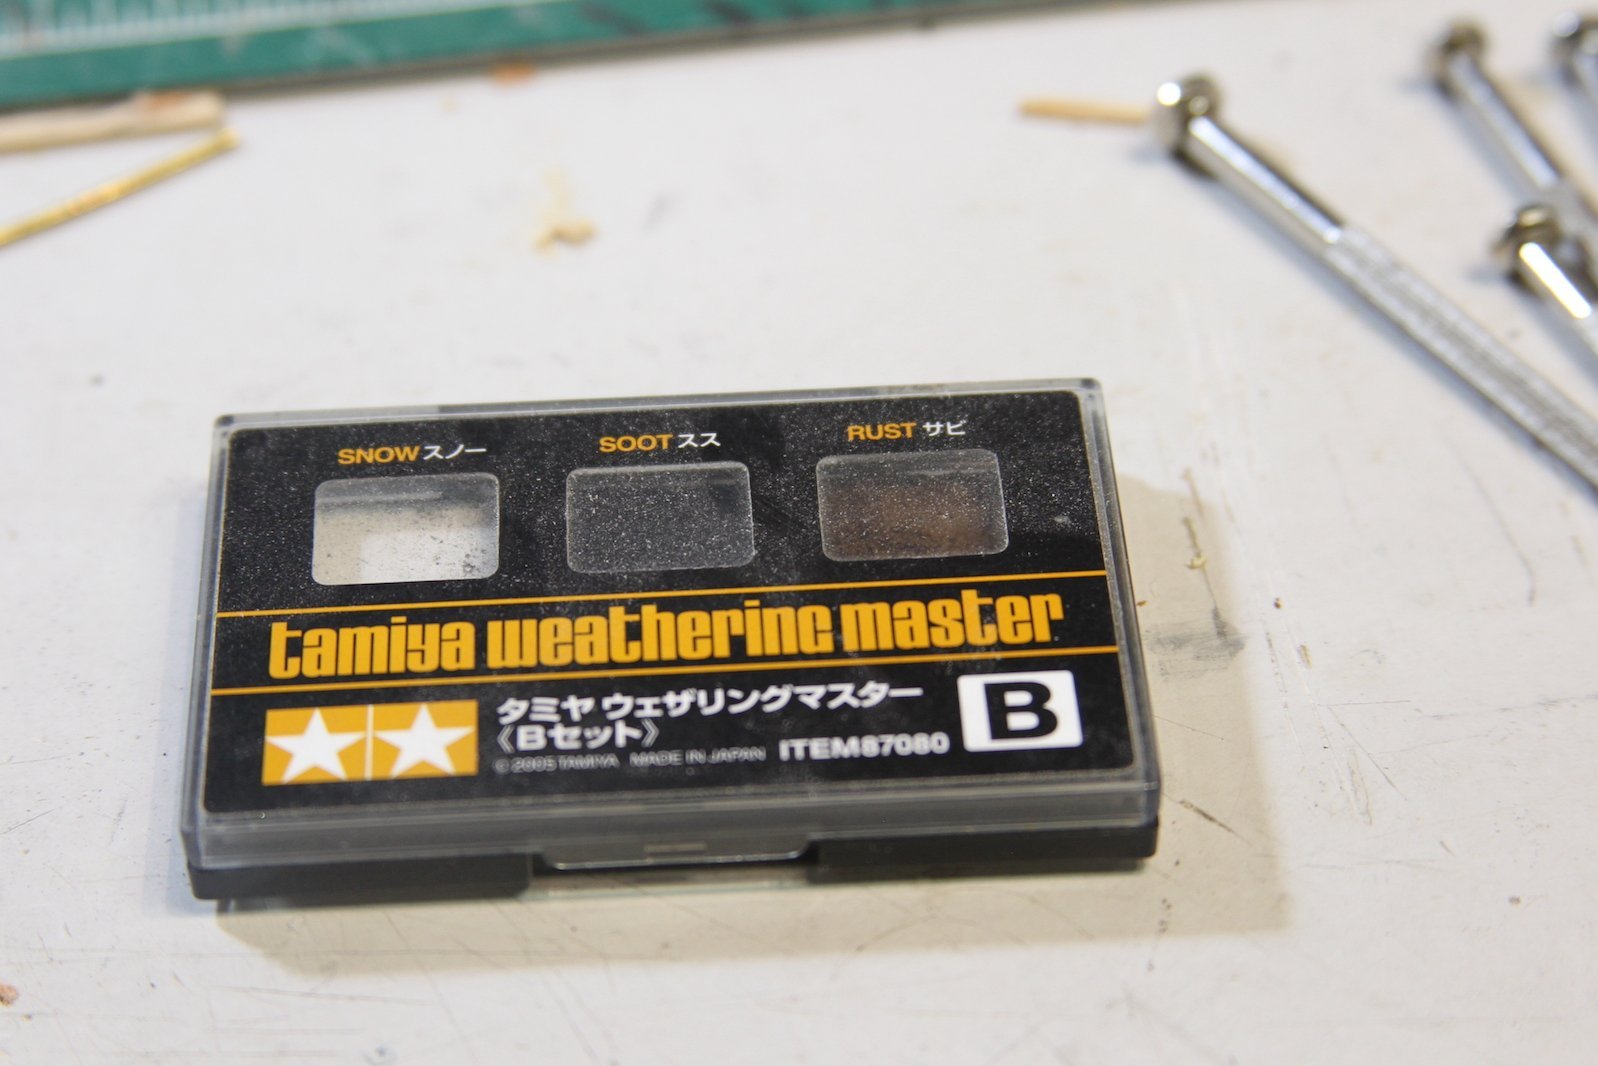
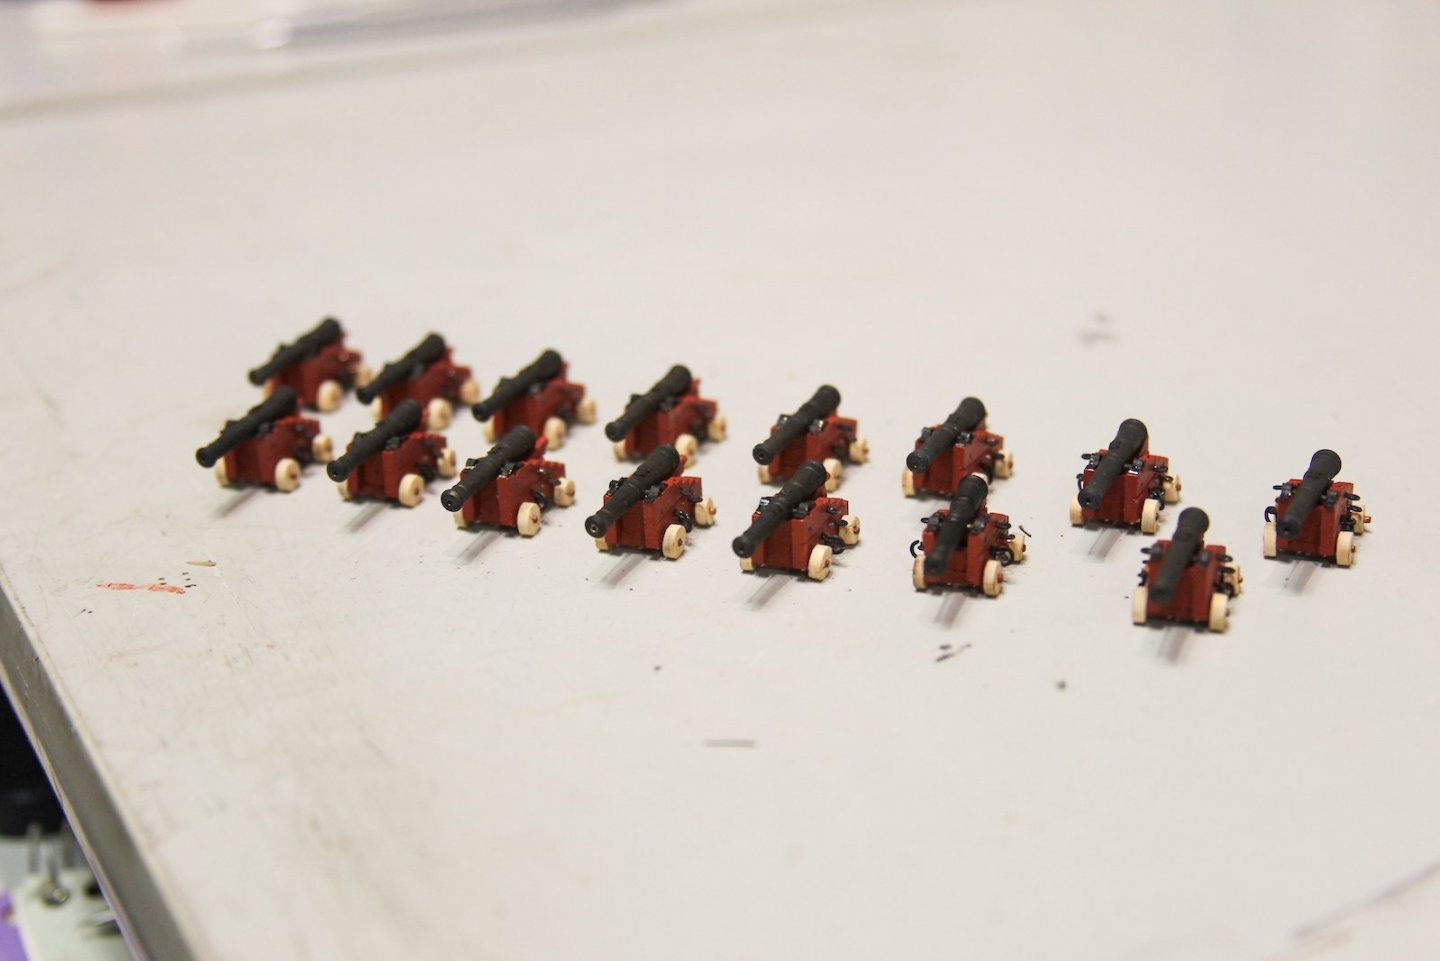
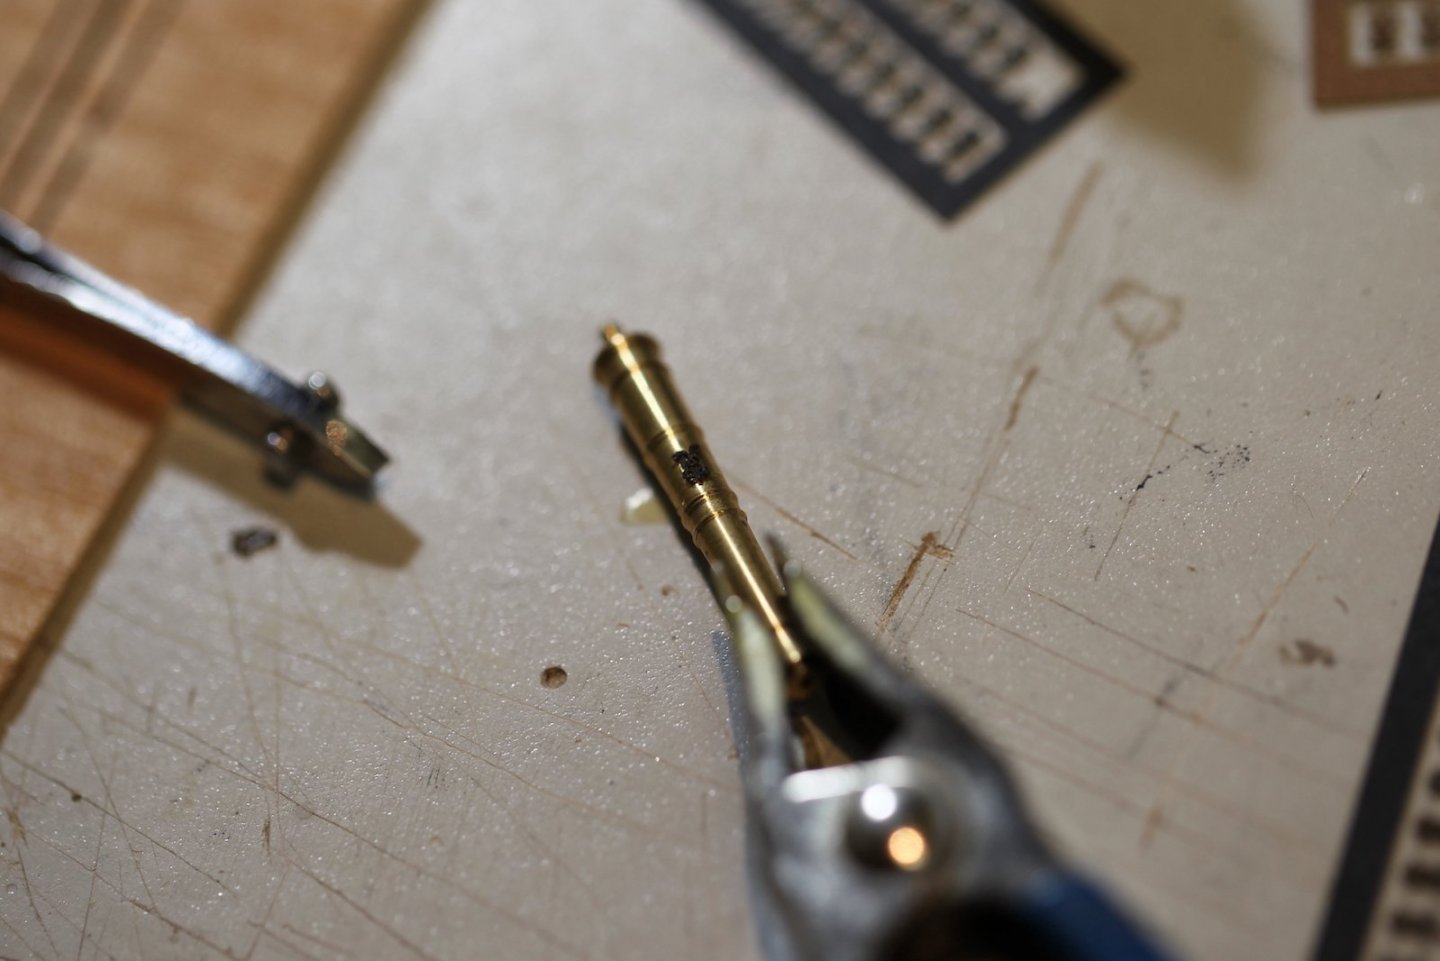
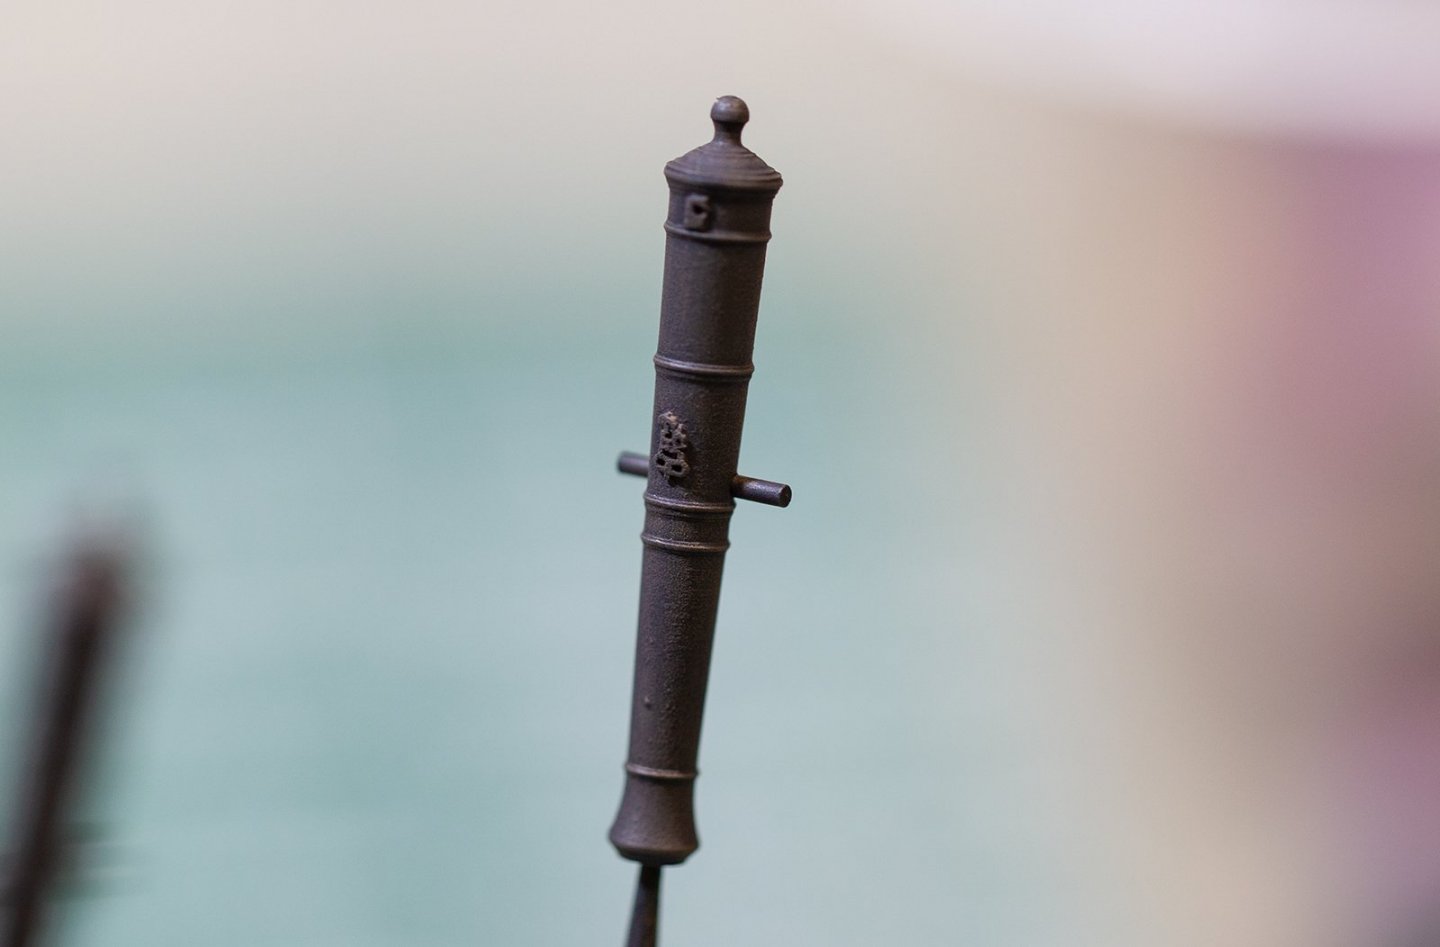
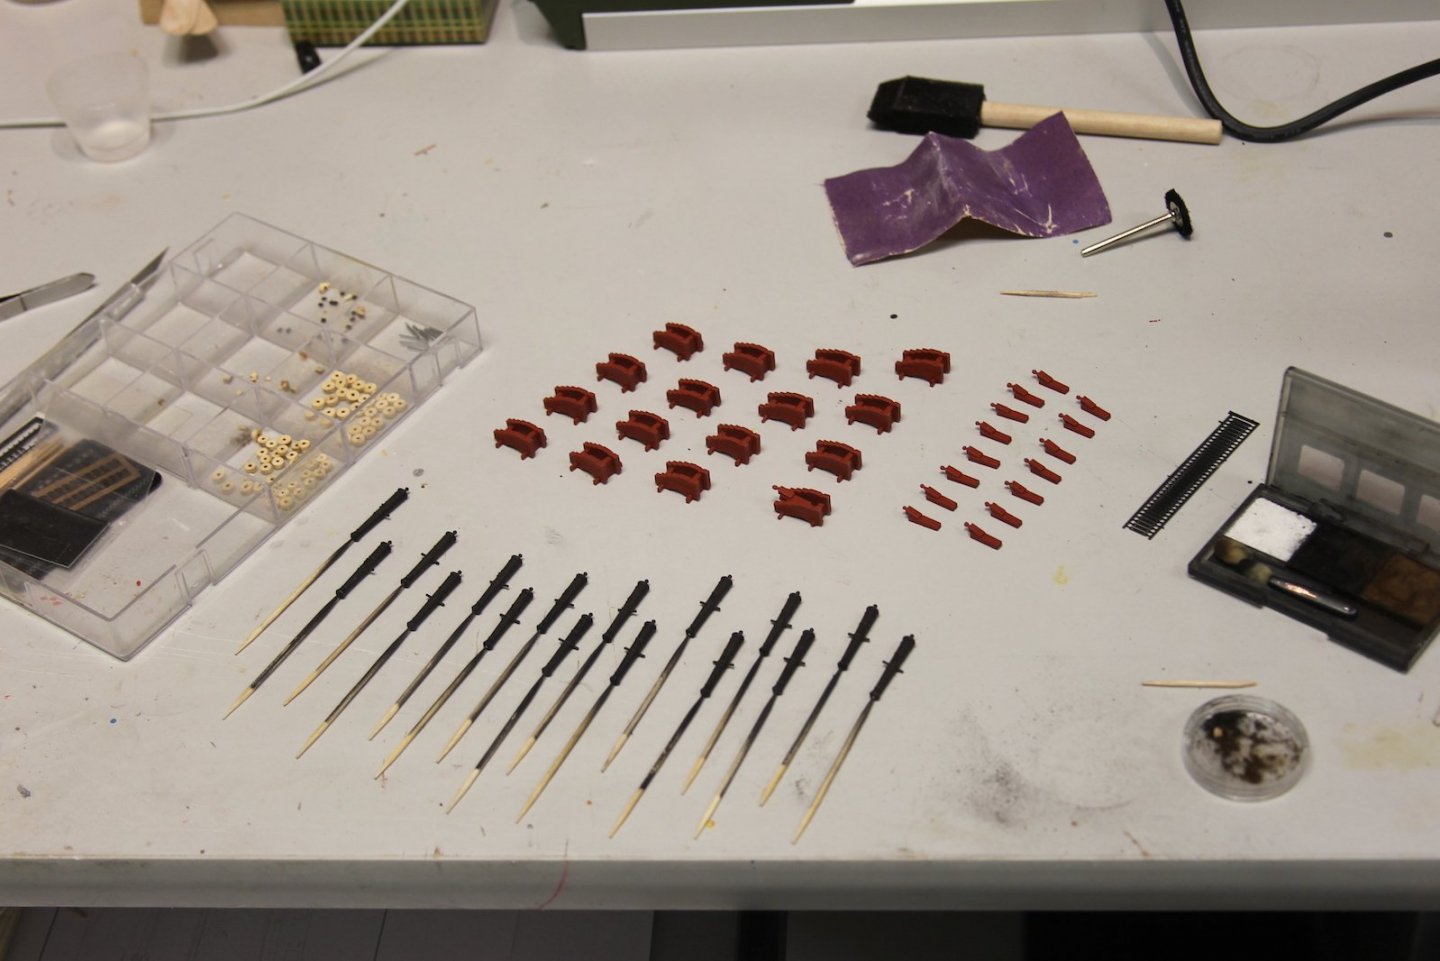
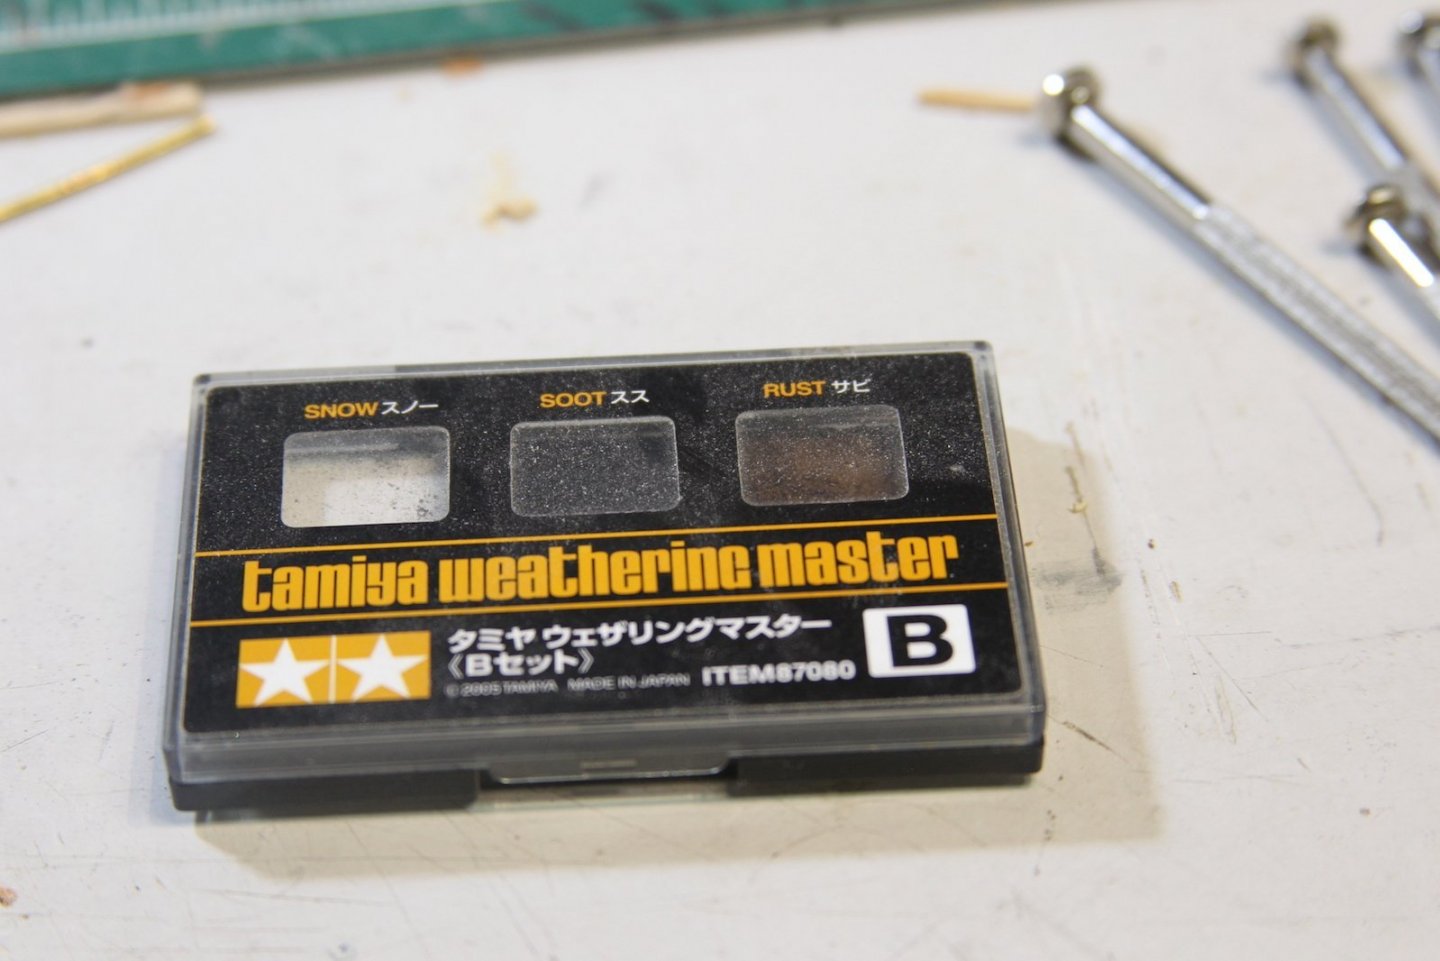
Here's my take on weathering the guns. I started by adding the little emblems from Syren (fiddly little buggers!!) and drilling out a touch hole. Then (I skipped a step in the photos), I blackened the brass and then sanded off much of the black which leaves some blackening in the crevices and lines. This is an extra step that I liked during my experimentation phase as it ends up giving a little extra texture/variance to the end look that appeals to me. I then airbrushed all the guns with a mixture of Vallejo's black and grey black thinned down with a black wash. This gives a nice color and the thinness allows the emblems and details to stand out really nicely without getting pounded down with paint. This first shot is pre-weathering. Finally, Tamiya is my preferred weathering product and I gave each gun a light brush of "soot" to dull the paint, then "rust" to bring out the edges. My goal is to give the guns some character but not make it look as though the crew has neglected their duty in maintaining the equipment. Still a lot of work to do on the guns and carriages of course - next steps are finishing the carriages, drilling out all the holes, adding the bolts/rings, mounting the guns and starting the rigging.

- 419 replies
-
- 8
-
-
- Victory Models
- Pegasus
- (and 2 more)
-
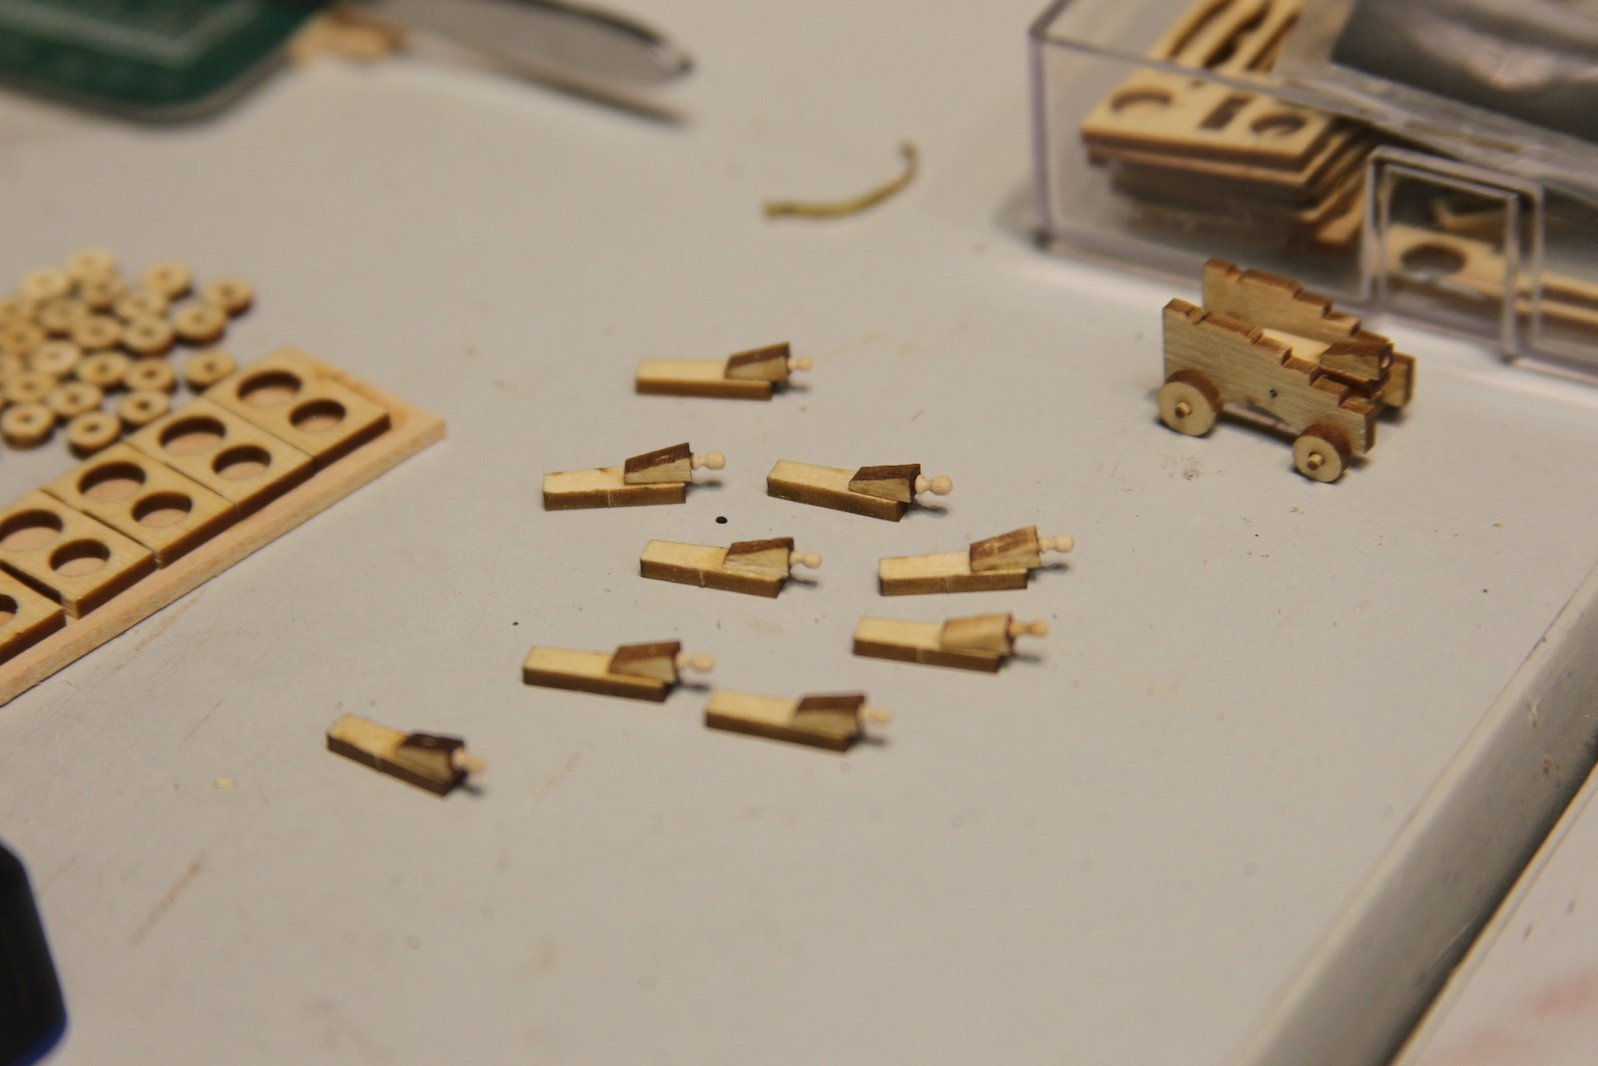
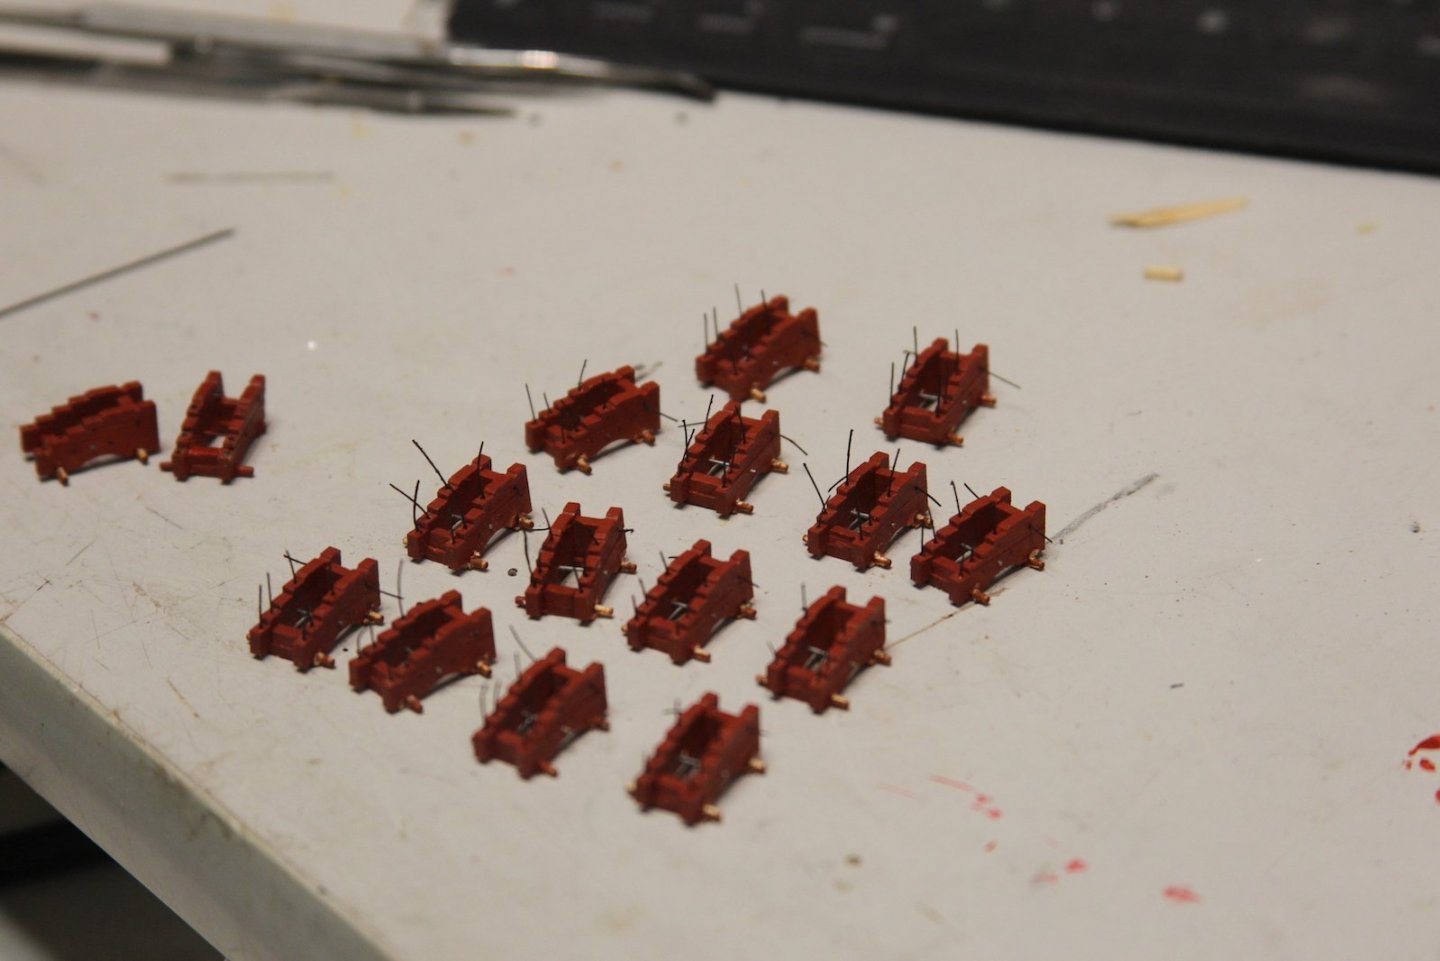
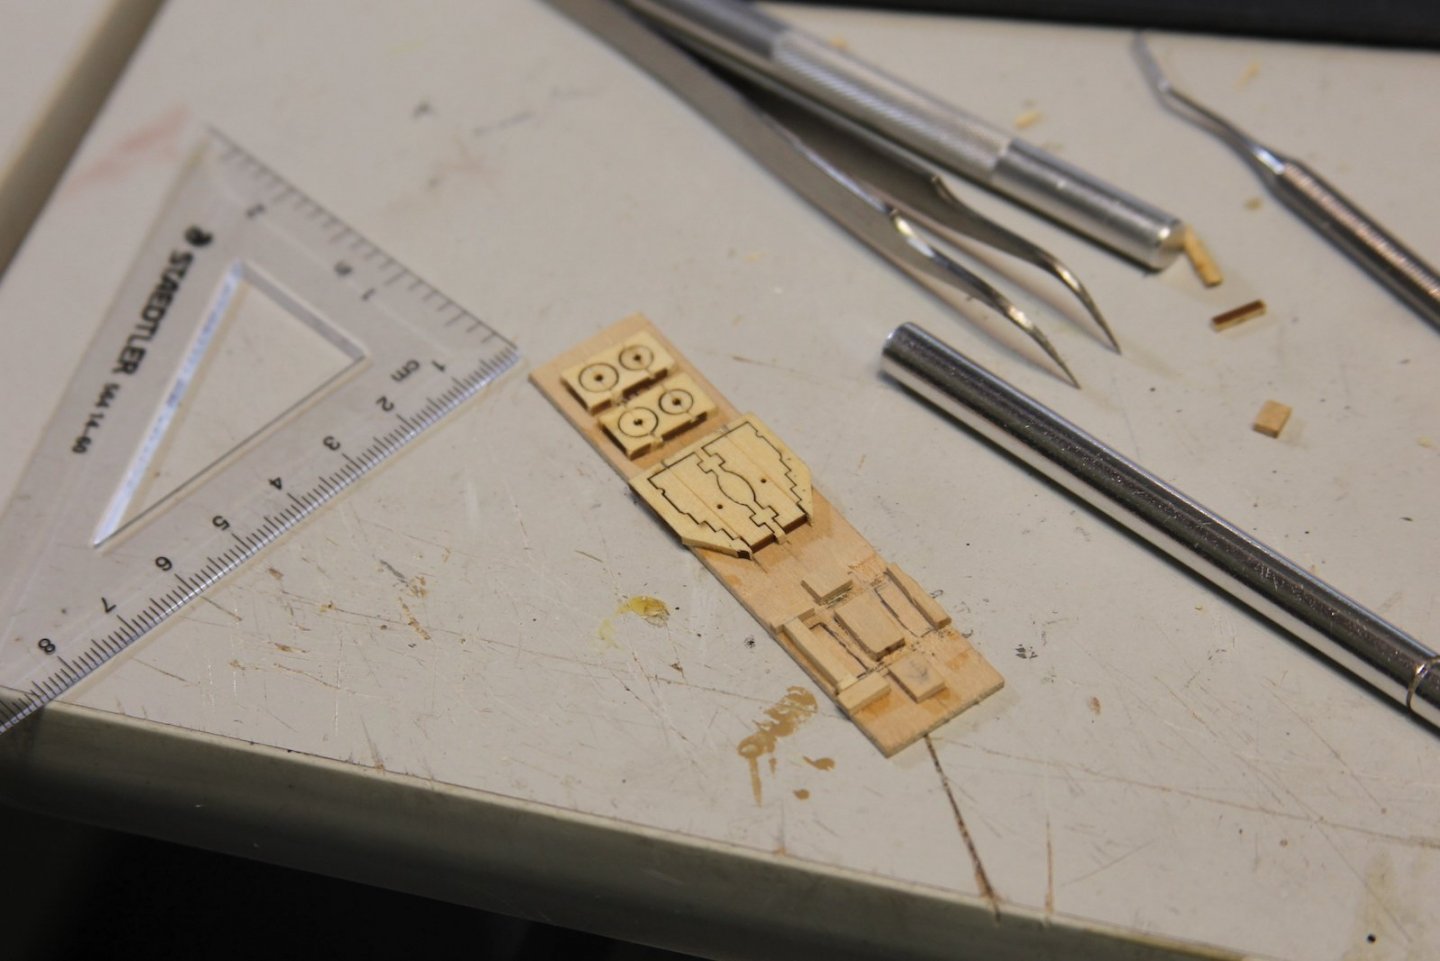
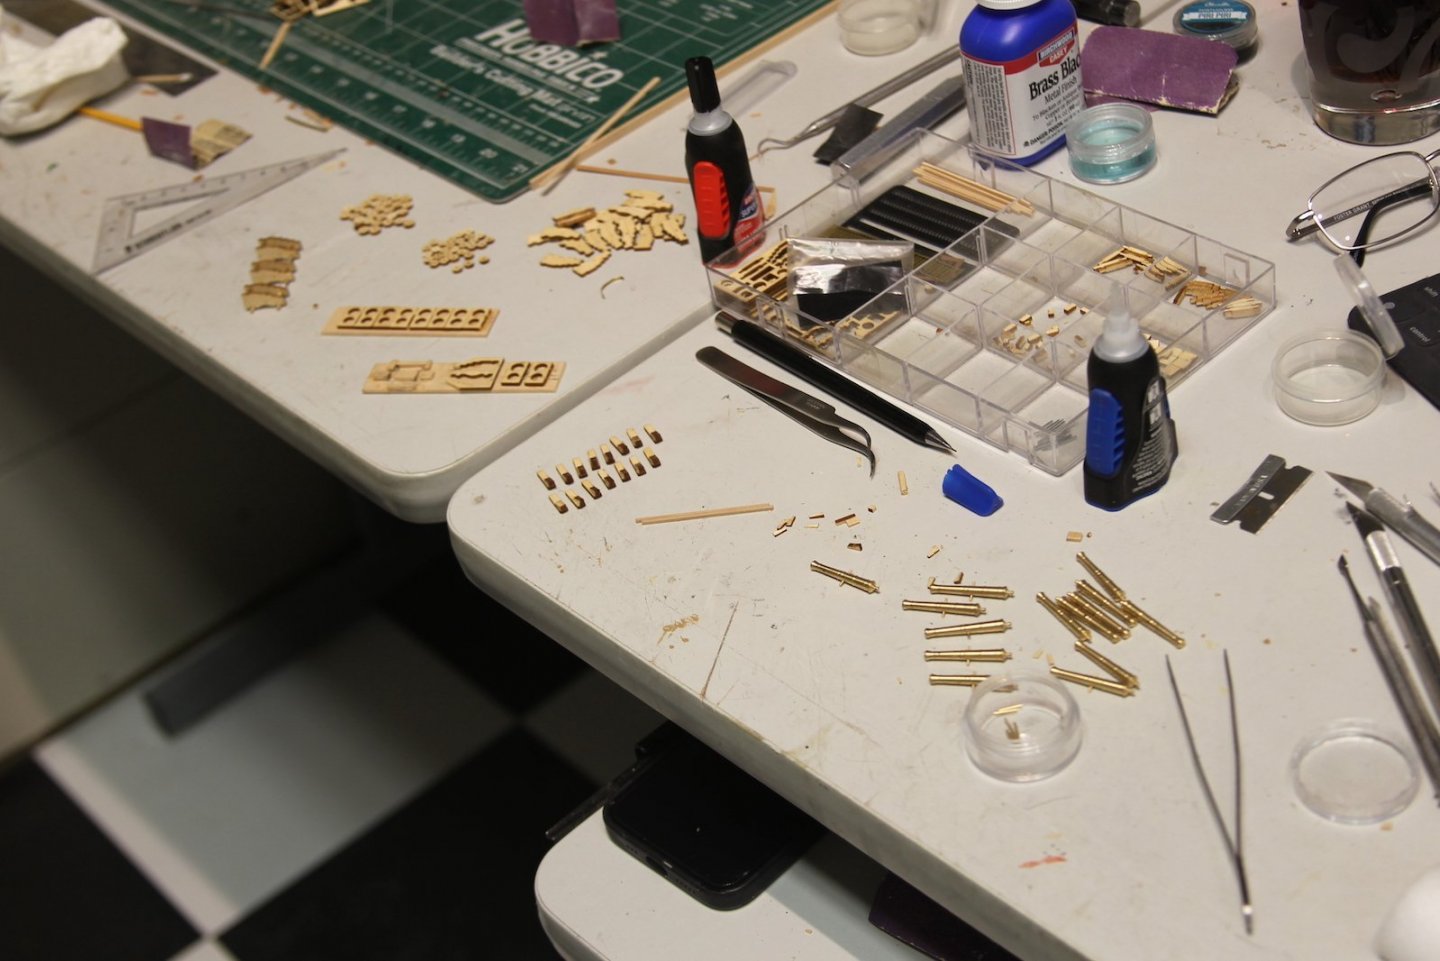
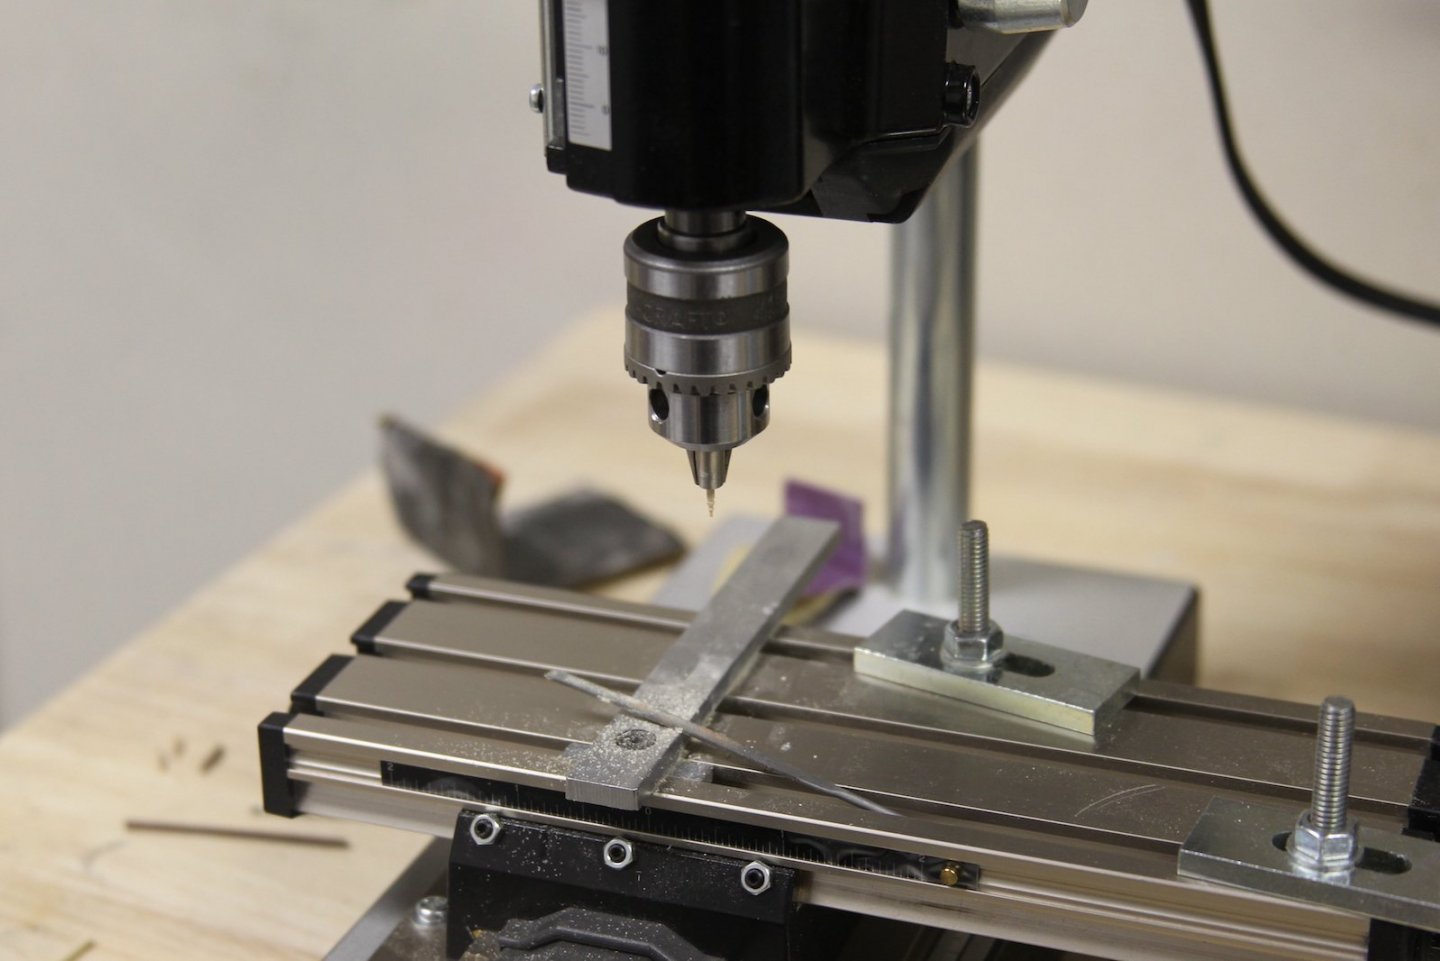
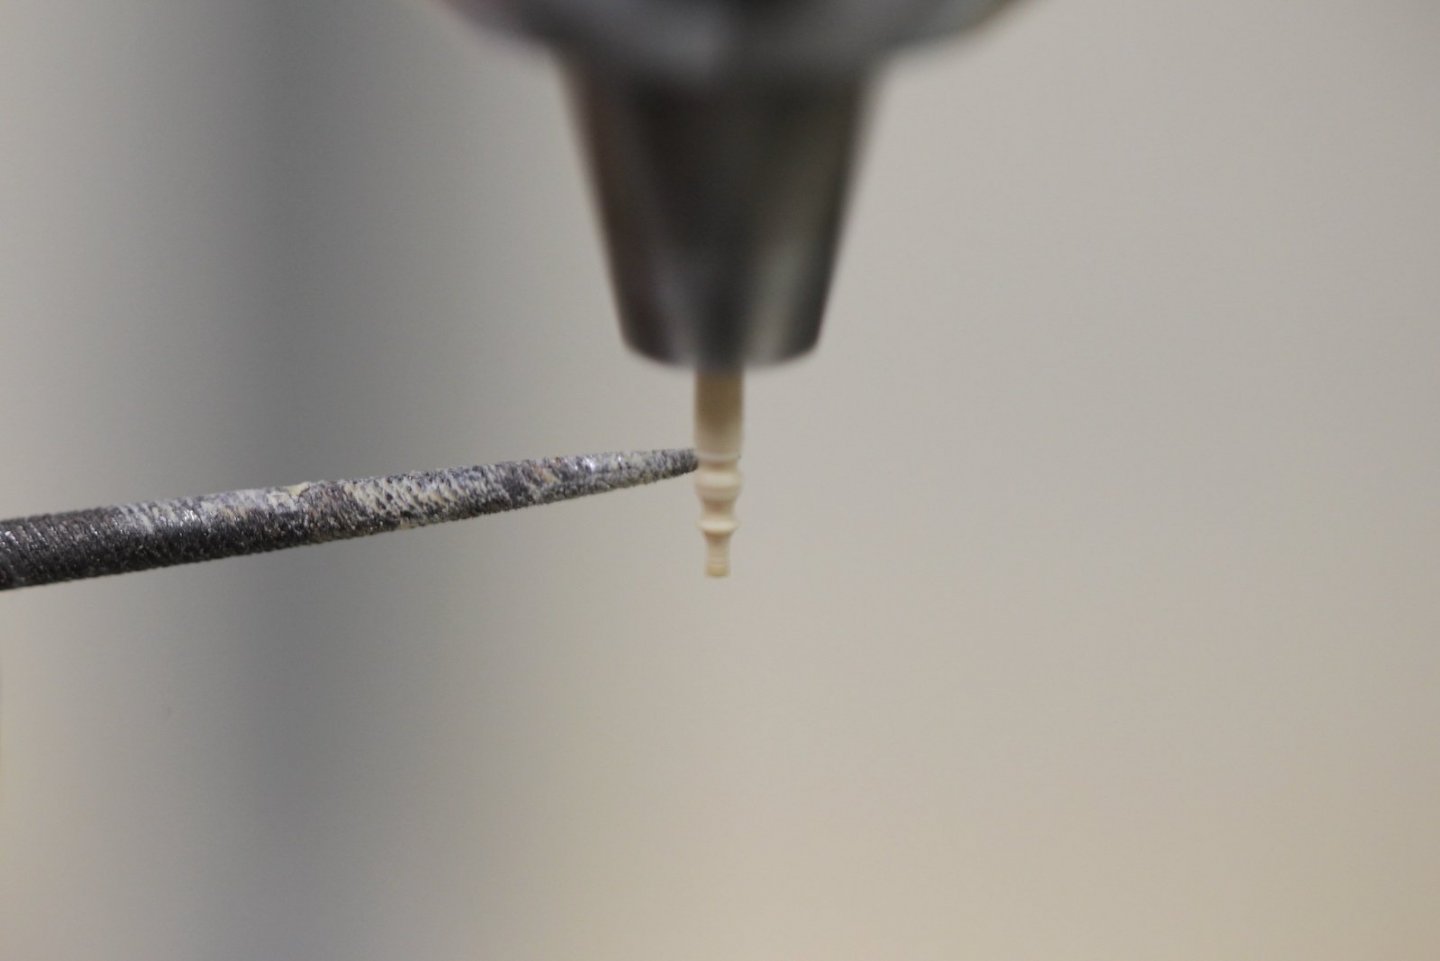
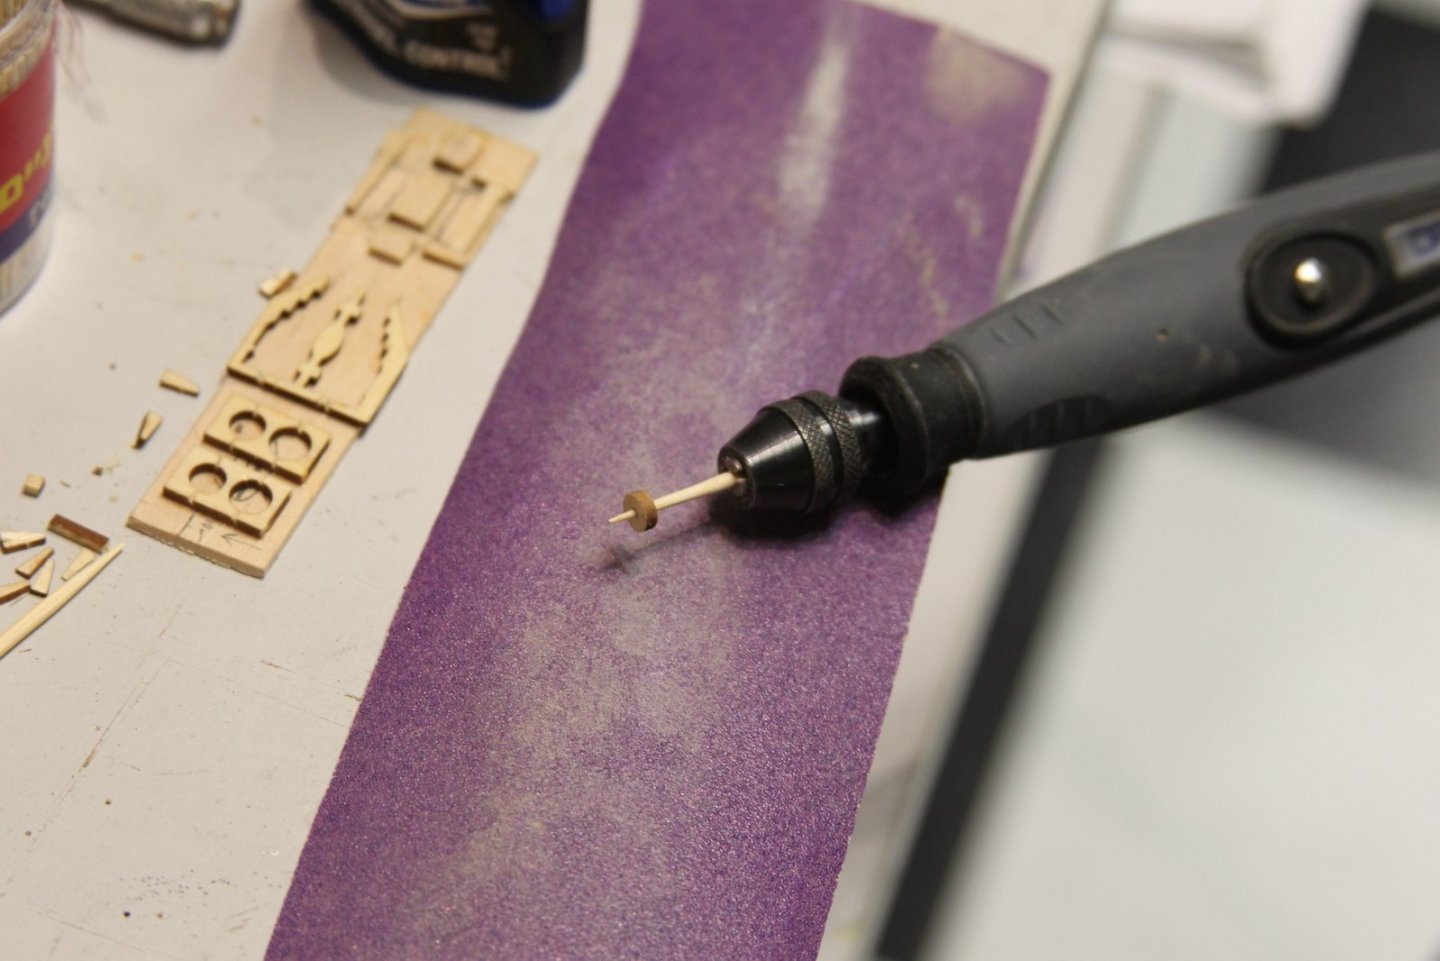
On to the assembly line that is guns and carriages. Like many folks who have together the Peg - I found that the guns and carriages that came along with the kit are adequate. That said - I was first introduced to the elegance of @Chuck's Syren guns and carriages when putting the Confederacy together and I couldn't help but add the same upgrade to the Peg. Obviously much of this process is well documented, so I'll just add some highlights in terms of how I handled the process. I created an assembly jig out of leftover scraps, and also used the boxwood pieces from which the carriages came as a jig that allows me to score the sides of the carriages and the wheels. Here's the assembly line. Keen eyes may catch the upper right corner with the iPad (for catching up on old episodes of "Boardwalk Empire" - my current binge) and the stiff rum & coke. 😶 I couldn't get as smooth of an edge off the small pieces provided for the quoin, so I substituted some of my own leftover boxwood. After cutting it down into strips, I fed about 3 or four inches up into the drill press, exposed a quarter inch at a time, lathed out a quoin and cut it off, then pulled the boxwood down another quarter inch and repeated the process. The fourth picture is my process for sanding down the char off the wheels. I have a devil of a time keep them round when I do it by hand, so I inserted a bamboo toothpick into my chalk and put the wheel on. I then VERY gently hold my fingernail against the wheel to get it to spin (rather than push it hard onto the tooth pick) and then barely brush it up against the edge 200 grit sandpaper that's hanging over the table. Couple of important notes: the Dremel is on is lowest speed, and it's important not to do it against a hard surface, but rather let it brush against a flap of sandpaper.

- 419 replies
-
- 4
-
-
- Victory Models
- Pegasus
- (and 2 more)
-
NAIAD 1797 by Bitao - 1:60
Moonbug replied to Bitao's topic in - Build logs for subjects built 1751 - 1800
Man - I just love stumbling across new builds that I have not seen before and being treated to elegant work such as this. So precise - really great stuff! -
Hey Mark, I've done both and really didn't see a noticeable difference to my eye. Like BE - I also use mostly Vallejo paints. However, When I have painted over a varnish - I've used a thin layer of wipe on poly, then gave it a really nice but gentle and consistent sanding with a 400 grit paper until anomalies are smoothed out. It gave the subsequent acrylics a nice surface to adhere to and I think mitigated inconsistencies. In the end, it's probably a lot of extra work for not much of a noticeable difference. Either way, I still think the real key to success is multiple light coats (with good drying time in between) vs. trying to lay it on a little thicker from the start.
- 505 replies
-
- 5
-
-
- vanguard models
- Sphinx
- (and 1 more)
-
This makes ALL the difference, especially with Macro.
- 607 replies
-
- 2
-
-
- winchelsea
- Syren Ship Model Company
- (and 1 more)
-
Thanks @Craigie65, @Beakerboy123 - my aft deck isn’t in place, so Craigie’s is a better representation for the moment.
- 419 replies
-
- 3
-
-
- Victory Models
- Pegasus
- (and 2 more)
-
Nice work B.E. - Please do let us know what you use for the flanges for the outer scuppers - something I've been pondering over myself.
- 857 replies
-
- 2
-
-
- Sphinx
- Vanguard Models
- (and 1 more)
-
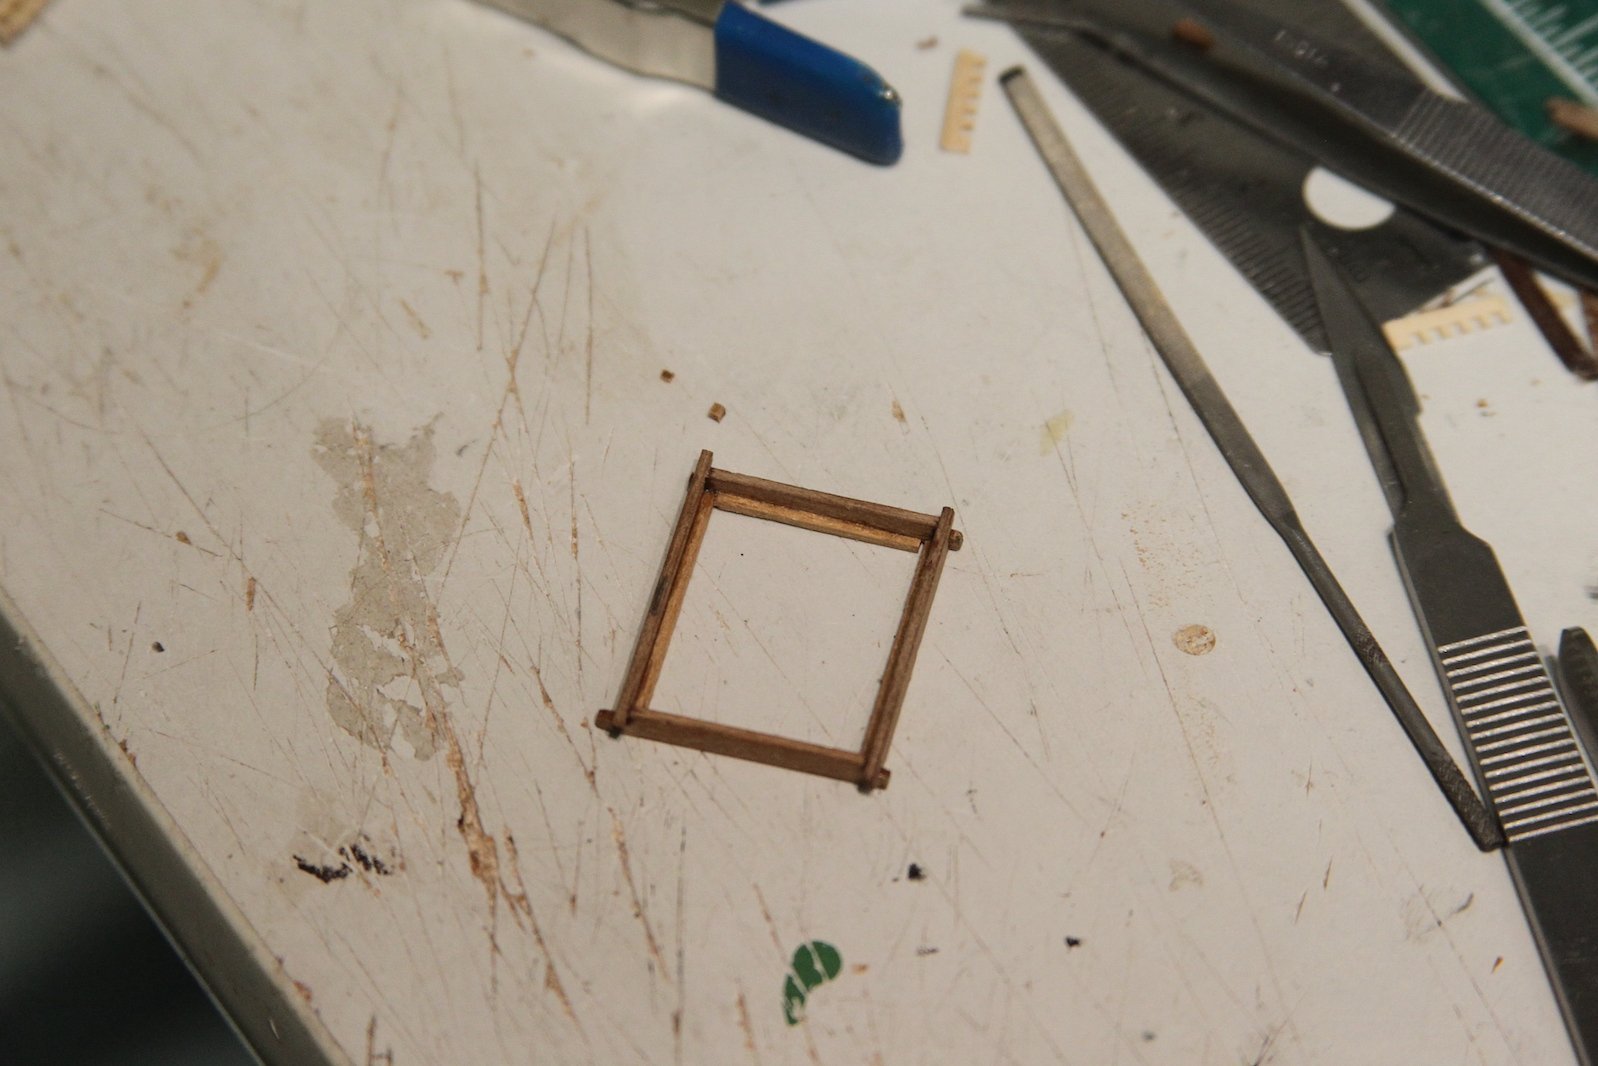
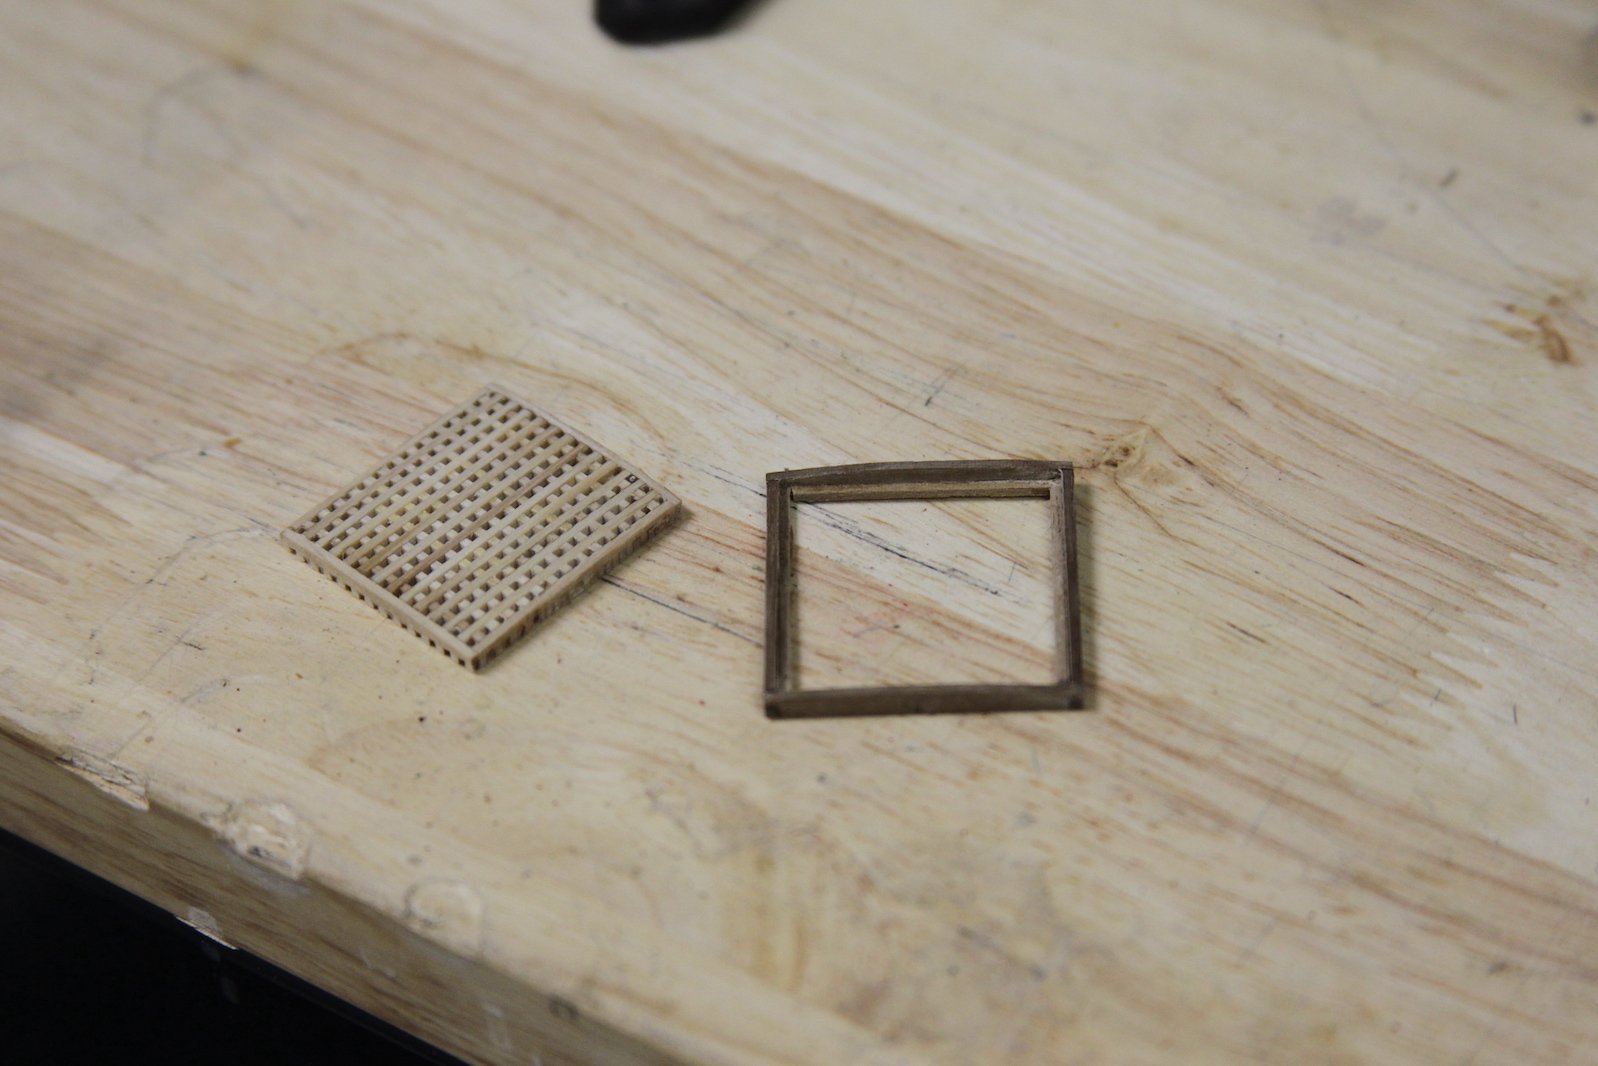
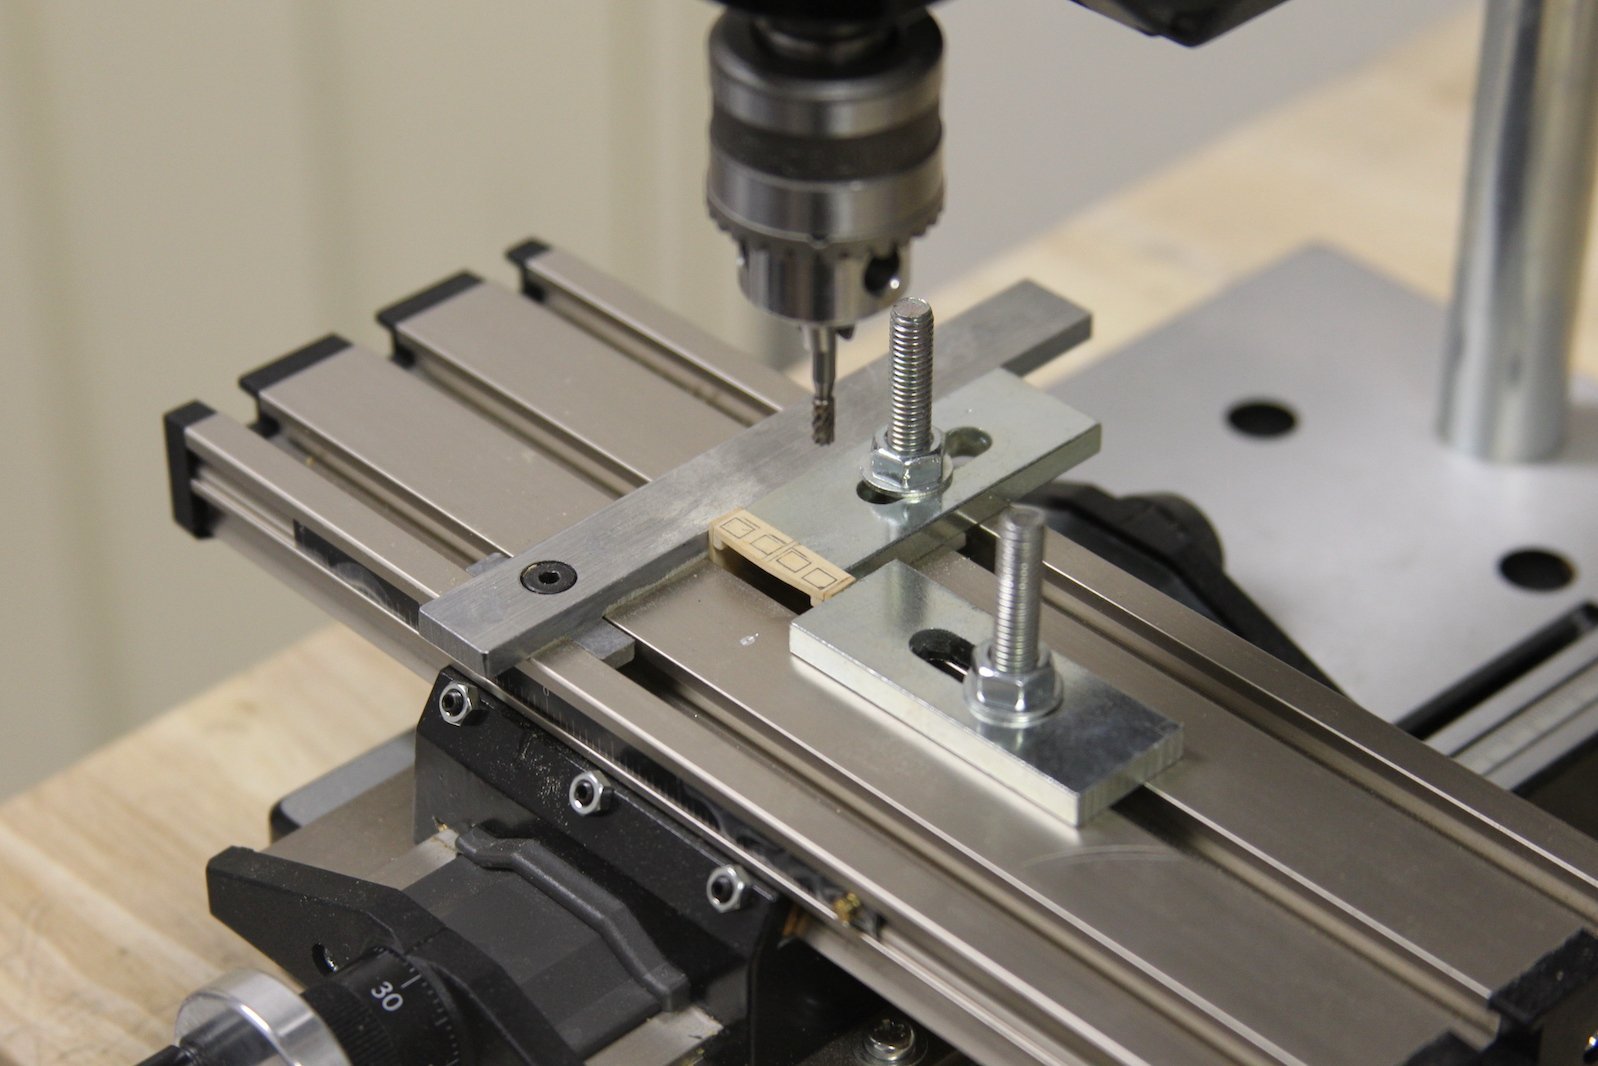
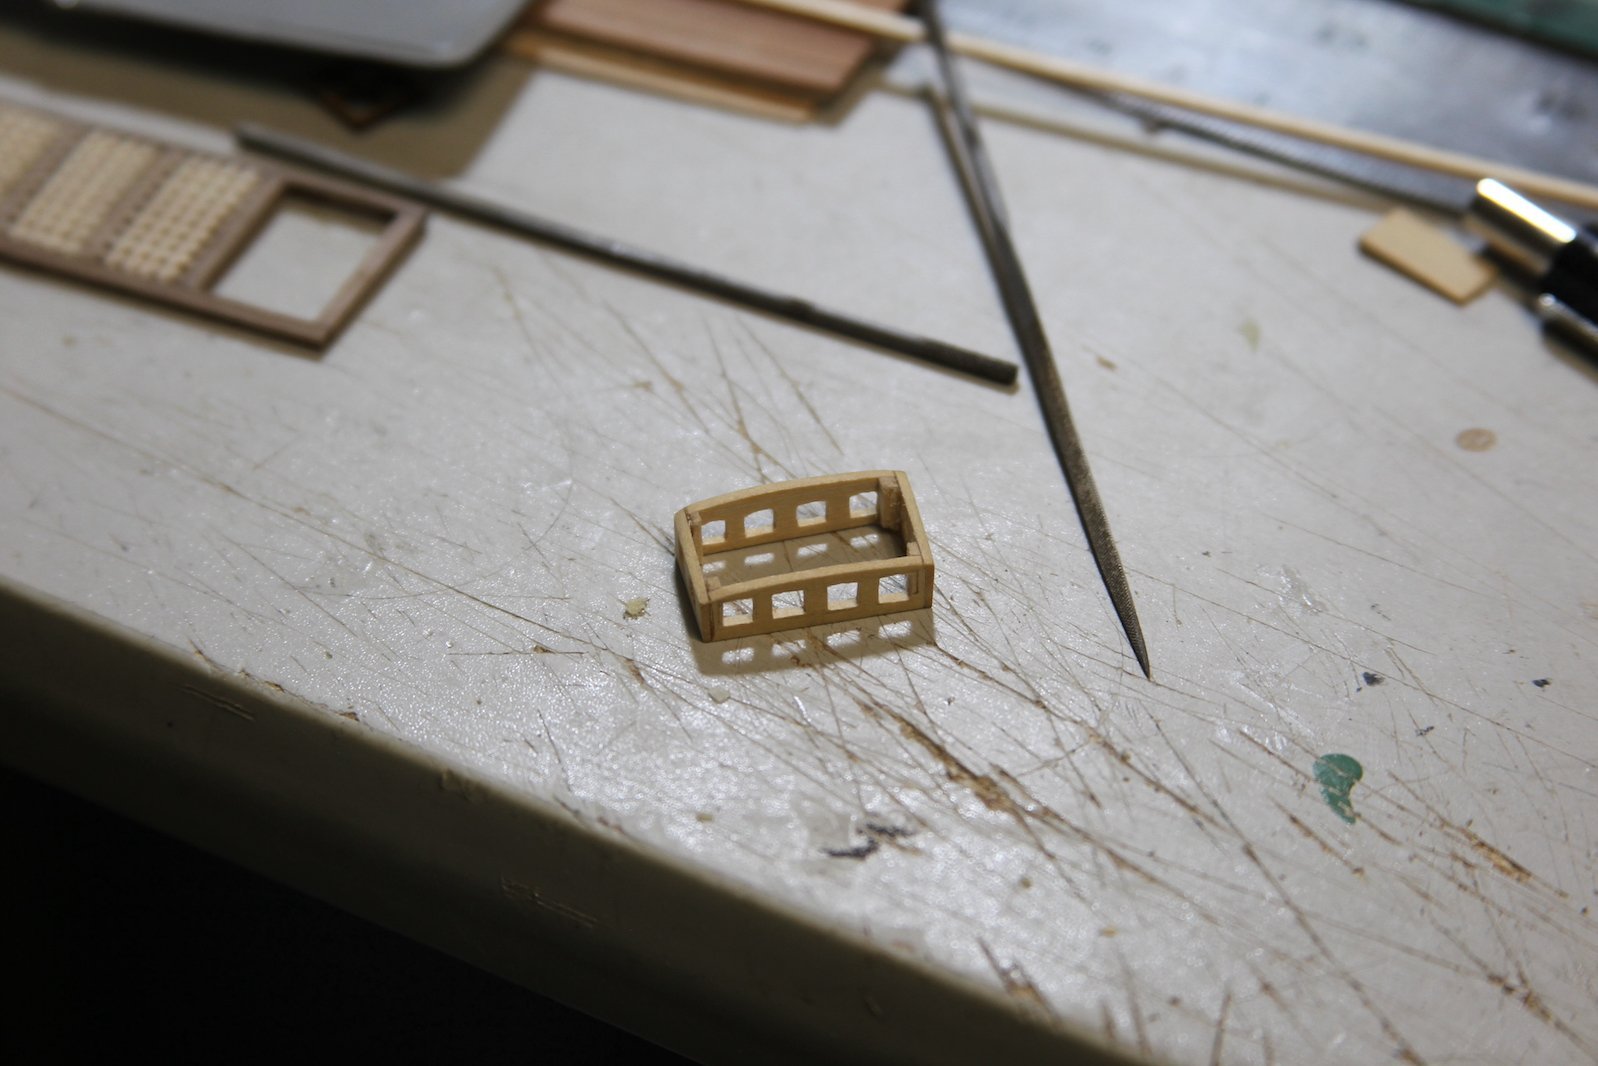
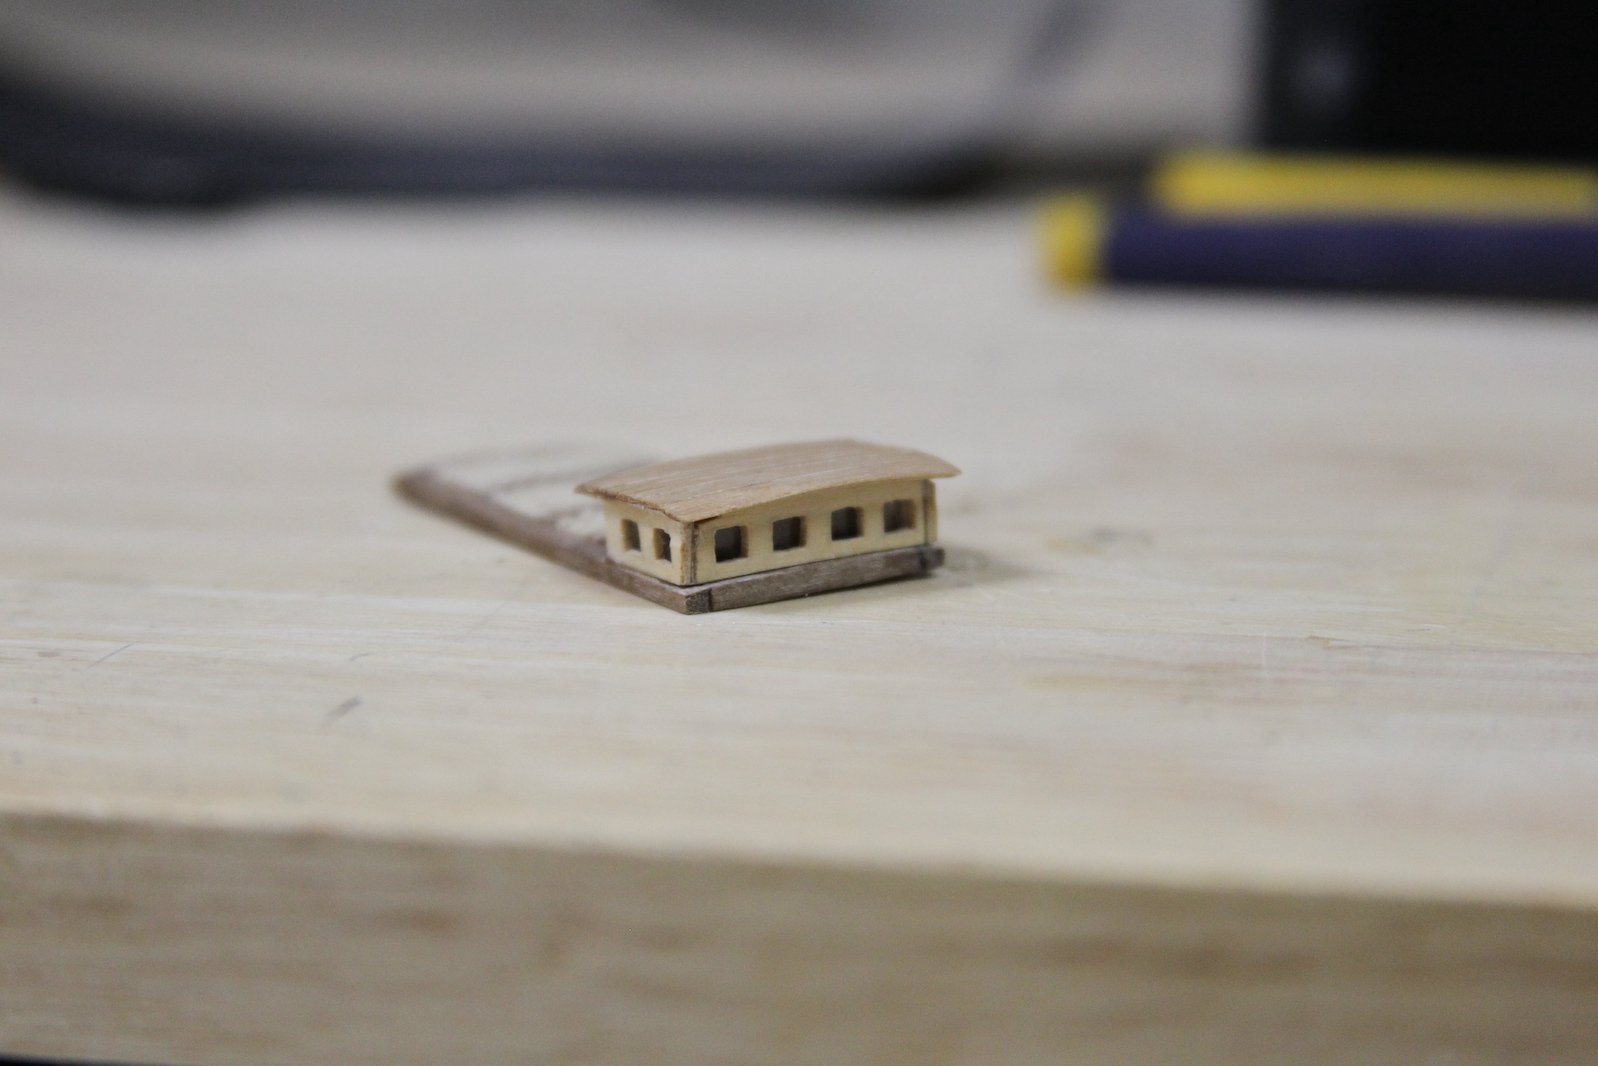
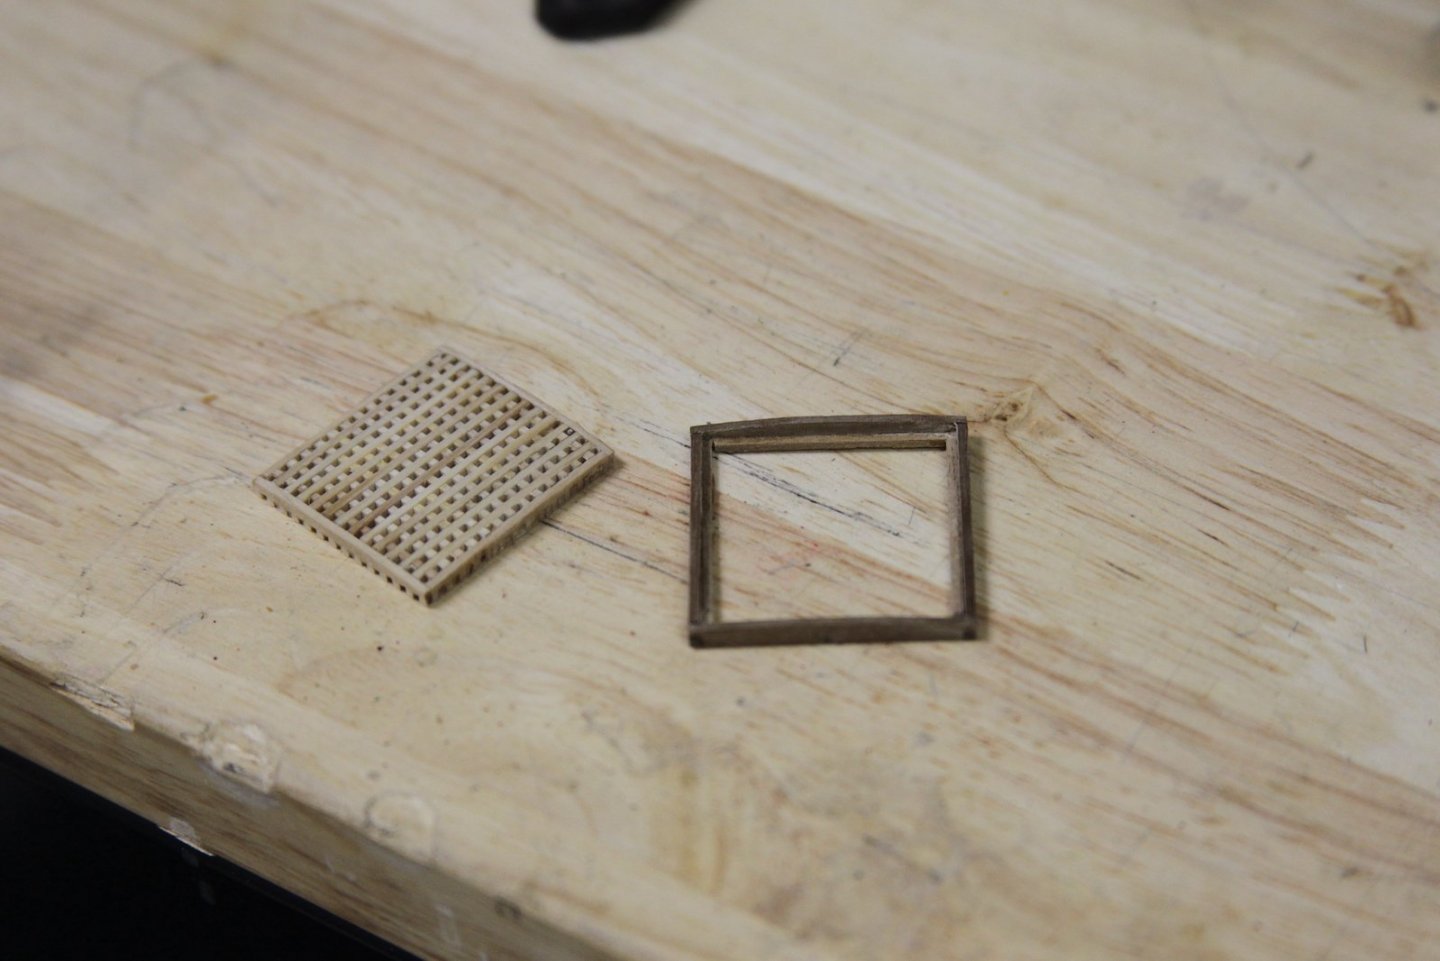
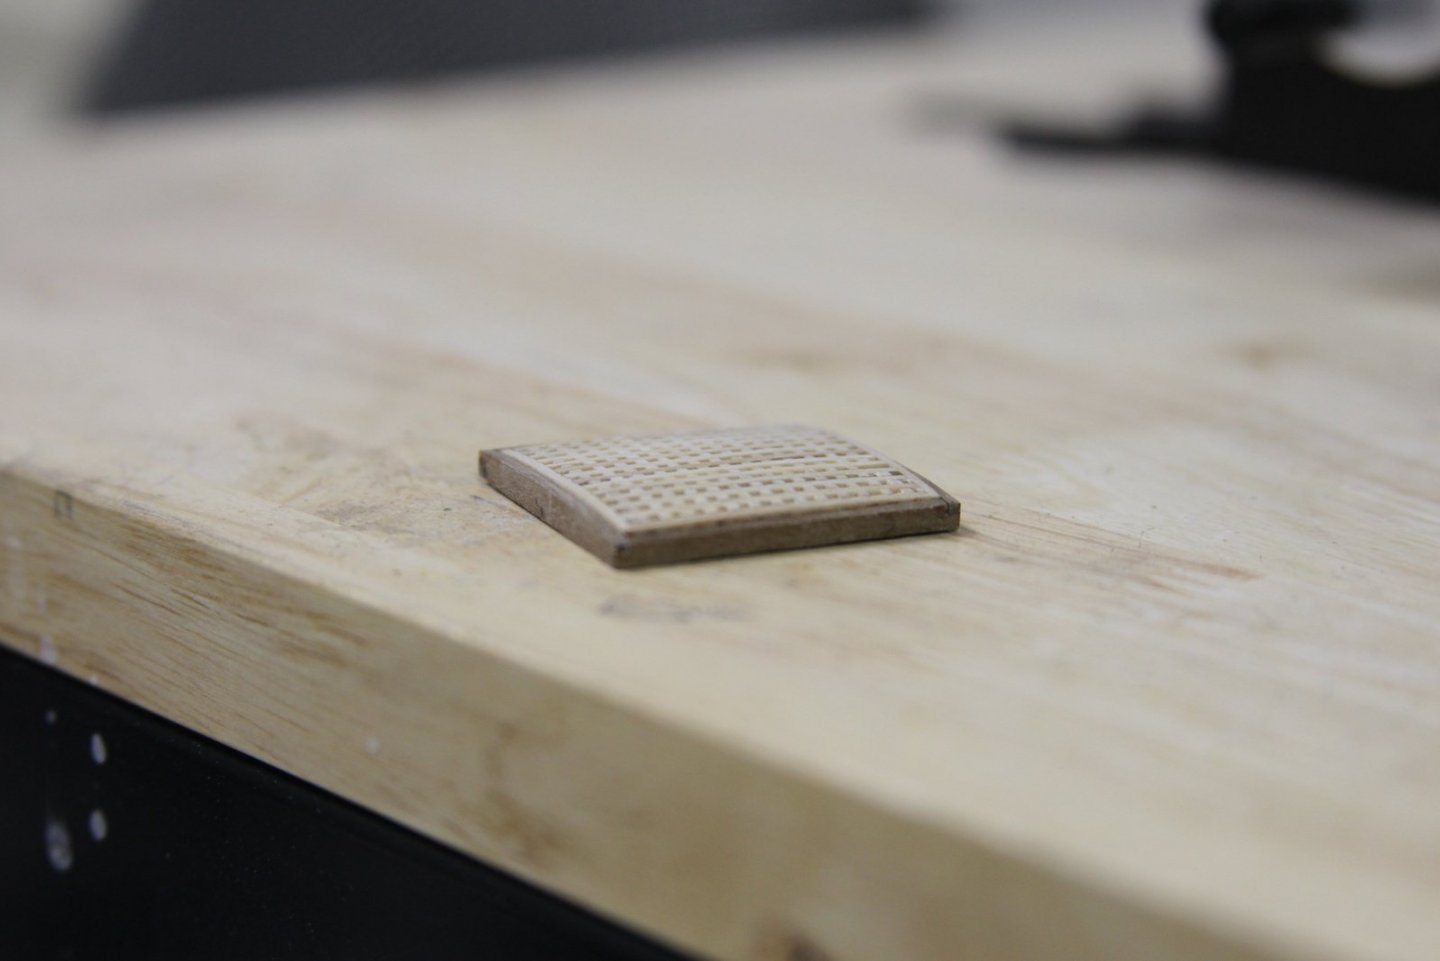
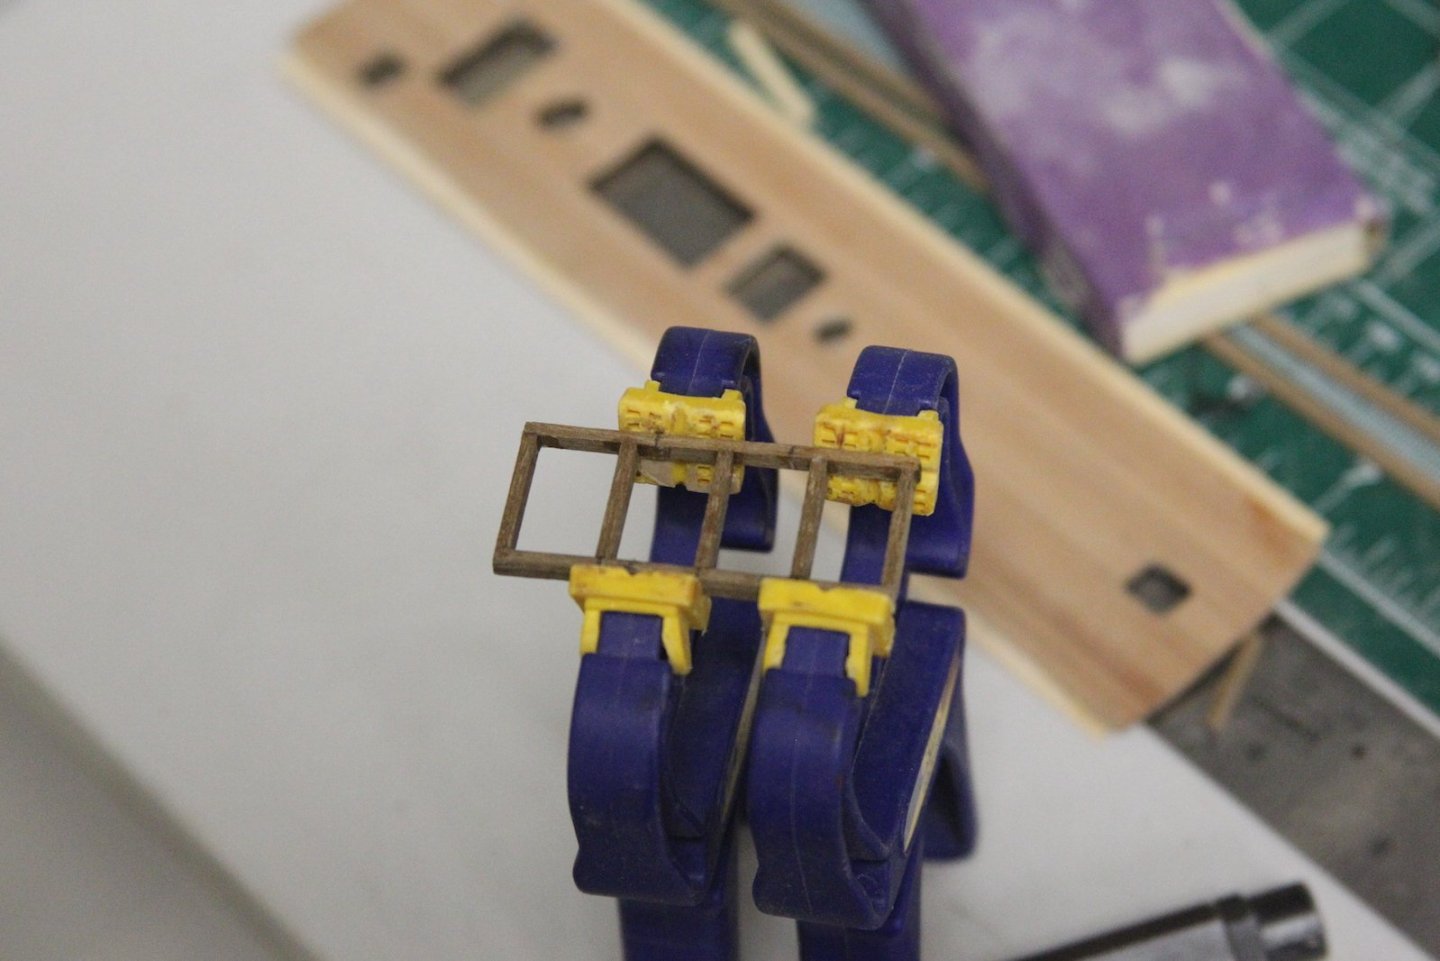
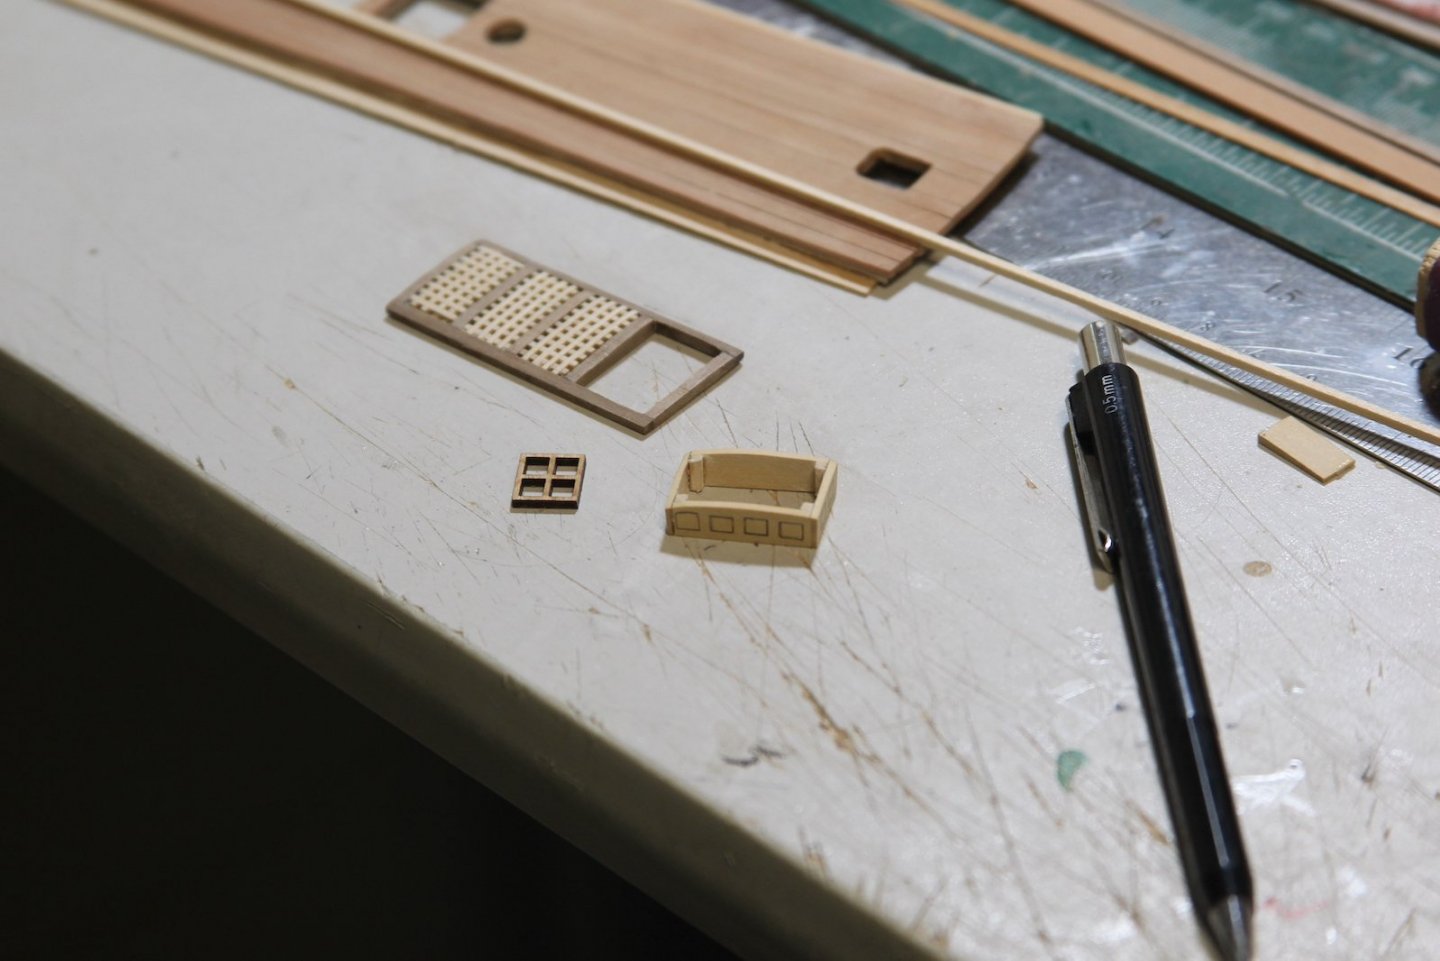
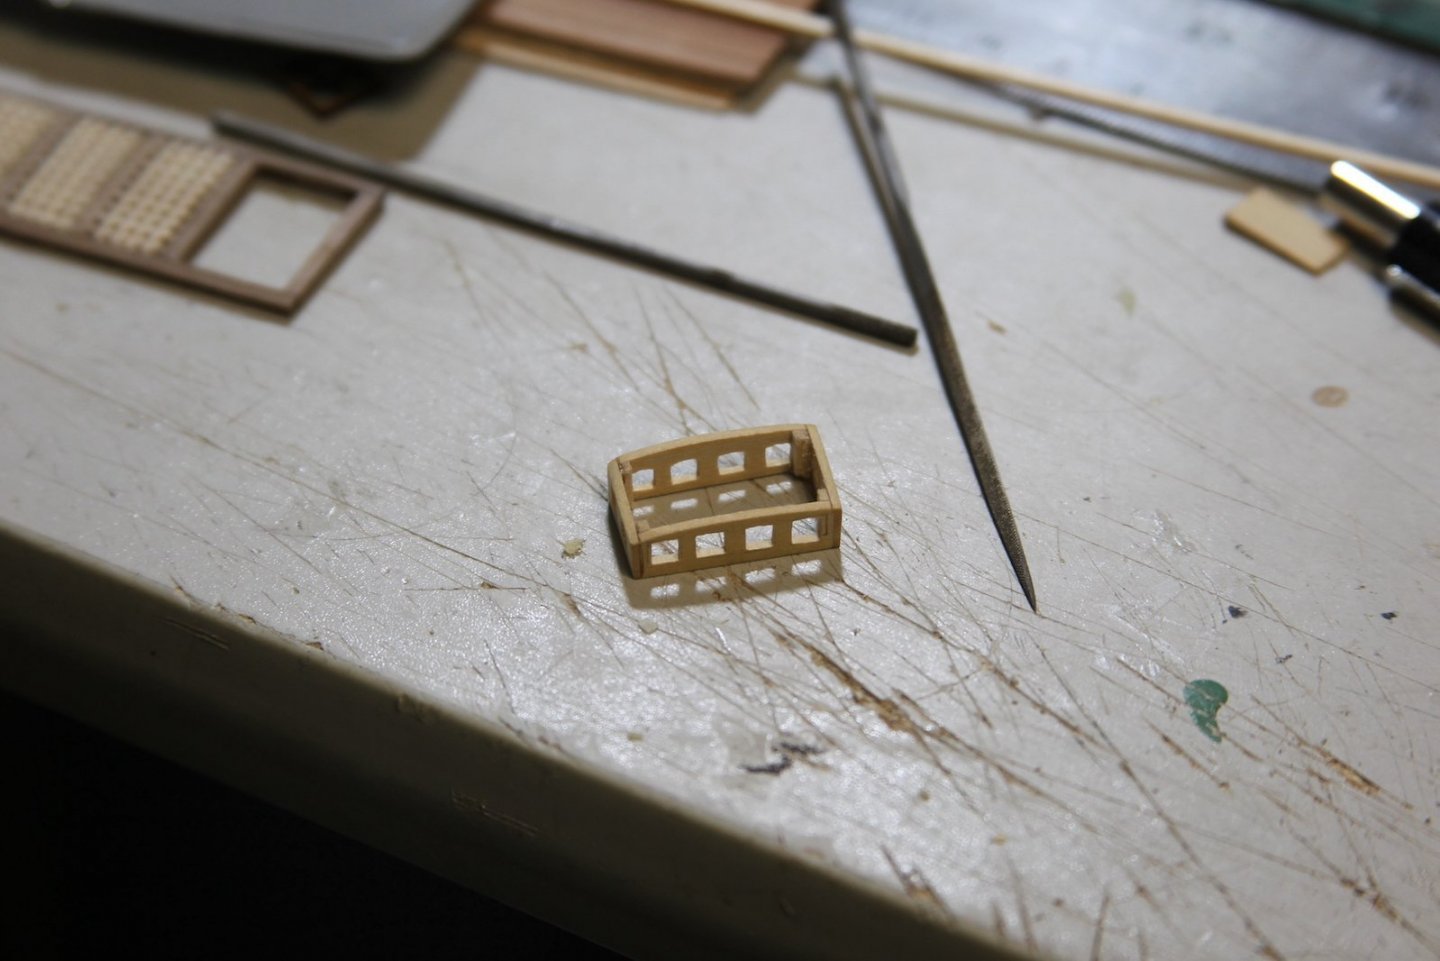
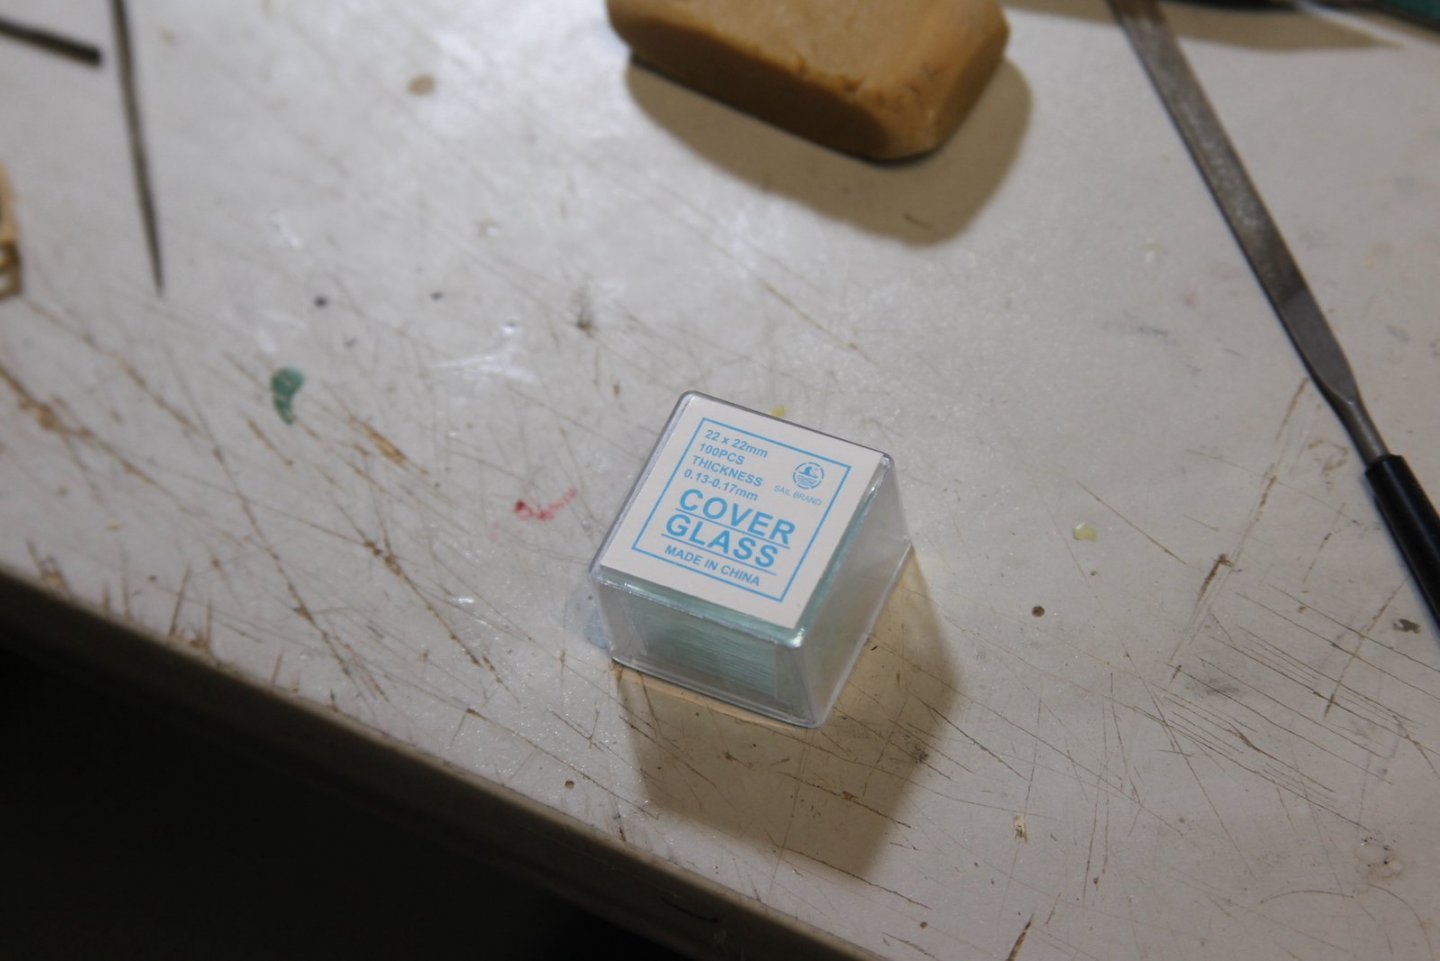
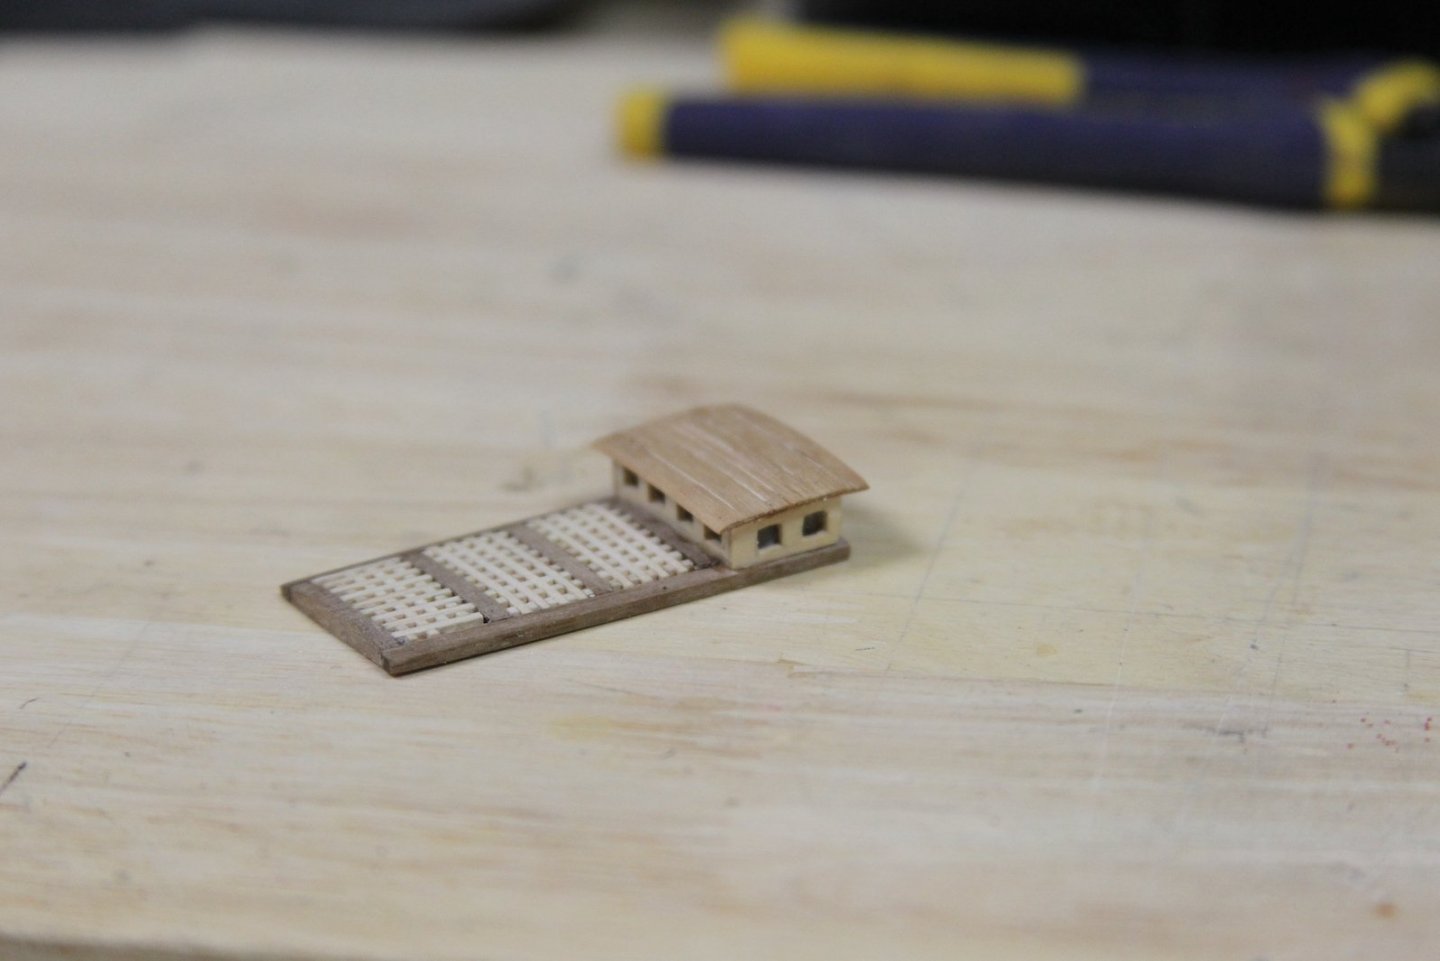
Thanks B.E. - it was a bit agonizing. I will confess I was off by a couple millimeters on one deckside scupper - surely not to be noticed by passersby with the canon and rigging, etc - but I'll always know it's there. 😕 Much like the other fittings, the clerestory-style companion top that goes on the aft deck didn't much look like the ones I'd seen from other builds and swan class research. It seemed pretty easy (relatively) to construct one, so I put it together with boxwood. Created the grates first, used the far aft opening to measure out the top, then drilled the windows and filed them square. A leftover laser-cut bit from a previous build gave me a good template. One thing I did a little differently - that I'd been musing over for a while: the window panes. I typically use some sort of acrylic sheet or plastic lining to create the windows, but then I remembered reading in a model train forum that "nothing looks like glass like glass looks like glass..." So I ordered these little guys - .013-.017mm covers for microscope slides. While they're very cool - they're a MAJOR pain in the keister to work with because they shatter almost instantly. After completely unsuccessfully trying a handful of methods to 'cut' them (even trying a glass cutter), I ended up using forceps with the ends tape to brake them close to the right size, then gently sanding down the jagged edges with 400 grit sand paper. Probably took more time than reasonable given that the end result is unlikely to be noticed by most people. But - although it's very hard to tell the difference in photos - I notice the difference, and that's cool.


- 419 replies
-
- 8
-
-

-
- Victory Models
- Pegasus
- (and 2 more)
-
Just came across your log Clare, and will be following along with interest. Having spent seven years living in Japan, I find the nuances to their methodology fascinating.
-
That definitely looks fiddly to me Mark - but it does look like you're getting close. It feels as though it would be just as difficult to get both sides to match once you get one dialed in.
- 505 replies
-
- 4
-
-
- vanguard models
- Sphinx
- (and 1 more)
-
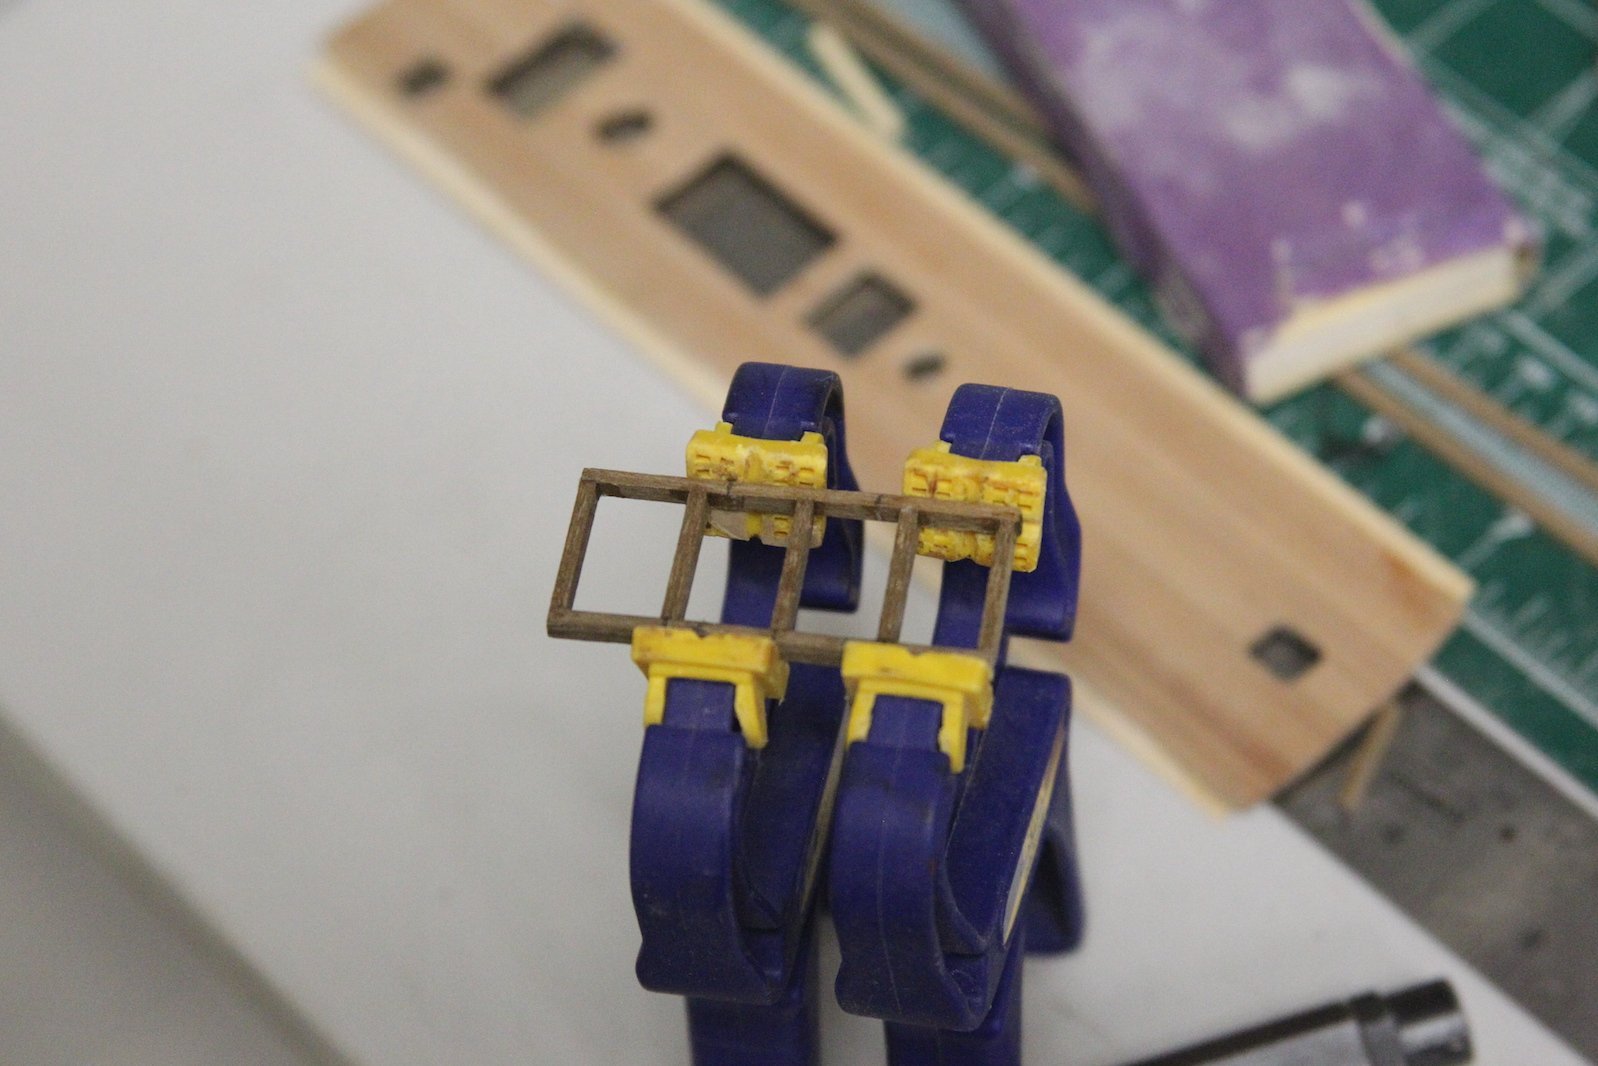
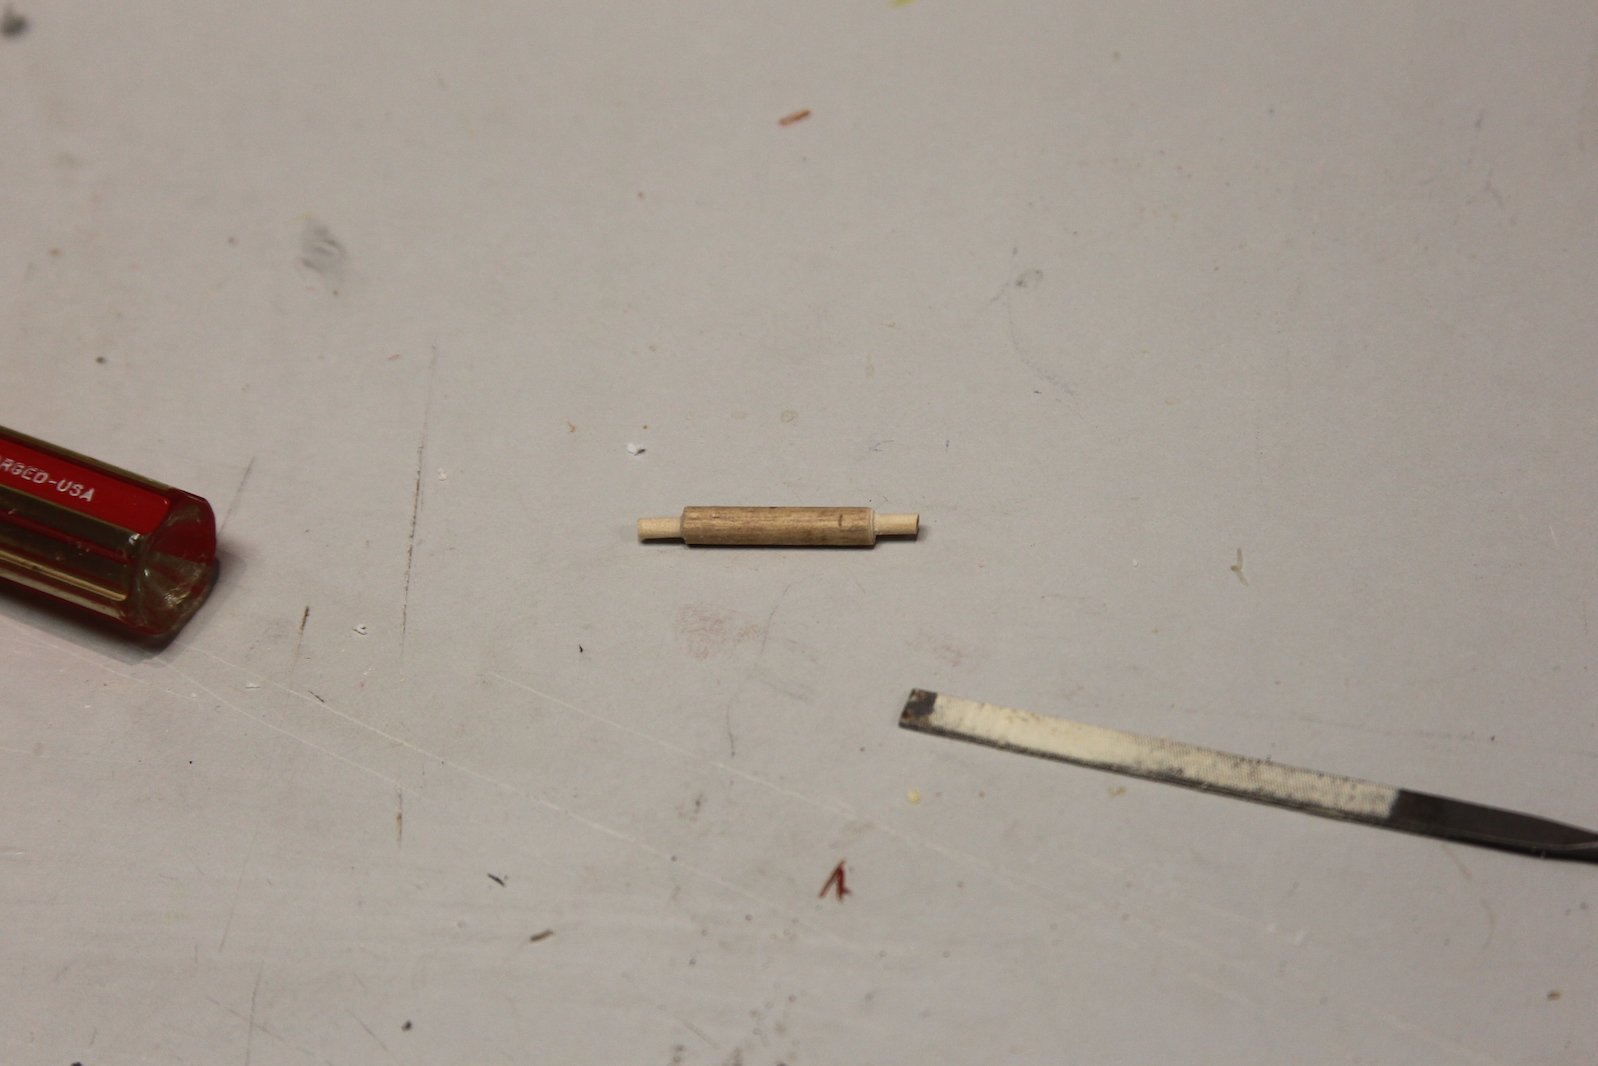
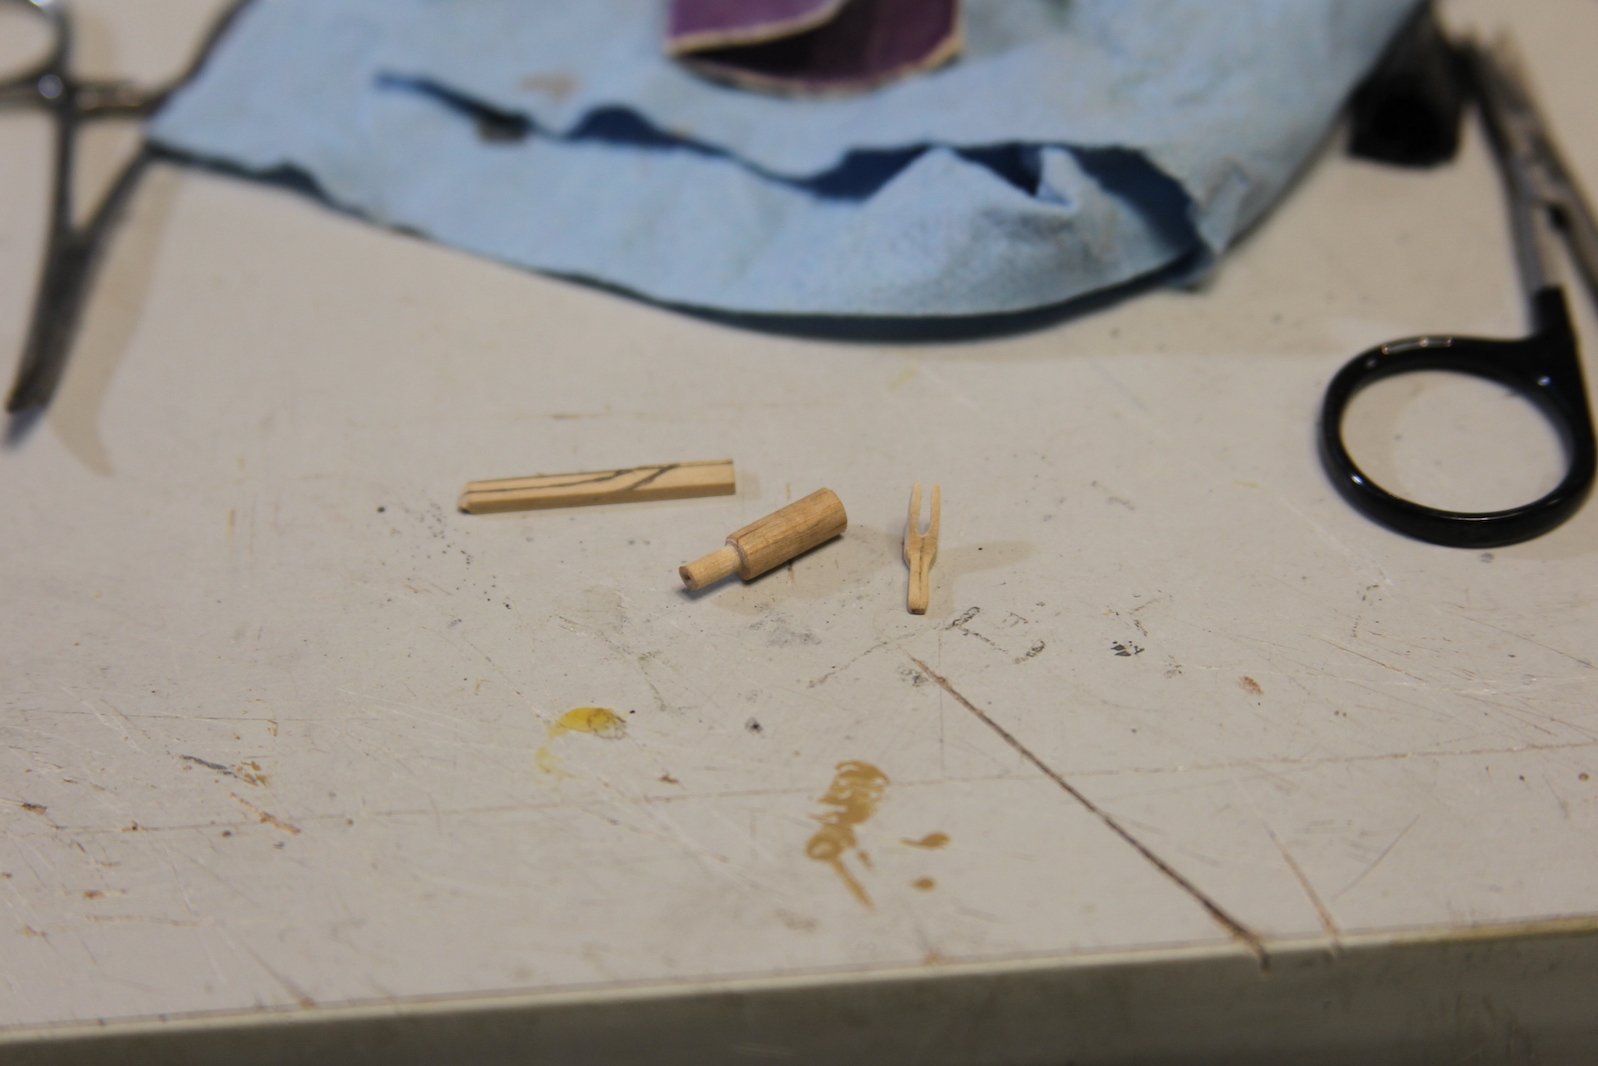
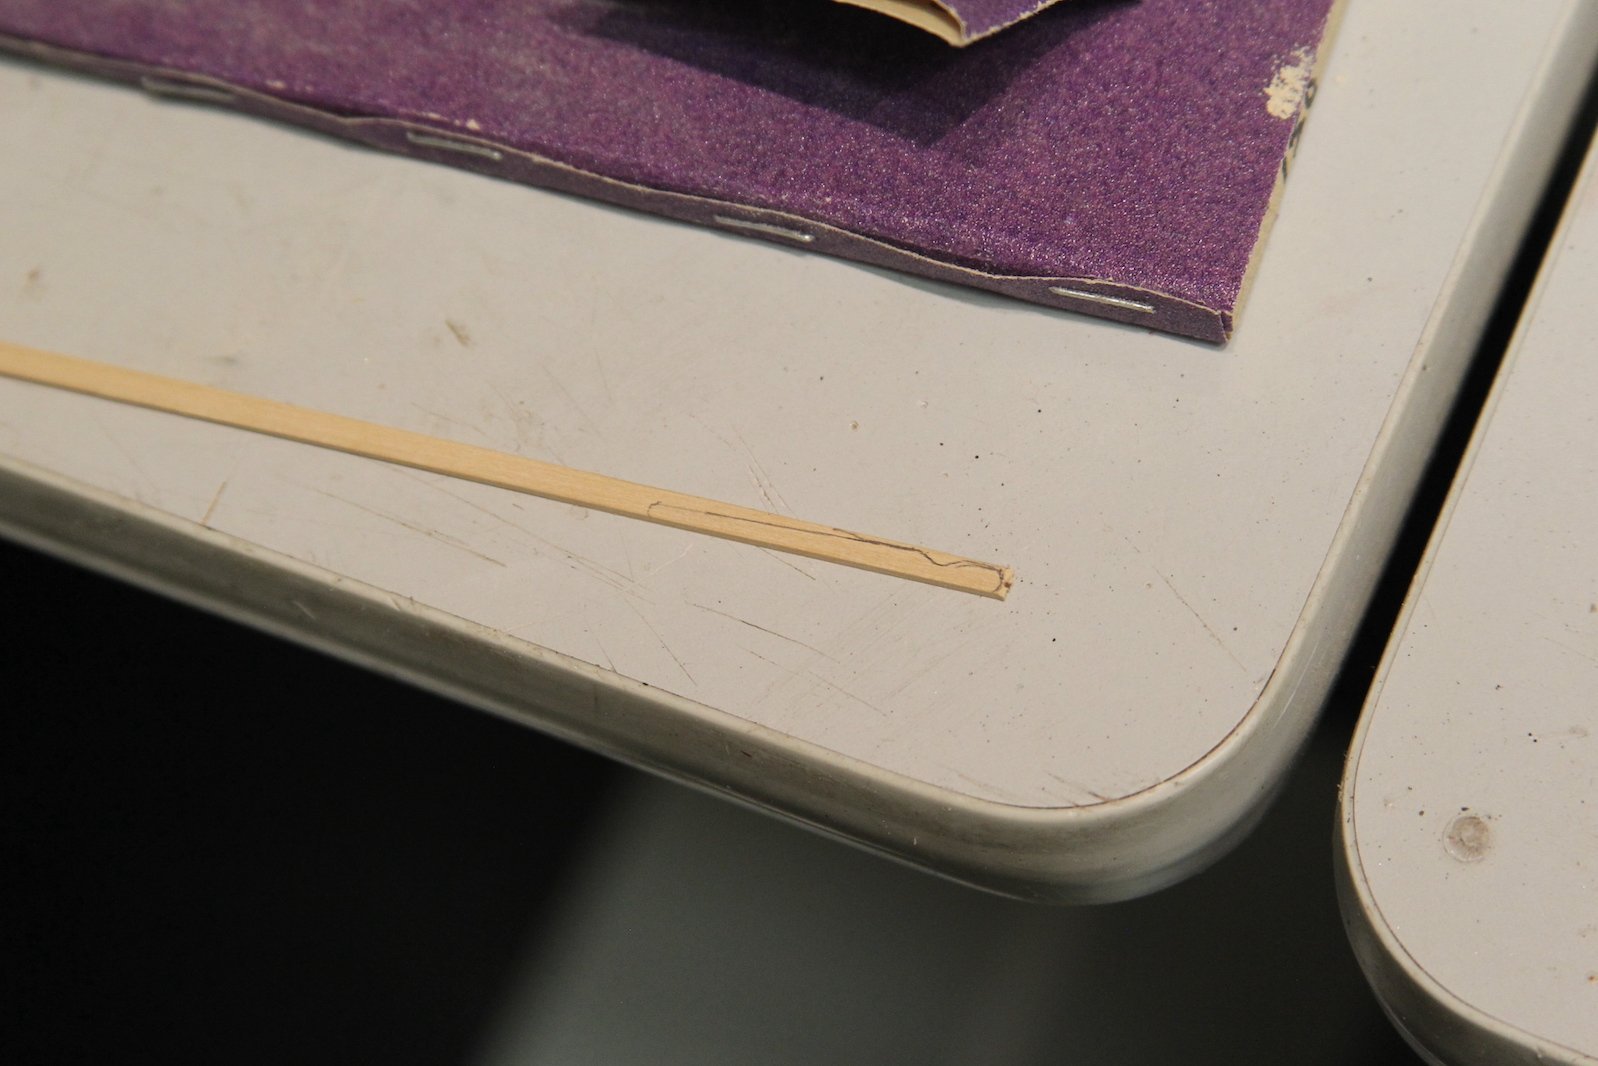
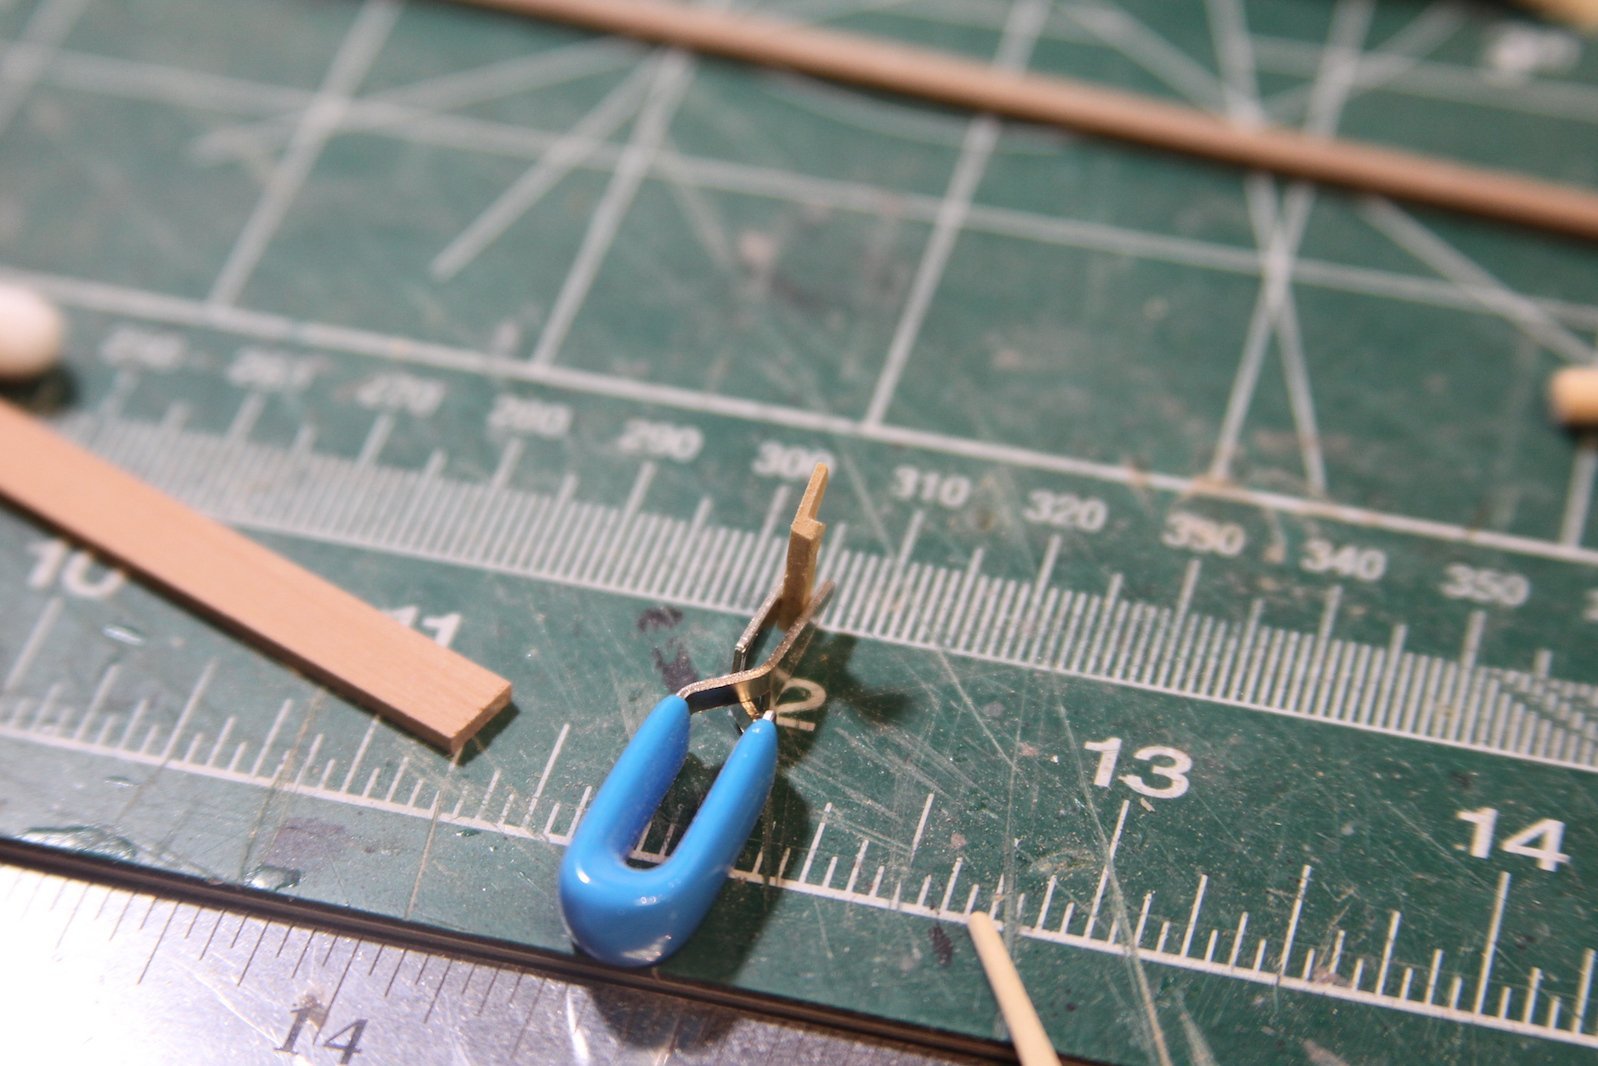
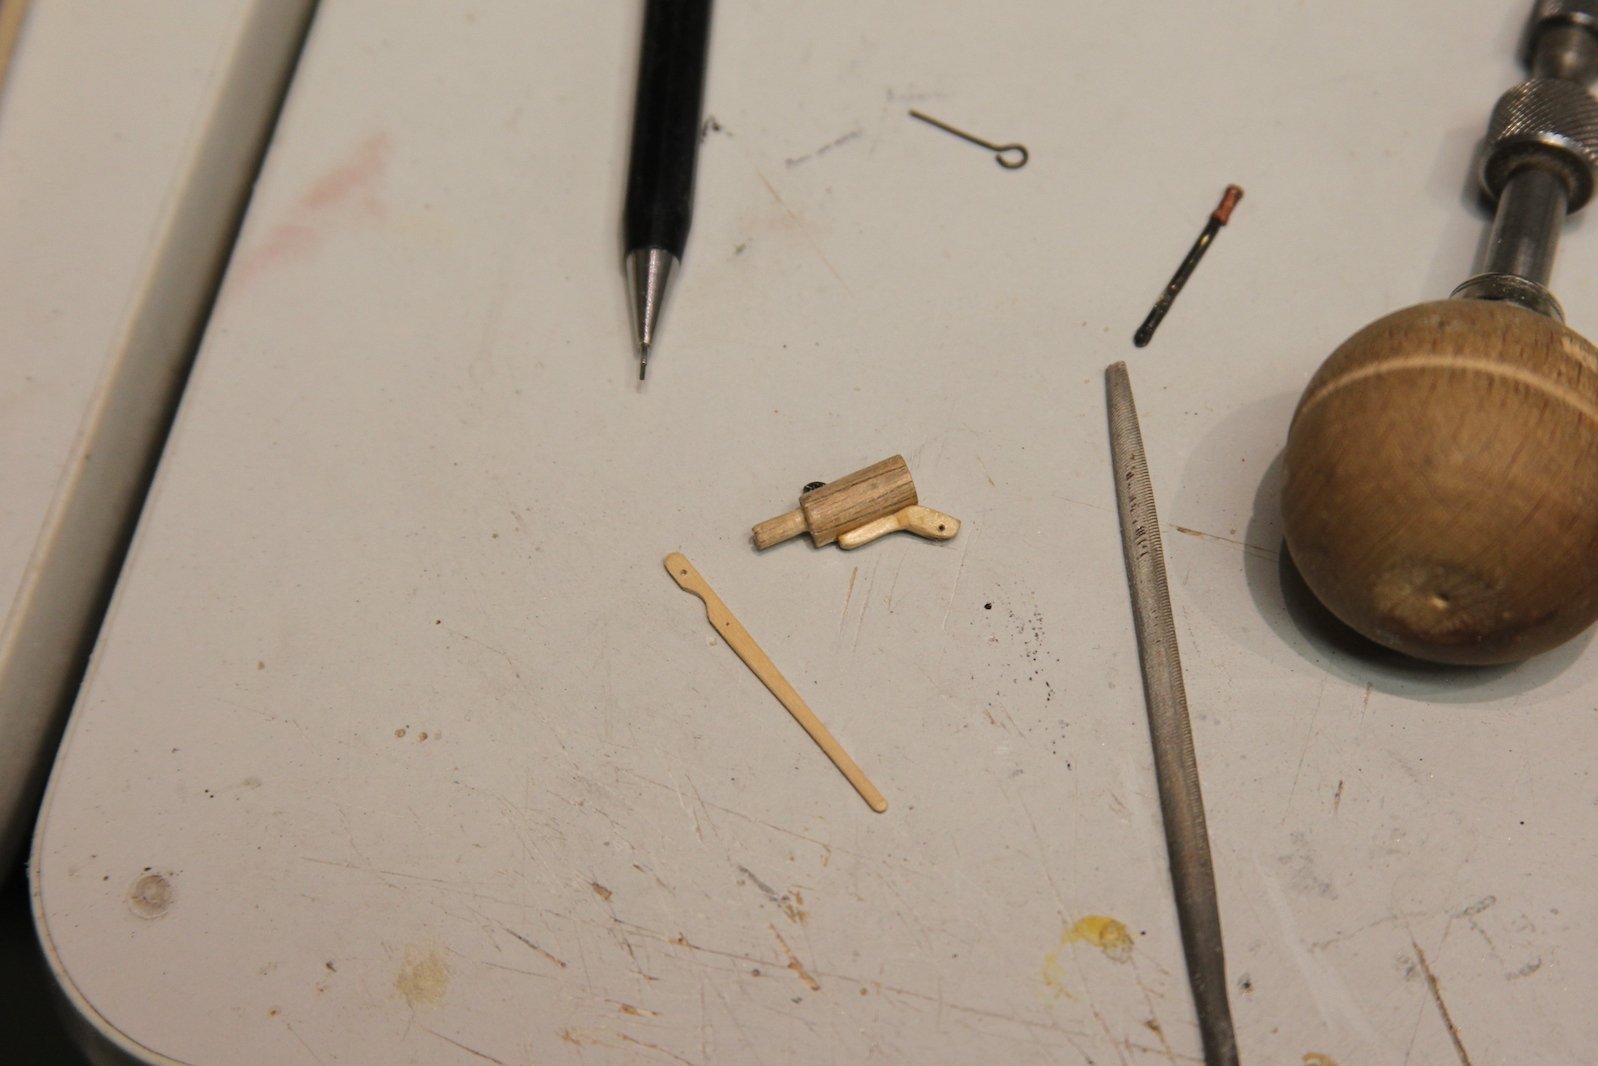
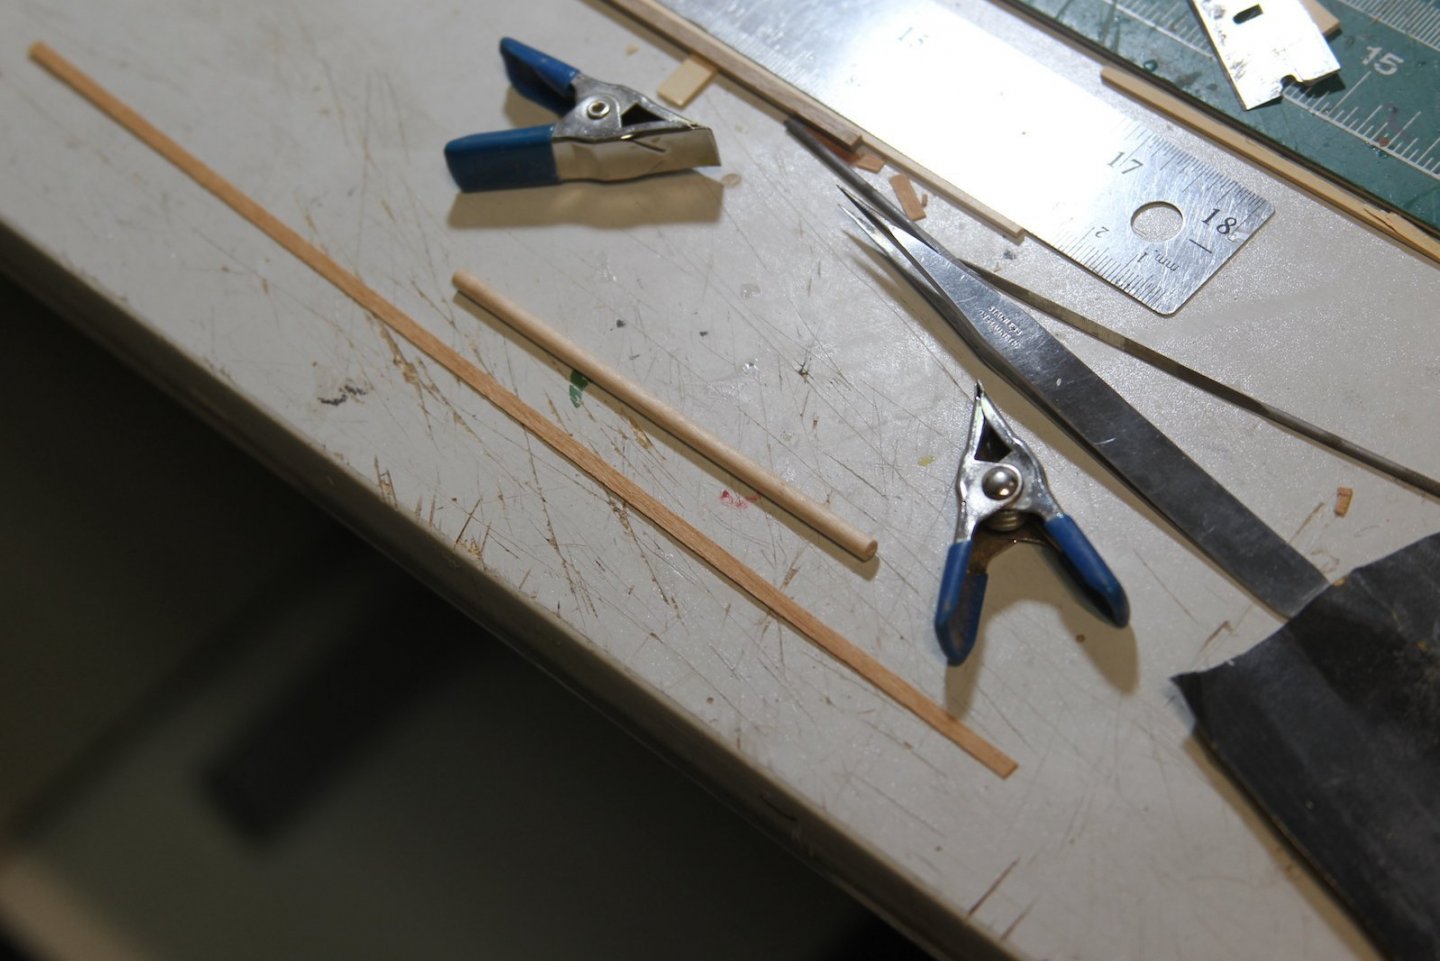
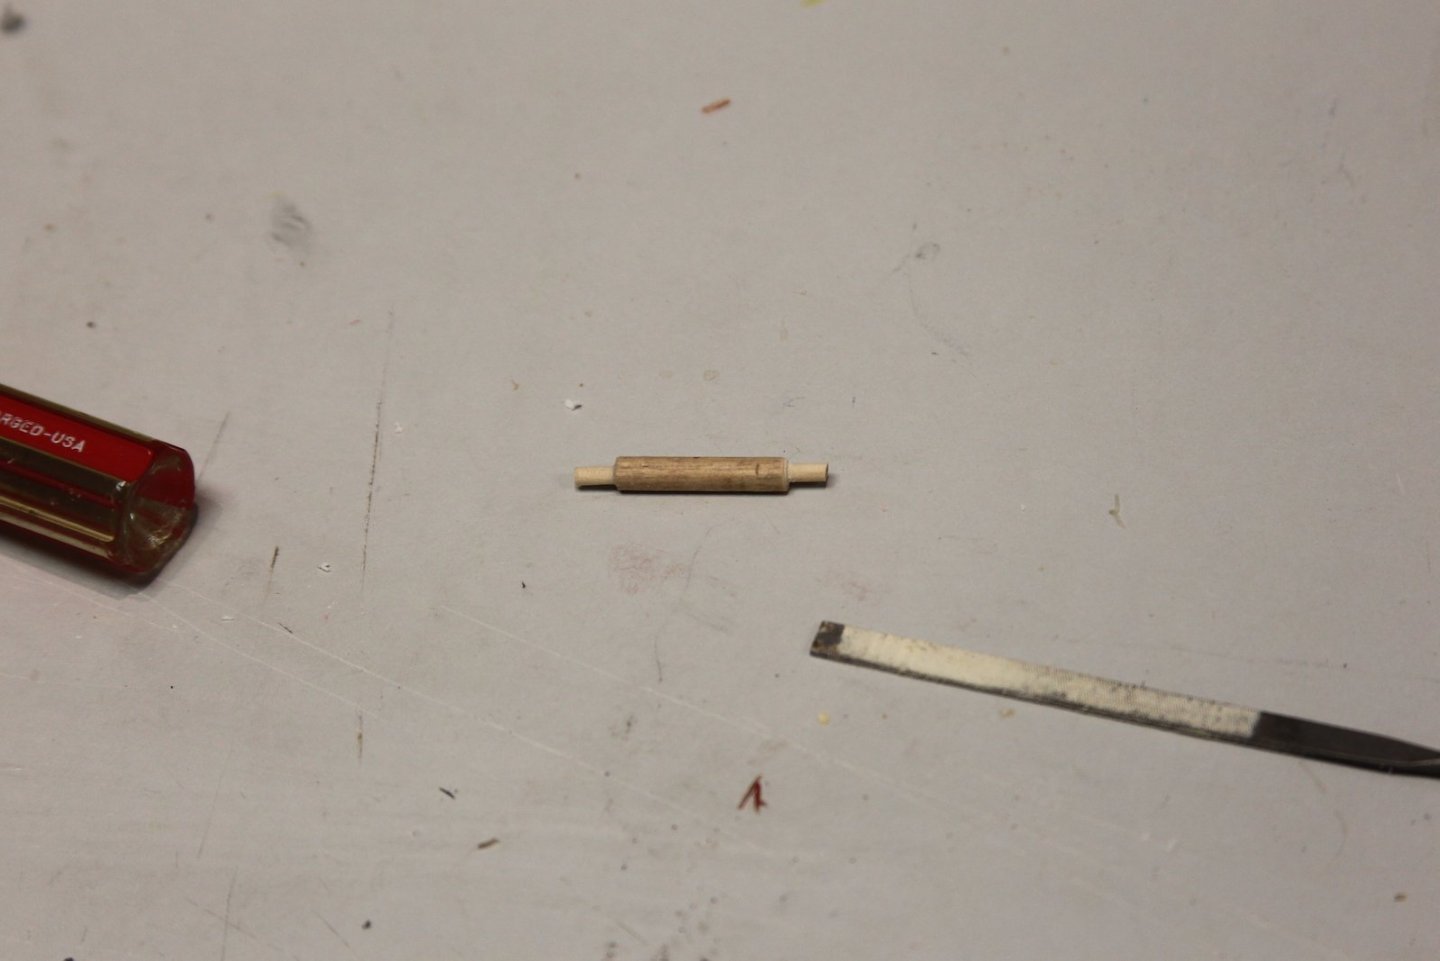
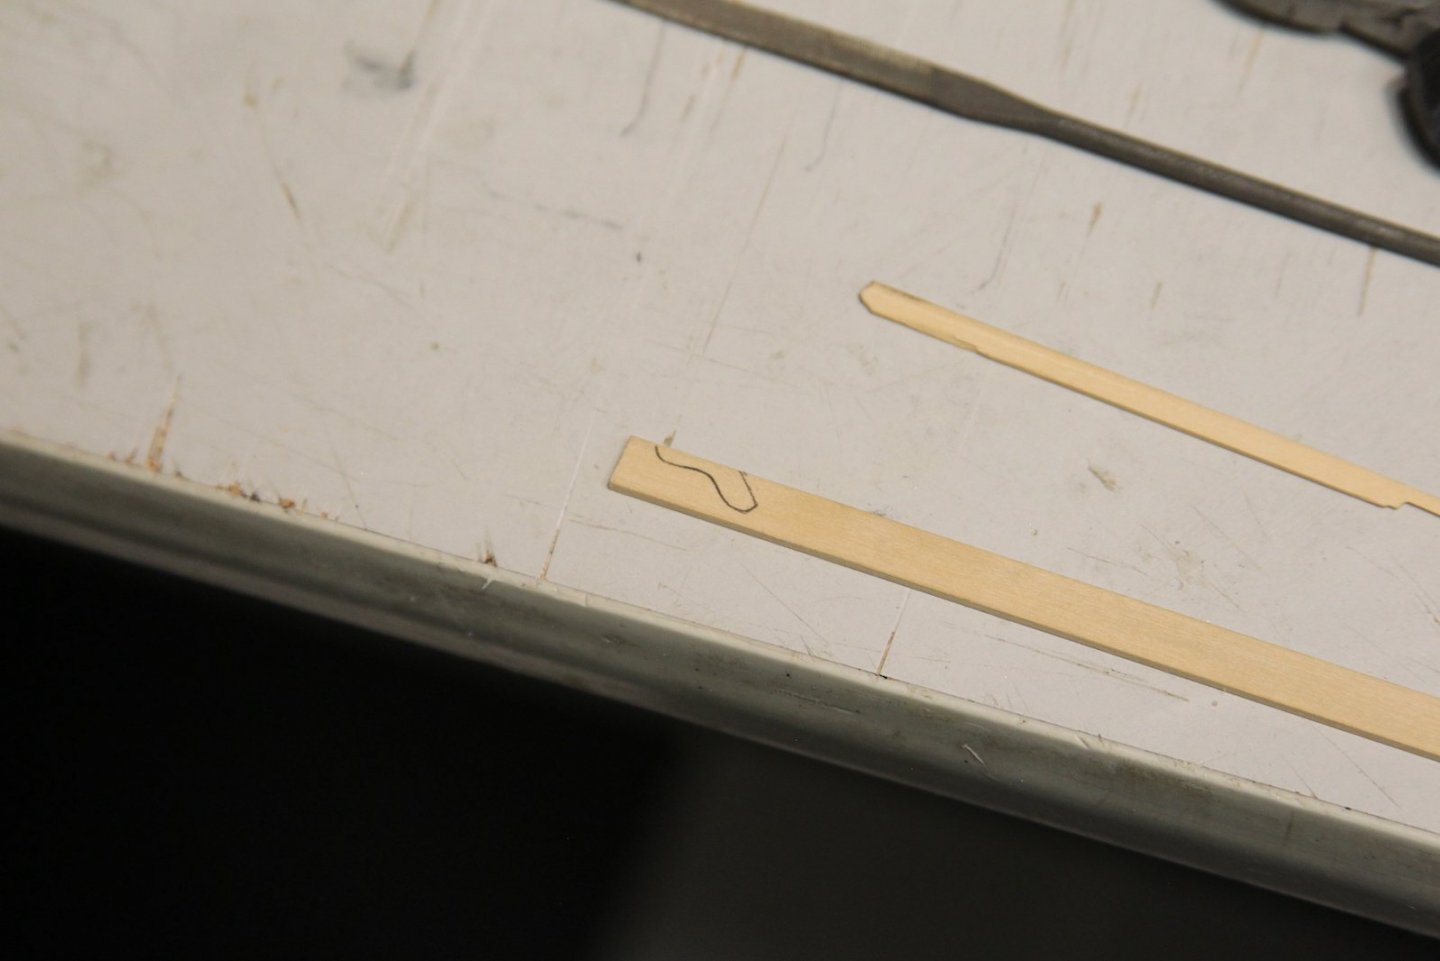
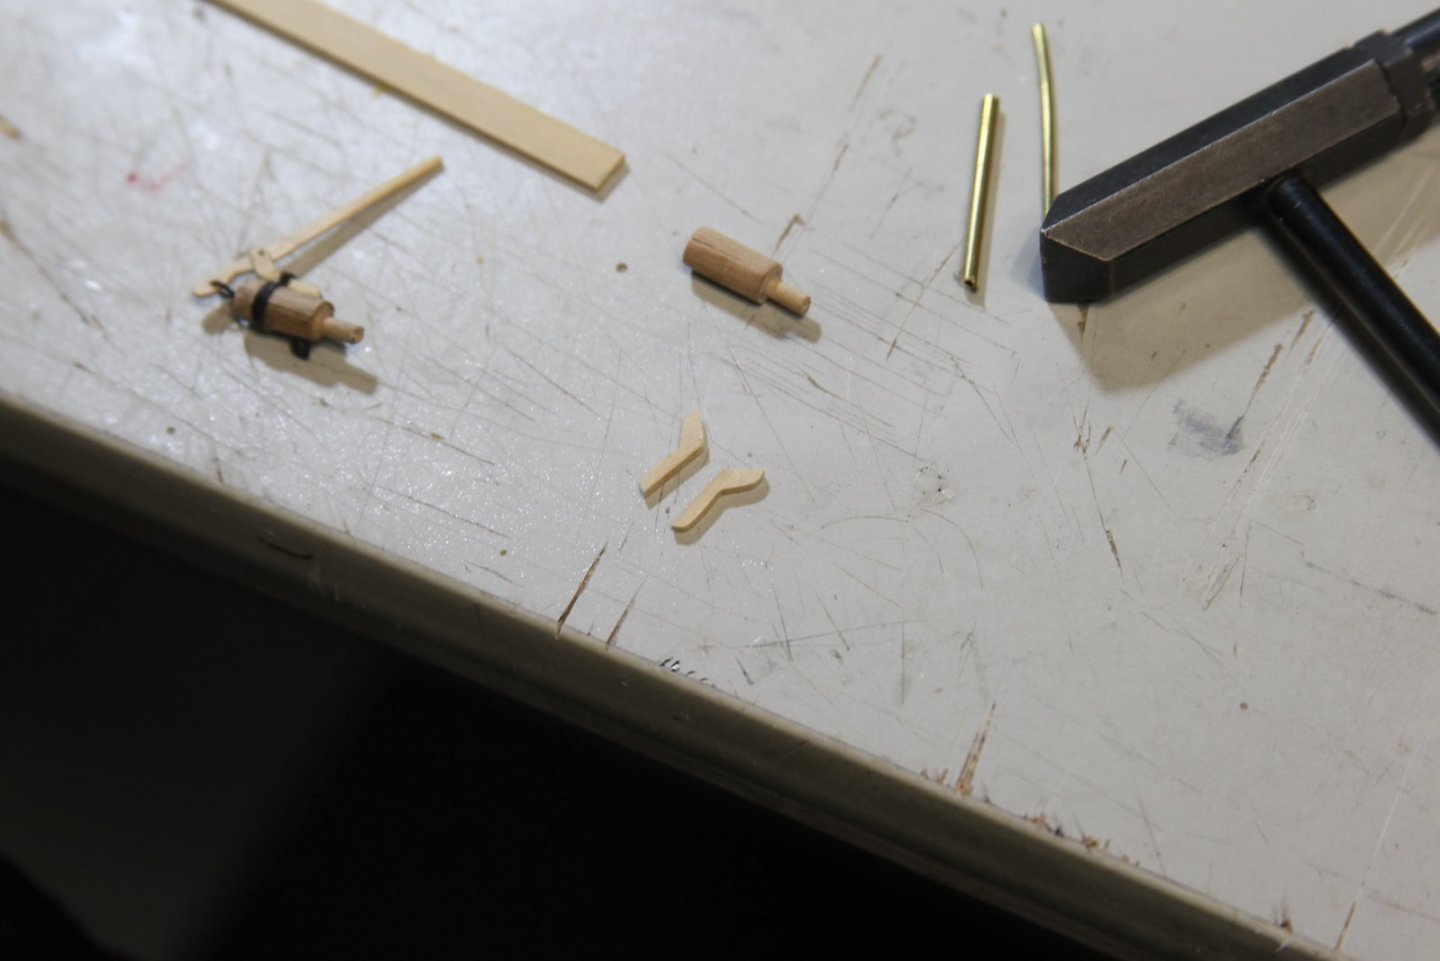
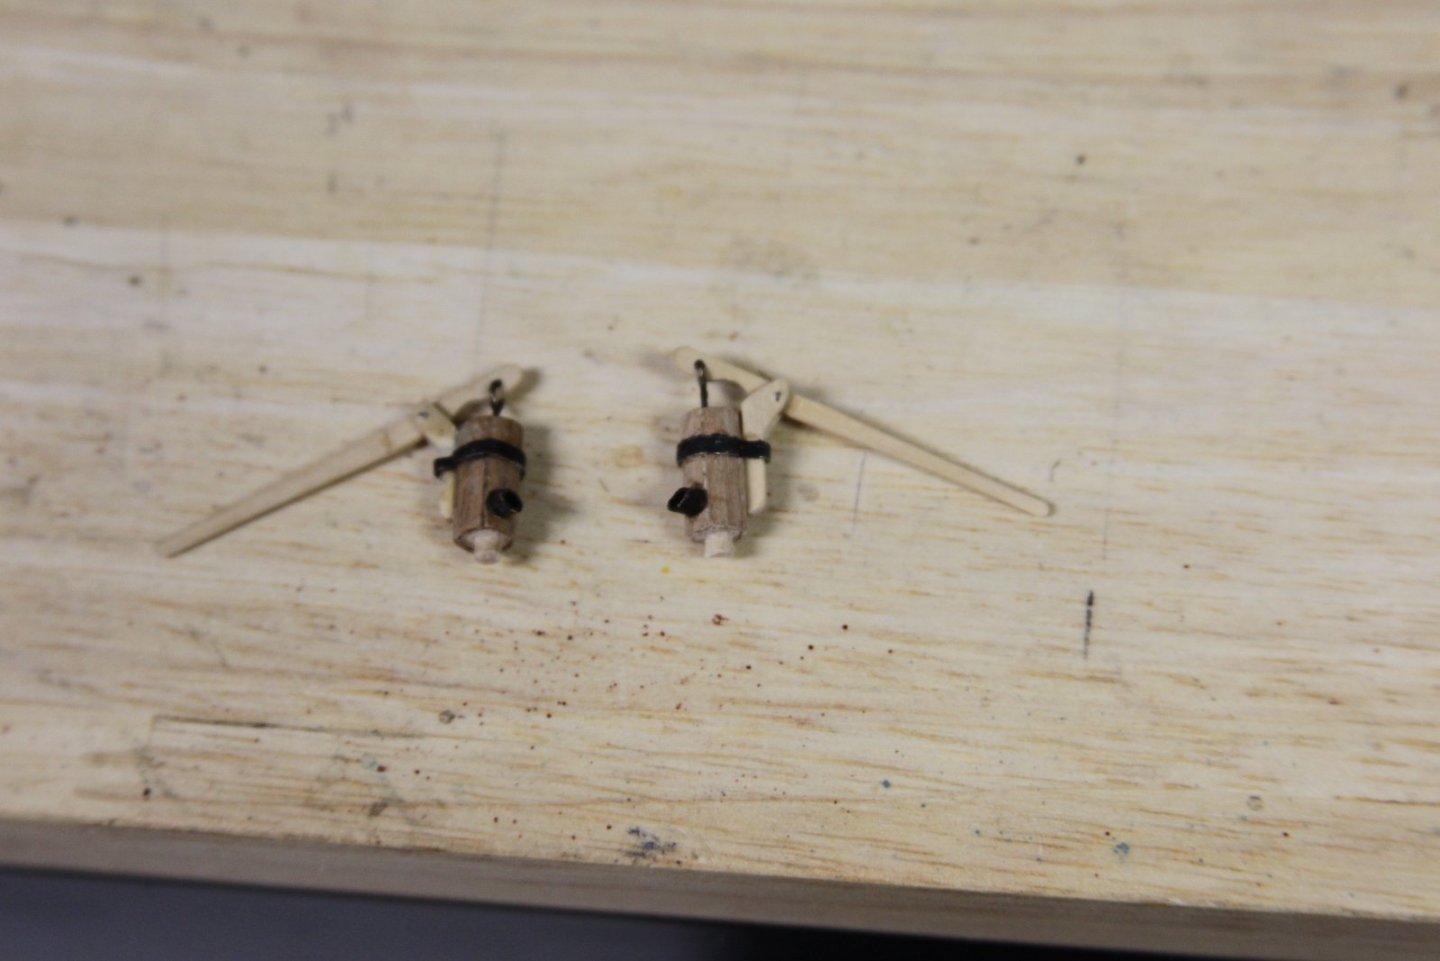
I did manage to get in some shipyard time over the holiday weekend despite the busy-ness. For a while of it, my 31 year old son actually hung out with me a bit while I worked on the brake pumps. As others have pointed out - there is no reference what-so-ever to brake pumps in the kit instructions, which is a pretty big oversight in my opinion. My brake pumps consist of a wooden dowel that is drilled out then planked on the sides. I left a little knob on the bottom of the dowel so I could fit it into the deck. I chose to plank using the thin leftovers that were supposed to be used for deck planking to mix up the color a bit. Handles/brakes and cheeks are shaped and carved from boxwood with the sides sanded down for shape, then the inside sanded down to accommodate the slot for the handle. Pumps are finished up with a brass tube for a spout, wire eyelet for spear, and a metal strap - ready to mount later. After a few hours and me walking him through the process, my son (who's never been particularly interested in this type of stuff) said "Wow, I can't believe we just made that from nothing!"


- 419 replies
-
- 10
-
-

-
- Victory Models
- Pegasus
- (and 2 more)
-
Looks great! I've done two Swifts as gifts for friends, and I love the flexibility they offer. Interesting seeing the older version being put together.
- 44 replies
-
- 1
-
-
- first build
- Artesian Latina
- (and 1 more)
-
Beautiful work BE - I think it definitely makes the grade. Really nice looking transition between the sections as you move down the hull. Also, nice solid repair work on the bow!
- 857 replies
-
- 2
-
-
- Sphinx
- Vanguard Models
- (and 1 more)