Moonbug
-
Posts
1,028 -
Joined
-
Last visited
Content Type
Profiles
Forums
Gallery
Events
Everything posted by Moonbug
-
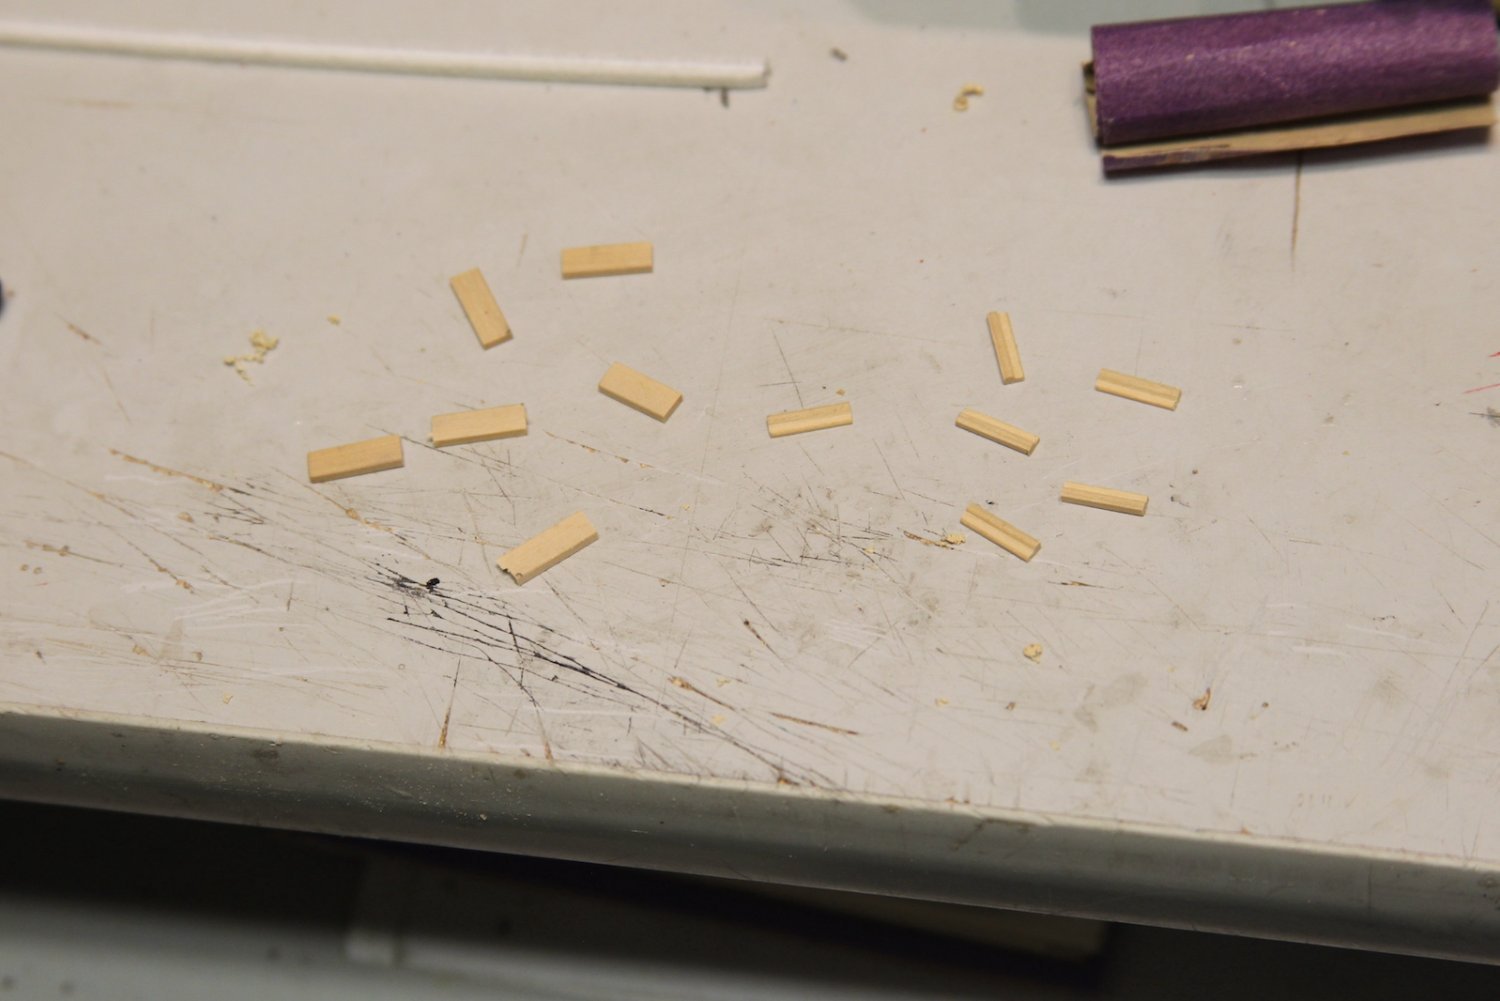
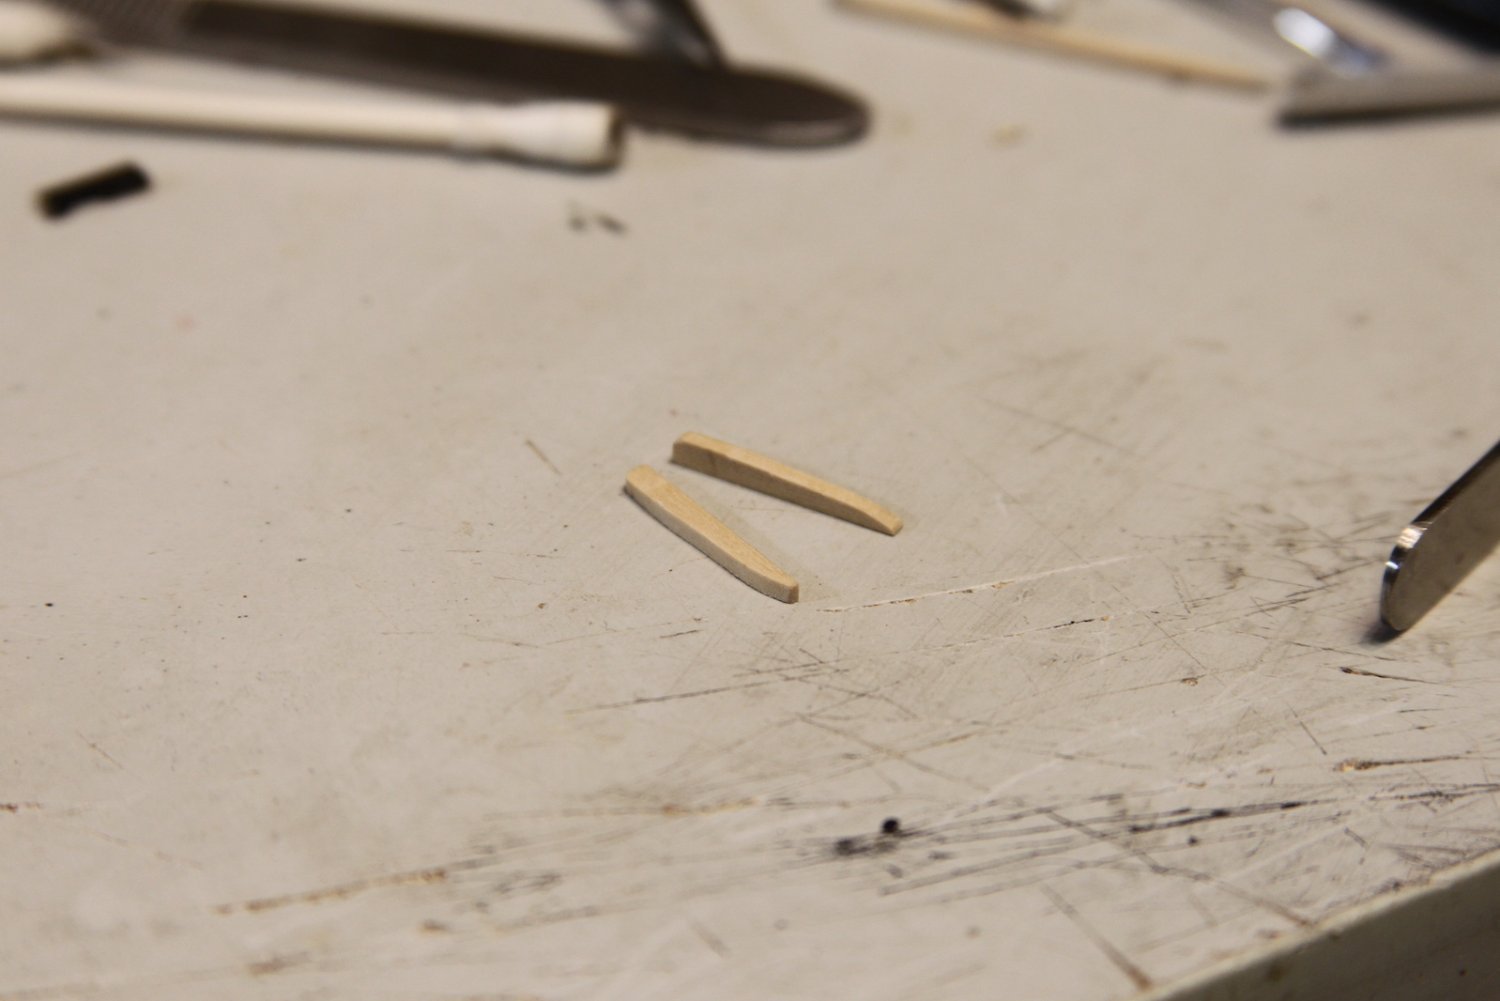
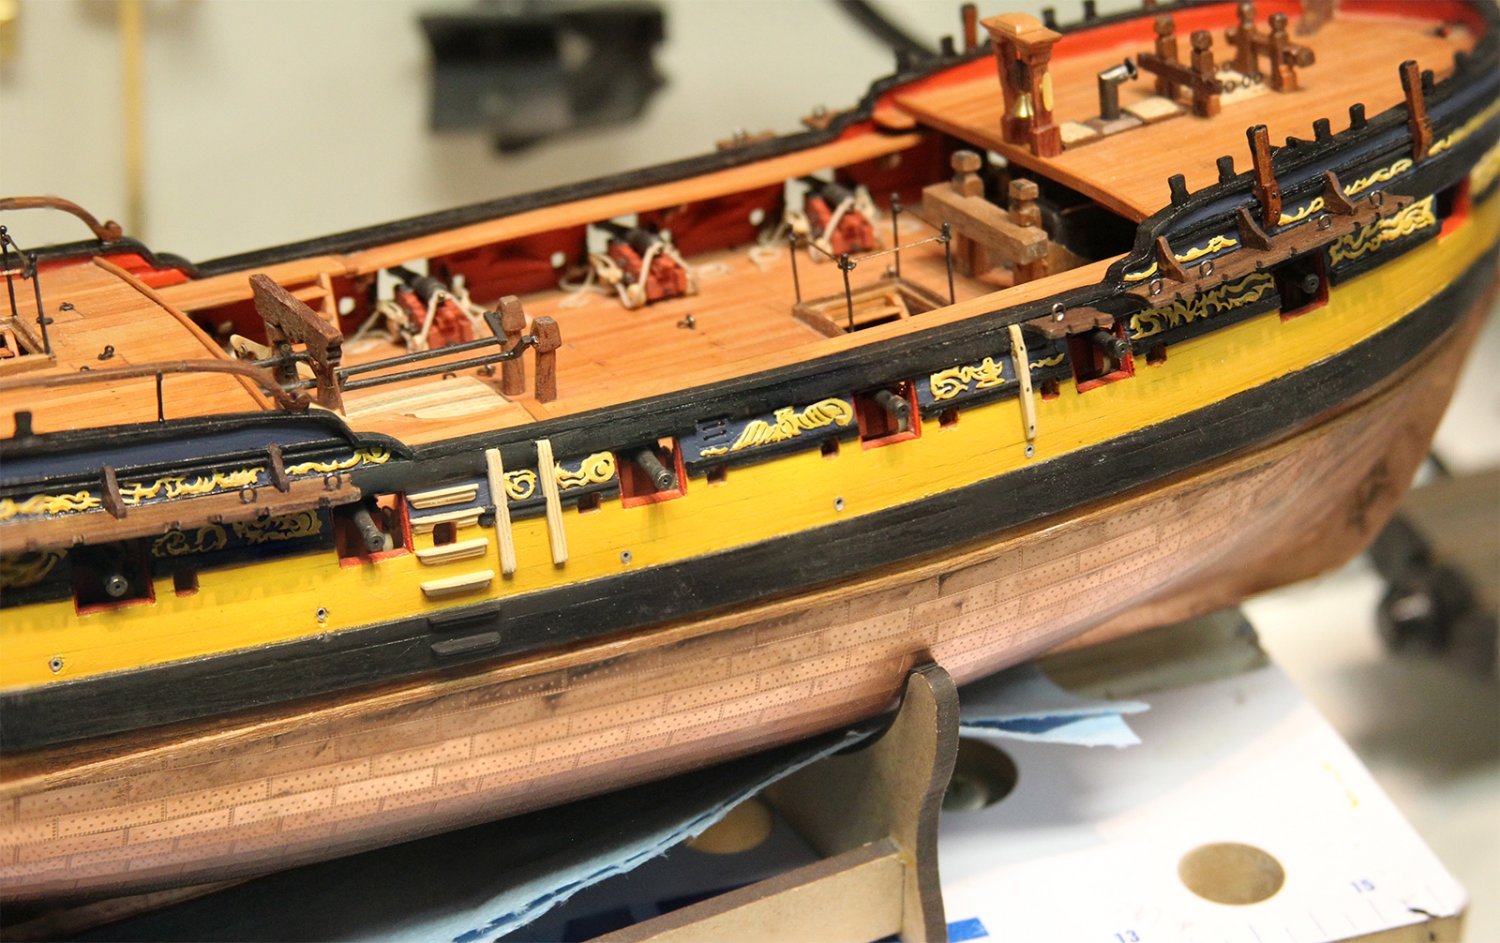
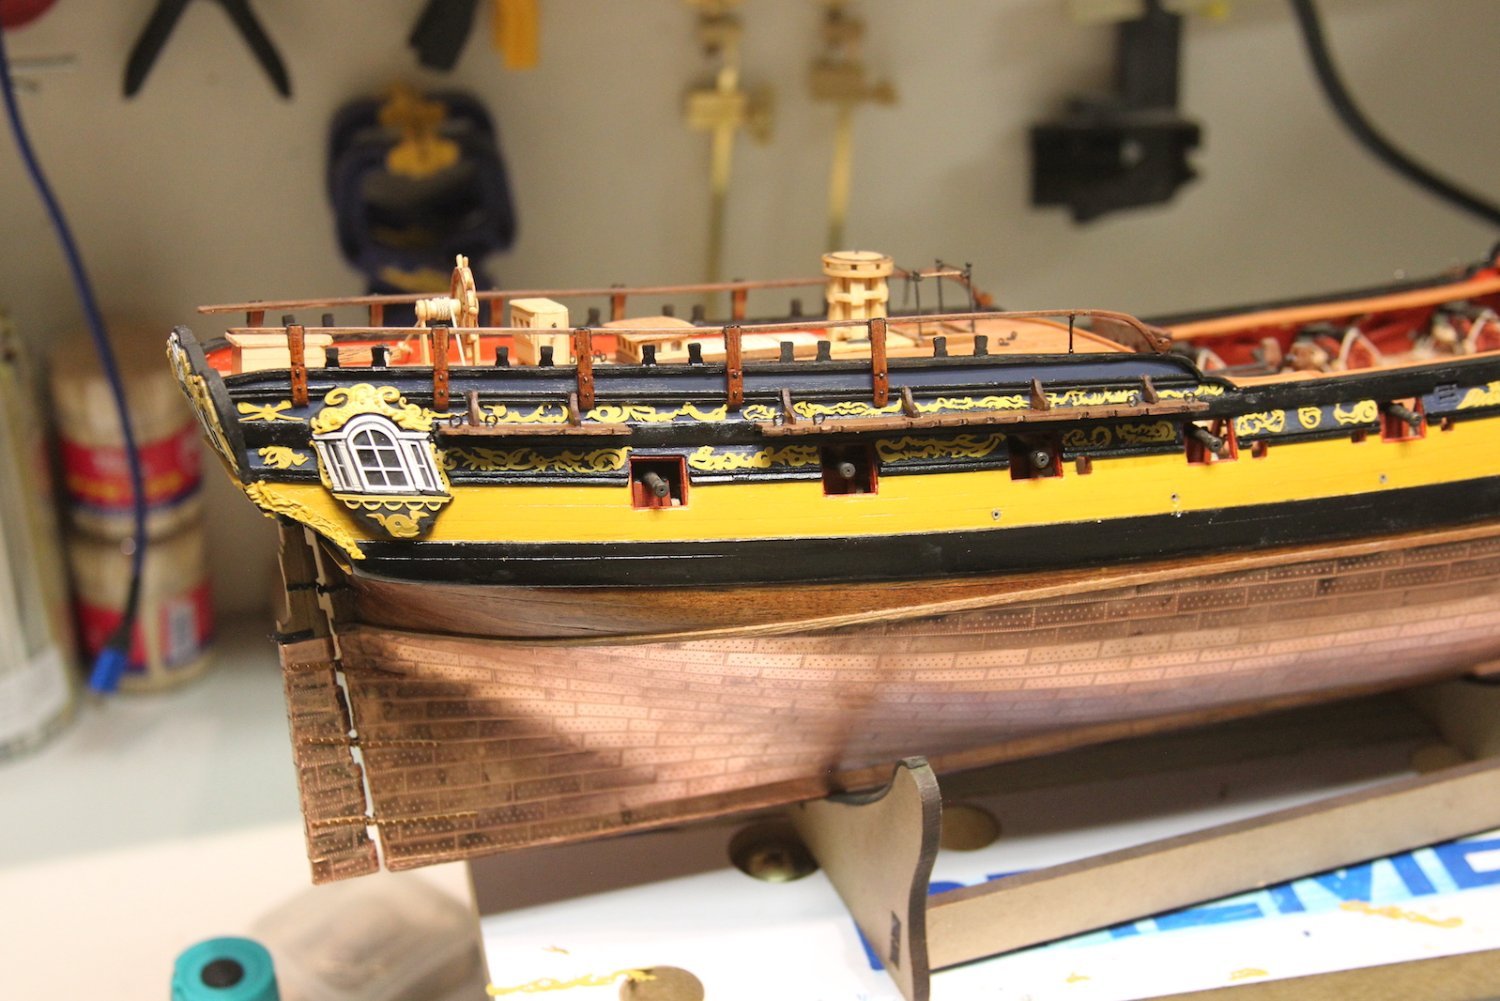
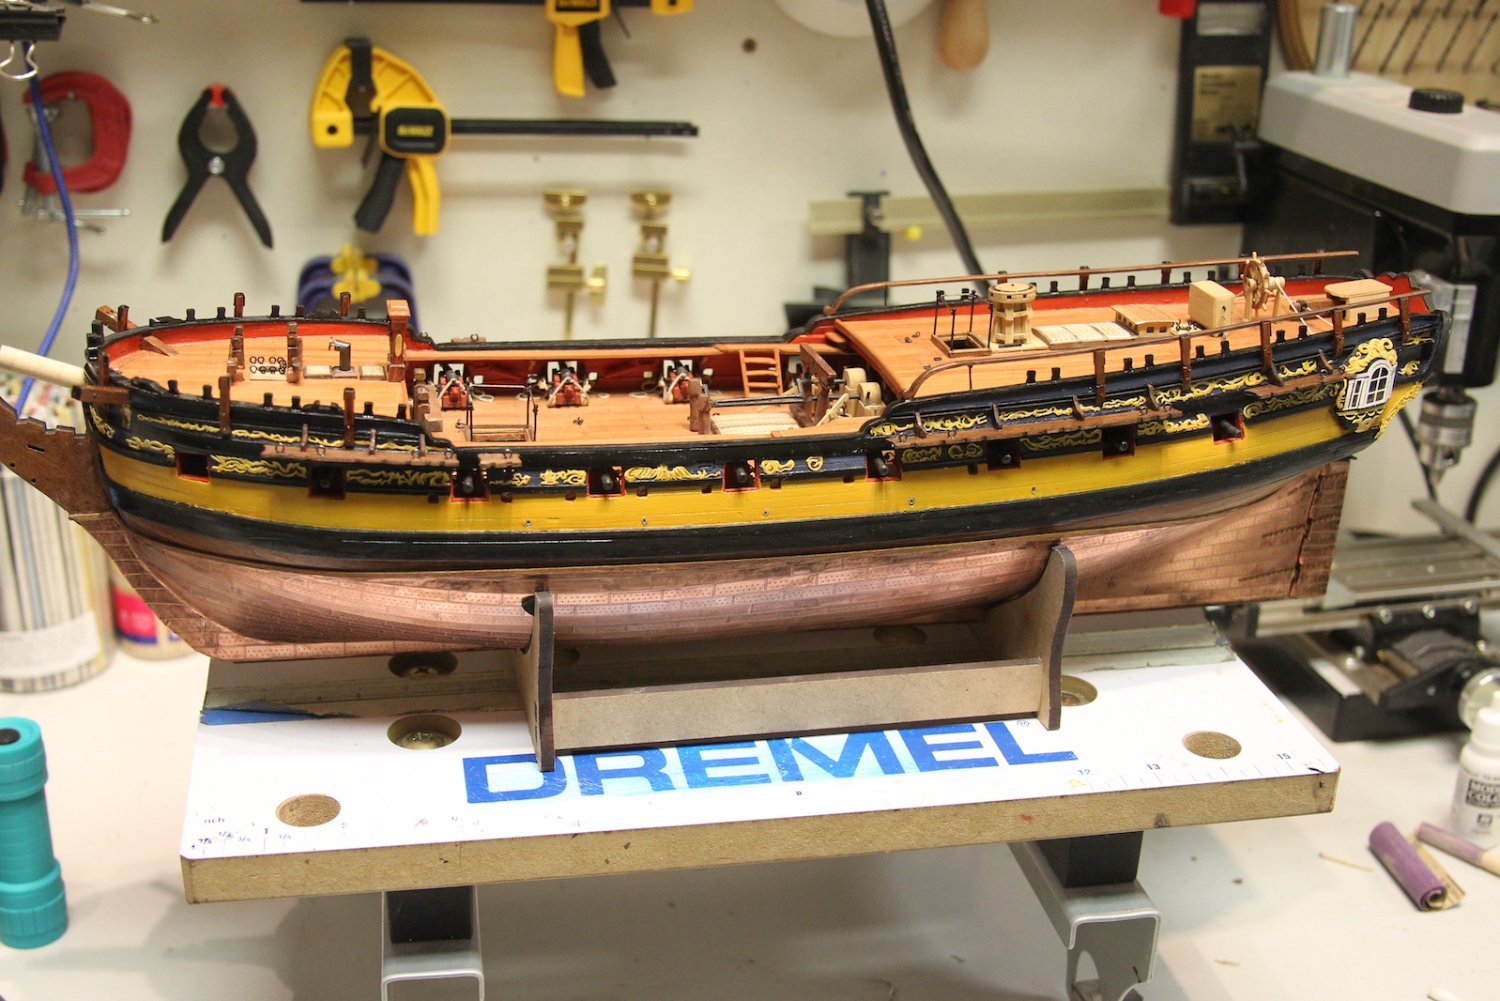
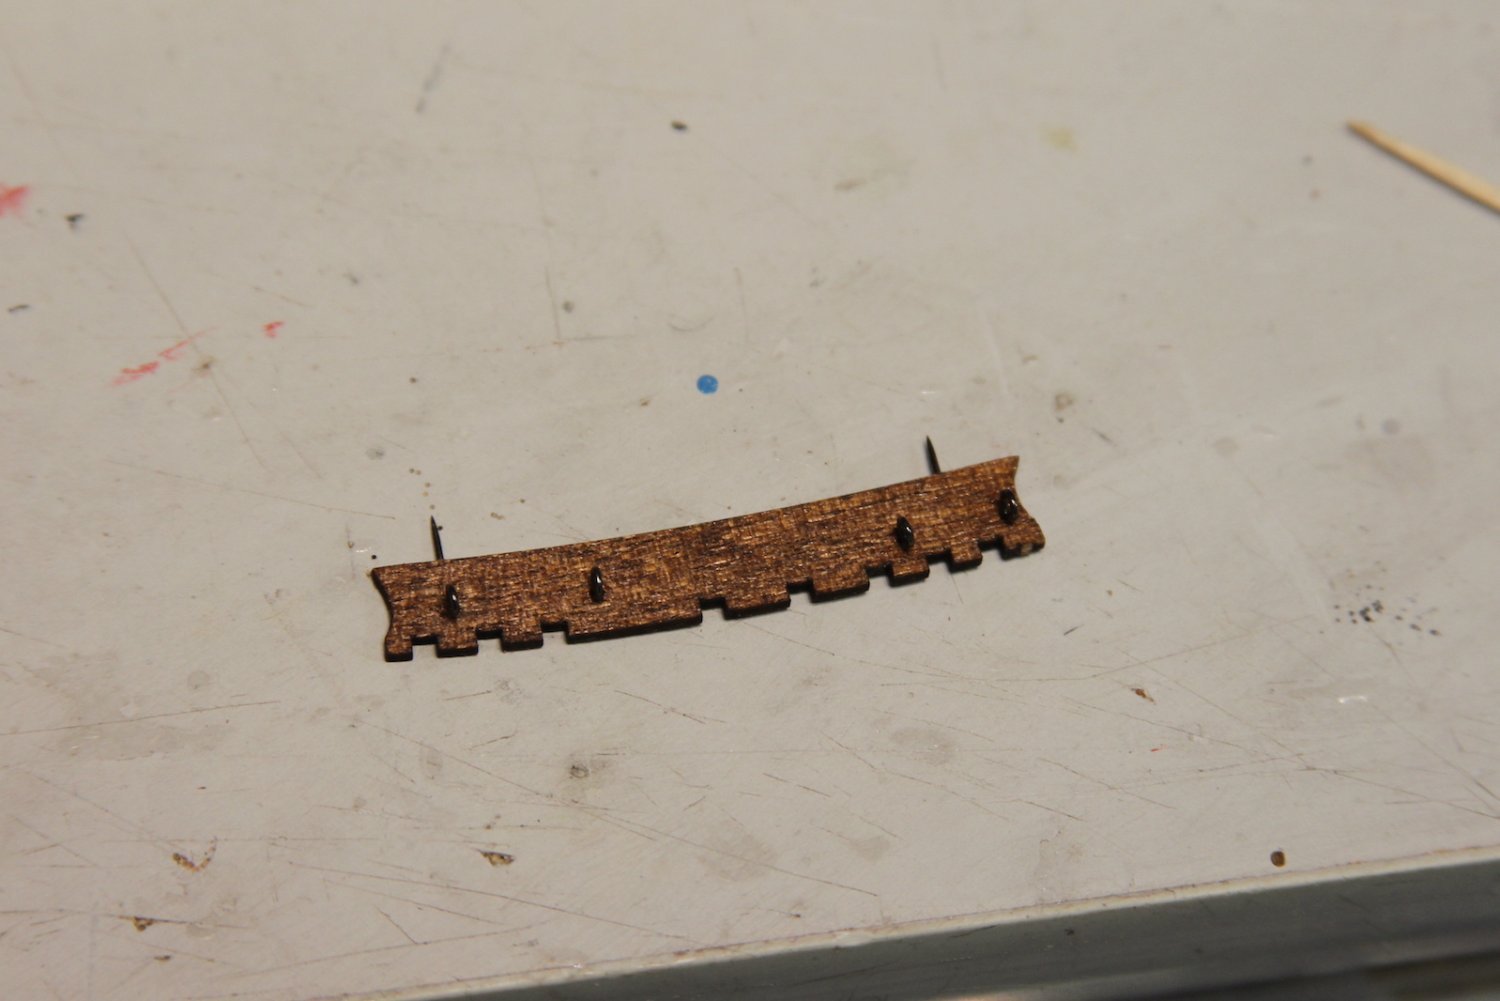
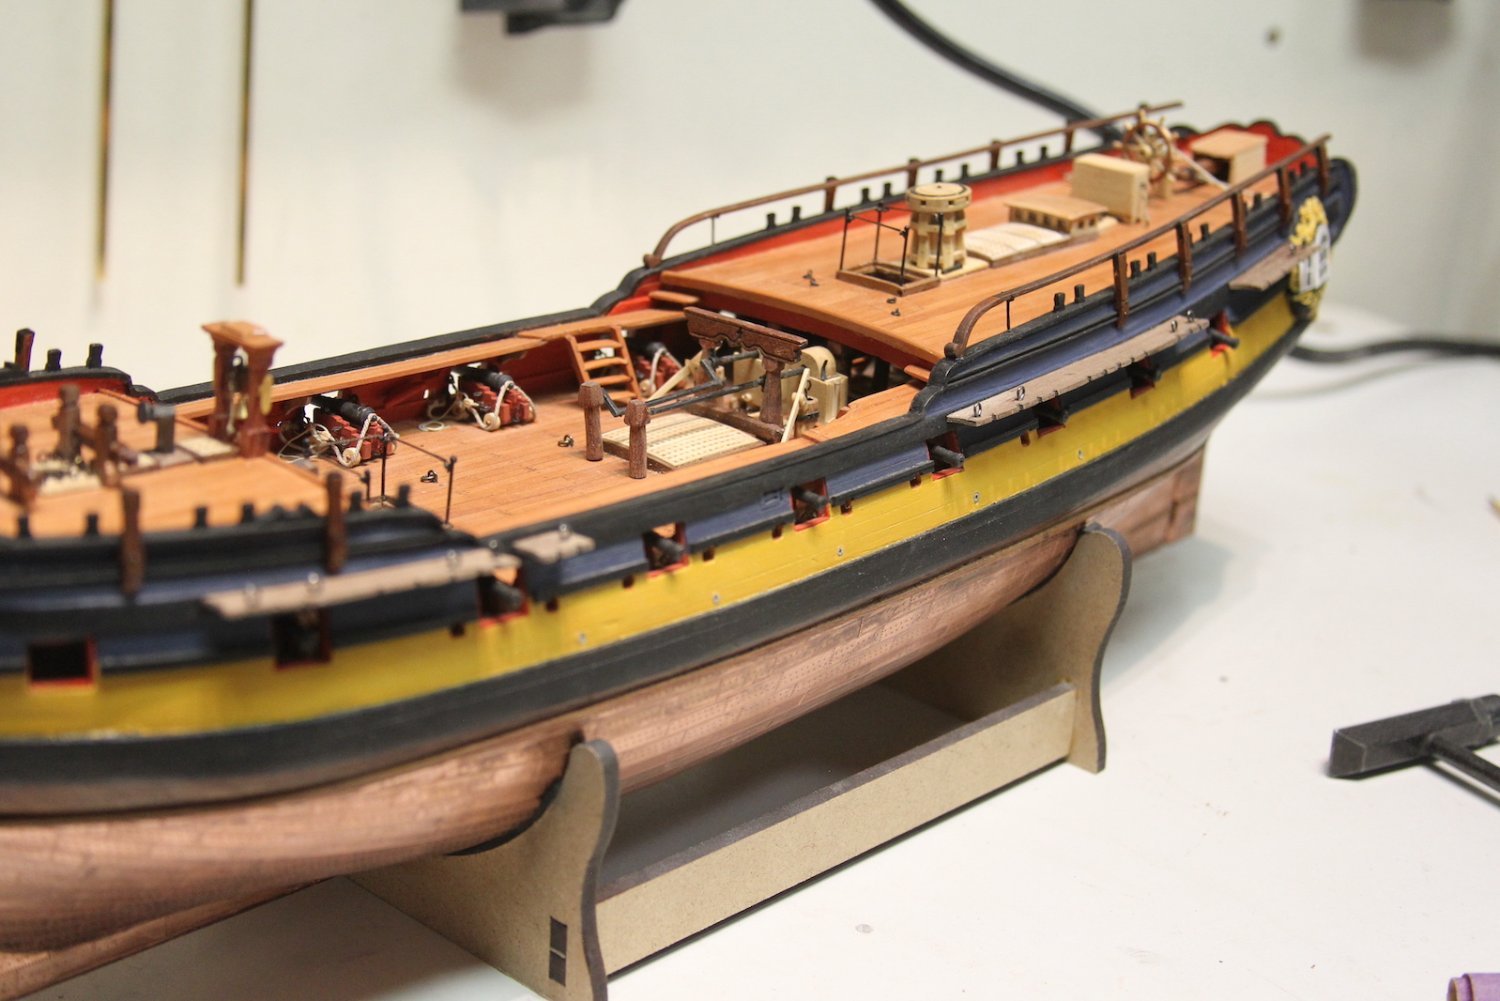
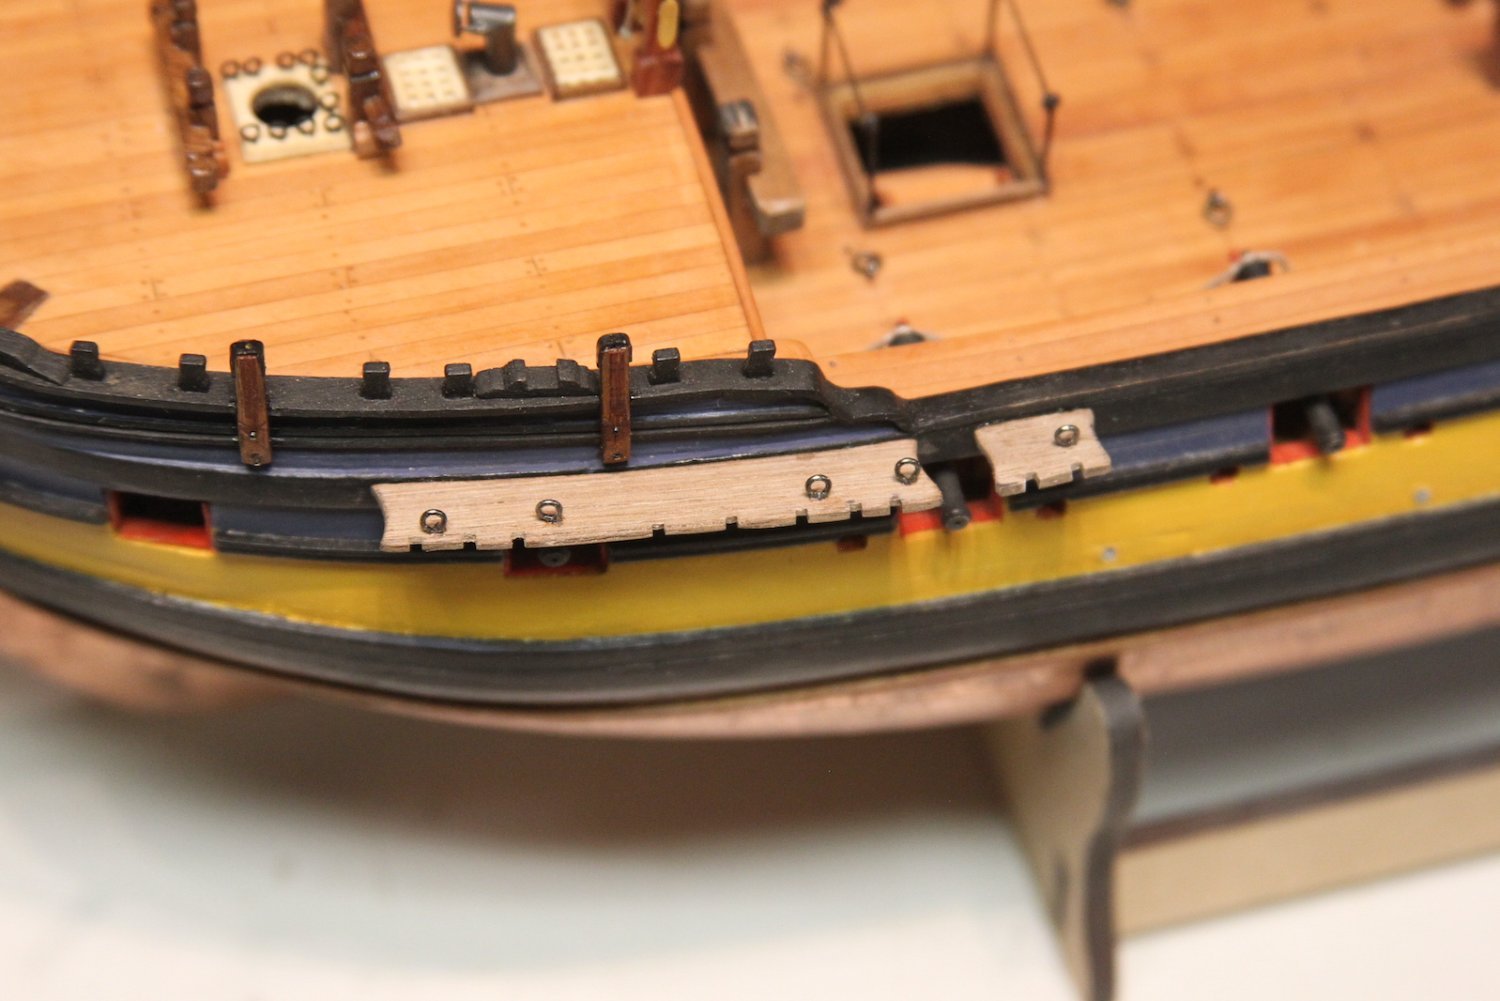
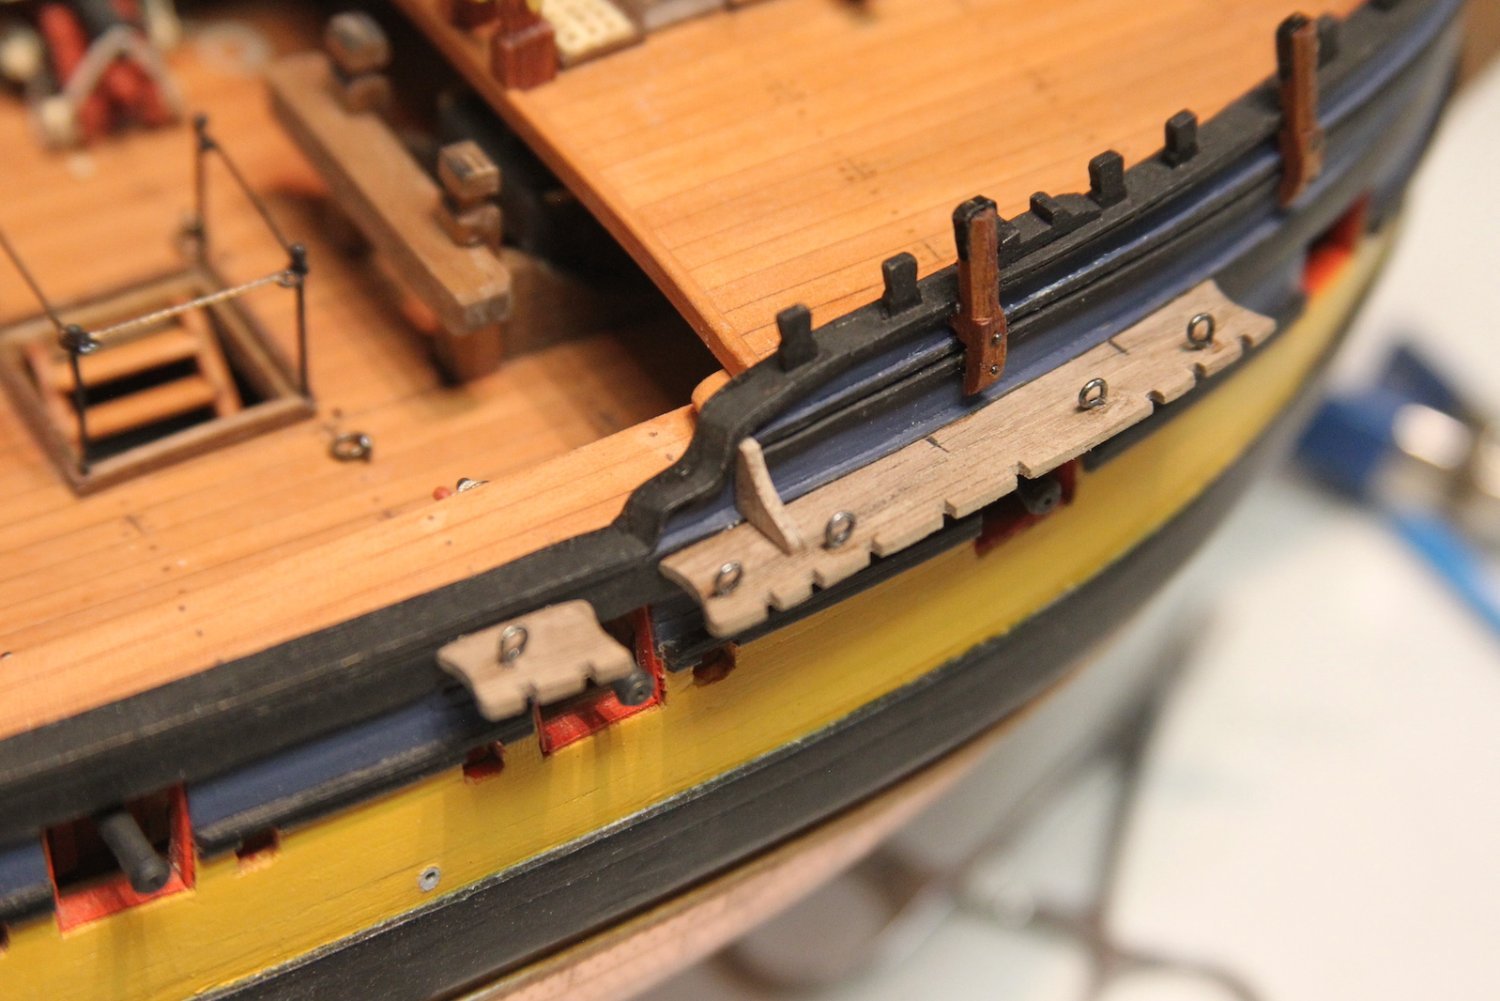
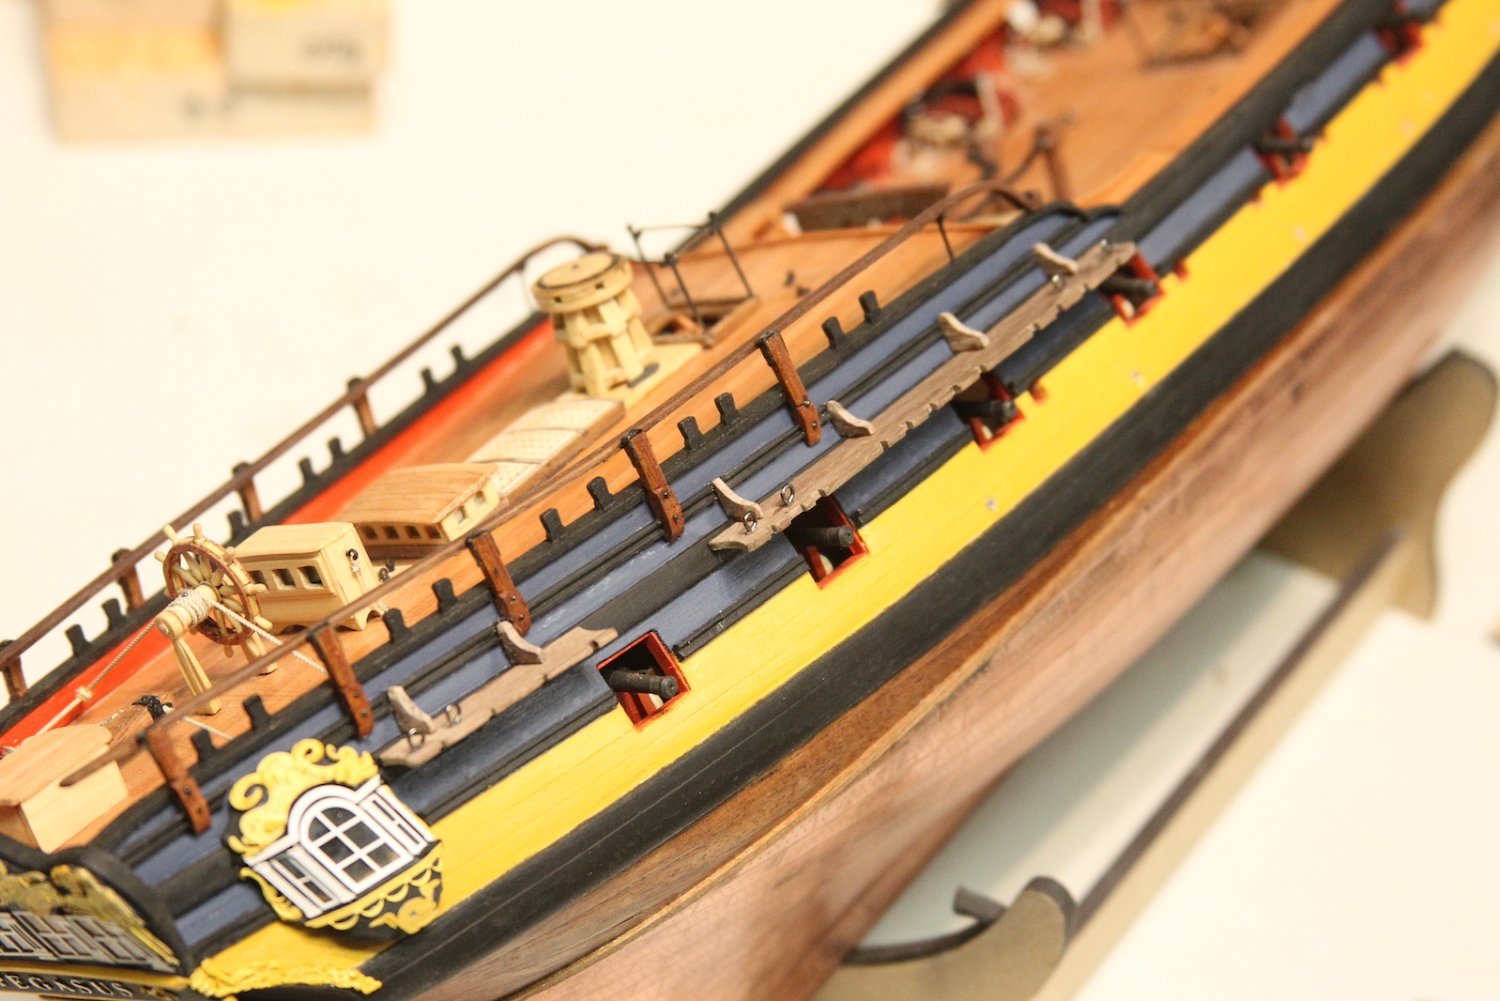
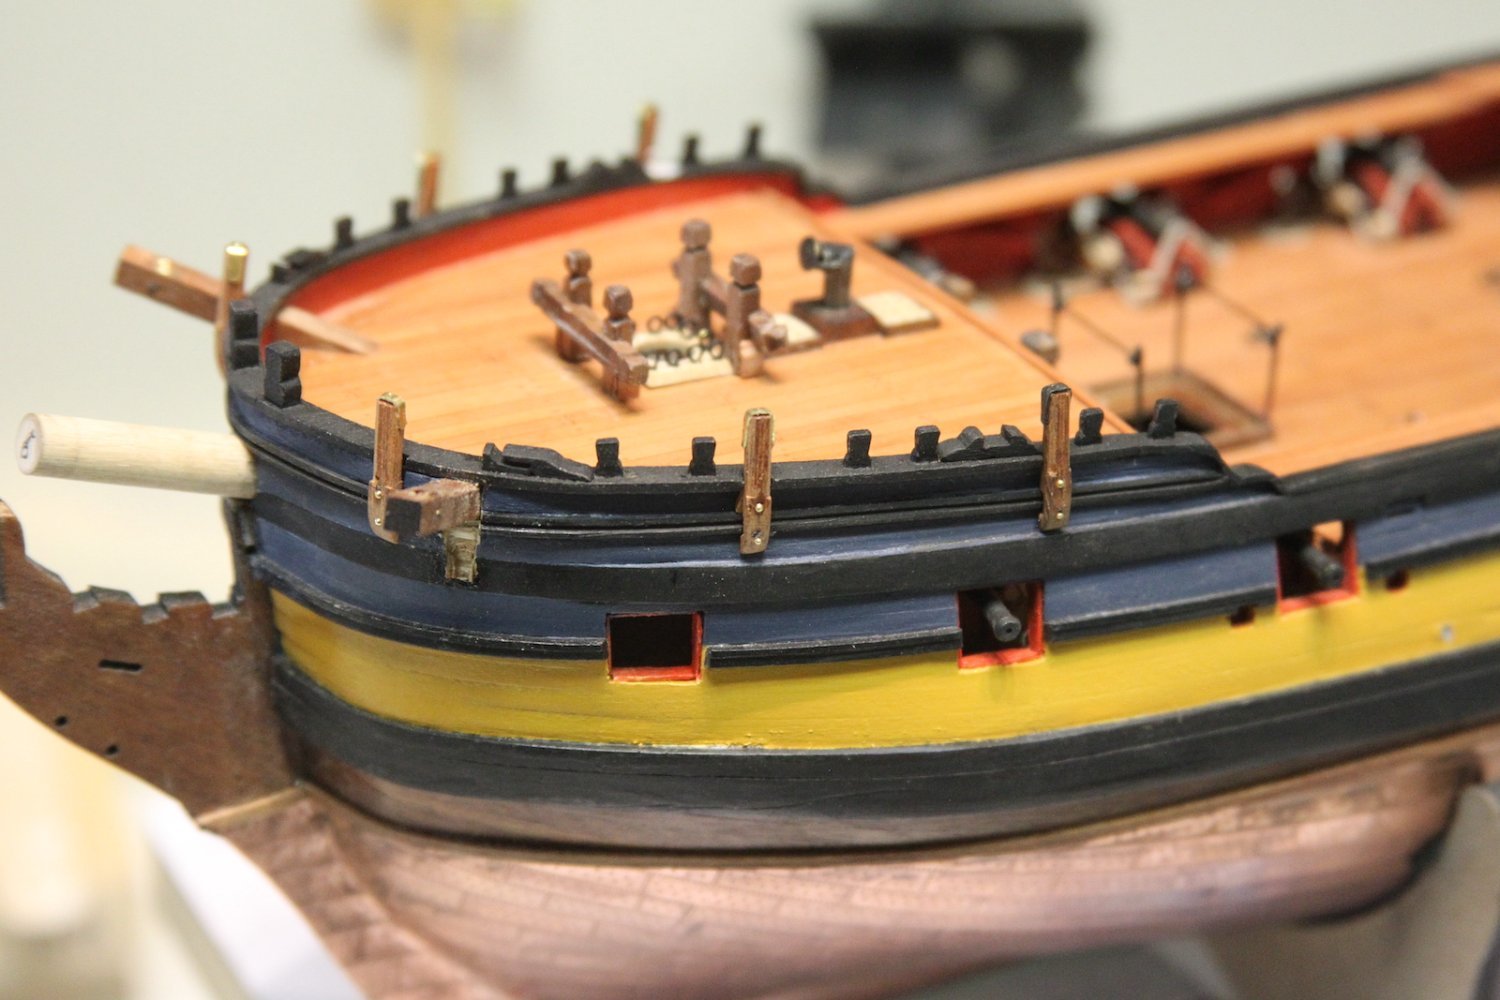
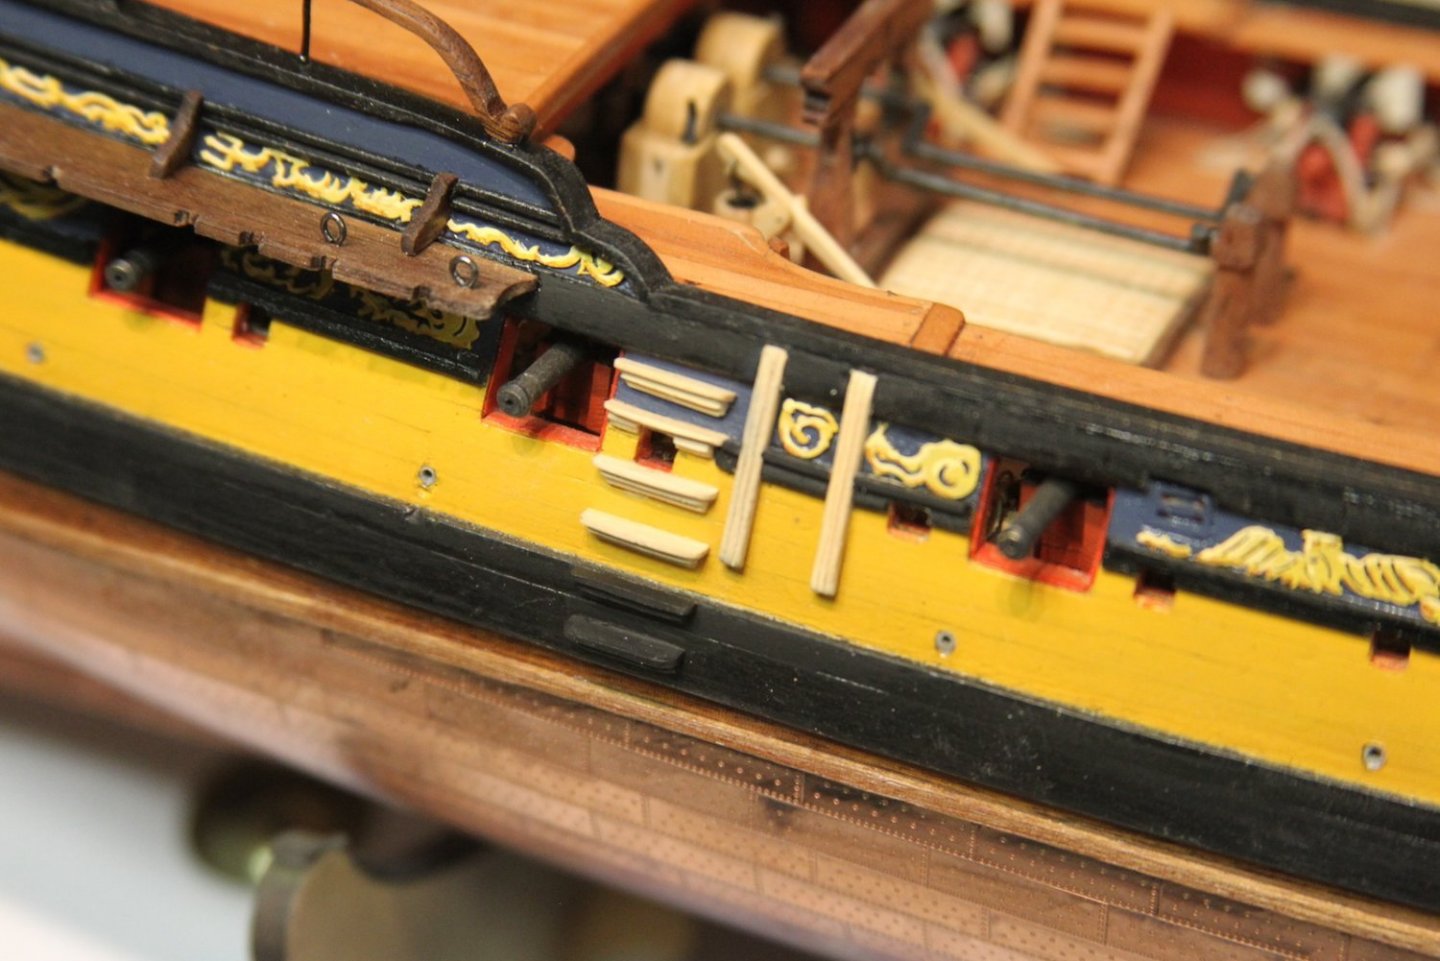
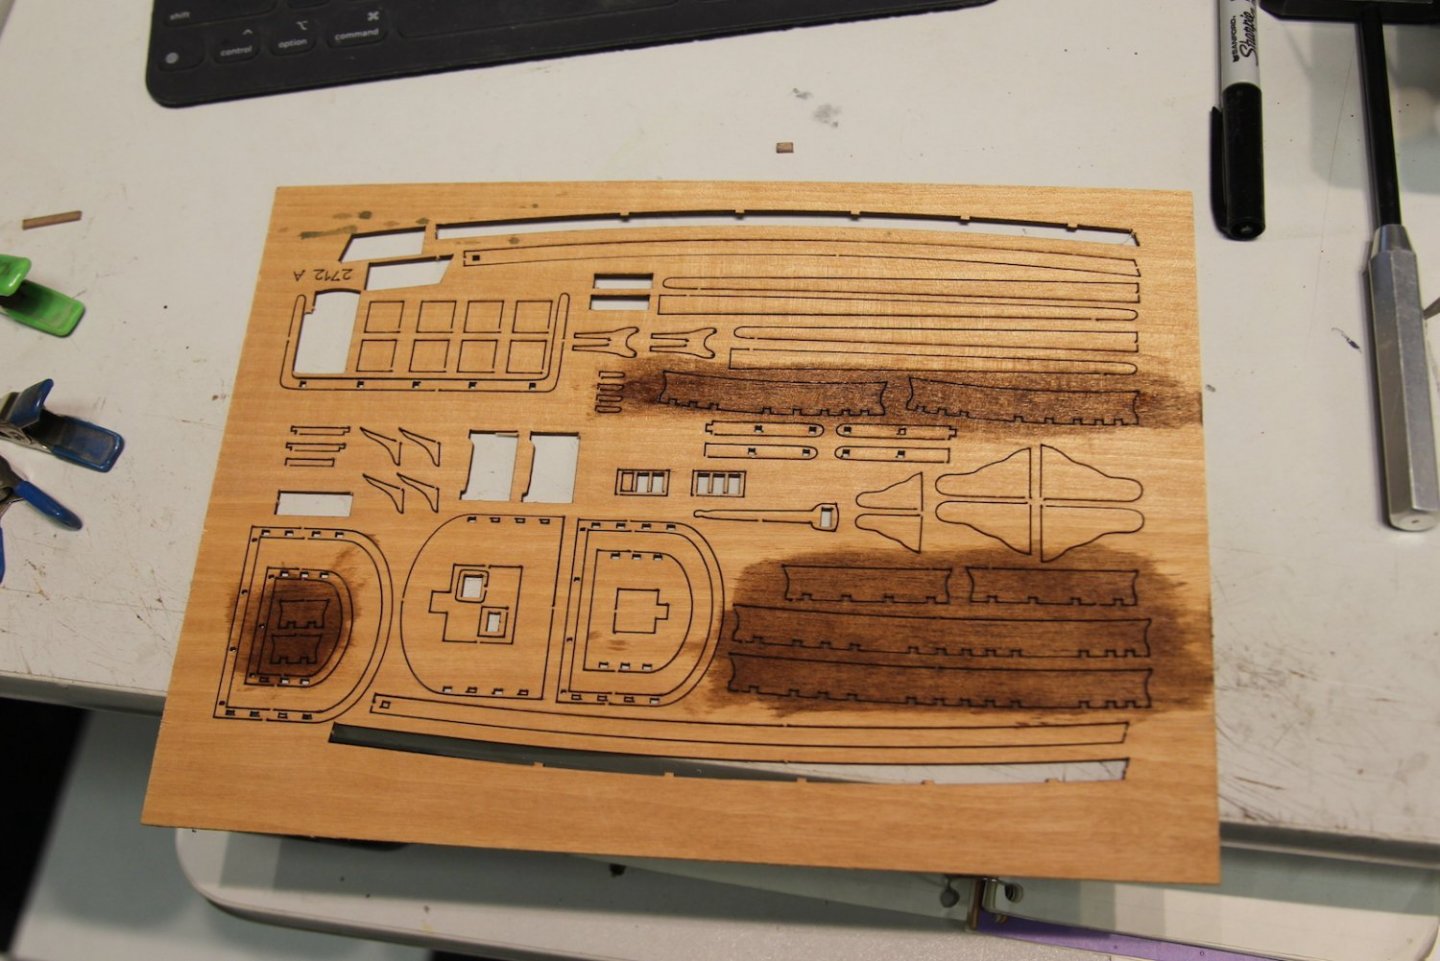
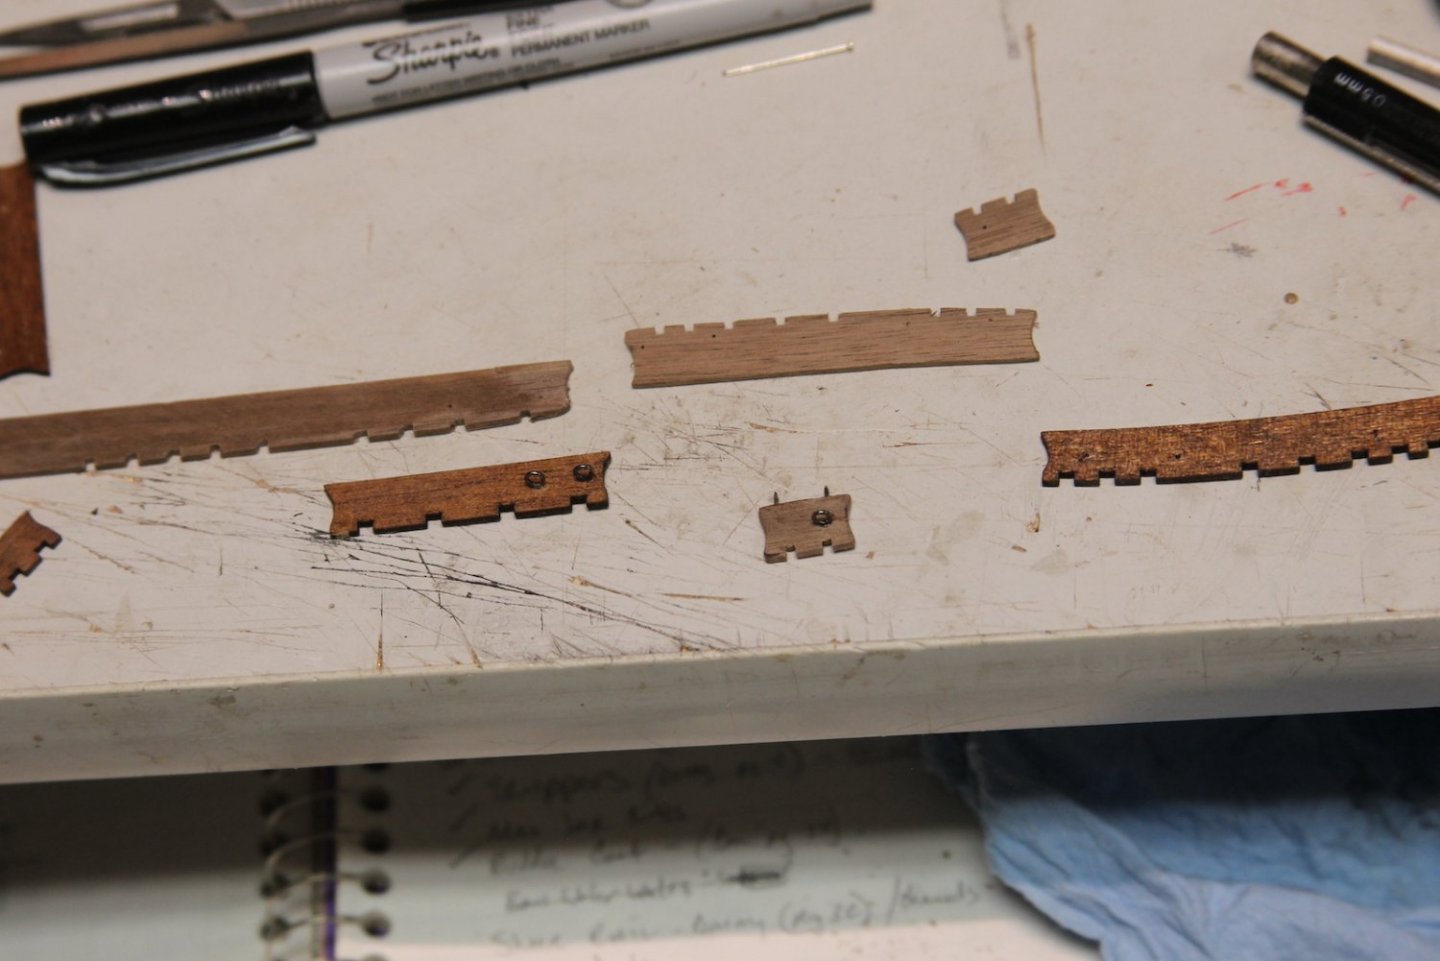
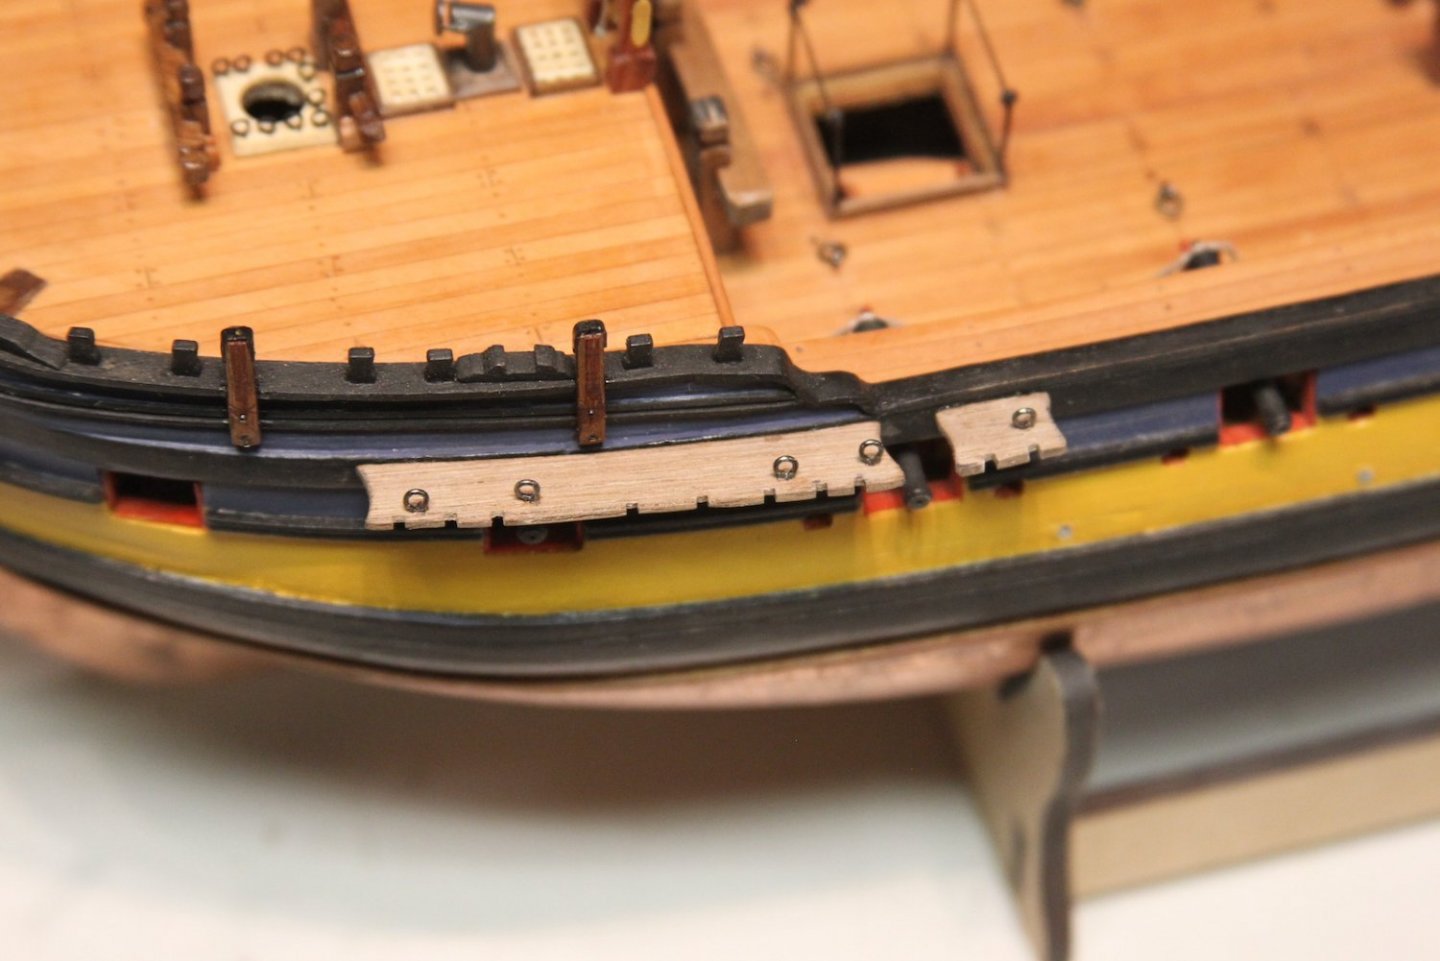
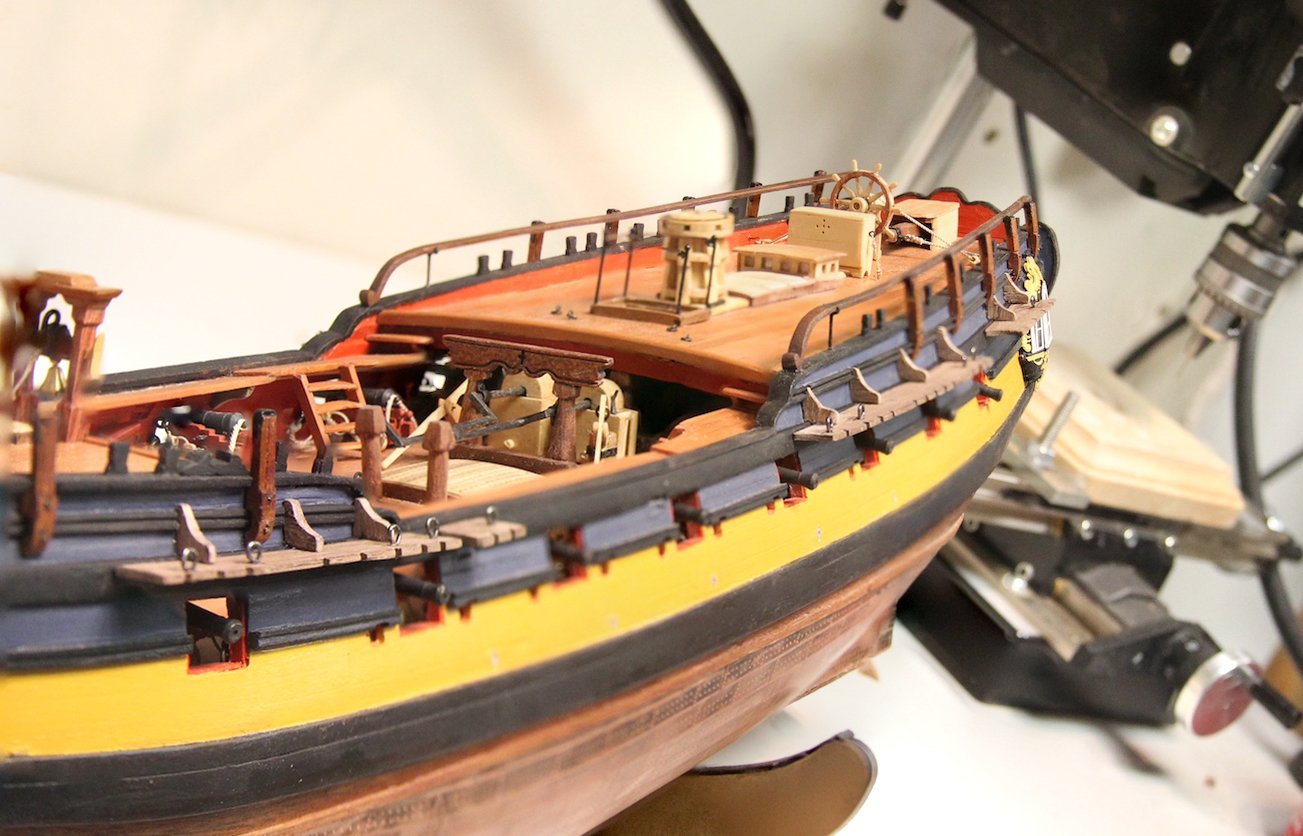
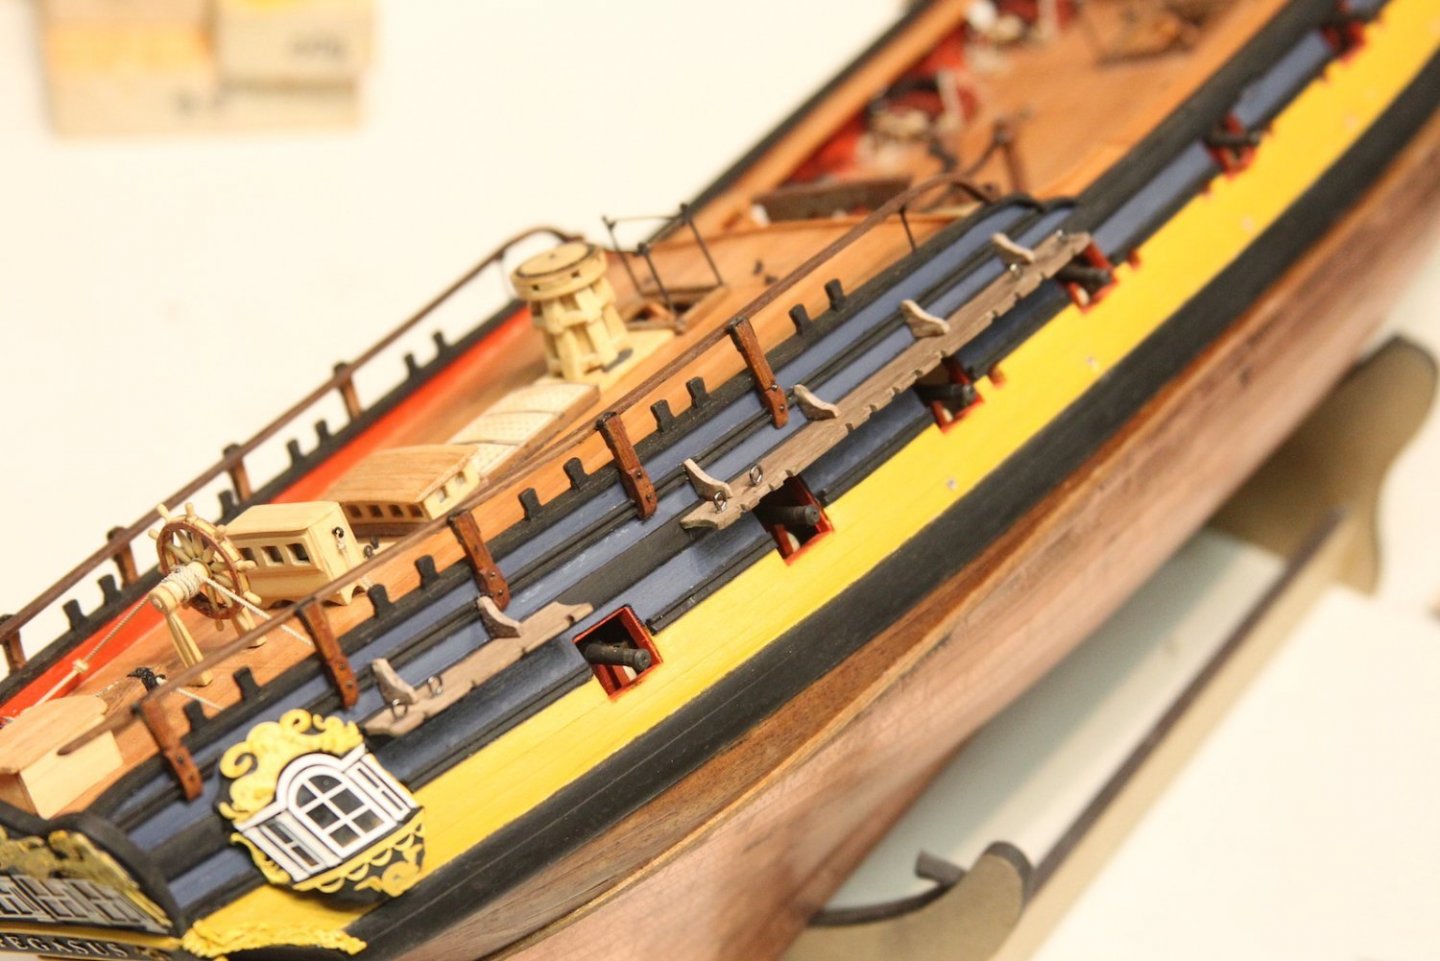
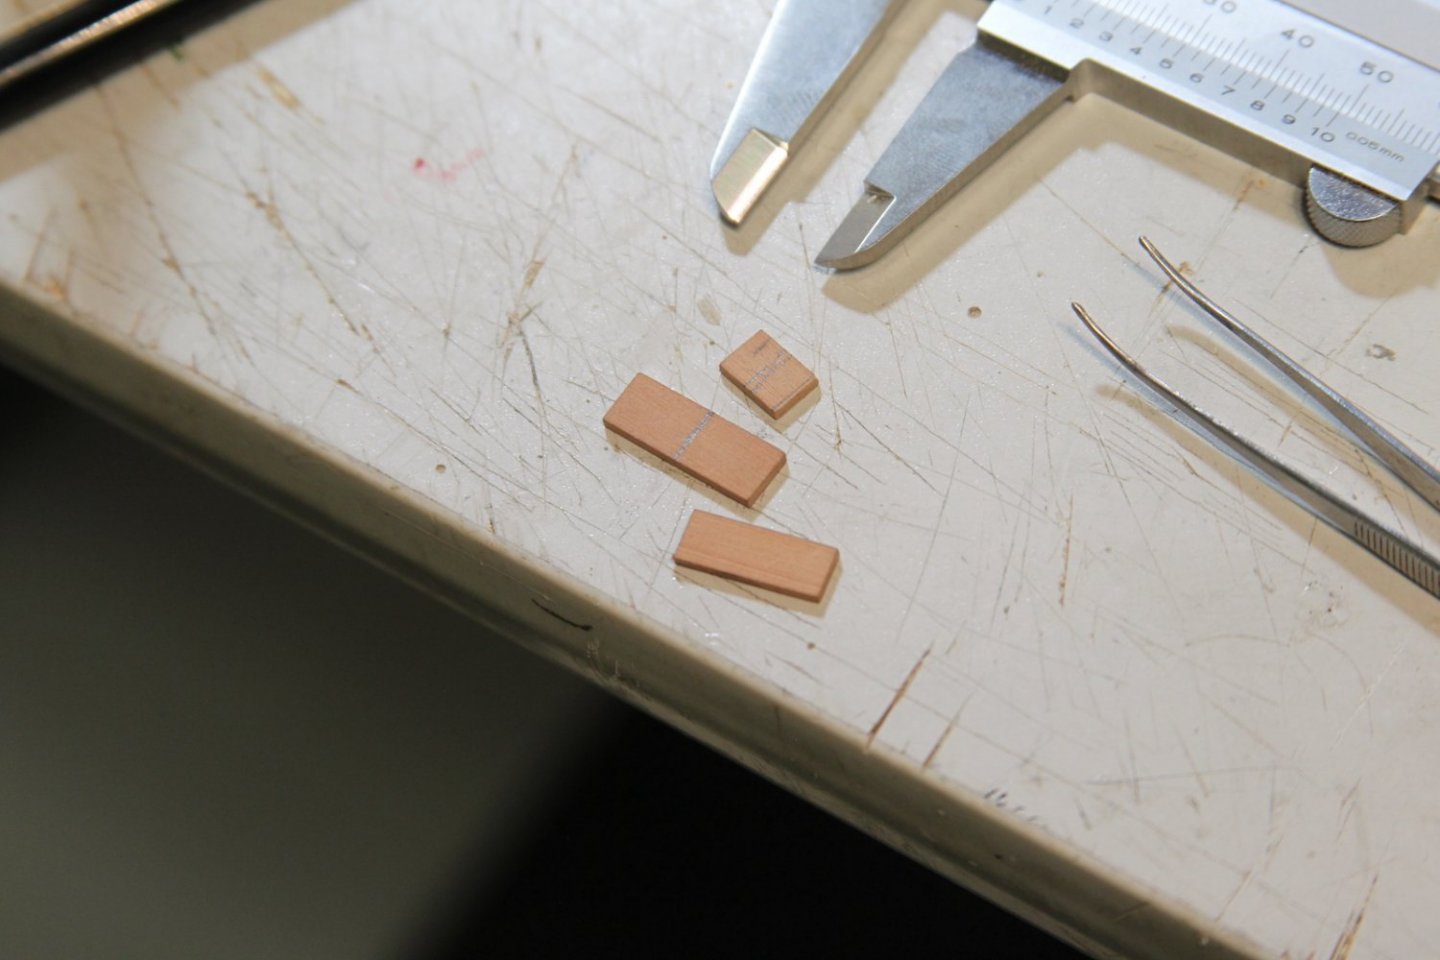
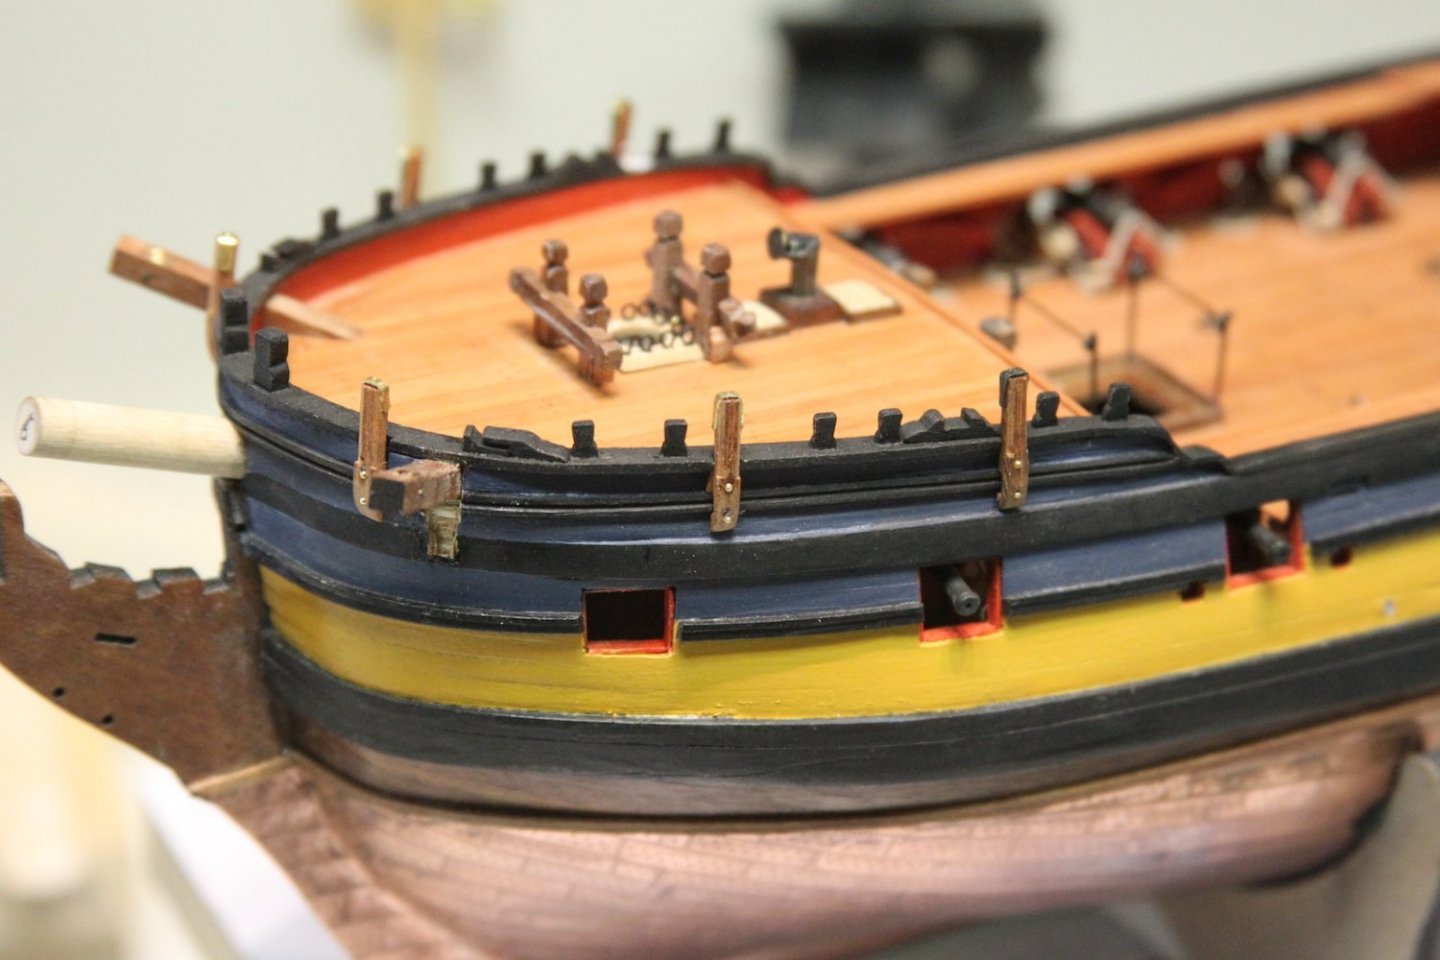
 Did some work on the outer hull fixtures during the week. See - the thing is - I thought these would be pretty straightforward, and they turned out to be pretty fiddly. Here's what I'm learning as I pattern much of work after Dan's Vulture - that stuff looks pretty complicated at 1/48 - then I try to replicated it at 1/64 and it's just madness. Alas - I'll keep plugging away; but I'm definitely going to have to start determining what's just unfeasible at the smaller scale. The steps are made from two separate pieces of boxwood fit together to create the decorative element. The smaller of the two pieces is cut with a scraper then glued to the 'step' portion. Each step is mounted to the side of the hull with the middle one cut out to provide for the sweep port opening next to the gunport. I couldn't quite figure out what to do about the rail that runs through the gun port, so I just removed it and replaced it with the step. The bottom two are painted black to match the main wales. The fenders (already mounted in the picture above) actually were pretty straightforward - a couple strips of boxwood scraped for decoration and fitted. I did have to move the frieze around to accommodate. The chesstrees were very sketchy. I really wanted to just do a faux sheave, but it would not have looked that great. So I gave it my best shot the same way I did with the catheads. Much less space to work with however. Mounted up just aft of the fixed block. As a side note - the last image is a good example of how I often focus stack my images. I use a couple different lenses - one is pure macro (100mm f2.8) and one is a short zoom with a little more flexibility. But if you're able to focus stack, it's pretty helpful. There's a good discussion about it here in the forum:


- 419 replies
-
- 7
-

-
- Victory Models
- Pegasus
- (and 2 more)
-
I wish I had a clever solution WG - but I'm really just waiting to see which one of the ideas from our smart compatriots works best so I can steal it as well.
-
Hey Mark - we’re here with you when you’re ready to return. I get it with the eyes - I just ordered some surgical loupes because I can’t see crap any more these days. 😕 Good luck friend, and don’t be a stranger despite the pause.
- 505 replies
-
- 10
-
-
- vanguard models
- Sphinx
- (and 1 more)
-
Nice work Bruce - looks great! Worthy of pride, to be sure.
- 126 replies
-
- 2
-
-
- Finished
- confederacy
- (and 1 more)
-
Thanks a lot Glenn. Definitely took some magnification, a very small brush, and lots of patience. Also - a fair amount of wiping off bits with a wet cue tip and "do overs". 😛 Btw - your Winny planking is looking fantastic.
- 419 replies
-
- 3
-
-
- Victory Models
- Pegasus
- (and 2 more)
-
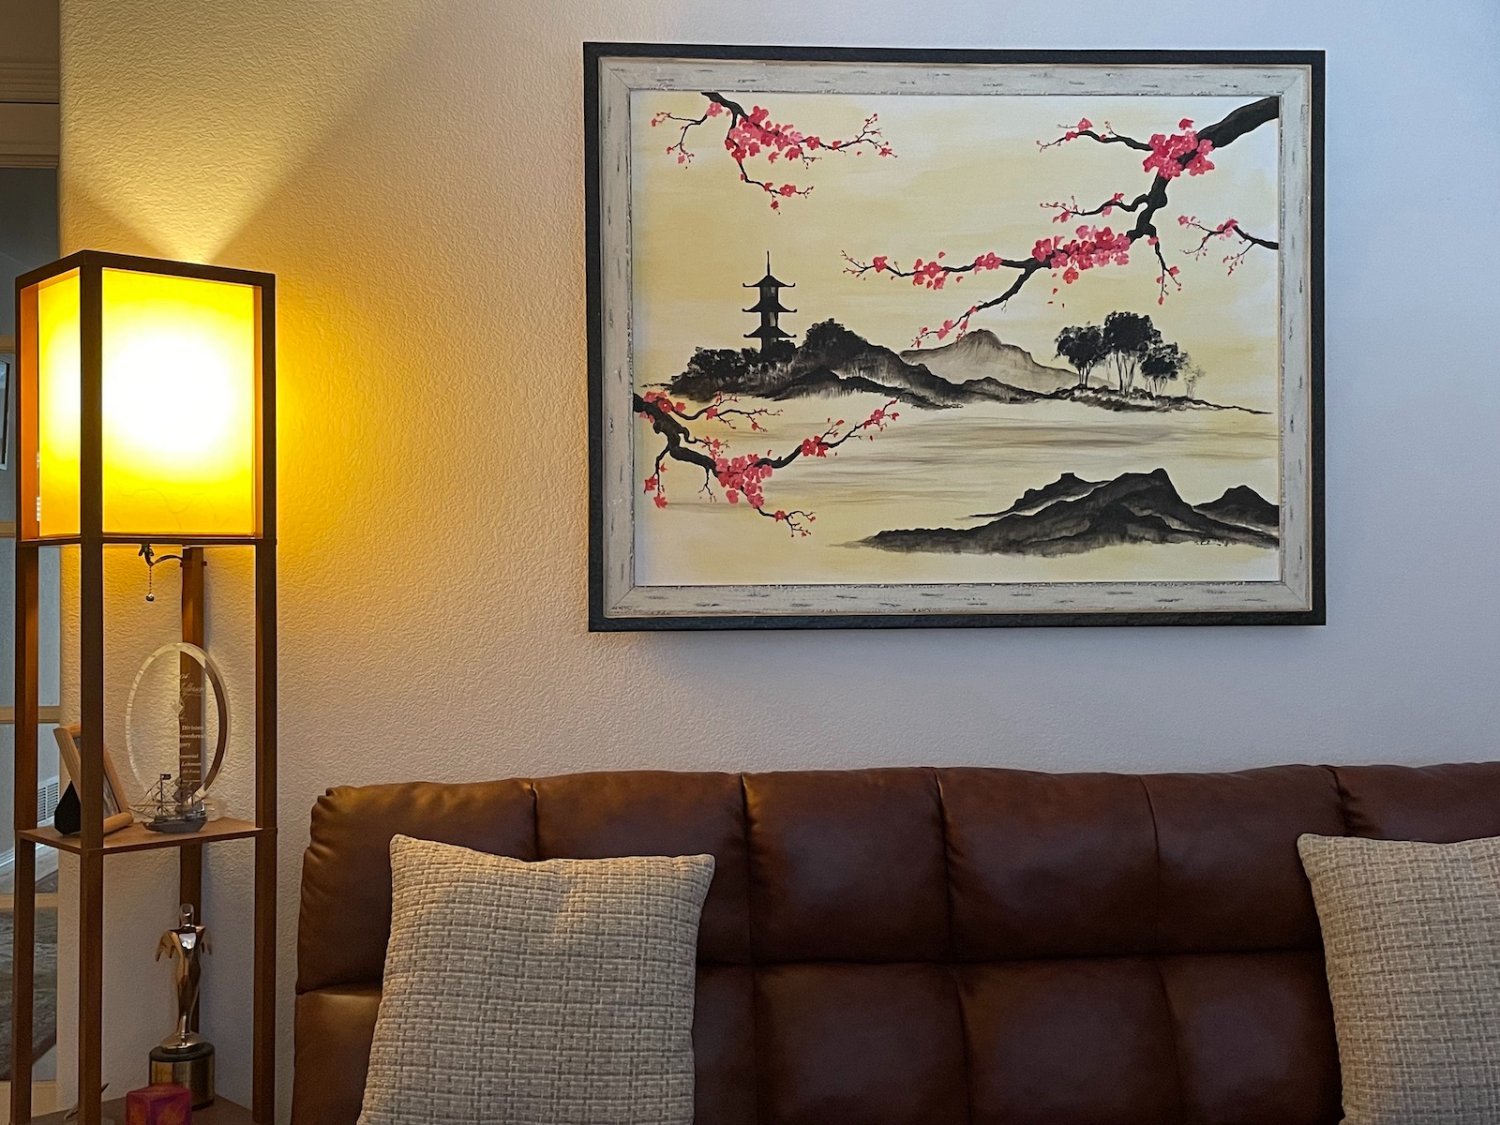
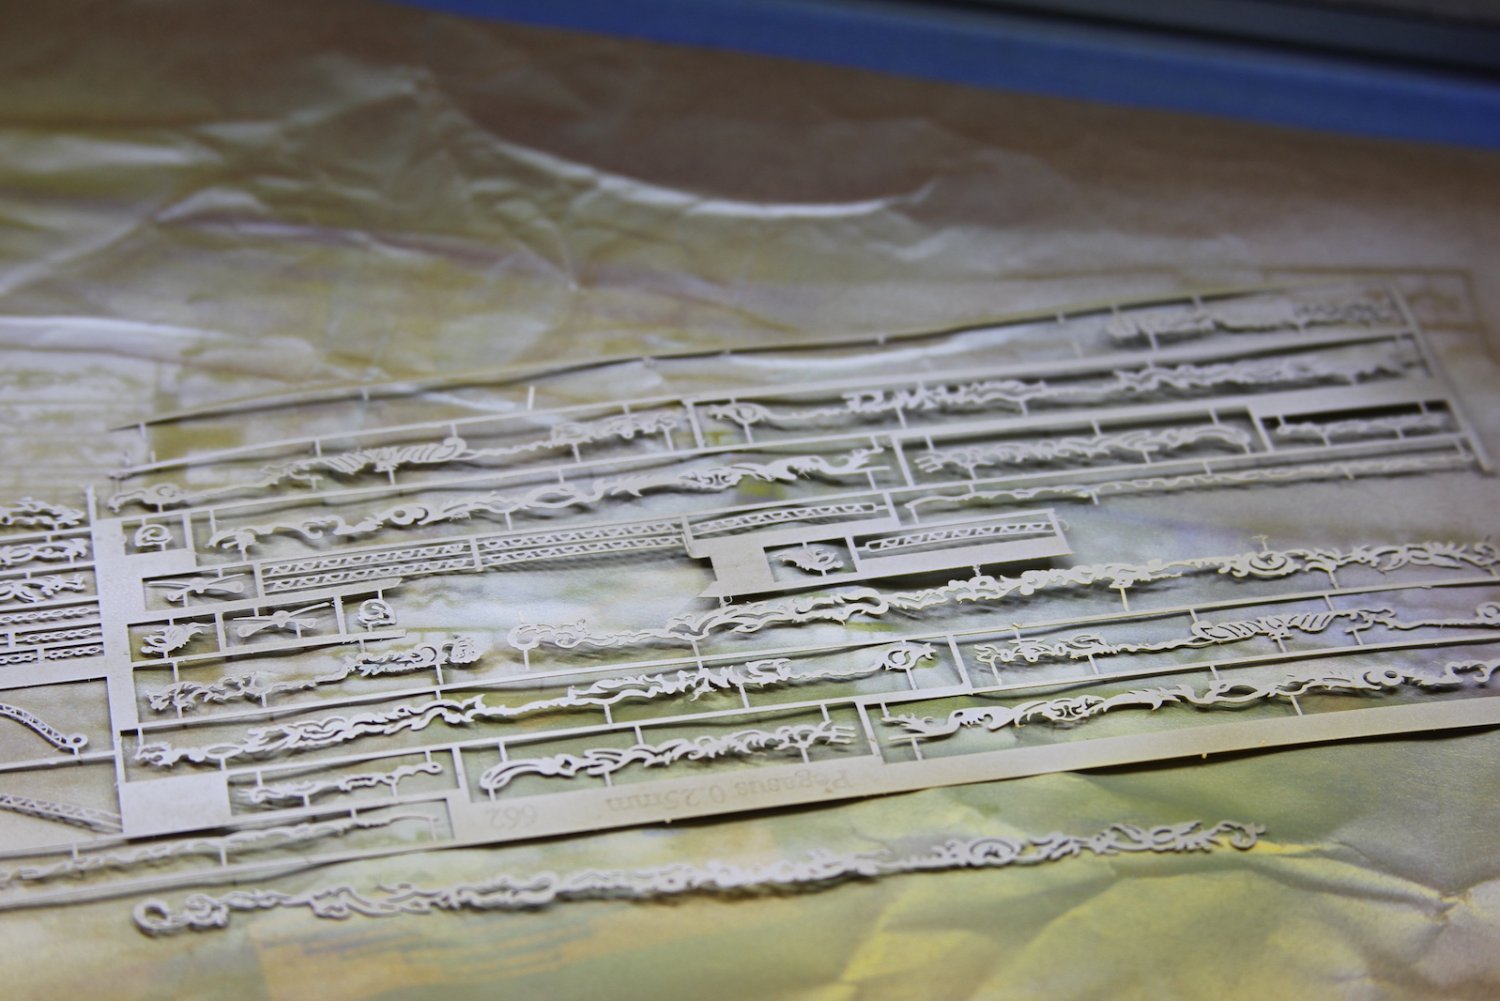
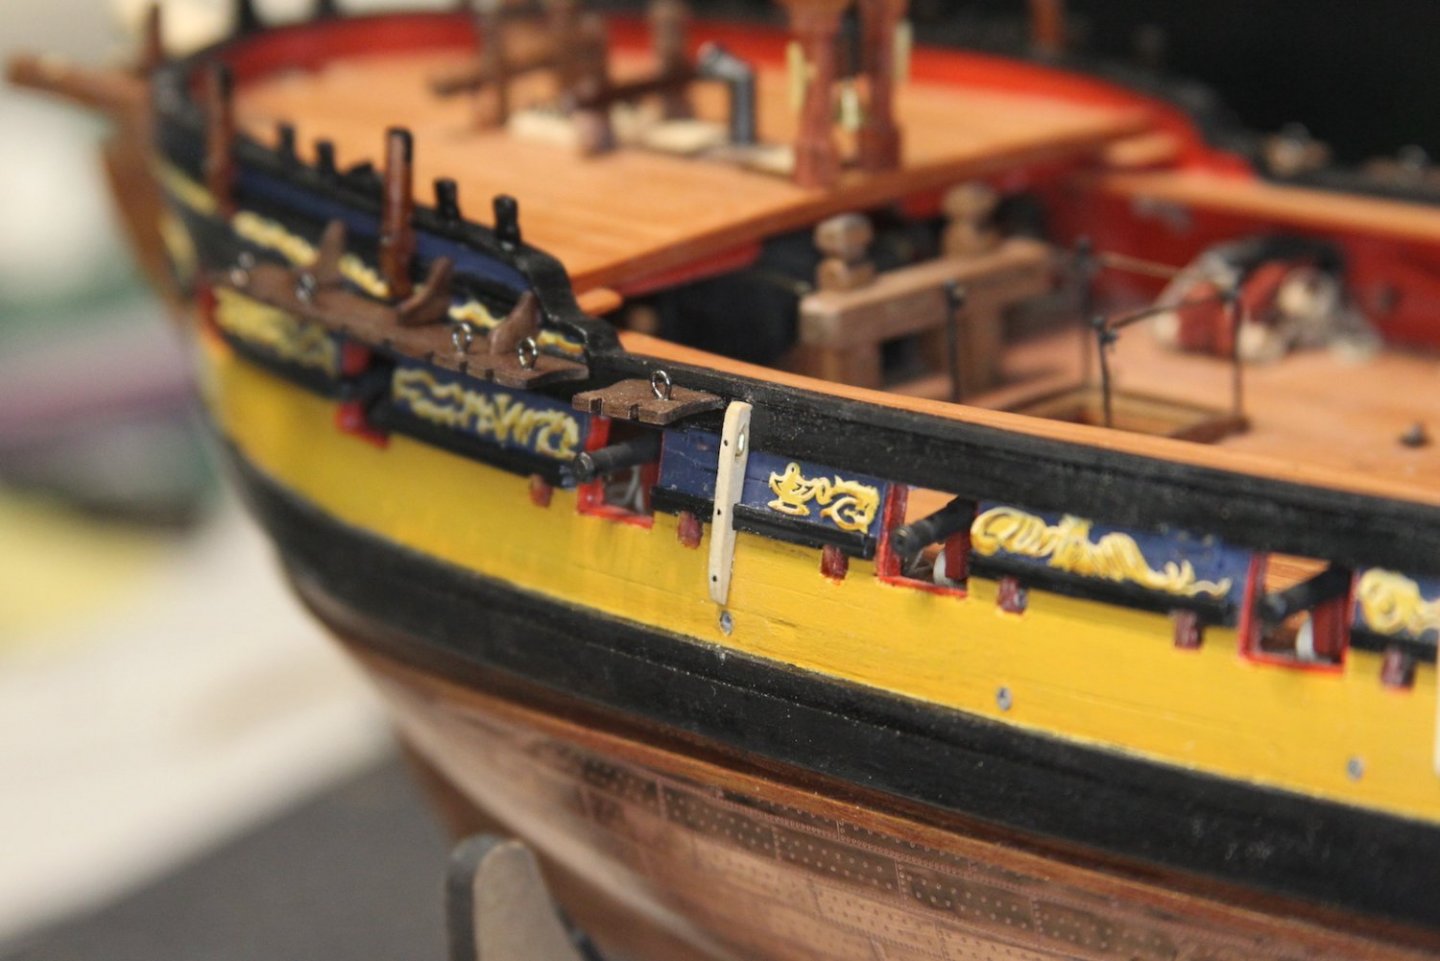
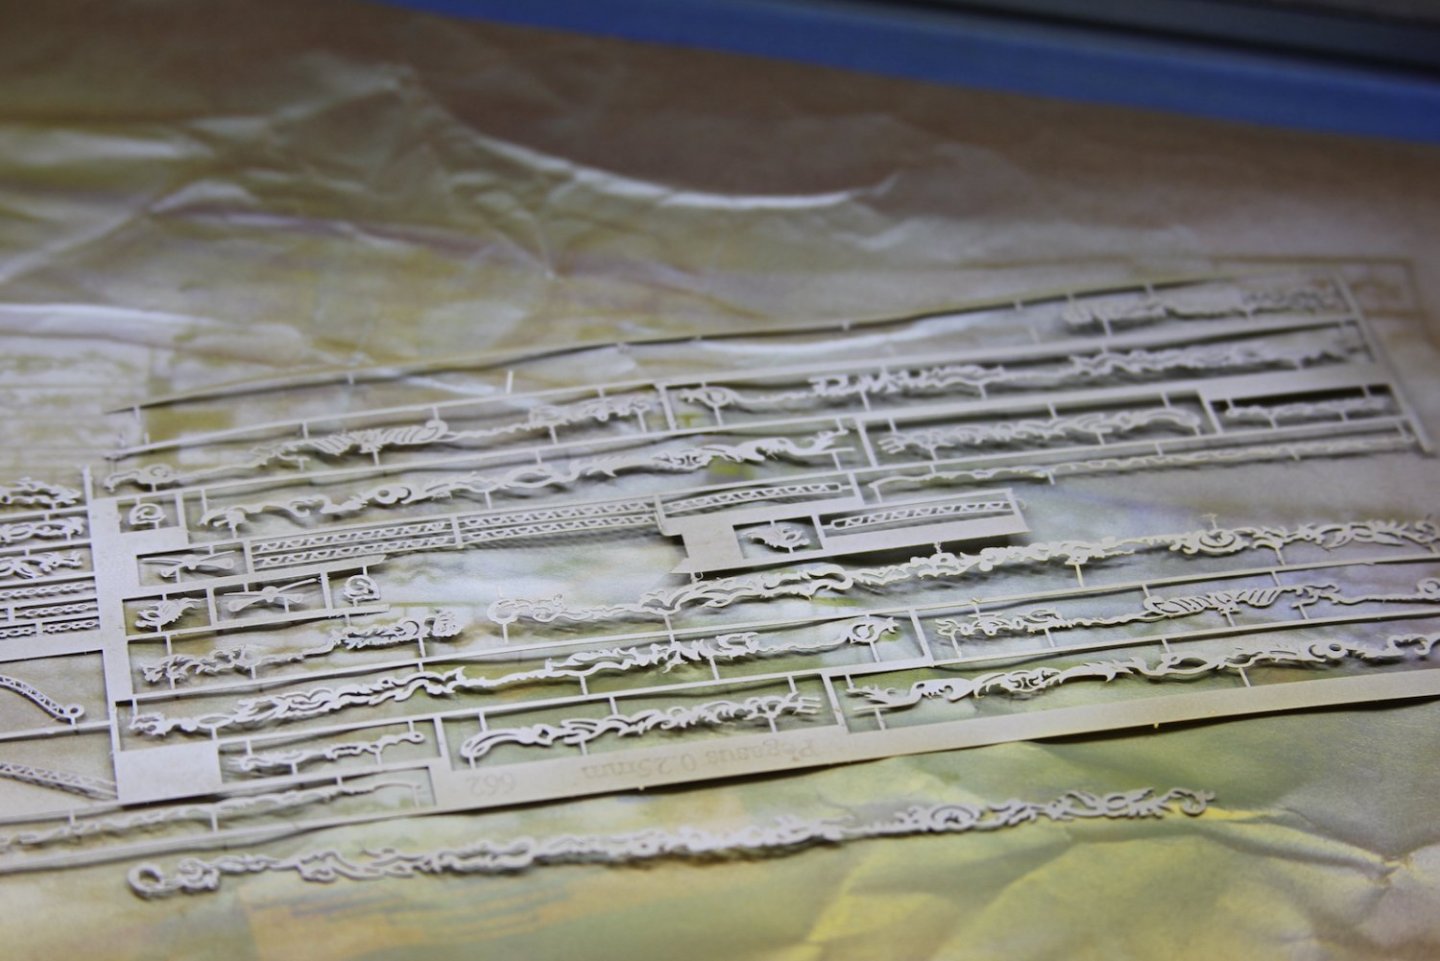
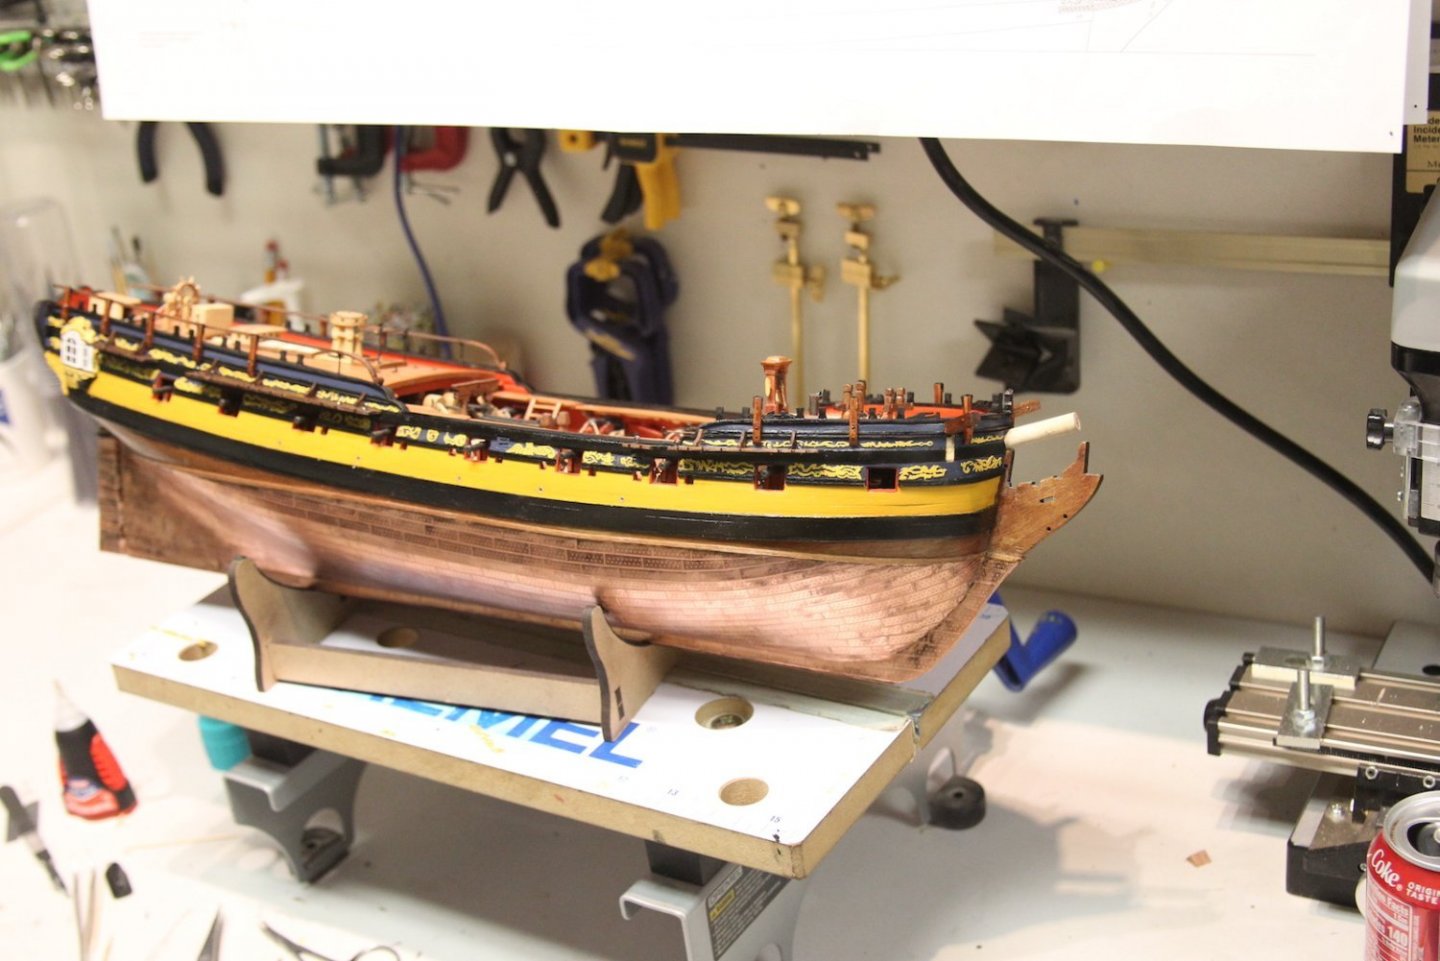
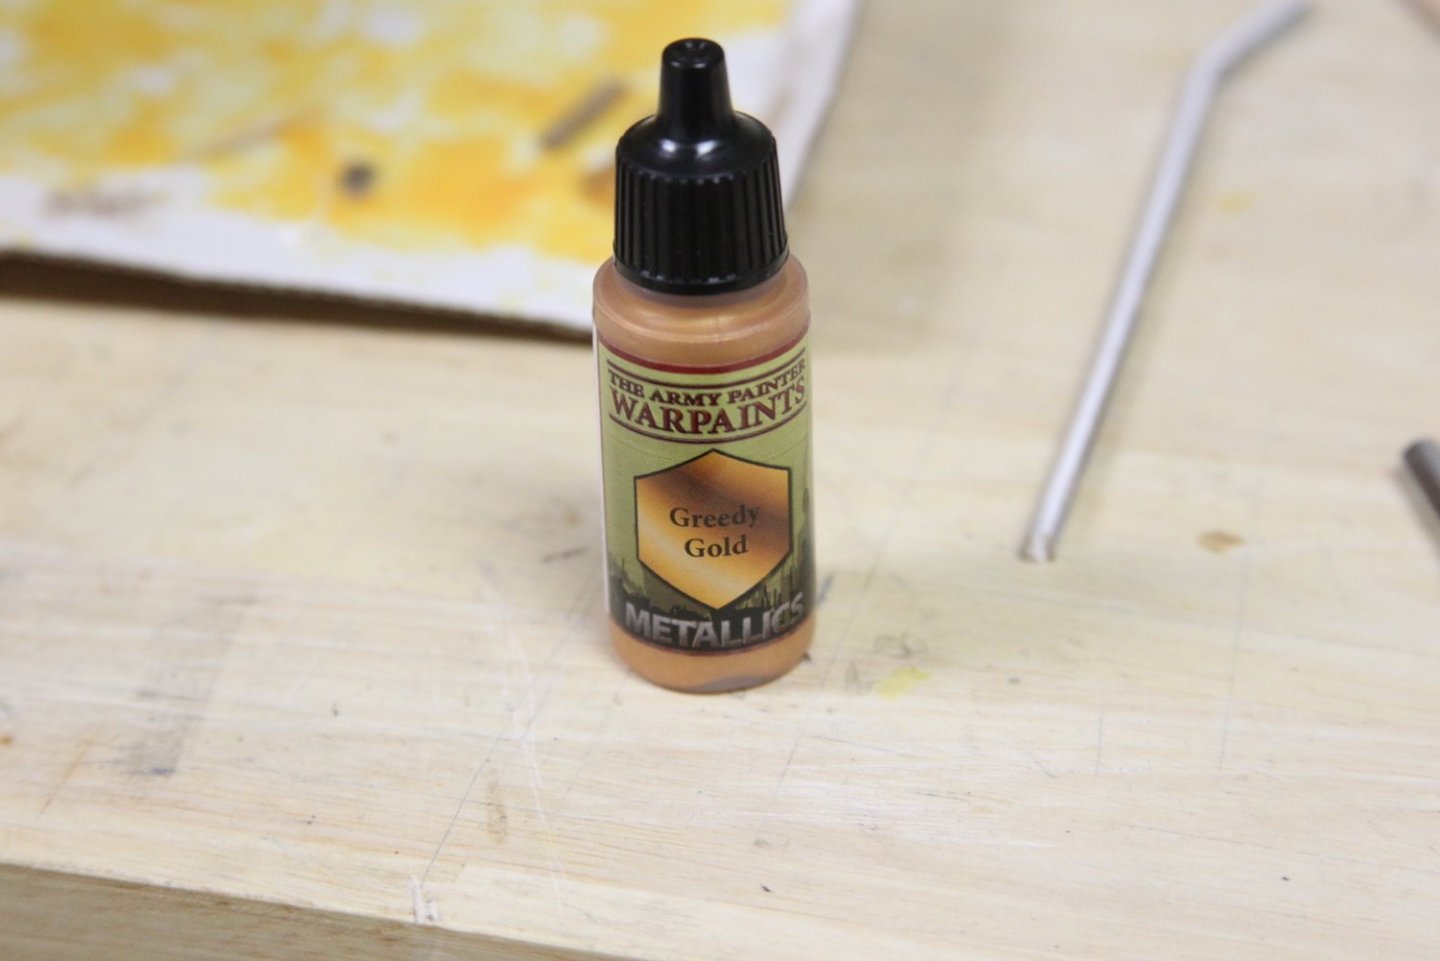
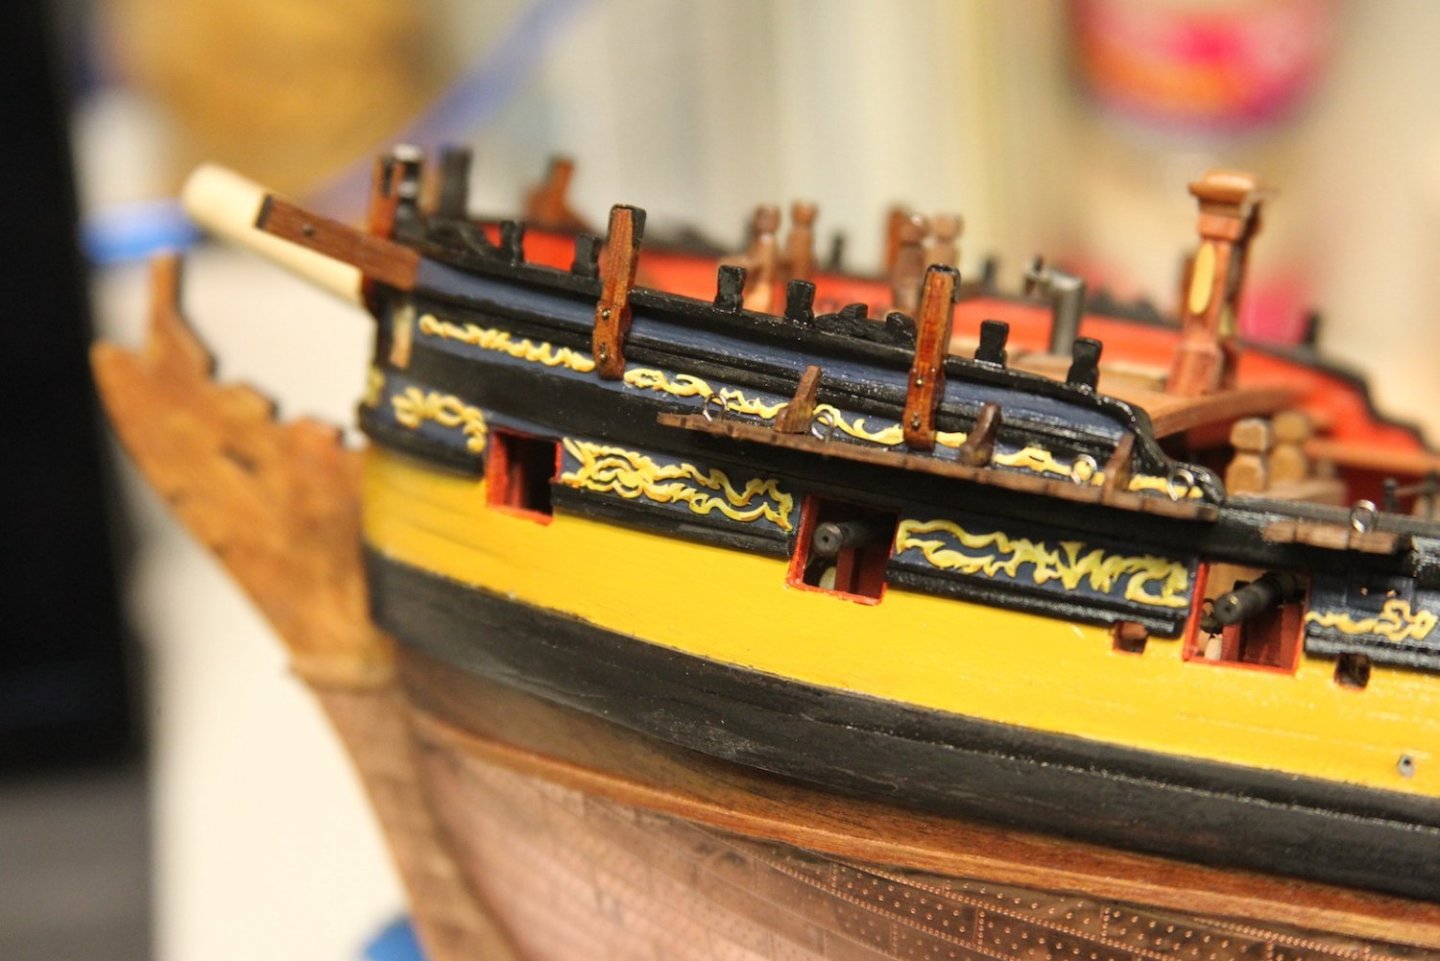
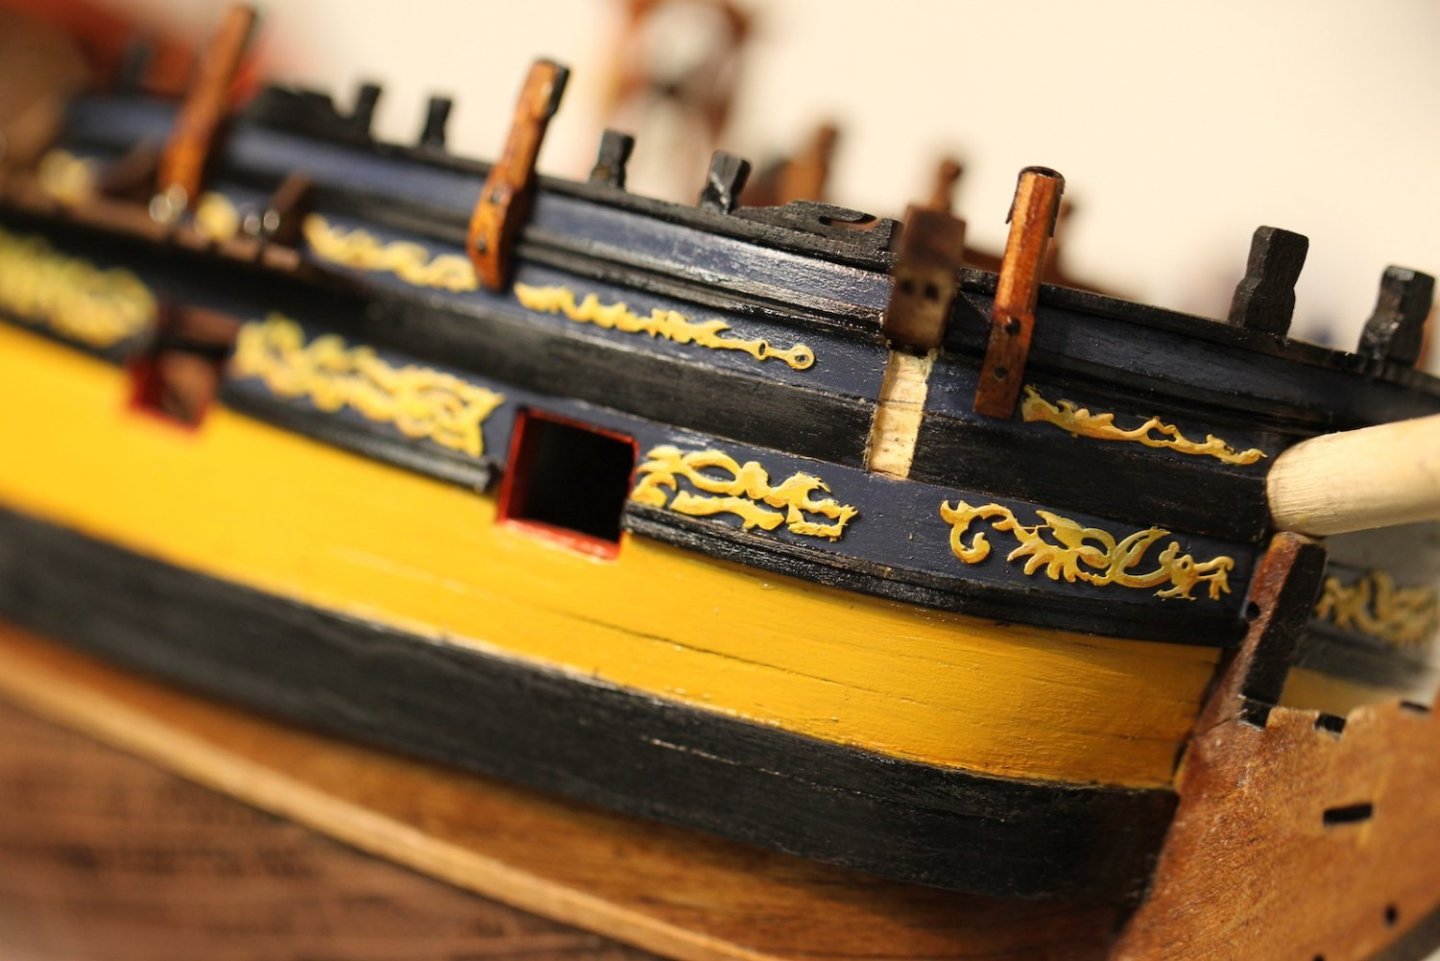
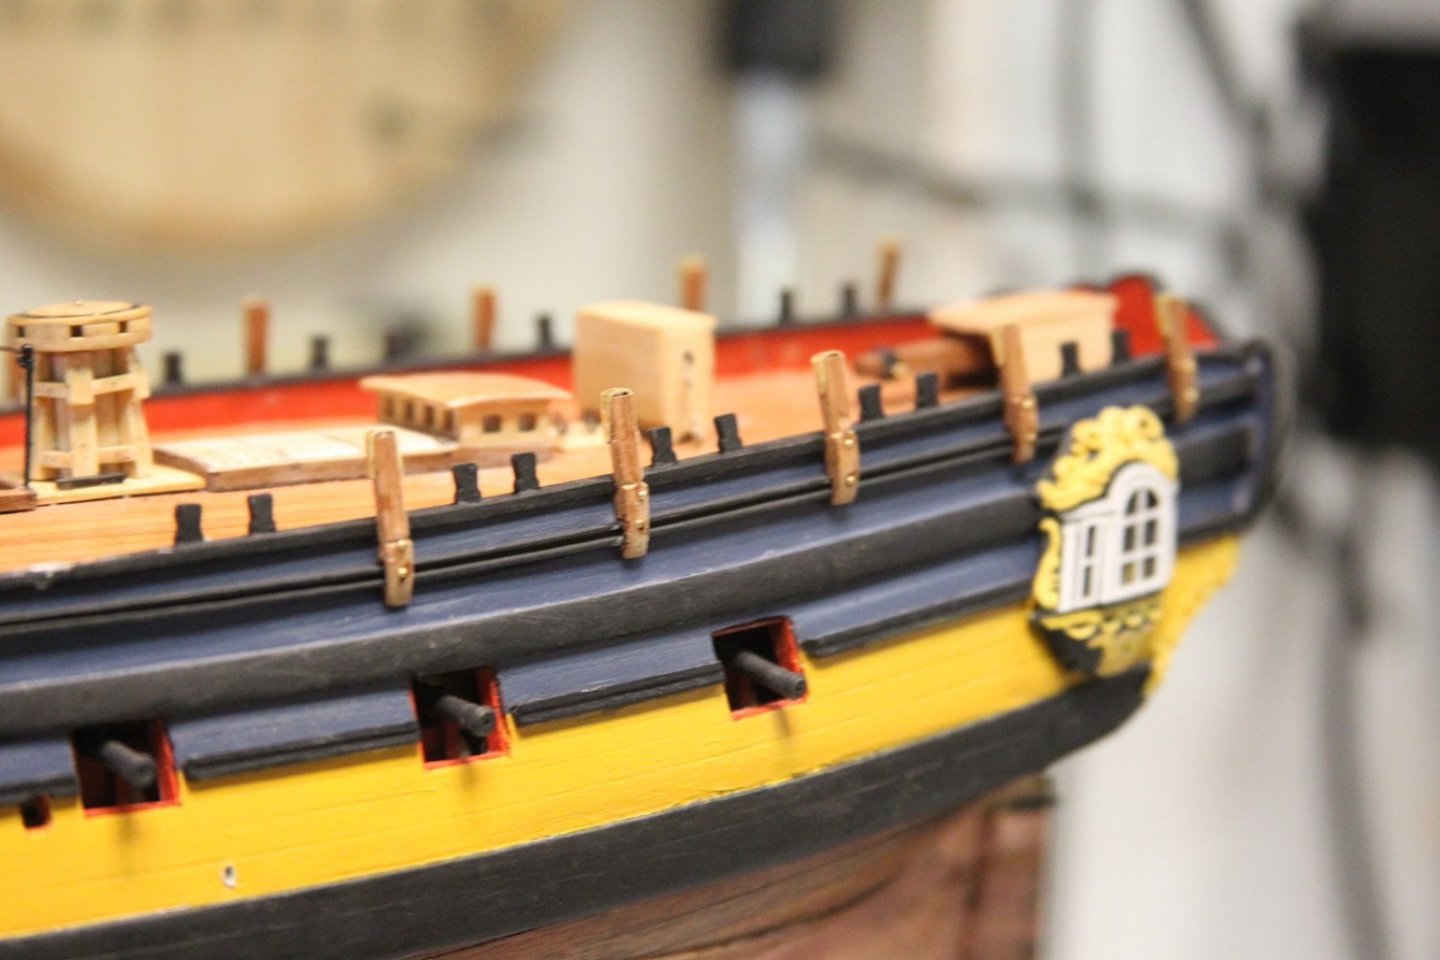
So this is the time where I actually DID look far enough ahead - the frieze work. I knew along the way that I done a number of things that would directly affect how I applied the kit's photo etched decorations. I did debate heavily whether or not I should just paint them on. Fun fact - I actually dabble a bit with painting; here's a piece I did for my home office: That said - I'm actually not that great at THIS kind of painting, so I decided to keep the PE stuff. Anyway - a bit of a tangent. Along with adding knees to the channels, I also used a wider sheer strake that blends into the hull at the fore of the ship. This in particular then changed the placement of the drift rails, etc. Finally my drift (and other) rails and decorations are a differing size than the kit. To get the PE stuff to look moderately accurate, I painted a couple coats of air brushed white then yellow ochre to give it some depth. Then I followed the basic pattern of what decorations went where. There was NO space above the gun ports, so those bits were eliminated altogether and I filled in the rest leaving gaps for the fenders, steps, and chesstrees. To finish off the frieze work, I went through (as advertised in some of the tips & tutorials here) and touched up the bottoms with this cool gold color from Army Painter, then the top highlights with a much lightened mixture of white and yellow ochre. Topped off with a coat of WOP that's brushed on then brushed off (which is why it looks a little glossy).


- 419 replies
-
- 7
-
-
- Victory Models
- Pegasus
- (and 2 more)
-
Geez, that is some touchy stuff. Well done. What I like most about the last shot, is the opportunity to once again admire your forward hull planking. 😍
- 857 replies
-
- 4
-

-
-
- Sphinx
- Vanguard Models
- (and 1 more)
-
I fully intended to use Chris' precut channels from the kit - they look nice and obviously are shaped and sized properly. I even stained them so that would blend a little better without being painted and added the pins and rings. Then... I over sanded one trying to get it to fit snuggly against my larger-than-the-kit main wales. Totally screwed up the shape and made it too thin. So, I had to make all the channels from scratch so they'd match. Silver lining is that I got to make them out of walnut, which better matches my other pieces and overall scheme. Another important addition are the knees to mount the channels - also out of walnut. Rather than mount the channels first and then the drift rails like a normal person - I did the drift rails first, so I went through and notched them all out to fit the knees. I'll throw on a coat of tung oil to get the coloring to match the rails, and other fittings, then on to the decorations/frieze along the hull. I've had to wait on those because I've added a bunch of things that would be in the way of them. Also - my sheer strake is patterned after the FFM and quite a bit thicker than the kit version - which limits the area for the frieze. Much like the transom, I'll have to add the frieze in bits and pieces.


- 419 replies
-
- 9
-
-
- Victory Models
- Pegasus
- (and 2 more)
-
Half my life is re-do's. Just ask my first wife. 🙂
- 505 replies
-
- 10
-
-

-
- vanguard models
- Sphinx
- (and 1 more)
-
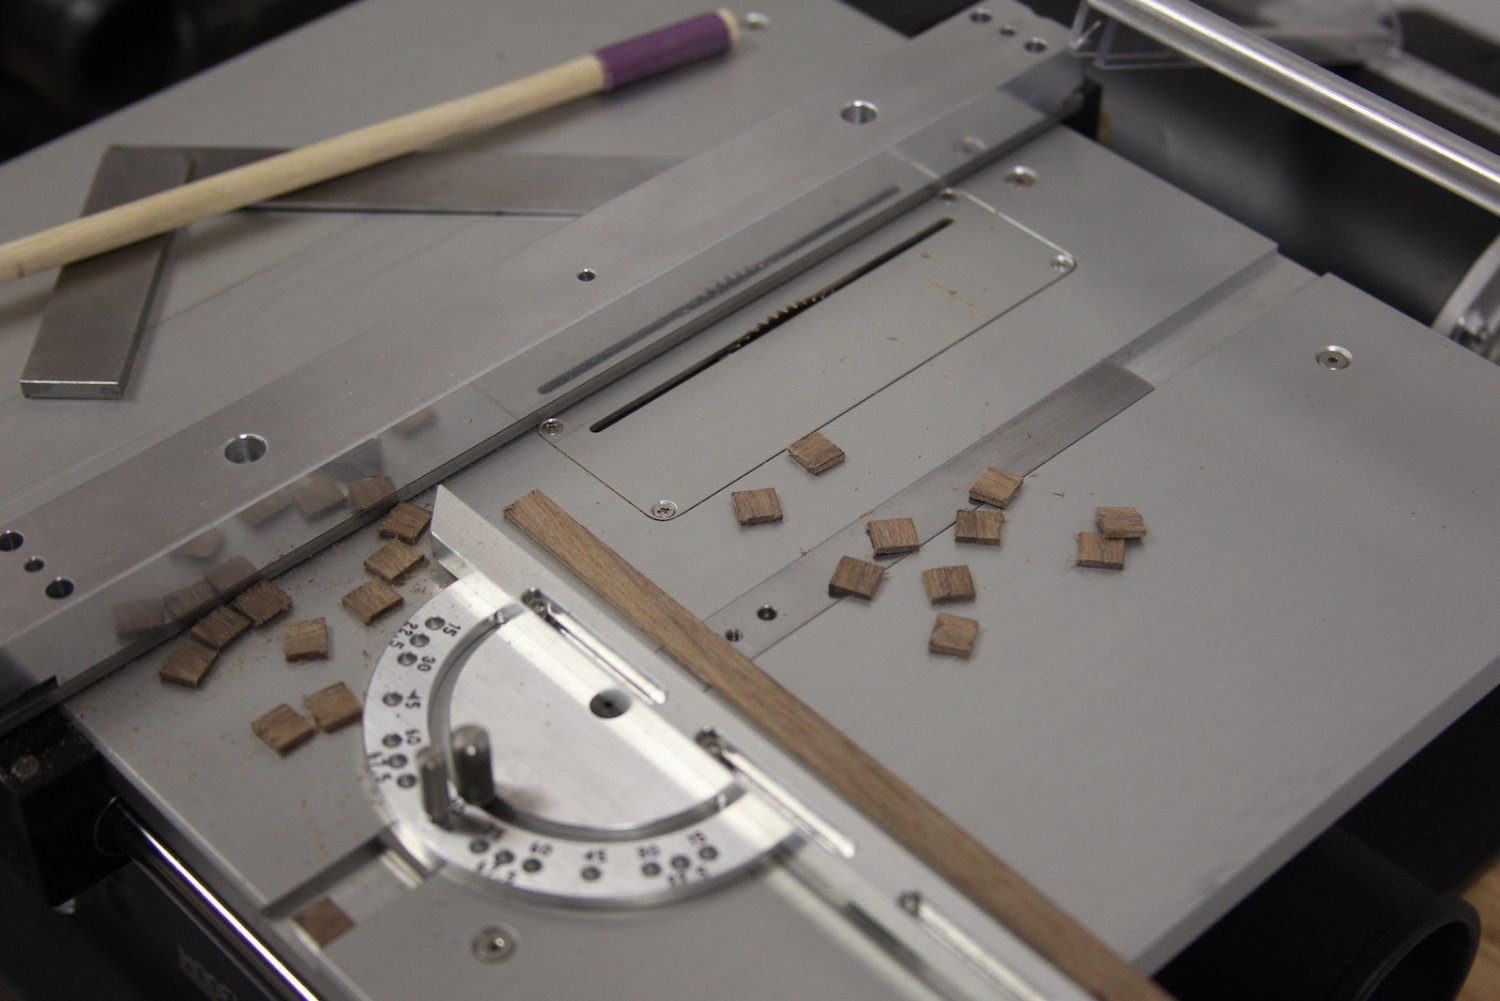
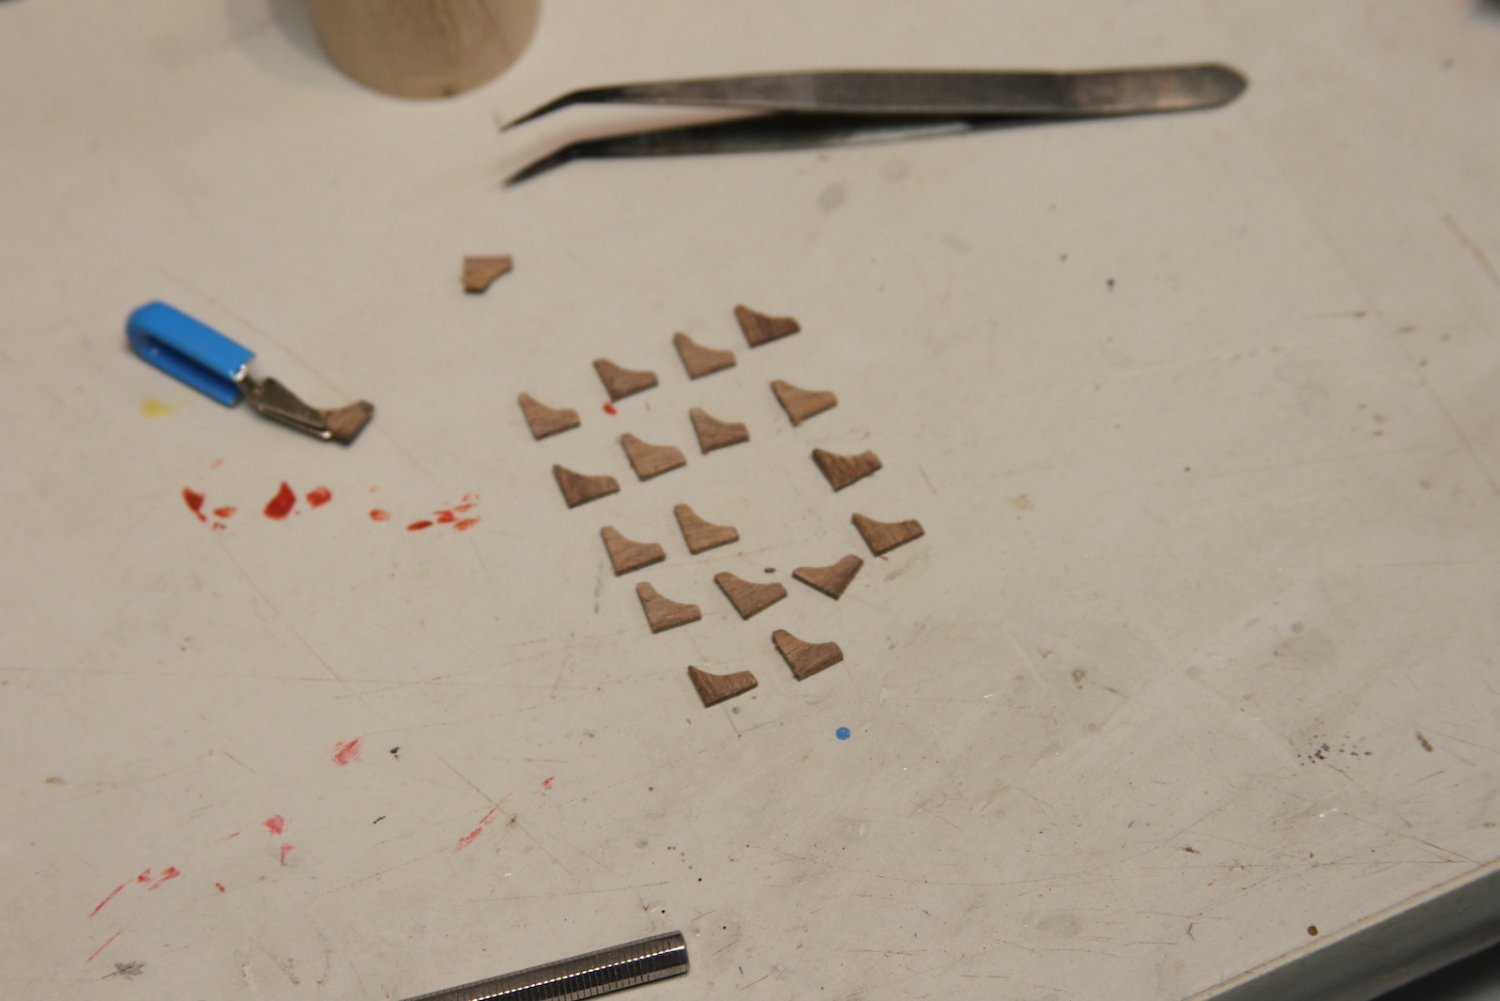
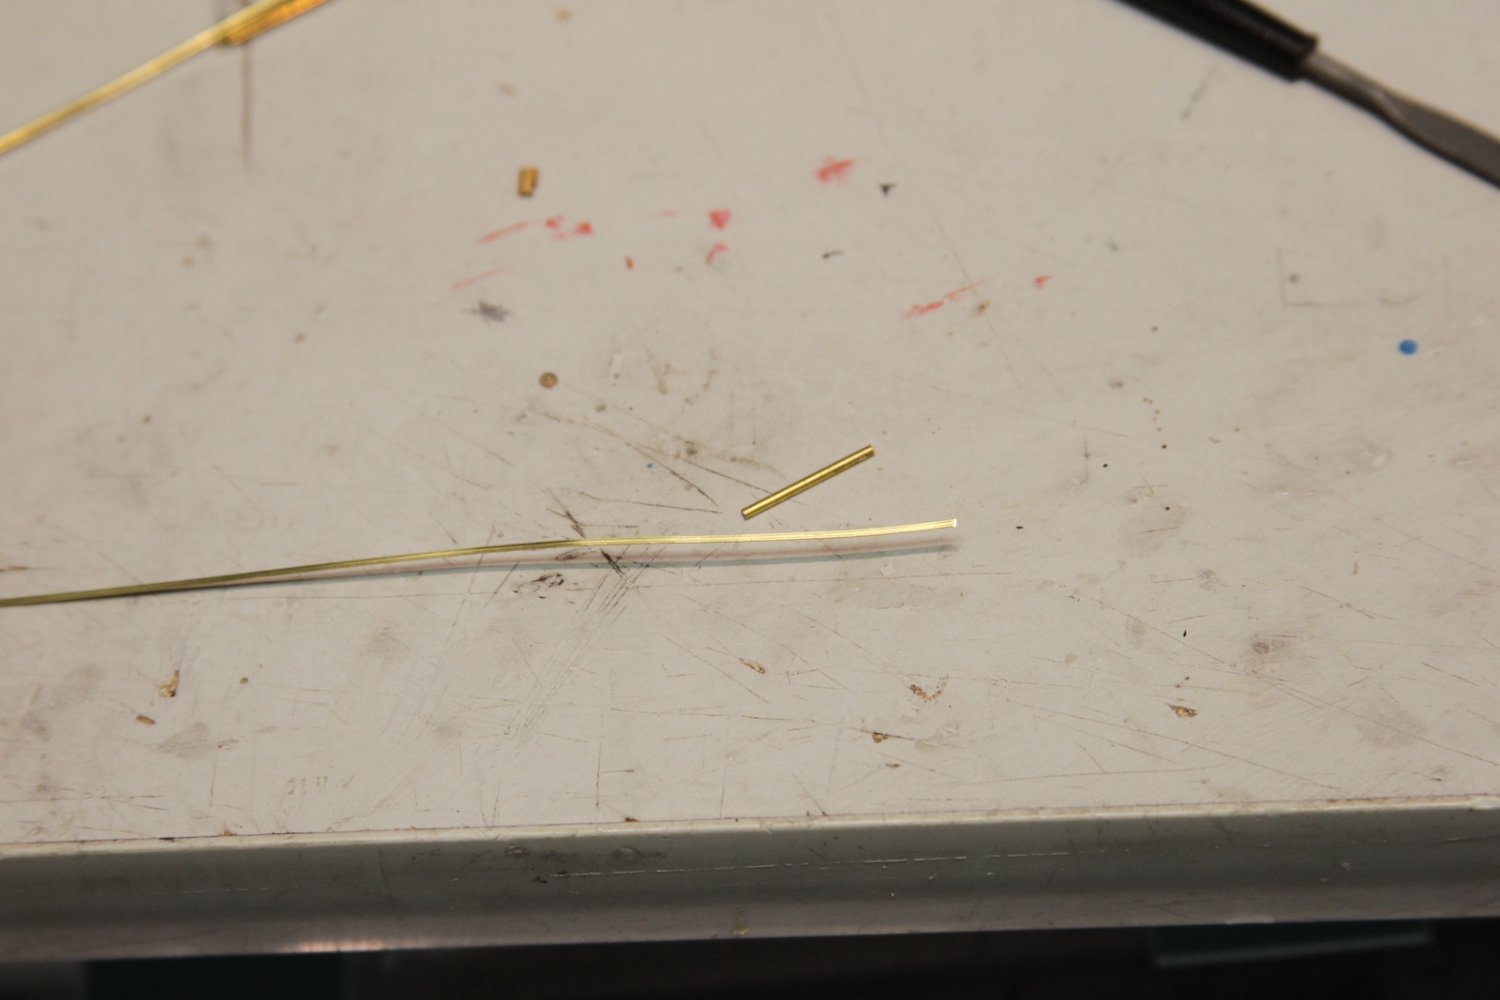
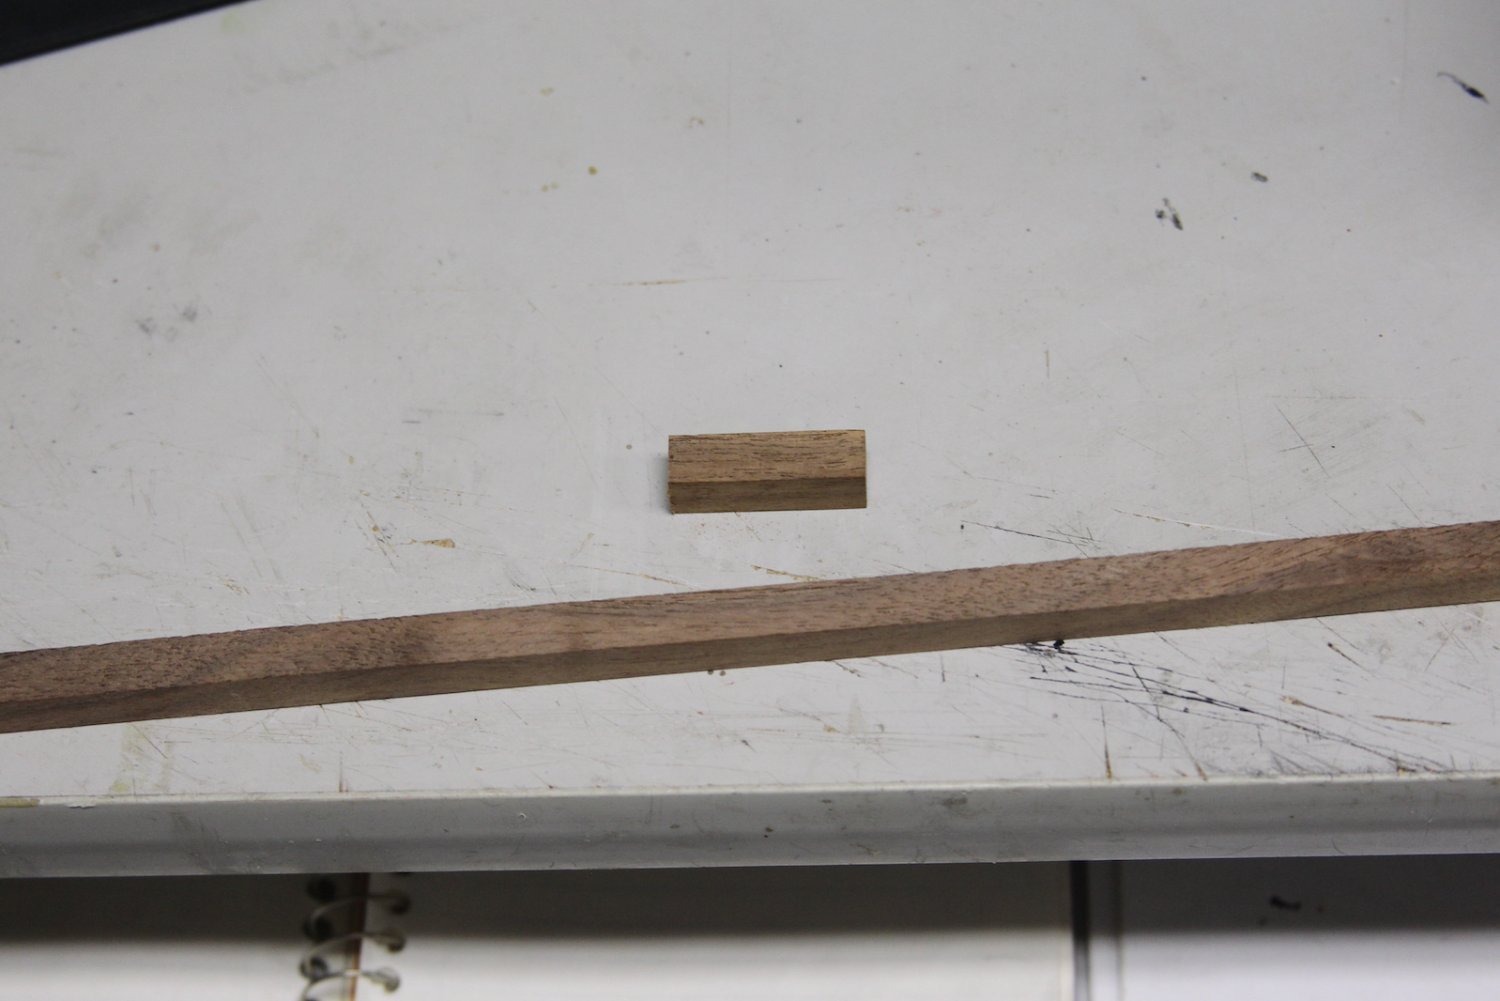
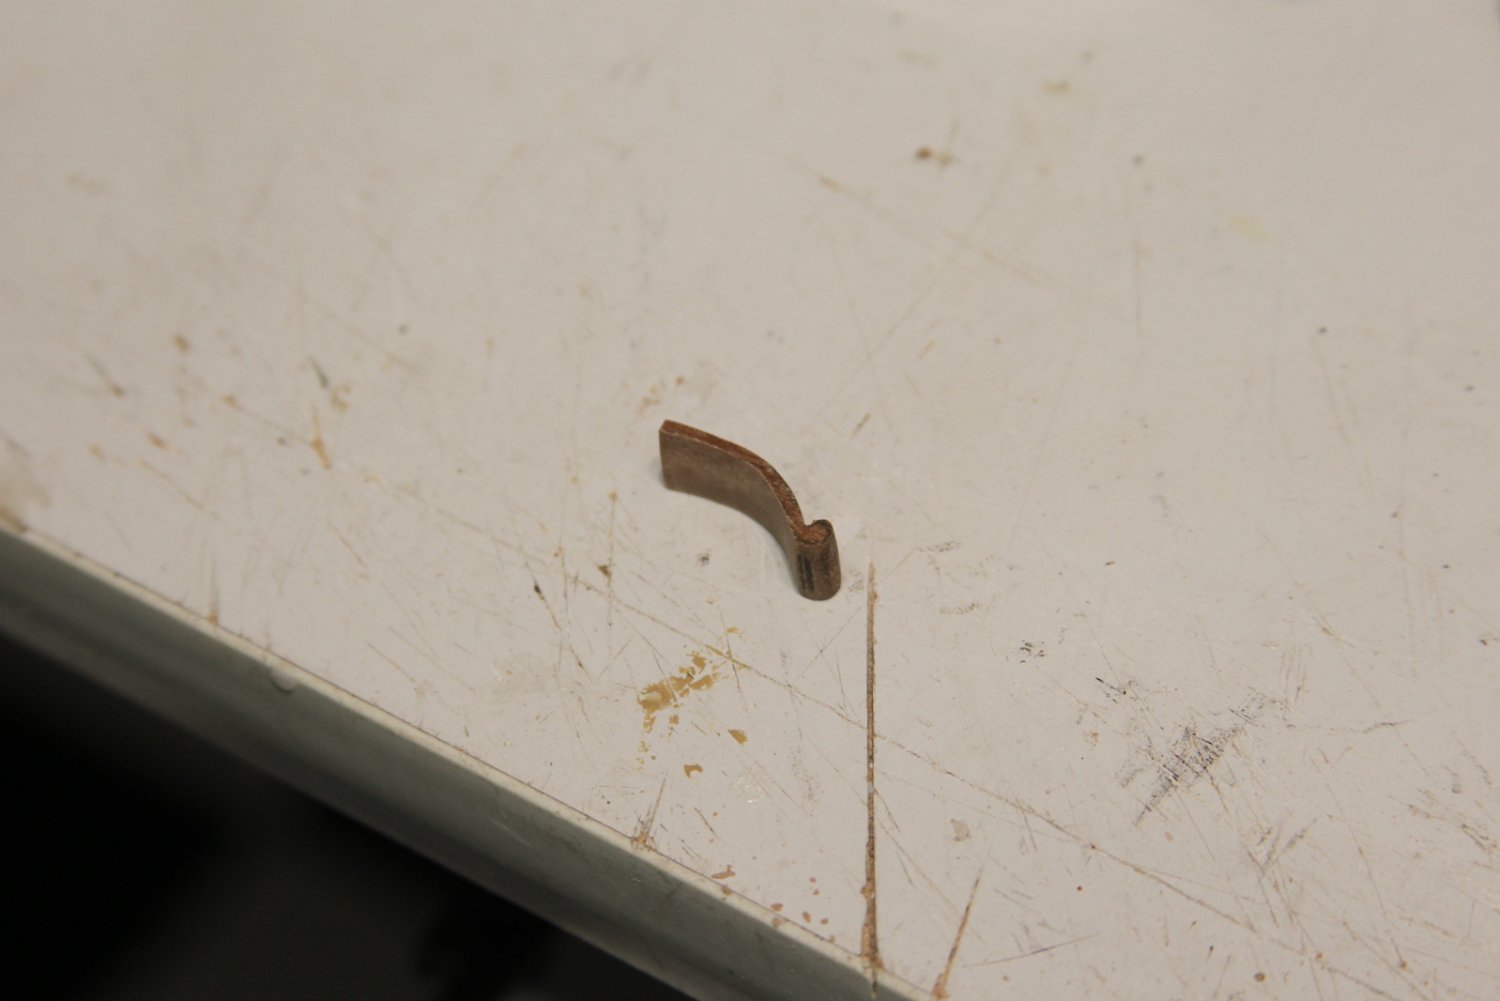
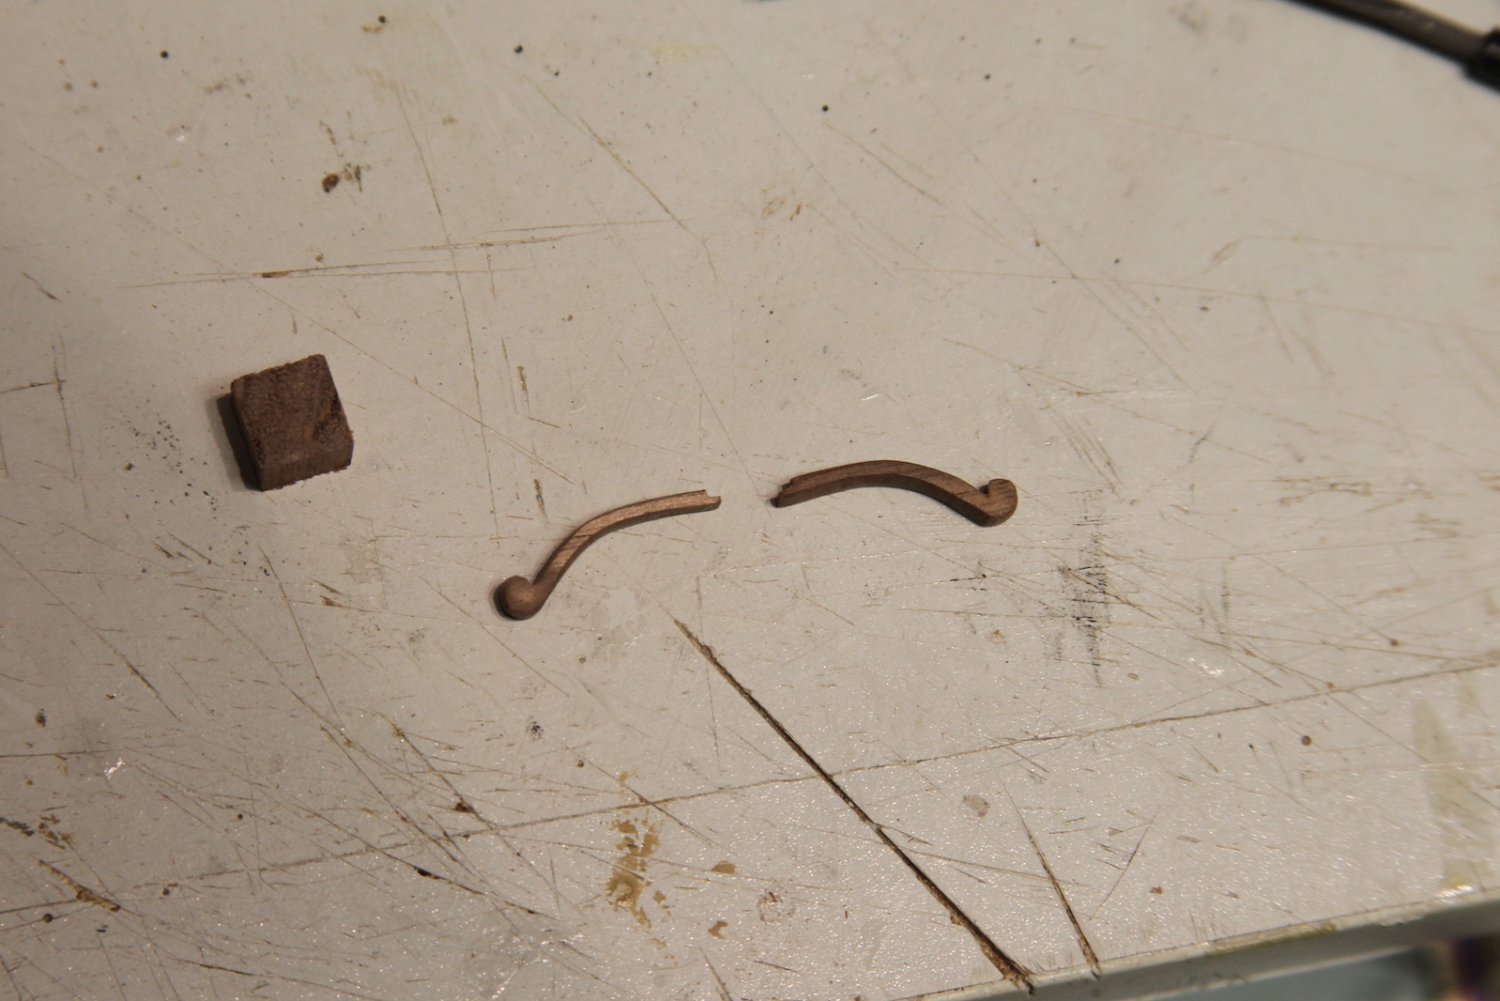
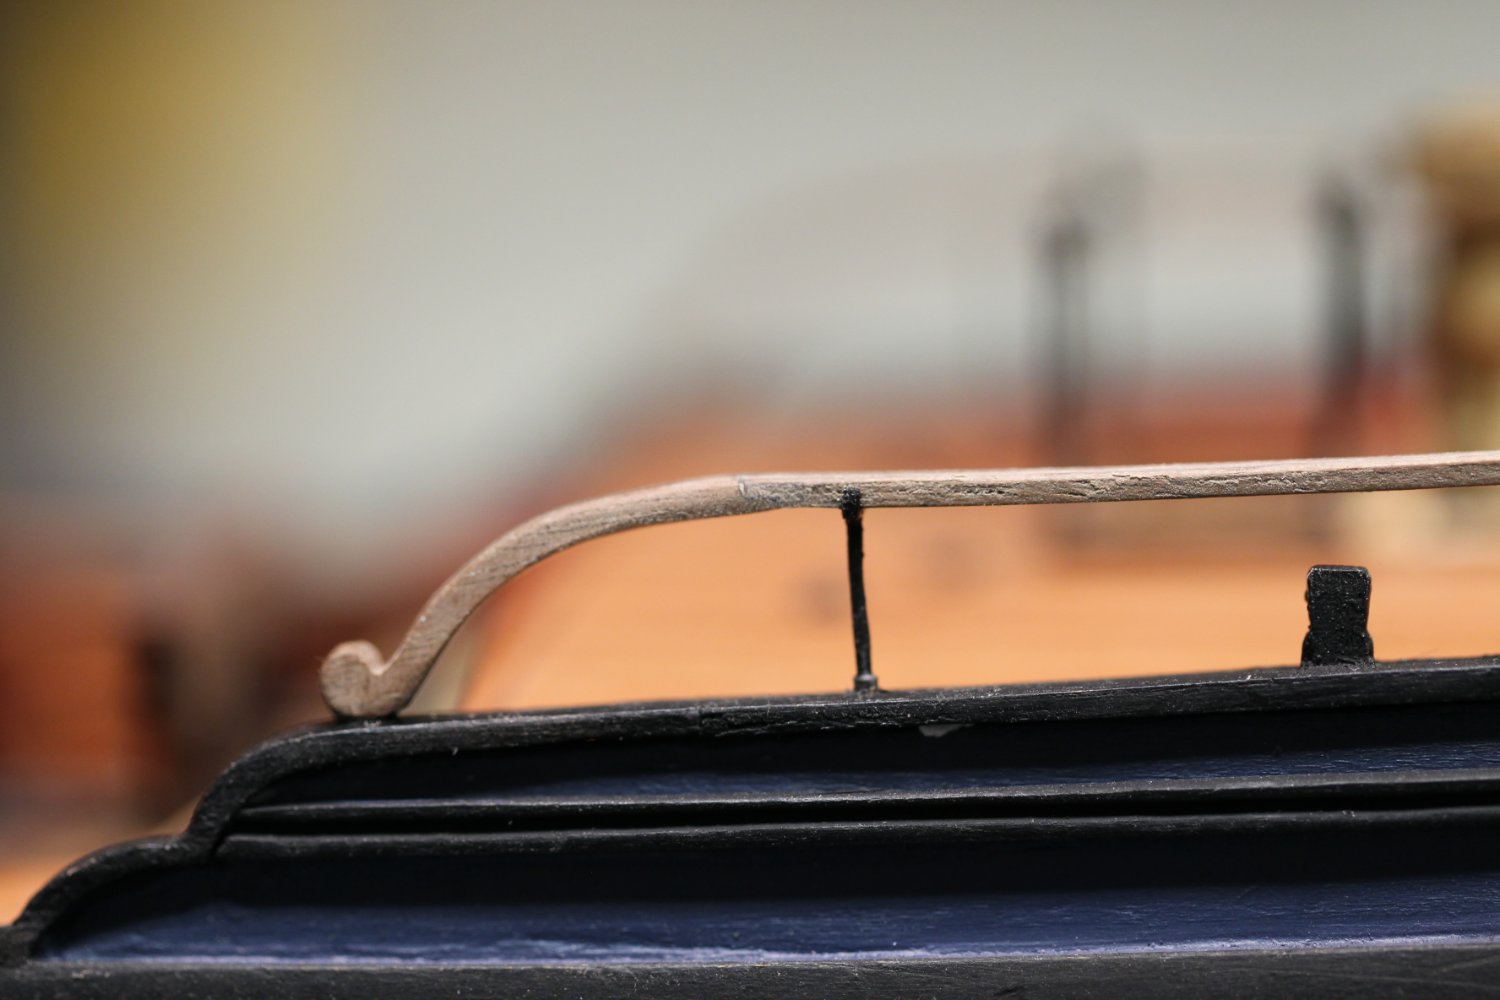
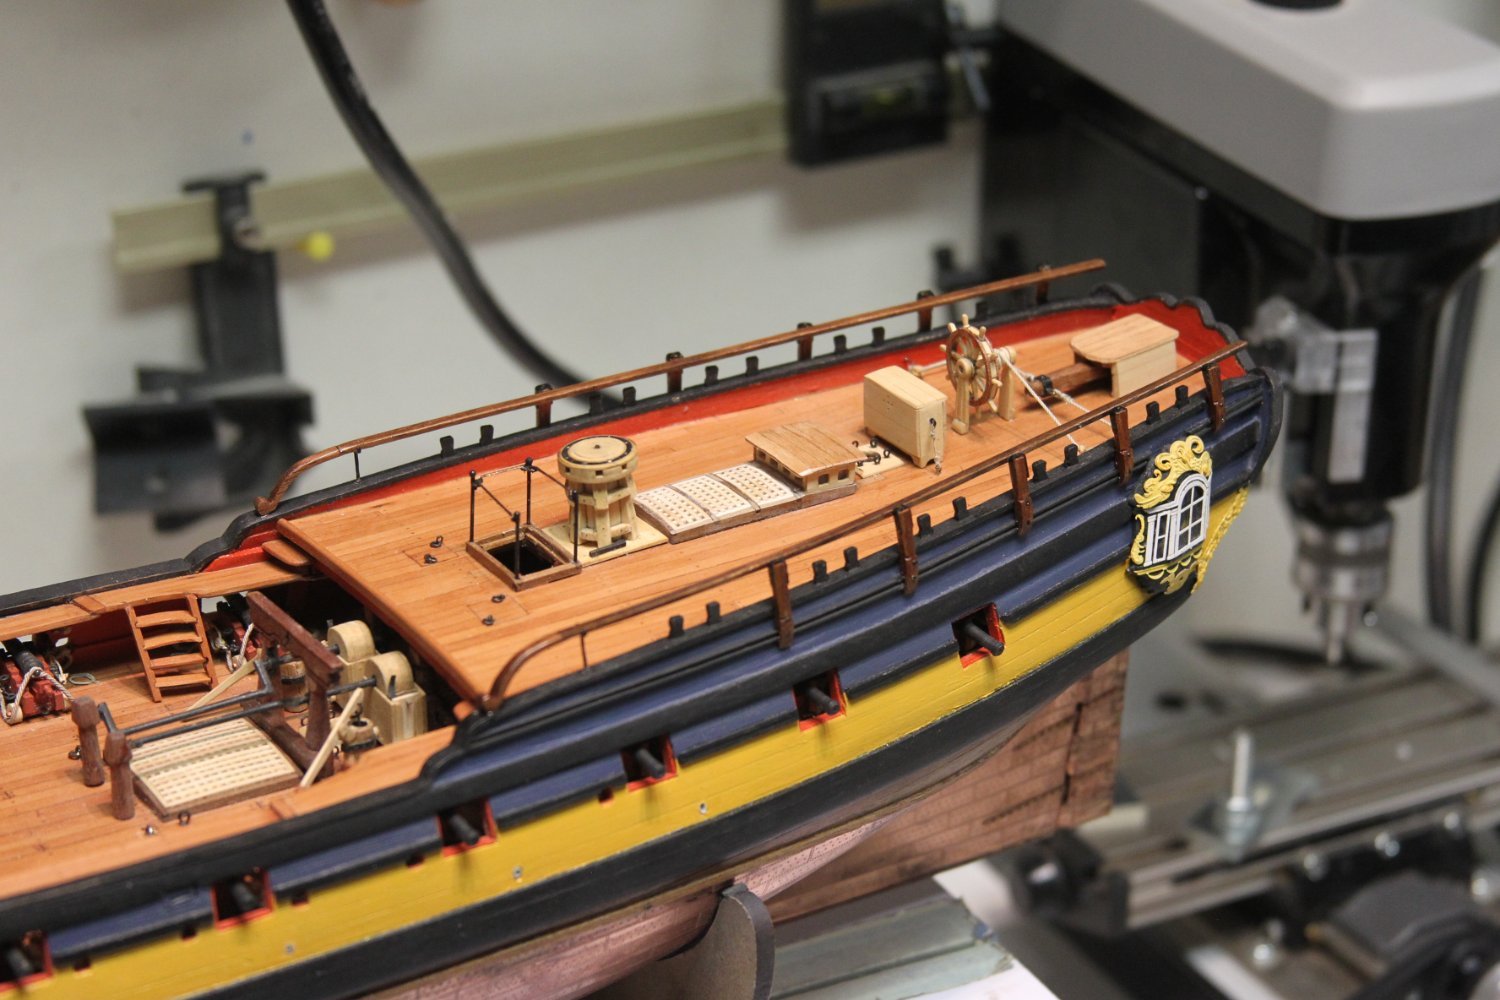
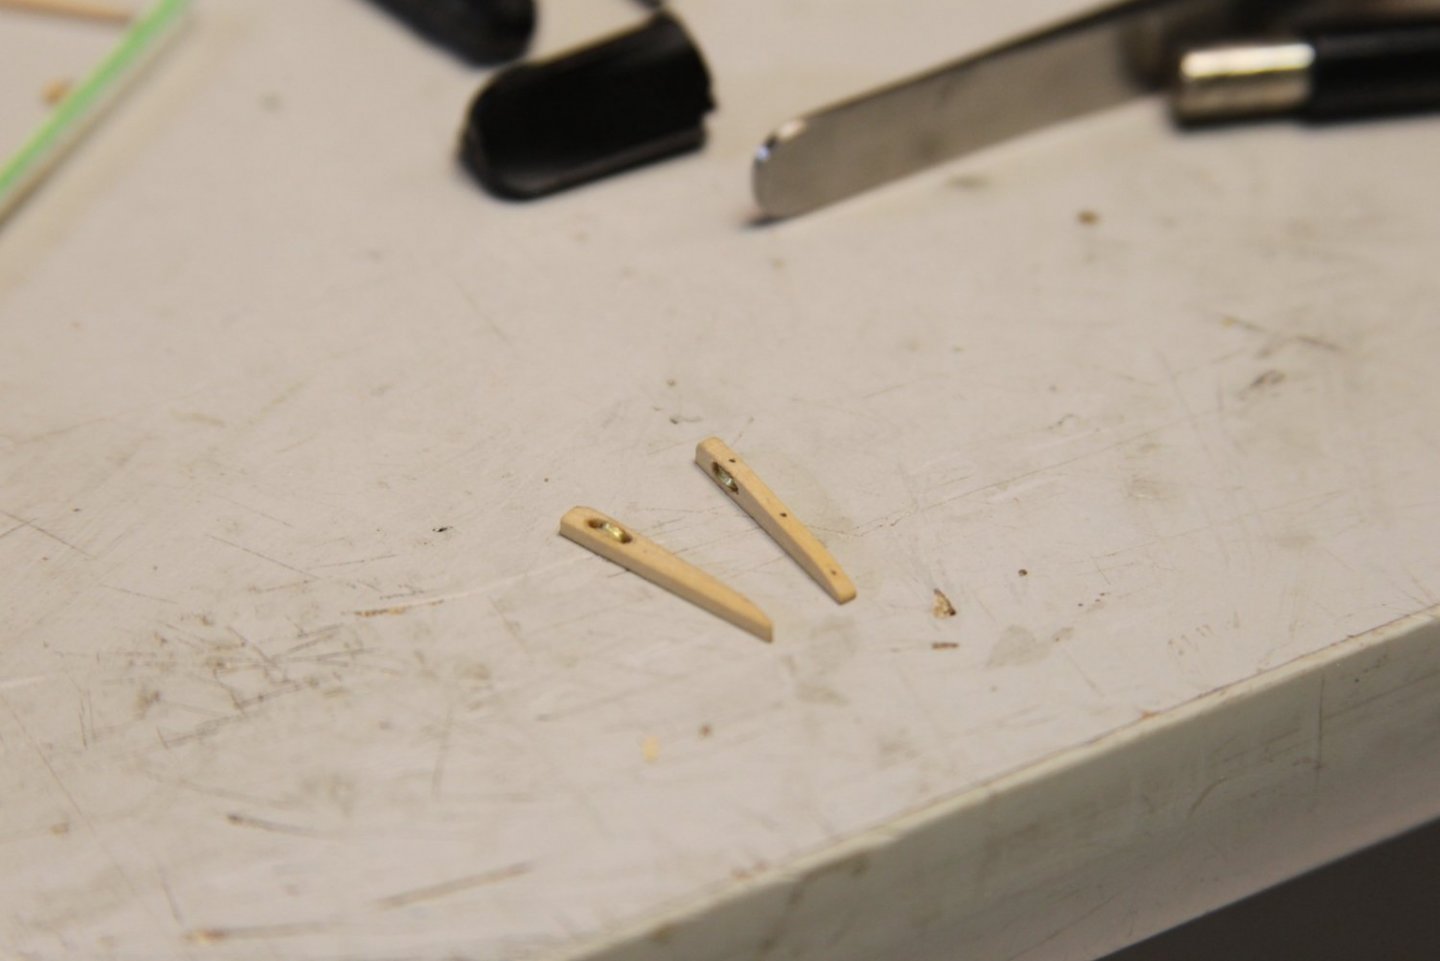
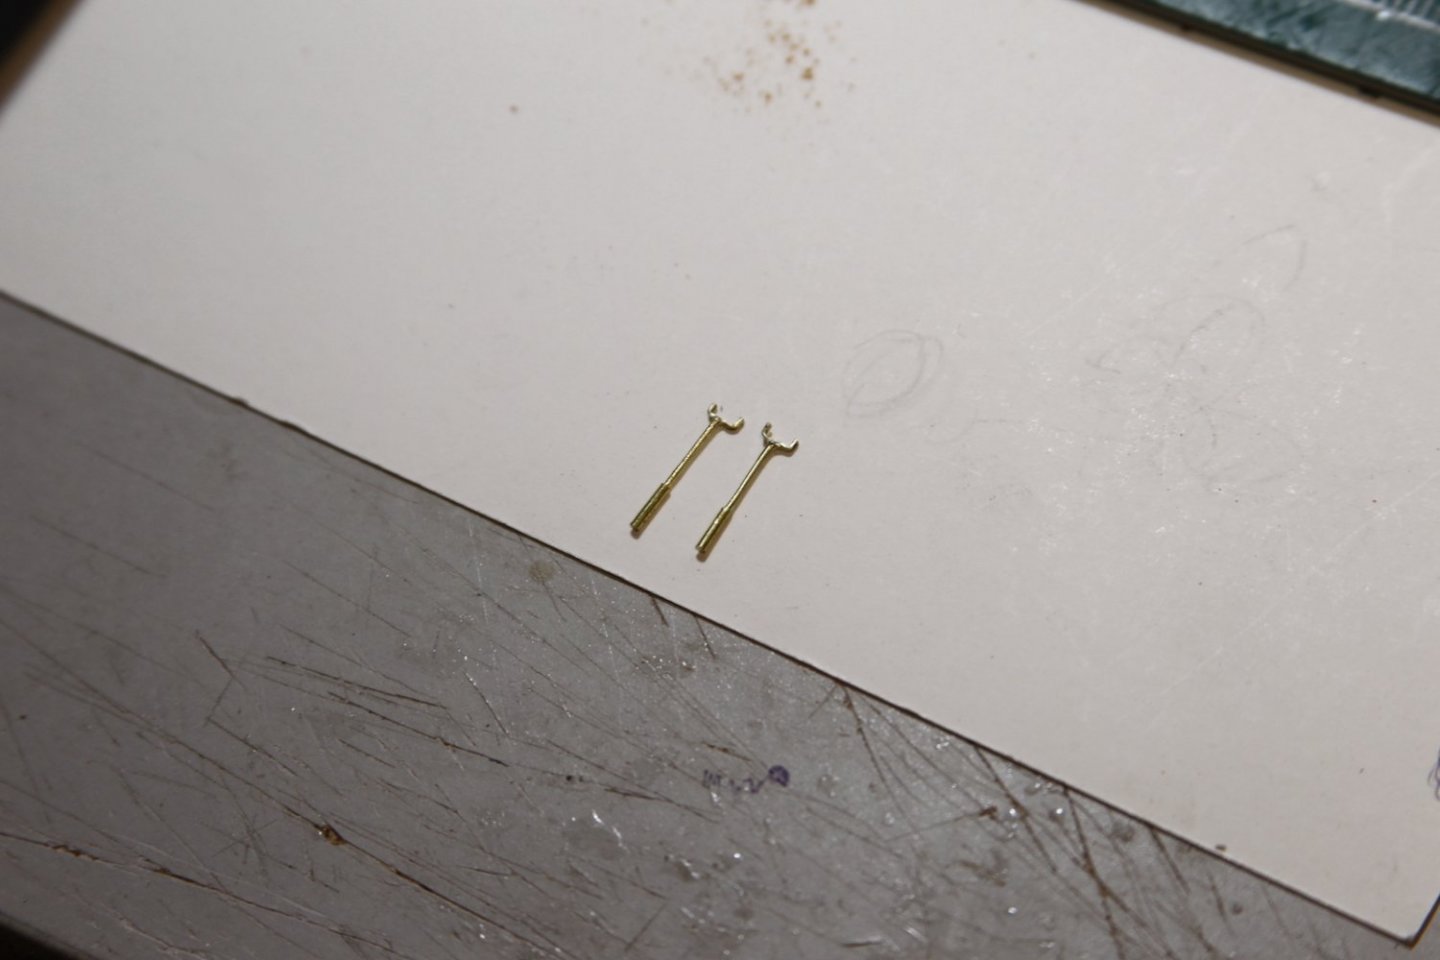
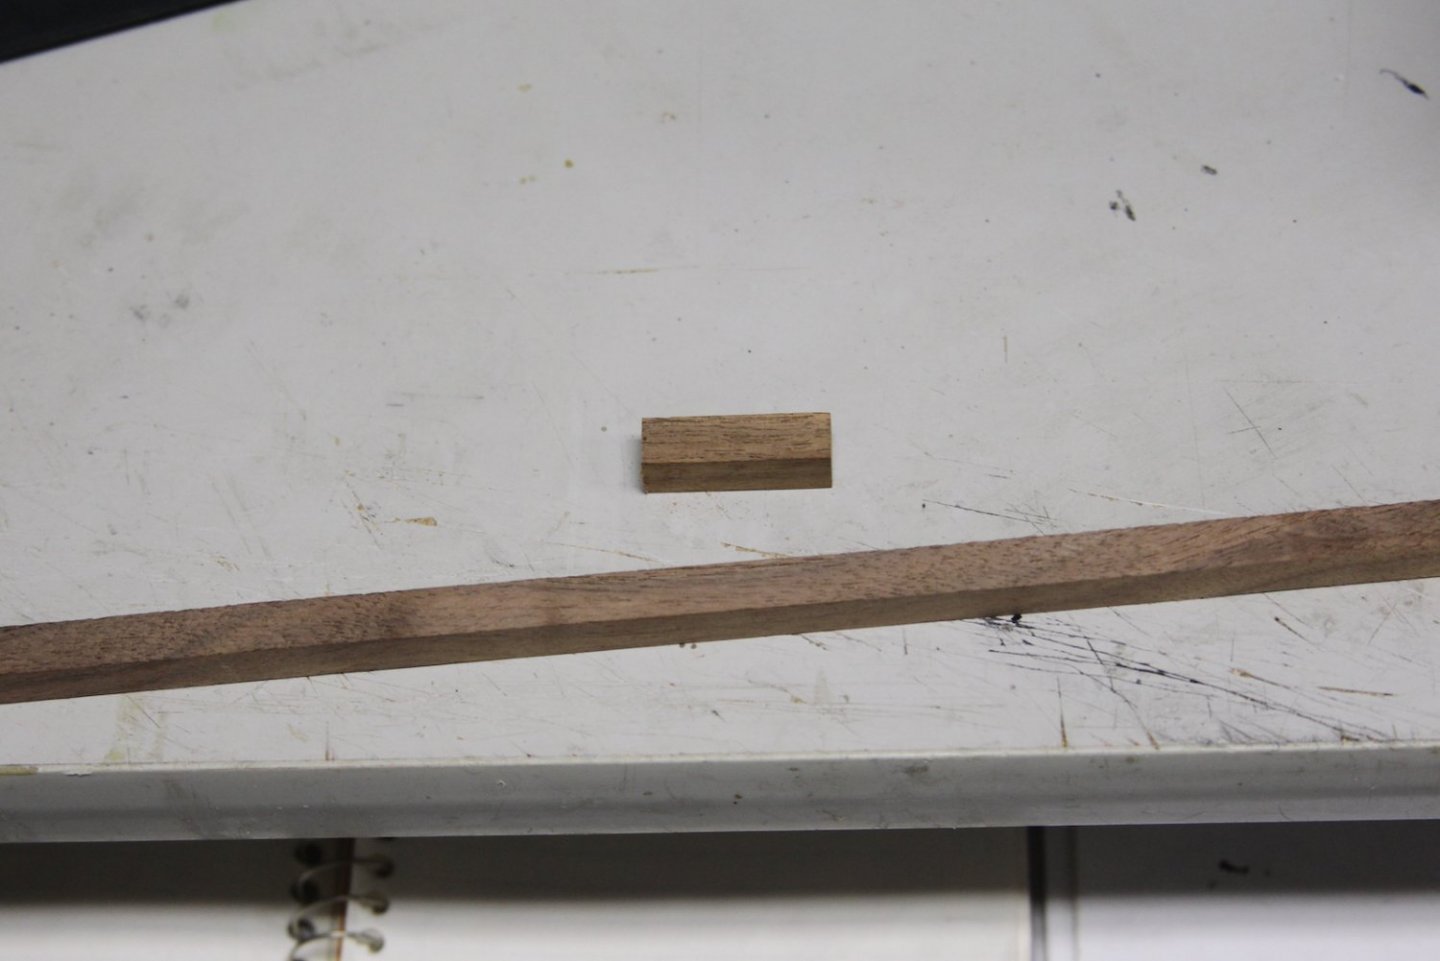
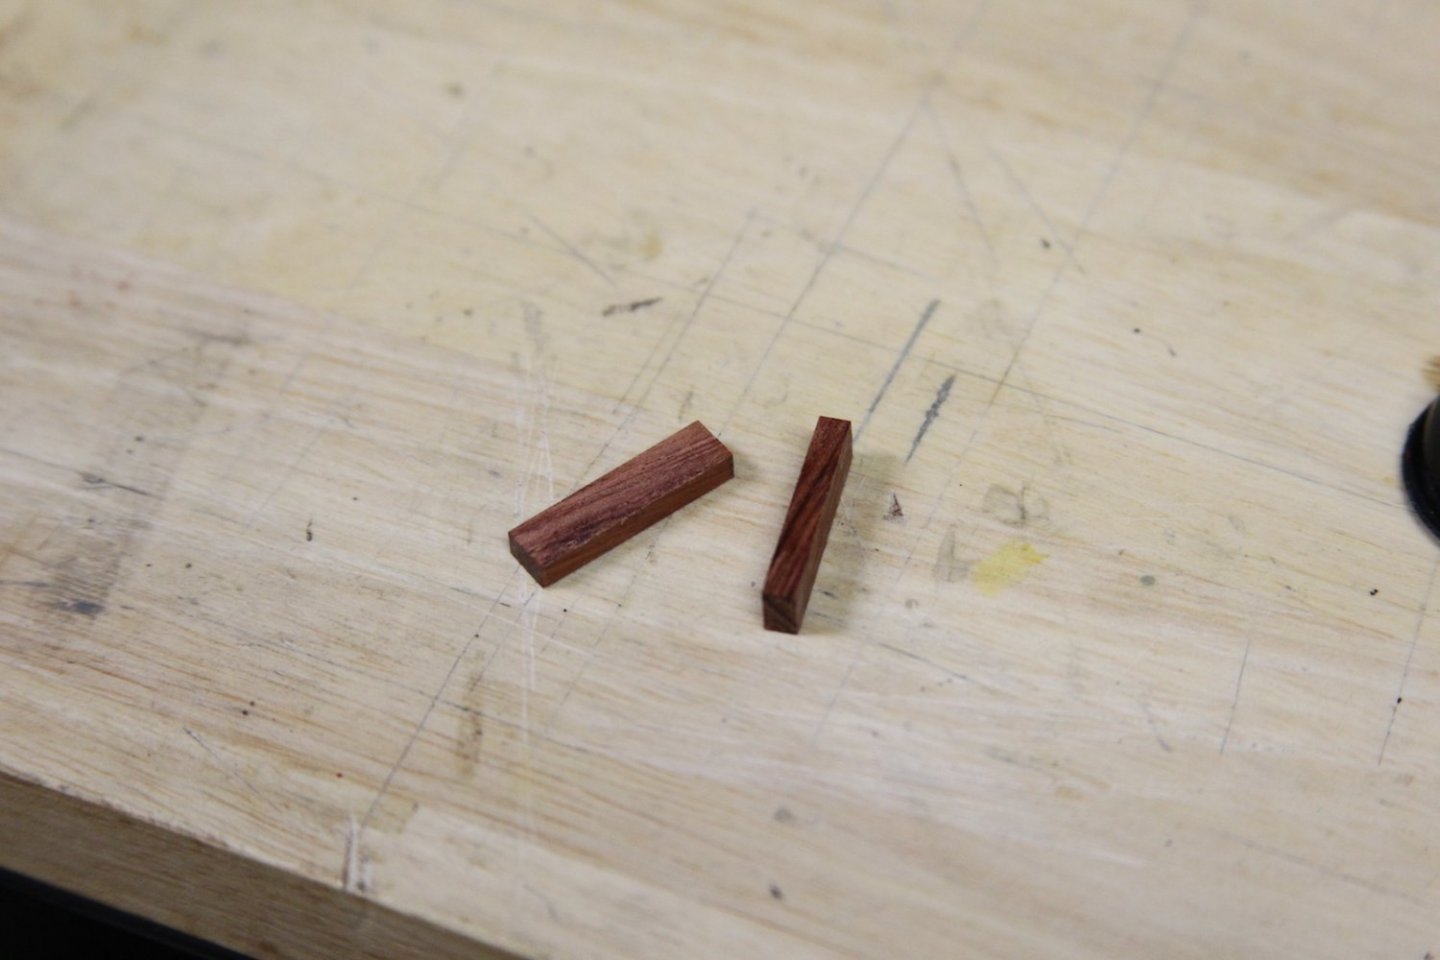
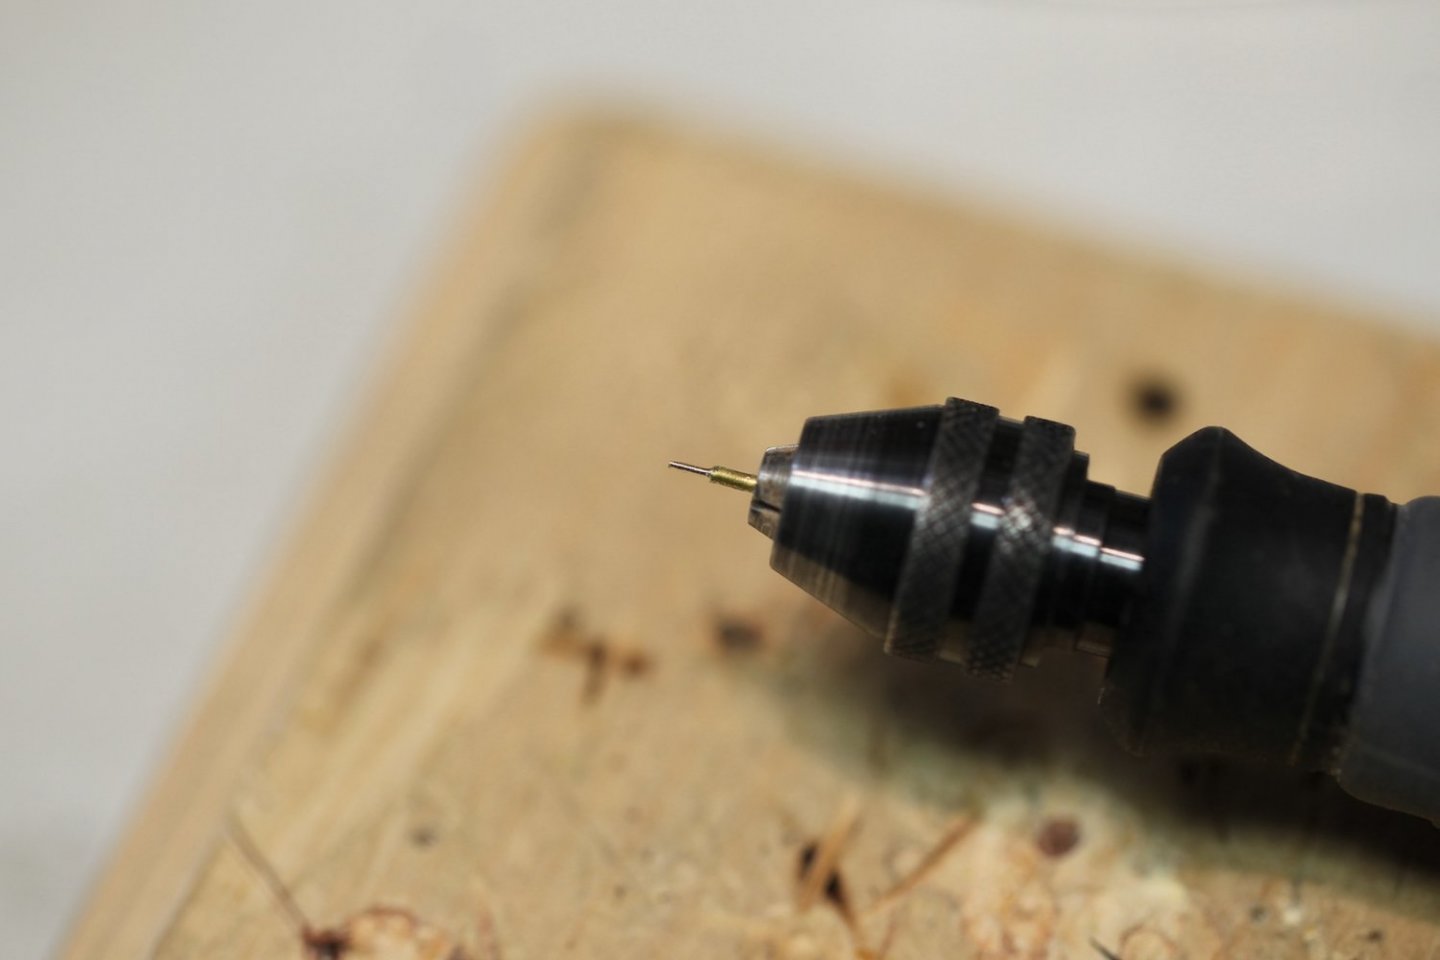
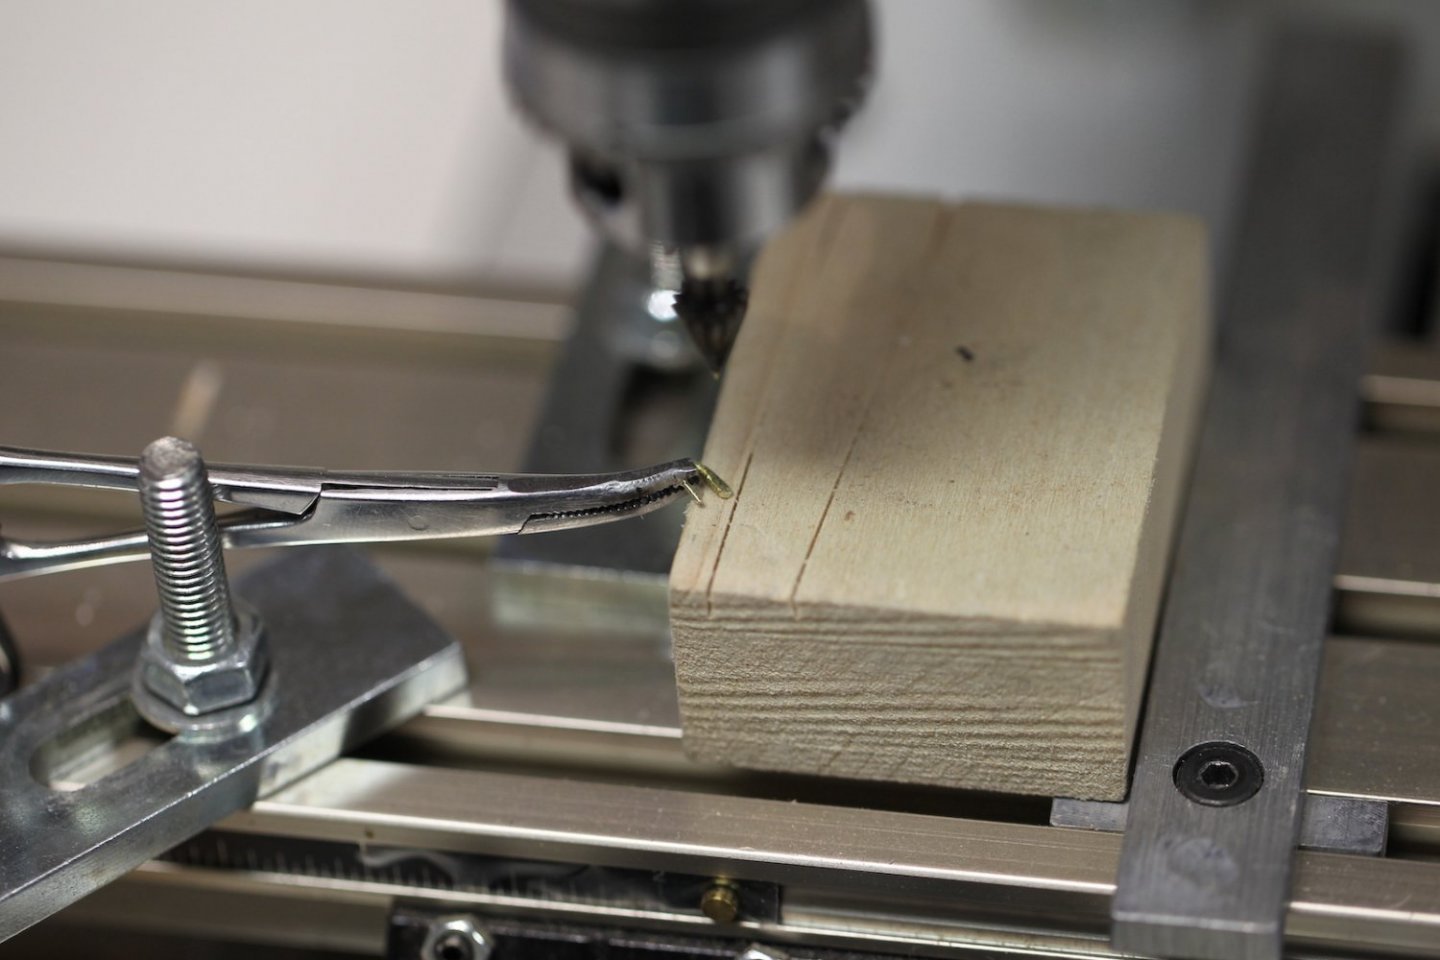
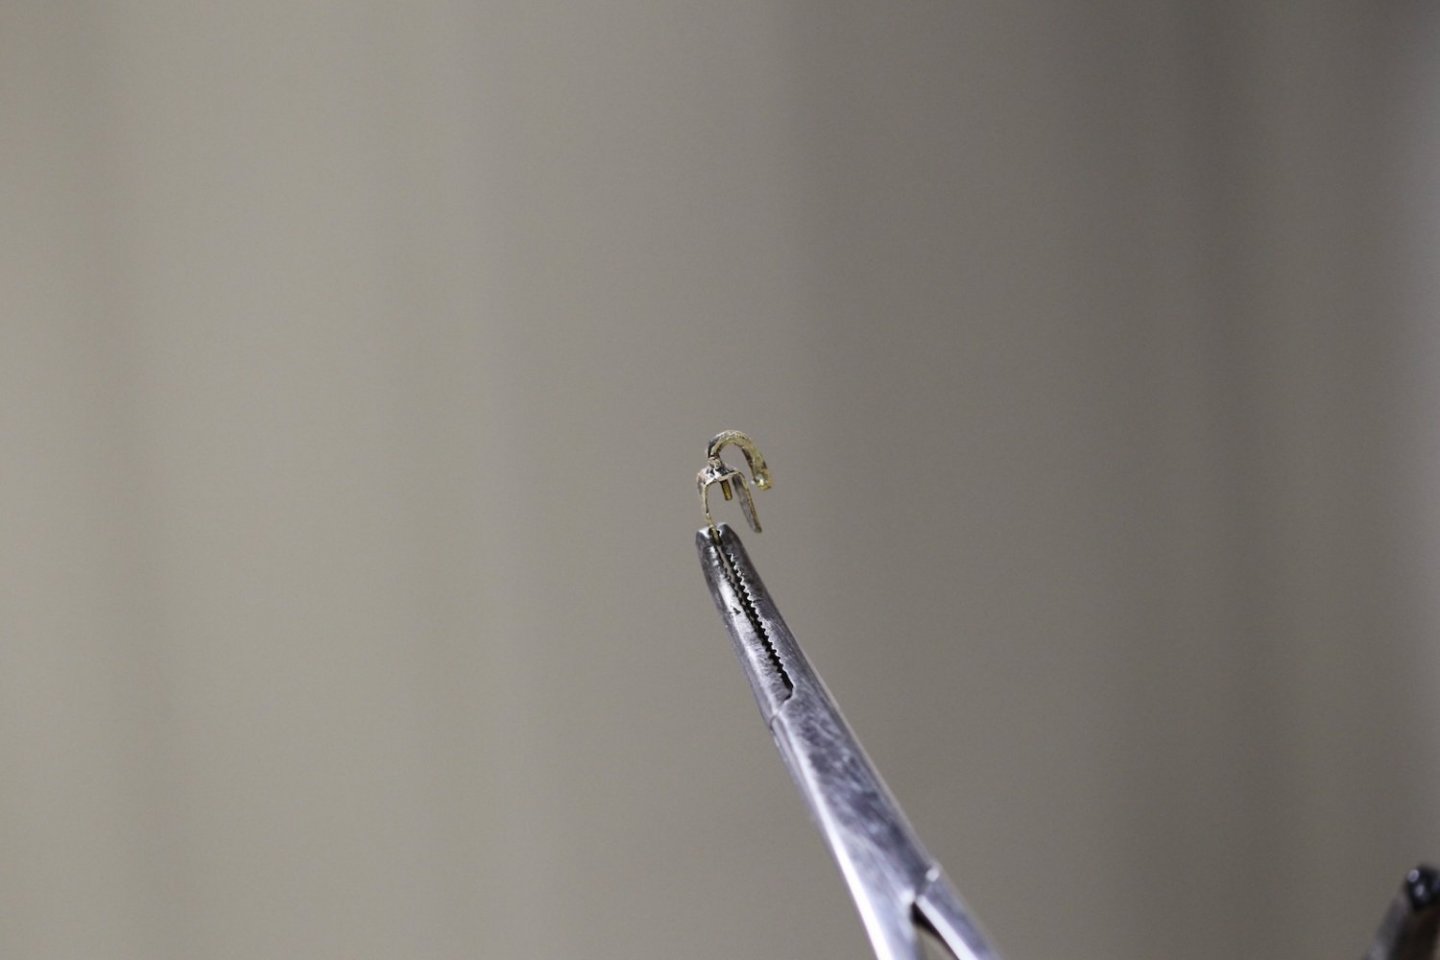
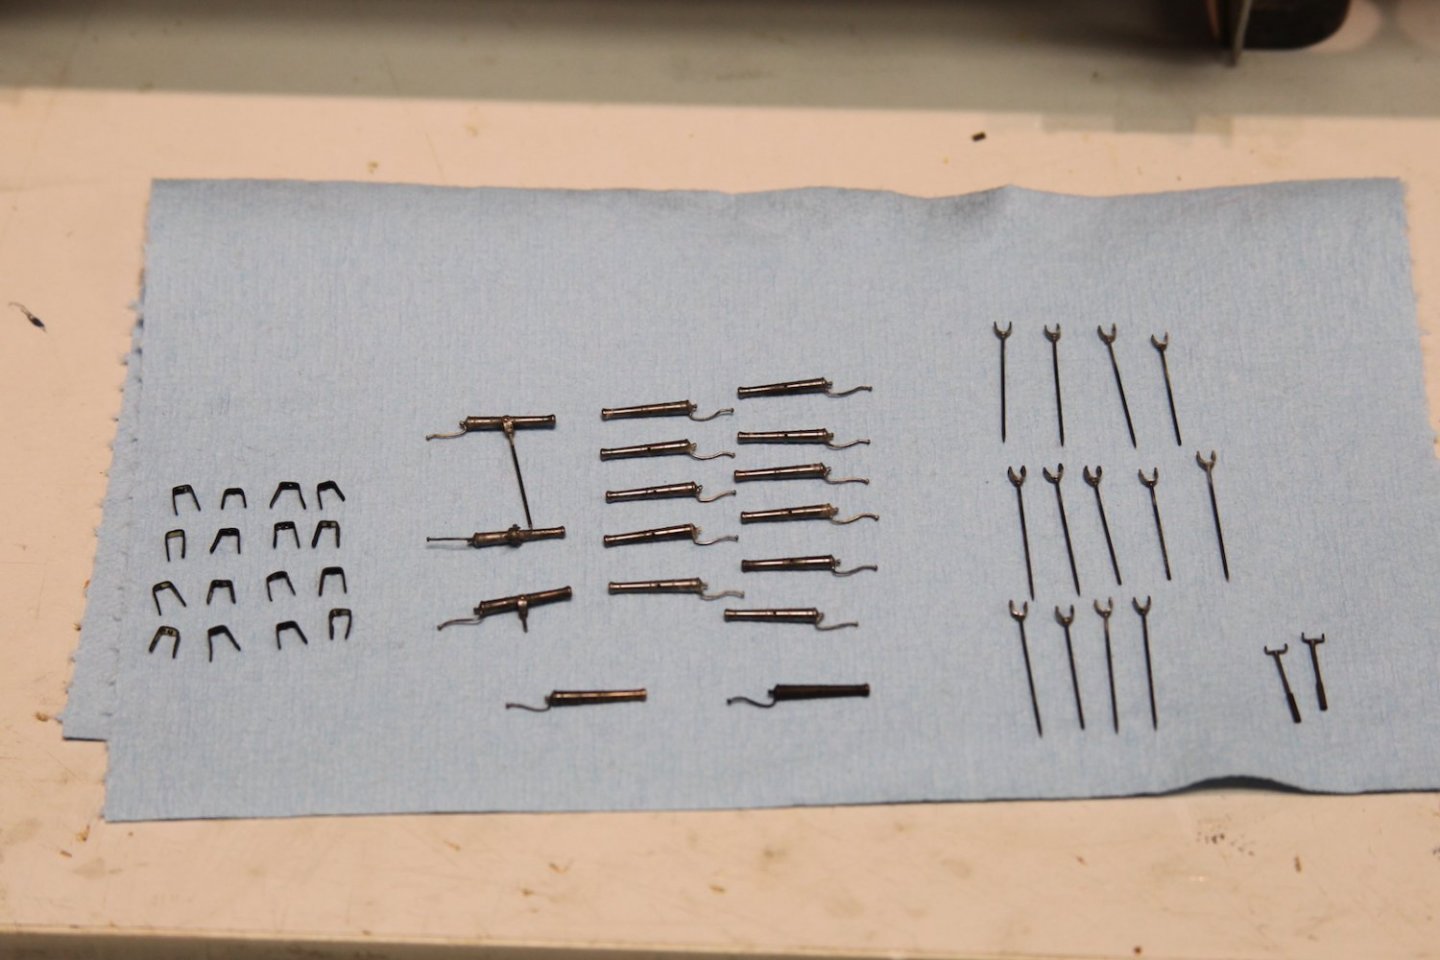
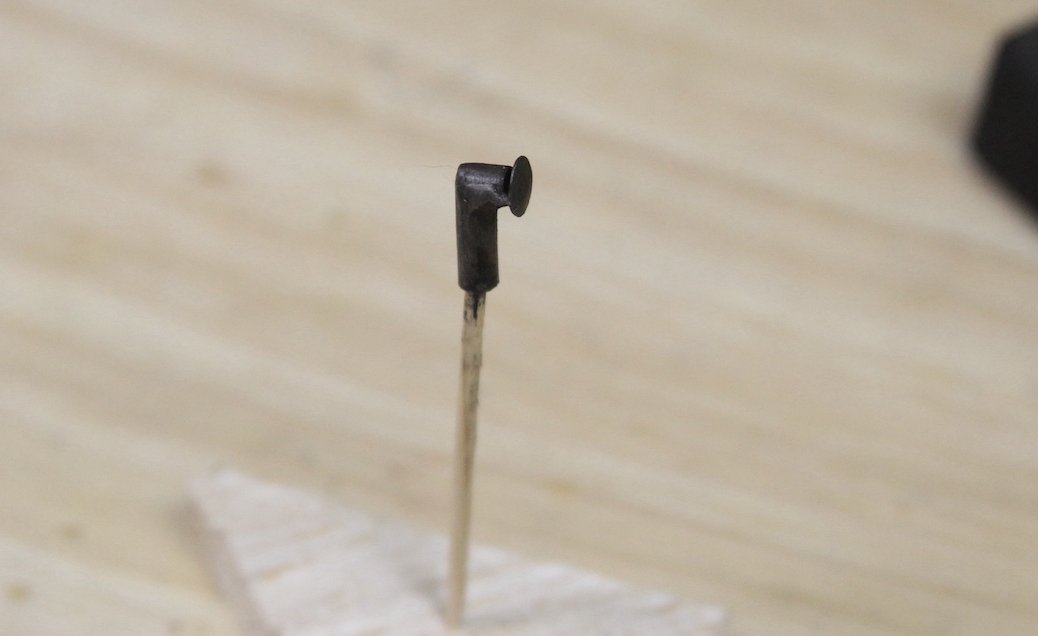
Like most of the other things I've put together, the quarter rail is patterned after Dan's version of the FFM. I used Walnut to match the darker shade of the crosstrees etc. I made a conscious early choice to only paint some of the fittings (rather than cover everything in red & black) so that the details of the furniture and other elements would come through. Black masks so much of that. I was hesitant about that choice early on, because of course very little painting means very little opportunity to cover flaws. But, it seems to be panning out pretty well thus far. The stanchions for the quarter rail are made from a 1mm brass rod turned and shaved down to create a thin post with a thicker base. The cradle for the top is a 1mm brass strip cut & soldered on. The 'curvy' end of the railing is drawn out and cut from a 10mm x 10mm walnut chunk on scroll saw. Lots of shaping and sanding to get the curvature first, then the chunk is cut down the middle with the table saw. I did it this way so I had a better chance of getting the two railing ends to look identical. A little more shaping to do after it's lined up so that the railing and the end match up, then the whole thing is mounted and given a coat of tung oil.


- 419 replies
-
- 13
-
-

-
- Victory Models
- Pegasus
- (and 2 more)
-
Hehe, thanks Peter. I've definitely snapped a mast top or stanchion off on occasion by being a little abrupt and snagging something, but this is my first gravity-associated disaster. The wheel was definitely a chore. I'm glad Bellerophon's arm was successfully mended - a little physical therapy and I'm sure he was good as new.
- 419 replies
-
- 2
-
-
- Victory Models
- Pegasus
- (and 2 more)
-
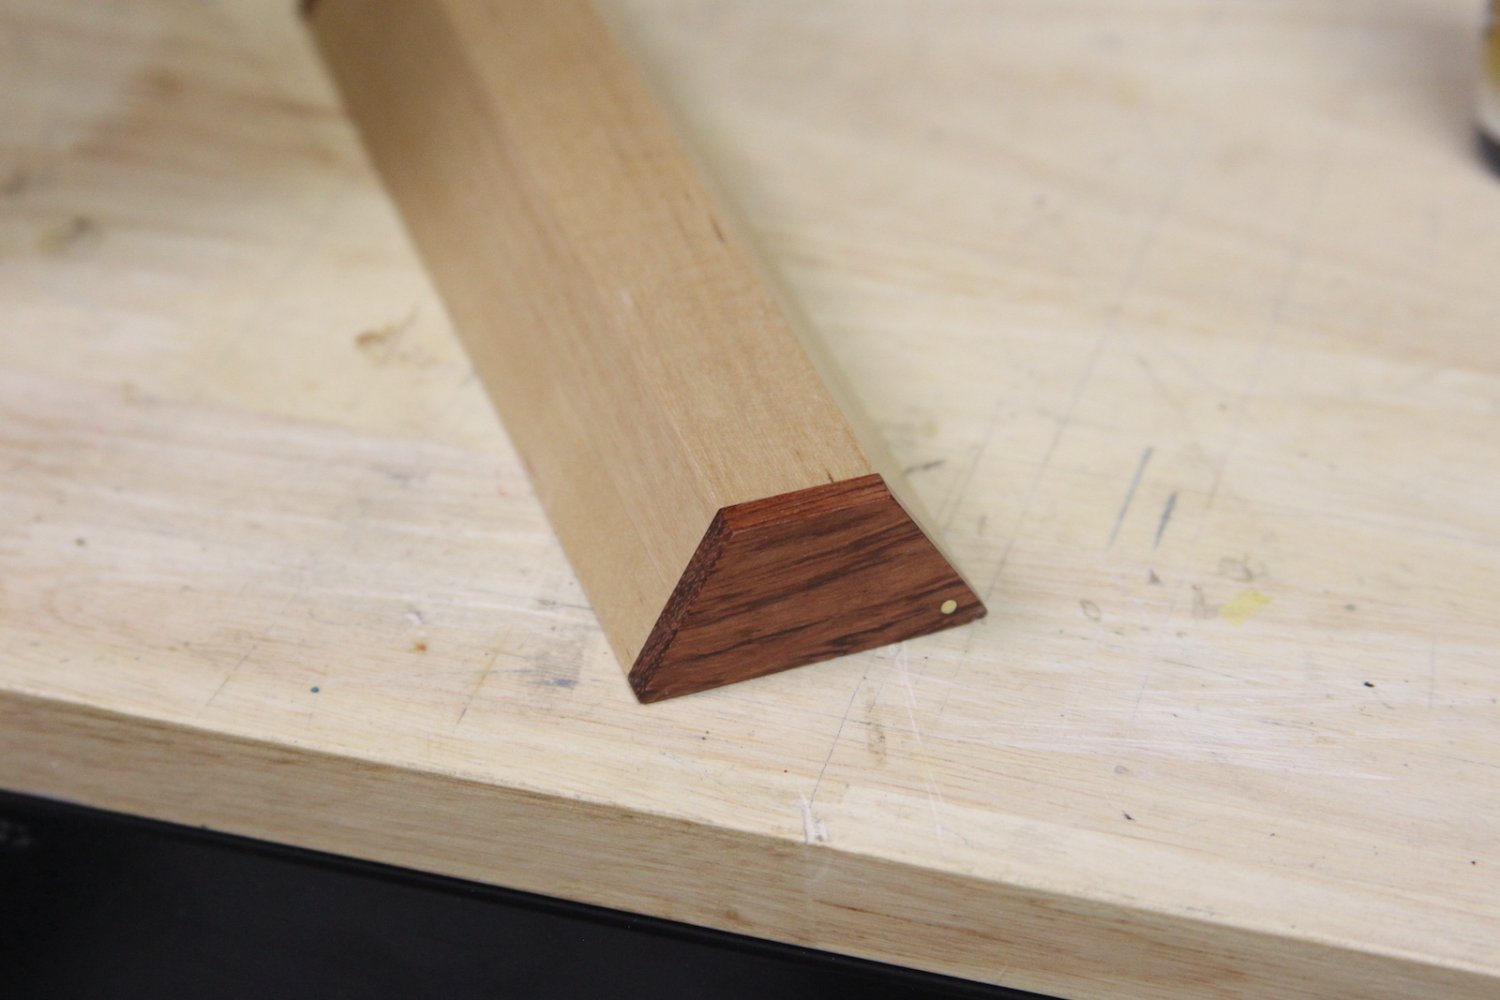
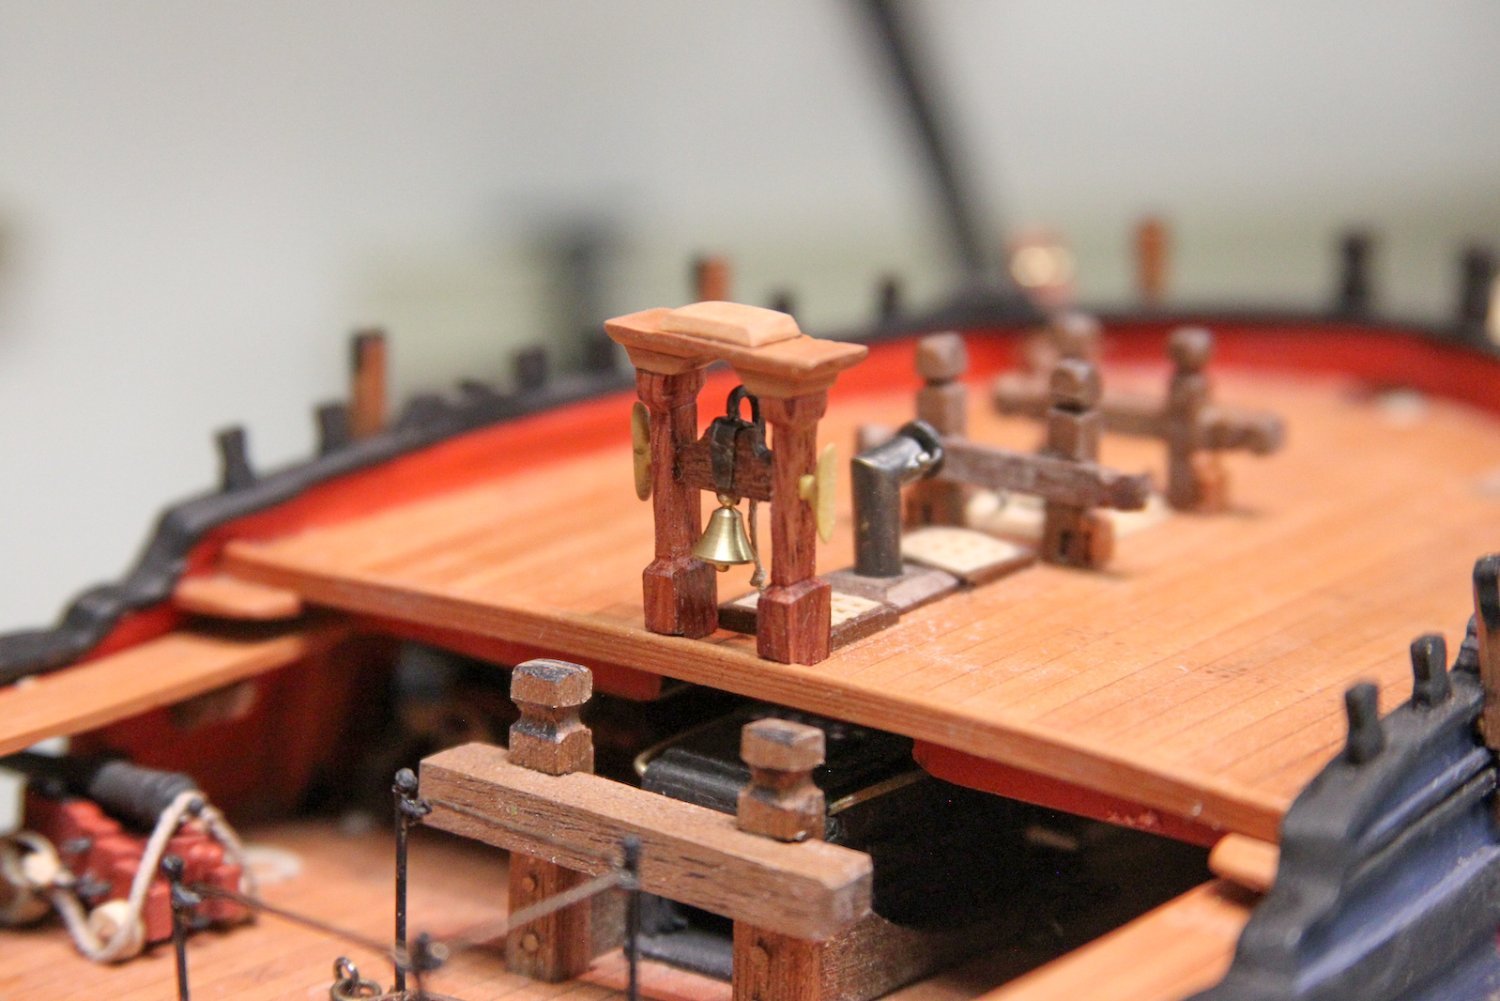
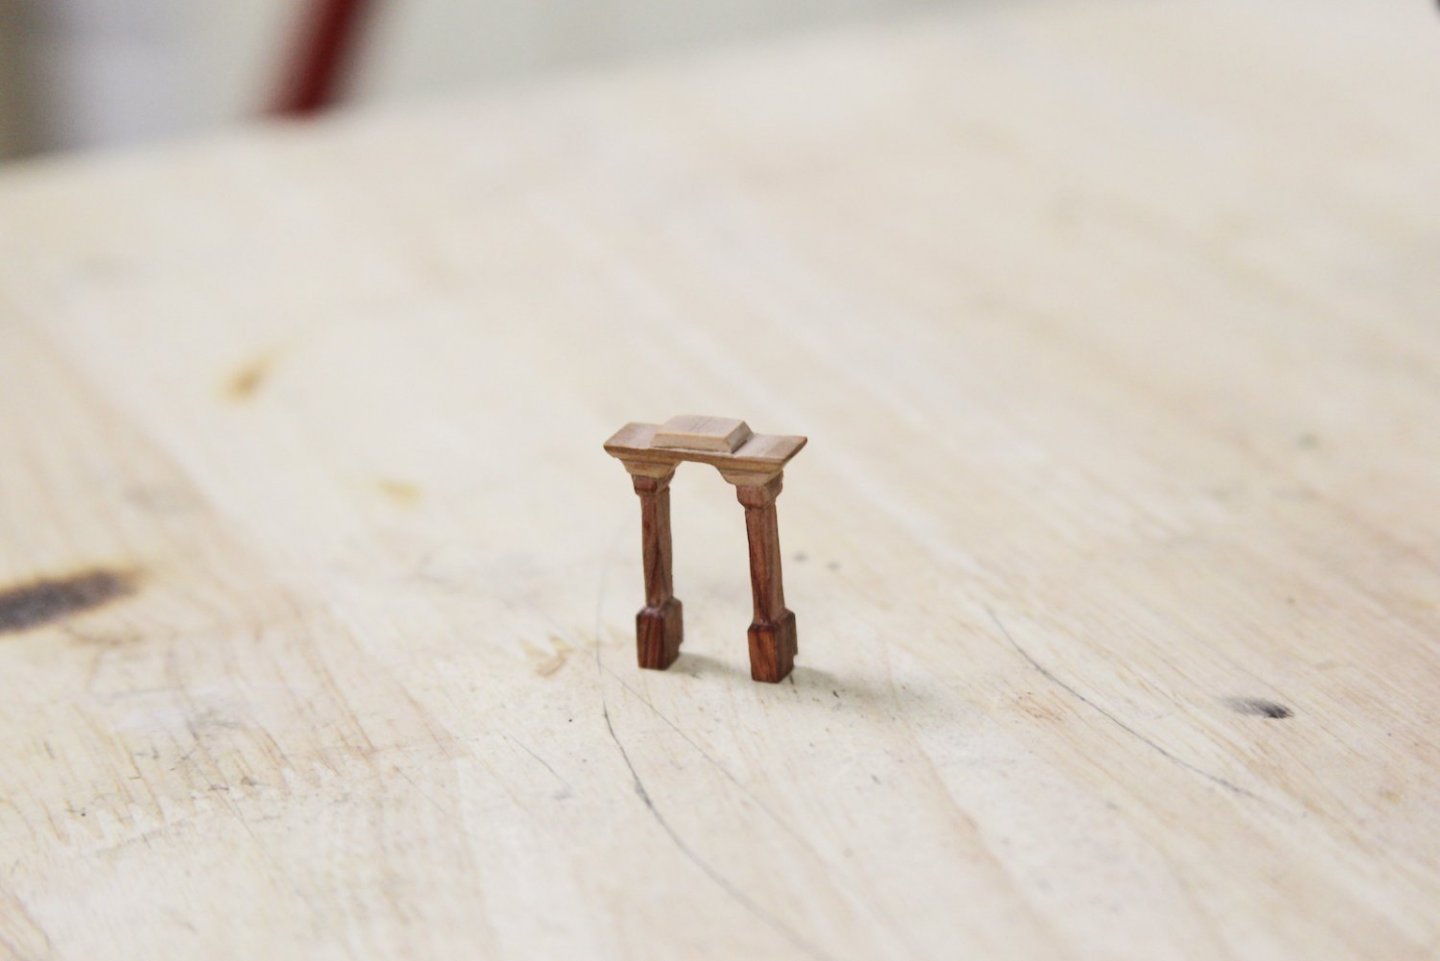
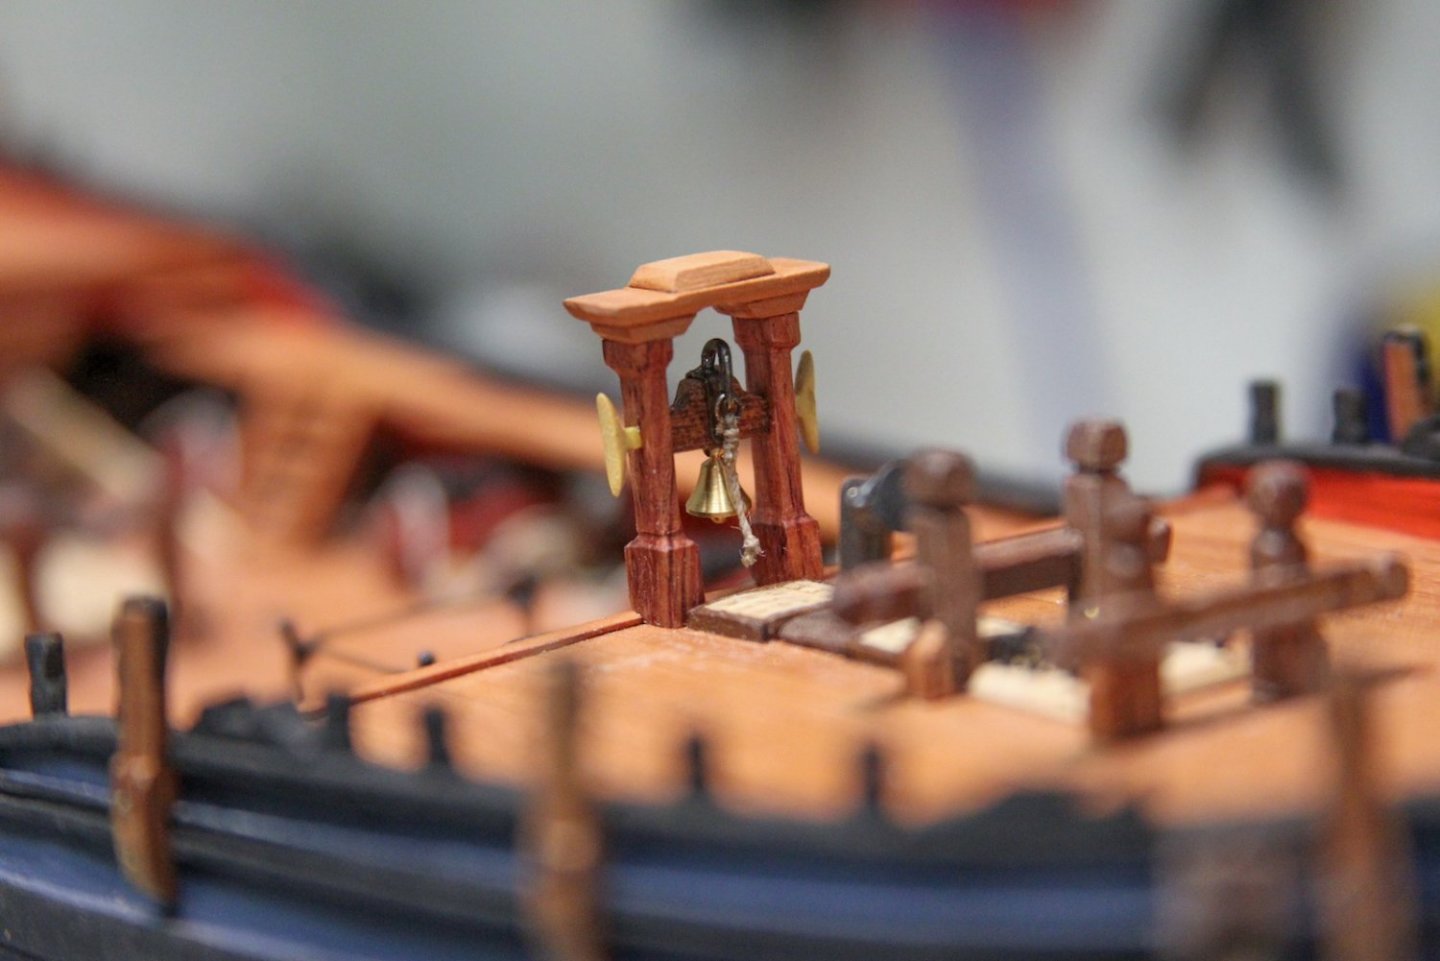
I've had something pretty specific in mind for the Belfry for quite a while, and of course I've been stalking Dan's Vulture (here's his belfry). A few years ago I purchased a couple of pens (I have a collection - don't ask. 😛 ) at a charity auction, and they came in this snazzy pen case. I've been looking for a reason to use the wood on these end pieces, but needed the Byrne saw to get a good cut on this really dense wood. I cut two 5x5mm pieces to serve as the stanchions, and three pieces of Swiss Pear scrap for the roof and shaped/sanded it all. Really, one of the down sides to having the Byrnes saw is that I'm half tempted to go back and re-accomplish half the stuff I did by hand. heh For the bell housing, I used walnut, and created a brass bracket to hold the handle. The handle is a shaved down piece of brass rod that fits into the bracket and bends over to hold the rope. Finally, I outfitted two boxwood cleats instead of metal - which I thought was an aesthetically pleasing and acceptable substitution. The whole thing put together and mounted. To me, the Belfry was another opportunity to add a little bit of artistic flair.


- 419 replies
-
- 11
-
-
- Victory Models
- Pegasus
- (and 2 more)
-
Echoing everyone here - that's really good stuff BE. A real testament to your enviable patience. For what it's worth - I completely agree regarding seeing the name. Accurate as it may be in some cases, it just feels as though something's missing when it's not there during this era.
- 857 replies
-
- 3
-
-
-
- Sphinx
- Vanguard Models
- (and 1 more)
-
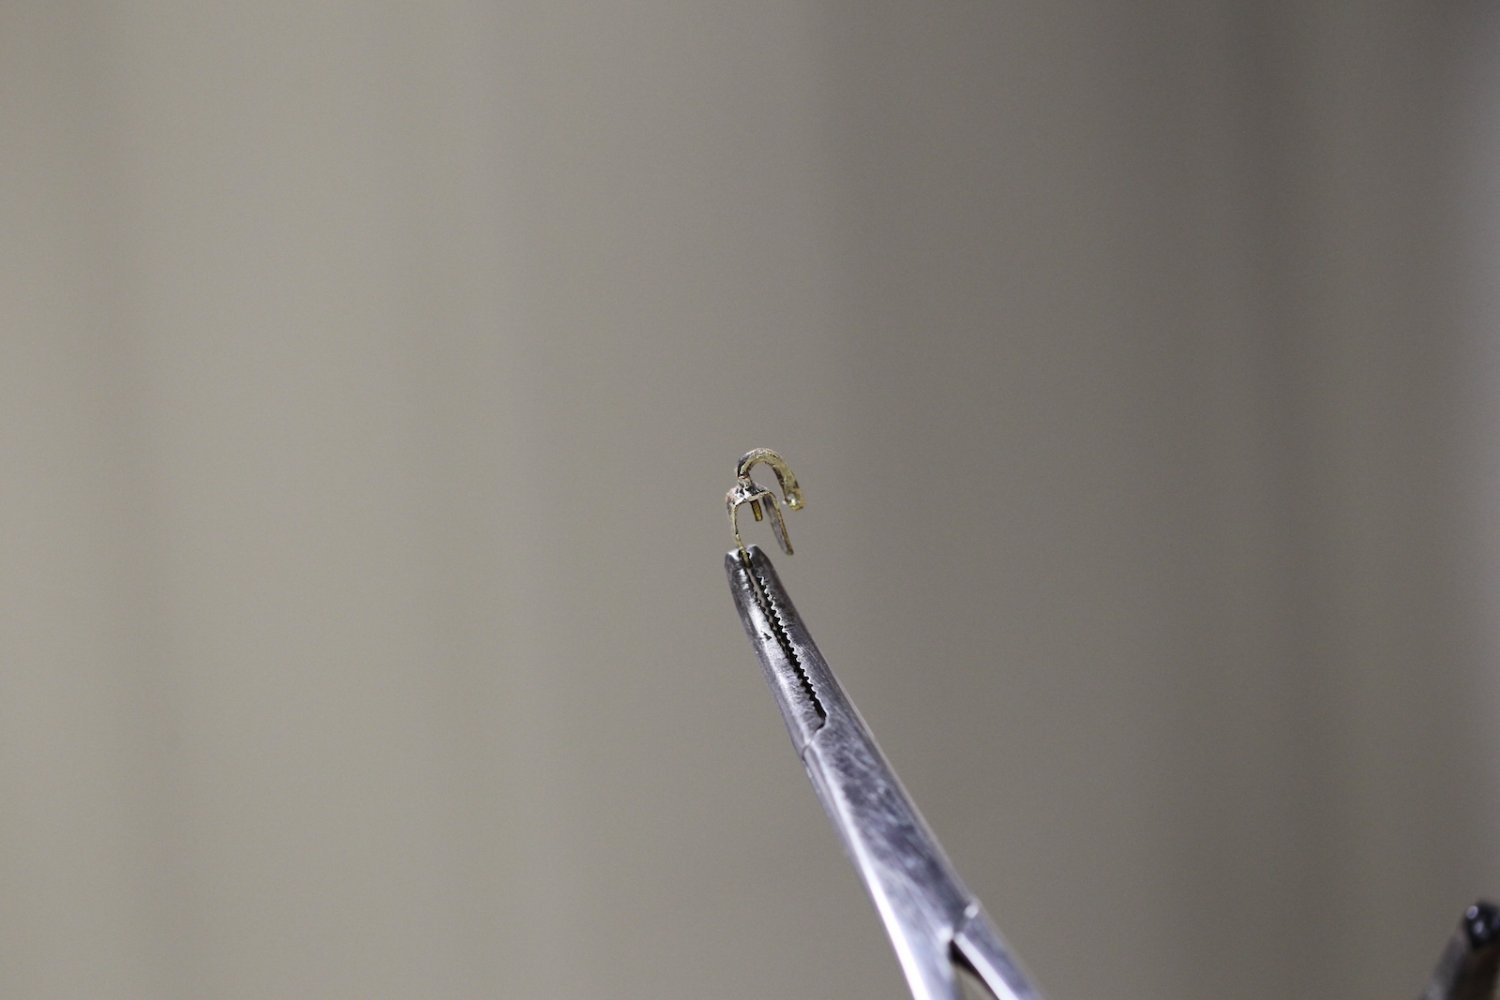
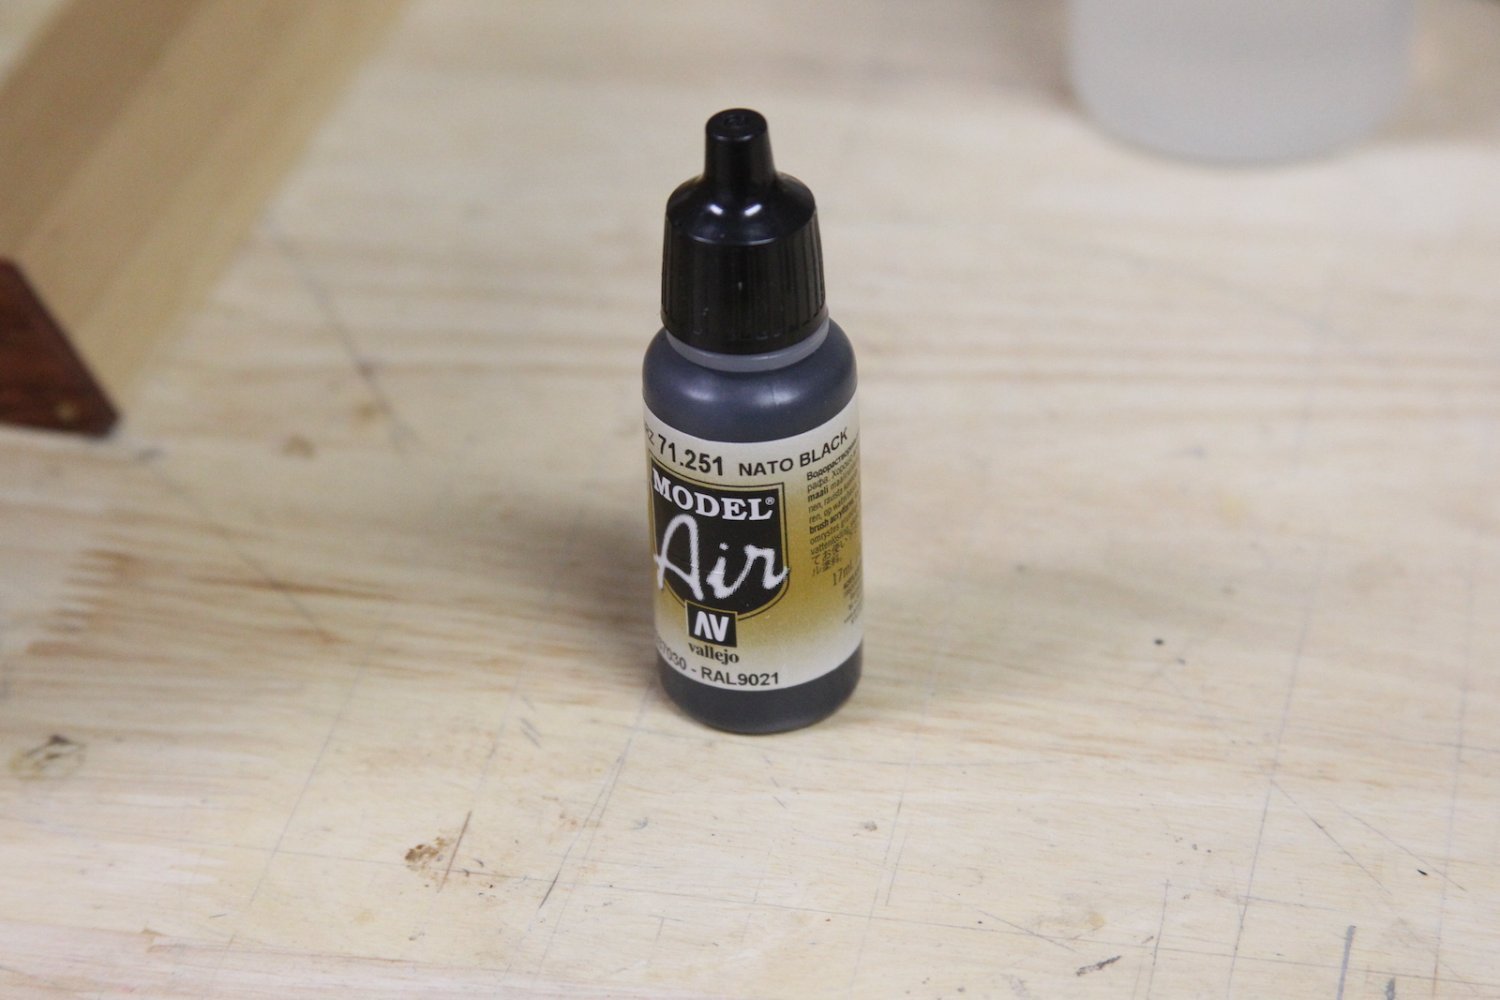
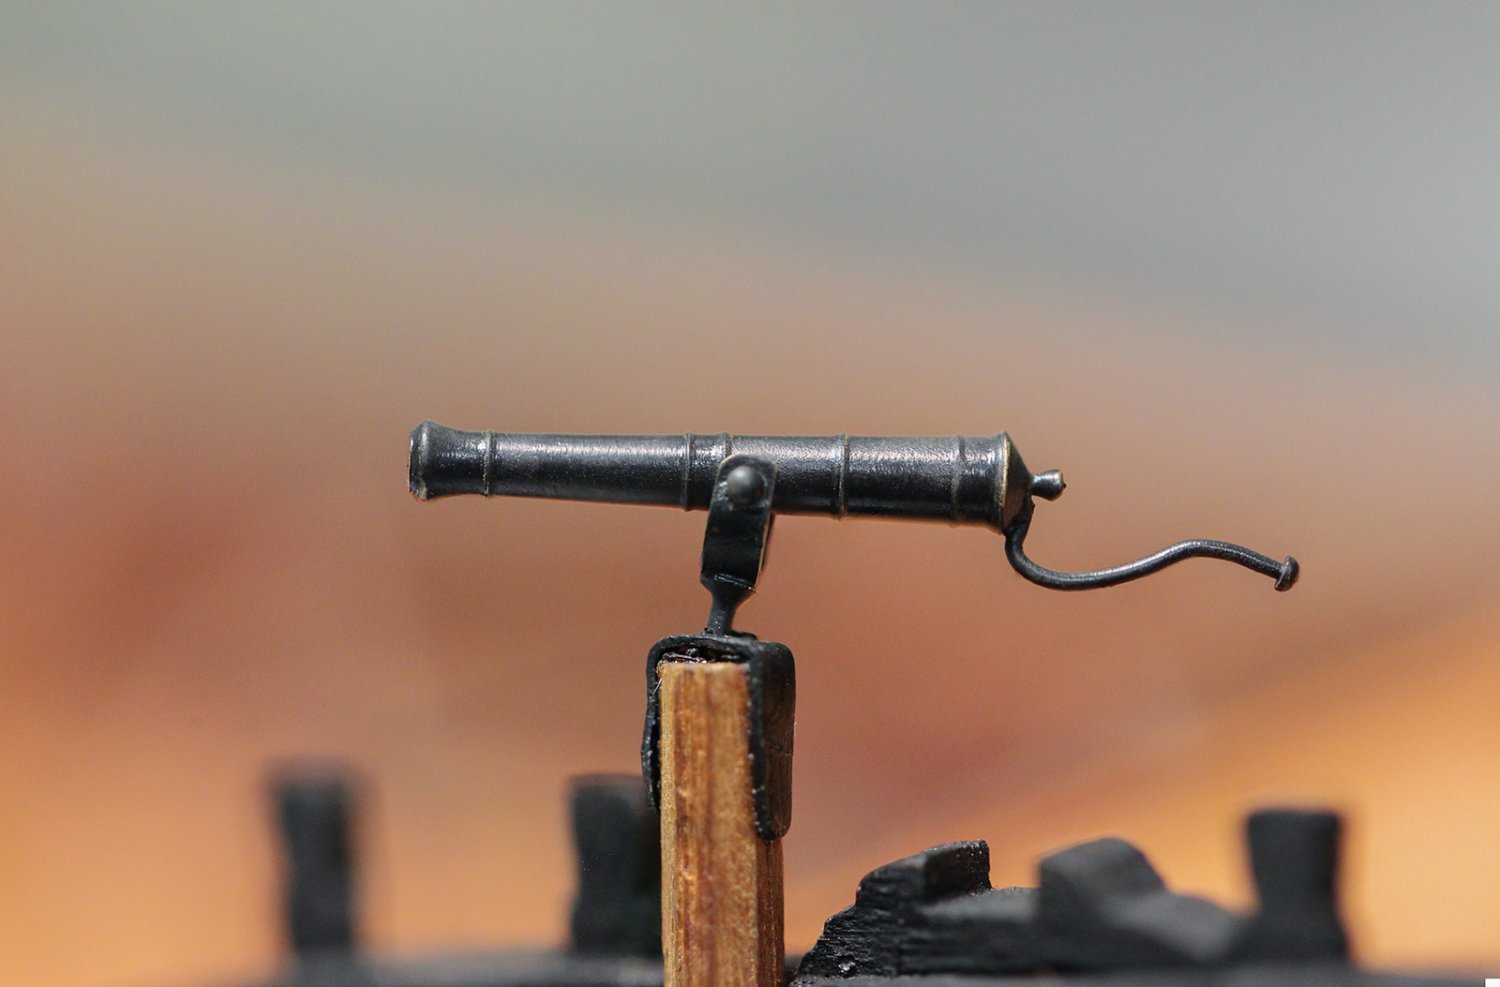
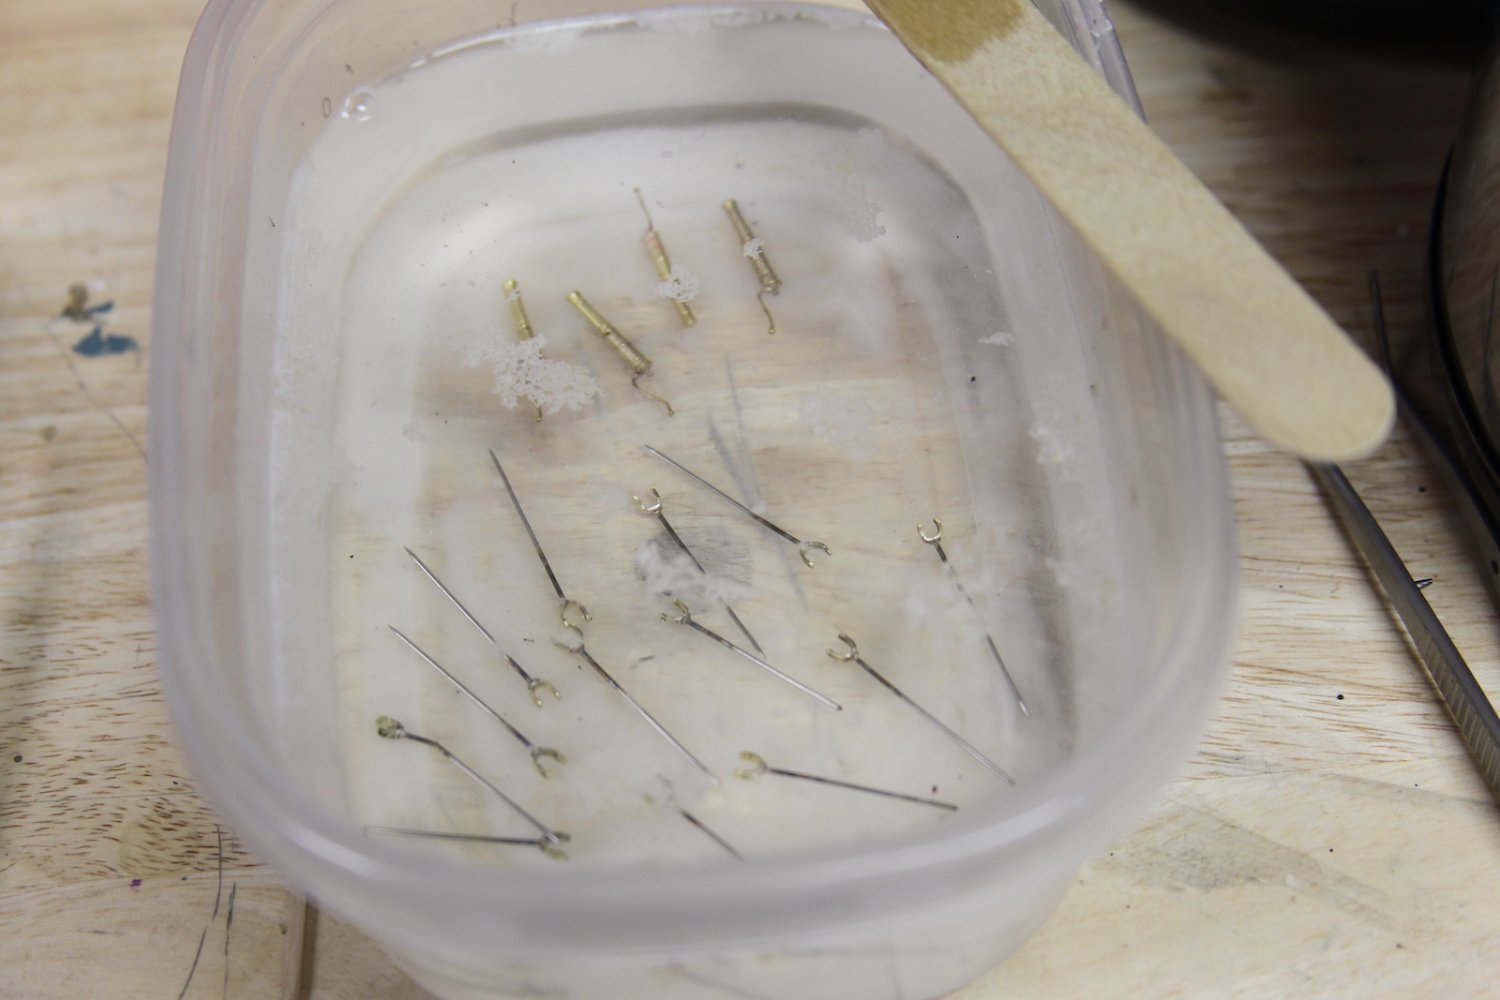
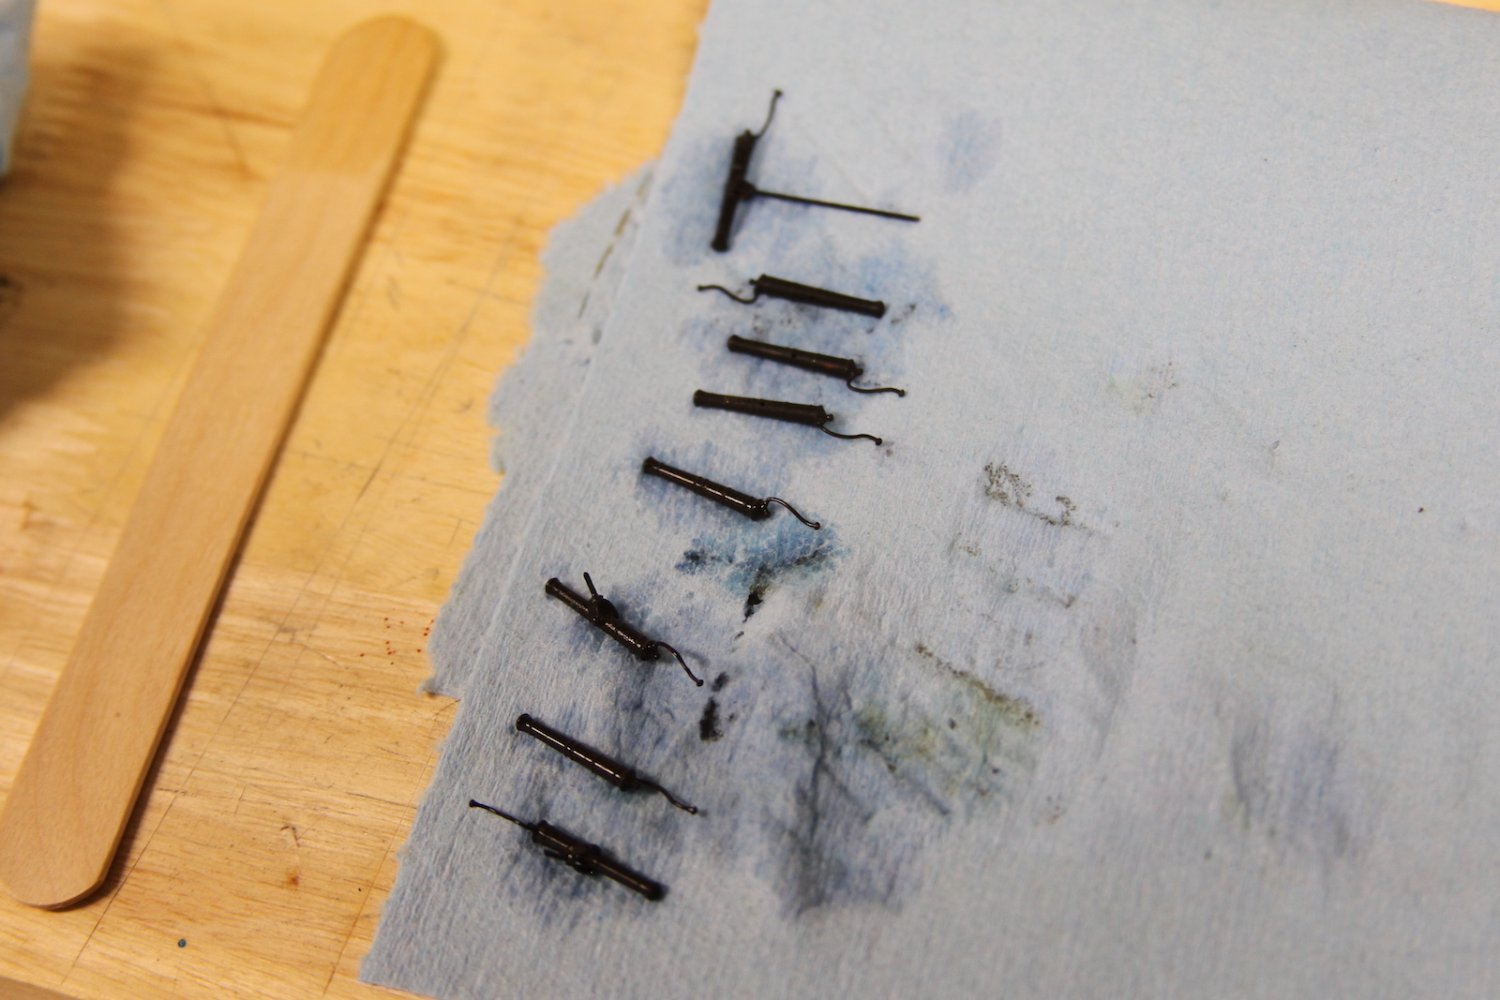
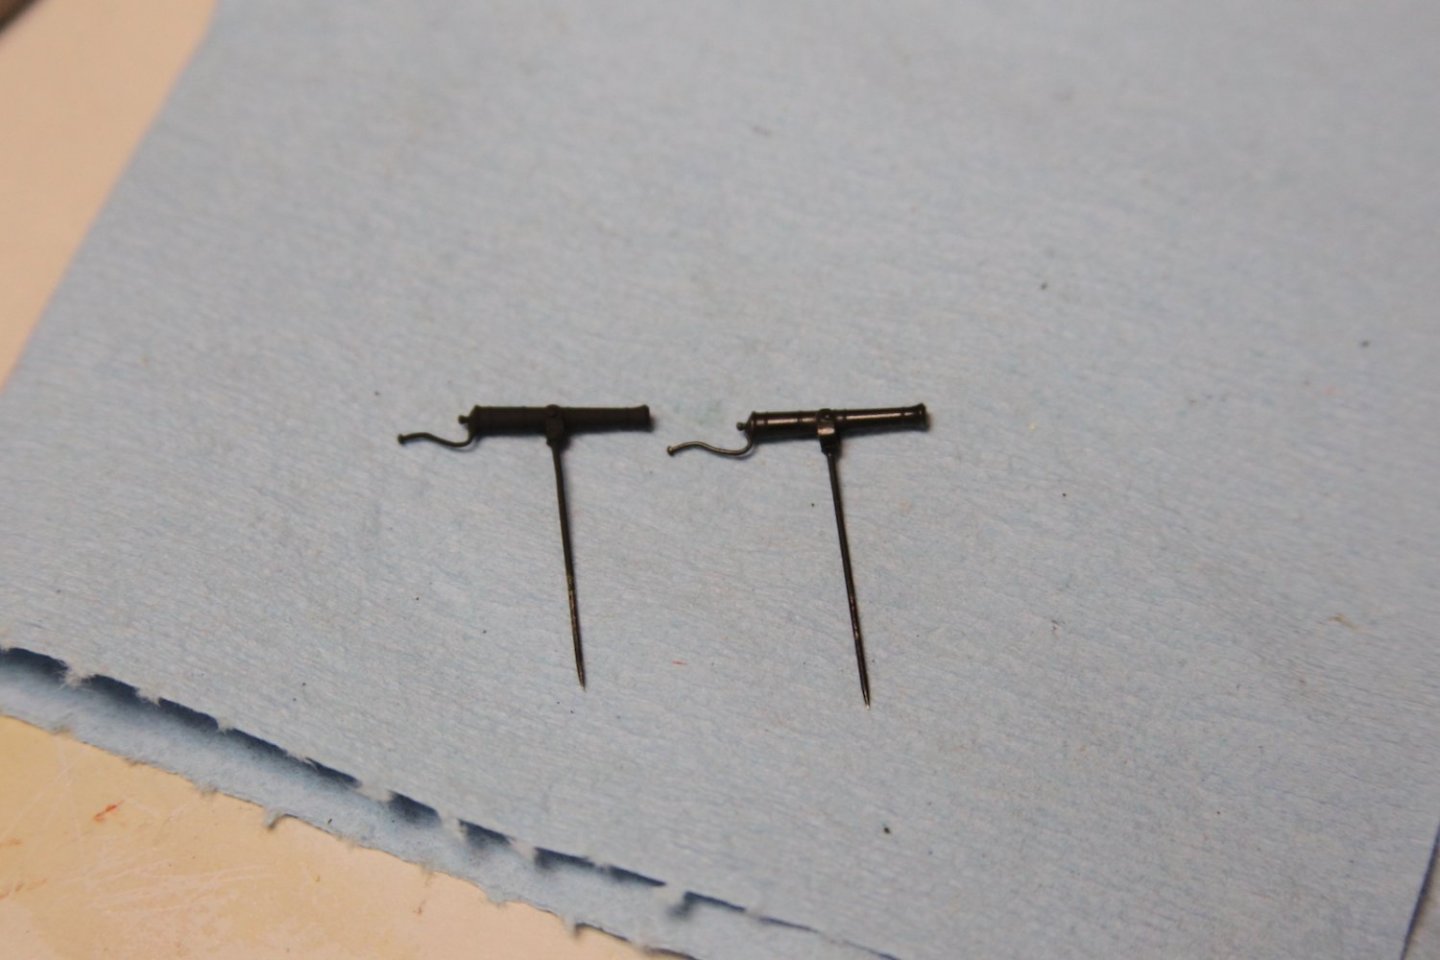
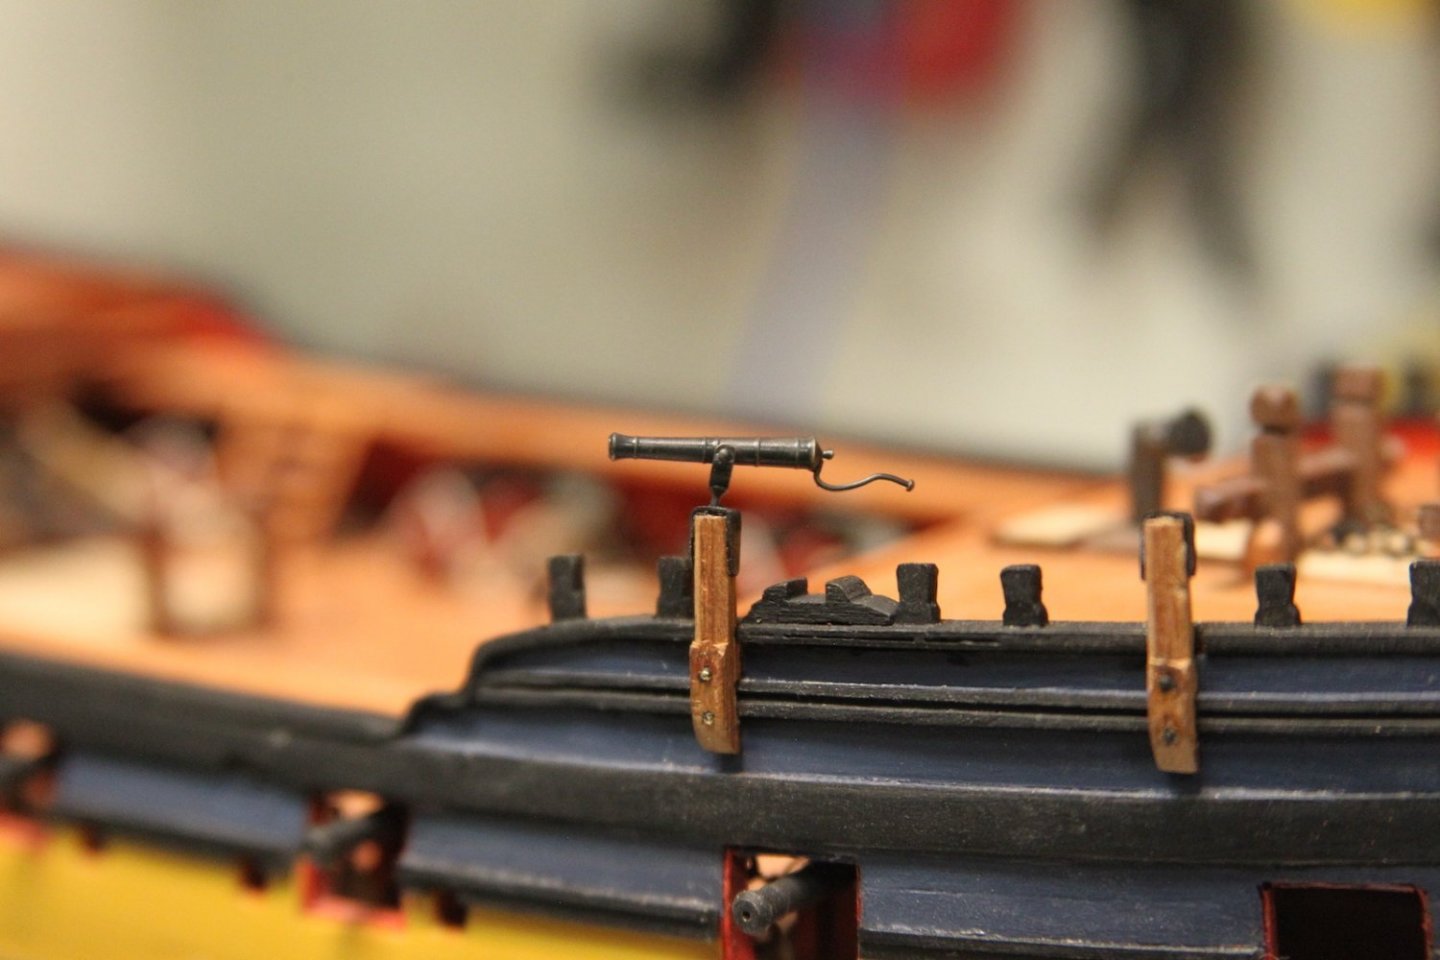
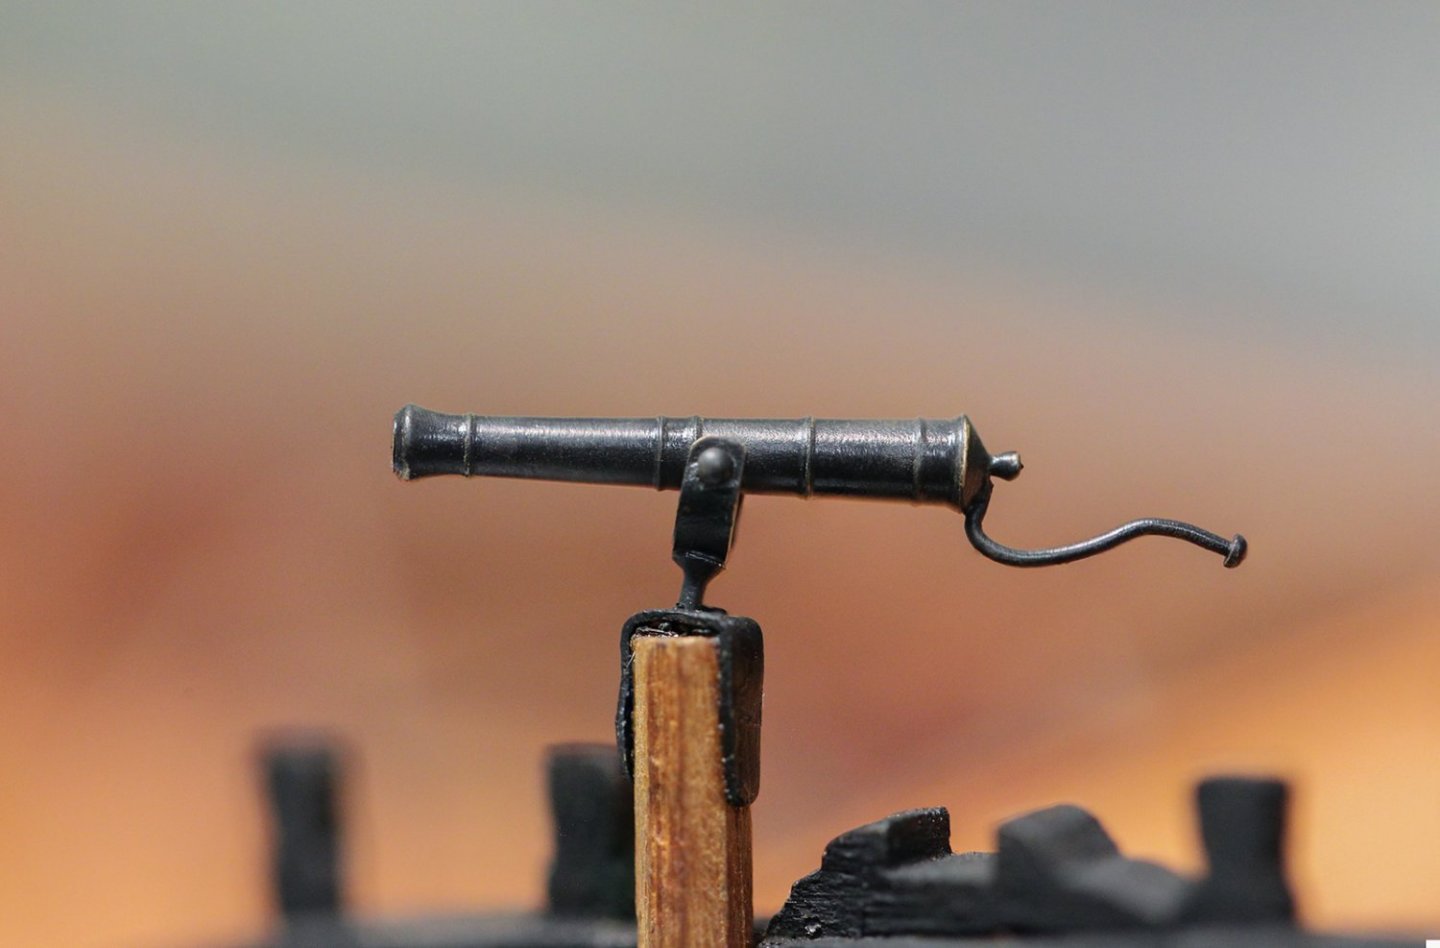
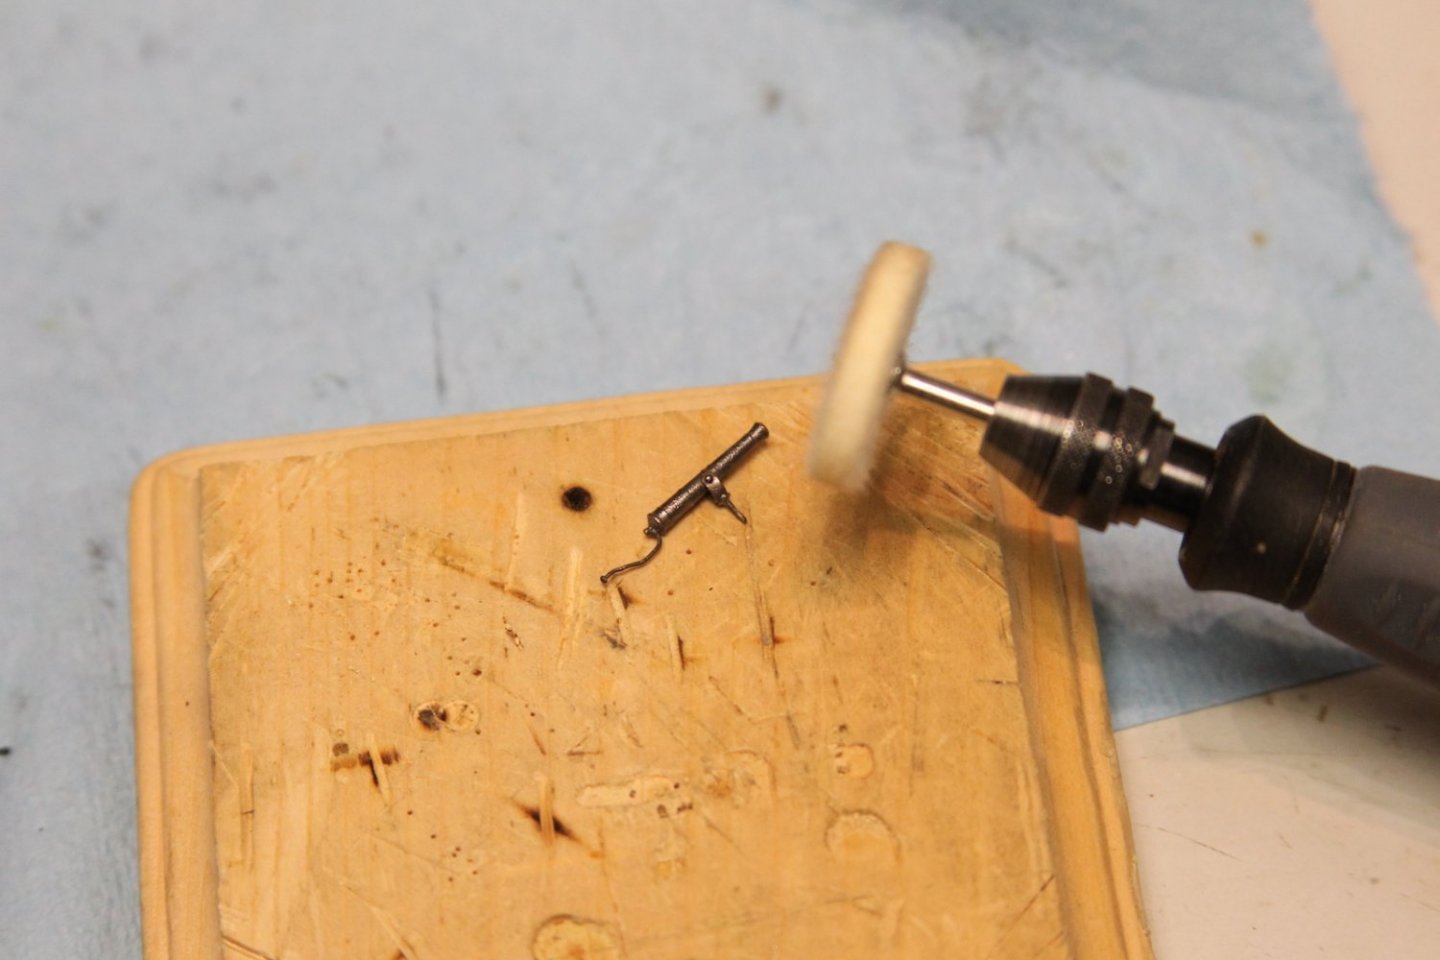
I've been rolling along with a few things - and had to make a couple of repairs. I didn't take any pictures in my frustration and eagerness to fix it - but I had something fall from a shelf onto the ship's wheel and it was destroyed. *Sigh* So I spent much of the weekend using Chuck's jig/templates to make a new one from scratch. What a chore. Along with that, I've finished up the swivel mounts and affixed them. I've also been obsessing over the swivel guns themselves and I think I've landed where I've wanted. After blackening and polishing them, I fixed them all to their brackets. So I hit them with a VERY light splash of this Vallejo "Nato Black" with an airbrush and low pressure, then polished them again. Here's a comparison of just the paint and then a really soft polishing with the dremel tool. Finally, I added a smidge of my favorite Tamiya weathering rust and brushed off the excess with a soft toothbrush. Here's the end result. Overall, I'm pretty happy with them. Of course they'll be mounted on the swivels much later lest I snap a few off with a sleeve or other clumsiness.


- 419 replies
-
- 13
-
-
- Victory Models
- Pegasus
- (and 2 more)
-
Hey Chris - I spent 3 years in southern Italy and 3 years in Portugal, so I still keep my eye on football across the pond - mostly international, but I do check in on the Premier and Champions leagues, especially around tournament time so I'm loosely familiar with Everton.
- 419 replies
-
- 3
-
-
- Victory Models
- Pegasus
- (and 2 more)
-
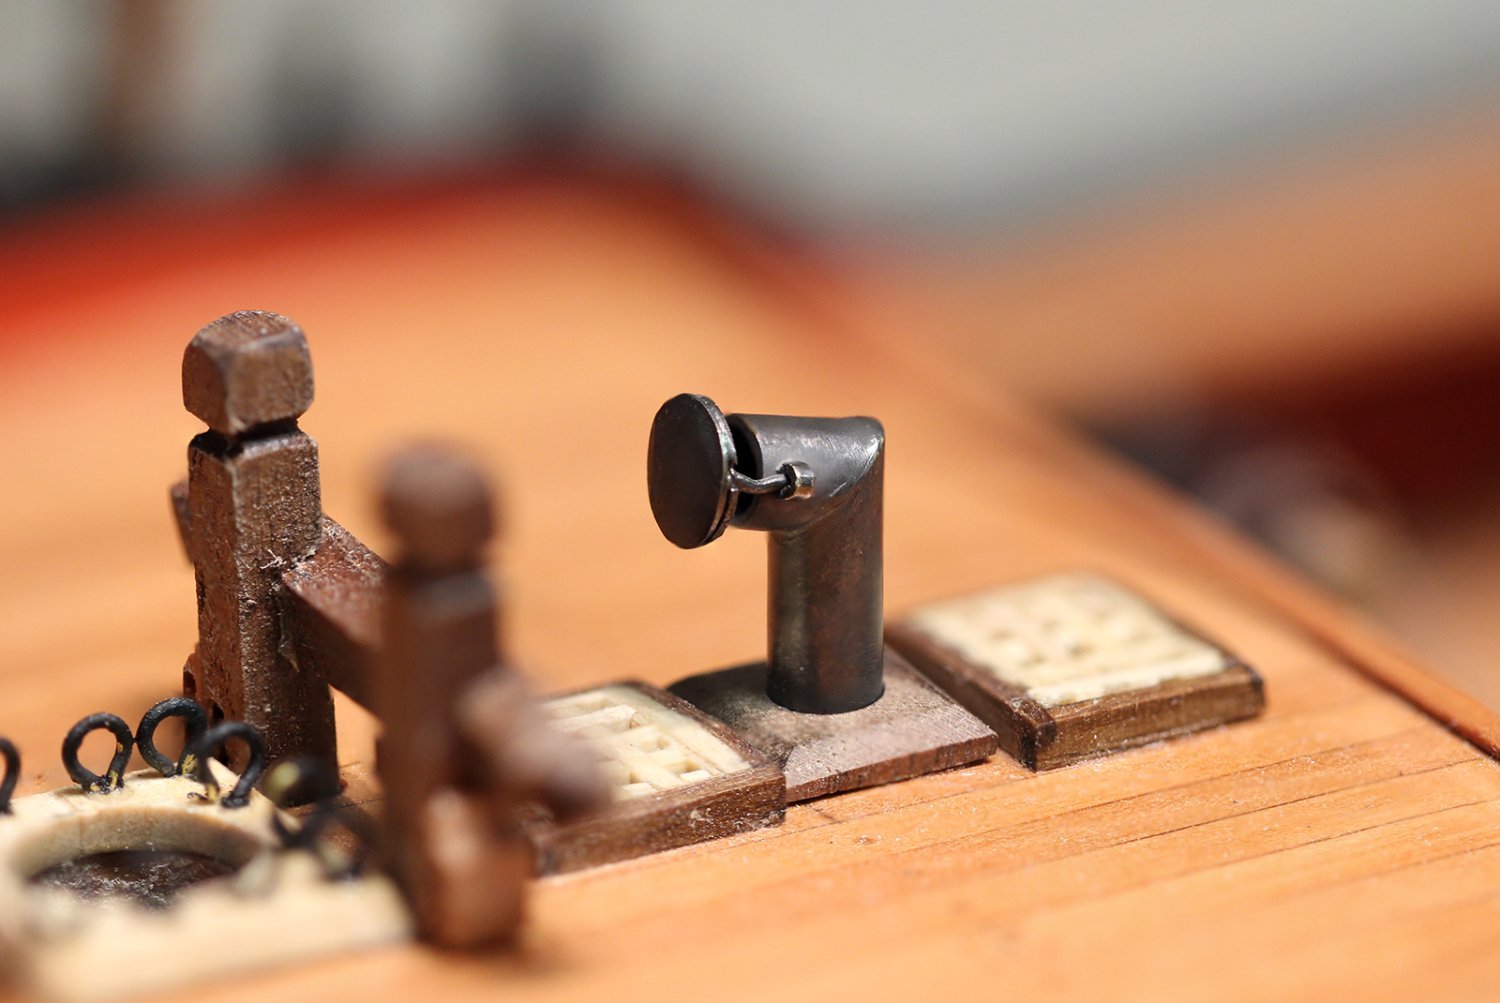
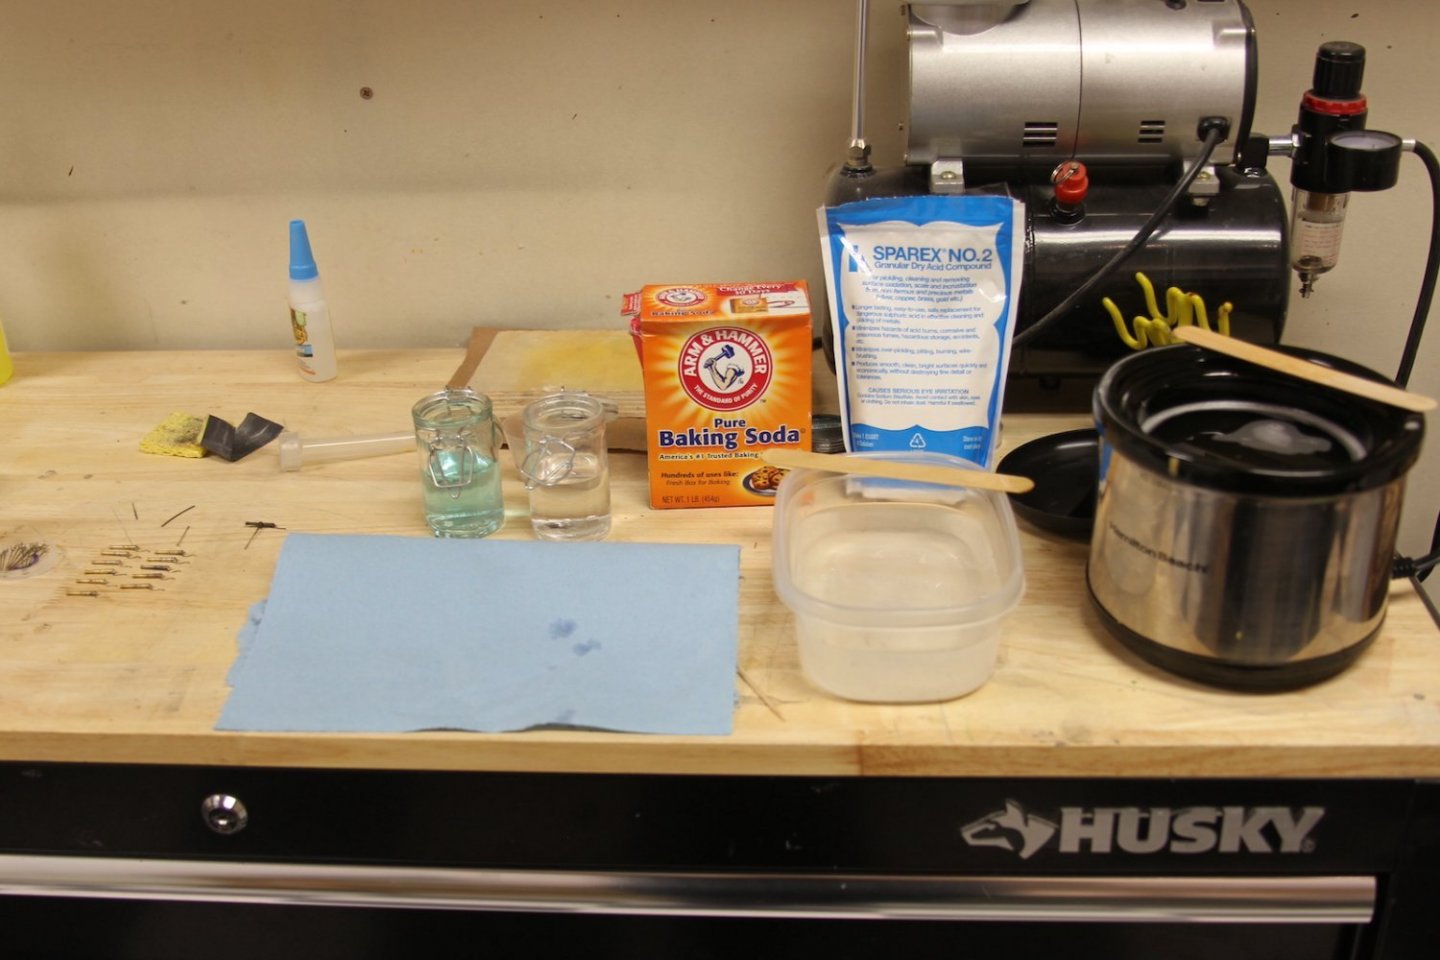
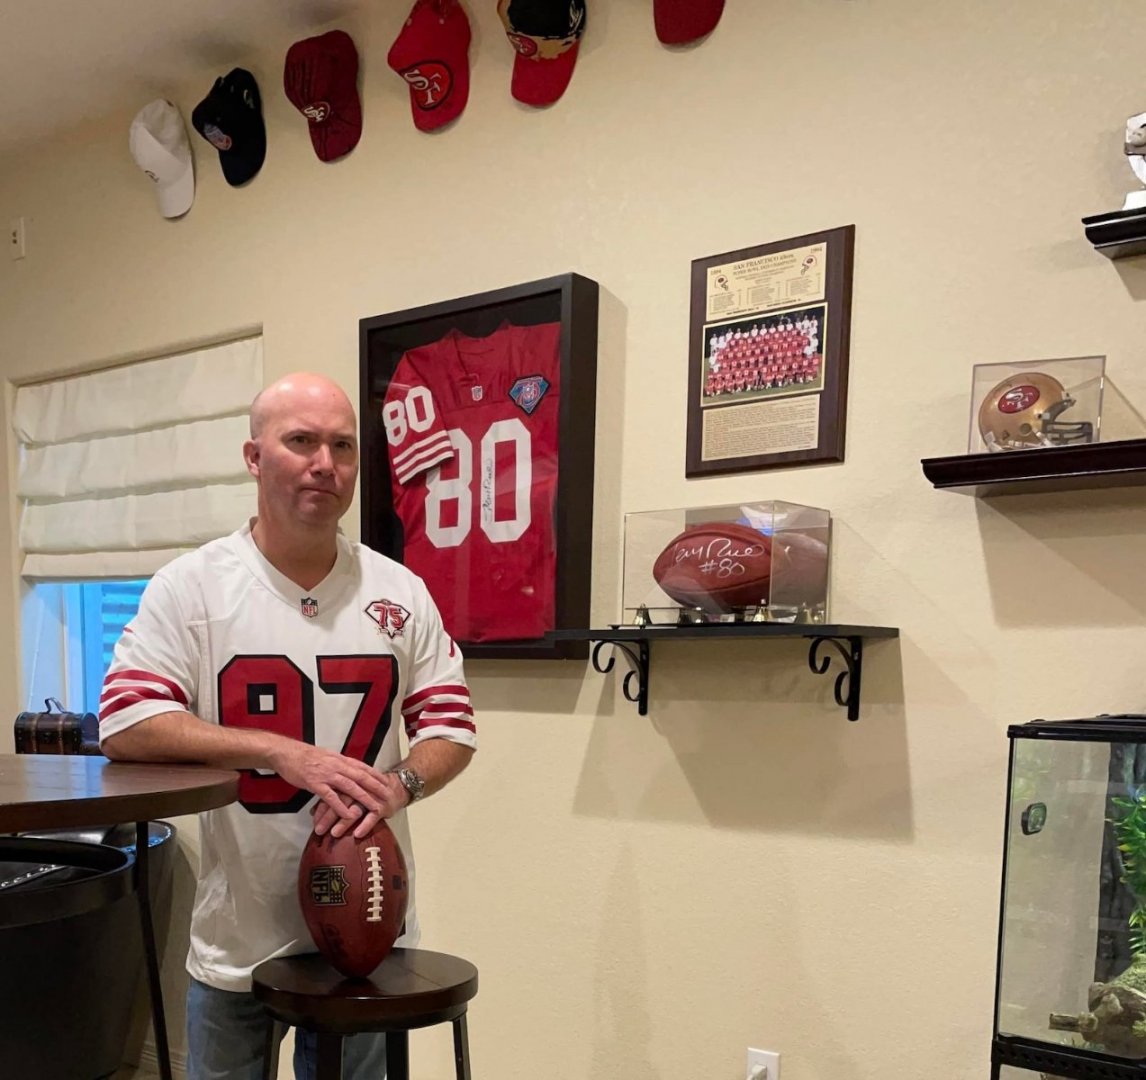
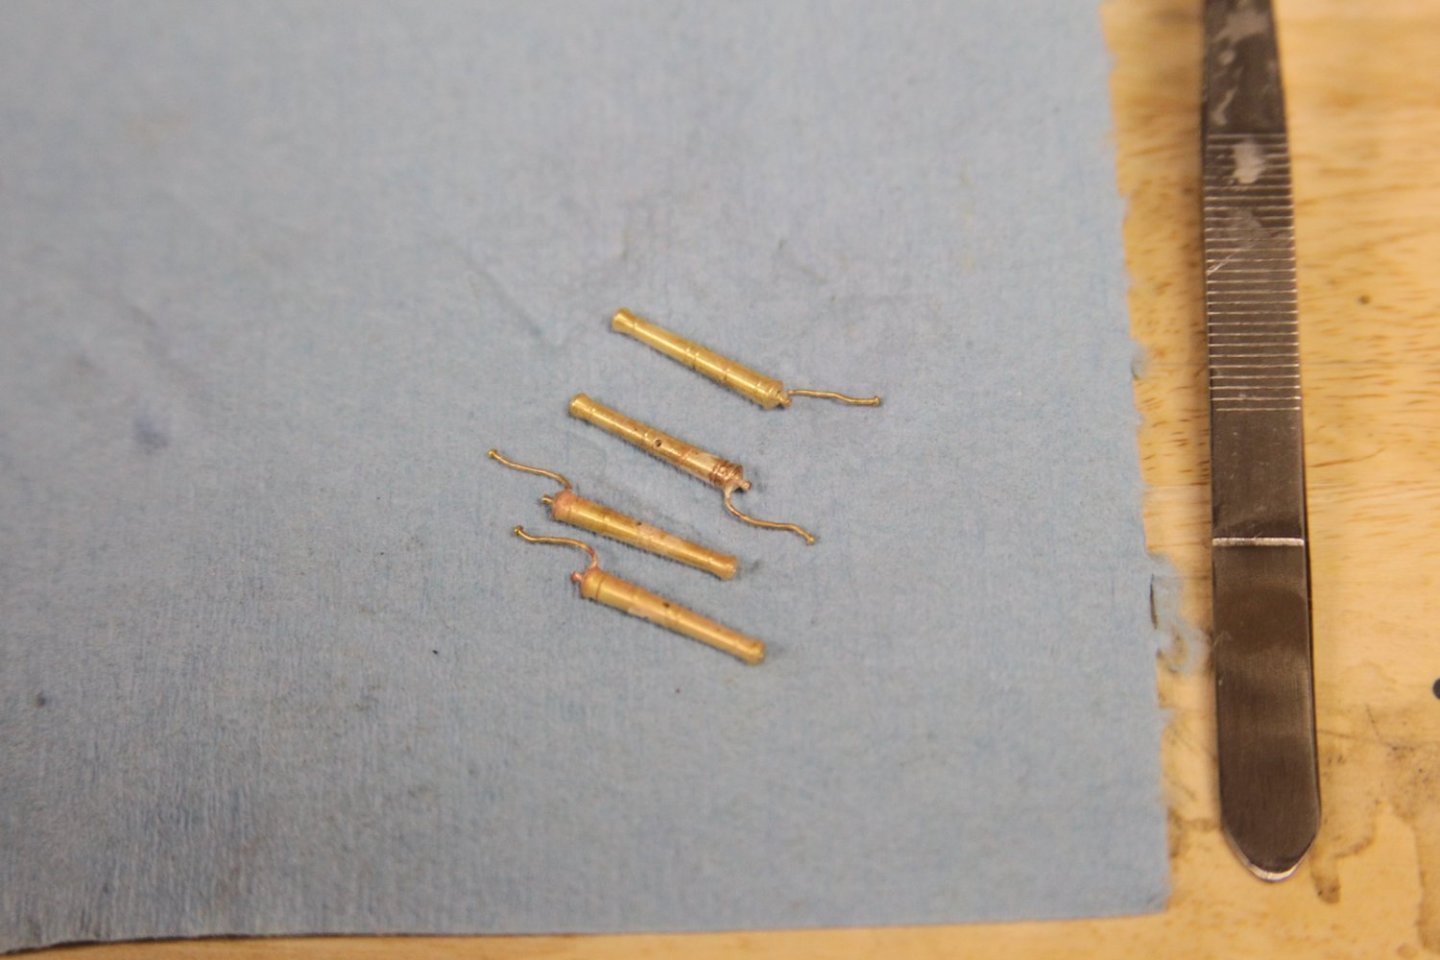
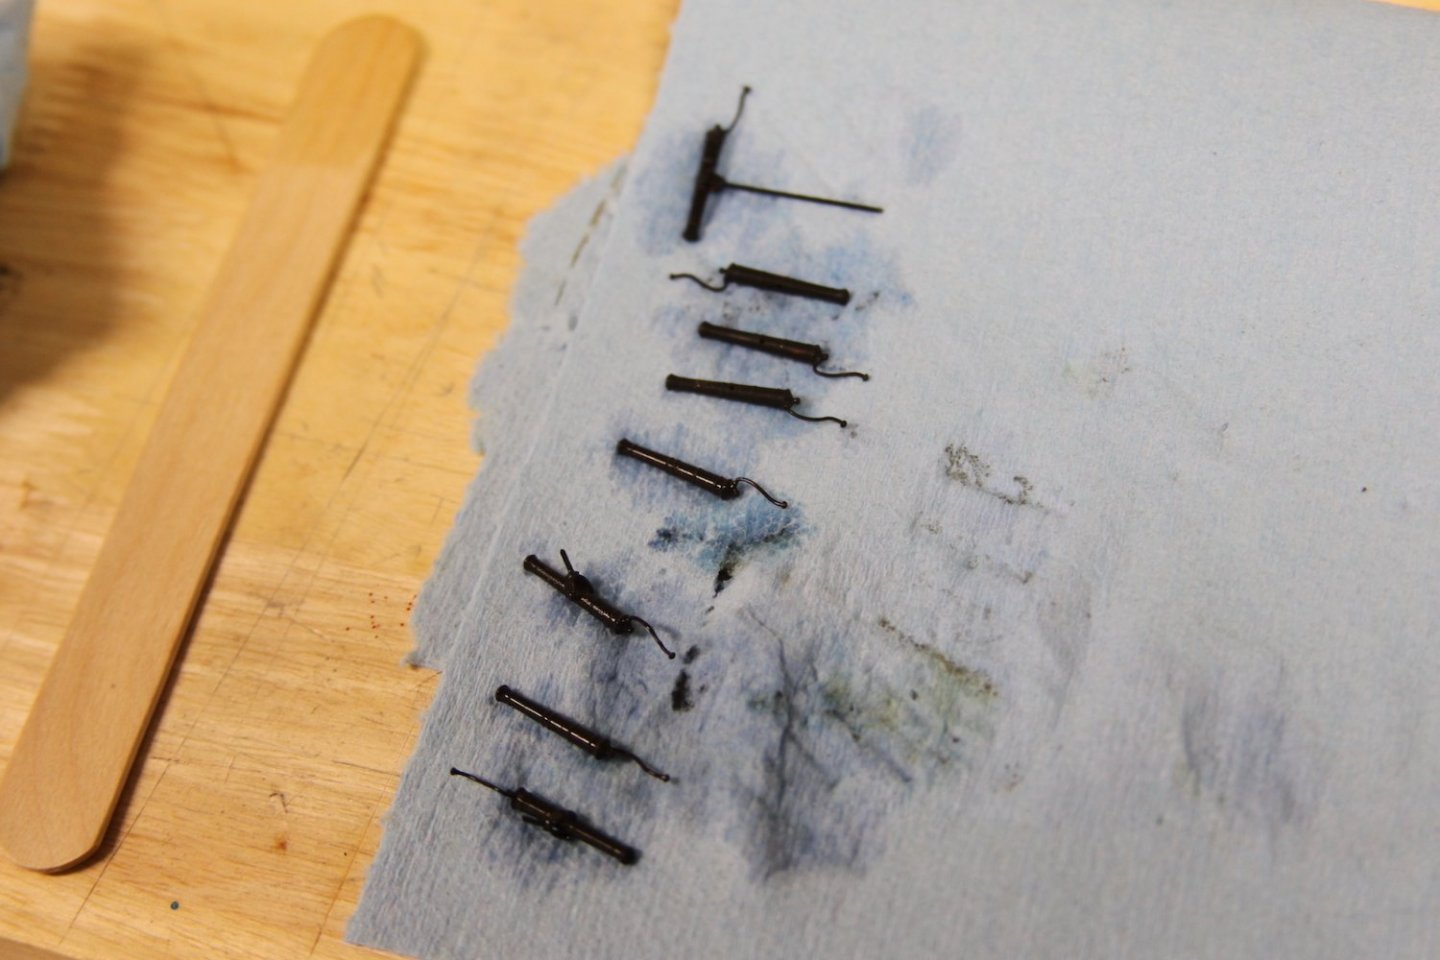
A little bit of a chaotic weekend, but I did get some work done in between yelling at the television during the American Football playoffs. Full disclosure: I've been a MASSIVE 49ers fan my entire life. Here's me getting ready for the game in my bar: Anyway - on to the build. Like many folks, my success with blackening has been hit or miss, and I always ended up having to do touchups or over-weathering to make up for the inconsistencies. But with the success I had soldering the swivel guns, and how inevitably visible they are - I wanted to get the just right. So I went back to the basics on blackening by doing some MSW research and following Greg's (@dvm27) great tutorial post "Blackening Revisited" with all the steps. Ordered some Sparex, stole my wife's crockpot warmer, and set up my station. Needless to say, my results were MUCH improved. The improvement was so good in fact (and I've had a good learning curve with silver soldering) that I decided to complete Re-do my Stove vent. Here's a comparison with the old vs new:


- 419 replies
-
- 13
-
-
-
- Victory Models
- Pegasus
- (and 2 more)
-
Ducati 1299 by Moonbug - Pocher - 1/4 Scale
Moonbug replied to Moonbug's topic in Completed non-ship models
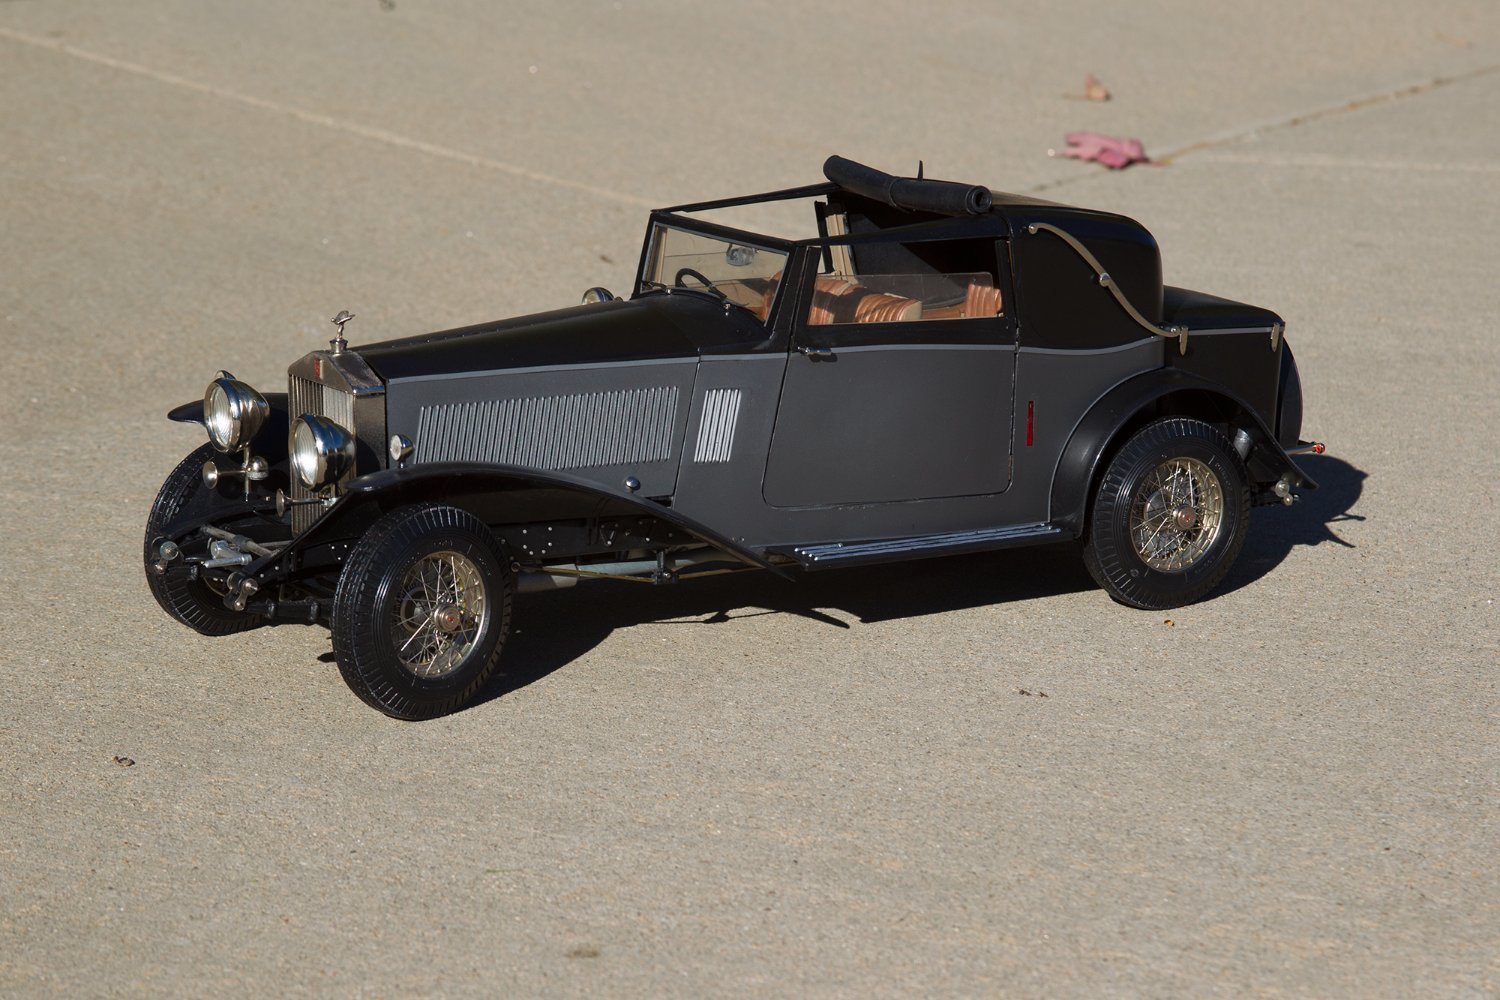
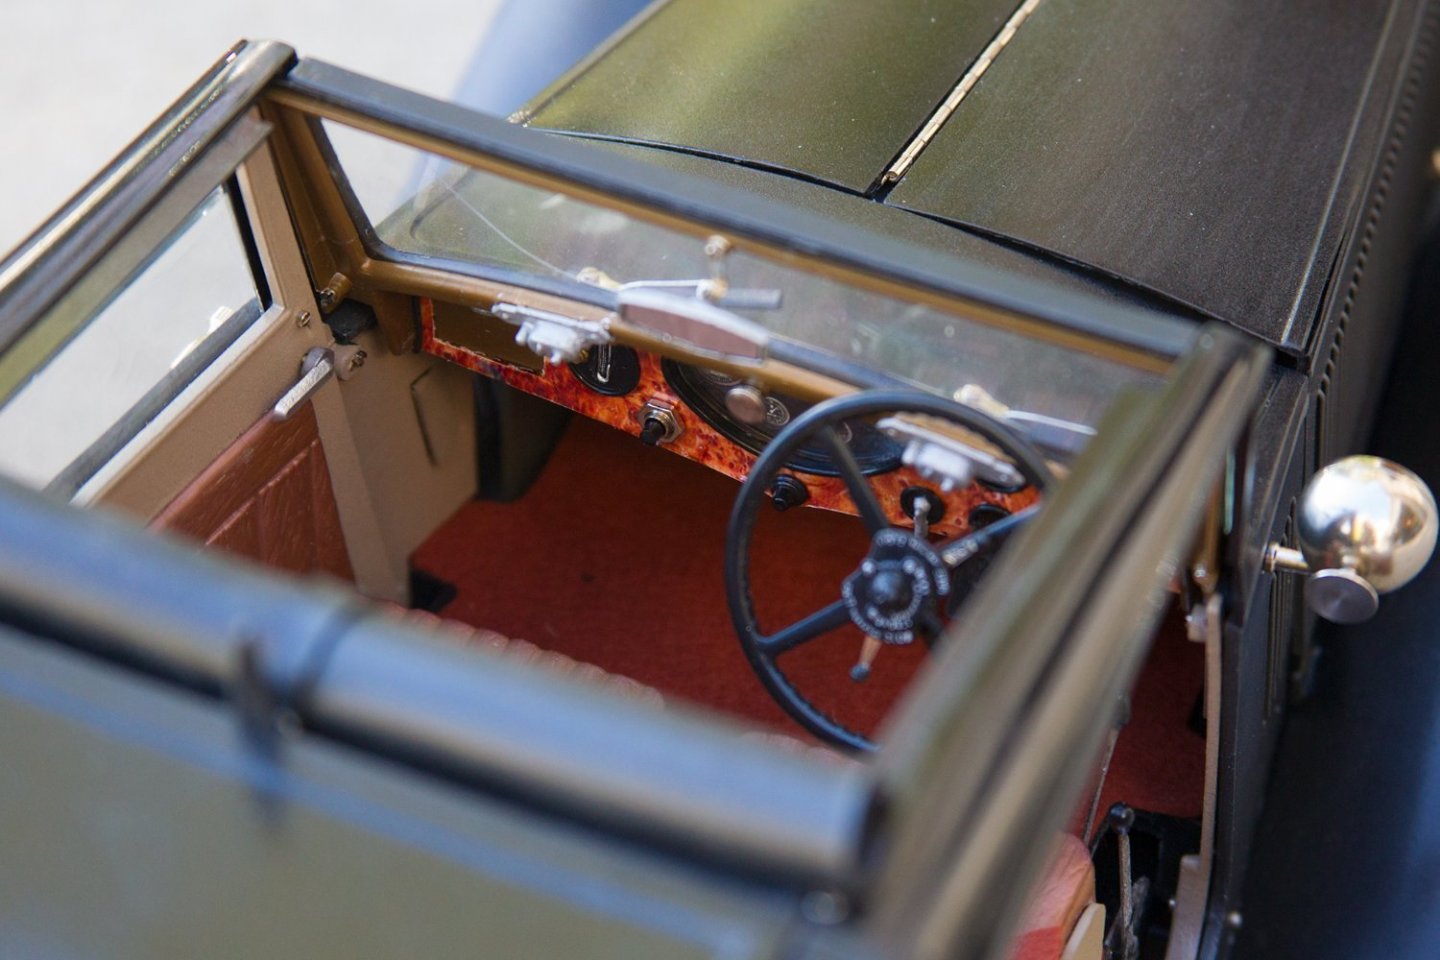
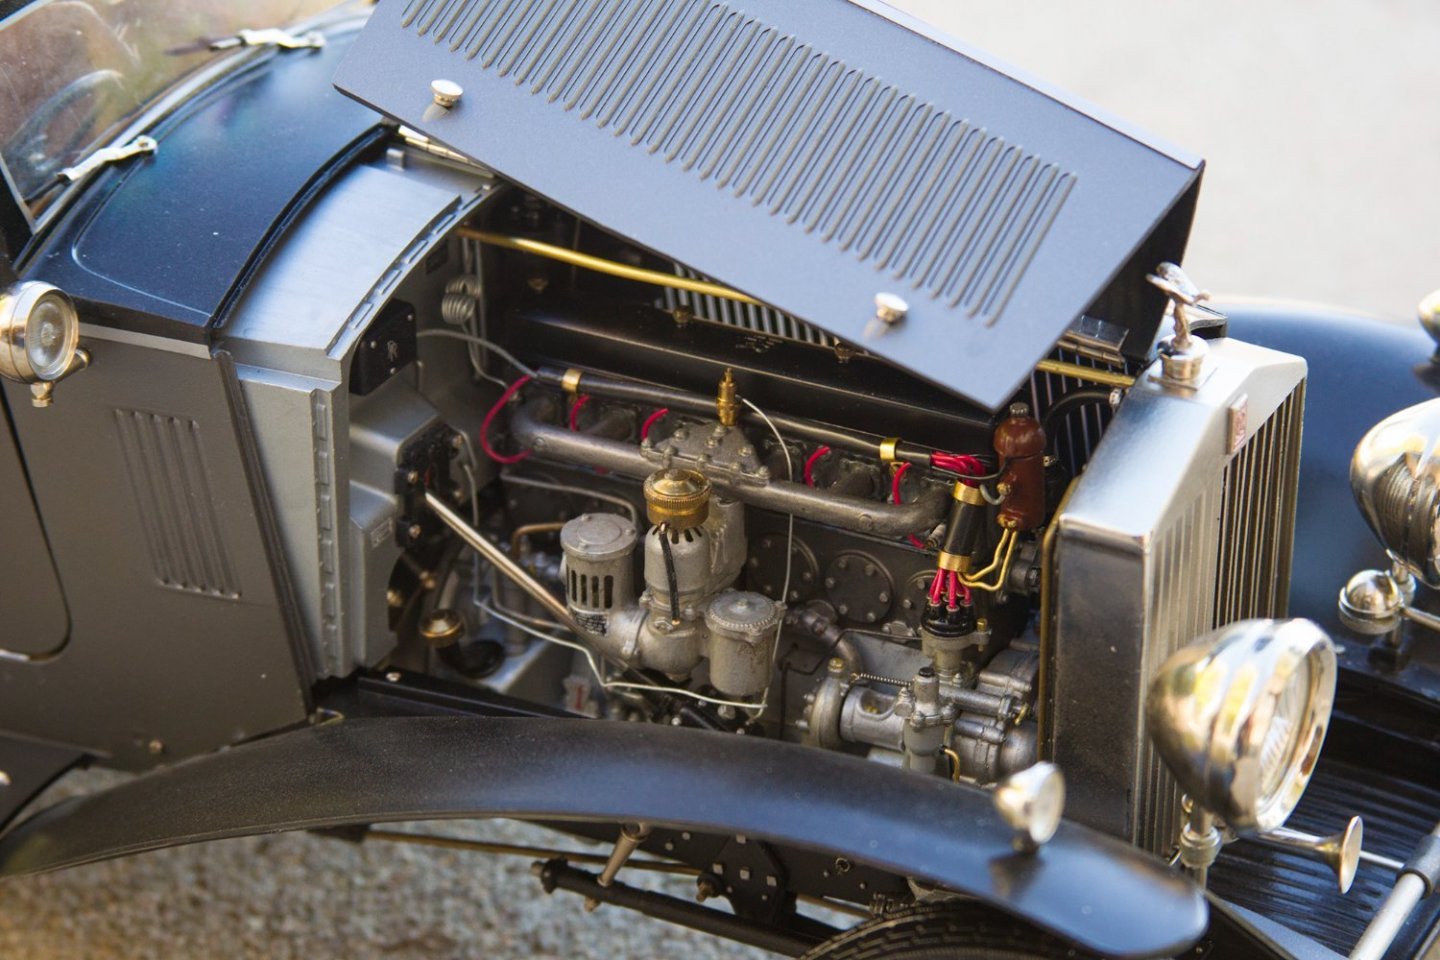
Ron - That's amazing! Where did you find it?? I'd been looking for one since they were released and have had NO luck what-so-ever. I do have this snazzy Rolls that I picked up at an Estate Sale a few years ago. It's the top one in Grant's post. ...

- 25 replies
-
- 12
-
-
-
Nicely done BE - but more importantly, you just sent me down the rabbit-hole of VMS products - hadn't heard of them before being on this side of the pond. Curses... I foresee some expenses coming my way soon.
- 857 replies
-
- 4
-
-
- Sphinx
- Vanguard Models
- (and 1 more)
-
I promise you you’re not alone in the “just don’t see some stuff” area. Honestly, at this point I’m kinda nervous about taking photos because so often I feel really good about something, then I see the photo and go “What the heck?” Except I don’t say “Heck” Anyway, my point is - I think you’re doing a solid job: don’t lose confidence.
- 505 replies
-
- 6
-
-
- vanguard models
- Sphinx
- (and 1 more)
-
Thanks BE - It took some persistence and trial and error, but I think I got to something I'm pleased with as opposed to just "ok" with.
- 419 replies
-
- 2
-
-
- Victory Models
- Pegasus
- (and 2 more)
-
Sounds like the instructions are up for some interpretation Jack. It’s been a while, but I seem to recall that being the case with the couple of Artesania kits I did. I think I relied just as much on other builds and books as I did on instructions.
-
Mini lathe for mast making etc.
Moonbug replied to Charlie pal's topic in Masting, rigging and sails
I have a Proxxon - it’s very user friendly and works like a champ.