HOLIDAY DONATION DRIVE - SUPPORT MSW - DO YOUR PART TO KEEP THIS GREAT FORUM GOING! (Only 20 donations so far - C'mon guys!)
×


_SalD_
-
Posts
828 -
Joined
-
Last visited
Content Type
Profiles
Forums
Gallery
Events
Everything posted by _SalD_
-
 Dan, great work so far. I was wondering how do you keep the planking from sticking to the wooden plug while gluing it in place?
 -
Nice work Max the windlass looks great. I'm not sure about the anchor questions off hand, I think I had found something about it but I need to look through all my old notes. If I find anything I'll let you know.
-
Pirate Ship by JesseLee - FINISHED - BOTTLE
_SalD_ replied to JesseLee's topic in - Build logs for subjects built 1501 - 1750
Bravo! Nicely done Jesse.- 71 replies
-
- 7
-

-
- pirate ship
- bottle
- (and 1 more)
-
Max, I'm glad you like the ship, it's quite a step up from the Phantom. One of the main reasons I purchased the Syren was because of the detailed instructions that came with it and Chuck does an excellent job of explaining each step. You can go to the Model Expo site and download the instructions if your interested prior to purchasing the kit. I think too that just as long as you have some basic knowledge of ship building and model making (and a lot of patience) you shouldn't have any problem building this kit. There is also this forum that is most helpful for looking at previous builds and for answering any questions you may have. Best of luck
- 659 replies
-
- 8
-
-
- syren
- model shipways
- (and 1 more)
-
John, just went through your build log, very nice. You have some great details, the tryworks, the whale boats and one of my favorites, the hp 11C. I've used mine since the '80's and can't understand why everyone doesn't use RPN.
-
Thanks Thomas. I thought it was an interesting way to seize the lines so I thought I'd try it. And thanks to all for the 'likes' it's most appreciated.
- 659 replies
-
- 3
-
-
- syren
- model shipways
- (and 1 more)
-
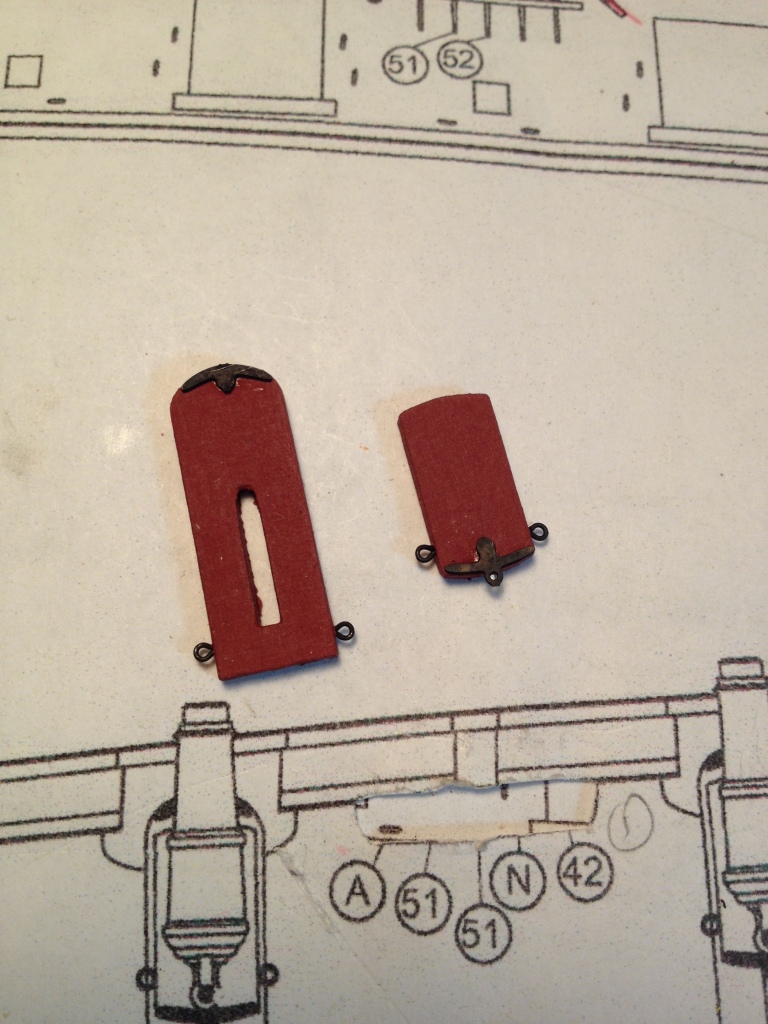
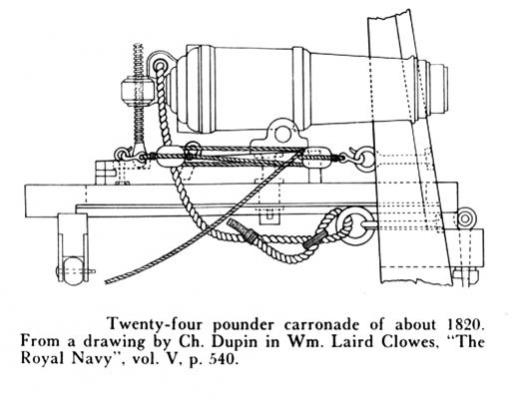
Hi John, Thanks for the kind words and I'm glad you're enjoying my log. The carronades, as I understand it and by no means am I and expert on the subject, have a two piece 'sled'. The lower sled is pinned to the swivel bracket located inboard of the gun port and has the wheels at the back end. This sled travels in an arc for aiming pivoting at the swivel bracket. The upper sled with the cannon mounted to it slides back and forth along the slot in the lower sled guided by a pin. So when the cannon is fired only the upper sled moves backward and then is 'run out' again for firing. I hope this makes sense and I'm sure there are others on this forum that can give you a much better explanation. added a picture
- 659 replies
-
- 6
-
-
- syren
- model shipways
- (and 1 more)
-
Thanks Augie, sounds like me, got most of my teeth too.
- 659 replies
-
- 3
-
-
- syren
- model shipways
- (and 1 more)
-
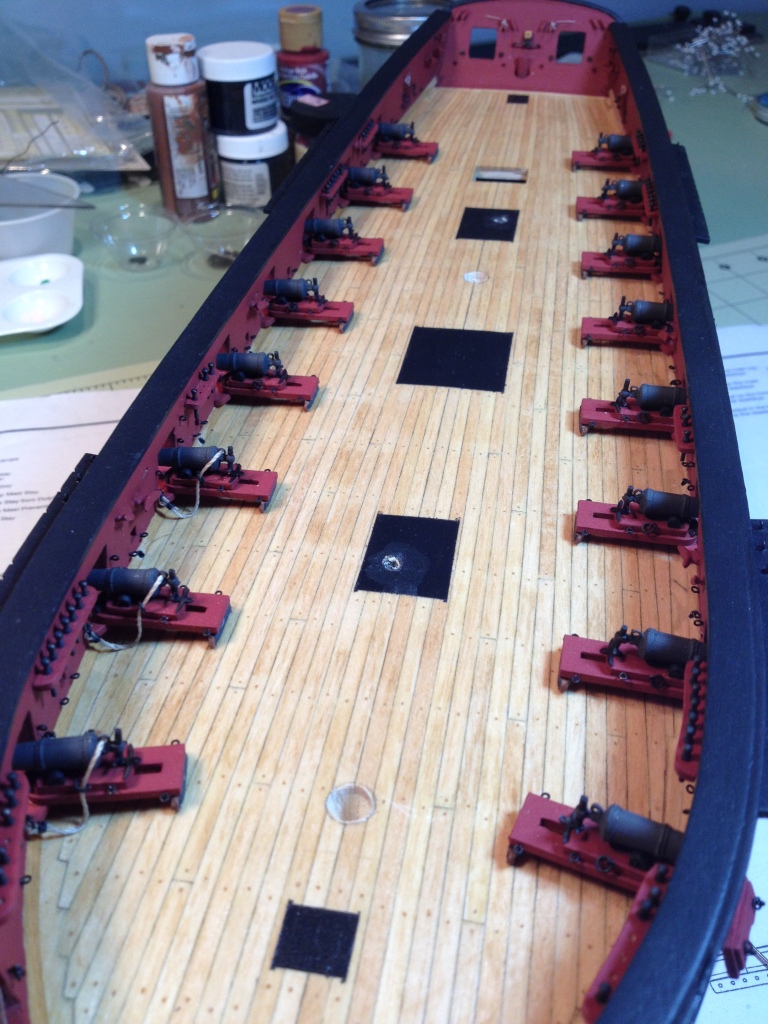
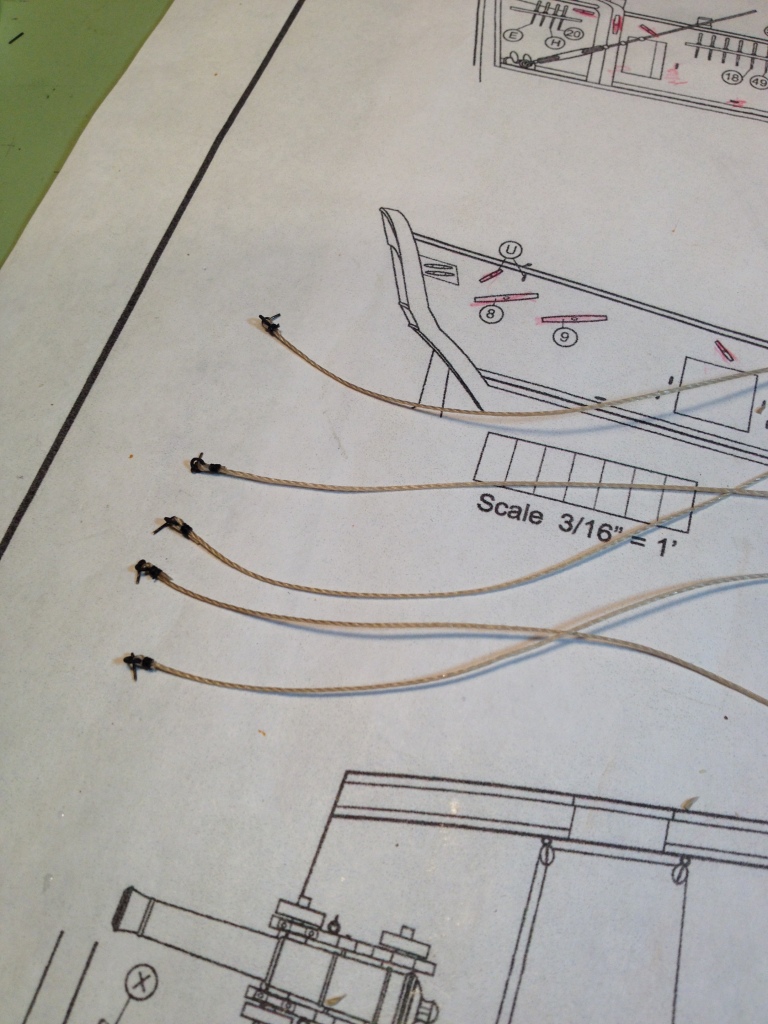
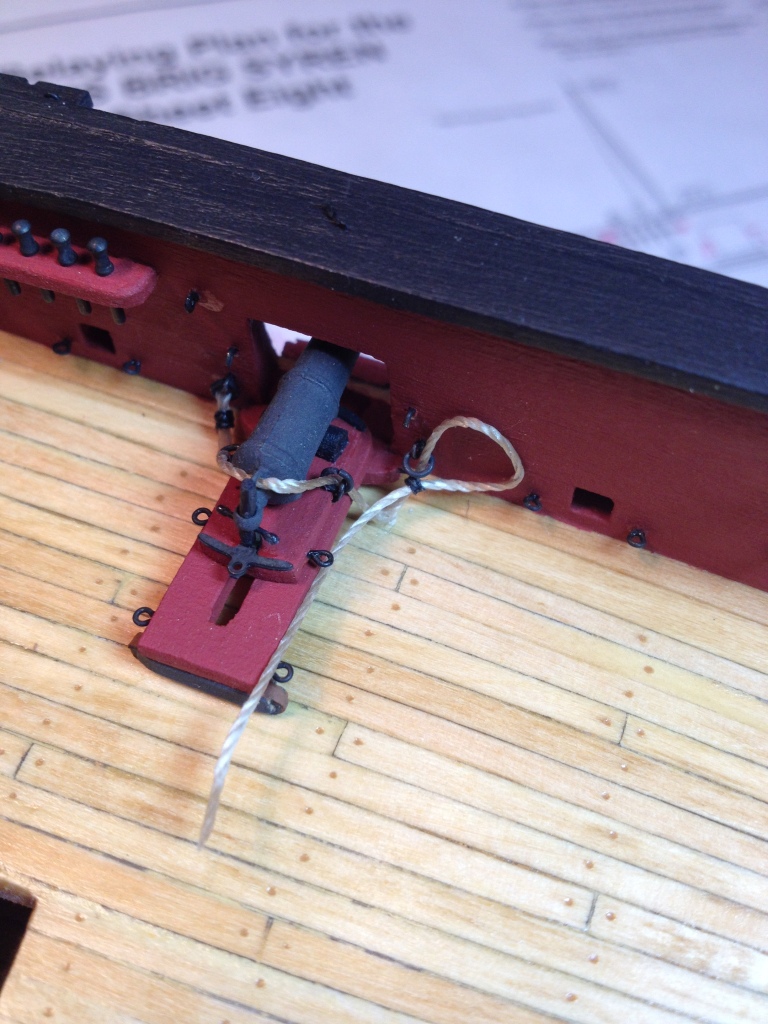
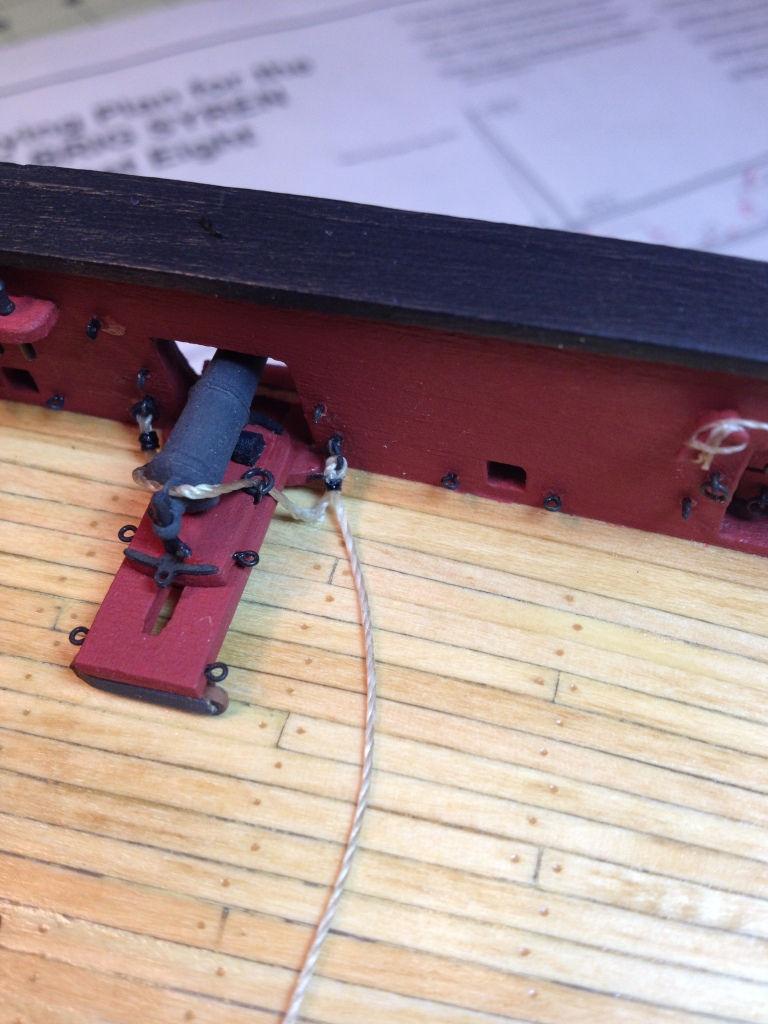
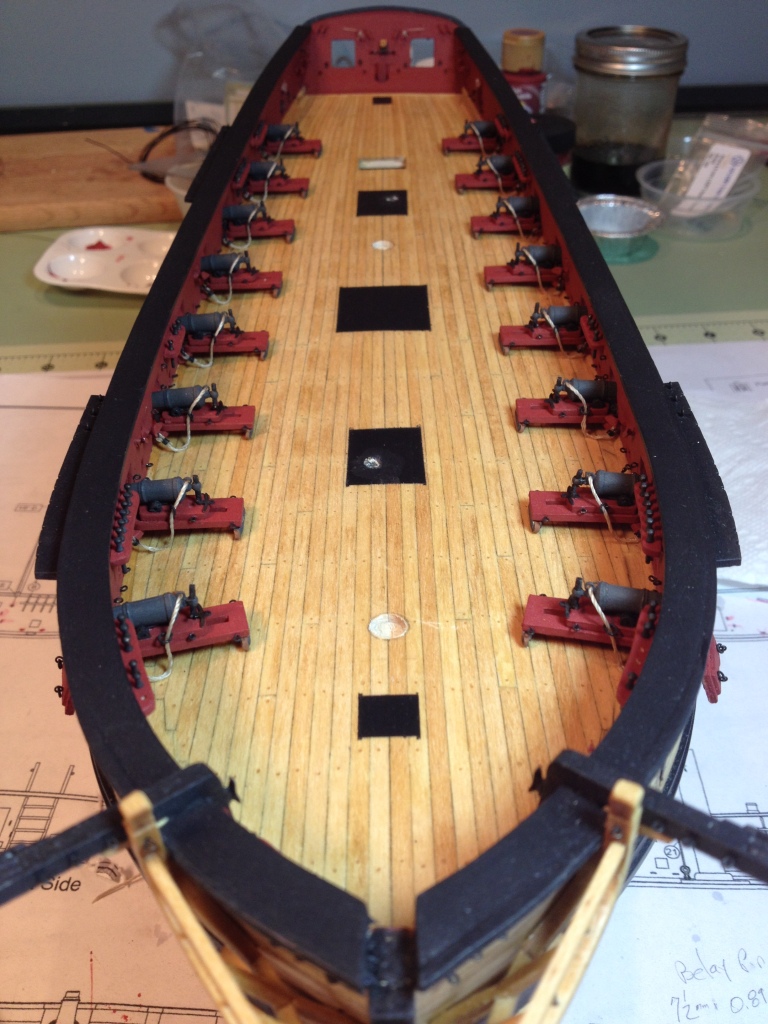
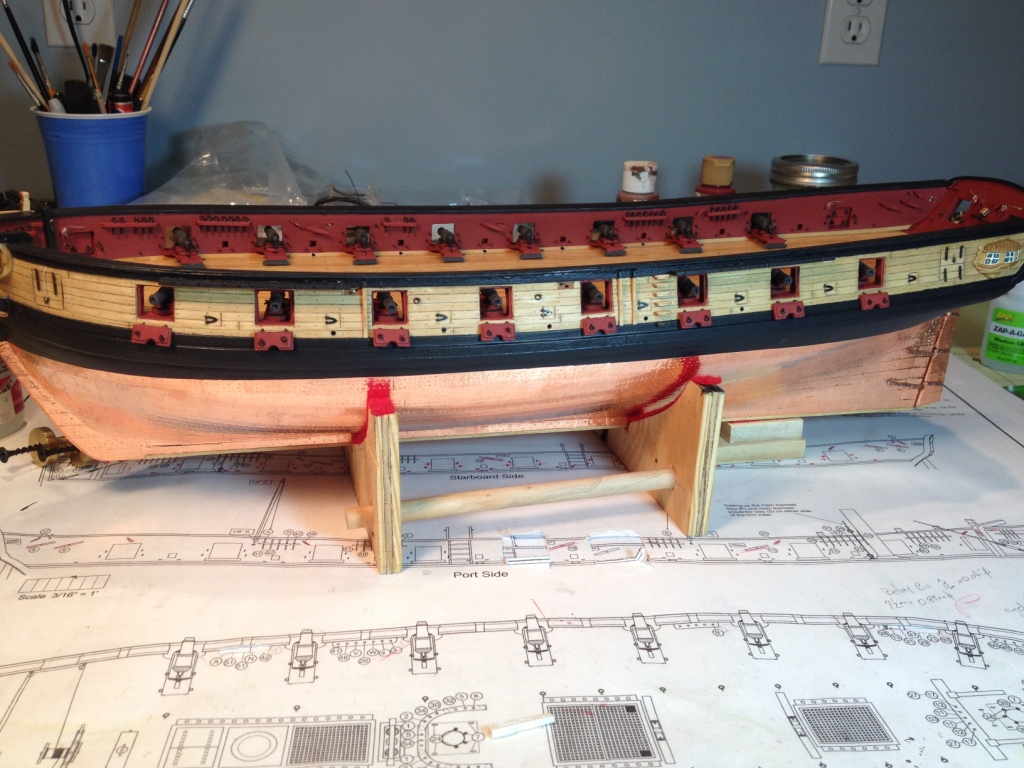
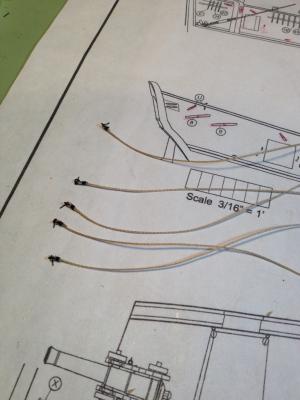
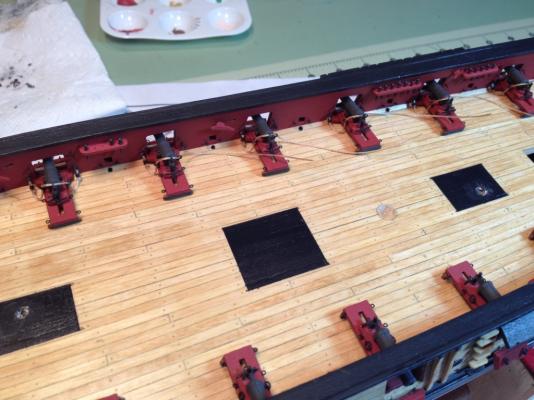
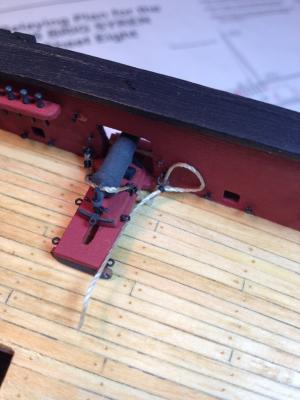
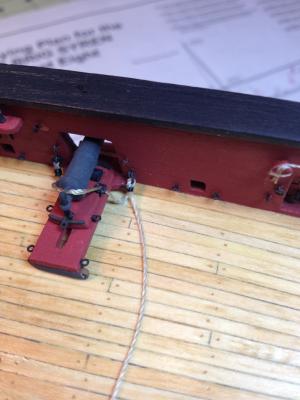
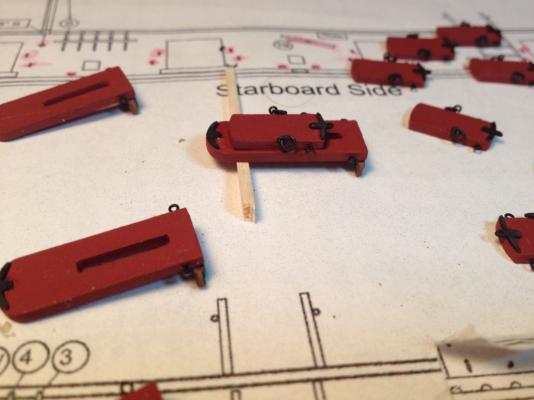
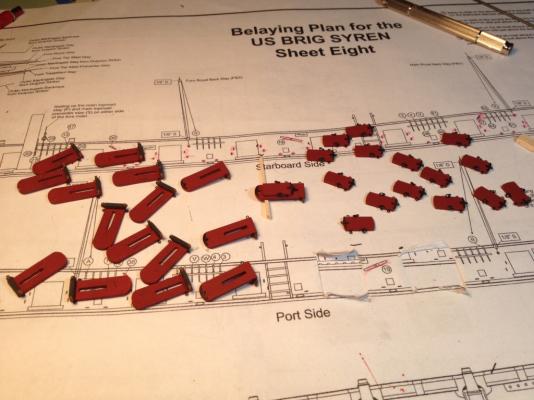
Carronade breech rigging. To rig the breech lines I decided to glue all the cannons in place and not do them off the ship, pretty much how it’s described in the manual. After doing three cannons I came up with a procedure that worked pretty well for me. First I made up all the breech lines I needed for the remaining five starboard cannons with a breech ring and eye bolt seized to one end. At the other end of the line I applied some ca glue to stiffen it up to make it easier to thread through the other rings. Next I glued the breech ring’s eye bolt to the bulwark and threaded the line through the left and center breech rings. Prior to doing the right side of the cannon I glued the line to the deck on the left hand side of the cannon as Chuck did in his instructions. On the right side of the cannon I glued the breech ring to the bulwark prior to threading the line through it. I also slipped a ‘zip-seizing’ onto the line before threading it through the bulwark breech ring. 'Zip-seizing'?, you may ask. While reading Brian’s (GuntherMT) AVS log I was intrigued with his use of ‘zip-seizing’ and thought I would give it a try and it worked out rather well. Here’s a link for anyone interested in learning more about it http://modelshipworld.com/index.php/topic/8936-zip-ties-yes-or-no-for-seizings/?p=263833. Before threading the line through the ‘zip-seizing’ I glued the breech line to the deck. Once the glue was dry I tightened up the line on the breech ring and applied some ca to the seizing. Threading the line through the ‘zip-seizing’ was a challenge but with a little patience it can be done. I'm also glad I added the breech rings to the upper sled, it made positioning the breech line much easier. Starboard side finished. Port side done.


- 659 replies
-
- 10
-
-
- syren
- model shipways
- (and 1 more)
-
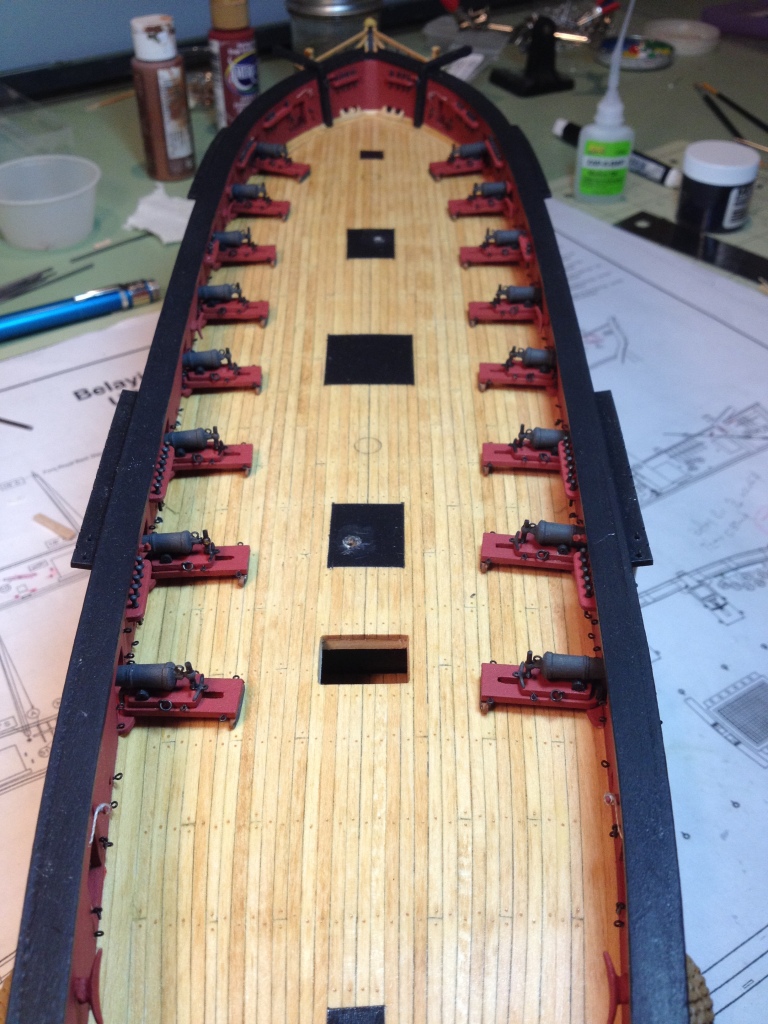
welcome back to the shipyard Max things are looking good and good luck in school. you're right, green is starboard and red is port side
-
US Brig Syren by Gahm - Model Shipways
_SalD_ replied to Gahm's topic in - Kit build logs for subjects built from 1801 - 1850
Thomas, I thought about doing that but not for very long, nice work, keep it up. -
Pirate Ship by JesseLee - FINISHED - BOTTLE
_SalD_ replied to JesseLee's topic in - Build logs for subjects built 1501 - 1750
Sails look real nice Jesse, I like the flag too.- 71 replies
-
- 7
-
-
- pirate ship
- bottle
- (and 1 more)
-
Thanks for the information Brian and George. A lot to read and study.
- 659 replies
-
- 2
-
-
- syren
- model shipways
- (and 1 more)
-
Thanks Thomas and Dirk. Need to add her back teeth now.
- 659 replies
-
- 2
-
-
- syren
- model shipways
- (and 1 more)
-
Thanks Augie, I went back and forth on using the supplied ones or buying new ones. I guess you know how that ended.
- 659 replies
-
- 2
-
-
- syren
- model shipways
- (and 1 more)
-
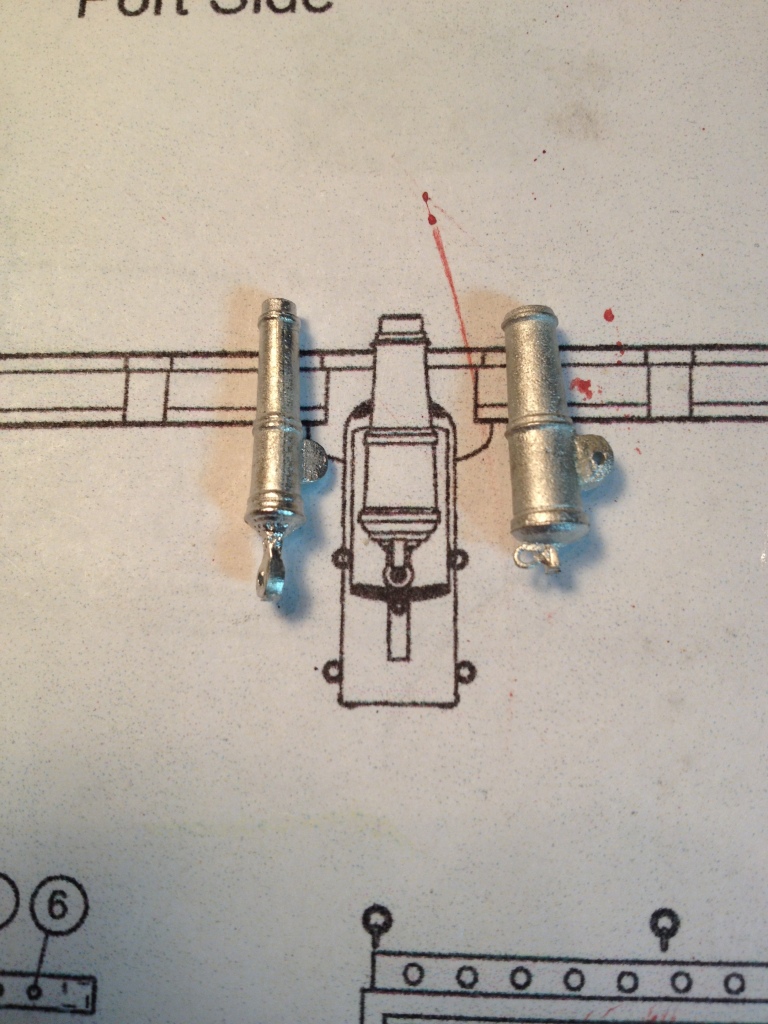
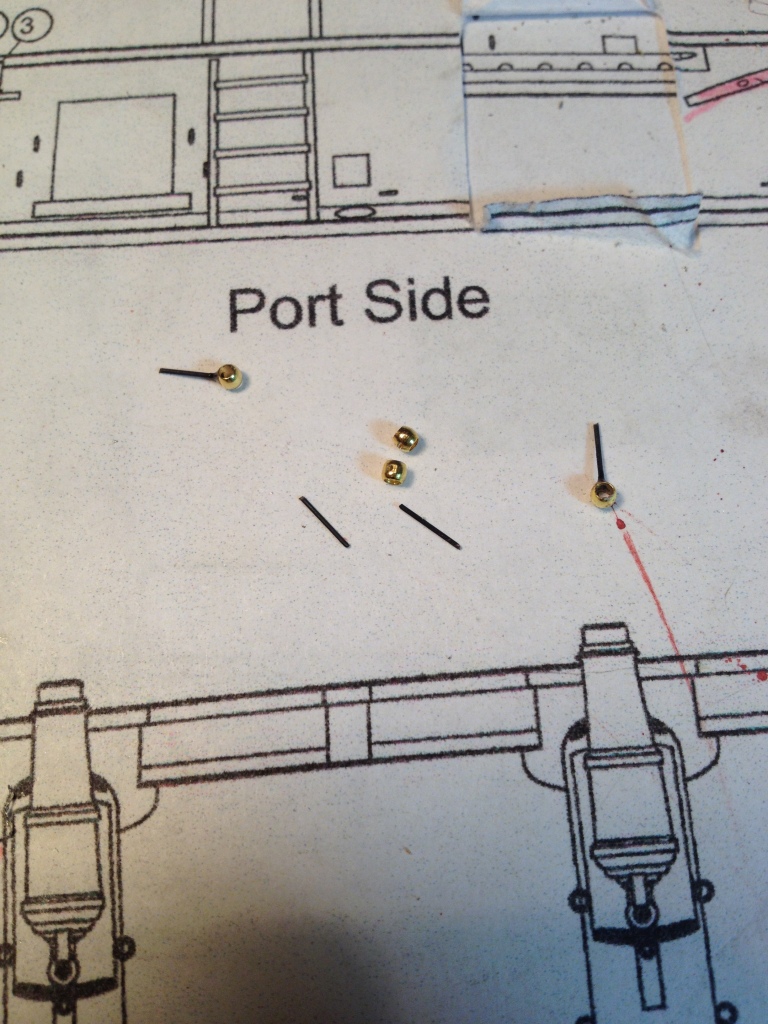
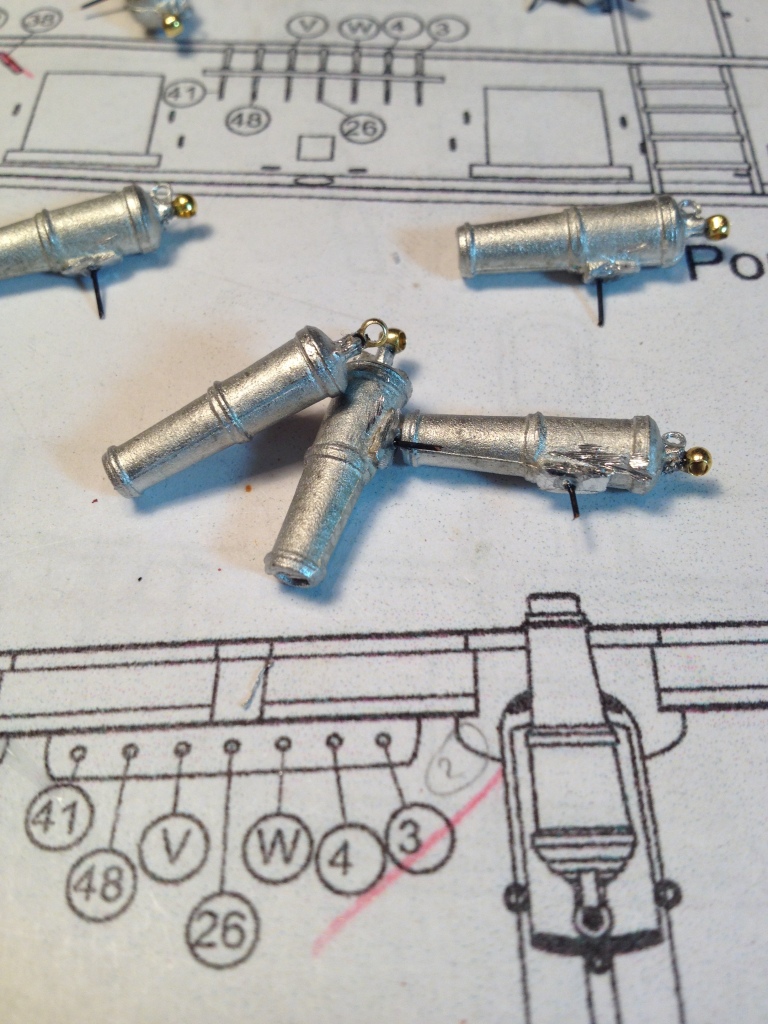
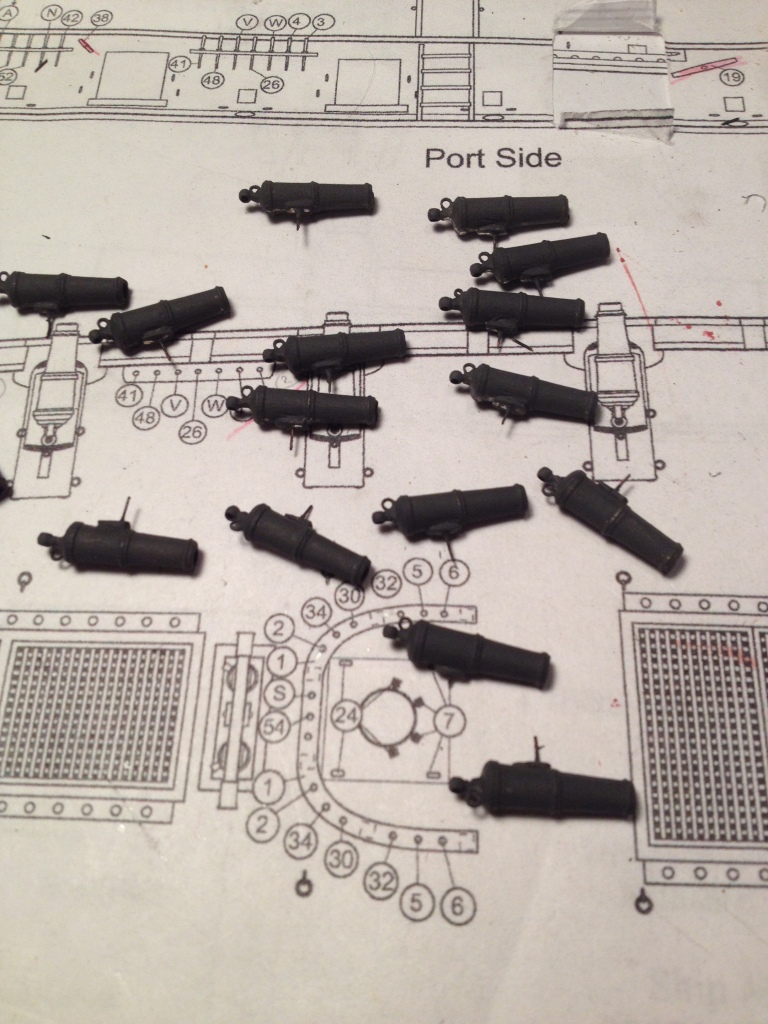
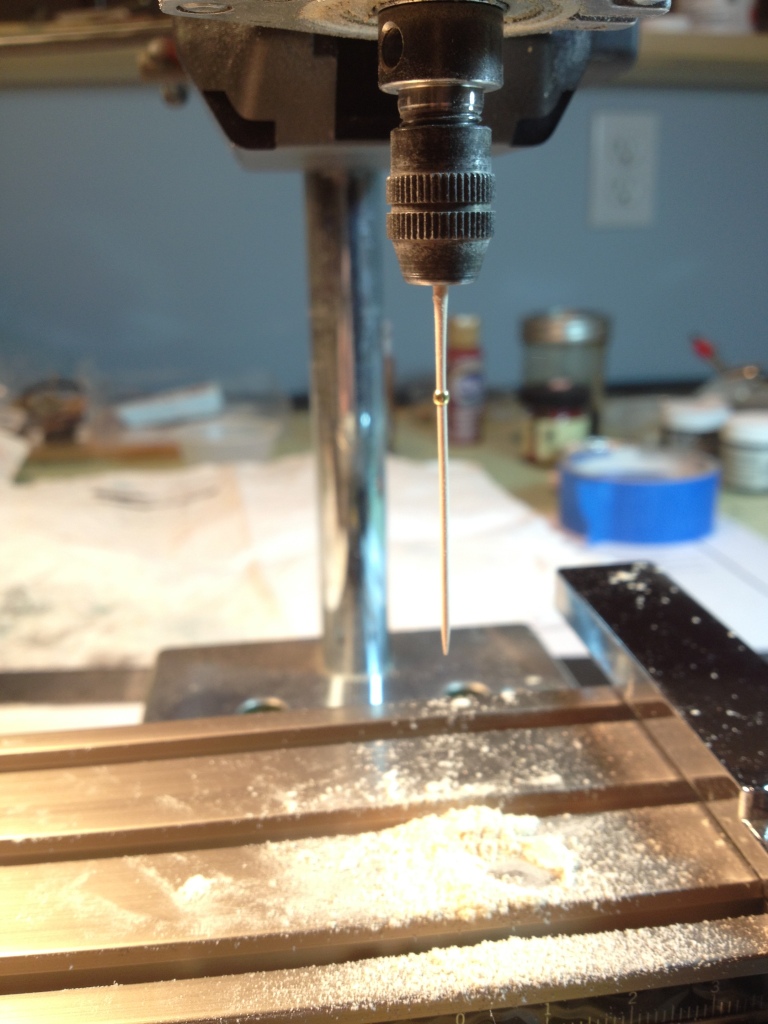
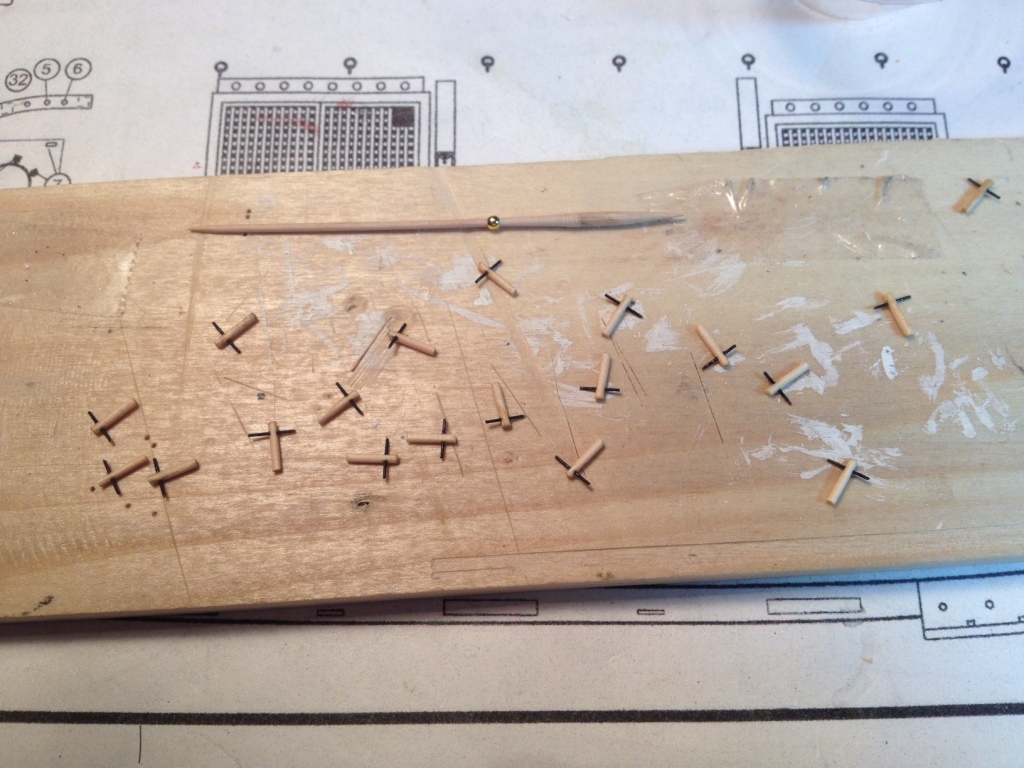
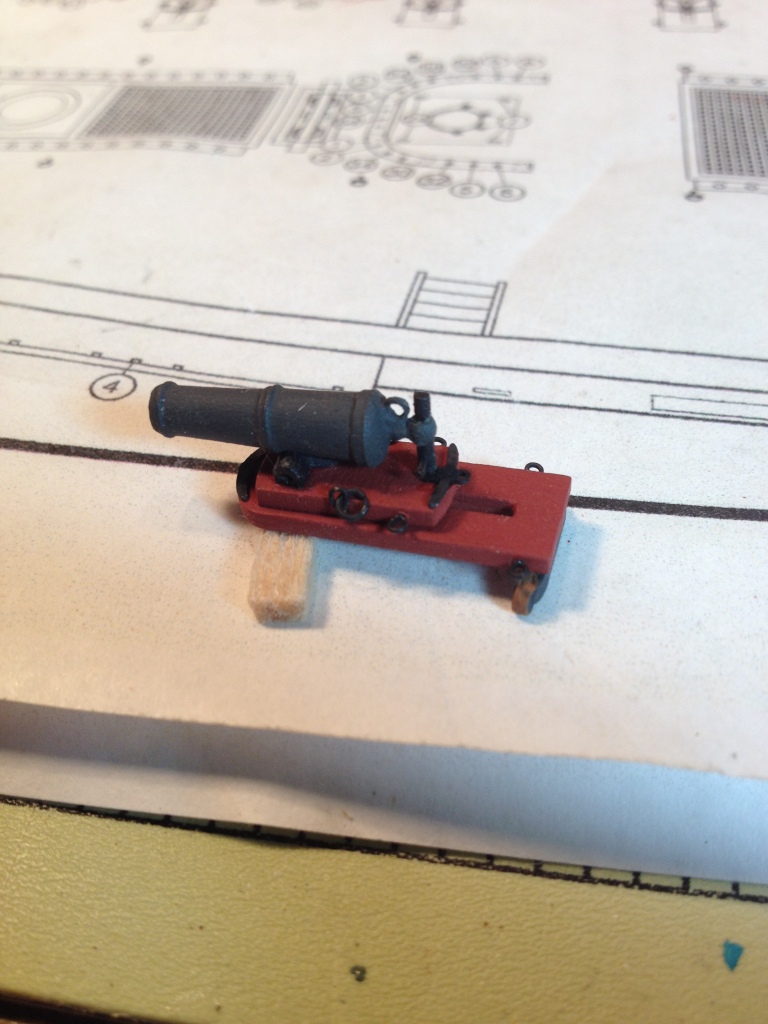
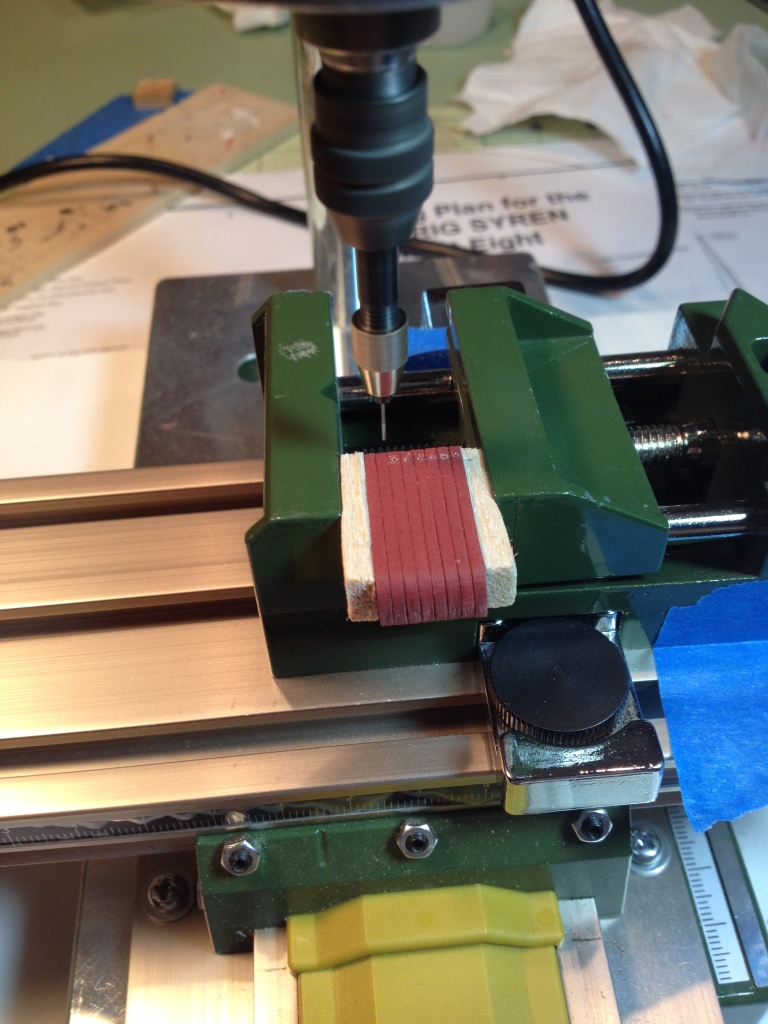
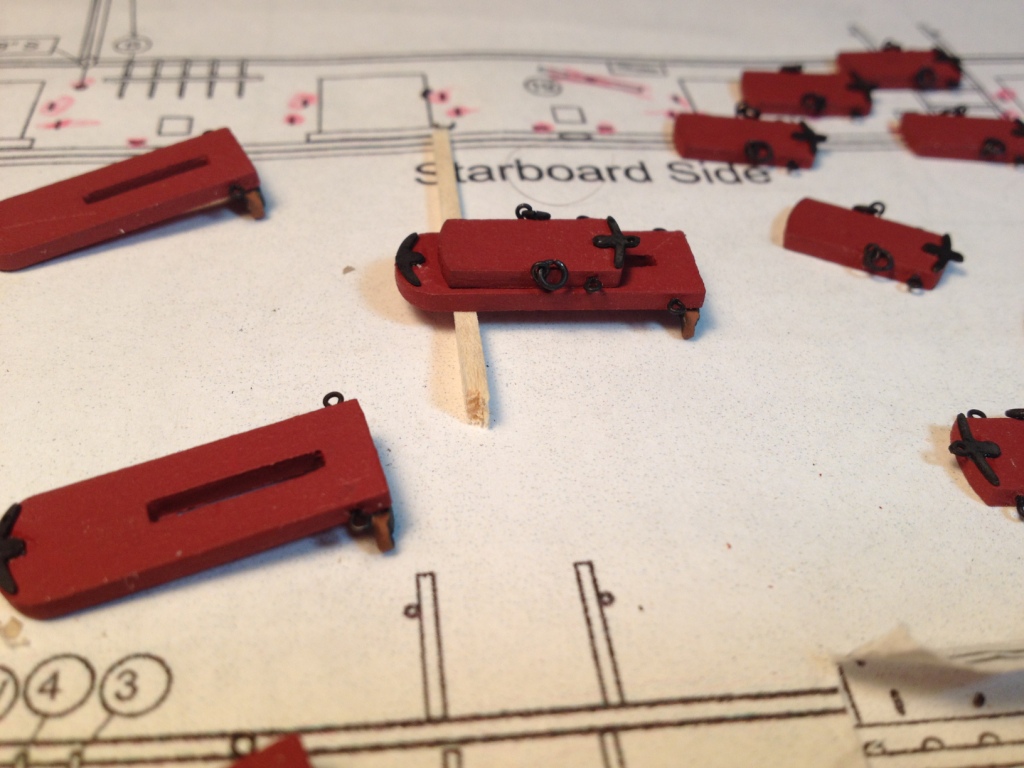
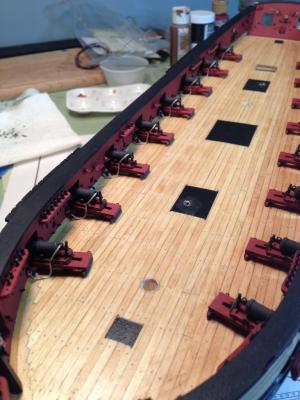
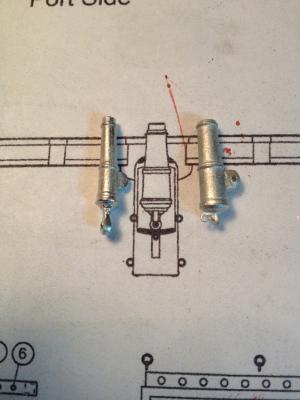
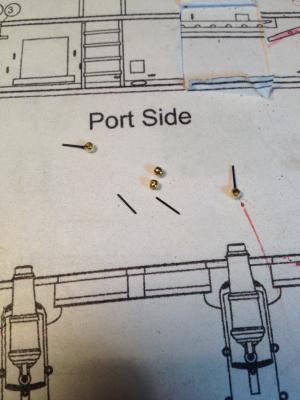
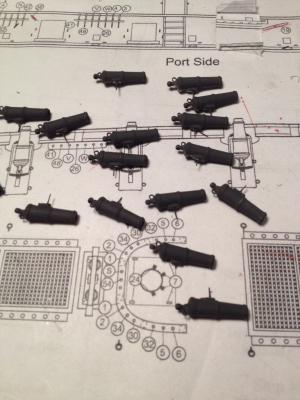
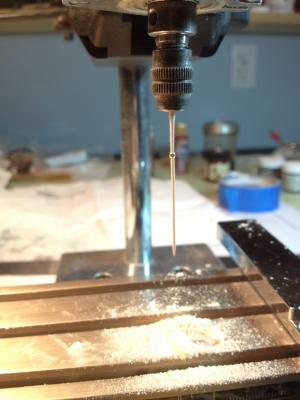
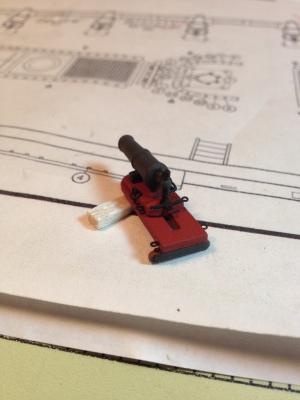
Carronades (sorry for the long post) After much reflection I decided to upgrade the carronades from the kit supplied ones to the carronades from Bluejacket Shipcrafters. The kit carronades just appeared a bit small and wimpy. Bluejacket carronades compared to kit supplied ones. The one thing that the Bluejacket carronades do not have is the part of the cannon that the elevating screw passes through. For this part I raided my daughter’s jewelry beads and used a brass crimp bead. To help secure them to the cannons I drilled a small hole in it and glued in a pin. The other modification I made, and I’d like to thank Rod (rvchima) for posting his mishap with these same cannons on his Syren, was to remove most of the lug at the bottom of the cannon. This was done so the cannon would sit lower on the sled to be better positioned in the gun port. I also added a small pin on the bottom of the cannon to help secure it to the sled. Then painted them all The screws used to adjust the elevation of the cannon were made from toothpicks. I chucked them in my drill press a used sandpaper to thin them down. I used a bead to make sure I had the right diameter. The toothpick was cut to length and a small hole for the handle was drilled into it. For the handles I used the scrap shank pieces from shortened eye bolts. All the pieces were then assembled. Carronades are only temporarily placed. I want to drill the hole for the masts before I glue them down. If anyone is still reading I was wondering what peoples opinions were about rigging the cannons. Is it easier to do it with the cannons on or off the ship?


- 659 replies
-
- 11
-
-
- syren
- model shipways
- (and 1 more)
-
Best of luck with the Phantom Edward. It's a lot of fun building this model.
- 32 replies
-
- 2
-
-
- phantom
- model shipways
- (and 1 more)
-
Thanks George. If I take my glasses off and take a step back I don't notice it either (lucky if I can still see the ship).
- 659 replies
-
- 4
-
-
- syren
- model shipways
- (and 1 more)
-
Continuing with the carronade assemble I used my drill press to drill all the holes for the eye bolts. This worked well except I should have paid closer attention to aliening the holes on either side. I used a divider to mark the hole locations but as you can see they’re a little off. I don’t think it will be that obvious once all the rigging is added and as long as I don’t tell anyone no one should notice. Next I glued on all the photo-etched details to each sled and mounted the wheels to the lower sled after painting them. After reviewing some of the other Syren build logs (Gahm’s & Dirk’s) I decided to add the breech ring to the sides of the upper sled. A little more work but I like the way it looks. I have to say, that as I am working on these small parts I have a much better appreciation of the craftsmanship that Thomas and Dirk put into their cannons (and ships).


- 659 replies
-
- 8
-
-
- syren
- model shipways
- (and 1 more)
-
I think we've all had that problem Gundorph. I used the one from the plan sheets also. Good job.
-
Jesse, I don't know if you've had a chance to look at my build but I tied to explain the different planking patterns, 3 butt, 4 butt and what Chuck used. see link http://modelshipworld.com/index.php/topic/8410-us-brig-syren-by-sald-–-model-shipways/?p=292710. Also the planking is tapered towards the stern not the bow. Your right though, if you don't taper the planks at the stern you should nib them into the margin plank otherwise they will end at a point. I tapered mine so I didn't need to do that. I didn't find nibbing the margin plank at the bow with it glued in place to difficult. I cut the deck plank first then laid it on top of the margin plank to mark where I needed to cut it. Hope this helps.
- 1,306 replies
-
- 6
-
-
- syren
- model shipways
- (and 1 more)