


Landlubber Mike
-
Posts
4,547 -
Joined
-
Last visited
Content Type
Profiles
Forums
Gallery
Events
Everything posted by Landlubber Mike
-
 Great start Craig. I have a couple of these in the stash - you're right that you can really pimp these old Pocher kits with sweet aftermarket, but at a very steep cost. Looking forward to seeing this come along.
 -
Looking forward to watching this one come along Rob. Nice looking kit and subject - and cool larger scale!
-
Wow OC, I didn't realize you had bit the bullet so to speak last year and broke up the ship. Looks really good!
-
Thanks Alan! I’m not sure there is any more difficulty per se in a resin kit versus an injected molded plastic kit when it comes to these 1/700 ship kits (probably different story when it comes to 1/32 plane kits for example). I think you can get crisper details in resin versus plastic, and there may be flash just like with plastic kits. Resin kits could have pin hole air bubbles, but these are easy to fill and sand. You also supposedly have to be more careful with resin dust, but I haven’t found much dust working with these 1/700 kits. I think a big benefit with the resin kits is that they tend to be all-in-one kits where you don’t need a separate PE details kit that requires you to remove plastic parts and details to replace them with PE. Instead, these kits and designed with the included PE and detail parts in mind, so there is less removal and replacement, and more just building. At least this is what I’ve found with this Niko kit as well as my FiveStar Yaeyama build that I’m just about done with. Try one out - these are pretty fun.
-
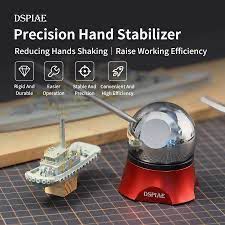
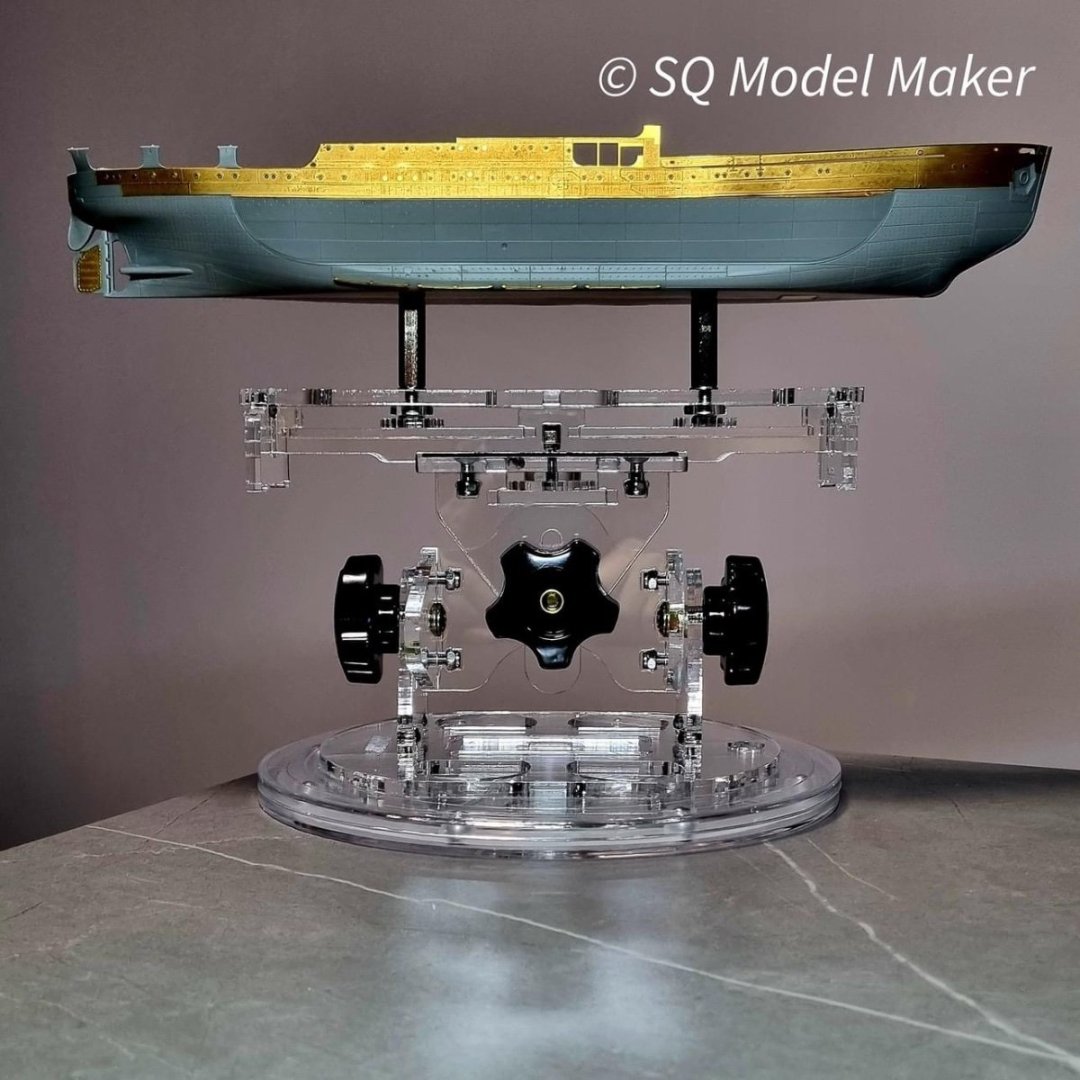
Thanks Dave! It's not as bad as it looks. My Optivisor with lighting element and very fine micro tweezers are my two main tools. A good hold and fold for the PE is worth getting as well. Physically, my eyesight isn't that great but with glasses, good lighting, and the Optivisor, it's doable. Thankfully, I have very steady hands at the moment - unless I drink too much coffee so I try not to drink more than one cup before any PE session. I did buy one of these just in case my finger dexterity changes - I haven't used it yet, but it is a really nice tool. Very stable and easy to use. One thing I've been looking to improve is how I hold the 1/700 model. Right now I just blue tack the base to a Tamiya paint jar. That works pretty well, but typically requires me to hold the jar/ship in my left hand and work with my right. There are times though that I've felt the need to have two hands available, so I've been considering alternatives. I could also put the jar in a vise, but on a Facebook 1/700 ship forum, I recently came across this item from CnCraft in Korea that I might try.
-
Thanks Kevin!!
-
Thanks Craig! Niko did a great job on this kit - I'm just trying not to mess it up too much.
-
I've made good progress on the Albatross - everything is now installed except for the Walrus (to be seated on the catapult) and the small boats. I also have two cover options for that entryway into the bowels of the ship where the Walrus and other big items were stored. I can model it closed or open with the cover pulled back. I'm considering open just for a little more visual interest. Next up is to clear coat, add a little shadowing/highlighting/weathering, add the remaining items, final clear coat, then rigging (which there is a lot of) and ensign. This has been a really fun kit of quite an interesting subject. Thanks for looking in!
- 75 replies
-
- 17
-

-

-

-
I can't remember whether I did so or not. I do remember going to the island with the mailbox - was a cool thing to see. Glad that it worked for you - how cool!
- 290 replies
-
- 5
-
-
- Quinquereme
- Finished
- (and 1 more)
-
I couldn't resist going back to Ian's post - I went to the Galapagos 15 or so years ago, and it was the most incredible, magical trip I've ever been on. I probably took the same number of pictures. I highly recommend going there to anyone. Most animals don't have natural predators there so you can get up close with all the wildlife - red and blue footed boobies, frigate birds, iguanas, tortoises, etc. on land, and then you can snorkel in the water with sea lions, sea turtles, sharks, etc. Really an incredible place.
- 290 replies
-
- 6
-
-
- Quinquereme
- Finished
- (and 1 more)
-
Glen, I'm just catching up and you're doing an amazing job my friend!! So creative!
- 290 replies
-
- 5
-
-
-
- Quinquereme
- Finished
- (and 1 more)
-
Wow Kevin!! Another beauty, great job!
-
HMS SUSSEX 1693 by 8sillones
Landlubber Mike replied to 8sillones's topic in - Build logs for subjects built 1501 - 1750
I definitely would be - this ship is on my bucket list! -
Vincent Black Shadow by CDW - Revell - 1:12 Scale
Landlubber Mike replied to CDW's topic in Non-ship/categorised builds
Those wheels are going to look 100x better when you're done. Nice job Craig. -
Thanks guys, really appreciate it!
-
Thanks guys, really appreciate the kind words.
-
Primed, painted, and now adding in the remaining details before weathering and rigging. I've been very pleased with the details on the PE and resin parts for this kit. Niko did a really great job with this kit. Thanks for looking in!
- 75 replies
-
- 17
-
-
-
Wow, what a cool subject! I'm in for this one Glen! So creative!
- 290 replies
-
- 6
-
-
- Quinquereme
- Finished
- (and 1 more)
-
Wow, this is an epic build Jason! Really amazing work. 👏
-
Great seam work Kevin - very nice base for the paint job. 👍
-
That's looking really good Andy. Nice progress.
-
Great job as always Craig! Love the paint scheme. Makes me want to do another yellow wing.
-
Thanks Popeye! I'm hoping it all comes together ok
-
I've made some good progress on the Albatross. Added the bow and stern posts, and finished building the masts. I use cut down insect pins - which I think are stainless steel - for things like the posts that need a little more structural integrity and won't bend like brass or other materials when I invariably end up bumping into them. After taping the wooden decks - which was a project in itself - I ended up trying to replicate the plating runs on the hull by taping off alternating rows, and then spraying a heavy coat of Mr. Surfacer 1200. We'll see how it goes - it's tricky in that you don't want to go overboard with too thick of paint as it will look out of scale. I also managed to finish the cranes by adding aftermarket hooks from Rainbow and put together the catapult: Next up I will clean up the hull plating lines and prime the full hull, deck structures, railings and other deck items using Mr. Surfacer 1500 black. That will give a good base to paint the ship, which is pretty simple with a light grey hull, and darker gray above the deck. Thanks for looking in!
- 75 replies
-
- 13
-
