

bensid54
-
Posts
531 -
Joined
-
Last visited
Content Type
Profiles
Forums
Gallery
Events
Posts posted by bensid54
-
-
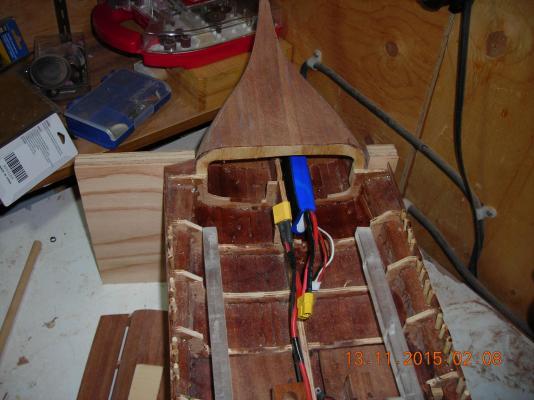
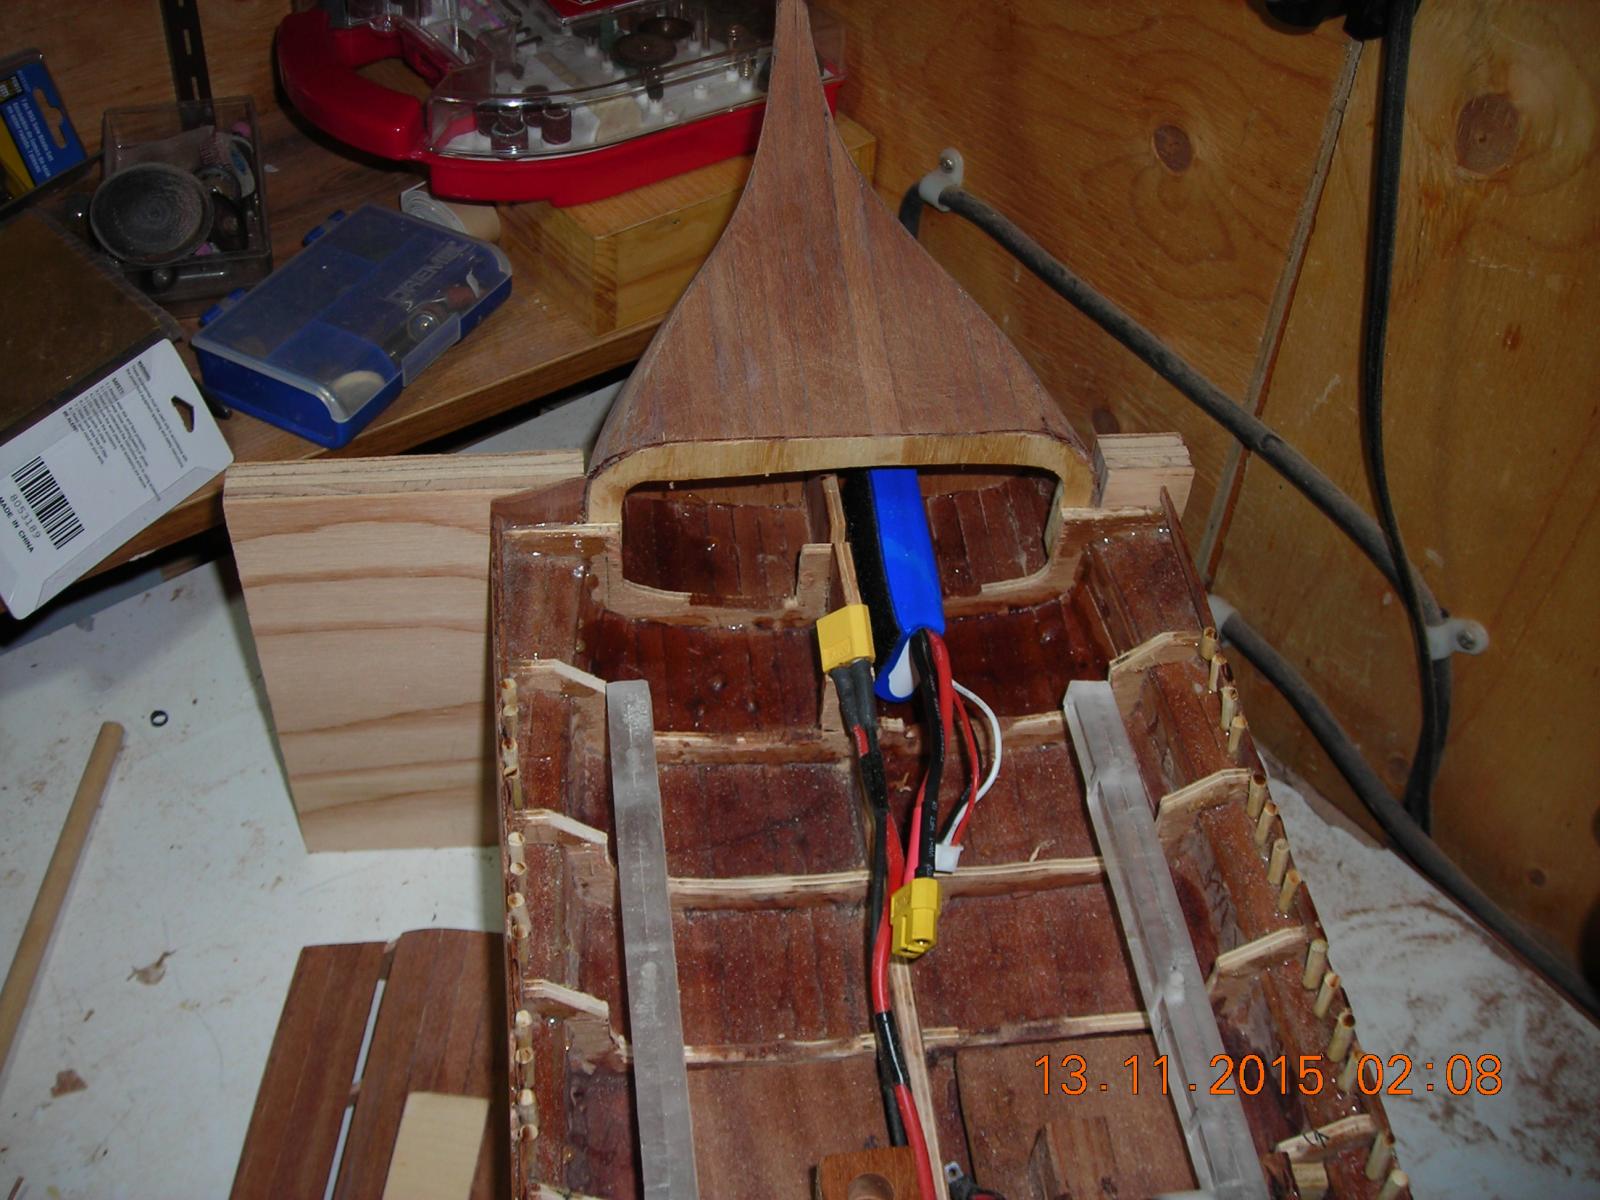
This is where the battery will be housed. I sprayed the keel with clear coat then once it was dry I stuck fuzzy Velcro to it so I can just hang the battery on the side of the keel. I wanted the battery as far forward as I could so that with the weight of the battering ram and battery together the whole ship should sit level in the water.
-
-
-
-
-
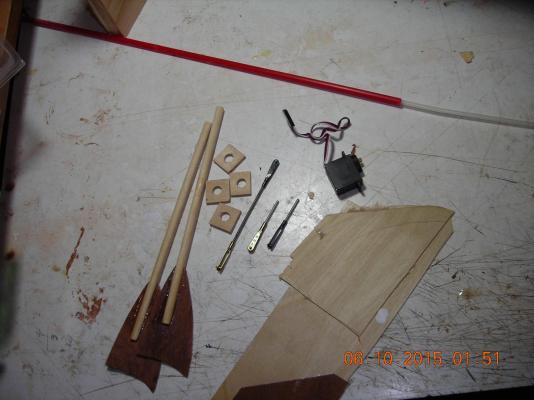
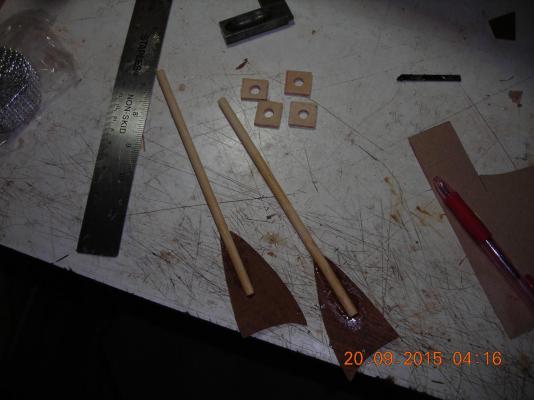
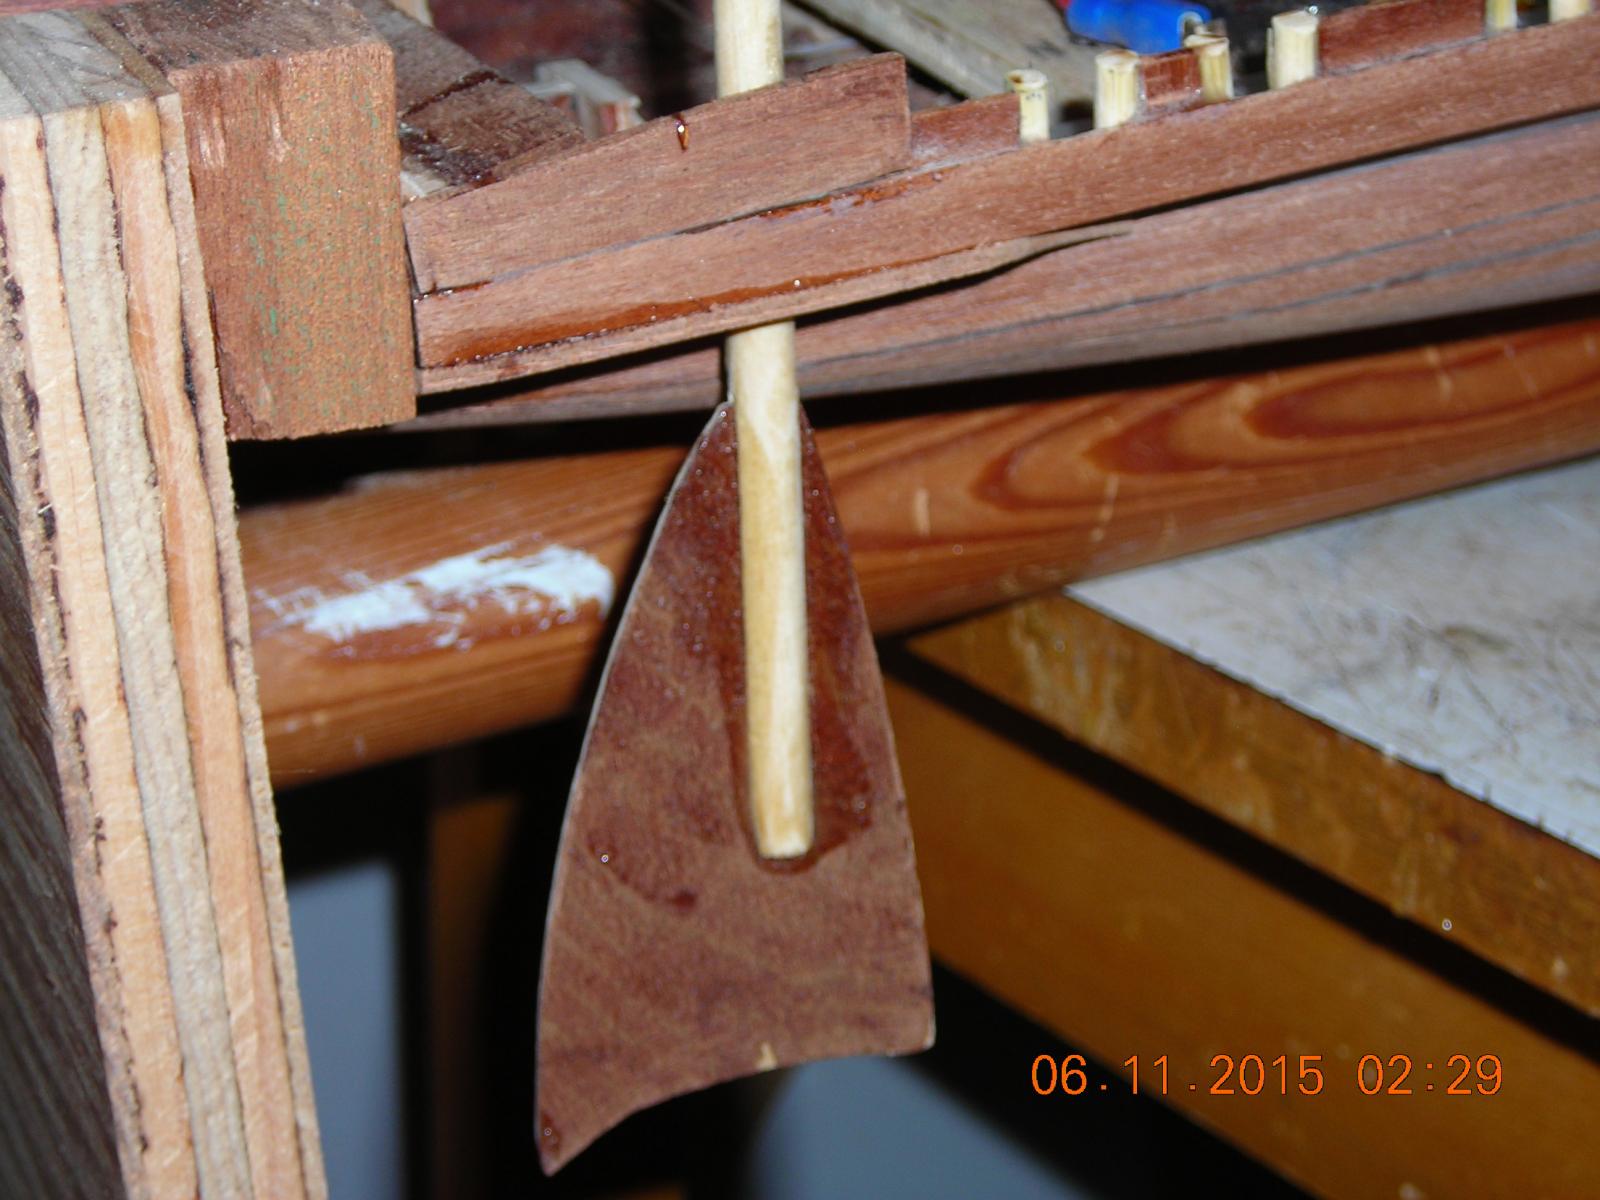
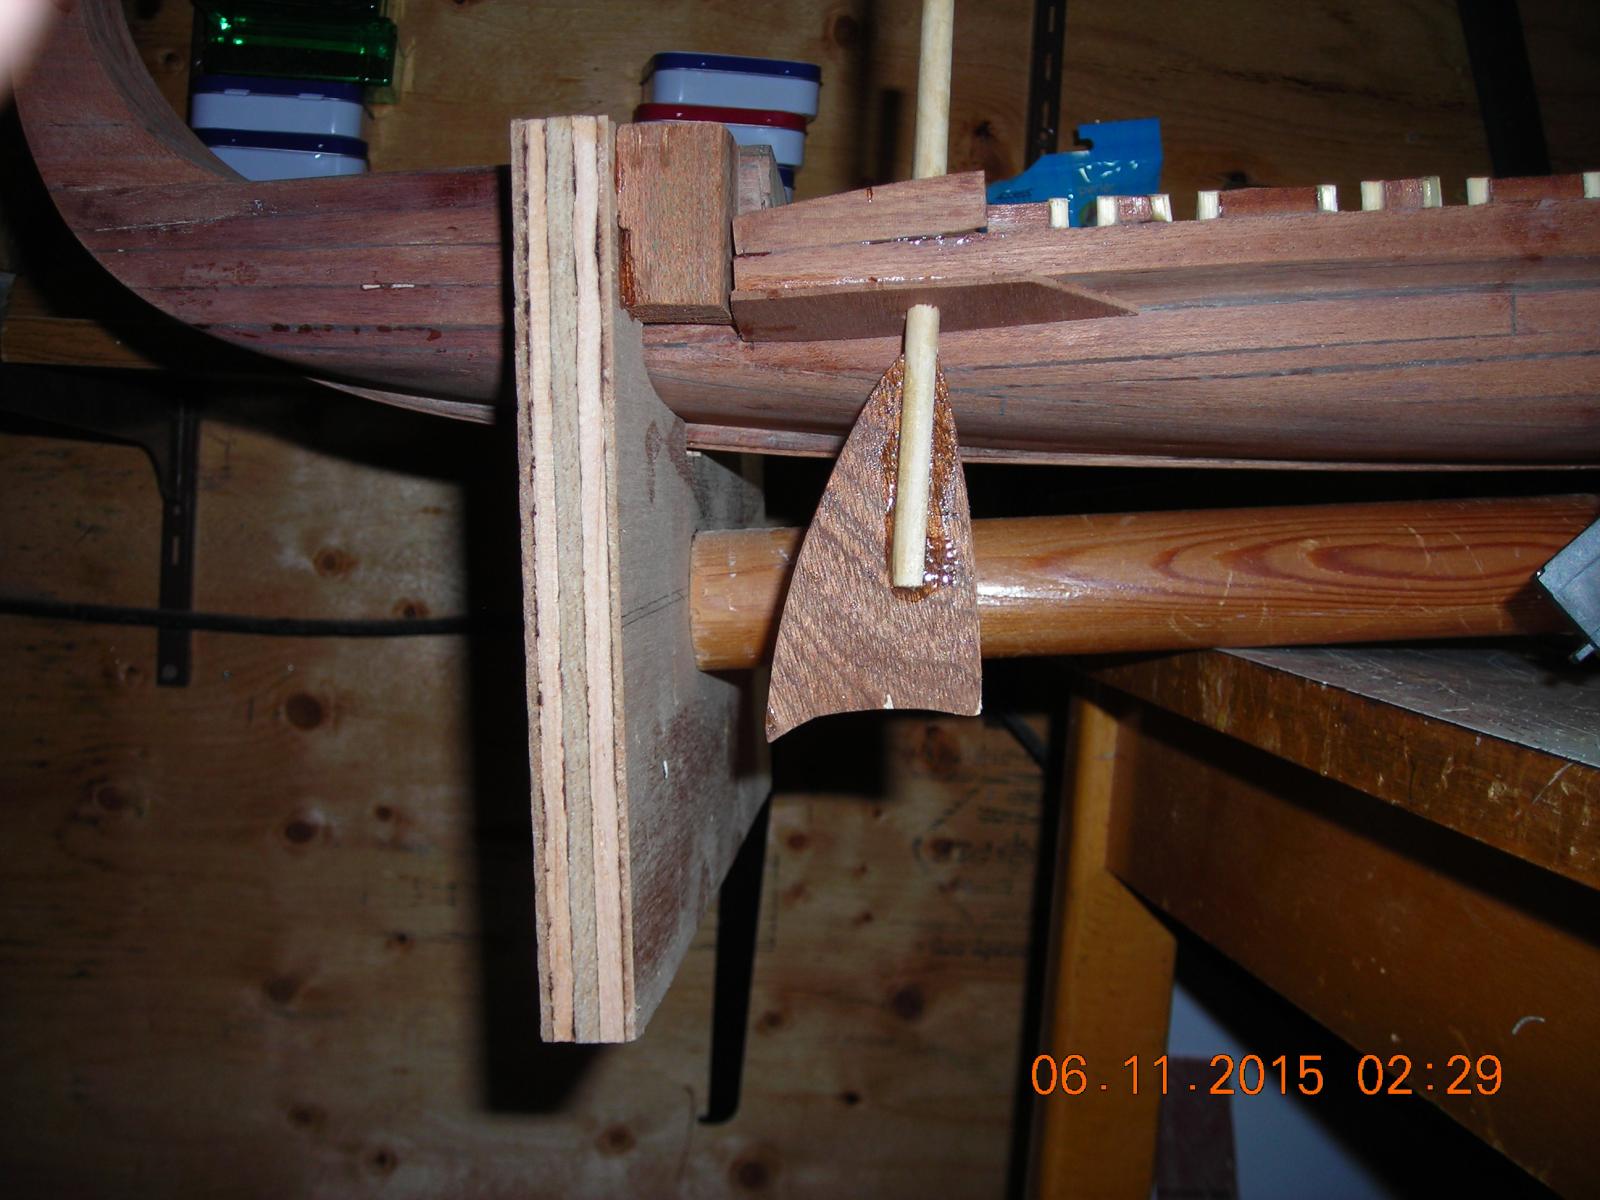
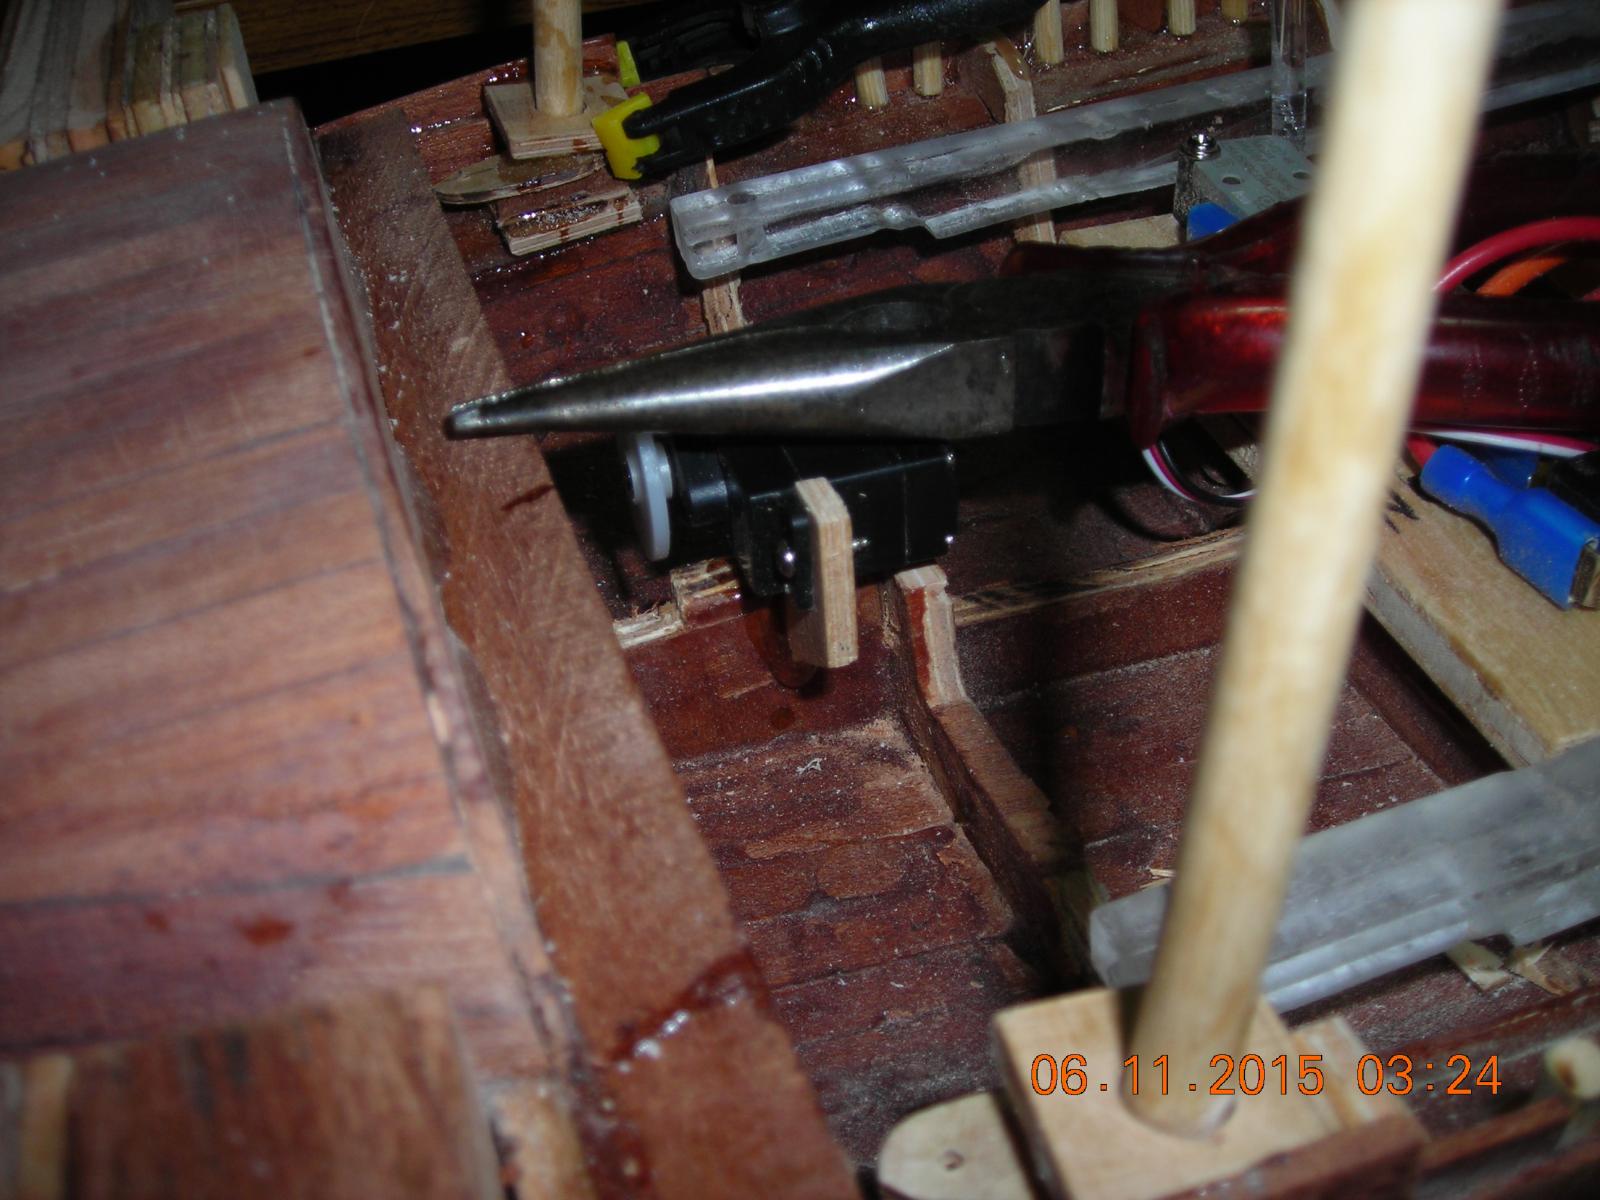
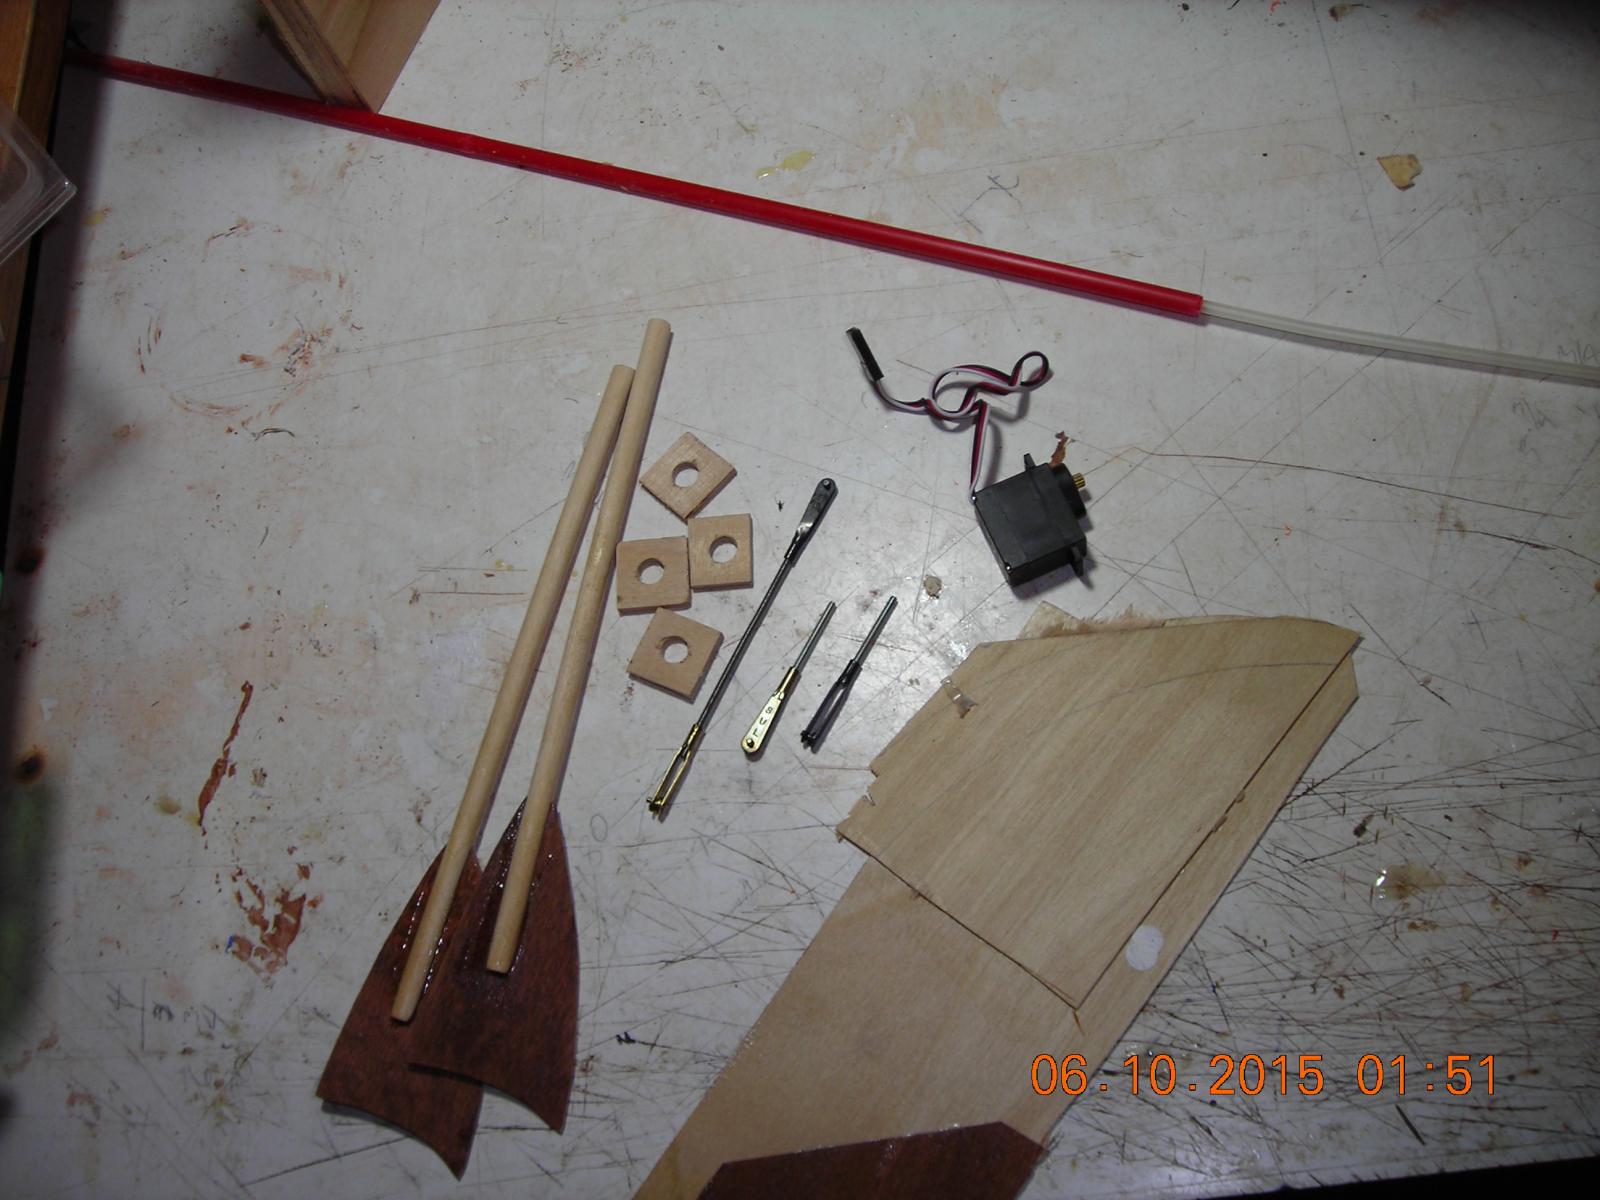
The items that will make up the rudder system, golden rod, servo, rudders, bearing blocks and two sheets of plywood glued together for me to make linkage arms from.
- BenF89, qwerty2008, Omega1234 and 2 others
-
 5
5
-
I'm leaning in that direction I think, also have to make it weathered and scary. Should be fun once I get a camera under his hood and of course the head will tilt and turn side to side.
- avsjerome2003 and mtaylor
-
2
-
-
-
Where can I find pictures of a single rower vessel anytime B.C. I'm making the boatman of the river Styx and need to know what sort of vessel I will be building this year. Thanks in advance.
- CaptainSteve and mtaylor
-
2
-
No idea how to send it to the gallery, anyone know how to get rid of a thread one starts? May as well this boat is old news it's been my avatar for some time now so I don't want to rock the boat by posting in the wrong place lol.
-
Well Patrick I did try to figure out how to do that, but as you know I'm site challenged so that's why it ended up here.
-
-
-
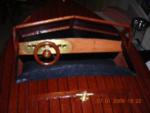
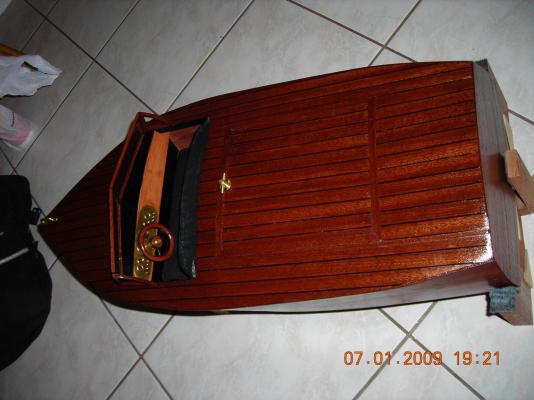
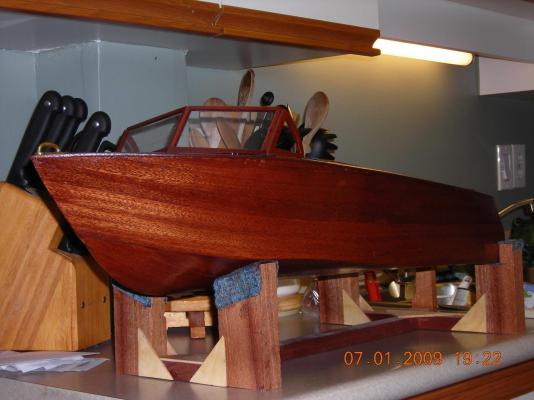
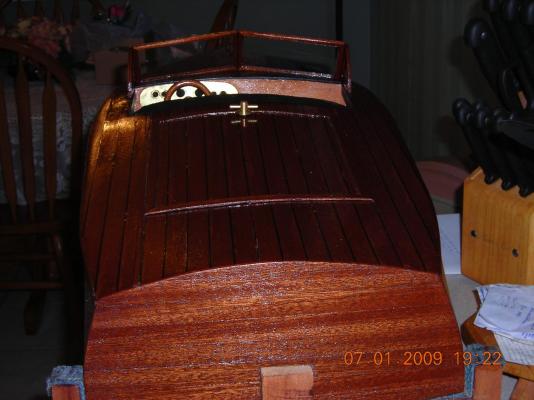
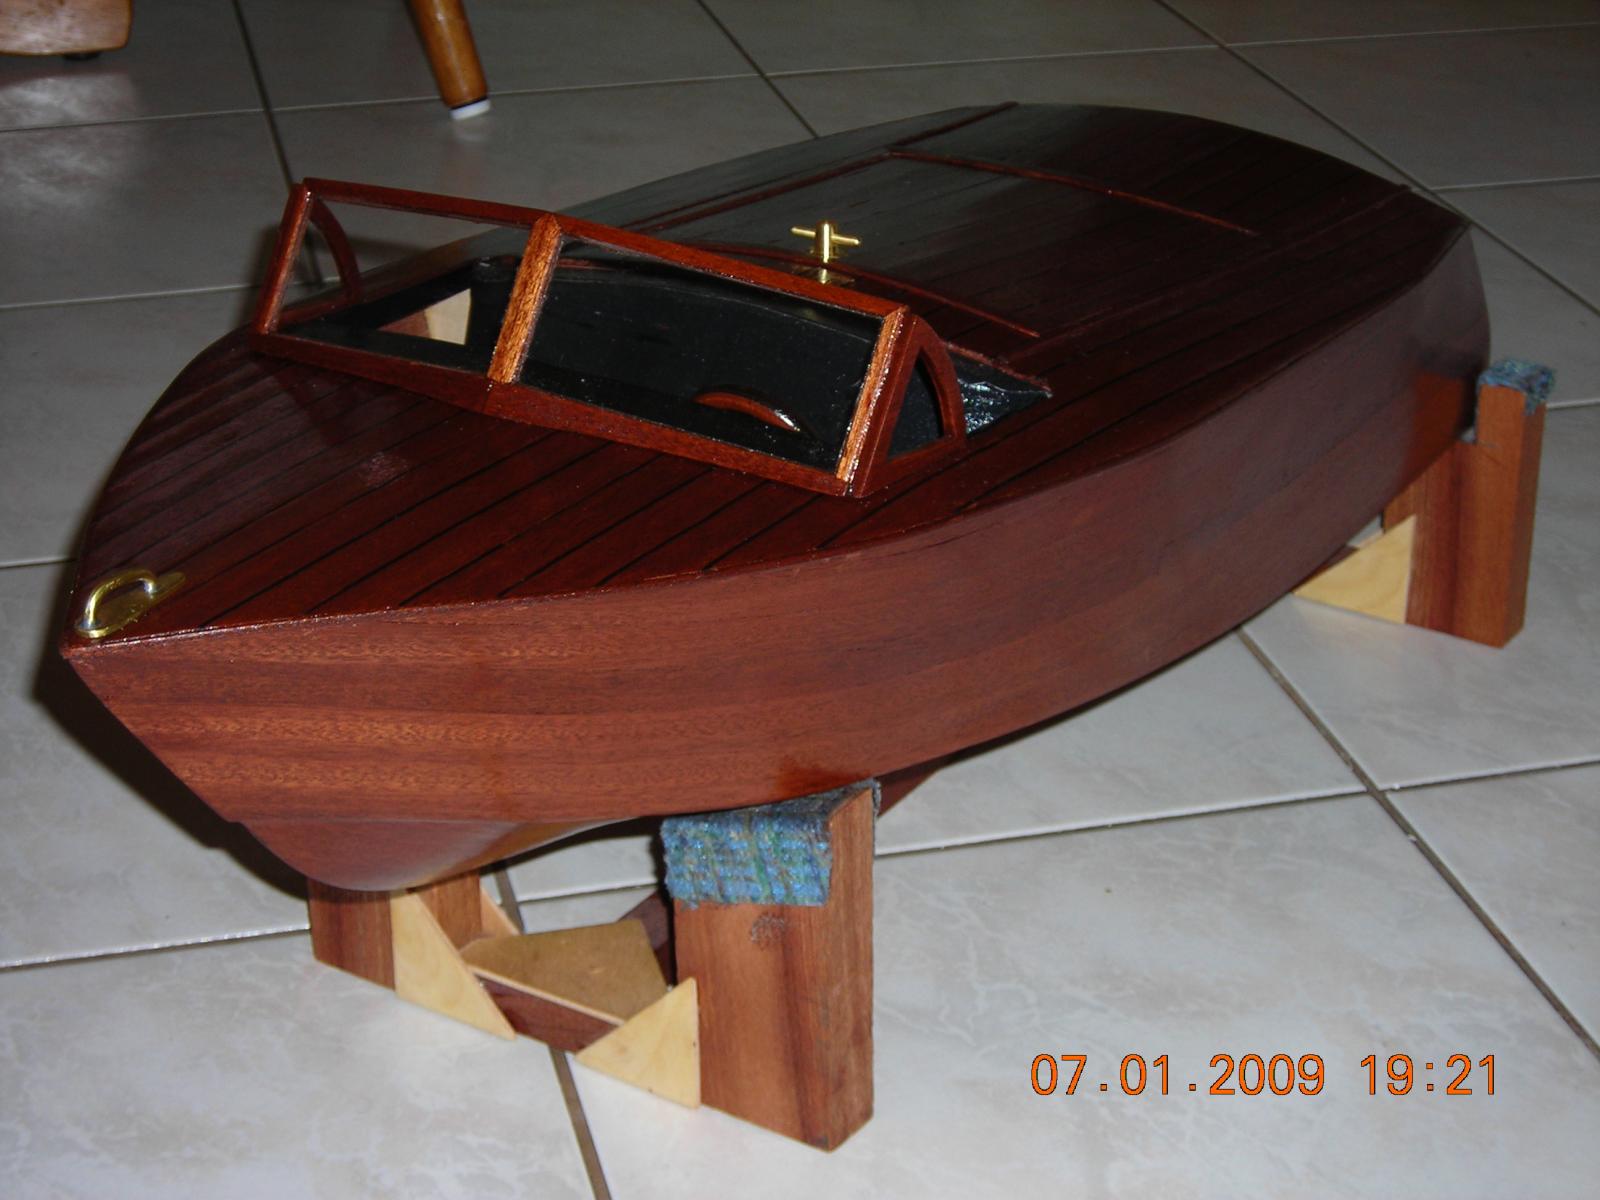
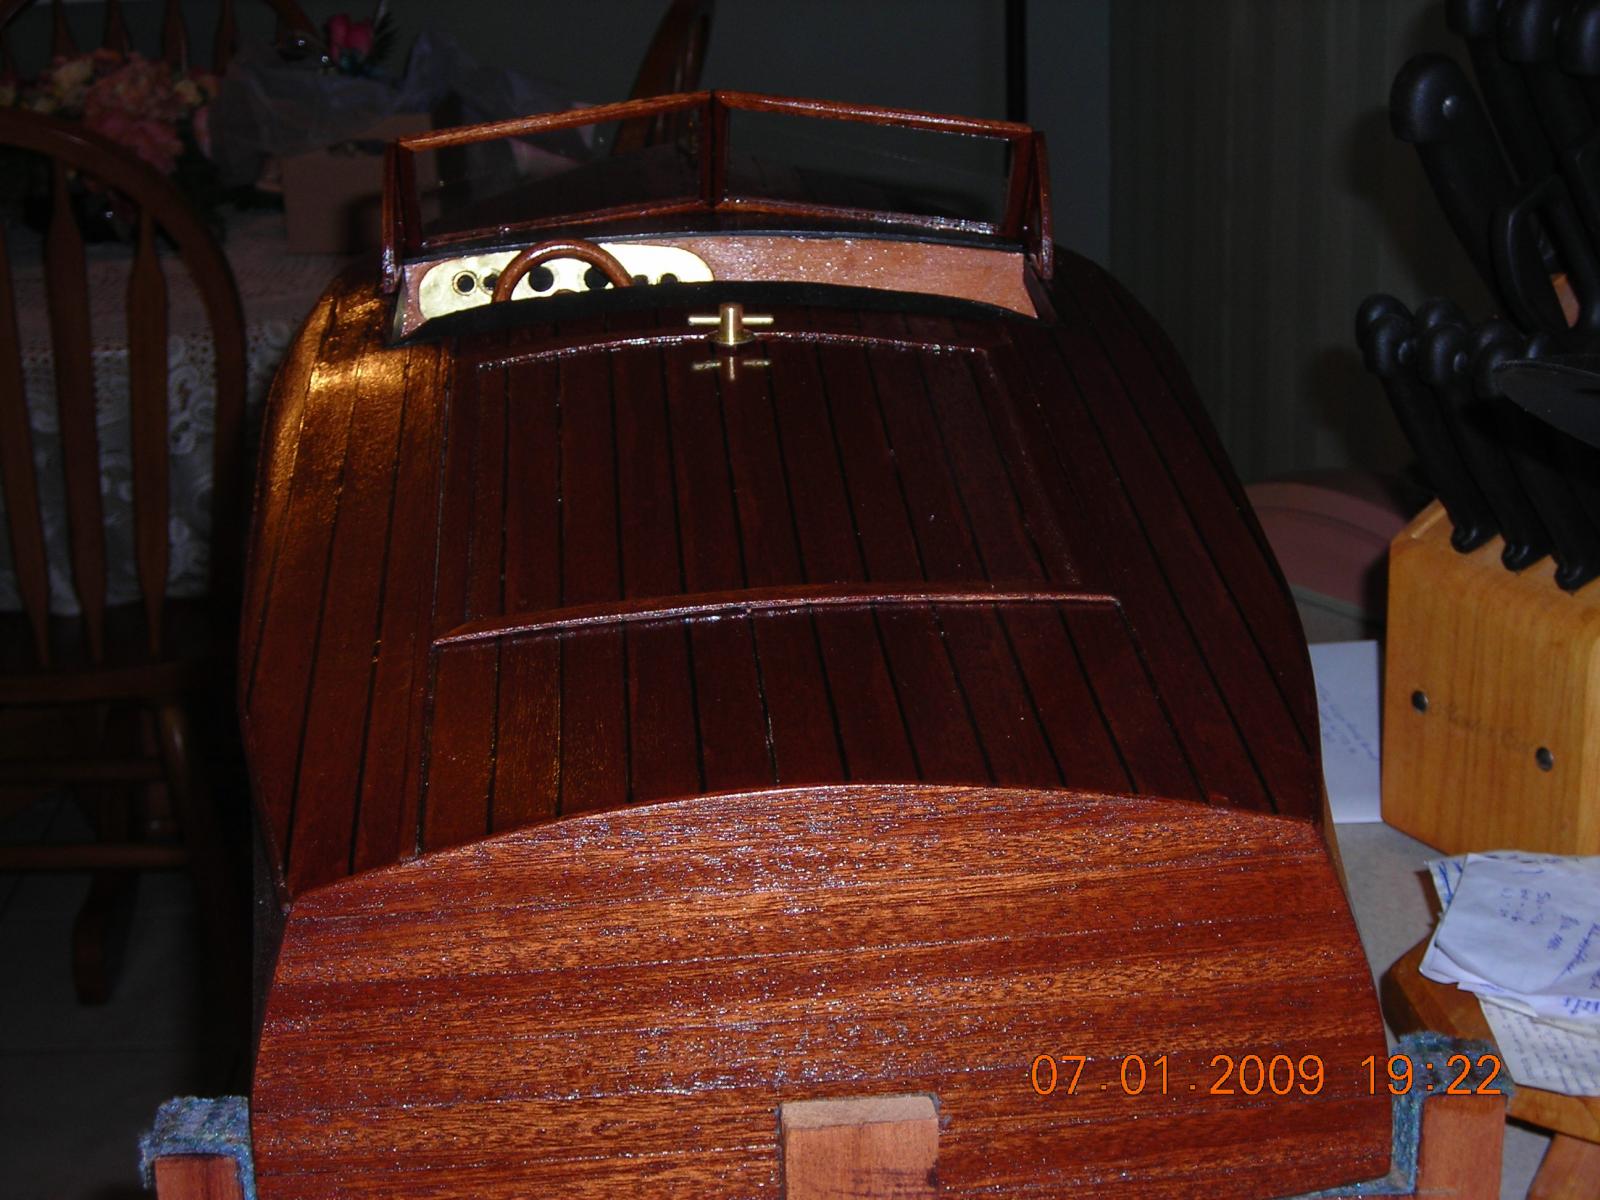
I built this two or three years ago from pictures, actual dimensions and what my imagination could come up with. Sold it to a guy in New York but it took him a week to open the wooden crate it was in it because I fastened the lid using Robertson screws, apparently they don't use Robertson screws in the States. The steering wheel was made on my lathe I used African Sepeli hardwood and ebony sandwiched together to get the two tone effect. All the brass was done by hand except the dash, those holes are actually furls used for plastic air lines. The deck planks are separated by thin strips of black rubber between the planks I shaved them off a small sheet of thin rubber and the deck is removable to be able to get at the motor battery. I'm sure it will get moved because I didn't have a clue where to put it but because I just found the pictures I thought I would share this with you.


- GrandpaPhil, mtaylor, IgorSky and 3 others
-
6
-
-
-
So that's how I can stay out of the doghouse, just build my admiral a boat and name it after her! Might work for a couple of days anyway.
- mtaylor, captainbob, IgorSky and 2 others
-
5
-
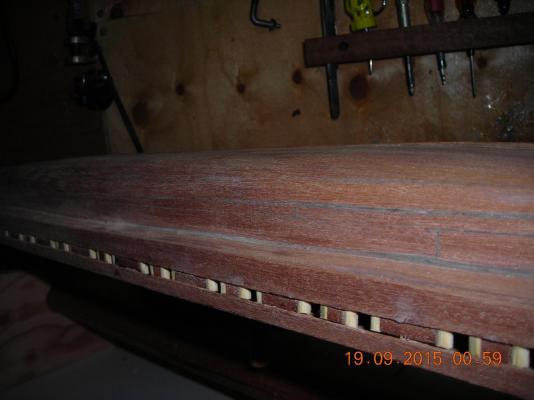
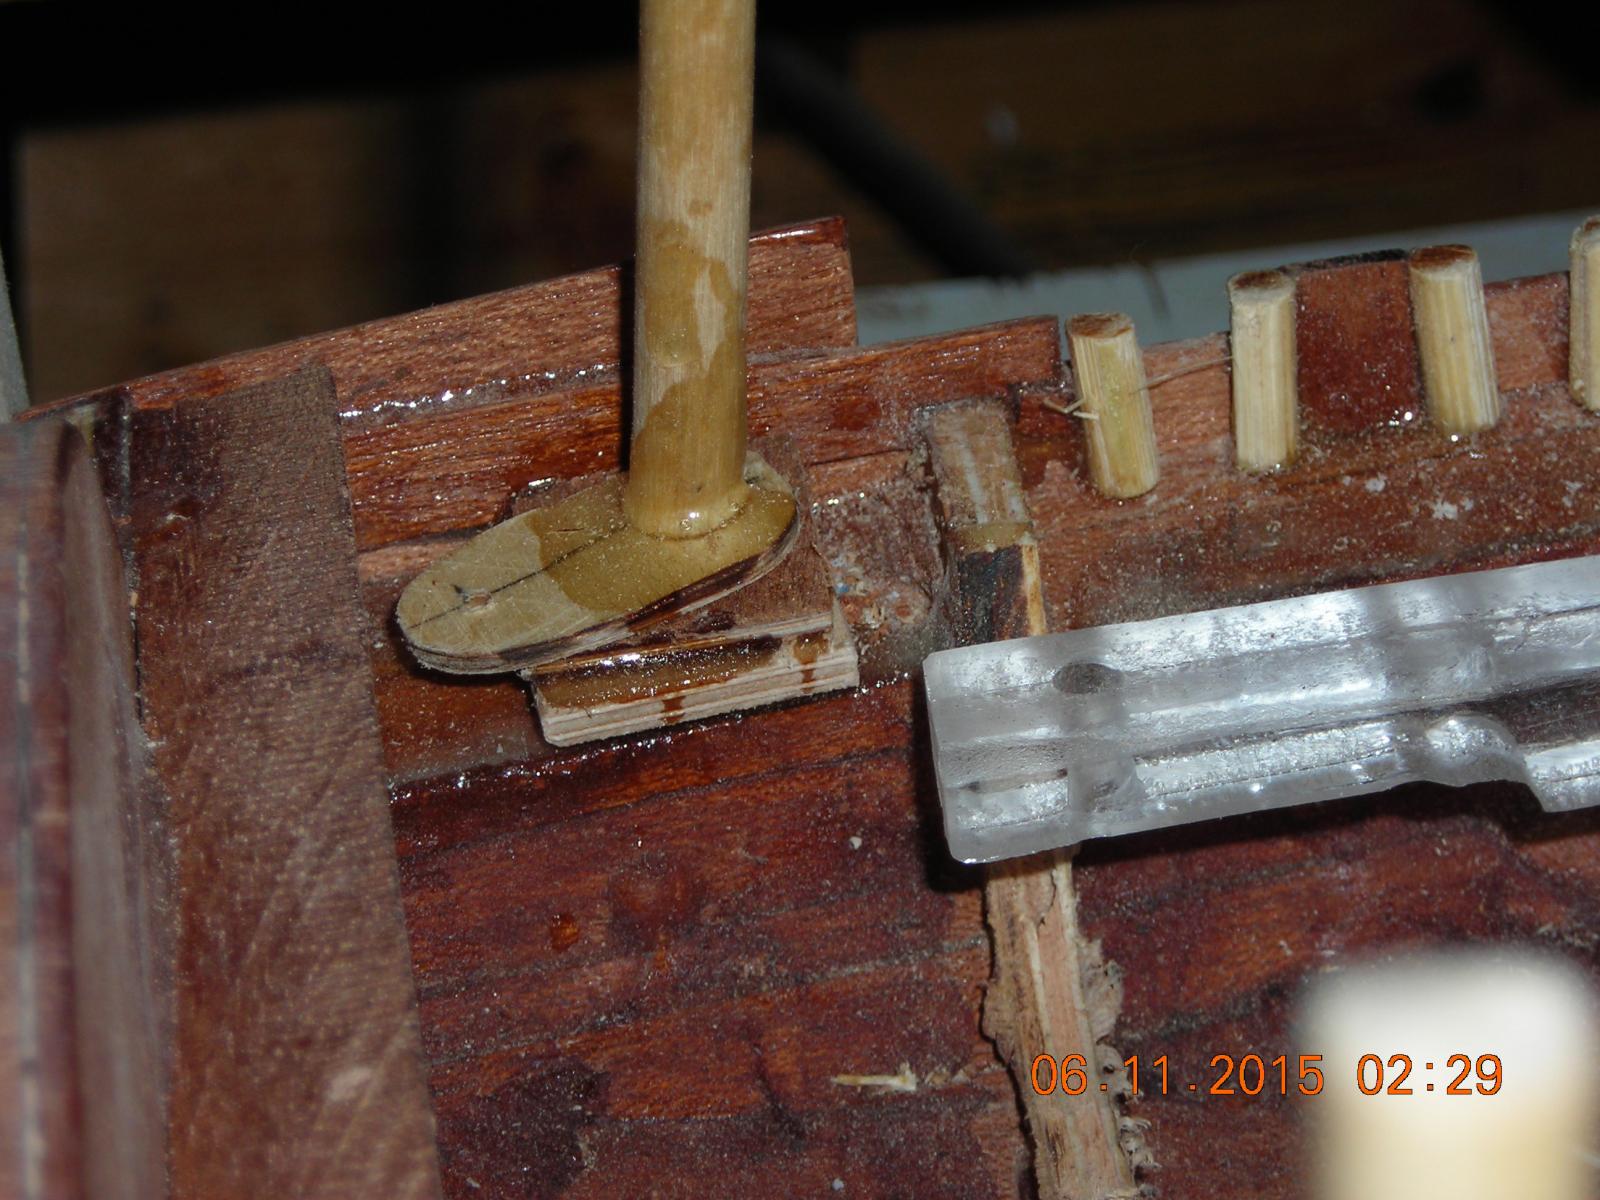
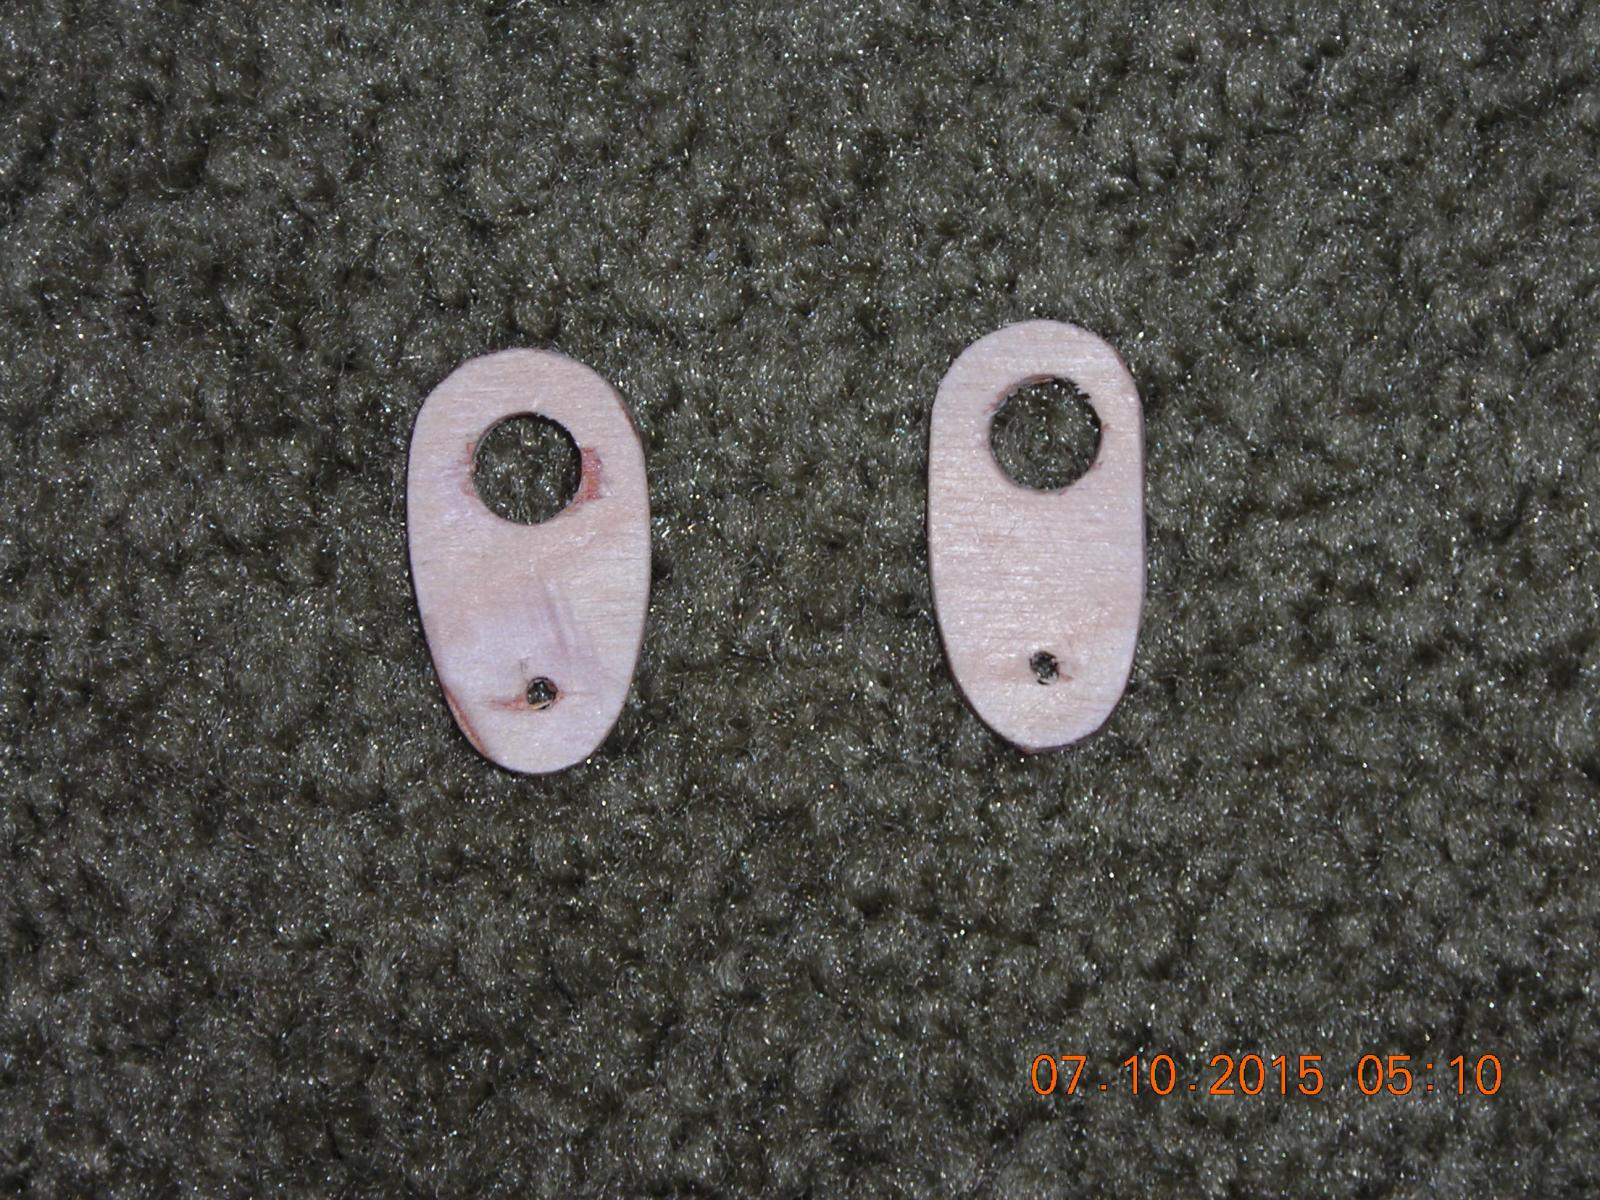
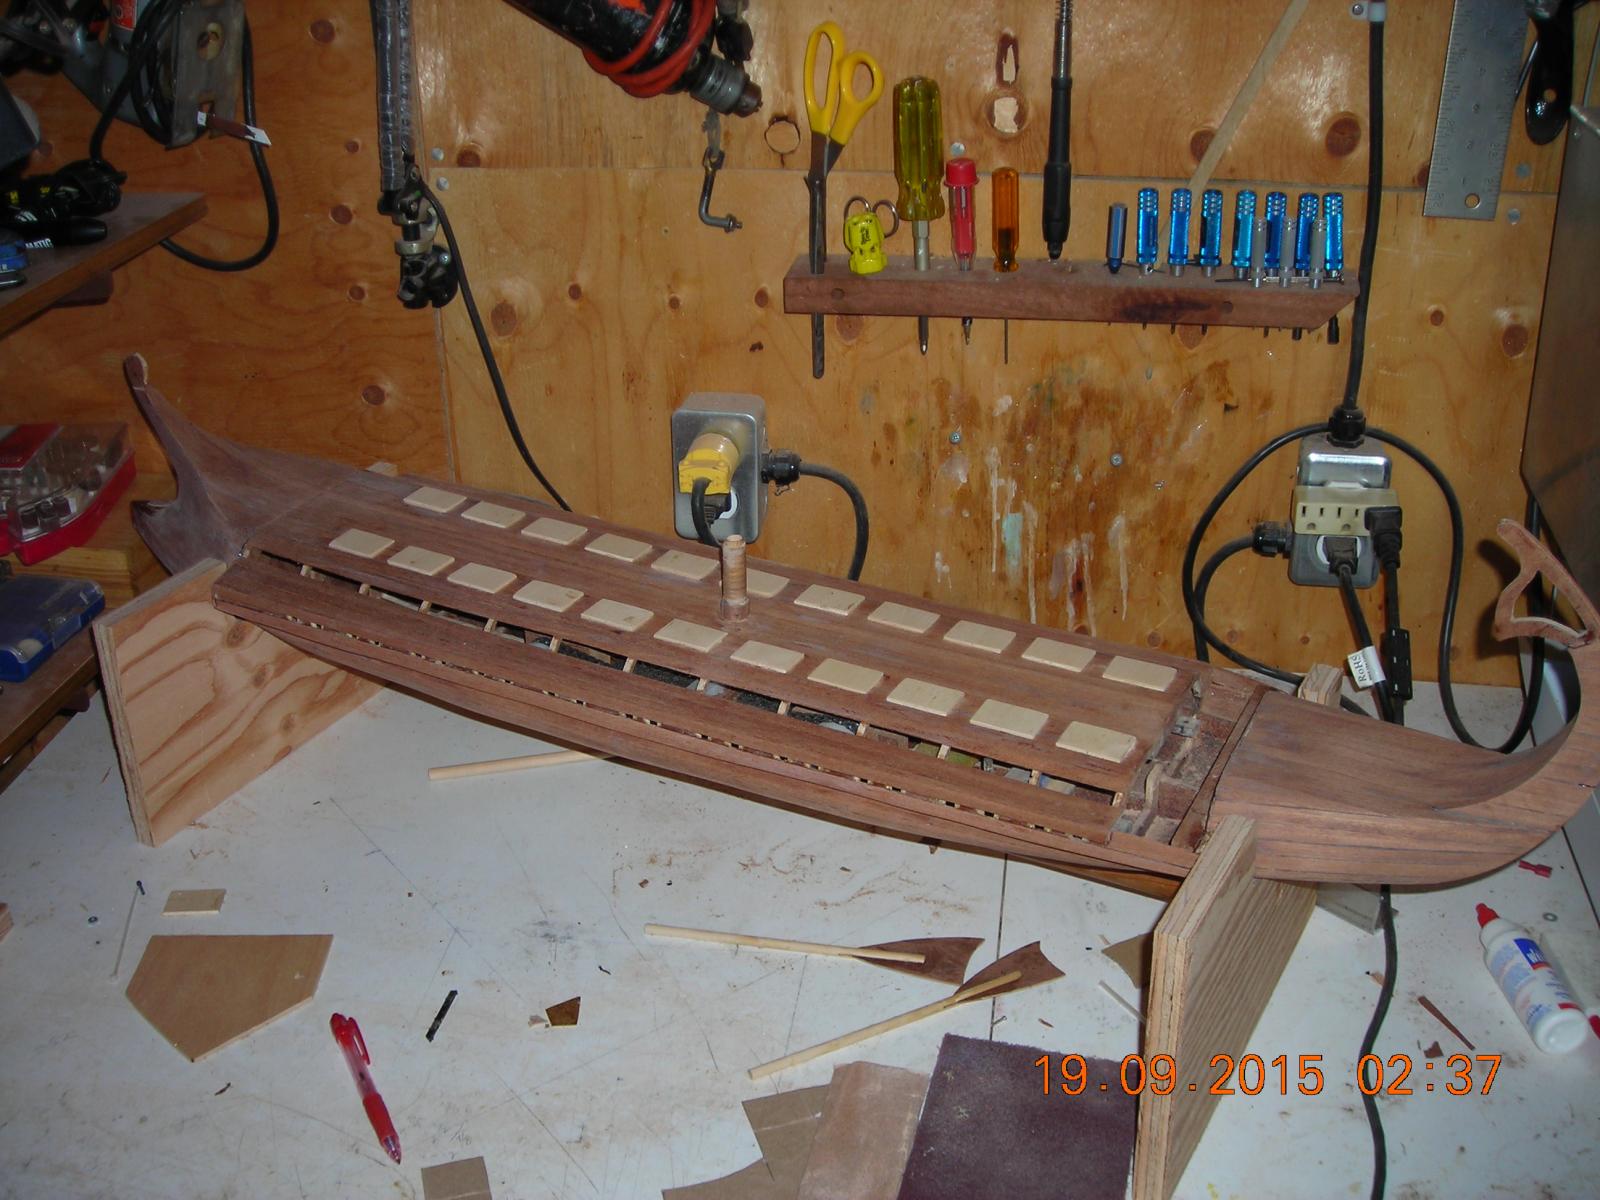
Rudders and pivot plates, the drilled plywood will be glued in their proper location and have about 1/4 inch separation between them to allow for the hidden servo linkage to go. When finished the levers on top will move with the rudders so I guess I should make up some flexible little guys on top to steer or just call it a ghost ship!
-
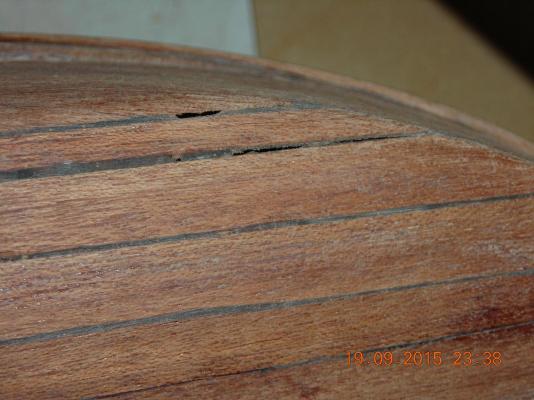
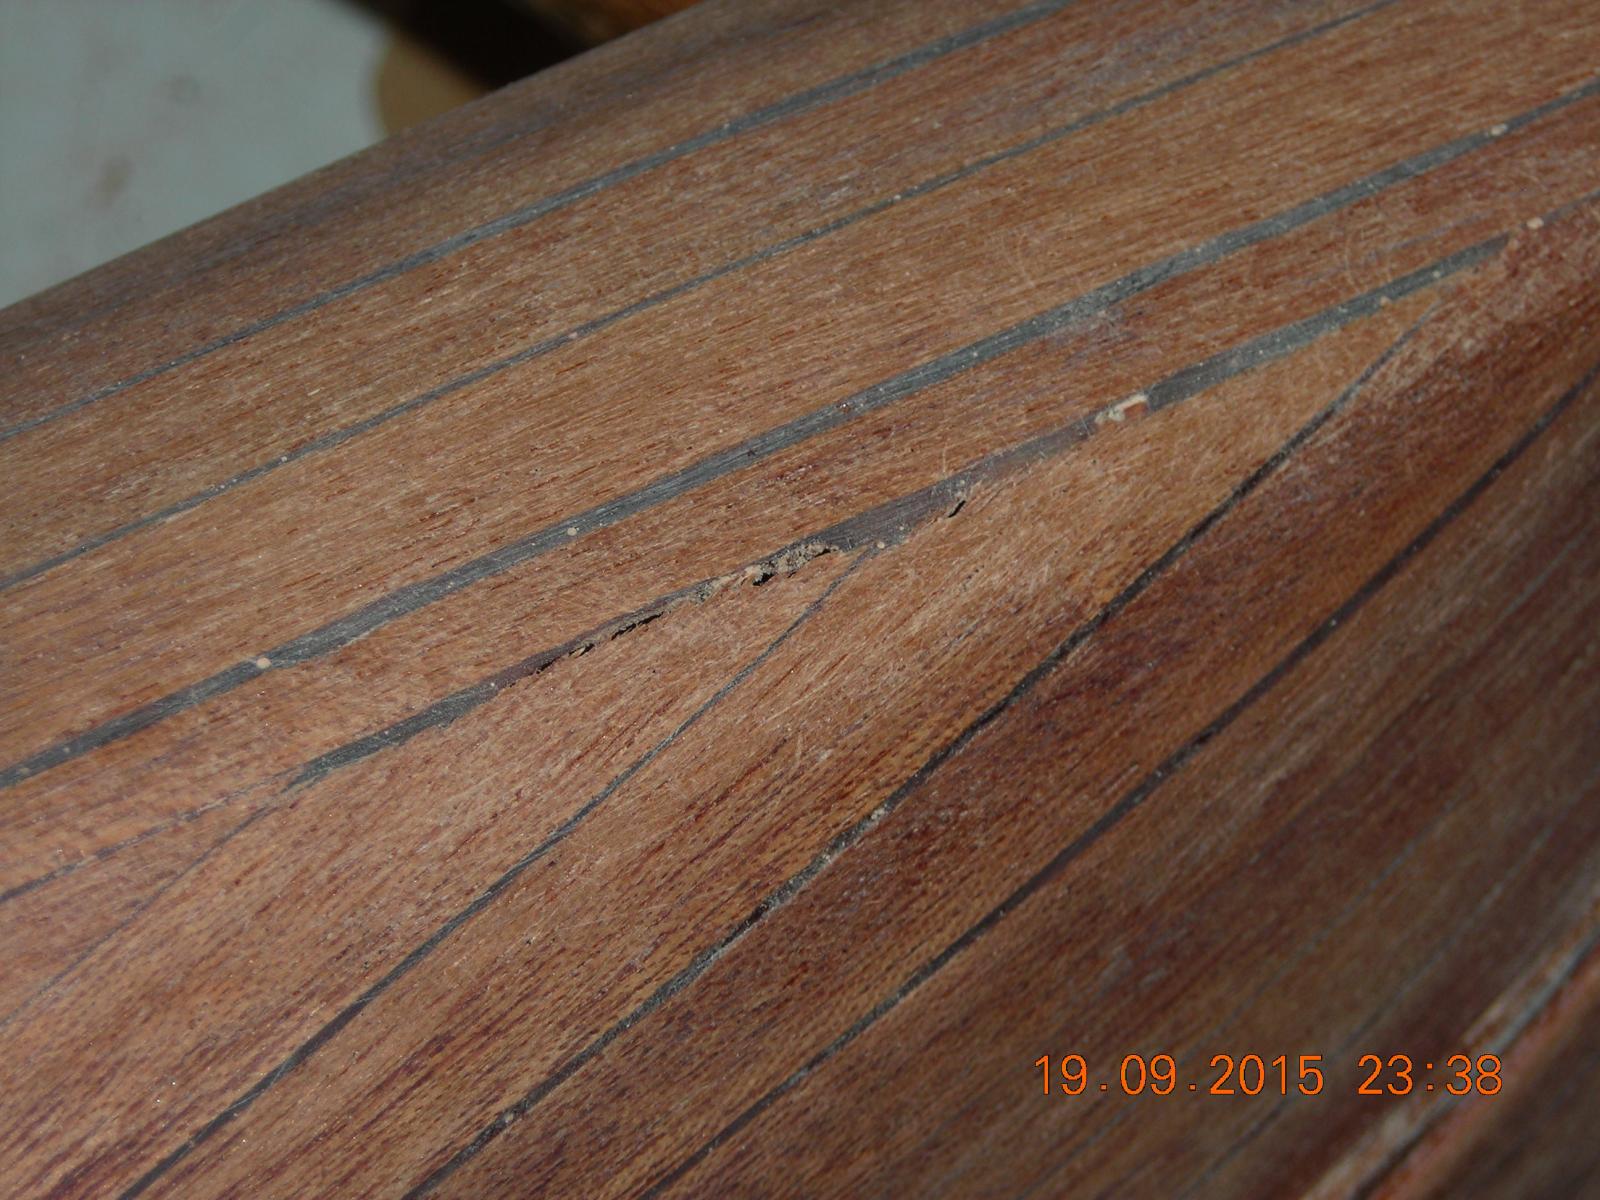
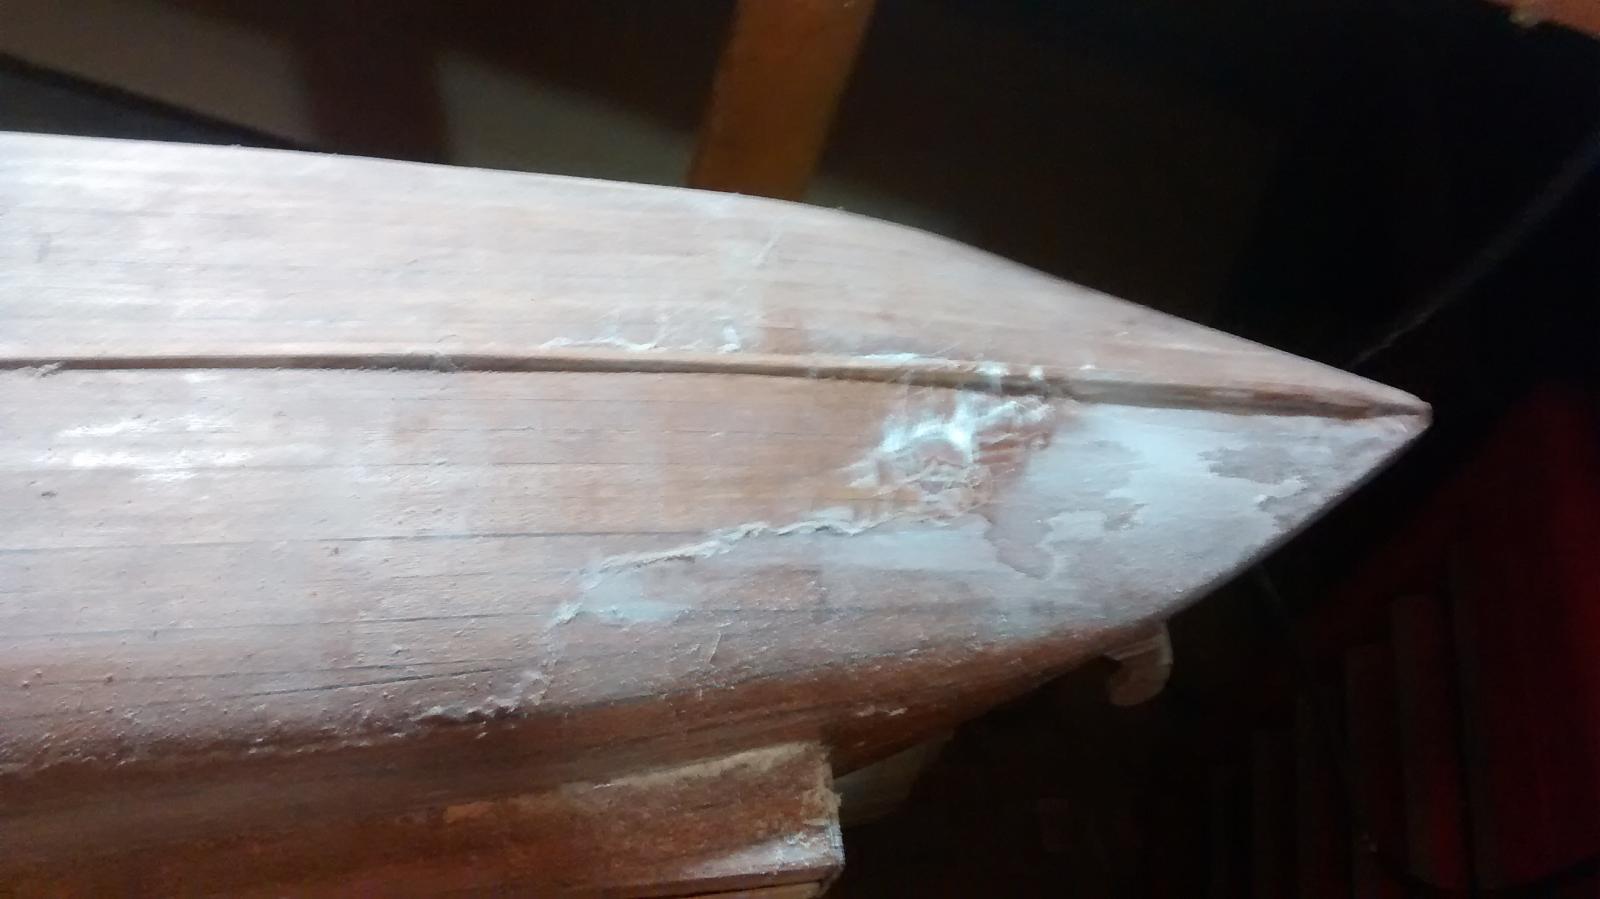
The good thing about all the sanding was it showed the places I had water ingress, you can see the gaps and cracks that were not really visible to my eyes. I will have some small areas that will need attention so that will be next, after that the rudder mechanics go in. Funny thing is with all my other boats I was always in a hurry to get to my next build but not this, I haven't got bored of it even after over a year.
- GuntherMT, qwerty2008, BenF89 and 2 others
-
5
-
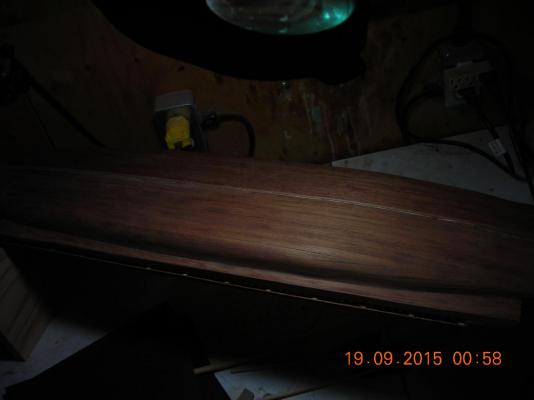
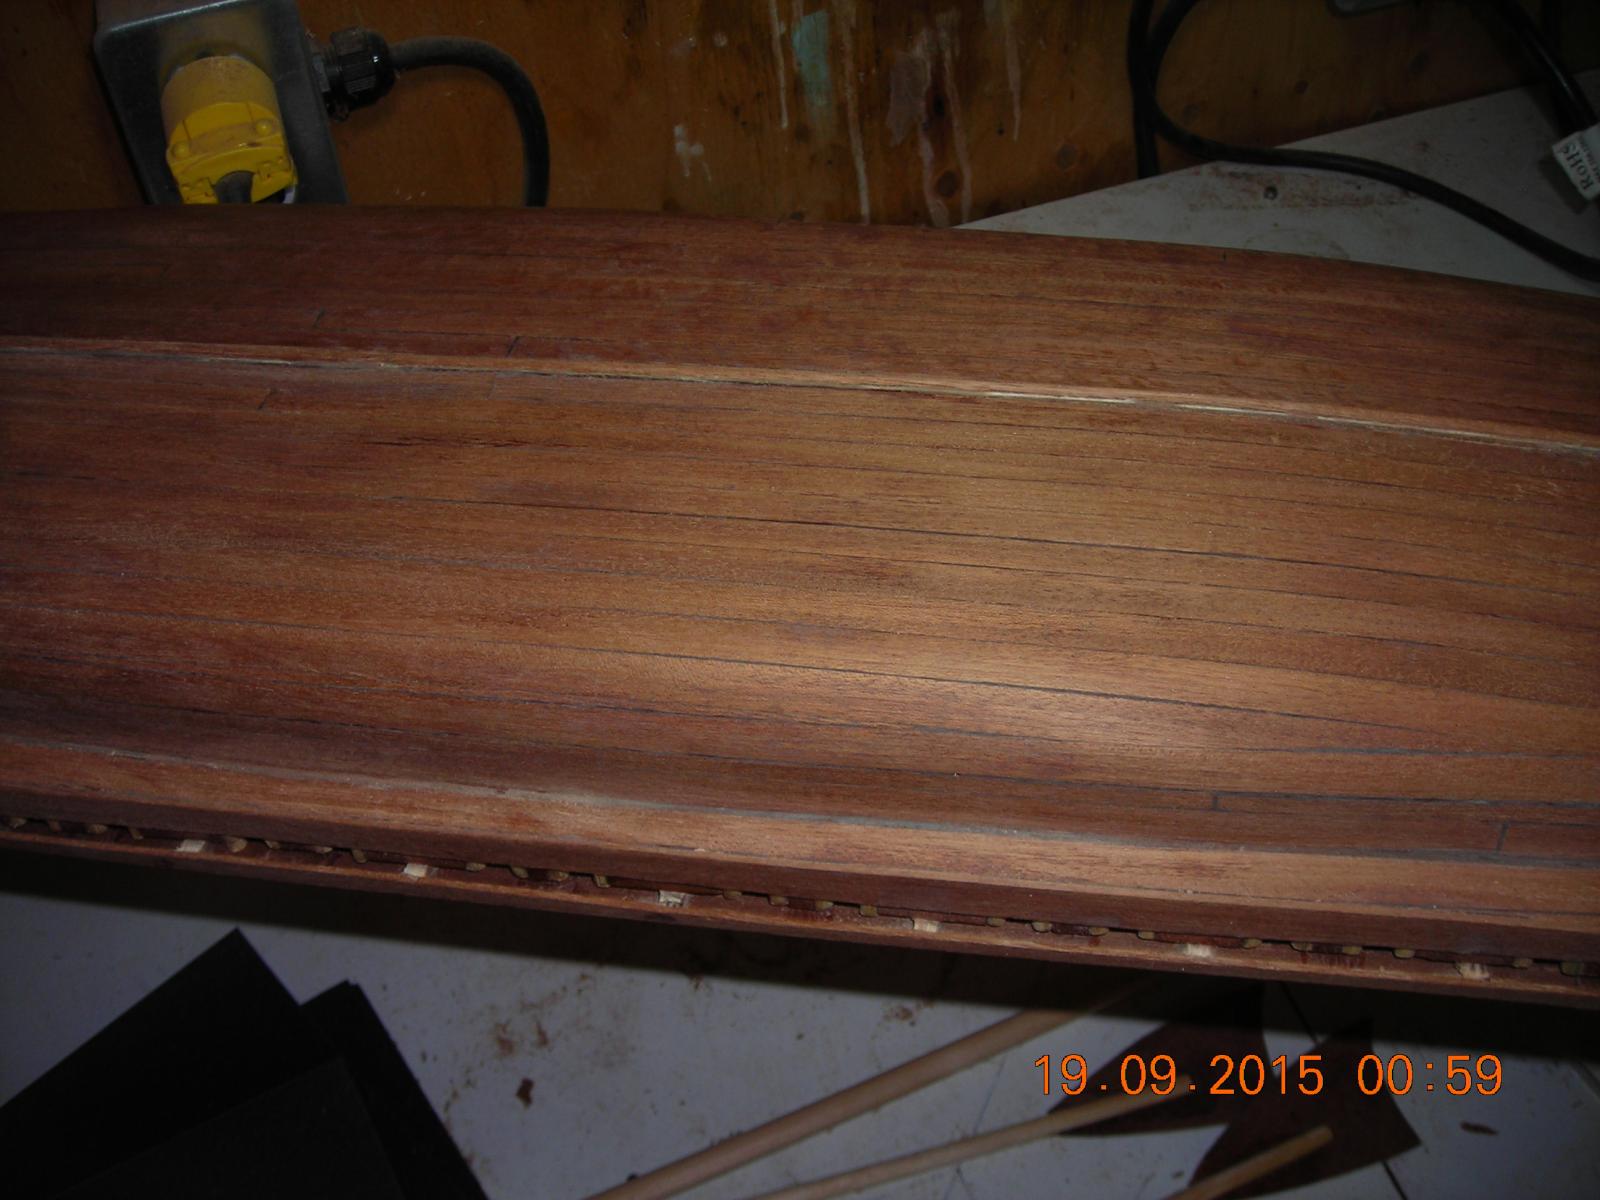
Finally got the unwanted epoxy off the hull I used 80,100,120 and 240 grit sandpaper. I used a rotary wire brush and a 80 grit flapper wheel to get the thick epoxy off, I found the flapper wheel worked the best out of the two. The whole epoxy removal took me about six hours to do, very dusty work but worth it in the end.


- Omega1234, qwerty2008, BenF89 and 3 others
-
6
-
-
Went out and got myself covered in dust today and cleaned the epoxy off of the bottom of the hull using a rotary wire brush on my Dremil. In places where the epoxy was thin it came off quite easily but in the places it was thick the epoxy came off like candy floss. The epoxy also started to pile up as I moved along during removal sort of like snow would do when pushed with a plow.


-
Been a while since I've done anything on the Bireme due to trying to get my scale RC helicopter in the air which is very much delayed. I've also been trying to get my leg cramp prevention invention public which is almost impossible even though it is hassle free and does not require meds, thank God I only blew the cash on a Canadian patent, so if you think you will make money on an invention think again.
Back to the Bireme: I have removed about half the unwanted epoxy and have only damaged not destroyed a few planks so that is good I hope to have some progress pictures in the next week or two. I plan on dedicating all my hobby time to the Bireme and hopefully not get distacted as I have been this summer.


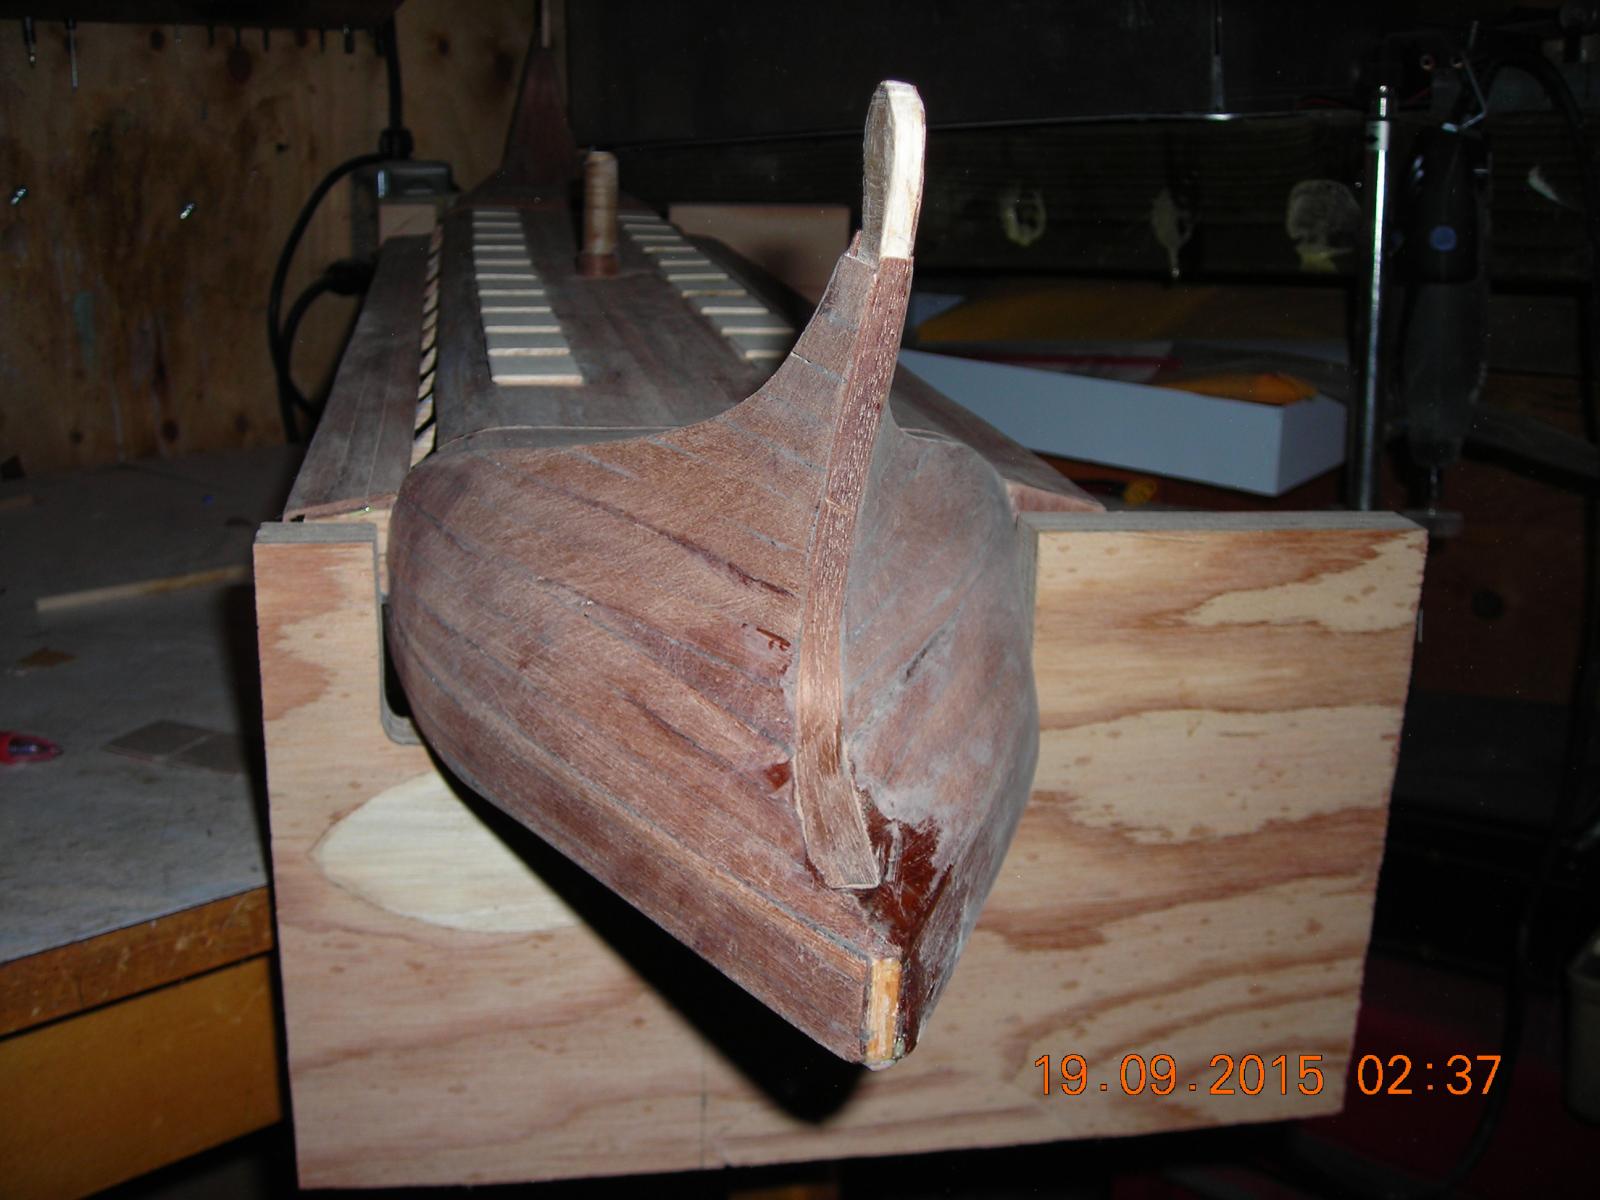

Greek Bireme by bensid54 - FINISHED - RADIO
in - Subjects built Up to and including 1500 AD
Posted
Starting to look like a Bireme now. A lot more will be done during the next two weeks now that I've taken some vacation time.