mrcc
-
Posts
560 -
Joined
-
Last visited
Content Type
Profiles
Forums
Gallery
Events
Everything posted by mrcc
-
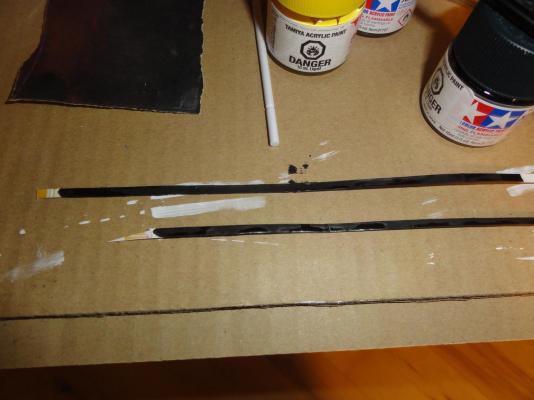
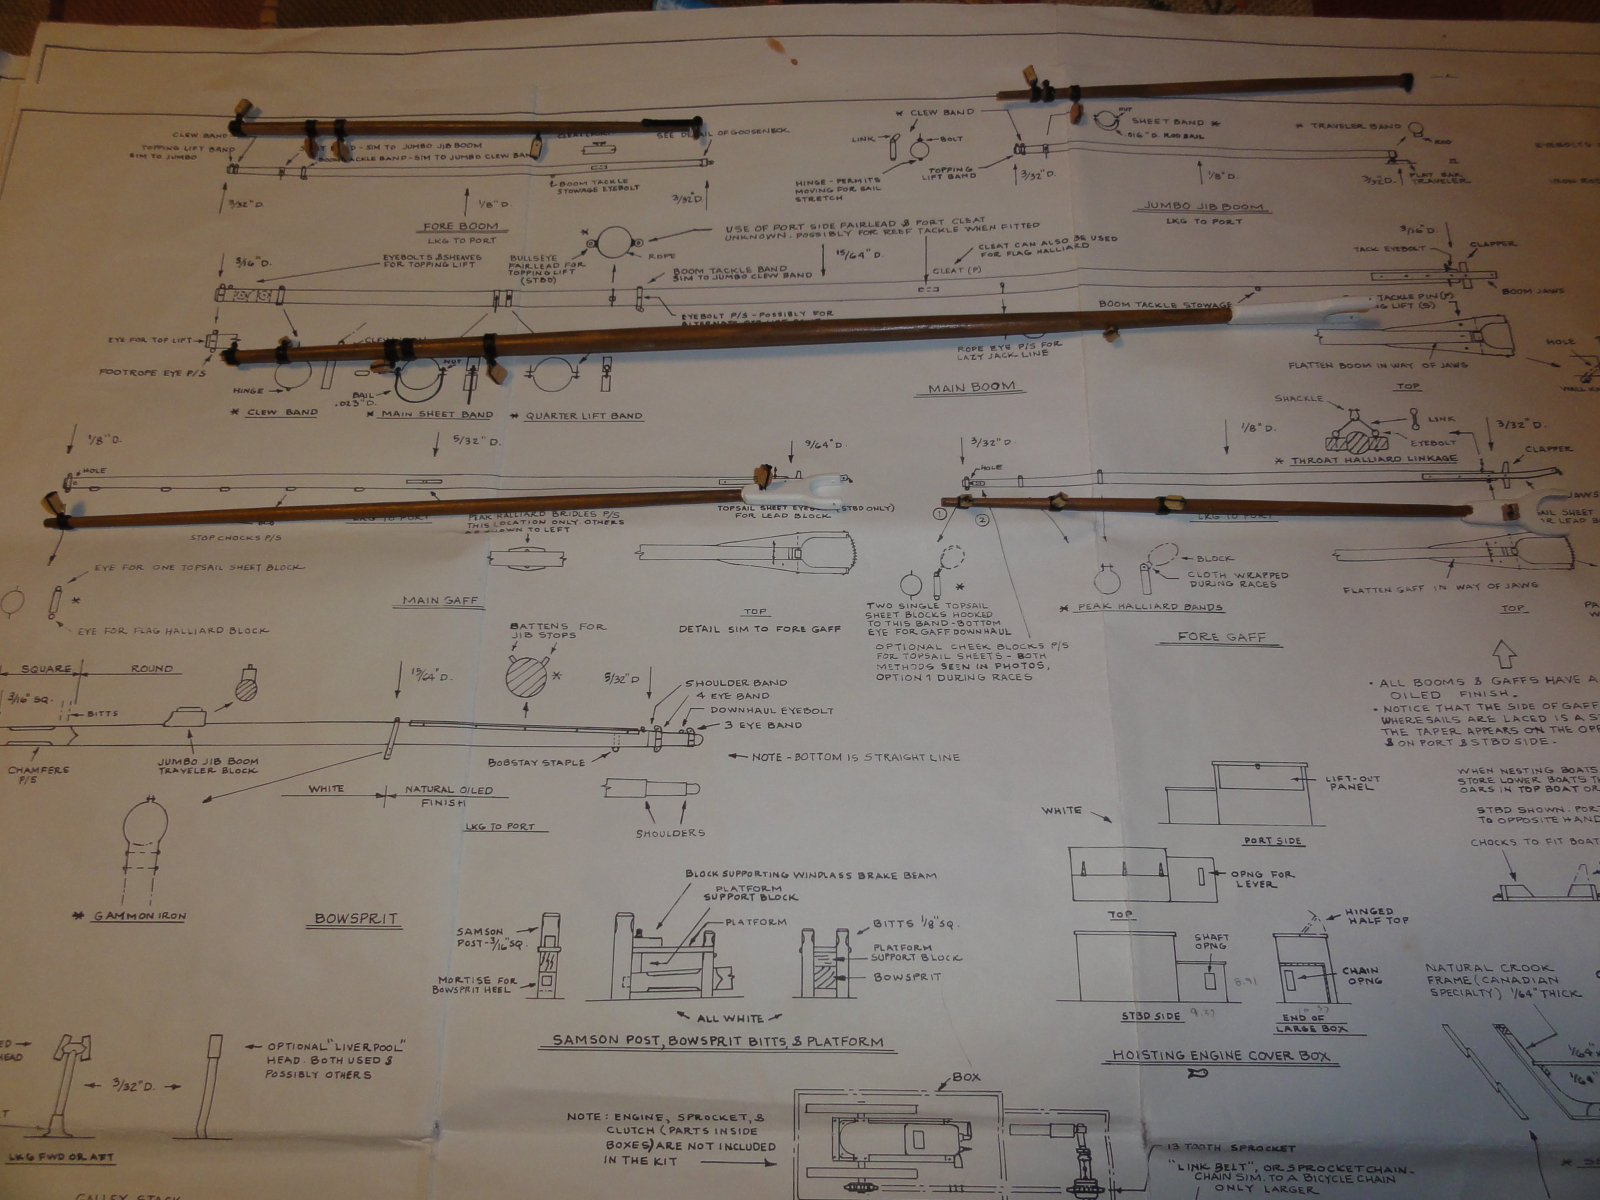
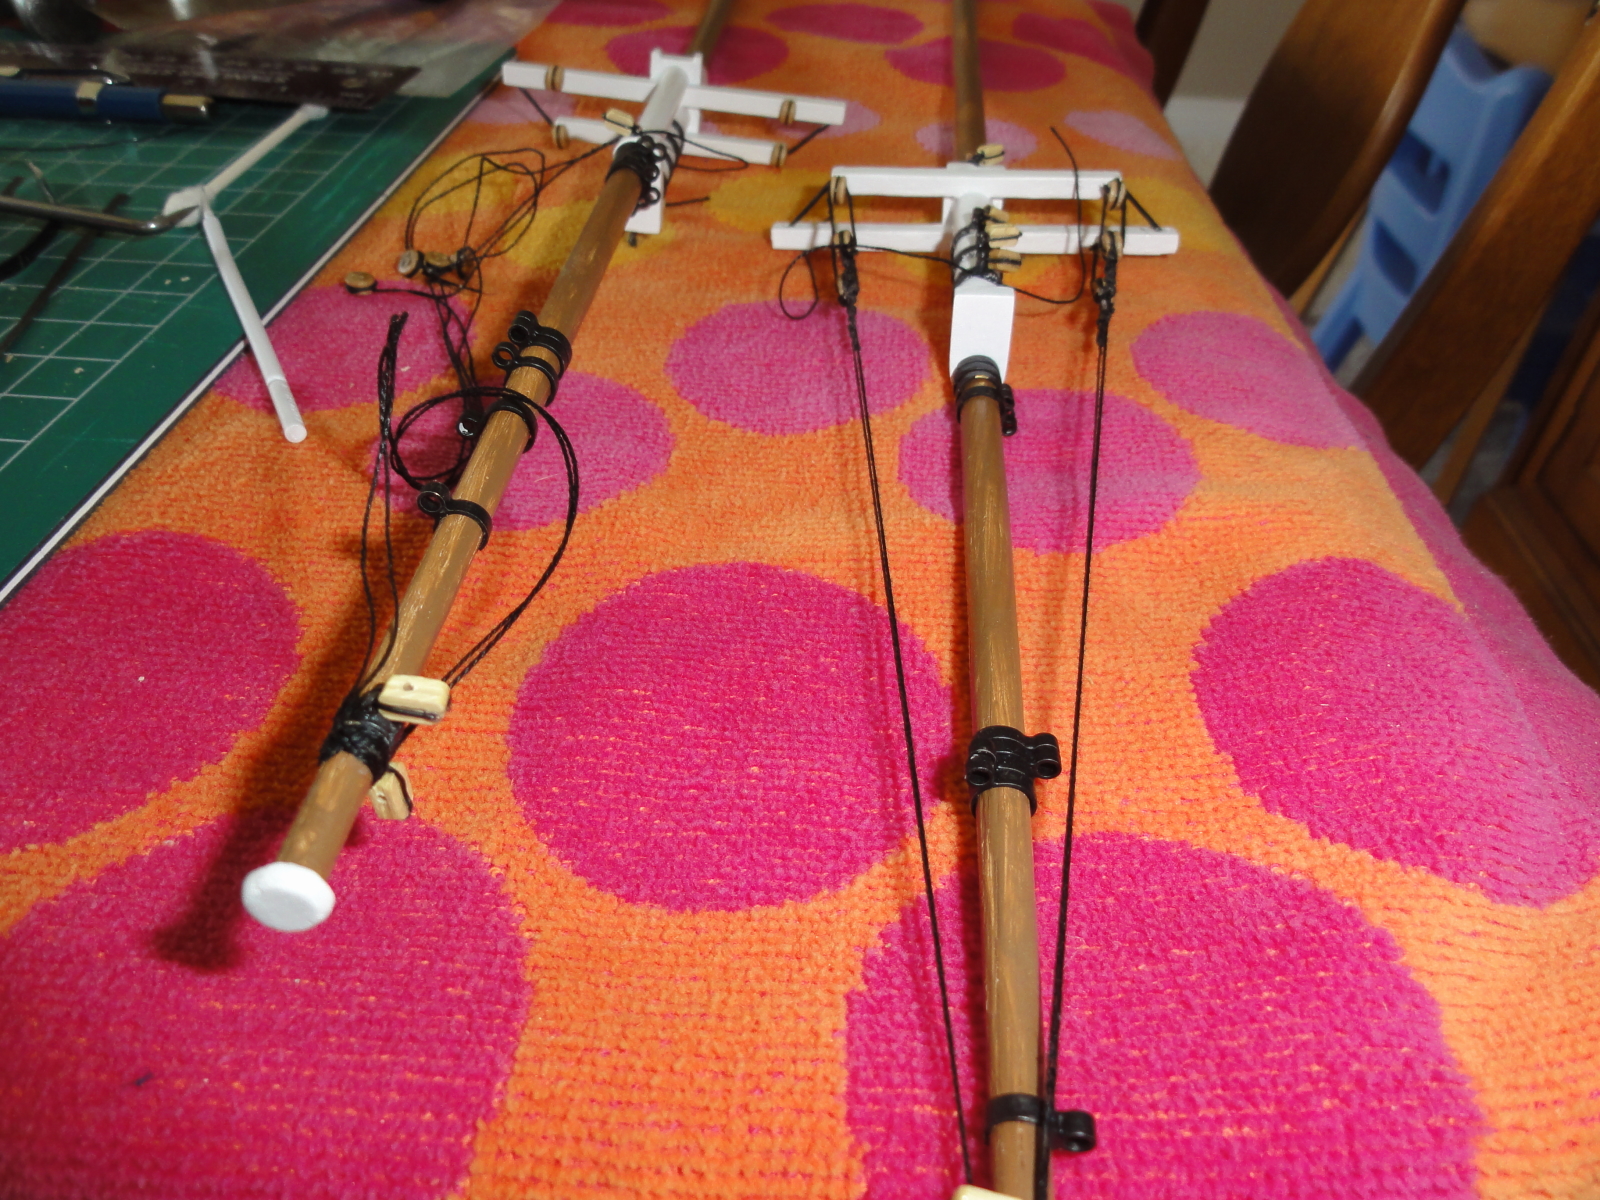
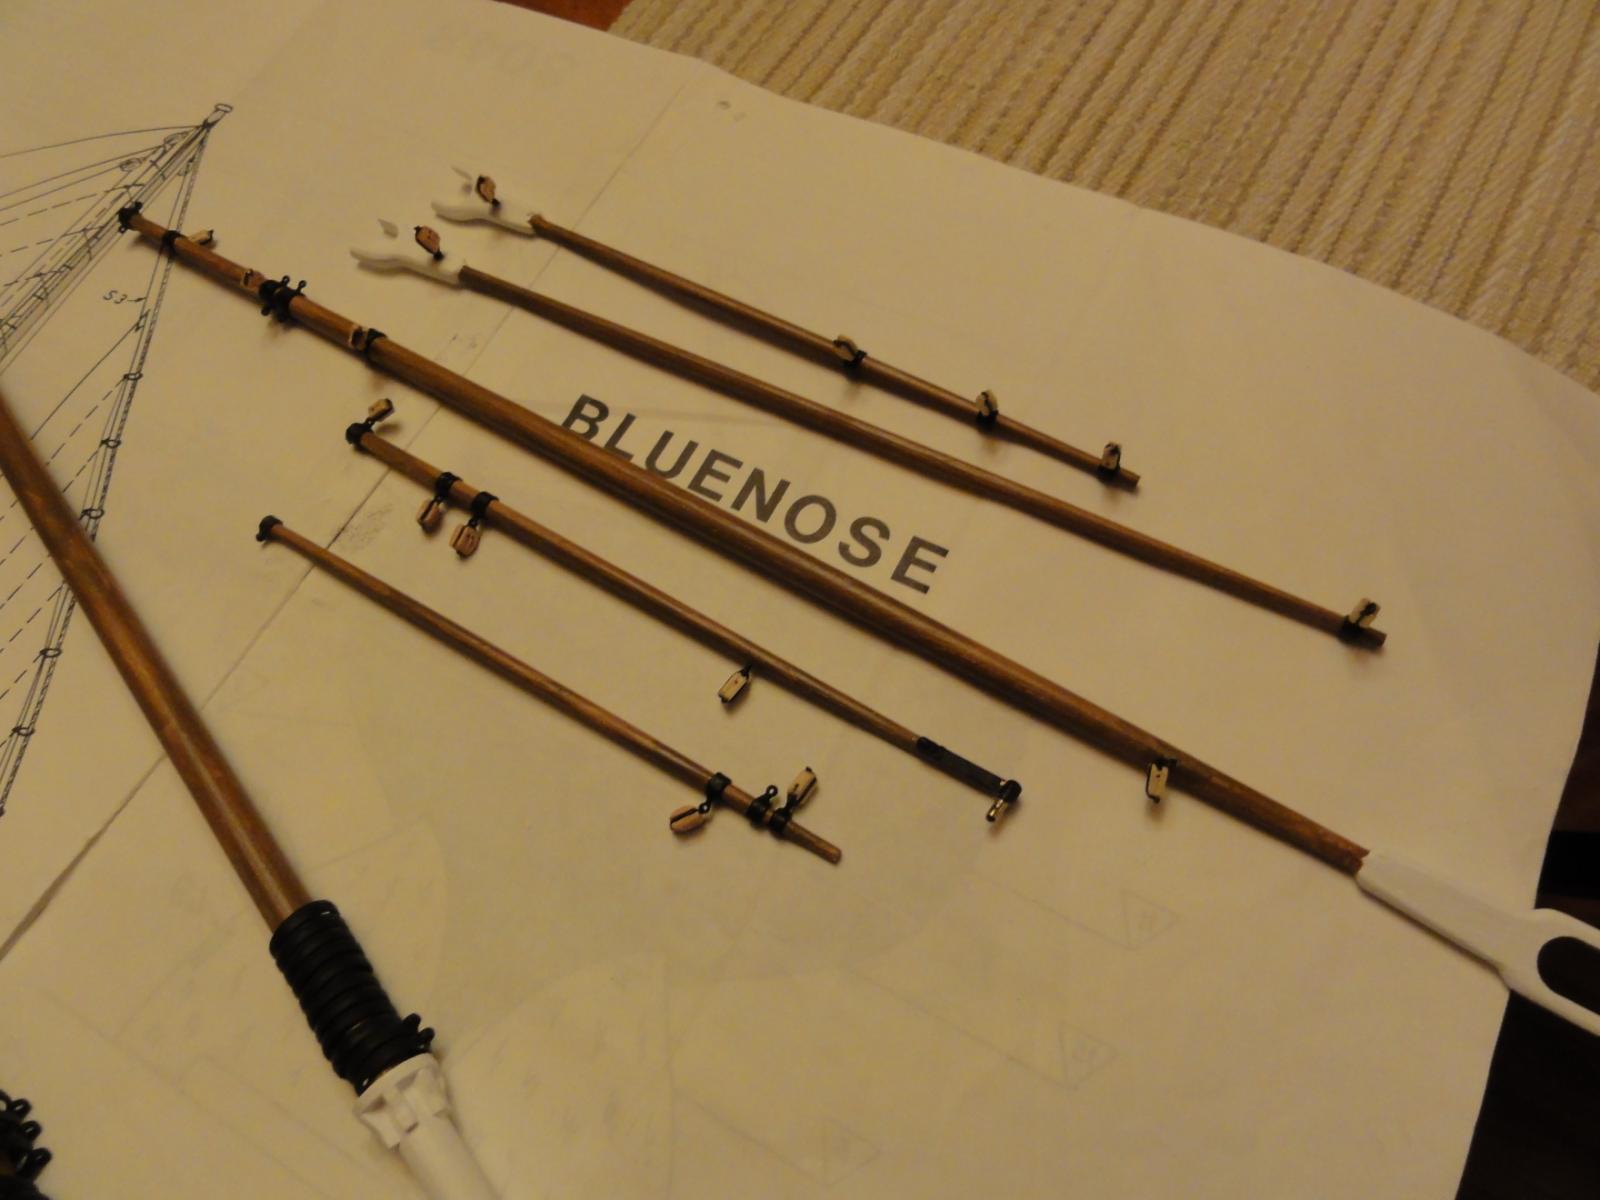
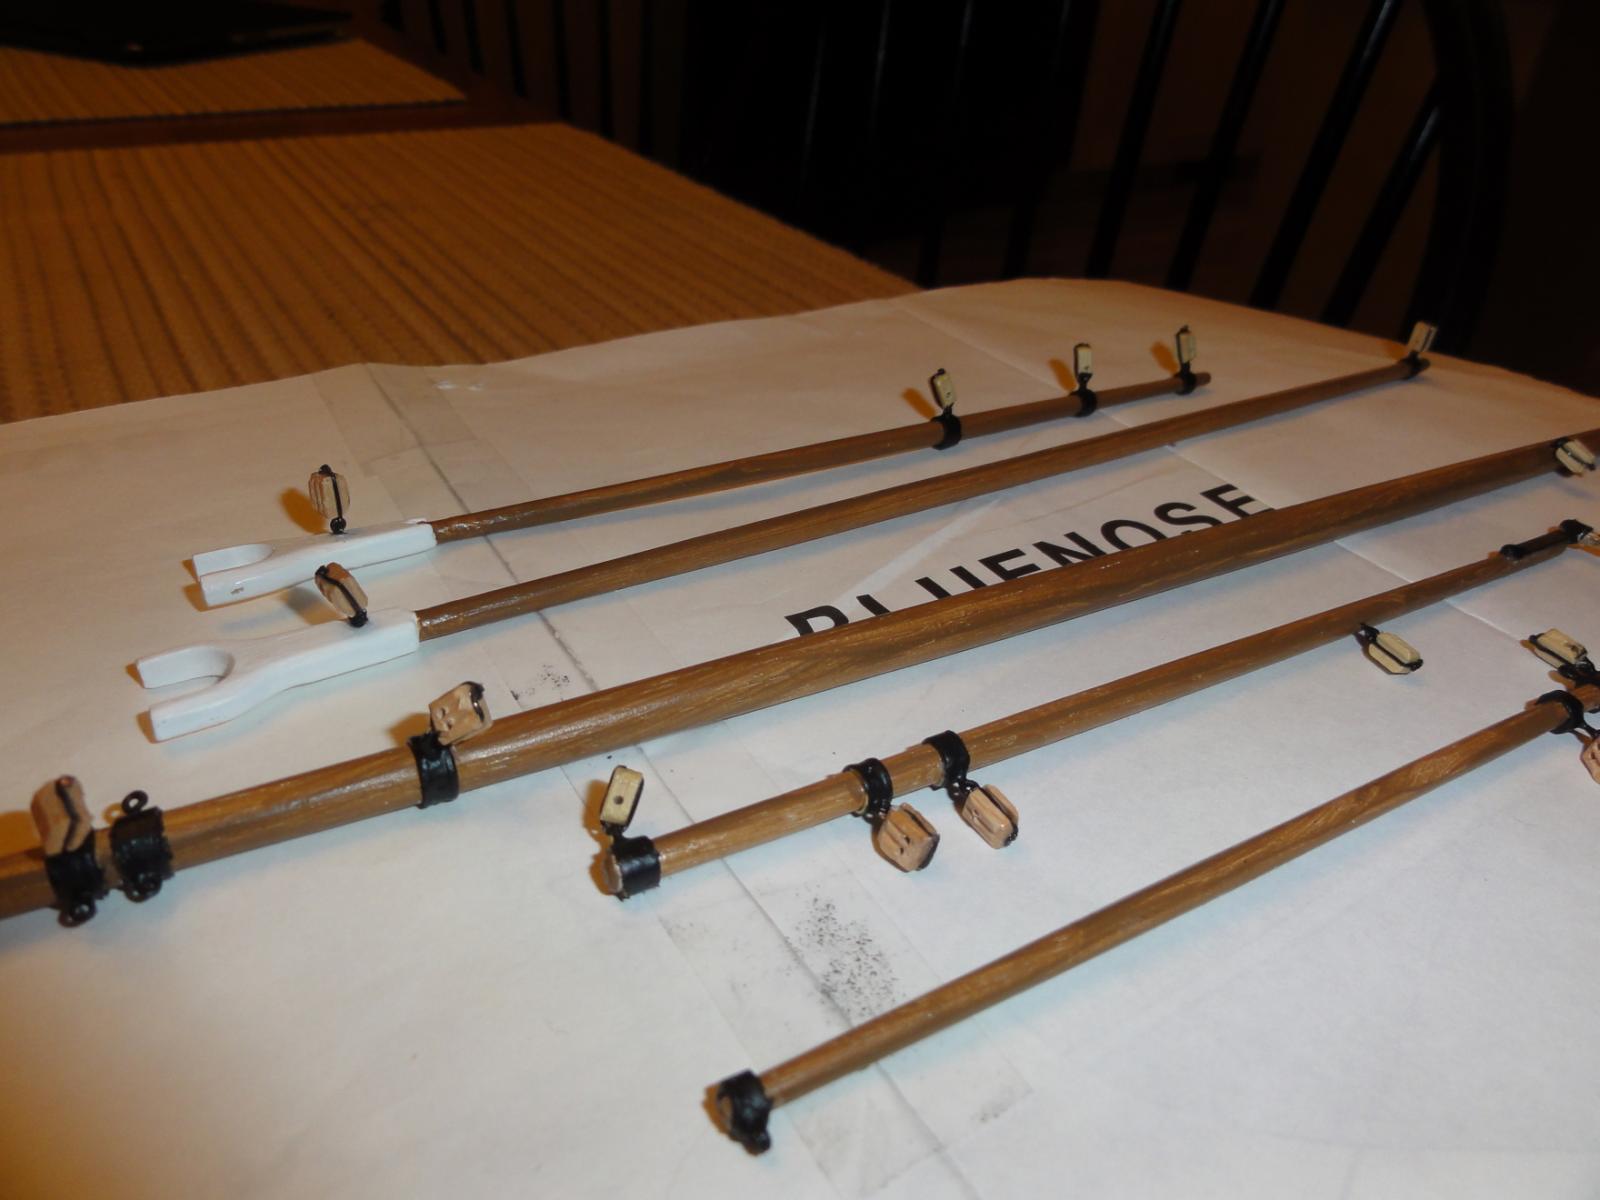
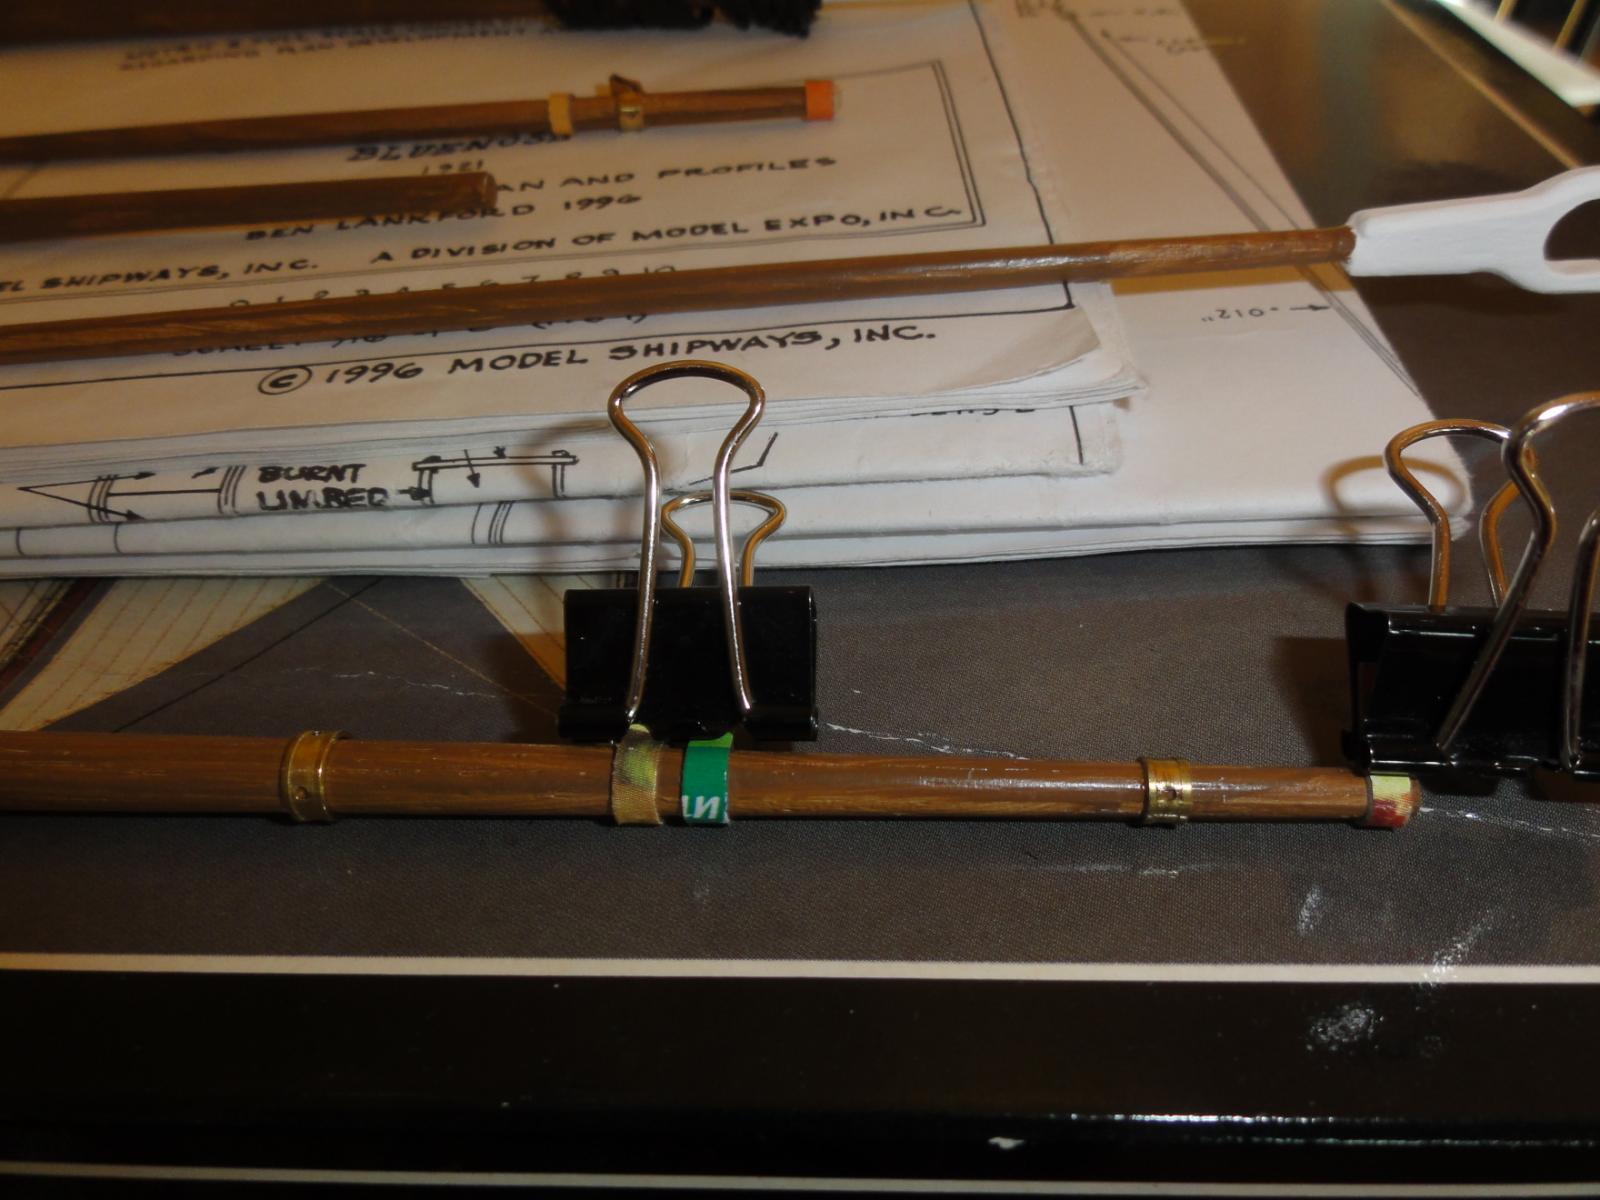
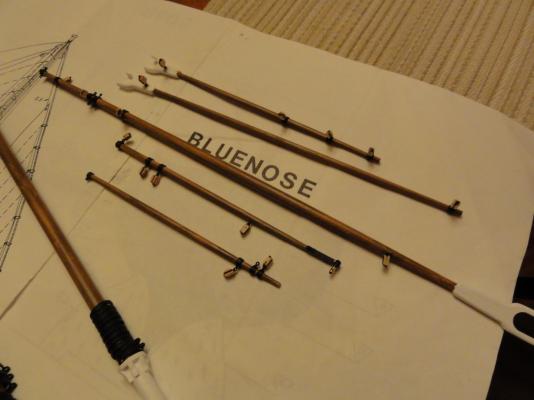
 Now my focus is adding all the extra details to the booms and gaffs according to the Model Shipways Plans that have been absolutely invaluable to me for adding all the extra details that make a model more interesting. I might be adding sails in the next week or two...
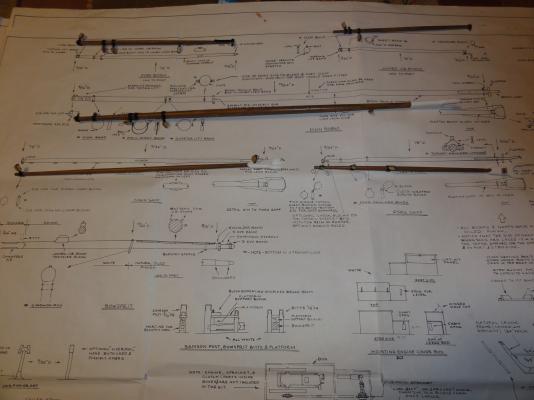
-
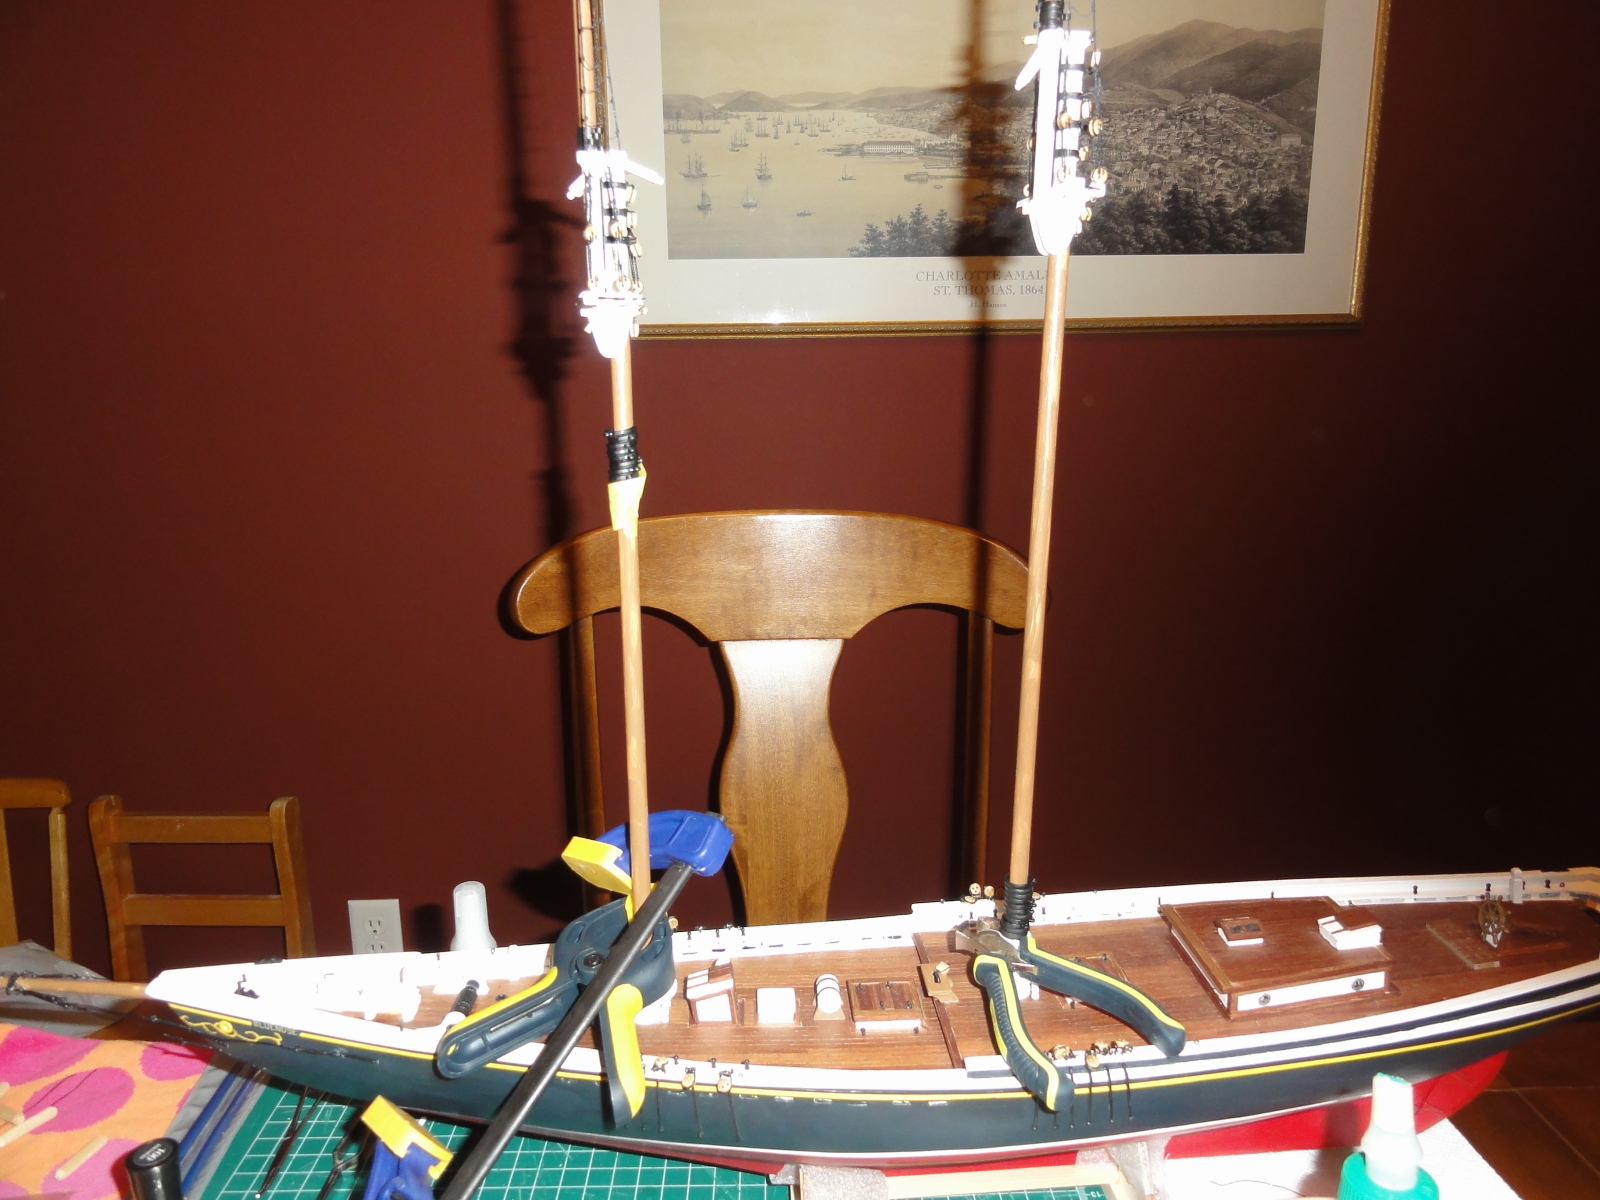
I also added a few extra details to the masts ie: ringbolts and spring stay bails (that's what the Model Shipways Plans called them anyways). The next item on my agenda was to set the masts... and I noticed lots of debates whether to glue them in or set them with the stays and shrouds alone. The problem for me was that when I made the mast holes and then the mast collars, I noticed lots of sway to the masts and thus went for the glue... I basically just eyeballed it... From the picture, it looks like I was using a heavy duty clamp but in fact was only using it to prevent the mast from leaning to the side. Everything looks good to me...

-
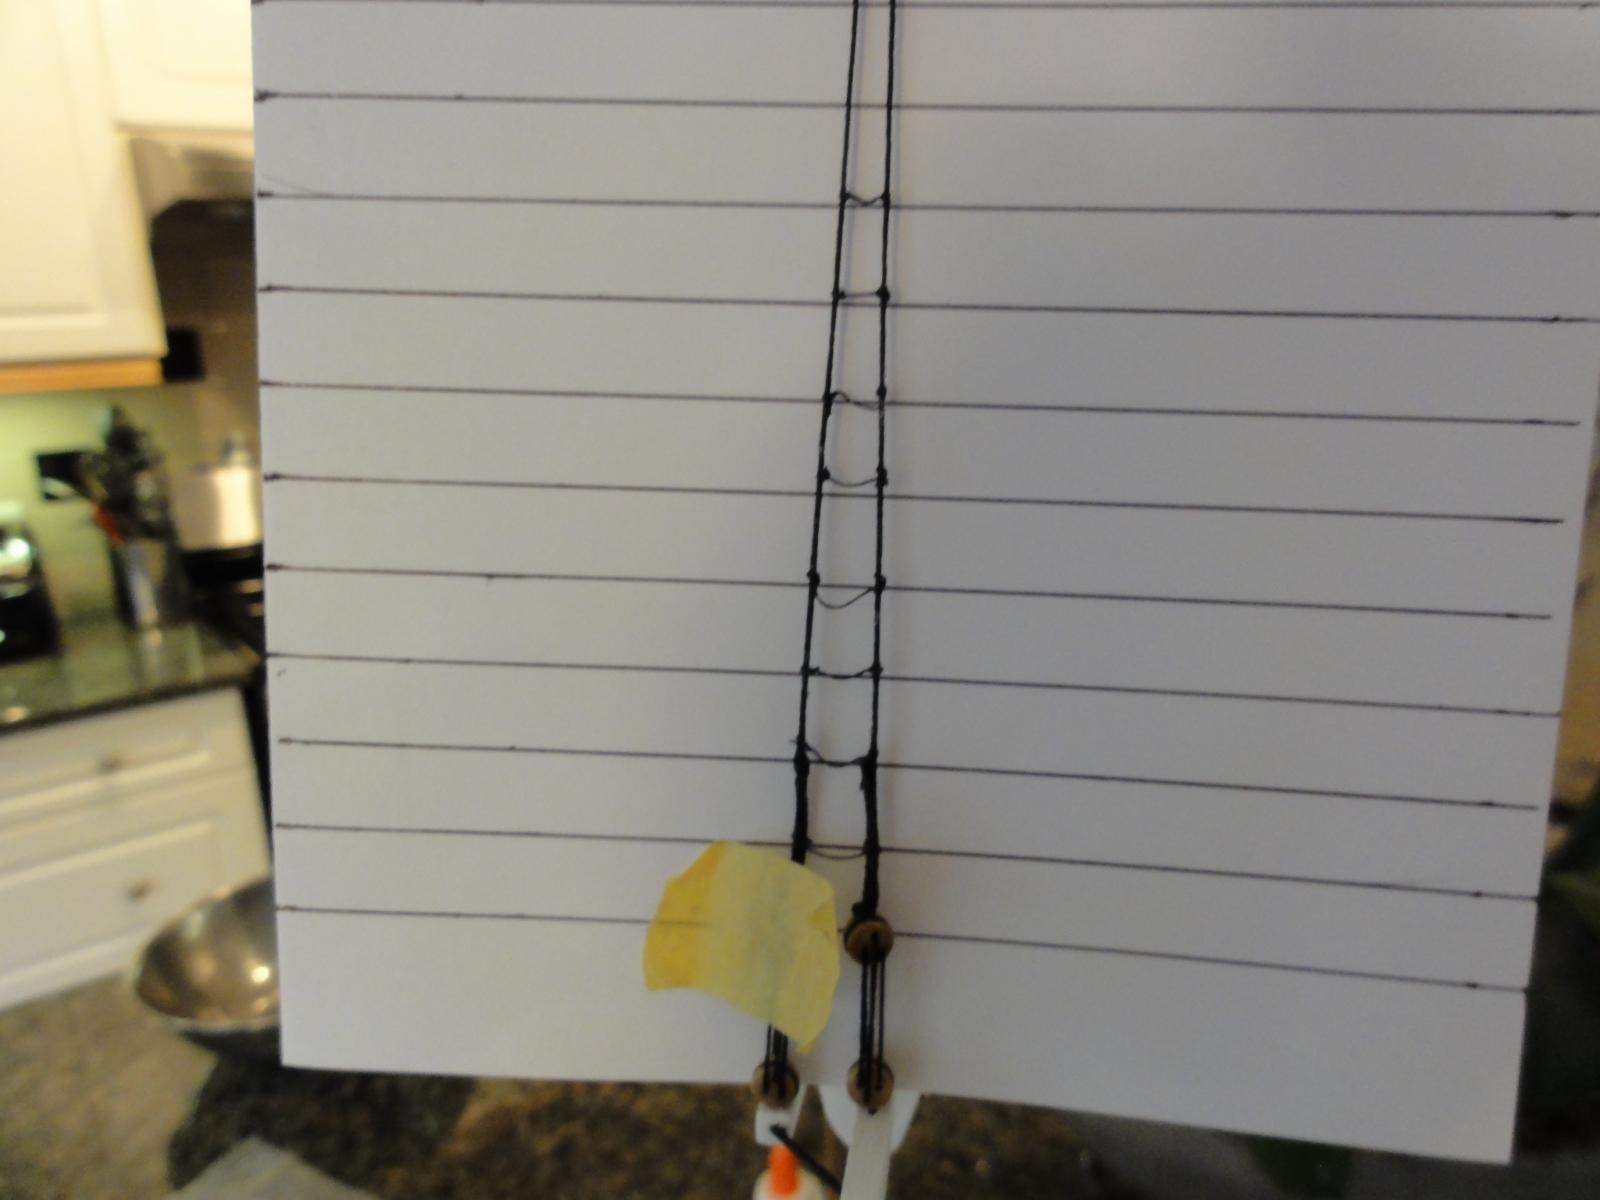
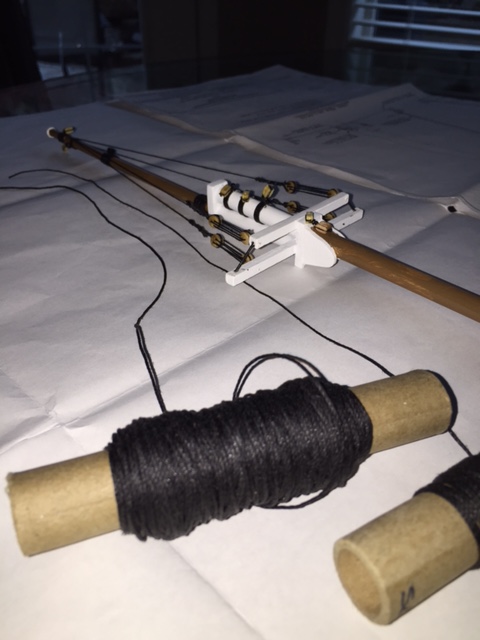
Seems like I am always good for a posting once a month... and since the last discussion I created my upper (topmast) shrouds going with the 0.75 mm thread from Caldercraft, also using regular cotton thread for the ratlines that is perhaps 0.15 or 0.2 mm in diameter in my estimation. I then compared the look to the previous mast that I had done, and quickly realized the redo was much better.


-
Thanks Jan-Willem, Bob for the wealth of information... much much appreciated. I will experiment and look again at this as I have to take down want I already put up (topmast shrouds) and look at this issue again with all this new information. With regards to the wire standing rigging, I know the bow details and just a couple of the lines of the lower masts were wire (according to the Billings Boat plans anyways).
-
Hi Jan-Willem, Rat lines should be the thinnest, at this scale, I believe I have to actually go smaller than what I previously stated, perhaps 0.1 or 0.25 at the largest size.
-
Thanks so much for your advice Alan, Jan-Willem... I think 0.85mm would look "dead on" per the Model Shipways plans (to my eyes). The Billings Boat kit did not come with black rigging thread and what I bought at Michaels (craft store)was some regular thick black thread that is just to soft and light. The rigging thread from Caldercraft is nice and stiff, perfect in my opinion for this stage of rigging and shroud lines. At the end of the day, you have to go with what looks right and I think I will go with the 1mm shrouds and 0.5mm rat lines.
-
Thanks Alan for your reply... It is funny as when you look at the rigging with the mast set on the boat, it just looks funny and small to scale, and when you step back a bit and look at it, it almost looks like the shroud lines look "miniscule". I can only imagine that when you put the thinner ratlines on, those lines may completely "disappear"....? Thanks for your input, as this is my first rigging attempt, and I will have to think about this further. Much appreciated!
-
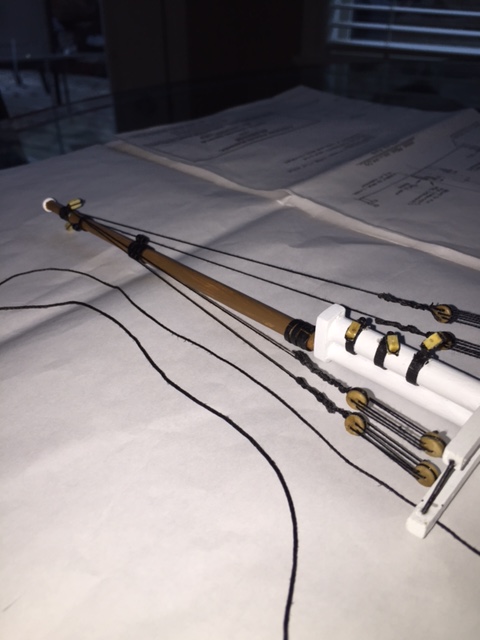
I presently have some concerns about the scale of standing rigging... I started the topmast shrouds and they definitely don't look right with the thread I used which I would guess to be 0.5mm evident in the photos. I have some Caldercraft 0.75mm and 1.00mm evident in the photos. My inclination is to use the 1.00 mm for the shrouds and 0.5 mm for the rat lines. Any suggestion or thoughts in what thread to use considering the scale of the ship is 1:64? Thanks,

-
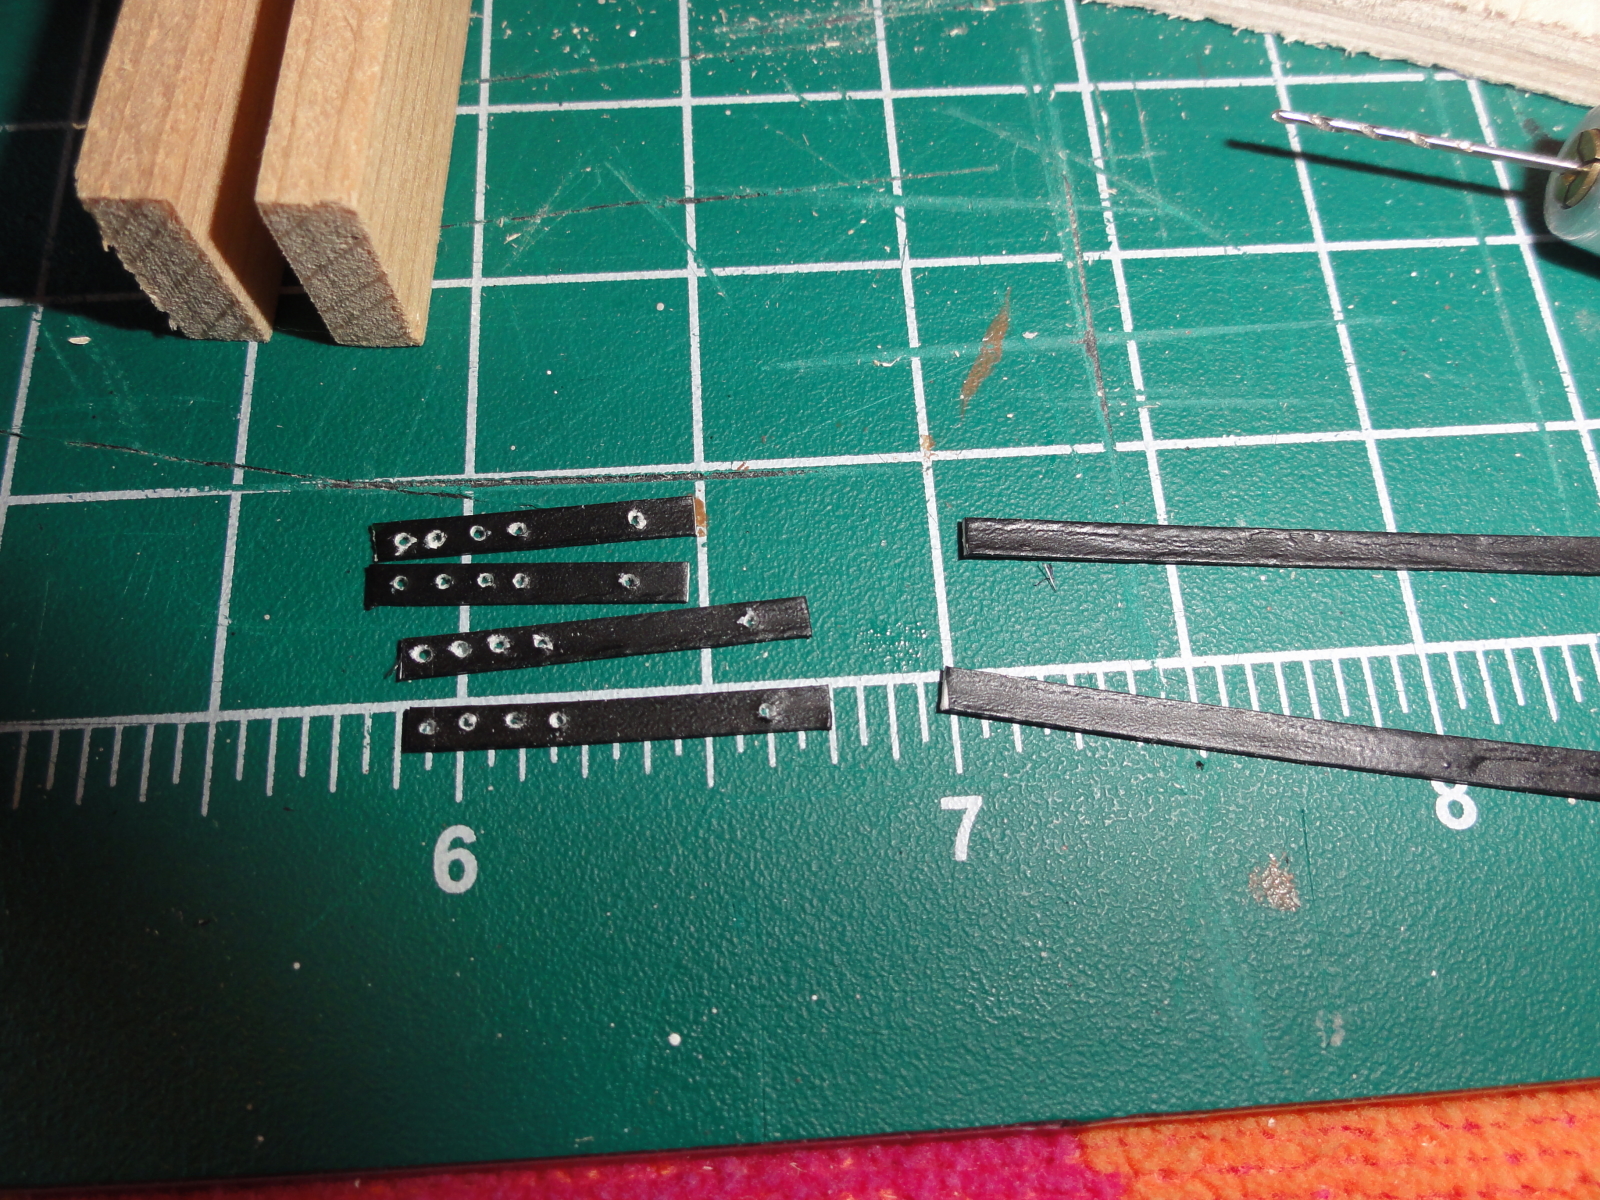
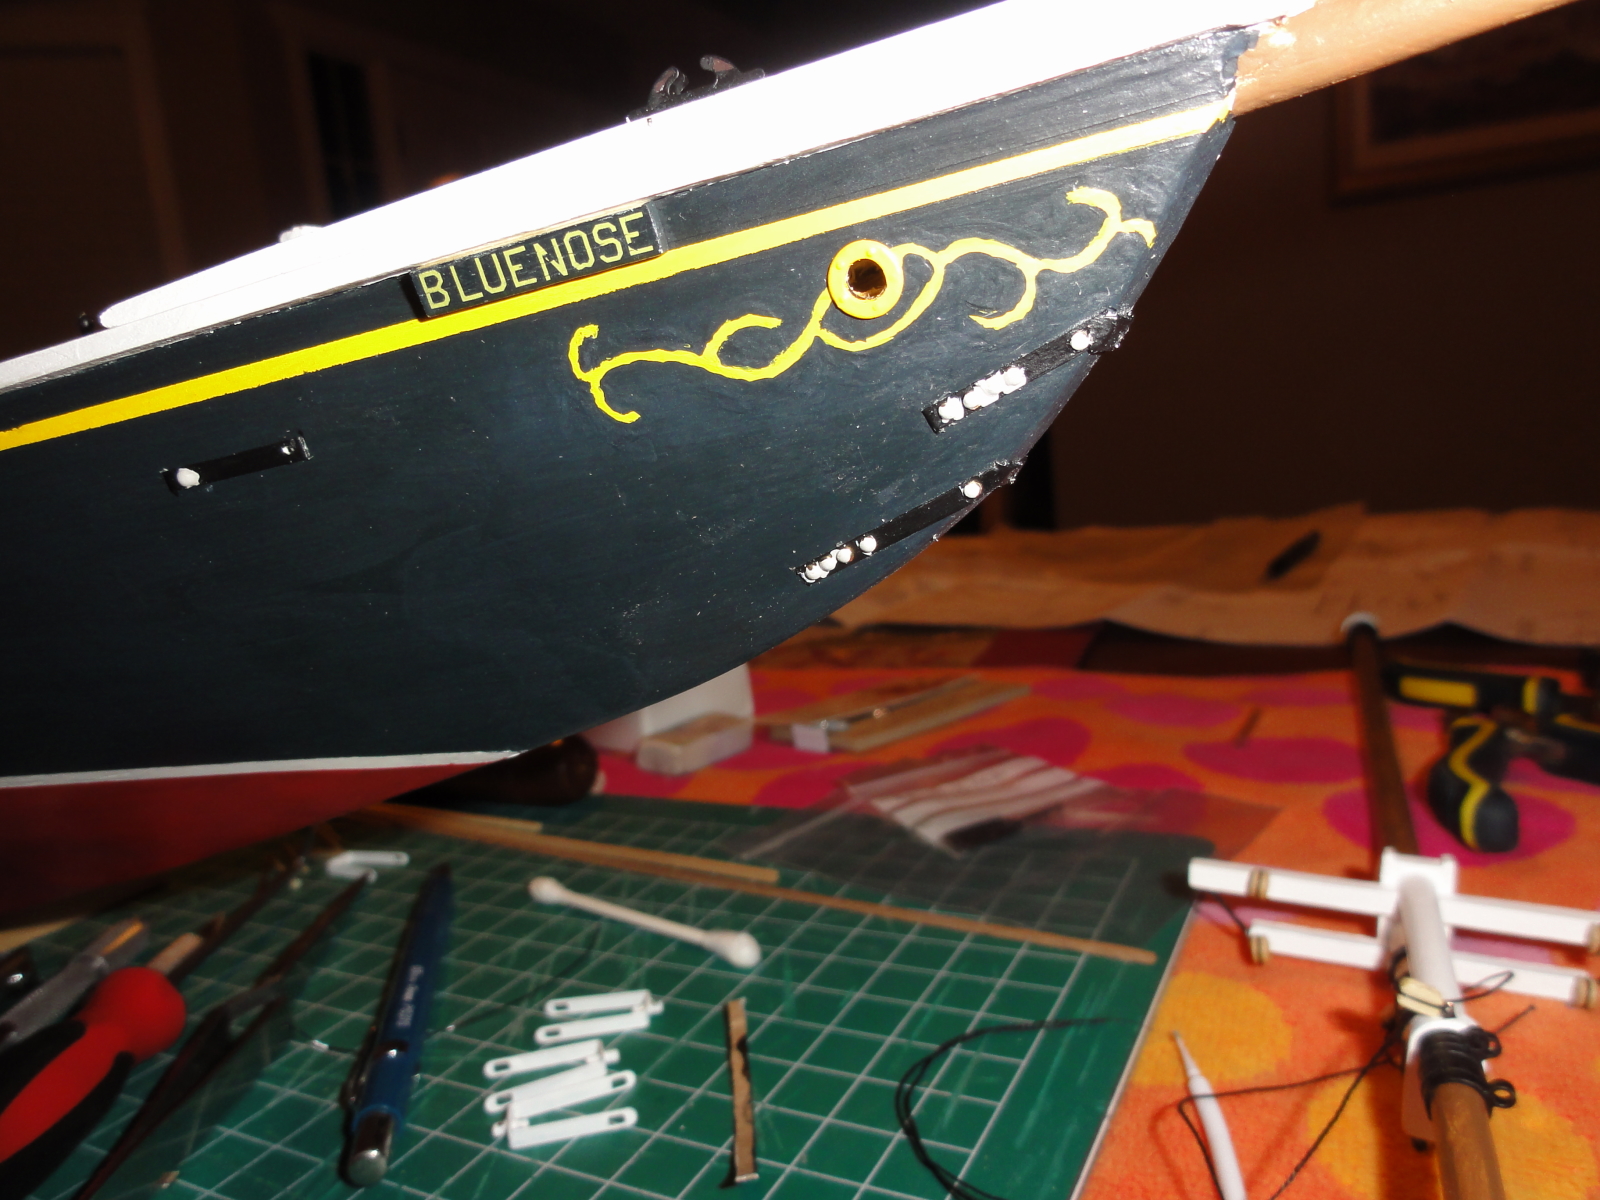
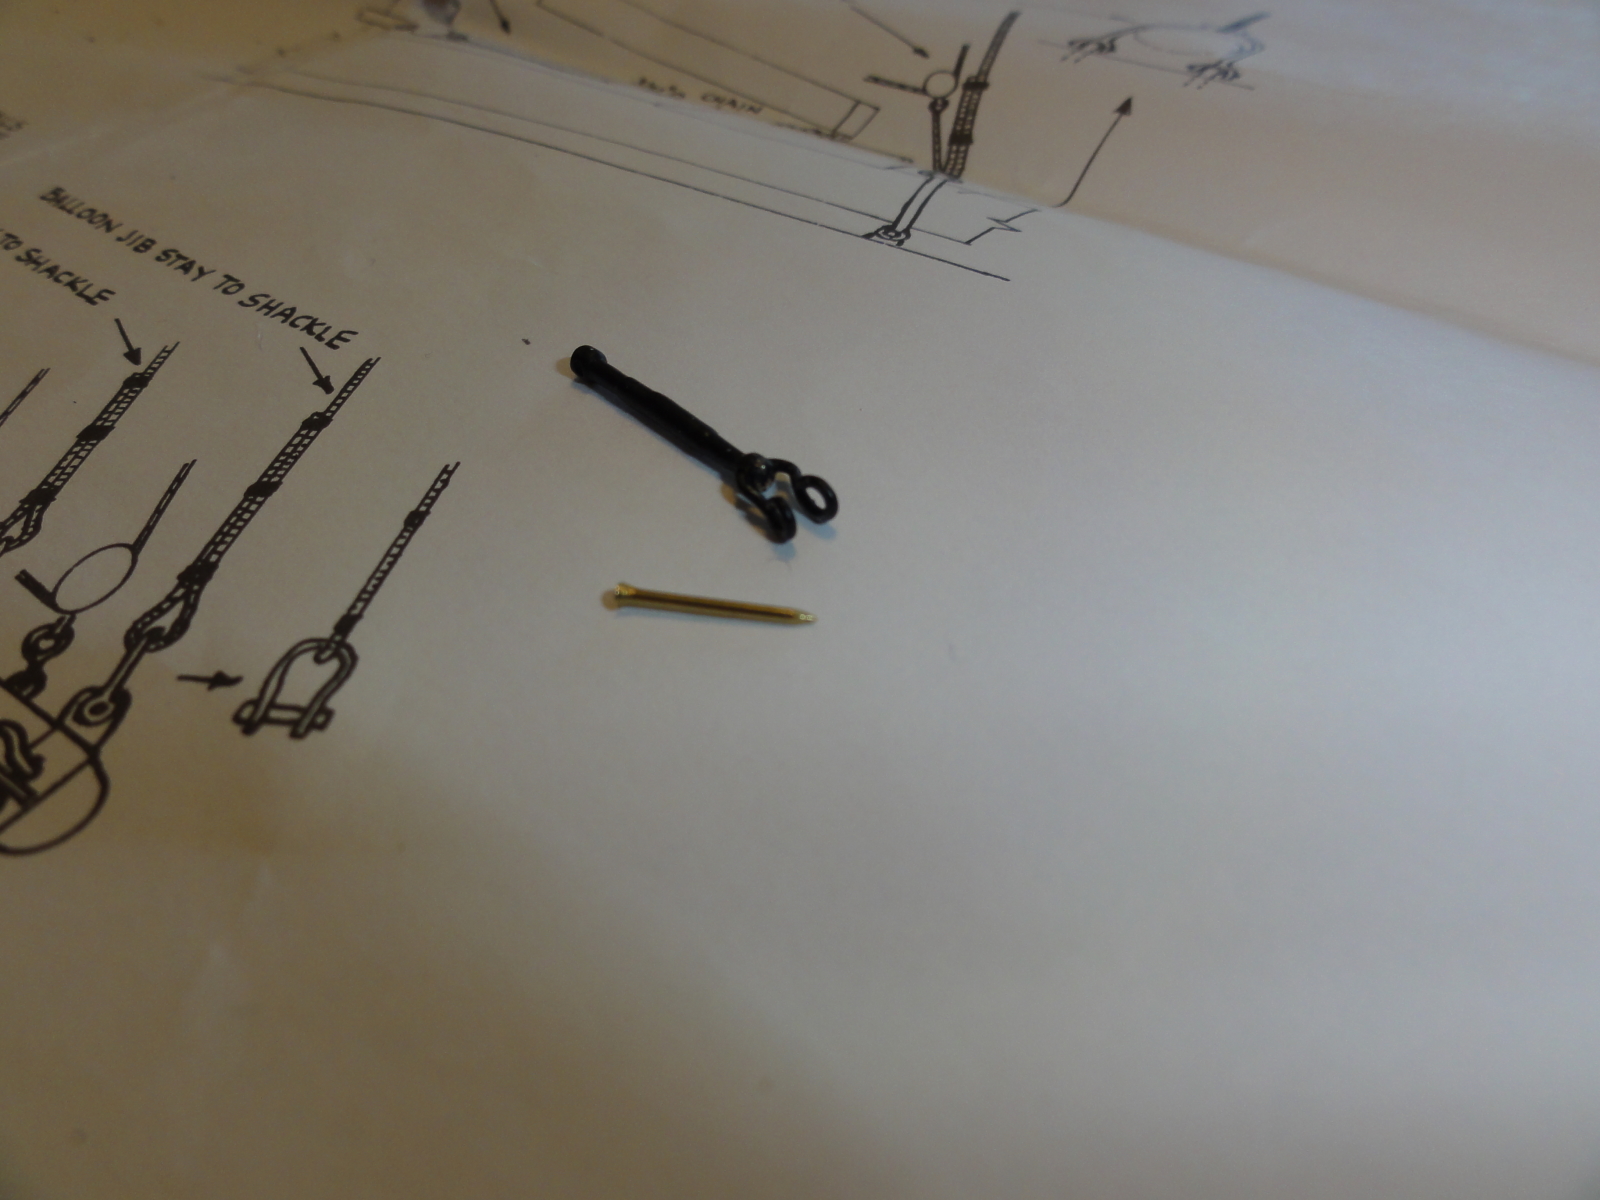
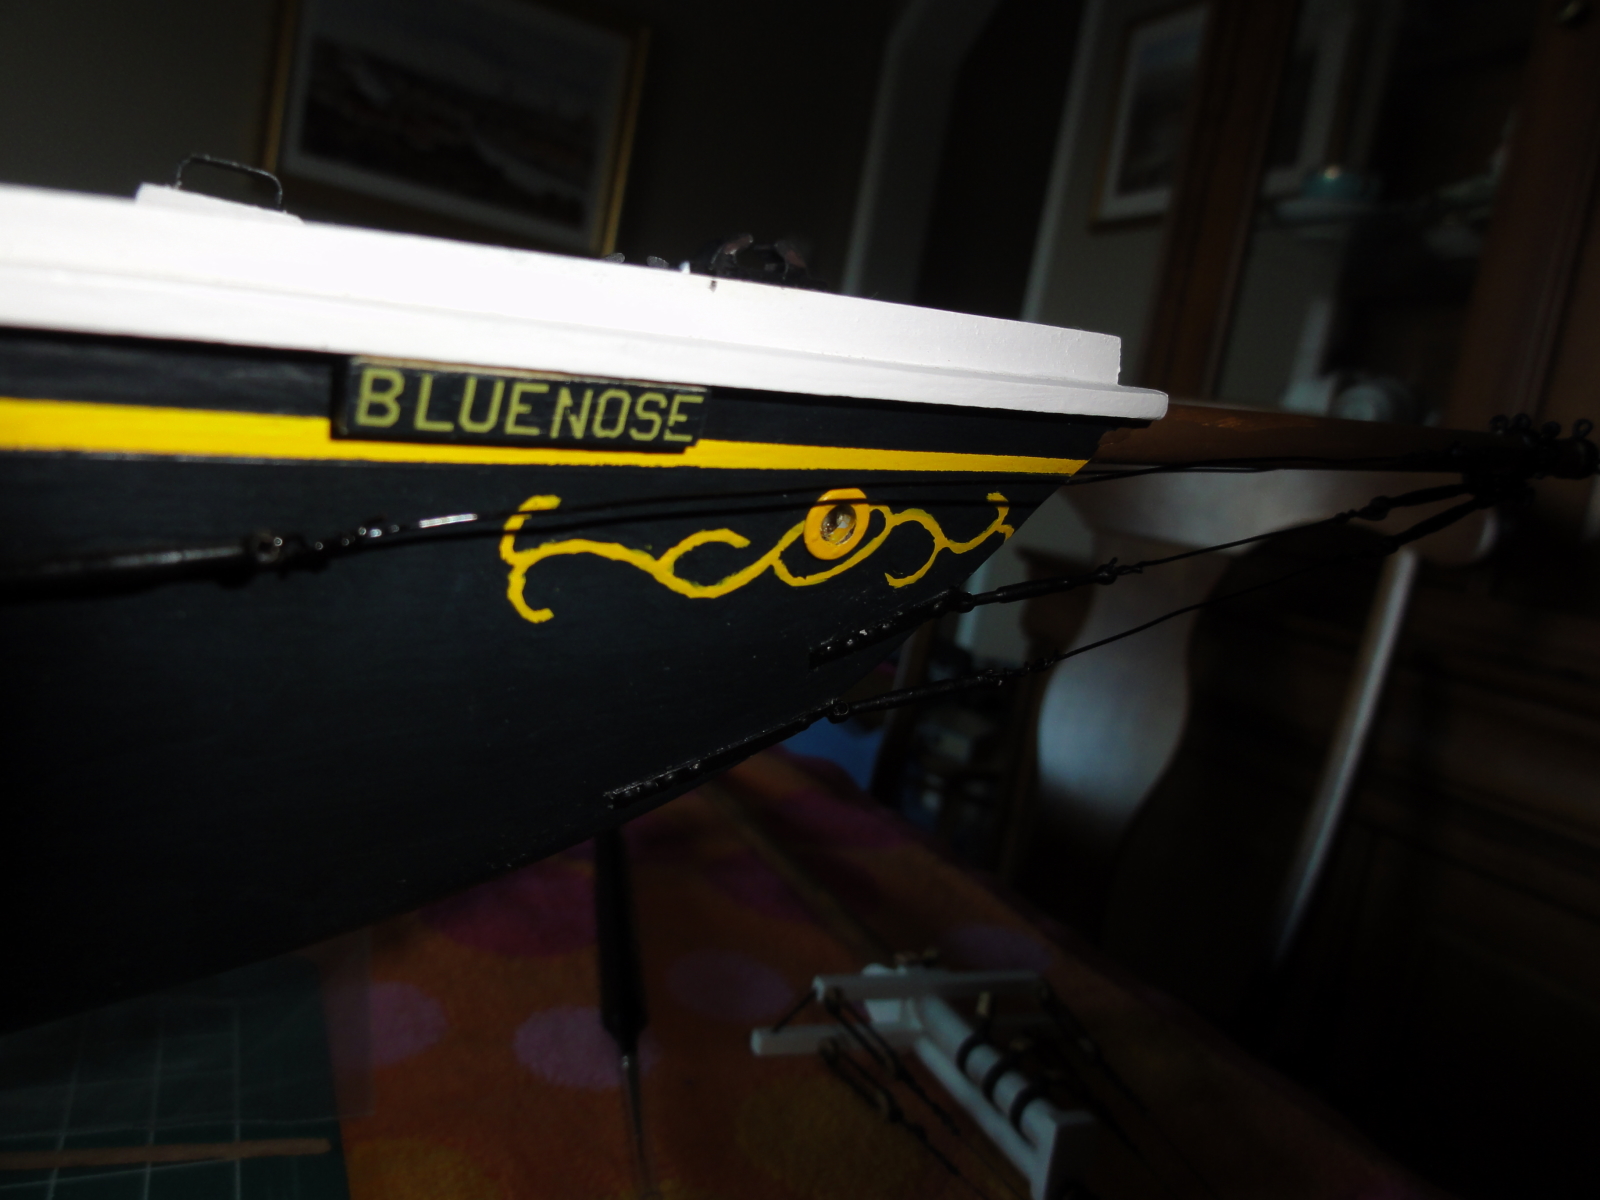
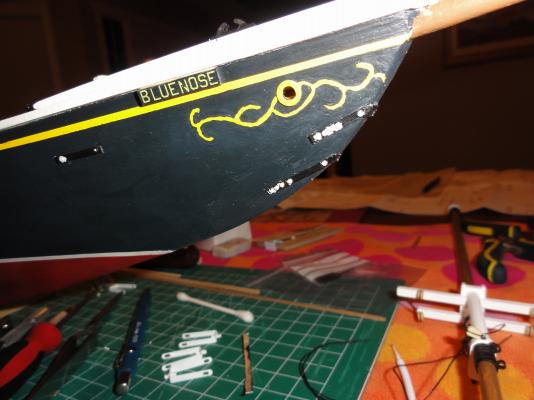
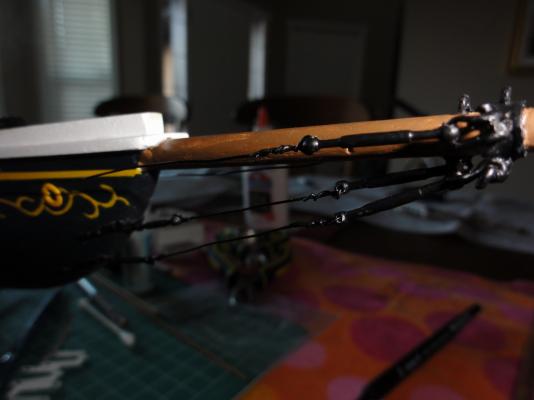
I added extra details this past weekend... I created hull plates from cardboard, drilling small holes in them to simulate bolt holes, glued them to the hull with simple white glue and anchored turnbuckles to them creating some of the standing rigging details of the bowsprit. I used black wire to connect the turnbuckles and I think they turned out quite good but whenever I take close-up pictures, the details don't look quite as good. I blame this on my 51 year old eyes. Sorry, as the last two pictures are a bit dark, and just noticed that after the upload...

-
Thanks John for the kind remarks.., I certainly enjoyed reviewing your very detailed and comprehensive build log at www.charleswmorganmodel.com Cheers,
-
Thanks Jan-Willem for the compliments and others for the "likes" of course. I am just taking my time and enjoying every step of this build. Cheers,
-
Hi Jan-Willem, I love the extra detail you are doing... you are certainly a great craftsman!
- 127 replies
-
- 1
-

-
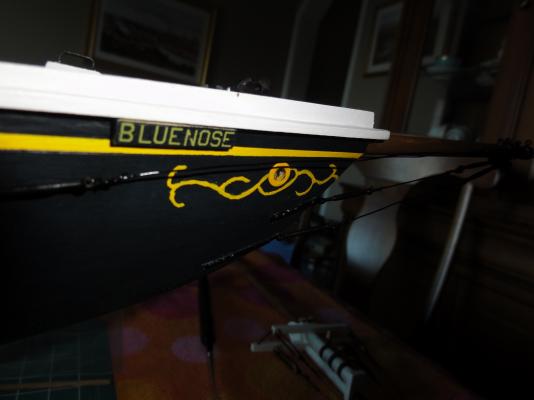
- Bluenose
- Billing Boats
- (and 1 more)
-
This last post shows the very limited progress on the masts in which I have started my first attempts ever of rigging a model period ship. My fingers are a bit fiddly and I can tell already that this part of the build is not going to be fun for me. I think I will skip over the masts for now and work on adding details to the bow section of the ship...

-
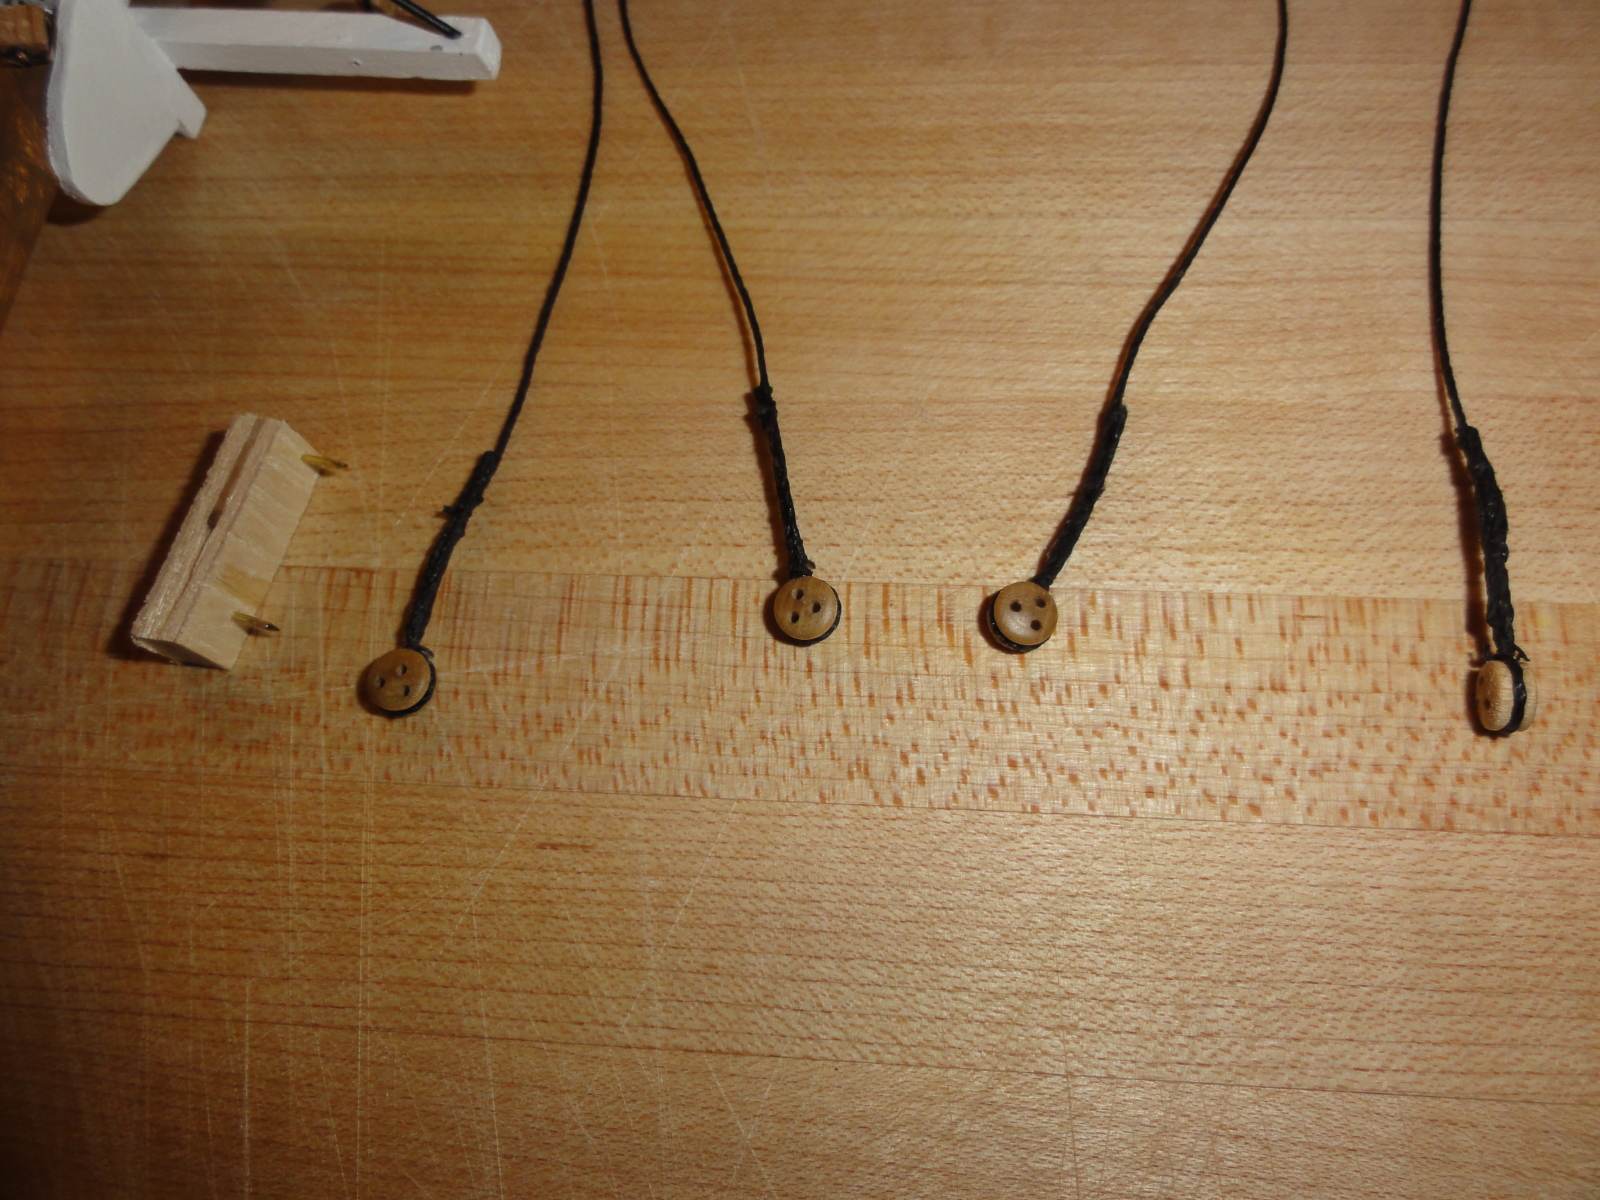
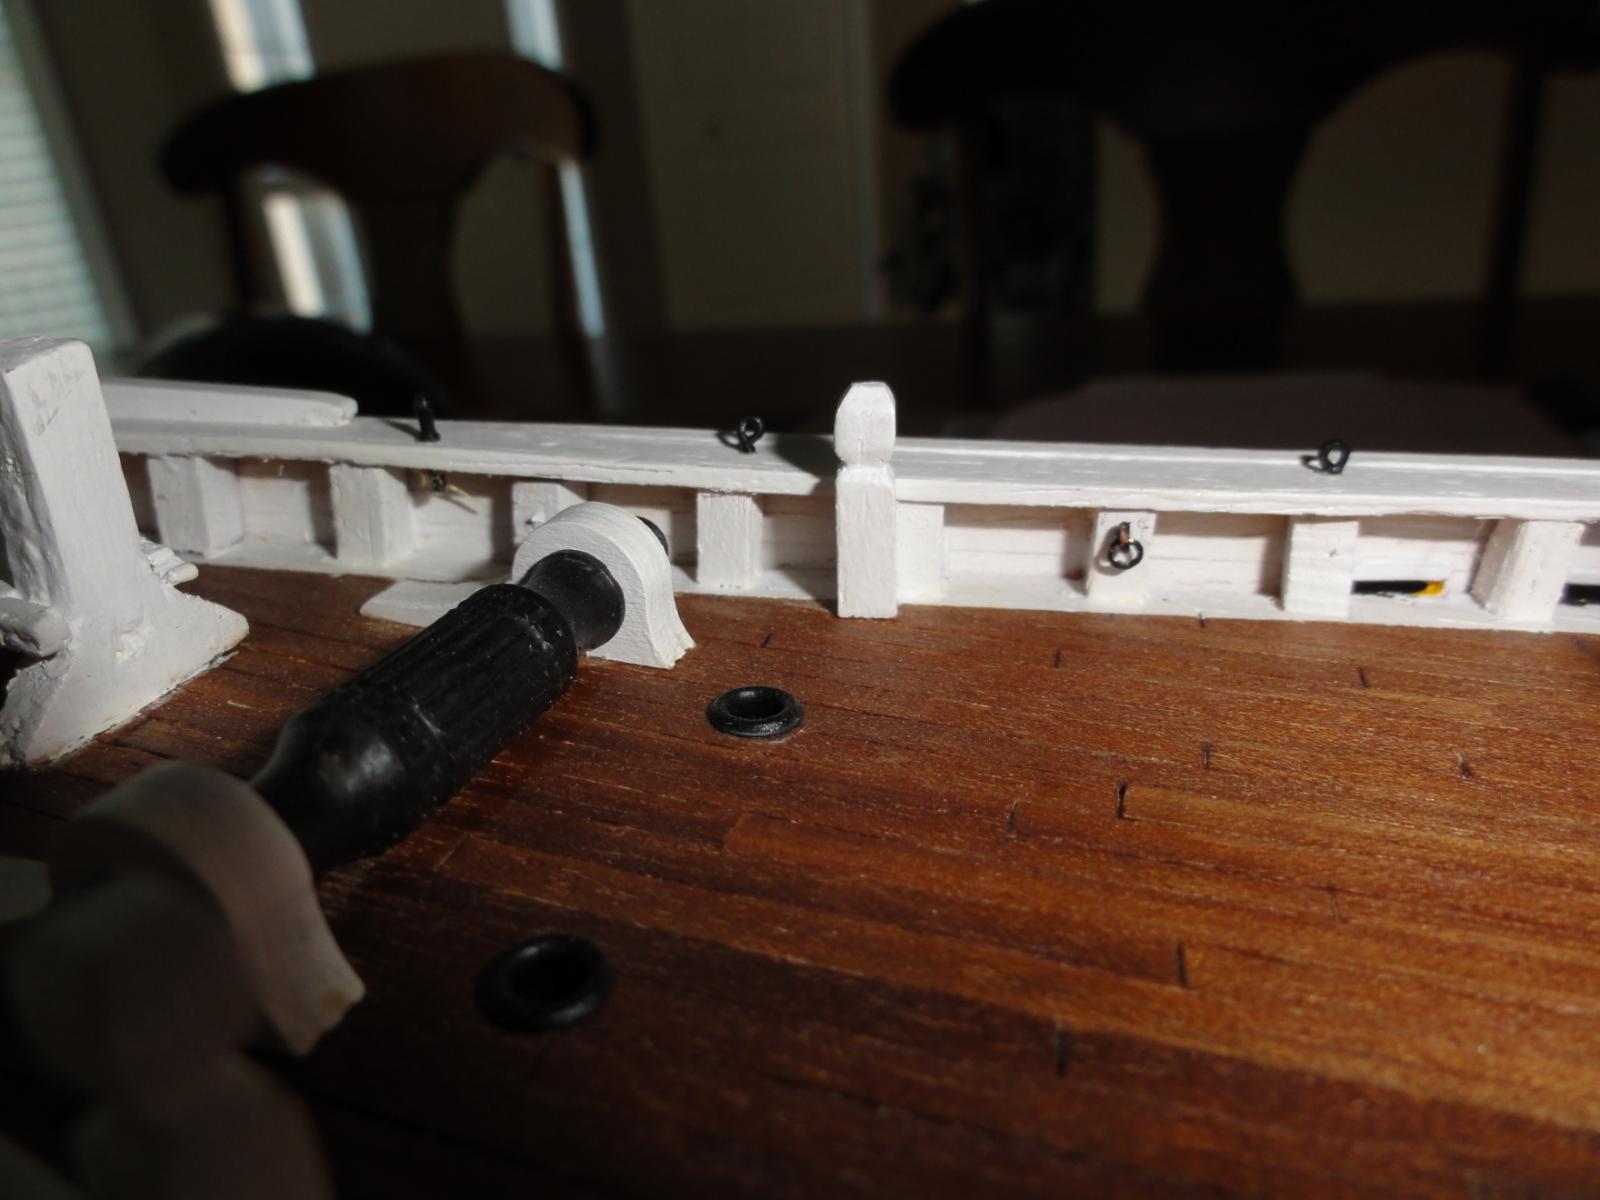
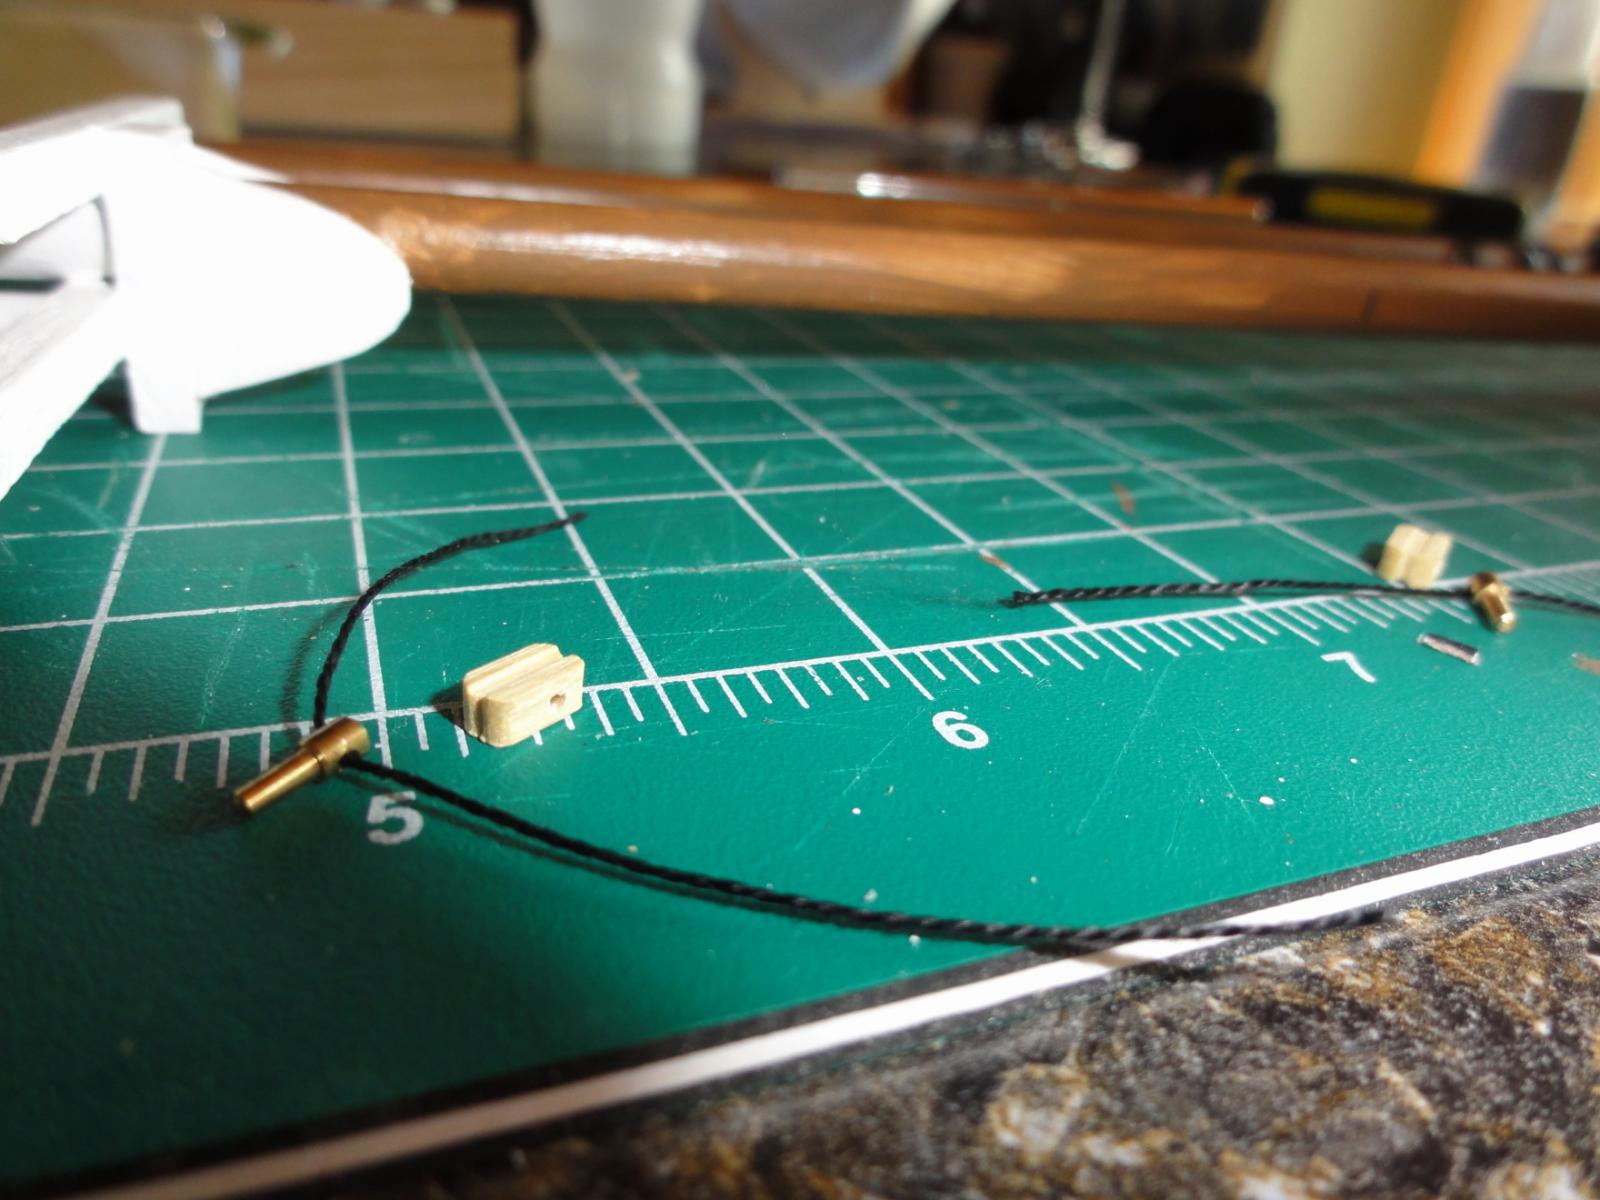
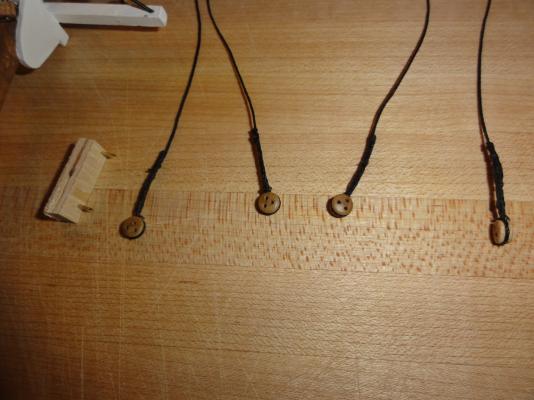
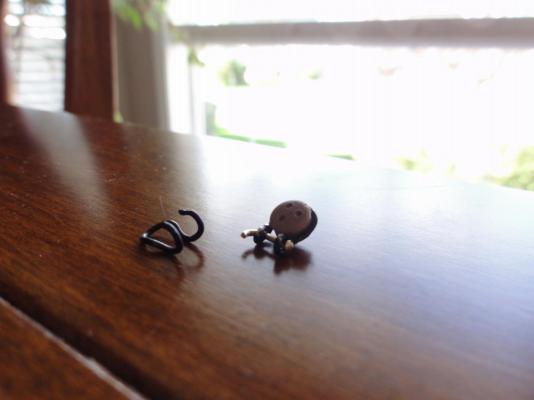
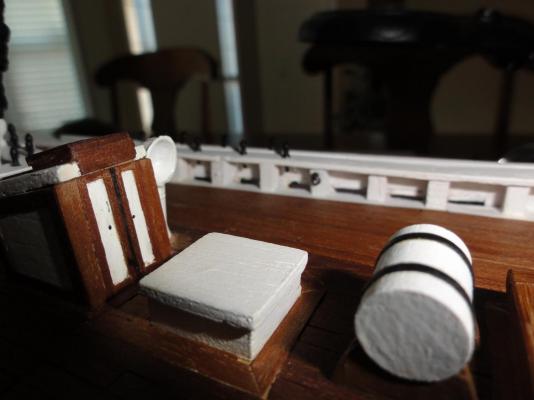
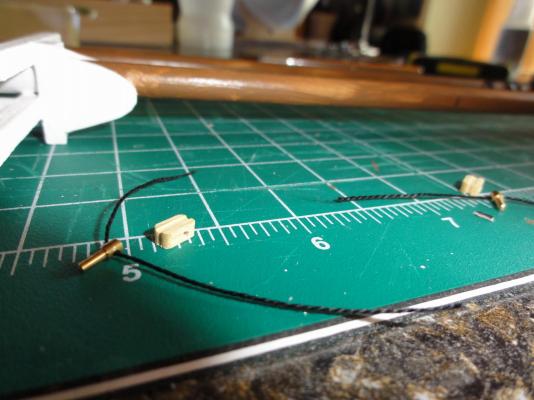
I most recently started worked on setting up the lanyards for placement... This old kit supplied a very simple plate and then a plastic deadeye which I of course decided to replace. In adding details, I went to Michaels and purchased a sewing hook and eye package, and with a simple manipulation of the eye, I was able to wrap it around the deadeye and create a locking pin from a brass pin. I have already touched up the hardware with flat black paint and it looks quite good on the boat.

-
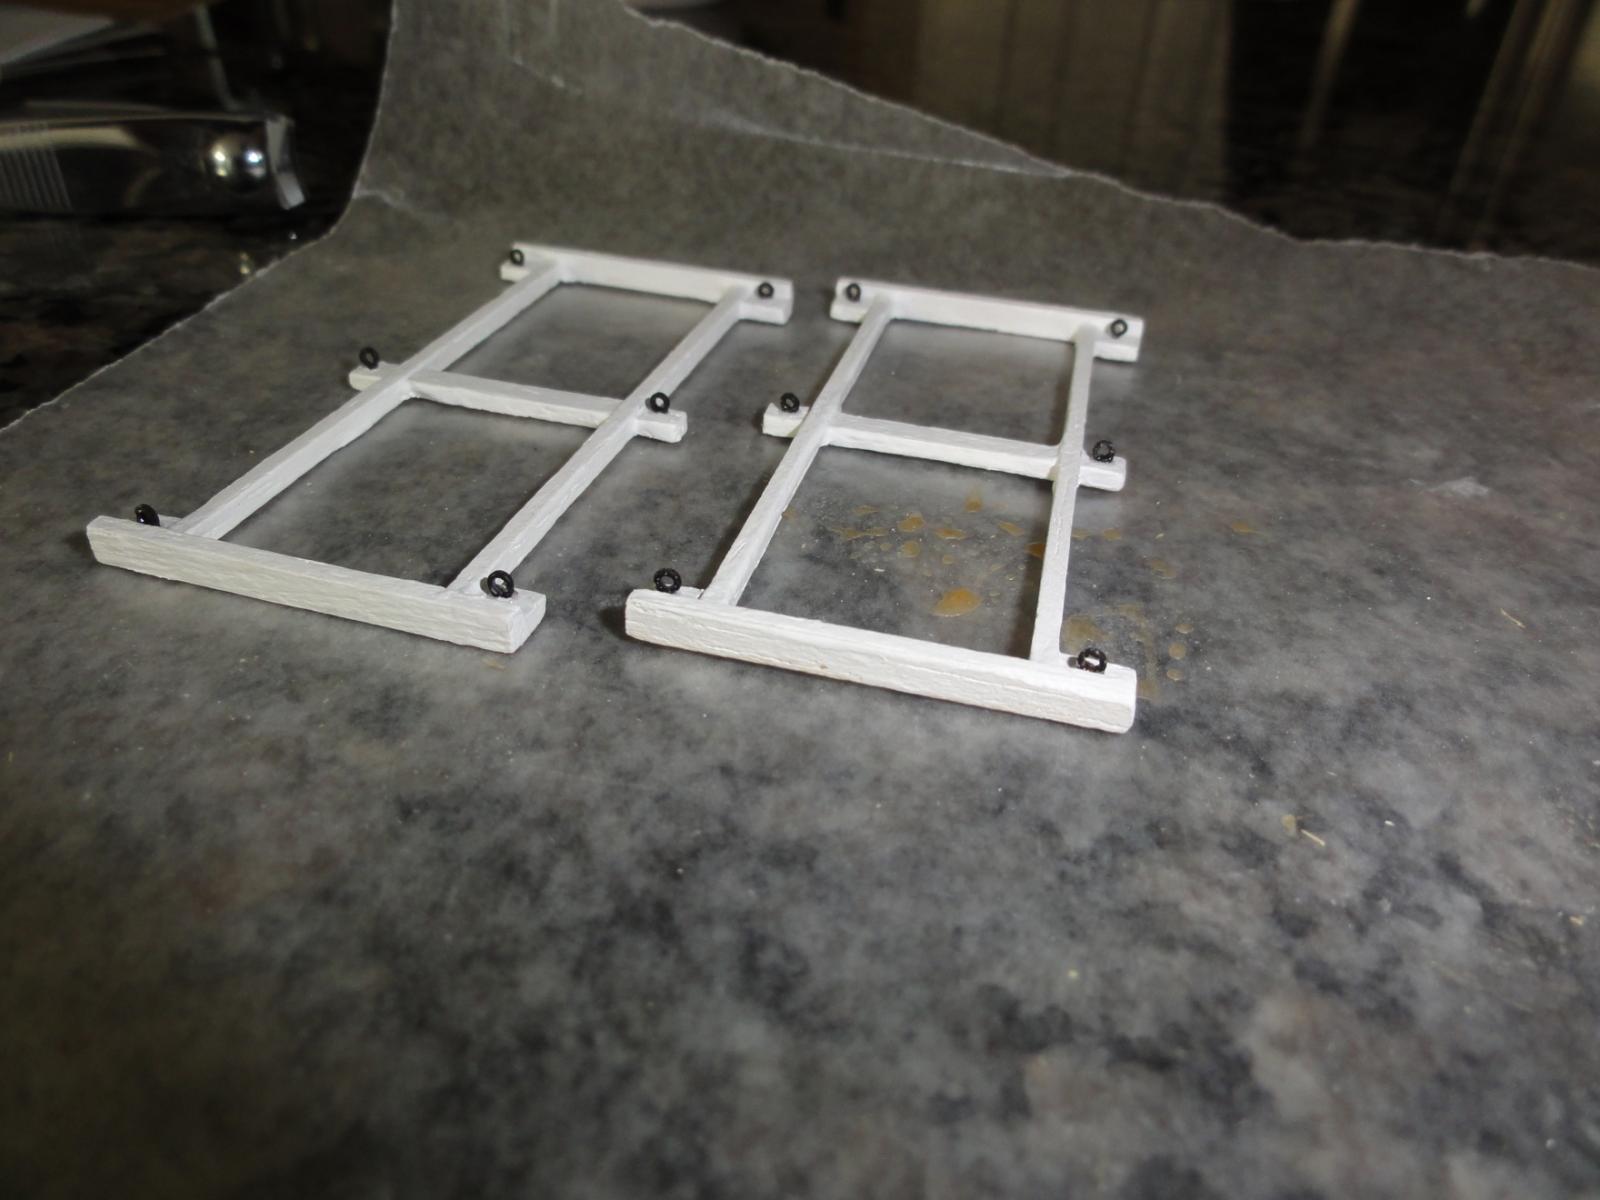
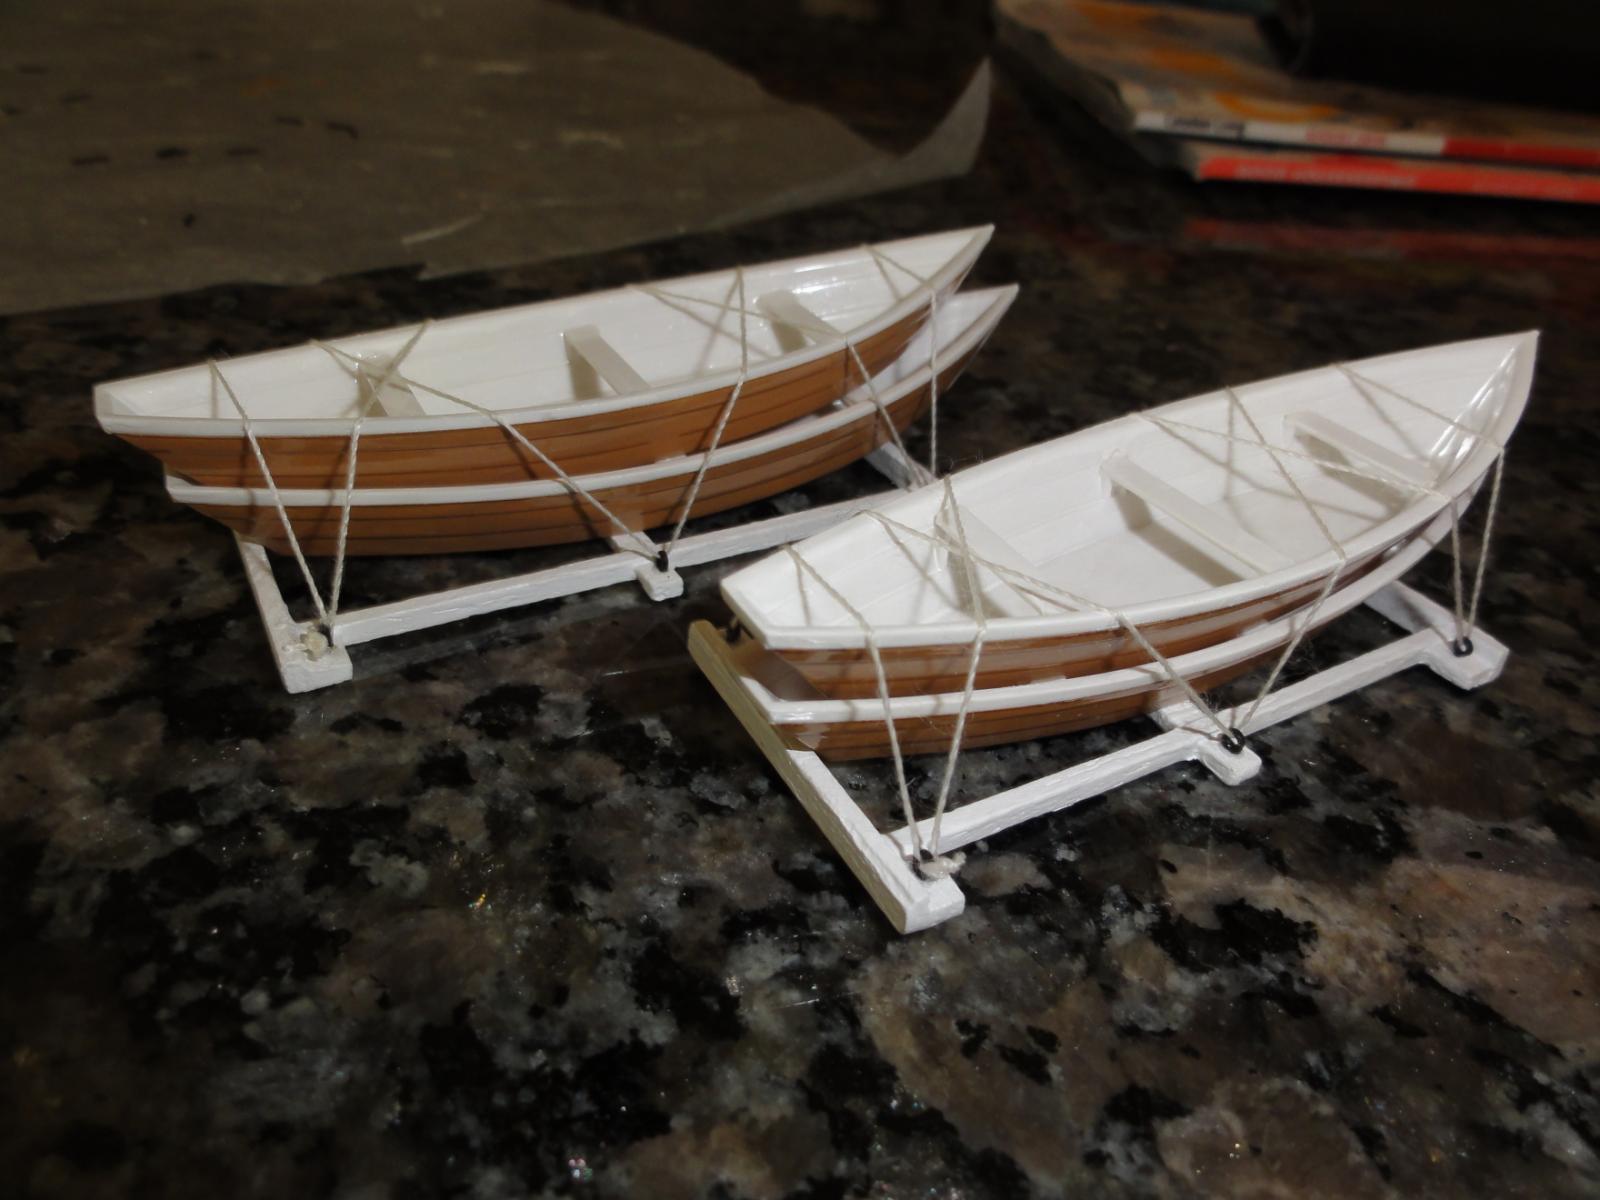
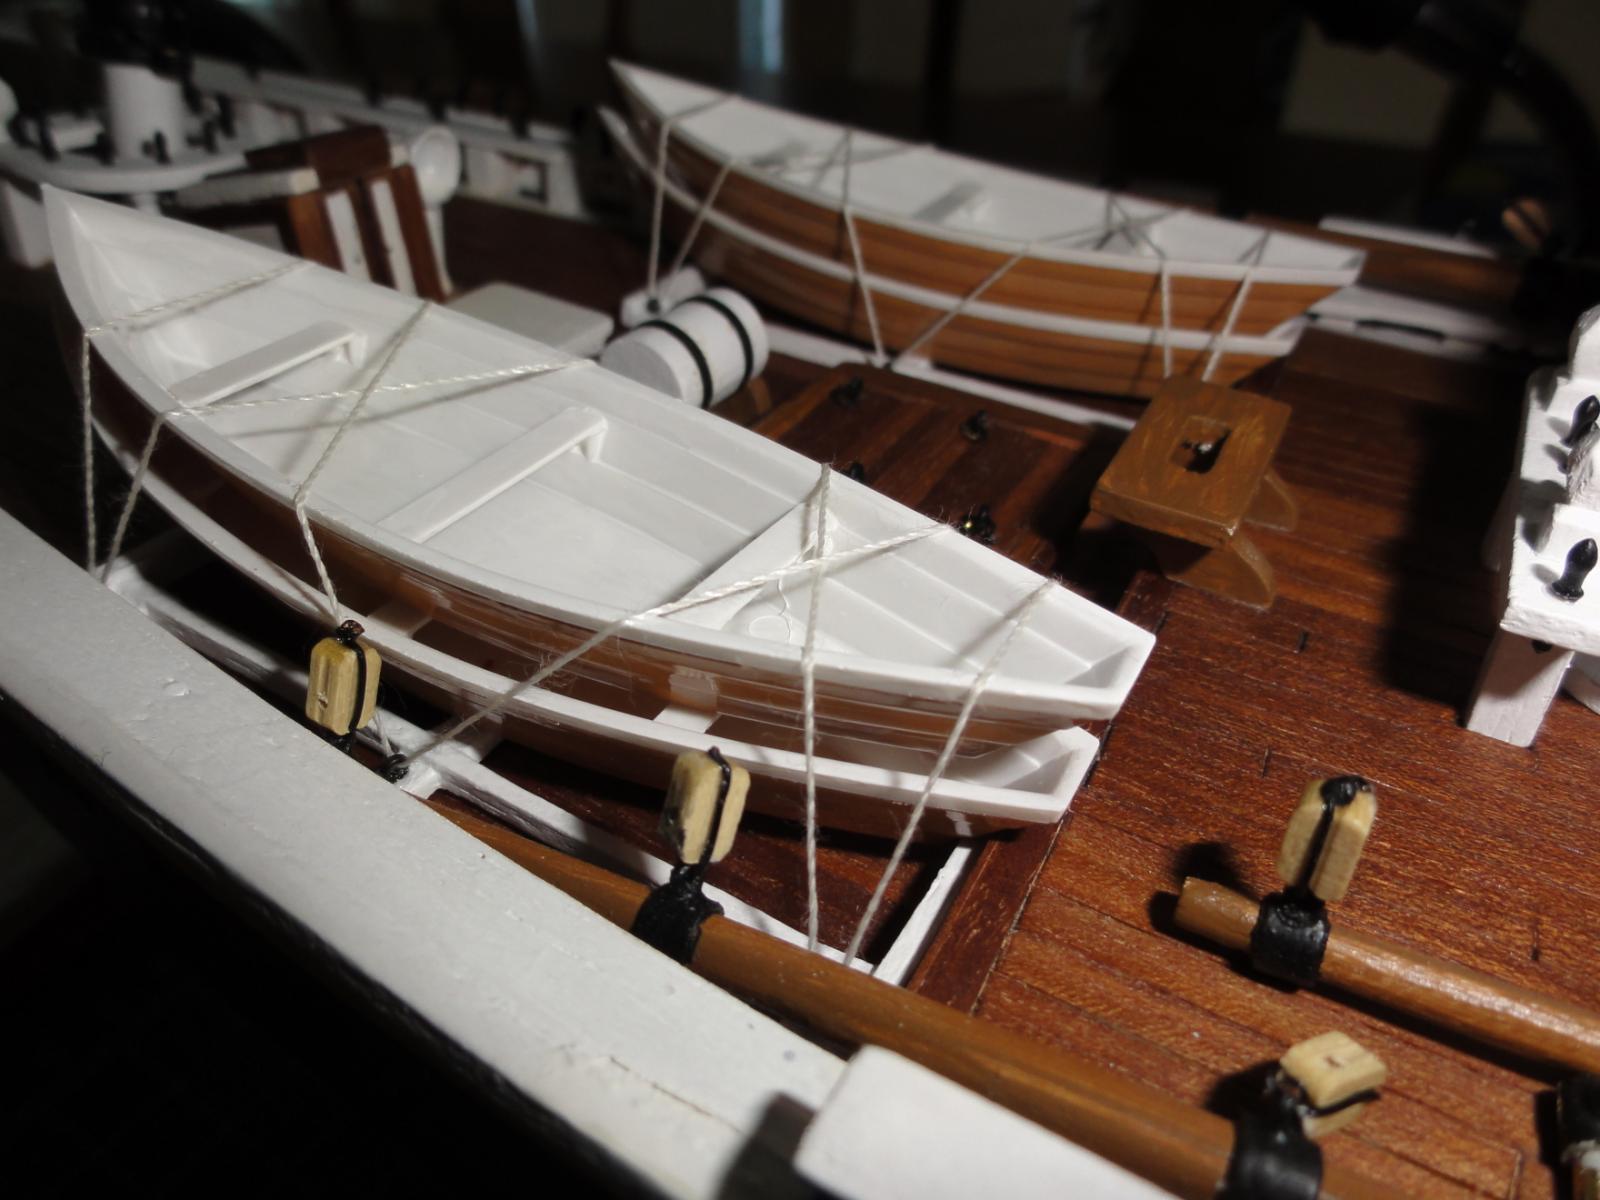
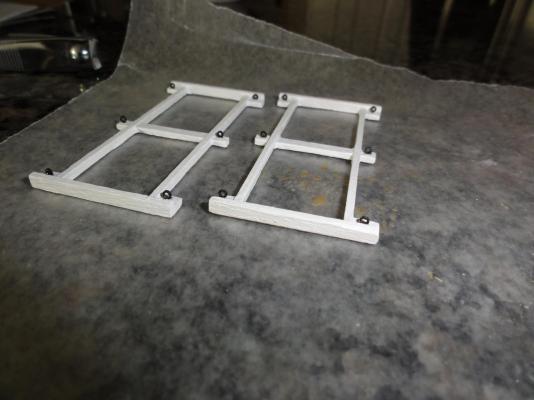
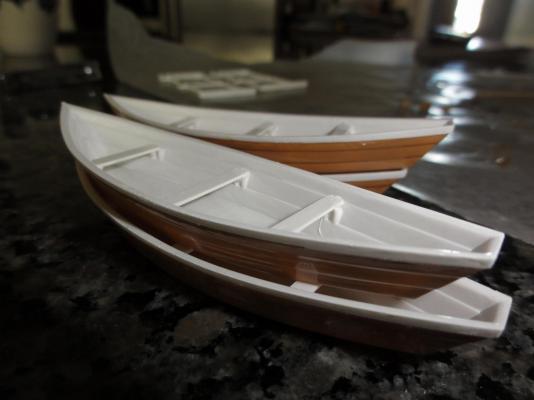
Finally some progress to report... I built the dories from the kit supplied pieces which were plastic but painted up OK with a few coats of enamel paint. I also built the cradles which were not part of the Billing Boat kit but certainly add nice detail to the model.


-
You are doing such a fanstastic job! All quite impressive...
-
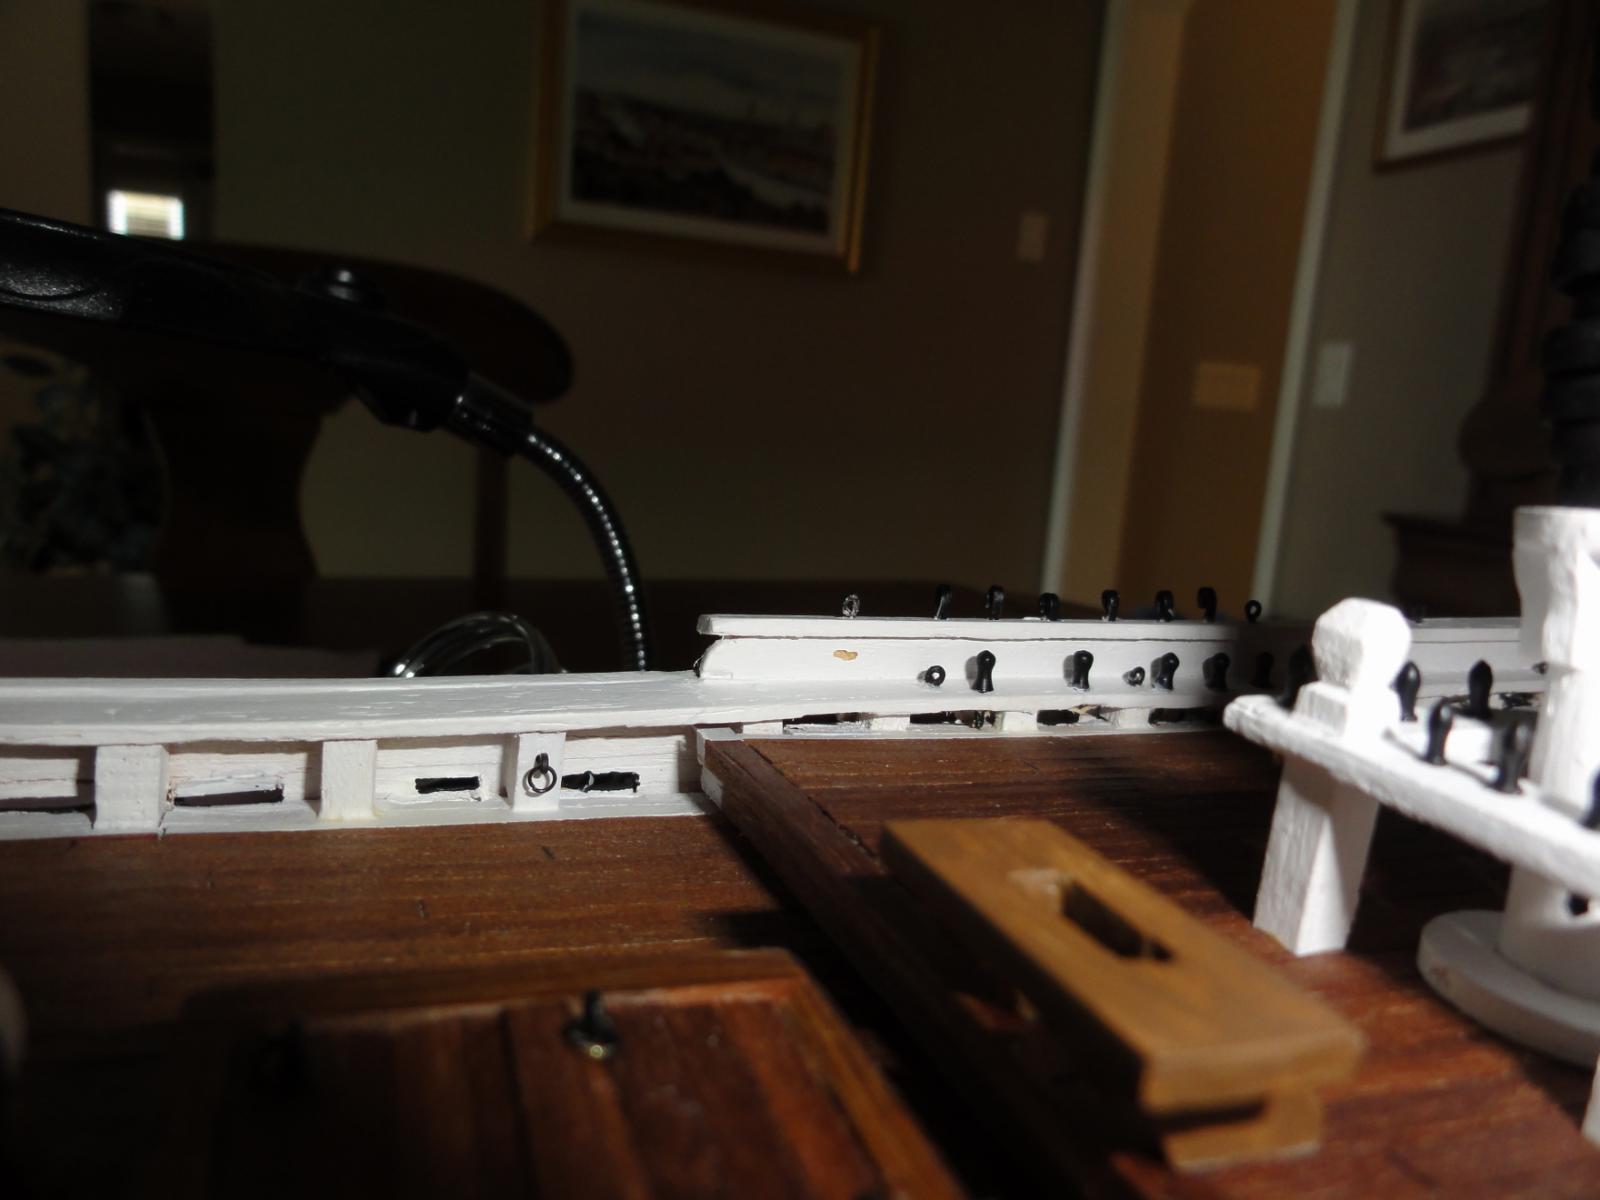
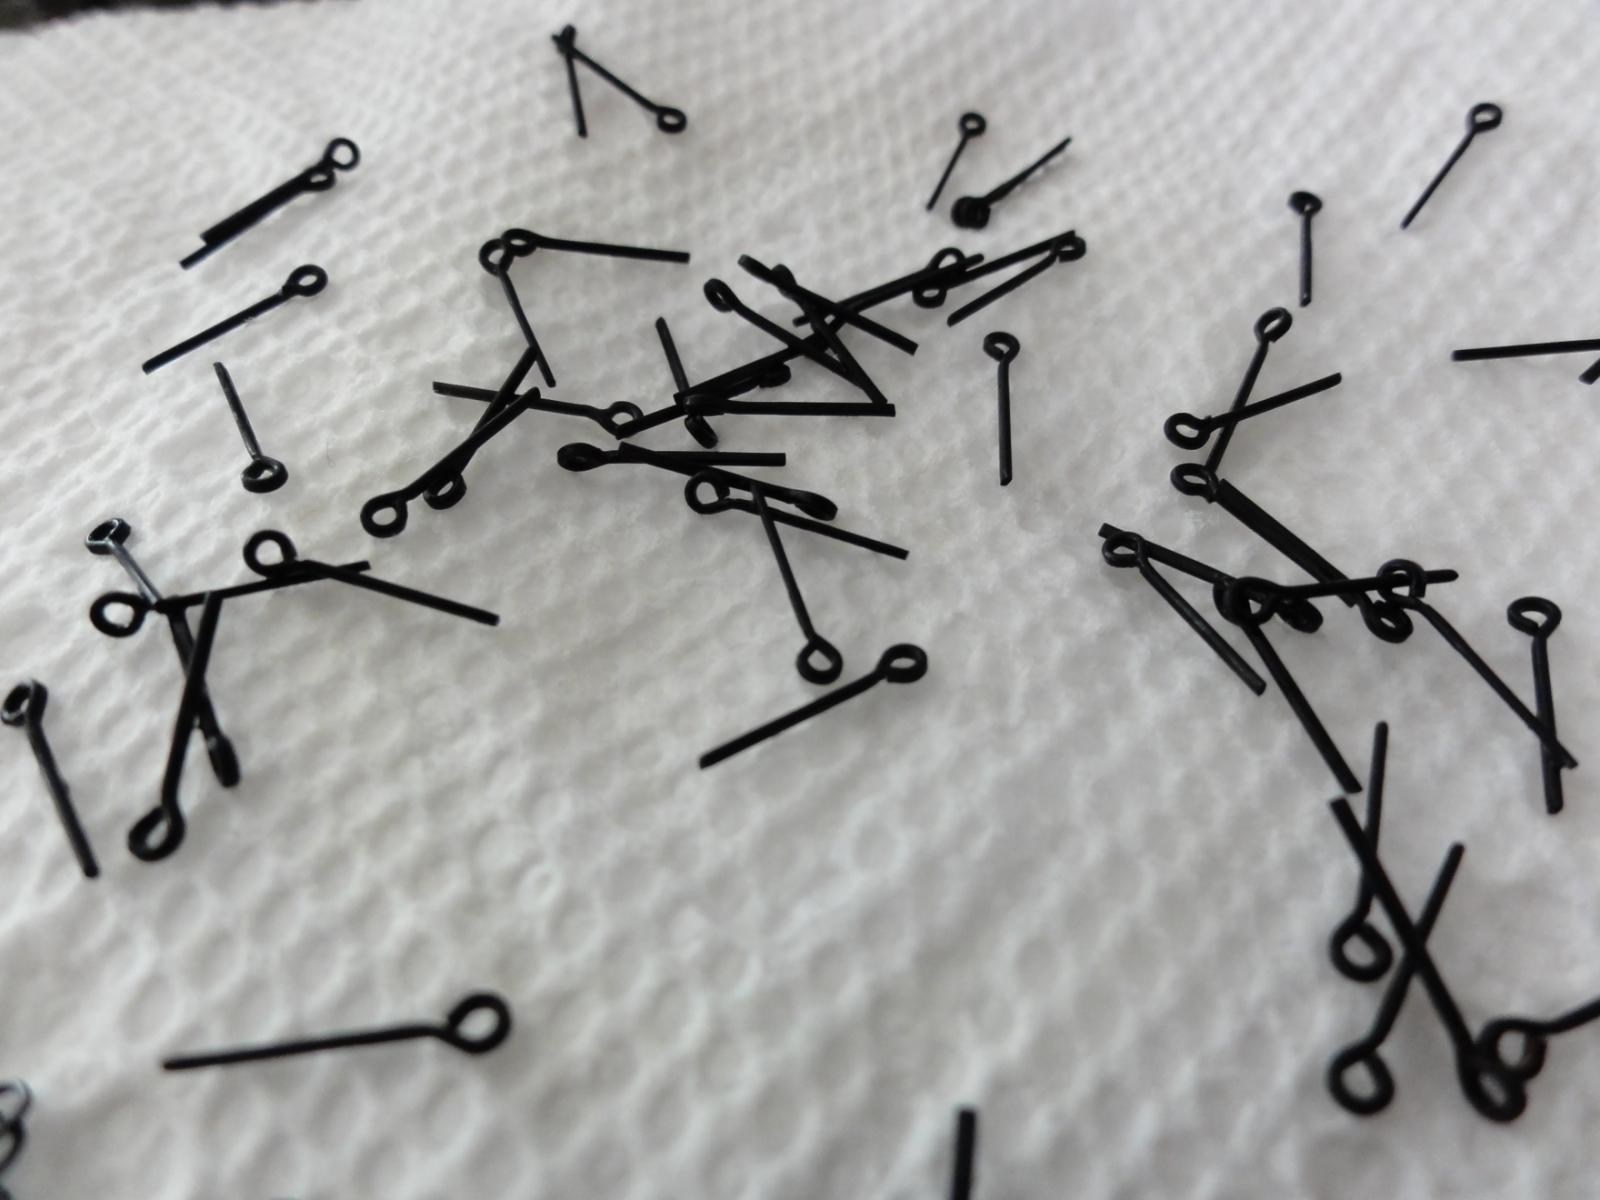
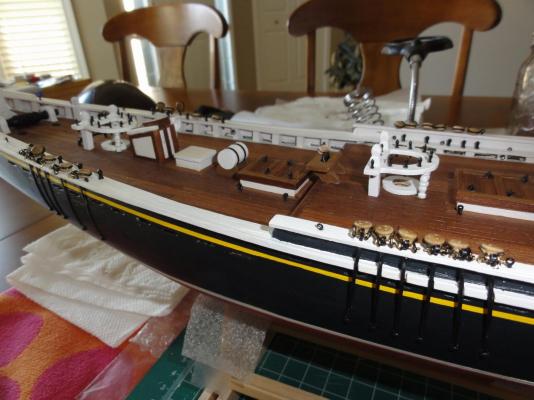
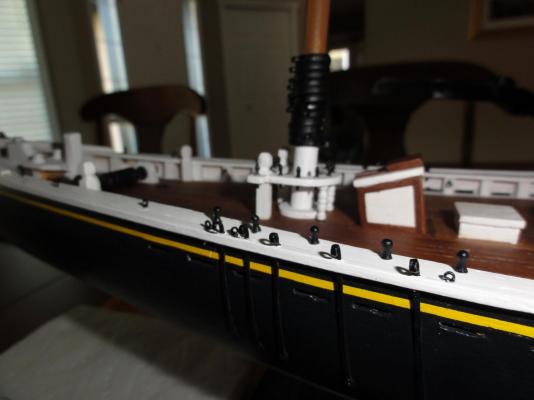
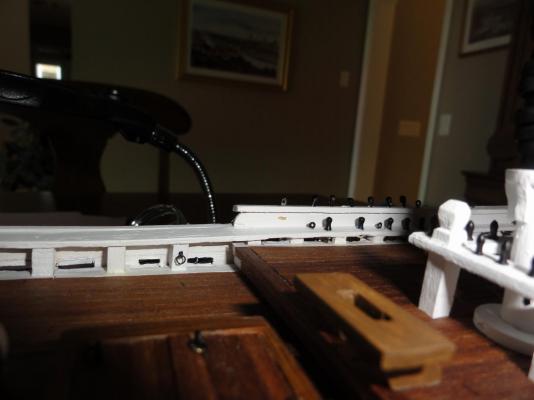
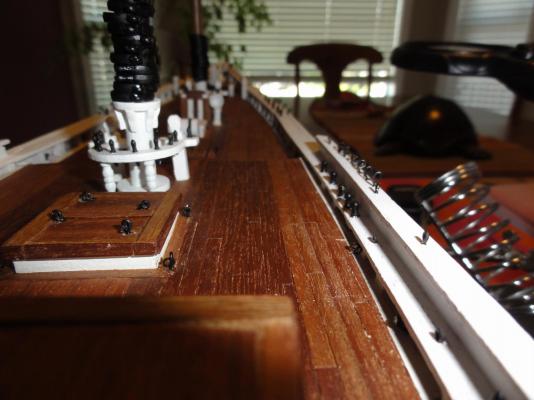
Some of the pictures below have the pins and some of the eyebolts that were originally painted (with great pain I may add) that do require a bit of touchup... but the majority of eyebolts have been blackened and look dramatically better!

-
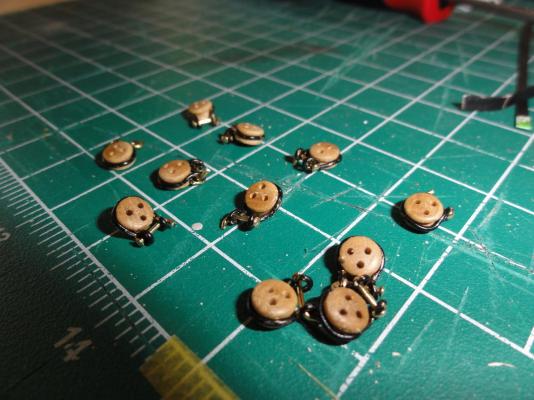
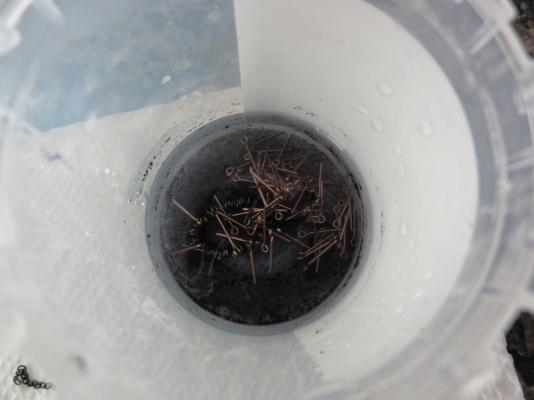
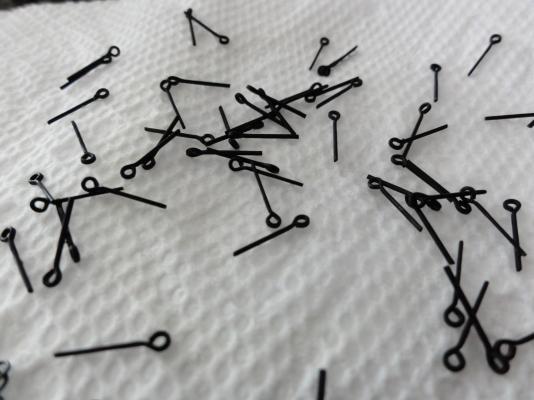
I have been procrastinating on this next step of getting the rest of the ring bolts and such on the deck given my huge distaste of painting all those tiny eyebolts and my huge failure in the past with blackening. This time I decided to do more research and try a slightly different technique of blackening and low and behold a completely different result! I soaked the items in dishwashing soap for 5 minutes and then I soaked the items in the isopropyl bath for 5 minutes and then dumped the items in the blackening solution that I kept in a hot water bath (swishing around in the glassware with each bath). I even used the old solution of blackener that I used on my original failed attempt the year before. Needless to say I am quite happy with the results and the fact that I do not have to paint these fiddly items. PS all the fitting are above and beyond what the Billing Boats plan call for, given most of my resources are from borrowed from Model Shipways' plans.

-
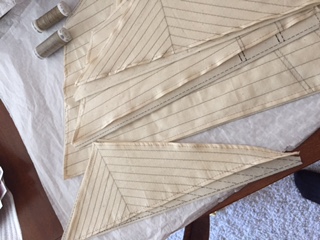
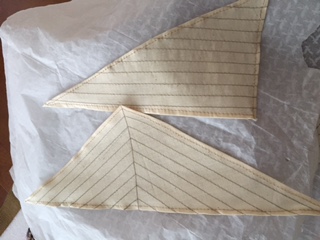
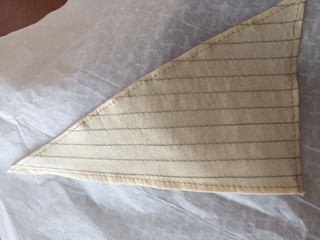
Thanks Nick for the comment and yes the sails were worth the extra expense of $75 CD. They look great in my opinion.
-
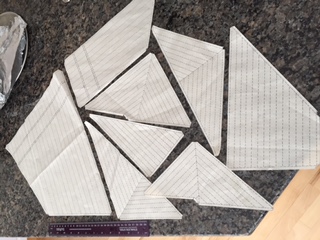
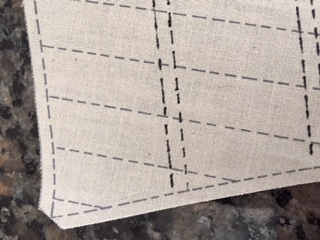
Some progress... I had someone professionally sew my sails for me. Well worth the money in my opinion. I took the templates from the kits and added a few extra details, passed them to her with separate sail material and "voila"...
-
I have good news as well as I just received my missing parts. From my original email dated August 2, 2014 and subsequent emails to Jotika in September and October, it was actually Cornwall Model Boats on a separate order to them, were they able to query Jotika on this matter, that finally had Mr. Wright get my parts sent via post.
-
Thanks Jan-Willem, the blocks and deadeyes were sourced from Cornwall Model Boats from the UK. They are Caldercraft's deadeyes and are certainly top notch and the blocks less-so, being from Corel, but certainly better than the plastic ones that came from the kit. Cheers,
-
Finally... on to the sails. If anyone replies, please be patient if I do not reply promptly as for some reason I am not getting email notifications when people respond to my log.
-
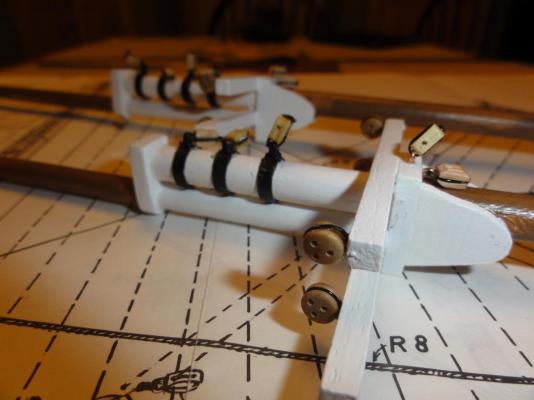
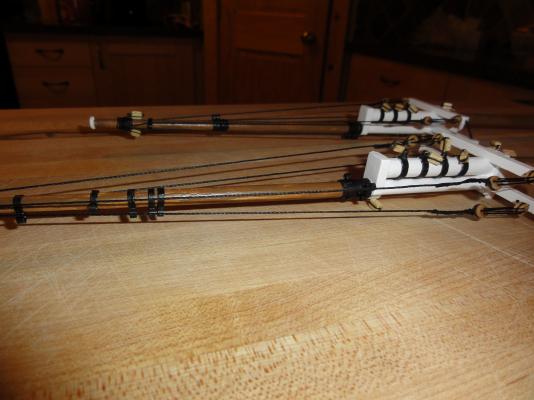
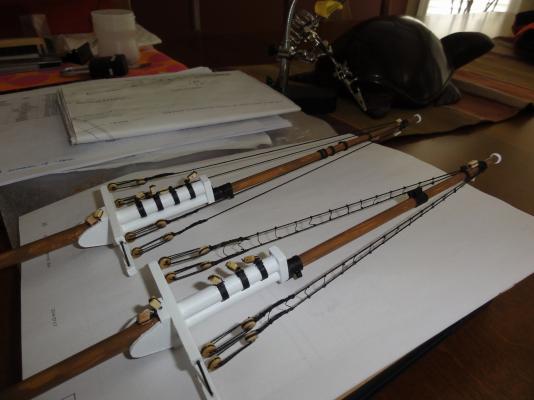
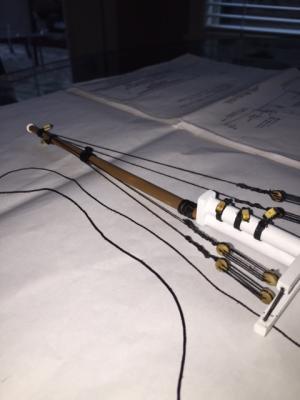
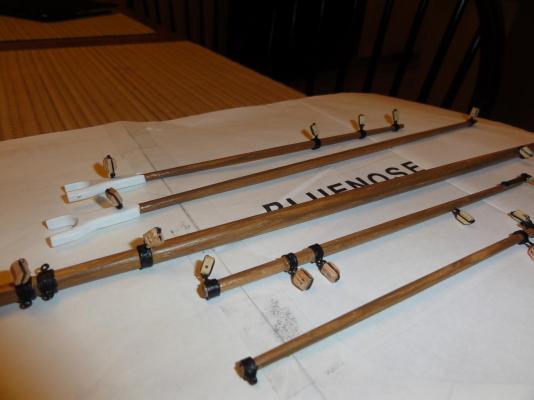
This last posting is the booms that are painted and banded with cardboard to simulate iron rings. Of course lots of extra details that Billings did not specify. I am happy how everything looks.

-
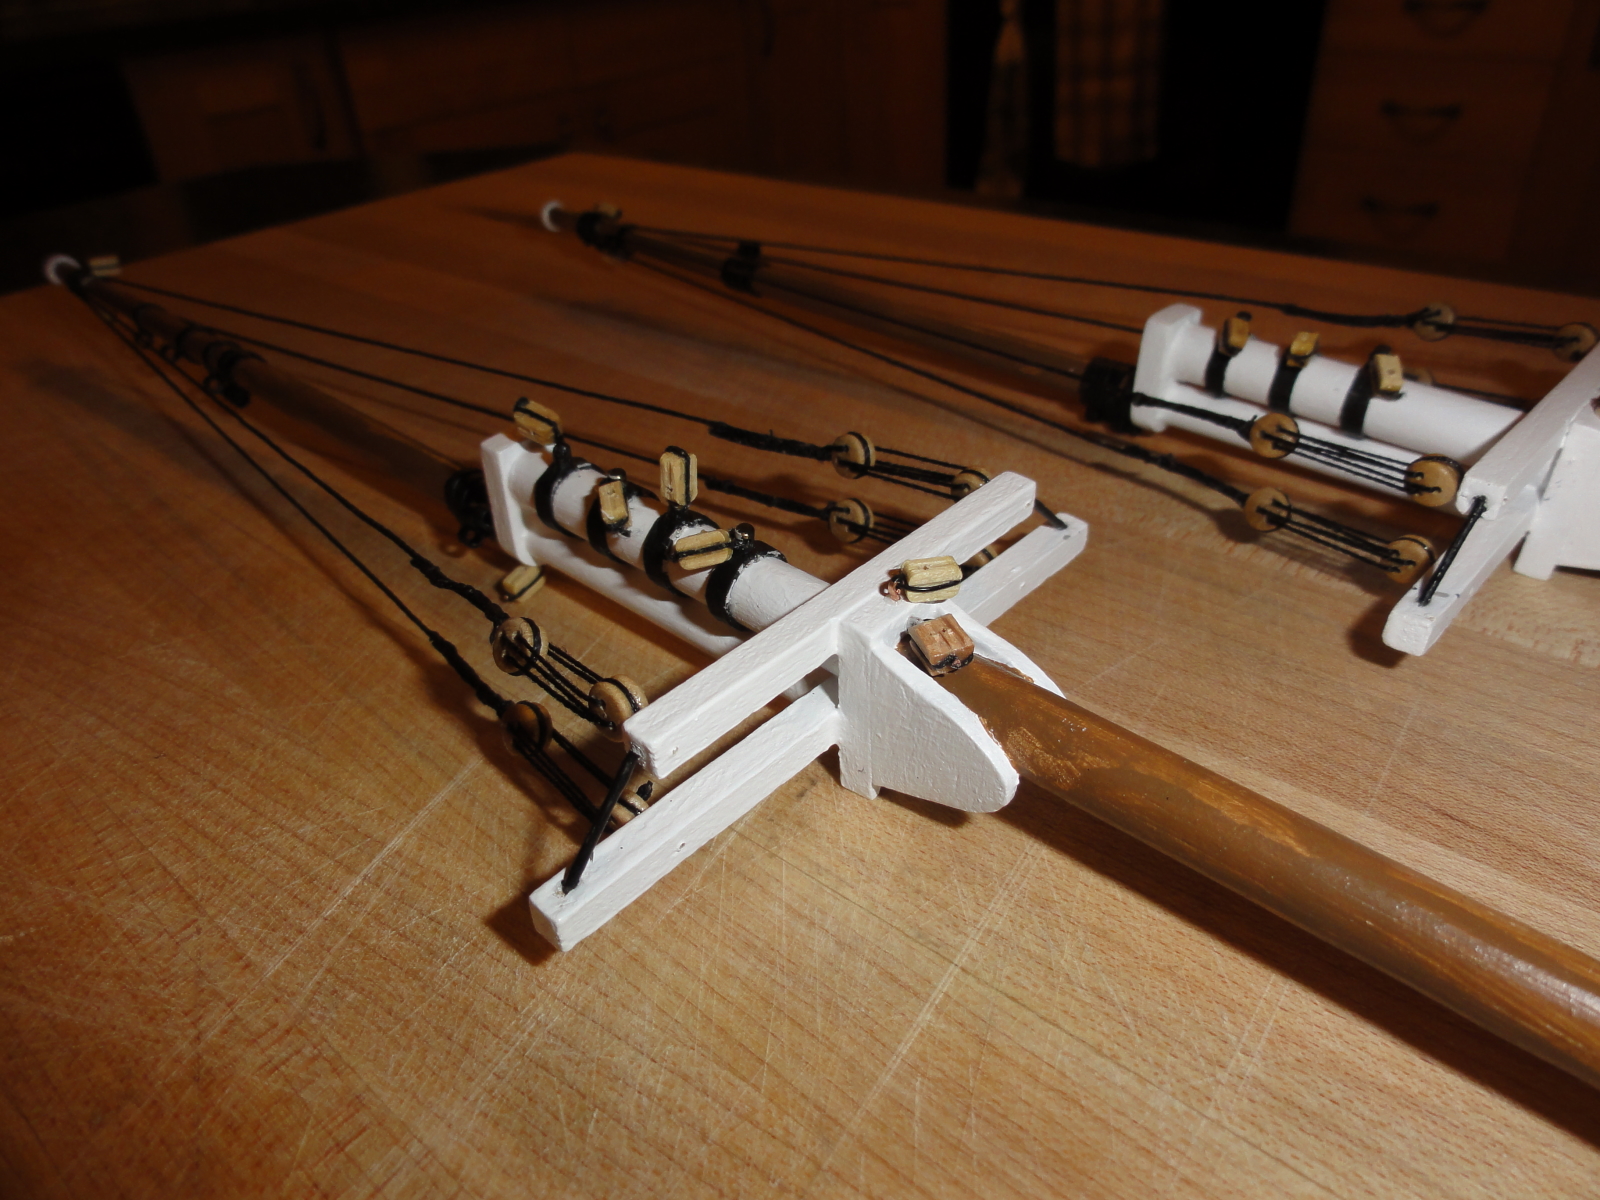
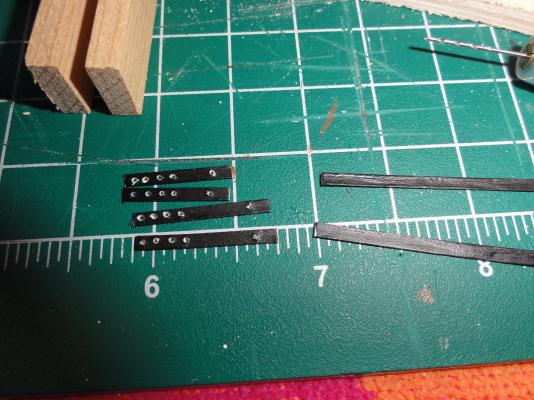
I am always striving to add more detail than what the Billing kit specifies. Here evident is cardboard strips that I painted and then simply glued with white glue to simulate iron bands on the mast. I noticed that the paint cracked and that an additional coat of paint was required. The one image shows some of the blocks and deadeyes attached.