


Jack12477
-
Posts
5,674 -
Joined
-
Last visited
Content Type
Profiles
Forums
Gallery
Events
Everything posted by Jack12477
-
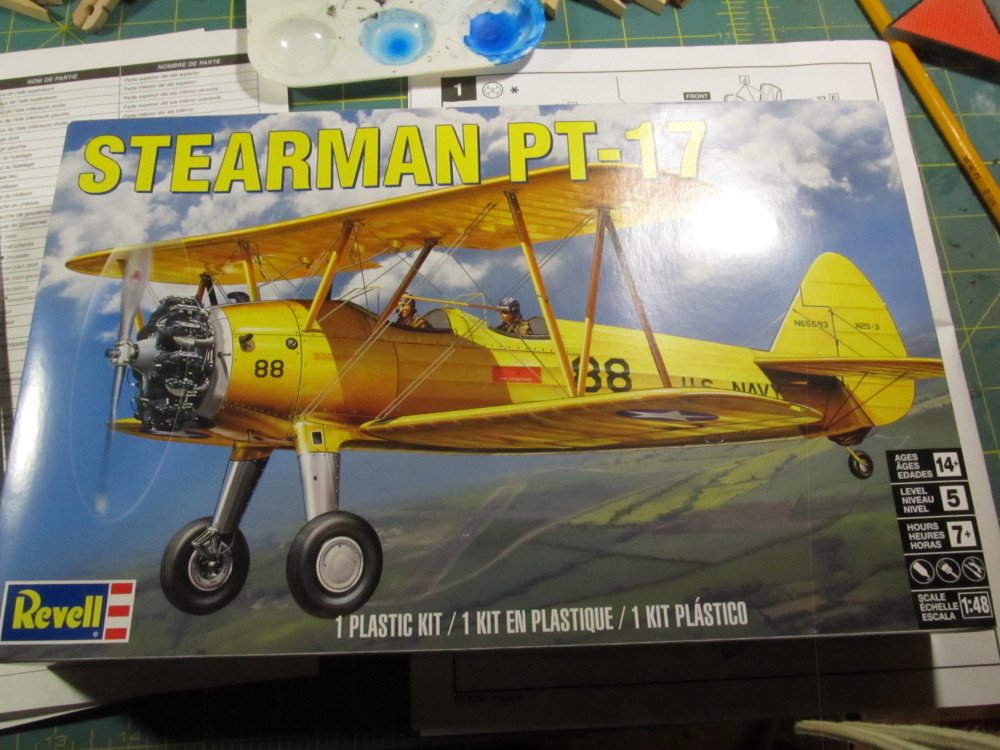
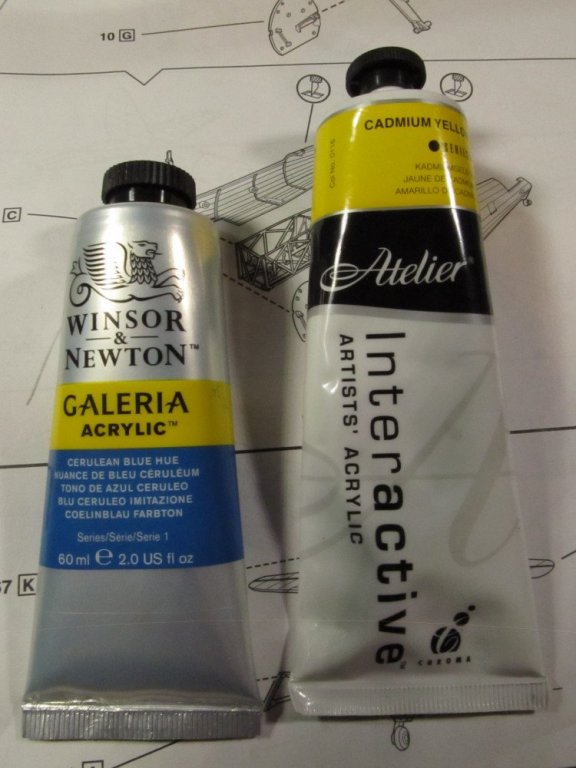
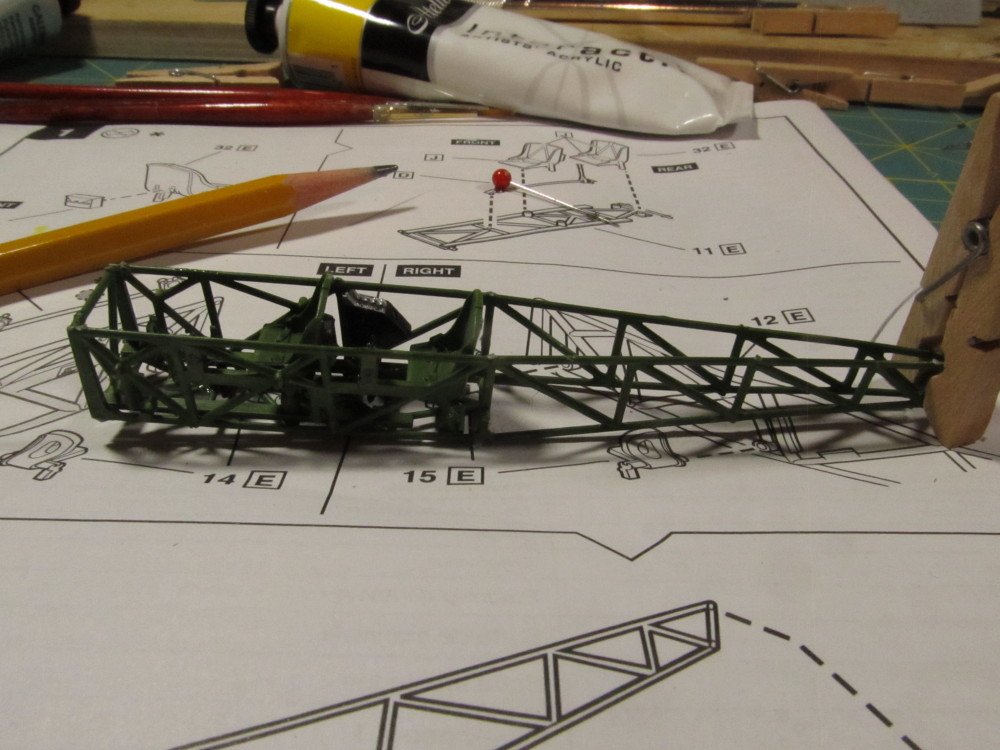
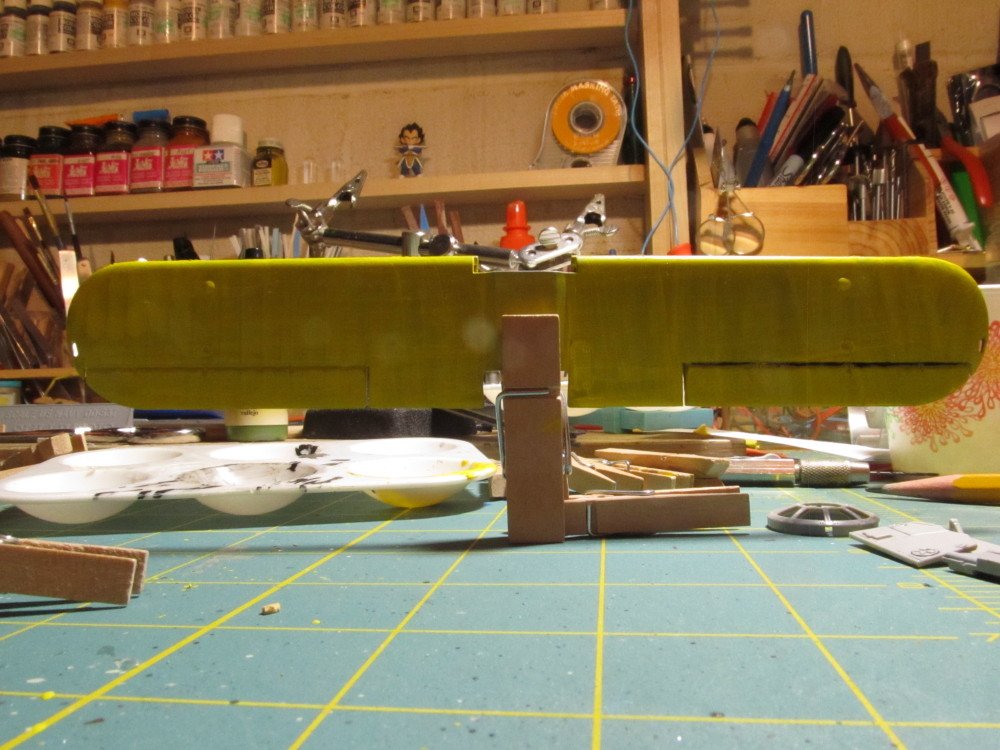
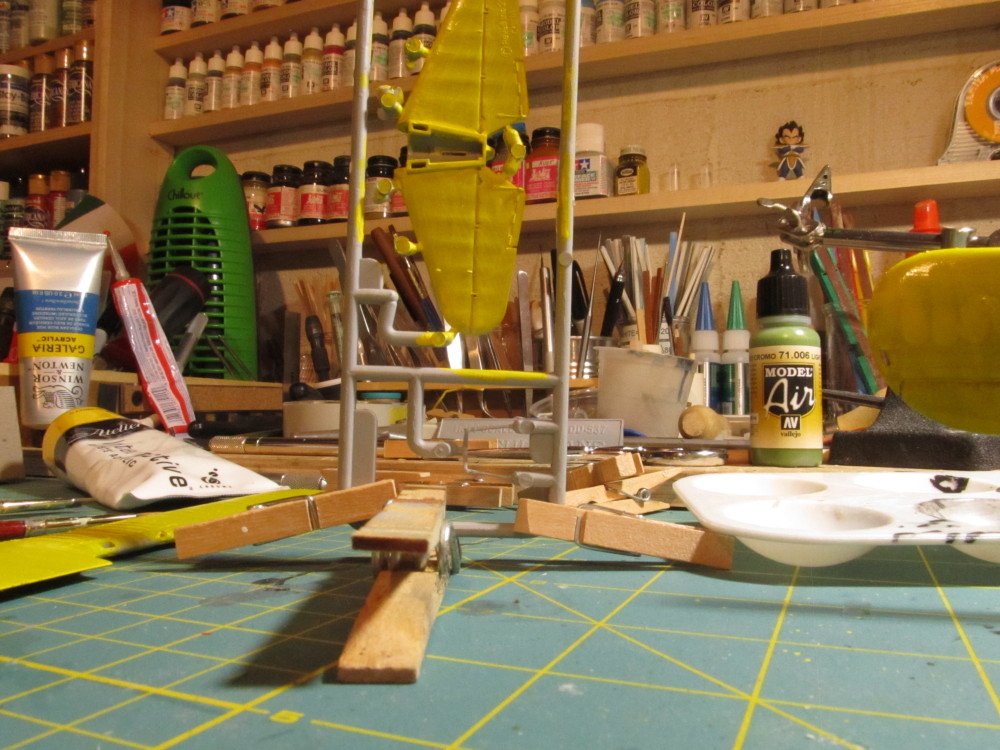
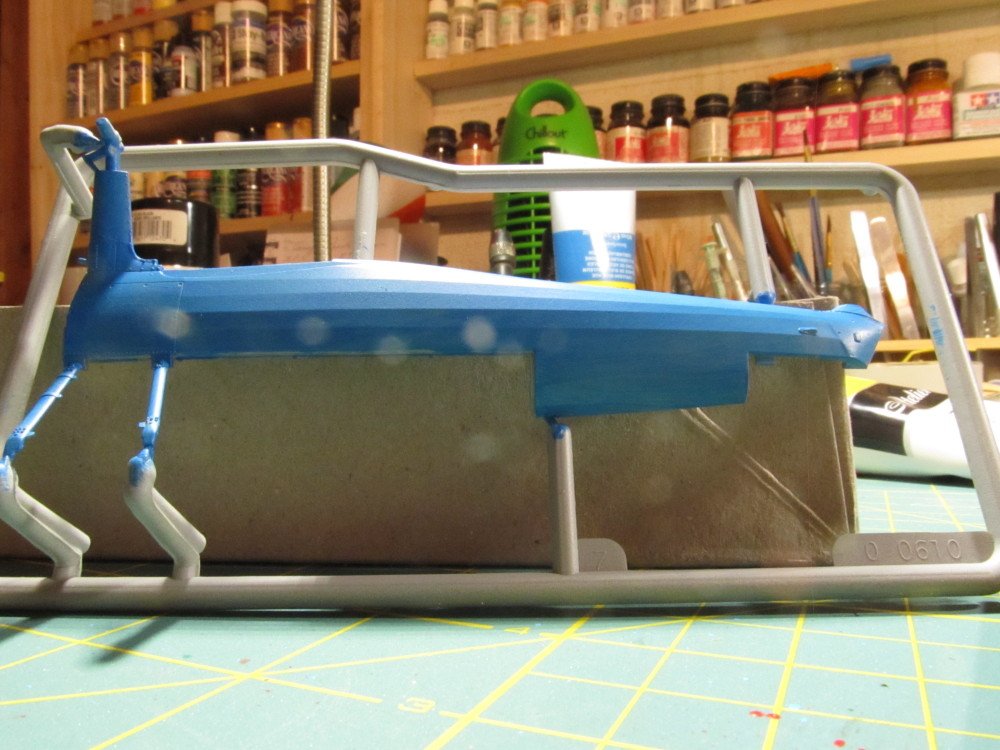
 I decided after completing the 1:350 warship models that I would venture into other categories of plastic models. After completing 2 car kits and another airplane kit, I decided on the Stearman bi-plane. I started it before I thought about documenting the build. I am painting it in the US Army blue and yellow livery. For paints I am forgoing the usual hobby paint like Vallejo and going with artist colors instead, Cerulean blue and Cadmium Yellow. Assembling the interior frame
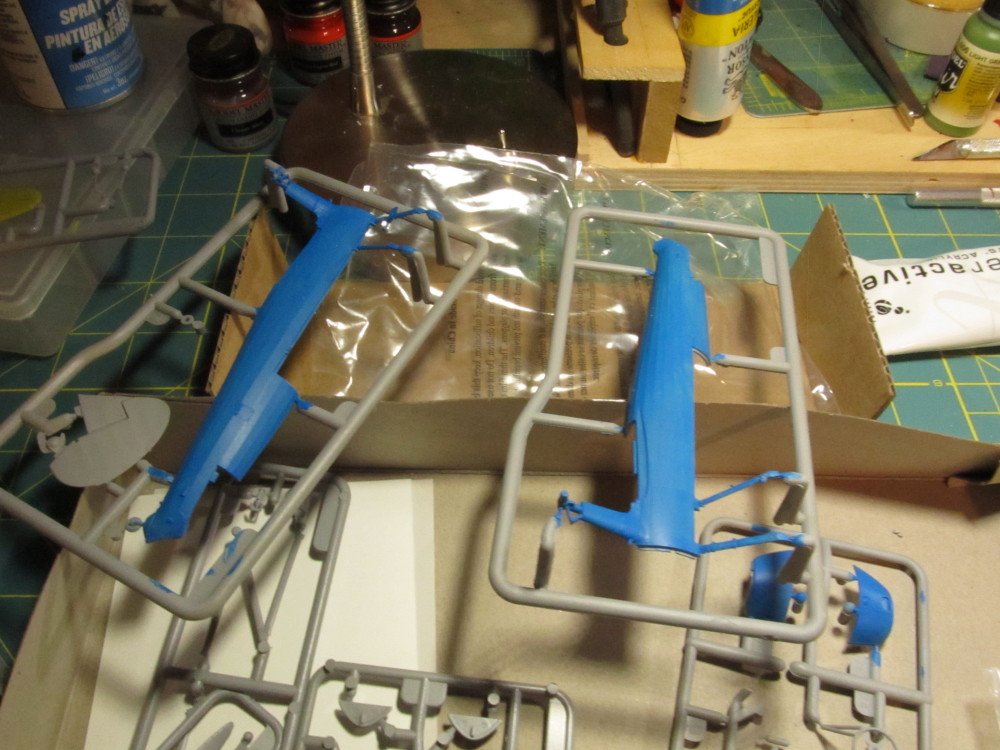
-
You can see the real aircraft flying every weeked at Olde Rhinebeck Aerodrome
-
try Miniature flags, miniature table flags, miniature desk flags, miniature stick flags, little flags, toothpick flags, miniature world flags, miniature state flags
- 133 replies
-
- 3
-

-
- alert class
- tugboat
- (and 1 more)
-
Oh it is ALWAYS interesting, Denis !
-
Me too! Man, you are a prolific builder, Denis !
-
Kalmbach Publishing used to publish a magazine style How To guide on building a layout using the L-girder construction technique. I've build quite a few layouts using this technique. It is very easy to build, modify, adapt, is light weight but incredibly strong. In fact I repurposed my old one to be my shipyard workbench. If Homasote is still available, use that over 1/4 inch plywood, you can "spike" the rails to it easily and it acts as a sound deadening as well.
-
"RTV stands for room temperature vulcanizing. RTV silicone begins to cure immediately upon being exposed to air, as opposed to the curing agents in water-based sealants (for example, latex). ... Unlike the vulcanization of rubber, the process of forming an RTV sealant takes place at room temperature. Permatex® Clear RTV Silicone Adhesive Sealant. ... Permatex® Clear RTV SiliconeAdhesive Sealant is waterproof and flexible. Temperature range -75°F to 400°F (-59°C to 204°C); resists water, weather, and vibration." Probably the same stuff you used, Mark. I used it (RTV) years ago to reinstall 100++ year old prisms in a 4th Order Fresnel Lens - prisms had come loose due to age - they used to use a red lead, white lead, linseed oil mix in the old lighthouse days.
- 133 replies
-
- 2
-
-
- alert class
- tugboat
- (and 1 more)
-
I thought RTV meant Room Temperature Vulcanizing [rubber]
- 133 replies
-
- 3
-
-
- alert class
- tugboat
- (and 1 more)
-
Solvaset is now available from Walthers under their brand name
-
You are correct . Try Microscale Gloss and Microscale Flat. They work well with the Sol/Set Microscale products. Before decaling I spray the entire model with Testors Dullcote to seal the paint, then apply Microscale Gloss over the area where the decal is applied, let dry thoroughly, then apply decal.
-
Joining in too, Denis
-
Steve you coud get one of these Hold and Fold tool to fold your stairs. I've used them on 1:350 PE, they work well, are easy to use and more accurate than pliers.
- 446 replies
-
- 2
-
-
- zebulon b vance
- deans marine
- (and 3 more)
-
We missed a lot of the snow storms here in the Valley this year, Denis, running below average here. Western NY, Buffalo (118.7"), Rochester(96.8"), Syracuse()114.7" got the biggies this year. Albany is running about 56 inches to-date.
-
Denis, from GM's website GMC vehicles are designed and built to resist corrosion. All body and sheet metal components are warranted against corrosion for 3 years/36,000 miles and rust-through protection lasts for 6 years/100,000 miles, whichever comes first. Application of additional rust-inhibiting materials is neither necessary nor required under the Sheet Metal Coverage. GMC makes no recommendations concerning the usefulness or value of such products. Application of after-manufacture rustproofing products may create an environment that reduces the corrosion resistance built into your vehicle. Repairs to correct damage caused by such applications are not covered under your New Vehicle Limited Warranty. See your GMC dealer for terms of this limited warranty. Chevrolet has the same statement Chevrolet vehicles are designed and built to resist corrosion. All body and sheet metal components are warranted against corrosion for the first 3 years/36,000 miles and rust-through protection lasts for the first 6 years/100,000 miles, whichever comes first. Application of additional rust-inhibiting materials is neither necessary nor required under the Sheet Metal Coverage. Chevrolet makes no recommendations concerning the usefulness or value of such products. Application of after-manufacture rustproofing products may create an environment that reduces the corrosion resistance built into your vehicle. Repairs to cover damage caused by such applications are not covered under your New Vehicle Limited Warranty. See your Chevrolet dealer for terms of this limited warranty. It's been my experience that the frame rusts out before the body itself. That's what killed my 1990 Chevy Celebrity station wagon after 285,000 miles and 19++ years on the road, frame rotted where the axle/springs attach, causing it to fail inspection; body was in pretty decent shape with only minor rust thru along the lower areas.
-
I live in the North (lots of salt on roads) and I also own two Chevy Impalas a 2004 with over 200,000 miles and a 2010 with over 120,000 miles, neither car is showing any signs of rusting. - some minor rust in the wheel wells of the 2004 but none in the 2010. Both are running well and still get 30-32 MPG highway at 70 MPH cruise control speed. They both did come with a factory warrantee of 100,000 miles rust free. aka no rust thru.
-
Testors makes both a clear and white background decal paper. I've gotten some in Hobby Lobby. Denis (Popeye the Sailor) has another source online. PM hi. The sheets are roughly half an8 x 10 or 8.5 x 11 sheet. Testors also makes a decal sealant spray specifically for ink jet printers to set the ink before applying them. I've used them successfully in a number of applications include on sails (cloth).
- 446 replies
-
- 3
-
-
- zebulon b vance
- deans marine
- (and 3 more)
-
Kurt, the Lee Valley brushes are not metal wire but rather a stiff bristle in a spiral around a wire "stick" - I think they are nylon bristles, same as you get in the store for cleaning kitchen bottles. In fact they look just like the ones shown in Don's video.
- 133 replies
-
- 5
-
-
- alert class
- tugboat
- (and 1 more)
-
Get out the manual ! Seriously, dissemble the brush, and carefully clean all the parts, Lee Valley sells a really nice set of airbrush cleaning bristle brushes which I use for my Badger 200. You may have to soak the parts in thinner - make sure you disassemble the plunger (where the air hose connects) and clean it too. As a routine when I finish painting I run clear thinner thru the brush even if I am going to continue later. Do the same between colors. At the end of your session, run more thinner thru it and clean with the bristle brushes, disassemble as needed.
- 133 replies
-
- 8
-
-
- alert class
- tugboat
- (and 1 more)
