
HOLIDAY DONATION DRIVE - SUPPORT MSW - DO YOUR PART TO KEEP THIS GREAT FORUM GOING! (89 donations so far out of 49,000 members - C'mon guys!)
×


hof00
-
Posts
1,649 -
Joined
-
Last visited
Content Type
Profiles
Forums
Gallery
Events
Everything posted by hof00
-
 Yup, I was eight also living in Eastbourne. The wind was really something!! I heard also at the time that it was two storms colliding but called the Storm "Cyclone Giselle." (Please correct me if I am in error.) Cheers....HOF.
- 454 replies
-
- 1
-

-
- Union Steamship Company
- Stepcraft 840
- (and 3 more)
-
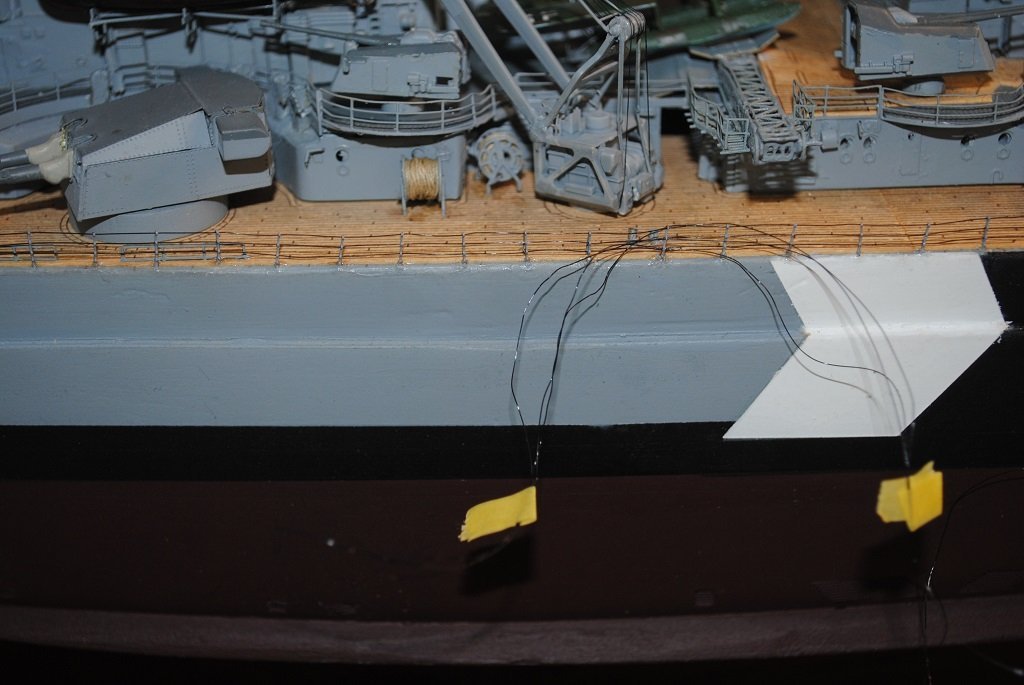
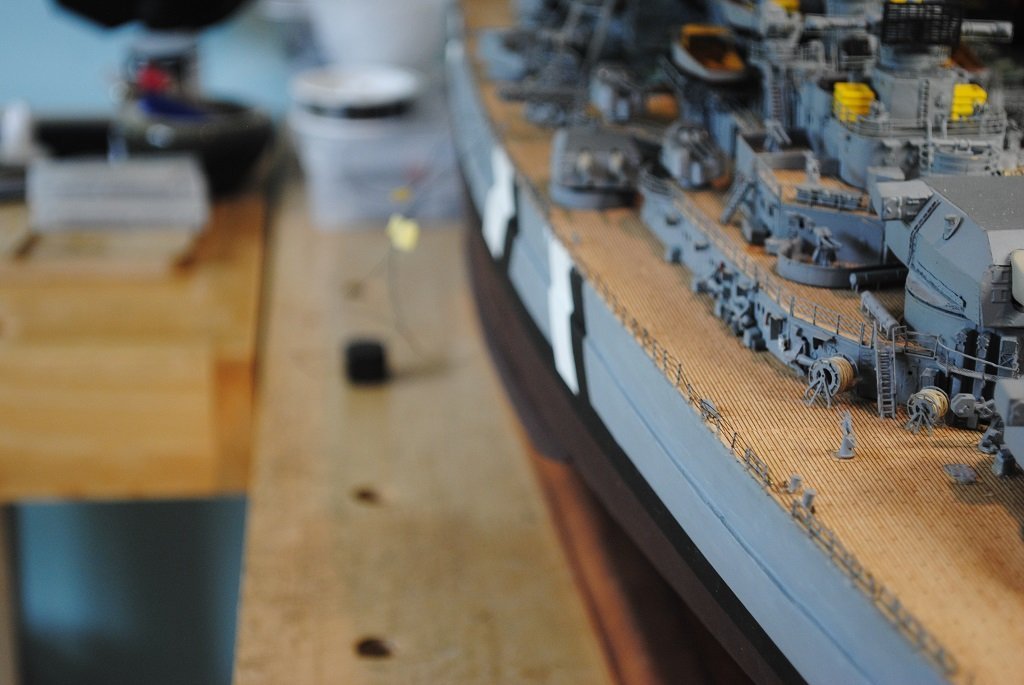
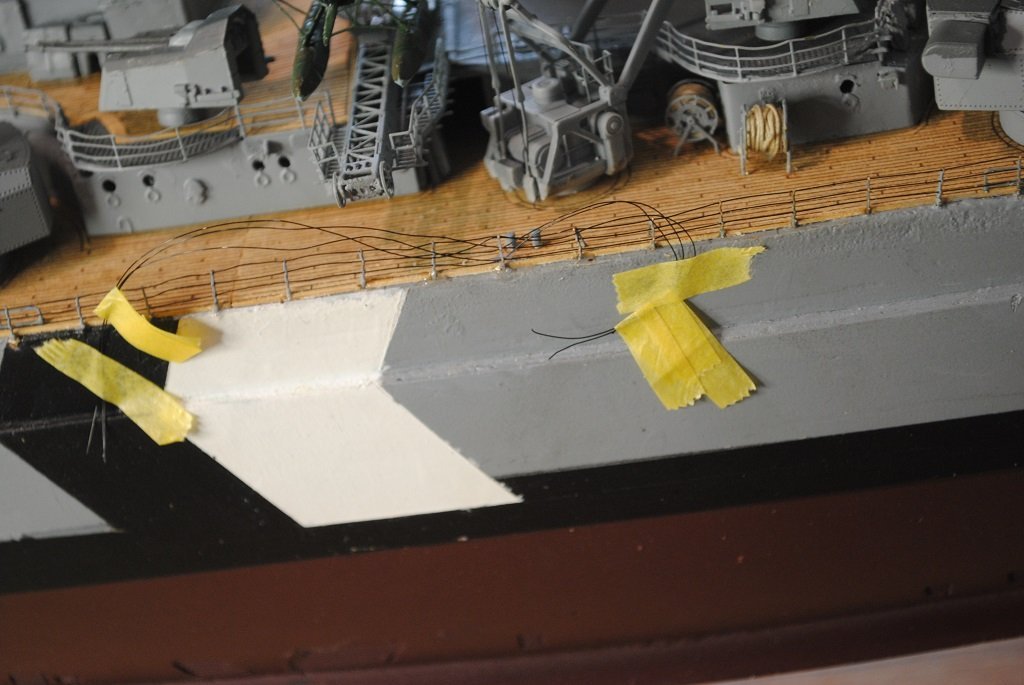
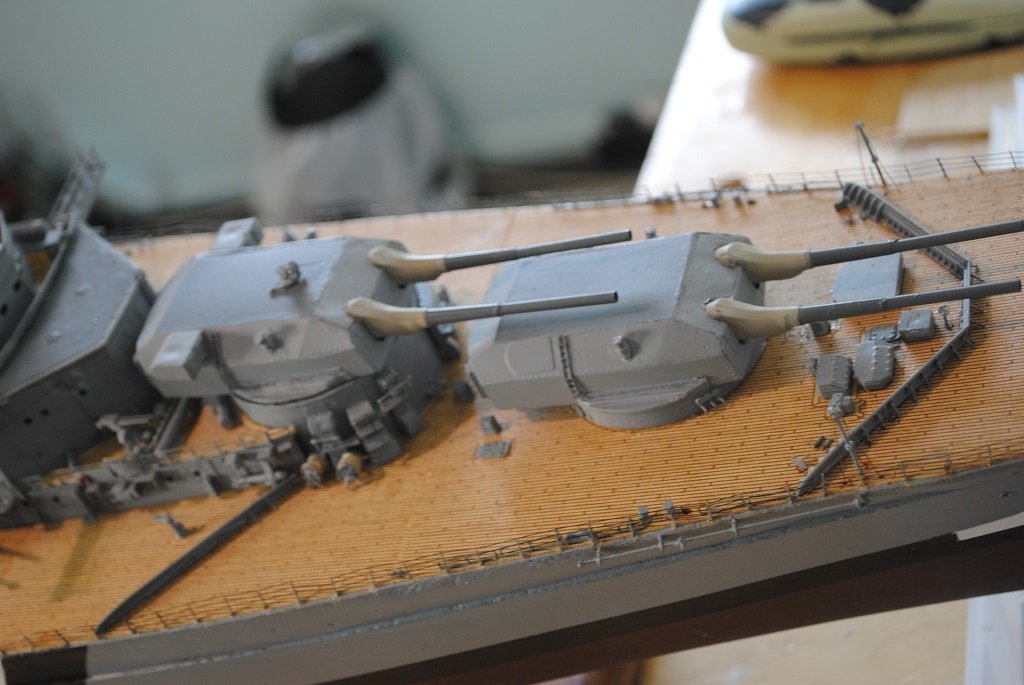
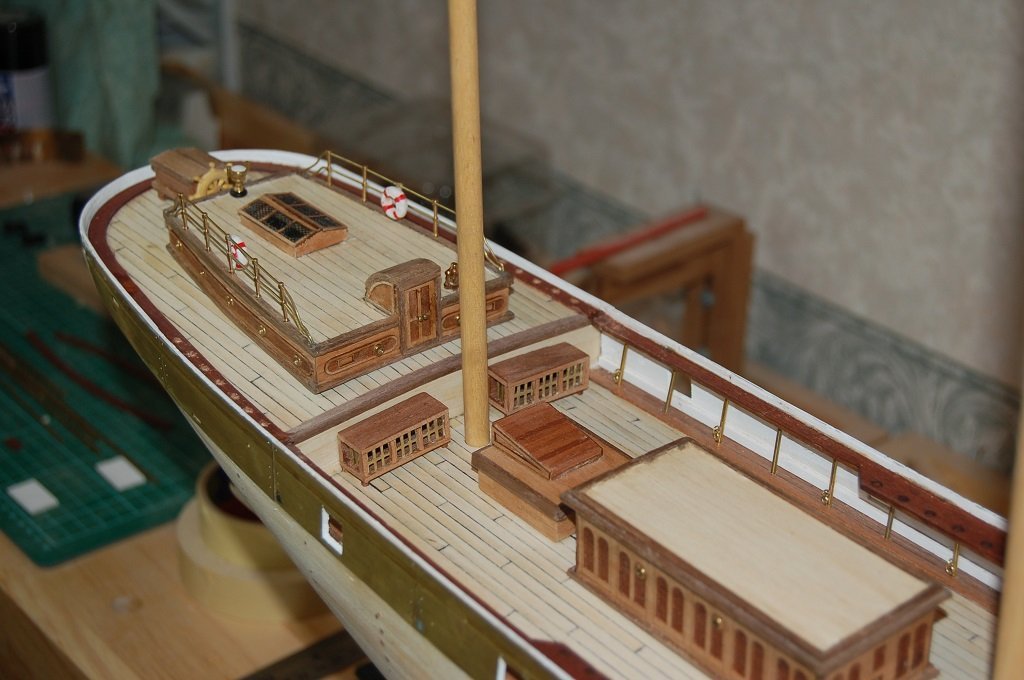
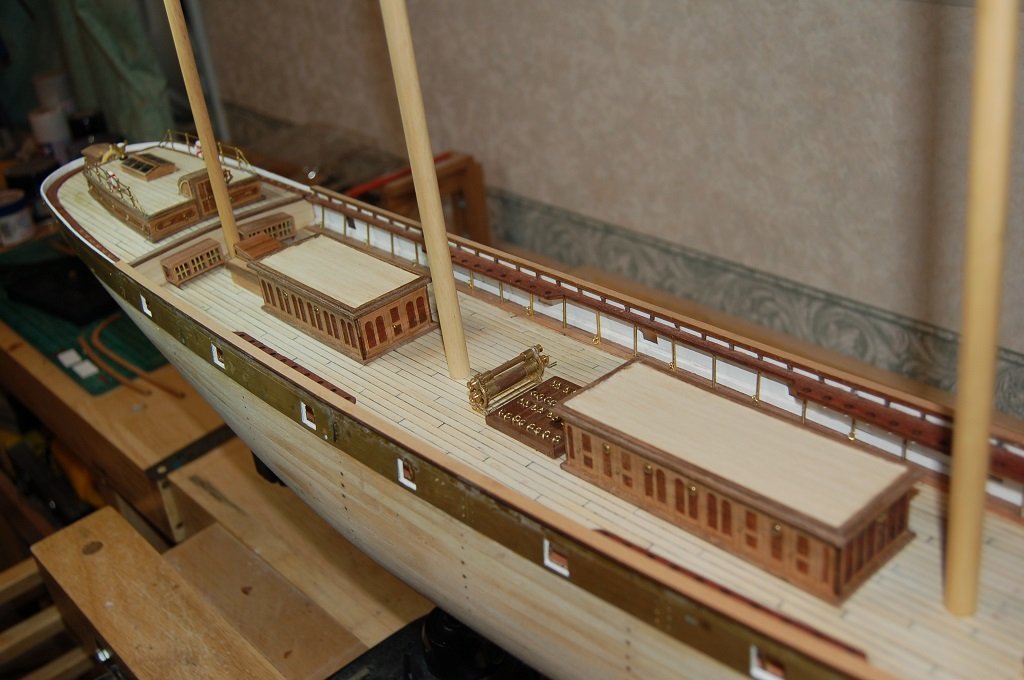
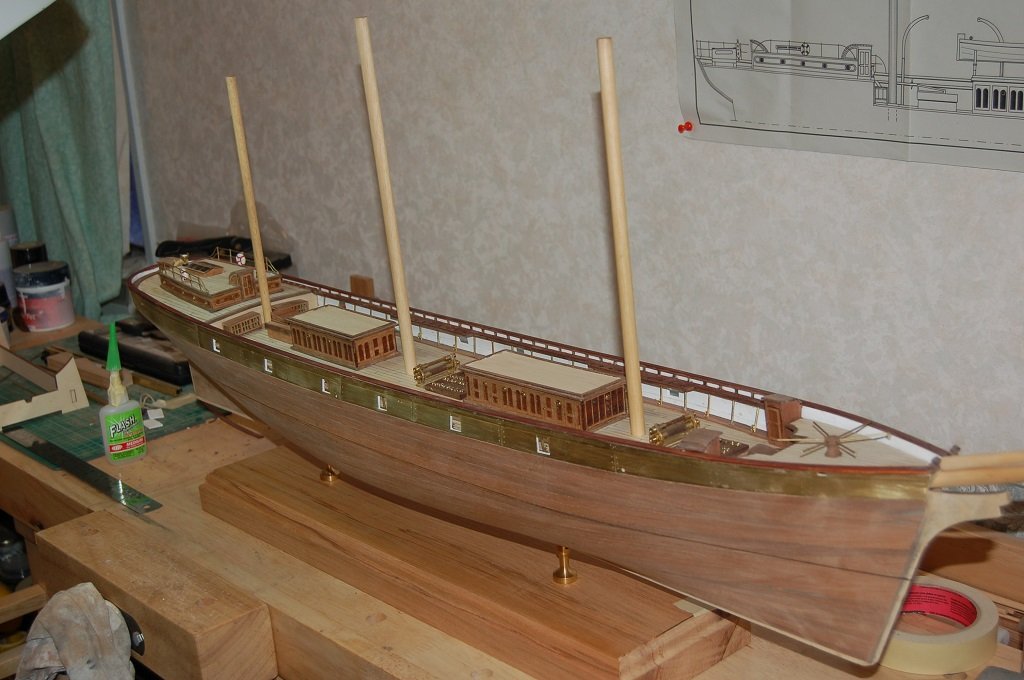
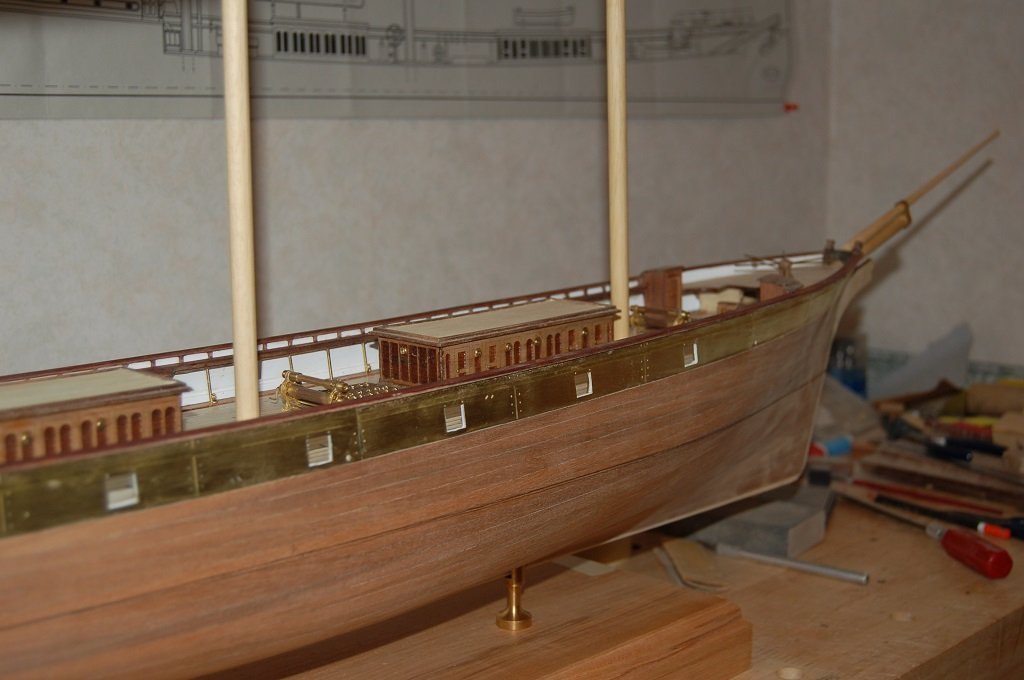
Hi All,. It's been a while since I last posted but time for an update.... Main Deck perimeter Railing complete. I procrastinated for quite some time about this. Supplied Stanchions used eventually and the dreaded Mono-Filament material. As much as I tried to thread Stanchions, (After a few test-fitted), it was almost impossible!! I had a breath and decided to dill out all of the Stanchion holes with a 0.3mm drill, I had pre painted these also. So, I don't know if the Amati production kit has holes of greater than 0.3mm. Rod, (rvchima), threaded his Stanchions in-situ with no issues, he said the task was easy. (That was the inference anyway.) I decided to drill all the holes around the Deck with a default of 9.5mm, there were a few exceptions. So 62 to Midships and 66 to the Stern, the Stanchions were threaded on to the Mono-Filament, three threads, top, middle bottom and then plugged into the holes drilled. The join, Midships required a bit of fast thinking, I drilled out a couple of Stanchions to 0.45mm to accept the threads from the Bow and threads from the Stern sections of railing, a touch of CA an done. (I'll attach some photos of these. It took some time but not as much time as trying to thread Stanchions in-situ. And yes, I received the Eduard PE Chain Link Railing, nice but not suitable for this beastie. 🙂 Not much left to do: Paint Touch-ups Stern Flagstaff Anchor Buoys Accommodation Ladders (Probably) I should also mention that my good lady helped me in no small way with the Railing. (I still have limited use of my right arm.... ☹️ Cheers....HOF. Photos:


-
Very nice indeed!! Good progress also. Cheers....HOF.
- 47 replies
-
- 2
-
-
- Cutty Sark
- Artesania Latina
- (and 1 more)
-
Damages the Bilge Keels also.... (If unmodified.) Better to discard, Kindling perhaps?
-
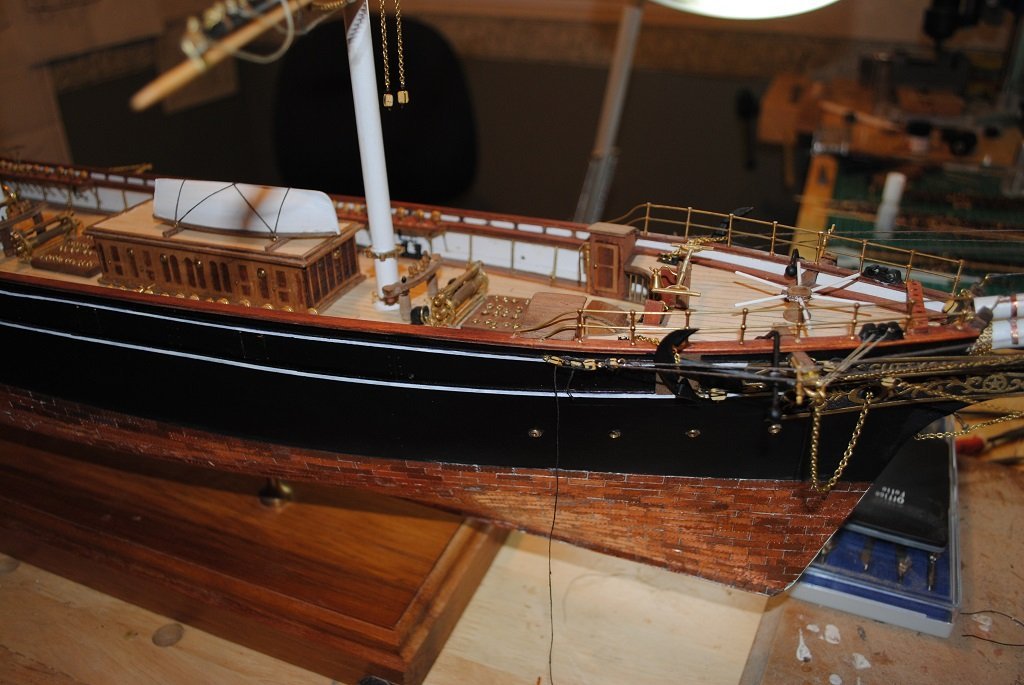
Hi there, The Channels attach on the 1st Rail (Monkey Rail?) above the Deck so, if pinning, they will not be pinned directly to the Bulwarks. The top of the Rail and top of the Channels are flush. (My experience anyway.... 🙂) A few photos of the Mantua version under construction attached showing Channels. Cheers....HOF.
- 47 replies
-
- 3
-
-
- Cutty Sark
- Artesania Latina
- (and 1 more)
-
One other thing that comes to mind, When you get around to making the Channels, I found the best way for myself to get a consistent hole spacing for Deadeye Strops was to "Template" these things. If you want to have a look, my CS is on this site under HOF00. Anyway, I think I have rambled on enough for one day.... 🙂 Cheers....HOF.
-
Sorry, maybe to clarify, The Wood part, Channel, can also be used to secure the Deadeye Strop with a drop of CA. This should be ample to take the Shroud tension with the Strop also fixed into the Waterway. (Pins for securing the Channel can be made from Planking Pins, Drill a small hole on the Bulwark side of the Channel but not completely through. Keep the Pointy end of the Pin to mark the location on the Bulwark, remove the Channel, drill holes for the Pins, test fit and when happy, CA of wood glue or both.) Anyway, you are probably well aware of "Pinning" stuff. When I built my Mantua version the Mizzen Deadeye Strops were wound together immediately below the Deadeye and CA'd. The twisted Strop provided more contact area for the CA through the Deck. Inboard Deadeyes/Chainplates and Channels were something unique to me at the time. 🙂 Cheers....HOF.
- 47 replies
-
- 1
-
-
- Cutty Sark
- Artesania Latina
- (and 1 more)
-
Yup, You could insert Brass Pins in a few locations along the length of the wooden Chainplates and pin to the Bulwarks using CA. I am also assuming that the Deadeye Strops are wire? Dill holes in the Waterways to accept the Strop ends and CA. Do a "Mock-Up" with scrap "Off-Ship" and see how it goes first. Cheers....HOF.
- 47 replies
-
- 1
-
-
- Cutty Sark
- Artesania Latina
- (and 1 more)
-
Forgot to mention, I'll follow along with interest!! Cheers....HOF.
- 47 replies
-
- 2
-
-
- Cutty Sark
- Artesania Latina
- (and 1 more)
-
Very nice!! Although I have made the Mantua version, I have this kit in storage for "Someday. 🙂" How did you get on with the single POB? (The material is quite "Hefty" in thickness. Are you planning Sails or "Bare Bones?" Cheers.....HOF.
- 47 replies
-
- 2
-
-
- Cutty Sark
- Artesania Latina
- (and 1 more)
-
Nice!! One luxury that Amati provide over the "Partwork" is the Portlight/Stern Grab Handle PE. Enjoy the filling & sanding!! 🙂 Cheers and Regards, Harry.
-
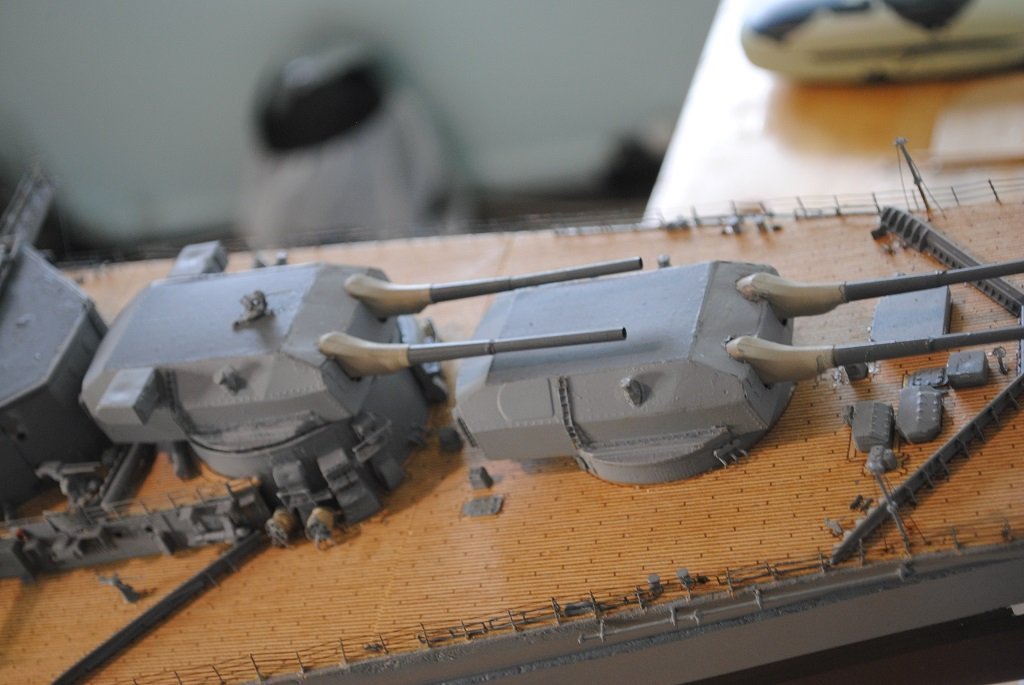
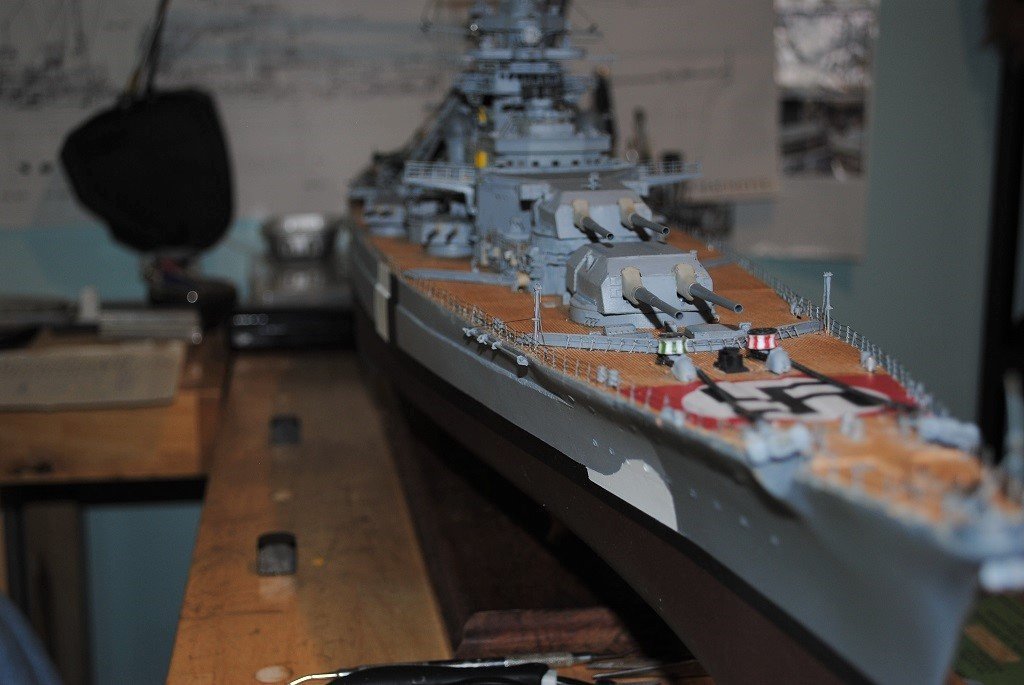
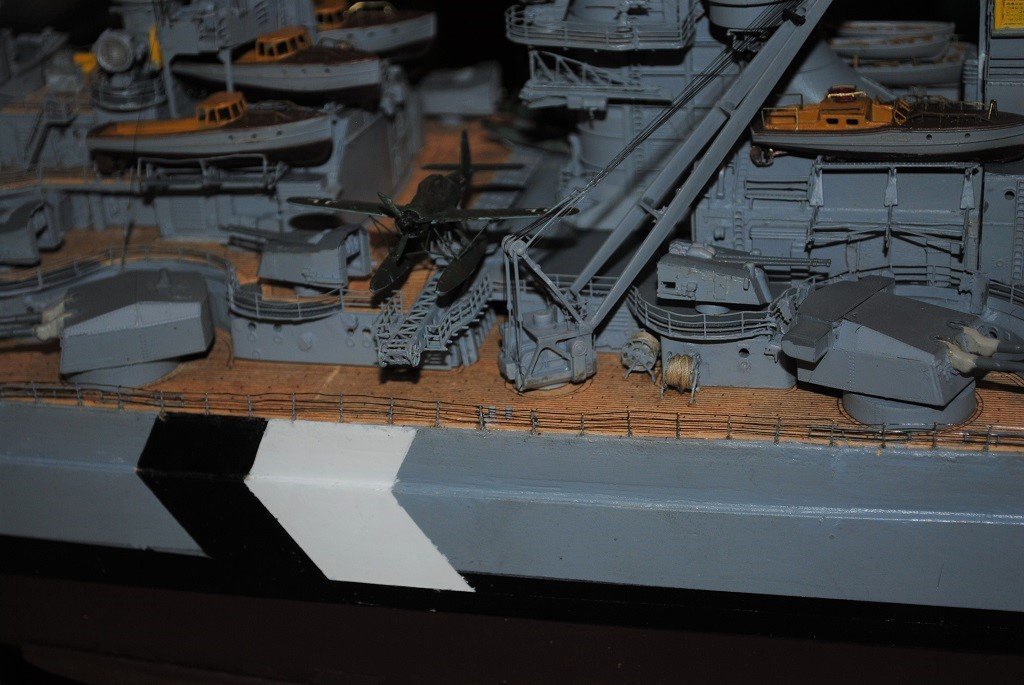
Hi there, Your Bismarck is looking good!! There are a few build logs for this here, some are Amati but essentially the same as the Partwork thingy. rvchima,/ted99/ianb and myself. Mine is almost finished, have a look at the build log under HOF00 Anyway, I hoe you can secure all 140 parts/issues. (Ebay or similar) Happy to offer advice/assistance. Cheers....HOF.
-
Looking really good!! (Nice workshop space also. 🙂) (HOF is still struggling with the Main Deck Railing but I think that my solution is working, I'll post soon also.) Cheers and Regards, Harry.
-
Hi Chap, Sorry to see this abandoned. Couldn't agree more with the two comments above so have no sage advice as it has already been said. On a positive note, I am really looking forward to your next buildf log, I hope this will be soonish!!! Cheers and Regards, Harry.
- 248 replies
-
- 1
-
-
- Cutty Sark
- Revell
- (and 2 more)
-
Hi Chap, I found no perceptible "Sheen" with Nil Varnish at all. It penetrates the thread and sets up very quickly. You only require a tiny drop for each knot. You should find that the individual Ratlines remain flexible, i.e they droop slightly between the Shrouds. I think I mentioned prior that if there's an error, you should be able to remove the offending thread twithought having to rework entire Shroud Gangs. Cheers....HOF.
- 248 replies
-
- 1
-
-
- Cutty Sark
- Revell
- (and 2 more)
-
No worries. A long time ago, i tried the diluted White Glee, personally, I was not happy with the result. Give the Nail Varnish a go and see what you think. (Off ship for experimentation.... And Unscented. 🙂) Cheers....HOF
-
Hi Chap, I use clear Nail Varnish on my Ratline knots and Siesing. (Cheap and the bottle lasts for ages.) In my mind, CA for these is just too unforgiving, not to mention the "Bulk" of the stuff when it dries. (Unscented 🙂) (Try off-ship perhaps?) If there is an error itis Faily simple to remove. Cheers....HOF.
- 248 replies
-
- 1
-
-
- Cutty Sark
- Revell
- (and 2 more)
-
Nice!! Seems to be a bunch of my countrymen, (New Zealanders), starting out. 🙂 It'll be interesting to look at other offerings in the future. Cheers....HOF.
-
Hi Chap, Good to see your posts at the very least!! I was wondering where you had got to. 🙂 Look after yourself and get someone to prescribe some Amoxicillin perhaps? Cheers and Regards, Harry.
-
Sorry Chap, By saying "Aft and up" I mean working from the Bow and working "Aft." 🙂 (I hope the Yards don't get in the way too much.) Cheers and Regards, Harry.
- 248 replies
-
- 1
-
-
- Cutty Sark
- Revell
- (and 2 more)
-
Looking good!! My opinion for Rigging order, and my opinion only.... Shrouds/Ratlines - Aft and up Standing Rigging - Aft and up Running Rigging Pendants/Braces Entirely up to you.... 🙂 (More importantly, whatever works for you.) Cheers and Regards, Harry.
- 248 replies
-
- 1
-
-
- Cutty Sark
- Revell
- (and 2 more)
-
Hi Ian, Not such a wonderful fit at all. Should be relatively easy to rectify? Cheers....HOF.
-
Hi Targa, I have the many Stanchions, double/single, easy to space and drill, but, having pre-painted, all the tny holes are partially clogged. I don't have a drill bit small enough and a pin is too large. So, out of sheer frustration I made the Eduard order, for Trumpeter but should be fine for Amati, same length, etc. The Hull is about 2.5m both sides inc. so how many sheets? I don't know. Enough for 2.5m? I guess I'll see when it arrives. (Apologies for hijacking your thread, Ian.) Cheers and Regards, Harry. .
-
Nice one Ian!! I'll be following your build with interest. (Ps. I'm still struggling with the Main Deck Rail Stanchions and provided "Thread." I have ordered the Eduard 1/200 Chain Link Railing from Super Hobby out of sheer frustration. The photos of this stuff look good anyway. I will post my experiences when I receive this in two - four weeks, hopefully....) Cheers and Regards, Harry.

